Dota 2
348 Bewertungen
Beginner's Guide to Streaming with OBS
Von Jimo
I will give you instructions on how to setup Open Broadcaster Software (also known as OBS) to stream to popular websites such as Twitch and JustinTV.
   
Preis verleihen
Favorisieren
Favorisiert
Entfernen
Introduction
This guide will give you instructions on how to setup Open Broadcaster Software (also known as OBS) to stream to popular websites such as Twitch and JustinTV.

This guide has been created using version 0.613b of OBS. As OBS is open source the methods used in this guide are subject to change.


http://steamcommunity.com/sharedfiles/filedetails/?id=241909785
Configuration
When you first load OBS you'll need to configure your settings. This can be done by selecting the "Settings" button.


Once the settings window is open you'll need to define a profile under the "General" tab. Within the settings profile box type in a name, select a language and then select "Add".


Once you've created your profile select the Encoding category.

Check the "Use CBR" and "Enable CBR Padding" boxes for compatibility with popular streaming services such as Twitch. The other settings in this category will adjust the quality of your broadcast and heavily depend on the capacity of your internet connections upload speed.

If you don't know what that is I suggest running a speed test or calling your ISP. If your upload speed is 2Mbp/s then your throughput is 2500Kb/s, you don't want to exceed more than 70-80% of your upload throughput when streaming otherwise you'll start to have performance problems.

Tip: If you're unsure what values to use you can use the OBS settings estimator tool[obsproject.com].

Once you know your upload speed enter around 70-80% of it into the "Max Bitrate (kb/s)" and "Buffer Size (kbit)" field. Advanced users can set the buffer size higher, but it's not necessary in most situations.

Beneath the "Audio Encoding" section leave the codec set to AAC with a bitrate of 128. if your internet connection is above average this can be set to 192 for better audio quality.


Next you'll need to select the "Video" category. Your base resolution should default to that of your monitors, this value is so you can setup your sources. The "Resolution Downsize" setting is what will be broadcasted to the streaming service, the lower the resolution the less bandwidth and processing power will be consumed.

Tip: Run the OBS setting estimator[obsproject.com] to see what the FPS and resolution downsize value should be set to.


You'll then need to setup your audio settings by selecting the "Audio" category. This is where you'll assign your audio devices for your sound and microphone. There are multiple options in this category that allow you to assign audio related hotkeys such as push-to-talk.

Tip: You can find more microphone options within the "Microphone Noise Gate" category.


Additional settings for experienced users can be found within the Advanced category.
Scenes and Sources
Once you've configured OBS you'll need to setup up content sources. Right click within the box labelled "Scenes" and select "Add Scene". You're able to create multiple scenes to switch between during your broadcast.


Each scene you create needs to have a name associated with it. You can switch between the active scene by selecting the name from the "Scenes" list.


Once created select it from the "Scenes" list and then right click within the box labelled "Sources". The dropdown menu gives you several options to choose from. The most commonly used one for streaming gaming content is "Game Capture". You're able to add multiple sources into a single scene, for example you can have game footage and a webcam layered over the top.


If your game is open when you select "Game Capture" it will appear on the list of available applications. In my example I've got Dota 2 running in the background. Certain titles may require you to run OBS as an administrator to capture.


Once the source has been created you can test to see if it works by selecting the "Preview Stream" button. This will display what viewers will see when you start streaming.


Sources are layered based on their order on the list. You can move a source to appear above or below another by right clicking on its name and using the "Order" menu.


You can also adjust the position and size of each source. For example if you add an image or text you can right click on its name and change its position and size on the stream using the "Position/Size" menu.


Play around and see what you can come up with by creating multiple scenes and sources. Streamers typically create scenes for game capture and others for their intermission, intro and outro.

Broadcast Settings
Within the OBS settings select the "Broadcast Settings" category. Change the broadcast mode to "Live Stream" and select the website you'll be streaming to from the "Streaming Service" drop down menu.


Most services require something called a Stream Key. This is a unique key which grants streaming access to your account. For instructions on how to find your stream key refer to the account settings of your service of choice.


Once you've entered your broadcast settings you can begin your stream by selecting the "Start Streaming" button.


Once your stream has begun you can select "Stop Streaming" to end it.
Closing Notes
If you have any questions or comments regarding this guide please feel free to leave a comment below.


http://steamcommunity.com/sharedfiles/filedetails/?id=181142704
http://steamcommunity.com/sharedfiles/filedetails/?id=239845208
63 Kommentare
Varun 30. Jan. 2016 um 6:57 
If you are using mac you have to inject the data application and then put the source as injected syphon.
Shoko 12. Okt. 2015 um 10:51 
i got the same black screen as well, tried with other games, works fine. but dota having black screen all the time -_- i searched up on the net, some said its nvidia settings but then i tried putting borderless window in dota 2, it worked.
Gabobigale 24. Aug. 2015 um 13:13 
i got the same with black screen with this set up
Gabobigale 24. Aug. 2015 um 13:13 
can you make the same settings with the last OBS update
hanyi疼你不需要理由~ 5. Mai 2015 um 4:51 
Hi, i got black screen and everytime i start streaming, my dota 2 client hang~, need helps~
bears 19. März 2015 um 9:20 
Thanks so much for this! It is by far the most helpful tutorial I've found on OBS.
PARADOX 11. März 2015 um 2:57 
FOR THE ONE THAT ONLY GET BLACK SCREEN IN DOTA, TRY SET YOUR DOTA 2 TO BORDERLESS WINDOW, THAT WORKED FOR ME!
Roner Steel 7. März 2015 um 20:21 
No one has ever been able to answer this question with better results... so i must plead this question with utmost urgency:

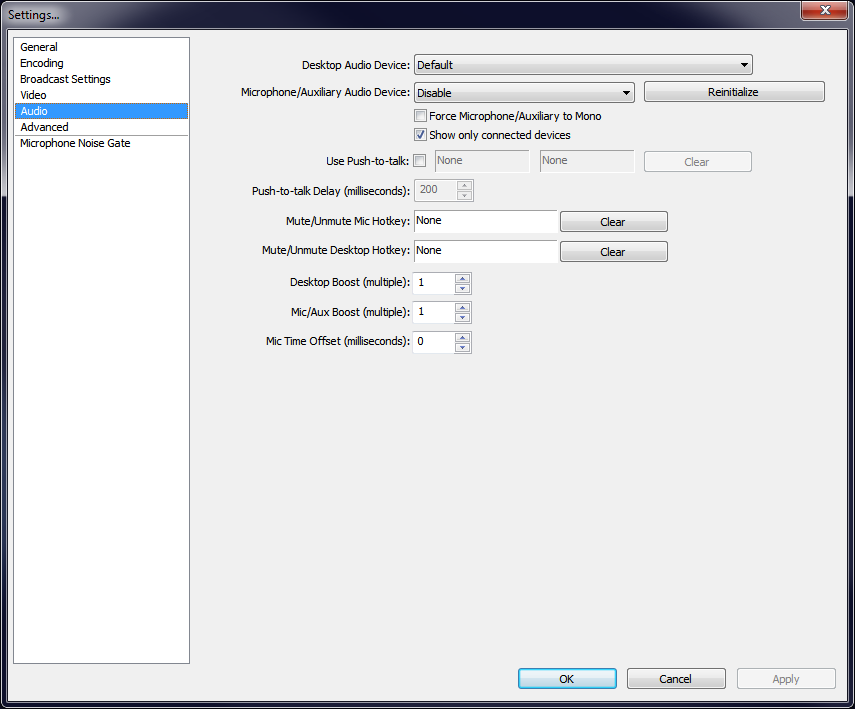
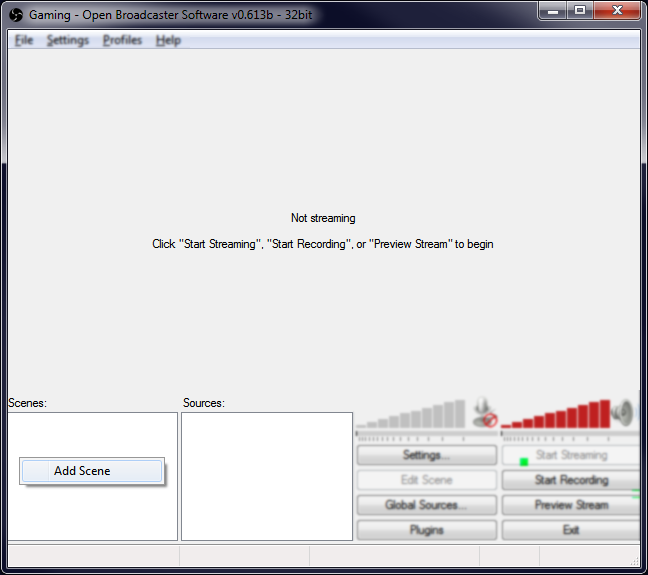
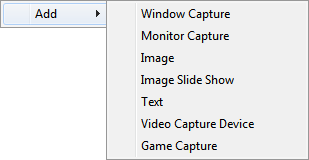
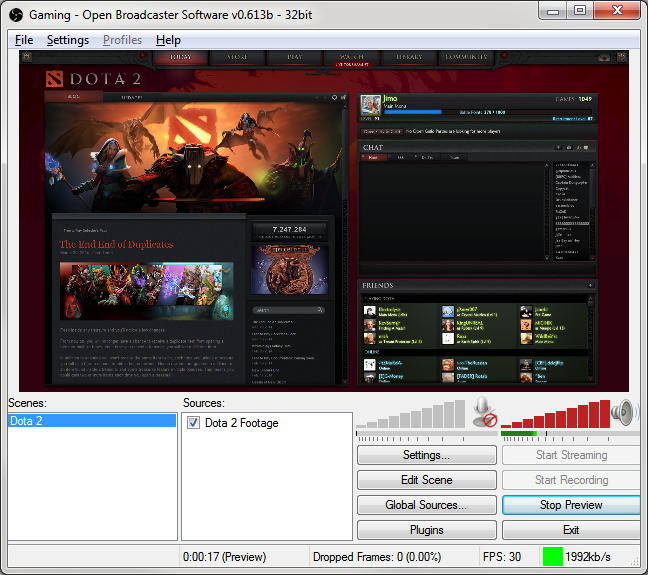
HOW DO I STOP THE BLACK SCREEN WHEN I RECORD STEAM GAMES ON OBS?

You are unable to select your game when you use "Window Capture", Game Capture only gives us the black screen. Monitor capture will just crash OBS if you use it and STILL give the black screen when you're playing the game. I've been trying ot play Blazblue, Dead Island, Payday 2, and Five NIghts at Freddy's 3, but for some reason, OBS refuses to work for any games i've bought from steam, while working perfectly fine with other games like World of Warcraft and League of Legends. PLEASE SOMEONE HELP. This has been an unsolved problem everywhere I've looked and i would really like to stream these games.
Jamison 3. Dez. 2014 um 2:42 
How do I configure OBS to work with Steam Broadcasting?
Awas Anjing 19. Nov. 2014 um 4:15 
the obs just shows a black screen. What am i doing wrong here?