
Instale o Steam
iniciar sessão
|
idioma
简体中文 (Chinês simplificado)
繁體中文 (Chinês tradicional)
日本語 (Japonês)
한국어 (Coreano)
ไทย (Tailandês)
Български (Búlgaro)
Čeština (Tcheco)
Dansk (Dinamarquês)
Deutsch (Alemão)
English (Inglês)
Español-España (Espanhol — Espanha)
Español-Latinoamérica (Espanhol — América Latina)
Ελληνικά (Grego)
Français (Francês)
Italiano (Italiano)
Bahasa Indonesia (Indonésio)
Magyar (Húngaro)
Nederlands (Holandês)
Norsk (Norueguês)
Polski (Polonês)
Português (Portugal)
Română (Romeno)
Русский (Russo)
Suomi (Finlandês)
Svenska (Sueco)
Türkçe (Turco)
Tiếng Việt (Vietnamita)
Українська (Ucraniano)
Relatar um problema com a tradução


Also, kaden, I know it's a late response but now I've now stopped referencing other mods as much, but idk maybe in the future?
Okay, this mod has my interest now :P
It feels like it goes more in depth into the idea (Debuffs, Buffs, armors that can give special powers to specific morphs, 2 different kinds of morphs, ect)
Pretty small, but it makes up for it in creativity.
(Enemies that stick to walls like friggin ninjas!)
(Projectile destroying projectiles!)
I could go on......
Might have a look at it and add it to my mod list at some point :)
Fight the bosses.
Seriously, those suckers are creative as frick
Noehtap: "Qwerty, the darkness isn't effective, they just use light pets"
Qwerty: "Thats why were not using actual darkness, were are using black boxes"
...unless...
...maybe...
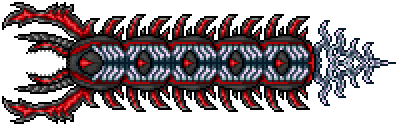
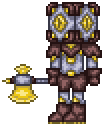
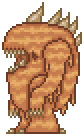
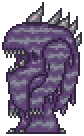
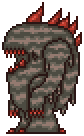
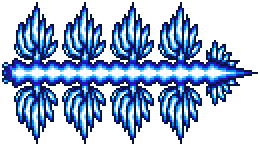
A large worm like entity made up of Magma and obsidian spawned from fishing with a truffle worm in hell.
It is extremely large compared to the player.
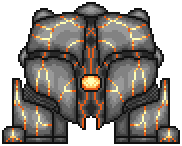
Head Stats
9000 / 10000 HP
20 Def
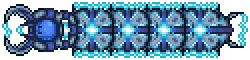
Body Stats
11000 / 12000 HP
25 Def
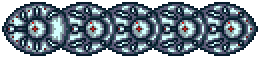
Tail Stats
9900 / 11000 HP
50 Def
Attacks
Magma spit
Magma Manipulation
Magma Rain
Fire Bomb
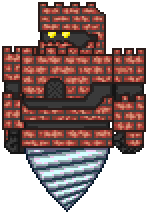
Obsidi-Shield
Chunk Launch
Might make a mini-page on it or add it to one of the later parts to #5 with notes to say it's crossover content