
Instalar Steam
iniciar sesión
|
idioma
简体中文 (Chino simplificado)
繁體中文 (Chino tradicional)
日本語 (Japonés)
한국어 (Coreano)
ไทย (Tailandés)
български (Búlgaro)
Čeština (Checo)
Dansk (Danés)
Deutsch (Alemán)
English (Inglés)
Español - España
Ελληνικά (Griego)
Français (Francés)
Italiano
Bahasa Indonesia (indonesio)
Magyar (Húngaro)
Nederlands (Holandés)
Norsk (Noruego)
Polski (Polaco)
Português (Portugués de Portugal)
Português - Brasil (Portugués - Brasil)
Română (Rumano)
Русский (Ruso)
Suomi (Finés)
Svenska (Sueco)
Türkçe (Turco)
Tiếng Việt (Vietnamita)
Українська (Ucraniano)
Informar de un error de traducción


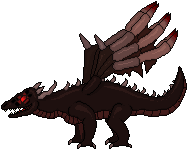

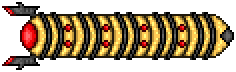
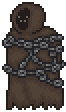
![Stinger.png]](https://images.steamusercontent.com/ugc/999141570373336063/8CF9450D45ED5B07A6D6A9392B44F1CCC59E66DF/ "Stinger.png]")
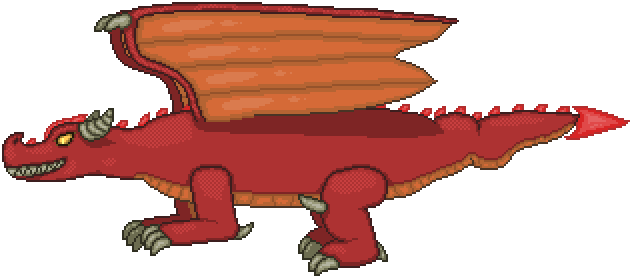
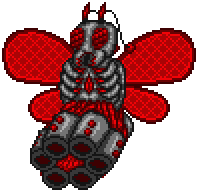
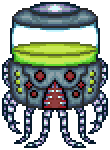
![Vesper Drone.png]](https://images.steamusercontent.com/ugc/999141570373336380/15C8B6926FFDB8745C4A8B2862DCE0E9CD412D8D/ "Vesper Drone.png]")


I would love it if there was a mod with some of these bosses
look just like the guide
I've also bee creating bosses on my own, but never actually wrote them down...
so if possible i would like to talk to you, bc most of these are pretty solid and really good, especially the mecha-planterra and the mecha-queen bee