Team Fortress 2

Team Fortress 2

1,136 ratings
HellJumper's NEW TF2 Modeling Tutorial for the Steam Workshop (Beta Import)
By HellJumper
This is a new 3D modeling tutorial for the new TF2 beta importer. Since my old tutorial covered the basics of modeling and texturing, I will not be going into detail about those. Instead this tutorial focuses on the new beta import system. In the future I will cover how to get good looking backpack icons, source filmmaker renders, and painted items.

Notice:
If you want to visit my old modeling tutorial for the basics to using Blender, you can find it here.
2
5
   
Award
Favorite
Favorited
Unfavorite
Comprehensive Video Tutorial

Required Programs:

NOTE:
In the video I mention MDLdecompiler for use in decompiling .mdl files. However, this program has not been updated in quite a while. Instead, Crowbar is another program I have found to be really useful in decompiling .mdl files. It functions similarly to mdldecompiler (so it should be self-explanatory in terms of how to use it).
Supplementary Picture Tutorial
This picture-based tutorial should be useful for quick reference. It obviously doesn't go into as much detail as the video does, but it's great for people who watched the video at least once and want to quickly go back to look at things.

Step 1: Getting Prepared
Gather the required programs (listed above) and create a file structure to stay organized. Remember: organization is the key to success.


Determine what character you want to make an item for (hat or misc item), and using GCFscape, extract the .mdl and associated files from the vpk. Using the fixed version of MDLdecompiler, decompile the .mdl into a .smd file which you can then import into Blender.


Step 2: Making the Model

Open up Blender and import the .smd file corresponding to the TF2 character. The decompiler most likely produced many .smd files, but the correct file should be relatively obvious to find (it's usually around 2 mb in size). Make sure to import your character using the Y-axis as the up direction.


Begin creating your model using the imported character model as a reference. Don't forget to use smooth shading and edgesplits to ensure that your model has both smooth surfaces and hard edges where necessary (other programs refer to edgesplits as smoothing groups).

Notice in the image to the right how the model has portions that are smooth (the top of the hat) and portions that are distinctly sharp such as around the brim of the hat. Getting a good balance between smooth and sharp edges can really bring out detail in your model.


Step 3: UV Unwrapping

When you are satisfied with the model's design, unwrap the model with whatever method is best. For cylindrical objects, marking seams is the best way to unwrap these objects. For more complicated shapes, you might want to use projection unwrapping. Regardless, both methods are found under the UV unwrapping menu in edit mode (hotkey: u).


Make sure to alter the UVs in the UV layout screen in a manner that best suits your model. In the tutorial I mentioned that I wanted part of my hat to be unwrapped flat, so by selecting rows of vertices and pressing "w", I was able to align vertices in a rectangular fashion (align x, align y).


Step 4: Baking

When you are done unwrapping the model, create a blank black image 2-4 times larger than the final size of your texture which will be used to bake shadows onto your base texture.

In the World Tab, make sure to do the following:
  • Check Ambient Occlusion ON
  • In the "Gather" subheading choose "Approximate"
  • Check Pixel Cache ON, and slide the correction to 1.00
  • Change the error to 0.250

In the Render Tab, make sure to do the following:
  • In the "Bake" subheading, make sure "Bake mode" is set to "Ambient Occlusion"
  • Check "Normalized" ON
  • Slide the margin to 8

Now click "Bake" to bake your AO map. Save this as a .tga file, and make sure to export the UV layout as well (as a .png) by going to UVs > Export UV Layout.


Step 5: Texturing

Texturing for TF2 is both easy and fun. Open your AO bake in photoshop and make sure to set the layer properties to "multiply". Make sure this layer is always on top (unless you have a UV layout temporarily to be able to see your UVs). Make sure all your texturing layers go below your bake. Refer to Swizzle's TF2 Texturing guide[www.polycount.com] for more information on making quality TF2 textures.


When your texture is completed, save this as a .tga (make sure you resize it down to 512 x 512), and reapply the texture in the UV layout screen to see a preview of your texture on the model in Blender.


Step 6: Rigging your Model
Select your model first, and then shift+select the bone rig second (armature). Press ctrl+p, and choose "With empty groups" to parent your model to the armature. Now select only your model, go into edit mode, select all the vertices in your model, find the bip_head bone in the Object Data tab under the Vertex Groups subheading, and click "Assign" (make sure the weight is set to 1.000). This will assign all the vertices in your model to the bip_head bone. If your model is not a hat, make sure to assign your model to the correct bone.


Go back into object mode, select your model, and go to the Object tab. Give your model a name in the textbox with the orange cube (Unique data ID). This will be your .smd filename. With your object selected, go to file > export > source engine (.smd) to export your model as a .smd file. While you're at it, make sure you generate a LOD model that is 700 tris or less. Make sure to give this a unique name so you don't accidentaly overwrite your default model.


Step 7: Compiling your Model

Open TF2, click on the Workshop button, and create a new workshop entry. Click "Import Beta!" to get to the new beta import screen. Give your model a name, and choose what category it belongs in (e.g. engineer hat). Import your .smd files making sure you import at least 1 LOD model below 700 tris. If your model is already 700 tris or less, there is no need to make LODs.

Generate a backpack icon using the HLMV (tutorial in the FAQ section below). Make sure that the icon sits on a black background and fits in a 512 x 328 region. The entire image should be 512 x 512, and the alpha channel should be all black expect for the parts corresponding to your item.


Finally, choose the appropriate texture option (Team colored, paint, etc.), and import your .tga texture files. Remember: texture files must be 512 x 512 or the importer won't accept them. Choose the appropriate vmt parameters (most of the time the defaults should be fine), and click OK.


Preview your model to see if everything worked out fine. Once satisfied, click "Verify" and then "Finalize" to zip your model and get it ready to upload to the workshop. On the next screen, upload a workshop image that will be featured on the workshop, give your item a title, and describe it.


Congratulations, you're done! Give yourself a pat on the back, and let other users begin upvoting your creation on the workshop!


If you found my guide useful, consider supporting me by rating up the item featured in this tutorial on the Steam Workshop. Thanks!
http://steamcommunity.com/sharedfiles/filedetails/?id=152785260
Frequently Asked Questions
Q: Do I need to install source SDK?

A: Yes. You need it in order for MDLdecompiler to work properly. Just install it by opening Steam, go to your library, go to the tools tab, and then install the "Source SDK". You must run the Source SDK at least once to get the client-side files to unpack properly. Also, you might need to press the "refresh content" button when using it for the first time. Just open the SDK up and there should be a button in the middle for that.

Q: MDLdecompiler won't work!

A: First of all, make sure the Source SDK is installed (see above). Place the MDLdecompiler program in your C:\Program Files\Steam\steamapps\common\SourceSDK\bin\ep1\bin folder in order for it to work properly. You may wish to put a shortcut on your desktop for ease of access. In addition, MDLdecompiler needs to have all the check boxes unchecked.[dl.dropboxusercontent.com]

Q: How do I create backpack icons?

A: Check out the following guide: http://steamcommunity.com/sharedfiles/filedetails/?id=157717488

Q: How do I make items paintable?

A: I put together a steam forum post about it here: http://forums.steampowered.com/forums/showpost.php?p=34536858&postcount=2460

Q: How do jiggle bones work in Blender?

A: Check out this video: Credit to SgtR007_1 http://www.youtube.com/watch?v=JP9ce_ygeSA
357 Comments
Fenrir Wolf Mar 12, 2023 @ 3:04pm 
Could this also be used for making a playermodel? Example : Shadow the hedgehog over Spy
..? Sep 12, 2022 @ 9:43pm 
i wanna die
GЯIΣFYП Apr 12, 2022 @ 7:09am 
body cosmetics pls!!
Wazanator Dec 17, 2021 @ 8:11am 
For the record for exporting out of blender to MDL use SourceOps https://developer.valvesoftware.com/wiki/SourceOps

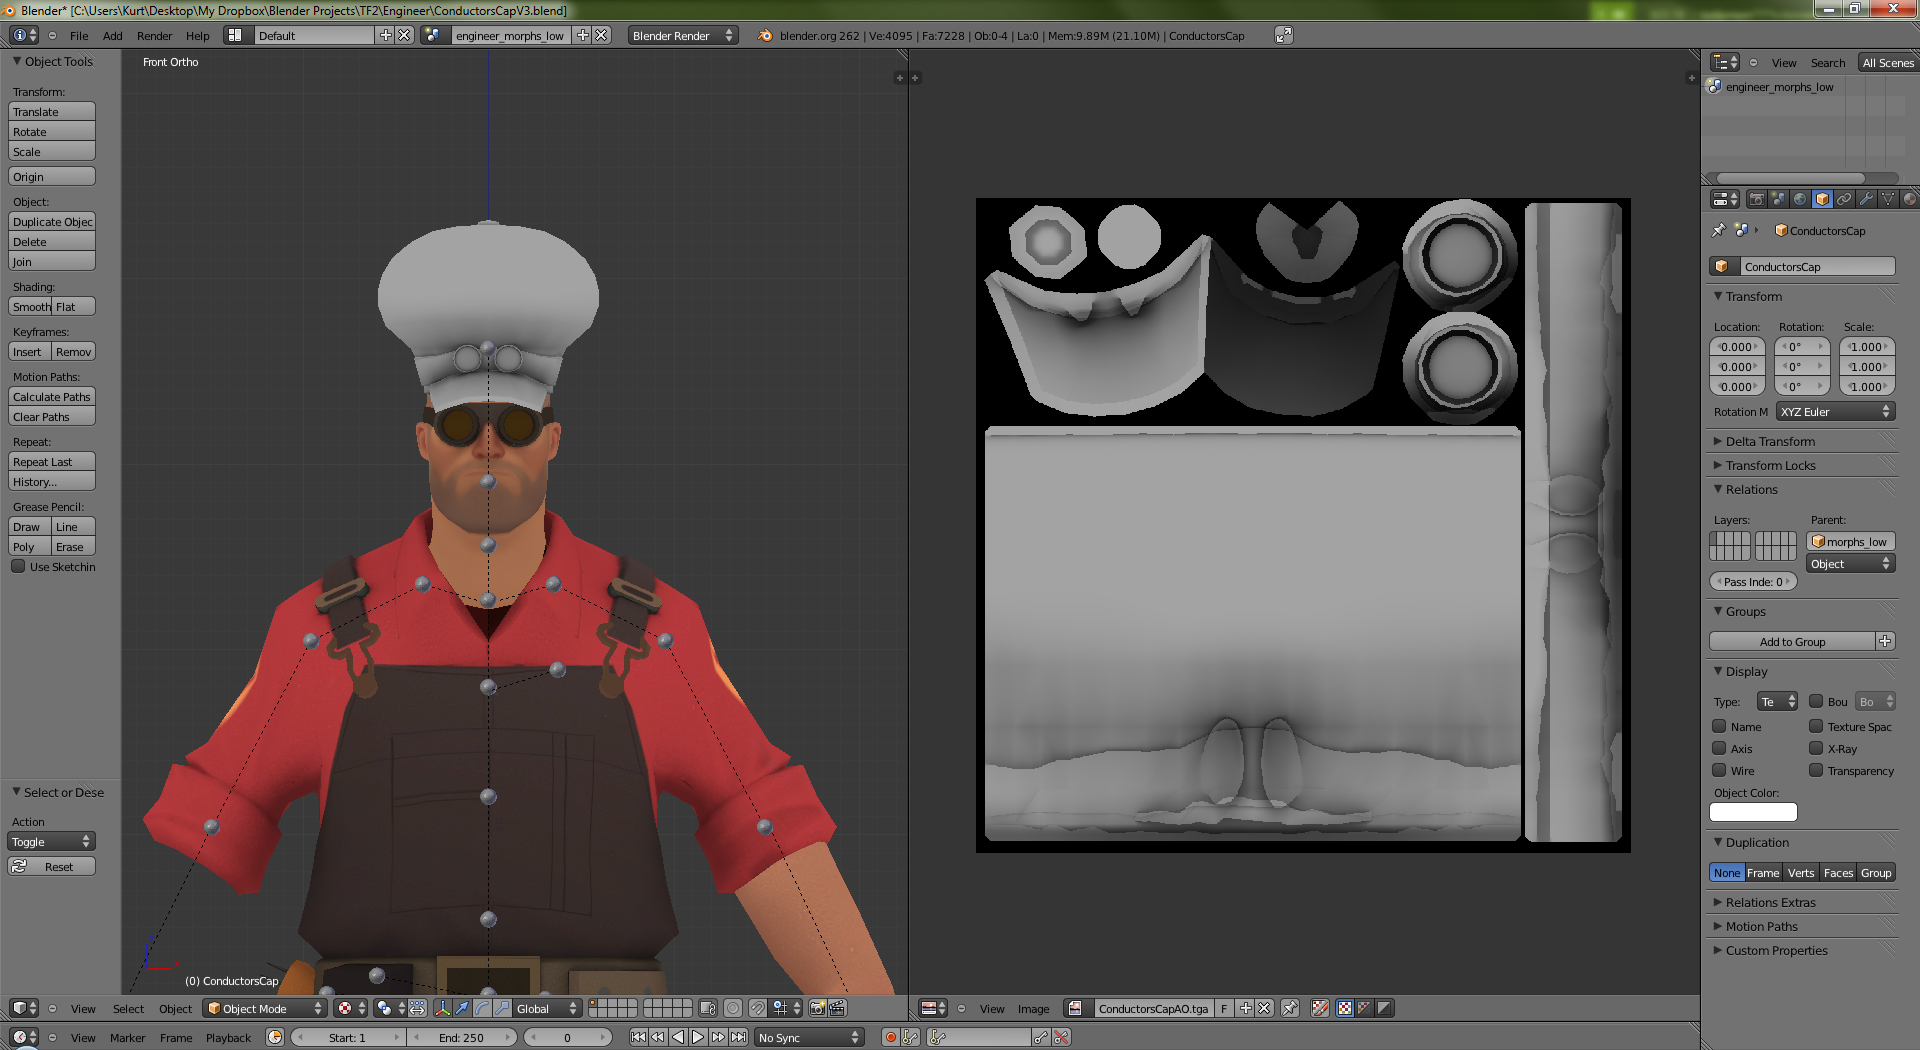
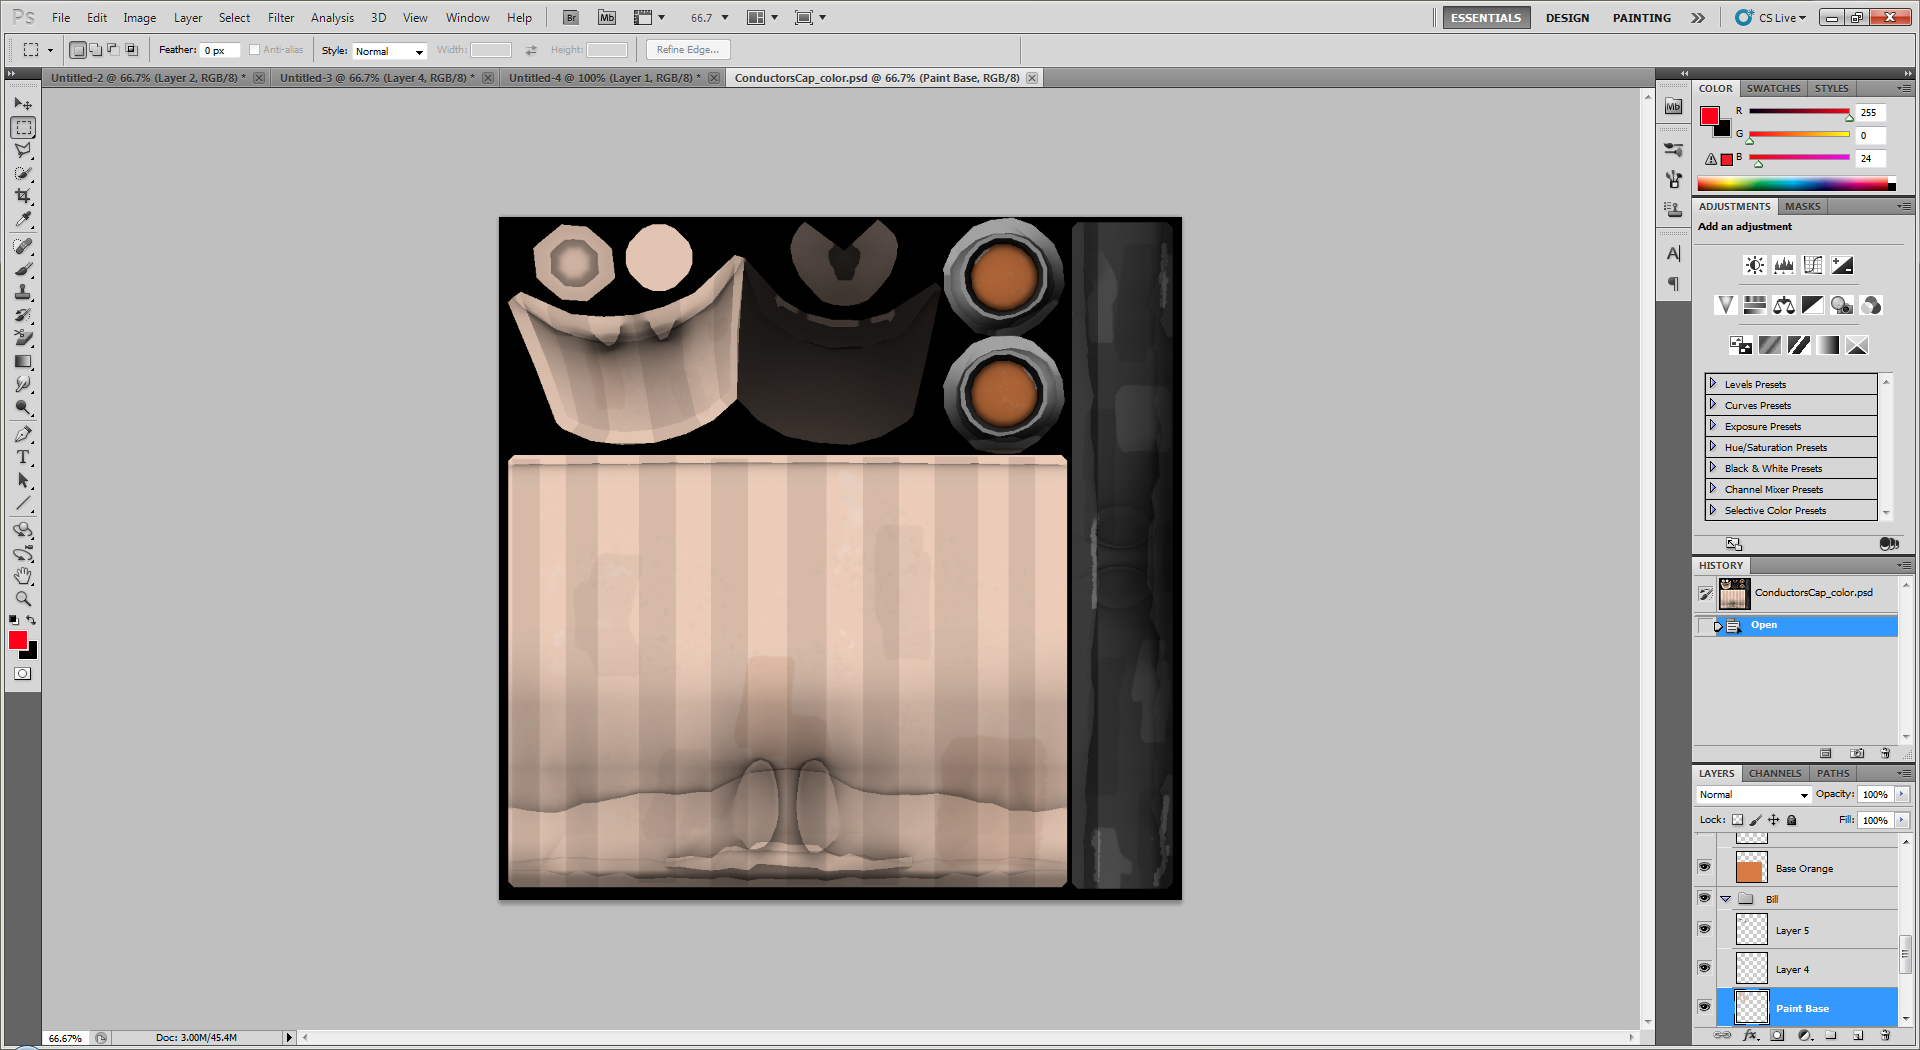
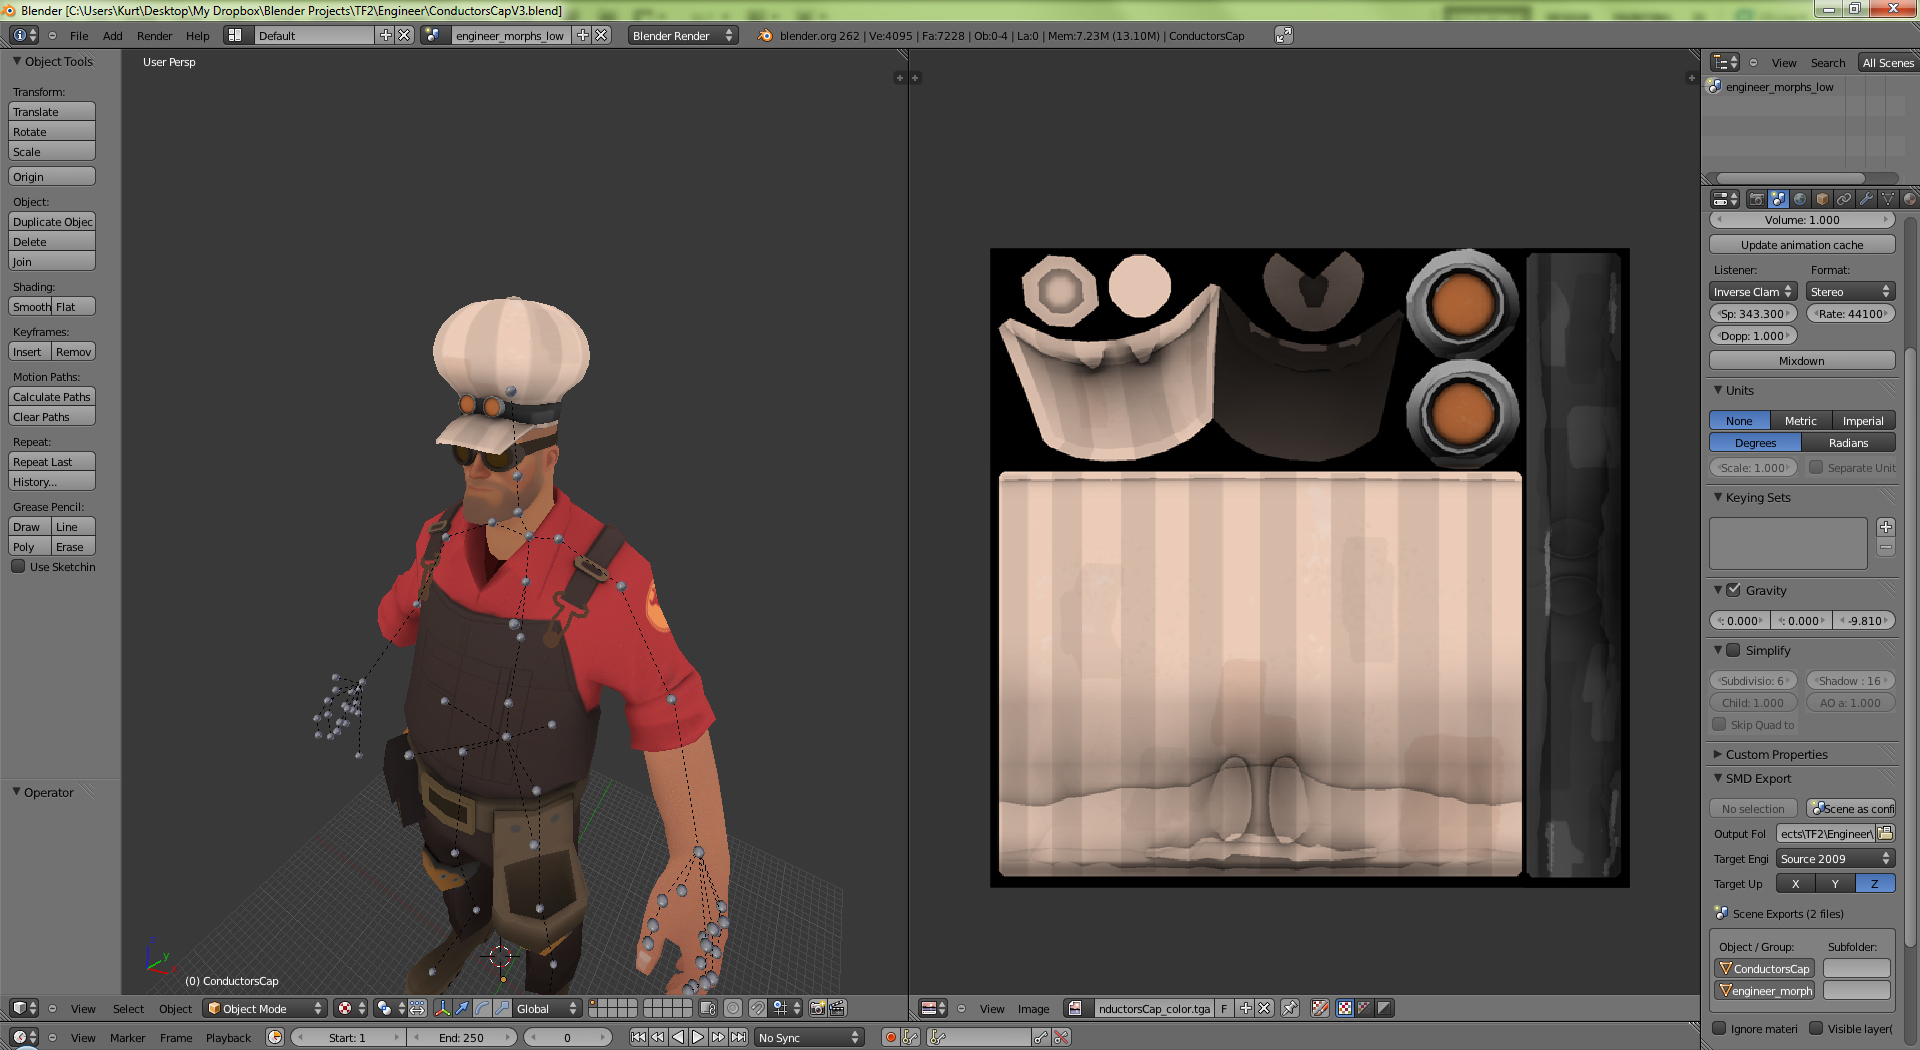
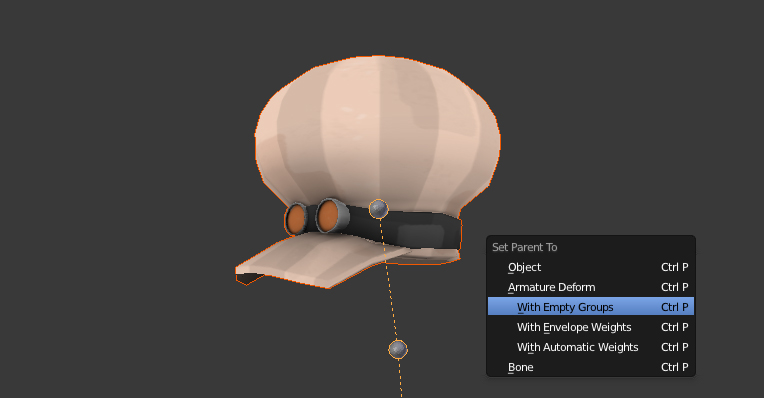
It will both export an SMD, create a QC, and compile the model for you.
POLTERGUY Aug 11, 2021 @ 9:24pm 
how tf do I make body cosmetics!! there is no guides anywhere (if there is please please point me in the right direction). Also how do you do "face paint" (as in adding a texture to the class' face)!
2-number-nines-extra-dip May 24, 2021 @ 5:43pm 
what different steps should i go through when making a weapon?
can someone direct me to a .MDL file exporter add-on for blender that works withe the 'itemtest' map?
i tried this one (https://github.com/khalv/mdl-exporter) which is for World of Warcraft but when I select the item in the TF2 Itemtest server NOTHING HAPPENS

Am i doomed?

is 'itemtest' broken?

do i need to use source SDK itemtest when making weapons?

BTW I am new to all of this so its entirely possible i'm missing something obvious.
TastyGuava #SaveTF2 May 16, 2021 @ 10:47am 
E
Mantis987 May 7, 2021 @ 10:23pm 
Yep! There's a bit of missing info and you might have to fiddle around with some things, but it's a good guide/ starting place.
IGOR May 3, 2021 @ 5:58pm 
Does this tutorial still hold up today?
sleepyhead Jul 30, 2020 @ 5:13pm 
Whenever i want to compile my Obj. and LOD. files, Itemtest crashes. Please help me!