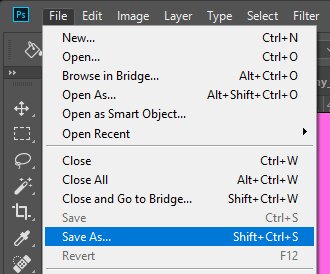
Euro Truck Simulator 2

Euro Truck Simulator 2

126 ratings
Creating your first Paint Job/Livery
By Lemon-chan
This guide will help you to create a Paint Job or Livery for the Vanilla trucks on Euro Truck Simulator 2.
   
Award
Favorite
Favorited
Unfavorite
1- Intro
This guide will show you how to create a Paint Job or Livery for Euro Truck Simulator 2 and package it for the Steam Workshop.

First, you will need a few things to design and compile your Paint Job:
2- Extracting game files
To keep this clean, we are not going to use templates or other mods as our source. Instead, we are going to extract the game files from our copy of ETS 2.

Create a folder on some place with enough space for the extracted game files. You need between 5 and 10 GB of free space.

Open ETS2 Studio and click SCS File Extractor:


You will see a new window asking for the SCS archive to extract and the Output path:


To know where our SCS archive is, we need to reach our game install location. To do that, we need to open our game properties (Propiedades):


Then you need to select the Local Files tab (Archivos Locales) and Browse Local Files (Ver Archivos Locales):


You will see your game folder and the file that we need:


Now, click Browse on SCS archive to extract and navigate to your game location. You need to select the file called base.scs:


Do you remember the folder from the start of this step? Select Browse on Output Path and select it. In my case is D:\Modding\Euro Truck Simulator 2\Dump:


NOTE: If you extracted game files on the past and you are selecting the same folder, enable the option called Empty output folder before extracting.

Once you are ready, you will see the green button called Extract, click it and wait for the process to finish:


You will know when the extract will be completed because you will see Extracting done! on the lower part of the screen:


Once the games files are extracted, we are ready to continue.
3- Setting our Workspace
To start working on our project, we need to create our workspace. Create a folder on a place easy to remember, in my case will be D:\Proyectos\Guia ETS2 PJ.


This is where every file for our mod will stay once completed.

Then, we need to create a folder called universal inside of our workspace. It should look like this:


On universal we are going to create some folder structures. A folder structure is a path of folders, where the next folder is inside of the previous one (for example, truck is inside of vehicle, and vehicle is inside of def).

We need to create the following folder structures inside of universal:
  • def\vehicle\truck
  • material\ui\accessory
  • vehicle\truck\upgrade\paintjob

Done! We have our place to store our mod files.
4- Creating a Truck Folder
Before we create or edit any file, we need to select a truck that we are going to add the paint job. This is because every truck has a different internal naming.

Once you have selected a truck, we are going to create a folder in universal\def\vehicle\truck with the internal name of the truck. You can get the folder name from this table:

Truck
Folder Name
DAF XF
daf.xf
DAF XF150
daf.xf_euro6
Iveco Stralis Hi-Way
iveco.hiway
Iveco Stralis
iveco.stralis
MAN TGX
man.tgx
Mercedes-Benz Actros
mercedes.actros
Mercedes-Benz New Actros
mercedes.actros2014
Renault Magnum
renault.magnum
Renault Premium
renault.premium
Scania R 2016
scania.rs
Scania R
scania.r
Scania S
scania.s_2016
Scania Streamline
scania.streamline
Volvo FH16 2009
volvo.fh16
Volvo FH 2012
volvo.fh16_2012

In my case, the folder is named scania.s_2016 after the new Scania S.


Then, open it and create another folder inside it called paint_job.


We can now start designing our Paint Job.
5- Designing your Paint Job
Now is time to start designing your Paint Job. To start, open the folder where you dumped your game files and navigate to vehicle\truck\upgrade\paintjob.


You will see a bunch of folders with truck names, open the one with a similar name to the step 4. If you still don't find it, use this table:

Truck
Folder Name
DAF XF
daf_xf
DAF XF150
daf_xf_euro6
Iveco Stralis Hi-Way
iveco_hiway
Iveco Stralis
iveco_stralis
MAN TGX
man_tgx
Mercedes-Benz Actros
mercedes_actros
Mercedes-Benz New Actros
mercedes_actros2014
Renault Magnum
renault_magnum
Renault Premium
renault_premium
Scania R 2016
scania_r_2016
Scania R
scania_r
Scania S
scania_s_2016
Scania Streamline
scania_streamline
Volvo FH16 2009
volvo_fh16
Volvo FH 2012
volvo_fh16_2012

After you reached the truck folder you will find other one called cougar_01, open it up.


If you see a file called cabin1.dds, congratulations! You have found the Paint Job template.


Now, copy cabin1.dds and cabin1.tobj to universal\vehicle\truck\upgrade\paintjob on your workspace.


This is the time to change the name of both files, rename them from cabin1 to something else. In this case i will use tutorial.


We still need the base for the Buy icon. Go back to your extracted files and navigate to material\ui\accessory.

There will be ~2000 files over there, just search for paintjob_style1 and copy the 3 files (paintjob_style1.dds, paintjob_style1.mat and paintjob_style1.tobj) to universal\material\ui\accessory on your workspace.


If you renamed the files previously, you need to set the same one on the 3 files here.


5.1- The DDS files
The DDS file contains your image for the Paint Job, is like a PNG or JPG but in higher quality and with more functions.

NOTE: I'm going to use Photoshop CC 2018, but that doesn't mean that you cannot use GIMP or other graphics program.

To open your texture file/DDS, go to File > Open and navigate to universal\vehicle\truck\upgrade\paintjob on your workspace.


Double click the DDS and press OK (don't change the options).


You should see the template on the center of Photoshop:


I'm not going to teach how to use Photoshop, so edit your Paint Job as you like.

The only thing to know here is that everything that you can edit is visible, for example in the Scania S:
  • The front is on the center
  • The right is the center-right
  • The left is the center-left
  • The back is the top-left
  • etc...
You should remember to add a background color/pattern, because we are going to remove the template from the design.

Once you have finished, right click the template layer (should be called Background or Layer 0) and select Delete Layer.


You should have something like this (a design with a background color):


If everything is like you want, export the file as DDS. Go to File > Save As...


In Type (Tipo) select "3DS/DDS (*.DDS; *.DDS)"


Go to universal\vehicle\truck\upgrade\paintjob in your workspace, select your existing DDS file and press Save (Guardar).


You should see a replacement confirmation, click Yes/OK/Si.


IMPORTANT: You will now see the NVIDIA Texture Tool Export menu, you need to select "DXT1 ARBG 4bpp | 1 bit alpha" on the export settings window and press Save:


We are done with the truck Paint Job editing.

BUT WAIT! We are not done with the DDS files yet. We still need to edit the Icon for the Buy menu.

Open the file at universal\material\ui\accessory\FILENAME.dds, where FILENAME is the name that you set on the previous step.

Do the same as the Paint Job, but remembering that this is the icon for the Buy menu on the shop.


This one should be saved as "DXT3 ARBG 8 bpp | explicit alpha"


NOW we are finished with the image files.
5.2- The TOBJ files
The TOBJ file indicates what texture (DDS) should be loaded and where it is. To edit them, we need to a bit of help from ETS2 Studio. Open it up and click TOBJ editor:


Then, click "Open Tobj file" and navigate to your new TOBJ file on universal\vehicle\truck\upgrade\paintjob (do you remember that I told you to "Create a folder on a place easy to remember"?):


You will now see the "Path in tobj file". The default value will be /vehicle/truck/upgrade/paintjob/TRUCKFOLDER/cougar_01/cabin1.dds:


Replace it with /vehicle/truck/upgrade/paintjob/YOURFILENAME.dds, where YOURFILENAME is the name set in the previous step (in this case, tutorial).


Once you edited the file, click "Save Tobj File as" and find the original TOBJ that you copied on the step 5, click it and press Save (Guardar).


If you don't get a window warning about the existing file, try again. If you do, click Yes/OK/Si.


Then, we need to do the same for the Buy icon. Navigate to universal\material\ui\accessory and open the FILENAME.tobj file over there.


The default path will be "/material/ui/accessory/paintjob_style1.dds", you just need to change the "paintjob_style1" for the name that you have chosen. In this case is tutorial:


Then, is the same process as above for saving the TOBJ.
5.3- The SII files
Now we are going to deal with text files, so open up your favorite text editor. You can use wherever editor you like, but I'm going to use Visual Studio Code.

Create a new file and paste the following content:

SiiNunit { package_version_info : .universal { package_name: "universal" } }

Save the file as "versions.sii" in the root of your workspace:


Then create a new empty file and save it as "mod_description.txt" on the "universal" folder:


We are going to create a file that has information of the mod, copy the following text:

SiiNunit { mod_package : .universal { package_version: "1.0" display_name: "YOUR_MOD_NAME" author: "YOUR_USERNAME" category[]: "paint_job" icon: "icon.jpg" description_file: "mod_description.txt" } }

(Replace YOUR_MOD_NAME and YOUR_USERNAME with your mod name and username respectively)

Save it as "manifest.sii" on the "universal" folder.


Now we are going to start the hard part:

Copy the following code:

SiiNunit { accessory_paint_job_data : FILENAME.TRUCK.paint_job { name: "PAINT_JOB_NAME" price: 500 unlock: 0 airbrush: true flipflake: true base_color: (0.0, 0.0, 0.0) paint_job_mask: "/vehicle/truck/upgrade/paintjob/FILENAME.tobj" stock: false icon: "apple" } }

Replace FILENAME with the file name that you have been using for the textures, and TRUCK with the truck name from the Step 4 (for example, FILENAME is "tutorial" and TRUCK is "scania.s_2016").

Then, save it as "FILENAME.sii" on "universal\def\vehicle\truck\TRUCK\paint_job".

We finished with the SII files.
5.4- The MAT files
The MAT files are just text files that define certain materials on the game.

We just need to edit one: "universal\material\ui\accessory\FILENAME.mat".

Once you opened up the file, you will see:

material : "ui" { texture : "paintjob_style1.tobj" texture_name : "texture" }

Just replace "paintjob_style1.tobj" for "FILENAME.tobj" and you are ready to go.
6- Uploading to the Steam Workshop
To "package" our mod to be uploaded on the Steam Workshop, we will need to create 2 preview images in JPG.

First we need a 276x162 pixels image for the preview on the mod manager.


Once you have one ready to use, save it as "icon.jpg" on the "universal" folder.


Now we also need a 640x360 pixels image for the preview on the Steam Workshop page.

Do the same as above, but save it somewhere else (for example, in the desktop). The name doesn't matter this time.

Now, we need to download the official SCS Workshop Uploader. Go to Library > Tools and search it.


Once you have found it double click it and follow the install like a normal Steam product.


When the SCS Workshop Uploader has been installed, open it up by double clicking it's entry on the Tools index. Once it opens, you should see this window:


Don't worry, i'm going to explain how to use it.

To start. if you have American Truck Simulator and Euro Truck Simulator 2 on the same account, you will need to choose ETS2 on the top-left side of the window.


On Item, select "New" if this is a new mod. If you are going to re-upload a mod, select it on the drop down.


On "Mod Data", you will have to select your workspace folder. Click "Browse" and select it,


Where it says "Preview image", select the 640x360 image for the Steam Workshop preview. If the image was loaded correctly you will be able to see it on the left screen.


Mod name is what you expected. Write down the mod name that will be public on the Steam Workshop.


I recommend to set Visibility to Private, so you can try the mod and check if is working as expected prior to releasing it to the public. You can change this option after the upload.


Don't forget to add a description of your mod with a length of at least 50 characters,


Now: the Tag section. In Type select "Truck parts", on "Truck parts" select "Paintjobs" and in the brand section select your truck brand.


Where it says change note, write something related to the mod update (in this case, "First release" would be good).


Now, click "Upload" and wait for it to be uploaded. Once the mod has been uploaded you will see a button called "Open Workshop Page" to open the mod page on the Steam Workshop.

Click subscribe on the Workshop Page to subscribe and download the item to your ETS2 game. Try to find the paint job for the truck that you created on the Truck Viewer.

If you were able to find and see your Paint Job in-game, congratulations! You have made your first Livery for Euro Truck Simulator 2

For any question or edit recommendation for this Euro Truck Simulator 2 guide, just leave a message down there and I'm going to answer it.

Have a great day!
25 Comments
salted caramel Sep 27, 2024 @ 7:34pm 
this is alot of work just for a damn truck skin
pete_someguy Jun 19, 2022 @ 2:51am 
We no longer support ETS2 Studio ... Mods Studio 2 is the program users should now use.

Mods Sudio 2 web site [www.mods.studio]
MS2 Dev.
'Nikolay. May 9, 2021 @ 3:01pm 
Awesome
Ozrick Major Mar 8, 2021 @ 11:53am 
Hey @ANGEL_ARROW. You probably know the answer by now but here:

0x2048 - Curtainsider short
0x4096 - Curtainsider double/b double
0x6144 - Curtainsider long/hct

4096x2048 - insulated short
4096x4096 - insulated double/b double
4096x6144 - insulated long/hct

8192x2048 - refrigerated short
8192x4096 - refrigerated double/b double
8192x6144 - refrigerated long/hct

12288x2048 - moving floor short
12288x4096 - moving floor double/b double
12288x6144 - moving floor long/hct

For double and b double you need both the #x4096 and #x6144 texture together because although the long texture applies to all long scenarios, the short texture does not

Hope this helps you and anyone else stumbling across this tutorial nowadays 🙂
nikolagangula05 Nov 13, 2020 @ 1:13am 
Hey Lemon, one question, i want to make funny Zendaya paintjob for the SCS trailers pls send me info on my stream profile ♥️♥️♥️
Lemon-chan  [author] Apr 12, 2020 @ 6:51pm 
@Oghma it should, as long as you use the correct files.
Farias Apr 12, 2020 @ 4:09pm 
This works for trailers as well?
domod Apr 1, 2020 @ 7:40am 
well this is like hard. lol (but good tutorial)
ARROWS_REALM Sep 13, 2019 @ 12:25am 
Very nice tutorial but currently it stops where you have to search for the file cabin1.dds because nowadays you don't get those kinds of file names anymore. It's more like pjm_at_0x2048_size_2048x2048.dds and all the other files are exactly the same but with other dimensions.
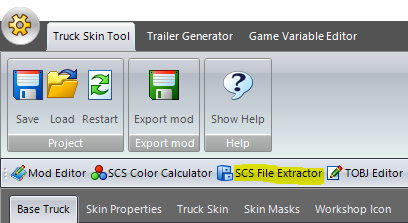
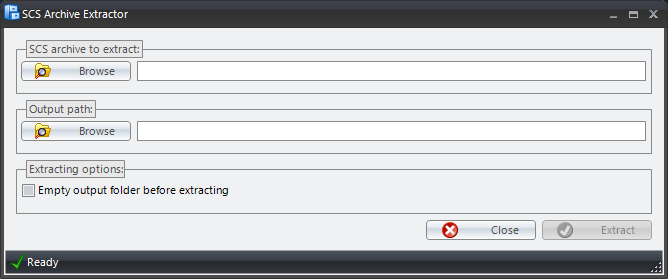
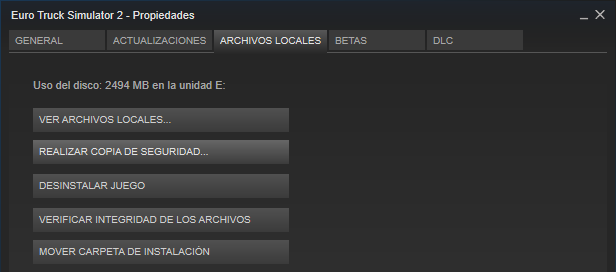
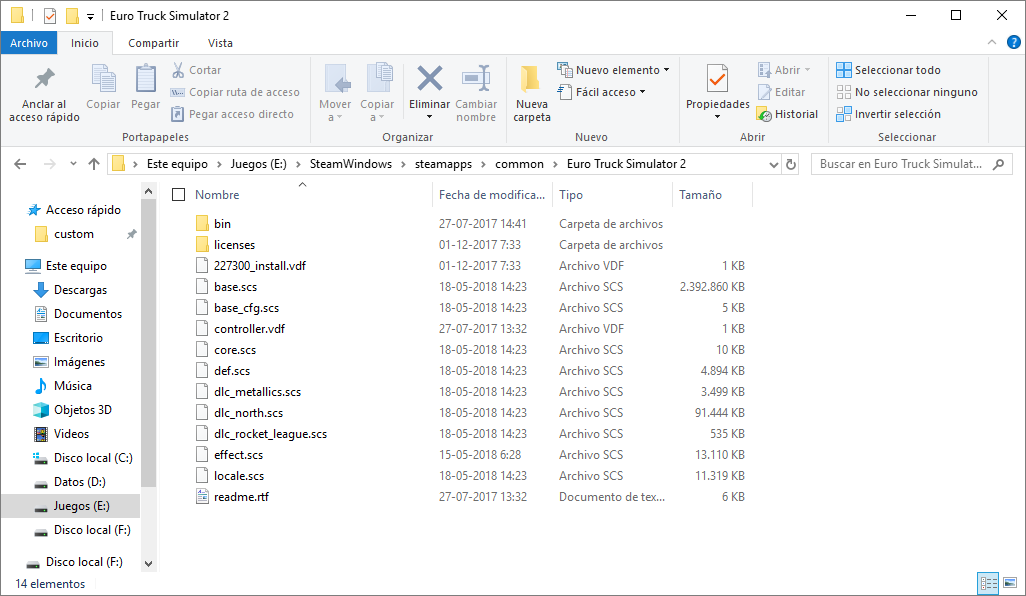
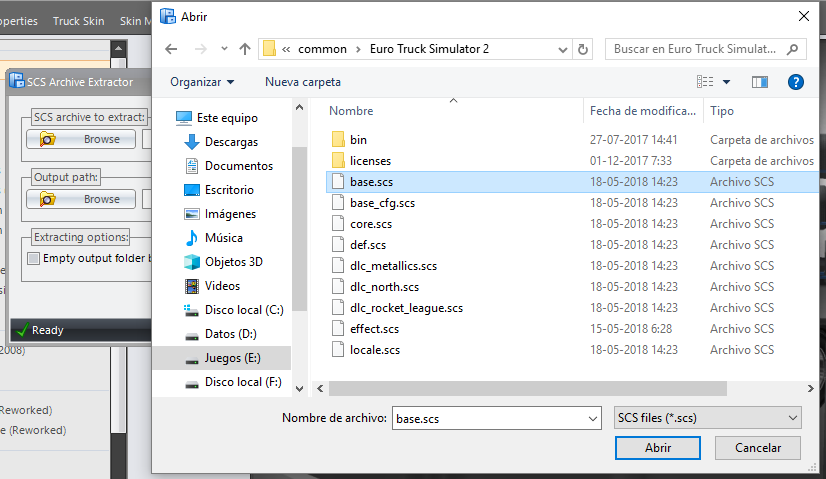
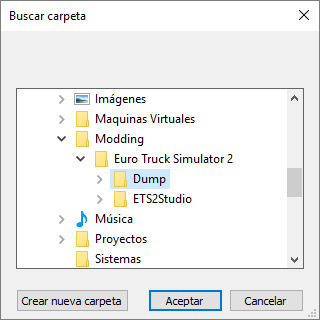
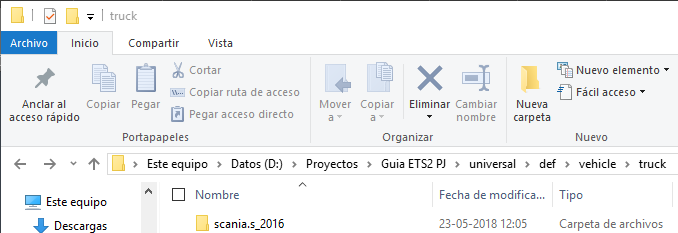
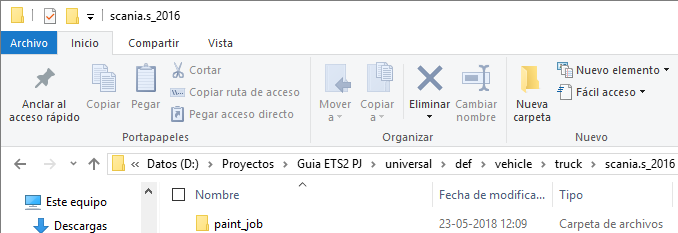
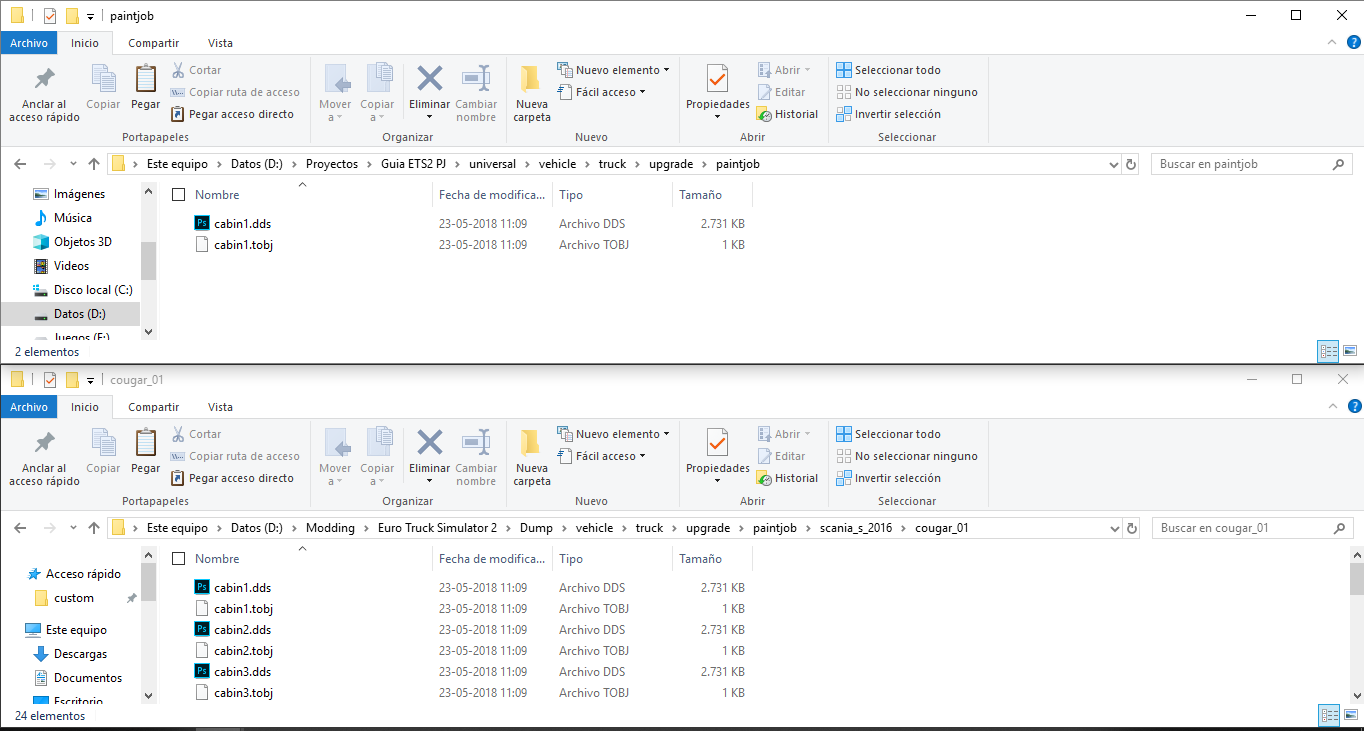
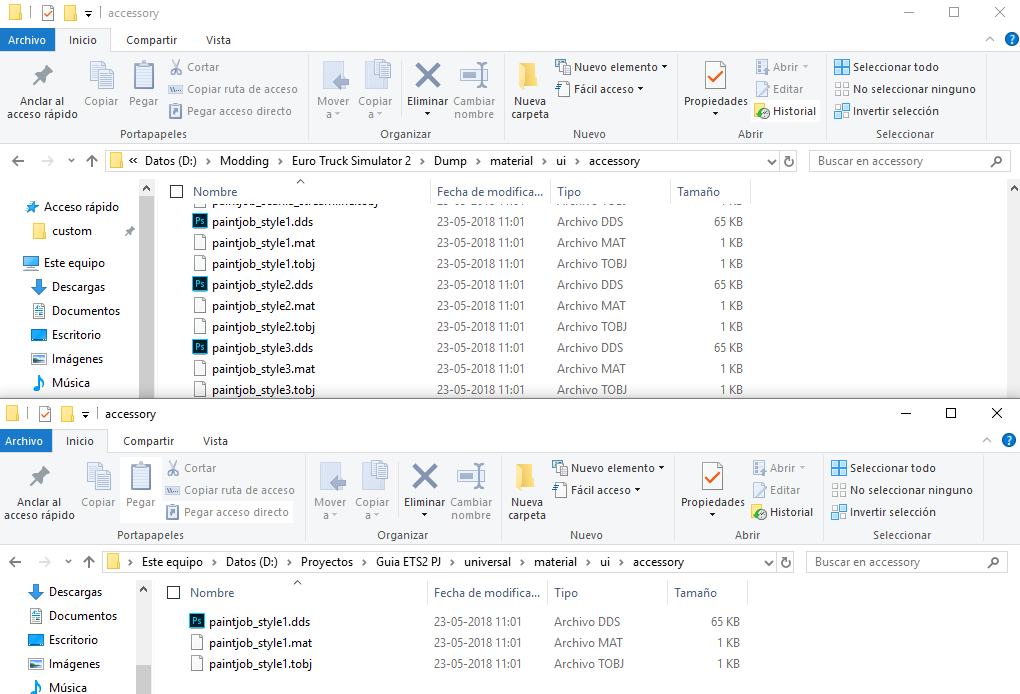
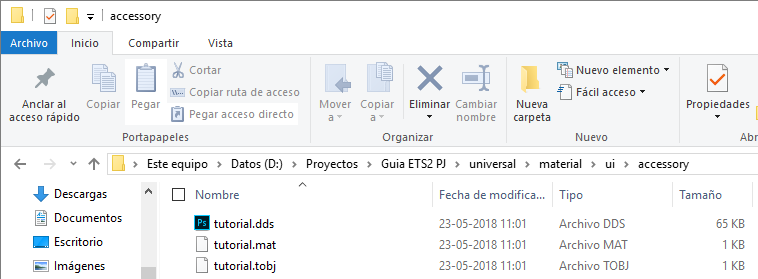
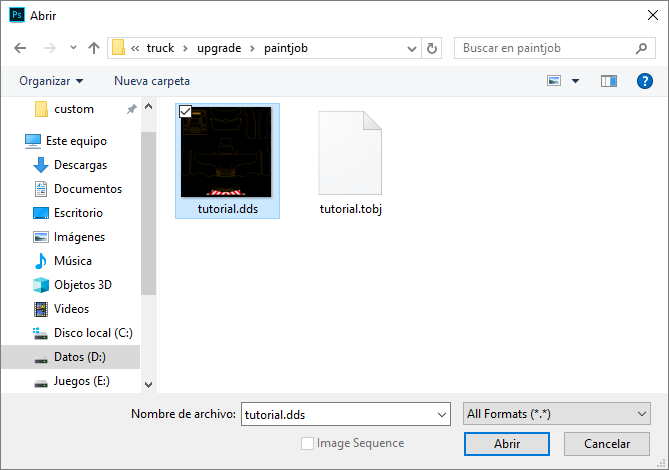
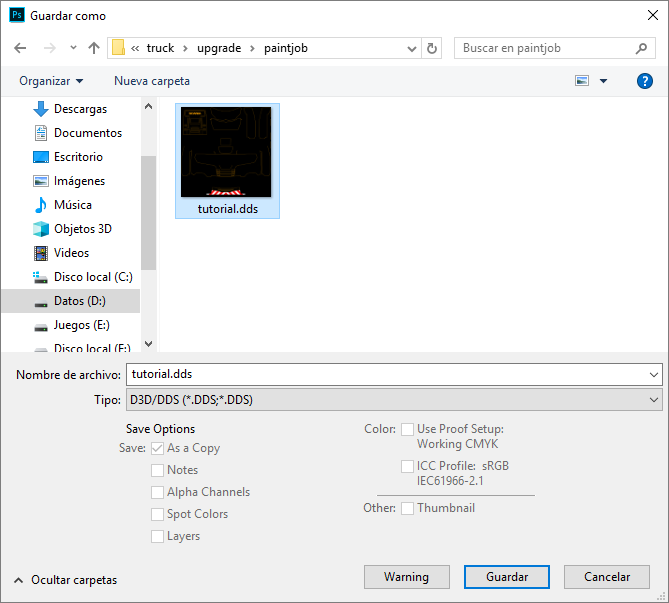
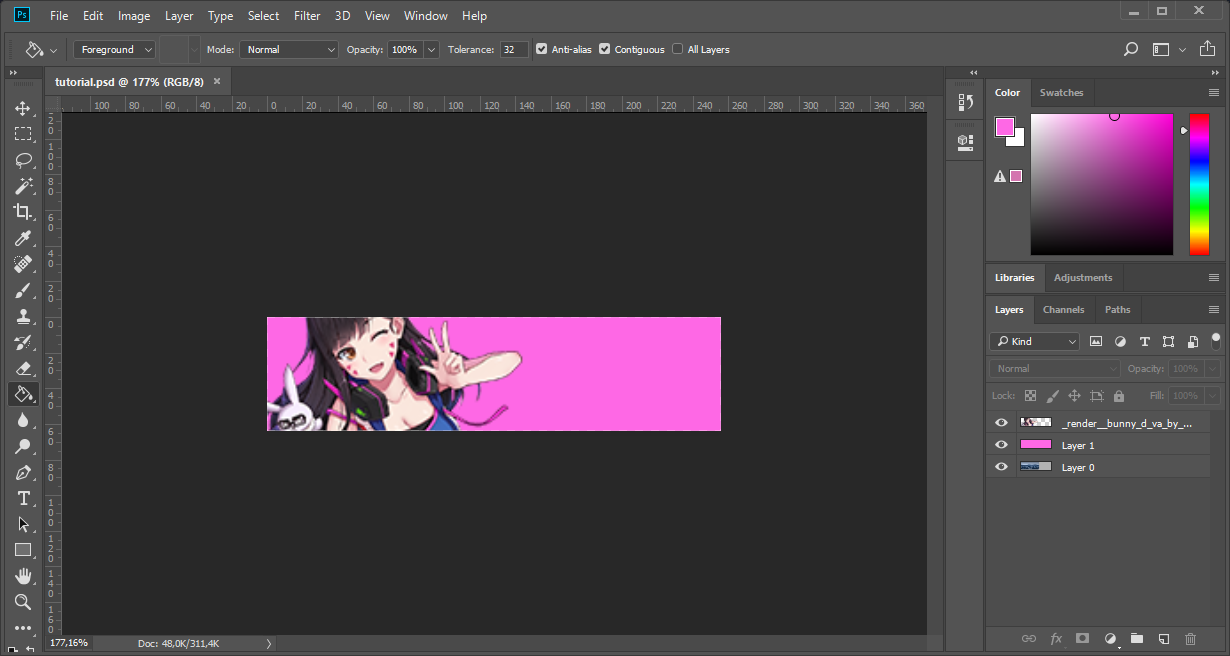
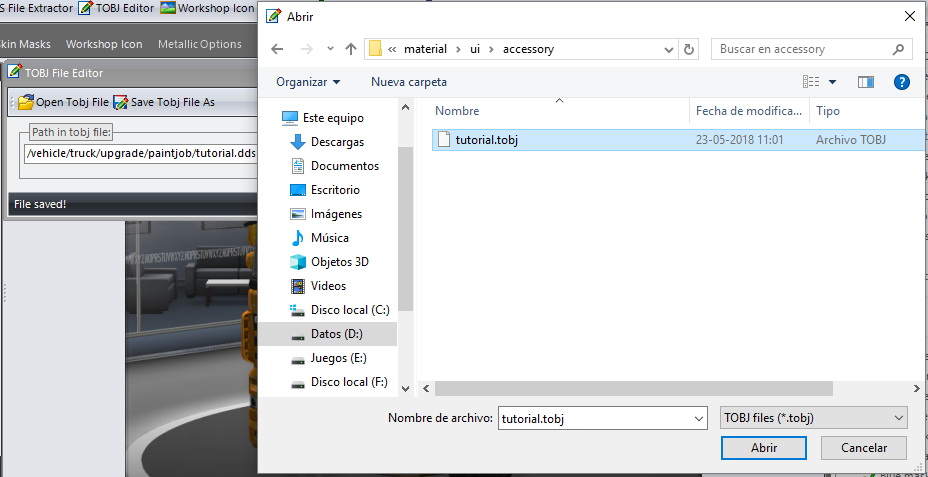
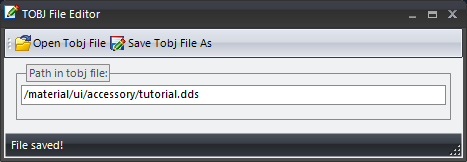
So, how can we find the right file to work with?
Lemon-chan  [author] May 21, 2019 @ 1:31pm 
The universal folder is required for Steam Workshop uploads