Space Engineers

Space Engineers

31 ratings
DTI's Factory (3D Printer / 3D Grinder / 3D Drill)
   
Award
Favorite
Favorited
Unfavorite
File Size
Posted
Updated
35.810 KB
Apr 9, 2018 @ 10:23pm
Mar 6, 2020 @ 10:13pm
10 Change Notes ( view )

Subscribe to download
DTI's Factory (3D Printer / 3D Grinder / 3D Drill)

Description
Factory / 3D Printer Script

Watch your factory / 3D printer iterate over your blueprints and weld them up seemlessly!
Or watch it tear through your scraps!
Or my new favorite, let it do the drilling! Go about your day and stay productive!

Description

This script is intended to maximize the utilization of a single welder, grinder, and/or drill using x, y, and z pistons.

Pay attention to the update logs (they can be found in the change notes)!

Features
  1. Minimum setup covers a 7x7x4 (large-grid) area.
  2. Range can be extended by simply adding pistons in the desired orientations.
  3. Automated. Press "Go" and GO about your business! The factory will stop when complete.
  4. Customizable. Custom configurations allow you to modify the factory's behavior.
  5. Vanilla. Perfect for those who don't want to use mods.
  6. Easy to use. So lets get to it!

A complete guide can be found here. But below is an overall highlight of the requirements and setup.

Check it out!
I left my drill factory alone for about an hour and came back to 500K Ice and counting!


Requirements:
  1. 3 pistons oriented in the x,y,z directions.
  2. 1 large grid welder/grinder/drill oriented top-down (tip should be facing downward).
  3. 3 curved conveyor tubes between pistons and welder/grinder/drill.
  4. 1 Programmable block.

Setup

Naming - Name your pistons according to their orientation.
Only the tags matter not the other parts of the block name. Tags are like "[factory]" or "[x]".

Piston [factory] [x]
Piston [factory] [y]
Piston [factory] [z]
Welder [factory] (optional)
Grinder [factory] (optional)
Drill [factory] (optional)
Programmable Block [factory]
LCD Panel [factory] (optional)


NOTES
  • Original version using a large grid welder was not as effective as desired with more complex builds, because the range of the large grid welder. Small welders are more like "precision welders" so by using an advanced rotor to small rotor head conversion makes for a much more effective 3D printer. This change does not effect the script logically, only the build (you may still use the large grid build if you wish).
  • Thanks @Kirknay: I recommend adding a shrowd onto the welder so only the blocks directly below can be welded. I've learned that the hard way due to the welder creating blocks right infront of it, even as a small welder.
  • Thanks @Nocturnal 2nd. Now you can set the STARTING_Y_ITERATION variable in the script's code to change it's behavior accordingly.
  • Thanks @ Ver' Leth. Drills and Grinders are now working again. I also did a little catching up with SE's new panels on Programmable blocks!

For updates please view the change notes
76 Comments
Eisenwolf Mar 3, 2022 @ 4:01am 
Is it possible to switch between the Y and the Z axis? Because on every coordinated Machine is the Z axis the Main axis:
Milling Machine
Lathe
3D Printer
Meassuring Machine
Industrial crane
And so on...
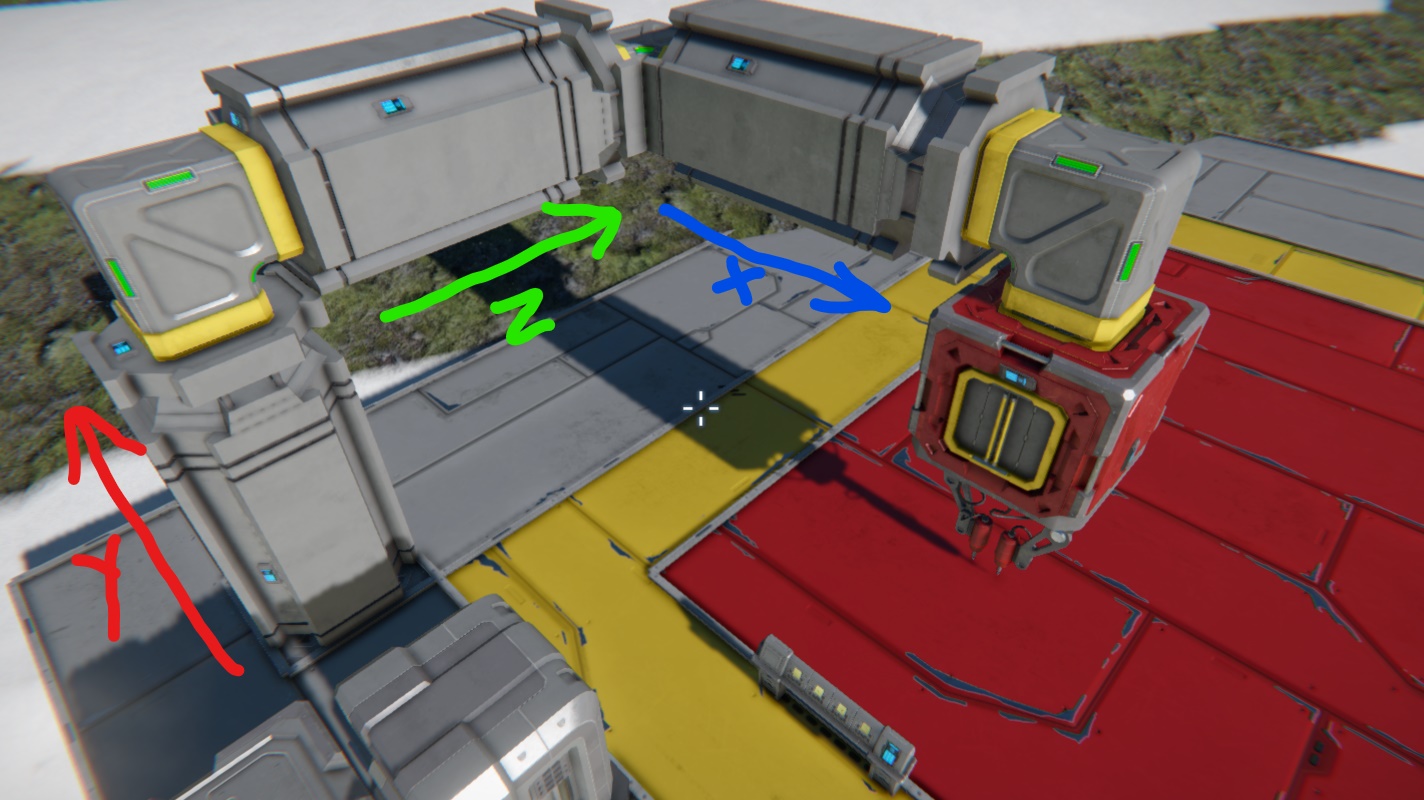
The up and down is the most the Z.
It would be awesome 😁👍
alfie8010 Apr 19, 2021 @ 9:27am 
it would suck to spend ages to let it print and find out you don't have enough resources to finish it
alfie8010 Apr 19, 2021 @ 9:26am 
is there a way to make the script check if the grid connected to the welder has enough resources to builder the item in the projector?
Ver' Leth Mar 7, 2020 @ 12:41pm 
thanks alot Dra0nsKin ! I'll check it out soon and let you know :D
drag0nsKin  [author] Mar 6, 2020 @ 9:48pm 
Hey there @Ver' Leth! Sorry for the delay, haven't been on in a while. Glad you found the CustomData settings, lots of controls in there that I find helpful when I want those little tweaks in operation :).

To answer your question, the only other thing you should have to do is add the [factory] tag..... buuut I did notice a bug and just pushed the update for it. I believe this will resolve your issue if your still interested.
Ver' Leth Jan 16, 2020 @ 10:34am 
So after spending a long time working out what was wrong I've realised that with this script it auto defaults to welding mode despite me changing the piston orientation for drilling. it seems that the script isn't picking up my drill, can I have some help fixing / getting this to work please ?
drag0nsKin  [author] Mar 8, 2019 @ 5:25pm 
I suppose that depends on the build. Would you mind sharing an image of what you are trying? I usually build the Y piston with the top facing upwards so as it extends it is moving the welder up. If you were building the Y piston with the top facing down (like in the drilling configuration) I could definitely see that not being as useful.
Hage Maoh Mar 7, 2019 @ 2:34pm 
I'm trying this out for welding and i love the idea, but i'm confused - the arm starts contracted and extends outward as it builds, so it collides with areas it has already welded. Shouldn't it start extended and retract to avoid that?
Nocturnal Dec 7, 2018 @ 6:41am 
Thank you.
drag0nsKin  [author] Nov 24, 2018 @ 3:35pm 
@Nocturnal 2nd

Done. In the top of the code you will find a "Custom" section and your name. Set the value to zero and it will behave as requested.

I may convert this to a configuration but that takes a bit more work and is not backwards compatible so I will wait to do that when there is another major update :).