Space Engineers

Space Engineers

150 ratings
Basic Vehicles: Small Mining Ship
By Pembroke
How to build a functioning basic small mining ship. This is usually the first ship players build if they don't start with one initially. The basic assembly and how the parts connect is usually the same for everyone and every new player seems to discover this same setup by trial and error. This guide is intended for the new player to get him up-to-speed.

This is the first one in the "Basic Vehicles" series. If you are interested in how to make a planet based mining vehicle you might also want to check the second guide "Planetary Mining Rig" found in:
http://steamcommunity.com/sharedfiles/filedetails/?id=830257202
4
   
Award
Favorite
Favorited
Unfavorite
Introduction
Using the hand drill to mine ore, especially in an environment without gravity, can be tedious, dull, time consuming, and sometimes frustrating. Your backpack won't hold much ore, either, so you need many trips to fuel your production engine. Eventually, players will start thinking whether there's a more efficient way of mining ore, and that leads inevitably to a ship that most people build as their first vessel in a survival mode game: The Basic Small Mining Ship.


The Basic Small Mining Ship is, as the name suggests, a small utility vehicle that can be put together quickly and with very little resources. It's thus ideal for the early phase of a given game when you don't yet have an industry or the resources to build bigger mining ships.

This guide describes how to build it so that you get an assembly that's easy and convenient to use, and how to avoid the most common pitfalls people usually encounter when designing a basic miner.
Design Considerations
A good shape for a mining ship is a "long tube" with as few parts sticking out as possible. This allows the ship to "bore" deeper into ore deposits without banging against rock walls.

People usually steer their ships from a "behind-view" camera position because of how the game ship controlling system is set up. Placing the drill in front allows the pilot to see what he's doing with it.

Access to all inventories of all blocks in a ship from any access point is the most convenient solution for a pilot. This means a connected conveyor network between the blocks is desirable. It can get annoying if you have entered the cockpit and then realize that you can't put any uranium into the reactor from there, for example, so we want everything to be accessible from anywhere.

Automatic loading and unloading is always more convenient than doing it manually. A connector solves this issue.
Cockpit
When building in space in zero-gravity the easiest way to start is by putting down a Small Cockpit. You can toggle between Small and Large versions by clicking repeatedly at the toolbar icon. We want the Small Cockpit.
Drill
Next we add a Drill to the front of the Cockpit.


Line the drill properly with the Cockpit because there's a connection door at the back of the Drill and at the front of the Cockpit. This connection allows the Drill to pump ore into the inventory storage space of the Cockpit. Without this connection the Cockpit cargo space would be left unused and we want to maximize our ore carrying capacity.
Battery
Next we add a Battery to the back of the Cockpit.


Adding a battery serves two purposes:

1) You get a reserve power supply in case you run out of fuel so that you can limp back to base. Because you can also recharge the battery via the Connector this allows you to continue using the ship even if you have run out of Uranium completely.

2) It gives you the initial power to run the conveyor network so that you can reload your Reactor with Uranium. Without this initial power you'd have to position your reactor for outside access and because the Small Reactor only has one access door that would mean not being able to connect it to the Ship's conveyor network.
Cargo Container
Then we add a Medium Cargo Container to the back of the Battery.


Place the Medium Cargo Container so that the large access doors point forward and back, and the small access doors point sideways. The large access door at the back will be used to feed the Connector and the small access door on the side will connect to the Drill.
Connector
Next we add a Connector to the back of the Medium Cargo Container.


The Connector is used to dock into your base or mother ship, to unload ore, to load supplies, to recharge your battery, and generally to park your vehicle into your base of operations. You can unload your ore by manually dragging it, but who wants that? Automatic unloading is the way you want to go.

Note that automatic unloading of ore requires that you have ownership of the Connectors (both the one in the Mining Ship and the one in the base you have docked into). Some game scenario initial setups have the owner as no-one or someone else than you. Claim ownership of these blocks first to get your mining operation running efficiently.
Conveyor Tube
Next, start a Small Conveyor Tube from the side access door of the Drill.


The tube should curve backwards because we want to connect it to the Medium Cargo Container. Note that the Small Conveyor Tube is a different block than the Large Conveyor Tube. You can't toggle between them as with some other blocks so you need to specifically select the Small Conveyor Tube.


Extend the Small Conveyor Tube to the side access door of the Medium Cargo Container.

Reactor
Add a Small Reactor to your ship. Place it so that the access door of the Reactor connects with a small access door of the Connector. Back there it won't be banging on things when you operate the drill and it also gives you a nice way to check your conveyor connection network (see section "Add Fuel").


Connecting the Reactor to the access door means it's accessible from within the ship. Note, however, that this also means you can't access the reactor directly from the outside and because the conveyor network needs power to run you can't refuel your Reactor if the ship has no power. This is why we added the Battery earlier.

You could place the Reactor so that its access door faces outwards and would thus be accessible from there but then you couldn't access it from the ship. This is a trade off where you must decide which is the best for you. I prefer having everything connected and accessible from any inventory list.
Gyroscope
All ships need a Gyroscope if they want to rotate. It doesn't matter where you place it. Putting it next to the Reactor near the back probably creates the least amount of outward sticking appendages.

Thrusters
Add thrusters to your ship. You need at least 6 of them, each pointing to a different direction: forward, backwards, left, right, up, down.


Because there's no torque associated with the thruster placements you can put them where you want. Placing them towards the back of the ship keeps your drilling end of the ship clear of obstacles you need to mind while rotating so that's a good place.


It won't hurt to place them symmetrically, either. That usually creates a more pleasing-to-the-eye design. :-)
Ore Detector
It's hard to find ore without an Ore Detector. Add one to your ship. A ship based Ore Detector also has a longer range than your hand drill.

Again, it doesn't matter where you put this equipment but at the back end of the ship it likely won't be in your way when you mine.
Add Fuel
Next we add Uranium to fuel our ship. Put some Uranium Ingots into your pockets and enter the cockpit. Once there hit "I" to open the inventory list of the ship.


Drag the Uranium Ingots from your inventory into the inventory of the Medium Cargo Container. It will start flowing from there to the Small Reactor.

Putting the ingots into the cargo container will tell you whether your conveyor system is working properly because you can only access the Medium Cargo Container from the Cockpit via the Drill and the Conveyor Tube, and because we attached the Small Reactor to the side access door of the Connector, if the Uranium starts to flow into the Reactor the connection network works all the way through the Ship.
Set Battery to Recharge
While in the Cockpit hit "K" to open up the Control Panel and select the Battery. Now that we have fuel in our Reactor and its providing the power we can set the battery to "Recharge".


You can normally keep the Battery always recharging. If you ever run out of Uranium fuel while mining you can switch the Battery to discharge to get the backup power to fly back home.
Add Drill to Toolbar
While still in the cockpit hit "G" to open up the toolbar configuration screen. Drag the Drill to the Ship Toolbar.


There are two setups possible depending on how you prefer things. Either drag the Drill from the "All Blocks" list or from the "Weapons and Tools" list.

If you use the "All Blocks" list you likely want then to select the option "Toggle on/off" when placing it on the toolbar. This will make it so that hitting that toolbar key will toggle the Drill on and off. As the Drill bores into material it will automatically suck it into the ship and the conveyor network will push it into available space. Because your ship is fully connected you can store the maximum load you can fit there.

If you use the "Weapons and Tools" list the Drill will work similar to how guns work i.e. as long as you keep pressing LMB the Drill spins and it will stop when you release LMB. You can also use RMB in which case the Drill will clear away whatever its drilling without adding the mined material into the ship (it's thrown away) and thus allows you to clear away worthless rock hiding the actual ore deposit.
Go Mine!
Your ship is now ready! Go find some ore to mine!

Wait! What about the Landing Gear?
When it comes to the Landing Gear the deciding factor is: Do you need it?

A Landing Gear will by necessity stick out of a tiny ship and when that ship is a mining ship it will be in your way when you work ore deposits. Your ship has a Connector which you can use to park your vehicle and to carry it along even when your mothership moves. Also, the thrusters will keep the ship in place with a minimal power consumption. If this covers your needs adding Landing Gear will only make your ship less usable for mining.

On the other hand, if your mothership will frequently make quick maneuvers with fast speeds the magnetic force of the Connector might not be enough to overcome the inertial forces. In that case you may want to add a Landing Gear.

So, are you operating from an asteroid base or from a slower factory ship or freighter? Or is your mining ship collecting ore for a military ship needing quick speed and rapid turns? The answer for whether to add Landing Gears or not will be a different one for these cases.
Appendix: Bugs You May Encounter
Landing Gears Don't Lock

This long-lasting bug is the source of much annoyment currently in Space Engineers. When you build a Small Ship, whether on a planet or on a space station platform, you usually start with the Small Landing Gear as it can be locked down to a surface. This prevents your build from falling down, tipping over, or flying into deep space when you accidentally happen to bump into it. However, because of the bug when you initially place a landing gear it doesn't lock.

Workaround #1: Build without a landing gear. You need to be a bit careful to not bump into your build. However, this really only works for small builds such as the on described in this guide. When you build bigger ones there are more chances for accidents and it's not a happy sight to see your half-finished ship sailing away into the dark depths of outer space...

Workaround #2: Put down the landing gear. Weld it complete, carefully to not bump into it. Exit to main menu saving your game. Reload your saved game. The landing gear is now locked. Reloading your game has reset whatever the cause of the bug and it now works as supposed. Continue your build.

Workaround #3 (Suggested by Dreph): Reloading a save isn't really a possible solution for multiplayer servers so try this instead: Add Large Rotor to your platform. Remove the large rotor head. Add in place the small rotor head. Add an extra small armor block on the rotor head. Use that armor block as a replacement for the non-working landing gear and build your small ship from there. When done just grind down the extra block thus freeing your ship. You can then reuse the rotor head for your next small ship.
29 Comments
Twistedsoulx Mar 27, 2020 @ 5:57am 
I like to use an h2/02 generator behind the cockpit with two small conveyors to add oxygen to this build. Less conveyors on the outside of the ship, can always double up on engines and run 3 drills also.
Grim Jan 30, 2019 @ 8:13am 
Cargo behind cockpit so that resources go directly into the cargo bay make it 2 drills also and add a simple small conveyor junciton between them so that everything is connected the rest is basic knowledge your design isn't "good" since you have to expend resources for those side conveyors
Pembroke  [author] Sep 15, 2018 @ 11:40pm 
Oh, sure. This setup is only useful in space. On planets you need lots more thrust. For planetary mining I'd say: build bigger. Mini-sized atmospheric miners are hard to make and usually just plain unstable. If you make them bigger it actually gets easier when on planets. In space, a mini-miner is quite helpful, though.
Desert Dragon Sep 15, 2018 @ 8:45pm 
otherwise its a great guide, thank you
Desert Dragon Sep 15, 2018 @ 8:45pm 
I would love to say this: there needs to be a stone ejector system otherwise your ship will most likely not have enough thrust on a planet to actually go anywhere once you are full on resources
A Psychopathic Rat Mar 30, 2018 @ 2:11pm 
Love this! Would just like to point out that not having external lights can be annoying at times since you can't see what you're doing well.
Emrule Jan 2, 2018 @ 8:47am 
you can make a hammer by making a rod and sticking a gyroscope on one end and a chunk of blocks at the other end
Pembroke  [author] Jan 2, 2018 @ 7:49am 
The Medium Cargo Container is this one in the G-menu:
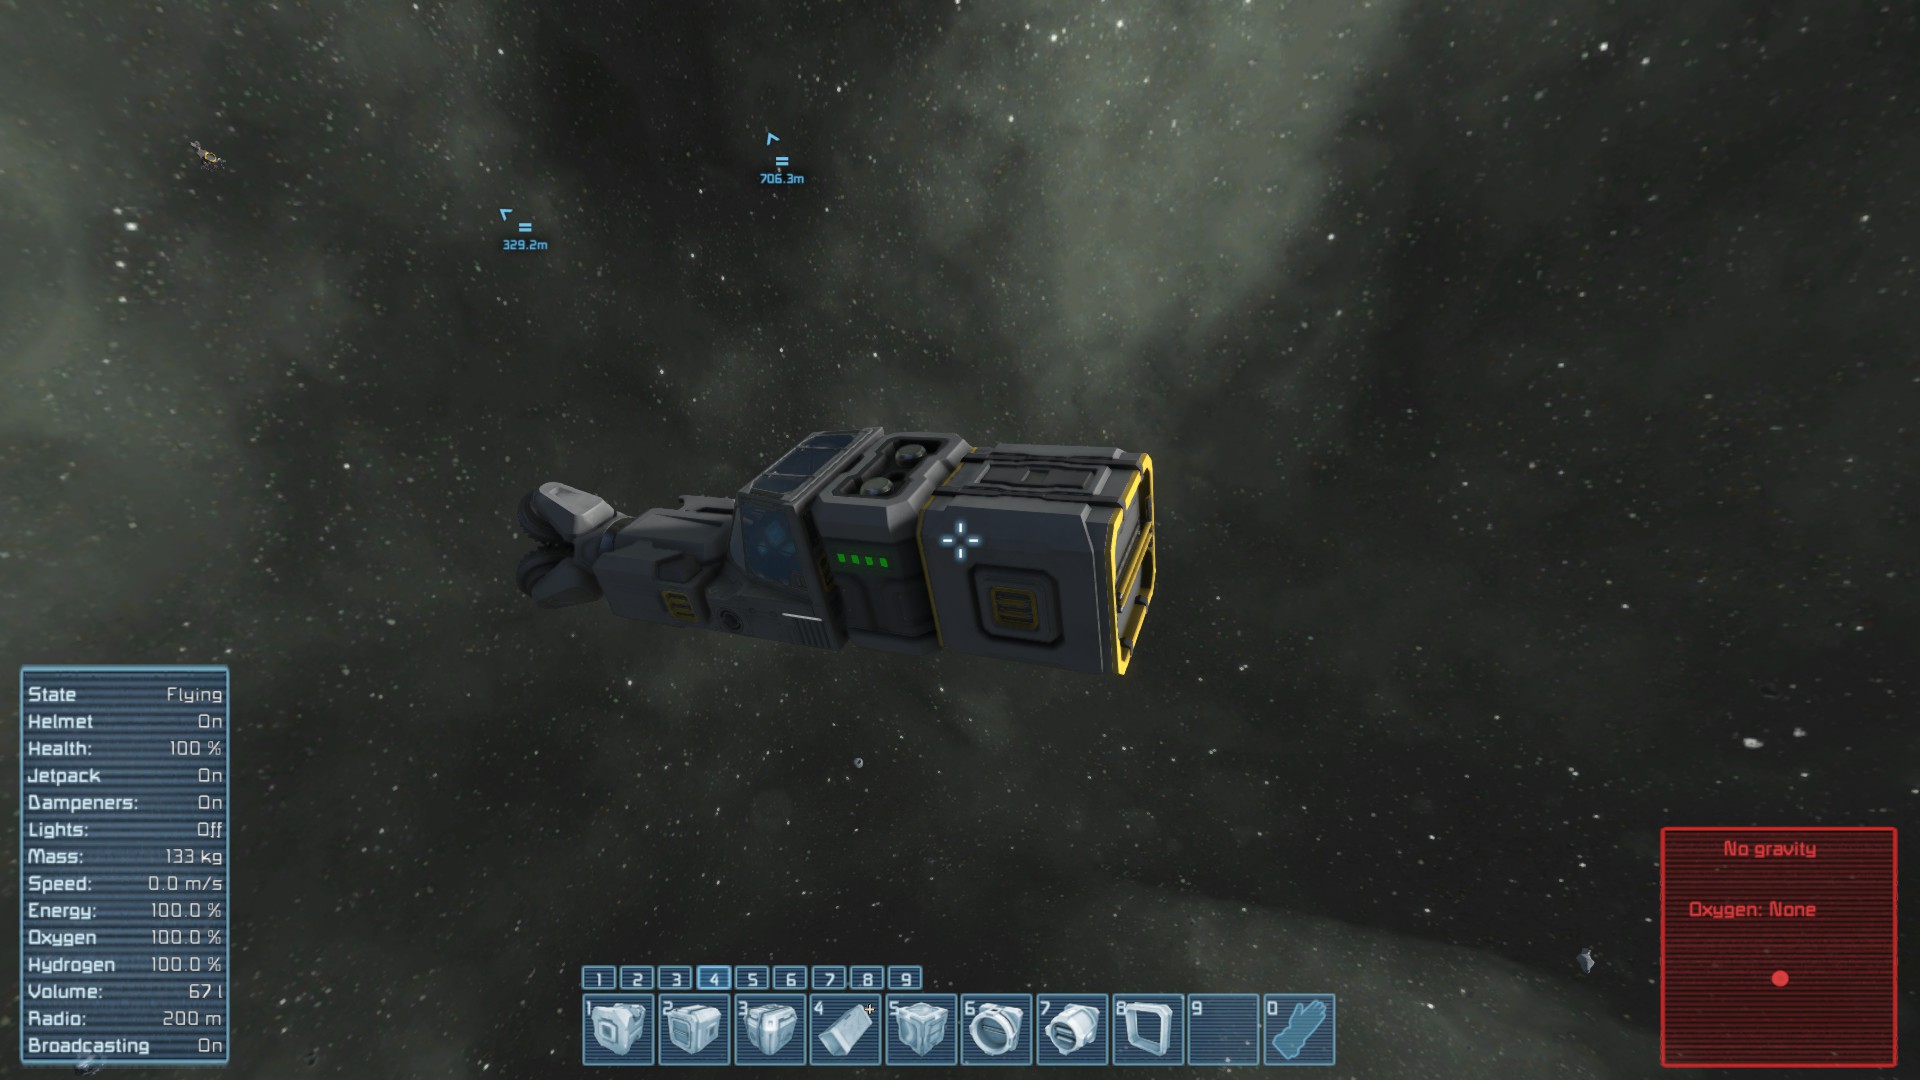
http://steamcommunity.com/sharedfiles/filedetails/?id=1254530850
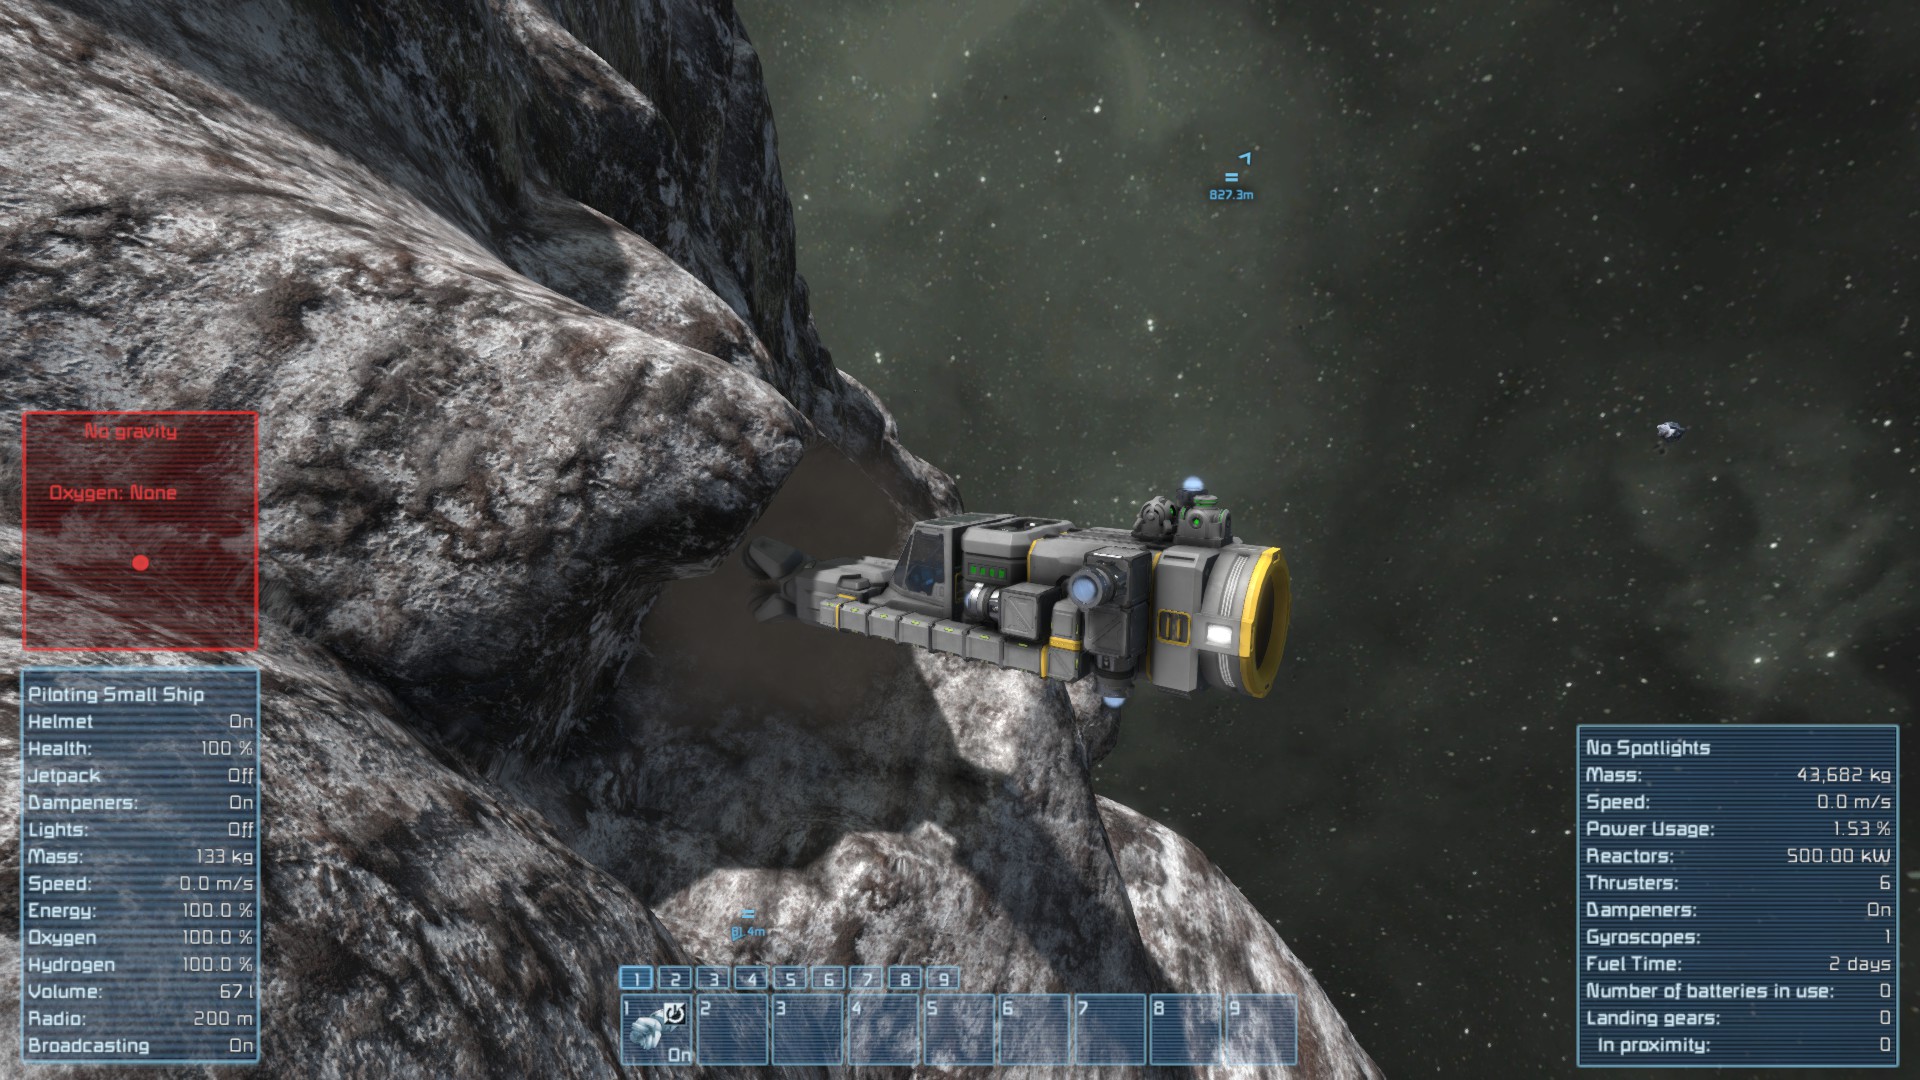
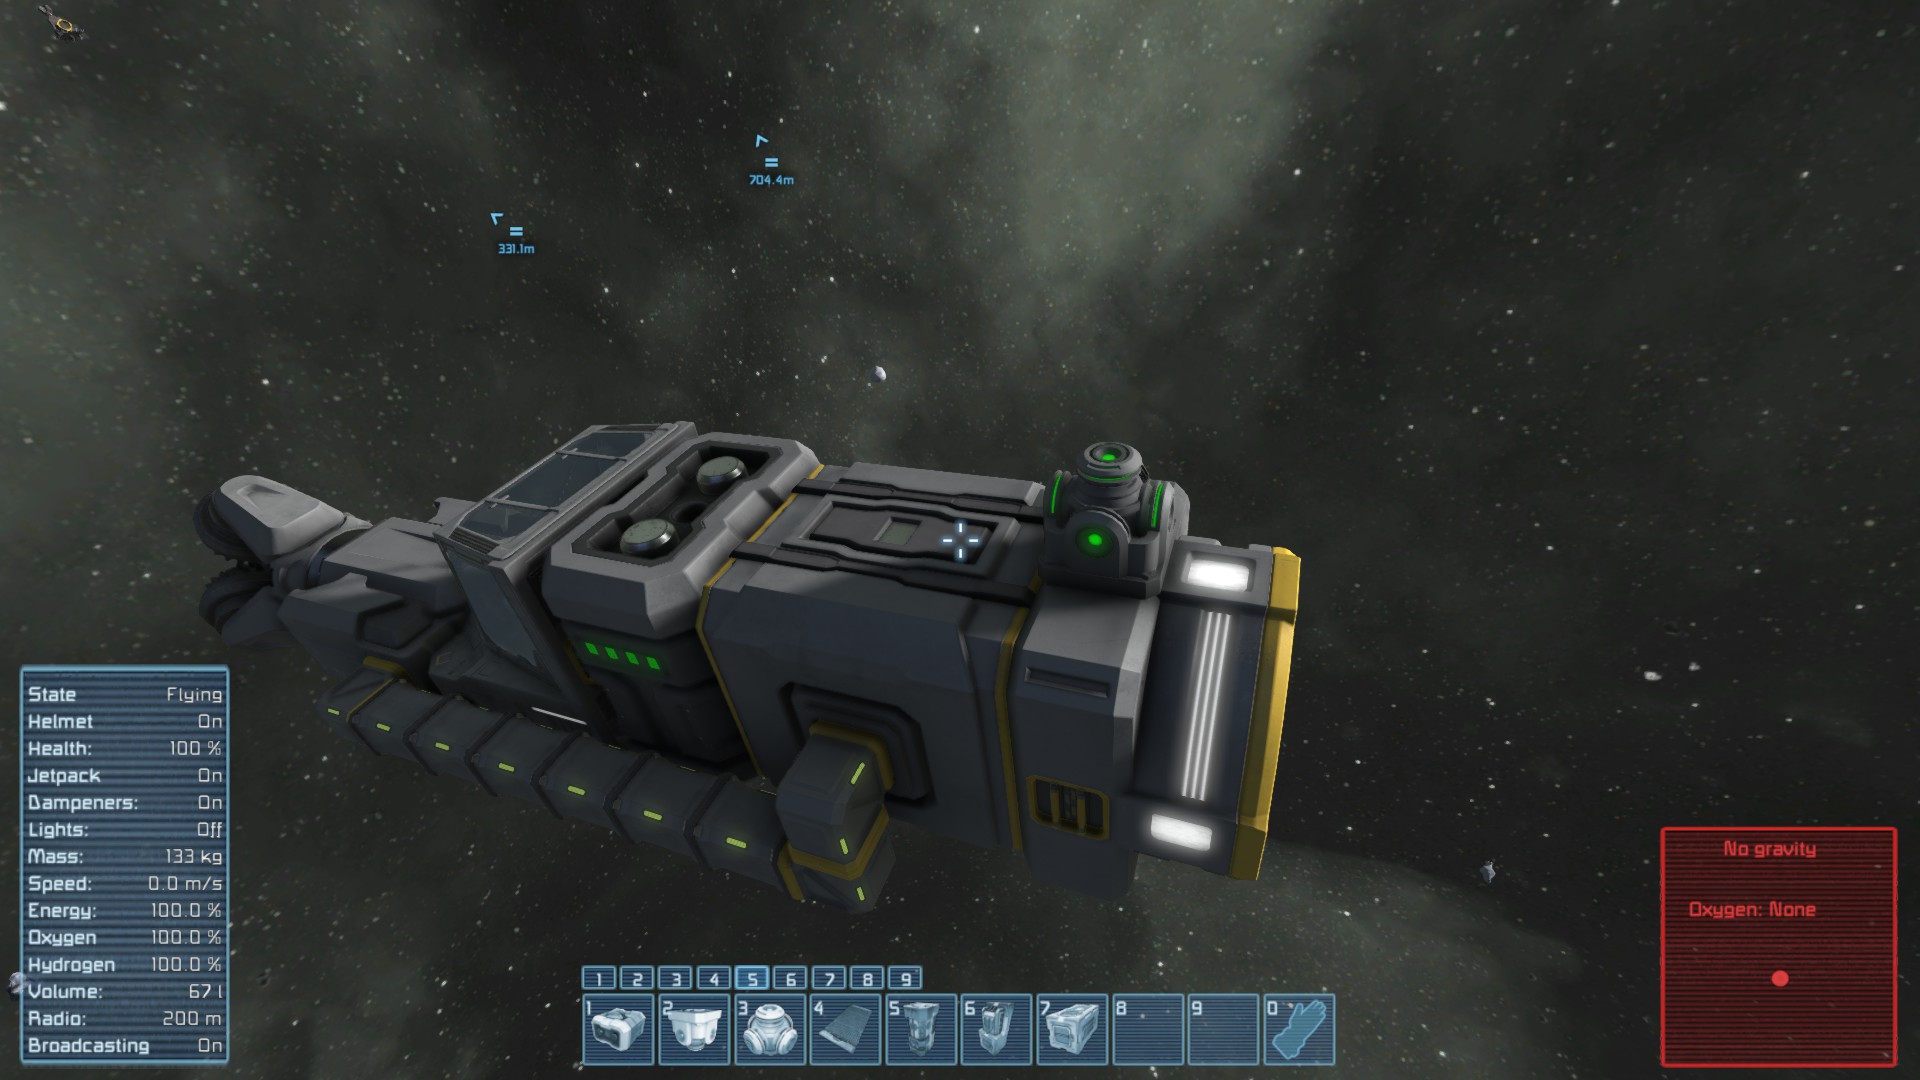
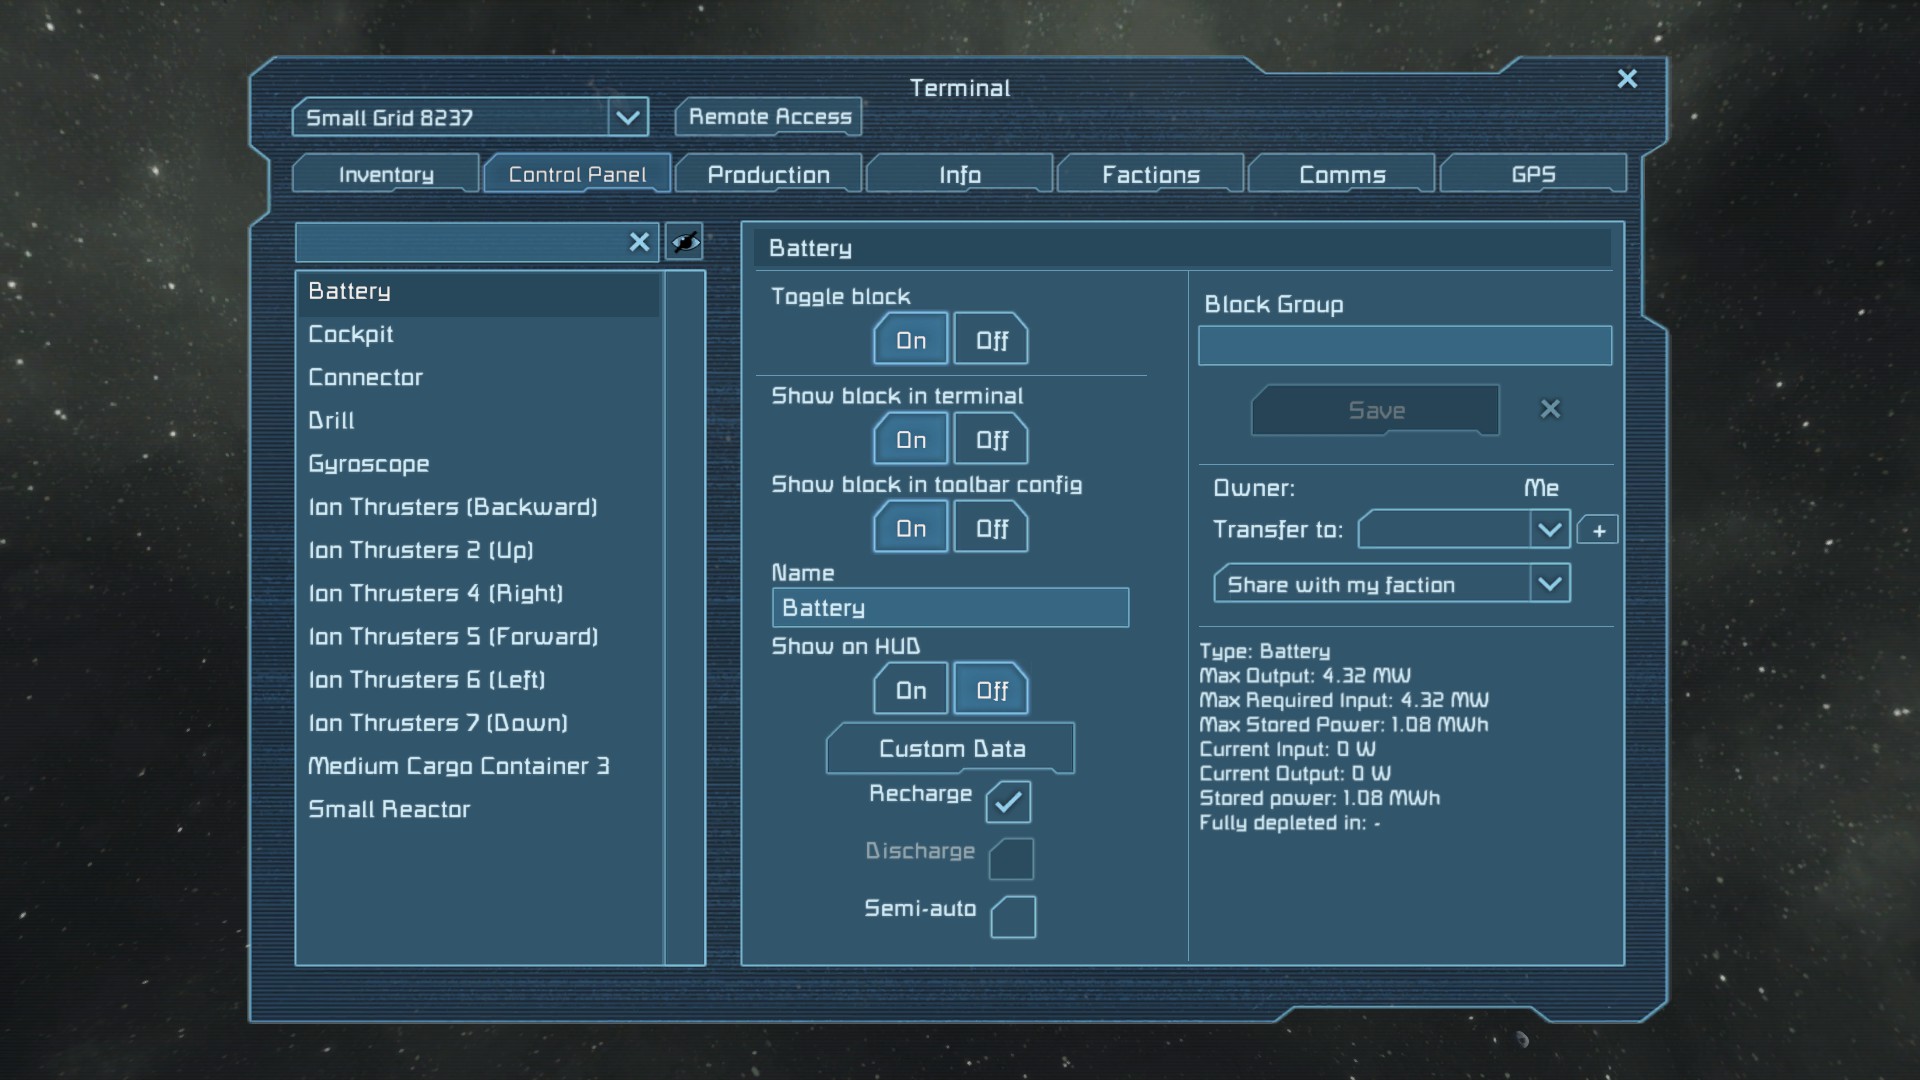
Third one from the right (high-lighted and with the caption).
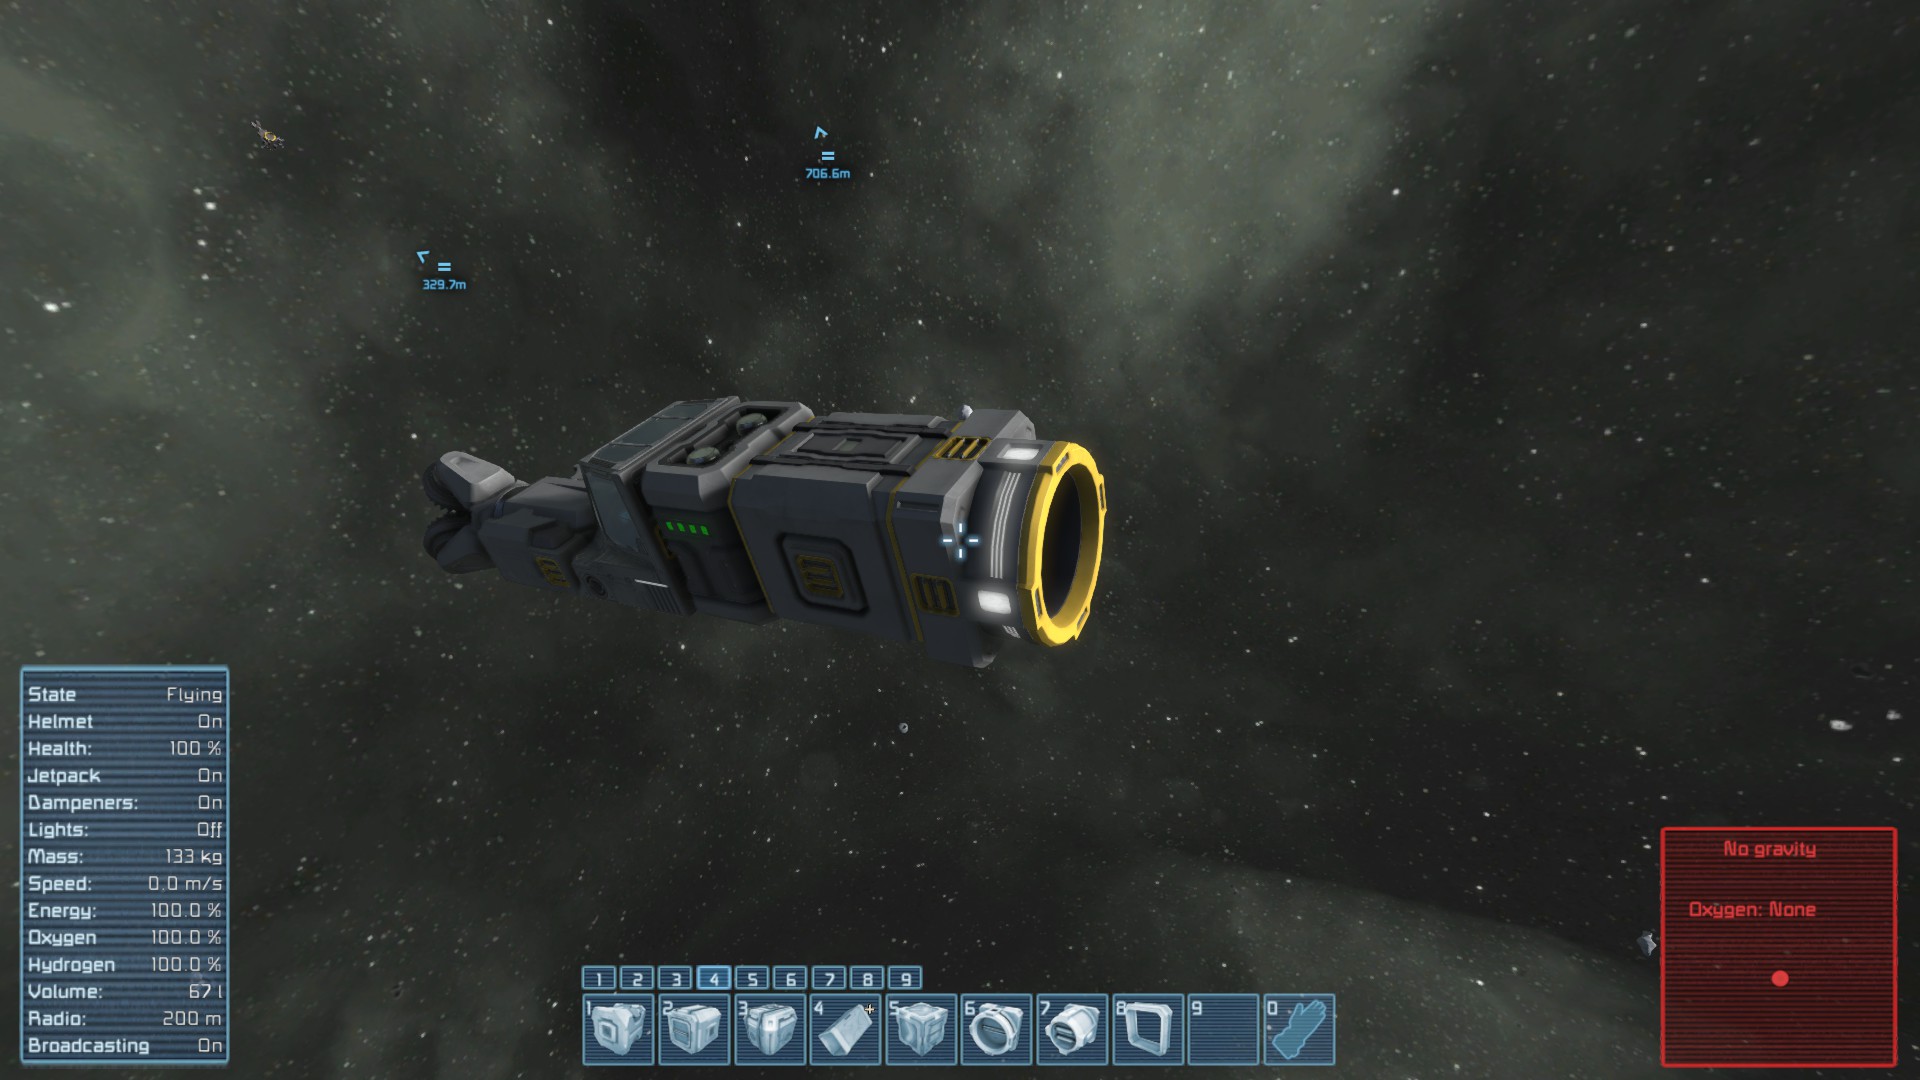
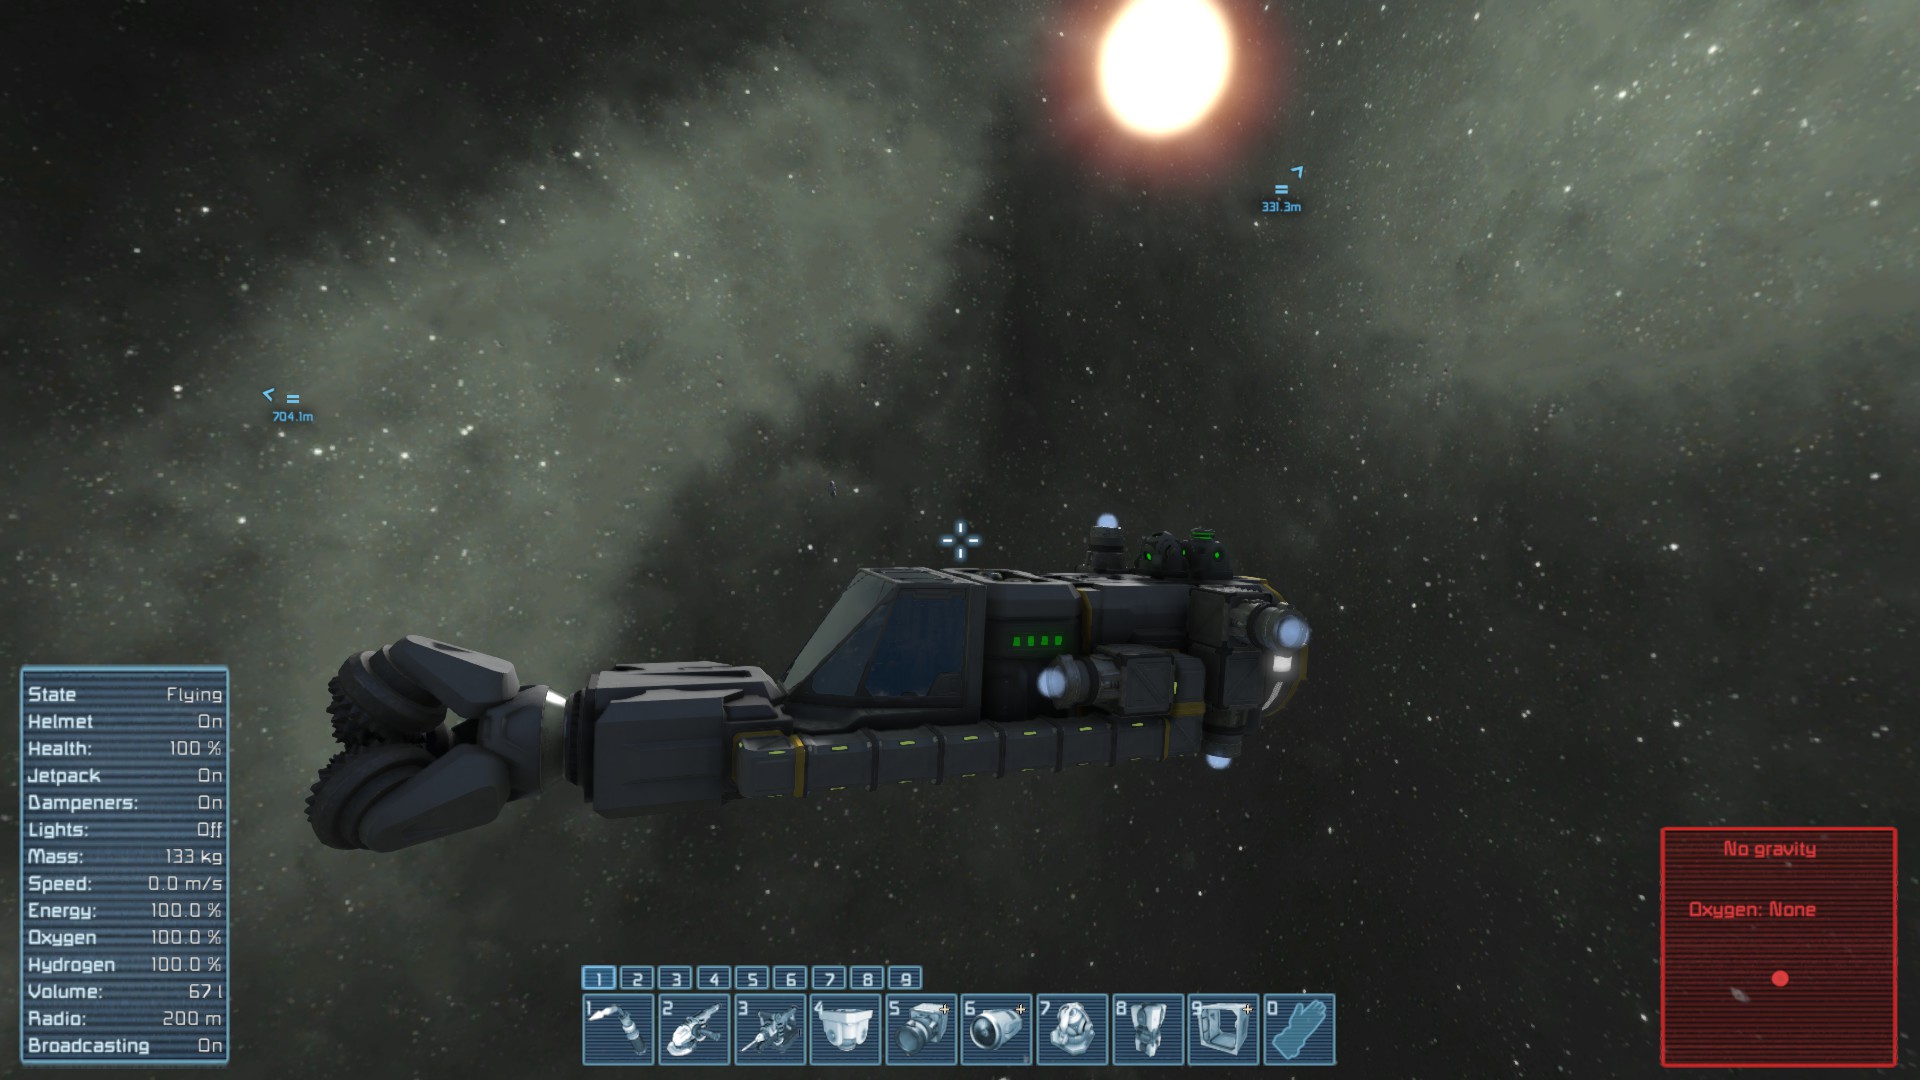
Size compared to the mining ship:
http://steamcommunity.com/sharedfiles/filedetails/?id=1254531466

About the placement: The placement itself doesn't create the center-of-rotation. You can have many gyroscopes in your ship and they all add to the sum-total of your ship's "turning power". However, you are right in that the placement spot can affect the rotation: Gyroscope blocks have a large mass compared to most other blocks which means they tend to shift the center-of-mass towards them which in turn affects how your ship rotates. You can counter this by using two gyroscopes and placing them symmetrically. Usually the effect isn't so great it causes difficulties, though.
Emrule Jan 1, 2018 @ 1:38pm 
also gyroscope placement matters, it affects center of rotation. If it is at one end of the ship it spins it around that end.
shadowdn Jan 1, 2018 @ 10:28am 
Yea im pretty new and im not sure how to do that, could you help me out?