Manhunt

Manhunt

28 ratings
Manhunt Modding - Creating Your Own Character [Skin] Mod (Blender)
By S1mpl3_pl4y3r
This guide will teach you how to make your custom character (skin) mod, from the beginning to the end. It's a long guide, so, prepare yourself to consume a lot of information. This is my personal way of importing custom models, based on my own experience of using Blender. I'll point out issues, that might be encountered during the process of mod creation. This guide might be useful for beginners and experienced modders alike. Without futher ado, let’s mod the hell out of the game, shall we?
   
Award
Favorite
Favorited
Unfavorite
!!!For total beginner modders and people without any Blender experience!!!
It's highly advised to get familiar with Blender controls beforehand! You can find many tutorial videos on Youtube of teaching the basics of its controls. I'm not going to teach you how to use Blender.

However, I would highly recommend you to check Blender 2.8 playlist of tutorial videos from Official Blender Youtube channel - Blender 2.8 Tutorials.

Pay attention to hotkeys, cause it's a key element of this application. Moreover, you'll have a lot easier time learning Blender in general.

As for this guide, look for Blender 2.92 tutorial videos, because we're going with this version of software for this particular guide.
Requirements
First of all, in order to mod the game you will need the following:

1. Manhunt (Non-Steam version will work as well);

2. Blender 2.92, not the later build - https://ftp.nluug.nl/pub/graphics/blender/release/

3. "DragonFF" add-on for Blender 2.92 - https://github.com/Parik27/DragonFF

4. "Fixer" by ermaccer - https://steamcommunity.com/sharedfiles/filedetails/?id=2166039806 + PluginMH, which is already included in "Fixer". It's a saving grace for Manhunt and the most important software to actually run the game on modern OS (Win10/11/ or others) you literally won’t open the game without it. It wouldn't hurt to install QoL features too, as it'll take a positive effect for your overall game performance and stability;

5. "TXDWorkshop" by JernejL - https://gamebanana.com/tools/5173

5.1 Alternatively, you can use "MagicTXD" - https://gtaforums.com/topic/851436-relopensrc-magictxd/ if you are familiar with it's functionality;

6. "Model compiler-decompiler" by TripleAs - https://www.dixmor-hospital.com/mods/view/manhunt-models-compile-decompile


<---7. Model and textures of the character you want to import. In my case, i'm going to use D.A.R. model from Killing Floor as an example.

Optional links (used for extracting and using the model for this guide):

umodel by Gildor - used for extracting assets from Unreal Engine games - https://www.gildor.org/en/projects/umodel

PSK/PSA add-on for Blender 2.92 - used for importing .psk (models) and .psa (animations) - https://github.com/DarklightGames/io_scene_psk_psa
Limitations of creating custom character (skin) mod
It's not recommended to use high-poly models for your mod. Manhunt was made in 2003 year. It doesn't support models with high polycount! The game will crash 100% instead, if it tries to load that kind of model! Same rule applies to the model's textures. "TXD Workshop" only supports .png, .tga and .bmp image formats. Futhermore, textures that you can import are limited to "1024x1024" resolution. Any higher resolution textures will be automatically resized to "1024x1024" by software itself. Do not import any other types of textures like normal, bump, metallic or any PBR maps. Only diffuse textures are needed.
Preparing the reference model (decompiling Manhunt's character and using it as a reference)


First things first, Create a folder and name it as "Your Mod". It will be the folder where all your mod assets will be located. We need to decompile the reference model and export it to this folder.


Now that you have downloaded "MMCD.rar" (which is the Model compiler-decompiler) open it. Click on "MMCD.exe"


This menu will appear, click on "Load custom modelspc.dff"


It should look like this. Now we need the set our folder where we want to extract our decompiled reference model. On the field, where it's colored black.


Find "Your Mod" folder and select it.


Then, press "Decompile".


If you've followed every step. This message should appear as the result of succesful reference model decompilation.


Within "Your Mod" These 2 files will be created. We only need "Tramp.dff". It will be our reference model.


Drop your custom model and texture in this folder too. It will be our main folder, where we will import our assets into Blender.

Importing the "reference" and your custom model in Blender.

Open "Blender".


Delete all objects in your scene by selecting all objects and pressing "Delete" key.


Now we need to port "Tramp.dff" into the scene. Click on File->Import-> Dragon DFF (.dff).


Find the "Tramp.dff" and click on it. The model should be succesfully ported into Blender.


Hold and press "Z" and move your mouse to "Wireframe". This way you'll see the skeleton of the model which is needed later. As well as making easier for model posing.


Now we need to import our custom model into the Blender. I installed the Unreal PSK/PSA add-on for Blender beforehand for importing our custom model. Click on File->Import->Unreal PSK .psk/.psa


Search for your model in "Your Mod" folder (In my case, i'm looking for "Horzine_Robot.psk". Click on it.


The model is succesfully imported. However, the model looks "flat" and "sharp". The model will look like this in the game if you won't make any changes to it, so we need to apply "Smooth Shade" to the model.


Select the model. Click on Object->Shade Smooth.


Now it looks a lot better. And will look same in the game.


Select the custom model's skeleton and press "S". Resize the model to this scale. It's important to fit the "unnamed" model proportion. Pay attention to arms, take it as a basis and resize your custom model to the same level as arms. We must fit the "unnamed" skeleton proportion as close as possible. Do not scale your model bigger or smaller than the "unnamed" model, or your character won't look as great as you desire.
Posing your custom model in correct "Rest Pose". Applying transforms.

Once you are done resizing your custom character. We need to pose our custom character exactly how "unnamed" model is posed. In order to do that, we need to switch to "Pose Mode". Select the skeleton of your custom model. Click on "Object Mode" and select "Pose Mode".


Pose your custom model's arms and legs to the same position as the "unnamed" model. Use "R" to rotate the bones the way you want. Pressing "R" again will change the axis of your rotation (X,Y, or Z).


Please, don't forget to check your model from every single perspective and every single time once you pose the model. In some cases, you may forget about it, and you had to do it all over again if you don't pay much attention to it.


In my case, i haven't checked the model from "X" axis. I witnessed it later so i had to roll back and pose the legs in the right way.


Once you posed the model the way it is supposed to be. It should look like this. Congrats! Now, the next steps will be most important for you.


Look at the image. We resized the skeleton before, but we need to reset these values to their "zeros". If you won't do this, the model will look huge or small (depends on your custom model proportions). So, how do we do this.


Before doing that, we need to switch to "Object Mode" again. Click on "Pose Mode" and select "Object Mode".


Select custom model's skeleton. After that, click on Object->Apply->All Transforms.


Same operation is needed to be done for the custom model itself too. Select custom model. Then, click on Object->Apply->All Transforms. All of the transforms for skeleton and model should reset.


You are doing great! Alright, we posed our custom model in the exact position as the "unnamed" model in before steps. We also need to reset the rotation values of our pose. To do that, click on the custom model (not the skeleton!!!). Then, click on the "Wrench" icon to open the modifier tab. There is only one modifier we need to apply for our custom model. Click on "Arrow" button and press "Apply".


We need to apply our custom model’s pose as the "Rest pose". This way, the game will load our custom model's pose as the default “correct” pose. And the skeleton of our "unnamed" model will look correct in the game. OK, select your custom model's skeleton. Click on "Object mode" and switch to "Pose Mode". Press "A" to select every single bone of the skeleton (the bones should all highlited in "Blue"). Click on Pose->Apply->Apply Pose as Rest Pose.


Once you've done it. Click on File and press "Save" or "Save As..." to save your precious project. It's advised to do this regularly. Who knows what may happen with your PC, or with Blender itself. So, it's a good habit to save your project often.


Now you can delete custom character skeleton. Because, we will use the skeleton of "unnamed" model. Go back to "Object Mode". Select the custom character's skeleton and press "Delete".
Renaming and assigning "Vertex Groups" for your model.
Awesome! You're a half way through! and only half left. This part will be the most important for your first successful character mod for Manhunt ever! As you've previously seen, the custom model i'm using have skeleton with bones, the one we posed to the "unnamed" original exact pose. In order to allow the skeleton to move a certain part of the body (arms, hands, etcetera...), the model itself requires "Vertex Groups" data. Our custom character's skeleton used "Vertex Groups" of our custom model. However, we want to use the "unnamed" skeleton in order for the character to move in the game adequately, without any "T-pose" shenanigans. In nutshell, we need to copy "Vertex Groups" names of the "unnamed" model, and replace them in our character's already existing "Vertex Groups". At first glance, it might be difficult to understand. But, Let me show you what you have to do.


Select "unnamed" model. Click on the "Triangle" icon. Double click on "Bip01 Pelvis" in "Vertex Groups" and copy it's name (Ctrl+C).


Once you have copied the name, select "Horzine_Robot.001". Click on the "Triangle" icon. Double click on "CHR_Pelvis". Paste your copied name (Ctrl+V).


Viola! Now "CHR_Pelvis" is renamed with "Bip01 Pelvis". Now, let's repeat the same operation with another "Vertex Group"


Select "unnamed" model. Click on the "Triangle" icon. Double click on "Bip01 Spine" in "Vertex Groups" and copy it's name (Ctrl+C).


Once you have copied the name, select "Horzine_Robot.001". Click on the "Triangle" icon. Double click on "CHR_Spine1". Paste your copied name (Ctrl+V). "CHR_Spine1" is renamed with "Bip01 Spine". Rinse and repeat the same operation with every single "Vertex Group".


For the easier understanding of which "Vertex Group" should be replaced. I'll make a list of them (Pay attention to letter's cases!):

"CHR_Pelvis" -> "Bip01 Pelvis"
"CHR_Spine1" -> "Bip01 Spine"
"CHR_Spine2" -> "Bip01 Spine1"
"CHR_Ribcage" -> "Bip01 Spine2"
"CHR_LArmUpper" -> "Bip01 L UpperArm"
"CHR_LArmForeArm" -> "Bip01 L Forearm"
"CHR_LArmPalm" -> "Bip01 L Hand" (all Left "Digits" has to be assigned to one "Bip01 L Hand" Group)
"CHR_LArmDigit11" -> "Bip01 L Hand"
"CHR_LArmDigit12" -> "Bip01 L Hand"
"CHR_LArmDigit13" -> "Bip01 L Hand"
"CHR_LArmDigit21" -> "Bip01 L Hand"
"CHR_LArmDigit22" -> "Bip01 L Hand"
"CHR_LArmDigit23" -> "Bip01 L Hand"
"CHR_LArmDigit31" -> "Bip01 L Hand"
"CHR_LArmDigit32" -> "Bip01 L Hand"
"CHR_LArmDigit33" -> "Bip01 L Hand"
"CHR_LArmDigit41" -> "Bip01 L Hand"
"CHR_LArmDigit42" -> "Bip01 L Hand"
"CHR_LArmDigit43" -> "Bip01 L Hand"
"CHR_LArmDigit51" -> "Bip01 L Hand"
"CHR_LArmDigit52" -> "Bip01 L Hand"
"CHR_LArmDigit53" -> "Bip01 L Hand"
"CHR_RArmUpper" -> "Bip01 R UpperArm"
"CHR_RArmForeArm" -> "Bip01 R Forearm"
"CHR_RArmPalm" -> "Bip01 R Hand" (all Right "Digits" has to be assigned to one "Bip01 R Hand" Group)
"CHR_RArmDigit11" -> "Bip01 R Hand"
"CHR_RArmDigit12" -> "Bip01 R Hand"
"CHR_RArmDigit13" -> "Bip01 R Hand"
"CHR_RArmDigit21" -> "Bip01 R Hand"
"CHR_RArmDigit22" -> "Bip01 R Hand"
"CHR_RArmDigit23" -> "Bip01 R Hand"
"CHR_RArmDigit31" -> "Bip01 R Hand"
"CHR_RArmDigit32" -> "Bip01 R Hand"
"CHR_RArmDigit33" -> "Bip01 R Hand"
"CHR_RArmDigit41" -> "Bip01 R Hand"
"CHR_RArmDigit42" -> "Bip01 R Hand"
"CHR_RArmDigit43" -> "Bip01 R Hand"
"CHR_RArmDigit51" -> "Bip01 R Hand"
"CHR_RArmDigit52" -> "Bip01 R Hand"
"CHR_RArmDigit53" -> "Bip01 R Hand"
"CHR_Head" -> "Bip01 Head"
"CHR_LThigh -> "Bip01 L Thigh"
"CHR_LCalf" -> "Bip01 L Calf"
"CHR_LAnkle" -> "Bip01 L Foot"
"CHR_LToe1" -> "Bip01 L Toe0"
"CHR_RThigh -> "Bip01 R Thigh"
"CHR_RCalf" -> "Bip01 R Calf"
"CHR_RAnkle" -> "Bip01 R Foot"
"CHR_RToe1" -> "Bip01 R Toe0"


Attention!!!
1. Every "CHR_LArmDigit" (Left fingers) should be assigned to "CHR_LArmPalm". Then rename "CHR_LArmPalm" to "Bip01 L Hand").
2.(Every "CHR_RArmDigit" (Right fingers) should be assigned to "CHR_RArmPalm". Then rename "CHR_RArmPalm" to "Bip01 R Hand").
Use "Edit Mode" to assign fingers to the correct hands.


If you are finished with renaming "Vertex Groups" of your character model. The Groups should look like this. Good job! However, i want to show you an issue, that might occure while renaming "Vertex Groups".


Now we need to apply our model to "Tramp’s" skeleton. So we can check if everything is correct. First, click on "Tramp" skeleton. Then Shift+LMB the model.


Press CTRL+P. Select "Armature Deform". Skeleton is now applied to the your model. Now, onto the crash test.


Click on "Object Mode" and select "Pose Mode". Rotate the character's bones and check if everything works fine.


Whoops! Something is wrong! No need to panic. Just follow the steps.


Click on "Pose Mode" and select "Object Mode". Click on "Triangle" icon. Now, look at the list of "Vertex Groups". Like i said before, pay extreme attention to letter's cases in the names! If you compare "Bip01 R Upperarm" and "Bip01 L UpperArm", the difference here are the cases. I rotated the bone of the right arm which is named “Bip01 R Upperarm". In theory it should've moved the whole arm. But in practice, it didn't, because "Vertex Group" is named "Bip01 R Upperarm" but not "Bip01 R UpperArm"! (UpperArm should have capital "A" not the lower "a"). So, let's fix this issue.


Double click on "Bip01 R Upperarm". Rename it with "Bip01 R UpperArm".


The issue is fixed now. You're doing great so far!


Rename these files with "your_mod". It's mandatory to have same name for the skeleton and the model, or the game will crash if they aren't named the same.


Good. You can delete "unnamed" model, it's no longer needed. Now, let's assign the texture to our model.


Assigning the textures for your model. Removing unneccessary material groups.

Click on "Shading" tab.


All right, we need to import and assign our texture we need to our model, but how?


Click on "Use Nodes"


The "Principled BDSF" shader will be appeared. We need to connect our texture to this shader to make it visible on our model. But first, lets check how many materials there are for our model.


Click on "Materials" buttom, which is shown in white circle. You can see 2 materials for Our model "Horzine_Robot_CMB" and "Horzine_Robot_CMB.001". We need to be sure if the model uses 2 materials simultaneously, or only just 1. It's crusial to know it, because we will create .txd file (which is the file, that consists of 1 or many textures for our custom character) In nutshell.


Select the model. Click on "Object Mode" and select "Edit Mode".


Select "Horzine_Robot_CMB", As you can see, this material uses the whole model, so, the texture is spreaded entirely on the UV of our model. But, what about "Horzine_Robot_CMB.001" material group?


Aha! Seems like "Horzine_Robot_CMB.001" material doesn't use any textures. Hence, you can get delete this material without any... unforseen consequences.


Click "Edit Mode" and switch back to "Object Mode". Then, click on "Horzine_Robot_CMB.001" and click on "-" button do delete it.


Good! Now let's import the character's texture to our character already.


Click on Add->Texture->Image Texture


Okay. Drag'n'Drop "Color" from "Image Texture" to "Base Color" of "Principled BDSF".


Now, click on "Open" button in "Image Texture" shader.


Find the texture of your model. In my case it's "Horzine_Droid.png"


In some cases, the texture will be applied incorrectly, but fear not! Select "RGB" where "Color Space" is. Select "Non-color".


Looking good Ey? Onto the next step.


Now, this is important. The material name needs to be matched exactly as the texture is named. Copy "Horzine_Droid_D" name, and paste to "Horzine_Robot_CMB".


So far, so good. Only a few steps left and we're done with Blender.
Exporting your character from Blender. Creating .txd file. and .dff check.

Select "Layout".


Select both model and skeleton.


Click on File->Export->DragonFF->DragonFF (.dff)


Before exporting you need to do the important steps.


Name your model as "your_mod.dff"


Click on "GTA SA (v3.6.0.3)" and select "GTA VC (v3.4.0.3)"


Export the model to "Your Mod" folder.


Bingo! Your model should be successfully exported. Open "Your_Mod" folder.


Create new folder and name it as "Your Skin".


Drag'N'Drop "your_mod.dff" into "Your Skin" folder. Later we'll put our .txd and .ini files in there.


Talking about .txd file. Open "txdworkshop.exe" in downloaded archive. This menu should appear.


Click on File->New


Select any option here.


Click on "Import" afterwards.


Search for your character's texture. In my case it's "Horzine_Droid_D.png".


After doing so, click on "San Andreas" and change it to "GTAVC".


Just like that.


Double click on the texture and change "32 bit image" to our texture's name "Horzine_Droid_D"


Click on Image->Compress all images. We must compress the texture. If you're not going to do that, the game will crash for sure.


To make sure if the texture will work in the game correctly. We need to check it. Click File->Dff check.


Search for "your_mod.dff" in "Your Skin" folder.


If it looks like this, you've done everything right. If not, either the .dff material or .txd will be appeared as ("X").

That means, there are 2 possible issues:
1. The material of your model is not changed to the texture's name;
2. The texture itself is not named correctly within .txd file.


Click on File->Save


Save it as "your_mod.txd" in "Your Skin" folder.
Final! Editing .ini file. Checking your mod in game.

You are almost there! There is only one thing we need to finish your first mod. We need to get ".ini" file. But, where can we get it?


For now, copy "Your Skin" folder.


Find the "Manhunt" folder within your "Steam" folder. Click on it.


Open "data" folder.


Then, open "skins" folder.


Drop "Your Skin" folder here.


Marvelous! there is a "!default" folder. Our .ini file is in there. Click on it.


Copy "pig.ini" file.


Paste it in "Your Skin" folder.


Rename it as "your_mod.ini". Then open it.


Everything highlited "red" needs to be changed. Everything else should be left unchanged. But, what exactly you should change for the rest of the lines? Well, let's take a look on the next image.


"Name" - The name of your skin, that will be displayed in the "Skins" menu, you can name it whatever you want;
"Model" - It's the path to your .dff model. Our model is located in "data\\skins\\Your Skin\\your_mod.dff";
"RootName" - Name of the skeleton of our model, which we named in Blender before. It was "your_mod";
"TXD" - it's the path to your .txd file. Our txd file is located in "data\\skins\\Your Skin\\your_mod.txd”.


Make these changes in .ini file and save it.

Now you are finally finished with your very first skin modification for Manhunt! Let's open the game and see the result of your labour!


Once you've opened the game, click on "Skins".


"Your Skin" should appear in the skin list. But, hold your horses now! You still need to check it in the game itself and see if your mod is not going to crash the game.


Well, looks like you have created your first skin mod, up and working! Great stuff! Now you can enjoy the game with your favourite skin mod. But, do you want to share your creation with the whole world? Say no more! There are a few places where you can do it.
Modding sites, where you can upload your Manhunt mod
www.dixmor-hospital.com - This site is solely related to Manhunt video game franchise only. You can find many good mods for both of games there. And you can upload your mod here.
www.gamebanana.com - The oldest modding site for many games, which was founded back in 2001. I'm not particularly familiar with this site, but you can try it for yourself and upload your mod there.
www.nexusmods.com - The most popular site of mods for many popular videogames. There aren't many mods for less popular games (talking about Manhunt for instance), but you can start to upload here, so it might get noticed.
www.moddb.com - "Every game, every mod. One site. Go figure." - tag-line of ModdB. An another well-known modding site, and the oldest one too.
Bugs section and ways to solve them.
This is an additional section, that covers other issues and bugs, which might appear and interfere the modding. It will be constantly updated... from time to time.

"Bug #1. Shading Bug - Texture is brighter than it supposed to be."


There are some occasions where skin will be appeared brighter, like it has a glowing effect. The picture is the example of such problem. There is one reason for that - the model probably has an attribute which is called "Vertex Colors". In short, you need to delete this attribute to fix this issue. How to do so?


While in Blender, select your model, select "Object Data Properties->Vertex Colors".


In "Vertex Colors" select "Colour0" and press "-" to delete it. In your case it might be called otherwise. Anyway, the "Vertex Colors" must be deleted at all costs! And it should be done for any other custom on-going models you want to port.


Once it's done, re-import your skin and the issue should be fixed.
Conclusion. Special Thanks... etcetera.
Special Thanks to:
Parik27 and contributors - for developing “DragonFF” add-on for Blender;
ermaccer - for creating many extremely useful tools like "PluginMH", "Fixer" and many others, as well as making Manhunt games "easy-to-mod" and playable on modern OSes. Without him, the future of Manhunt modding won't be any brighter;
TripleAs - for creating "Model compiler/decompiler". Another core tool for exporting and importing game files;
JernejL - for creating "TXD Workshop" tool, which is aimed to edit .txd game files of RenderWare engine.

And last but not the least, i want to thank you! Yes you there! The one who followed this guide and came to the point of becoming the modder! I hope you learned something new here. I wish you all the luck, and patience along your journey into the modding scene! If you have any questions, please, comment below or in my steam profile, or contact me in any comfortable way you wish.

However, if you want to express your gratitude in other type of form, well, you can do so by following the Boosty link, and sending a small tip there (be advised, it's completely optional, you don't have to do it, until you are completely sure about it) - https://boosty.to/s1mpl311/donate

Thank you for stopping by! Enjoy the mods!
19 Comments
ph0ne (greatijedi) Feb 19 @ 6:03pm 
Your suggestion to do Apply Transforms on skeleton, and then Apply Transforms on mesh seems to have done the trick.

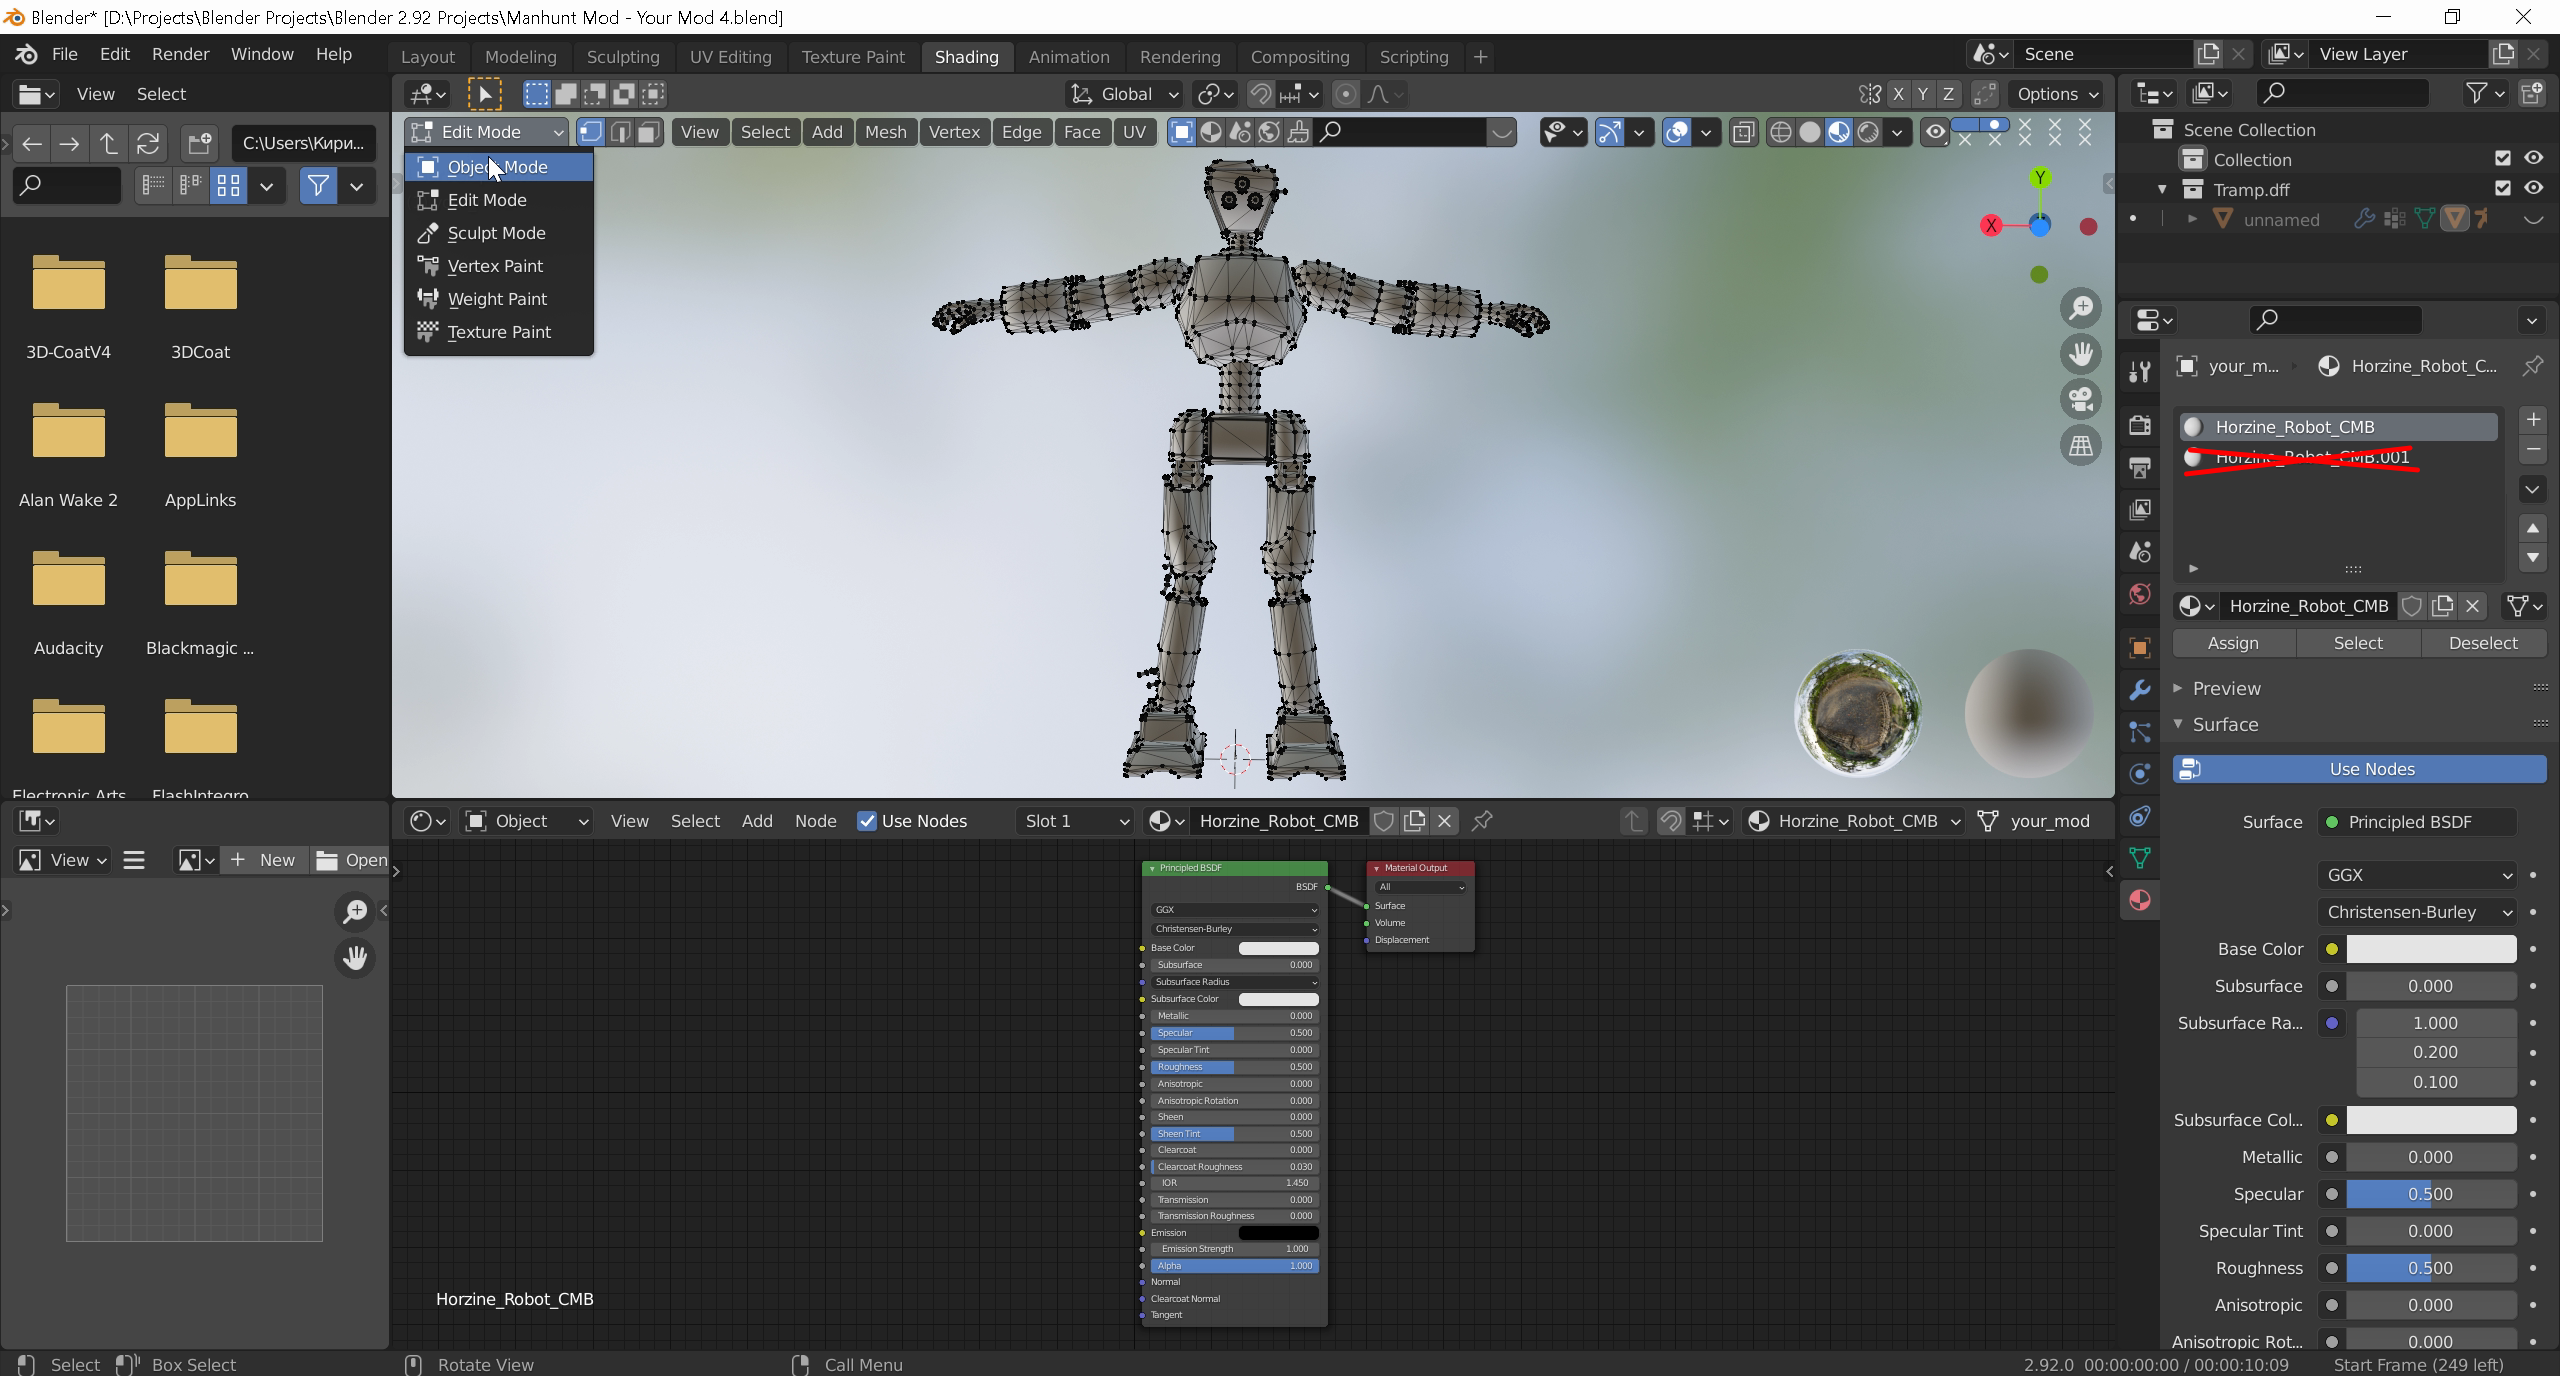
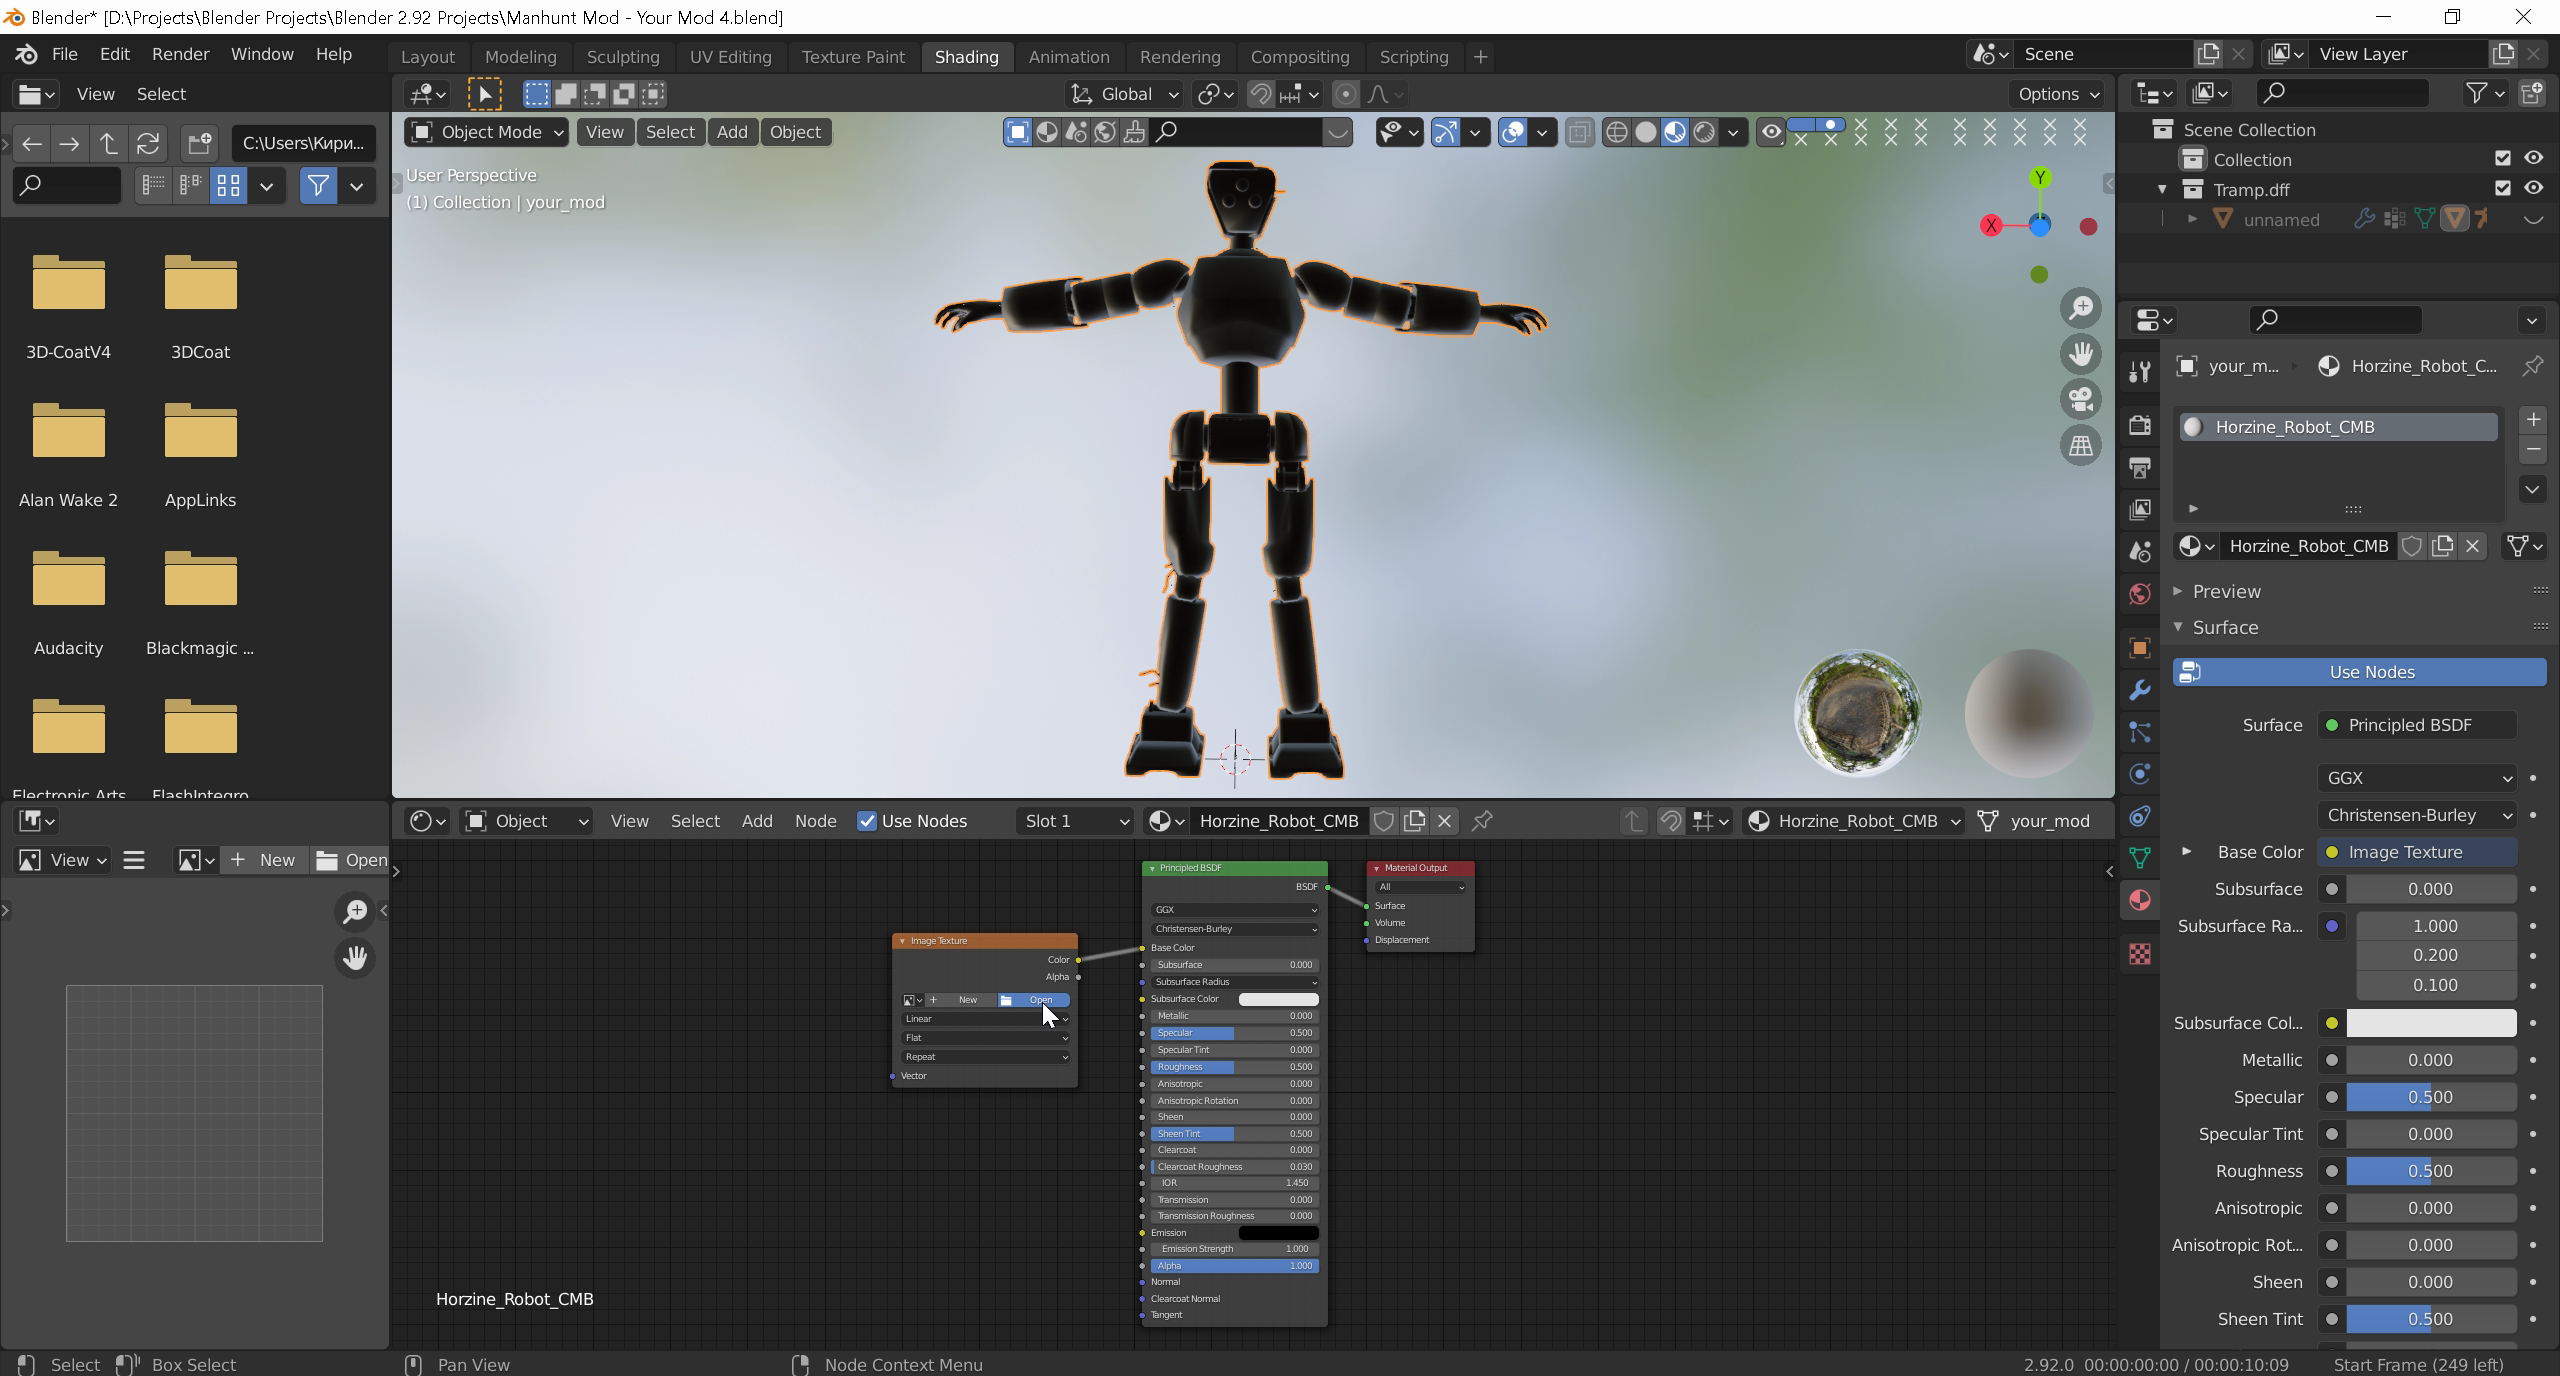
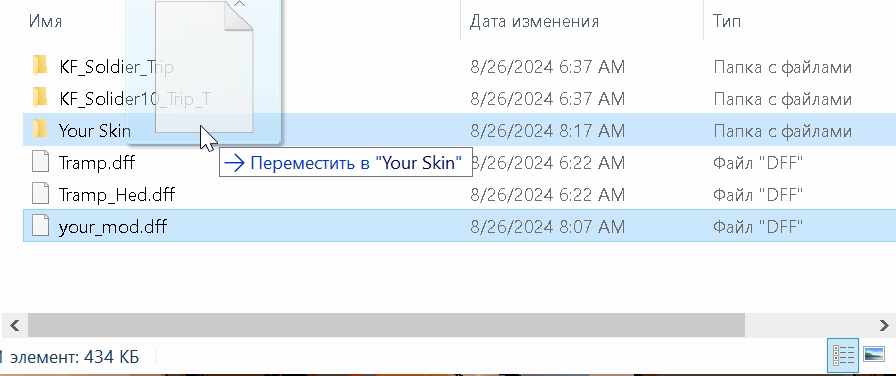
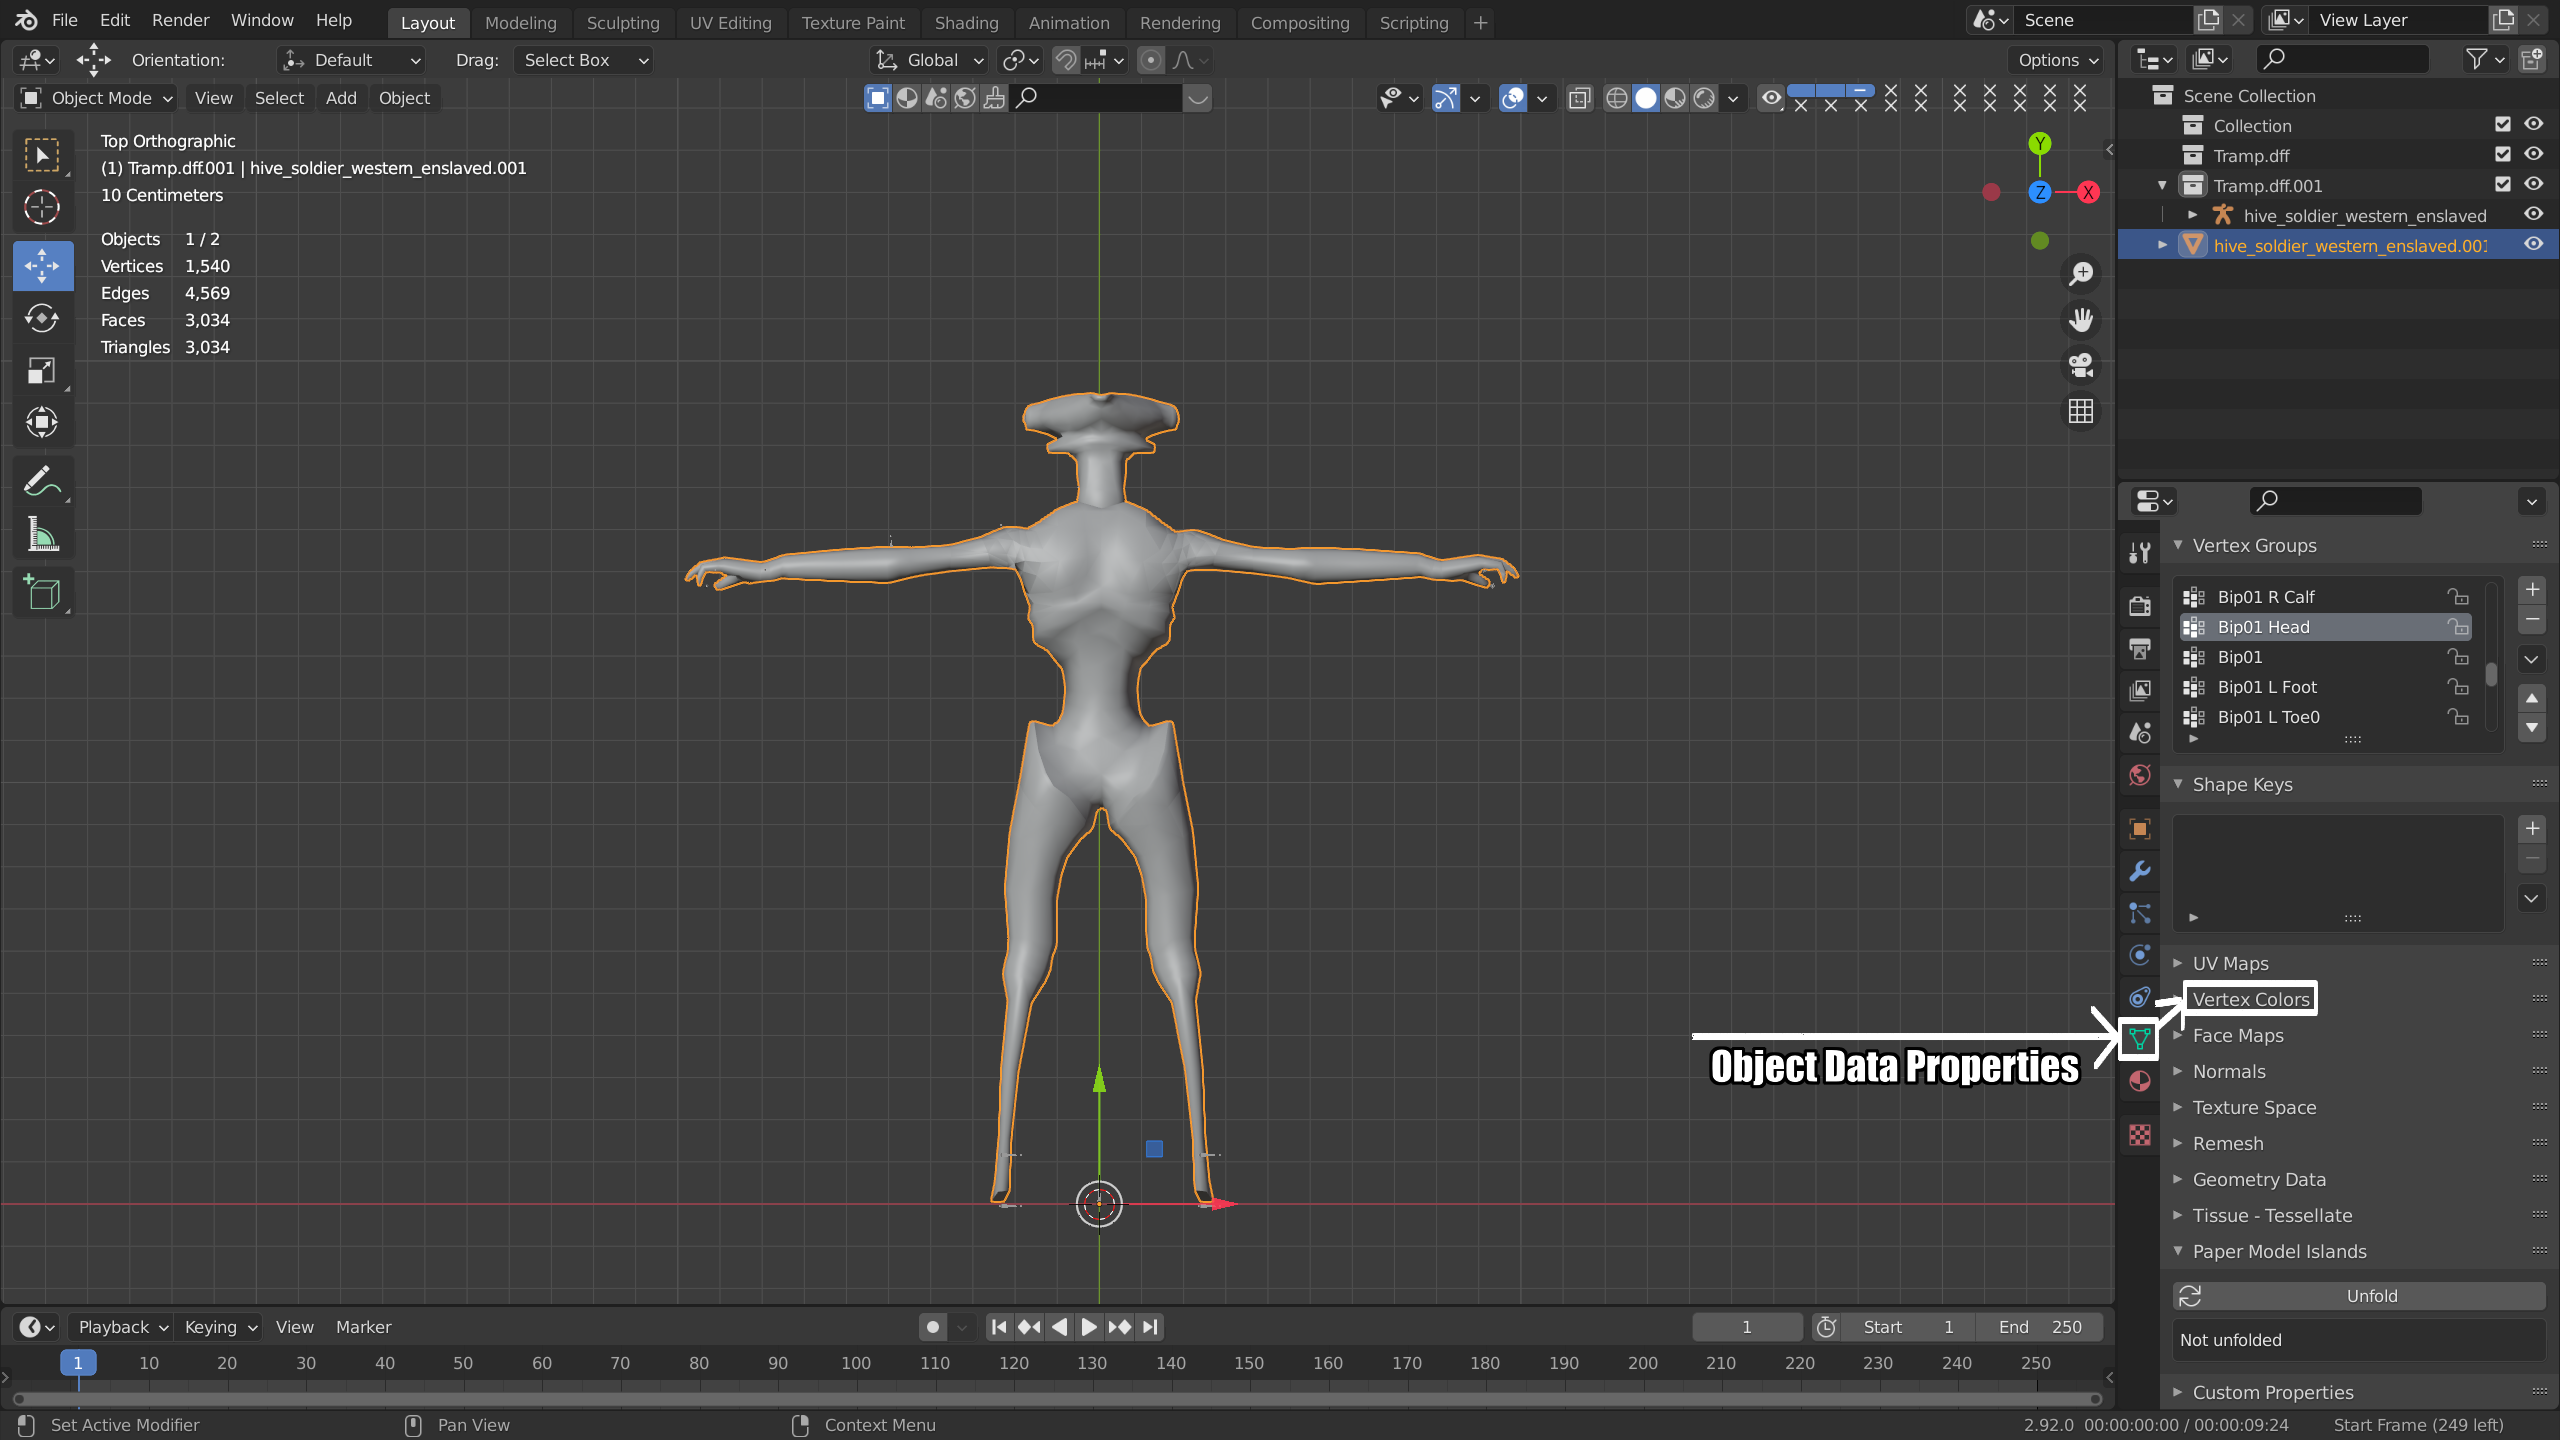
I think I also found another source of weirdness on the axes, though keeping to the Tramp skeleton and similar skeletons seem to not have this problem - there's a particular field stored within the dff atomic (first byte of the atomic's struct) that seems to handle which axis is "up". If you've tried to import the Player_Bod skeleton, this is probably why it's facing the wrong direction - the Blender plugin ignores this atomic struct field, and sets this field to Tramp's setting (his is 1, Player_Bod is 3, many map props use 2) on export no matter what.

I'm doing an investigation into the dff file structure to see if I can ultimately get these other skeletons to function. It might be as simple as changing the flag.
S1mpl3_pl4y3r  [author] Feb 18 @ 10:54pm 
@ph0ne (greatijedi) And now, it's important here. When you are done with aligning skeleton of your custom model to reference model and posed it correctly. FIRST, select your custom skeleton's model, press Object->Apply->All Transforms. THEN, select your custom model, press "Object->Apply->All Transforms". The idea here - is to apply "All Transforms" to your custom skeleton FIRST. And THEN apply "All Transforms" to your custom mesh afterward. Not the other way around. All (X,Y,Z) parameters should be reset. Please, let me know if you have your issue fixed.

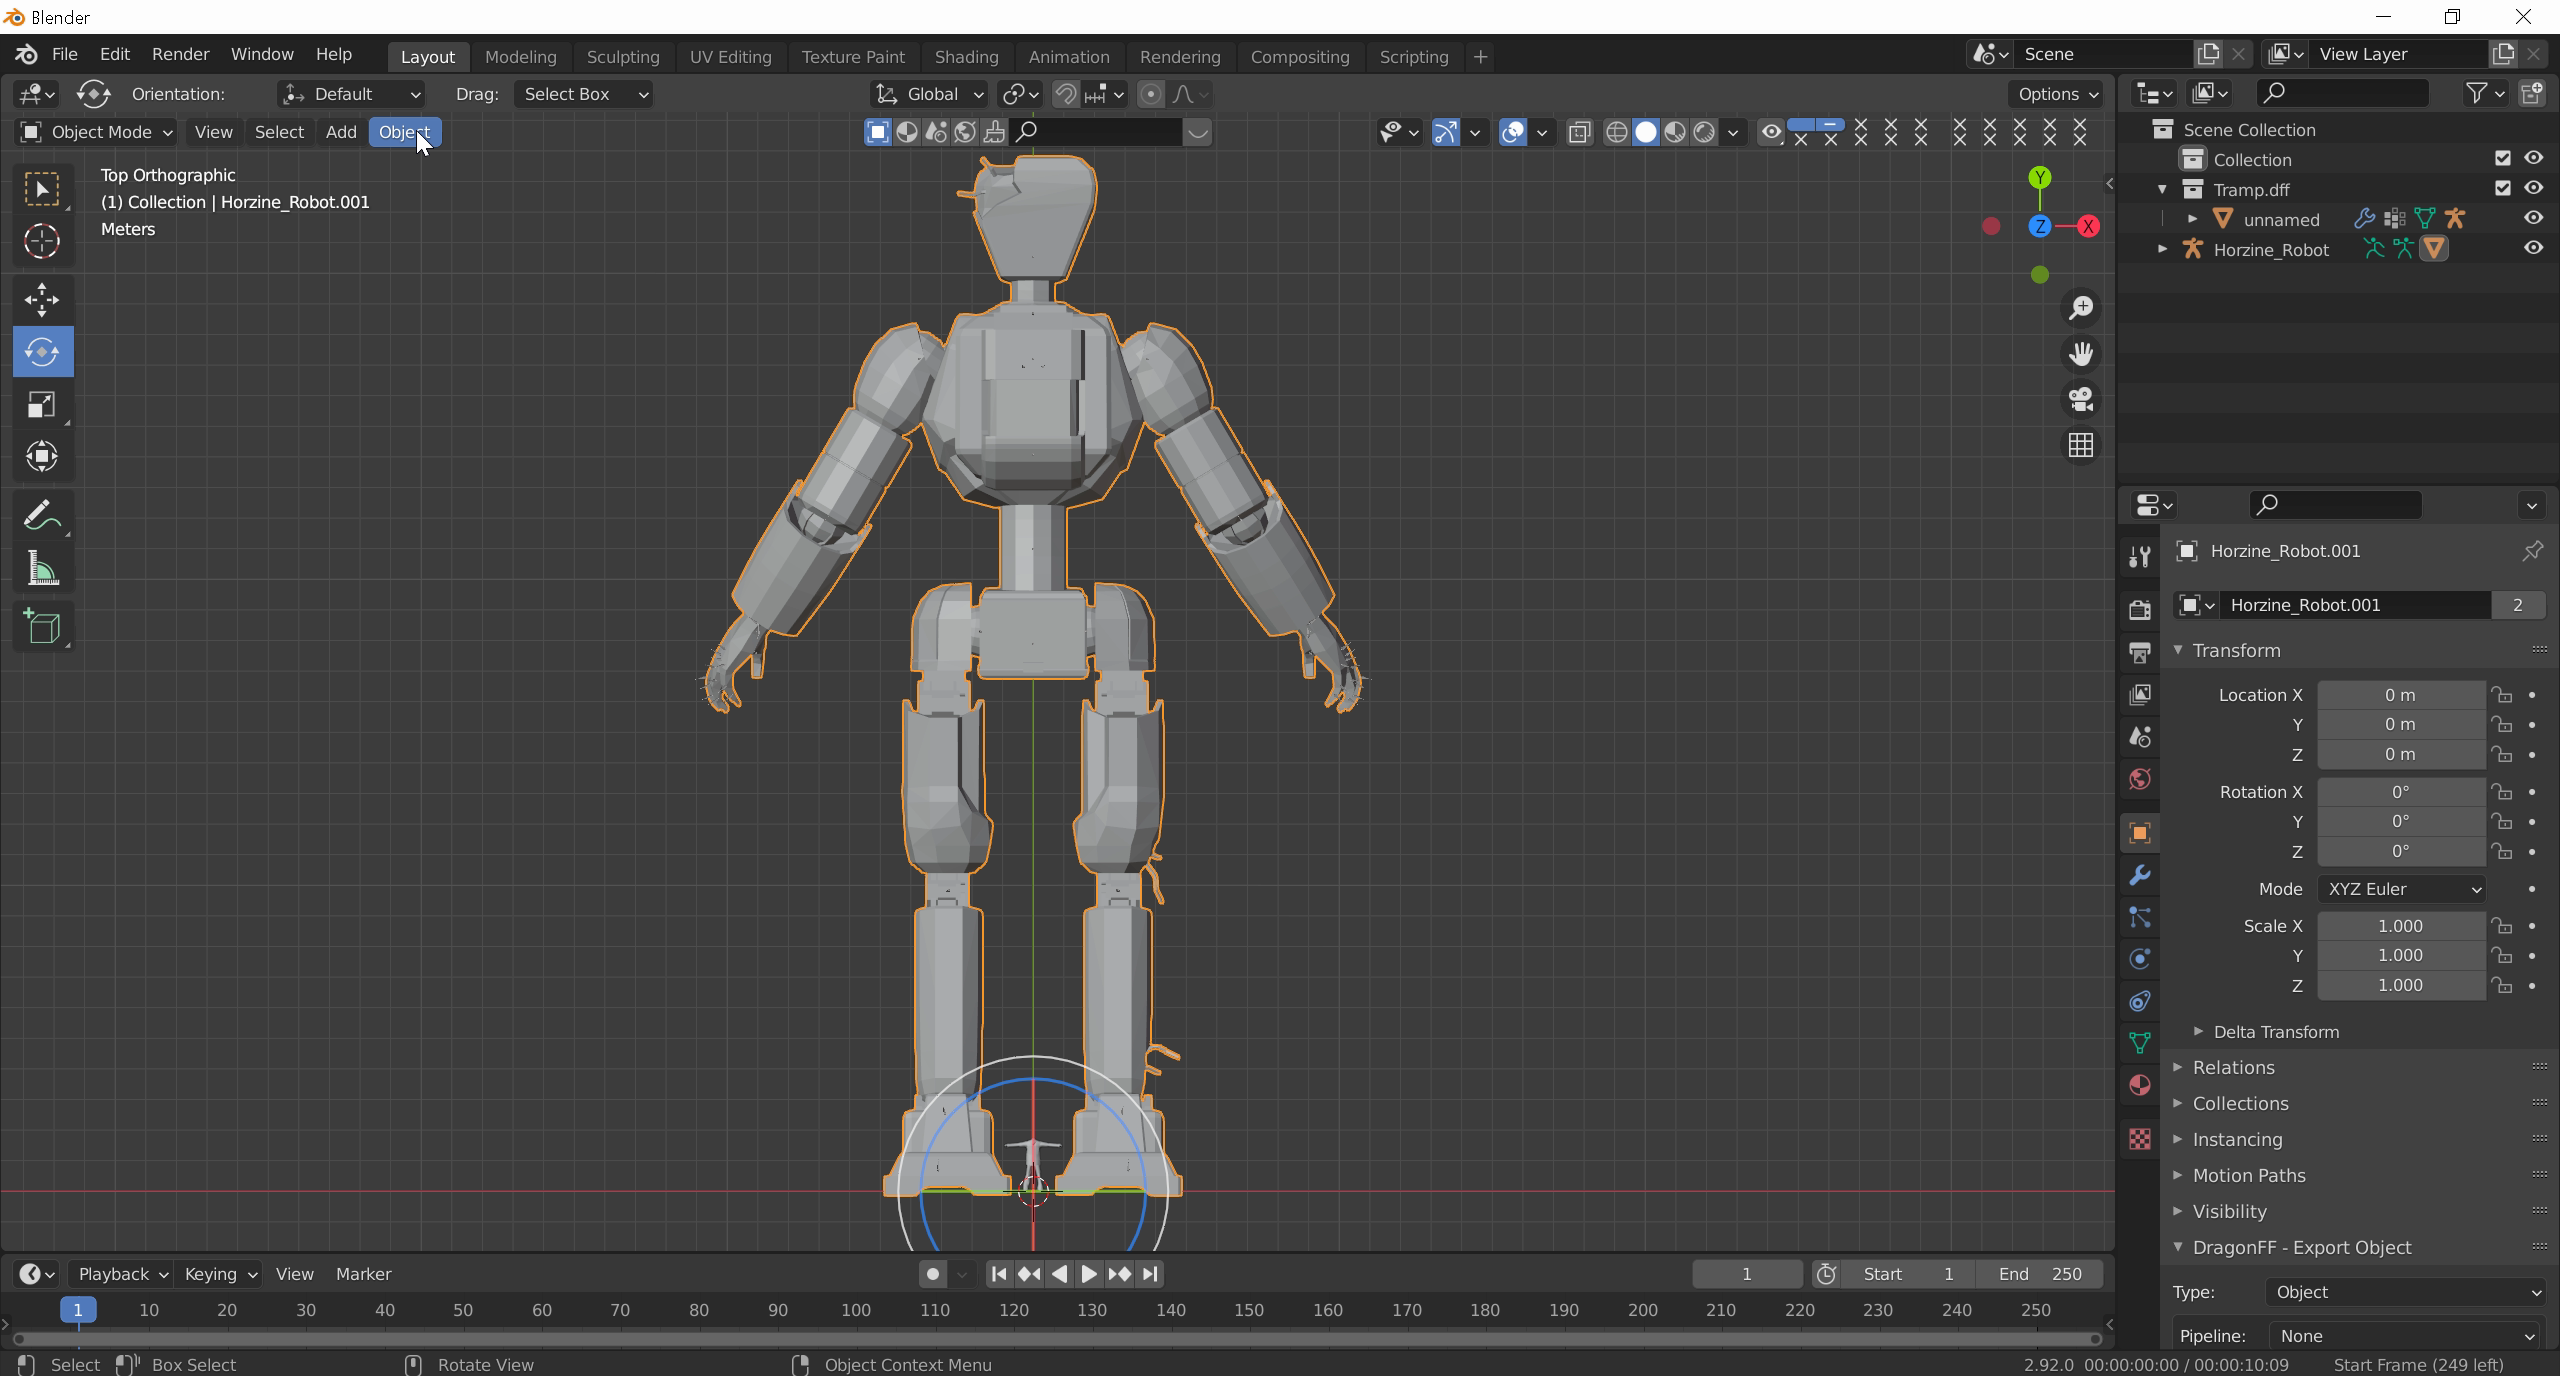
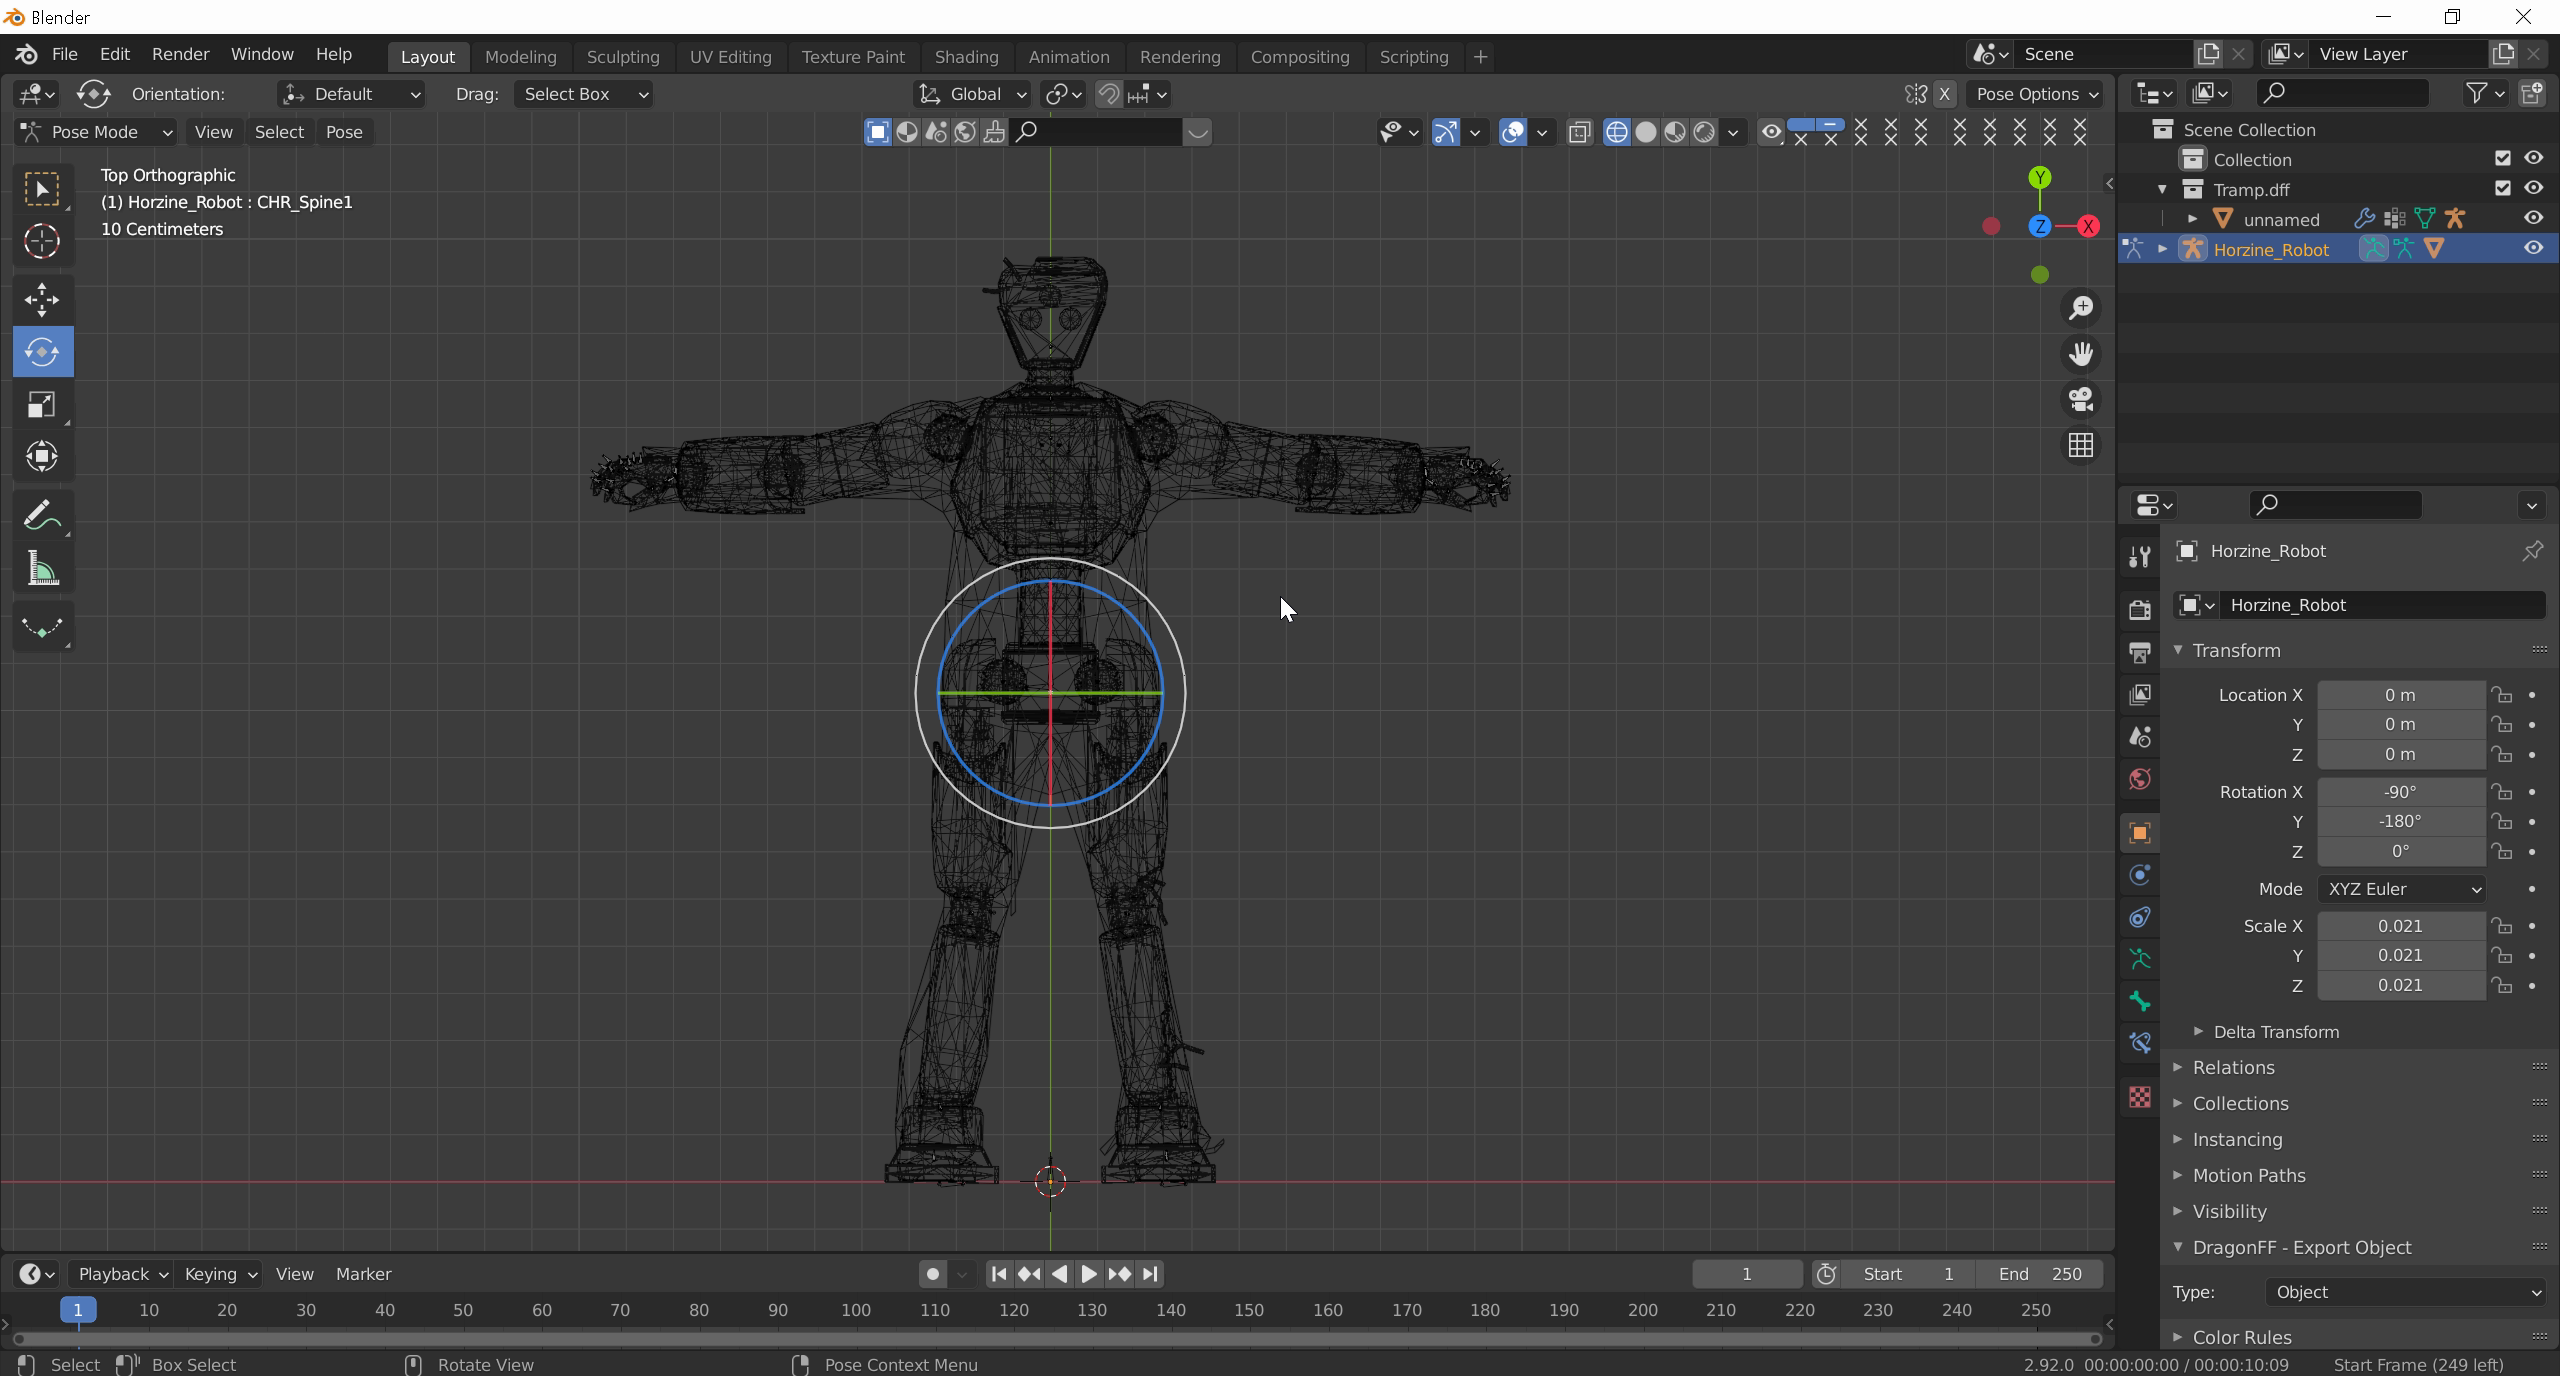
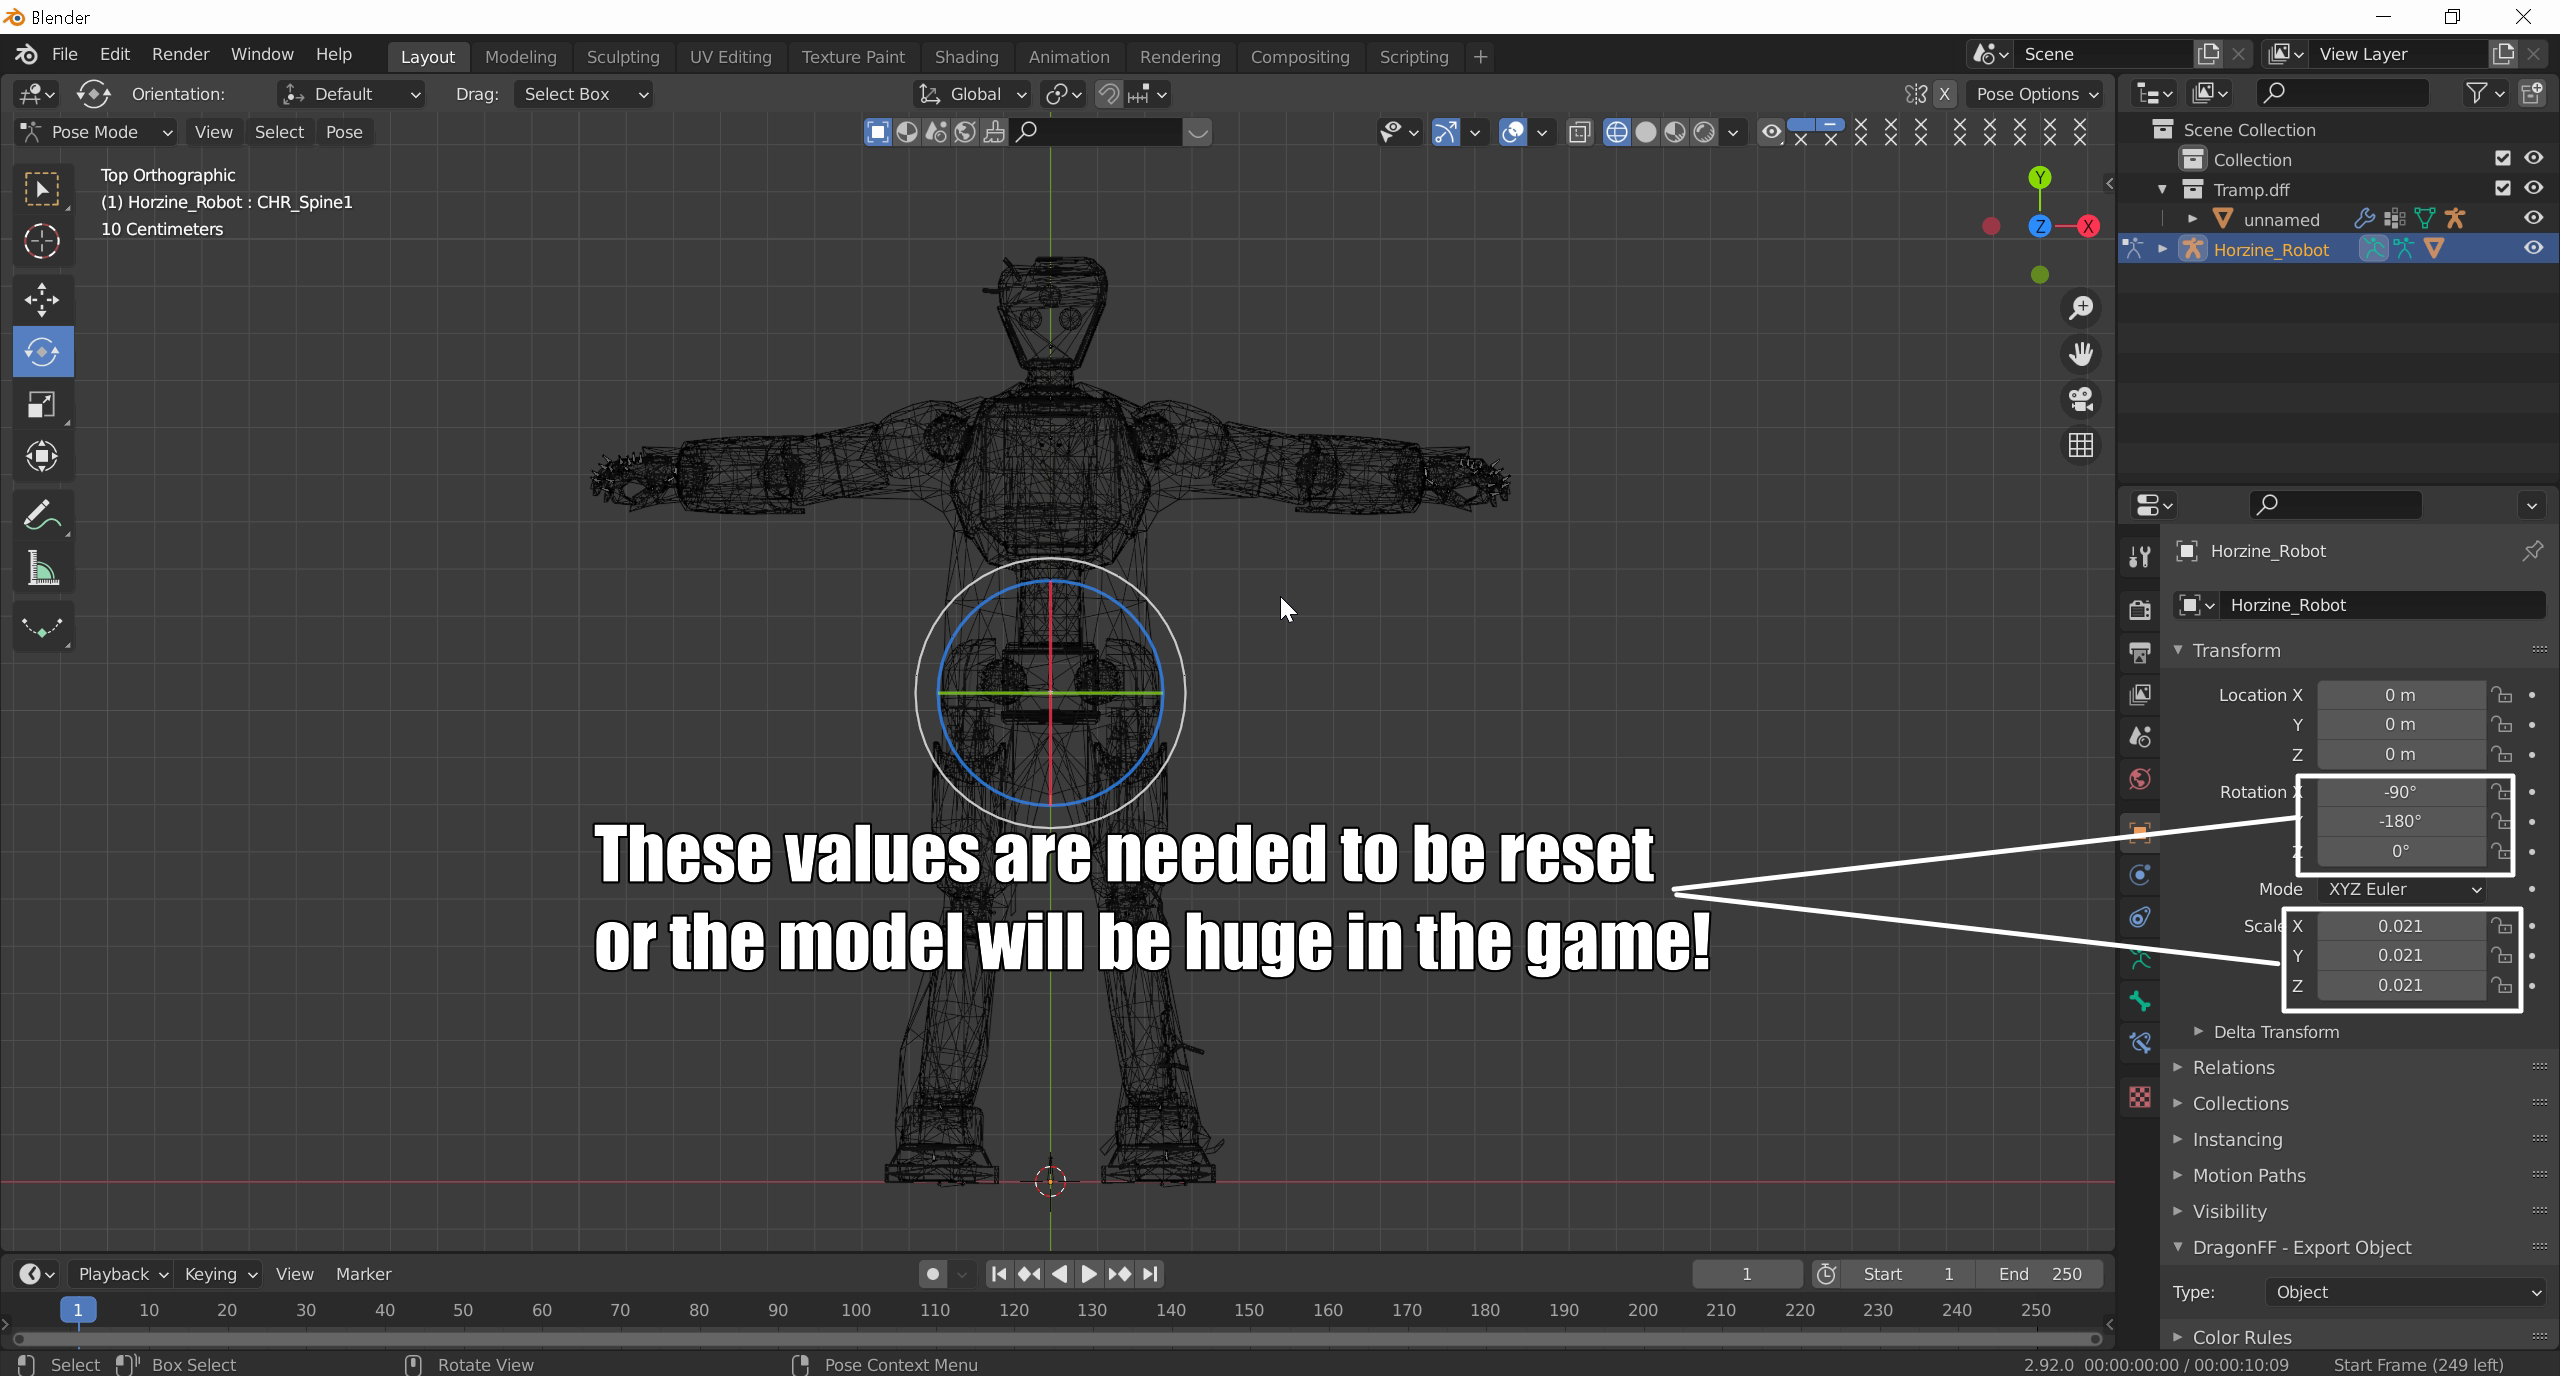
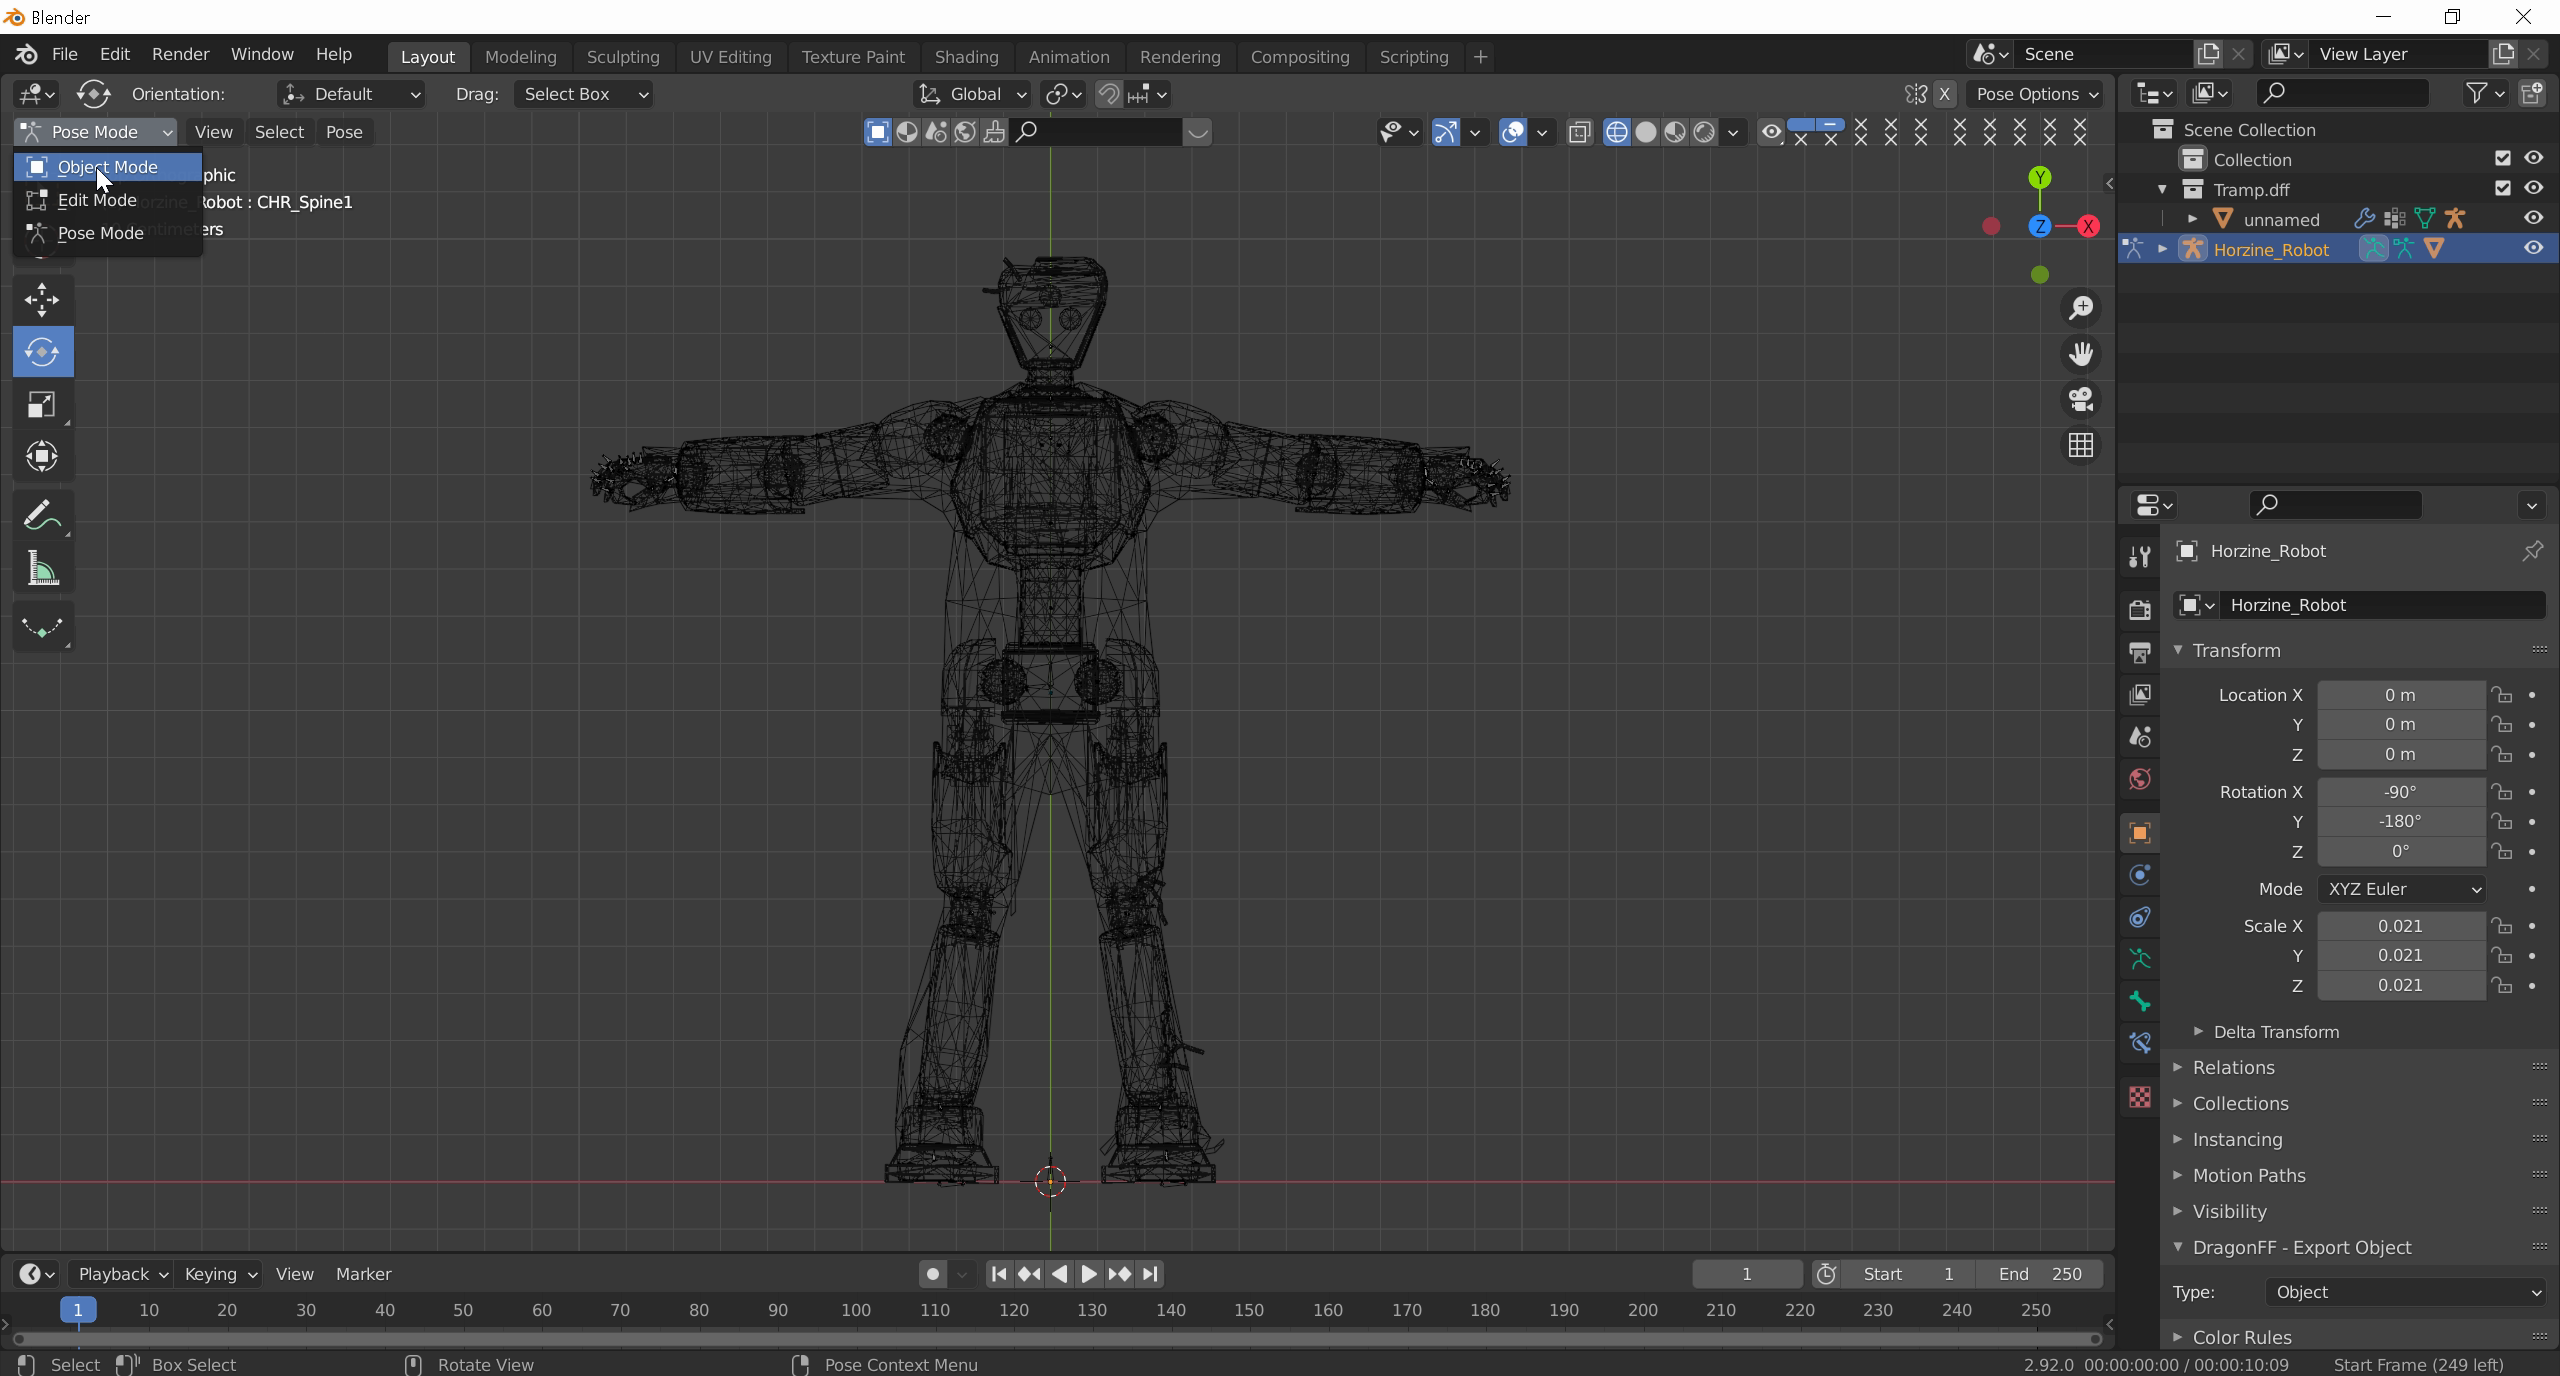
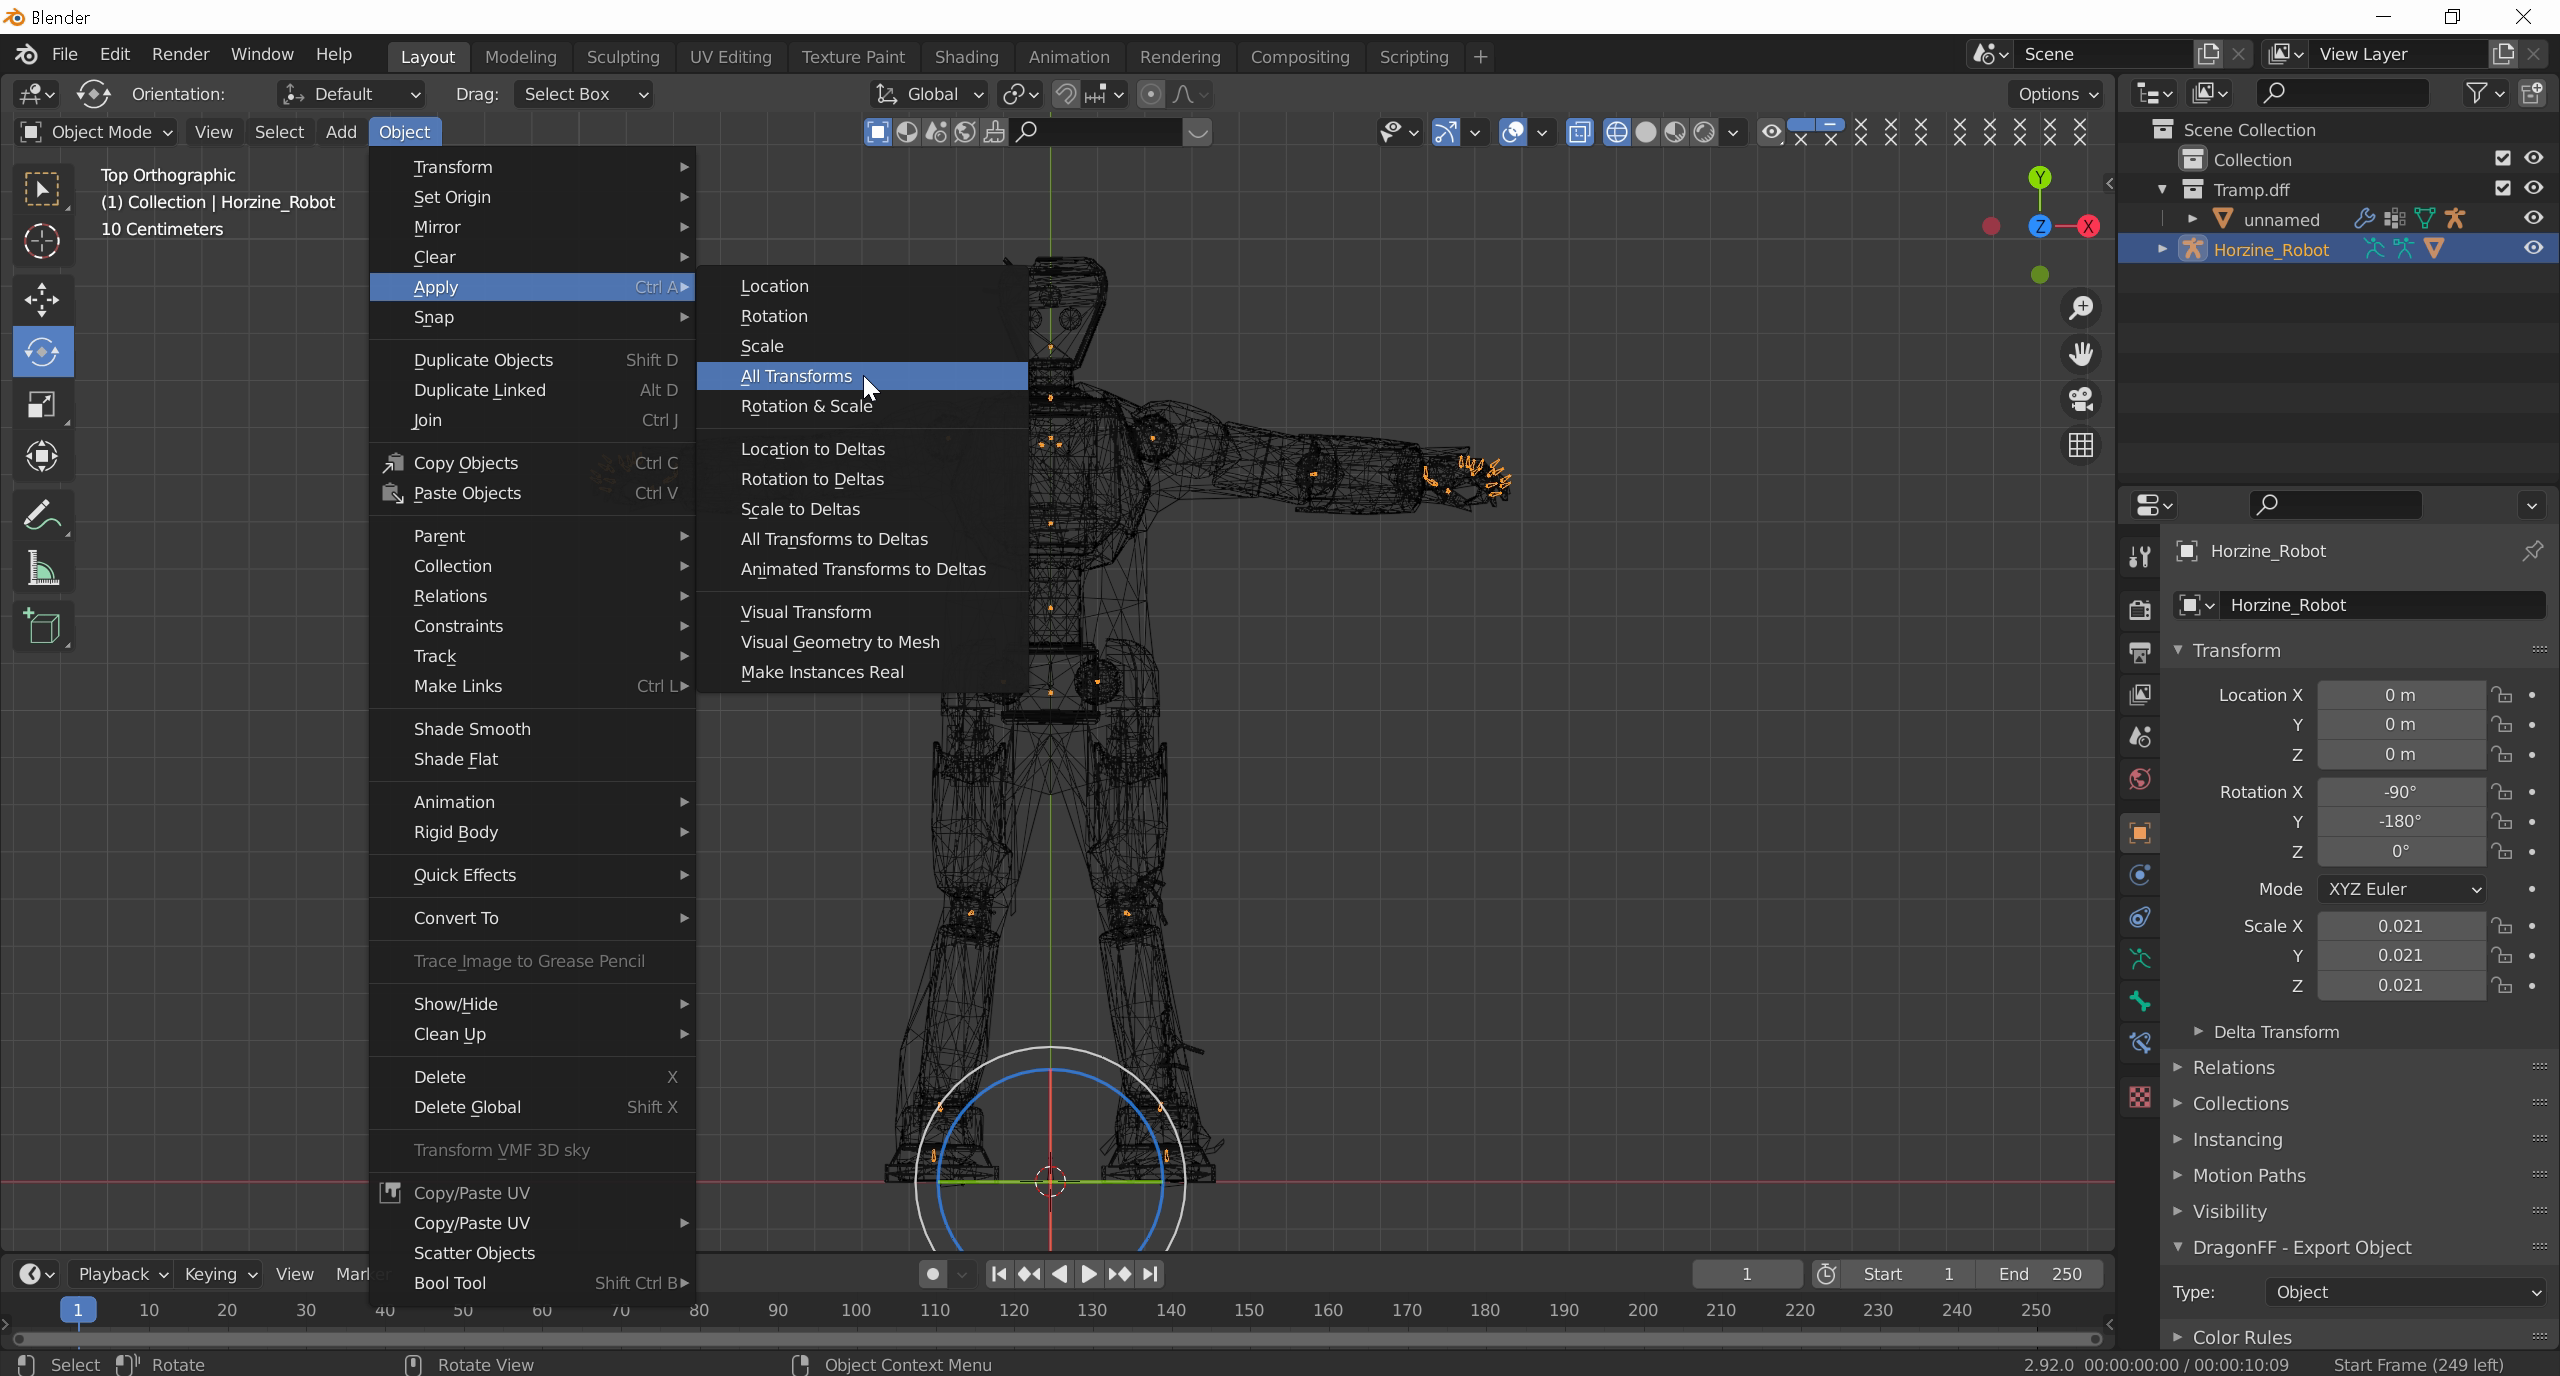
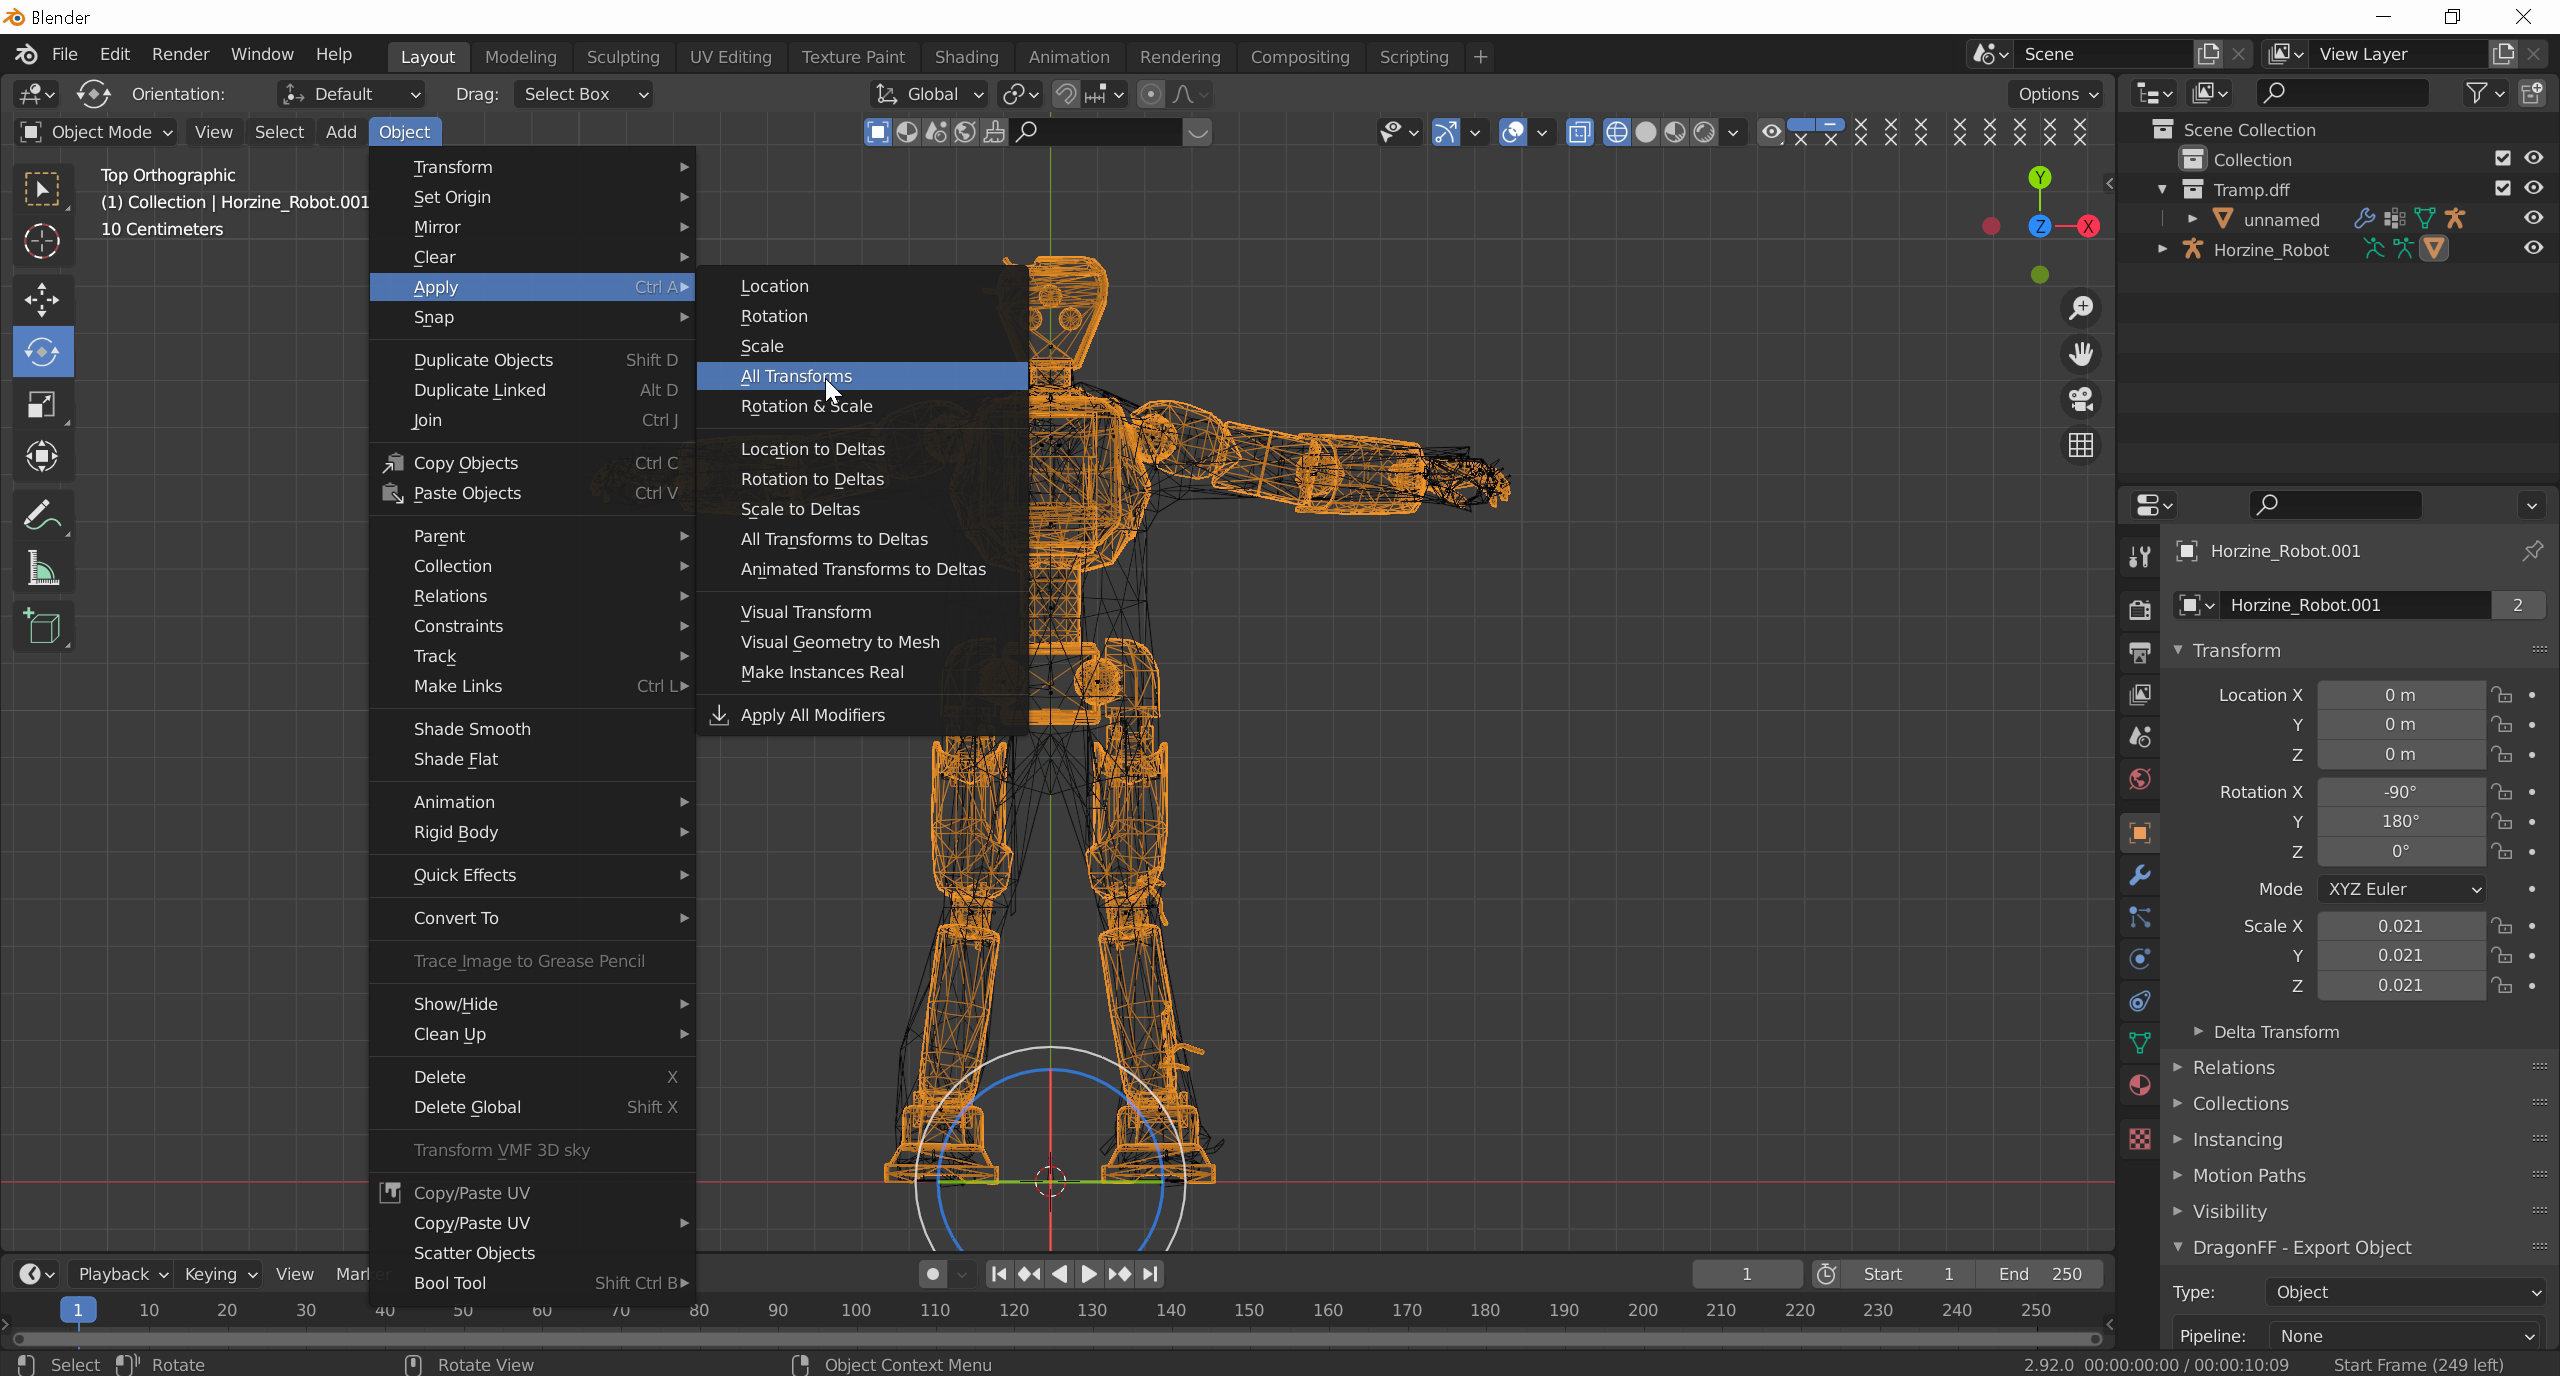
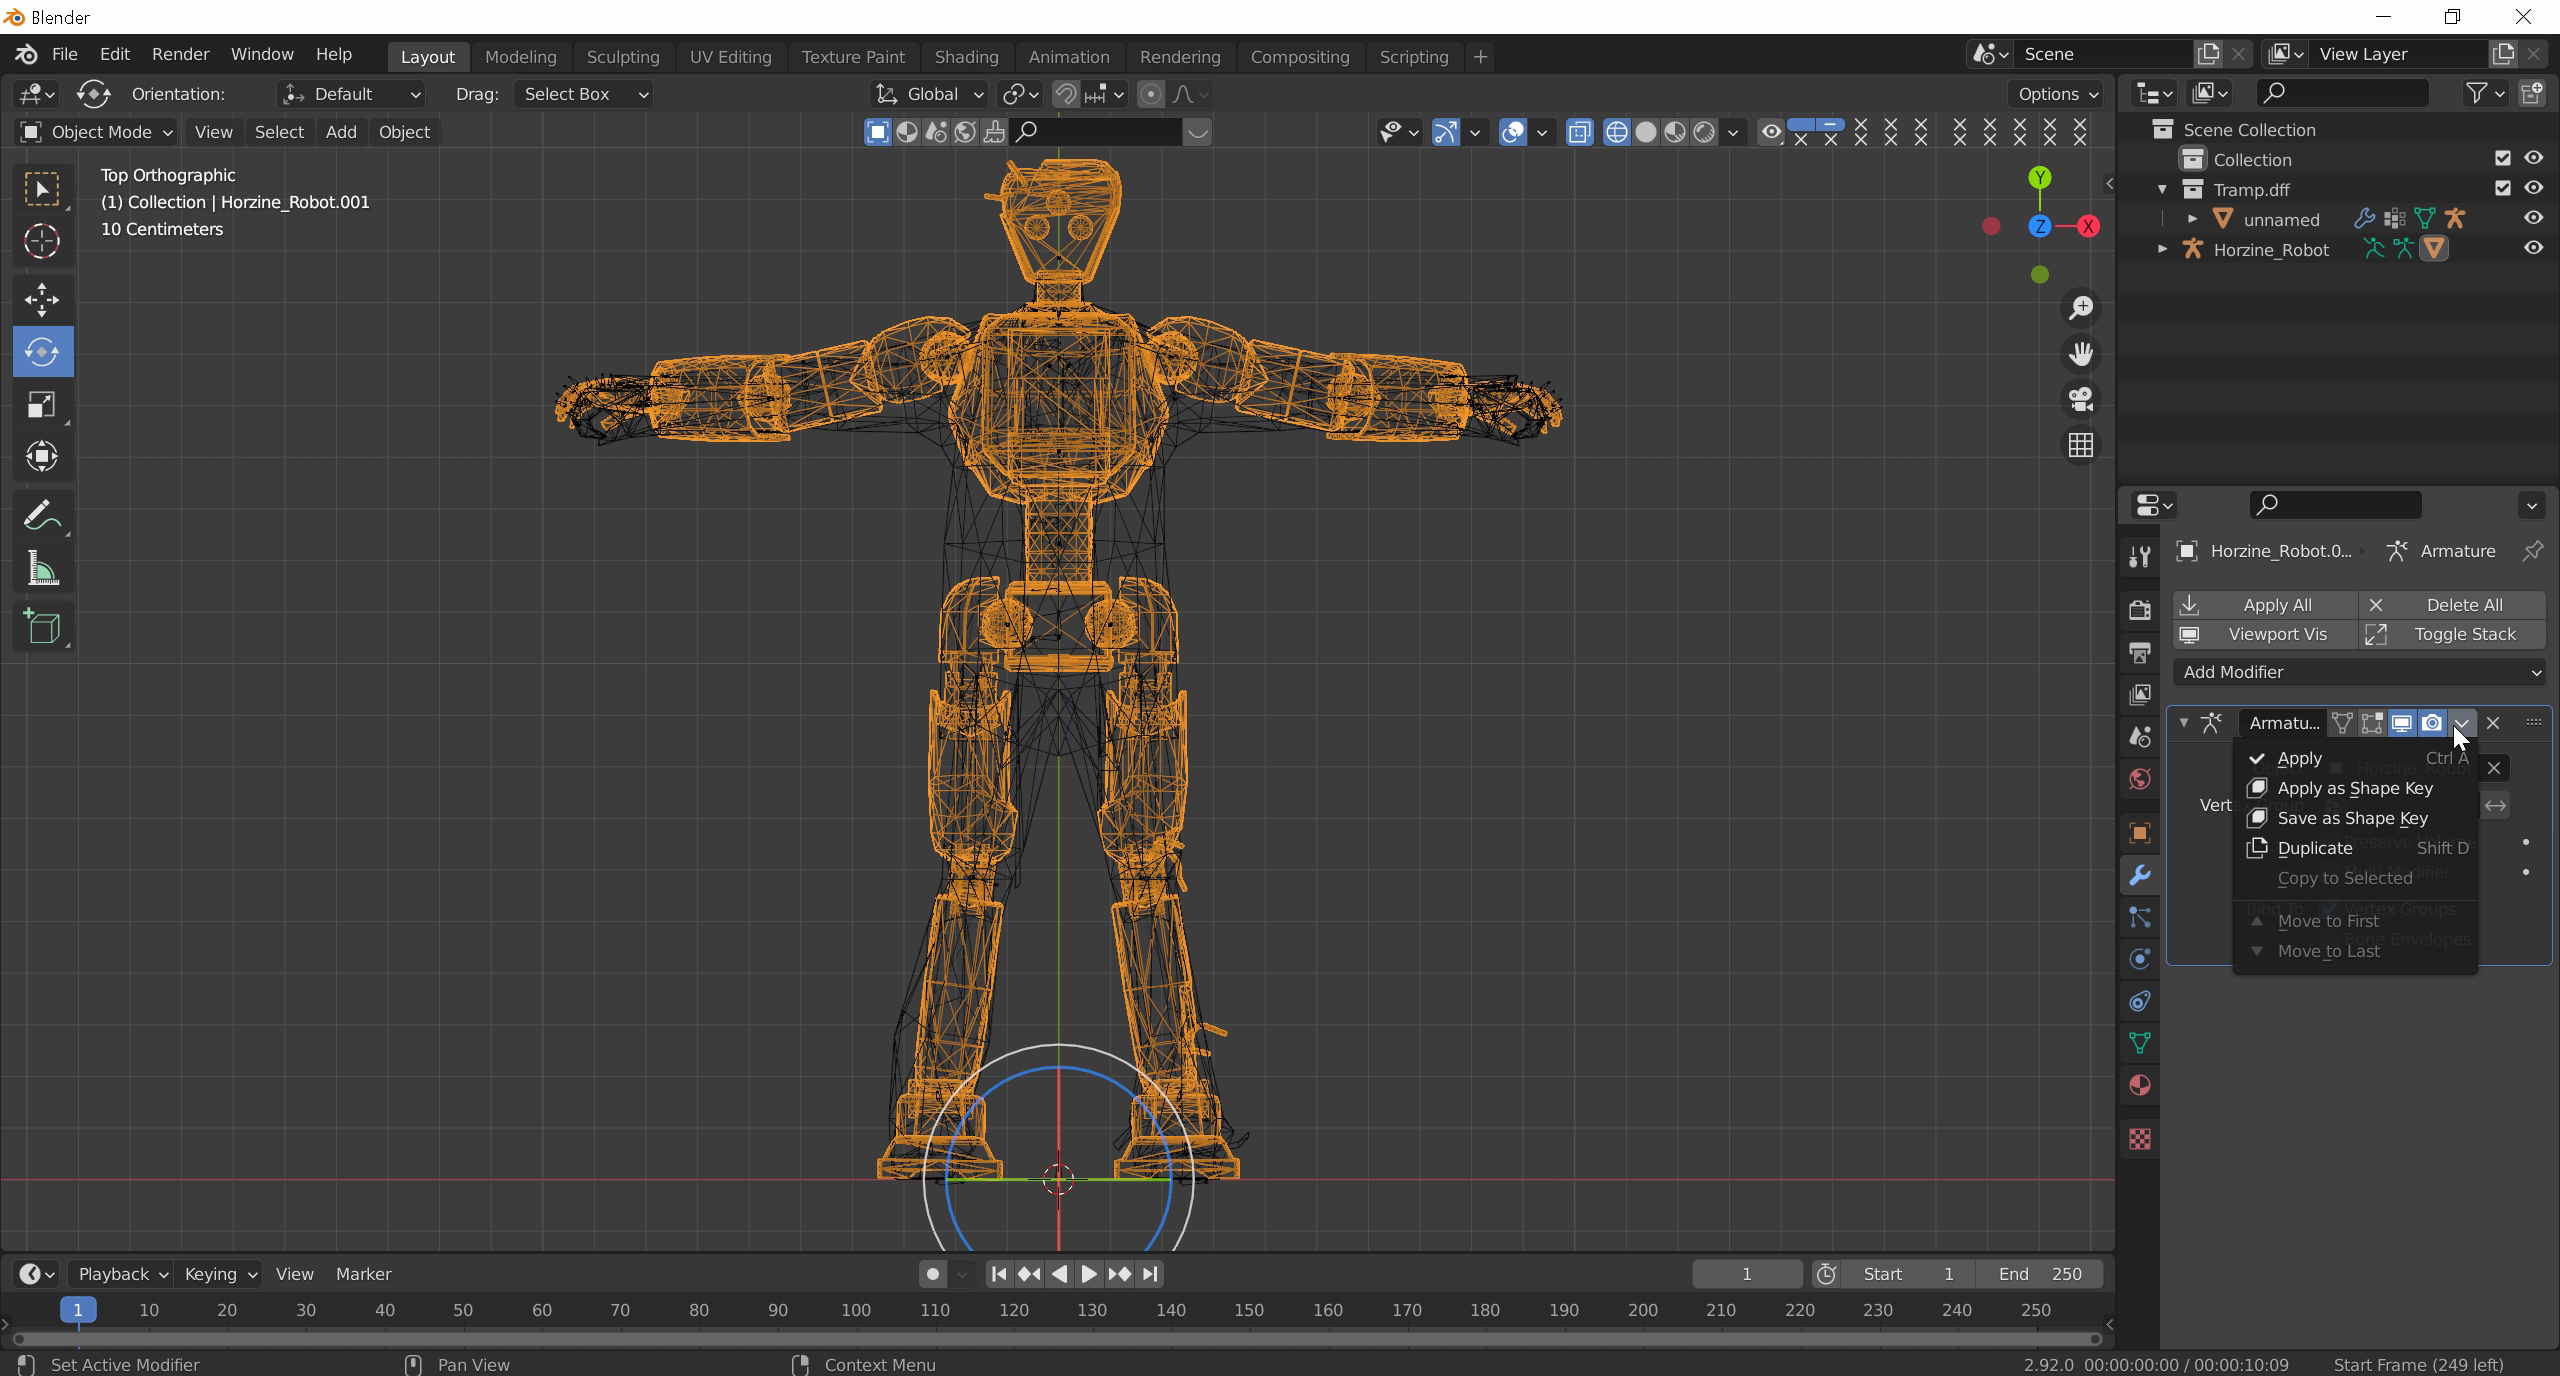
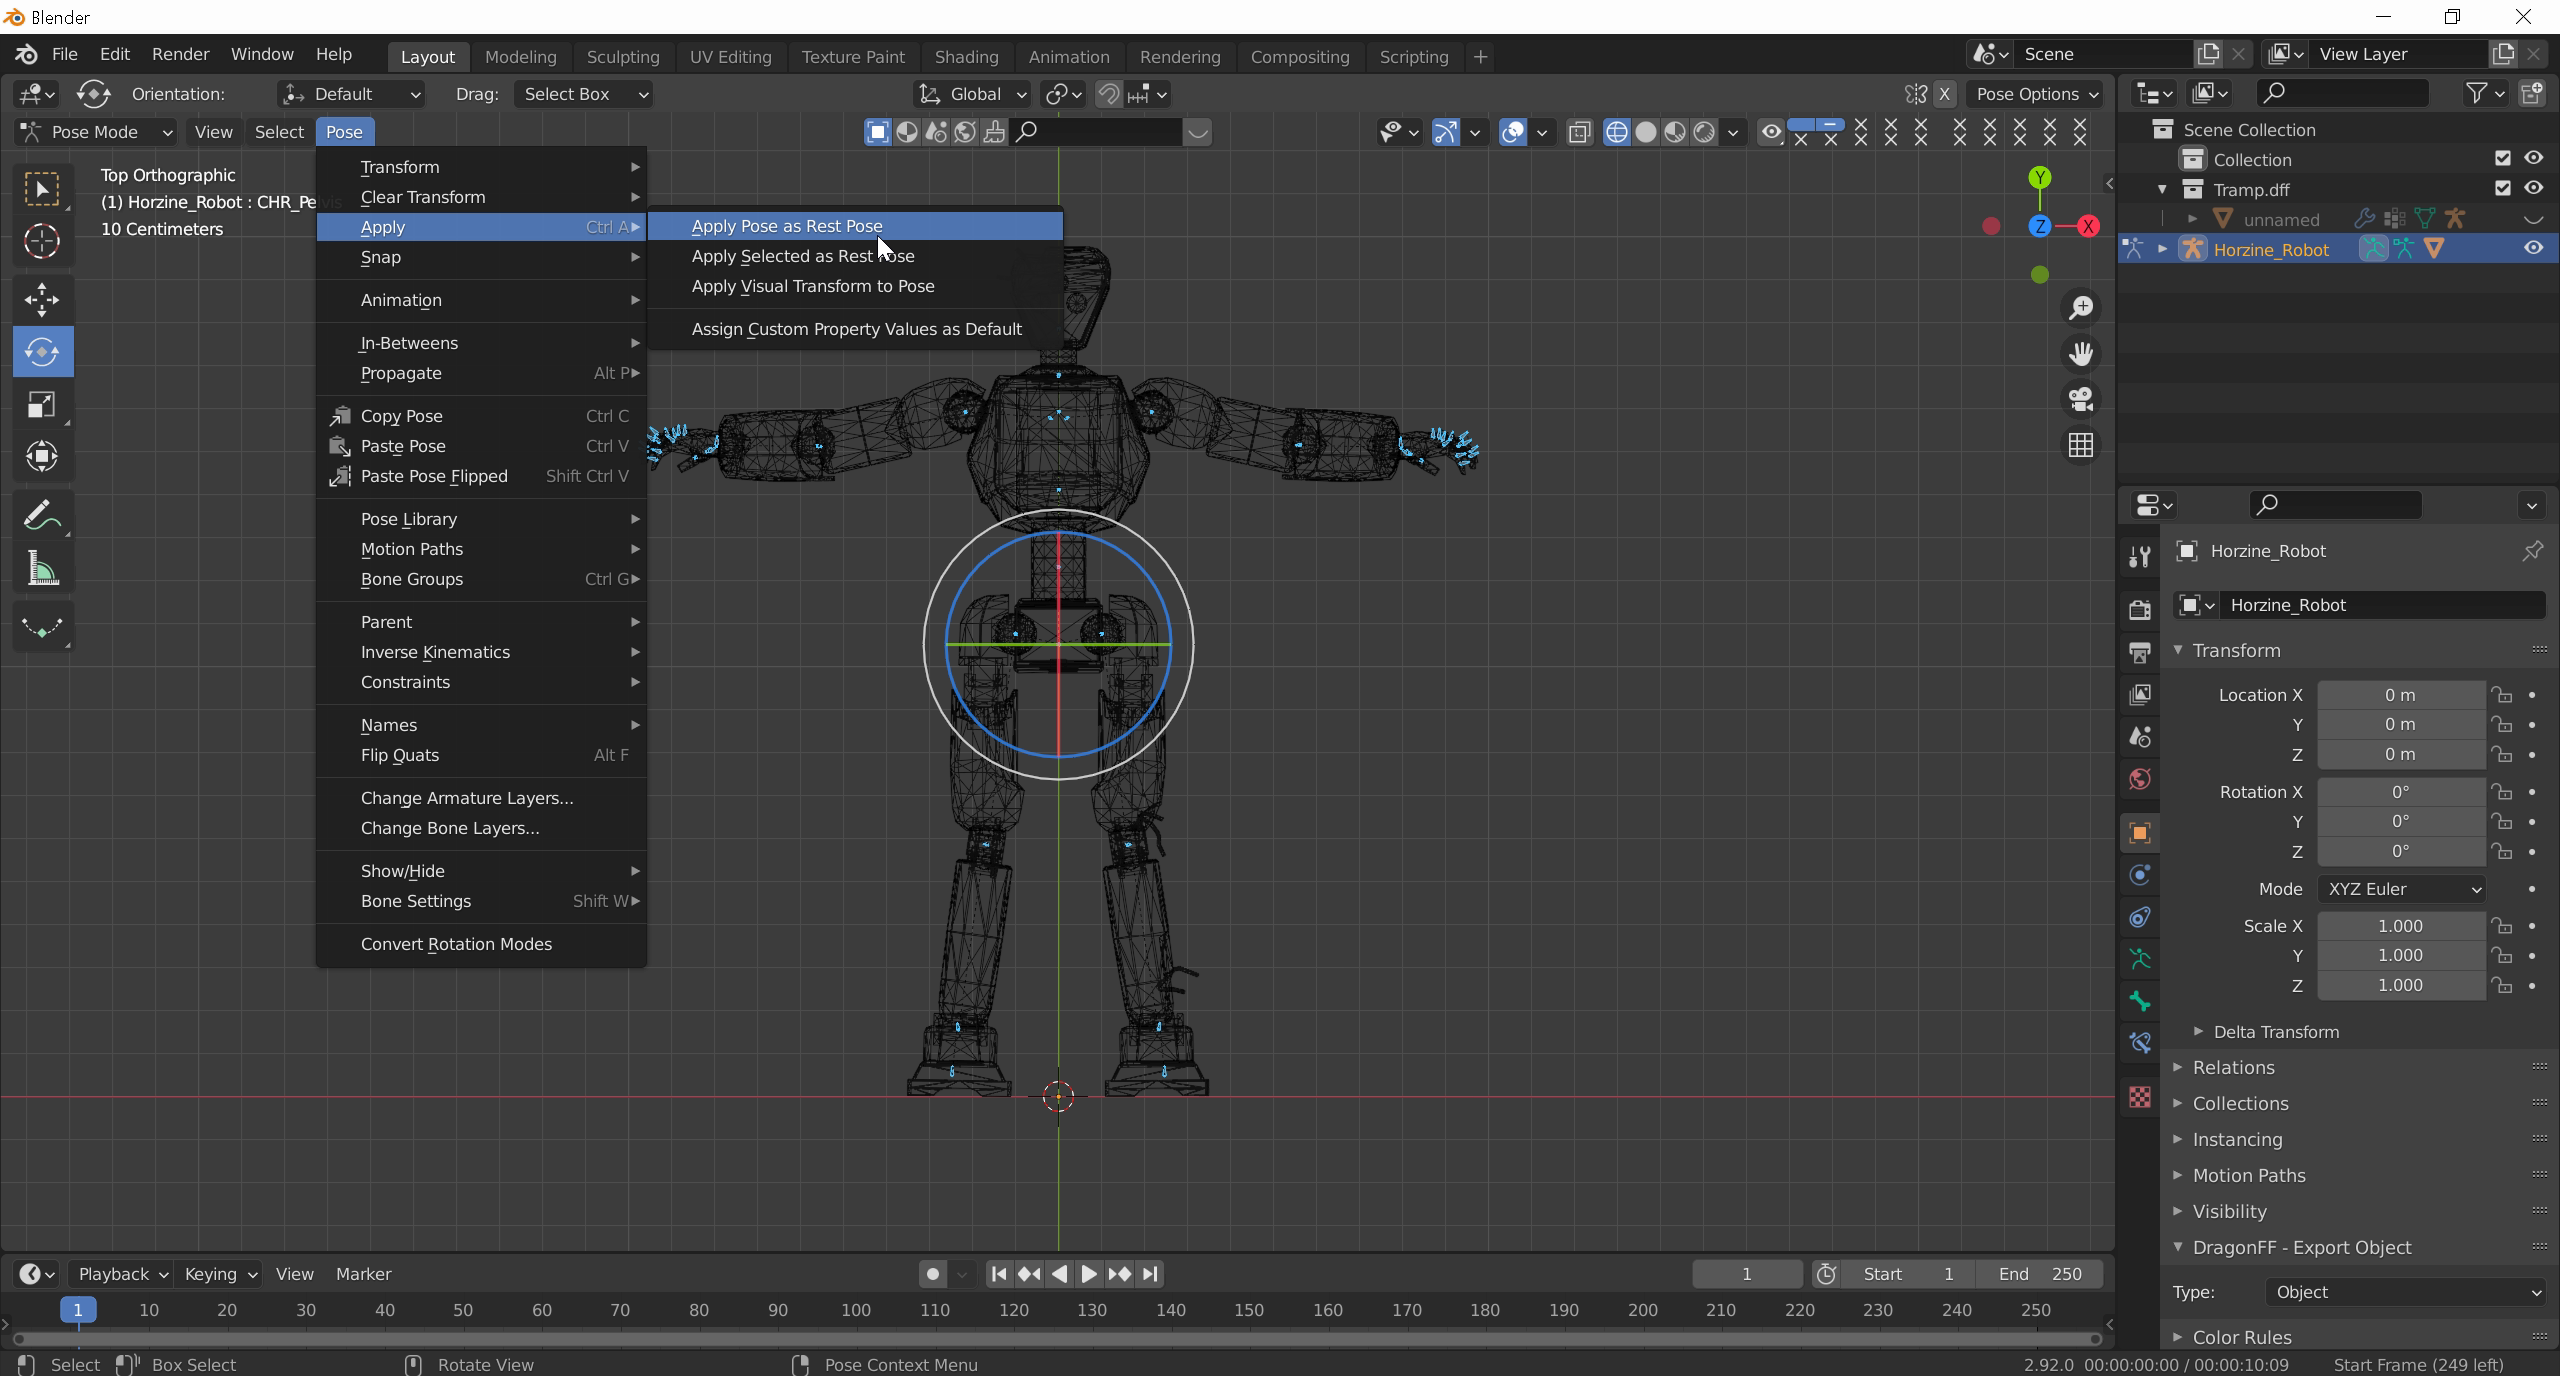
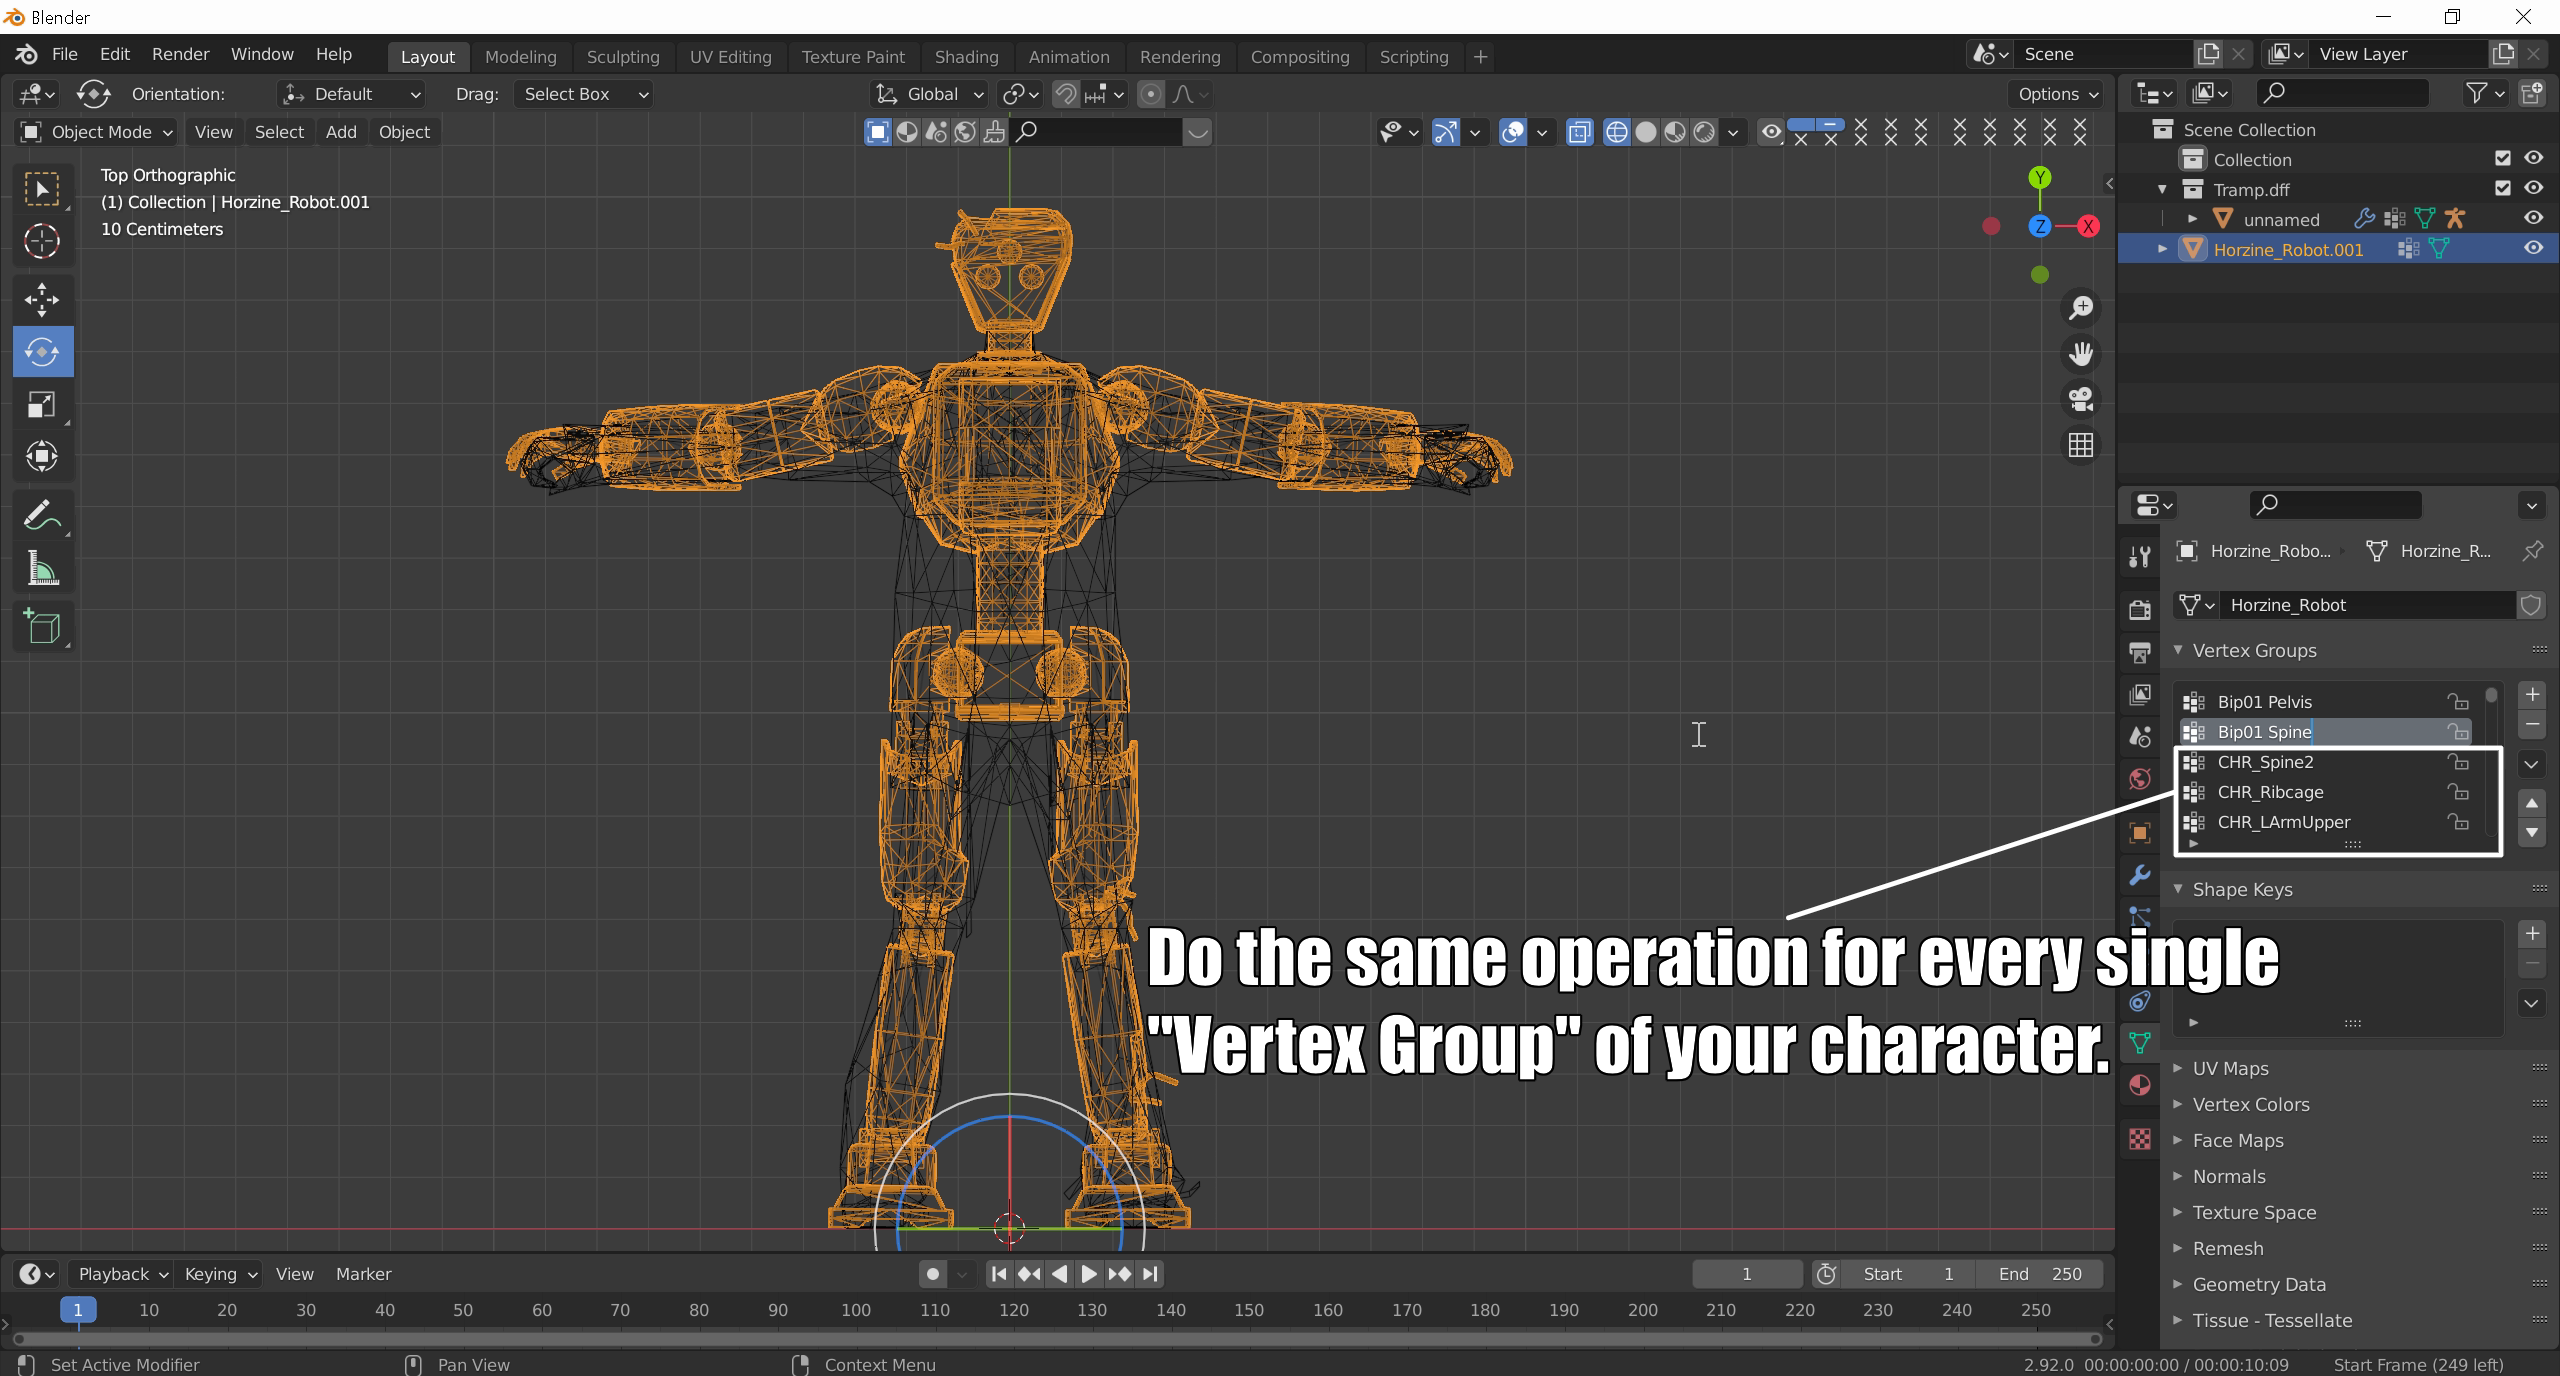
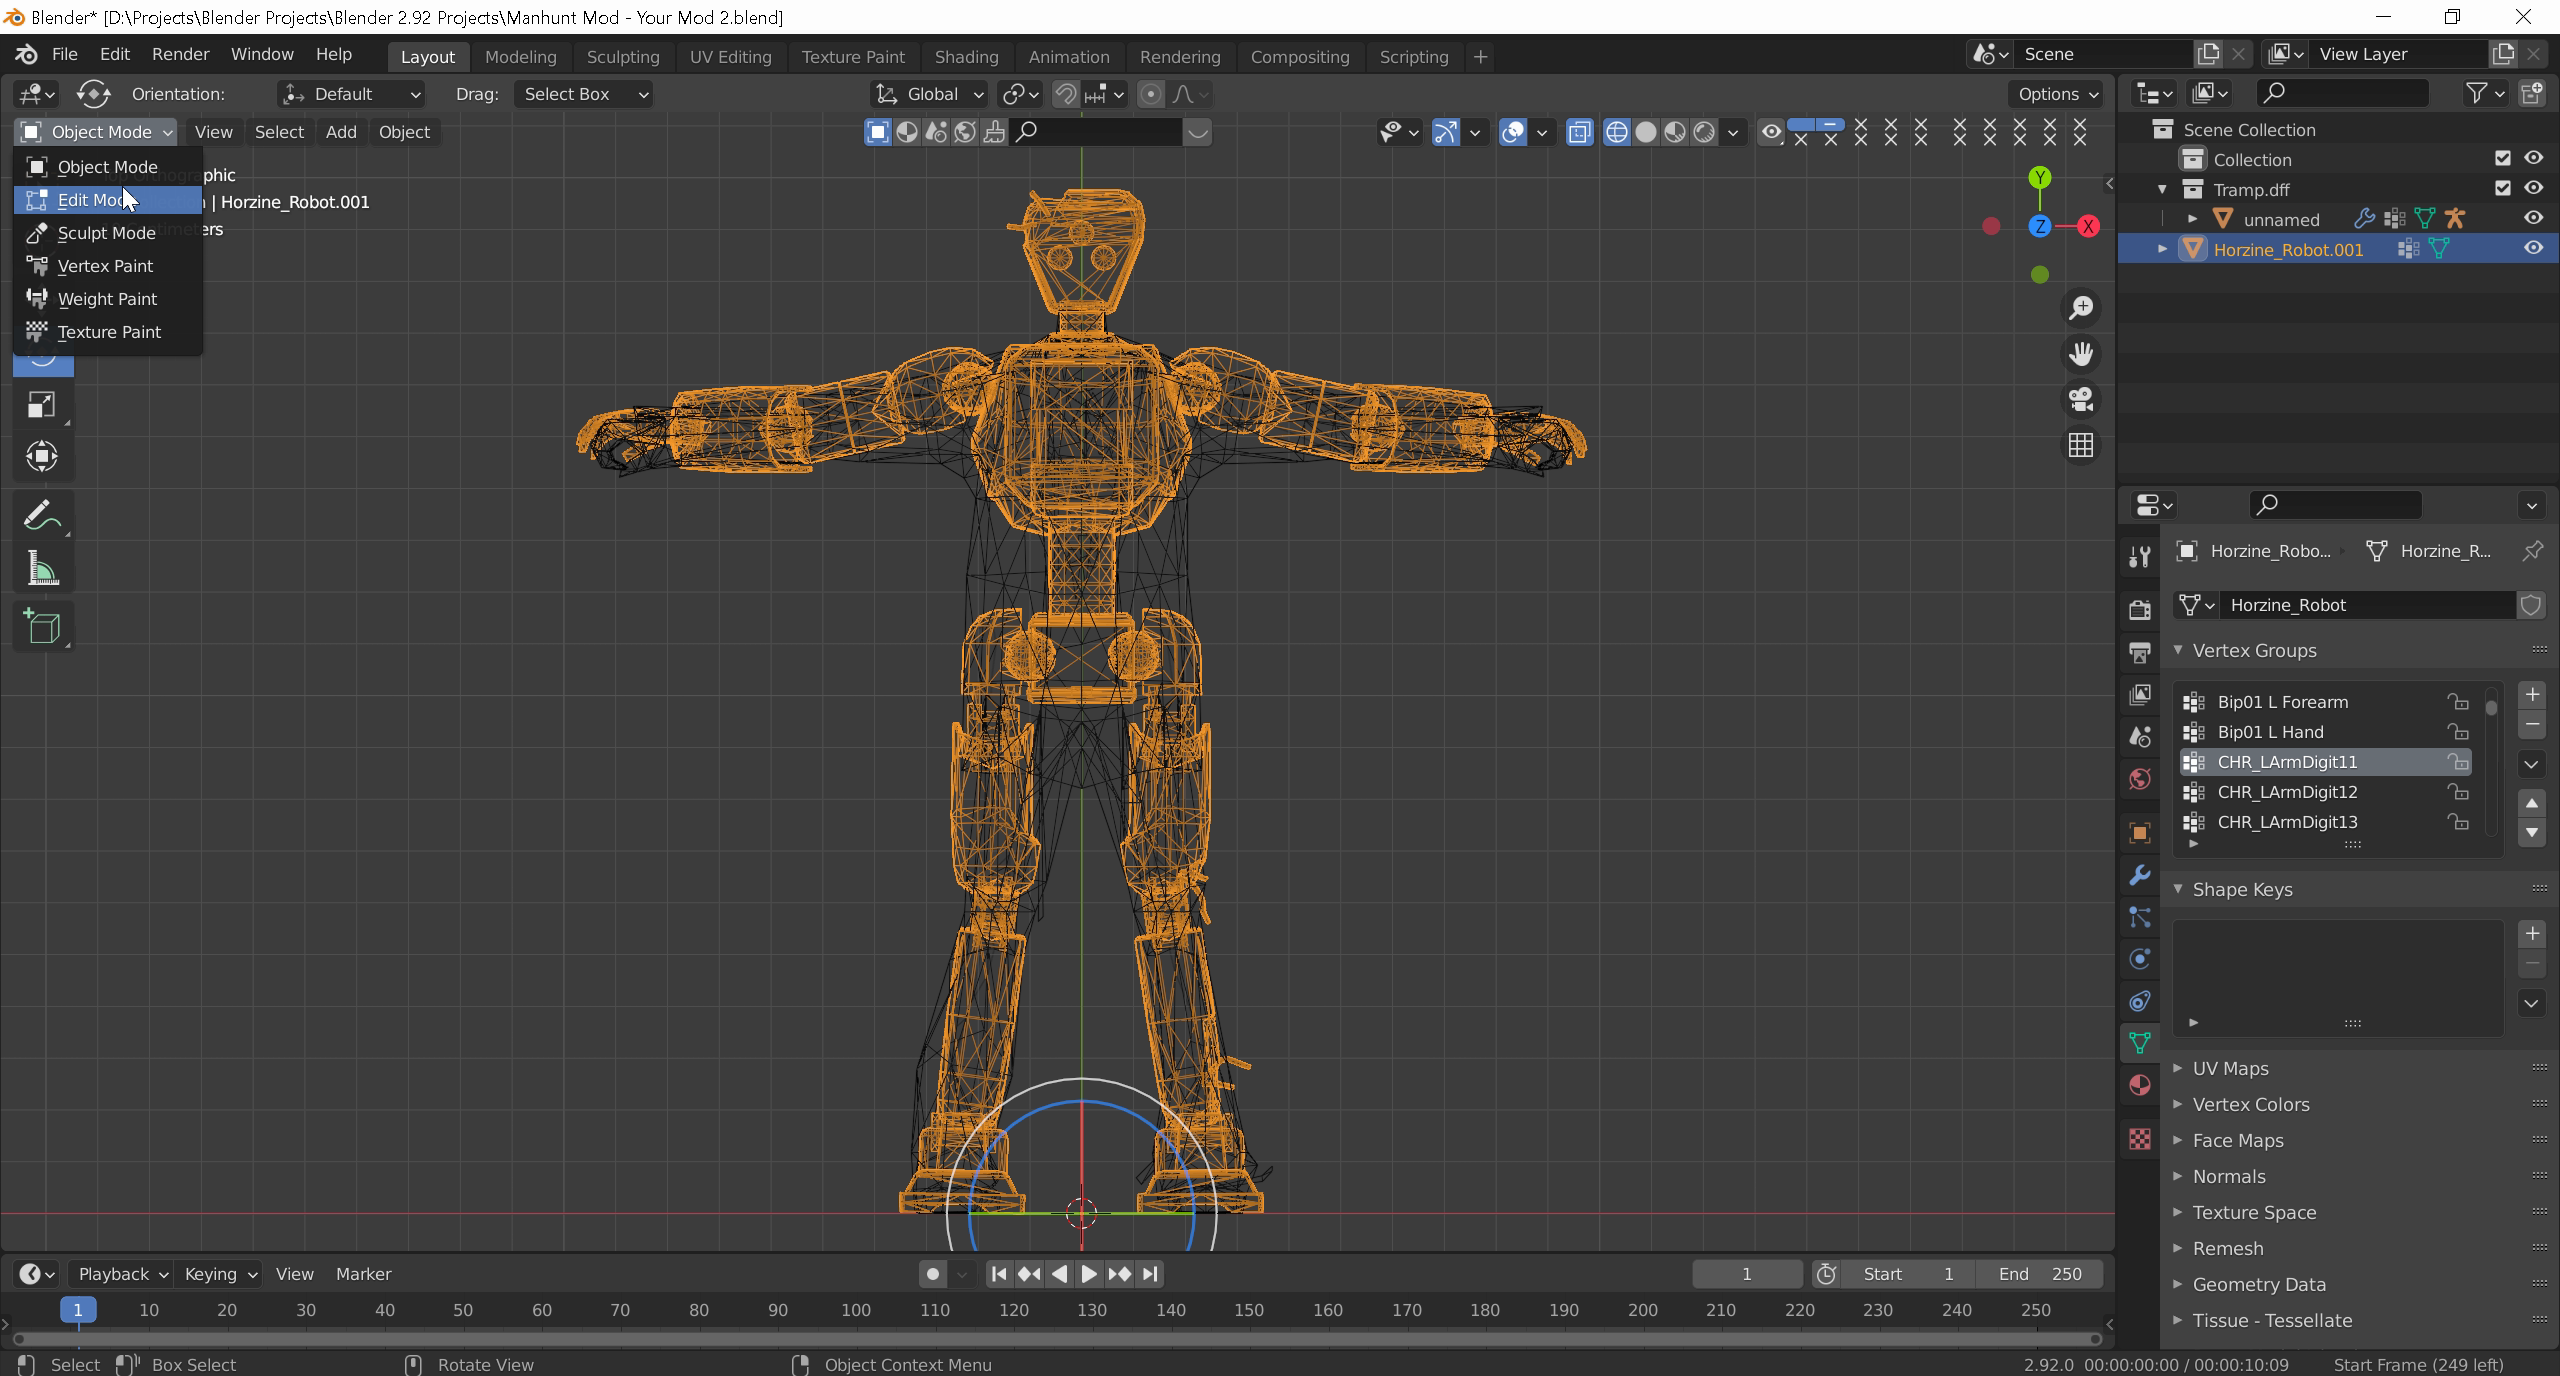
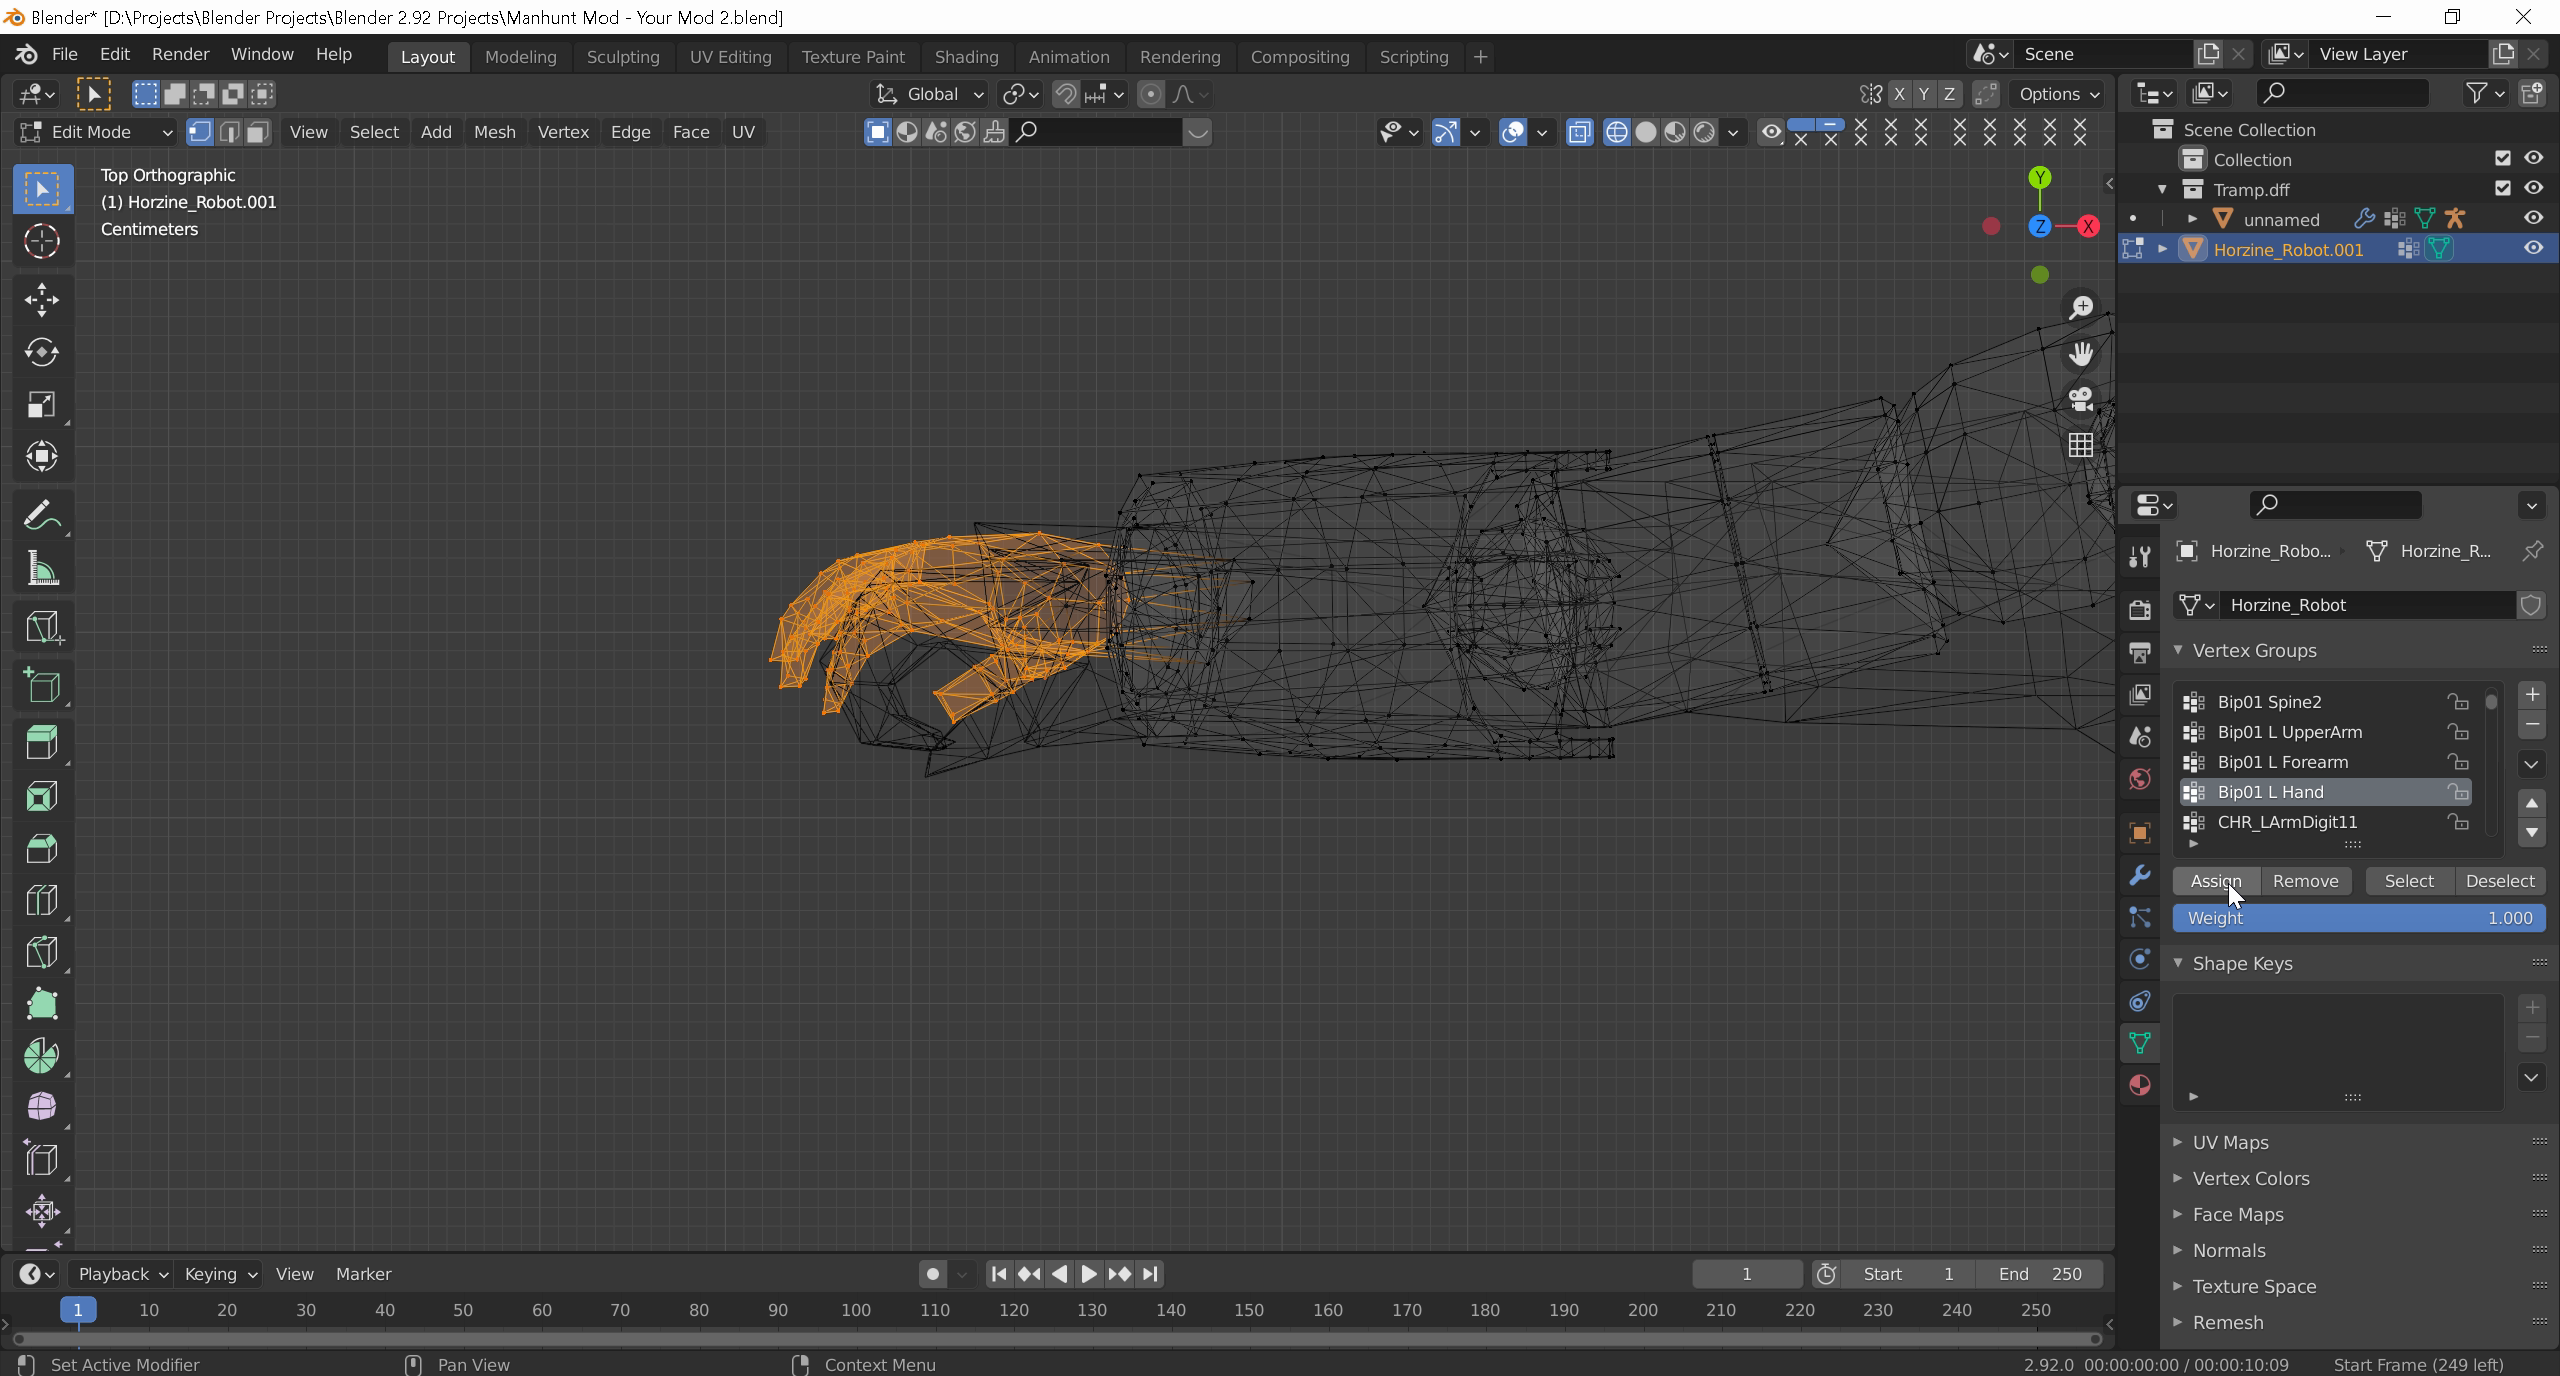
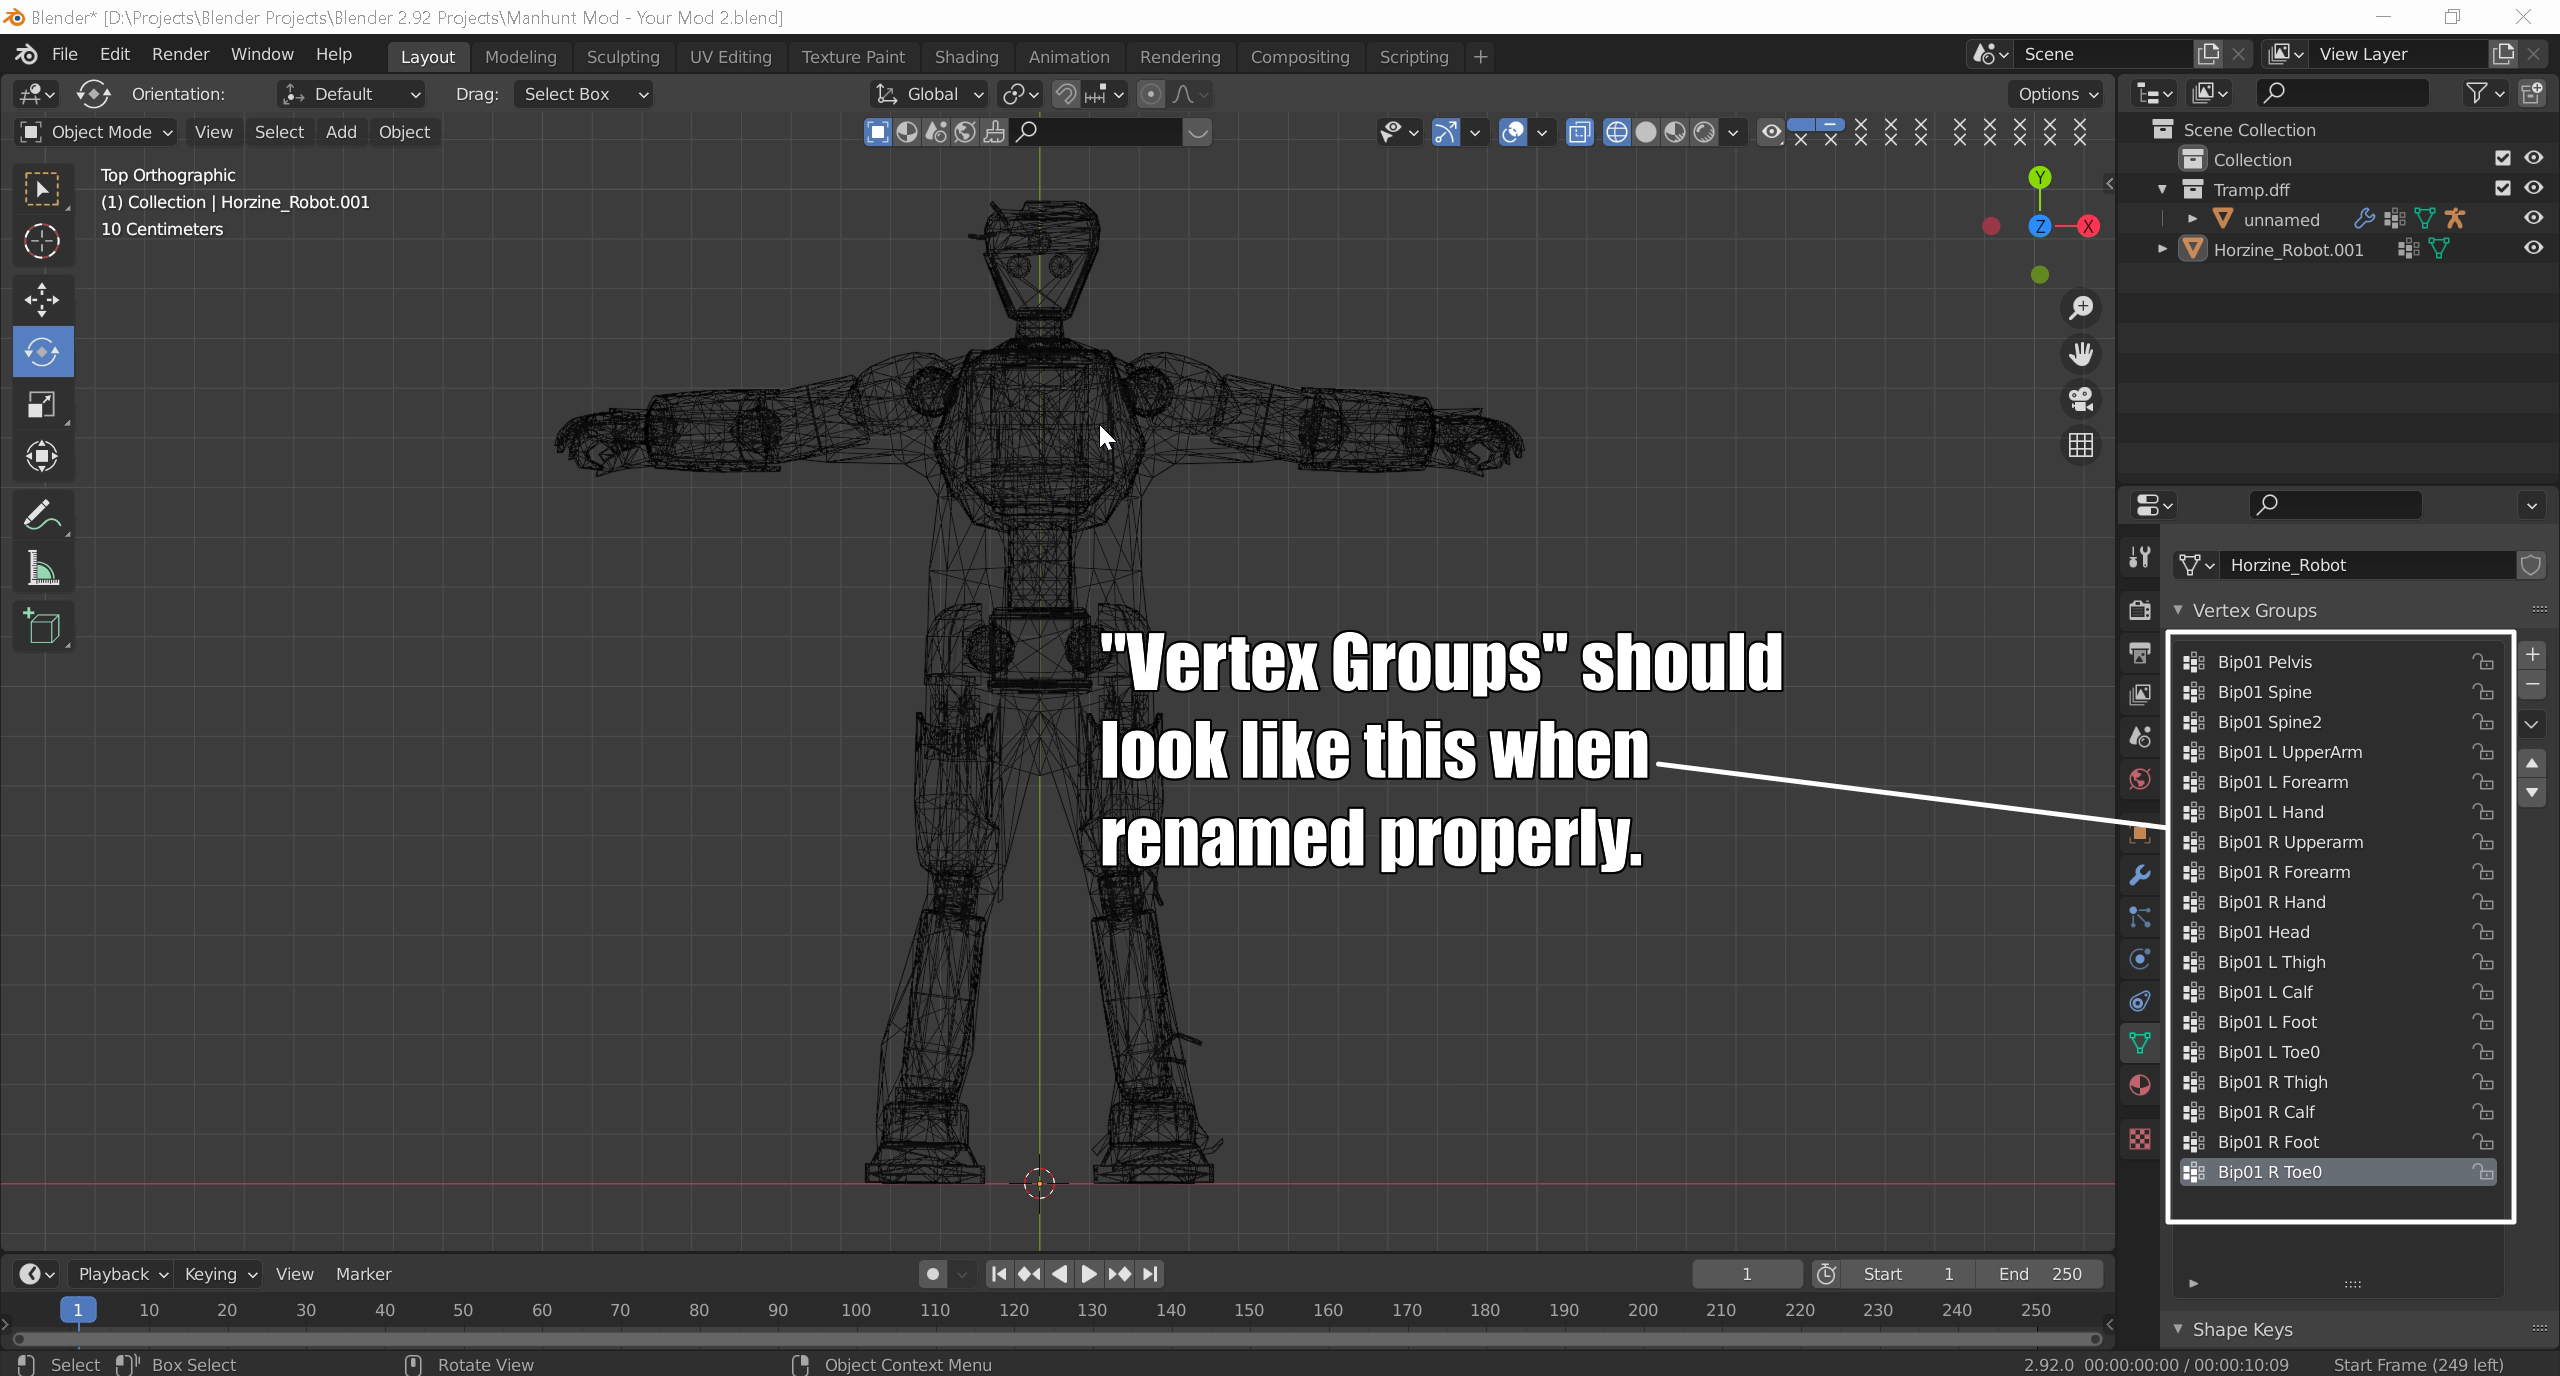
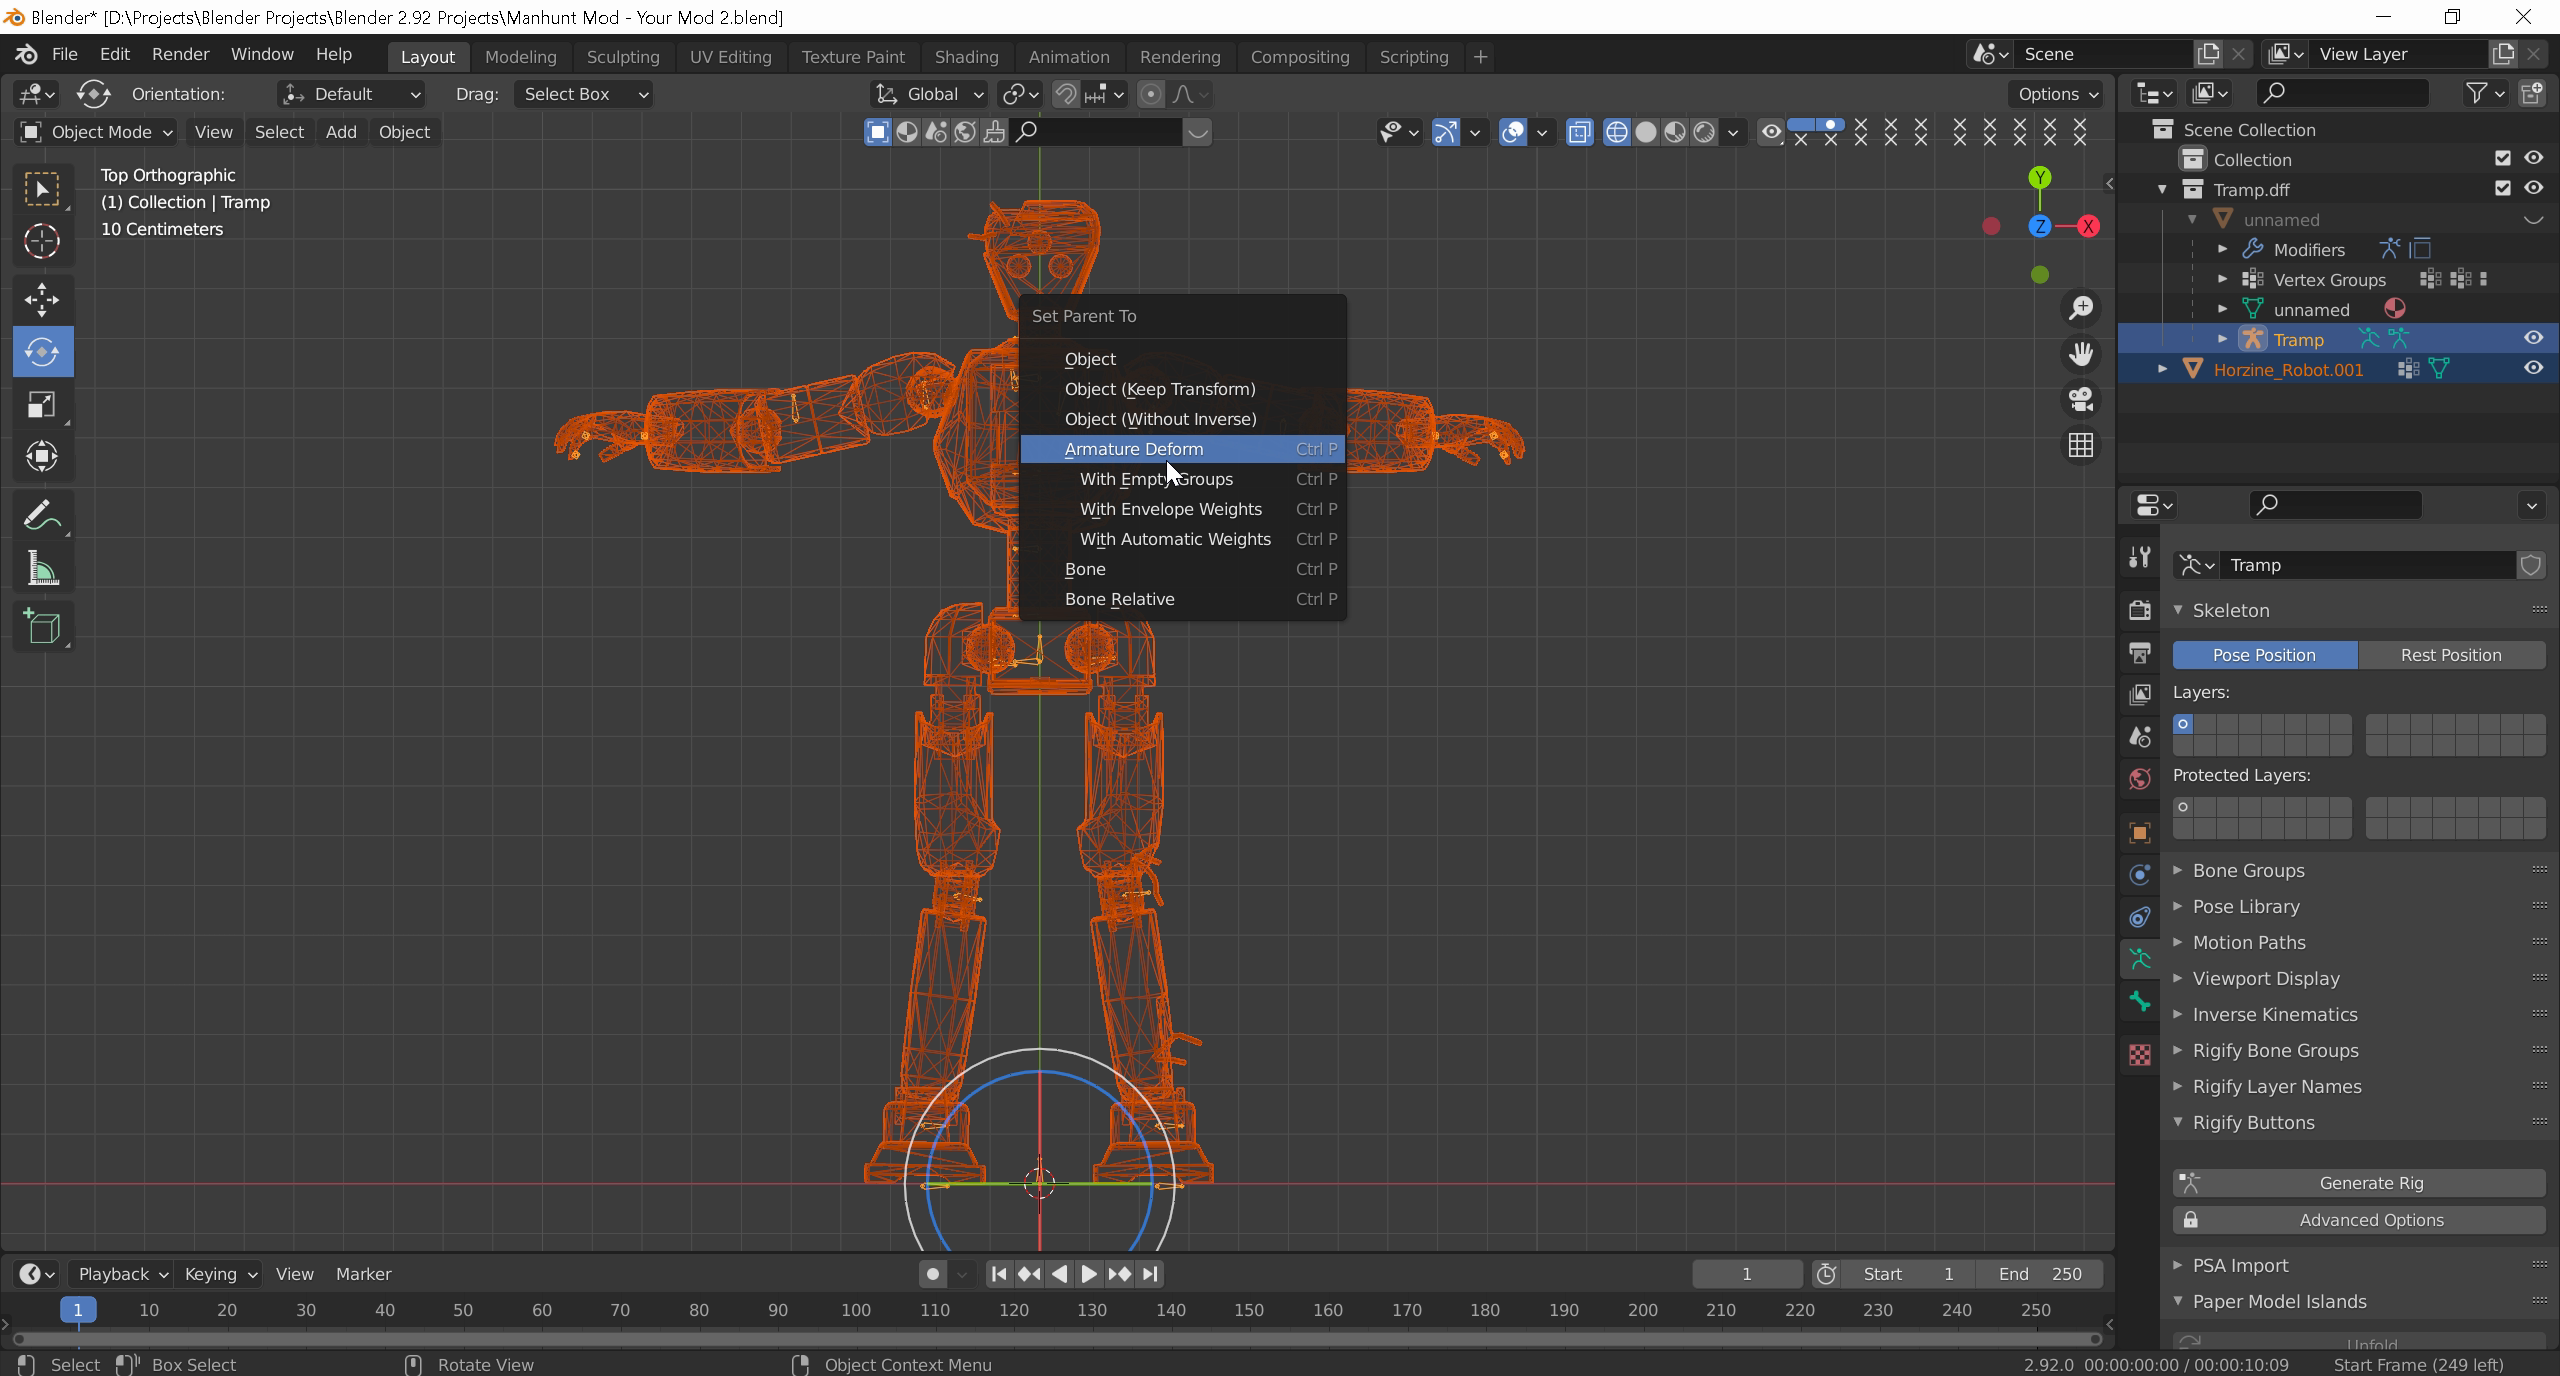
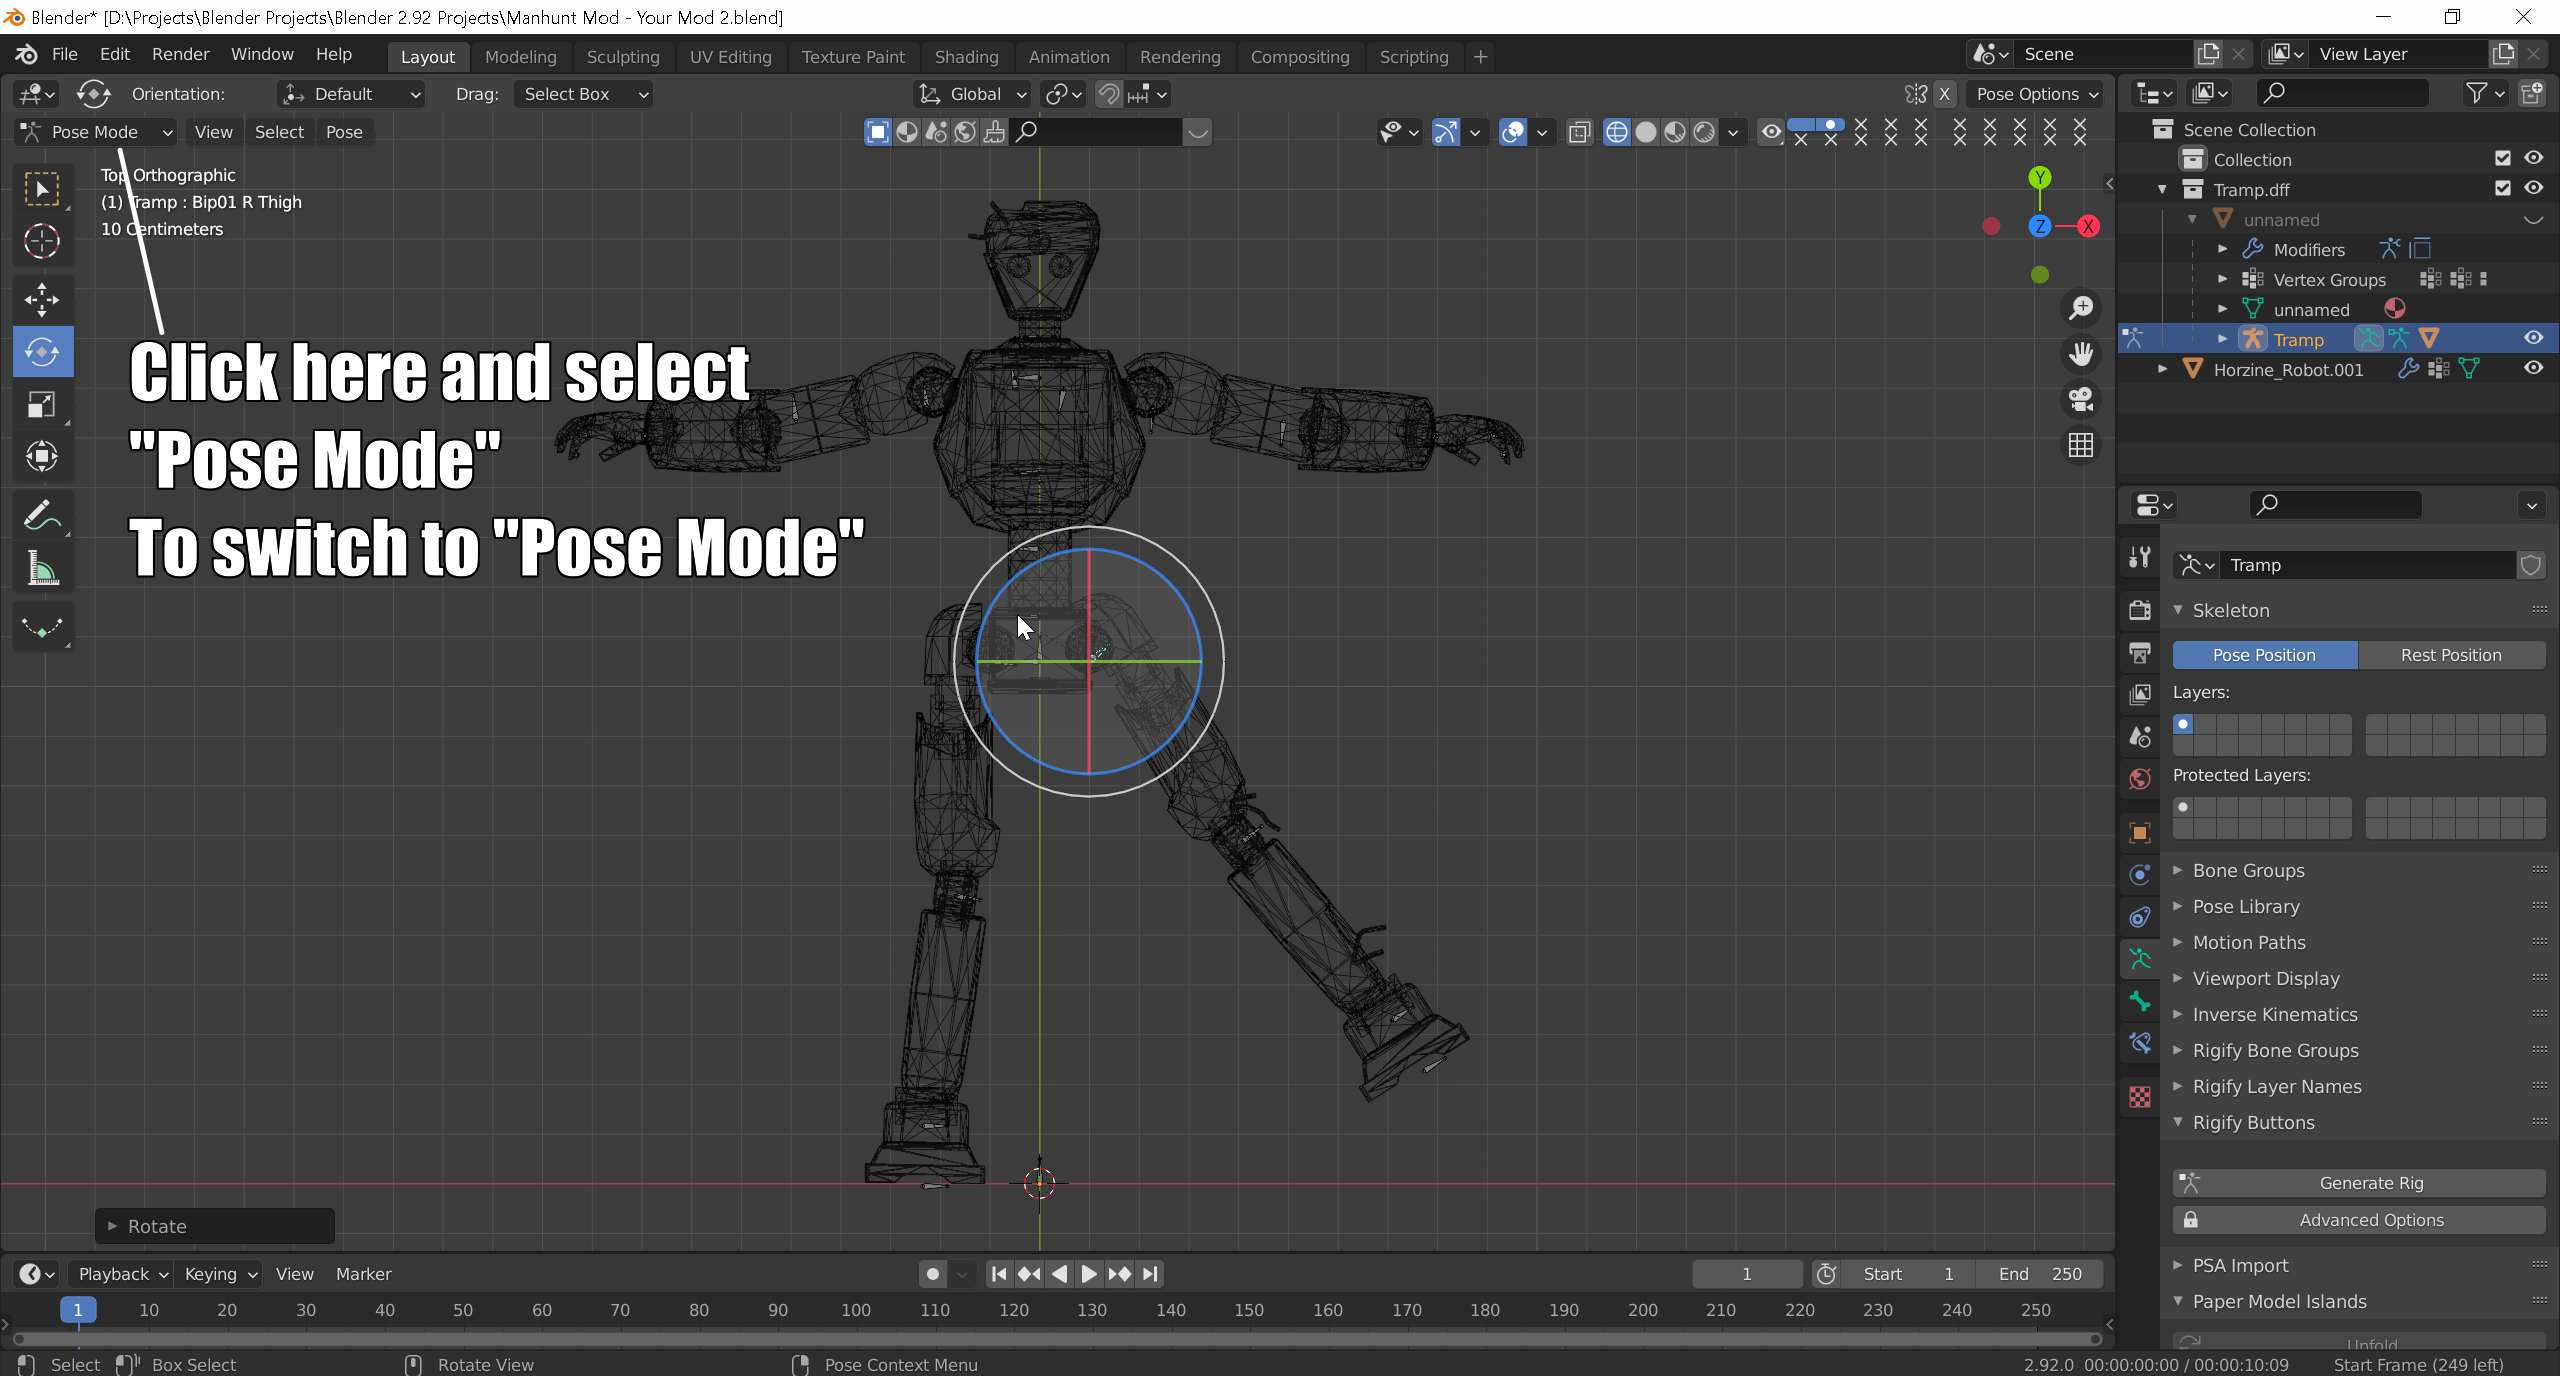
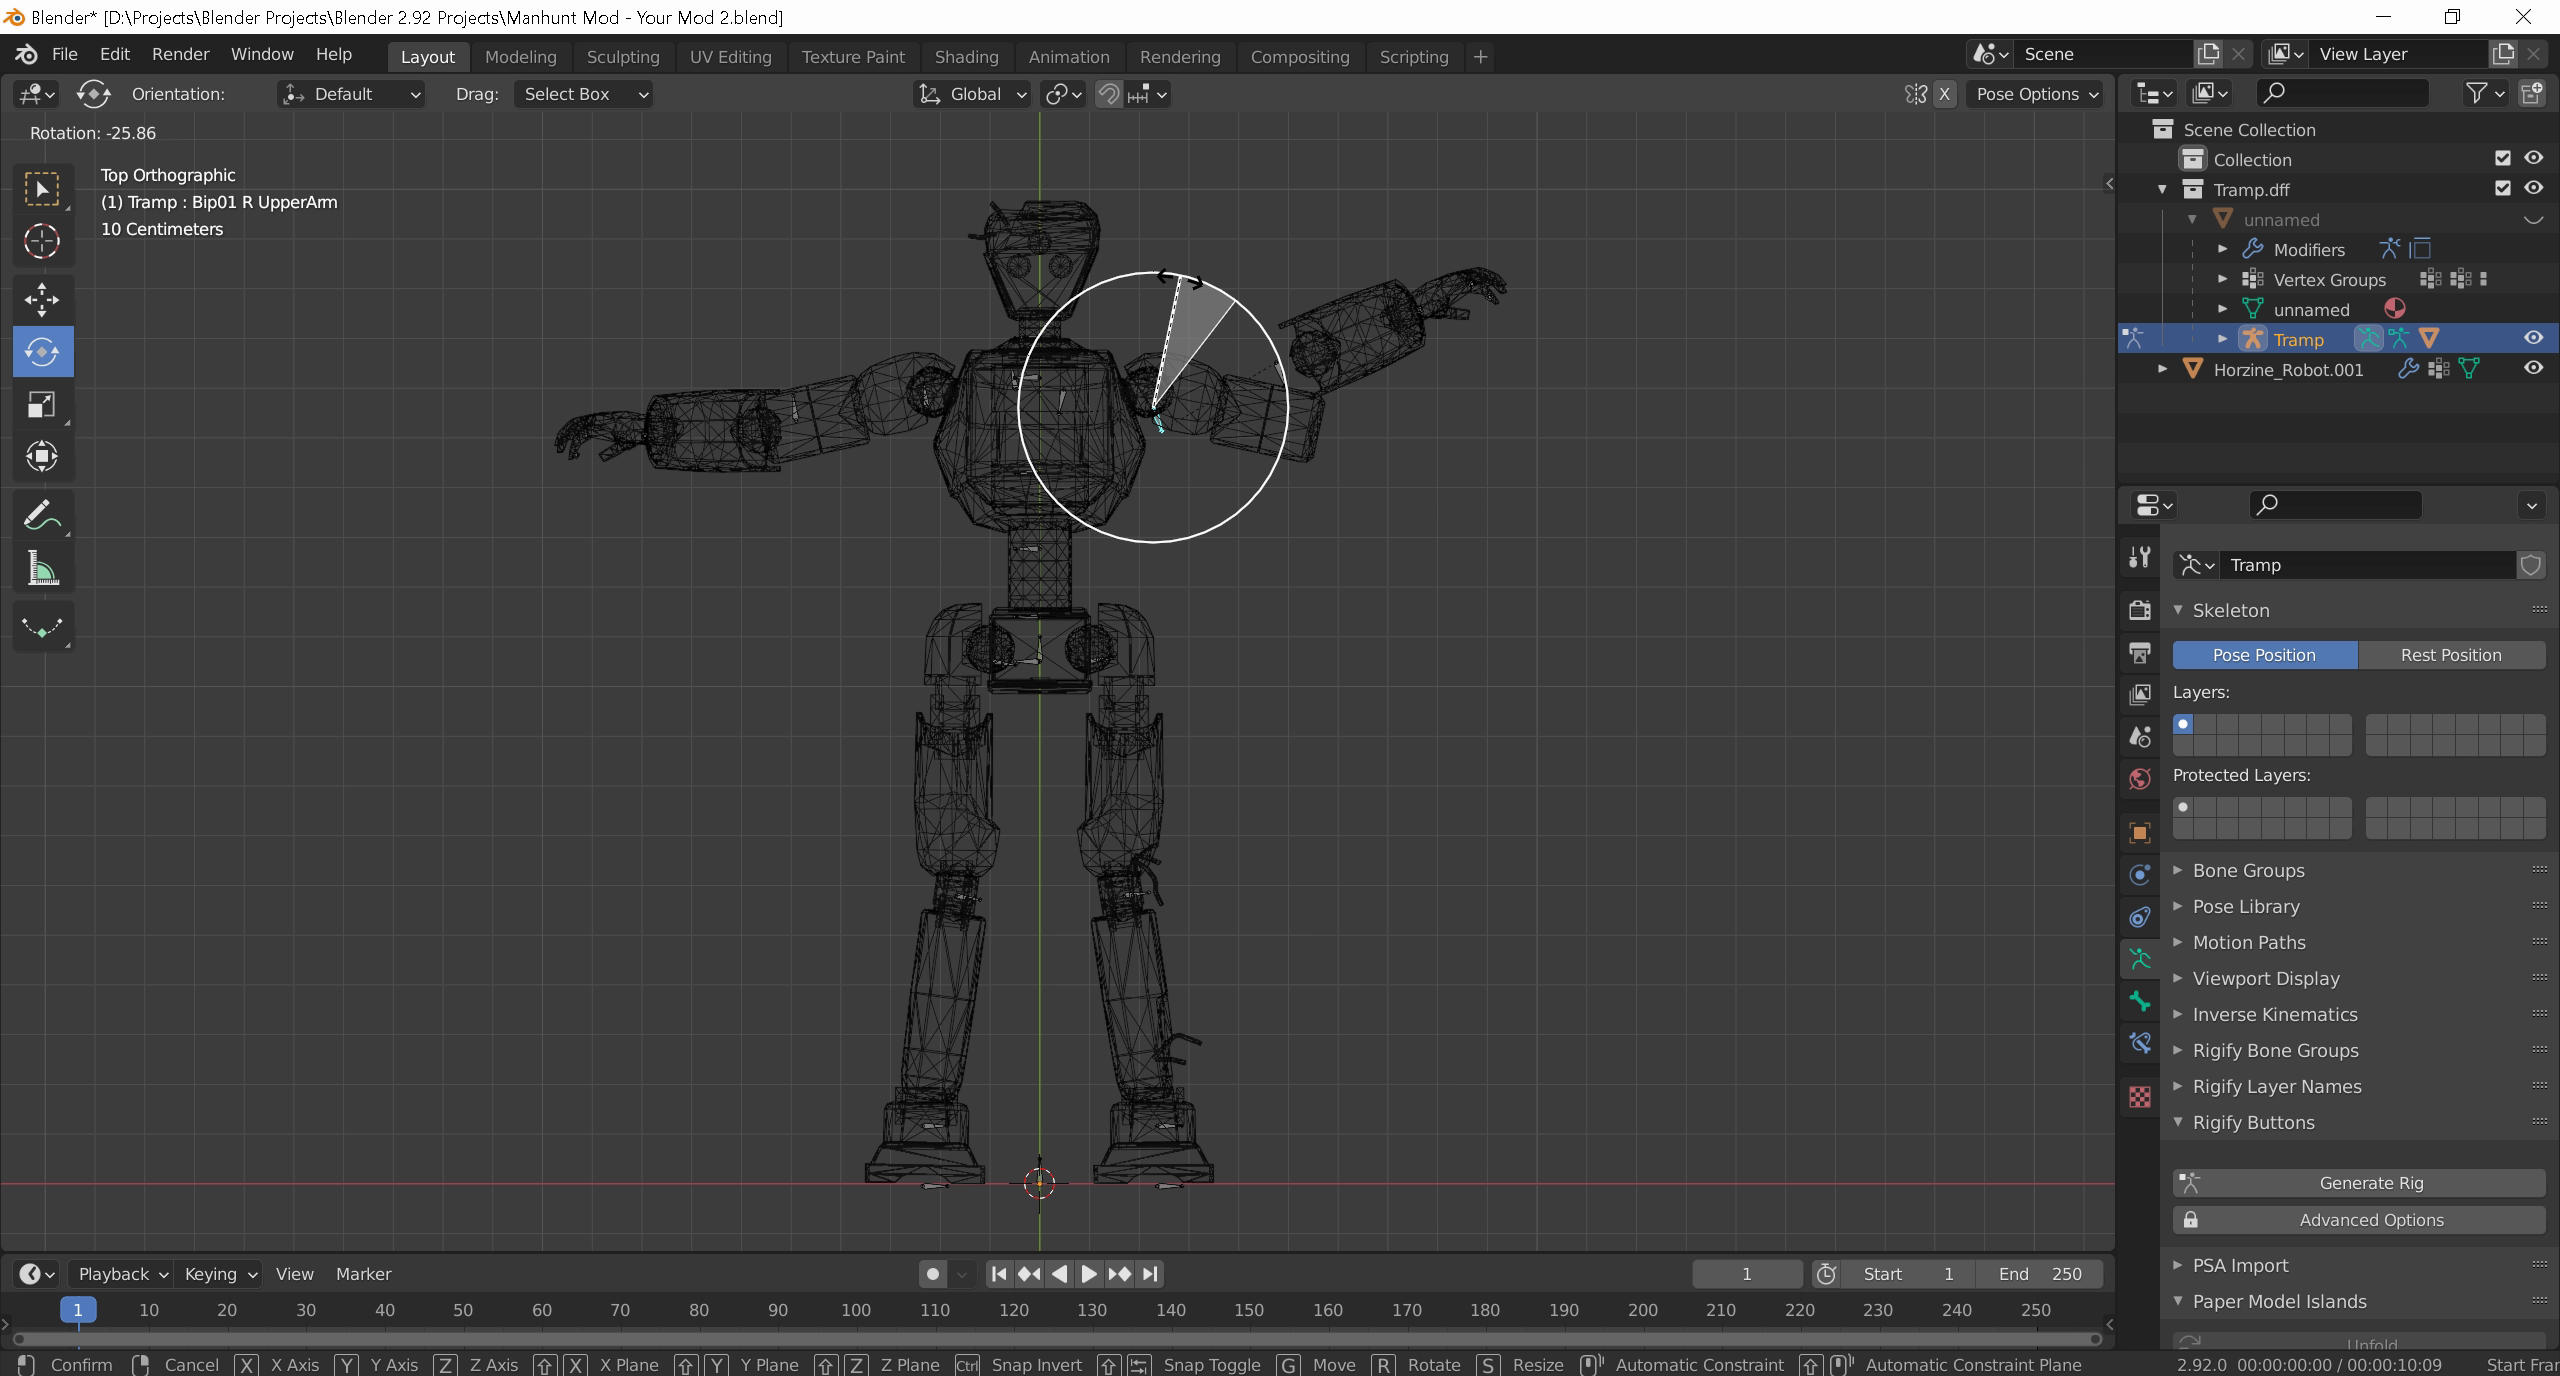
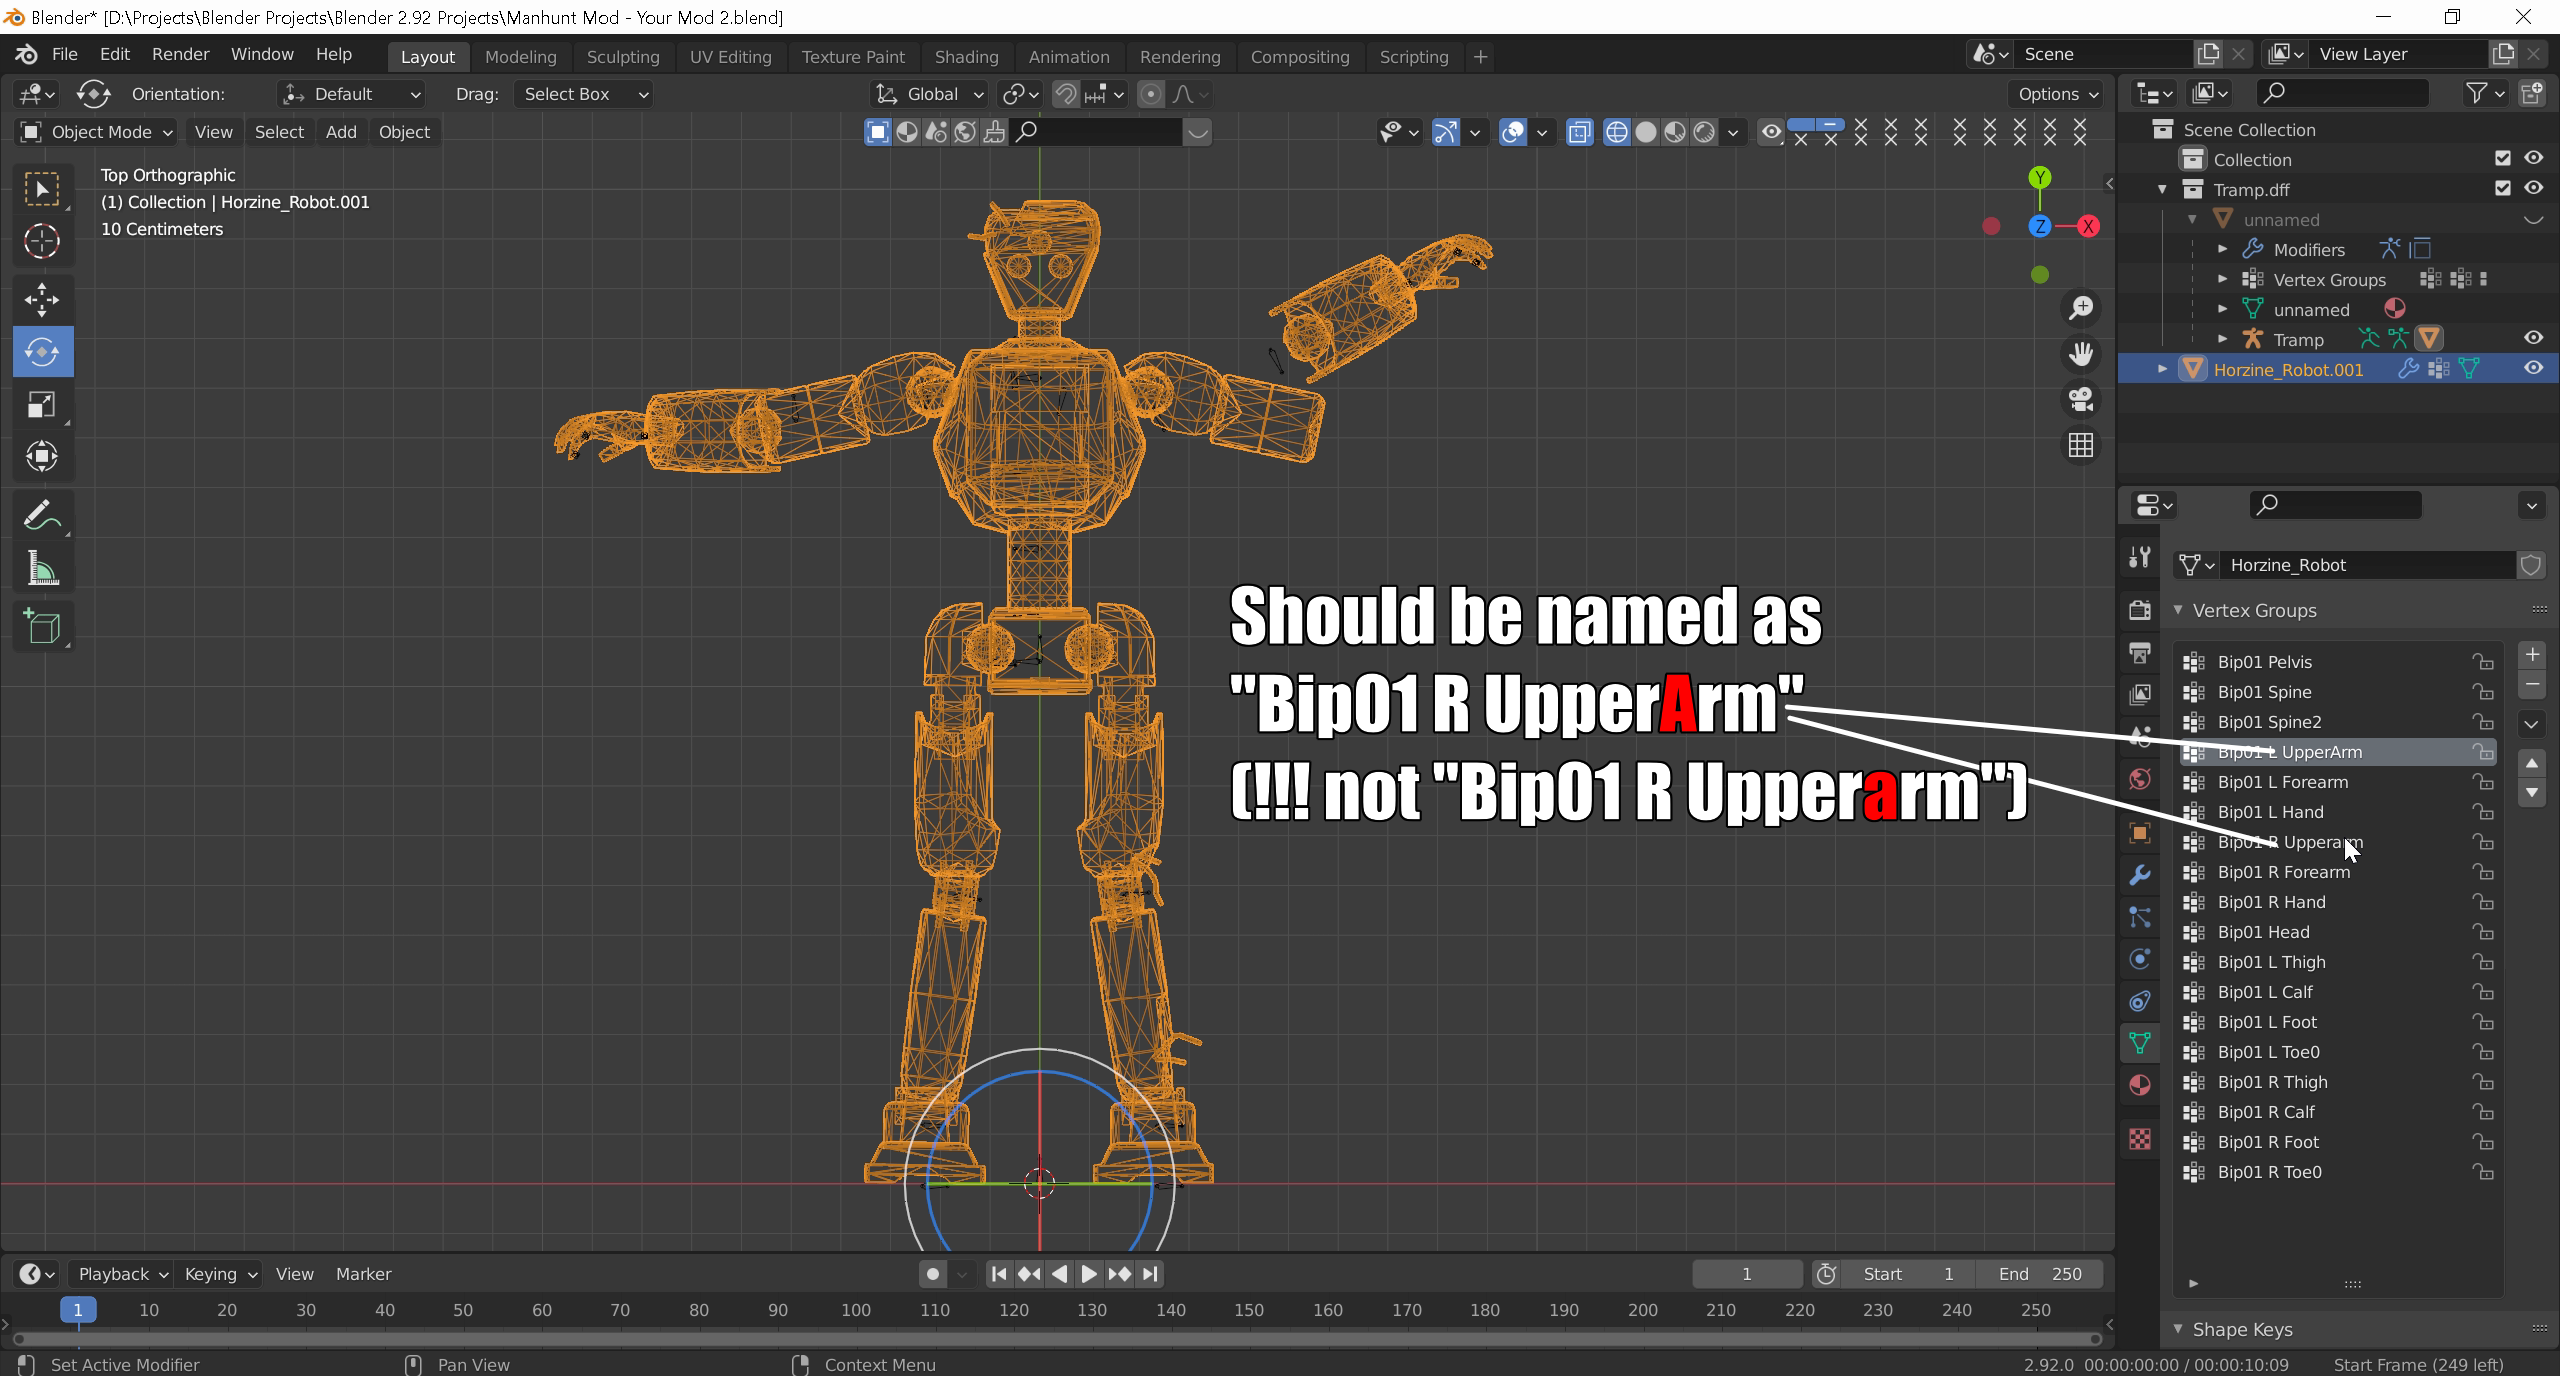
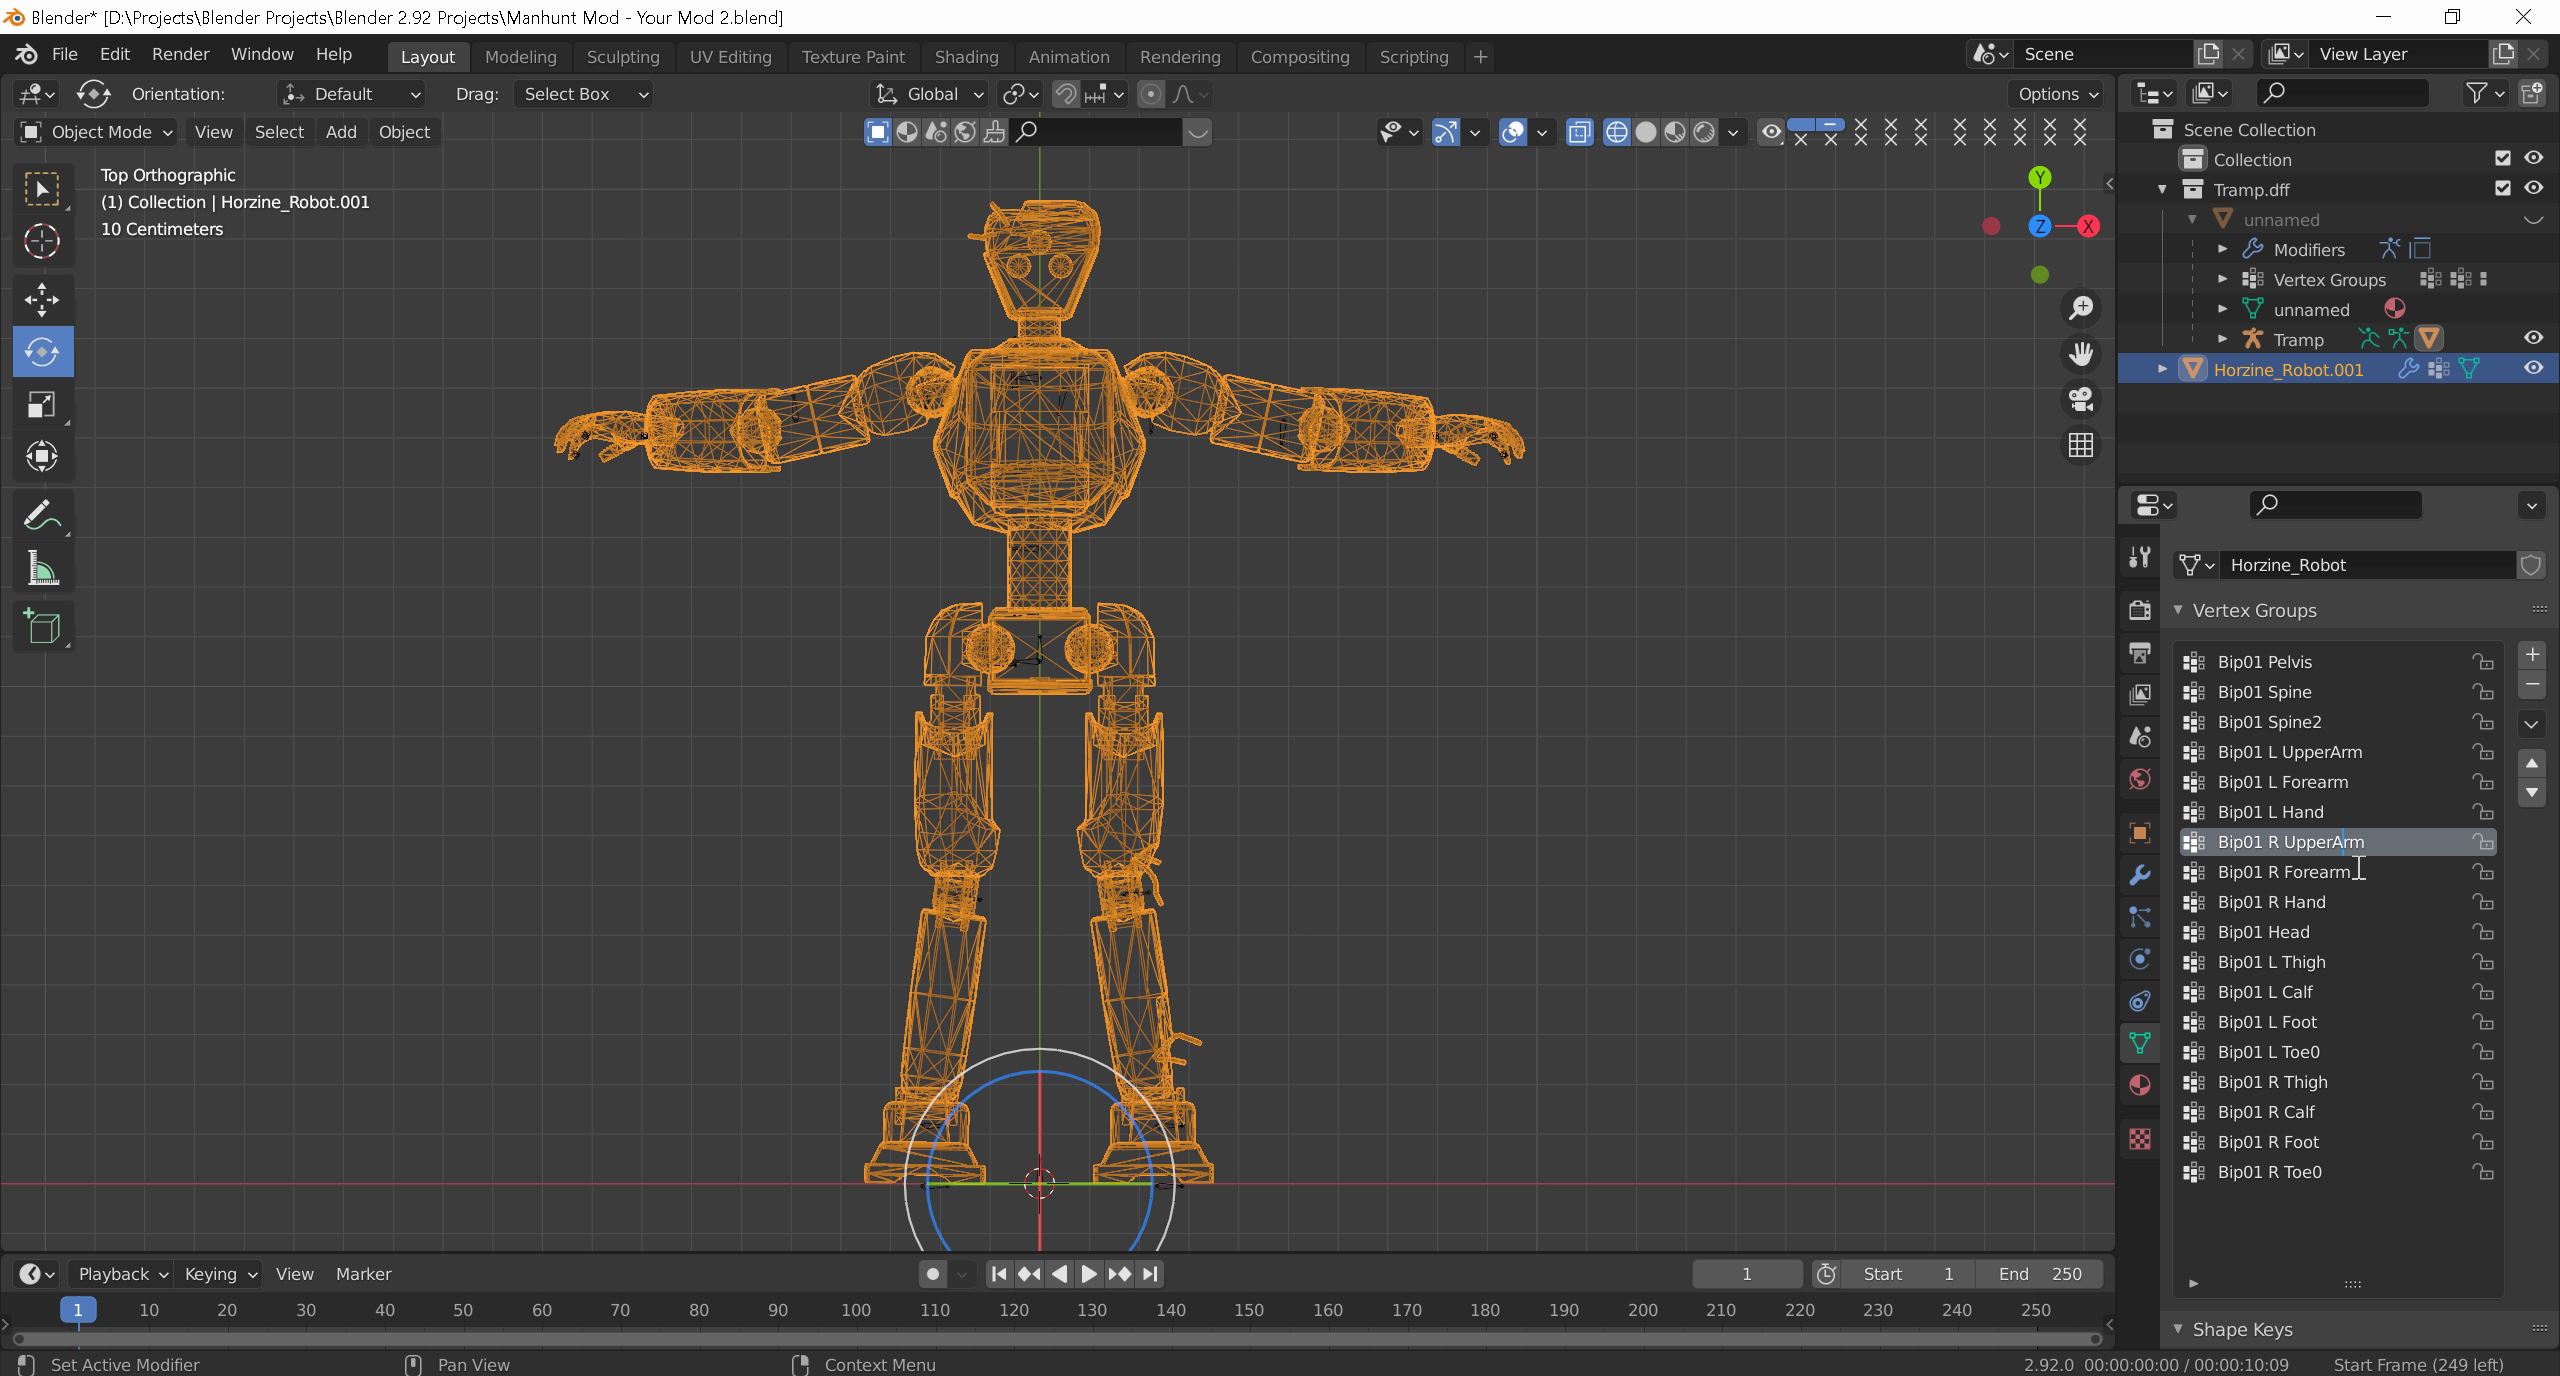
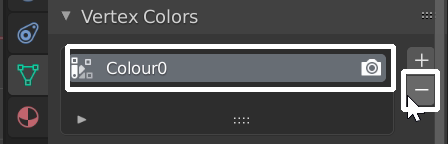
If you haven't, then refer to "Posing your custom model in correct "Rest Pose". Applying transforms." Part of the guide. Read it carefully.

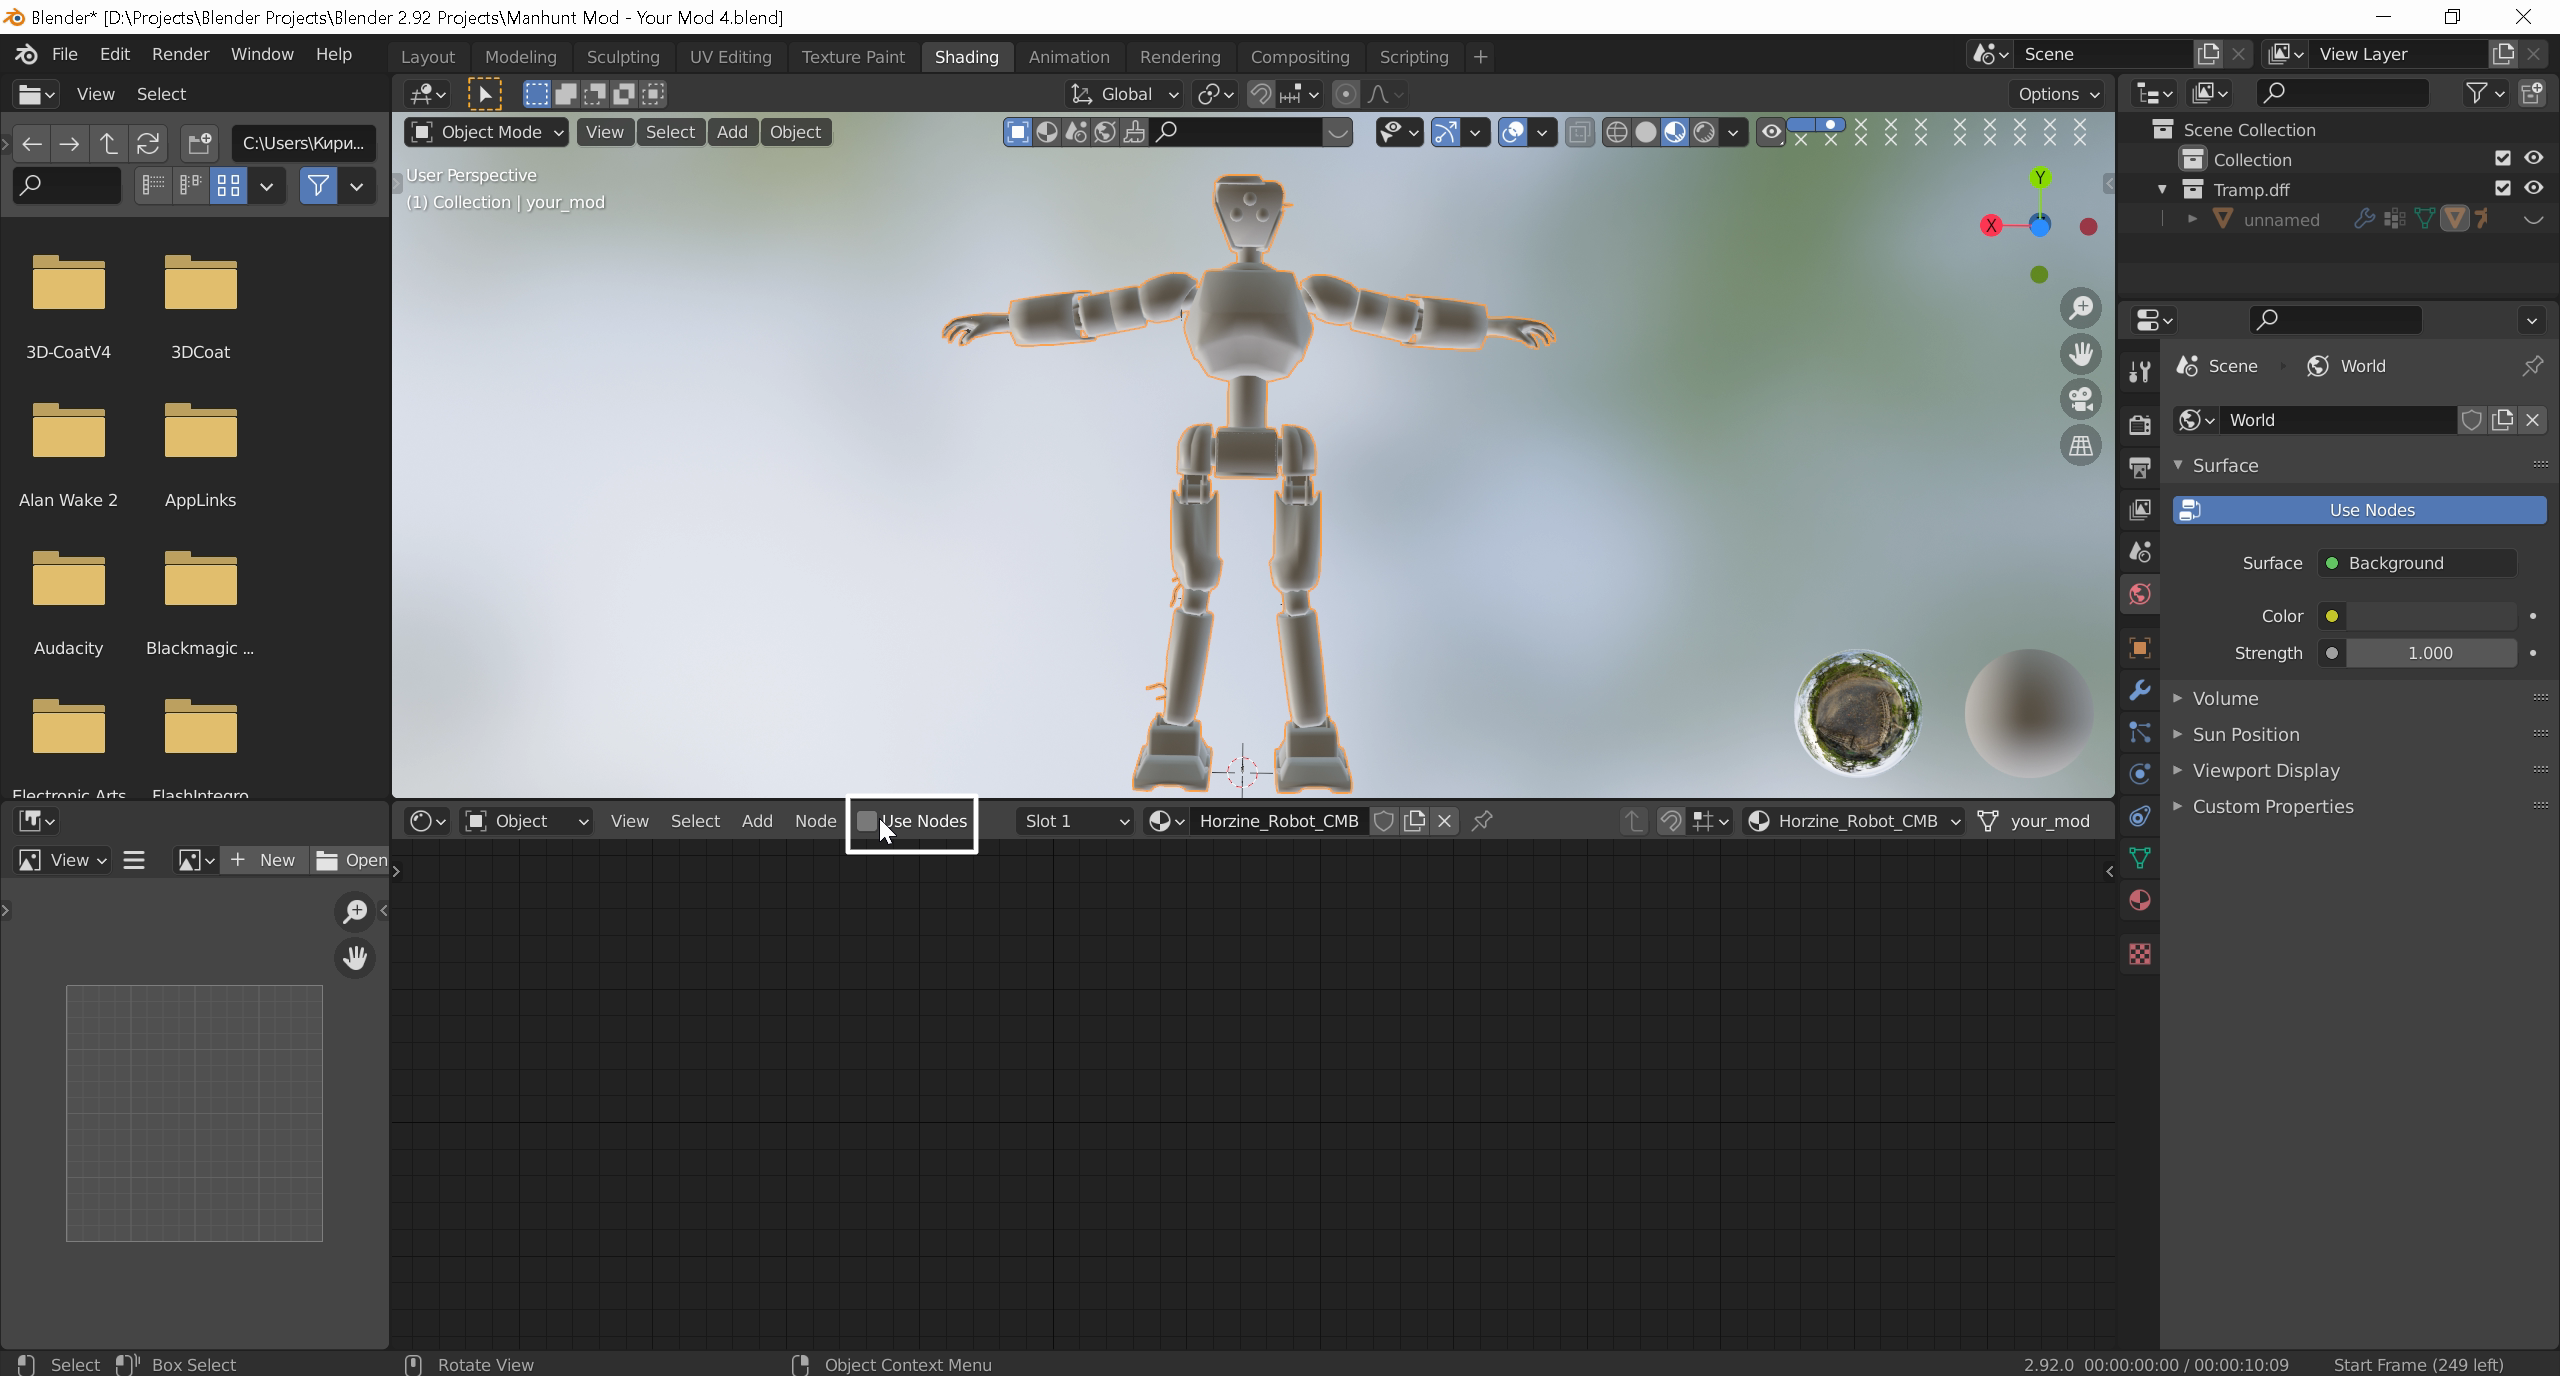
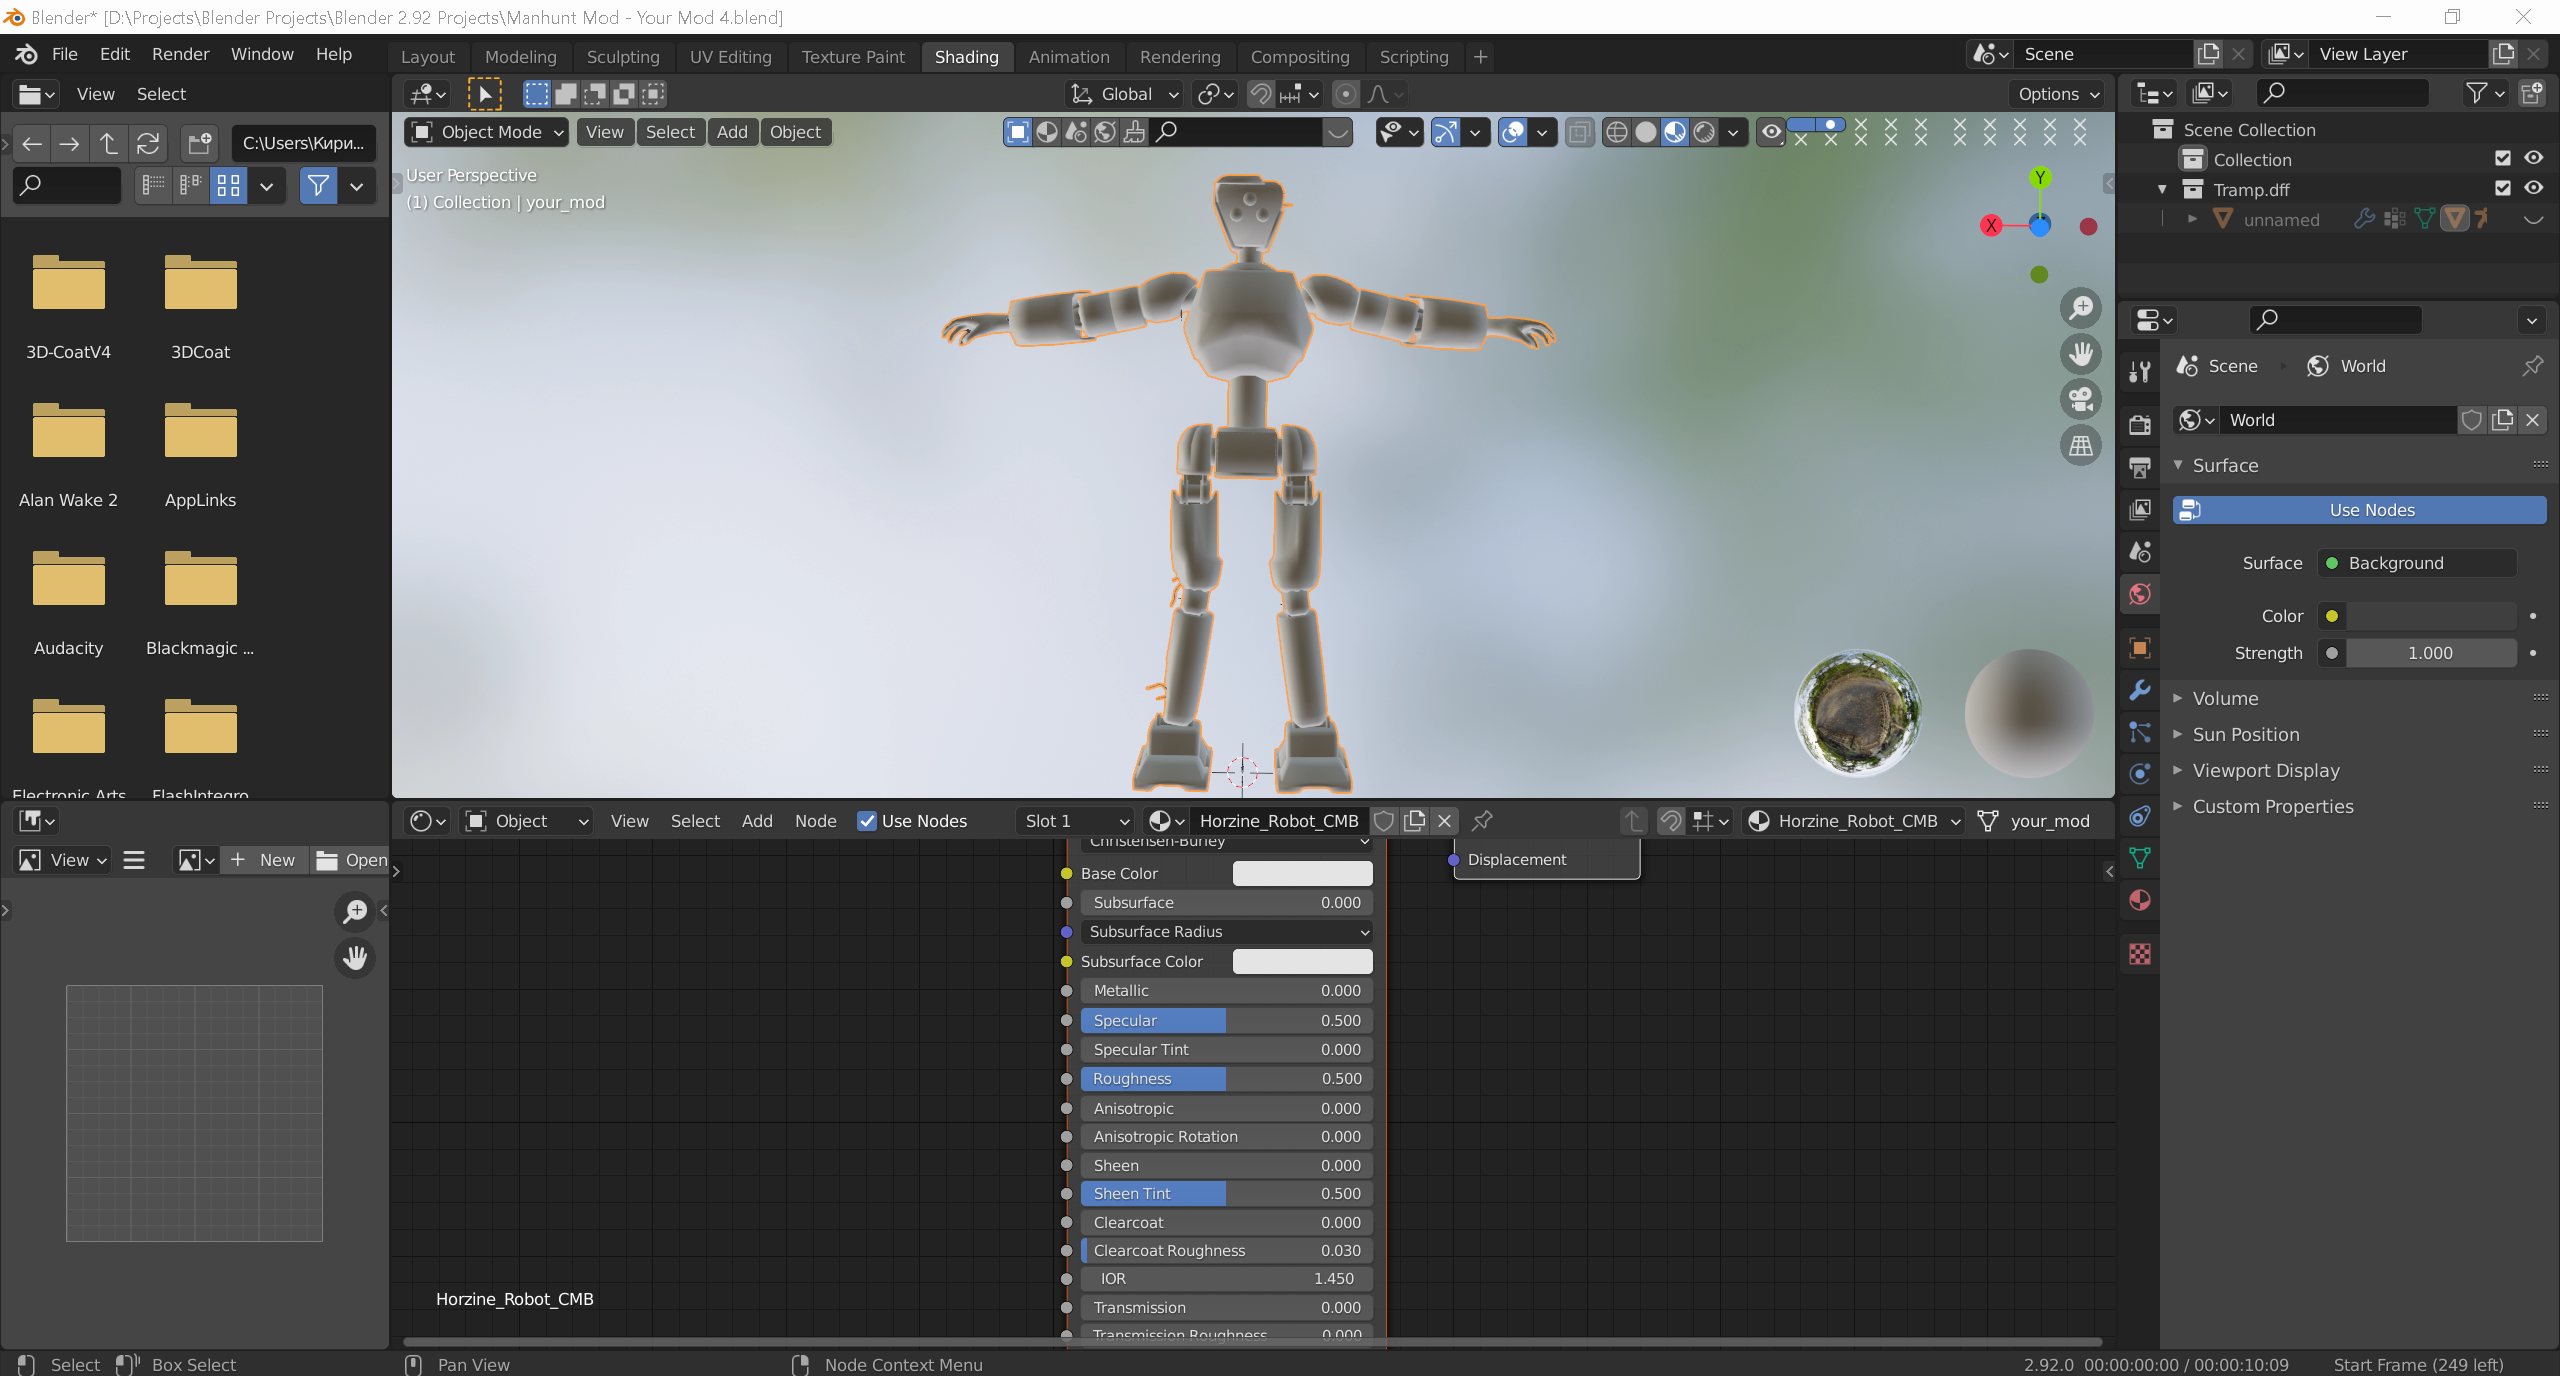
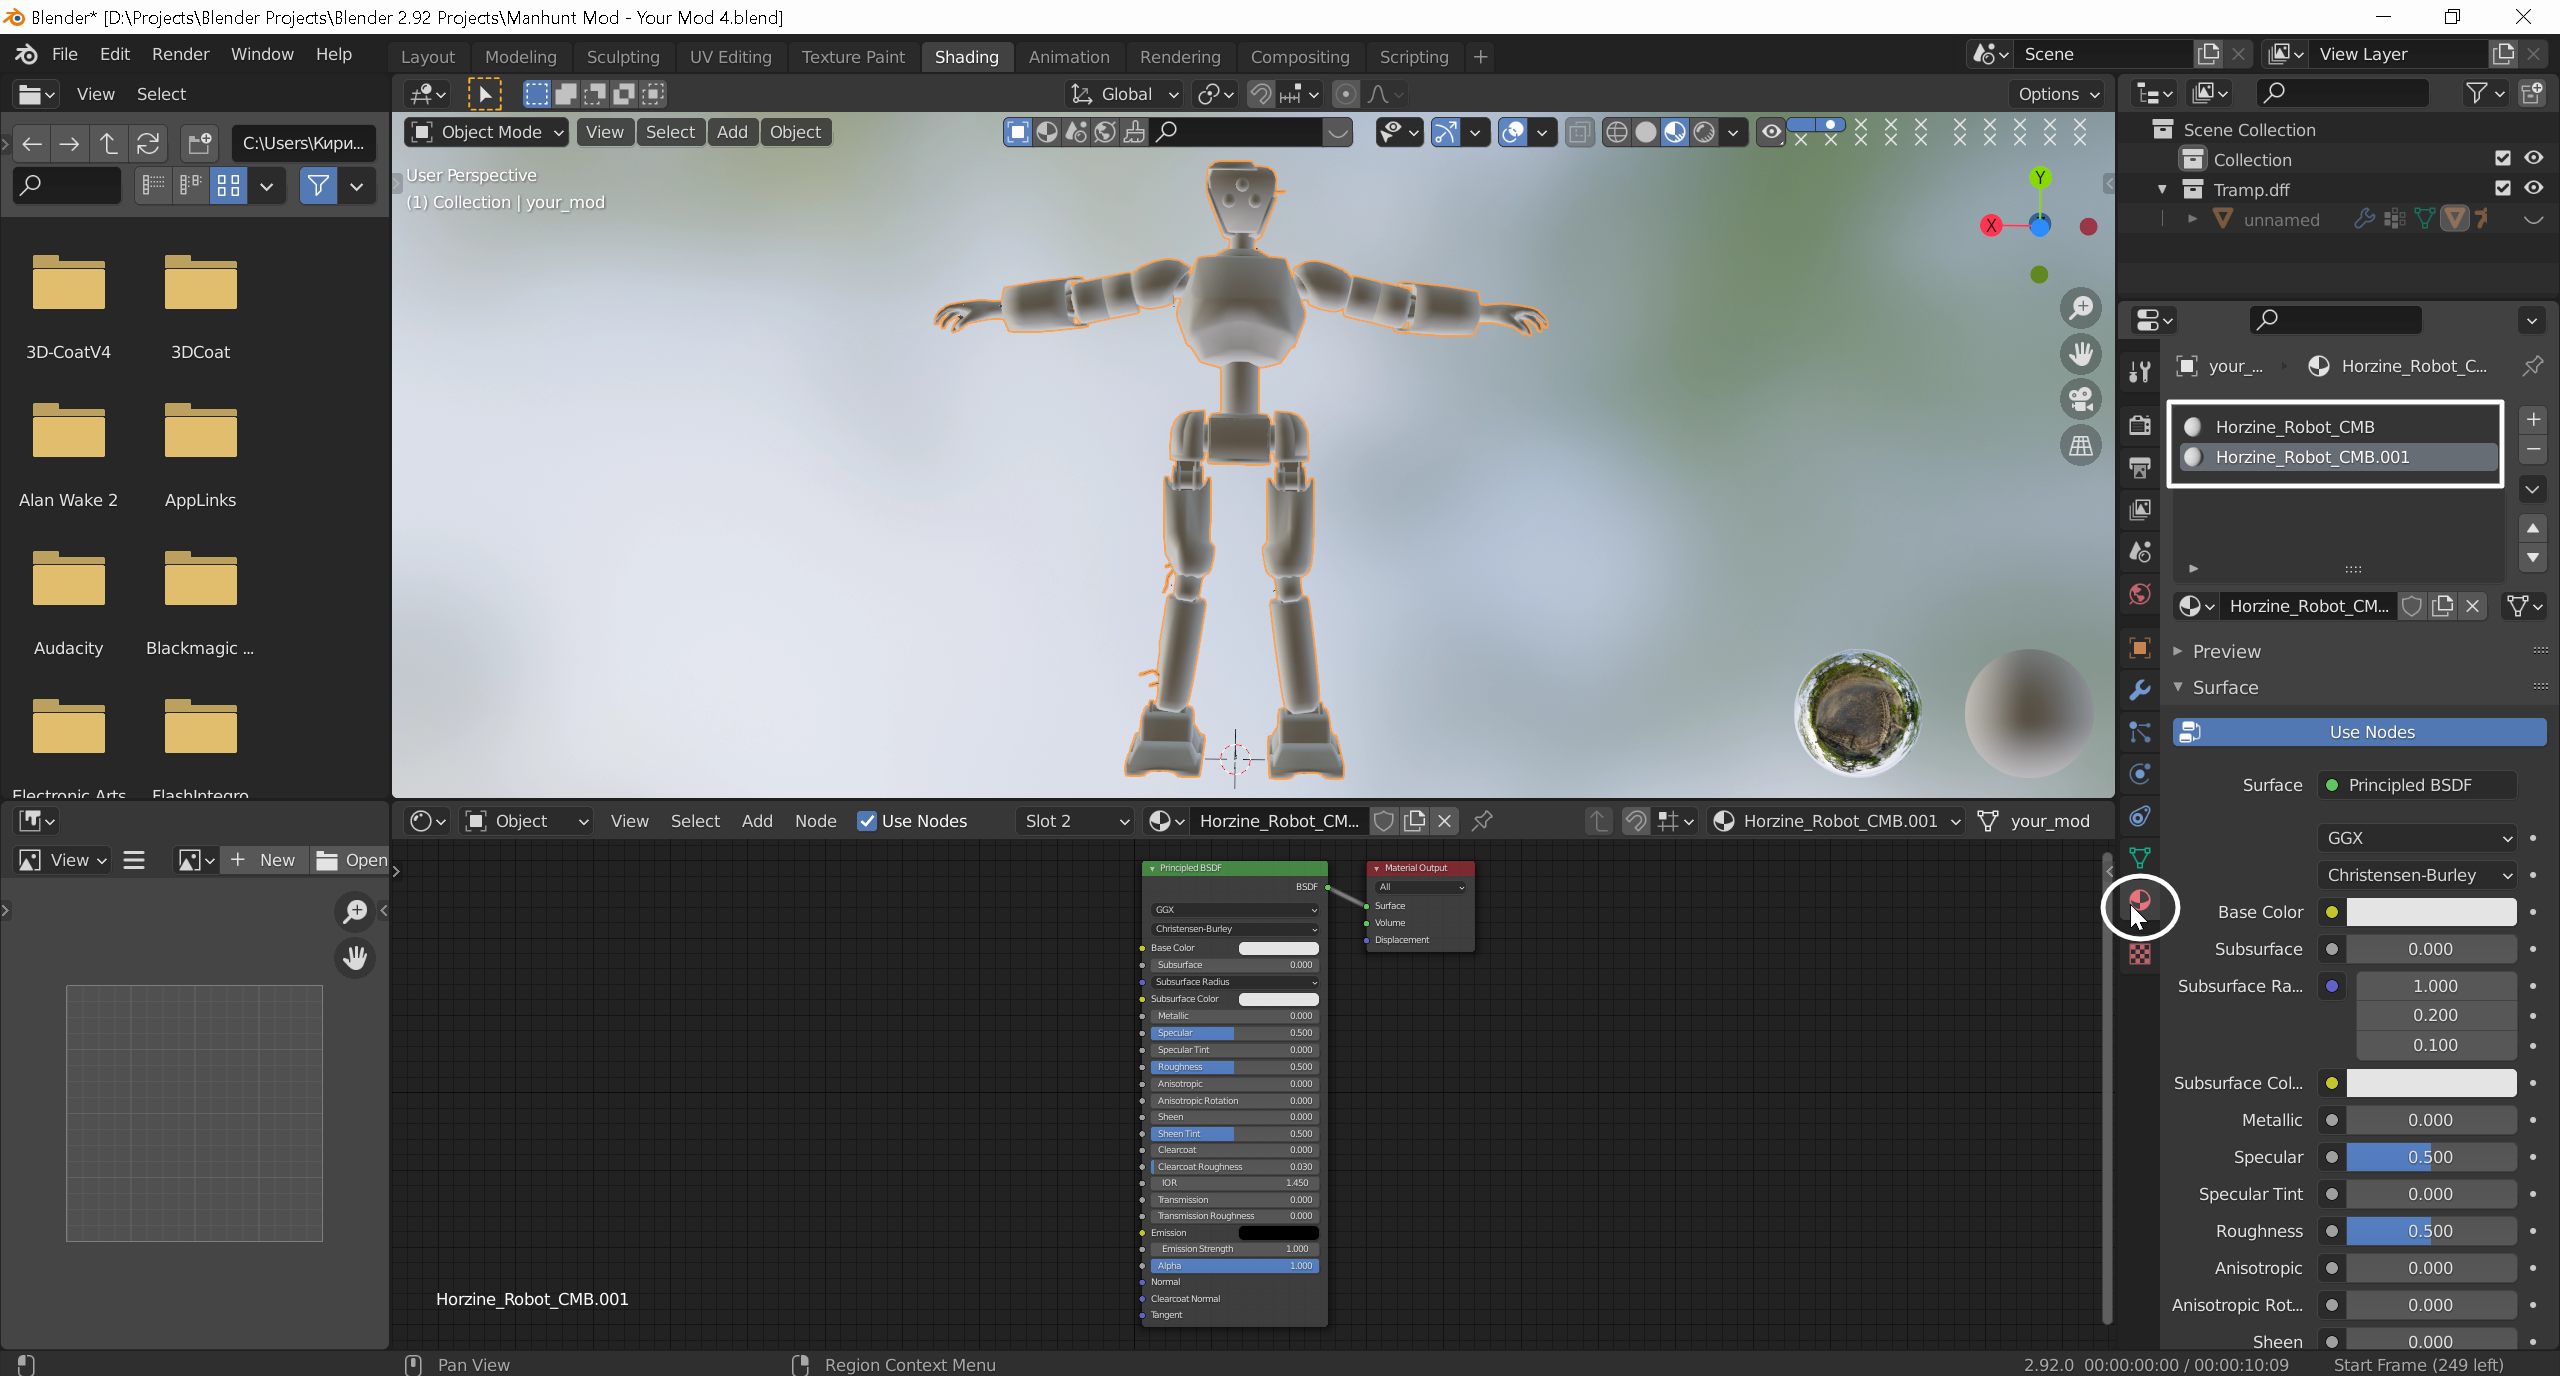
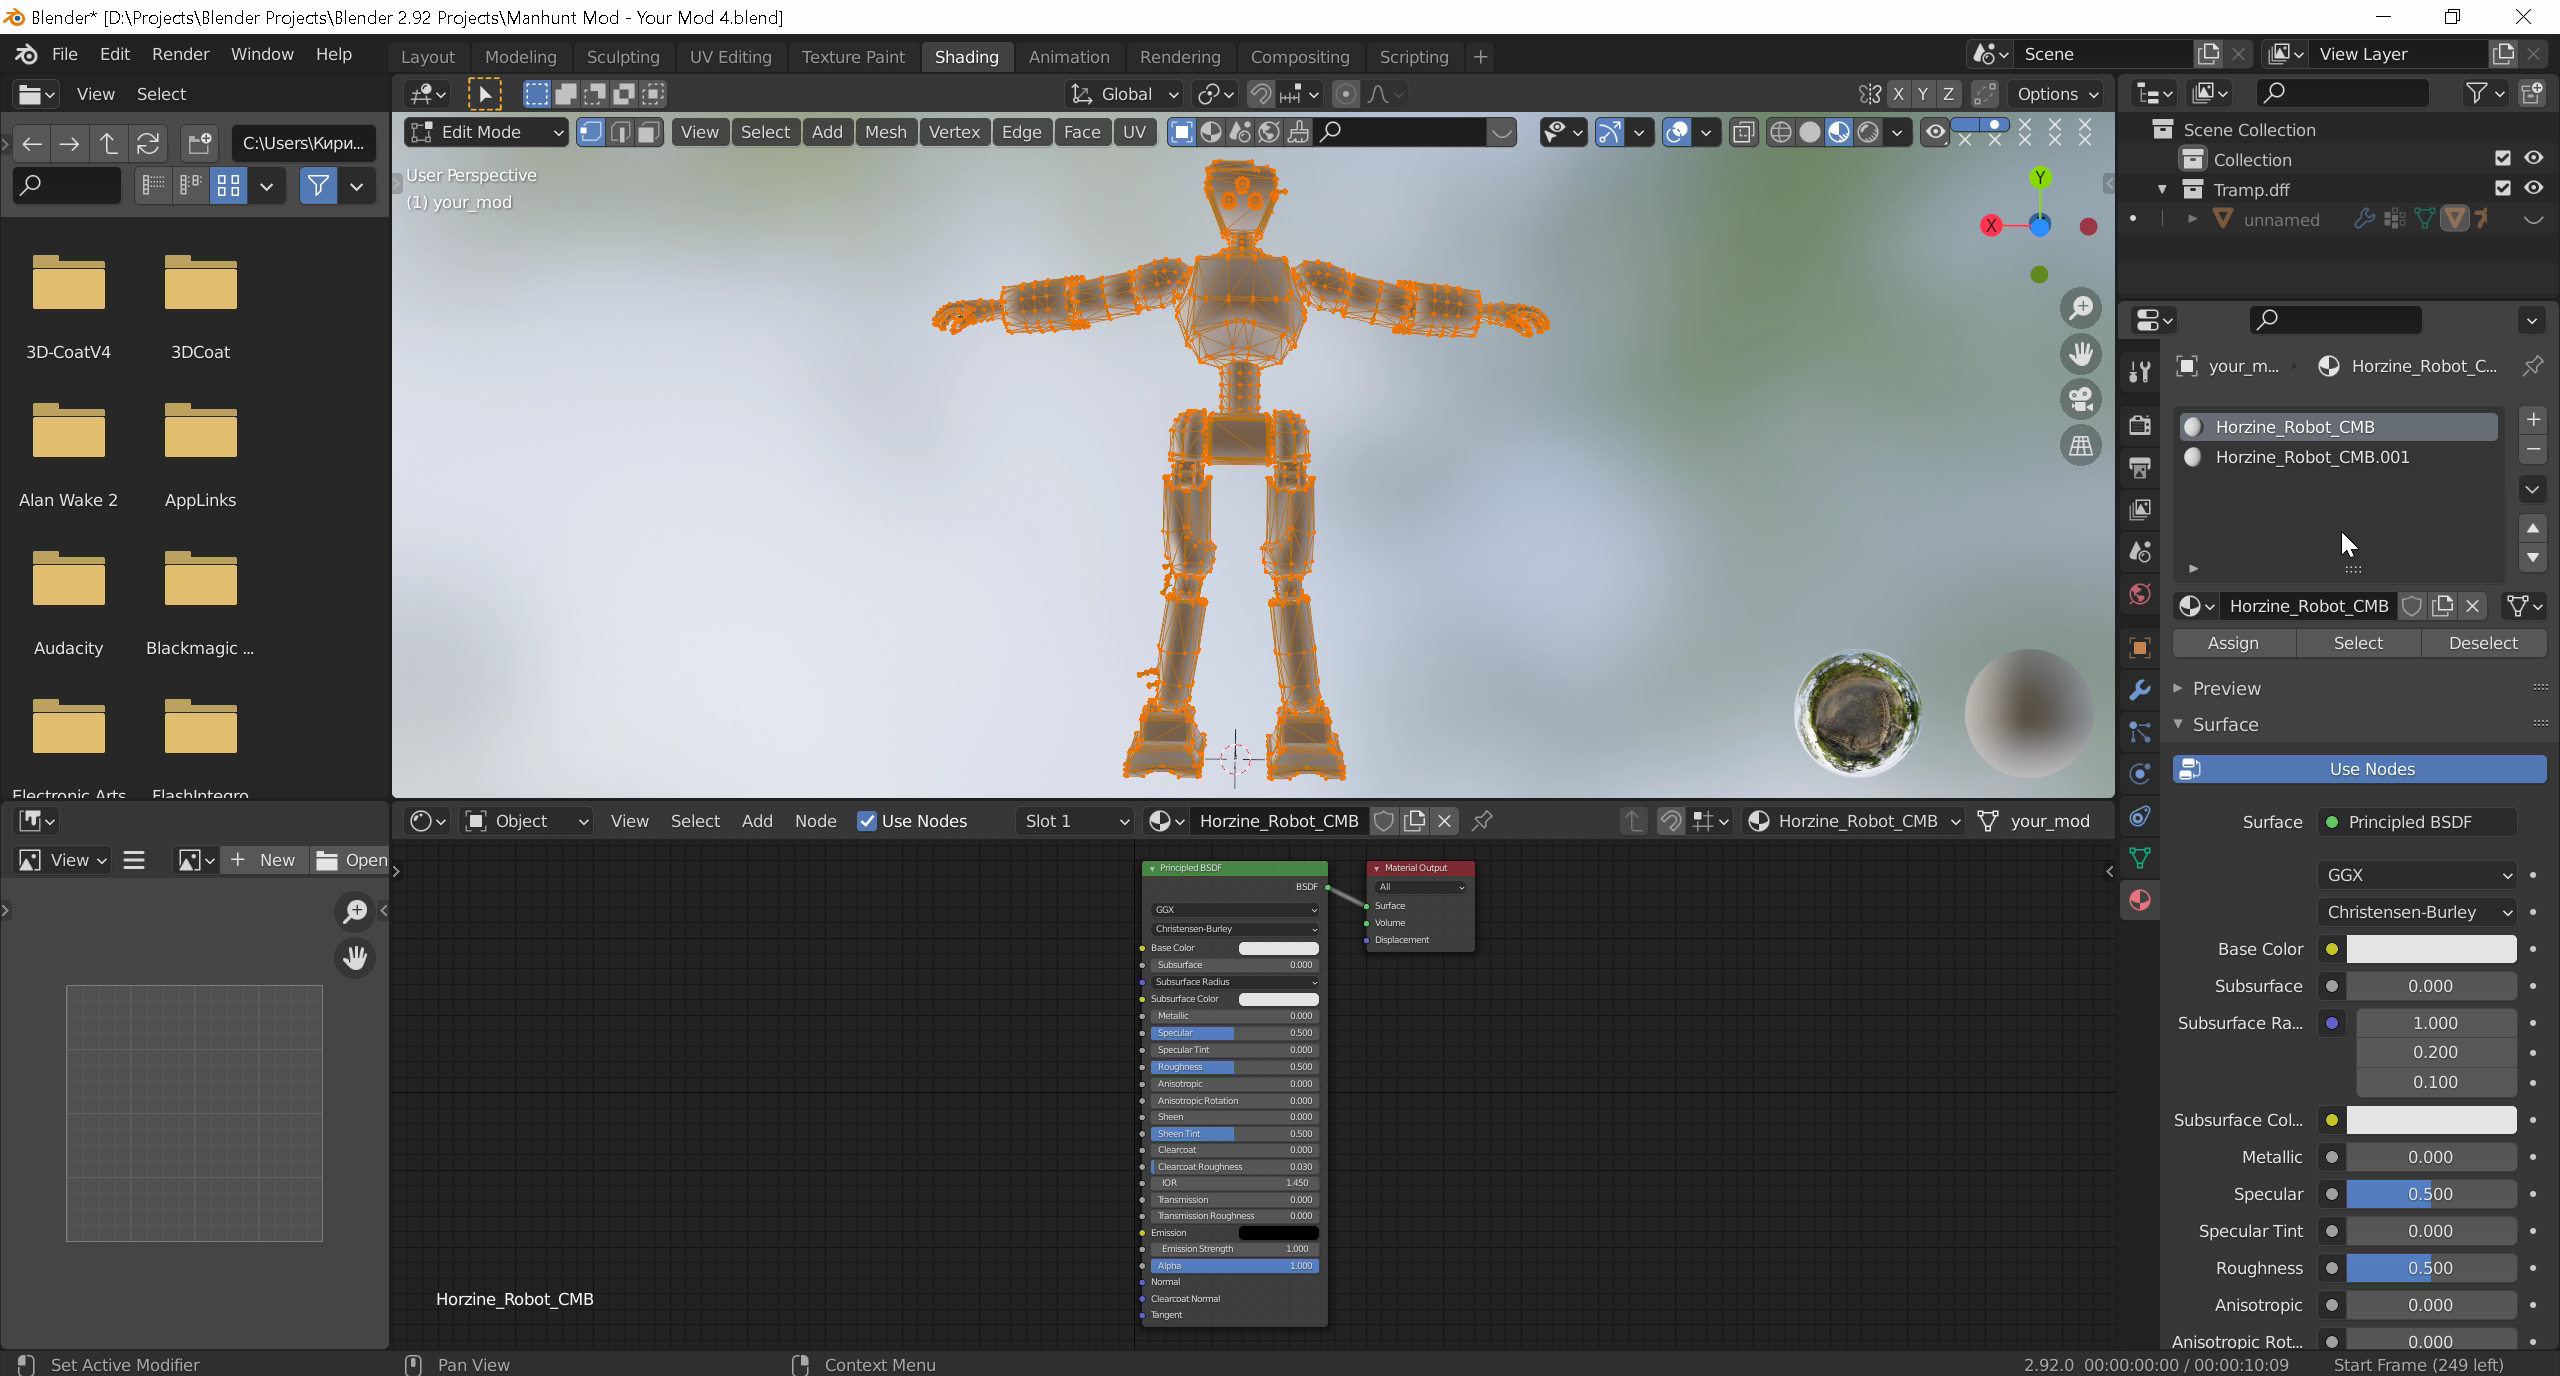
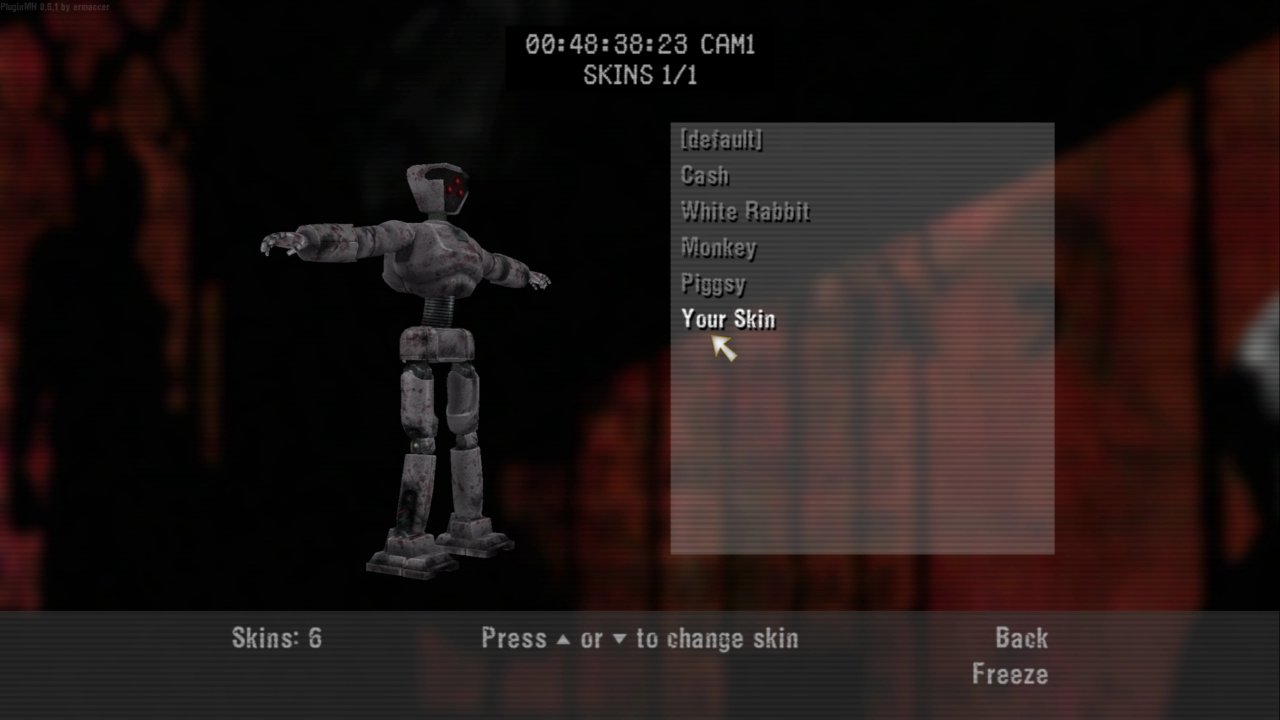
As for the Manhunt Studio, I've never used before. So i can't tell you anything about it.
S1mpl3_pl4y3r  [author] Feb 18 @ 10:54pm 
@ph0ne (greatijedi) Lets start from the beginning. You have Blender opened up. You have imported the reference model with skeleton (reference model and skeleton should be left untouched, there is nothing needs to be done for them). Then, you have your custom model with skeleton. While in Blender's "Object Mode" select the skeleton of your custom model, align it with the reference model's proportions.
ph0ne (greatijedi) Feb 18 @ 11:47am 
I'm having some difficulty with aligning the axes.

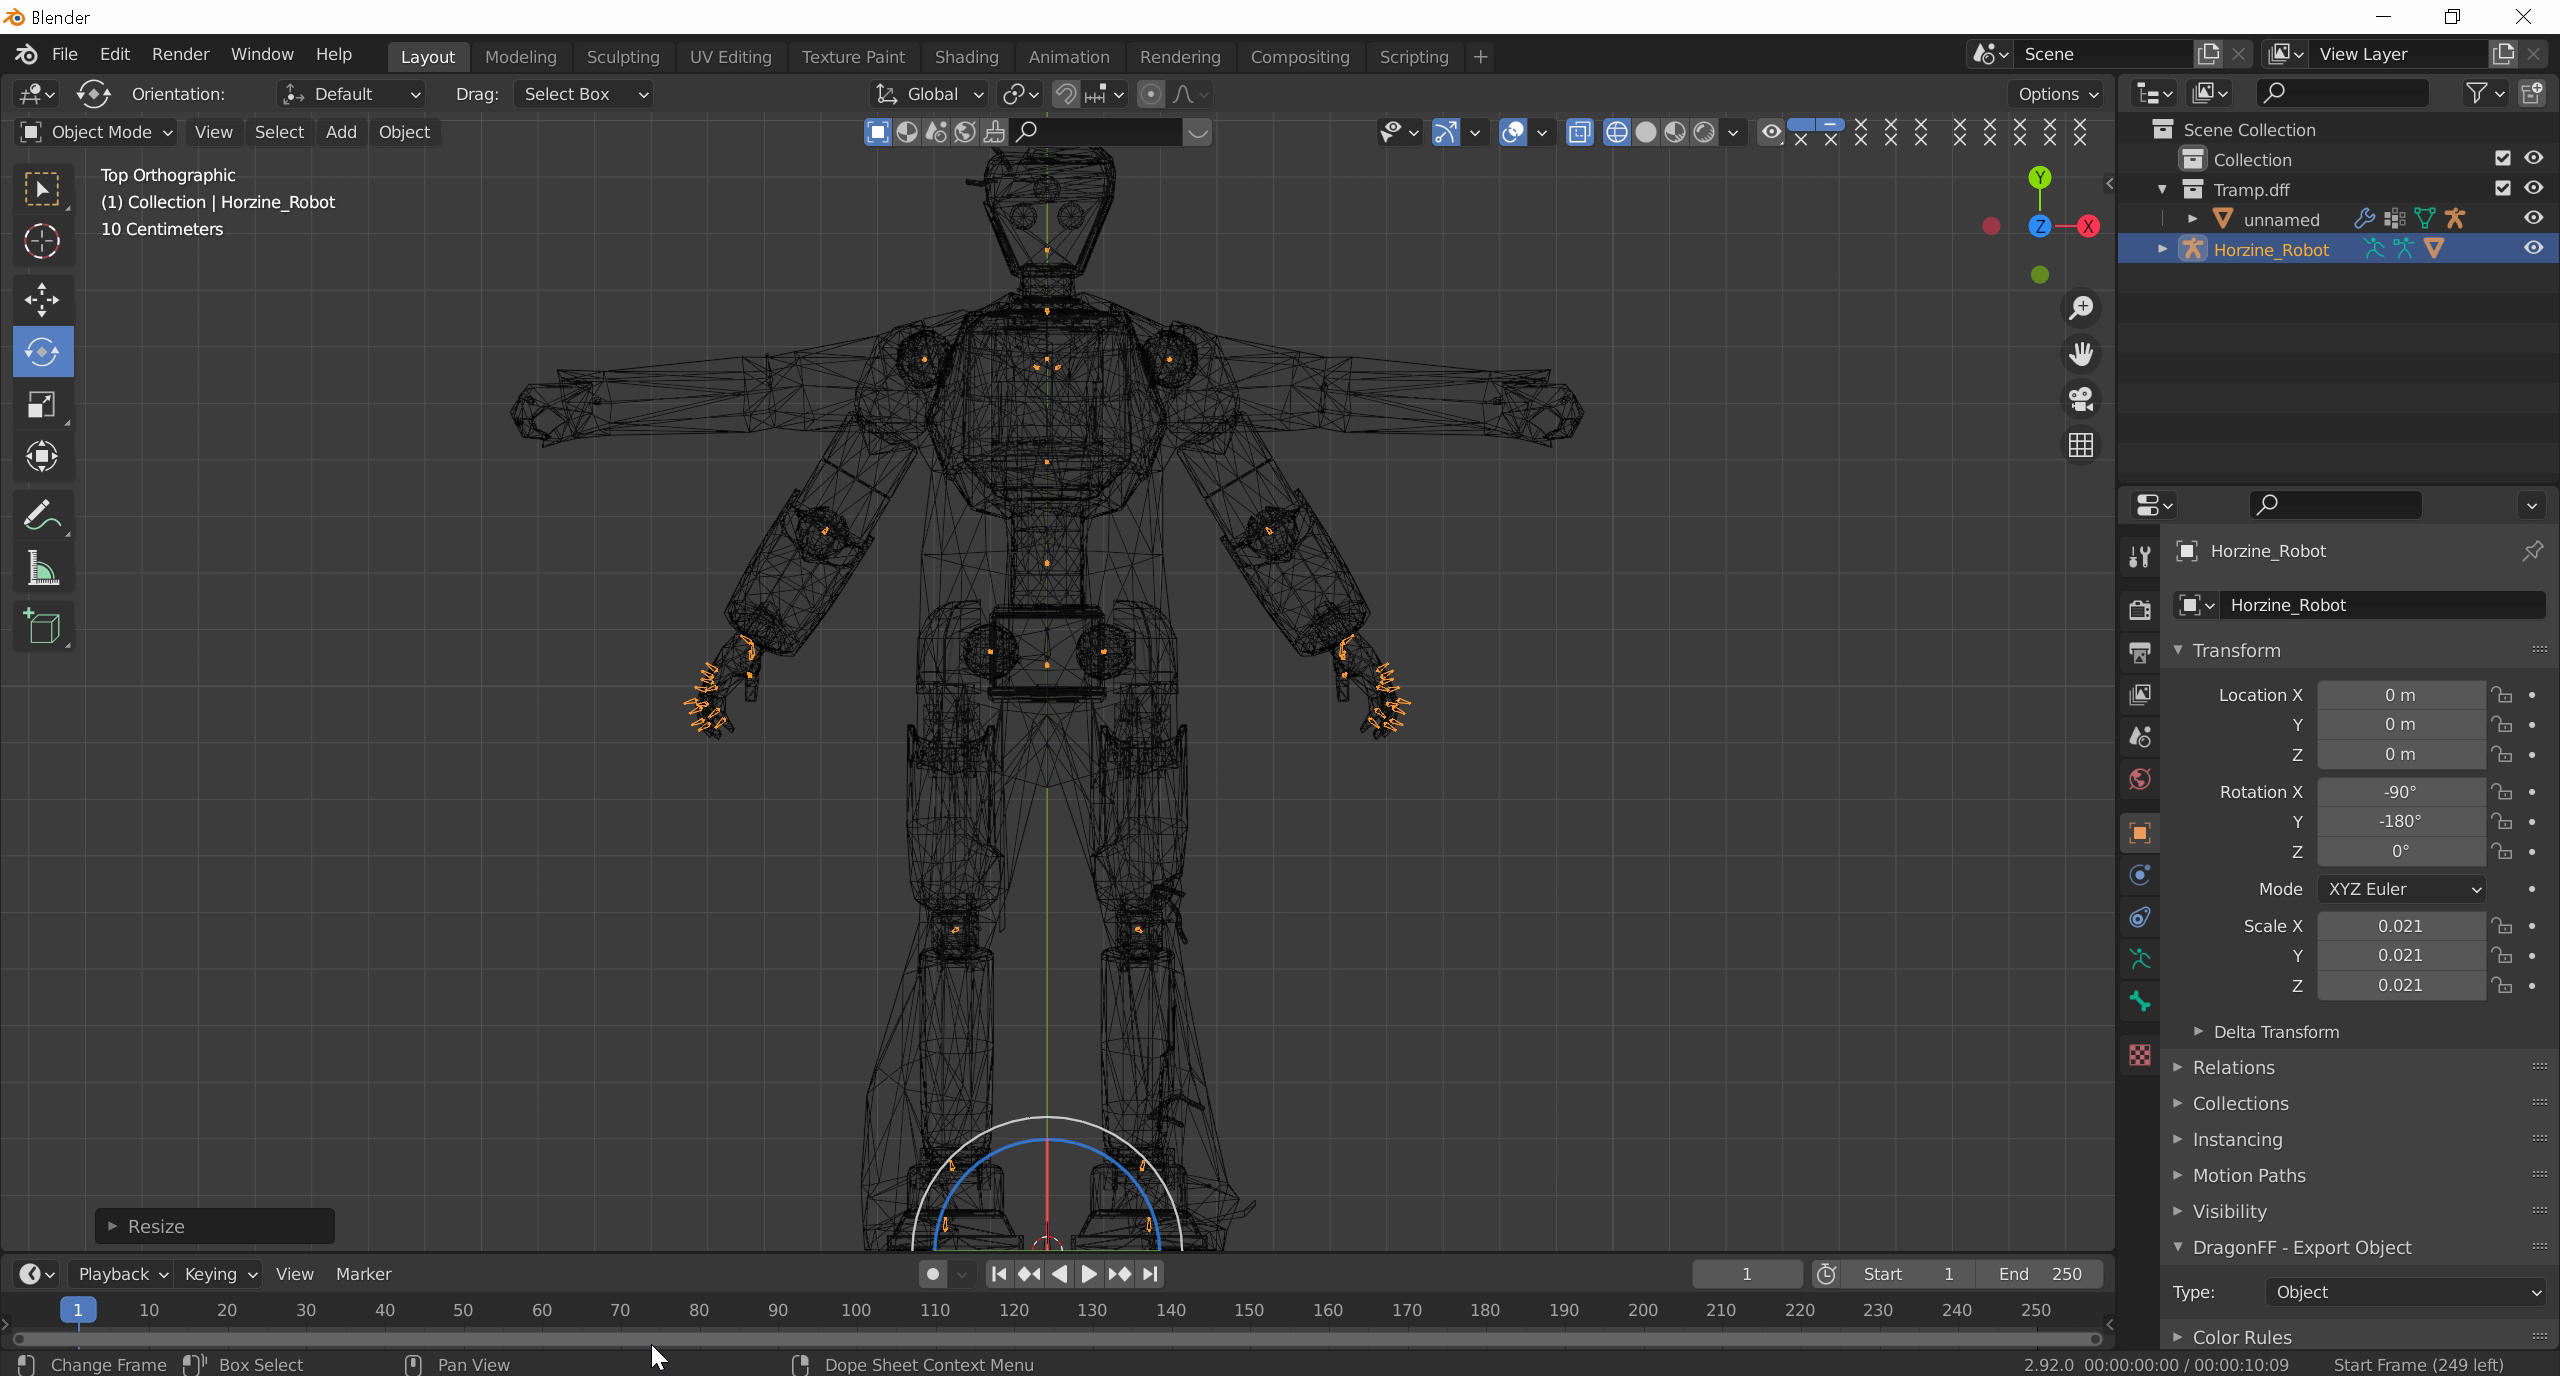
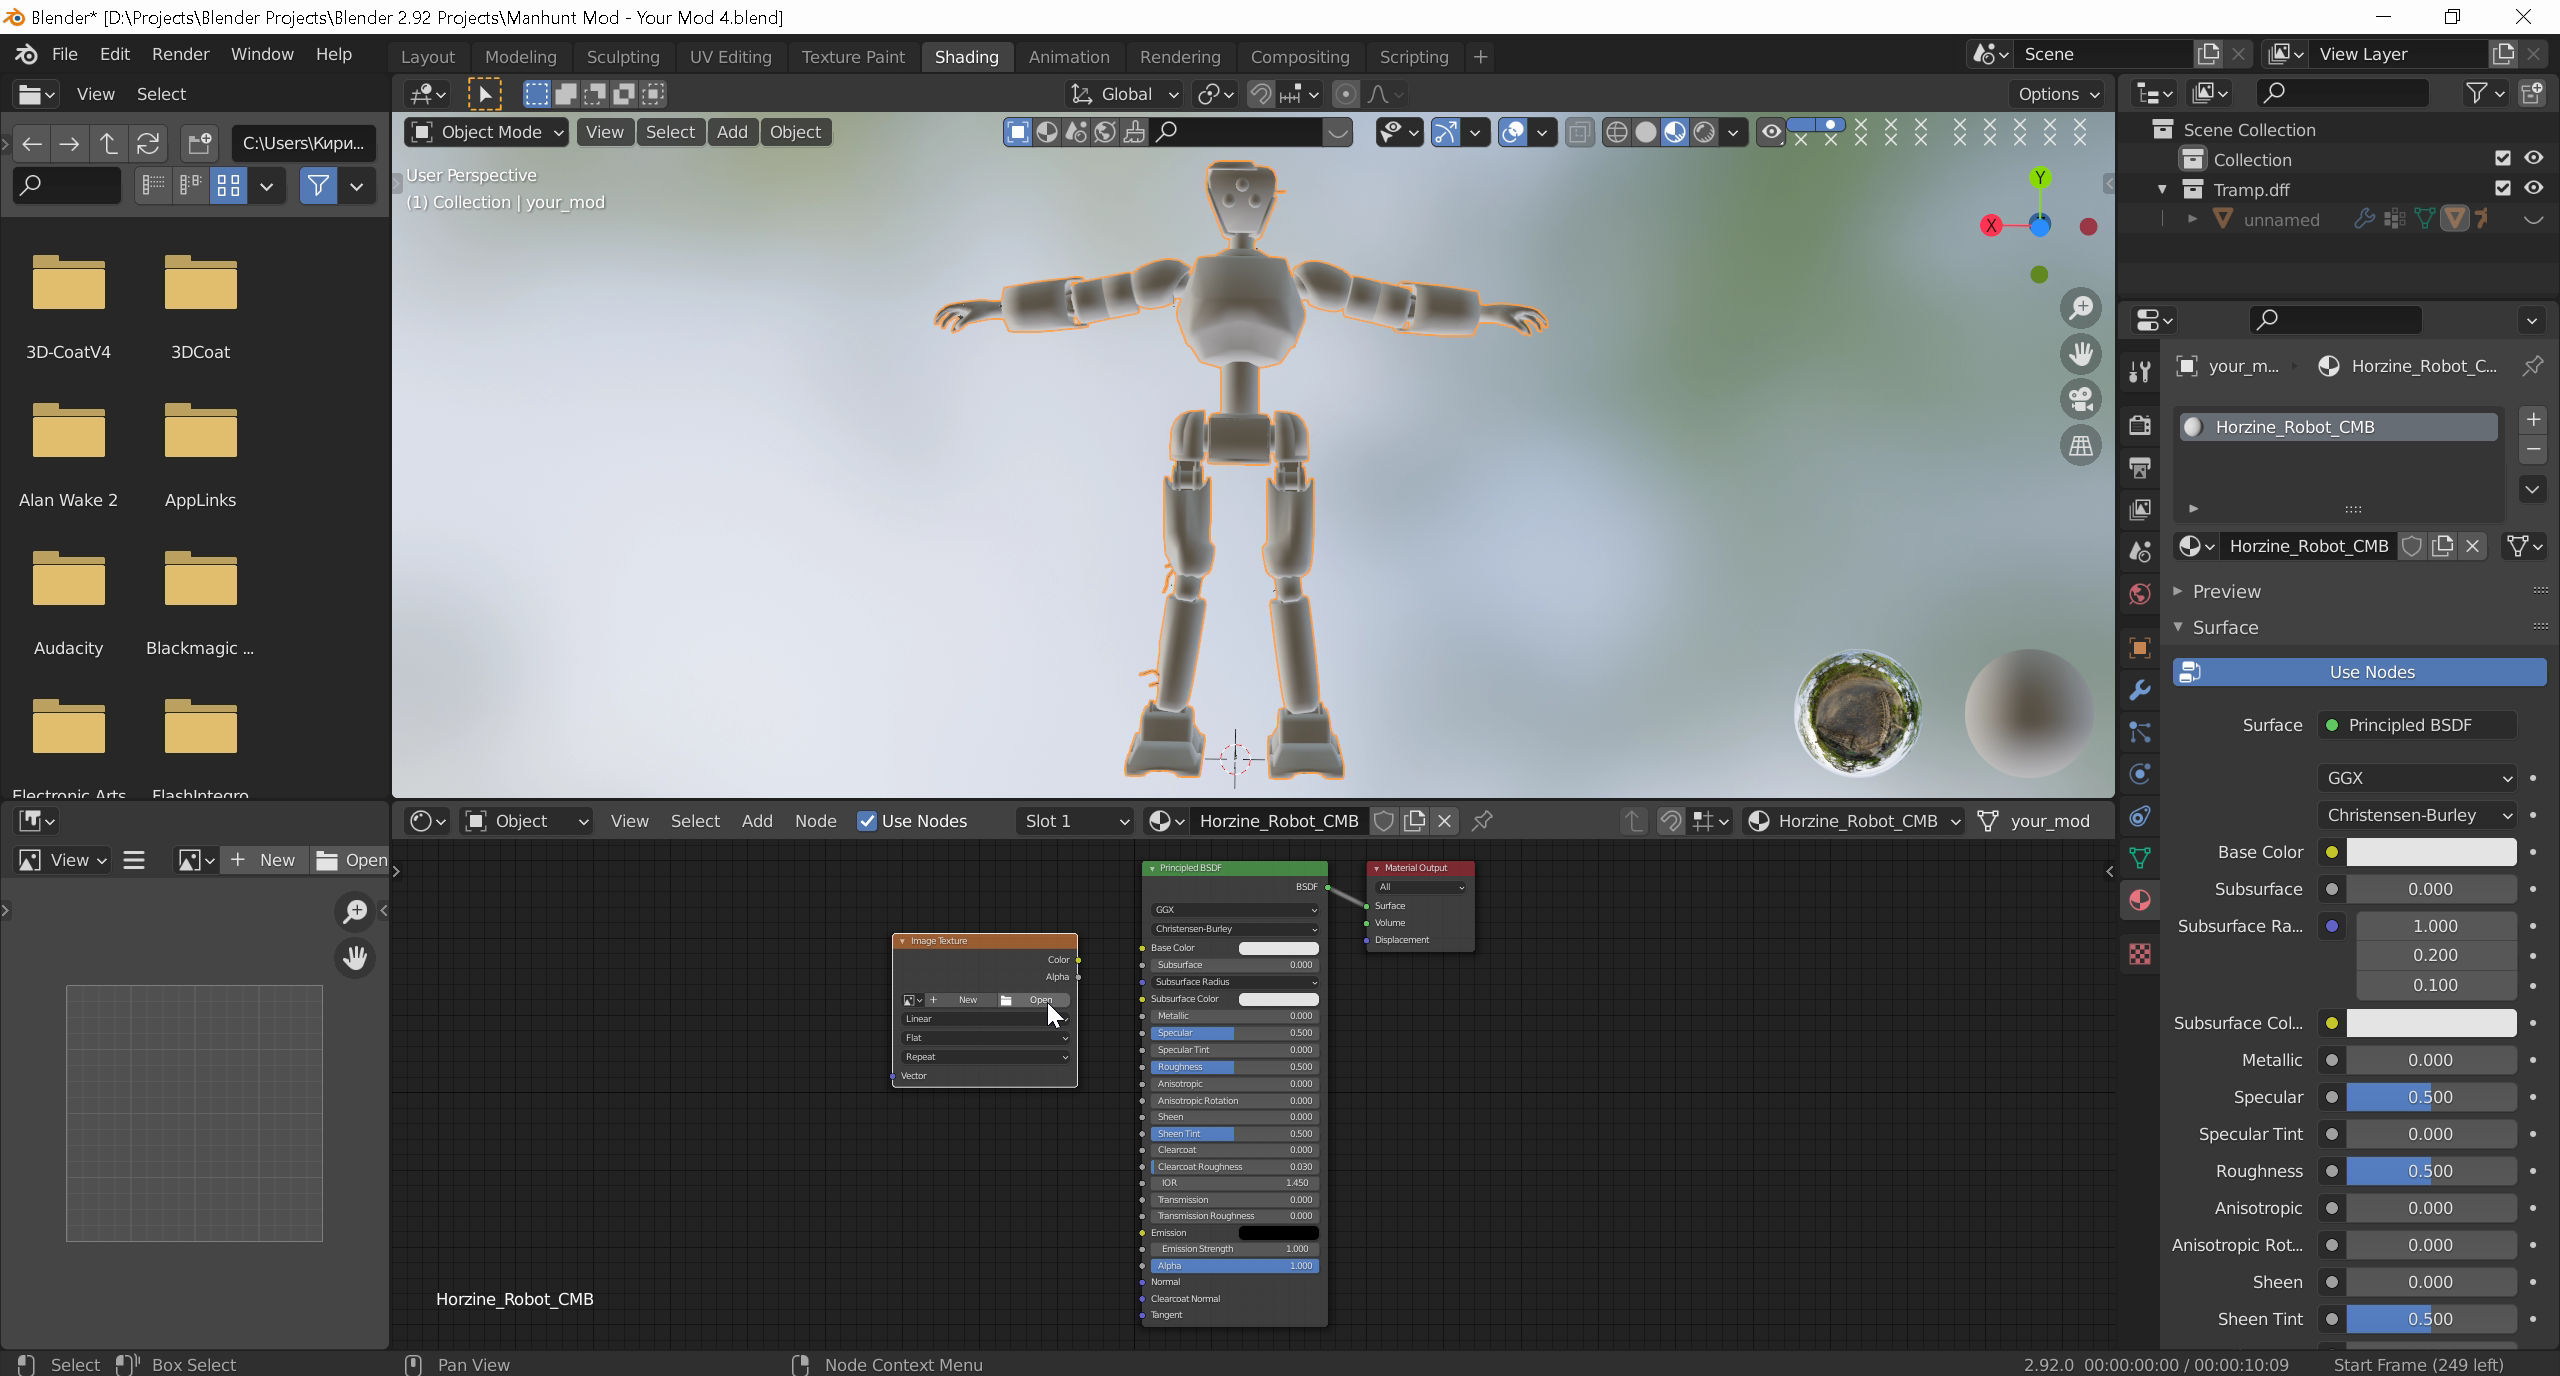
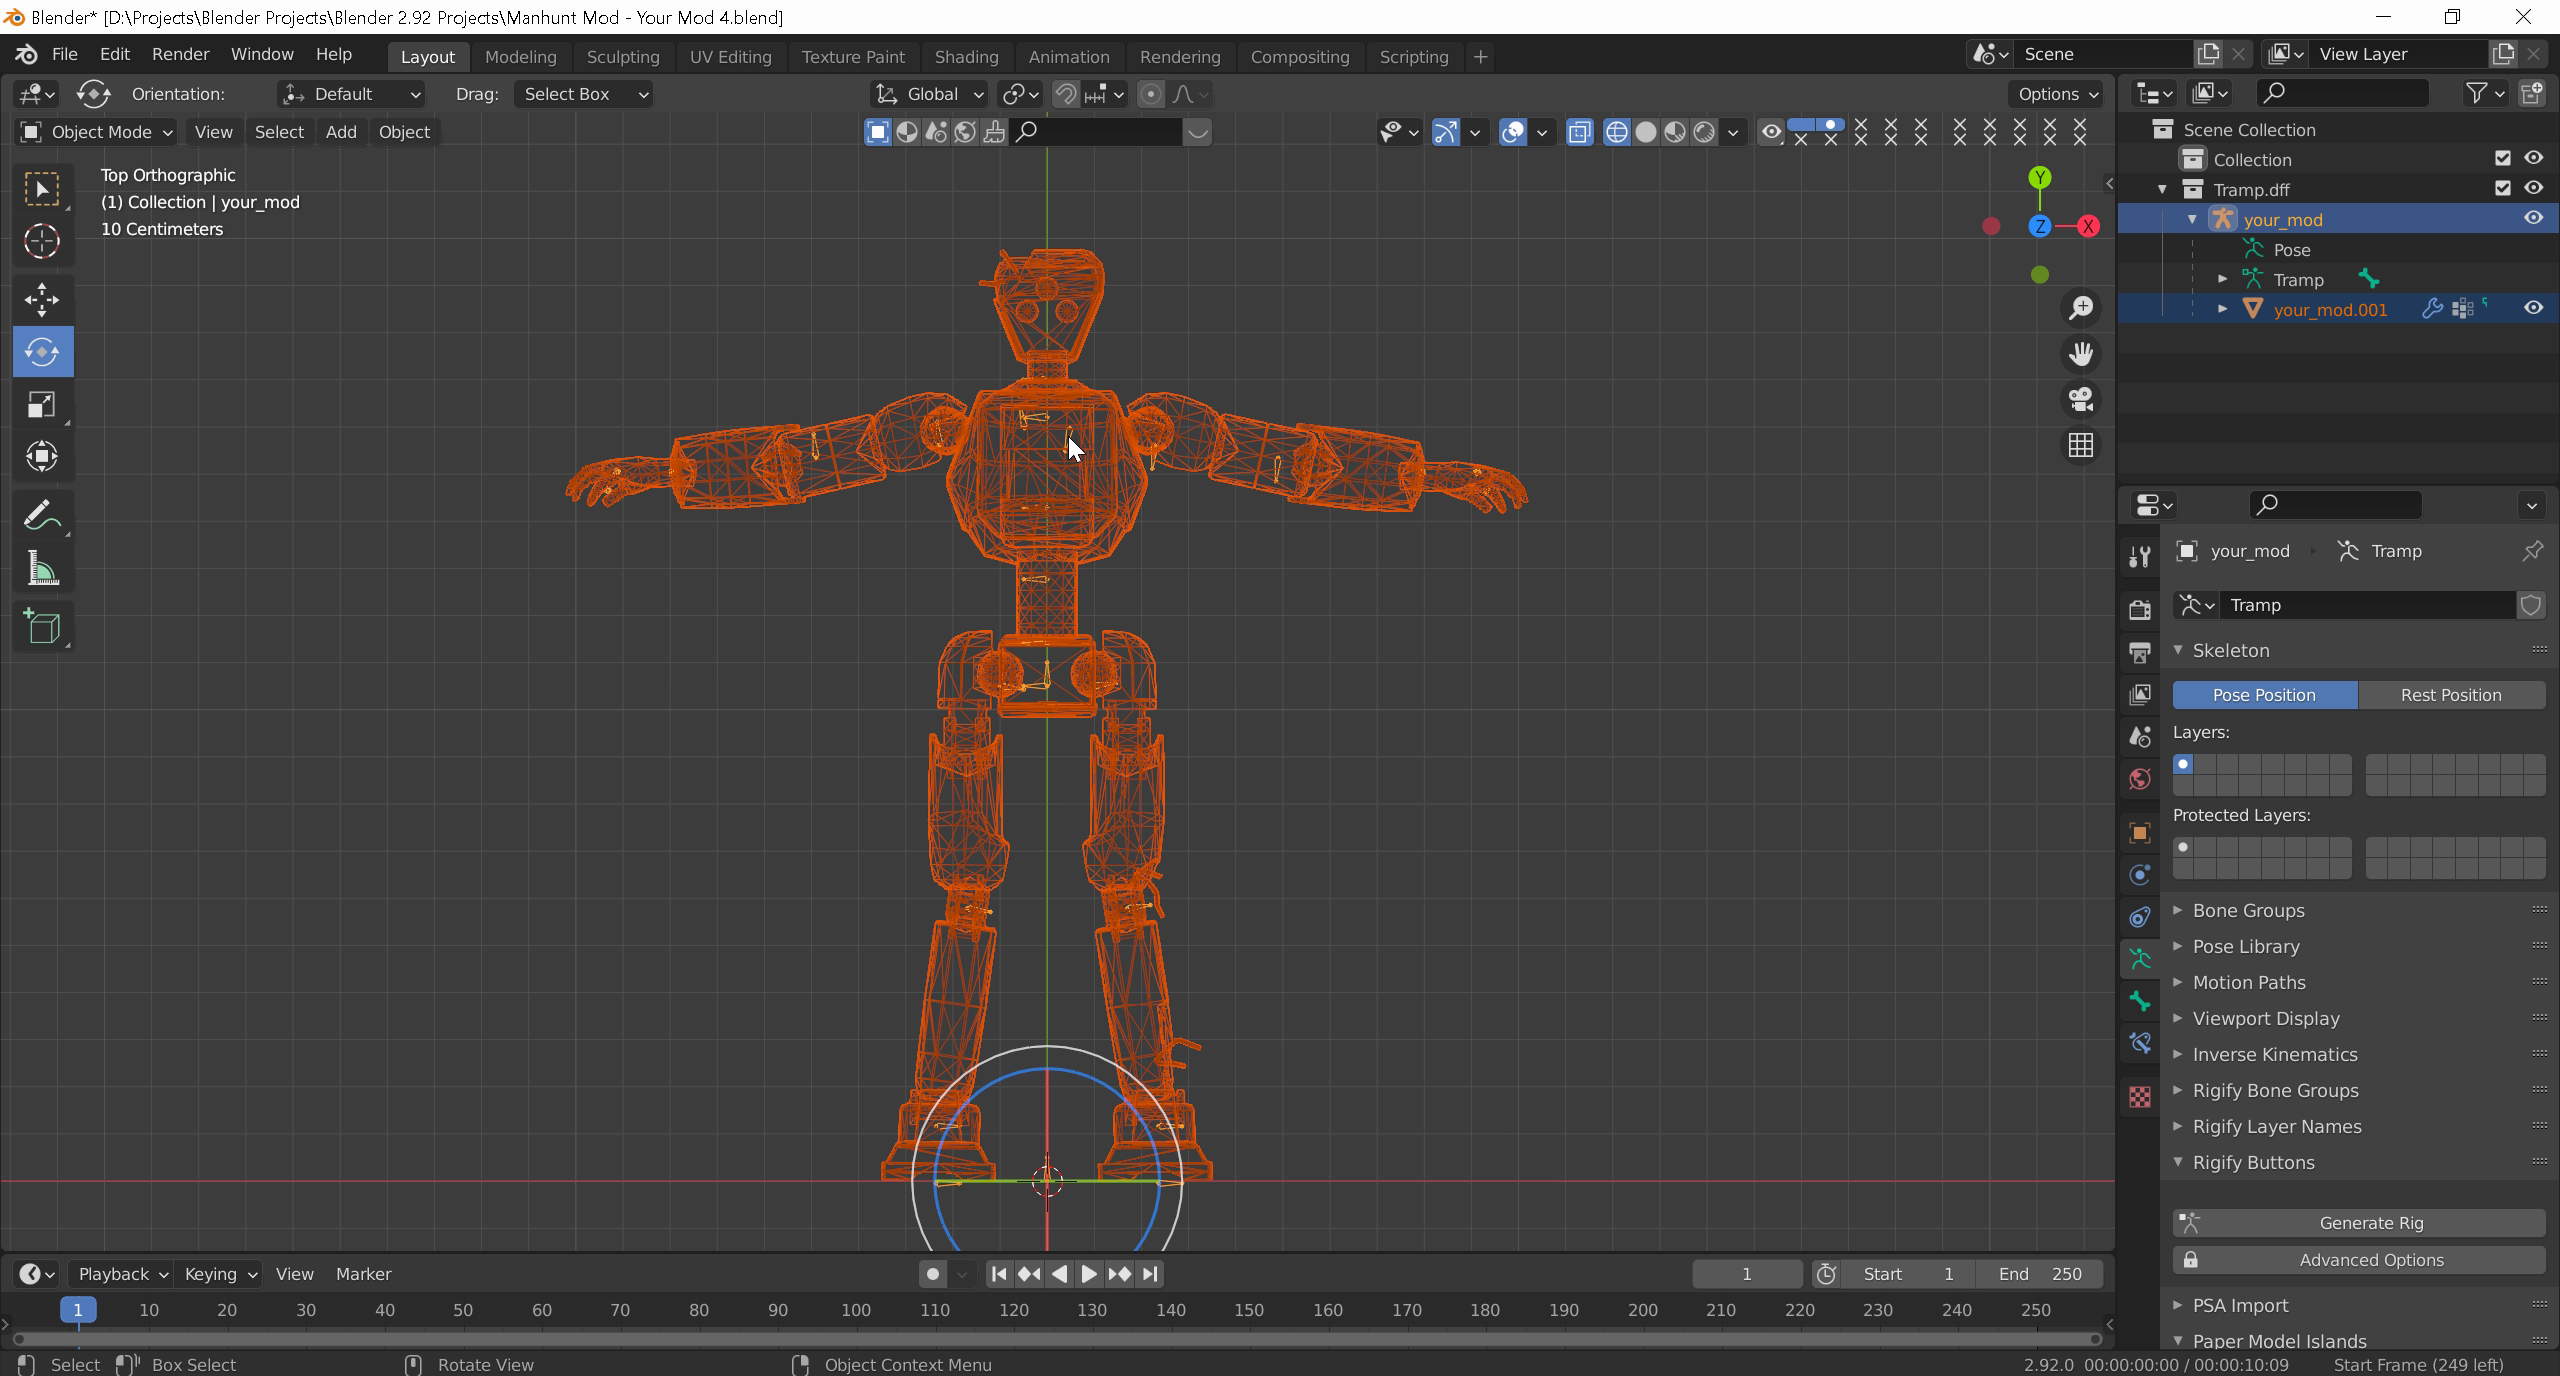
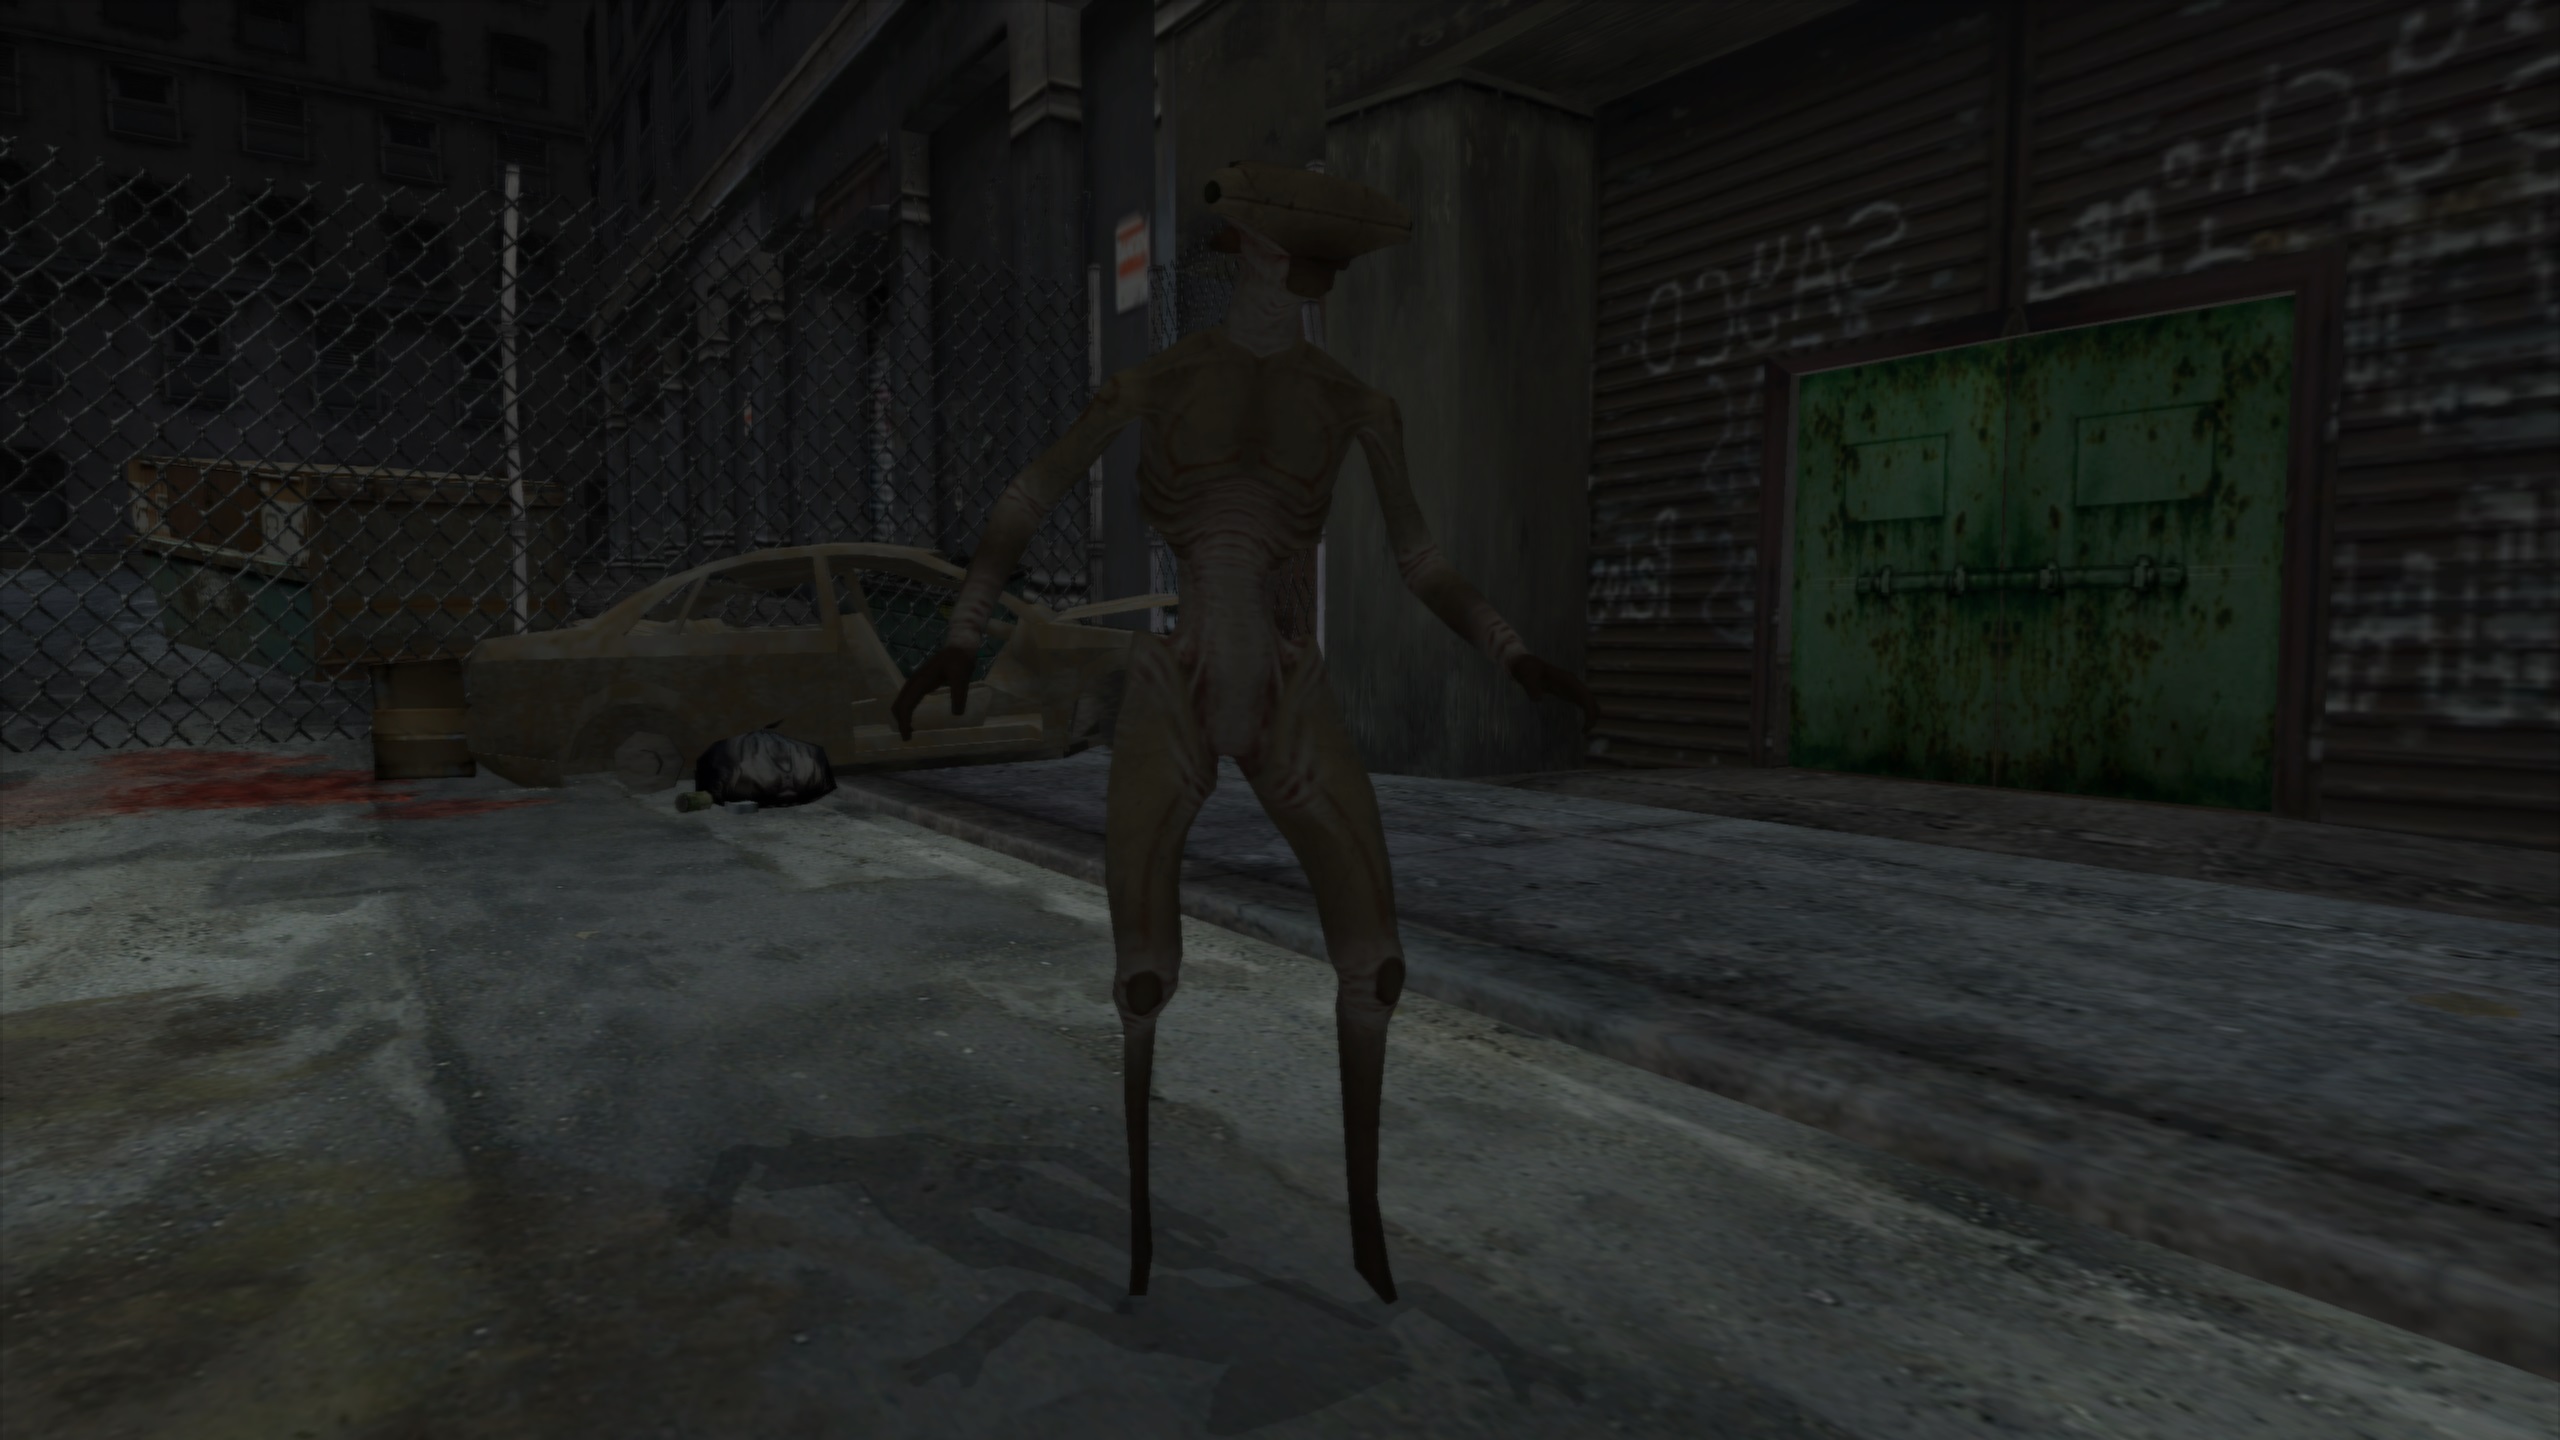
When I import the Manhunt reference, the reference is facing -Z (facing down), and lying along the X axis, with his legs->head pointing to +X.

When I import my custom model, it faces +Z (facing up), and lies along the Y axis, with legs->head pointing to +Y.

When I export as-is, and check it through Manhunt Studio, the reference and the custom model are both lying on either the X or Y axis (Manhunt Studio doesn't label the axes), and their legs->head are pointing in the same direction. However, the reference is facing +Z (facing up), while the custom model is facing -Z (facing down). They are also overlaid onto each other, whereas their placement in blender is quite far apart.

I can probably get them to face the same direction, but I don't know how I can fix the 90 degree Z rotation and physical position differences. I've already told Blender to apply all transforms to both meshes. Any idea what the discrepancy is coming from?
Harry Tehstacauls Jan 11 @ 5:21pm 
@S1mpl3_pl4y3r sounds complicated. ill never understand how this stuff works
Devilock Jan 11 @ 9:35am 
F*cking amazing guide man, congrats.
S1mpl3_pl4y3r  [author] Jan 10 @ 10:23pm 
@Schmelli Wheanur But talking about the other games, every single moddable game workflow is surely individual and different to another. Source engine games for example, require you additional actions besides rigging. You have to edit .qc file (which is the core file, that keeps the model up and running in the game); creating .vmt files (it’s basically a file with values and parameters, these parameters tells the game how the texture should appear and behave in the game). In a nutshell, rigging part is the same for any game, and everything else is different.
S1mpl3_pl4y3r  [author] Jan 10 @ 10:23pm 
@Schmelli Wheanur Partially. Talking about “Vertex Groups” part, it can be applied to pretty much any moddable game. As long as the same “Vertex Groups” of one model can be distinguished by their names on the other model. For example, “CHR_Head" -> "Bip01 Head”. That means, “CHR_Head” group name is closest to “Bip01 Head”. So, by the logic of it, “CHR_Head” can be renamed to “Bip01 Head”, and as a result, the other skeleton can move certain part.
Harry Tehstacauls Jan 10 @ 8:40pm 
would this kind of workflow apply to modding other games as well?
S1mpl3_pl4y3r  [author] Nov 27, 2024 @ 11:07am 
@Gekko Thank you. I'll send you back the model, when I'm done, it shouldn't take long.