Team Fortress 2

Team Fortress 2

Ocen: 40
Good TF2 maps
Autorstwa: Vallinek
This guide will talk about (in my opinion) the best of TF2 maps.
   
Przyznaj nagrodę
Ulubione
Ulubione
Usuń z ulubionych
Gorging Yourself in Pleasure: Gorge (cp_gorge, cp_5gorge)
This is one of the very first TF2 maps I've ever played, right next to Dustbowl, but unlike this overplayed piece of dust in a bowl doesn't have glaring design flaws.
This map comes in two versions: Attack/Defense, and 5CP. The 5CP version is pretty much the same as A/D one, except mirrored over the central control point.

Map of the A/D version:


Gallery:
The first area, right after coming out of spawn. On A/D, you can expect to be spawncamped, but since the RED spawn is quite far, this shouldn't last longer than a minute. On 5CP, it contains the final control point for each team.

The second control point on 5CP and the first one on A/D. You might be noticed trying to flank the enemy team, but this shouldn't happen if they're concentrating on something else.

The room right before the next control point. Provides a lot of opportunities for flanking and fighting.

The central control point in 5CP and the final one in A/D. The A/D version doesn't mirror itself over this point and doesn't have metal shields set up before the point. Also, the point itself is placed lower, instead of the first store of the facility.

Verdict:
This map combines more and less spacious areas, as well as flanking routes, and is probably one of the more balanced maps in TF2's repertoire.
Very Fast on the Lane: Fastlane (cp_fastlane)
I don't think a lot of people play this map. While it doesn't have any ingenious design or something like that, it is however a well-designed and very solid map.

Map:


Gallery:
Last point of your team. This point is located inside a building, and attacks can be made from both the ground level and the first store.

Second point, seen from the Sniper balcony. While those guys do have the view of the whole point and it's surroundings, they can be flanked, and have absolutely no cover.

Central control point. Plenty of cover and flanking routes to tackle this.

Verdict:
This map, similarly to Gorge, is a solid choice for anyone who wants to play 5CP but has enough of the Blandlands and wants to try out something new.
In the Pits, with Nothing but Gravel: Gravel Pit (cp_gravelpit)
I gotta admit, this map is slightly overrated. Nevertheless, it is still pretty fun. This Attack/Defense map features three control points, two first can be capped separately, similarly to Junction, but it is nowhere near as cramped. The third point opens itself for capture after the first two ones get captured.

Map:


Gallery:
Point A. Plenty of cover, less do for flanking, but it can still be done.

Point B, kind of the opposite of point A. That is, slightly less cover, but more opportunities for flanking.

Point C. This is where the map starts to kind of fall apart in my opinion. While it's design should be okay in theory, in practice you can always find an army of Engineers derping on the control point. And since it's very high, you'll most likely won't be able to shoot them reliably, and one UberCharge might not prove enough to get there and wipe the floor with them. No one says it is not possible, and the rest of the map is quite fun.

Verdict:
Overrated? Slightly. Imperfect? Definitely. Fun and unique? Yes.
The Last Three Stands: Standin (cp_standin)
I think this map is only modestly played, while in fact it is quite well-designed.
This map is unique among all the Control Point maps in that it has three points, with each one capped separately. The only way to win is to seize control of all three of them at once, making for a very interesting gameplay. Because of its non-linear design, you'll find a ton of opportunities to flank.

Map:


Gallery:
Point A. It features some good cover and a few ways to flank, unfortunately, only from a 180 degree angle (so enemies are most likely going to be pinned up to the wall).

Point B. Different elevation levels and a ton of potential flanking routes, fitting as it is the central control point.

Point C. Located inside, similar to A, but features more cover.

Verdict:
This map should be played much more. It's design is great and it deserves to appear more often.
CTF Done Right: Double Cross (ctf_doublecross)
CTF is generally defiled as being stalemate-heavy, as you can always expect a bunch of Engies to derp in the Intel room, but that doesn't mean the maps can't be designed well.

Map:


Gallery:
Intel room. Unlike its 2fort equivalent, it has three different entrances, two of them being on the opposite sides, so it's much easier to get inside.

The sewers. There is a one-way shortcut down here from near the Intel room, as well as from the spawn. Similar to 2fort sewers, except doesn't stretch for so long.

Sniper balcony. Oh, look! There's a ton of crap you can hide behind! It isn't as broken as 2fort's or Pipeline's balconies!

The central bridge itself. Some stuff you can hide behind, and you can also drop onto the tracks below to access the sewers.

Verdict:
This is definitely a well-designed map and you should pick this over 2fort, since it's similar, but not nearly as cramped nor badly-designed.
Cult Classic: Sawmill (ctf_sawmill, koth_sawmill, arena_sawmill)
This map is rarely played. Which is sad, considering it is quite old and a very solid choice.

Map of CTF. KotH and Arena have a control point in the middle, one of the possible routes unlocked (which I'm going to show in the gallery), and the Intel room quite obviously blocked.


Gallery:
Area near spawn, with a tunnel leading underground, where the half-flooded Intel room is located.

Central area. It is very important, as on KotH and Arena, the control point is located here, and on CTF, besides rocket jumping, you have to pass through this area to get to the enemy's Intel room. Also, there are two spinning sawblades present, which gave this map it's name. They insta-kill you upon touch, so it can lead to hilarious accidental deaths.

Intel room itself. Aside from a staircase leading straight from spawn, it has an alternate route, much more accessible to enemies, too. Expect some Engineers to derp around in this area, but fortunately it's very cramped, so splash damage and running saps work wonders.

Nice view with the waterfall. There is a small tunnel under it, and directly under where I'm standing is the path that's blocked on CTF but accessible on other modes. It leads to the pathway between central area and enemy spawn.

Verdict:
This map isn't anything really special in terms of design or originality, but it is a very solid map and should be played more often.
Harvesting Your Labour: Harvest (koth_harvest)
Another classic map.

Map:


Gallery:
Spawn area. From here on you can access the interior of the building in front, which has a Sniper balcony that's fortunately not ridiculously effective (just effective), or take the path on the side.

Some Snipers like to snipe from this spot, but they're much more vulnerable in this position. There is also quite a view of the center of the map, but nothing game-breaking.

Insides of the central building which holds the control point. Two entrances on opposite sides + hole in the roof make for a lot of possibilities in terms of attacking.

Verdict:
This map isn't anything special again, but it's a solid choice.
Actually, There is no Water: Badwater Basin (pl_badwater)
Some might consider it overplayed, but I think it actually deserves to be overplayed.
This map is huge, and features a ton of ways to flank and plenty of cover, making it very balanced.

Map:


Gallery:
The area right in front of the spawn. The payload goes through a tunnel that's been carved through the hill. The hill itself features a bunch of rocks, giving you plenty of cover to use. After capping the first point, a new flanking way to the rooftop opens.

Said rooftop. Some Engies like to derp in this spot, but it's not like you can't get behind them very easily.

Looking in the other way from the rooftop.

After going under a small incline, you come out to this. It's slightly cramped, but provides a lot of different ways to flank.

Final point with the bombhole. Expect Engies and enemies to be aplenty here. It can be very difficult to cap it, but there are ways to flank.

A small place that's almost right behind the final point. From here, you can either flank, or access a decent sniping spot.

Verdict:
While this map is played very often, it lives up to its reputation. It's just plain good.
Ride the Lightning to the Mountains: Thunder Mountain (pl_thundermountain)
This map isn't played very often, while it is one of the very few good three-stage payload maps.

Map of stage 1:


Map of stage 2:


Map of stage 3:


Gallery:
Stage 1. Spawn area. Sniper balcony that isn't ridiculously well-placed, plenty of cover.

Second half of the stage 1. Plenty of ways to flank.

The bridge in the middle goes up after you cap the point.

Stage 2. Quite a bit of ways to flank.

The path zigzags here a bit and then goes into a tunnel.

Dayum. A waterfall near the BLU spawn. I should make a running gag out of waterfalls.

Final stretch. It has quite a bit of ways to flank, a Sniper balcony, but overall, it isn't very hard to cap. Mainly due to flanking paths.

Final stage. It zigzags, spirals up, and does anything but going straight. It is probably going to be the most heated parts, and like always, has a gimmick - in this case, going up. And for once, this gimmick actually works decently. Unlike some other maps *KHEM CACTUS CANYON KHEM*

Verdict:
This map has a unique graphical design, and is a very solid map by itself. Check it out.
It's All Upward From Now On: Upward (pl_upward)
The last map I'll be covering here. Doesn't feature too much flanking routes, but the combination of tight and spacey areas makes it kind of balanced, even if the latter outnumbers the former, and at least as far as payload track goes. This map is also very open and huge, making it jumper heaven, but unlike *shudders* H-Hightower, you aren't able to get literally everywhere with a single jump. You have to actually travel quite a bit to get anywhere.

Map:


Gallery:
Spawn. Features a slightly overpowered Sniper balcony that's fortunately not too hard to flank. Unless those guys put a priority on a Scout speeding up to their location.

A small hill. Payload track goes through a tunnel inside it.

Second point. Expect some enemies and a bunch of Engies to be here, fortunately, their Sentries not having too huge of a range, you can quite safely flank or demolish them from a distance.

The tracks spiral up that bridge. This is where the flanking paths become even more abundant.

Final point. It can be hellishly difficult to capture sometimes, but there are tons of ways to flank.

Verdict:
Well-made, and good for rocket jumpers, while not making them overpowered.
Final notes
Special thanks to "A very sexy bowl of fruit" (yes, that's his nickname) for requesting this guide. It wouldn't have been made was it not for his suggestion.

As you may have noticed, a lot of reasons I put behind those maps were mostly generic good design, with occassional "nice graphical design" thrown in. That is because, well, the map doesn't need anything really special to be good. Having unique qualities only makes it better, but for it to be playable and fun, it just needs to be balanced. With bad maps, it's much more easy to point out design flaws because they stand out. With good maps, everything is placed together well enough that it's hard not to rate it as a whole, instead of analyzing every single part of it.

For anyone interested in which maps in my opinion are bad, check out this:
http://steamcommunity.com/sharedfiles/filedetails/?id=291621402

That's all, folks. Hope you enjoyed this little guide, and stay tuned for (possibly) more guides!
Komentarzy: 63
flamincheekin 13 marca o 13:38 
how do your hand wraps look like that?
Akira.system 23 sierpnia 2018 o 18:28 
more of these, for all the maps not covered!
Vallinek  [autor] 17 października 2014 o 15:51 
Never played on Hydro much. It's pretty much forgotten at this point, mostly because the round turns out to be either a stalemate or a blitzkrieg.
Nostril 17 października 2014 o 15:46 
I've always loved hydro but I feel snipers are useless no matter what territory you control.
licensed glue consumer 4 października 2014 o 9:01 
YUSH!
Vallinek  [autor] 4 października 2014 o 7:21 
Hmm. That might be a good idea. Especially that I've played quite a bit of MvM.
licensed glue consumer 4 października 2014 o 7:01 
Why dont you do a review on all the MvM exclusive maps and say your opinion? (not to be seperated on bad or good)
Vallinek  [autor] 21 września 2014 o 16:27 
Every round, it selects a random, relatively small part of the map, with two control points, each one belonging to a different team. So, one capture and it's an immediate loss. It's basically a race of who can pull off the most captures. If one of the teams manages to gain an advantage of four captures, the enemy team is forced to defend their base, while the other one has to cap it. If it manages to do so, it will win the match.
It was supposed to be a map that will be good for repetitive playthroughs due to being slightly different each time, but the Territorial Control gamemode was just plain too confusng to the players and today pretty much no one plays it.
Lonewolf Commander 21 września 2014 o 15:58 
How does Hydro work again?
Vallinek  [autor] 21 września 2014 o 8:42 
When I started out, I also played quite a bit on 2fort. Back then, I didn't really know anything about the game and couldn't see the flaws.
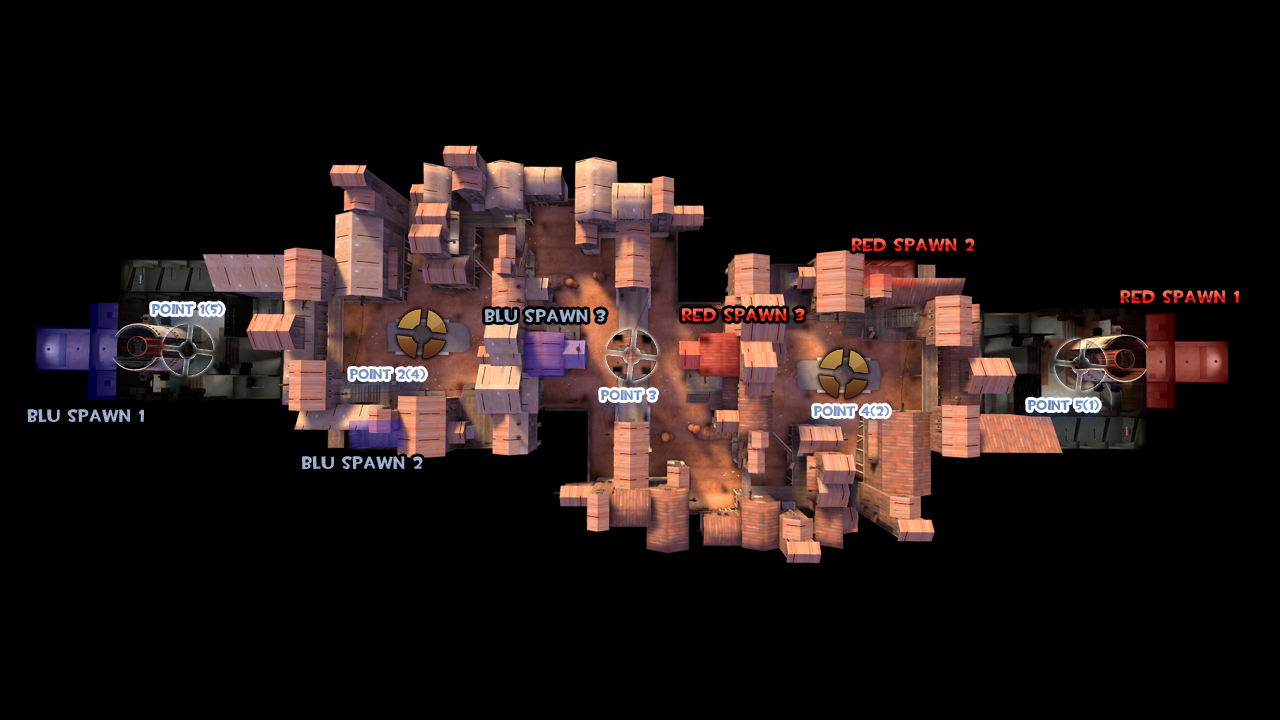
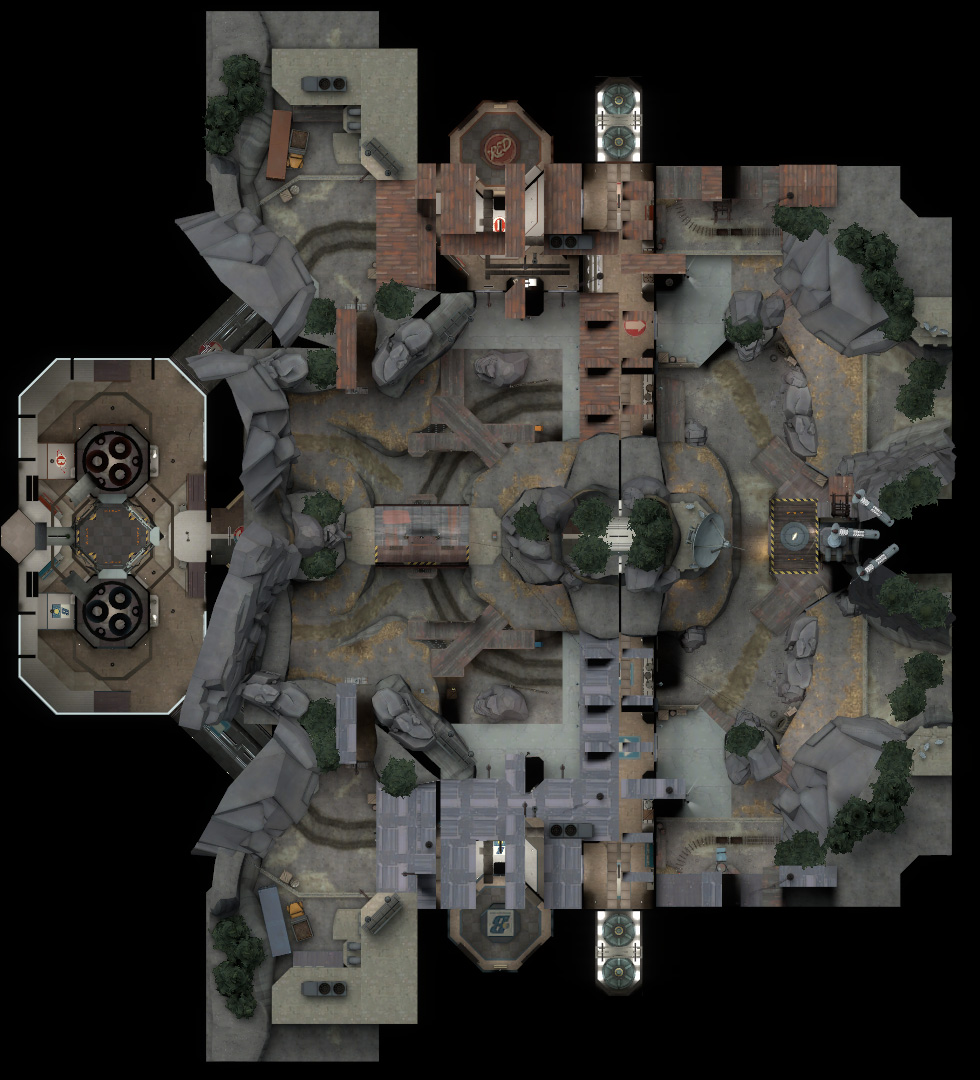
I agree that this map is kinda symbolic for TF2. Has flaws, but it's design is still memorable.
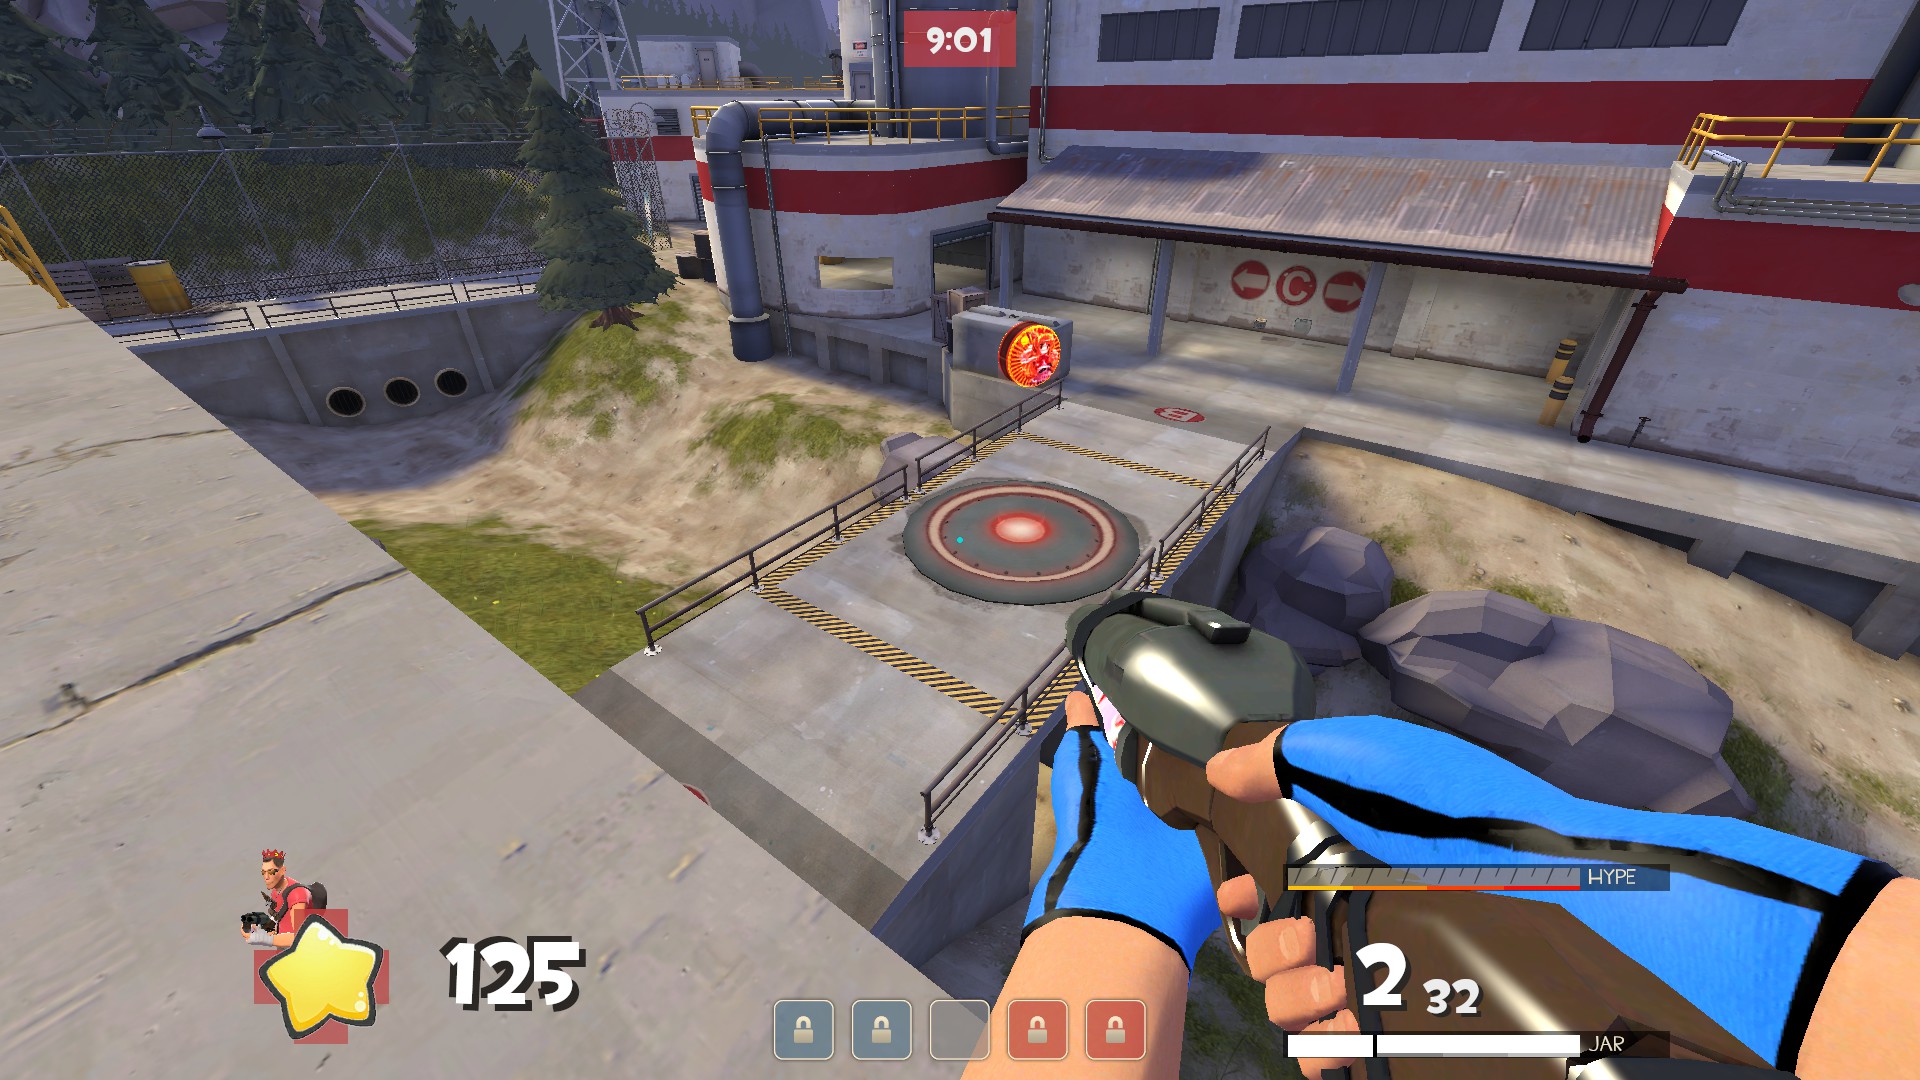
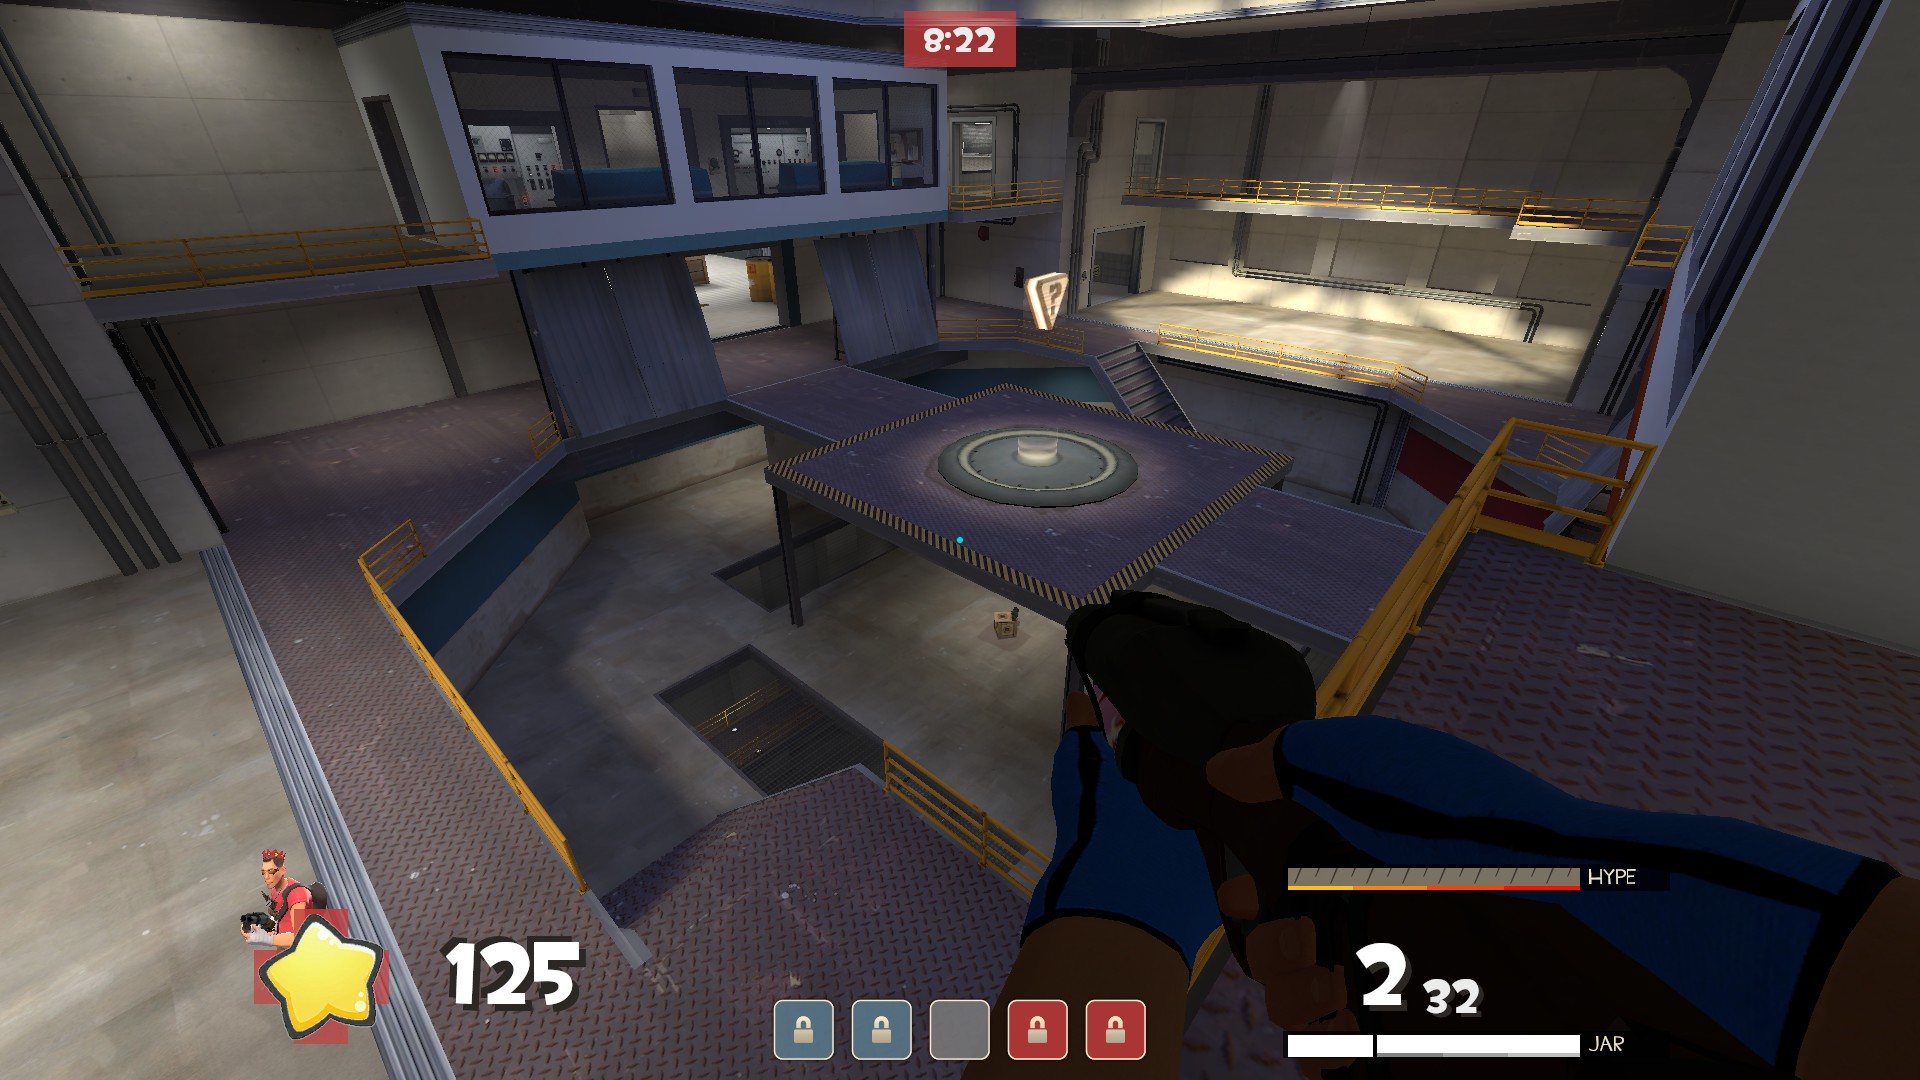
Never saw the pro version of Viaduct, just heard about it. About Viaduct itself, slightly too OP Sniper balconies that fortunately aren't that far, the central point being a literal chokepoint as there are no flanking routes on the sides... personally, I'd say it's playable, and sometimes fun.