The Sims™ 3

The Sims™ 3

191 人が評価
The Sims 3 Enhanced Vanilla Graphics
作者: Anime_Boom
In this The Sims 3 guide, I will be showing you how to make the vanilla graphics look like vanilla but better! Everything listed I personally use for my own game.
2
3
2
   
アワード
お気に入り
お気に入り
お気に入りから削除
Introduction
Hello!

Welcome to my guide for The Sims 3 and how to improve its graphics while still keeping the vanilla look and feel!

Use this as a base to add other graphical mods later on or just to improve the overall visual fidelity of the vanilla game.

These are the mods and tweaks I personally use for my game to look as it does as seen here below in the images i have captures while playing
https://steamcommunity.com/sharedfiles/filedetails/?id=2697892405
https://steamcommunity.com/sharedfiles/filedetails/?id=2399408961
https://steamcommunity.com/sharedfiles/filedetails/?id=2505119296
https://steamcommunity.com/sharedfiles/filedetails/?id=2734954533
https://steamcommunity.com/sharedfiles/filedetails/?id=2818800467
https://steamcommunity.com/sharedfiles/filedetails/?id=2786861172
there are more on my profile also! :D


⠀⠀⠀⠀⠀⠀⠀⠀ ⠀⠀⠀⠀⠀⠀My Other The Sims 3 Guides
https://steamcommunity.com/sharedfiles/filedetails/?id=1131162350
https://steamcommunity.com/sharedfiles/filedetails/?id=2742216726
https://steamcommunity.com/sharedfiles/filedetails/?id=3444689812


Getting Started!
To get started I highly recommend that you download Notepad++[notepad-plus-plus.org] to use for any text file editing as its has more options than the standard notepad and it will the the one used in my images and its FREE!

Steps in this guide will have catagories like...
  • Screenshots Only - Not recommended for game-play mostly only for taking screenshots.

  • Game-Play - Okay to use for everyday Game-Play use.

Remember to back up any files before editing them just in case something goes wrong!!

Any questions feel free to ask in the comments below I will gladly help!!

Installing The Mods Folder
For new users to The Sims 3 Modding this will show you how to install the Mods Folder into your game so your game will be able to read and use ".Package" file mods.
 
Step 1 - Download the mods folder using the download button from ModTheSims HERE![modthesims.info]
 
Once on the download page scroll down a little until you see a "Download" button, once found click on this link and it will download the file.

After the download is complete place the file somewhere easy to find like the desktop.
 
Step 2 - Once downloaded go to...
 
"Documents\Electronic Arts\The Sims 3"
 
Once there, open up the downloaded mods folder file and extract its contents right into The Sims 3 documents folder.
 
Step 4 - Just to make sure open up the mods folder and make sure the contents inside looks like this image below!
Files that should be present and that are needed are...
  • Resource.cfg File
  • Packages Folder
  • Overrides Folder
 
The two package files that come inside the packages folder called...
  • NoBuildSparkles.package
  • nointro.package
these files are for testing purposes only and can be safely deleted after launching the game to see if the mods folder is functioning correctly.

If the maxis logo is still showing up on startup even with the "nointro.package" present in the mods folder for testing this is normal since the "nointro.package" was made before that intro screen was added in a later patch and uses a different file path to the other intro videos.


If you want to keep "nointro.package" to disable the intros and want the Maxis Logo Intro gone as well, you can download a mod for it HERE[modthesims.info] to be used along side "nointro.package".


The Mods folder is now installed!
Step 1 - Graphics Control Panel Options (Game-Play)
With Nvidia and other Card manufactures you can easily enhance The Sims 3's graphics settings such as anti-aliasing, texture filtering and anisotropic filtering to make the game less jagged and blurry!

 
Step 1 - Open up you Graphics card control panel and click "manage 3D settings"

 
Step 2 - Click "Program Settings" Then the drop down bar select "Sims 3 (ts3w.exe)" if its not showing up clicking the "Add" button and looking for the executable will add it to the program.

 
Step 3 - Find "Antialiasing - Setting" and click the drop down bar and select you preferred amount.

 
Step 4 - Next Find "Anisotropic Filtering" and click the drop down bar, select the "x16" option or less (this option does not use much vram so "x16" is safe to use on low end machines)

 
Step 5 - After find "Texture Filtering - Quality" and click the drop down bar, select the "Quality" option.

 
Step 6 - Click "Apply" to apply the settings to the game, this will apply to all The Sims 3 .exe files.
Step 2 - Shader Tweaks (Game-Play)
Shader Tweaks makes improvements and fixes to some of the shaders in The Sims 3. Like making the bloom in game less blinding to look at and graphical fixes!

This may not work on certain types AMD GPU! If you experience any graphical glitches while using an AMD GPU removing this mod should fix any issues!


Step 1: Download Pixel Shader Modding Framework from HERE[lazyduchess.tumblr.com]

Once downloaded Inside the 7zip archive there will be these files...
  • shader_replace
  • wininet.dll
  • D3DShaderReplacer.cfg
  • D3DShaderReplacer.asi

Place them into the games Bin folder found at...

Steam 1.67 - "Steam\steamapps\common\The Sims 3\Game\Bin"

EA App 1.69 - "EA Games\The Sims 3\Game\Bin"

When placing it accept any overwriting of files if needed!

Step 2: Next you will need to download Shader Tweaks it can be found HERE![lazyduchess.tumblr.com]

Once downloaded, extract Shader Tweaks file contents in the same location as "Pixel Modding Framework" was just installed in the games "bin" folder

Make sure to overwrite all files when being asked after placing the shader tweaks files!

Step 3: Shader Tweaks has now been installed!


If you are getting Error Code: "Error: 126" when launching the game make sure you have...
  • The latest Microsoft Visual C++ Redistributable installed on your PC it can be found HERE![learn.microsoft.com]
    This is the one you will need to download!

  • Check that your anti-virus protection is blocking the mod!


Consider supporting Lazy Duchess for all their amazing work? You can HERE![www.patreon.com]

Step 3 - Shadow Extender (Screenshots Only & Game-Play*)
*This mod can be used in normal game-play might make game slower on non gaming PCs!

Shadow Extender extends the distance at which shadows are rendered by the game from the centre of the camera and the edges of the screen.

To install shadow extender you will need to also edit some game files.

You can download "Shadow Extender" HERE[lazyduchess.tumblr.com]
 
Step 1: First you need to go to the games "Bin" folder found here...

Steam 1.67 - "Steam\steamapps\common\The Sims 3\Game\Bin"

EA App 1.69 - "EA Games\The Sims 3\Game\Bin"


Next extract the contents of the "Shadow Extender" Mods file into the "Bin" Folder. The files you need are...
  • wininet.dll
  • TS3ShadowExtender.asi
  • ShadowExtender.cfg

Place them into the games bin folder, Overwrite files if necessary.
 
In the download file there will also be a "Preset Folder" this is were you select which quality preset you would like to have, higher number means further distance. Do keep in mind that depending on your PC and how much graphical power it has, performance may vary!

Once you have selected a preset open the file and drag the "ShadowExtender.cfg" inside the option into the games "bin" folder were the mod was just installed and overwrite any files when asked.
 
Step 2: Find "GraphicsRules.sgr" in the games "bin" folder and open it with notepad.
 
Once the notepad is open press "Ctrl + F" and a search window will pop up in that window type the following "ShadowMapSize" and press "Search" or "Find Next"
 
After go the "settings high" row and under it will be "prop $ConfigGroup ShadowMapSize 2048"
 
We Want to change the value "2048" to the version of the mod you picked so "2k is 2048", "4k is 4096" and "8k is 8192" I'm using the 8k version so mine will be set to "8192".
 
Step 3: Press "Crtl + S" to save or "File/Save" at the top of the programs window and close the program.

 
Consider supporting Lazy Duchess for all their amazing work? You can HERE![www.patreon.com]


Step 4 - Split Level Lighting Fix (Screenshots Only & Game-Play*)
Split Level Lighting Fix Fixes an issue that makes light sources not travel multiple levels on lots fixing ugly seams between levels of buildings.

*This mod can be used in normal game-play might make game slower on non gaming PCs! Depending on quality preset that is picked during install.


Step 1: Download Split Level Lighting Fix HERE![www.patreon.com]

Once downloaded Inside the 7zip archive there will be these files...
  • wininet.dll
  • RPCLib3.asi
  • RPCLib.cfg
  • discord_game_sdk.dll

Place them into the games Bin folder found at...

Steam 1.67 - "Steam\steamapps\common\The Sims 3\Game\Bin"

EA App 1.69 - "EA Games\The Sims 3\Game\Bin"

Overwrite files if necessary.


Step 2: Next you will need to go to your games mods folder located at...
 
"Documents\Electronic Arts\The Sims 3"
 
Once inside the Mods folder open up the "Packages" folder and create a new folder.
After creating the file open it and place these files inside...
  • ld_RPCLib.package
  • ld_Common.package

Overwrite files if necessary.

Step 3: Next you will need to choose ONE preset of the mod the three files are...
  • ld_SplitLevelLightingFix - Default.package - (Quality Preset)
  • ld_SplitLevelLightingFix - Inactive lot outdoors only.package - (Medium Preset)
  • ld_SplitLevelLightingFix - Active lot only.package - (Performance Preset)

Each preset has different performance. PICK ONE! and place it inside the mods folder also.

Step 4: Split Level Lighting Fix is now installed!


Example of the Split Level Lighting Fix working in game!
The mod will disable itself while in build and buy mode for performance reasons.


Consider supporting Lazy Duchess for all their amazing work? You can HERE![www.patreon.com]

Step 5 - Increased Sim Render Quality (Screenshots Only)
This step will make it so the game will render sims and their textures at higher resolutions than in vanilla, this step will be more noticeable with skin replacer mods and eyes that have a high texture value but it still can make a difference to vanilla sims with no mods also!
 
Step 1 - First you need to go to "C:\Steam\steamapps\common\The Sims 3\Game\Bin" and find the file "GraphicsRules.sgr" once found right click on it and open with notepad.
 

Step 2 - After the file is open press "Ctrl + f" to open the search window, once open type in the following "option simquality" and press "Find Next"
 

Step 3 - Once searched under "option simquality" look for "setting $VeryHigh"
 
After Finding it look for the numbers "2048" next to "RenderSimTextureSizes" and "CASRenderTargetSize"
 

Step 4 - Replace the "2048" Values next to "RenderSimTextureSizes" and "CASRenderTargetSize" with any of these three values...

- "2048" (Vanilla Size)

- "2560" (1.2x Vanilla Size)

- "3072" (1.5x Vanilla Size)

- "4096" (2x Vanilla Size)

I Picked the "x2 Vanilla Size" which is "4096" So mine looks like this yours should look the same just with the number you chose...
 

Step 5 - Once changes save the file by pressing "Ctrl+S" or go to the top of the programs window and press "File/Save" then close the program.
 
Step 6 - Mods (Game-Play)
Base Game Compatible Mods

Here are some mods that are base game compatible that I also use,
these Mods will be installed into your games "Mods" folder found at...

"Documents\Electronic Arts\The Sims 3\mods\Packages"

There are two different folders present inside the mods folder for different types of mods...

Mods with the "🟩" icon go into the "Packages" Folder.

Mods with the "🟥" icon go into the "Overrides" Folder.
  • 🟩 Reworked & Improved EA Lights[modthesims.info] - Makes the EA default lighting less harsh on the eyes and a bit more realistic. (should be compatible with all outdoor lighting overhaul mods)

    Consider supporting Simsi45 for all their amazing work? You can HERE![www.patreon.com]


  • 🟩 Improved Environmental Shadows[modthesims.info] - Improves the outdoor shadows to look less washed out and a bit more realistic. (should be compatible with all outdoor lighting mods)

    Consider supporting Simsi45 for all their amazing work? You can HERE![www.patreon.com]

  • 🟩 HD head line effects[xiasimla.tumblr.com] - Makes headline effects such as speech and thought bubbles HD.

  • 🟩 High Quality Headline Effects[modthesims.info] - Enhances the quality of head line effect icons in game.

  • 🟥 Default Overrides For Bare Walls[aminovas.tumblr.com] - Makes the texture for the dry walls much better! There are multiple options I personally use the option "Drywall" for the best look, ONLY USE ONE OPTION at a time!

  • 🟥 CircusWolf DEFAULT Ceiling TS2 AL Style[drive.google.com] - Default replacer for the ceiling textures, ceiling will now use the more detailed texture from The Sims 2. I'm providing a mirror link since I downloaded this mod years ago and I can't find the original posters page anymore, if the creator would not like me to host it let me know and i will remove the mirror link!
F.A.Q Section
Q: After following all the steps my game does not launch after pressing play on the launcher.
A: The GraphicsCards.sgr & GraphicsRules.sgr may have not been edited correctly there will be backups made in "Steam\steamapps\common\The Sims 3\Game\Bin" with ".bak" at the end of them. Simply delete the edited versions then remove the ".bak" from the backup files names and it will restore those files to vanilla.

Q: My GraphicsCards.sgr & GraphicsRules.sgr files are fine but the game still is not launching!
A: Check to see if your anti-virus software is not blocking the game due to smoothpatch and shader-framework by Lazyduchess, Since these scripting mods inject into the game it may be setting off a false flag and preventing the game from starting.

Q: I'm getting strange graphics glitches on my sims in game and in CAS!
A: Try removing shader tweaks and launch the game and see if the problem still persists, if it does something went wrong when editing GraphicsRules.sgr.

Q: My Sims are really low poly looking, take forever to switch outfits and take a while to fully load in!
A: This is due to the sim render quality step! This is only meant for taking screenshots not normal game-play! Reverting the values back to vanilla will fix this issue!
Change log Section
    2022
  • 02/02/2022 - Posted the guide for public viewing!

  • 03/02/2022 - Fixed a mistake were I said "Pixel Shader Modding Framework" is needed for "extended Shadows" in "Step 3" its not needed for that mod to function, although keep "Pixel Shader Modding Framework" installed if you have "Shader Tweaks" "Step 2" Installed!

  • 06/02/2022 - Added "Step 5 - Mods" to the guide this will contain base game compatible graphical mods. Also made some changes to "Getting Started".

  • 10/02/2022 - Added "HD head line effects" to the mods section.

  • 02/04/2022 - Added "Default Overrides For Bare Walls" and "CircusWolf DEFAULT Ceiling TS2 AL Style" to the "mods" section

  • 23/04/2022 - Added "TS3 HD Textures Series - Terrain Pack" to "Step 5 - Mods".

  • 10/06/2022 - Added a F.A.Q Section.

    2023
  • 18/01/2023 - Updated the guide to have a detailed step by step section on installing/setting up a Mods folder.

  • 15/07/2023 - Updated "Step 2 - Shader Tweaks by Lazyduchess" so its more east to follow installation.

    2024
  • 22/06/2024 - Added the mod "High Quality Headline Effects" under the "Step 5 - Mods" section.

  • 13/11/2024 - Updated sections of the guide "Step 2 - Shader Tweaks" & "Step 3 - Shadow Extender" to resemble newer versions of the mods. Added "Step 4 - Split Level Lighting Fix". Removed notices about EA app users needing to use the Lazy Duchess launcher as new versions of .asi mods no longer require the launcher, the launcher can still be used if you wish to keep using it.

  • 24/01/2025 - Added throughout the guide on how to get .ASI mods working on Linux / Steam Deck installs of the game.

  • 05/02/2025 - Removed the "Windows Only" Title from mods that use "wininet.dll" loader as they also work on Linux and Steam Deck with a launch setting applied after testing on steam deck to confirm they all work. The launch setting can be found in the "Getting Started" Section of the guide.

  • 04/04/2025 - Removed Steam deck setup information as it now has its own guide on how to setup and install mods on the steam deck.
    56 件のコメント
    Gar0npeX 3月2日 19時39分 
    It looks like it fixed itself after launching the game a couple of times.
    Gar0npeX 3月2日 1時11分 
    Hey I'm having this issue [ibb.co] with the game textures that I managed to fix before but I don't seem to be able to fix again.

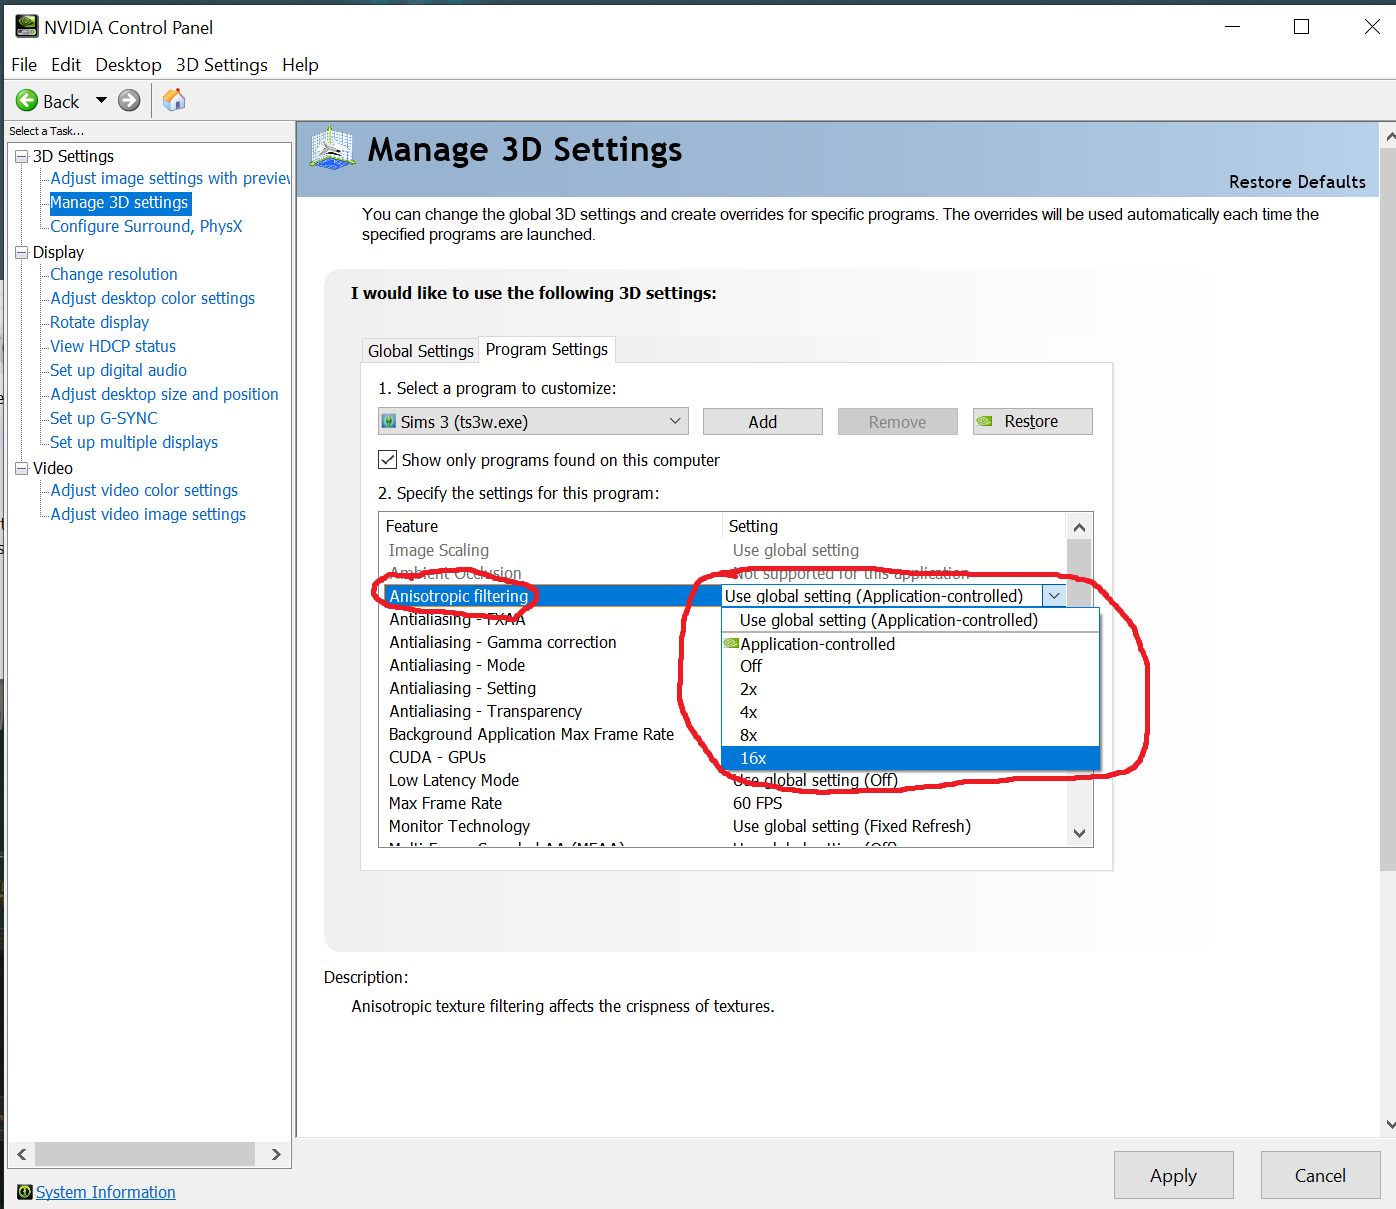
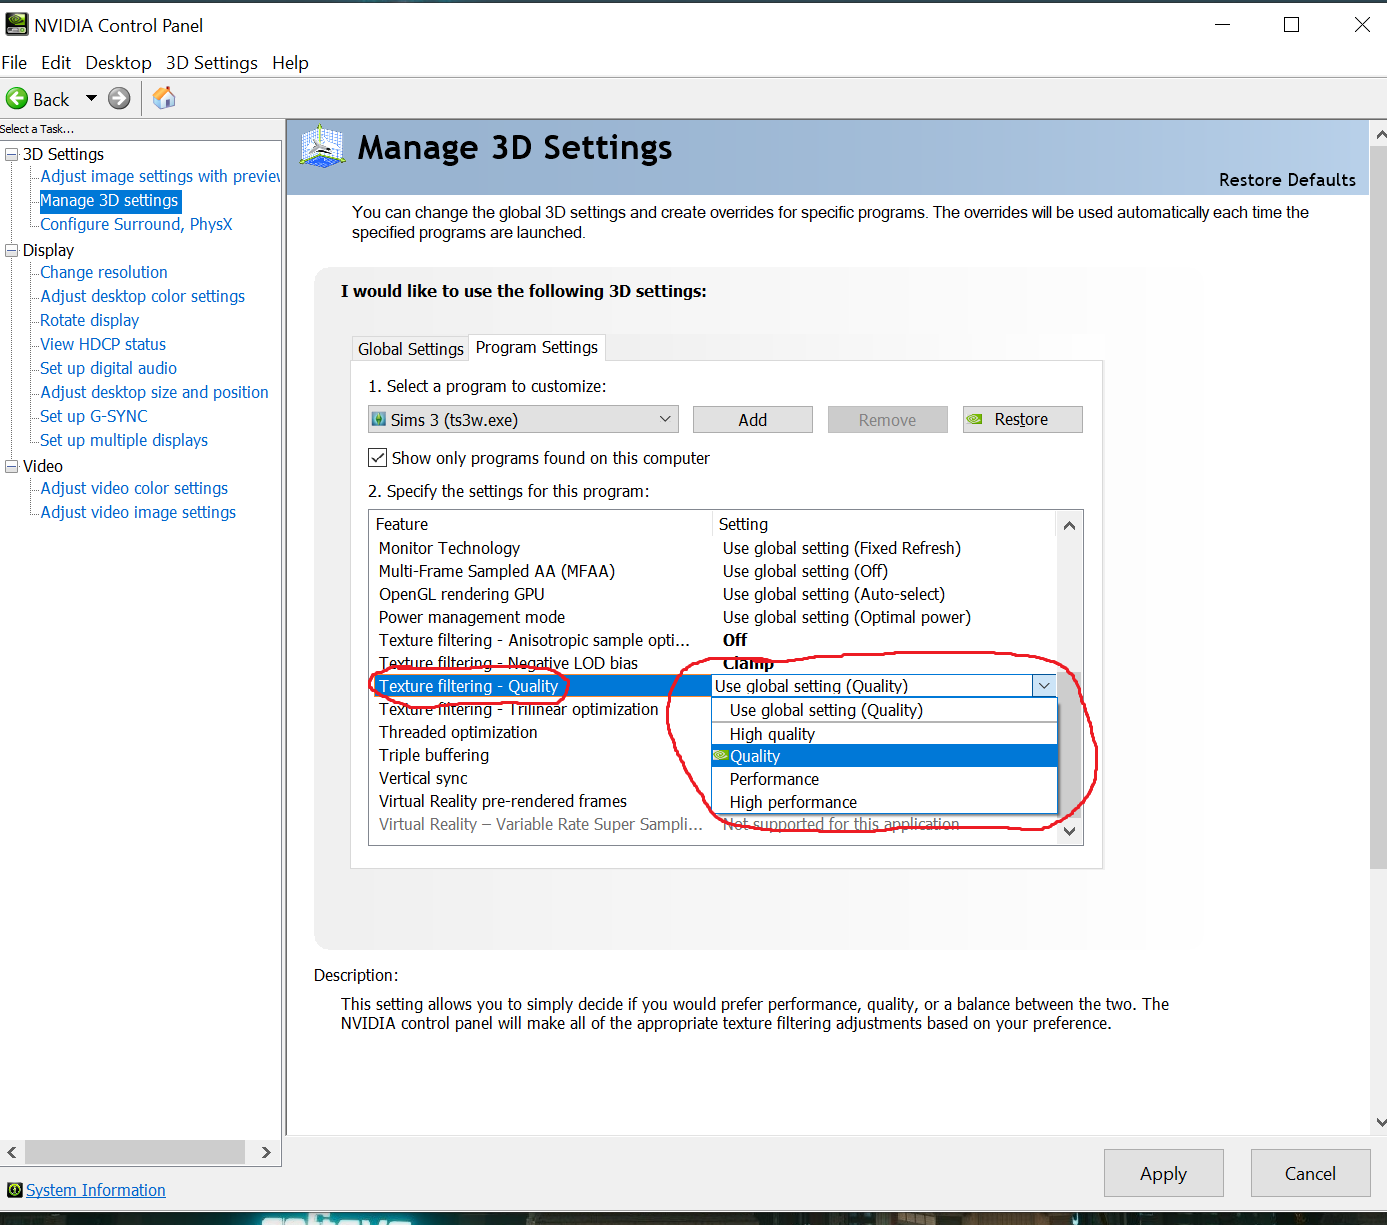
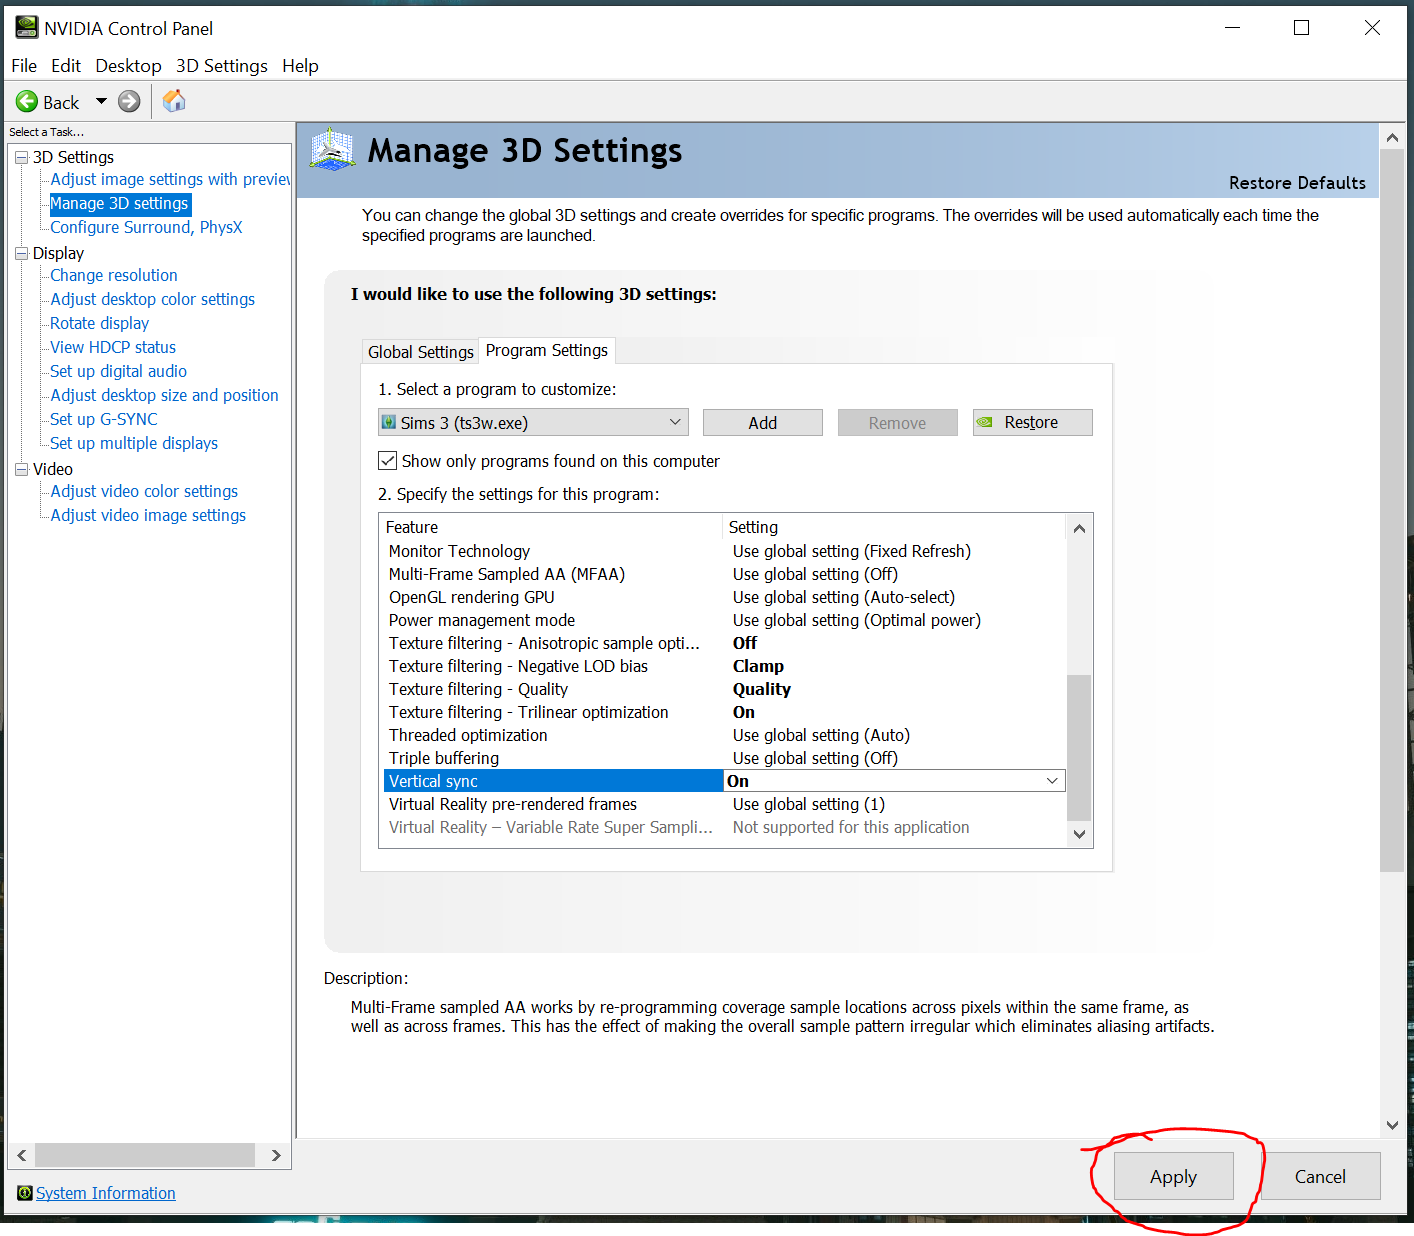
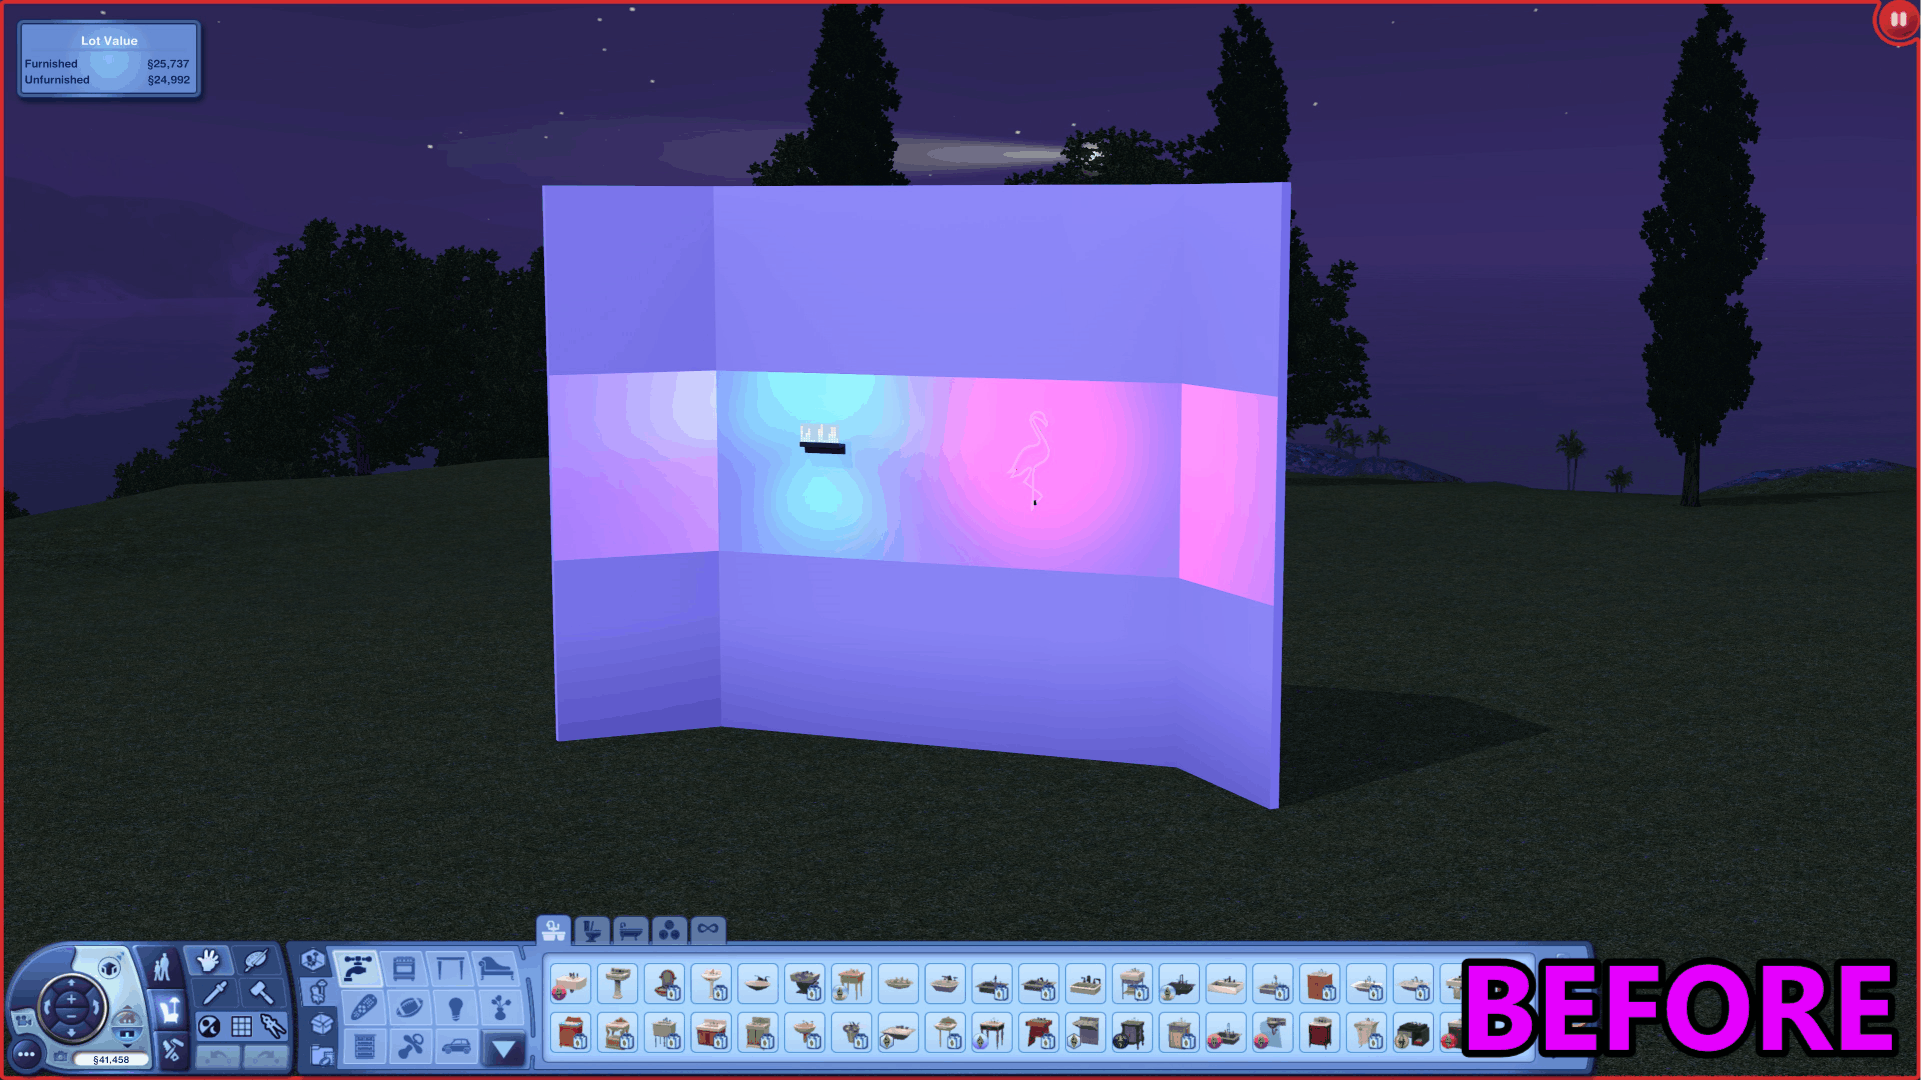
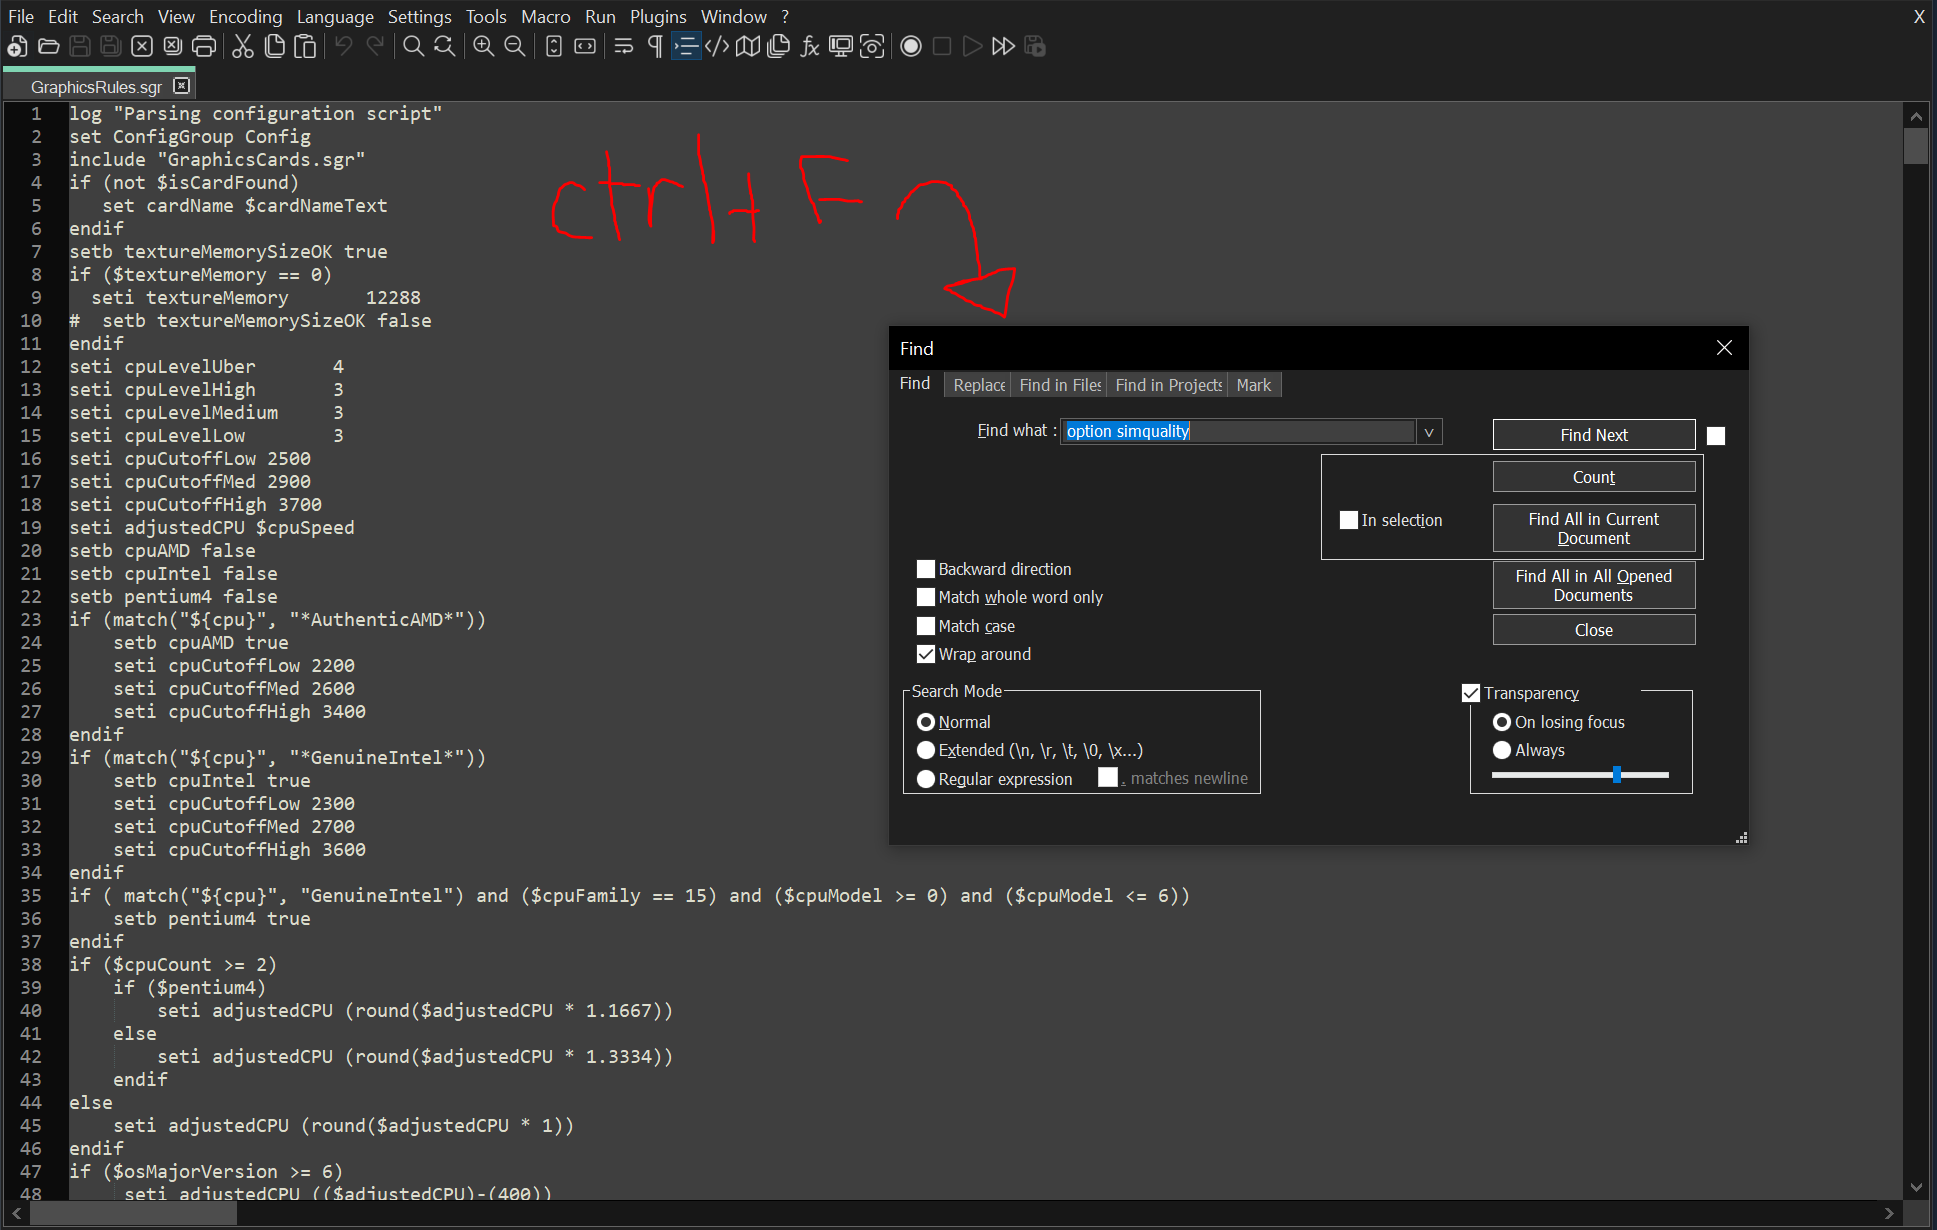
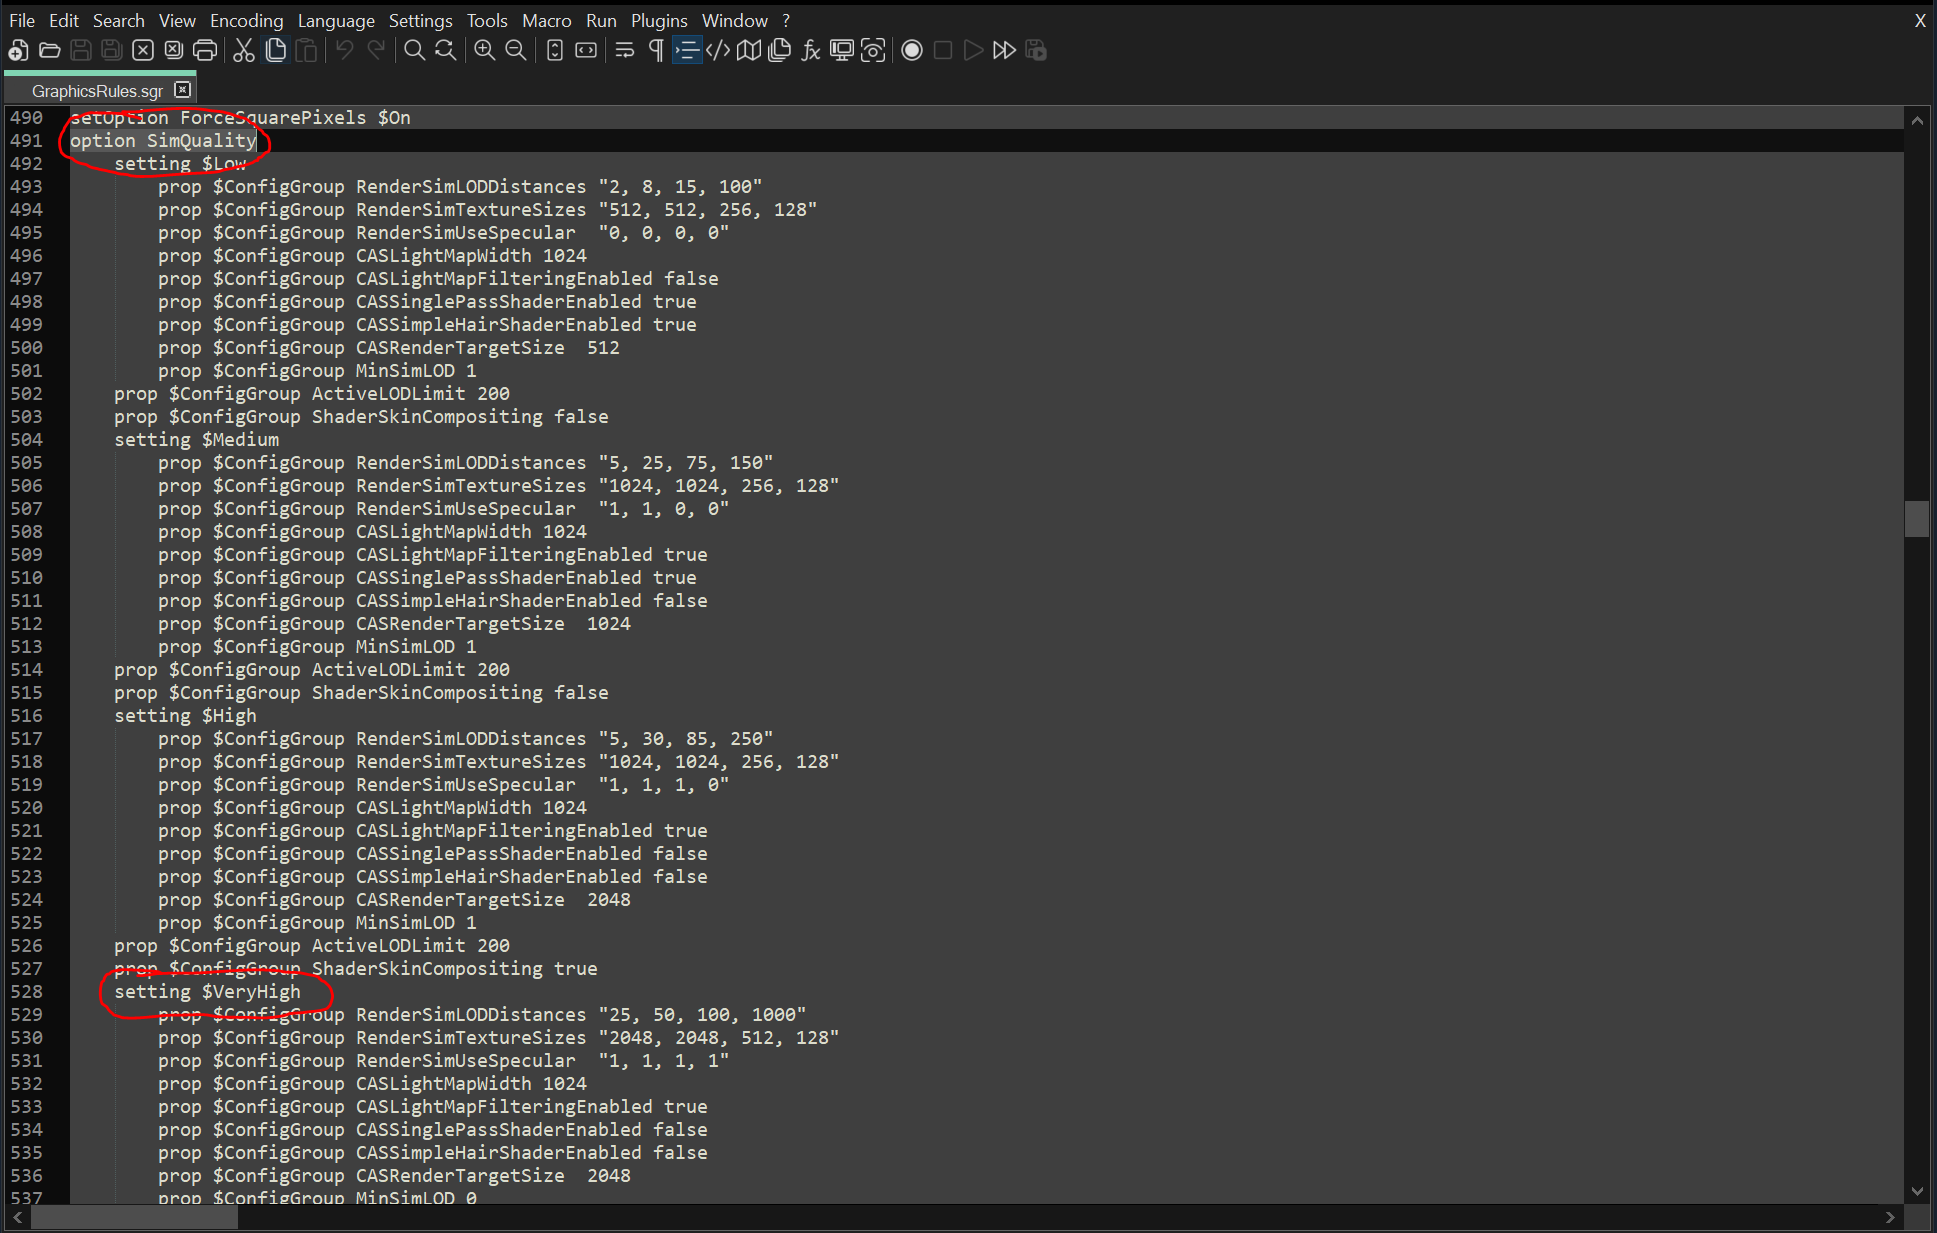
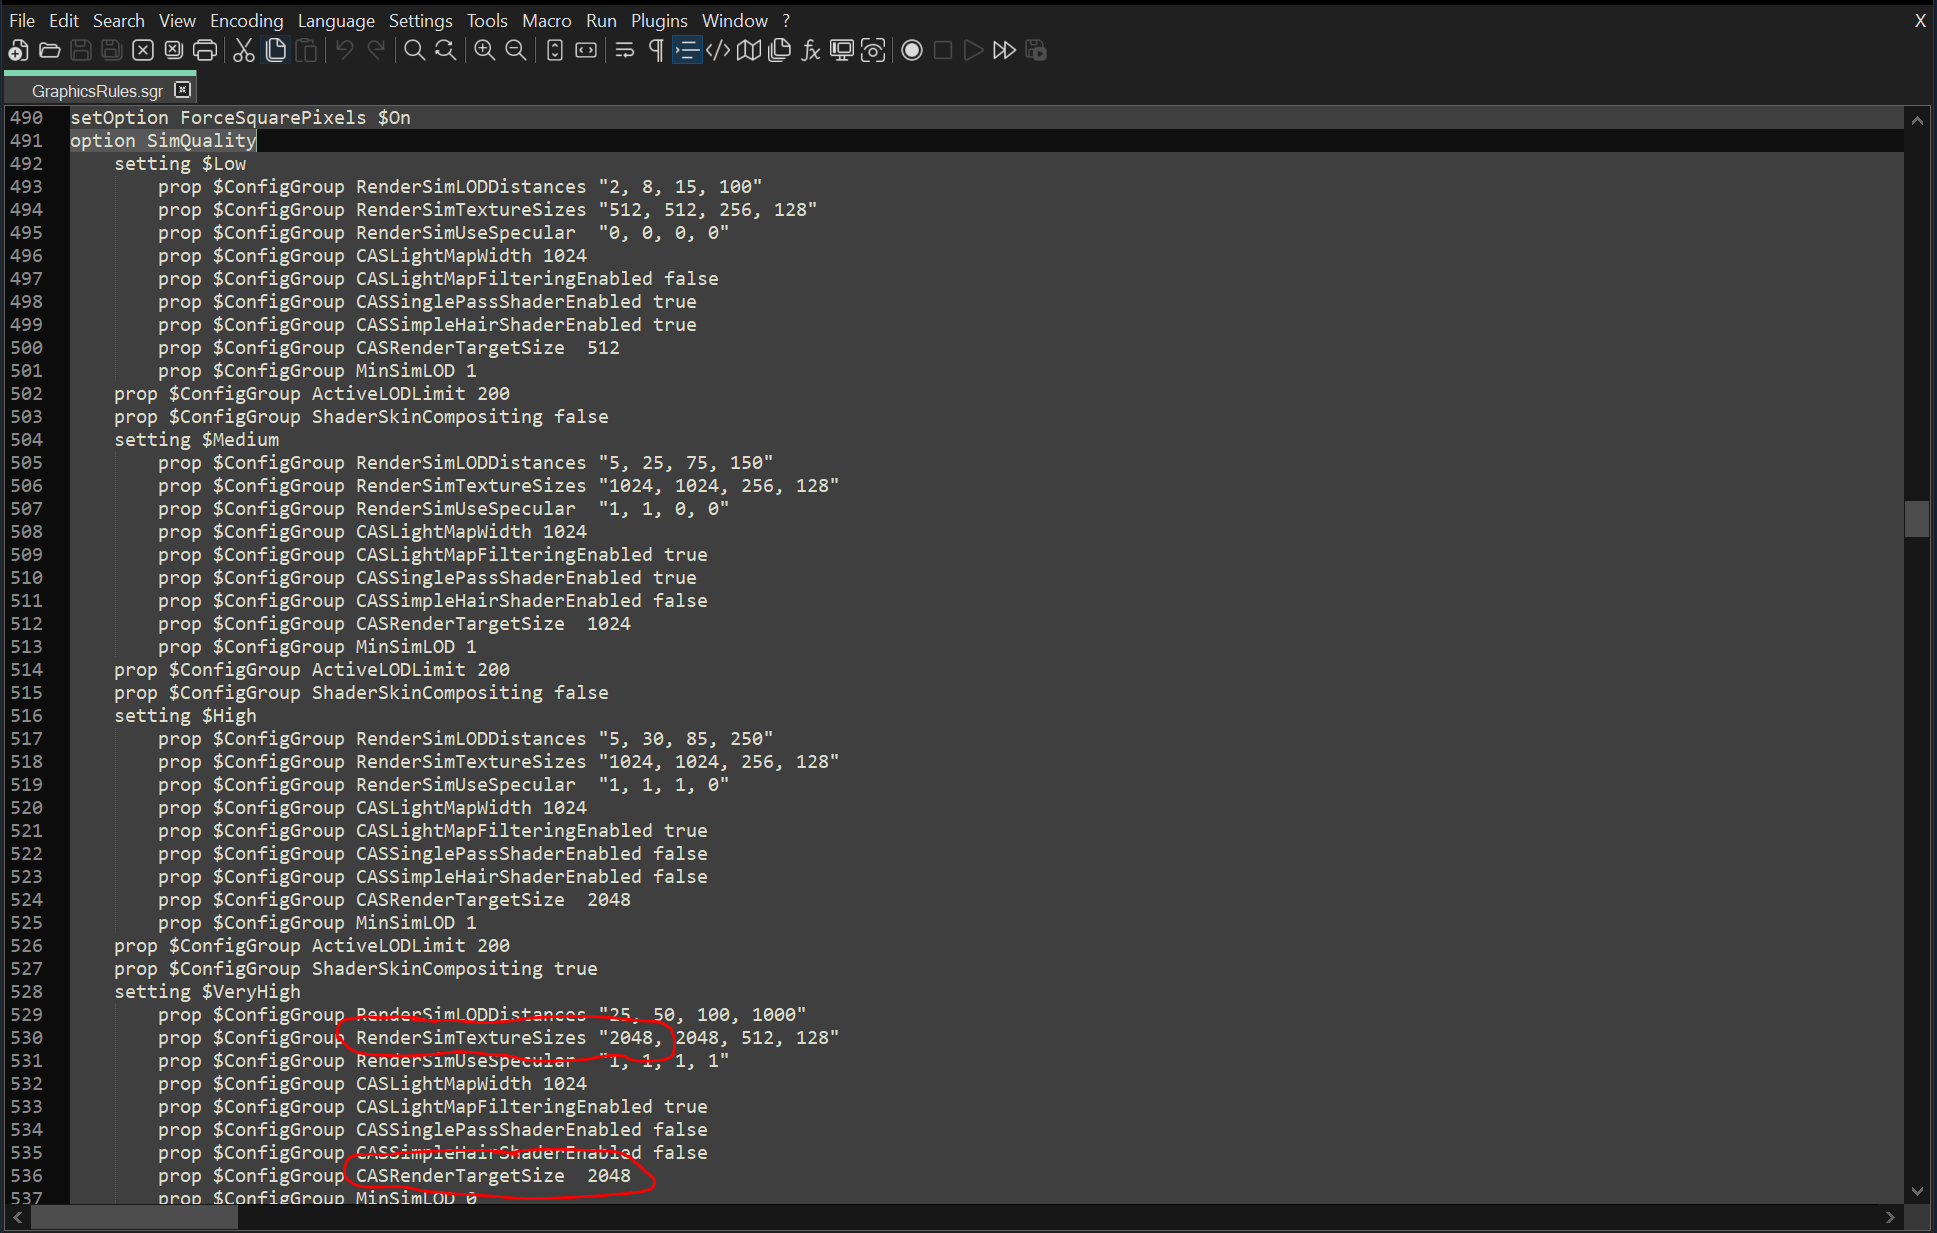
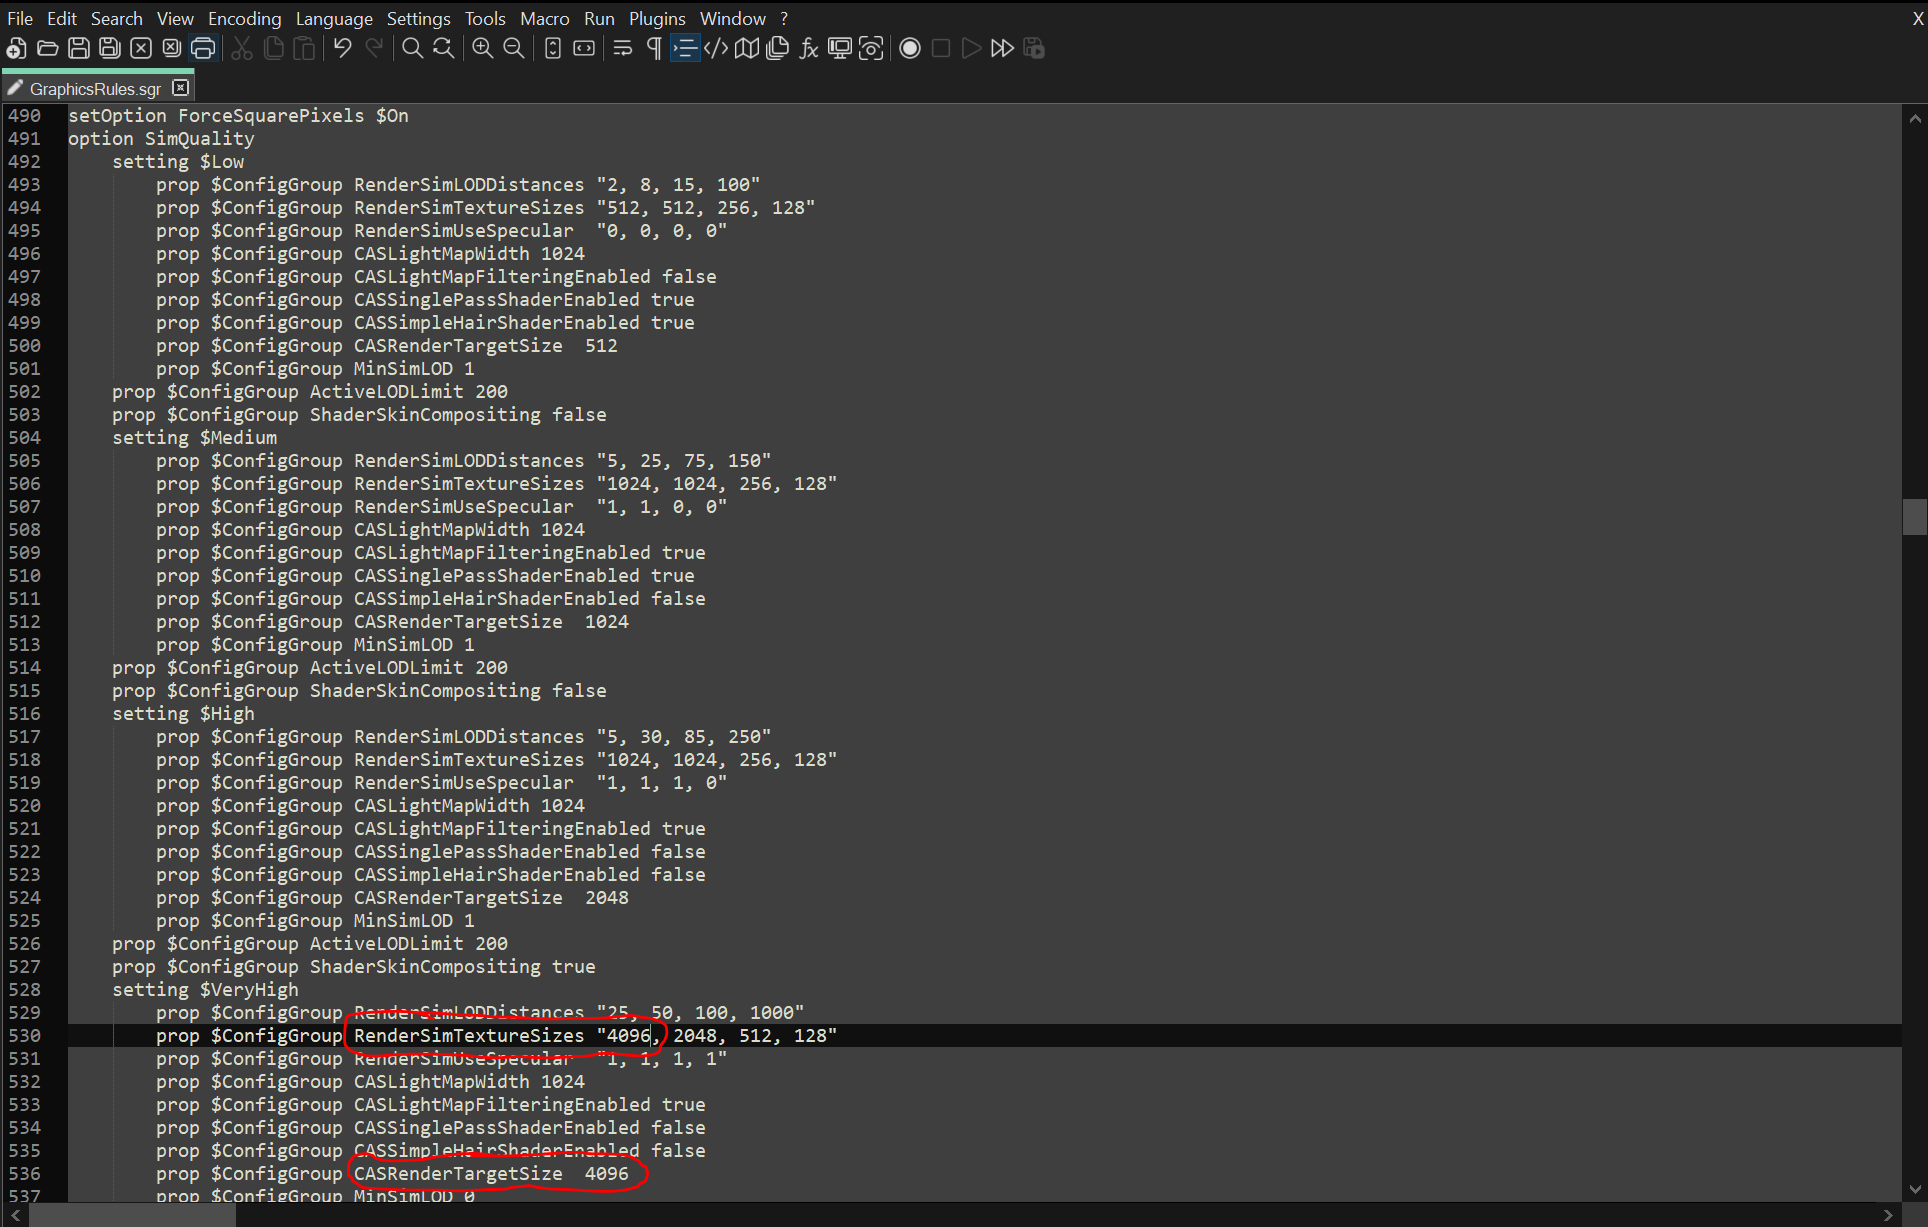
    Do you know what causes it? I tried using the GPU detection tool (like I did before) but that isn't it, graphic settings are all maxed out, "GraphicsRules.sgr" has been modified to both use low values and high values without any luck. afaik that file isn't the cause either? because when I had the textures working correctly I had modified some values like the LODs and everything was working fine.

    I also can't remember how I managed to fix it before which sucks, I guess I'll try to retrace my steps and see how I got it working before, I have an AMD Graphics Card which I thought was causing an issue before with the lighting but after reinstalling the game I believe I was wrong and now not only I didn't fix the lighting issue I now have this texture issue.

    This game hates AMD
    Anime_Boom  [作成者] 2月5日 23時46分 
    @pls don't bully me, i'll cum :( - Yep! use all 3 myself. :VBCOOL:
    Are your 3 guides compatible with each other?
    Lukki 2024年12月27日 1時11分 
    Thank you for the hard work! :er_heart:
    frostbitees 2024年12月8日 14時50分 
    As someone else mentioned in an earlier post, I can't get the shader tweaks to work. I've installed it twice and both times I get the Error: 126. I have a new HR Omen desktop which came with McAfee which I uninstalled because of this error and I have an antivirus I prefer. I also installed the microsoft c++ that you mentioned just in case my PC wasn't up to date.Tried again installing the shader tweak and still get the error. I've used your guide to update everything else with no problem except I do notice that the game loads very slow. Any help on what I'm doing wrong would be appreciated. Thank you for all the work you've put into this guide and helping those of us having issues.
    Anime_Boom  [作成者] 2024年12月5日 18時36分 
    @grumpy_toasty - Is it just the shadow extender now showing up in game or all mods that require the wininet.dll file. If this is the case it may be your anti virus software blocking wininet.dll from running while the game is running.

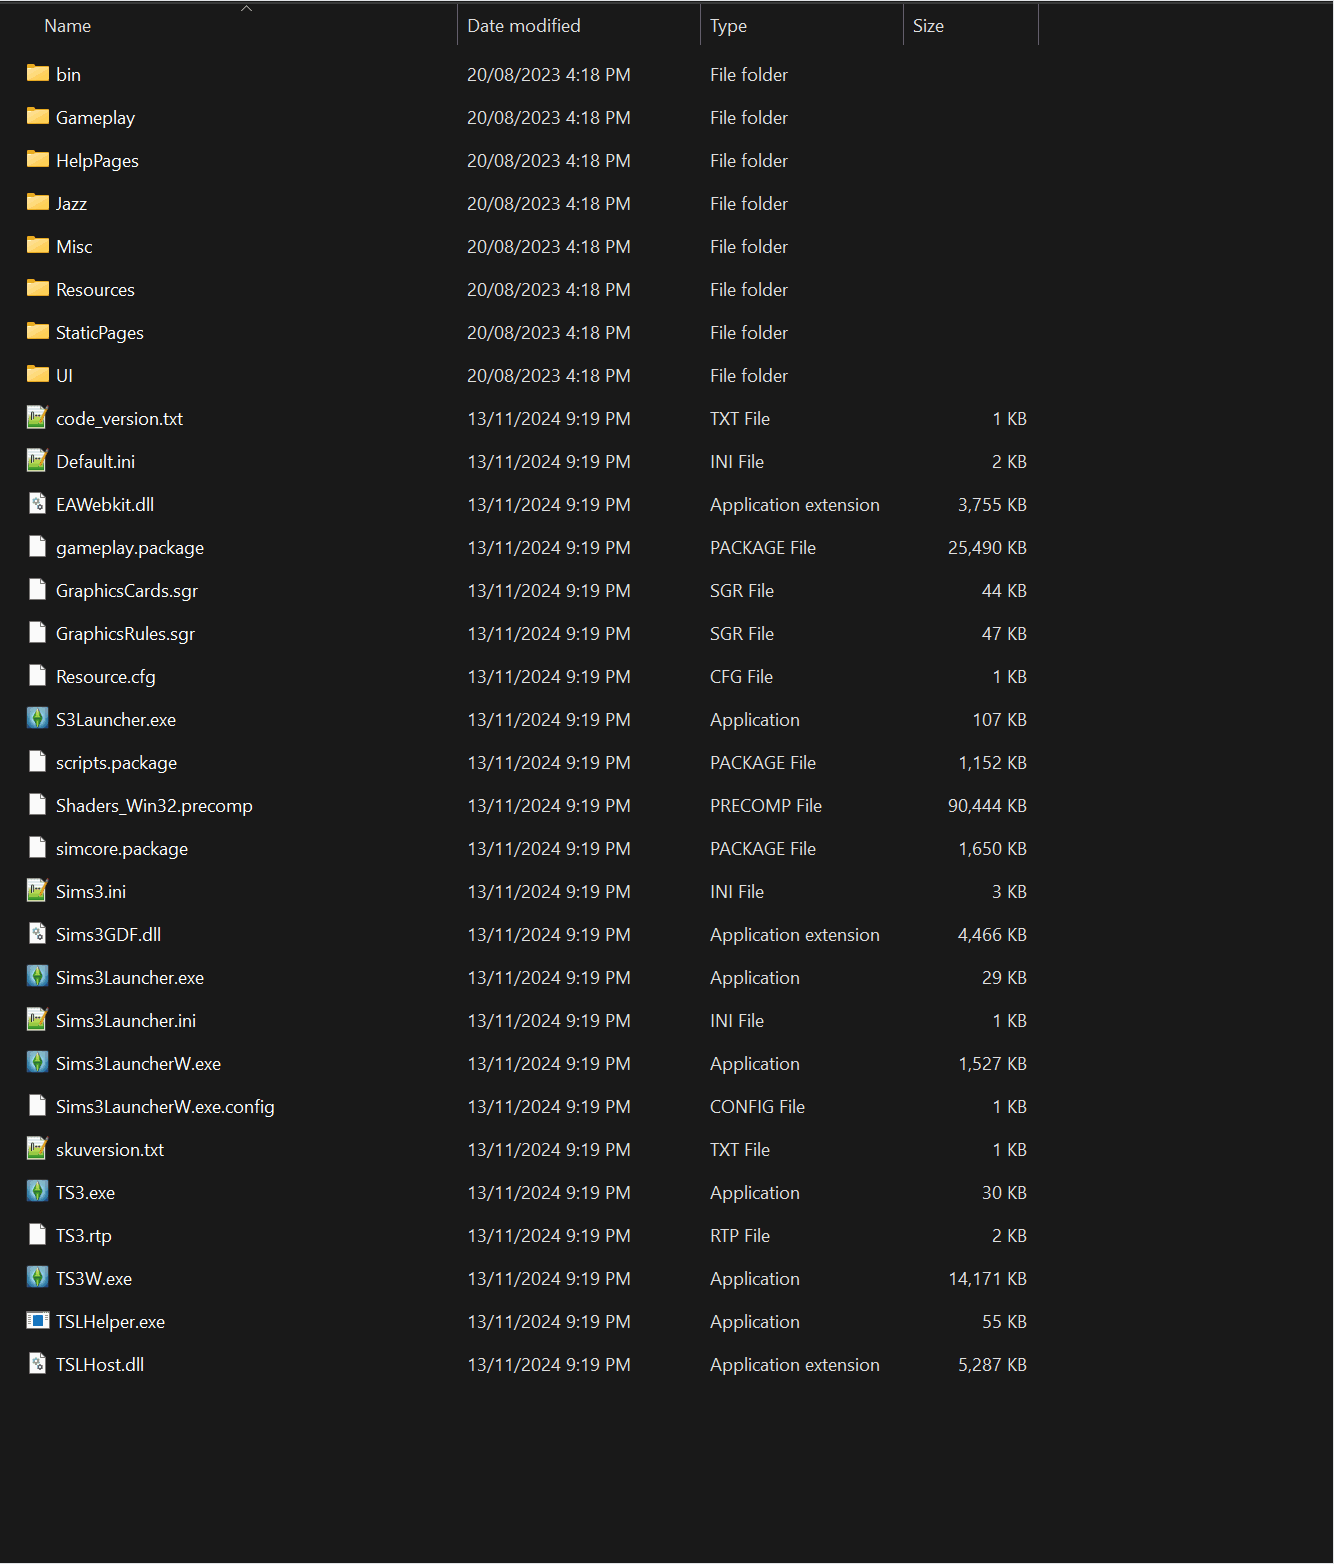
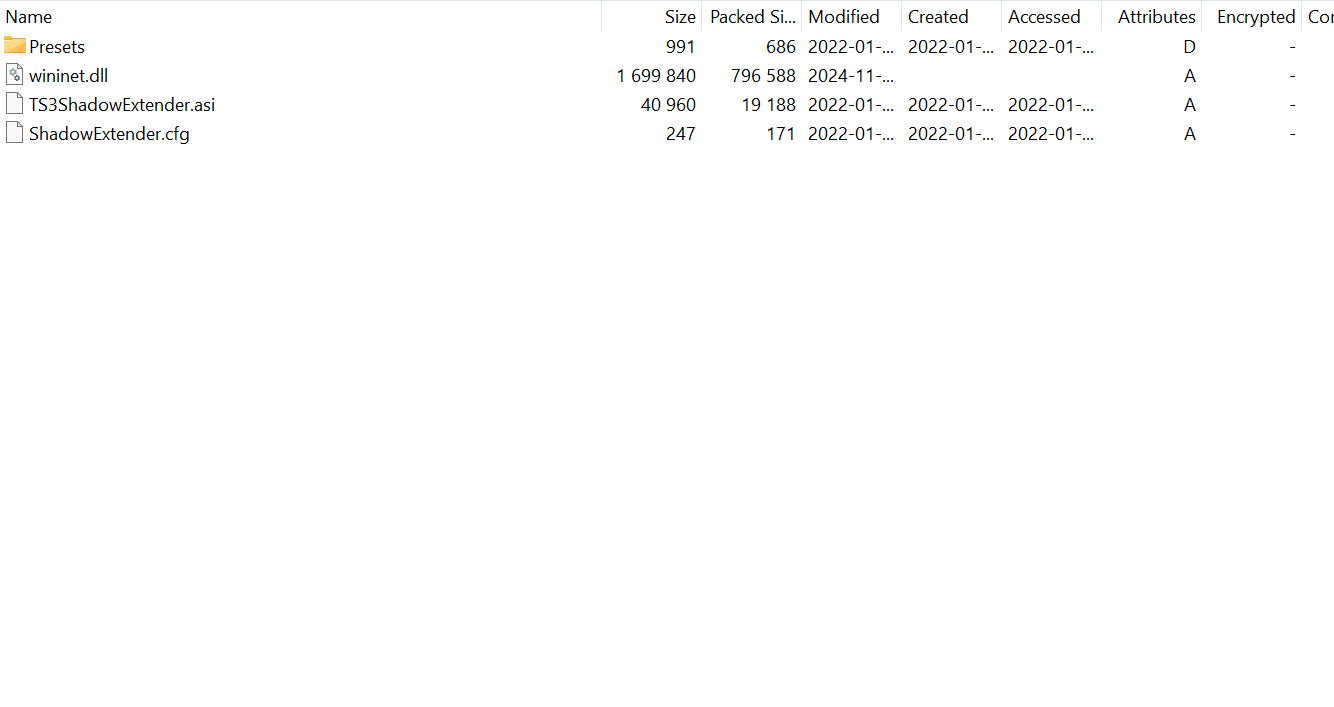
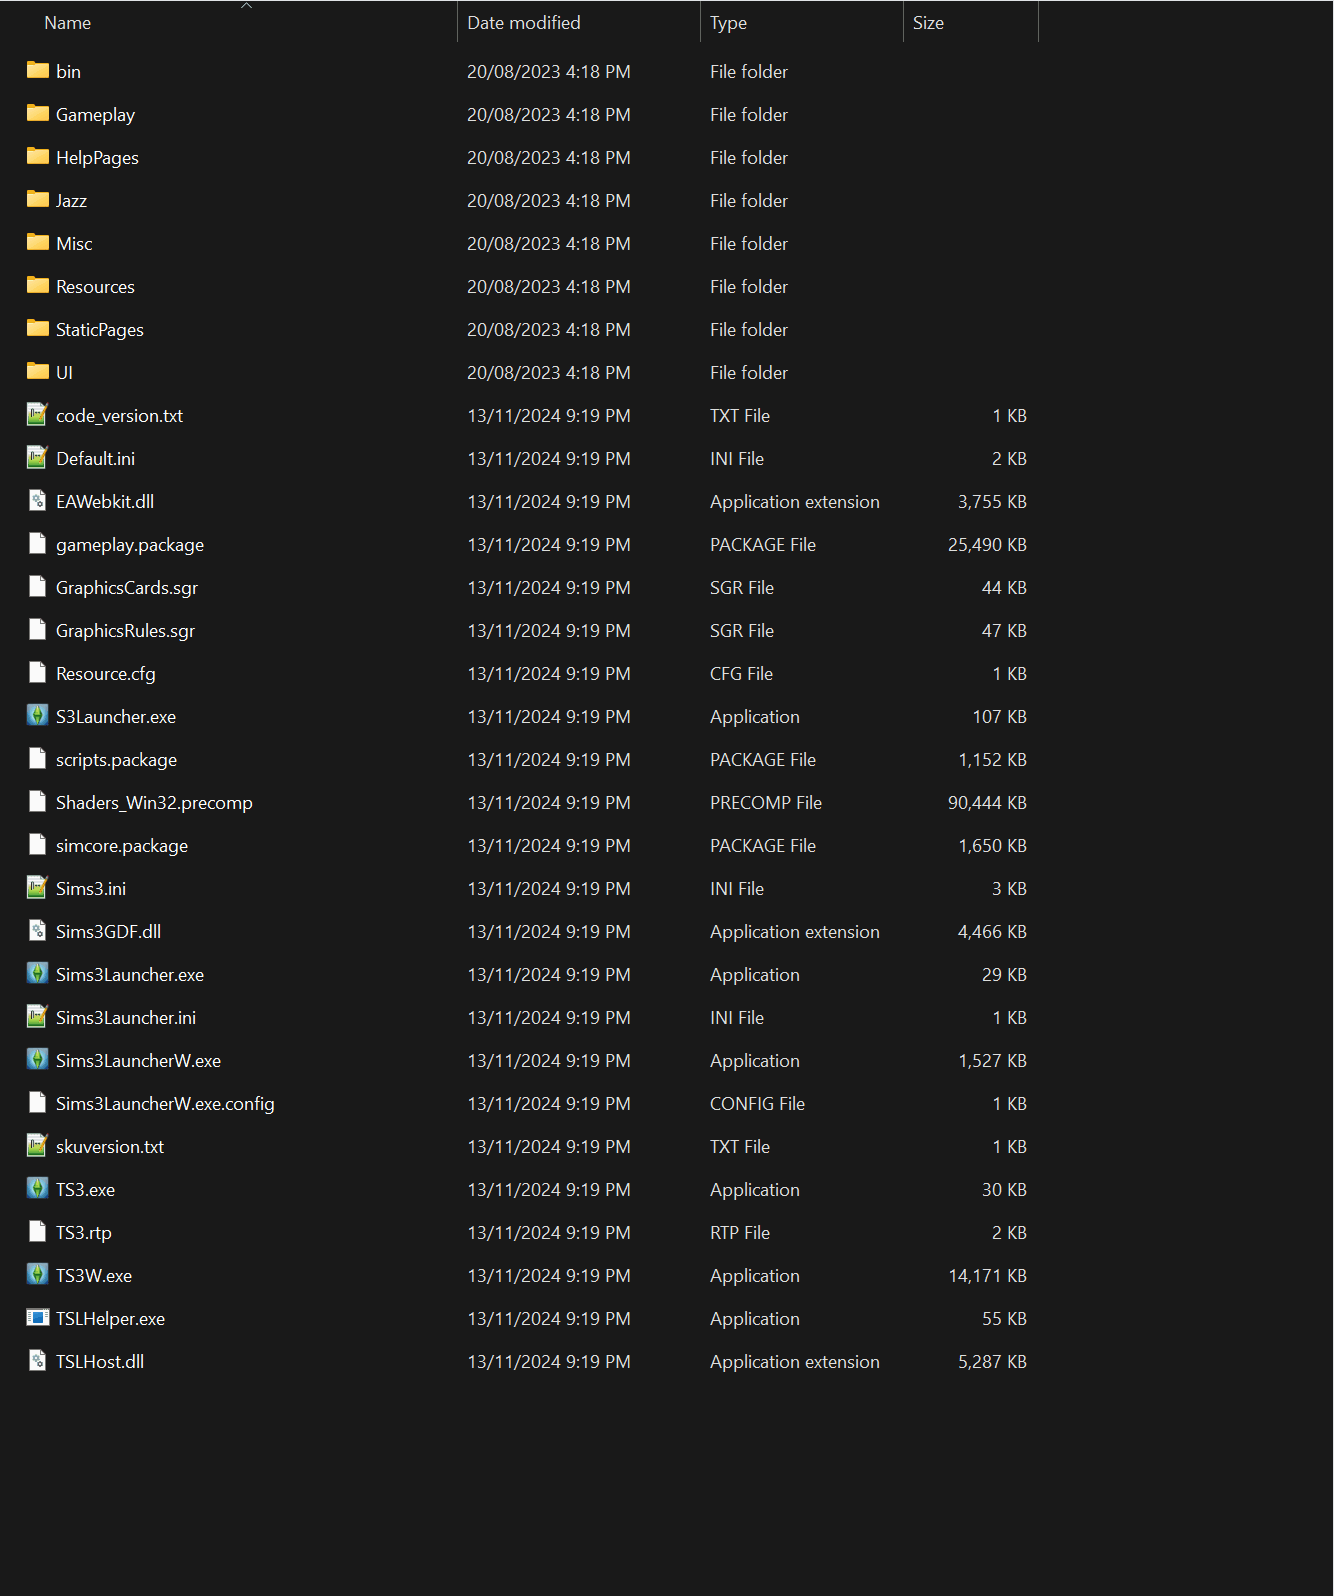
    Also make sure that mods that use wininet.dll are installed into the games "bin" in the games install directory and not the documents mods folder.
    grumpy_toasty 2024年12月5日 8時09分 
    hello, i am having some trouble and the changes do no appear in my game (at least the shadow extender) i have followed the tutorial twice and am running out of ideas... please help
    Anime_Boom  [作成者] 2024年11月12日 18時28分 
    @xPeanutBrittlex - Shader tweaks recently had an update it now uses a wininet.dll file instead of the old draw.dll file. Download the latest version and try the new loader it comes with and remove the old "ddraw.dll" file and see if it works as the new loader is more reliable for all versions of the game.
    xPeanutBrittlex 2024年11月12日 13時35分 
    Back again to report that shader tweaks does work with the game installed on the same drive as the OS. This was the case for my last desktop. With my new desktop, I am running into the same issue as my laptop earlier this year. The only difference I can possibly find is windows 11. My last desktop had windows 10, and I could complete your guide without issues. On the devices that have had windows 11, I've run into Error 126 every time. Is there a certain Visual C++ Redistributable version I'm missing? I've downloaded x64 if that helps.