Space Engineers

Space Engineers

47 arvostelua
Moon Quickstart Guide - No Hand Drilling
Tekijältä -_Tyger_-
On paper, the Earth Moon is one of the most difficult places to start. The lack of oxygen or even an atmosphere means you will have to keep yourself alive while struggling to build a flying vehicle or produce power. Most ice is at the poles, and ores are scarce in those areas. However, the Moon has low gravity and it's small, so it's easy to get around. Ore patches have yellow speckles and are relatively easy to spot, plus you have access to all ores, except uranium. The goal of this guide is to get you up and running quickly, starting with a rover miner, then a basic base and finally a hydrogen miner and a more advanced base.

You almost always need to pace yourself in Space Engineers, so you don't build out more production blocks than you can power. This is especially important on the Moon, since it only has a few ways to generate power. In this guide, we recommend taking advantage of your spawn pod battery to bootstrap your base and Power from Stone, which is explained below.

A NOTE ABOUT PVP: If you're playing on a server that doesn't have strong protection against being attacked while offline, starting on a planet or moon is always trouble. You may survive a few days or a week, but any time you change the voxel by drilling, the changes can be seen from thousands of kilometers away with the right setup. Even a small hole barely large enough to fit your engineer looks like a massive crater from up high, making it easy for people to find you. Secondly, regardless of how well your base is defended, anyone can park a survival kit nearby and keep attacking with a grinder or tunneling with a drill until they have taken over your base or destroyed it. I don't recommend starting planetside unless you really know what you're doing and have a posse to help you.

If you want to start more safely in space, check out this guide instead: Space Pod Quickstart Guide - No Hand Drilling

If you are starting on a planet or moon with atmosphere, and you want to build a base wherever you land, check out my other Quickstart guide: Titan/Planet Quickstart Guide - Minimal Hand Drilling
2
   
Palkinto
Lisää suosikkeihin
Lisätty suosikkeihin
Poista suosikeista
Important Notes
  • The order of the steps are very important, as many steps are dependent on the others. If it seems like don't have access to a block, you probably missed a step along the way to grind and then re-weld a specific block for the unlock.

  • When ordering components in the Survival kit, they are listed in the order they will be needed. This is especially important when ordering Ingots in the Survival kit, as you want the other components to be made as soon as the other ingots are ready and not process all the stone first and then start making components.

  • To conserve resources, only weld blocks up to the functional line. If you run out of Steel Plate, grind a few more armor blocks off the pod. Note that smaller armor blocks grind faster, even though small grid all use 1 plate.
Getting Started
1. After your new pod spawns on the Moon, press G to open the menu and add the Cockpit - Set Handbrake to the Toolbar. Go ahead and turn on the handbrake before you get out. You can optionally get the Data Pad from the cockpit and add it to your GPS.

2. Go around the Spawn Pod and grind off all 4 atmospheric thrusters. Stand just close enough that your grinder is in range of the thruster, so you don't accidentally grind anything important (like the Survival kit or the Battery).

3. Build a Landing Gear (can be anywhere) and then grind it off to get the progression unlock.

4. Grind down the cockpit just past the functional line and then weld it back up to get the progression unlock. (Ignore the inventory full message, it will go away when you weld it back.)

5. Add a drill to the front of the cockpit. Grind down the Beacon or Antenna to get the computer and then 6 other armor blocks for the rest of the Steel Plate (I grind them from in front of the battery, but it doesn't matter too much).

6. Get back in and queue up 20 Interior Plate and 4 Computers in the Survival kit. Also queue a few thousand ingots (ctrl + shift + click).

7. Add the Ship Drill to the Toolbar (under Tools, so when you click it drills and stops when you release the mouse button).

8. Drive to any nearby hill or rise and start drilling. Optionally you can right-click drill for a brief moment to create a hole, then drive forward and drill. You won't need much stone for the next step.

9. Collect the Interior Plate and Computers from the Survival kit. Build a Medium Cargo container behind the Survival kit - only weld up to functional.

10. Get back in and drill some more. Unless you are using BuildInfo and have a gauge for your drill, try to get an idea of how heavy your rover is when the drill is full. It should be about 36K kg to start.

11. Adjust your Wheel Suspension. The primary thing is to increase the Strength to 18 and the Height Offset to max height. You can safely increase the max speed to 60 or 70 Kph. Also increase the Gyroscope power to around 70%.

12. Keep driving, looking for navigable terrain and yellow spots indicating ore deposits. Mark any ore deposits you find. I use a marker like this: 'Co/Fe/Ni' or 'Ag/Au'. You can use chat to enter /gps Co/Fe/Ni to make it easy. If you find a good spot for your base, but haven't found cobalt yet, drop a gps mark there and keep driving. If in doubt about which way to drive, drive toward or away from Earth, because the poles are kind of aligned in that direction and therefore you will be driving toward ice. However, be advised that ores are more rare under the ice, so you are usually better off building your base a few km away from the pole.

NOTES:
  • You will always find ores on planets grouped together. If you see magnesium and silicon, more than likely nickel is there also, it's just too deep. If you see iron, but nothing else, chances are the gold is deep below it. The same with nickel and platinum.
  • I sometimes mark where I am (Earth, Moon, Titan, Asteroid), so the marker is 'Co/Fe/Ni Moon'. However, I don't usually add this to the place I spawn for simplicity. I start doing this after I move into space or onto a new planet.
  • Some people mark the distance of an ore spot from their base. There's nothing wrong with this, but right now we don't have a base and I will frequently start a base in one spot, then move it when I find something else. I find it easier to just mark the spot, then when I need nickel, I just turn on all my Ni markers and see which one is closest.

13. At some point, add 4 Girders, 1 Computer and 8 Solar Cells to your Survival kit queue and move them up before the ingots so they will build right away.
Building your base
1. When you've scouted some ores (make sure you've found cobalt at least) and are ready to build a base, try to pick a spot that is relatively flat. You can build in a crater or against a hill, but you really want something you can drive to. If you are playing with NPC mods, you may want to consider building in a narrow crater you can drive into, but hollowing out the wall for your base.

2. Queue up 60 Steel Plate, 4 Display and 80 Computers - move ingots to last. Remove the components for a Solar Panel (you can't make the Bulletproof Glass, but you don't need it). Build the Solar Panel as shown in the picture - you will need to grind off 2 armor blocks to do so. Placing it exactly here is important, because it will keep your Medium Cargo from falling off when we move the Survival kit later.

3. Add an Advanced Rotor to the back of the Medium Cargo, but don't weld it up. Make sure the 0 degree indicator is pointing up. (Note in the picture 0 is up and 180 is down.)

4. Drop a Basic Assembler on the ground (make sure it's on the ground and not in the voxel) with the conveyor facing your rover, but don't weld it up yet.

5. Put an Advanced Rotor Part on the conveyor, with the line facing up - don't weld it up.

6. Back your rover up so the Rotor is covering the Rotor Part and they are aligned. Go into the Control Panel, select the Rotor and choose Attach. If it doesn't attach, make sure you are lined up well - you may need to use your wheel Height Offset to lower your rover. Once you are attached, you may jump in the air a bit, but that's fine.

7. Collect the components from your rover and weld up the Basic Assembler to the functional line. If it isn't aligned to gravity, you can make a little ramp and back up onto to so that your base is level and the control freaks among us are happy. Make sure to add a block to hold up the battery we will add next. Queue up 80 Power Cells in the assembler.

8. Add a Battery next to the Basic Assembler. You may need to make a few more components for it, but in Keen's wisdom, the functional line for a battery is below the computers, so you don't need much.

9. Once the Battery is welded up, detach the rotor so your rover is separated and the new grid is flat. Go into the Control Panel on the Basic Assembler, go to the Info tab, give the grid a name (like 'Moon Base' or 'Cheese Headquarters') and then set it to Station. Grind off the blocks you used for a ramp and rebuild them attached to your new base.

10. Grind the unwelded Rotor Part off the base and unwelded Rotor off your rover. Add a Small Cargo Container to the base attached to the Basic Assembler.
(I apparently didn't get a screenshot of this.)

11. Place a Hinge on the Small Cargo Container, grind off the Hinge Part, go into the Control Panel and add a Small Hinge Part (you can rename it, too). Lock the hinge for now. Weld these up.

12. Add 2 Small Conveyors, one on each side of your rover's Medium Cargo. Also, queue up the components for a Basic Refinery and a large grid O2/H2 Generator. If you run low on ingots, go mine more stone with your rover.

13. Add a Connector to the back of your rover and one on Small Hinge Part on your base. Rotate the Hinge down a little so they line up better. (Side note: Large Grid connectors take way too much resources for the early game and having a hinge makes it so you can connect easily without building a ramp, or drilling the voxel).

14. While the assembler is working, go mine some cobalt. Before you leave, create a GPS marker for your base - it's a good idea to change the color to something you will see easily, like Yellow or White.

NOTE: I highly recommend drilling for cobalt, silicon and nickel by hand at first. 3.1K kg will fit in your backpack and it will be plenty to get started. If you mine a full rover load of any of these, they will simply clog up your refinery for hours and force you to do early inventory management. If needed, you can drive to the ore location, but then just jump out and use your jetpack to drill down and get it.

14. Build a Basic Refinery on the left side of the Small Cargo and an O2/H2 Generator on the right side. The cobalt should queue up right away, but if not, make sure it's refining that first.

15. Now that you have cobalt ingots, build better tools. Yay! Time for a flying miner.
Hydrogen powered flying miner
1. Detach your rover from the base and empty it of all inventory, including the gun, ammo, canvas, ice and bottles.

2. Grind off the Gyroscope from the top, the O2 gen from the side and the Drill, Cockpit, Conveyor Junction, lower Hydrogen Thruster, piping, Beacon, Parachute Hatch and Survival kit. Dump the components in the base as needed. You can also grind off a few armor blocks from the top to make it easier to get inside. When it's done, it should look like the second picture

3. Build the Survival kit back onto the base next to the O2 gen. You can make a little ramp for it, so you're not awkwardly jumping onto the platform like a famous YouTuber I could mention.

4. Place another Medium Cargo in front of the first and an O2/H2 Generator in front of that.

5. Place 2 Small Hydrogen Tanks in the sides, making sure the conveyor ports line up and a Gyroscope in the middle.

6. Place down a Cockpit, using the bottom block to align it.

7. Put a Drill back on the front. Add a Battery on the left side where the O2 gen was sitting. Remove the Solar Panel.

8. Put a Small Hydrogen Thruster on each side of the 2 Small Conveyors. Grind off any Armor Blocks in front of the Backward thrusters, or they will get damaged. However, the batteries are safe where they are.

9. Get in the Cockpit and set up 2 groups for the Hydrogen Thrusters. One group with all thrusters and one group with the 2 backward facing thrusters. I just name the two groups 'Thrust' and 'Back'. Put these two groups on the Toolbar and then turn off all thrusters.
Side Note: Setting up a group with your backward facing thrust is one of the best ways to save energy, especially on planets. By turning off back thrust, you can keep your inertia while using the mouse to maneuver. I set this up on every ship I fly and I try to keep that toggle on Toolbar slot 3, so I always know where it is.
Side Note 2: Leaving the wheels on makes the miner slightly bulky, but it's a great backup, since we aren't able to store much hydrogen. If you run out of hydrogen, you can always drive back to base and fill up. You could also be really efficient and drive to your mining spot and then fly. Keeping the thrusters off while you're driving generally makes it much easier to drive.

10. Connect to the base and fill up the hydrogen tanks. You need at least 30%, so if you don't have that much fuel, you'll need to fly in your jetpack to get the first load of ice.

11. If you haven't yet seen either of the poles, fly up high with your jetpack until you see the poles, which are icy areas with small mountains. Get back in the miner and drive or fly to the pole and fill up the miner with ice. Make a GPS point here, so you know the closest place to get ice.

NOTE: After crashing a few times, you will learn to fly much more carefully while you are carrying a full load. Be extra cautious on the way back to base. Also, it's tempting to scout any ore spots you see, but this is much more safely done on the way out, rather than on the way back.

12. Unload all the ice. Queue up 6 Solar Panels, then head out to fill up on iron. If you are low on nickel, silicon or cobalt, you can pick up some more of that, but remember not to get too much.

13. Return to base and unload your iron ore. Now it's time to work on power production.
Power from Stone
We are going to build a solar tower, but first a word on producing power from stone. When you build a Battery, it starts with 30% power. You can easily produce power by building batteries, draining them, grinding them down and starting over. The power cells grind to scrap, but that means you have only spent (on Small Grid) 50 iron, 13 nickel and 6 silicon. You need about 1.5K kg of stone for that much silicon and iron and about 3K kg (a backpack full) for that much nickel. I'll admit, this is kind of a hack, but it's very attractive before you get to uranium. If you consider this cheating, or anything like that, we'll offer some alternatives, but you will not be able to build as fast. Small Grid large batteries are slightly more efficient for this process, so we'll use those.

Keen could fix this issue by starting each Power Cell with 10% or less charge, which would also allow them to give you back the Power Cells when you grind down a Battery, but currently this is how it works.

1. Get about 30 Steel Plate and about 30 Interior Plate. Build a line of blocks away from your base and a line of blocks up 20 high or so. I like to use the new columns for my solar and wind towers. Place a Rotor on top of the tower and a Hinge on top of that.

2. I like to use the new Light Armor Panels to form a chassis for the Solar Panels. You can use regular Armor Blocks, a lot of other blocks, or just awkwardly hang them off the Hinge. In any case, build 8 Solar Panels. Note that the Hinge will fall after you place the first one, but that's ok. If you are not going to use Power from Stone, you will want to eventually build another 8 Solar Panels or so on the solar tower.

3. First (vanilla and best) option: you can build a Custom Turret Controller and set it to follow the sun. I'm not adding detailed instructions, but they can be found elsewhere. Alternative option: If you are playing a local game, or your server allows it, we will use a script to control the solar array. Carefully grind down the Interior Light on your miner below functional line and weld it back up again to unlock the Programmable block (PB). You can add a PB anywhere, but if we add it on the small grid part of the base, it uses a lot less components. I like to build it here, under the docking hinge part.

4. Select the Programmable block in Control Panel, click Edit, then Browse. You want this script: https://steamcommunity.com/sharedfiles/filedetails/?id=699142028 All you need to do is put the Rotor and Hinge we built in Step 1 into a group called 'Solar Rotors'. Yes, you name it that even though one is a hinge and yes, this does work. If you don't have access to scripts, you'll have to manually align the rotor and hinge a couple times a day to get the most solar power.

5. Check on your main base battery; you likely have less than 1 hour remaining. Now we will take advantage of Power from Stone by placing down a single small grid battery and setting it to Discharge. Get 5 Steel Plate, 2 Construction Components and 20 Power Cells (yes, that's really all you need) and place them down on the base connector. Set this battery to Discharge and all your other batteries to Recharge. Whenever you need to boost your power store, just spam down another Battery. Note that if you grind a battery down, but not completely, then add 20 new Power Cells, you won't get any juice. You need to grind it away completely and start over with a new battery. You can spam down as many batteries as you want at this point, although the solar tower will providing a reasonable amount of power during daylight hours.
IMPORTANT: Never leave your base with all batteries on Recharge and/or Discharge. If you die while you're away and your battery has completely discharged, you may not have power for your Survival kit and therefore can't respawn. If you leave the base, you can leave the one battery on discharge, but change the rest to Auto until you get back.
Optional: if you don't want to use Power from Stone, you can add a Hydrogen Engine to the base. Obviously this means you will need to supply ice on a regular basis.
Upgrades
1. Queue up 60 Steel Plate, 40 Construction Components, 10 Metal Grid, 80 Computers and 6 Display. After these are finished, move everything out of the Basic Assembler.

2. Grind off the Basic Assembler, and put a regular Assembler in it's place. Add 2 Speed Modules, 1 top and bottom. If you are not using Power from Stone, you can add a Power Module on the side.

3. This might be a good time to queue up 20 more power cells and discharge another Battery, unless you put down more than in the last section.

4. Turn off the Basic Refinery, remove all items, grind it down and start building a full size Refinery behind the Assembler.

5. Order up the components and finish your Refinery. Now you are ready to mine gold and silver and get those refining. I highly recommend getting gold first and adding 4 Yield Modules, but again if you are not using Power from Stone, you can add 2 Power Modules right away and 2 Yield Modules when you have gold. Once you have started refining silver, you can upgrade your tools and think about another Survival kit, or maybe a Medical Room.

6. You have conquered the Moon! Just kidding, there's lots more work to do. :)
Epilogue
Now that you have a starter base, the next step is up to you. You can expand your base, build a better miner, head for space to search for uranium, or mine a bunch of platinum and buy a sweet ship from an NPC. I highly recommend the B-60!

Now is the time when we say 'the sky is the limit' except the sky is no longer the limit for you, my friend. Happy engineering and may Clang never visit you.
14 kommenttia
Killer Bee 6.4. klo 20.24 
I followed your guide. I am now officially a Moon citizen! very well-made
BarelyZen 15.2. klo 17.29 
@Anubis 1101, your information is slightly off the mark. They added a follow the sun feature with the addition of the Turret Controller block. The camera is simply part of how you set up the turret controller, along with defining the azimuth rotor and the elevation rotor.
Robert 26.12.2024 klo 7.22 
Can confirm that in 2024 this guide works perfectly!
Anubis 1101 14.8.2024 klo 10.04 
you dont need to do it this way anymore, they added a feature to cameras to track the sun
A Tanga in the woods 13.8.2024 klo 17.10 
As of 2024 I don't think you can use the rotor to attach at all, I'm aligned completely with it and the attach button is grayed out completely
Apothecary 14.6.2023 klo 15.04 
Yeah I found out later that I was not lined-up close enough (later in the playthrough I needed to do this as well).

Again thanks for the guide (and the suggestions, both of you, the timer block is a great idea!)
-_Tyger_-  [tekijä] 11.6.2023 klo 9.49 
@Apothecary, I'm glad you are enjoying the guide!
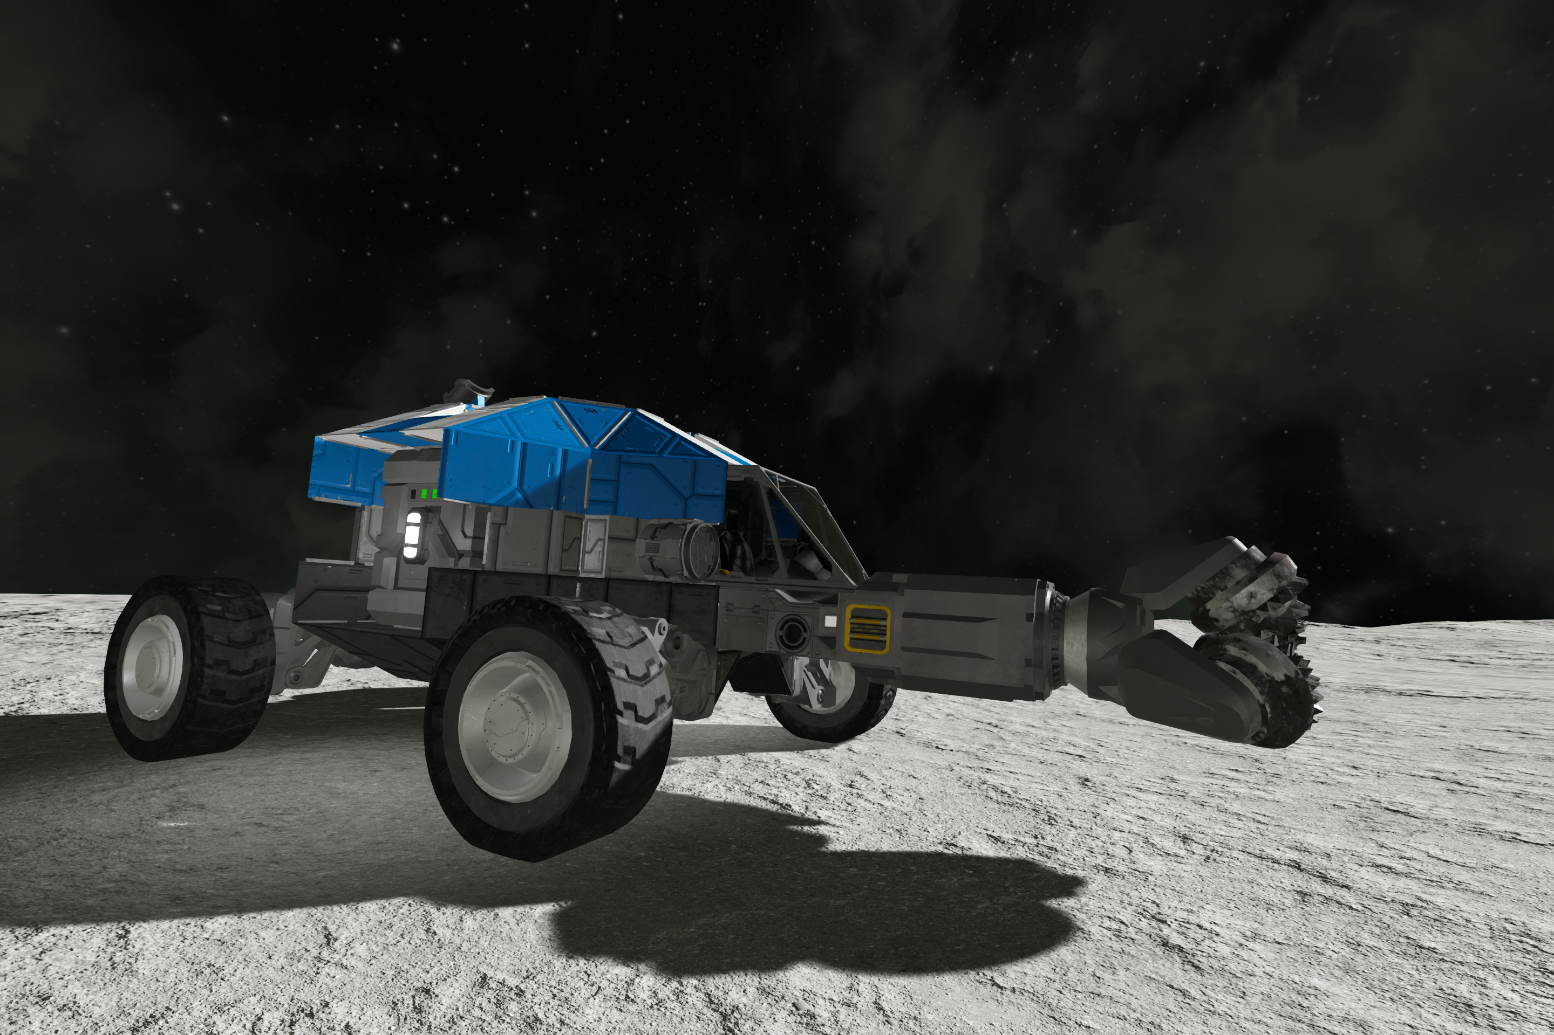
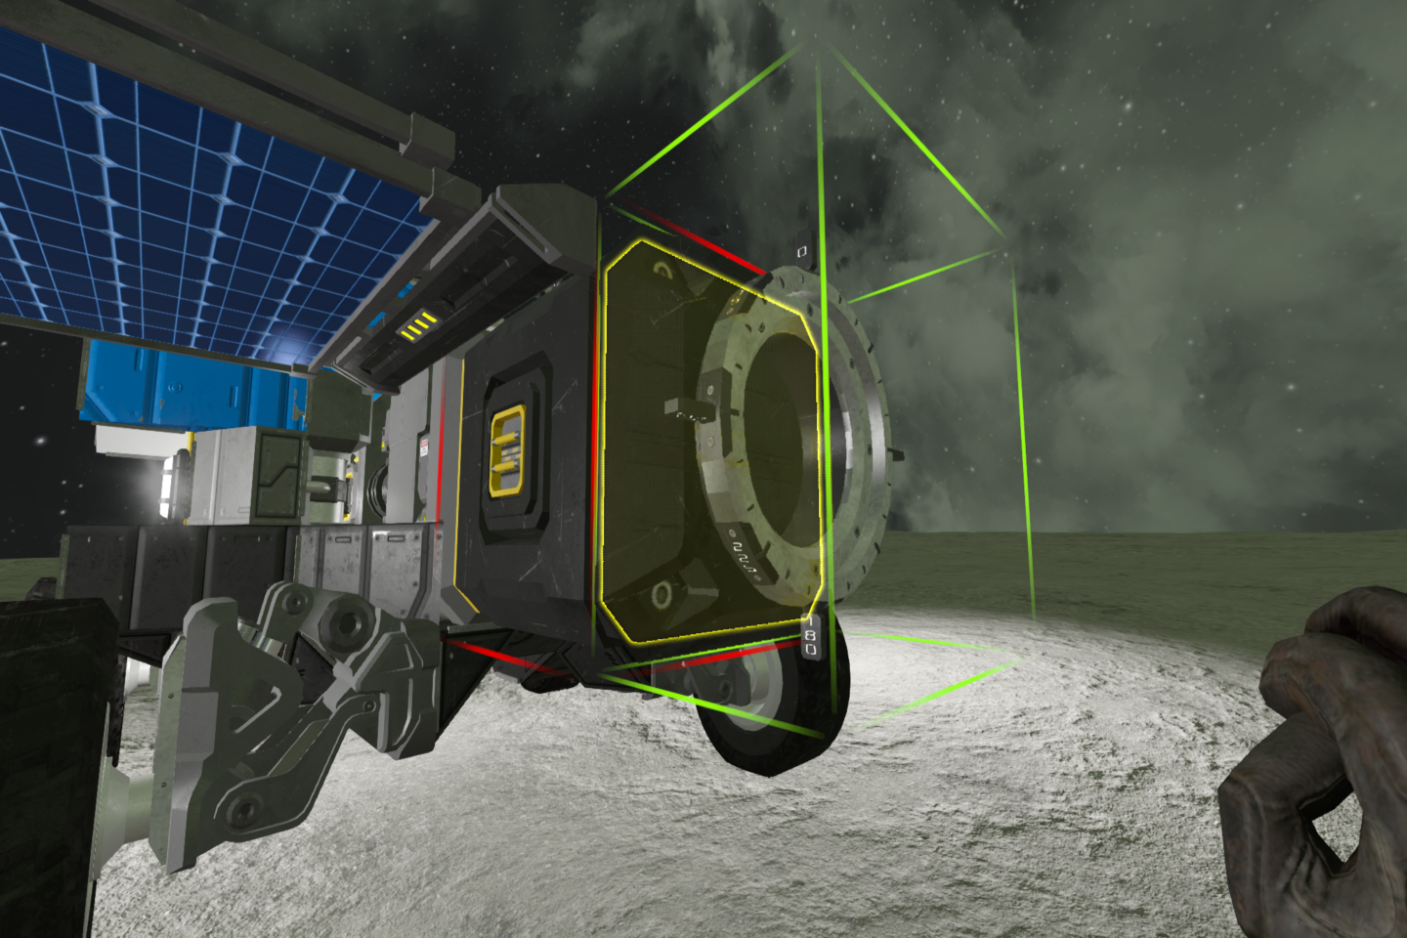
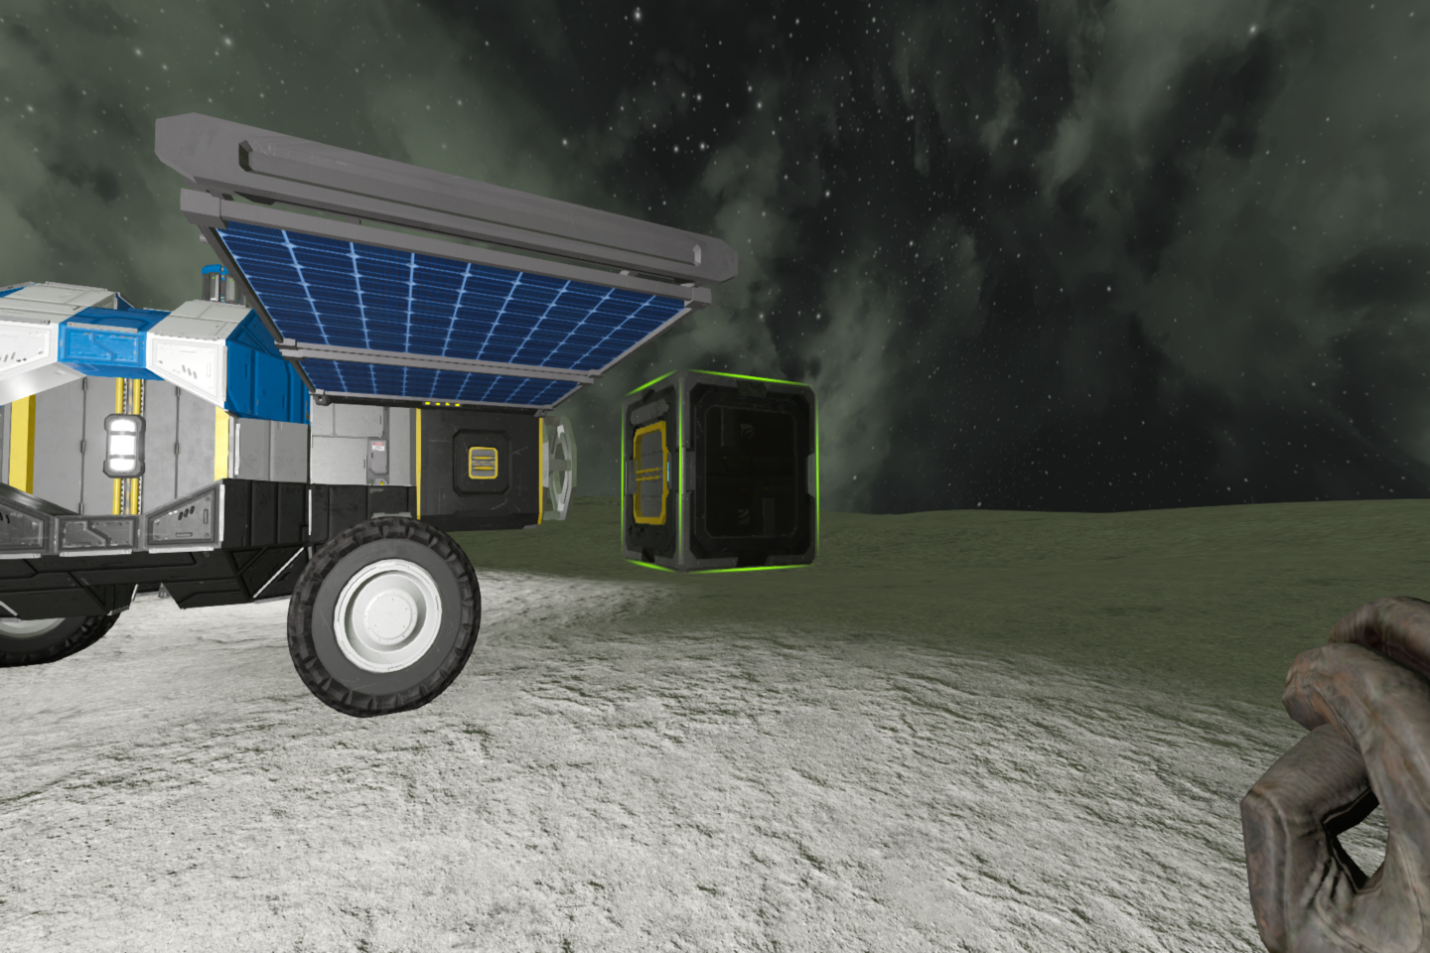
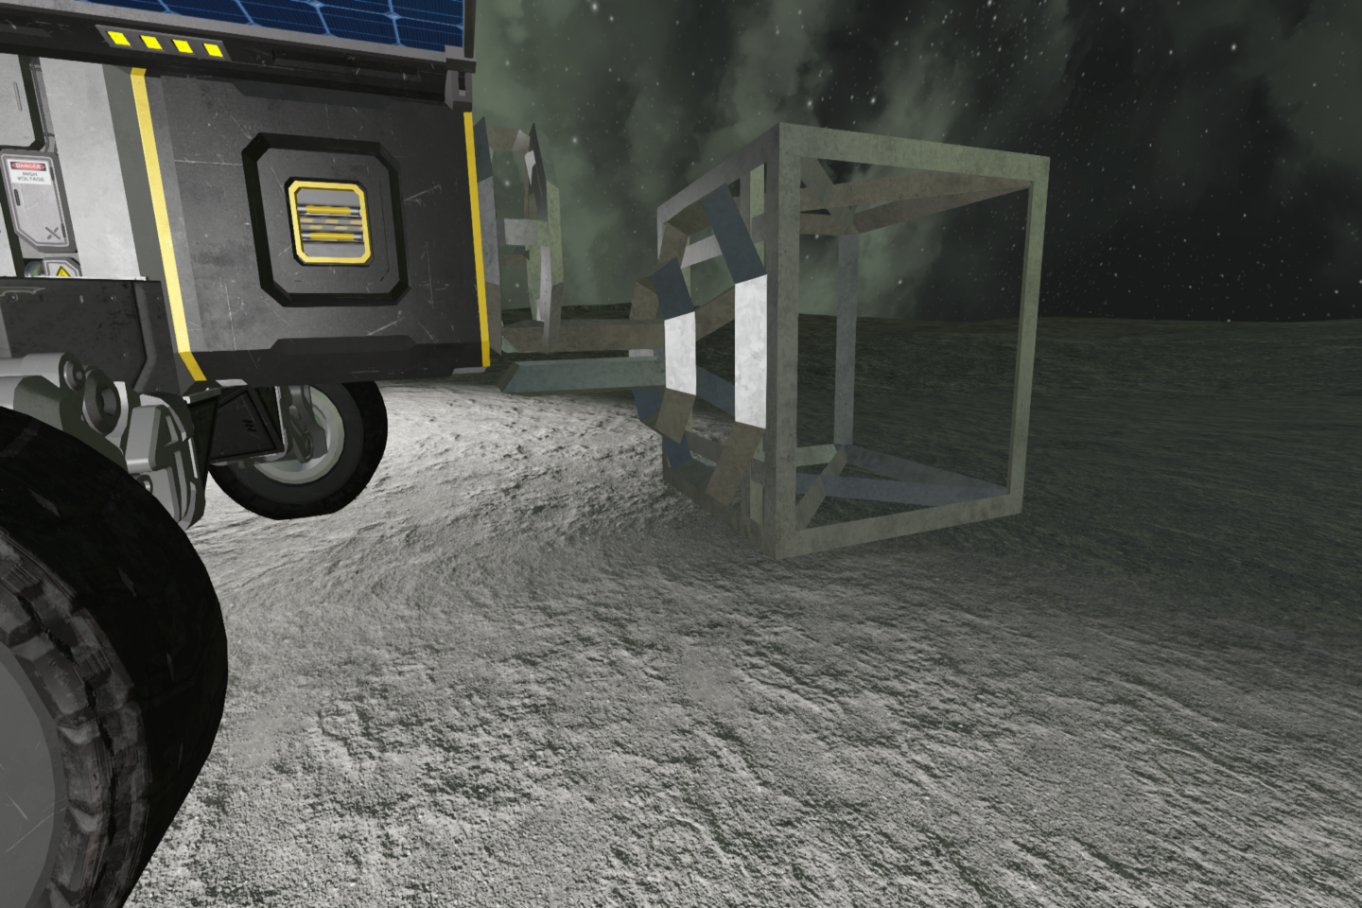
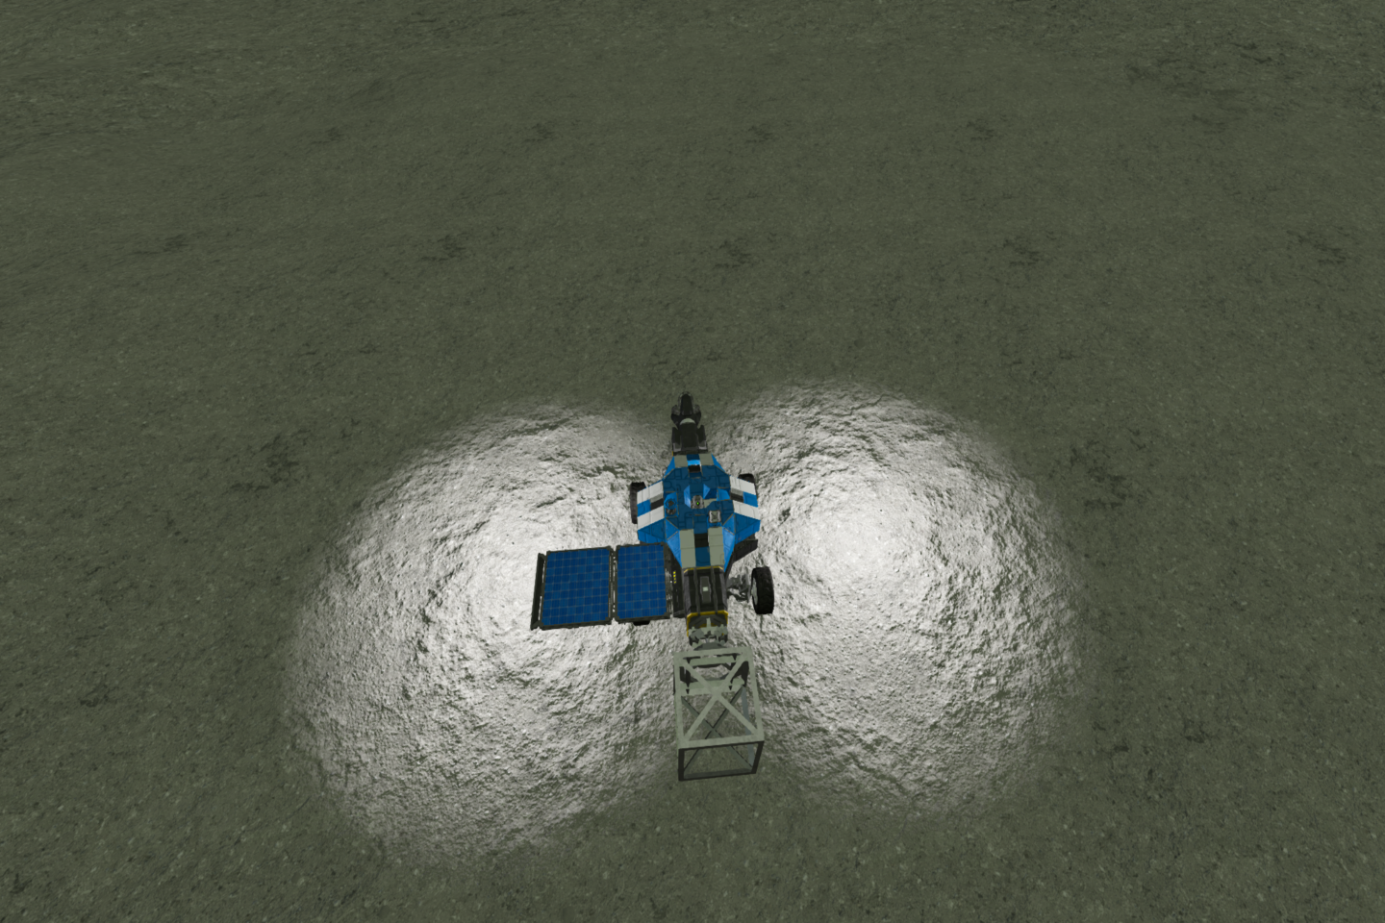
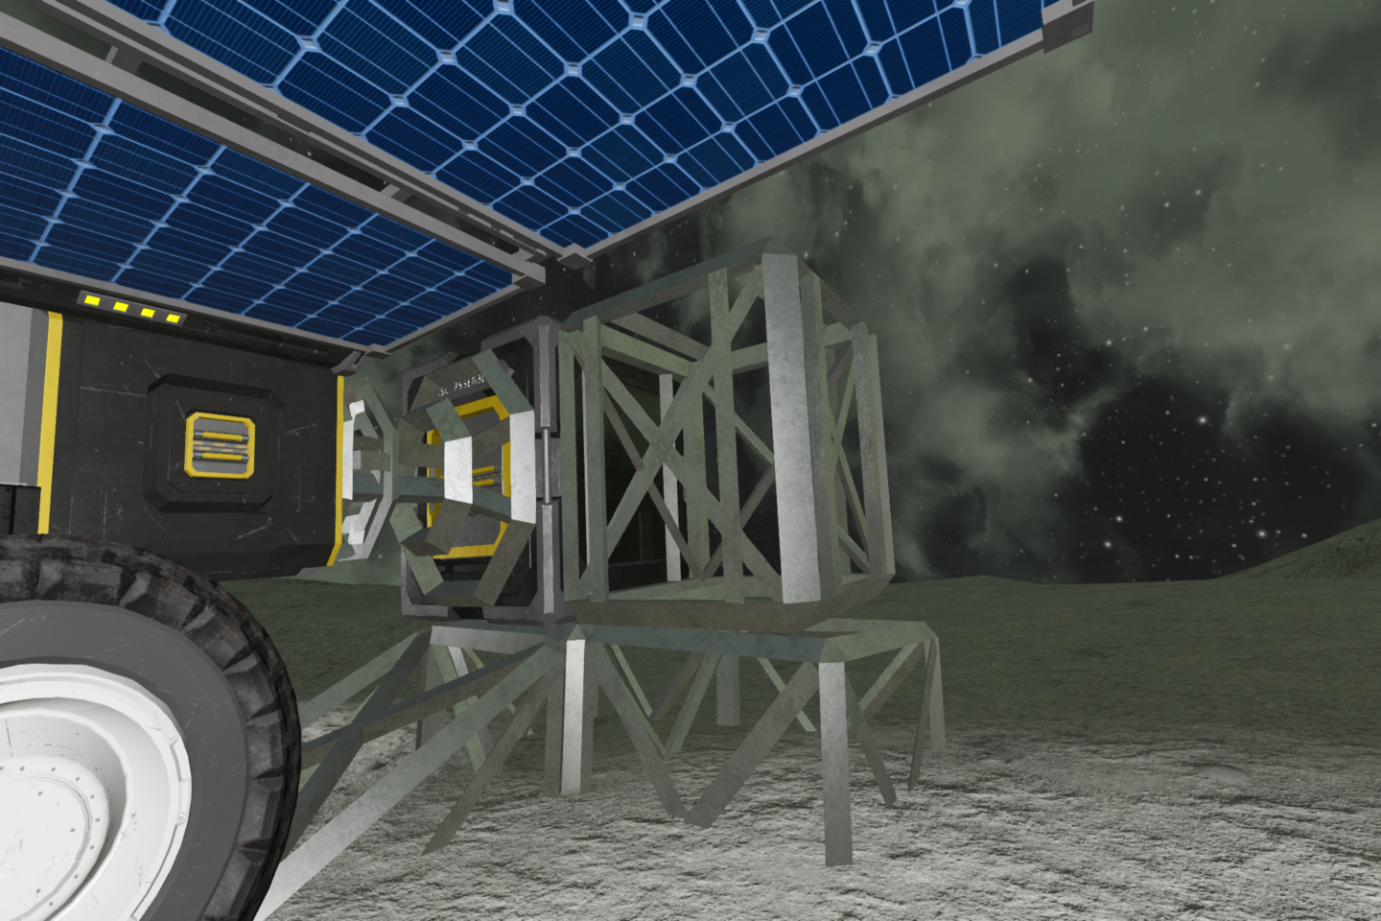
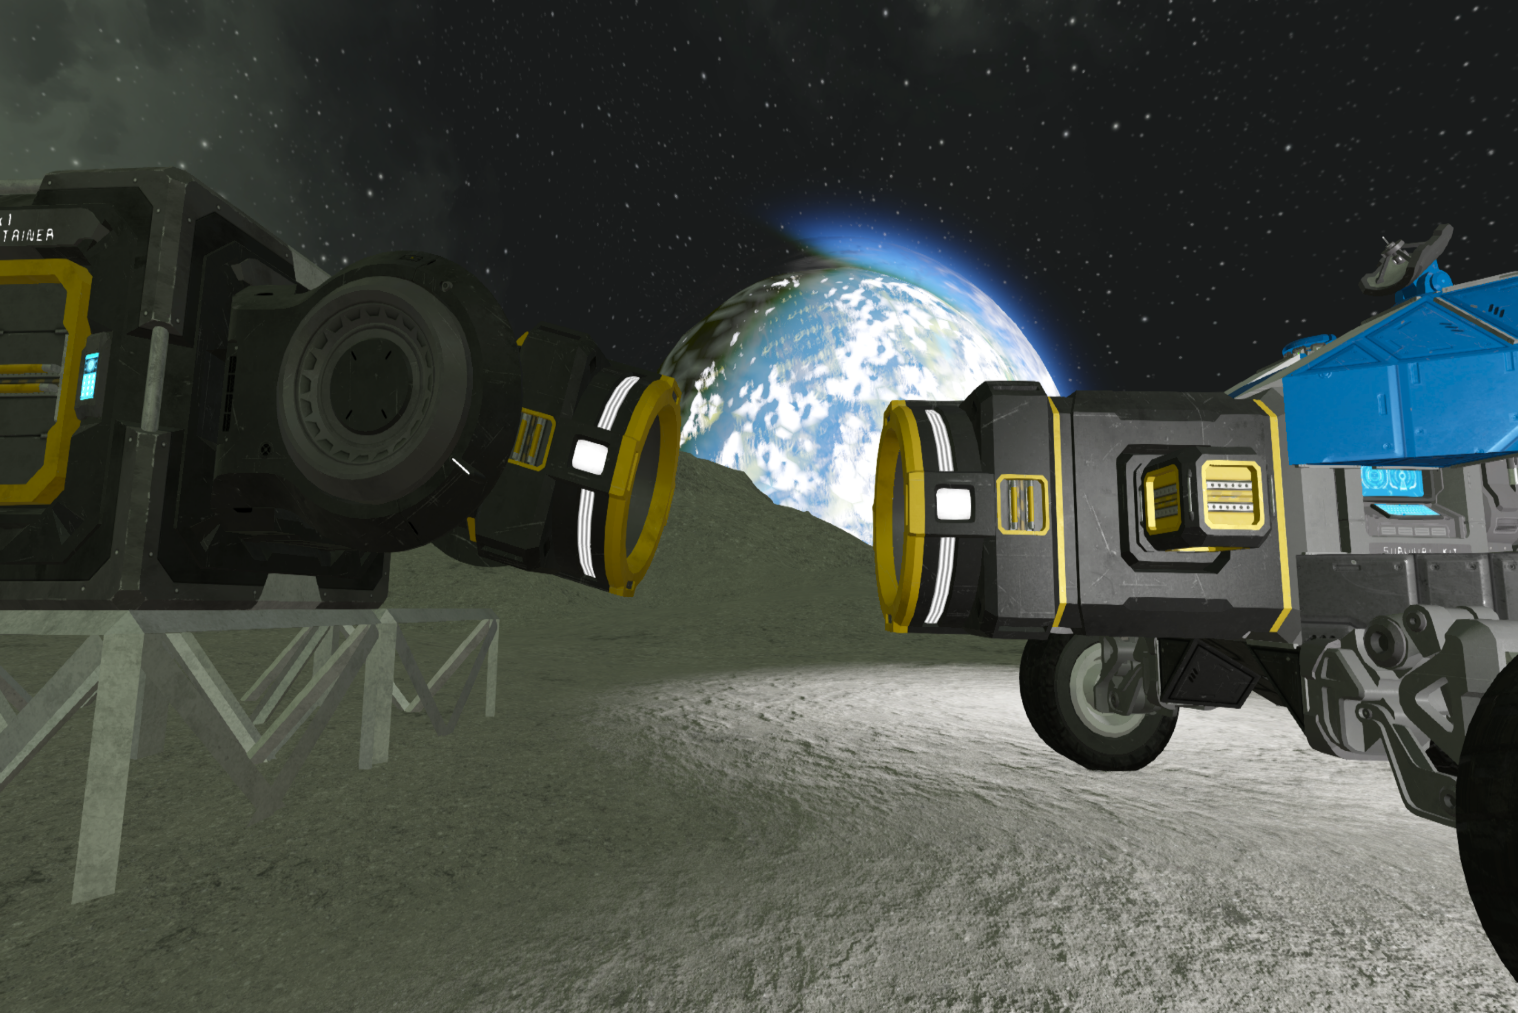
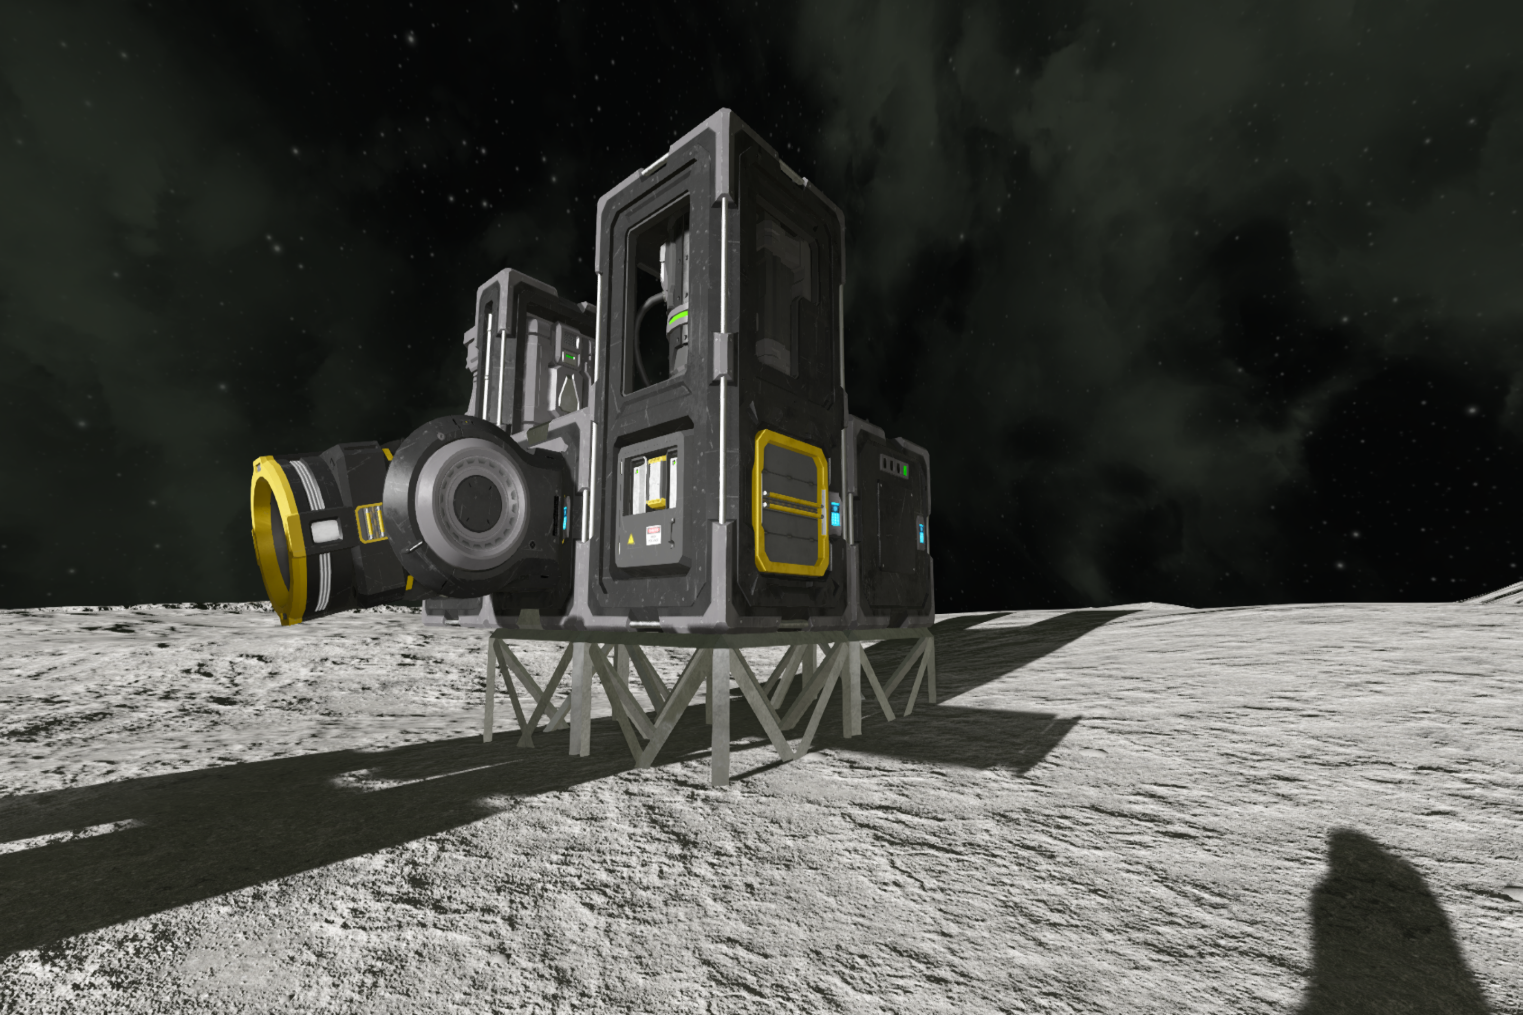
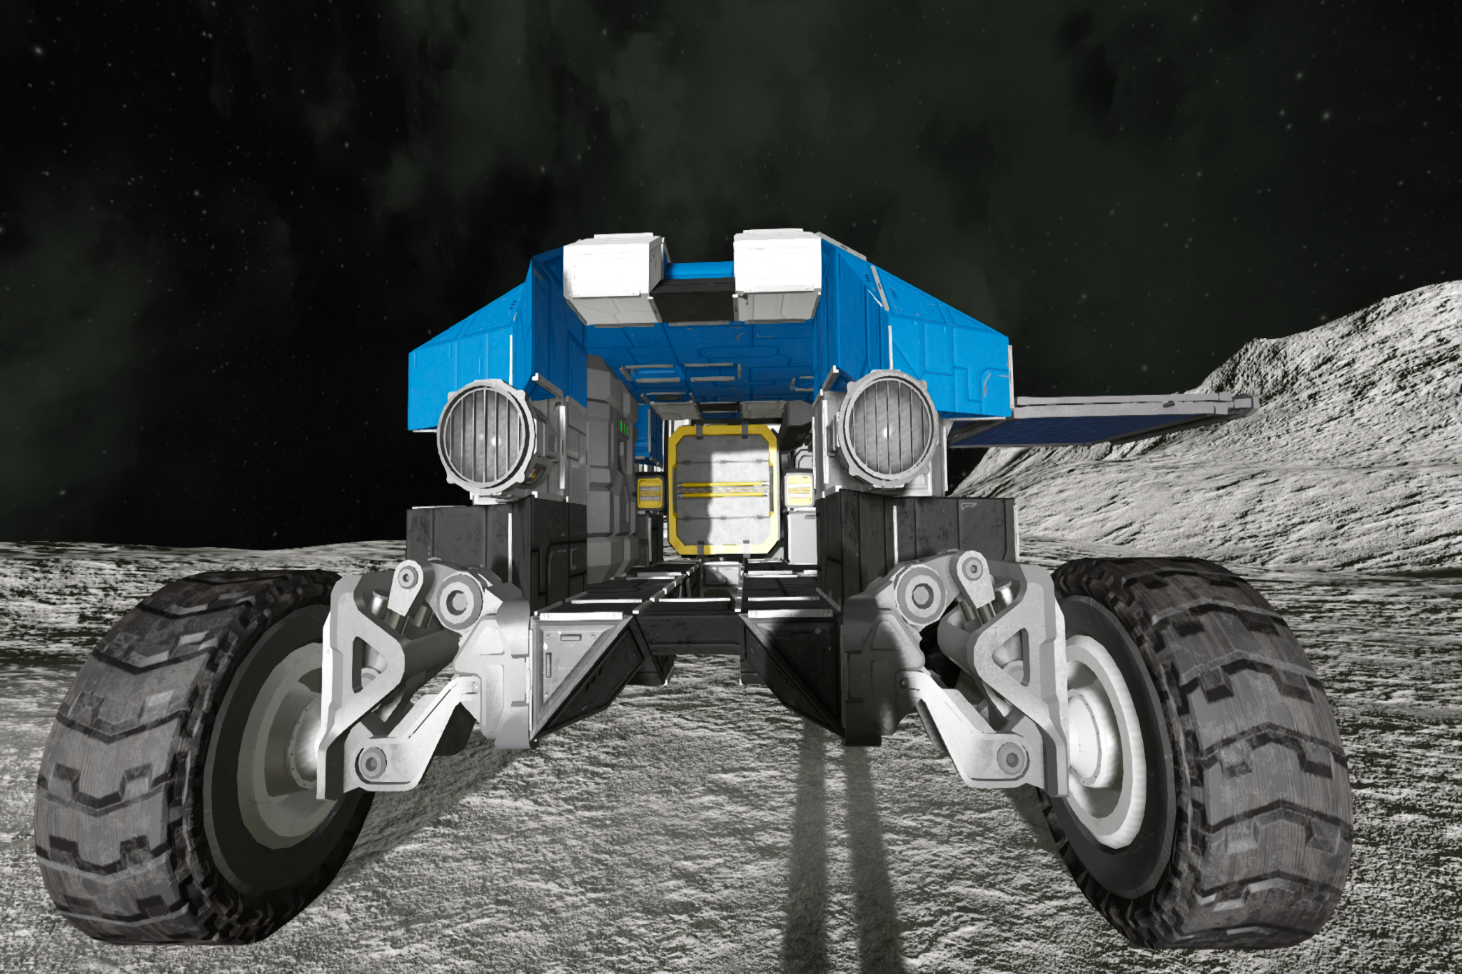
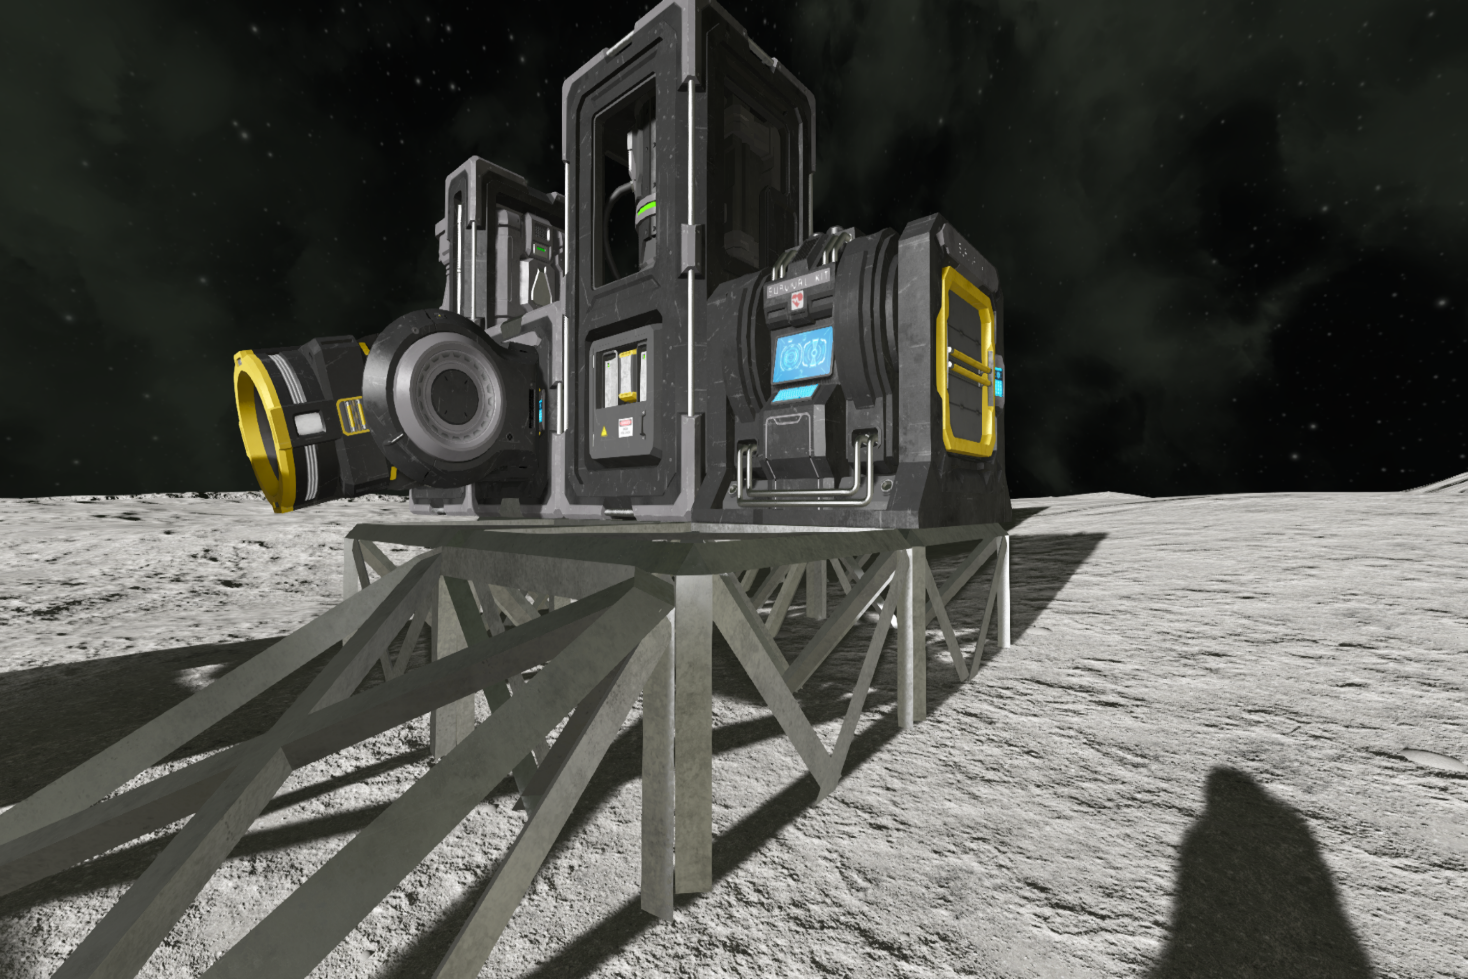
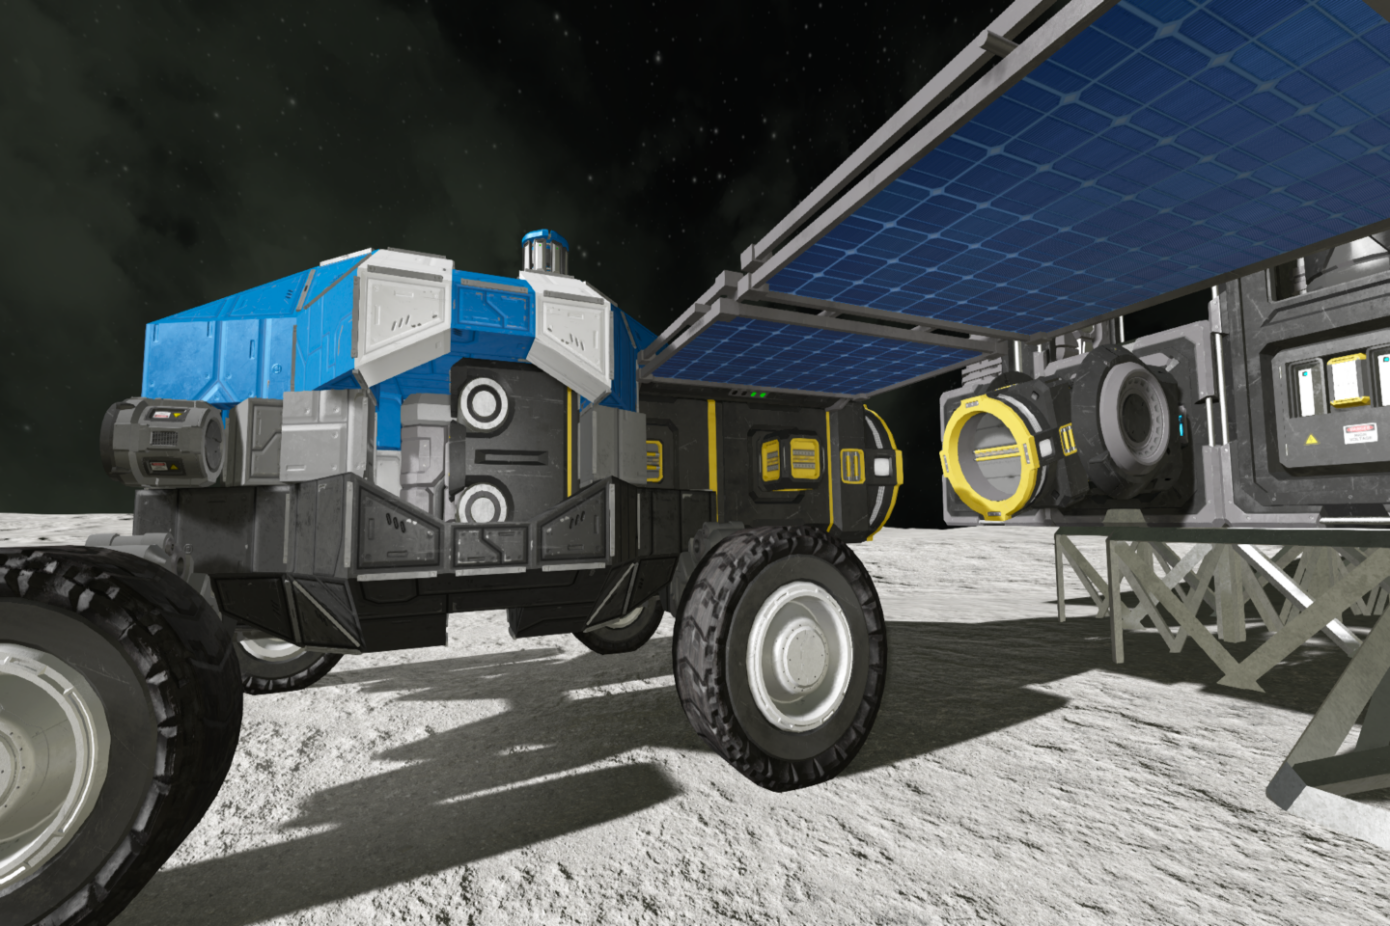
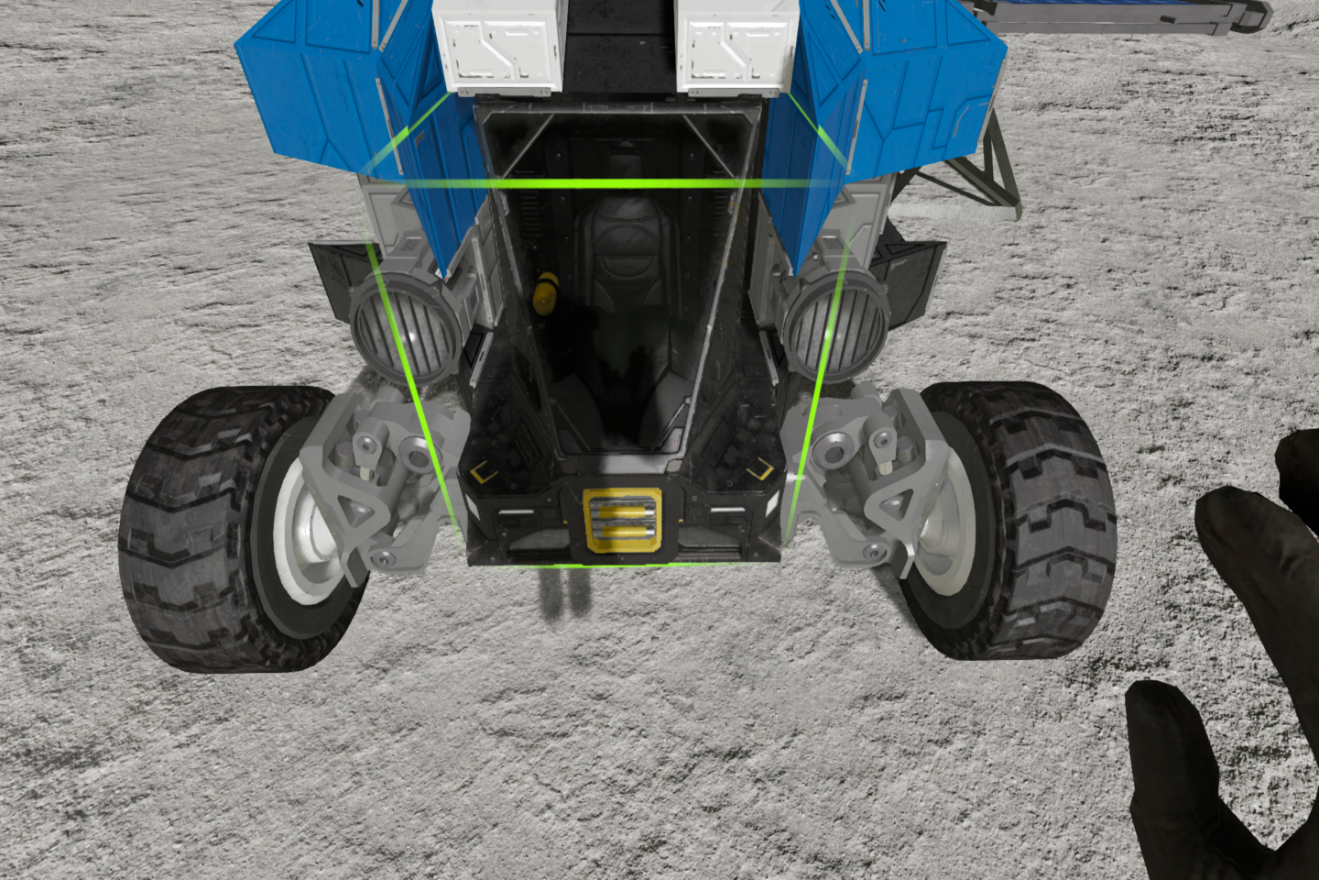
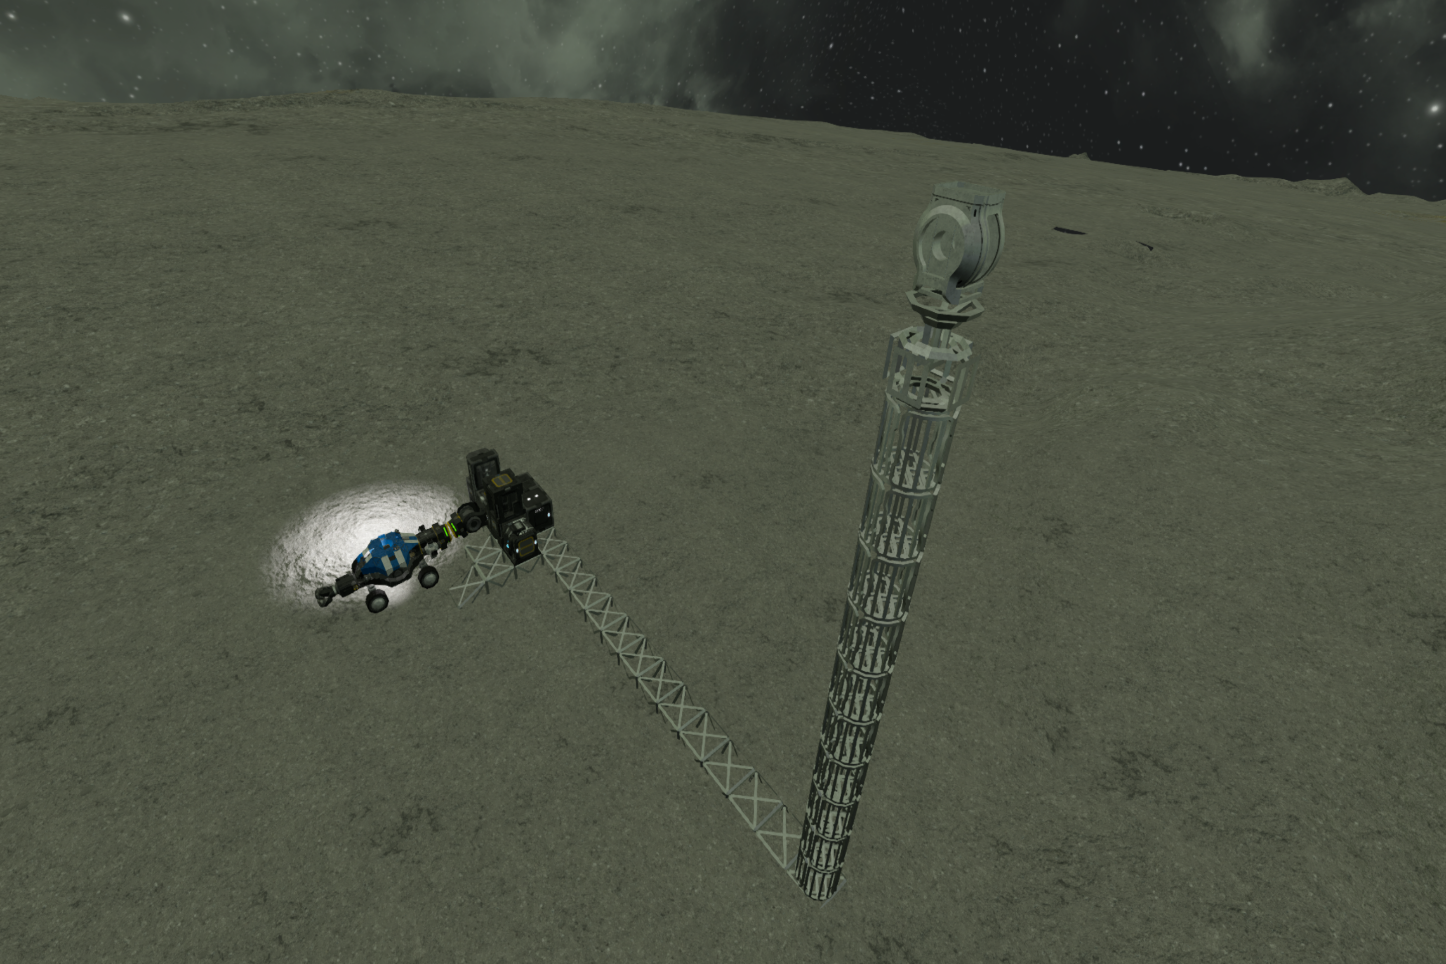
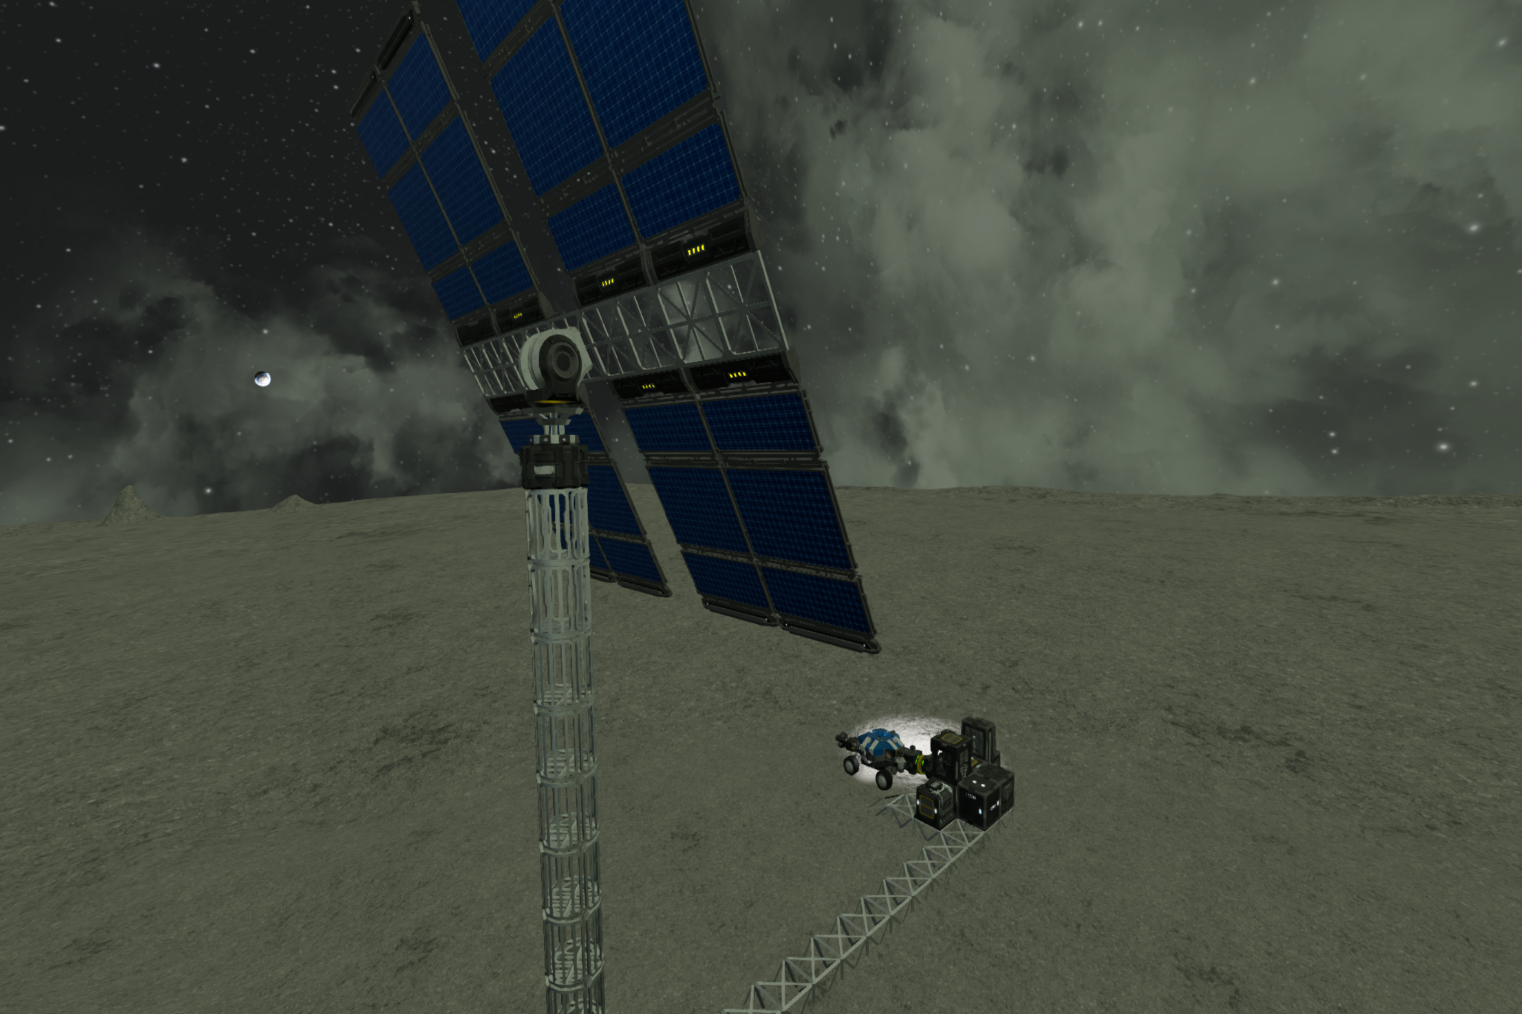
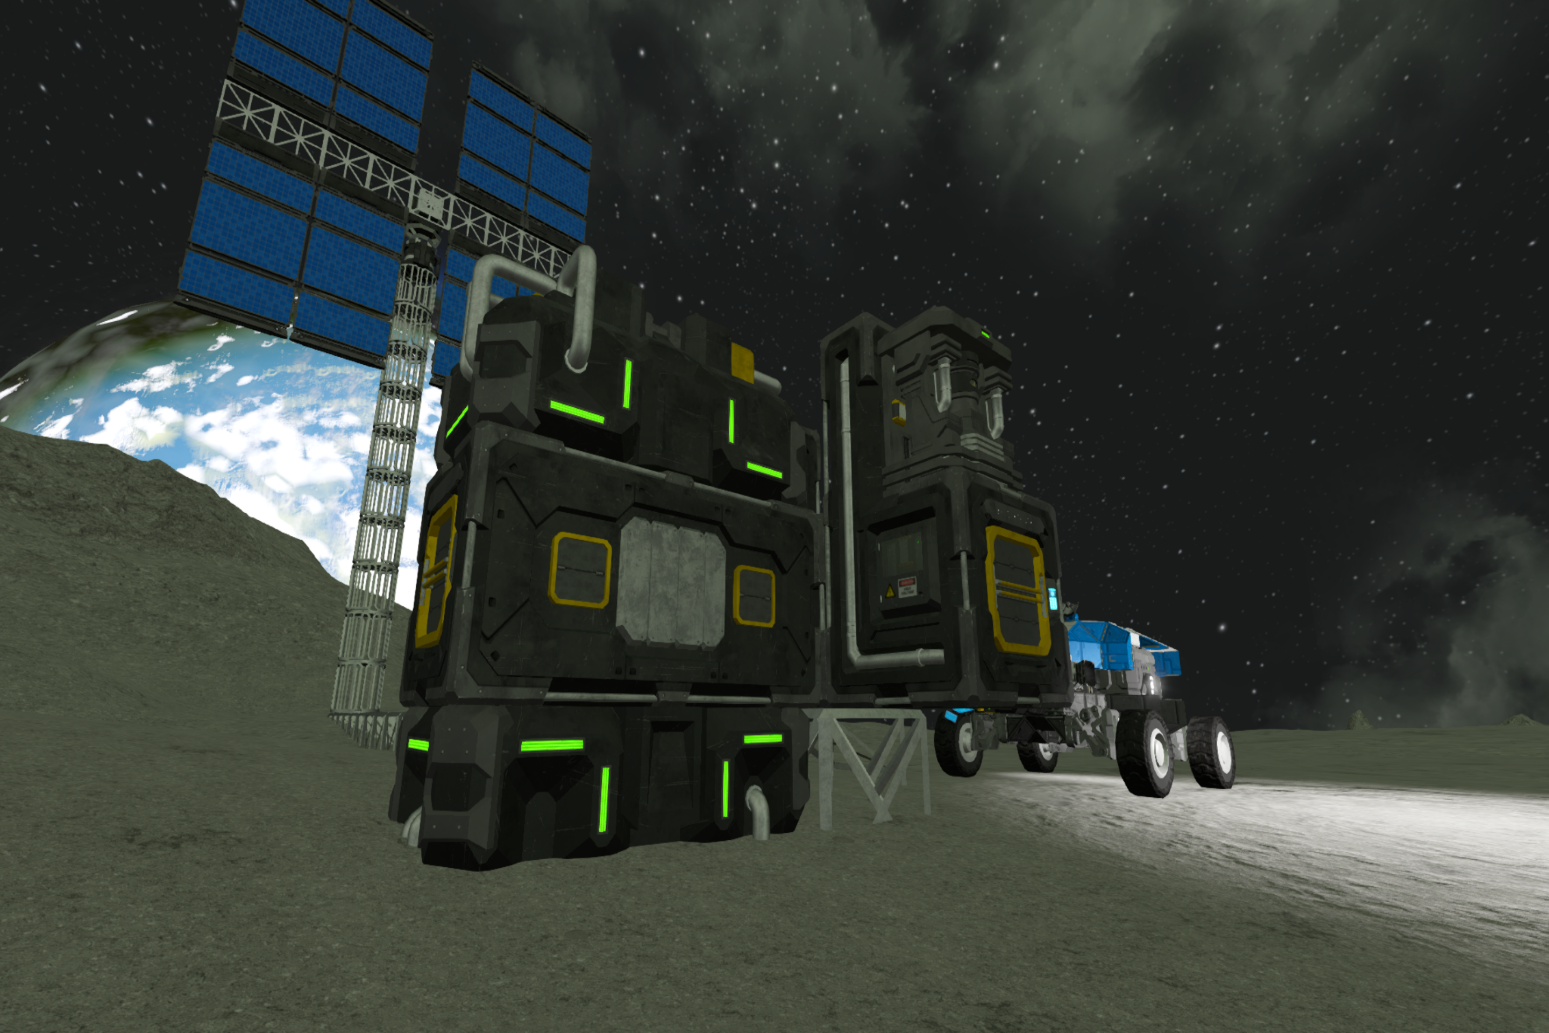
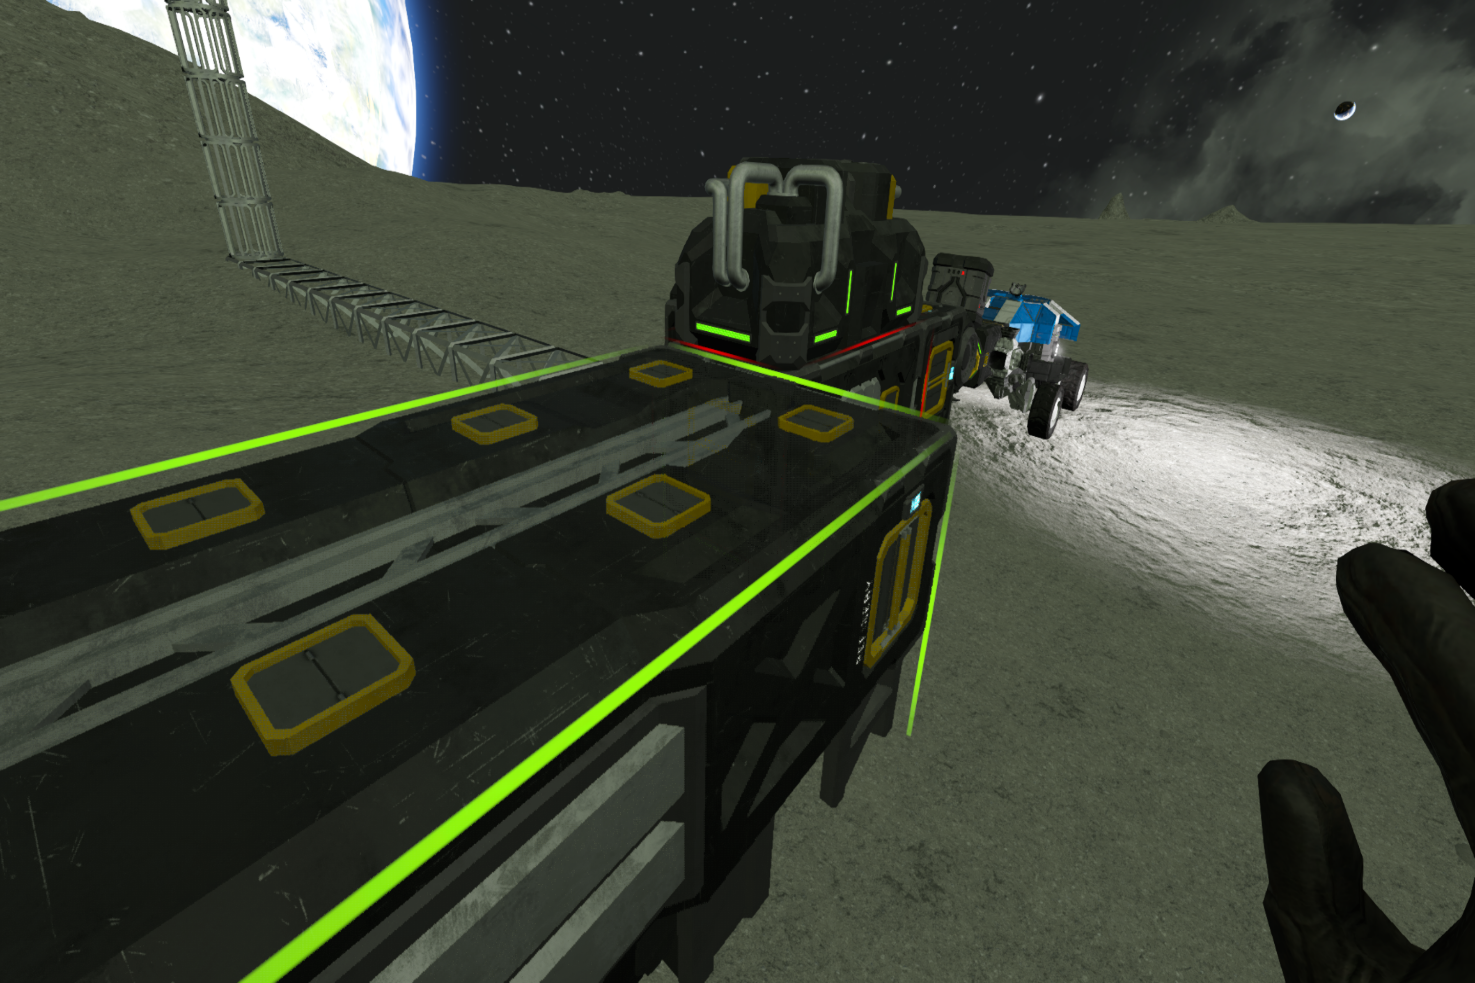
You want the rotor on the buggy as a Small Grid Advanced 3x3, so you are doing the right thing. The Large Grid rotor head on the base will clip quite far into the rotor, so you might not be close enough to attach. You also need to make sure that they are pretty closely aligned up and down, so you use your buggy suspension to drop to the ground. I did this horizontally, so it's somewhat easier to line up and attach, but that's not the only way you can do it.
You can back up until you push the large grid slightly to make sure you are close enough, then try to attach. Anubis' suggestion to use a timer is also helpful. Splitsie has a tutorial video on rotors that might help.
Keep practicing, as this is a highly valuable skill to learn. You can do this with both rotors and with hinges.
Anubis 1101 6.6.2023 klo 22.37 
what i usually set up since theyre so hard to align is a timer block thats set to "attach rotor head" on the rotor, and then start itself immediately. then i just jiggle it around til it attaches

failing that, take some screenshots and ask in the main steam discussions or KSWH forums
Apothecary 6.6.2023 klo 14.04 
Hey I am currently engaged in a hardcore moon playthrough and found this post, which is really great. I know this is really old, but maybe someone will see this and have an idea what I might be doing wrong..

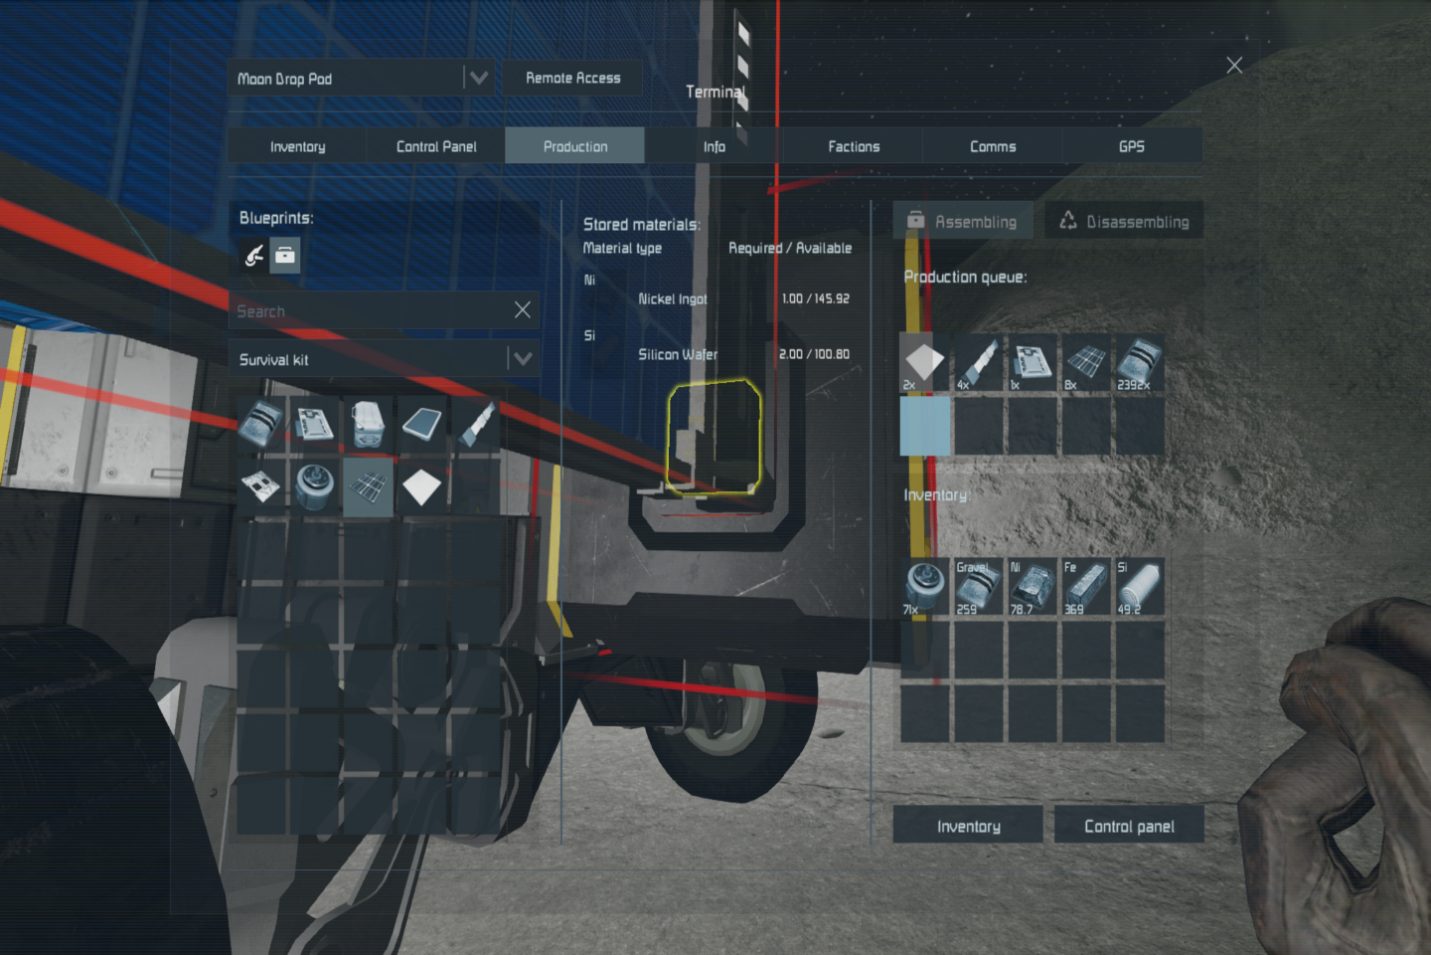
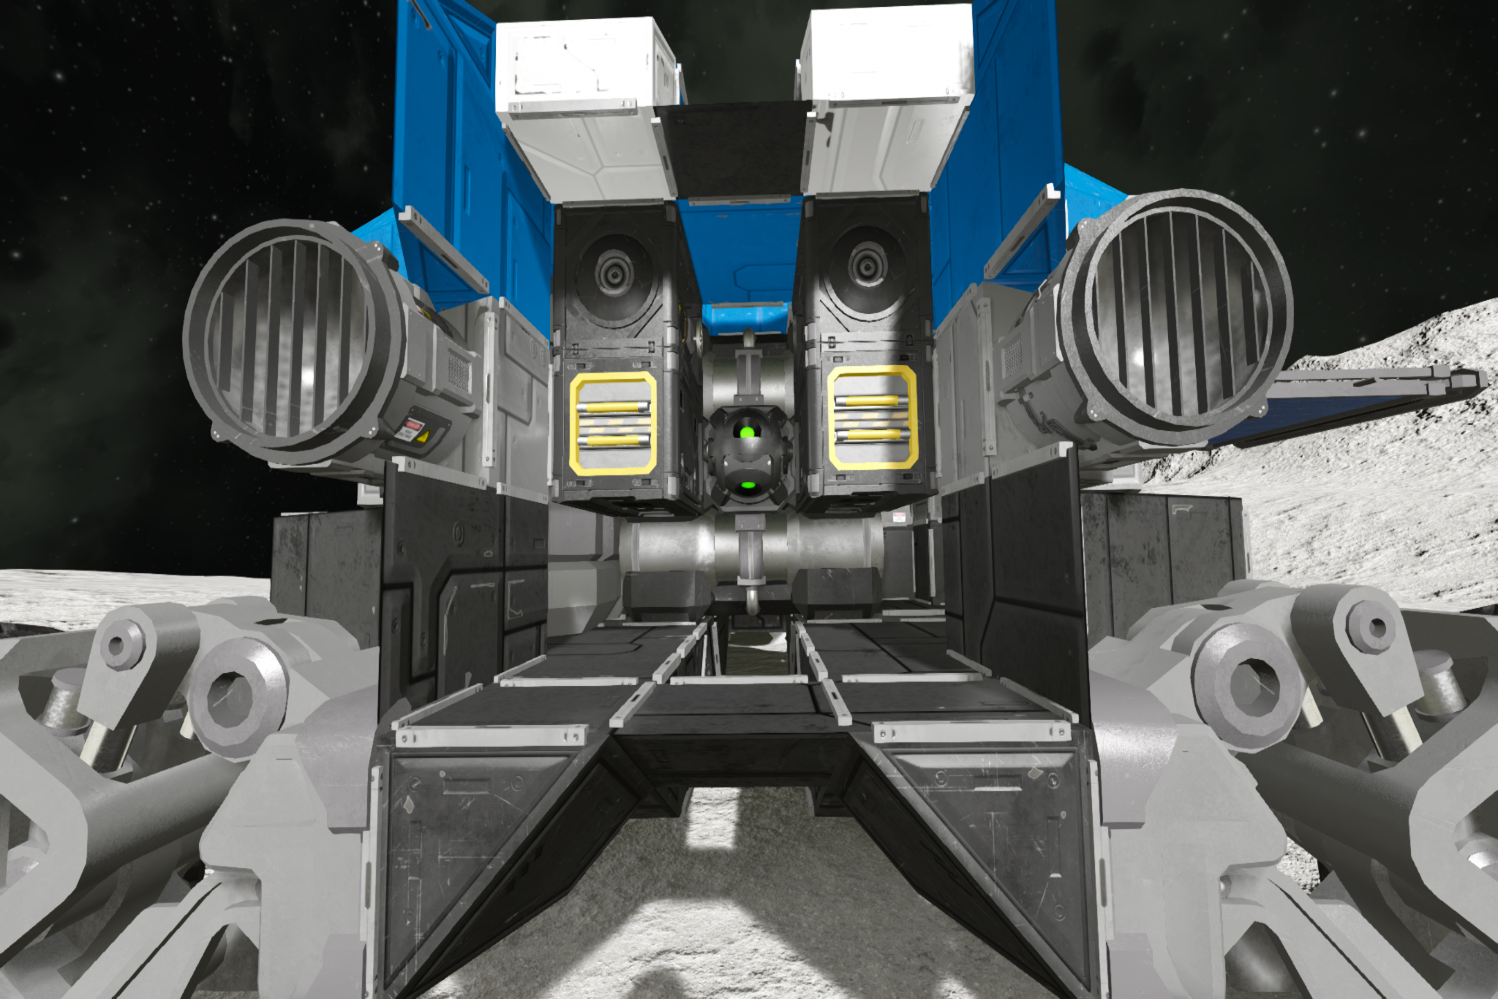
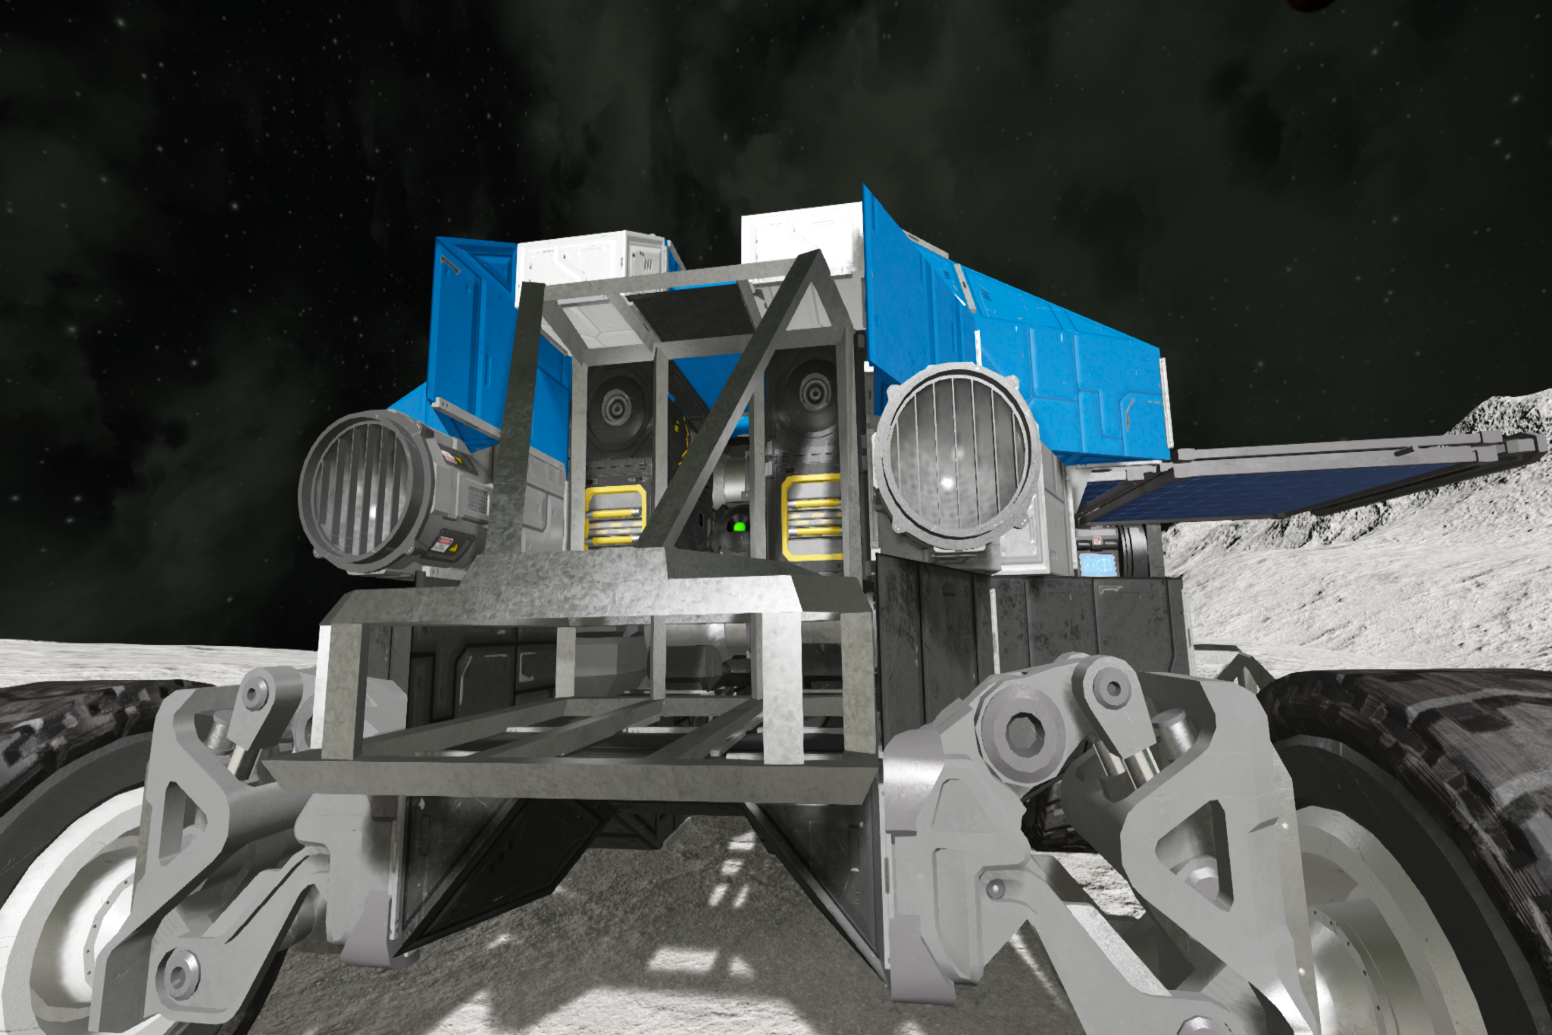
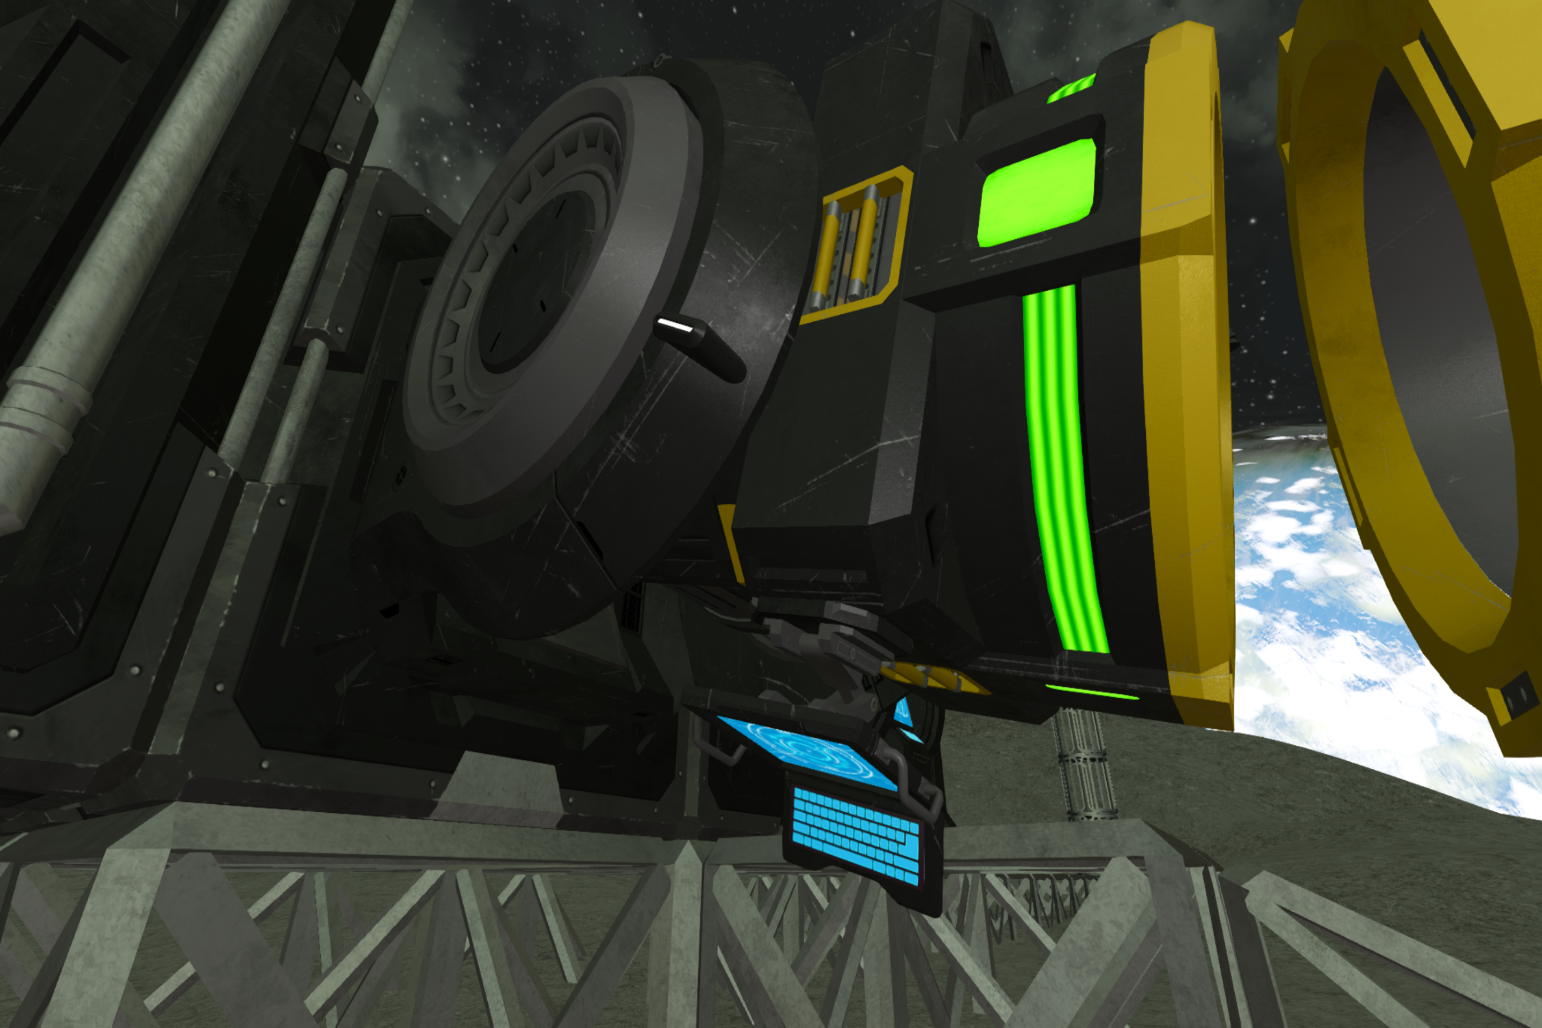
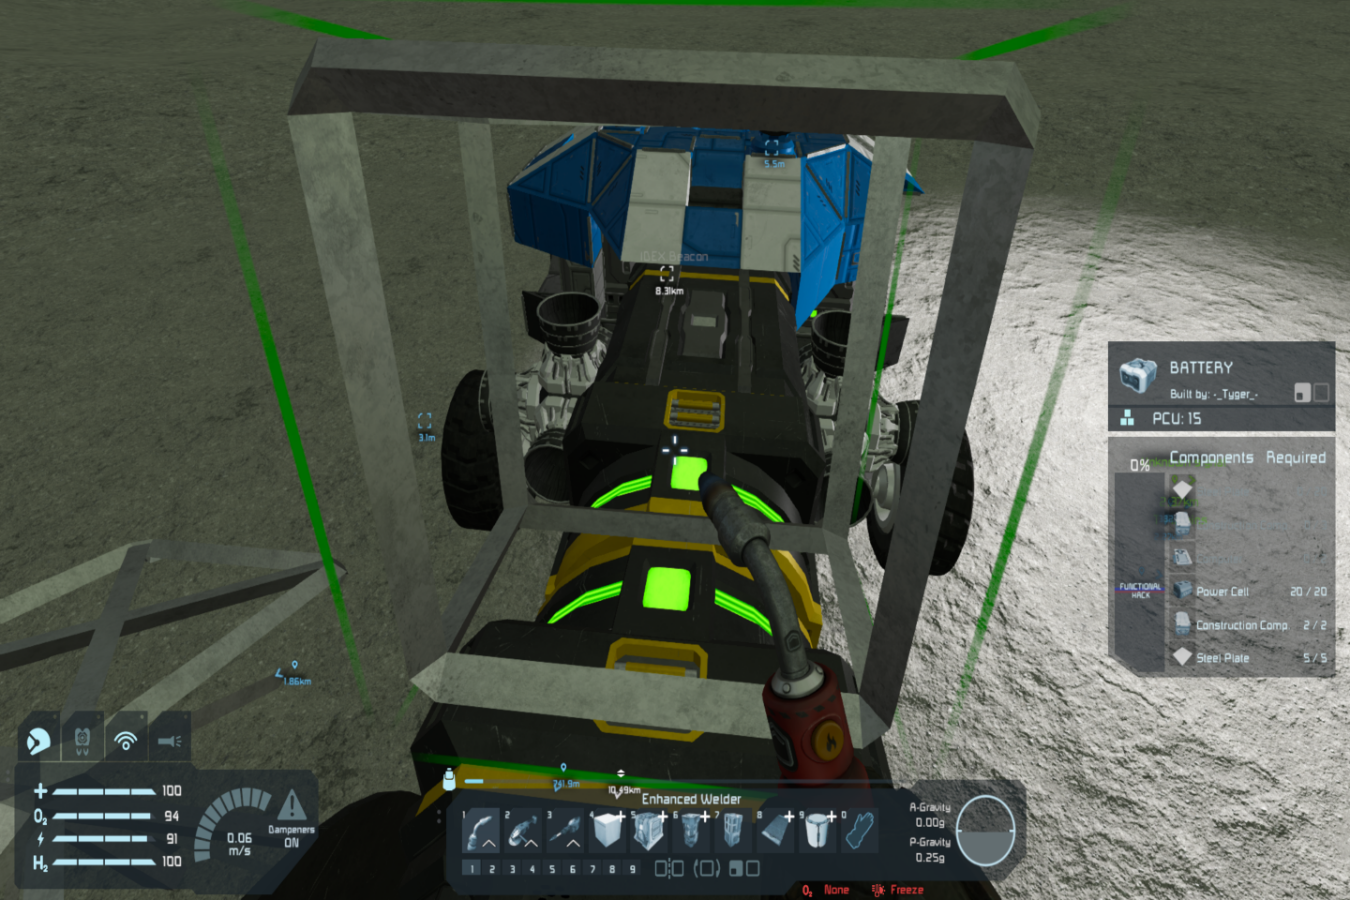
I am not sure I am doing the rotor portion correctly because I can't get it to attach. Am I using the Advanced Rotor 3x3 for the buggy, removing the head from it, then placing a normal Advanced Rotor head on the furnace? I have them lined-up just right but nothing I tweak will make them attach, which makes me think I am using the wrong blocks. I can't get the normal Advanced Rotor to work on the Medium Cargo container for the buggy because it persistently wants to go into small grid mode.

I really liked this early game trick for base power and would love to learn how to make it work going forward.
Anubis 1101 27.11.2021 klo 10.35 
great guide! i wish id found it when i decided to start on the moon during one of my first games in SE

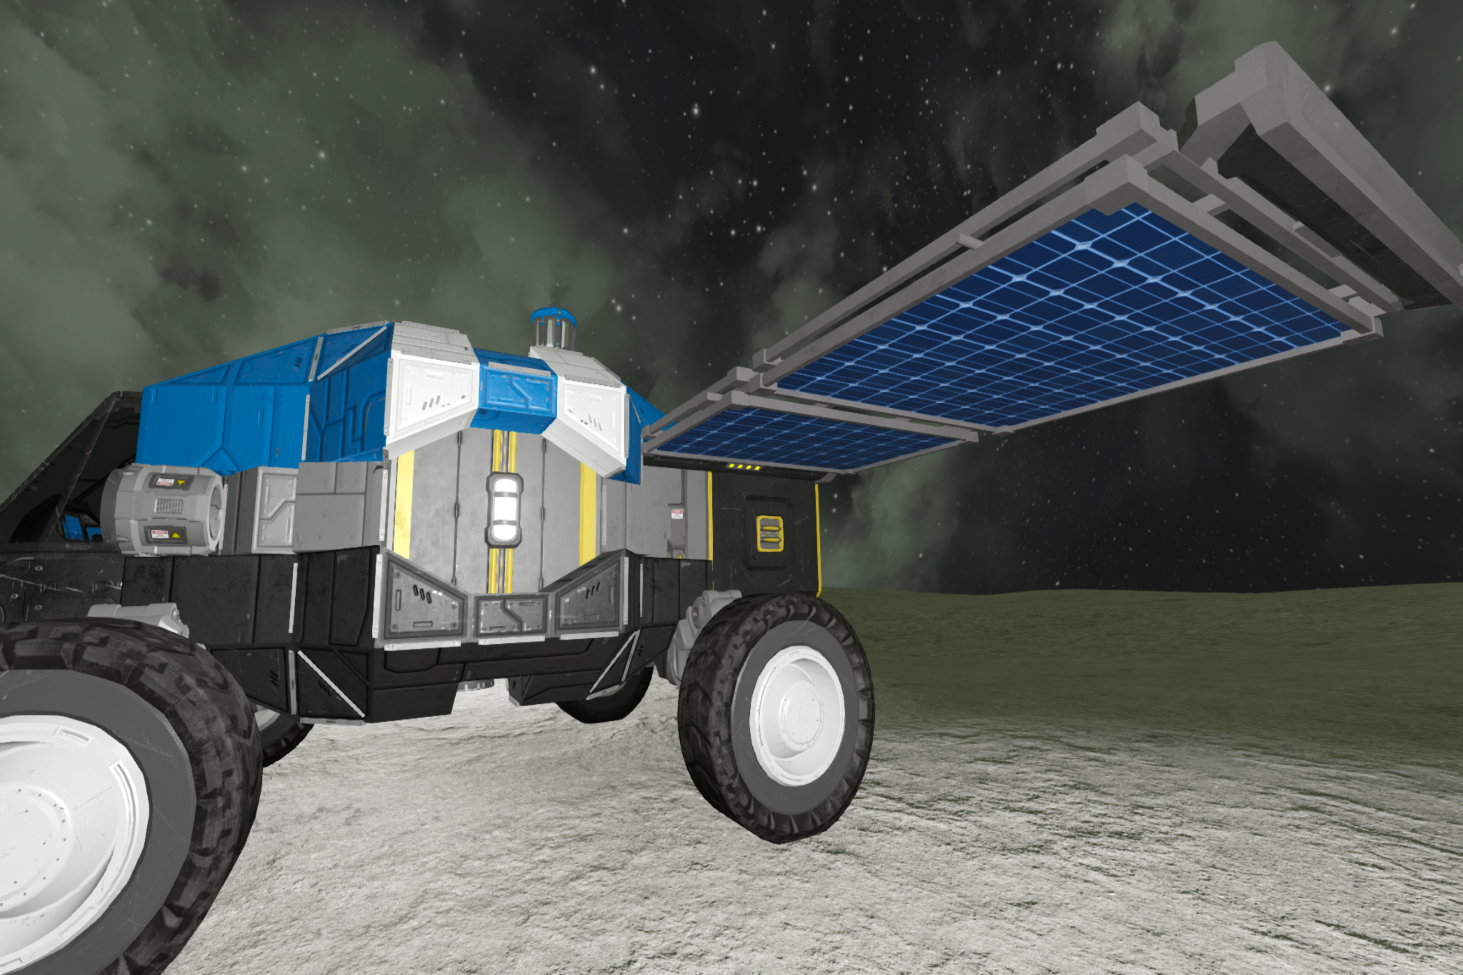
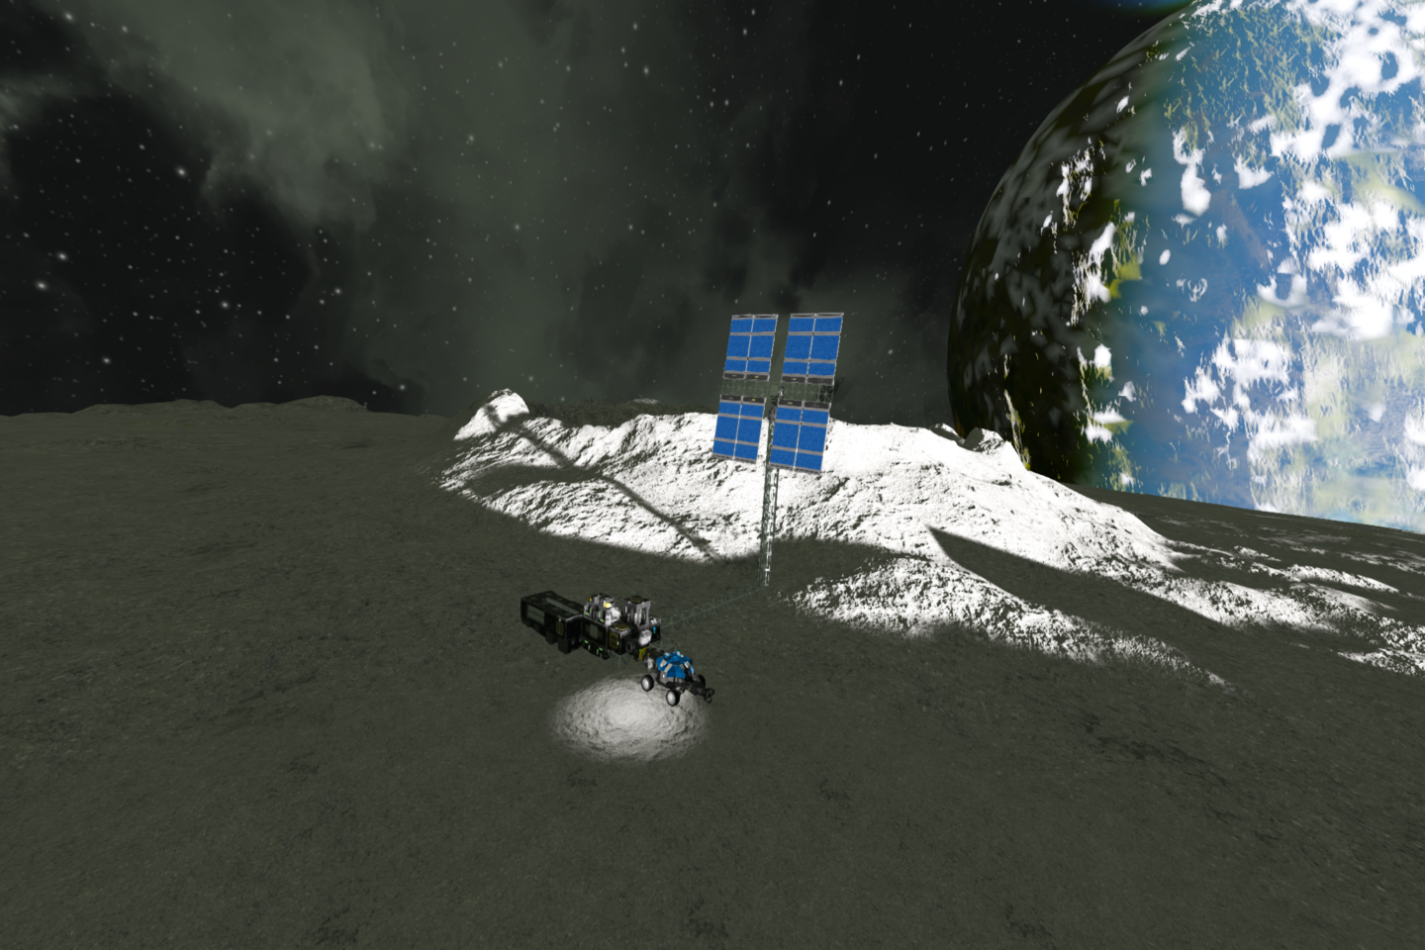
though its worth noting that if people are unable or unwilling to use scripts, you can rig up something using a gyro and a perpendicular solar panel attached via landing gear or magnetic panel. it can even be small grid! set it up so the solar panel powers the gyro, and set the gyro to move the panel in the same direction as the sun. when the sun is directly in line with the solar array, no sunlight will reach the perpendicular panel and the gyro will turn off. as the sun moves, it will power the gyro and turn until it loses power again.

its something i use all the time for my small or temporary bases where i dont want to mess with scripts