METAL GEAR SOLID V: THE PHANTOM PAIN

METAL GEAR SOLID V: THE PHANTOM PAIN

95 ratings
FOB ghosting 101 [2021]
By NarkoTri1er
In this guide I will try to cover all aspects of FOB ghosting and give you some tips to help you on your way to becoming a master in FOB ghosting.
3
3
2
   
Award
Favorite
Favorited
Unfavorite
Intro: What is FOB ghosting?
FOB ghosting is one of the most popular infiltration styles in the game. It's definition varies from player to player, but in my honest opinion, ghosting can be divided into two subdefinitions:
  • Ghosting means reaching the core of the base without triggering the combat alert and later causing a revenge wormhole to be opened. On the other hand, you don't care about stealing or destroying things, you will eliminate anything that stands on your path as long as you don't trigger the combat alert. This is what I like to call "soft ghosting".
  • Ghosting means reaching the core of the base without ever being noticed, triggering any alert, including defender alert too. This is widely known as "no-traces ghosting"

There are pros and cons of both usages.

Soft ghosting
Pros:
[+]Great for farming staff;
[+]Great for farming resources;
[+]You won't open revenge wormhole.

Cons:
[-]High risk of defender arriving as chances of triggering defender alert are 100%;
[-]Guards will be easily put into soft alert and make your infiltration harder.

No-traces ghosting
Pros:
[+]Defender cannot arrive as they won't get the defender alert throughout the whole infiltration
[+]You won't open the revenge wormhole;
[+]You learn much more about the guards AI than with soft ghosting.
[+]Better for returning back captured staff than soft ghosting due to defender alert not triggering and making the task of returning staff safer.

Cons:
[-]It requires much more skill than soft ghosting;
[-]Due to the existence of custom mines and cameras, many platforms whose owners have put them are next to impossible for no-traces ghosting;
[-]It takes more time to reach the core than with soft ghosting;
[-]Fultoning staff and destroying defense equipment are not allowed as they trigger defender alert immediately.
Chapter 1: Advantages of FOB ghosting
There are many reasons. Most obvious ones are:
  • MGSV:TPP is a game that rewards being stealthy and not leaving casualties. Most important things FOB ghosting contributes to are Heroism that will go up constantly and the fact that you literally cannot become Demon Snake. Additional aspect that FOB ghosting contribute to is much greater ESPG points gain per one infiltrated FOB;
  • By practicing FOB ghosting, you will learn much about guards positioning, FOB layouts, mines, UAVs, anti-theft devices security camera locations and how to avoid them, as you need to be extremely focused on those aspects during ghost infiltration.

Example of a successful ghost infiltration and tremendous bonus ESPG points gain thanks to total stealth, combined with the staff bonus
Chapter 2(P1): Weapon loadouts
Choosing weapon loadouts is highly up to your personal preference, as each player has their own weapons they are used to. My personally favorite basic loadouts for FOB ghosting include:

Loadout 1 (newbie friendly)
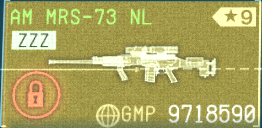
  • Primary: S1000 AIR-S and AM MRS-73 NL;
  • Secondary: Macht 37L (for taking down cameras, UAVs and Antitheft devices in case of emergency);
  • Support weapons: Magazine, Sleep Grenade, Smoke Grenade, Stun Grenade, Hand Grenade, FOM Decoy, M21 D-Mine, E-RB Wormhole Generator;
  • Items: Pentazemin, Noctocyanin, C.Box (SMK), NVG, Energy Wall.
  • Uniforms are your personal preference, you don't get any penalties for using any uniform, but I highly recommend using any fatigues that give camouflage boost on concrete (such as Gray Urban or Square fatigues, check Chapter 2(P3): Uniforms and camo index).
(Loadout for FOBs with equipment grade lower than 9, where guards can be 1-shot stunned by S1000 AIR-S, newbie friendly)

Mission sortie for loadout 1

Loadout 2
  • Primary: AM MRS-4R and AM MRS-73 NL;
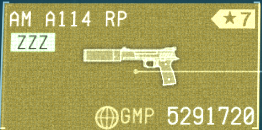
  • Secondary: AM A114 RP (for instant takedowns when necessary, DO NOT USE IF DEALING WITH NON LETHAL DEFENCE);
  • Support weapons: Magazine, Sleep Grenade (not for non-lethal defense), Smoke Grenade, Stun Grenade, Hand Grenade, FOM Decoy, E-RB Wormhole Generator;
  • Items: Pentazemin, Noctocyanin, C.Box (SMK), NVG, Energy Wall.
  • Uniforms are your personal preference, you don't get any penalties for using any uniform, but I highly recommend using any fatigues that give camouflage boost on concrete (such as Gray Urban or Square fatigues, check Chapter 2(P3): Uniforms and camo index).

Mission sortie for loadout 2

I just want to point out that one of the best friends regarding the equipment you will use while ghosting is nothing but...MAGAZINE. Yes, it's truly the best friend of any person who loves ghosting, as it serves as best distraction for guards that will still leave them out of the soft alert state, it should always be your primary ghosting weapon, everything else should be close to or total last resort.

P.S. For non-lethal defence, best option as secondary weapon would be WU.S.Pistol +SB, as it can take out guards in 1 body shot. E-RB wormhole generator and Energy Wall haven't been included in these two loadouts, but you can use them too.
Again, these loadouts are my personal favorites, use any loadout that works best for you.

Index of the most popular weapons used in ghost infiltrations:
Pistols:

  • WU Silent Pistol +SB
    The empowered variant of the ordinary WU Silent Pistol, this one tranquilizes non-lethal guards in just one body hit. This is why it is highly recommended to use it when going against non-lethal guards. Medium effective range, medium accuracy, excellent damage output against non-lethal guards, bad damage output against lethal guards.


  • WU Silent Pistol CB
    The underbarrel variant of the ordinary WU Silent Pistol, this oneis best to be put in the use as an underbarrel option for your sniper rifle. Medium effective range, medium accuracy, medium damage output.


  • Burkov TP/HS
    This pistol compensates lack of precision with pretty fast rate of fire. Can be useful for knocking the guards out, but I prefer to use it as a distraction method.


  • AM A114 RP
    The WU Silent Pistol +SB on steroids, basically it's counterpart for lethal guards. With it's gas rounds it can knock down the guard instantly from one shot anywhere on the body. It can even knockdown more than one guard if they are very close to each other. Has no effect on the non-lethal guards at all. Medium effective range, good accuracy, excellent damage output against lethal guards, no damage output against non-lethal guards.
    ATTENTION! If any of the guards notice the smoke cloud from this pistol, a soft alert will be raised very soon after.

Submachine guns:

  • Macht 37
    The only really usable SMG for FOB infiltrations. With it's pretty solid effective range, accuracy and range of fire, it can really help if you are going on a "ghost rampage". Solid effective range, medium accuracy, medium damage output.

Assault rifles:

  • PG-76
    This soviet rifle is quite solid and cheap weapon to be used for emergency destruction of equipment. Don't forget to customize it with the suppressor. Medium effective range, medium accuracy, medium damage output.


  • AM MRS-4R
    This is so far my most favorite primary weapon used for emergency equipment destruction or killing guards. Good effective range, medium accuracy, good damage output.

Shotguns:

  • S1000 Air-S
    Terrific damage output at close range, 1-hit stun on body shot against the battle dress up to grade 8, 3-hit stun on body shot against the battle dress from grade 9 and up (knocks the guard down on 1 hit, so he needs to stand up again in order to be able to send alert to CP), still 1-hit stun on head shot. Bad effective range, bad accuracy, excellent damage output.

Sniper rifles:

  • AM MRS-71 Rifle
    So far the best lethal sniper rifle for FOB game aspect. Use it in FOB infiltrations where you plan to go lethal mode if something goes wrong, but I don't suggest it for no-traces ghosting. Great effective range, great accuracy, great damage output.


  • AM MRS-73 NL
    Ohh yes, the best, just the best sniper rifle to be used for ghosting. Same as AM MRS-71 Rifle, just with tranquilizing rounds instead of the lethal ones, this rifle delivers instant tranquilizing of the enemy with headshot. Great effective range, great accuracy, medium damage output (very weak on bodyshots).
*Despite being the best lethal sniper rifles in the singleplayer aspect of the game, Brennan LRS-46 and Serval AMR-7 don't really have huge impact on FOB aspect, so they haven't been included.

Support weapons:

  • Magazine
    Magazine is the primary tool in the hands of every ghost player, utilize throwing it to distract guards from watching over the path you are going through.


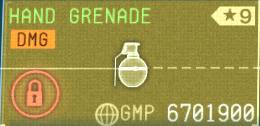
  • Hand grenade
    Hand grenades are mainly used as a source of distraction in case of emergency for ghost infiltrations, so they are up to your personal choice. But be careful, they easily raise the soft alerts.
Chapter 2(P2): Weapon loadouts
Continued list of support weapons:

  • Stun grenade
    Stun grenades are grenades that can stun large groups of guards after 1 throw at grade 11. They are so good for knocking the guards out, but do not use them while ghosting (they are your primary option when defender is present, as they have such a big knockout power), as they make a lot of noise and give out your position easily.


  • Sleep grenade
    These are a must in your loadout when dealing with lethal defences. They can instantly put groups of guards to sleep, which means they can give you fast clearance of the choke points. Just be careful not to be caught in the gas yourself.


  • FOM decoy
    FOM decoy is also quite optional tool in your loadout. It only has use when defender is present, as it basically creates a fake area of movement where thrown and so tricks defender's intel team, so it can help you greatly in those cases.


  • C4
    C4 is basically a much better version of hand grenade that serves also as distraction, as you can basically control when and where it will explode.


  • E-RB Wormhole Generator
    This weapon is absolutely OP when you are dealing with defender or when you trigger combat alert, but can also help you while ghosting teleport to locations faster. You will use it most to get yourself out of situations when you are about to die or become knocked out.

Items:

  • Cardboard box (Smoke)
    This "rework" of MGS' most classic item is mainly used for you to tank damage when you are about to intentionally trigger a mine. This cardboard box also drops a cloud of smoke when destroyed. Be careful when dealing with long range guards equipped with NVG, as they can notice your heat through the smoke, unless you are wearing sneaking suit.


  • Pentazemin
    This item basically removes the hands tremor while in sniping mode, nothing more, nothing less. Pretty useful for sniping enemies from the very far.


  • Noctocyanin
    Ahhh, the legal wallhack, enables you to see enemies through objects just as they are in front of you during it's duration. This item is just a must in your ghosting loadout.


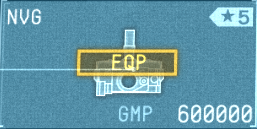
  • NVG
    NVG is pretty much only a backup item that helps you see enemies through smoke, mist or in night infiltrations. Be aware that it doesn't detect the heat of guards in non-lethal defence, as they are wearing sneaking suit. (Affected by battery vaporization device on defending UA drones)


  • Energy Wall
    Another very OP item for both ghosting and dealing with defender. When ghosting, using the energy wall you can tank the custom mines block without getting injured by the triggered mine(s), tho note that you will still fall on the ground after the explosion.

Prosthetic arms (Snake/Player only):

  • Hand of Jehuty
    This is the most OP item in the whole game, especially when upgraded to the max level. It's great for ghosting, rambo infiltrations and infiltrations with the defender present. Makes you able to draw guard close to you, while keeping him dizzy for a few second, making you able to quickly CQC them and get a quick tactical takedown, very useful when you go for staff fultoning. (Affected by battery vaporization device on defending UA drones).


Chapter 2(P3): Uniforms and camo index
Uniforms and camouflage are very complex aspect of the game, but there are numbers that made it a lot easier to understand them.
The most popular and effective uniforms for ghost infiltrations are Square fatigues, Gray Urban fatigues and Parasite Mist fatigues. Battle Dress and Sneaking Suit are types of suit used in exclusive situations.

Square fatigues

Here is the table of Square fatigues stats (daytime infiltration, other additional/periodical factors that affect camo index not included):
Stance
Suspicion/Detection range(m)
Crawling
20/10
Crouch walking
45/10

Gray Urban fatigues

Here is the table of Gray Urban fatigues stats (daytime infiltration, other additional/periodical factors that affect camo index not included):
Stance
Suspicion/Detection range(m)
Crawling
20/10
Crouch walking
45/10

Parasite Mist fatigues

Here is the table of Parasite Mist fatigues stats (daytime infiltration, other additional/periodical factors that affect camo index not included):
Stance
Suspicion/Detection range(m)
Crawling
20/10
Crouch walking
45/10

Sneaking Suit

Here is the table of Sneaking Suit stats (daytime infiltration, other additional/periodical factors that affect camo index not included):
Stance
Suspicion/Detection range(m)
Crawling
20/10
Crouch walking
70/20

Battle Dress

Here is the table of Battle Dress stats (daytime infiltration, other additional/periodical factors that affect camo index not included):
Stance
Suspicion/Detection range(m)
Crawling
20/10
Crouch walking
70/20

Conclusion
Using fatigues that gives camo bonus for the FOB environment (steel/concrete) has quite the upper hand over Sneaking Suit and Battle Dress regarding the range at which guards spot/detect you while crouch walking, which is quite a big reason to use them instead of Sneaking Suit/Battle Dress when you are doing regular ghost infiltration.

Other factors that affect camo index:
-Visible muzzle flash during shooting without a suppressor (negative impact);
-Hiding inside a cardboard box correlating with the FOB environment (positive impact);
-Moving inside shadow of an object (positive impact);
-Standing pressed to wall or another cover type (positive impact);
-Being illuminated by ambient light at night (negative impact);
-Being illuminated by guard's flashlight (negative impact).

*Despite Battle Dress giving no camo bonus, it's highly recommended that you use it when attacking nuke owners due to the instant defender alert at the beginning of infiltration.
Regarding Sneaking Suit, only bonuses that go with it are that guards with NVGs cannot detect your heat and your footsteps while walking/crouch walking cannot be heard which, in my opinion, is just not the reason to use it instead of fatigues.


For more details regarding camo index and the numbers, check this Reddit post from 2017.
For more detailed info regarding suspicion/detection range, check the video below:
Chapter 3: Analyzing an FOB you're planning to ghost
Analyzing a platform you're planning to ghost has a crucial role in majority of decisions you are going to make during mission sortie and during the infiltration. Remember that you have unlimited time to analyze the platform you are about to ghost, so take as much time as you need to make sure you got everything covered.
These are some critical aspects to pay attention to:
  • Defense level: This depicts the overall strength of a platform you are about to infiltrate converted into one number.

  • Attack properties: This is the aspect that is a huge turning points mostly regarding the weapons you are choosing. Non-lethal guards are immune to any gas induced effect (sleep, coughing distraction inside the smoke area)

  • Guards rank: The higher it is, the more sensible and cautious guards are for your actions. For example, guards at A+ rank will not even hear you while running near them after dropping in from the wormhole while having the invisibility effect, while S guards will hear you, meaning that S guards and higher have significantly higher hearing radius (vision radius still questionable).

  • Guards count: This number represents total amount of guards + decoys on the platform.

  • Range type: There are some major differences between the range types. Medium range is pretty much a big grotesque as guards are almost totally blind, long range can be a pain in the *** as it can severely punish even the slightest mistakes you make. Short range defense is also easy to deal with, unless you raise the combat alert.

  • Equipment grade: This number depicts the highest level of any piece of defense equipment (suit for guards, weapons for guards, defense equipment etc.). Be careful when dealing with FOBs with equipment grade at lvl 9 and above, as there's big chance that they have the Battle Dress level 9 developed too, meaning that guards cannot be 1-bodyshot stunned by S1000 grade 7 Air-S shotgun anymore (you will need 3 shots, headshot still stuns them immediately). Check Chapter 2 for weapons loadout for these kind of FOBs.
Chapter 4: Infiltrating
This chapter will be divided into parts so I can explain each part of the infiltration process.

Drop in point
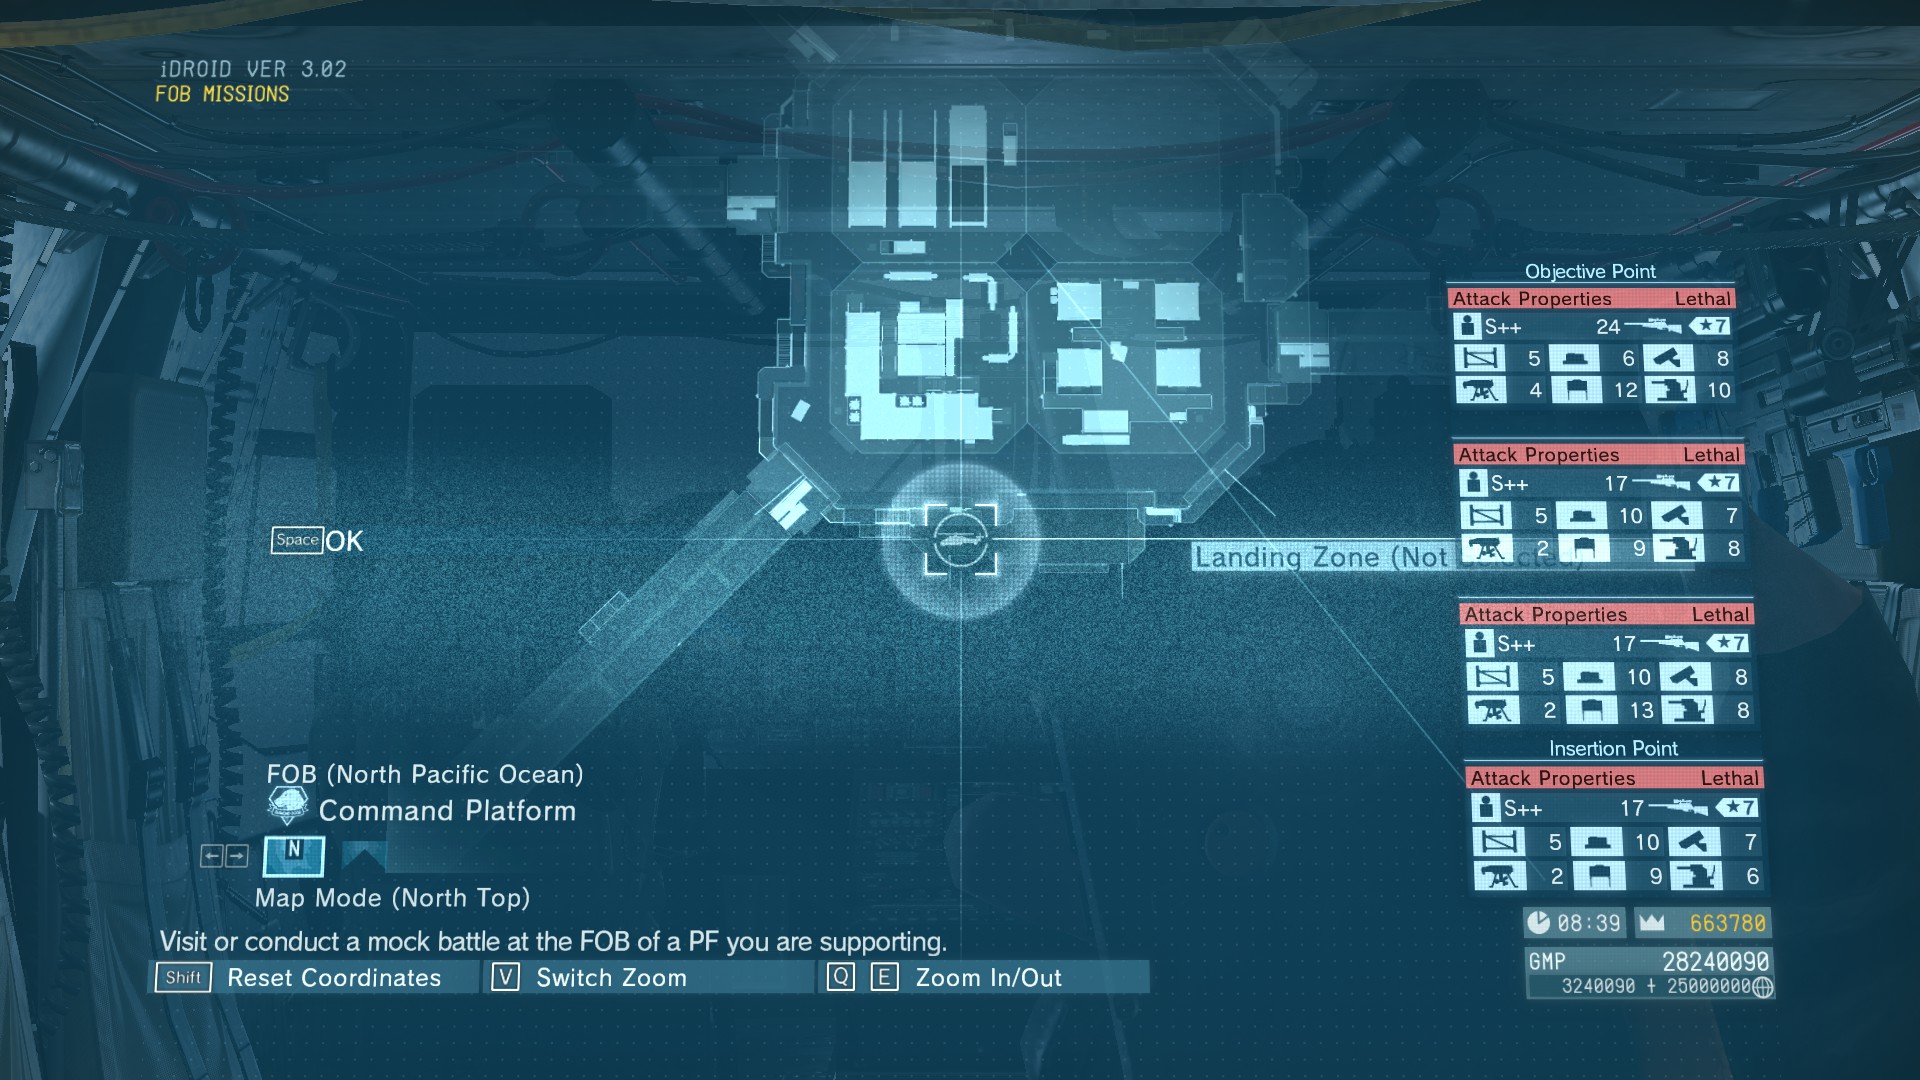
When you are on the drop in point selection screen, always choose the point that looks like the one given on the screenshot, as it gives you the shortest and easiest clear of the beginning deck:


Bridges
Bridges between decks are usually not hard to go through, but more experienced players place the custom Mines overlooked by cameras on choke points to drastically lower your chances of not being detected and so, reaching the core.
Some players also tend to sacrifice vision that cameras provide just to put them close to the Mines on the lower bridge so you cannot pass that point without destroying the Camera, destroying the camera by triggering the mine and sending out the defender alert immediately as a consequence. But every single one mines formation has a weakspot where you can almost painlessly go through, differing from the state from a couple of years ago when you could place more than 4 mines and 1 camera per deck, meaning you literally couldn't pass the bridge without triggering the defender alert. One tactic of avoiding famous custom mine placement formations is given in this YouTube clip:
Chapter 5: Security devices
Security devices serve as additional layer of protection for an FOB. They consist of: IR-Sensors, Antitheft devices, Surveillance cams (Gun-cam defenders) and UA drones.

IR-Sensors
IR-Sensors are placed on catwalks and alert enemies whenever you pass through the beam emmited by them. There are 2 ways to deal with them:
  • Level 1 IR-Sensors can be silently bypassed by crawling or diving underneath the top beam.
  • Level 2 IR-Sensors can be silently bypassed by diving between the two parallel beams.
  • When encountering level 3 IR-Sensors, go around them by hanging over the fence (100% stealthy way, just make sure there aren't UA drones passing by as they will raise combat alert as soon as you've been seen hanging, even if you don't move. Also, be cautious about the Cameras usually overlooking the IR-Sensors)
    Example of bypassing the IR-Sensor by hanging over the fence

  • Destroy the IR-Sensor by shooting at the frame (be aware that this will make guards be alerted to investigate the destroyed IR-Sensor immediately, soft alert will be triggered soon after, plus the defebder alert will be triggered immediately as you destroy the sensor)

Antitheft devices
Antitheft devices are placed close to majority of containers and gun emplacements. Level 1 Antitheft devices won't trigger when you pass by them, but don't risk testing if they are level 1 or higher. Be careful, triggering them by movement raises a soft alert very soon after. There are 2 ways to deal with them:
  • Go around their invisible trigger radius so they never get triggered (100% stealthy way; you will get sense of their trigger radius pretty fast);
  • Destroy them (this easily attracts guards, triggers soft alert very fast and sets the defender alert off immediately, avoid destroying them while ghosting.

Surveillance cameras/Gun-cam defenders
Surveillance cameras are placed on many spots around the platforms where intruders are expected to be seen when infiltrating.
There are 2 ways to deal with them:
  • Play around their movement. Cameras have a fixed movement angle and joint movement speed (joint movement speed is greater on upgraded cameras). Use the moment when camera isn't overlooking your path and quickly dolphin dive your way through (100% stealthy way)
  • Use smoke grenade to "blind them". This works great, but guards will be attracted by smoke and soft alert might be raised. Despite that, this is still very effective way to deal with cameras.
  • Destroy them. This is the least recommended way as guards will be immediately called to investigate the camera that has been destroyed, they will raise the soft alert when they see camera destroyed, and defender alert will be set off immediately.

UA drones
UA drones are overlooking the random spots on the platform over the time, tho each of them has fixed path of movement. If they notice any guard taken down, guards will be called to investigate and soft alert will be raised immediately after.
There are 3 ways to deal with them:
  • Just ignore them and try to avoid them as much as possible, and make sure you mark the most risky ones you come by so you always know their position. If your movement gets noticed by one, just lie down on the ground and crawl, and they will continue going their normal patrol route short after. Make sure you never get noticed by them while hanging over the fences or climbing up the pipes as you won't get a chance to take them down and they will raise the combat alert immediately. As their vision works similar as the vision of guards, make sure they don't notice you while distance between is shorter than 10m, or combat alert will be triggered immediately. This way is a 100% stealthy one to deal with them.
  • Destroy them. This might have 2 similar outcomes: if you destroy them when nobody sees you and they fall into water, no alert will be raised nor guards will be attracted, but defender alert will be set off as soon as the drone hits the water surface.
    If you destroy them when any of the guards sees you doing so or UA drone falls onto the hard ground, guards will be attracted immediately, soft alert will be raised very soon and defender alert will be set off as soon as the drone hits the ground. This might be fatal for you regarding the guards reaction if dealing with long range defense.
    So basically, only difference between these two is that first one won't neccessarily raise the soft alert, while second one will.

Power generators
Power generators generate power for defebding cameras and antitheft devices. If they stop working, all cameras and antitheft devices on the platform you are infiltrating will simply not work. There are some things to know about them:
  • They are always on the final deck of the platform you are infiltrating;
  • Simply turning them off won't raise any kind of suspicion or alert;
  • Destroying them will trigger the defender alert immediately;
  • Destroying the defense equipment powered off because the power generator is shut down will still inatantly trigger the defender alert;
  • Fultoning the containers and/or emplacements that have been protected by antitheft devices will still instantly trigger defender alert, as fultoning them doesn't have anything to do with antitheft devices, the soft alert that is soon raised only makes guards be more cautious.

Additional note: Guards wearing NVGs
Not very much to be told here. Just wanted to mention that, if guards don't have NVG equipped, your Smoke grenades are extra effective ;)
Chapter 6: Reaching the final deck of the platform
Okay, you we passed all the decks on the platform you are infiltrating without being noticed even once, but now you've reached the final deck. This one differs a lot depending on the platform you are infiltrating.

Command Platform
Core reaching difficulty: 7/10
When trying to reach core of Command platform, the most important thing is to reach central building, along with it's corridors and spiral stairs up to the core. However, be aware that this is the place where you will always find some guards just behind the corner. Defenders also like to camp here, but it's also easy for you to CQC them in these kind of spots. There are also 3 tricky cameras that overlook your path to the top:
  • First one is just after you climb up the first stairs up the main building:

  • Second one can you spot you easily if you aren't careful enough, as it's overlooking main spiral staircase to the core:

  • Third one is inside one of the corridors, first one you will go through, to be precise:
Regarding mines, the only one that will make huge problems for you is one just at the corner before the final stairs to the core and it's...well impossible to just pass it by without setting it off if you go this way:


Combat Platform
Core reaching difficulty: 7/10
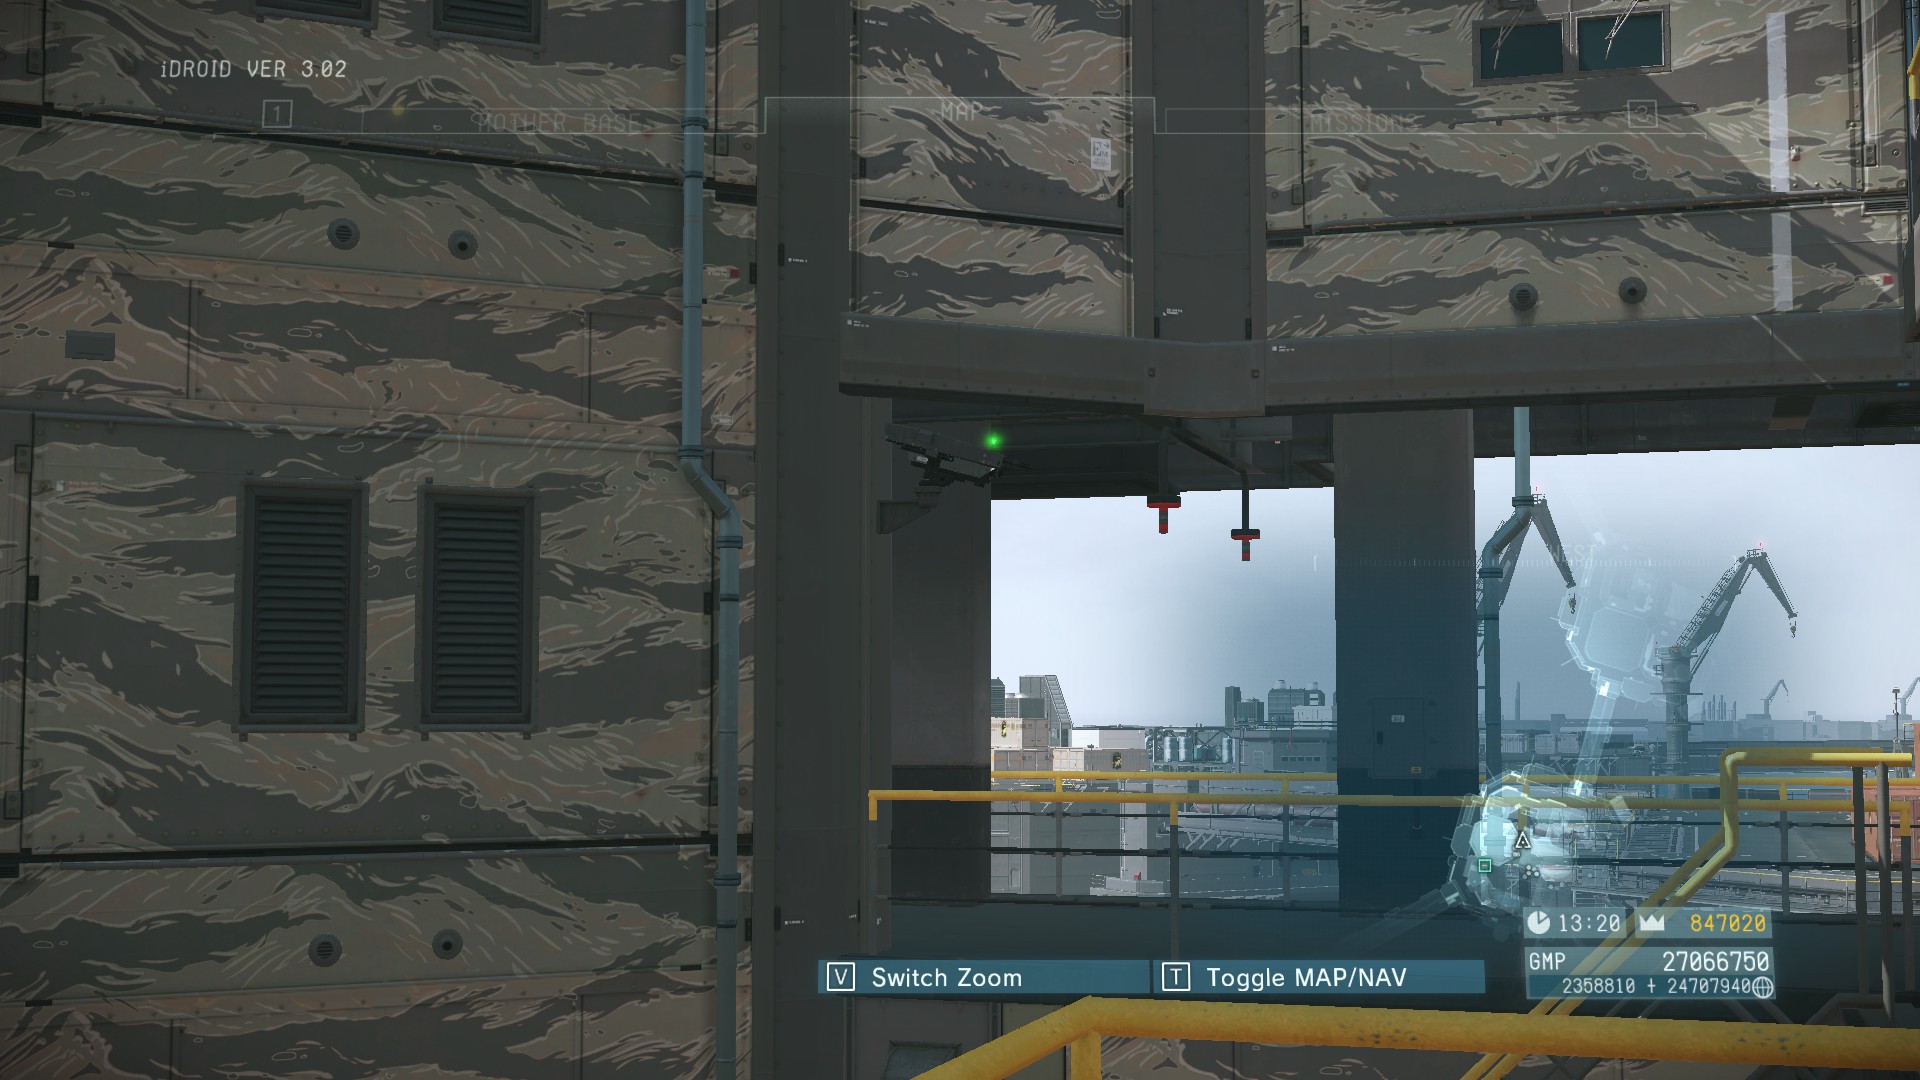
Combat platform is quite similar to command platform in it's properties, tho it's much more open, so fast tranquilizing of guards is recommended. Be cautious about that one camera just below the first staircase that directly leads to the zig-zag staircase to the core, as it's literally inside the dead angle of your vision, so smoke grenade is highly recommended. You can also be very careful, check the movement of the camera and sneak past it. Check this screenshot so you can see it better:
*placeholder for the screenshot*

R&D Platform
Core reaching difficulty: 2/10
This one is not that hard at all, and maybe even the easiest one for "no traces" ghost infiltration. When you reach the final deck, check for the corridor like given in the screenshot below, easily disable the power generator and climb up the pipes up to the top. There are 2 critical UA drones you need to pay attention to as you climb up the outer pipes, just watch that they are not near the pipes so they don't spot you.
*placeholder for the screenshot*

Base development platform
Core reaching difficulty: 4/10
This one is also pretty much easy. Depending on the layout of the platform, you can reach the final deck from two sides:
  • If you are approaching the final deck from this side, you don't need to worry about the camera on the edge of the core building:

  • If you are approaching from this side, it's best to play around the camera movement, you can even hide behind the mobile lift and wait for camera to turn to the other side so you can pass by it:
    *placeholder for the screenshot*
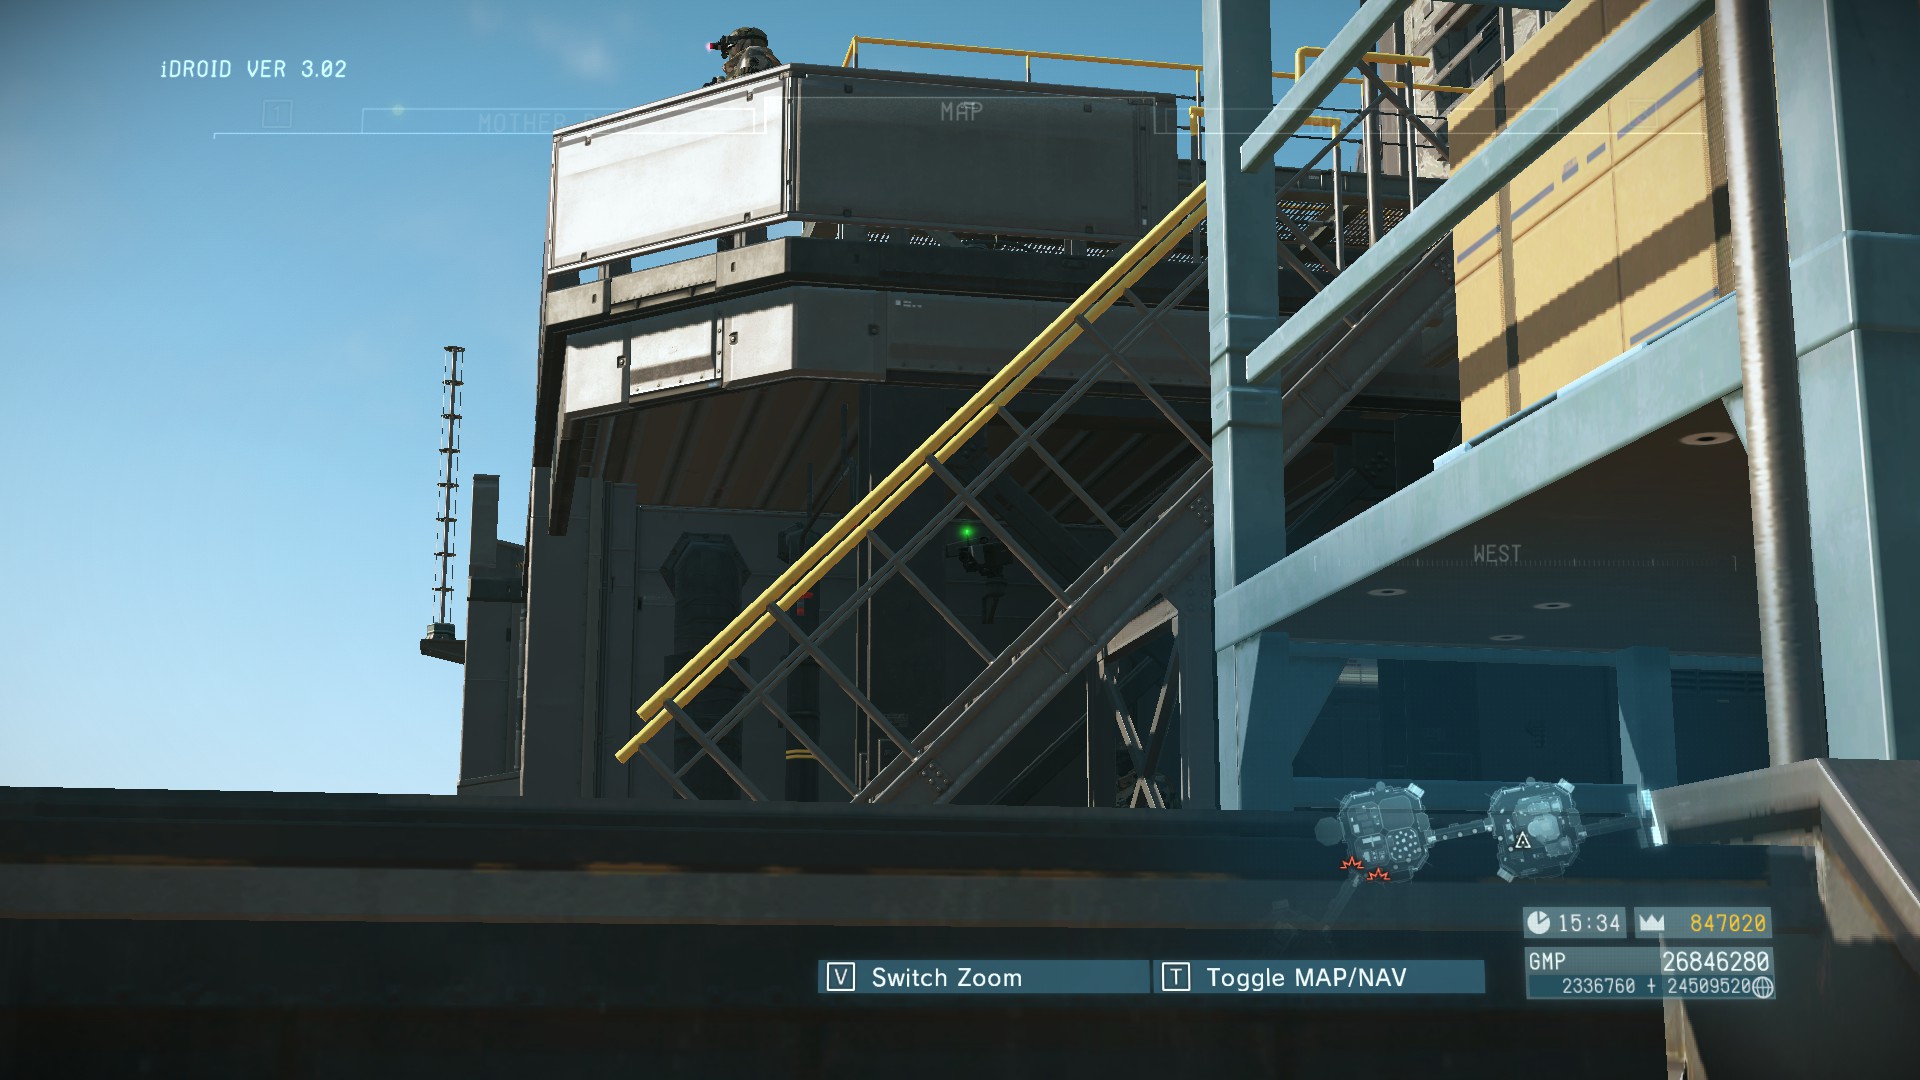
After you've reached the part very close to the core, there will be some guards, one camera and 1-2 UA drones overlooking the entrance. It isn't very hard to deal with all of those without triggering the defender alert (tho at this point defender cannot even react quickly enough after receiving the alert). If you are dealing with the platform with long range guards that is on soft alert, watch out not to attract attention of the snipers on the crane, as they can easily spot you and trigger the combat alert. Check the screenshot:
*placeholder for the screenshot*

Support Platform
Core reaching difficulty: 3/10
Pretty easy one, even for no-traces.
After reaching the final deck, distract or tranquilize the 2 guards on the crane, pass by them, but be careful that there aren't other guards on the stairs nearby that can see you. Don't bother with the power generator, it's not worth shutting down. Afte passing the crane, you can also distract or tranquilize some guards inside the part of the building where you can see the entrance to the underground room where core is located. Inside the underground room you might come by 1-2 guards on the watch and one camera. Just tranquilize the guards and play around the camera movement:
*placeholder for the screenshot*

Intel Platform
Core reaching difficulty: 10/10
Ohh yes, this is the absolutely most painful platform that could be made due to the nature of the central building. Try disabling the power generator for the cameras at the very first. Then make sure to mark every single UA drone patrolling the very inside of the Intel Platform main building, where core is located, as being seen only once by UA drone while climbing the ladders (which you must climb in order to reach the core) means instant combat alert. Be extremely cautious and don't rush at all. Best strategy is to use sleep grenades to put the guards to sleep easier and then take cautious route to the top while watching for UAVs, as they are your biggest threat on this platform. This is maybe the only platform that is impossible for no-traces infiltration.

Medical Platform
Core reaching difficulty: 4/10
This is one of the easier ones too. Basically just make sure you don't bump into any guard unprepared, plus watch out for the camera overlooking the core entrance, plus the one one level higher.
Chapter 7: Defender alerts
Defender alerts are the most enigmatic FOB aspect that has left so many theories behind so please have in mind that this chapter will be susceptible to minor or major changes in the future, depending on the informations received.
However, I will share some of theories and results from my research regarding them.


What exactly are defender alerts?
Defender alerts are unique alerts that, when triggered by specific actions, make owner of the FOB you are infiltrating or his supporters able to come and defend platform you are currently infiltrating, which then basically turns it into a real-time PvP fight. You can know that you've triggered a defender alert when you see the 4 squares loading icon on the top right while infiltrating.

Why should you avoid triggering defender alerts?
The reason why you should avoid triggering defender alerts is the fact that fighting with defender present makes it impossible for you to reach the core (unless you are dealing with a really bad defender), as defender has the whole set of guards and defense equipment at their disposal, plus they can infinitely respawn whenever you kill/fulton them.

Actions that trigger defender alert immediately
There are a couple of actions that will make defender instantly receive defender alert when you commit them. These actions include:
  • Destroying equipment (IR-Sensors, Antitheft devices, Cameras, UAVs, Power Supply);
  • Killing/fultoning guards;
  • Fultoning containers and/or emplacements;
  • Picking up mines.

Actions that don't trigger defender alert immediately, but trigger the "tension timer" ticking (unreliable info)
There are also a couple actions that don't result in an immediate defender alert, but they trigger soft alert, which are basically actions triggering the defender alert which, in theory, shortens the tension timer, which leads to defender alert goes out after the timer gets to zero:
  • Guards, cameras or UAVs noticing a guard uncoscious on the ground;
  • Triggering mines;
  • Causing any kind of explosion;
  • Triggering an IR-Sensor/Antitheft device;
  • Shooting without the suppressor;
  • Smoke/Sleep Grenades (not neccessarily)
*Connection between triggering soft alert through non-destruction actions and faster triggering of defender alert is still a mystery, but definitely not a myth, so this info is still susceptible to major changes sooner or later if proven different.

Myths that are currently proven wrong:
  • "All units, special alert. Defend your positions" means that defender alert has been triggered/defender is online.
    I have tested this theory and the "special alert" has nothing to do with the defender alert, it only means that security zones have been set up on the deck you have currently entered. This has been 100% tested and proven.
  • Throwing mags as a way of distraction, guards spotting you (white direction marker) that soon after return to their patrol will start the ticking of the "tension timer".
    I have found no connection between these points and triggering the defender alert, as they don't trigger any reaction from the FOB CP, plus I haven't noticed defender alert ever triggering if I do those things.
NOTE!!! Defender alert is sent immediately at the start of the infiltration when infiltrating nuke owners and players in the "Security challenge" tab.

More info regarding defender alerts will be dropped out soon, stay tuned.
Chapter 8: Epilogue
This is the detailed (but still not very final) version of my guide which will be updated regularly as long as servers are alive to give you even more intel on how to be successful at ghosting.
If you have any suggestion on how to improve my guide and add something new, feel free to add me and send it to me, I will be glad to add it to the guide and give credits to you.

Guide created: 20th of Jun 2021.
Last updated on:
30th of August 2021. (Added placeholder for the Chapter 8: Radio communication between guards and CP)

ATTENTION! Konami has announced shutdown for FOB and MGO servers on PS3 and Xbox 360. This guide will be updated regularly as long as announcement for FOB and MGO servers shutdown on Steam is not live. From the moment servers become completely shut down, this guide will no longer be valid as there will be no FOB aspect in the game anymore.
Chapter 9: Sources for additional informations also partly used for making this guide
18 Comments
W@Rr!0R Apr 25, 2023 @ 1:27pm 
Cool Thxn man . so much to learn :steamthumbsup: :VSnake:
Fish Killer Dec 19, 2022 @ 6:45am 
Thanks man, good hustle in helping people, all of the resources out there for finding out how the game works seems difficult to find specifically unless you know where to look.
Makes me wish there was a full on wiki with all useful info on it.
Mì gói khô Dec 19, 2022 @ 6:29am 
chapter 10: stalking the defender so you know when they're not playing the game and can't respond to your BS
NarkoTri1er  [author] Dec 19, 2022 @ 6:22am 
You can infiltrate an FOB without ever being detected (combat fatigue and silent moving+non-lethal weapons and no casualties), but if defender has well set-up mines and cameras on bridges, chances for that are almost 100% lowered.
Also, you are welcome, despite guide being quite old, I'm still there to help people ;)
Fish Killer Dec 19, 2022 @ 6:18am 
Also wow, thank you for replying soo shortly.
Fish Killer Dec 19, 2022 @ 6:18am 
Oh, so the means to evade detection is just a lie?
And how much more durable?
Are they like that up to the helmet?
NarkoTri1er  [author] Dec 19, 2022 @ 5:59am 
Balaclava doesn't affect it at all, it just makes staff members a little bit more endurable.
Fish Killer Dec 19, 2022 @ 5:42am 
Does the tier 1 balaclava for staff members effect sneaking at all?
I've not noticed anything and I don't know how it would change the index.
Ved Oct 12, 2022 @ 6:29am 
This is pretty impressive, good job. :cozybethesda:
TAPHRIM Jun 20, 2022 @ 11:40am 
We are chillin' now. Thanks bunches, can't wait to use this guide on you!