
Instalar Steam
iniciar sesión
|
idioma
简体中文 (Chino simplificado)
繁體中文 (Chino tradicional)
日本語 (Japonés)
한국어 (Coreano)
ไทย (Tailandés)
български (Búlgaro)
Čeština (Checo)
Dansk (Danés)
Deutsch (Alemán)
English (Inglés)
Español - España
Ελληνικά (Griego)
Français (Francés)
Italiano
Bahasa Indonesia (indonesio)
Magyar (Húngaro)
Nederlands (Holandés)
Norsk (Noruego)
Polski (Polaco)
Português (Portugués de Portugal)
Português - Brasil (Portugués - Brasil)
Română (Rumano)
Русский (Ruso)
Suomi (Finés)
Svenska (Sueco)
Türkçe (Turco)
Tiếng Việt (Vietnamita)
Українська (Ucraniano)
Informar de un error de traducción


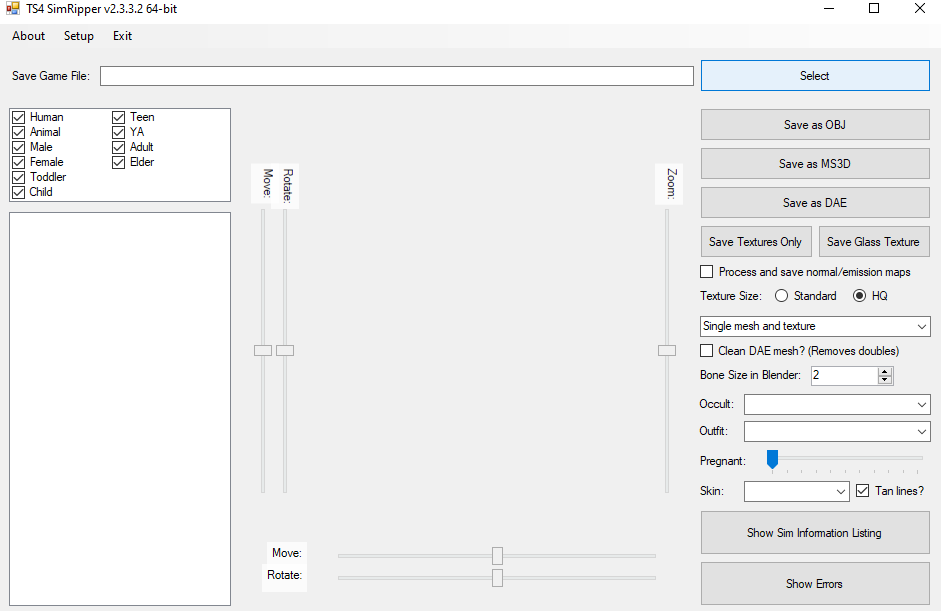

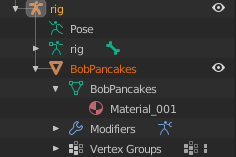
 and select the outfit you want them to have (Bottom right side of the screen underneath occult)
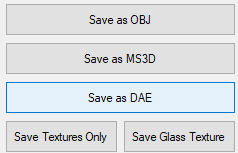
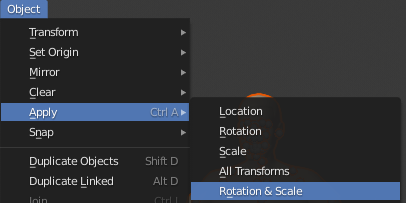
Select save as DAE and then chose where you want the model and textures to be.")


If so, check your qc file (specifically look for where it says $cdmaterials) and your vmt file (specifically $basetexture) and make sure they have the same filepath (case sensitive).
If they do not have the same path, this would happen.
https://steamcommunity.com/sharedfiles/filedetails/?id=444750868
(In case steam removes the link, search Auto-Rigger v1.9 for Biped Models, or just auto rigger)
Select the sim you want to port to sfm to in the bottom left
(It should be the first and last name of you're sim) and select the outfit you want them to have (Bottom right side of the screen underneath occult)
that part. I select the sim, and then "working..." then that "Unhandled error exception" popped up.