Röki
95 betyg
Roki walkthrough - Chapter 2: Deep forest
Av Fjolnir
In this guide I'll walk you through all quests, tasks and puzzles and solutions to them quest by quest. This is my first guide ever, so any feedback is welcome :)

The guide for the 3rd and last chapter of the game is in the works. This chapter was massive, literally the biggest chapter in the game and took you around the whole map, so it a lot of time to combine together. Enjoy :>

NOTICE: This is not a completionist guide for achievements and collectables, so not all of them are mentioned - feel free to add your own discoveries not mentioned below in the comments :>
9
2
   
Utmärkelse
Favorit
Favoritmarkerad
Avfavoritmarkerad
MAIN STORY
There aren't specified 'main' and 'side quests' in Roki, but it's easier to separate this way. These are the main story progressing quests, the bigger ones that will take you around the map a lot. I will provide info on which side quest's completion is required in every section for convenience.
Rootway restorer
You have to free and connect all of the Waytrees to the mother tree.

Reward:
You can now travel between locations through the connected roots of the Waytrees.
Achievement - Connected

Completion sequence:

Go towards the shore and to the big stone on the right. There you will find a tiny collectable - old fishing lure.

Then go to the boat and take an oar . Use it to pry open the door in the left tree.

Go inside. Get frightened by a giant many-eyed tree.

After you spoke to the Tree of Many, go back to the portal clearing. You will see the tree door on the right side is now open. Go in and run around to scare the ravens. However some ravens are sitting high up, so you need to find something to throw at them.

In the location 'Trollhilde's bridge' go to the left of the cabin and climb the ladders to the raven nests. Search through the nests and I the farthest one you'll find a hair pin

Go to the church entrance and lock pick the lock on the gate using the hairpin

Go up to the Waytree on the left side and run around to scare all the ravens - the tree will wake up. But it's still not connected, since the Mother tree is asleep.

While you're in the churchyard go behind the church and interact with a stone Troll. You need to find all of them for an achievement 'Testrollsterstone'


While you're in the churchyard, read all of the tombstones to get an achievement 'Grave thoughts'.


Go inside the tomb on the right and pick up the eggshells collectable in the right bottom corner.


Go inside the Trolhilde's cave under the bridge (complete the 'Trollfriend' quest to open) and pick up pebbles from the floor.


While you're in the troll cave, pick up the Troll Snot collectable from the wall.


Now go to the Great Mother Tree and throw the pebbles at the ravens above. The Mother Tree will wake up and connect to the Tree of Many and the Waytree in the churchyard. From now on, the other Waytrees you wake up will connect automatically. You can use the doors in the Waytrees to travel through the Wayroots - shortcut portals around the map. After the Mother Tree wakes up, the door on its side opens and you can now venture to the other side of the map.


After all the raven are gone you also get a badge - Raven botherer. Wow, you have really achieved something in this life!


After you've completed the 'Tomte Summoner' quest and sharpened the dagger , go to the Old Mill's Waytree and cut the wines on it. Run around to scare the ravens and the Waytree will wake up. It is now connected to the Great Mother Tree.

There's a Waytree in the church area. Scare away the crows and cut the wines to free it.

With your sharp dagger , go to the Old mill, go out through the back entrance ad cut the wines blocking the path. Now you can go through. Reach the infected pond and entrance to the Stag guardian's den. On the very left you will find a Waytree. Scare away all the ravens (there's one sitting on the far-away root behind the circle of stones that's not very obvious) and cut the tentacles to open the doorway. It's now connected.

Now go to the very left of Trollhilde's bridge, past the Snowed-in cabin and use the dagger to cut the wines.

Go to the left of the staircase to find a stone Troll and interact with it. You need to find all of them for an achievement 'Testrollsterstone'. Then follow the staircase to the wolf ruins.

For the directions on the puzzles in this area refer to the 'Wolf waker' quest section.

After you solve all the puzzles you will reach the Mountain Plateau and see a waytree on the right. As always, run around to scare the ravens and cut the wines holding the door. The tree wakes up and you now have a shortcut to the wolf area.


Now go left and interact with giant ice hands. They will turn and form a bridge. Walk into the cave. You will get an achievement 'Follow the flow'.


Keep going left and reach a well, in which a Fossegrim sits and plays an harp. He tells you that he's seen a troll around with the Wolf stick, which you need.

Talk to Trollhilde to find out that she gave the wolf stick to Trollhulde.

Talk to Trollhulde to find out that she threw it in the old pool. She will help you to unlock the pond area. There you will find a Waytree. Cut the wines and scare away the crows to free it.


This should be the last Waytree. You will receive the badge 'Connected' and can now use all of the rootways to travel the map faster.


The quest is done!
Wolf waker Pt. 2: Escape the Nightmare
However, it can't move. There's something on the wolf's face. Come closer and interact with it. It's a Nattamare Parasite and you need to remove it.

When you come up and touch the parasite you'll be thrown into a nightmare. You need to solve the puzzles inside to get out.

You will end up at home, go to the well and pick up the safety rope . Then interact with dad and then with the well. You'll end up going inside the well.

Your goal is to find and get mom's pendant. Picking up the eyeliner pencil on the left side. Use it on the hairbrush on the right side to use it as a boat.

Sail up and right to pick up the red nail polish . Go to the photo of Tove and a cat and interact with it to enter the memory.

In the memory, pick up the blue ring from the table, a straw in the red cap, a straw from the shelf to the right of the table and the cat collar from the cat ghost Tove is holding. Also, go up to the calendar on the fridge to find out Tove's birthday - the 17th of some month, you'll need it later. That's all for this area, interact with the camera mom's holding to return to the well.

Now sail to the shore that's down and right, where you will find another photo - this time from camping. A stone hand is blocking your path, it seems bored. Give it the cat collar and run past it while it's distracted. Go up the hill and pick up one of mom's rings . Then return down the hill and enter the photo.

Pick up the comb from dad's shirt pocket. Then go behind him and interact with the fishing box to find out that the last two numbers of the code are 05. Lastly, pick up one more straw from the yellow cup near the tent. Now you can return to the well through the camera.

Now sail to the shore up and right. Grab the pearl necklace and watch another memory.

Sail to the shore that's down left and give the hand the pearl necklace to distract it.

Then, look at the gap and combine the 3 straws with the safety rope to make a handful of tied straws . Use the make-up bridge to cross the gap. Go to the photograph and enter the memory.

Go up to the locked box and enter the code - Tove's birthday which you now know is 1705. Get a sharp fishing hook from it. That's the only thing you need here, so you can leave the memory. This time, before returning to the boat grab the pearl necklace from the hand - you'll need it.

Now you have everything you need to get the locket. Sail to the up and right shore again and use the comb as a ladder to climb the wall. Go left and use the fishing hook on the hand for it to drop the locket.

Go back to the boat and sail to the central island with the 3 hands. Use the ring on the left hand to complete the set. Combine the pearl necklace with red nail polish to paint it red and give it to the right hand. Now you can grab the gold heart locket and get the last memory. Interact with the well in the memory once more and the vision will be over.

You have conquered the nightmare and cured the wolf. She is now free of her sleep and you got a Nattamare Parasite that you need for the 'Seeing but not being seen' quest.

This quest is now complete.
Bear rouser Pt. 1: Find the guardian.
Awaken Jötunbjörn - the bear guardian

Reward:
The Bear guardian is now awake and will help you if you wake up the Stag guardian.
You get a Nattamare Parasite.

Completion sequence:

The Bear guardian sleeps in his slumber under the Forgotten church. To get to him you need to find a way to the church's underground maze.

Go to the very top of the church through the ladder in the back. Use the ladder at the top to climb over the giant bell.

Use your dagger to cut the rope holding the bell to collapse it. This will break your poor tiny eardrums the floor of the church and give you an entry point to the basement. You also get a badge - 'Bell ringer'

Go downstairs and go down through the gaping hole in the floor you little vandal. This is where the puzzles start.

Go near the bear statue and see that there are 4 slots, 2 already have stone block inside them. Take these blocks , but you still have to find the other 2.

One is in the crypt itself. Go left to the next room and cut the webs with your dagger. There's a stone block on the tomb, pick it up.


Go a bit more left and find a collectable Tomte hat near the column in the foreground. If you can't see it flash the intractable items a couple of times.


The other stone block is hidden away in the Nokken pond. If you don't have it yet go through the 'Nokken liberator' quest to get it.

When you have found both missing clocks, return to the crypt. You need to figure out the right order for the blocks.


Go to the church's main room and look at the memorial plates on the floor - you're looking for the one that has a crescent moon symbol. Read the moon plate and find out that the birth or death year of the Bear guardian is 1623 - that's the order for the blocks.


Come back to the crypt and insert the blocks in the right order by the number of marks on them: 1-6-2-3.


After the combination is entered correctly the bear statue's eyes will light up and a secret passage will open. Proceed deeper into the crypt.


In this room, you see an incomplete constellation on the floor, but circular parts are missing.
One disk is already in place - pick it up - but you need to find 3 more. They're scattered around the map, but one is here in the crypt.

Go back to the previous room and go right beyond the bell. Go right and pick up another disk

Another close-by disk is in a tomb outside the church. It's peaking out from under the dirt pile.
Use your trowel to dig it out. If you don't have a trowel yet, you need to go to the Poisoned forest area behind the Old mill and solve a puzzle to open a spiral staircase (the hint is on the rock near the purple pond). While you're there don't forget to free the Waytree to travel faster.

One more disk is hidden in the Mountain Plateau and you need a torch to retrieve it.
If you haven't yet picked up a bone go to the cave to the right of the siren pond and pick it up from the bone pile in the back.

If you haven't yet picked up a rag , go to the Yule cat cave and pick it up near the entrance.

Combine the bone with the rag to make a torch and use matches to light it up. Now you can go into darkness.

Go to the mountain plateau and go to the left to climb the wall. You will see a dark cave - use the torch to light it up. Inside you will find the last disk you're looking for.

Go deeper into the cave and pick up the ram skull from the nest (you need it for the 'Seeing but not seen' quest).


Go a bit past the nest to pick up a collectable - a very sharp tooth.


Return to the crypt with all four disks and assemble the constellation:
Here's the order for an easy solve:


After the disks are placed in the correct order the platform you stand on will move and sink to the cave system below the church who thought it was a good idea to build a church above a cave system????

Go forward and up the stairs to reach the sleeping Bear guardian. Us your dagger to cut the webs on the horn. Then blow it.

However, instead of the Bear, you awaken something else. A giant hecking spider, how nice!

Proceed to pt. 2 of this quest.
Bear rouser Pt. 2: Fight the Spider
After the cut-scene, you wake up tied up with a Tomte who helps you free yourself. You need to get rid of Widow Drau to move forward and she took all your things, so you have nothing, No worries - there are a couple of things laying around.

Go right and pick up the mirror going from-down-left and attach it to the handle over the light source in front of you. The light will hit the crystal and the spider will back off a bit.

Now go to the very left and open the hatch in the wall to free another light source. It will also hit the crystal and the spider will back even father off.

Now climb up and right from where you're standing and grab another mirror , this one directs from-down-right.

I will use bigger icons for this section for ease of explanation.

Go back to the crystal in the middle and climb up and left, open the hatch. Then climb right and open another hatch. Climb under the right hatch and take another mirror from-left-to-up, this one directs from-left-up.

Return to the 1st floor and attach the left-to-up mirror to the handle left of the crystal, it will direct the left light source through the hole up. Then go left and climb over it, attach the down-to-right mirror to the handle in the light source to direct into the crystal.

Now climb down and go to the right source of light, detach the down-to-left mirror. Climb up and right under the hatch and install the mirror on the handle in the light source to direct light through the hatch and into the crystal, the spider backs off further.

Climb over the second crystal and left to the hatch over a webbed Tomte, open it. You can't free the Tomte yet since the spider took all your things. We'll do it later for now we mercilessly ignore its suffering.

Go back to the first floor and take both mirrors from the left light source. Attach the left-to-up mirror to the handle right in front of the hatch to direct the left light source up.

Climb back to the webbed Tomte and ignore it once more and go left past it, attach the down-to-right mirror to the handle in the light source to direct it through the hatch and into the crystal. The spider will continue backing off.

Climb down to the 2nd crystal and under the right hatch to retrieve the down-to-left mirror then climb back up to the 3rd crystal and to the right to install it back on the right light source. The light hits the crystal and the spider jumps off to the right.

Climb over the 3rd crystal and right to get your things and dagger. Don't worry, the spider can't reach you since you're standing in the light. Then climb up and left to the hatch in the wall that Tomte opened when it was freeing you. Cut the webs on it with your dagger and open it to hit the spider with the light right in the face, she flees.

After you go up and left, talk to Tomte standing near the exit. He offers to help, but he's too weak alone - you need to free the other 3 Tomtes in these caves.

The first one is right there on the left, use your dagger to cut the webs.

The 2nd one is sneaky and hid, from where you stand climb up and right through the hole in the ceiling to find another Tomte. Free it with your dagger .

The last Tomte is the one you've been so cruelly ignoring this whole time. Climb down o the 3rd crystal and left to find and free him.

Return to the Bear guardian and run to blow the horn once more. This time the Bear wakes up and finally does its job smashes the spider.

Talk to the bear, listen to its whining and say you take no heck from anyone. Interact with the parasite on its face to enter the nightmare world again.

Proceed to pt. 3 of this quest.
Bear rouser Pt. 3: Escape the Nightmare
The vision starts in a strange version of the cabin. Go to the left and down through a hatch in the floor.


In the basement, go right and take off the sheets from the piano. You try to play it and can't remember the tune. You need to recall the melody Tove's mom used to play.


The room transforms and you see 3 doorways. One of the doorways leads to the ground floor of the cabin, one leads to the outside of the cabin, and one leads to the upper floor of the cabin.

Go to the upper floor first and pick up the wind chimes near the bookshelf on the left side of the room. Flash for interactive objects if you can't find them.

Now go outside and hang the wind chimes on the hook to the right of where dad's sitting.

Pick up the cheese plate and the coffee from the floor near him.

Go up to the porch and pick up a flowerpot . Then go back to where dad's sitting and use the radio. It will play music several times, but keep using it until the weather forecast tells you that there'll be windy weather at 12:45.


Go up to the clock left of the radio and change the hands to show 12:45. The wind will blow and sound the wind chimes.

You will get a song sheet - it's the first part of the melody you're trying to remember.


Now go to the ground floor of the cabin. Pour the coffee into the cat's bowl on the right of the door. No, you're not trying to poison the cat, you just need the empty coffee cup .

Then put the cheese plate in front of the mouse hole to the left of the door to lure a mouse out.

Then go left and come up to a cat staring at a birdcage. Cover the bird with the dust sheet you got from the piano. The bird will sing and you will get the second music sheet - the middle of the melody. The cat will jump over to the mouse and knock over a pan. Pick it up.

Now go back to the upper floor where Lars is playing the drums and give him all 3 loud things you've collected - a flowerpot, a coffee cup and a pan. He will play a tune and you'll get the last song sheet - the end of the melody.

Go back to the piano and place the song sheets on it in the order they're in your inventory. If you got them in a different order than in this guide, then here's the needed order:


After you play the melody you will get a memory and the nightmare is finished. The Bear is now free of its evil grasp and you now have 2 Nattamare Parasites for the 'Seeing but not seen' quest.


Now go free the Stag guardian before it's too late!
Stag Stirrer. Pt 1: Fighting the fungus
You need to wake up the last guardian.

Completion sequence:

You need to reach the Poisoned Forest area and complete the Seeing but not seen quest to be able to wake up the Stag guardian.

After you get both masks from Shroomi they will ask you to bring 3 Nattabloom samples to revert its own power on itself.

Go to the left area again and put on the Mask of Seeing to reveal what's hidden. Talk to the trapped creature again. It tells you that it got trapped and forgot its Magical staff in its home by a tree, it also gives you a key to its house.


Go back to the main area and come up to the pond. Use the mask of seeing again to reveal a bridge of mushrooms. Go up and you will reach the new upper area.


Use the Seeing mask again to see a bridge over the lake and cross it. Come up to the top left house and use the key you got from the trapped Alva.


Get Alva's magical staff and return to the secret lab for some mischief. Use the staff on Shroomi and insult his pride. You get a hidden badge 'Growing pains'


Now go back to the trapped Alva and use the staff on the mushroom it's trapped in. After you free the creature it tells you to keep the wand and use its power of growing and ungrowing for good.

After you enlarged the fungus you can use it as a bridge to cross to the right side of the hill in this area that was locked before. Go right and use the mask of Unseen to pass the mushroom fence, then use the Mask of Seeing to reveal a hole in the ground. Go down. Use the staff on the mushroom to make it small and dig it up with your trowel . You get a handy small mushroom

Return to the surface and go to the pond on the right. Use the Mask of Seeing to reveal another handy staircase of mushrooms. Go up and keep using the wand to enlarge the tree shrooms to build a path for yourself until you reach the Nattabloom. Use your dagger to cut off a sample of it.

Now go back to the main area and tynify and dig out the 4-headed mushroom leading to the left area - you won't need to return here anymore.

Go to the right area and Use the mask of Seeing to reveal bridges and mushrooms as you go. Go left and up the enlarged mushrooms to cross the gap. Then plant the 4-headed mushroom in the dirt pile and enlarge it to reach the treeshrooms. Cut off a sample from another Nattabloom using your dagger.


Before leaving this area go to the pond and get the mushroom to the right of the pond and to the left of an Alva house.


Go to the area over the pond from the main area and dig up another mushroom on the right side near the Alva houses.


Go to the entrance to the area and plant the 3 mushrooms in the order from shortest to tallest from right to left. Enlarge all three to fill in the gaps between the treeshrooms.


Now right and up the hill to reach the bridge and enlarge the treeshrooms as you go to reach the 3rd and last Nattabloom. Cut a sample of it with a dagger.

Come back to Shroomi's hidden lab and put all three Nattabloom samples in the cauldron.
Shroomi does its magic and you get a bottle of poison .

Shroomi says the poison has to be delivered deep into the fungus's flesh to work, so combine the poison with your dagger to get a poisoned dagger

Now go through the big doorway in the main area to reach the sleeping Stag guardian.
Use your now poisoned dagger to cut the fungus on the horn. You don't get to speak to the guardian this time and get thrown right into the nightmare.
Stag Stirrer. Pt 2: Escaping the Nightmare
You end up at the cabin again. Pick up the doormat laying on the floor to reveal a sapling. You need to help it grow.

Go to the fridge, open it and pick up a bag of fertilizer

Now go outside and to the very left of the area. Pick up the watering can from near the car.

Now go to the well in front of the house and use the watering can on it to fill it with water

Go back inside and use both fertilizer and water on the plant to make it grow. Then climb up the tree.

You will see a doorway right in front of you but something's missing. First, place the doormat in its rightful place. But you see that the door itself and the handle for it are still missing. Interact with the doormat again to find the key underneath it.

Rip off the drawer handle from the drawer right of the door, you vandal.

Go left and pick up the lock from the diary in a fungus pile.

Come back to the doorway and use the drawer handle and the lock you found on it to materialise the door.

But it's still locked, so you need to use your key to open it. Instead, you open a freaking portal to nowhere.

Go through the portal and end up in the cabin to see a younger version of Tove. She's not happy with her toy because it's missing its hoops - you need to find them.

There's a cat bowl near the door - use the watering can on it to fill the can with water

Go back through the door and use the full watering can on the sapling at the right edge to reveal the second half of the tree.

Go all the way right and climb up and go right again to find little Tove scraping the table with knitting needles not creepy at all. You need to find her something better to draw with.

Go a bit back and climb the same branch that led you here, but this time all the way up. There you will find an old cupboard. Interact with it to get scared heckless and get one of its doors

Now climb all the way down and go to where you see a cradle in between two branches. You will see Tove's dad painting a cradle with crayons. Tsk tsk, he's not very bright, is he? You need to find him a brush and a can of paint. You can also see one of the hoops you need over the cradle.

Now go and climb up the left branch. At the top use the cupboard door to breach the gap and continue going left. You will find dad trying to fix the car by pouring paint into it...Whatever floats your boat, I guess. Pick up a paintbrush from the toolbox.

Now go to the nearest branch (before the gap) and climb down. Pick up a screwdriver from the huge scarf on the right - it also opens a shortcut to this area.

Go left and see Mom sitting with a tool that is most definitely not for knitting.

Go right and climb down the scarf. Go back right to Dad painting a crib and give him the paintbrush . Pick up the crayons he dropped.

Now go back and right to where Tove is scaping the poor table and give her the crayons . After the image transforms, pick up the knitting needles and the red hoop from the table.

Now go back to where Mom is knitting and give her the knitting needles . After the image transforms, pick up the spanner from the floor and the blue hoop from the chair.

Climb the branch near the scarf to where dad is fixing the car and give him the spanner , also place the screwdriver in the toolbox. Get the paint can and the yellow hoop after the image transforms.

Finally, come back to where Dad is painting the crib and place the paint can on the newspaper to the right. After the image transforms you can take the last green hoop

Go back through the portal where Tove is playing and put the hoops on the cone in the right order.
Solution: blue - green - yellow - red

You get another memory and the curse breaks. The Stag guardian is now awake.

You get to see Dad waking up. Interact with the sled tracks to get an idea of what happened. Then you get another cutscene. Back to dad - interact with the broken sled and move on. Interact with the marbles. Cutscene. Back to dad - interact with marbles to the very left of the screen. Cutscene. Pick up the oar from the left tree and go to the lake and use the boat to cross the river. You end up at the castle with Tove and can now play both of them.

This is the end of the 2nd chapter of the game, the guide for the 3rd chapter is already in the works.
SIDE QUESTS
There aren't specified 'main' and 'side quests' in Roki, but it's easier to separate this way. These are the smaller quests which you usually need to complete to get rewarded with the items needed for the main story progression. I will provide info on which side quest's completion is required in every section for convenience.

The side quests aren't arranged in any particular order, though I tried to sort them by when you can complete what since some can only be completed later in the game.n

Also, most quests don't have names, those that do are named after the achievements you receive for completing them, the ones that don't I named myself for ease of referral.
Trollfriend
You need to help Trollhilde get rid of the human prick in her shoulder.


Reward:
Trollhilde becomes your friend, goes in her cave under the bridge.
You get a rusty dagger.
Achievement - Troll friend


Items needed:
- Bear trap
Location: Sunken Cabin
on the right wall on the lower floor
- Hairpin - to open the church gate
Location: Trollhilde's bridge
in the raven nest in the left-most part of the
- Rope
Location: Forgotten church
on a bench inside the church

Completion sequence:

Talk to the troll under the bridge. She needs a sword in her shoulder removed.


Go left into the forest. When you see the first raven statues, go towards the foreground, you'll see purple winter flowers and a chrysalis collectable on one of them. Flash the intractable items a couple of times if you can't see it.


While you're walking through the forest, go off the road and behind the trees - Collect a badge 'scenic route'


When you reach a snow-covered cabin go inside through the roof.

There you find a creature hiding on the lower floor. More in the 'Hungry creature quest'

Pick up a bear trap from the wall on the right.

Go out of the cabin, go to the left and climb the ladders to the raven nests. Search through the nests and in the farthest one you'll find a hair pin .

Go to the church entrance and lockpick the lock on the gate using the hairpin .

Go inside the church and pick up the rope from the bench.

Combine rope and a bear trap to make a rope trap . Drag the rope trap onto Trollhilde to remove the dagger from her shoulder. You get the rusty dagger .

Done!
Tomte summoner
There's an offering place at the old mill, you think you can summon a Tomte if you can make a food offering.

Reward:
A Tomte is summoned, it helps you fix the grindstone and you can now sharpen your dagger.
Sharpened Dagger you can use to cut stuff.
Achievement - Tomte Summoner.

Items needed:
- Offering bowl
Location: Broken Mill - Inside the mill, on the top floor near the right wall
- Dry wood
Location: Broken mill - In the middle of the room in a pile of wood
- Matches
Location: Broken mill - on the barrels near the right door
- Handle
Location: Broken Mill - on the lower floor on a shelf along the turning wheel
- Bucket of water
Location: Broken mill - attach a handle to the well in the backyard to draw up water
- Tin of oats
Location: in a barrel on the lower floor of the snowed-in cabin.

Completion sequence:

You go inside the old mill and find a place of offering, just like your mom used to leave for Tomte. If you can make a food offering, maybe a Tomte will come to help you.

Pick up the offering bowl - you will need it to put the food in.

Pick up a piece of dry wood from the broken ladder in the middle of the room. Throw the dry wood into the chimney.

Go to the right entrance and pick up a box of matches from on top of the barrel. Use the matches to light up the dry wood in the chimney.

Go to the lower floor and pick up a handle from the long shelf.

Go back to the upper floor and exit the mill through the right door to the backyard. Go to the well and attach the handle to it. Draw up a bucket of water . Pour the water in the cauldron in the chimney.

If you didn't do it yet, go to the snowed-in cabin and pick up a Tin of oats on the lower floor in a barrel.

Come back to the old mill, put the oats in the cauldron of water with the fire lit up.

Use the offering bowl to put the cooked oats into. Then go and place the porridge-filled offering bowl in the ceremonial circle where you first found it (near the right wall).


Tomte comes out.
You get an achievement 'Tomte Summoner'.


Go downstairs and watch Tomte do its magic. He fixes the grindstone and you can now sharpen the rusty dagger you took out of Trollhilde's shoulder, making it a sharpened dagger - you can now use it to cut stuff.


Now that the grindstone is fixed, you can go to the lower right corner of the room and pick up a collectable Stitching Sample.


You can talk to Tomte after he did his magic and he will always answer 'Tomte'. Keep talking to him for a while you get an achievement 'Tomte talk'.


Done!
Wolf waker Pt. 1: Find the guardian
Awaken Jötunulfur - the wolf guardian

Reward:
You awake the first guardian and you also get a Nattamare Parasite you need for another quest.

Completion sequence:
After you have sharpened your dagger , go to the very left of Trollhilde's bridge, past the Snowed-in cabin and use the dagger to cut the wines. Go through to the wolf ruins.

When you get to the top, you'll be stopped by the first puzzle - moving wolf sculptures. You need to arrange them to match the shadows drawn on the wall when you look at them from the round tile with an eye symbol (it's the viewpoint mark).

Quick solve: Move all the wolves the closest to the moon and then move them 2-4-4-2 times back from left to right respectively.


After the puzzle is solved, the door under the moons opens. Go through the door and you will see a second puzzle with a constellation broken into rings. The constellation you need to build is the second on the right.

The dials move 2 rings at a time each:
  • Leftmost dial moves the 2 inner rings (1 dark ring and 1 light ring) - 1 & 2
  • Central dial moves the 2 dark rings - 1 & 3
  • Rightmost dial moves the two light rings - 2 & 4

Each of the four dials moves two rings at the same time, so you'll need to use the trial and error method until you get it right. Hint - start from the outer ring and then move towards the centre as the outer ring is controlled by only one dial (right).


While you're in the second puzzle area, pick up a collectable - leaf skeleton. It's on the floor on the right near the start of the stairs to the next door.


Solve the puzzle and go through the door. You will reach the mountain clearing (the wolf area) you will see a bridge, that get's activated by some kind of mechanism, operated by a wolf-headed staff. But one of the two staffs is missing.


Now go left and interject with giant ice hands. They will turn and form a bridge. Walk into the cave. You will get an achievement 'Follow the flow'


Keep going left and reach a well, in which a Fossegrim sits and plays a harp. He tells you that he's seen a troll around with the Wolf stick, which you need.

Talk to Trollhilde to find out that she fave the wolf stick to Trollhulde.

Complete the 'Nokke liberator' quest and the 'Water bender' quest to get the enchanted flute

When you have the enchanted flute , go into the cave right to the Nokken pond and use it on the small puddle of water. It will go away and uncover a way down.

Before going down, pick up a bone from the bone pile in the back - you will need it for another quest.

Go down the hole and reach a water wall. Use the enchanted flute on the water again to move it back and clear the path.

When the water moves, go left until you reach the pool area. Climb up and pick up the Wolf staff


Climb down and go even more left to pick up a collectable Dry frog.


Go back to the wolf area and put the wolf staff into place. Proceed to rotate both staffs until the front wolf statues look towards the centre of the bridge, matching the ones behind them. When they do, the bridge will extend and you'll be able to cross it.


Cross the bridge and talk to the stone troll on the left of it, you need to find all of them for a hidden achievement 'Testrollsterstone'.


Proceed up the stairs to the wolf guardian sleeping at the top of the mountain.
You will see a big horn. Blow it and the wolf guardian will wake up.
You will get a badge 'Wolf waker'


Move to part 2.

Hungry creature
You found a creature hiding in the cabin. It is hungry.

Reward:
Kronk comes with you - you get an item kronkeling

Items needed:
- Slug
Location: Trollhulde's cave - in the right corner near the flowerpots.

Completion sequence:
Go inside the snow-covered cabin through the roof.


While you're on the upper floor, look behind the bed and find a carved wooden feather collectable.

Go to the lower floor and find a creature sitting in a barrel in the far corner of the cabin.

Talk to the creature. It tells you it's hungry.


There's a spinning top toy on top of the barrel near the ladder, spin it 5 times to get an achievement 'Top spinner'


When you can go to the right side of the map (Mother Tree is awoken), go to Trollhulde's cave. There in the right corner near the flowerpots, you find a slug . Interact with the slimy trail to be able to pick him up. Take him and bring him back to the hungry creature in the cabin.

Come back to the snowed-in cabin and feed the slug to the creature under the barrel. After it gets its juicy snack, it says its name is Kronk and it wants to go home, so it comes with you - you get a kronkelling in your backpack.

Done!
Trapped creature
There's a green kronkeling sitting in Trollhulde's cave, he wants to escape and go home.

Reward:
The creature goes with you - you receive an item kronkelling

Items needed:
- An old-fashioned mallet
Location: Broken Mill - on the lower floor on a wall shelf.
- Statue
Location: Forgotten church - it's on the front of the tomb located on the right side of the churchyard. Detach it with a mallet.

Completion sequence:
Talk to the blue creature on the left side of Trollhulde. He says he's Krunk, a kronkelling. And he was trapped here, he wants to escape. But for that, you need to find a statue to replace him.

Go to the Broken mill and pick up an old mallet from its lower floor.

Go to the churchyard and into the tomb on the right. Use the mallet to detach the statue by taking out the bold holding it from behind.

Go back out and pick up the detached statue.

Go back to the Trollhulde's cave and drag the statue from your backpack onto the creature. Krunk will go with you - you get an item kronkelling in your backpack. Trollhulde will tell you that she unchained him months ago and will thank you for the gift.

Quest complete!
Family reunion
The mother wants her children back and you need something from her. Help her find them and bring them home.

Reward:
You receive a hair of a Bearded Kroke (needed for another quest)

Completion sequence:

Complete the quest 'Hungry creature' and krokelling Kronk will go with you.

Complete the quest 'Trapped creature' and krokelling Krunk will go with you.

To get the last krokelling you need to open the Nokken area and find a lobster pot on the left side of the Siren pool (instructions to this can be found in the 'Nokken liberator' quest section).

When you have the lobster pot , go to the Poison forest area (behind the old mill) and find the kronkelling sitting in the purple pond. Talk to it and it will refuse to go home. Welp, we gonna force it. Use the torture device lobster pot on the pond and catch it. Now you'll have the krokelling Krink in your inventory.

Now that you have all 3 kronkellings go to the river under the old mill (the ladder is on the side of the bridge in front o the mill). Interact with the coins on the side of the wall to find out that people have a habit of throwing coins in the pond and making wishes. So, you need to find some money to waste a coin to throw in.


Go to the poison area forest and unlock the spiral staircase hidden in the stone circle.

There's a hint for it on the stone near the purple pond to the right.


Go down the staircase and find a secret laboratory. Take the trowel from the drawers on the right and the glass jar from the shelf on the left (needed for the 'Fur fixer' quest).

Go back to the area in between the old mill and the poisoned forest and to the right, you will see a sign in the ground. Use the trowel on the dirt mound to dig out the troll treasure - now you have coins .

While you're there, talk to the stone troll, you need to find all of them for a hidden achievement.

Now go back to the pond and throw the coins in the water. Mother Kronke will appear and tell you that she wants her sons back.

Drag all 3 kronkellings to her.

She will give you her beard. Use your dagger to cut off a piece of it. You now have Bearded Kroke hair ... Yikes! But you will need it for the 'Seeing but not being seen' quest.

This quest is done!
Trolltea
Trollhilde wants some good tea.

Reward:
Trollhilde is asleep and you can steal her troll flute

Items needed:

- Whispervine flower
Location: Forgotten church - at the very top of the tower, above the bell.
- Valerian flower
Location: Mountain Plateau - climb the wall to the left of the bridge, the flower is growing to the left of the cave entrance
- Sorop Lilly
Location: Nokken pond - at the edge of the pond

Completion sequence:
Talk to Trollhilde in her cave, then interact with the cauldron to talk about tea.

After you've woken up the Great Mother Tree and can now go to the right side of the map, go to the hut with flowers - the first building on that side. There you will find another Trollsister - Trollhulde. She makes tea out of flowers and grows a lot of plants.

Find a recipe for Sleepy tea in the recipe book on the table. Find the pestle and mortar near the book - that's where you'll have to put the ingredients.


On the same table, there is a collectable - Snake Skin. In the right corner of the table near the recipe book.


There's a green kronkeling sitting near Trollhulde and he wants to escape and go home - more in the Trapped creature quest.

Go to church are and to the very top of the church and above the bell to pick up a Whispervine flower

You will find a Valerian flower in the Mountain Plateau - the wolf area. Climb the wall to the left of the bridge, the flower is growing to the left of the cave entrance

After unlocking the Nokken pond area go to the edge of the pond and pick up a Sorop Lilly

When you have all three flowers return to the Trollhulde's house and crush all of them in the mortar to get the Sleepy tea

Come back to the Trollhilde's cave under the bridge and light the fire under the pot with matches . If you don't have them yet you can get them in the Old Mill behind the Trollhulde's house. You will also need them for the Tomte summoner quest.

When the fire is lit, put the tea in the pot to cook it. After Trollhilde drinks the tea she will fall asleep. Be an ass and steal Pick up the troll flute from her hand - you will need it for the water bender quest.

This quest is done!
Fur fixer
Help the Yule cat return his fur to its obsidian splendour.

Reward:
You get to steal the Yule cat's ham

Completion sequence:
Go to the right of the Trollhulde's house and you will see a small clearing between the trees right behind her house. Go there.


While you're in the clearing go to the right top corner of it and pick up a collectable - Carved bark.


There's smoke coming out of the hole in the ground. Go down that hole.

In the tunnel, you will see old rugs hanging. Take the right-most rug (you will need it for another quest).


While you're in the Yule cat's cave, pick up a collectable from near its tail - bone jewellery.


You'll need to open the Nokken area and escape the monster. For hints on that look in the 'Nokken Liberator' quest section.

Once you escape the creature and end up at Trollhilde's cave, the water from the door puts out her fire and creates black sludge. You can use it to dye Yule cat's hair, but you need something to put it in.


Go to the poison area forest and unlock the spiral staircase hidden in the stone circle. There's a hint for it on the stone near the purple pond to the right.


Go down the staircase and find a secret laboratory. Take the trowel (needed for the other quests) from the drawers on the right and the glass jar from the shelf on the left.

Now go back to Trollhilde's cave and put the black sludge in a jar .

Come back to Yule cat's cave and offer them the bottle of disgusting black dirt exclusive elite hair pomade with active charcoal. They will dye their fur black again and get distracted by a mirror. While the cat looks away, steal the huge ham from the fire and leave them to die of starvation. You need the ham for the 'Water bender' quest.

This quest is done!
Nokken liberator
You have to free the Nokken from its curse.

Reward:
The lake is now safe and you'll be able to reach the Wolf staff you need.

Completion sequence:

In the pond area come up to the pond and interact with it to be pulled in by a tentacle. When inside, free yourself by wobbling the chair left and right and go to the right side of the screen. You will see the wolf staff you're looking for.

Go left to find out that a tentacle is blocking your path. You need to find a way to distract it.

Go back to the right side and pick up the stuffed Teddy Bear from the bench and put it in the pond. The tentacle will go to put it back in place and you will have a bit of time to run to the left side while it's busy.

On the left side pick up the doll sitting on the horse. You need to dress it up and put it in the chair instead of you.

There's nothing in the wardrobe, but to the left of it, you'll find a stone block (for another quest), tiny wellies , a lobster pot (for the 'Family reunion' quest) , some blue fabric and a red bow (in the bottom drawer).

Go even more left and the tentacle will grab you and put you on the top of a box - it wants to play tea party with you. You need to dress up the doll you found to trick it. Combine the doll in your inventory with the blue fabric , red bowl and rain boots to create a Tove-doll . When it's ready, sit it on the box for the monster to play with.


Now you can go through to the exit on the left. Enter the tunnel and run all the way up. You will get the badge 'Run away!'.


Open the door at the end of the tunnel and you will find yourself in Trollhilda's home under the bridge. Another short cut gateway! ... but it only works one way, oh well.

After opening the pond area and escaping the monster in the pond for the first time go to the Tree of Many and speak to it about Nokke. It says you have to find its true name to liberate it. 'It was of this land before being lost to water'.


Go to the church and read through the names on the graves. To the right of the tomb, there's a grave that says a girl was lost to the watery depth. Sounds like what you need.


Check the parish register (found inside the church on the table at the end of the room) by dragging it to the right grave stone and mark the Nokken's true name .

Now go to the Nokken pond and use the parish register with the marked name on the Nokken in the pond. The creature's soul is now free and released.

The pond is now safe but frozen. Walk over to the pond's left top corner to find a collectable carved pendant.

This quest is now finished!
Water bender
You need to learn to bend water. The creature in the mountain well can teach you to play an instrument so well, that you'll be able to command the water, but you need to bring him some items and an offering.

Reward:
A water-bending flute

Completion sequence:
This is a later game quest that you need to unlock some areas for.

When you reach the mountain clearing (the wolf area) - go left and interact with giant ice hands.


They will turn and form a bridge. Walk into the cave. You will get an achievement 'Follow the flow'.


Keep going left and reach a well, in which a Fossegrim sits and plays an harp. He tells you that Trollhilde has a flute she wanted to enchant.

After the first talk, interact with a bubble holding empty plates on your left. The creature will tell you that you need to bring him a food offering, a musical instrument and satisfy 3 thirsty stones. Then he will teach you to play so well, the water will obey your will. He also gives you 3 thirsty stones .


While you're in the Fossegrim's cavern, pick up a collectable - smooth river glass - in the right corner near the well.


Complete the quest 'Trolltea' to get Trollhilde's flute

Complete the quest 'Fur fixer' to get a food offering - impressive ham

The three water sources are:


'One that was large but now small' - The small stream of water flowing under the Trollhilde's bridge used to be a river.


'One that was clean, but now tainted' - The purple pool in the Poisoned Forest behind the watermill.


'One that hides a tragic secret, long forgotten' - The little pool of water in the cave to the right of Nokken's pond.


Charge the stones in all three water sources and return to the creature in the cave.

When you have all three stones charged, the ham and the flute, come back and give them all to Fossegrim.


He will enchant your flute. You can now command water! A true water bender. You get the 'Such a charmer' badge.


This quest is finished!
Seeing but not seen
You need to see through the magic but be unseen by others. The creature in the area before the Stag guardian's den can hook you up with some magical masks, but you need to gather the ingredients.

Reward:
A mask of seeing.
A mask of unseen.
Achievement 'Eyes open'

Completion sequence:
When you reach the area before the Stag guardian's den, go to the left. You will find a circle with 3 rune stones around it that can be turned. Go to the right side of the den entry - there's a big stone that shows the correct position of runes. Come back and turn the rune stones to fit it.


Quick solution: turn the dials 3-2-3 times from left to right respectively.

Solving the puzzle will open a stairwell that goes underground and leads to a small room filled with potions and ingredients, with a big cauldron in the middle.


While you're there, pick up a collectable - Scrying stones. It's in the bottom shelf of the big storage on the back wall.


When you're inside, steal some things - you can get a trowel and an empty jar if you haven't done that yet - all needed for other quests. An unseen creature will talk to you and offer to help. It will ask you to find some ingredients and create a list for you to refer to.

Part 1: Mask of unseen
For the mask of moving unseen you will need to collect:
  • a ram skull
  • 2 nattamare parasites
  • hair of a bearded Kroke

To get the Nattamare Parasites you need to wake up 2 guardians - Wolf and Bear.
For the directions look in the section for the main quests 'Wolf waker' and 'Bear rouser'

When you ask how to find the hair of a bearded Kroke, the voice tells you to get leverage - remind her of her sons. Complete the 'Family reunion' quest for that.

To get to the ram skull (if you haven't yet) you'll need to go in the dark cave in the mountain Plateau, so you need a torch. Go to the cave to the right of the siren pond and pick up a bone from the bone pile in the back.
If you haven't yet picked up a rag , go to the Yule cat cave and pick it up near the entrance. Combine the bone with the rag to make a torch and use matches to light it up. Now you can go into darkness. Go to the mountain plateau and go to the left to climb the wall. Go around and use the torch to light up the darkness.
Go into the cave and pick up the patterned disk - you will need it later.
Go deeper into the cave and pick up the ram skull from the nest.


Go a bit past the nest to pick up a collectable - a very sharp tooth.


When you have all of the ingredients, come back to the hidden laboratory and put all of them into the boiling cauldron.

The creature does its magic and you get the Mask of Non-Appearance .


Mask of Seeing
You can now travel unseen. But you still can't see the hidden, so the creature offers to help you make the Mask of Seeing.


Part 2: Mask of Seeing
For the mask of seeing what's hidden you will need to collect:
  • Eye-orb fungus
  • Newt spawn
  • Owl skull
  • 3 bluecap toadstools

Now that you have the Invisibility mask you can travel unseen and the wines and mushrooms won't bother you. Go through the doorway behind the hidden staircase to access the left area of the poisoned forest.

Come up to the wines covering a cave and use your dagger to cut through them. Get the small purple mushroom - it's one of the bluecaps you need.

Then go to the strange mushroom left of that and talk to the hidden creature. You'll get back to it after you have the mask of seeing.

Go left and up and cut the wines covering the whole in the mountain. Pick up the owl skull .


Now return to the main area of the poisoned forest and go through the doorway on the right to access the right area.
Pick up the Newt spawn from the ground using the empty jar from your inventory.


While you're in that area go a bit deeper and pick up the second bluecap


Go out and take the eye orb left of the doorway to the right area.


Now go through the big doorway in the middle of the main poison forest area.
The last bluecap is on the right side of the path going up.


Now that you have all the ingredients go back to the secret lab and put them all into the cauldron.
You will get the mask of seeing.


You can now see what's hidden by the magical veil.
You also get the badge 'Eyes open'
9 kommentarer
Qamok 20 jul, 2024 @ 2:24 
great guide. I dont know what wolf puzzel want from me. And answer from guid is "after you solve puzzel..." Its explain everything 0/10
PewienCzlowiek 24 jan, 2024 @ 8:12 
"solve the puzzle and walk through the door" you wrote the walkthrough so you do that. Walkthrough my ass.
bnui 22 dec, 2023 @ 21:45 
Don't forget that before you throw the coins into mama kroke, bring them to hilde. She will give you 2 back as a reward and you'll unlock a hidden achievement!
lamer 31 jul, 2022 @ 8:33 
This walkthough isn't finished aside from it's order it's missing a lot of the loot pieces in the journal
badfluffy 27 jan, 2022 @ 9:48 
Great guide, even though the order is confusing and the back and forth inherent to the game is exhausting. It is missing a big one though and of course I only found out after I moved on to Chapter 3 so I'll have to replay to get it:

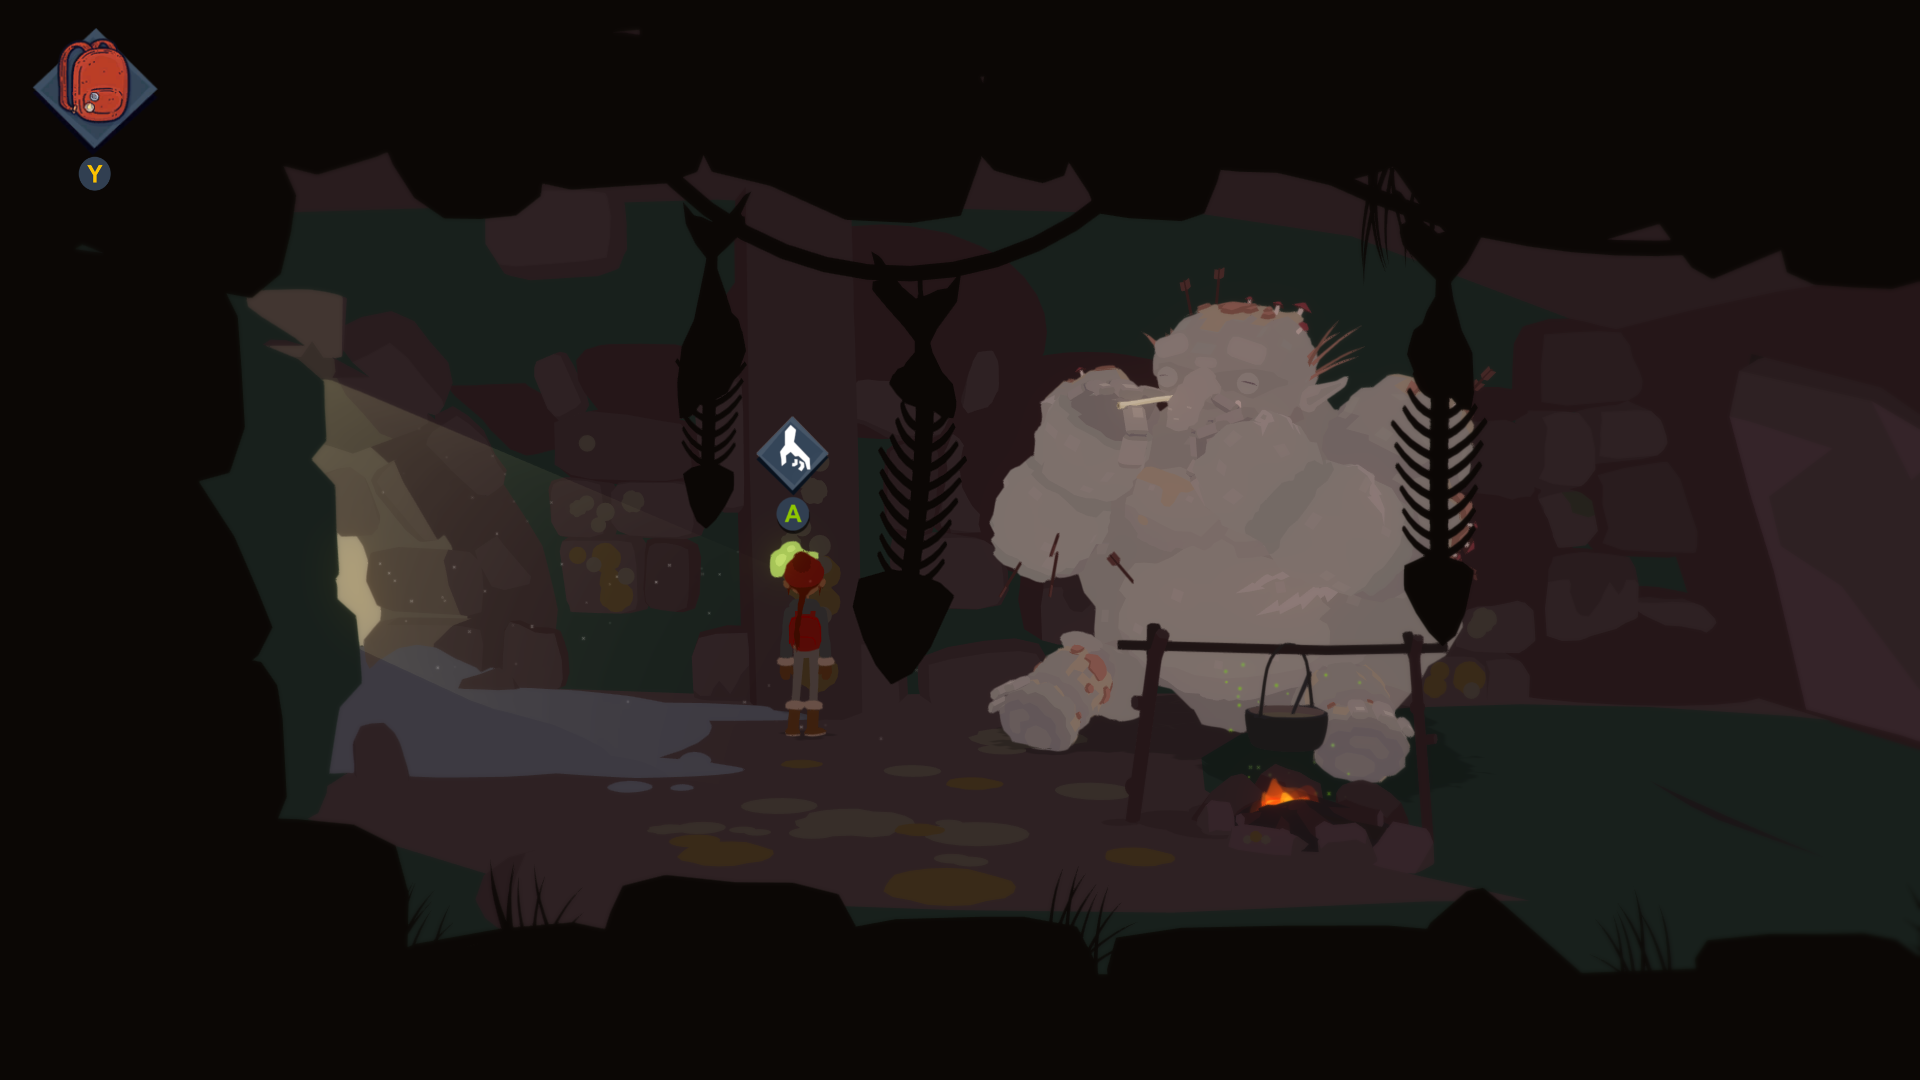
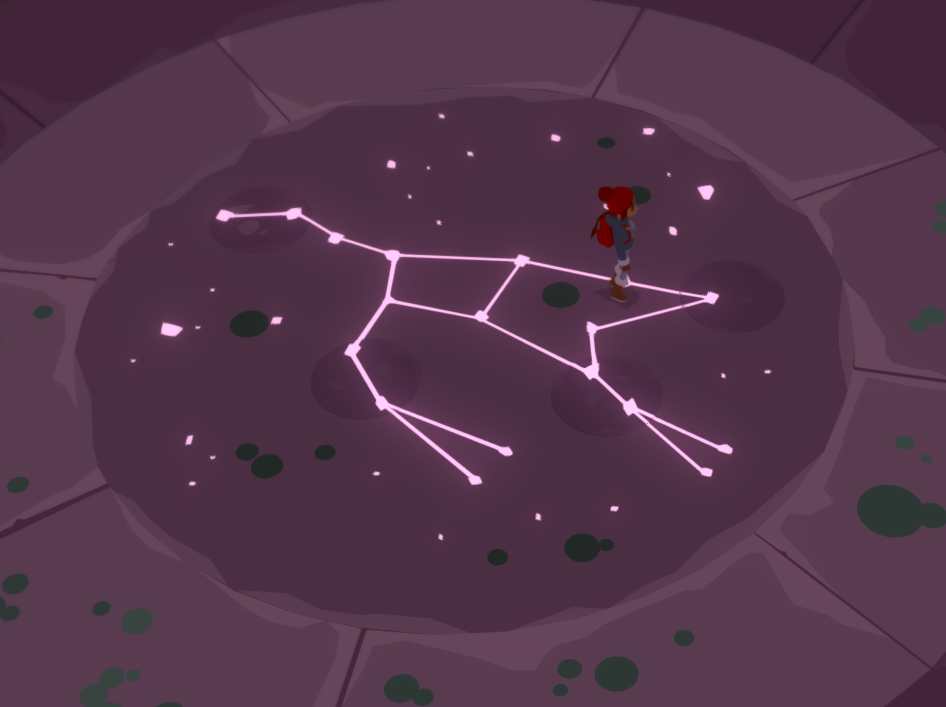
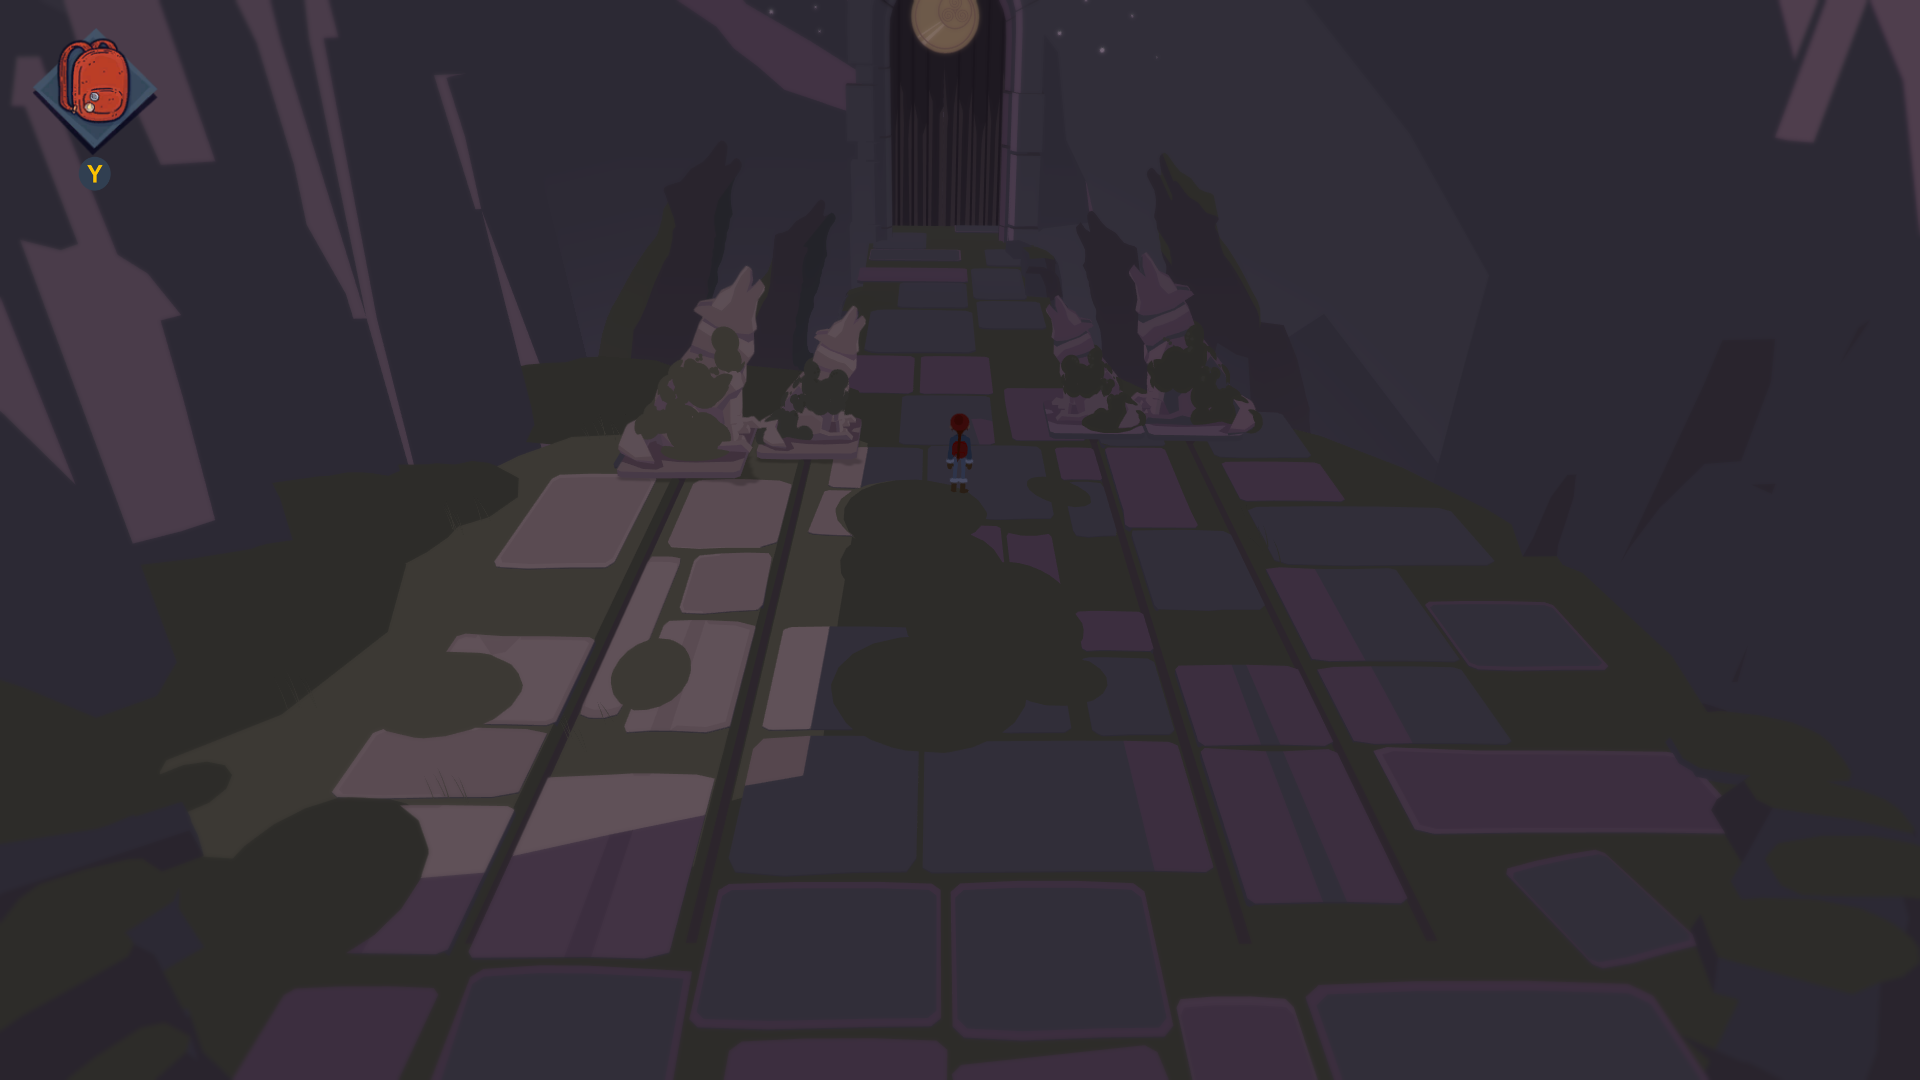
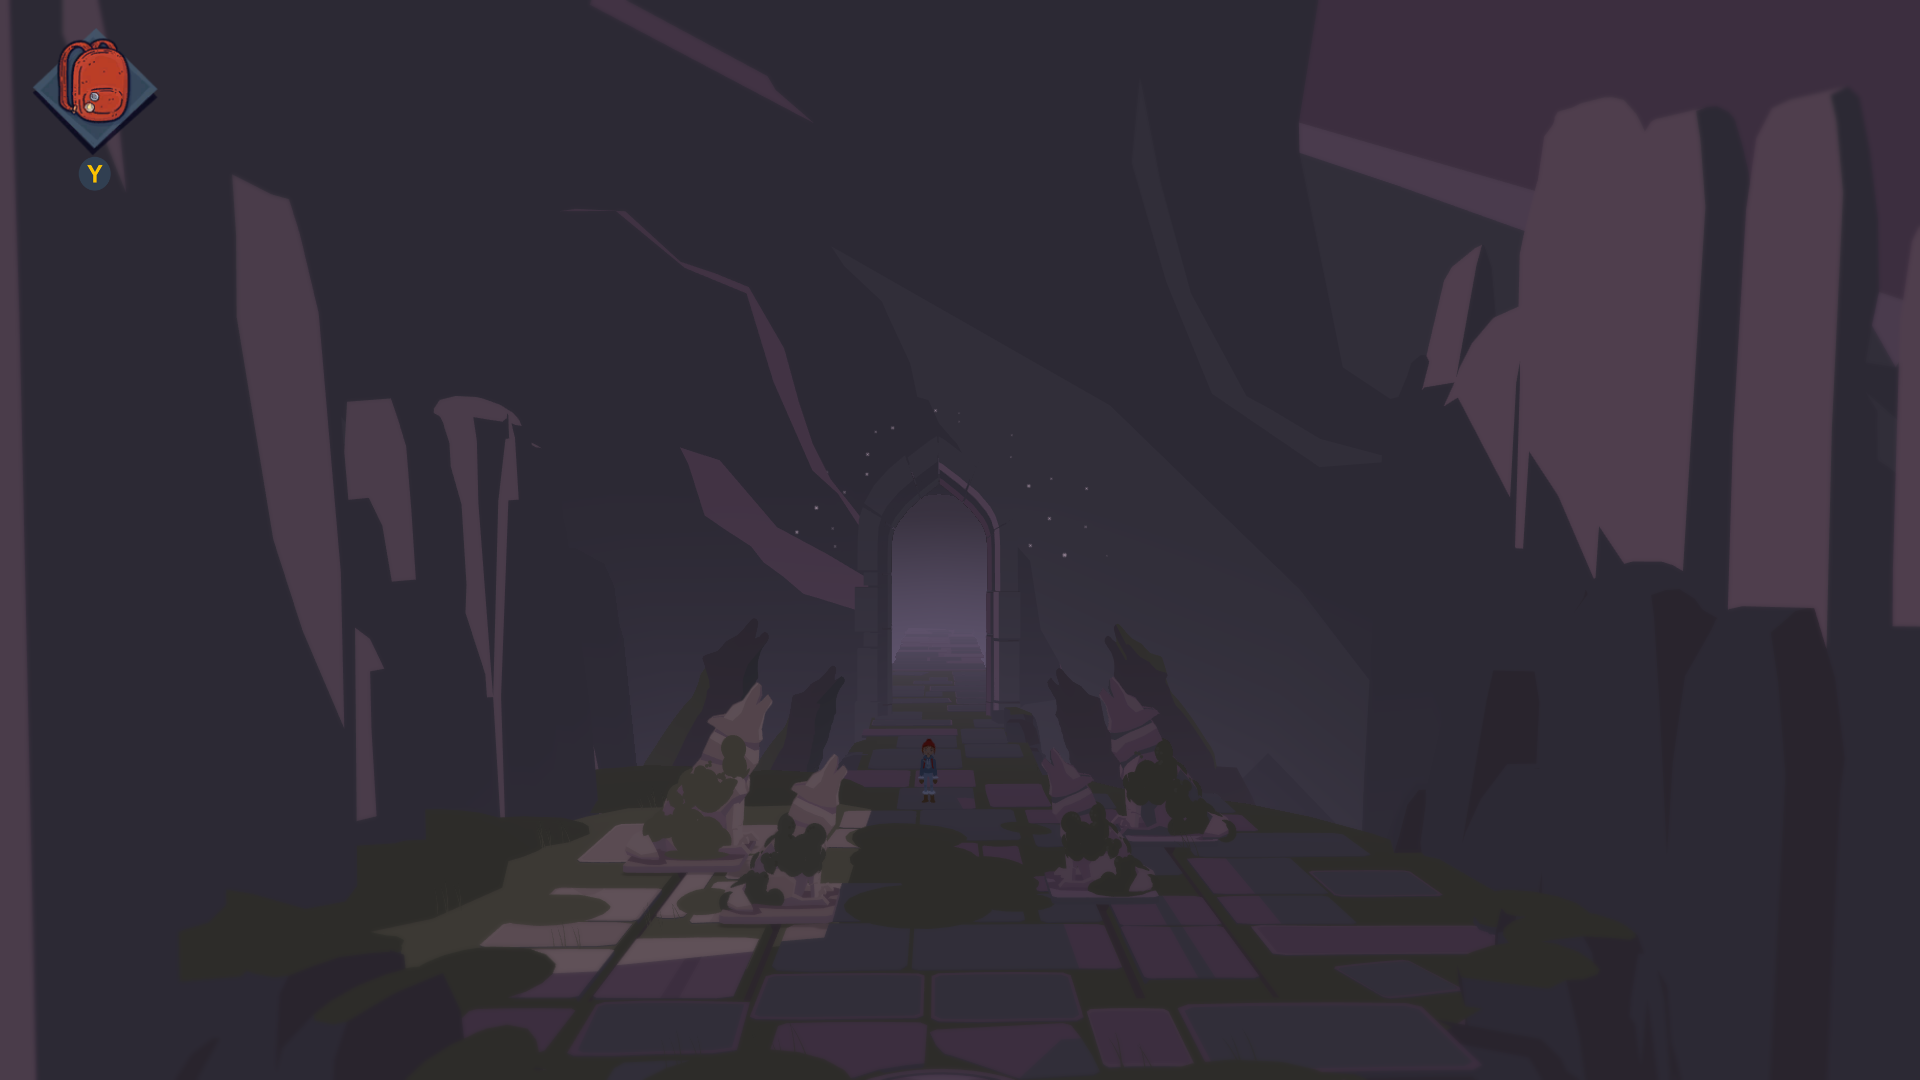
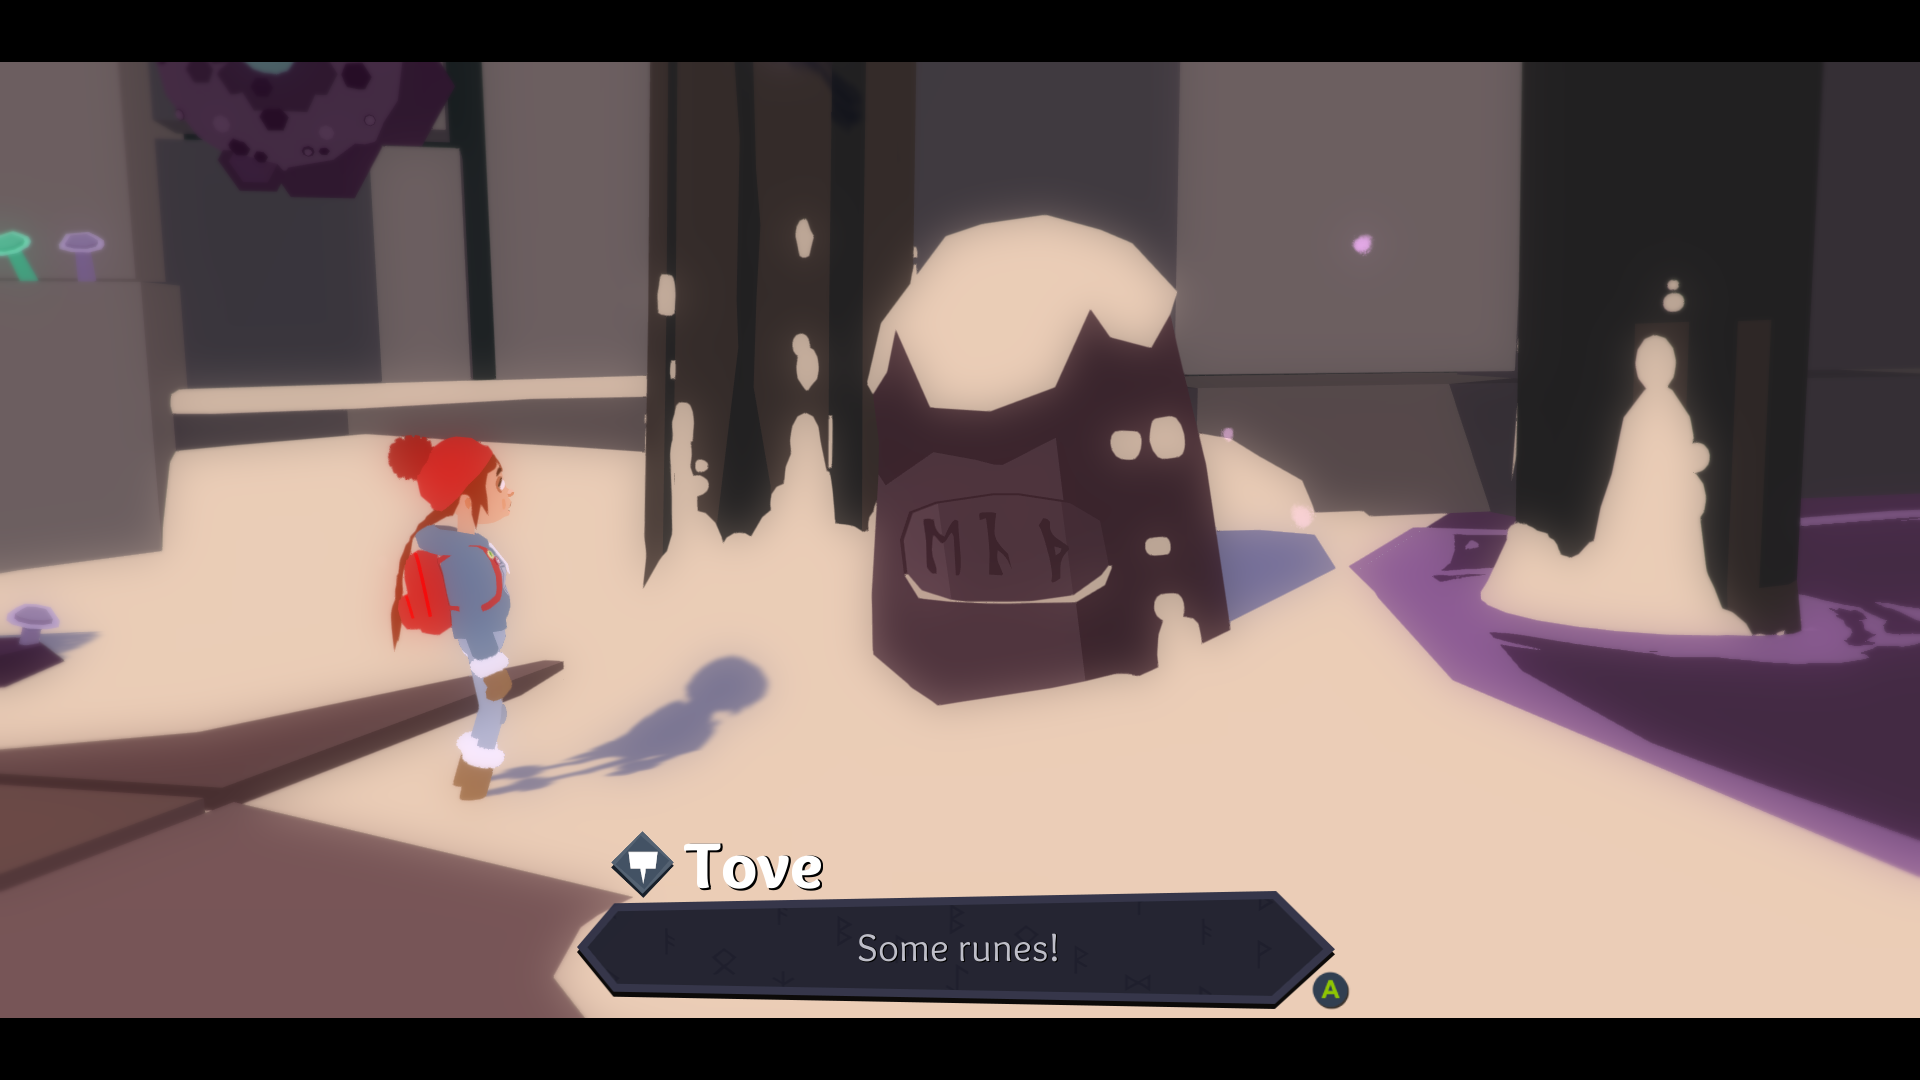
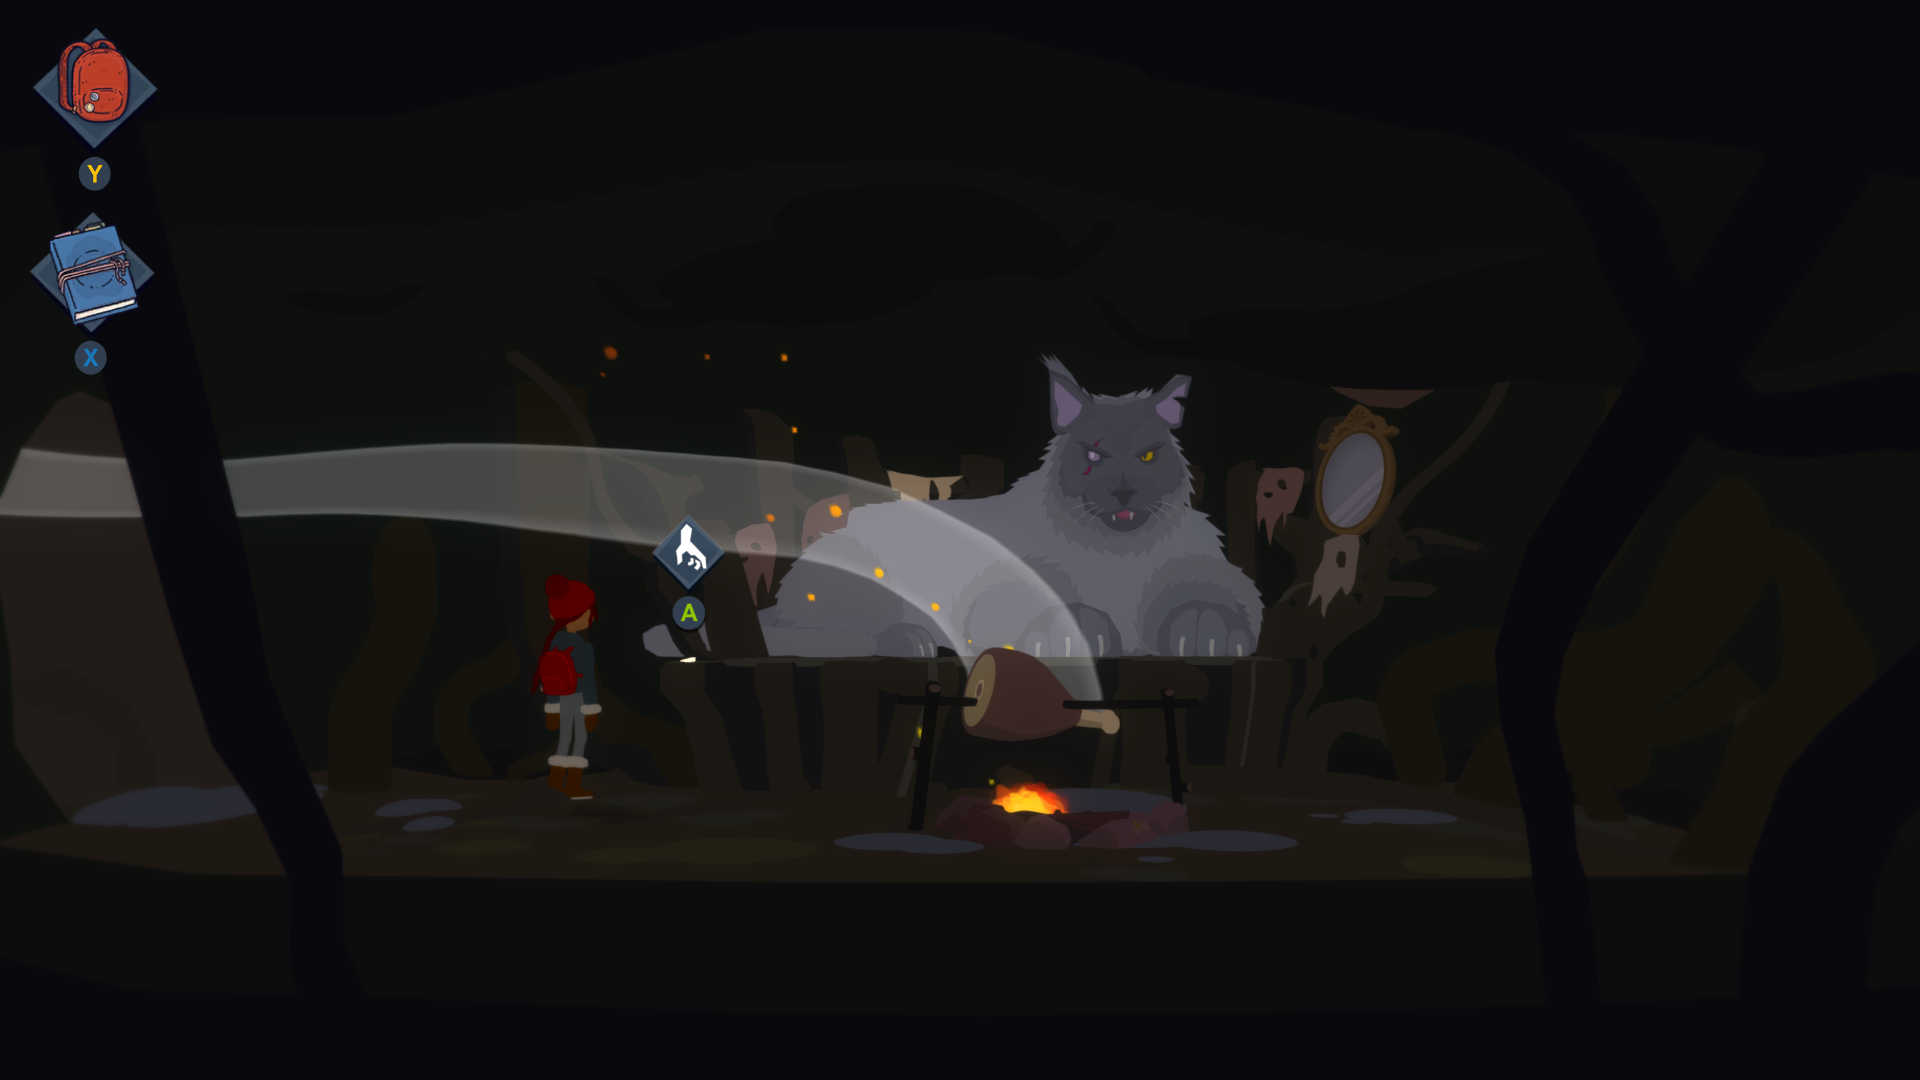
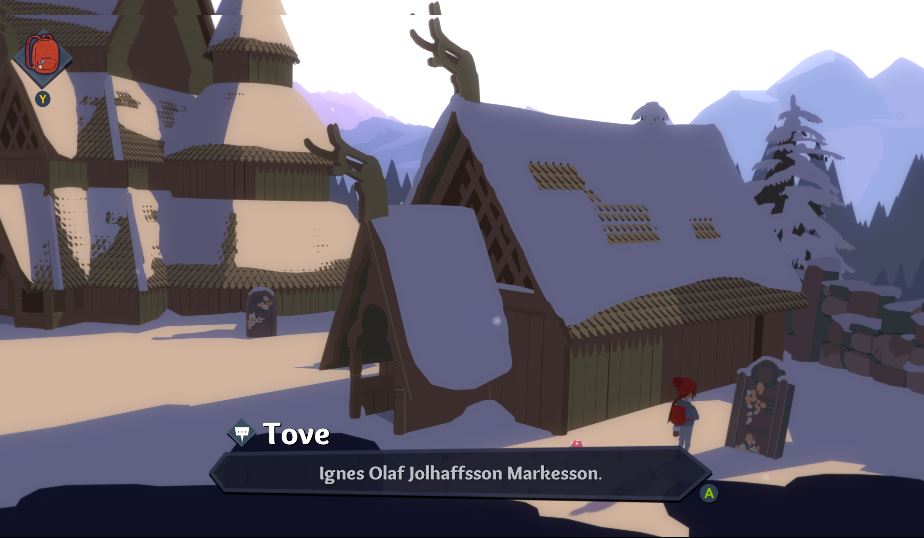
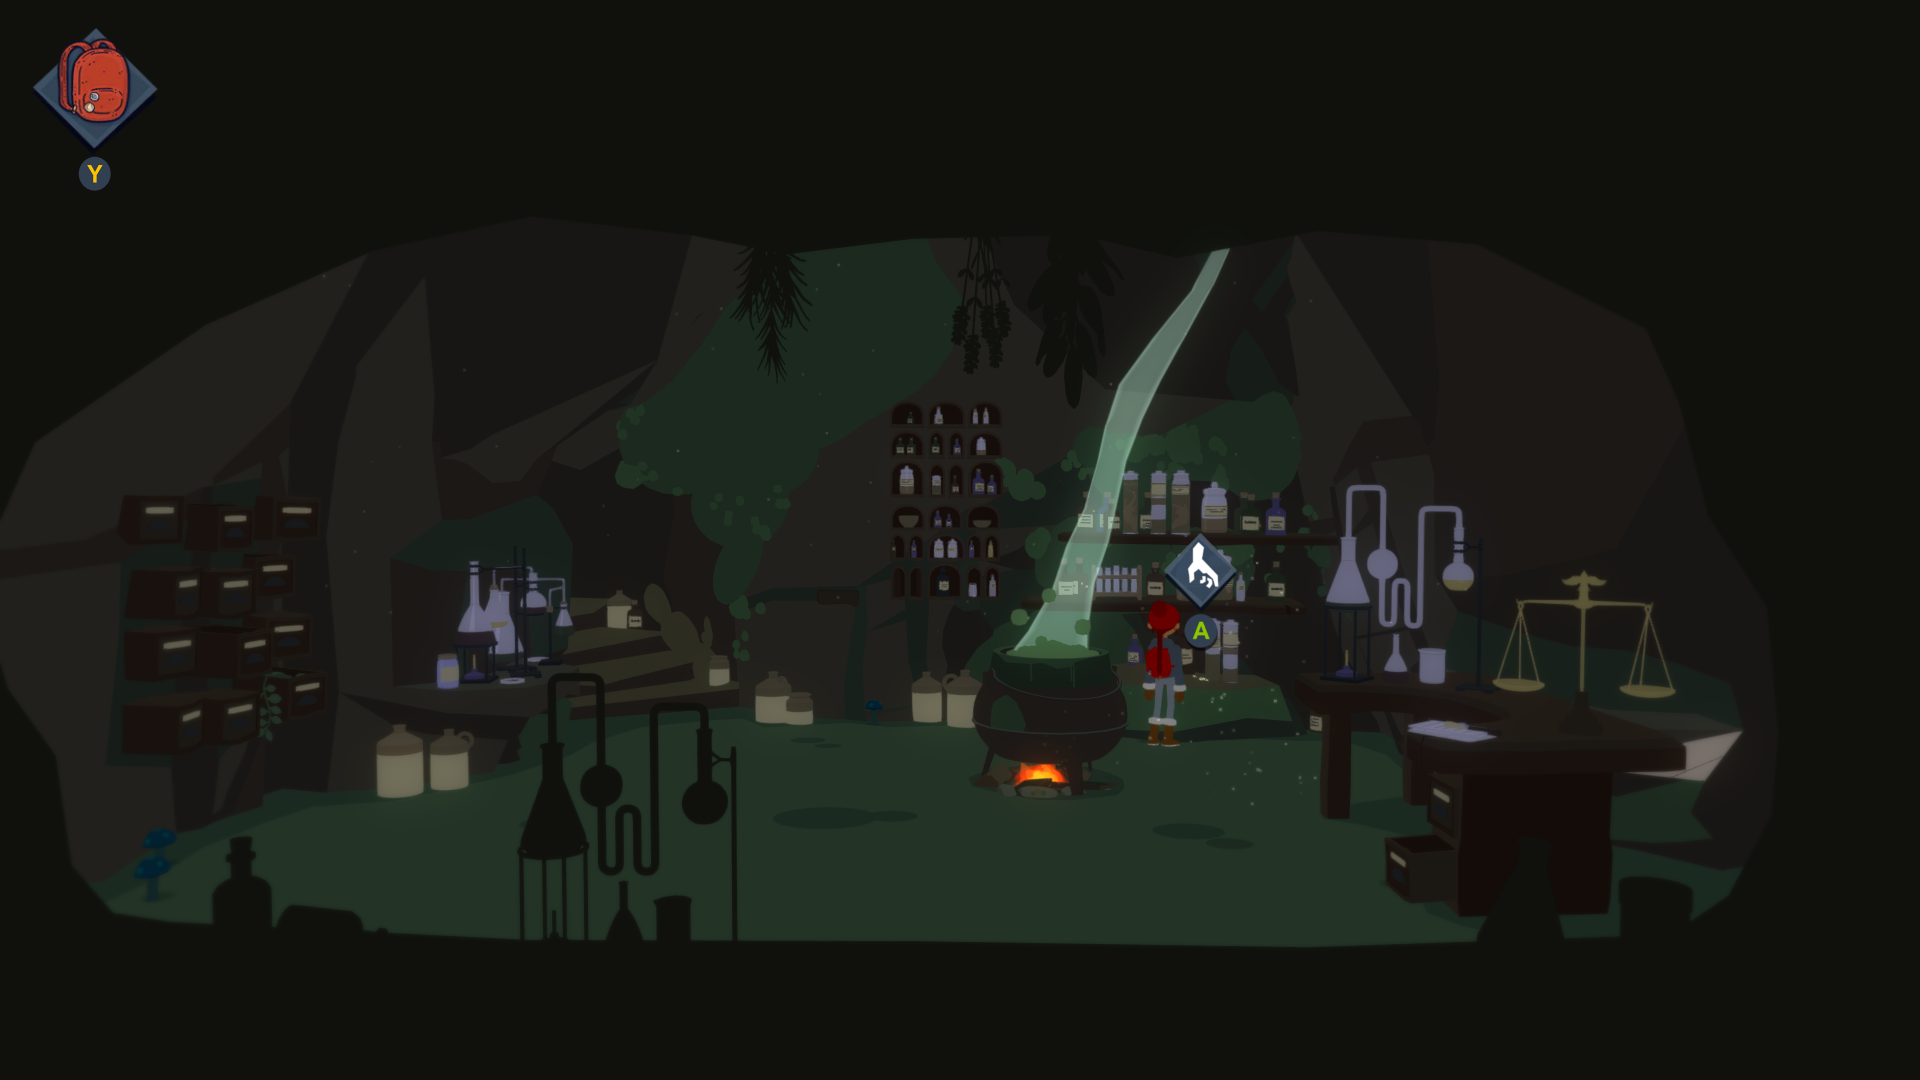
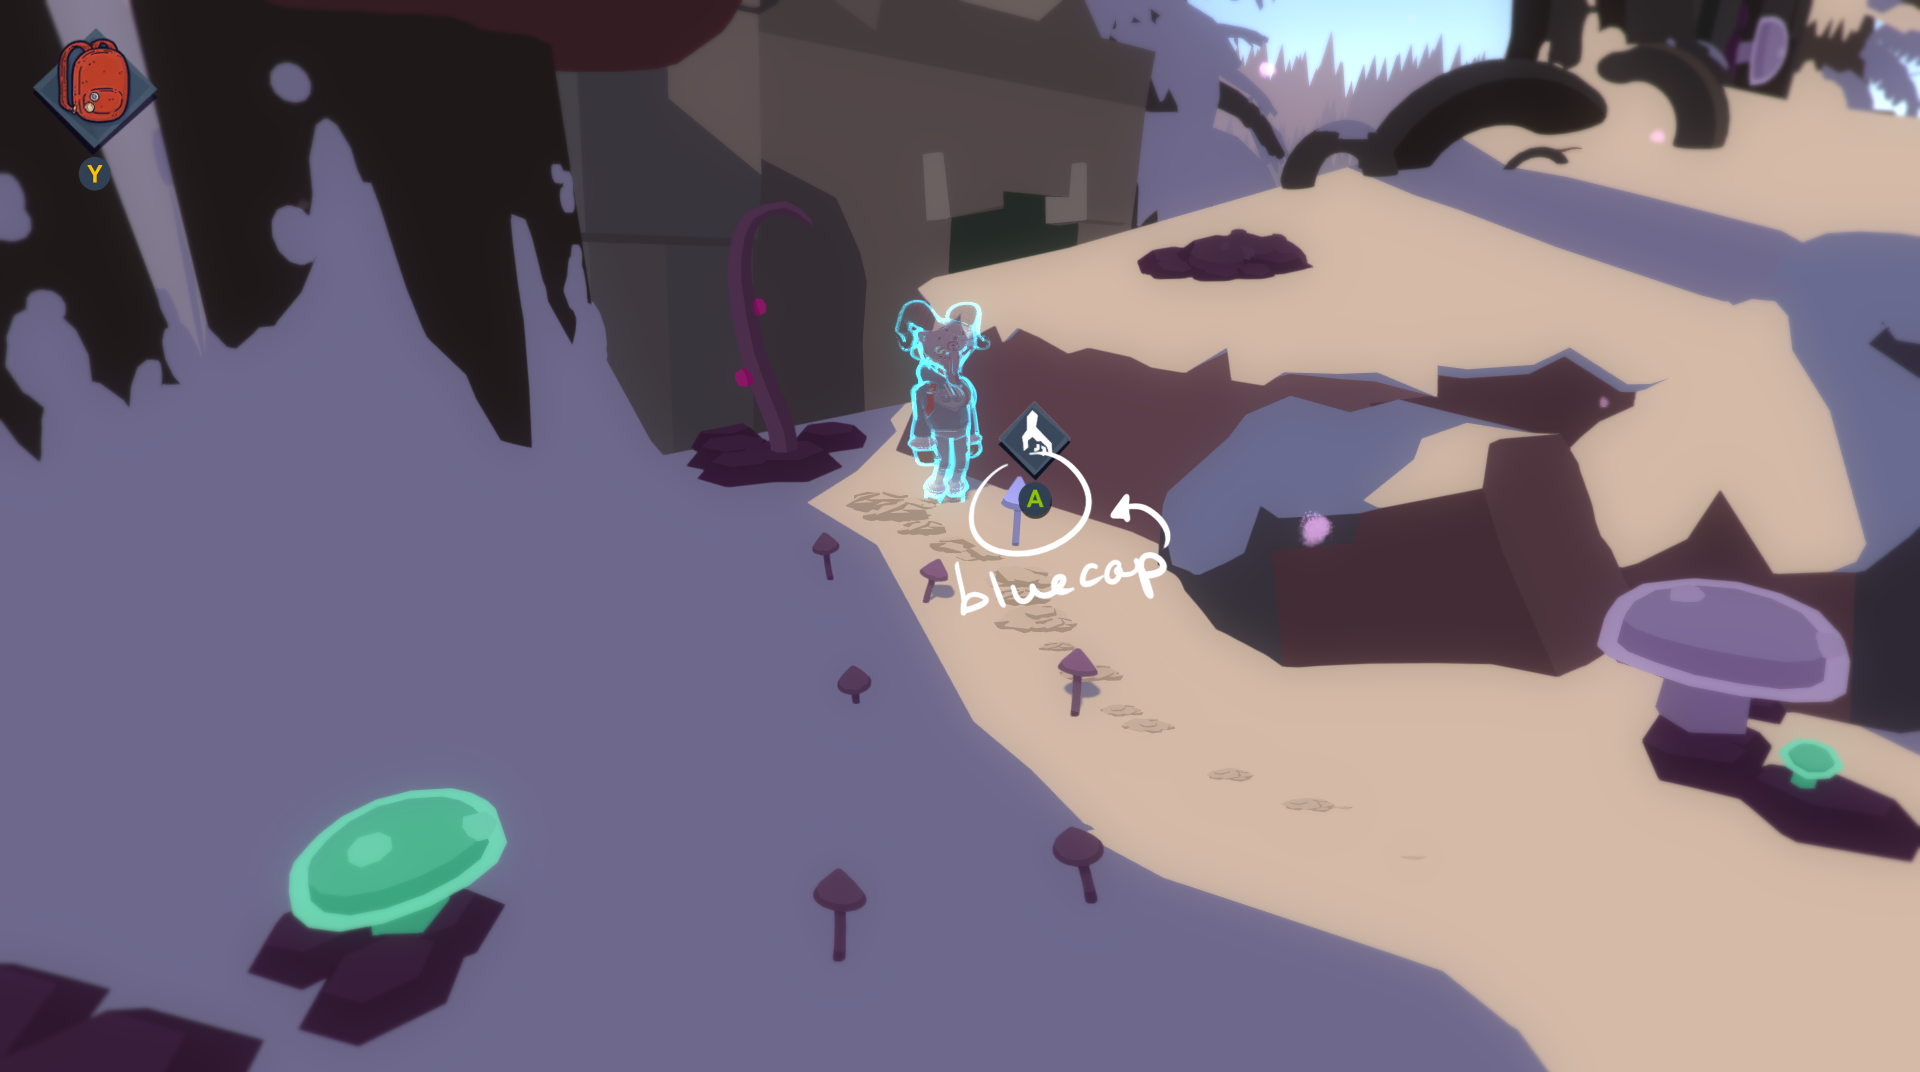
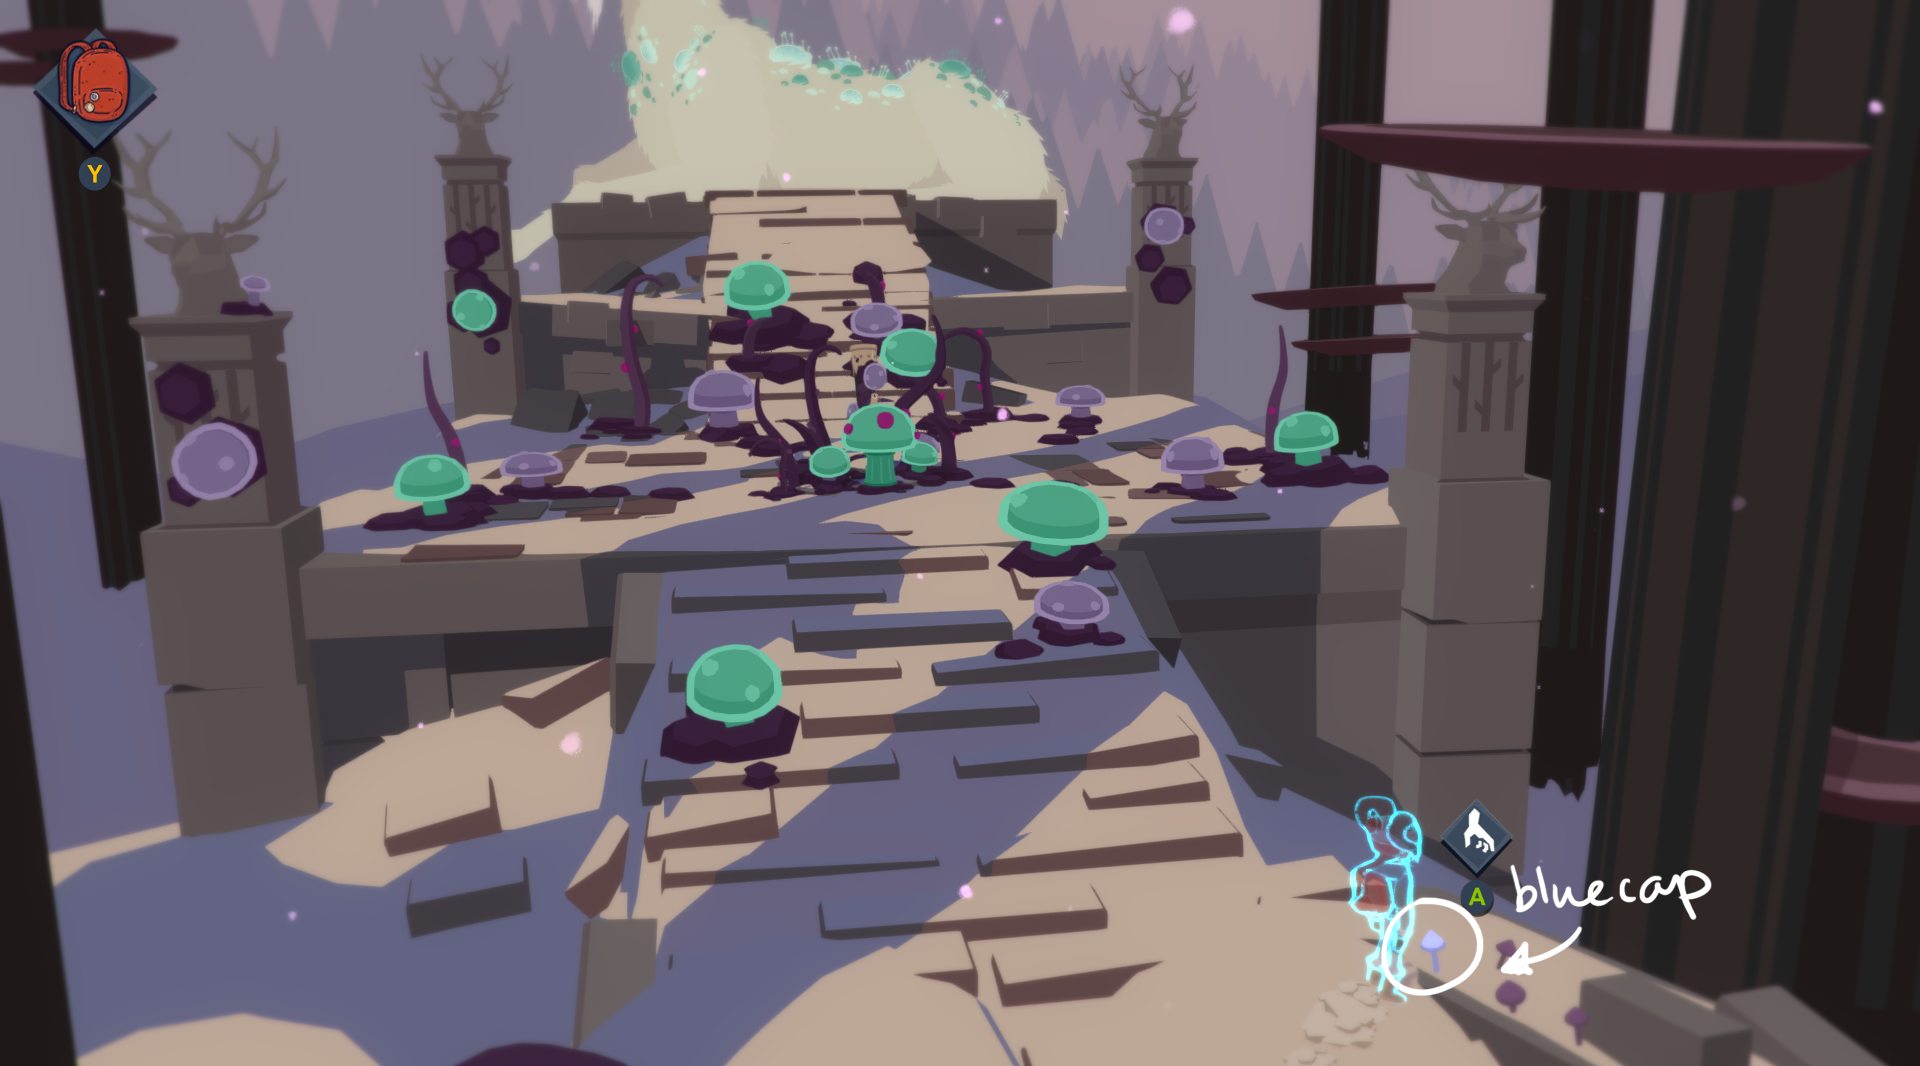
Once you have the coins you need to return them to Hilde before you put her to sleep. If you don't, you're locked out of 2 achievements for the whole playthrough.
Wingol 17 jan, 2022 @ 8:42 
This was grreat, much obliged.
delroy 24 maj, 2021 @ 5:15 
Thanks again!
Fjolnir  [skapare] 23 maj, 2021 @ 16:44 
There's an in-game map available at all times, so I didn't think it needed to be included in the guide. And yes, I'll start the 3rd chapter soon :>
delroy 22 maj, 2021 @ 20:44 
Great work on chapter 2’s guide! Minor suggestion - include a map if you can to make it easier to find each location. Hope chapter 3 is coming soon ;)