Team Fortress 2

Team Fortress 2

1,948 ratings
Colored Decals: The Completed Edition - Now updated for 64bit!
By Difegue
Decal Tools are pretty cheap nowadays, so it's the perfect time to give all those decalable items (Four) the gift of color.

This guide will explain how to get colored decals on Objectors, Flairs, Photo Badges and Clan Prides.
You're gonna have to mess with files, so get ready.

But will other people see it in game ?
Of ♥♥♥♥♥♥♥ course, would this guide be here otherwise ?
10
6
5
39
8
5
2
3
4
4
2
3
3
2
2
   
Award
Favorite
Favorited
Unfavorite
Grab the Files
You can get all the files for the old methods at https://drive.google.com/open?id=1RqVknJil3hYkvfba7Qe5dtofZPA4MMQq .

Once downloaded, drag the fullcolor folder to tf/custom.

Your path should be tf/custom/fullcolor/the stuff inside.

not tf/custom/the stuff inside, don't be an idiot.

For the old dynamic decal patcher, look at https://github.com/unnamed10/tf2-decal-patcher/raw/master/patcher.exe .

For the super new 2020 edition dynamic decal patcher, look at https://github.com/default-username-was-already-taken/tf2patcher .

For the ultra new 2024 edition 64bit dynamic decal patcher, look at https://github.com/dborodin836/tf2patcher .
Conscientious Objector - Easy Mode
This is the easiest item to colorize, and it's probably been covered in a few other guides, but I'll include it for completeness' sake.

Go into your fullcolor folder, and in it, navigate to scripts, then items, then custom_texture_blend_layers.

Files! These images correspond to the decals that'll make it on your items.
Each decal must be a 128x128 .png image.


For the Objector, the file you want to edit is paper_overlay.png.
That's the sweater anime girl in the files you downloaded.

Open it up in paint or your image editor of choice, and put whatever you want instead, as long as the size stays 128x128.
Once that's all done and saved, launch TF2, and apply your decal to the objector as you normally would.

Choose as a picture the paper_overlay you made. (It doesn't actually change anything for objectors, but flairs and others act weird if you don't pick the same image.)

Choosing a different picture from your hard drive changes nothing, so be sure the paper_overlay you made is the picture you want on your objector.


You should see your objector appear, with a fully colored image on it!
Click next to apply it, and it just works.

(Image source: http://danbooru.donmai.us/posts?tags=teriyaki)
Flair - Medium Mode
Flairs aren't that different from Objectors, but there's a small subtlety people often miss.

Go into your fullcolor folder, and in it, navigate to scripts, then items, then custom_texture_blend_layers.


For the Flair, the file you want to edit is flair_template_guide.png.
It's Alf!

Just like the objector, edit that with a picture editor.
Anything's fair game, as long as the image stays 128x128.
Once that's all done and saved, launch TF2, and apply your decal to the flair.
Choose the flair_template_guide as the picture, and...

I never asked for this.

This trumps a lot of people, but the very simple fix here is to drag the little marker all the way to the left. If this doesn't work, try switching color palettes as well.
Click next, and go wear your masterpiece.

Clan Pride/Photo Badge (and technically all the others) - Dynamic Patcher
2020 source code leak update:
The patcher has been updated to be faster and work without entering an image path manually.
This essentially makes everything else obsolete, although the old methods are still valid if you don't want to run an executable on your machine.

The new(64bit OK!) patcher can be found here:
https://github.com/dborodin836/tf2patcher
Read the instructions on the page, it has everything you need.

How to use

  • Download the latest release: https://github.com/dborodin836/tf2patcher/releases/tag/2.0.3
  • Run tf2patcher.exe and launch TF2 (or do it in reverse, the order does not matter);
  • Now try applying a decal to your item - the preview pane should show a fully-colored image;
  • After you've applied your decal, close TF2 in order to remove any modifications caused by the patcher.

SPECIAL VAC PARAGRAPH

As long as you stay in the TF2 main menu while doing this, nothing wrong can happen.
VAC is only active when connected to a game server.
Of course, once done with the patching, restart the game before playing again.

The patcher only operates temporarily, so closing and reopening the game will put you back into a VAC-free state.

SPECIAL VAC PARAGRAPH

Just open TF2 in the main menu, and launch the patcher.
Afterwards, just open your inventory and apply a decal tool to your item.
No matter which image option you choose, it should show the image you picked, in incredible technicolor.


This method can be used for all decalable items, so if it works for you, go wild.
I can't do it! :(

Well you're pretty bad m8
Let's check over a quick list to make sure you did it well:

  • Is your image the correct resolution? It must be 128x128 pixels large!
  • Did you restart tf2?
  • Is it in the correct folder? (It must be tf2/custom/randomname/scripts, NOT tf2/custom/scripts)
  • If you get an old image to show up while applying the decal, try disabling steam cloud.


Consider not giving your money to Valve in any form anyway considering the current atrocious state of the game.

https://save.tf/
944 Comments
General Cao Apr 19 @ 5:10am 
Many thanks!
punching bag Apr 16 @ 2:08pm 
maybe... just maybe, you are launching tf2 or steam with admin priviliges that might be the issue too
punching bag Apr 16 @ 2:02pm 
hmm... dunno how to fix that... besides the regular advices like rebooting the game or disabling your antivirus, maybe core isolation might be the issue? probably not... are you launching the patcher before launching the tf2 or after launching tf2? you should do the second option tho.
punching bag Apr 16 @ 1:44pm 
that's an error that the patcher throws when it fails to find the pattern
CUMфорт Apr 16 @ 11:03am 
If failed to do by yourself - just try patcher...
No, seriously, just read the full article and we are sure you will make this "magic trick" real quick and easy :slimehappy:
☆StarLight﹁ Apr 16 @ 2:25am 
Failed to find CConfirmCustomizeTextureDialog::PerformFilter pattern in client library!
CUMфорт Apr 14 @ 5:00am 
Easiest way - check your launch options.
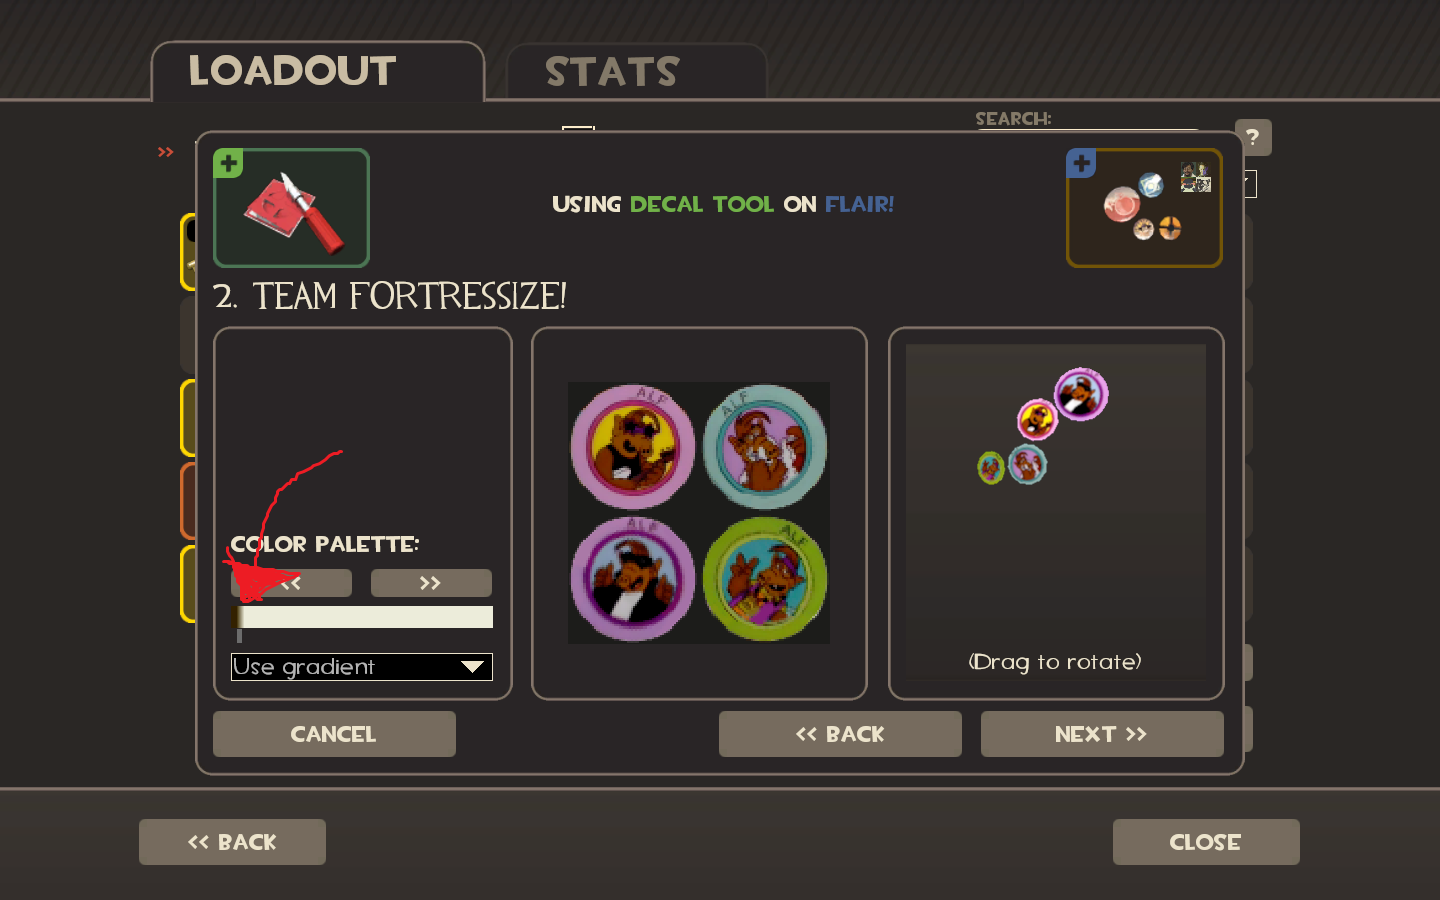
Maybe, just maaaybe, you put command that blocks connection from patcher.
Truthless Recluse Apr 13 @ 8:16pm 
oh my god. i downloaded the latest version of the patcher, and whenever i boot up tf2, IT STILL SAYS "Waiting for TF2 to be boot up..." FOR THE LOVE OF GOD WHAT DO I DO
TheGreenGobblr Apr 13 @ 11:47am 
me before doing the patcher: it cant be that easy

it is that easy
a_dog Apr 12 @ 8:50pm 
based of you to put the source of the image lmao