Space Engineers

Space Engineers

Not enough ratings
Blue Ship Refit (Part One)
By shadren_rs
A step by step guide to updating the default Blue Ship. A good basic starter for ship building and design for new players.
   
Award
Favorite
Favorited
Unfavorite
Getting to Know the Old Girl
(SE version 1.110)
Default Blue Ship
Length: 100 meters
Beam: 47.5 meters
Height: 20 meters
Mass: 1,346 MT (empty)
Max Power: 144.25 MW
Power Plant: 8 Small Reactors, 2 Batteries, 2 solar panels
FTL: 1 Standard Jump Drive
Sections: Engineering, Corridor, Hanger
Decks: 2 – Main deck, Upper Deck
Hangers: 1 - 2 doors, port and starboard (left and right) pressurized, atmosphere recovery.
Armament: 2 bow missile launchers, 1 topside Gatling gun.
Crew: 7
Artificial Gravity: Yes
Can be found in Easy Start 1 and 2
Observations of an Engineer
Blue Ship is a tutorial ship, it’s meant to introduce you to ships and get you going. It’s not meant to be the perfect example of ship design. It’s been modified over the releases as new features have been added to the game. If you watch the clips playing in the background of the main menu, you can see an early version of the Blue Ship being built and wrecked. Based on what I have observed its design predates oxygen, conveyers, weapons, glass windows and hanger doors.

Since it was first built as a demonstrator, these new features have been added on and reflect the limitations of the time they were added. Now these all give the old girl character and uniqueness, making her a classic. However, like an old classic, these ‘features’ are annoying or a hindrance when you’re trying to use the ship. The developers have captured a truly authentic reality of ships. They all have qualities (usually bad) that make them unique and memorable and that are spoken of somewhat fondly in hindsight. Congratulations Keen!

But I’m an engineer, and this game is about engineering. So I’m going to fix up Blue Ship and make it better. I’m going to perform a refit!

Now my limits are to keep the general functionality of the ship the same, just update the implementation. This is a good learning experience for beginners and on full normal 1x mode, gives you the best starting Space Engineers experence. In my newbie opinion of course.

So what’s wrong with Blue Ship? There are two big issues that got me started on this project in the first place, the ship was not originally built with oxygen or conveyer support and the retrofits can be done better. As I tore into the ship I was reverse engineering and learning how the previous engineer solved the problems he had with the tools he had and uncovered a few left lose ends.
Problem 1: Oxygen Support
When you start off, the starboard (right) side hanger door is open so you can enter the ship and learn about the programing sequence of the pressurized hanger bay. Once you close the hanger door, the air lock opens, allowing you to enter into the corridor. Once inside, naturally you open the second or inner door of the airlock, and then get hit by the decompression.

This happens every time, not just when you start, but every single time if, (and only if), the aft corridor door is closed. The problem is caused by the air system. The vent at the forward end of the corridor is set to depressurize. At first I thought this was wrong and the hanger door sequence would need to be fixed. Later I figured out that the conveyer seen below the corridor was not connected to the hanger air system and the corridor itself is the air passage. So if the aft door of the corridor, the back end connected to the engineering section, is closed, the air vent depressurizes the section. The aft door has to left open for air to flow normally.


This is one of the add-ons or retrofits that was done to update Blue Ship, in this case to support oxygen. It also affected the outer hull, and results in an asymmetrical feature that may offend one’s sense of aesthetics and symmetry. Fortunately, I’m not Death the Kid from Soul Eater, so I can look past this (look him up, its’ funny and mostly PG). Besides, once the overhaul is done, this will go away.

Problem 2: First Generation Conveyer Support
The hanger section also houses 2 forward missile launchers and a topside Gatling turret. These are rearmed via the assembler in the engineering section and fed via the conveyer system visible on the underside of the ship (no keels on spaceships). This conveyer system was built without curved conveyor segments and has an apparent redundant tube section/path. Additionally this system is covered in catwalks, but apparently before the no edged version and still leaves a long open space in the hull. I don’t know why this was done this way, but it can be done better now.

The Plan
So that is my project: Overhaul the Blue Ship hanger section while leaving the majority of the ship's original appearance and functionality in place. I’ll explain my decisions and limitations as I go along.

Hanger Conveyer System: Part of this build is based around connecting the hanger air supply to the conveyer system but the rest is simplifying the layout of the conveyer. The lower catwalks will be removed. The conveyer will be changed to one tube under the hanger deck. Some conveyer blocks will be replaced with curved sections and catwalks will be used to close up the underside.

Corridor Conveyer: Now it is a personal preference, but I don’t like the look of the exposed conveyer under the corridor. It’s exposed to damage, and since air, ammo, reactor fuel and everything else goes through it, I want it protected. Now, I can’t move it directly under the corridor and use catwalks because I have interior lights taking up some of those interior block spaces that the catwalk would use. Remember each block is an entire block. There is no multipart blocks support/mod like Minecraft. Now if you don’t want those lights and are ok with relying on the environment shining through the windows, you could do just that. For this build I’m going to leave the lights in place, so I’m going to clad the conveyer in armor and use paint to create the effect of a more narrow section.

Oxygen System Hookup: I'm going to connect the hanger supply vent to the conveyer system and remove the depressurizing vent and the bulge in the corridor.

Paint: The original paint pattern has been marred by the previous retrofits, so I’ll take the time to clean it up once we are done. Now, if you can visualize in your head, you can place the parts with the correct color ahead of time. You can also paint them afterward, even in single player, with the middle mouse button.
Prep
Work in Zero G: You don’t want to drop parts into the void if you have to work by hand, especially if you’re using 1x inventory settings. First you want to get the ship somewhere close to your platform but outside the gravity field. Adjust your platforms gravity dimensions or just park outside of the field. Shut down the blue ship gravity generator as well. Then there are all of the parts you may want to have on hand.

Work in a Vacuum: You will be breaching the hull so save your air. Assuming all of your outer doors are closed, open all of the interior doors. In the console select all of the air vents and turn them off. Then select the Hanger air vent B and turn it on, then set it to depressurize. Once the atmosphere is drained into the low pressure dump tank, turn off the air vent. Select the hanger door block groups, these are the names at the top of the list quoted with asterisks. Open each door with the open command button.

Leave the Lights On: Make sure you have power, you may need to see the hanger interior and use the storage systems inside for some of this.

Tools of Your Trade: Welder and Grinder. These tools are what define you as an engineer. With the combined powers of creation and destruction you are a ship building god. For us newbies, you’re just a demigod. You need more wisdom to obtain truly god like status… and maybe some humility.

Fire up that builder small ship and get familiar with the grinder because you are going to use it a lot in this phase. For you newbies, the grinder’s hitbox is larger than the cutting wheel shown. It can hit stuff about a meter above and below so be careful as it will sometimes be grinding down parts you don’t intend to. Remember that the builder is wide and the tools don’t stick out as far as you would like at times. The cockpit is not plumbed so no inventory transfer with the main cargo hold and there is no air. Be sure to stock up your cockpit with oxygen bottles and keep an eye on them. If you have them, toss in hydrogen bottle or two just to be safe. You will automatically refill every time you get in. You can use the blue ship systems if they are stocked.

An Anatomy of Metal: Be aware that not all parts are connected equally. Catwalks are like windows, they only connect at the edges and in this build they used as covers and to maintain aesthetics are only connected at certain blocks. You can end up cutting a whole length of catwalk lose by taking out the block one end is attached to. I’ll try to give instructions on where to cut when I can but keep this reality in mind. Know where your blocks are connected and you won’t end up chasing spinning metal with a power tool. And don’t do that, just catch it with the landing gear of the builder. V, ALT + (mouse move) and P are key bindings you should commit to memory. (3rd person view, move 3rd person view, Lock/Unlock gears and connectors)

Now I’ll be taking screen shots of my progress so I can save a few hundred words. I may not mention every change but hopefully the screen shots will show what I fail to mention.
Tear Down
Let’s start with the underside of the hanger. Grind out the center catwalks starting at the front end, working toward the back. Take out everything except the center conveyer as that has to be there.


Now you have to dig a little deeper. In the aft area you need to remove the conveyers the go up into the walls. In the forward area remove conveyer and tube but leave the small cargo container. (EDIT: Previously I had said to remove the cargo container and replace it with a conveyer, there is no need to do that. That's why it may missing or a convyer is in the same place in some of the screen shots)


We are not done grinding yet. It’s time to remove the bulge of the air transfer/airlock. Remember we will be connecting part of this to the main conveyer. You need to remove most of the armor the remaining cover up catwalks, some conveyers and the corridor air vent.


Finally we remove the lower armor slopes that are cladding the corridor on both sides. Just the lower slopes or your windows will float away. Remember those catwalks on the corridor. You may want to change them out later.

Rerouting the Conveyers
Now to get some building done. Make sure you have the conveyer tube, curved convey tube, conveyer and connector in your bar. You’ll need interior plate to place the tubes.
The first fix is you will find an empty space under on the starboard battery, (up in the screen shots) go ahead and place an armor block in there and build it up completely. Then start placing the conveyer blocks (not tubes). This will make placing the tubes a little easier as the block will try to snap to the conveyers. I colored the new convers yellow and the new tubes green to make things clear. The idea is to get into the hull first the move to the end points. But right under the first layer is the inner deck floor and I want to minimize patching/covering with catwalks on the interior. It’s a personal choice. Once this is done your conveyer tubs should all light up green (a really light yellow green). (3 conveyers, 9 curved tubes, 4 tubes)


Now close up the bottom with light armor. 14 cubes, 2 slope, 2 corner, 2 corner inv.

Closing Up the Corridor
Now to merge up the corridor with the hanger and keep things sealed. I started by finishing the corridor armor and then blended in the missing pieces. So now get the corridor built up. Starting on the starboard (right side). First install the 1x2 and 1x1 windows. Then add in 2 missing top slopes, 2 blocks, and one lower slope. Change out the block next to the lower of the 2 engines on the right to a slope (4 slopes 2 blocks 1 1x2 window 1x1 window).


On the port side (left) we want the same structure, change the last slope forward to a block, and then add in the missing block and slope (1 slope, 2 block).

Recladding the Corridor
Now we are going to cover up the sides of the corridor with the 2 part slope. It’s made of 2 blocks, the 2x1x1 base and 2x1x1 tip. The screen shot shows them highlighted to show the two differnt blocks and then the final paint. Do this to both sides. (20 base and 20 tip blocks)


Now we need to cover the bottom, for this the catwalk will be good here, now we need to be sure these blocks mount to something so we have to modify the neighboring block on the engineering section and use the base block of the 2x1x1 slope and the first catwalk will be an original “catwalk” with the raised railing section against the slope block. Watch for the orientation of the catwalk pate and ensure the center line is lined up along the corridor. (1 base block, 1 catwalk, 10 catwalk plate)

Button Up the Hanger
Now we go back to the hanger section. Place the connector on the middle conveyer. You can just use the catwalk for a cleaner underside. Continue the catwalk plate up to toward the connector. Use the catwalk railing to anchor to the connector. The connector must be turned with the lights along the length of the ship. (5 catwalk plates, 2 catwalks on connector)


I chose to add some blocks around the connector as an anchor for the catwalks and to enclose the connector. Take this as an example of one of the variations you can do.
Paint
Here is the finished areas with the paint fixed. You’ll find lots of places on the original where the paint is still gray too. You can replace the white catwalk parts that break up the windows or leave them be. It's up to you.
Wrap Up
Now, we did remove one small cargo container. I plan to replace this when I rework the forward weapons section, but that will be another article.

I hope that by following this guide step by step in game, you'll have gotten familar with the tools and process involved in building or modifying a ship. You'll have learned about the parts needed to layout and then fillout blocks, and the advantages of using ship mounted tools. This is my first guide, so please let me know how I did. Feel free to ask questions about parts that are not clear. Thanks for reading and keep enjoing Space Engineers!

Continue to Part Two
15 Comments
shadren_rs  [author] Feb 5, 2017 @ 7:20pm 
I can understand that request. I just don't have the video skills ... yet. Maybe next time I finish one of my new designs I’ll try a summary video once I know what I’m building.

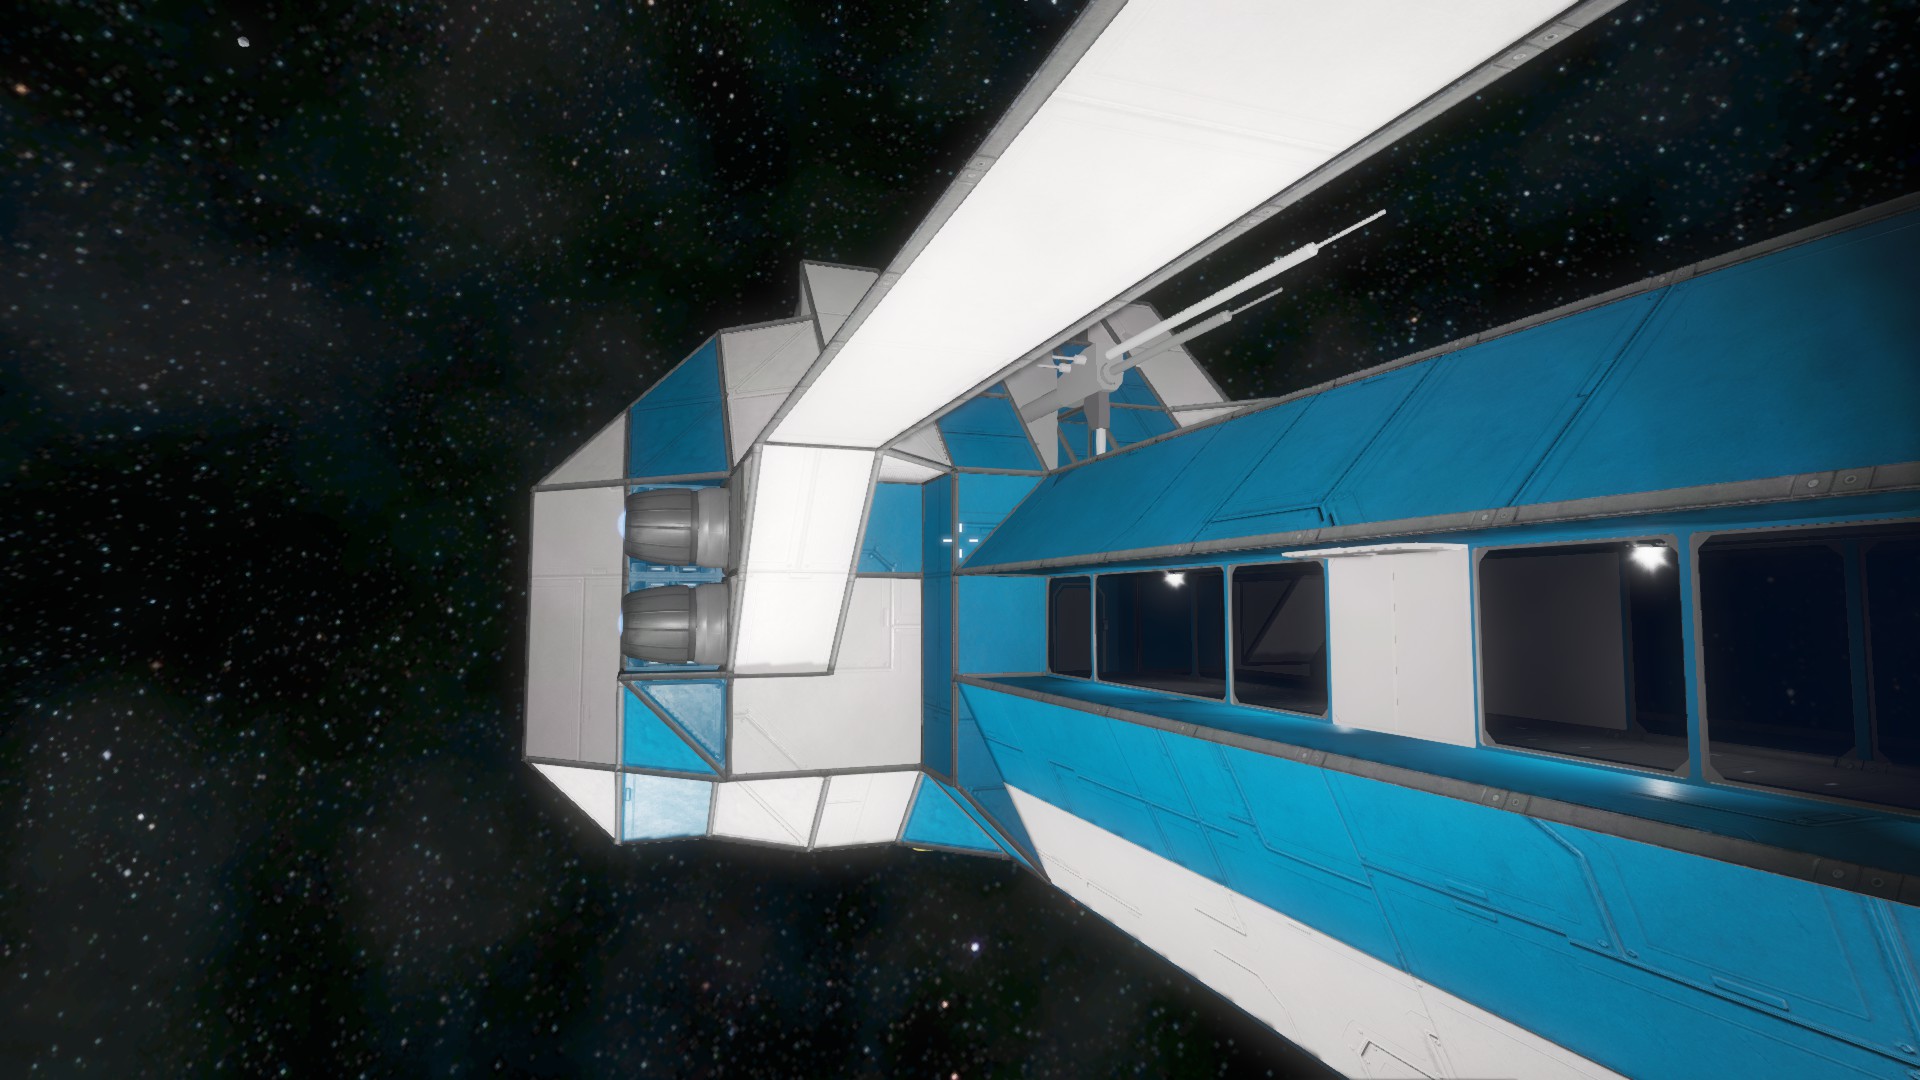
@Paladinsas: BTW the Hydrogen version is in my workshop. I built it with most of the thrust on the underside and only intended for atmosphere entry, exit and maneuvering for landing.

MK.2H
AUTERBOY Feb 5, 2017 @ 2:14pm 
you ould have had just made a video on how to do it (no offense though, but thanks for the tutorial/guide) (:
Cerazor Dec 15, 2015 @ 8:18am 
This design reminds me of the Concordia from Wing Commander.
Paladinsas Dec 10, 2015 @ 1:11am 
also, when replacing the aft thrusters, make sure you implement ions in the rear as you really only want to use hydrogen to enter/escape planets, or for emergencies
Paladinsas Dec 10, 2015 @ 1:09am 
ive been playing SE for a long while now, and i really like your refit guide. the blue ship has always been one of my favorites and ive enjoyed watching keen refit it for each content update that they bring in. and your take on fixing alot of this old pony's problems is very well thought out. in terms of adding hydrogen, i recomend replacing the aft large thrusters with large hydros, and running small hydros along the bottom/sides/fore. creative doesnt show it, but hydros require an obnoxious ammount of hydrogen to run, so your gonna have to plan for several tanks/cargos to hold ice. also remember that gravity affects the ship weight + weight of items in cargo so you need liftexceptional lift capabilities if you plan on retrieving ore and such from planets.
shadren_rs  [author] Dec 9, 2015 @ 11:24pm 
I just recently tried experimenting with hydrogen thrusters in creative mode. First I’m going to finish a space only, modernized version of Blue Ship and post the blueprint. Then I'll look into what would be needed to make Blue Ship fully capable of landing and lifting off from a planet.
Benokt Dec 9, 2015 @ 5:20pm 
@ᅠᅠ ⁢ What is useless? You? Your comment? Both?
CPL CORNB REA D Dec 7, 2015 @ 3:59pm 
stupid and useless
Doctor_Chuckles Dec 7, 2015 @ 1:58pm 
great
i found one issue:planets and moons. i didnt read the entire post, so i might have missed this, but if you enter the garvity feild of a planet, none the laess the atmosphere, you have a high chance of be bye blue ship. now moons just pose a small but real threat. this ship ought to be refited with hydrogen thrusters, and storage atleast or otherwise the hydrogen here is wasted. if not hydrogen thrusters, you should atleast find places for atmosphereic thrusters to sit while not ruining the ship, which in this case might be pretty hard. otherwise this modification might be done personally in a survival the noob way, stick hydrogen tanks off the sid of the ships and load thrusters on it or just stick thusters all over the ship. like we all haevnt ruined blue or red ship that way, killing asthetics and gaining functionality, which in space somethimes just has to happen.
Rosalie Dec 5, 2015 @ 7:44pm 
I'd say the completed ship blueprint, but its your work, do whatever feels better for you :P