Counter-Strike 2

Counter-Strike 2

296 ratings
How to make your own CS:GO sticker
By rebelholic
Its beginner guide to help anyone to make a sticker to upload to steam workshop for first time.
   
Award
Favorite
Favorited
Unfavorite
Introduction
This guide it will help you to make a sticker for steam workshop based on my experiences. You can check their blog and resource this guide for further information.

What tools we need to make a sticker:
Image Editor

Image Requirement for sticker:

  • Be original (please don't copy from google)
  • Must resize to 2048x2048 or 1024x1024 for better result ingame
In this guide I only use adobe photoshop CS6 for image editor because suitable for me and VTFEdit. I don't want start make a image from scratch because I have original image from my orange skull collection but rather add decal effects to meet guideline from valve like screenshot below:


Result from this guide you can make your sticker with two decal effects like glossy & foil like my sticker below (don't forget to vote it on steam workshop if you like it):
http://steamcommunity.com/sharedfiles/filedetails/?id=234656992

Creating the glossy effect
In this tutorial we will be creating a glossy effects using Photoshop filters. This guide has been created to get beginner users. There are many different methods and techniques when it comes to creating every decal effects for your sticker.
Open up Photoshop and create a new 2048 by 2048 pixel image or 1024x1024. The size of your texture must always be a power of two with a maximum of 2048. After that create first layer with black colour as background to prevent white outline.

Import your own team logo or your own original image to photoshop like screenshot below:

How to add alpha channel for your image
Hold down control (ctrl) and click on the spray in the layer panel, I've highlighted the areas you need to click below, and what it should look like after you've clicked on it.


You will now notice that your image has gone entirely black. this is normal and just means you're doing everything correctly. When you apply alpha channels different colours mean different things.
  • White - visible area without wear effect
  • Black - Invisible, these areas will not show when ingame
  • Gray - to define important area for wear effect

Select the paint bucket tool and choose a pure white colour with HEX number (#FFFFF).
Paint in the selected area. You will now end up with a white blob kind of like what I have below

For gray color, you must define paint alpha values greater than 45 such as dark gray colour (51-51-51 for RGB or #333333 ) like screenshot below:

After that you should brush with brush tool in the selected area with gray color (#333333) to define important area for wear effect based what do you like.

Its my final alpha channel area for first decal:

After that you must save the image. Navigate to File > Save As... and save it as a Targa File (.TGA) with Enable Alpha Channels option selected. I saved with name sos.tga

Creating the embossed foil effect
For embossed foil effect, I only add satin effects for my previous logo to become diffuse map like screenshot below:

After that you should save as TGA with Enable Alpha Channels option selected as usually on same folder with sos.tga. I saved with name sos2.tga

How to make normal map
Firstly you should check out video tutorial from youtube and you will understand about how to make a normal map for beginner:
Before that you must install Nvidia Texture Tools for Adobe Photoshop you can obtain on this link[developer.nvidia.com] based on your operating system for add new plugin on adobe photoshop.
My normal map final result from my own image ready for save:

After that you should save as TGA with Enable Alpha Channels option selected as usually on same folder with sos.tga. I saved with name sos_normal.tga
Creating the holographic effect
Holographic stickers are standard paper-backed stickers that use two additional textures to create a holographic light warping effect.

To get this working right we need to create the holomask texture.
You should create a new texture and split the channels in photoshop.
Copy your sticker to the clipboard like screenshot below:

after that head over the the channels tab and Delete the RGB channel.
(You must create an alpha channel like I said on creating the embossed effect section)
This will leave only your Alpha channel. It will also set your image mode to multichannel.
Create 3 new alpha channels like screenshot below:

after that paste your sticker from clipboard onto each and set to RGB from Image > Mode like screenshot below:


Final Result:

After that you should save as TGA with Enable Alpha Channels option selected as usually on same folder with base image or sos.tga.

You can check out my video guide for creating the holographic effect below:
Creating the VTF with VTFEdit
After all your image saved with .tga as extension you can create the VTF file for every tga images. You must download VTFEdit tool from this link[nemesis.thewavelength.net] with free.

Open up VTFEdit and select File > Import and navigate to your tga file
You will get a VTF Options panel popup after you need to change is the clamp, and it needs to be set to 1024 by 1024 to get best result for your sticker ingame. You can follow my screenshot from setting I've used below:


For every VTF's, you will also want to make sure you have No Mipmap and No Level Of Detail checked under Flags on the left hand side before save. This will make your sticker high quality in the game.


All you need to do now is File > Save As.
You must use method above if you use other TGA file to get same result.
For myself I saved sos.tga as sos_sticker.vtf, sos2.tga as sos_sticker2.vtf, and sosn.tga save as sos_sticker2_normal.vtf in one folder.


Creating the VMT with notepad
After you have VTF files you can make the VMT file for every VTF files already you created.

For Glossy Paper-Backed Sticker
1. Open up notepad
2. Copy my script to your notepad:
WeaponDecal { $basetexture "//./D:/Workshop/CSGO/guide/sos_sticker.vtf" $decalstyle 1 // standard paper-backed plastic sticker $unwearstrength 0.2 $envmap "env_cubemap" $envmaptint "[]" $phong 1 $phongexponent 2 $phongfresnelranges "[]" $phongalbedotint 1.0 $phongboost 1.0 $phongalbedoboost 10.0 }

From script above you must change "$basetexture "//./D:/Workshop/CSGO/guide/sos_sticker.vtf" to "$basetexture "//./[Your VTF file specify path]" in order to load VTF textures correctly.
3. After that save as VMT file (I saved as sos_sticker.vmt)

Embossed Foil Sticker
1. Open up notepad
2. Copy my script to your notepad:
WeaponDecal { $DECALSTYLE 4 // embossed foil $basetexture "//./D:/Workshop/CSGO/guide/sos_sticker2.vtf" $normalmap "//./D:/Workshop/CSGO/guide/sos_sticker2_normal.vtf" $unwearstrength 0.08 $envmap "env_cubemap" $envmaptint "[]" $phong 1 $phongexponent 0.1 $phongfresnelranges "[]" $phongalbedotint 1.0 $phongboost 40.0 $phongalbedoboost 2.0 }
From script above you must change "$basetexture" to your VTF file specify path in order to load VTF textures correctly.
3. After that save as VMT file (I saved as sos_sticker2.vmt)

So we have two vmt file like sos_sticker.vmt & sos_sticker2.vmt to meet requirement for valid submission on steam workshop later.
Its my sticker files in one folder ready to upload to steam workshop:


UPDATED (05/14/14) - Used different image but keep get same treatment like above

Holographic Sticker
1. Open up notepad
2. Copy my script to your notepad:
WeaponDecal { $DECALSTYLE 3 // holographic $basetexture "//./D:\Workshop\CSGO\Sticker\klv_base" $holomask "//./D:\Workshop\CSGO\Sticker\klv_holomask" $holospectrum models\weapons\customization\stickers\default\holowarp_default $unwearstrength 0.1 $envmap "env_cubemap" $envmaptint "[]" $phong 1 $phongexponent 2 $phongfresnelranges "[]" $phongalbedotint 1.0 $phongboost 1.0 $phongalbedoboost 10.0 }
From script above you must change "$basetexture" to your VTF file specify path in order to load VTF textures correctly.
3. After that save as VMT file (I saved as klv_holo.vmt)
Previewing your stickers on Half Life Model Viewer (HLMV)
Before you submit to steam workshop you should previewing your stickers with Half Life Model Viewer (HLMV) on CS:GO SDK to verify your sticker meet valve guideline. Click this link to know about CS:GO SDK installation
1. Open up Counterstrike: Global Offensive SDK from library-tools on your steam client
2. Select and open model viewer to start preview your sticker

3. Select File-Load model or press F5 and choose sticker_preview.mdl like screenshot below:

4. After load you should replace current sticker preview with your own sticker via material tab, select sticker_preview_wip and click replace VMT button.

5. After load your own sticker you can get result like below:

6. You can verify your sticker meet valve guideline or verify $unwear strength based on your selected alpha channel via materials tab like screenshot below:

7. Finally you can make some screenshots from HLMV for your sticker to upload on steam workshop.

Note:
If you want show your sticker on any weapon models please read no. 3 above and choose sticker_preview folder after that you can select any weapon models what you like to preview with your sticker like screenshots below:


Uploading to the Steam Workshop
Your job almost done and finally you can upload your sticker to steam workshop with two decal styles like Glossy and foil to meet guideline from valve. You must have two VMT files or more to get validation submission by valve.
1. Launch CS:GO, Open the console (~), and type 'workshop_publish' like screenshot below:

2. Click "Add" button to open new window
3. You need to fill out about a title, description and upload a preview image.
4. For VMT 1 (Glossy Style) you should upload your VMT file and base source image but Base VTF file it will show with auto after you input VMT and ensure your VTF file must same with VMT file in one folder.

5. For VMT 2 (Foil Style) you should upload your VMT file, normal map source image and base source image but Base VTF file and normal map VTF it will show with auto after you input VMT file and ensure your VTF file must same with VMT file in one folder.

6. Read and accept the Steam Workshop contribution agreement and select Publish.
7. If success, you will redirect to your workshop page to finish some left task like add some screenshots from your sticker, set your revenue sharing percentages if you have collab with your friends, and edit your description page.

8. Press "finalize" button with 2x to ready for publish and promote to your friends.

9. You will get status pending and if approve by valve you will get notify via your email.
Frequently Asked Questions (FAQ)
  • Why you only make two decal effects for this guide?
    I will add another decal effects like Color-Replace Stickers for next time and I made this guide to make understand by beginners
  • Where I can report if I have get issue or bug regarding CS:GO SDK?
    Please post on this forum.
  • What do you mean "Be Original"?
    You must have own source image not stolen images from other sources like google and you should be creative.
  • I've got error message like "Failed to publish file! Error: 16". How I can fix it?
    Probably its from your preview image, you must resize to 512x512 and save as jpg.
  • What best stickers resolution and compression settings (for vtf file)?
    Please read this solution from valve employee
  • How I can remove the white outline from transparent image?
    Please read this solution[forums.adobe.com]
Conclusion
Hopefully it will helpful a lots to understand about make your own CS:GO sticker for first time. If you have still confuse or feedback regarding this basic guide please feel free to leave a comment below or get in touch with me through my website[www.csgotrade.com] or twitter.
Don't forget check out my awesome CS:GO weapon skins and stickers collection if you interested
Please check out other my awesome steam guides here!

Please give support for my new sticker if you have ever bad story with scammer (new):
http://steamcommunity.com/sharedfiles/filedetails/?id=347446961

Please give support for my ranger ward too:
http://steamcommunity.com/sharedfiles/filedetails/?id=229807229

If you want say thanks for me please follow my steam workshop account to get latest skin/item update from myself :
http://steamcommunity.com/id/rebelholic/myworkshopfiles/
75 Comments
D€ÂƚΉ♤₵ђ€₳ƚ Oct 2, 2019 @ 12:30pm 
Do we have a question forum?
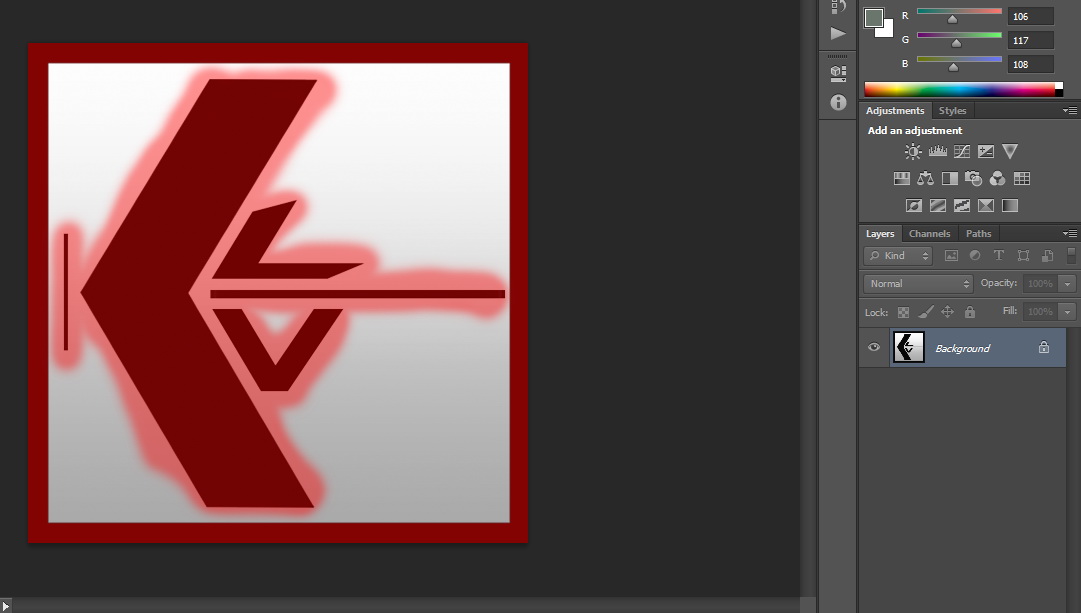
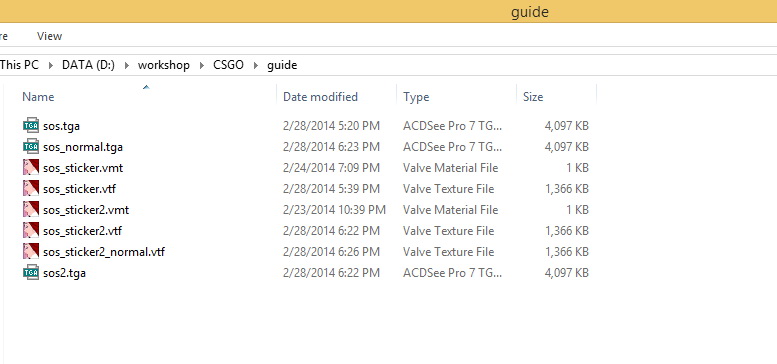
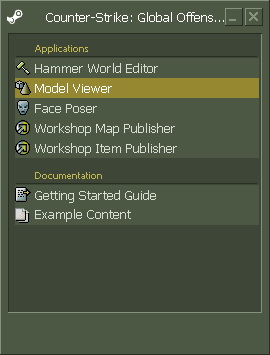
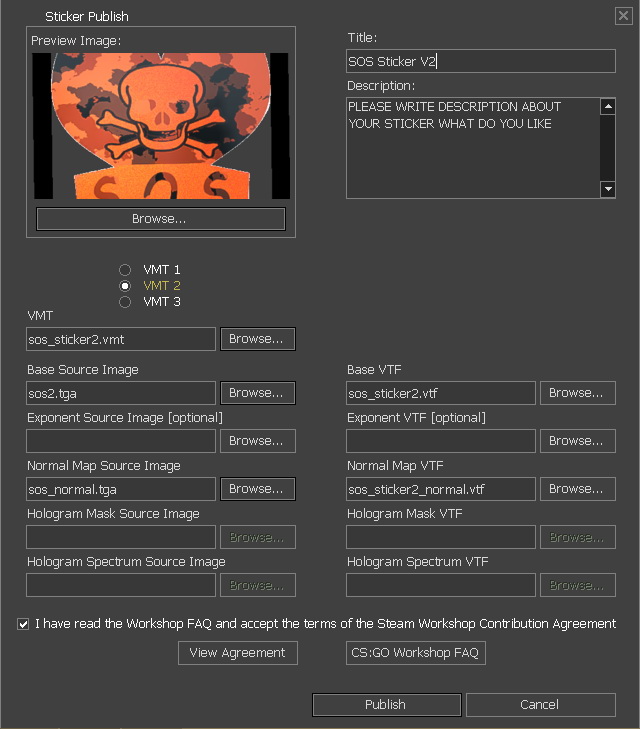
How to view normal map in Model Viewer.
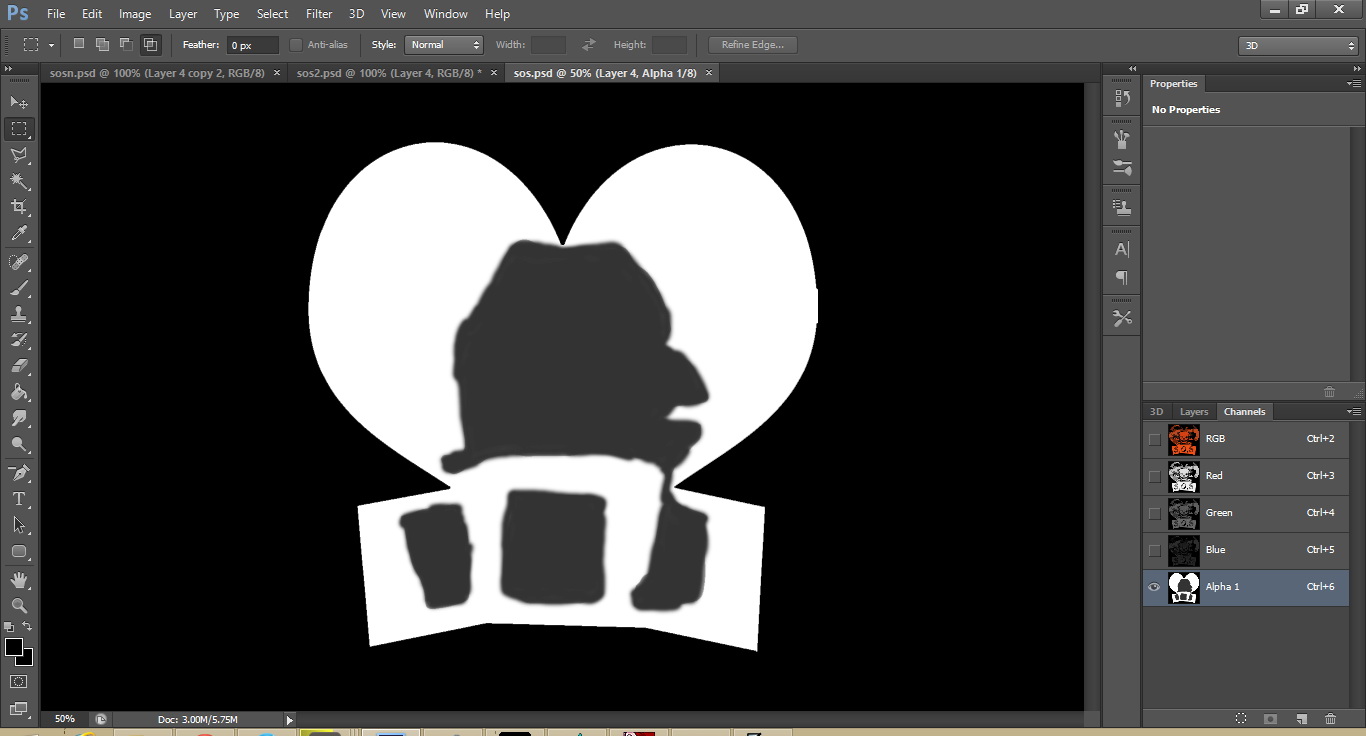
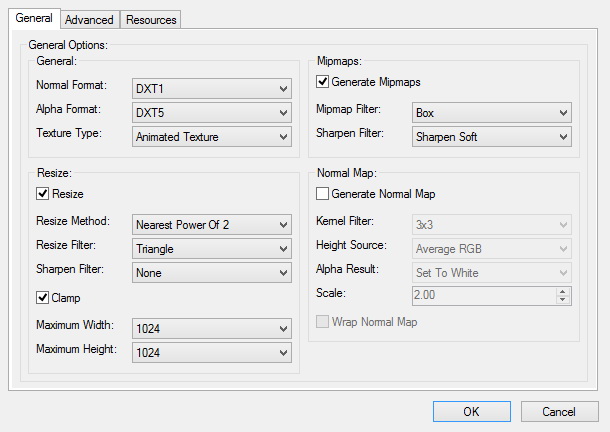
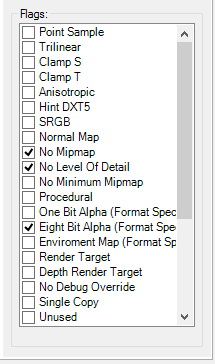
My sticker is Visible but not the normal map?
[SK/UA] Lady of Divine Fire Jul 1, 2019 @ 10:08am 
I meant to say GIMP 2.8.0
[SK/UA] Lady of Divine Fire Jul 1, 2019 @ 5:30am 
For anyone that use GIMP (pasting my info to relative guides):

I recommend looking into the official Valve SDK Documentation for insight on how materials work in CSGO's Source engine, linked below:
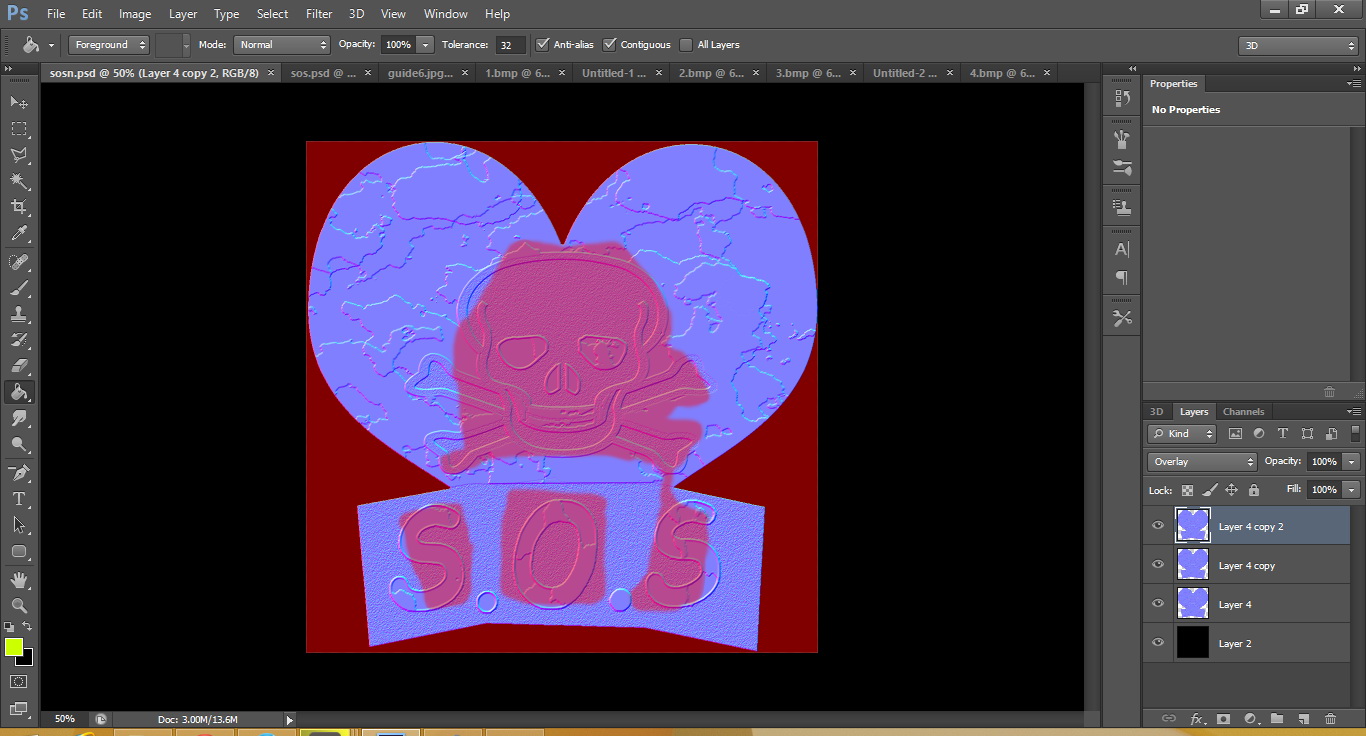
GIMP alpha channel
https://developer.valvesoftware.com/wiki/GIMP

GIMP Alpha channel: https://m.youtube.com/watch?v=LQCziSTNJgQ
https://www.youtube.com/watch?v=A9aZdPqs17M

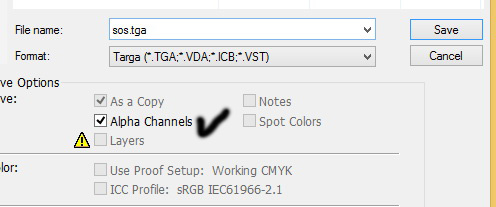
Using GIMP VTF plugin?
Be sure you're using GIMP 2.80

Not using it for GIMP? Follow this: https://developer.valvesoftware.com/wiki/Creating_a_Material

I have a wiki going on here that relates to the process of making skins / modding: https://steamcommunity.com/sharedfiles/filedetails/?id=1501754039&searchtext=Wiki

Always try to read the manuals in anything, because they often give you insight and the proper foundation of how to handle things which most people don't care to look. They miss the good stuff
jbiliHacker Dec 22, 2018 @ 1:33pm 
Nvidia Textures Tools dosent work for me :(, when i click on it , PS crash
wcgxlr8 May 20, 2018 @ 10:39am 
where can i find custom stickers?
Exotic Feb 18, 2018 @ 5:34pm 
@Wulf Pack cs.money it means the vmt coding has a typo as its not correctly mapped to the vtf file
Wulf Pack G Jul 5, 2017 @ 11:33pm 
Under this Step : Previewing your stickers on Half Life Model Viewer (HLMV) in Step No.4
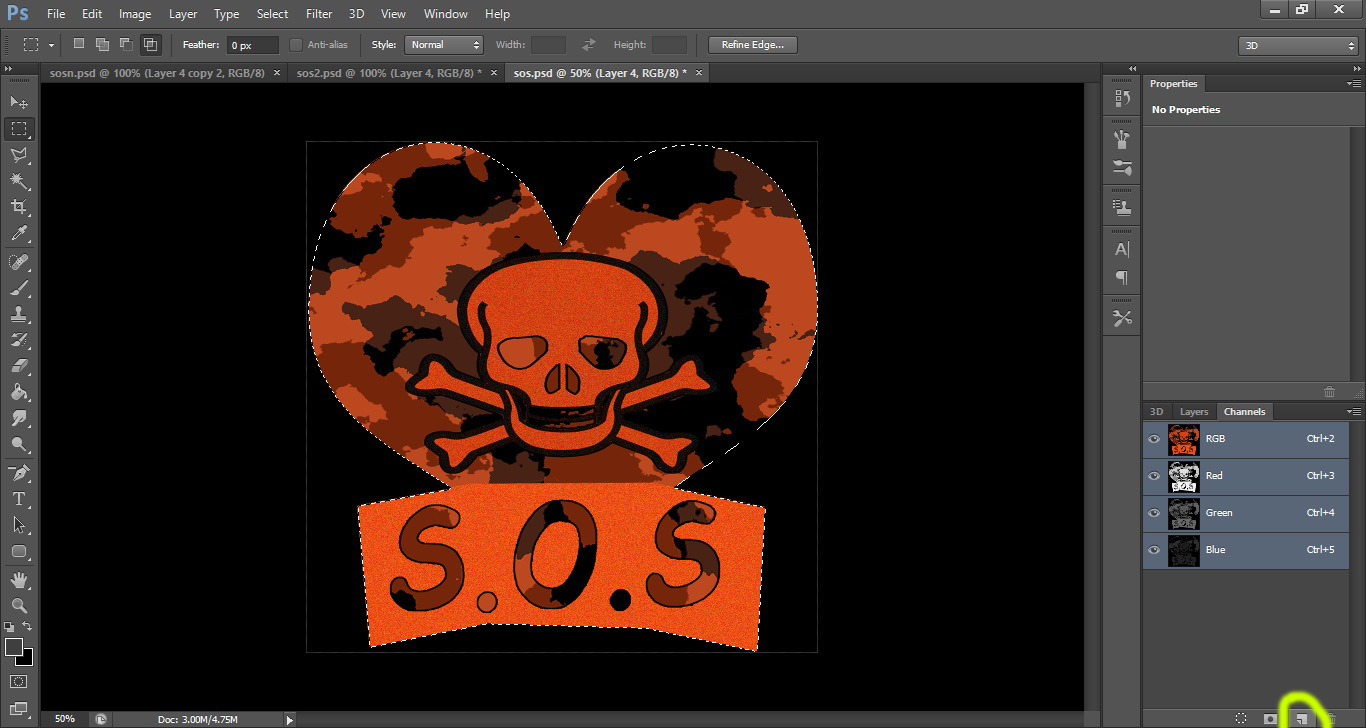
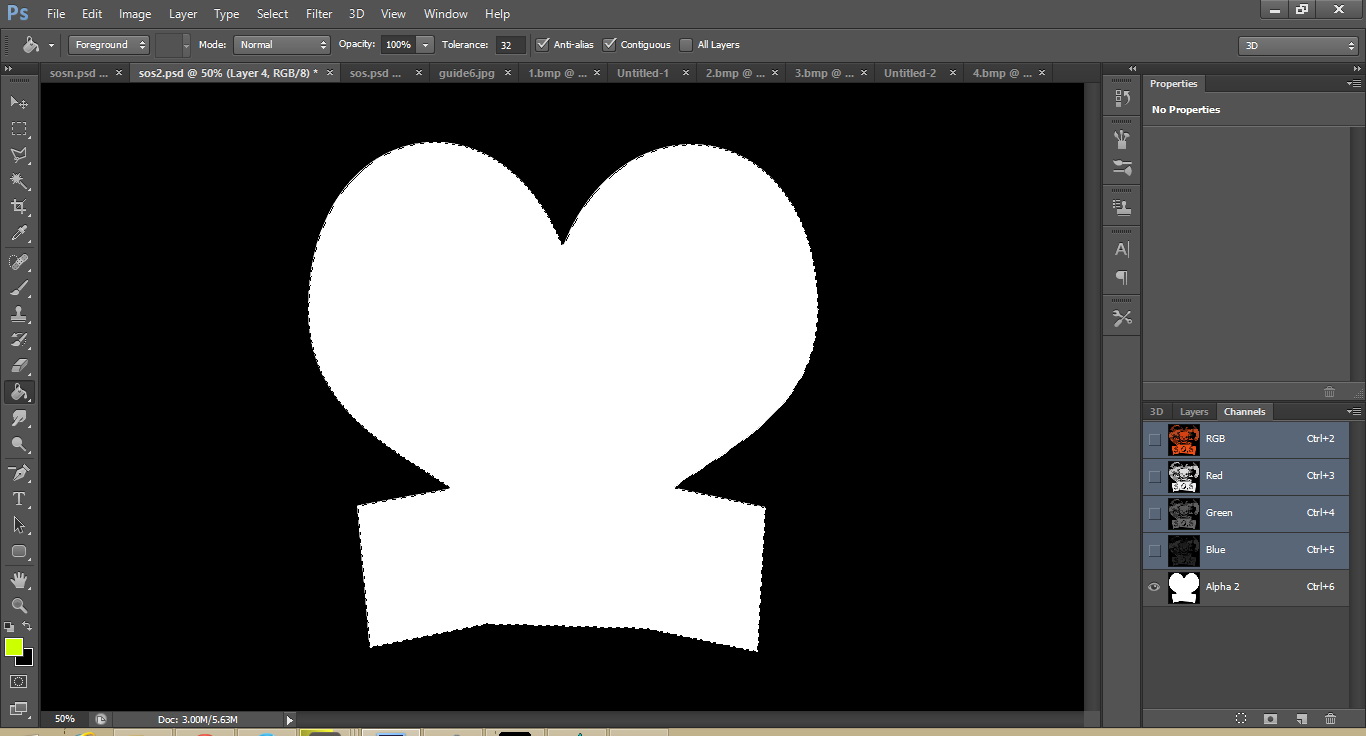
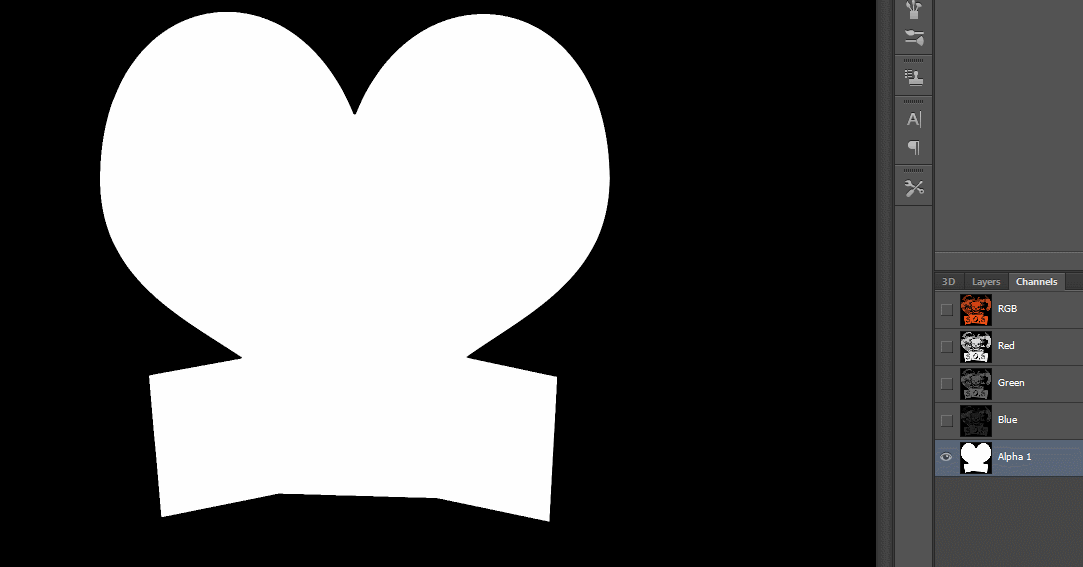
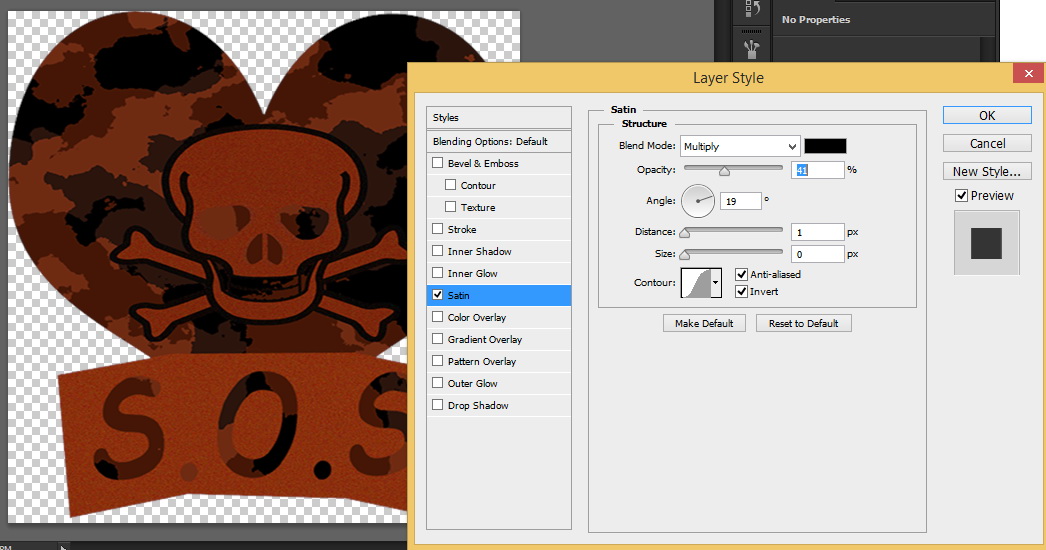
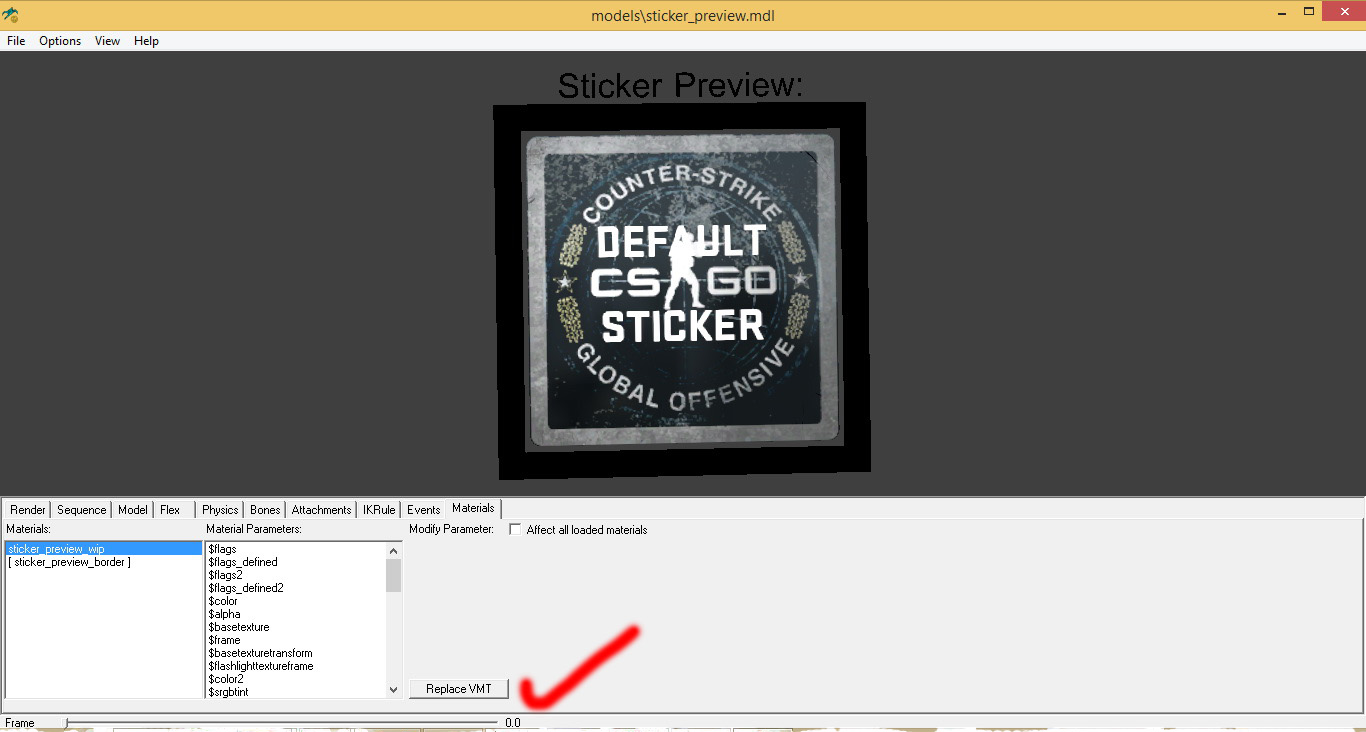
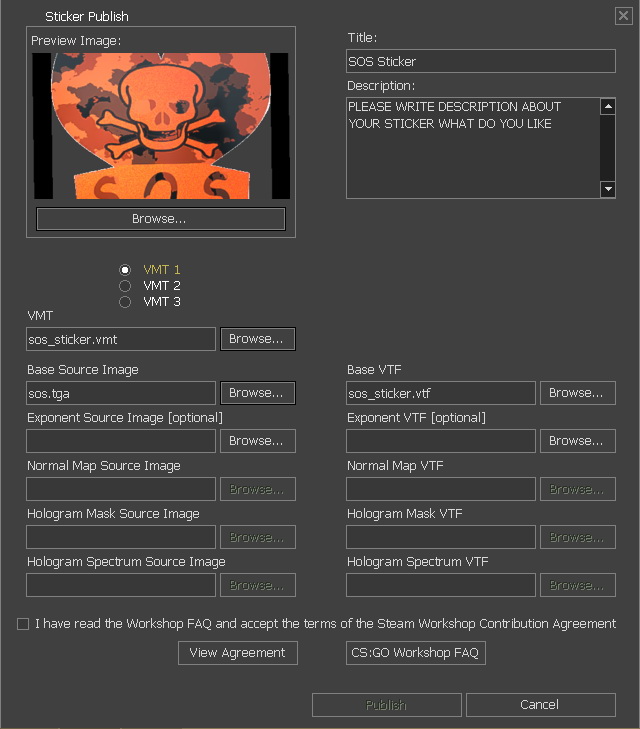
After pressing Replace VMT and Selecting my VMT the sticker is Complete Black and i cannot see my Design , Mind adding me and Helping me out? Can show you screen Shots if you like , Any help is Much Appreciated
Wi-Fi | WANGYIFANG.COM May 7, 2017 @ 11:36pm 
I would like to ask a question, in the last step upload, I suggest: VMT 1 has bad or missing base sourece image!
KPB™ Nov 26, 2016 @ 5:31am 
Anyone who tried this guide got confused. You explained briefly how to make them but not a step by step with the use of clear sentences. For a standard sticker someone can work it out from this. But for a holo... good luck. I appreciate the time you put into making this but that's it.
SkoomaTime Nov 24, 2016 @ 9:27am 
Awesome guide, mate! Thanks a bunch!:steamhappy: