

Quake
Not enough ratings
Quake: Dissolution of Eternity - Secrets Guide
By erc
Screenshot assisted guide for locating all the secrets in MP #2 by Rogue.
1
   
Award
Favorite
Favorited
Unfavorite
Prologue: The Story
Copied from the official manual, as it is no longer supplied with the installation:
You're alive, and aware, and in one piece. 'Thank God for simple favors, but... what in Hell happened?'
Ages ago you defeated Armagon; yet it seems as if it happened in the last instant. The Rift Portal was sealed and the slipgate effect deposited you back at HQ.
Command is quiet - too damn quiet! You exit Command Central to scan the dimly lit corridor beyond.
Sprawled face down in a stagnant mire, is a... Grunt? An Enforcer? Who could tell; what's left of him is mangled! His backpack has emptied into the red-tinged muck. Among the spattered effects are the bent leather covers of a charred book, its bindings tooled with a familiar symbol. 'No... that wasn't there before!'
Ripped from the text and floating in the muck, a particular leaf of stained parchment stabs for your attention. In a perfect hand-hewn typeface the passage reads:
The Book of Common Prayer
Let it be known that in that moment our Master brought forth, from the void of order and light, a new existence of glorious darkness. His mighty hands fashioned this world of chaos, violence and pain.
Our past, our present and our future are moulded by the seeds that He has sewn. Through His wisdom He has given us Ancient Guardians to tend the Chain of Time. Their suffering is our link and lineage throughout all time and forever.
In honoured service we come before Him to pay our age-old debt. We whisper this humble prayer with the knowledge that He will hear our thanks for what He has brought to pass.
Oh Master Quake, we kneel before the Mark, upon this day, this hour, and this moment, to proclaim your dominion and celebrate The Day of Dissolution. - Day 57, 1215 A.Q.
'GOD FRIGGING DAMN! This can't be happening!'
You scramble across the body for the shotgun, dragging the remnants of the backpack behind. At the end of the darkened passage a slipgate comes into focus.
One thought becomes your obsession as you step onto the slipgate platform: 'THIS TIME IT WILL END!'
Start: Split Decision
This level contains only a single (unmarked) secret.
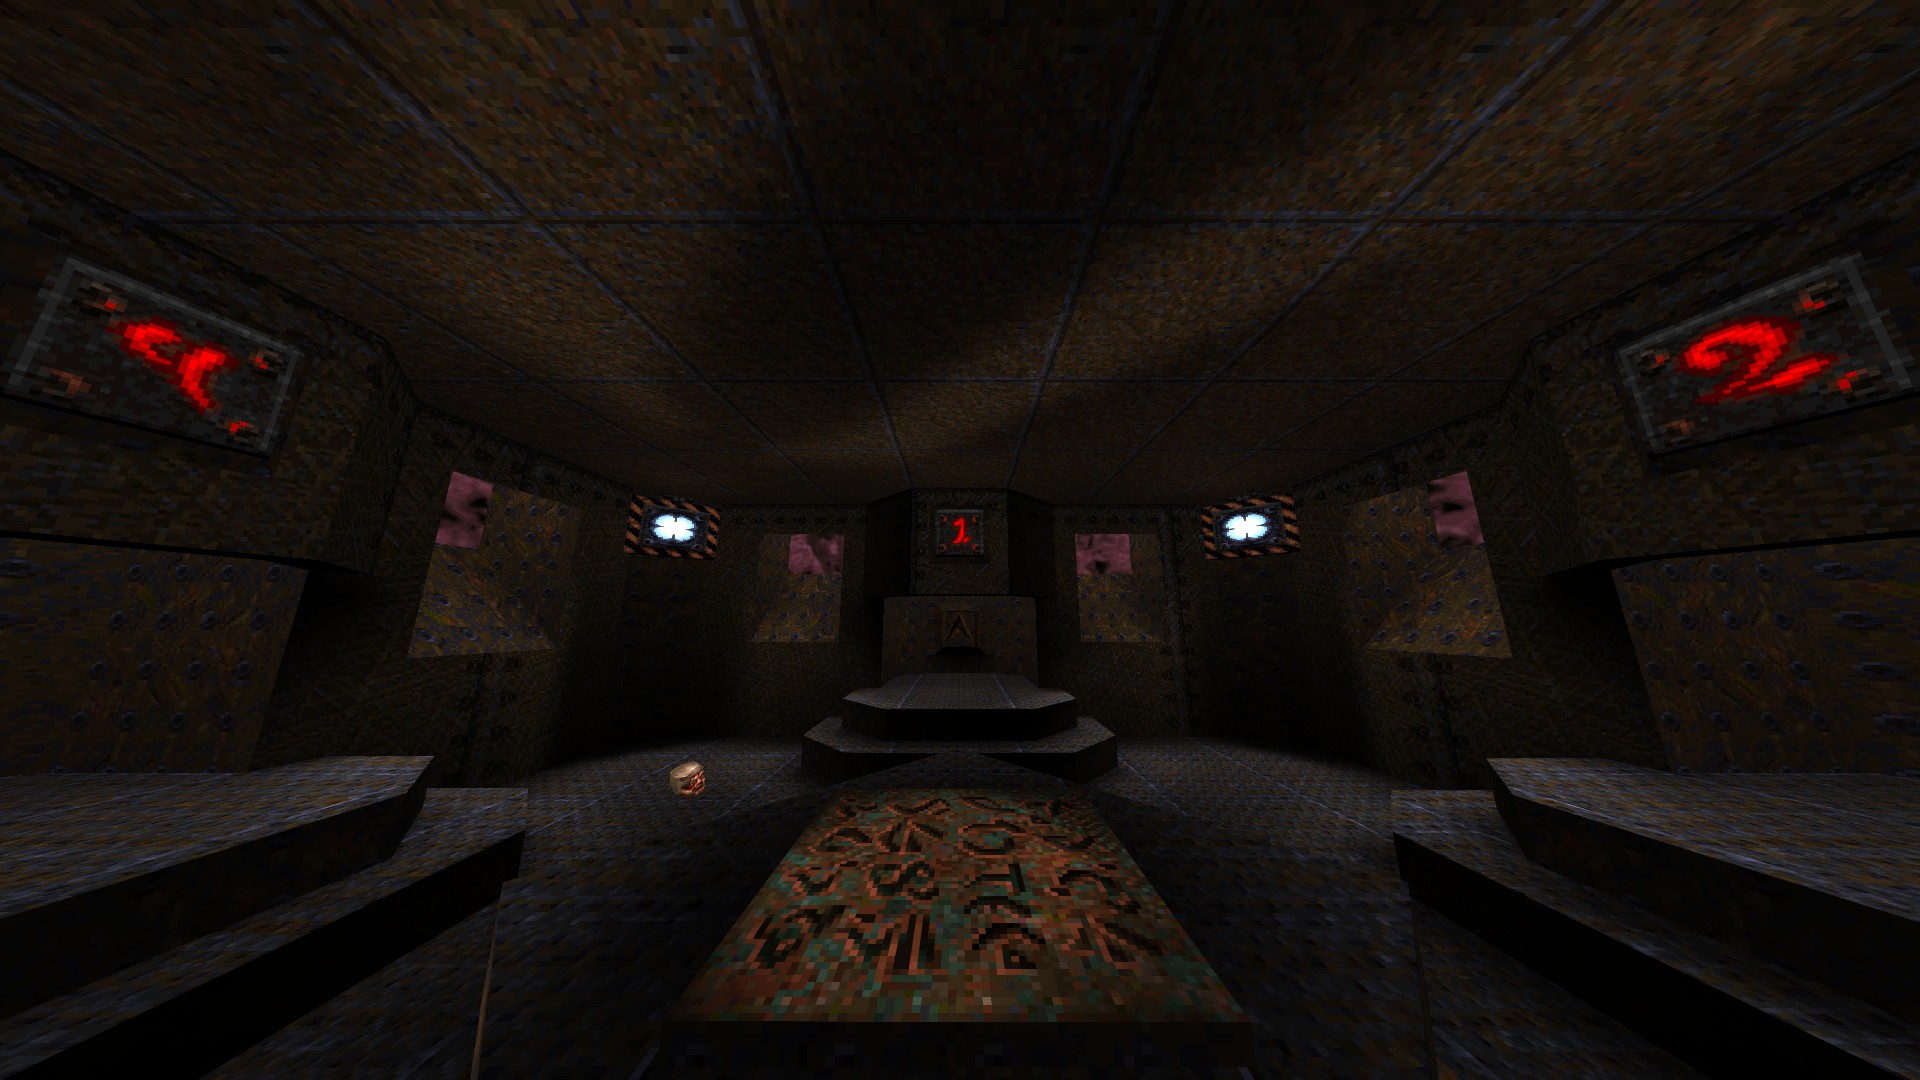
As per Quake fashion, Dissolution of Eternity has a start map of its own where you select the difficulty level you like to play on by going through the appropriate portal. Likewise, the highest difficulty level, Nightmare, can only be reached via an out of sight one.
To access Nightmare difficulty, first go through any of the portals that leads to the three easier difficulty levels. After that, look for three shootable buttons within the episode selection chamber: the first and the second are on the sides of the said area, while the third one is hidden behind the portal that takes you back to the difficulty selection chamber (this one can be shot through the portal). After shooting all three of them, stand on either side of the floor plaque in the center of the chamber. Doing so activates a hidden lift that takes you to the related portal.
This guide assumes you are opting for Hard or Nightmare. On lower difficulty levels, items found by discovering secrets or the encounters mentioned in the descriptions may differ.
E1: Hell's Fortress - Part I
This section covers the first four levels of E1 that contain a total of 18 secrets.
---
R1M1: DEVIANT'S DOMAIN
1/4 - Go towards the river of slime in the initial outdoor area and jump down into it. Grab the biosuit and swim around to collect the ammo and the health packs lying at the bottom of the riverbed. According to your preference, you can leave this one alone for now and get it just before exiting the level as you go over the drawbridge which should be up by that point.
2/4 - Get the elevator on your path moving by stepping onto it, step aside and drop down into the opening to find a hidden room that contains a super shotgun as well as an armor to get you jump-started.
3/4 - After getting the silver key and riding the elevator down, turn back as it ascends and dive into the slime. Grab the biosuit and swim to the nearby alcove to find a megahealth and some ammo.
4/4 - At the end of the second boat ride, shoot the button above the first door you go through to get a power shield spawned on the other side of the river of slime.
---
R1M2: DREAD PORTAL
1/4 - Upon start, jump down into the underwater section below through either the opening on your left or right and press the button on the wall to get the quad damage in the middle of the room.
2/4 - After getting through the initial battle, dive into the water once more and resurface through the opening to the left of the button there to find a hidden room.
3/4 - After getting the silver key and dropping down through the opening, a previously hidden compartment at the end of the corridor opens by itself. Get in there and collect the goodies on offer before it closes back.
4/4 - Shortly after going through the silver key door you find yourself in a pit. Press the button on the left to get the ceiling moving and quickly align yourself with the opening so as to jump and get on top of it once it is fully descended. Ascend back with the ceiling and follow the tunnel found at the top to eventually reach a hidden room.
---
R1M3: JUDGEMENT CALL
1/6 - In the initial room, jump down to the lower ledge via one of the openings to the either side of the overlook to find some ammo and a quad damage.
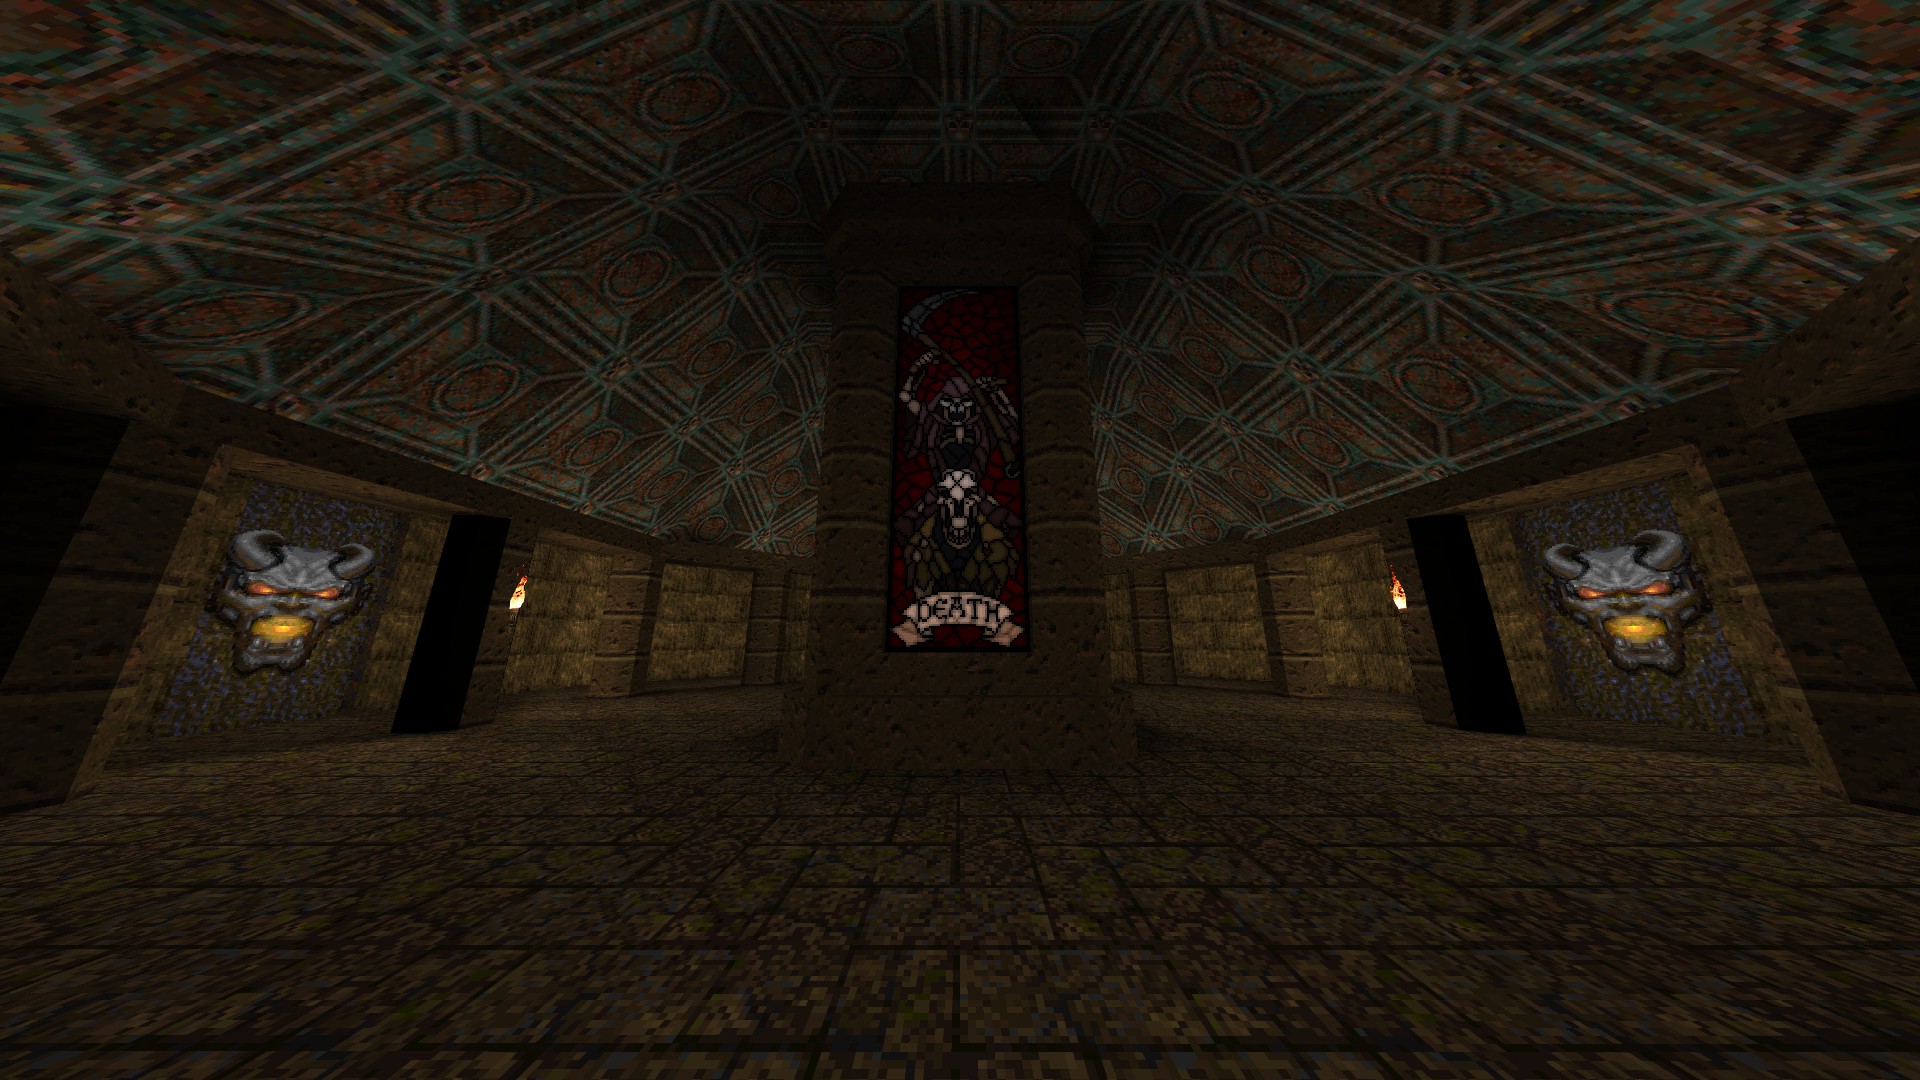
2/6 - Shoot the stained glass on your path to open up a hidden compartment in the same room.
3-4/6 - In the room where you open the underwater passage, turn around and shoot the button above the door to open up two hidden compartments in the same room. Grab the contents of both to get the third and the fourth secrets counted.
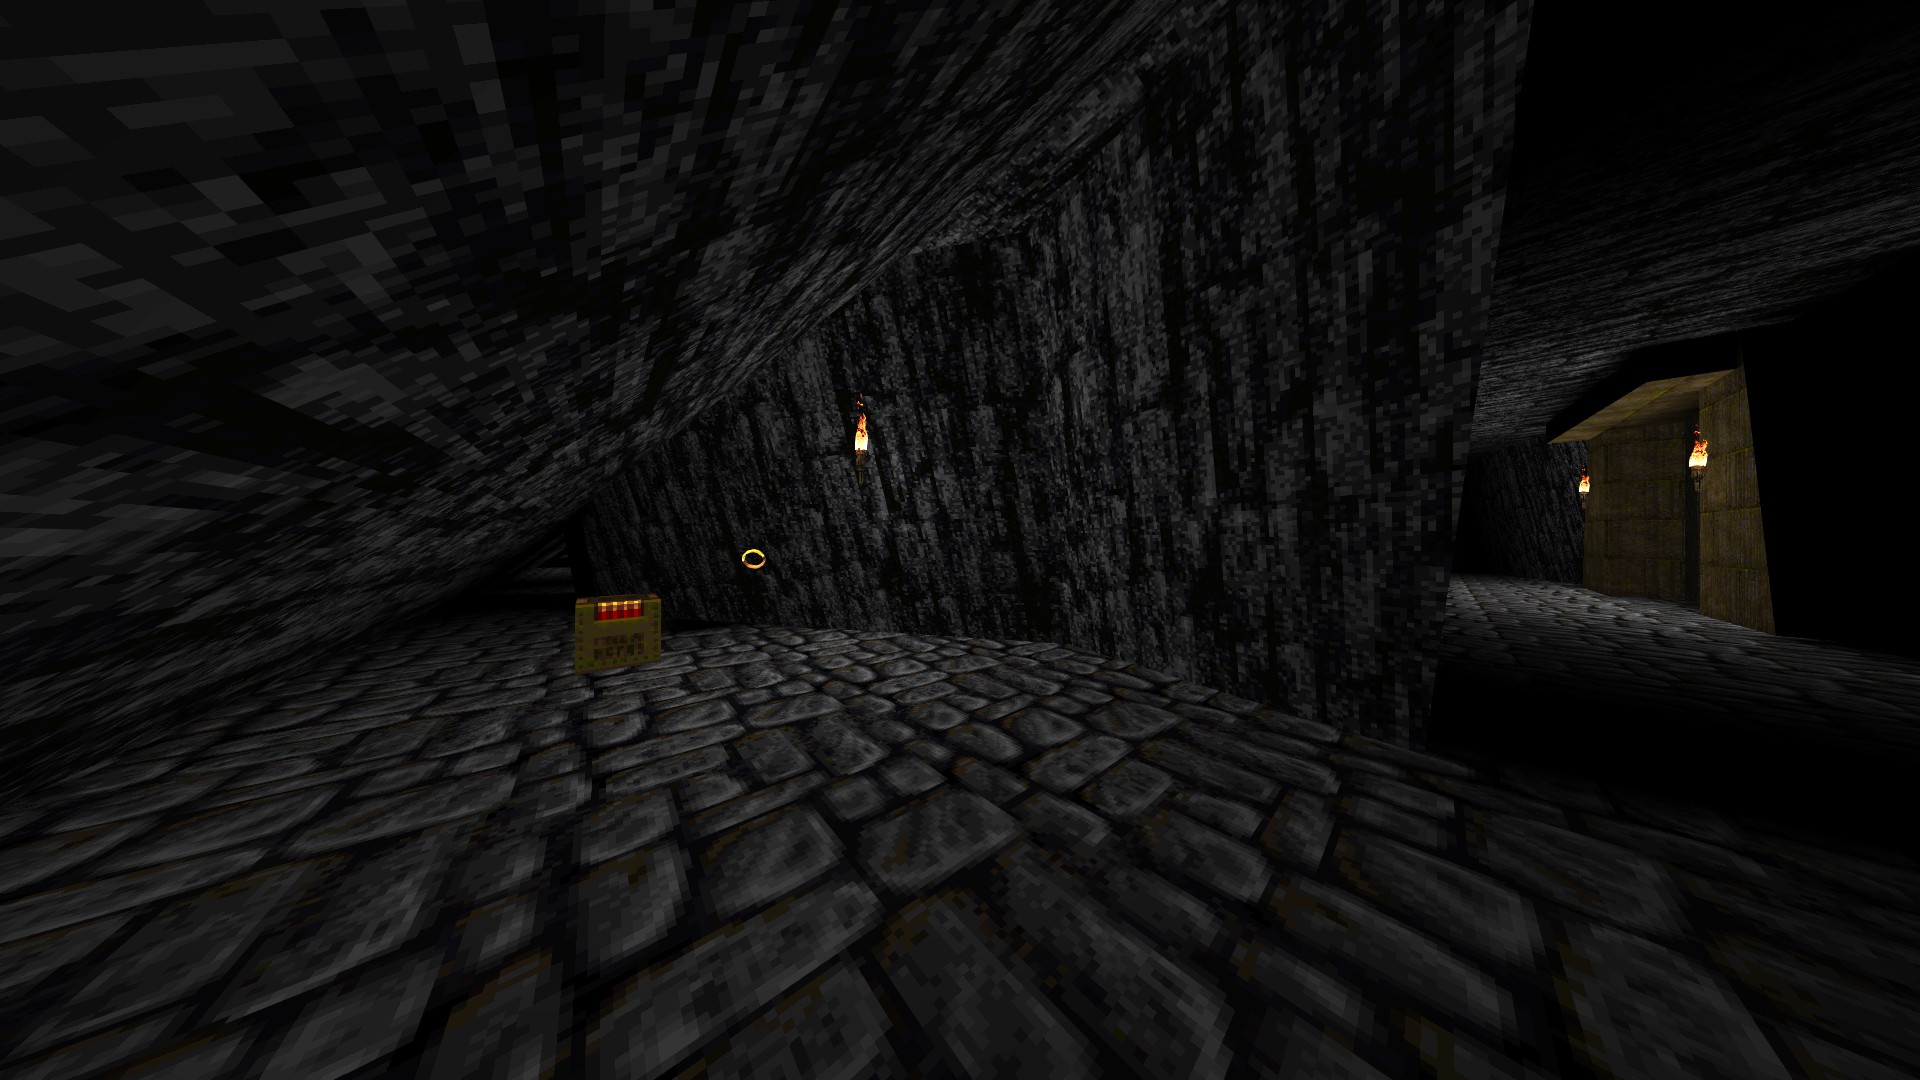
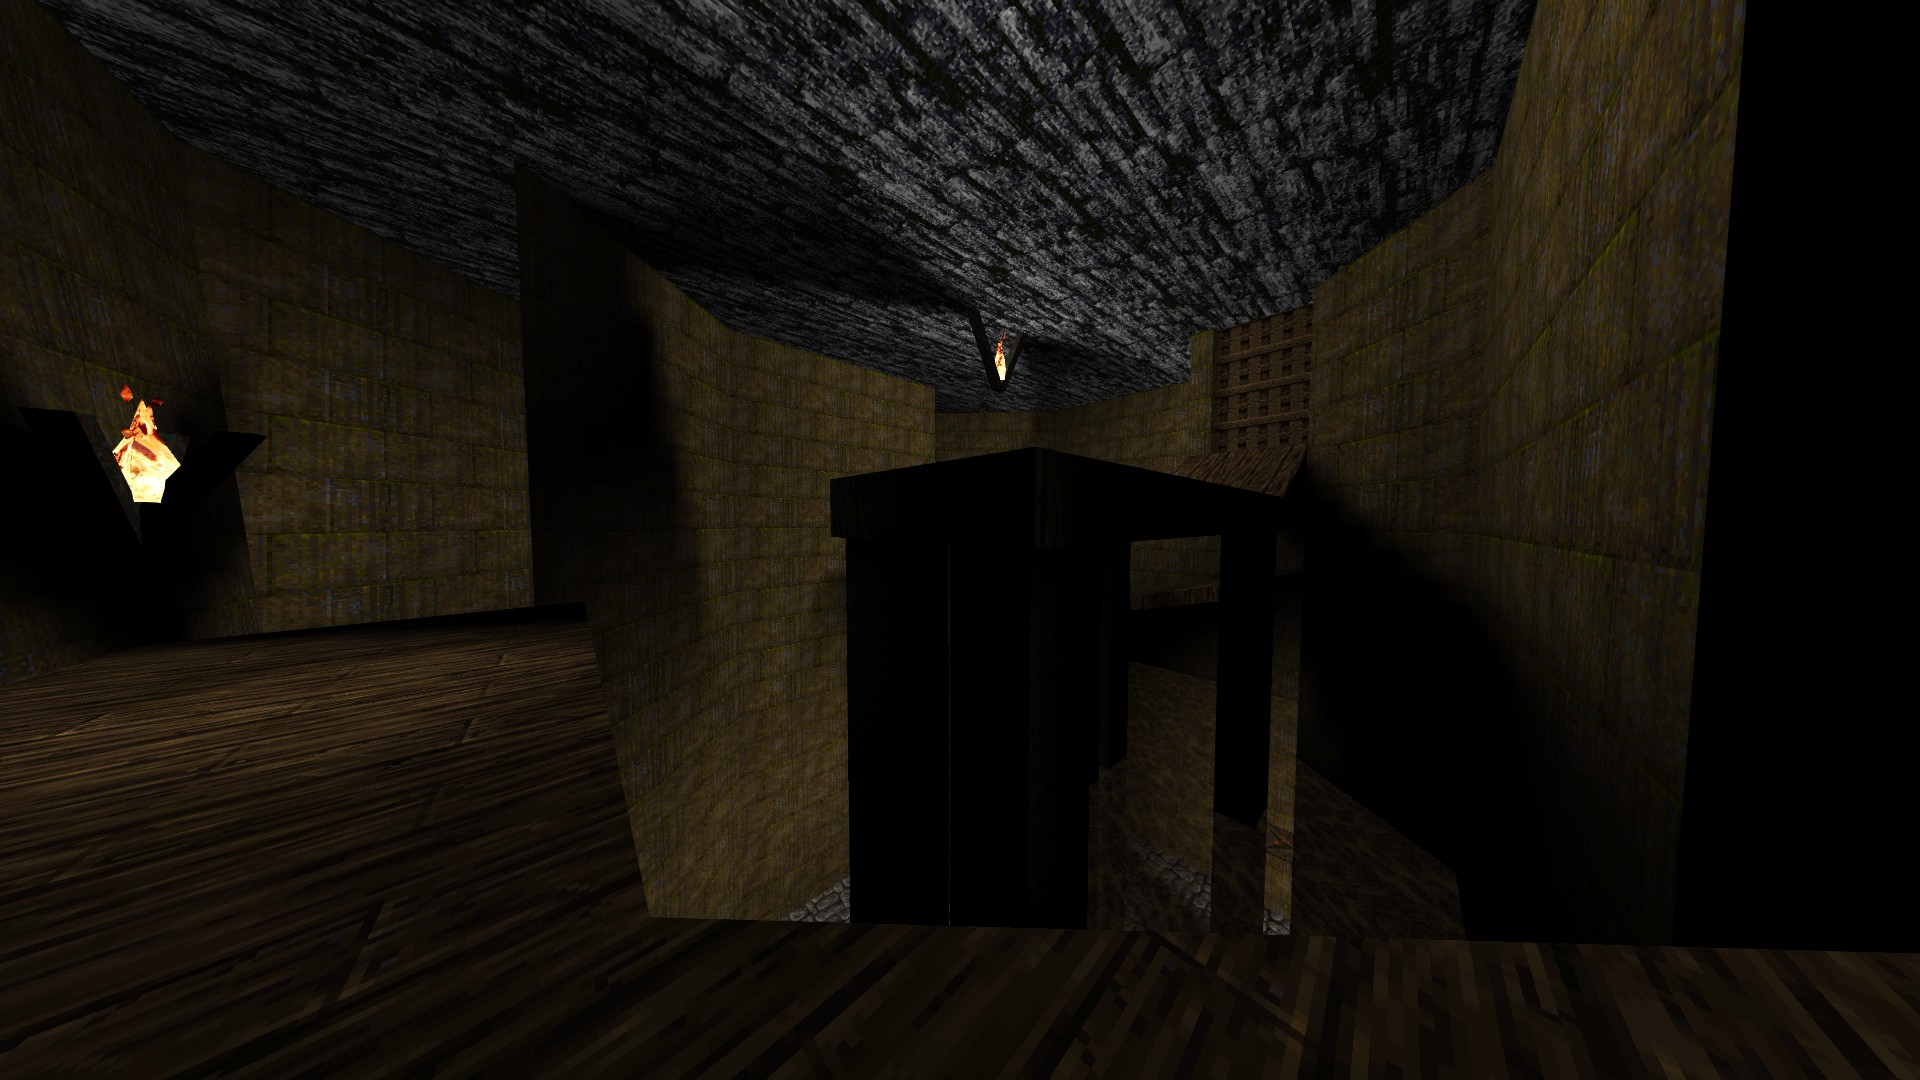
5/6 - As you go through the underwater passsage, surface for a moment and look for a blinking light fixture on the ceiling. Shoot it to open up a hidden compartment with a megahealth inside.
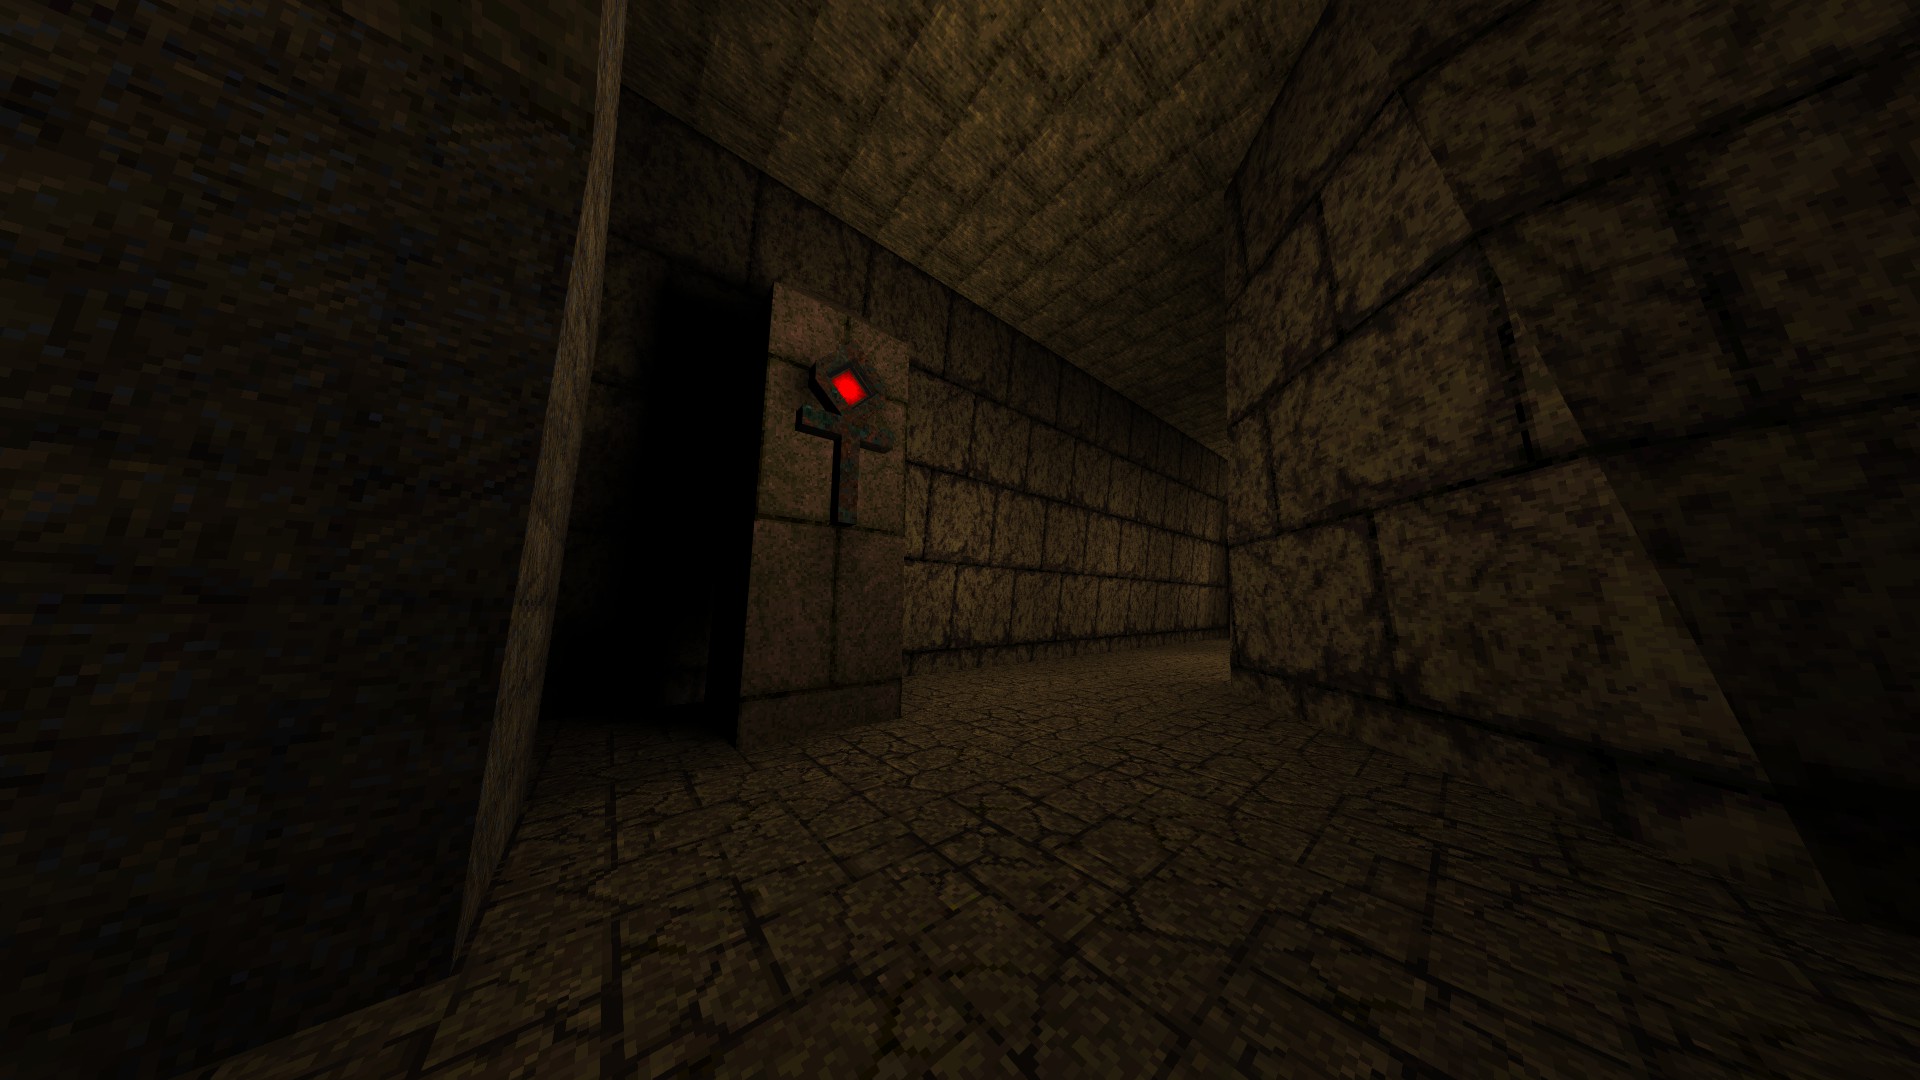
6/6 - Right after opening the gold key door, an enemy seemingly comes out of the wall to your left. After dealing with him, simply jump towards the wall in question to find out that is a fake one hiding an armor and some ammo from the sight.
---
R1M4: CAVE OF DEATH
1/4 - While traversing the cave in search of three buttons, look for a fourth one with a different texture and shoot it to open up a hidden area nearby.
2/4 - As soon as you dive into the water to take the underwater path, have a look around before moving towards the tunnel to find an armor and some ammo on the side.
3/4 - After crossing the bridge that comes right after the cart ride, turn around and shoot the button underneath to reveal a hidden compartment nearby.
4/4 - In the final room, drop down from the walkway to the metal plate below to get it lift you to the upper ledge where an armor and some health packs reside.
E1: Hell's Fortress - Part II
This section covers the remaining three levels of E1 that contain a total of 16 secrets.
---
R1M5: TOWERS OF WRATH
1/7 - In the long hallway with lava on one side, shoot the pulsating light fixture on the ceiling of the adjacent room to reveal a hidden teleporter and take it to reach the megahealth that can be seen residing in the caged corner of the hall in question.
2/7 - Following on from the previous secret, a hidden compartment opens up after you as you pass the corridor in the room right after the elevator ride. So turn around for a moment and pick up the goodies inside before moving on.
3/7 - In the room where you come across the silver key door, jump into the pool, turn around and shoot the button to open up a hidden compartment nearby.
4/7 - In the same room with the silver key, hit the part of the wall opposite the cage that also breaks the texture pattern to reveal another hidden compartment.
5/7 - Right after getting the silver key, look for an alcove under the stairs to get a biosuit before the next swim.
6/7 - In the room with the gold key, make your way to the ledge via jumping and get the megahealth lying out in the open.
7/7 - While in the lower floor of the tower, look for a book that slightly juts out from the shelves and press it to reveal a quad damage.
---
R1M6: TEMPLE OF PAIN
1/5 - Right after your first dive, look for a piece of wood that juts out at the end of the corridor. Get under that and jump-touch it to reveal a hidden teleporter next to it.
2/5 - After clearing out the cemetery, make your way up to the roof via the semi-hidden steps on the left to find an armor.
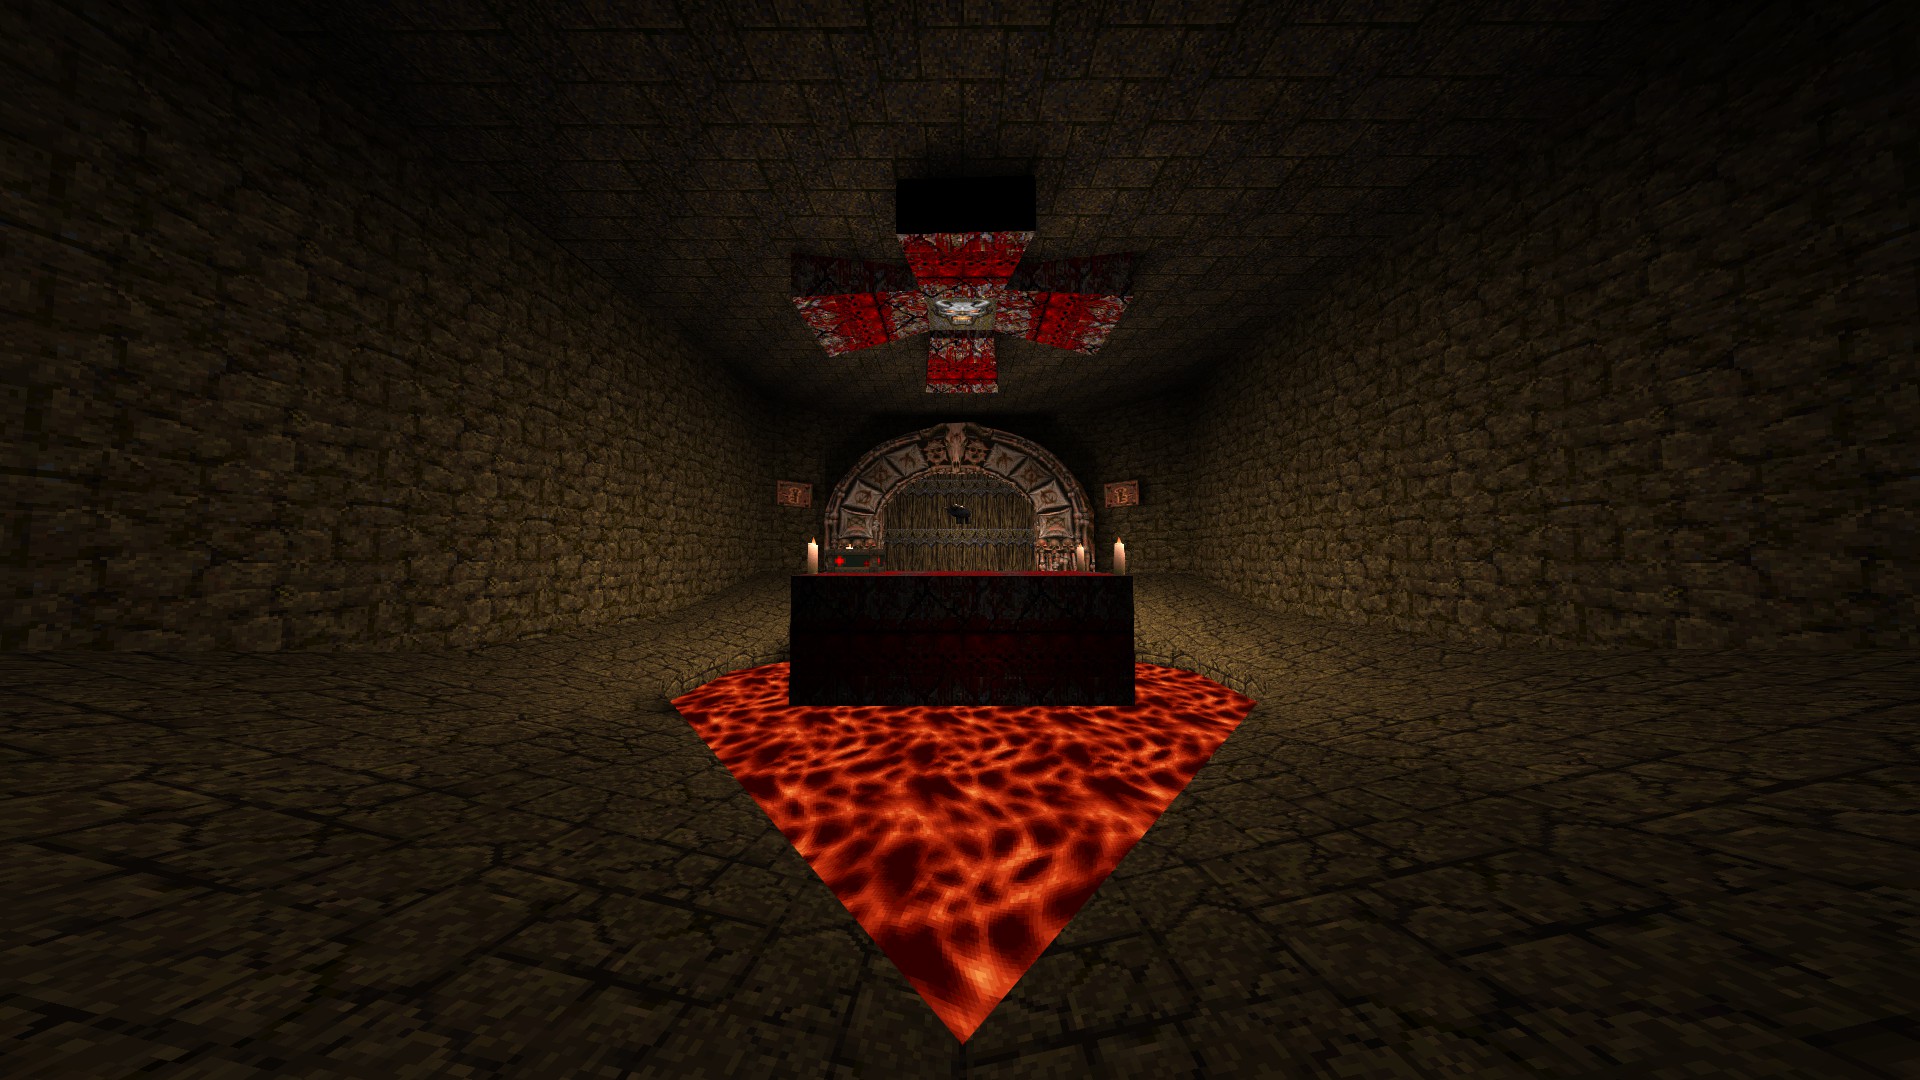
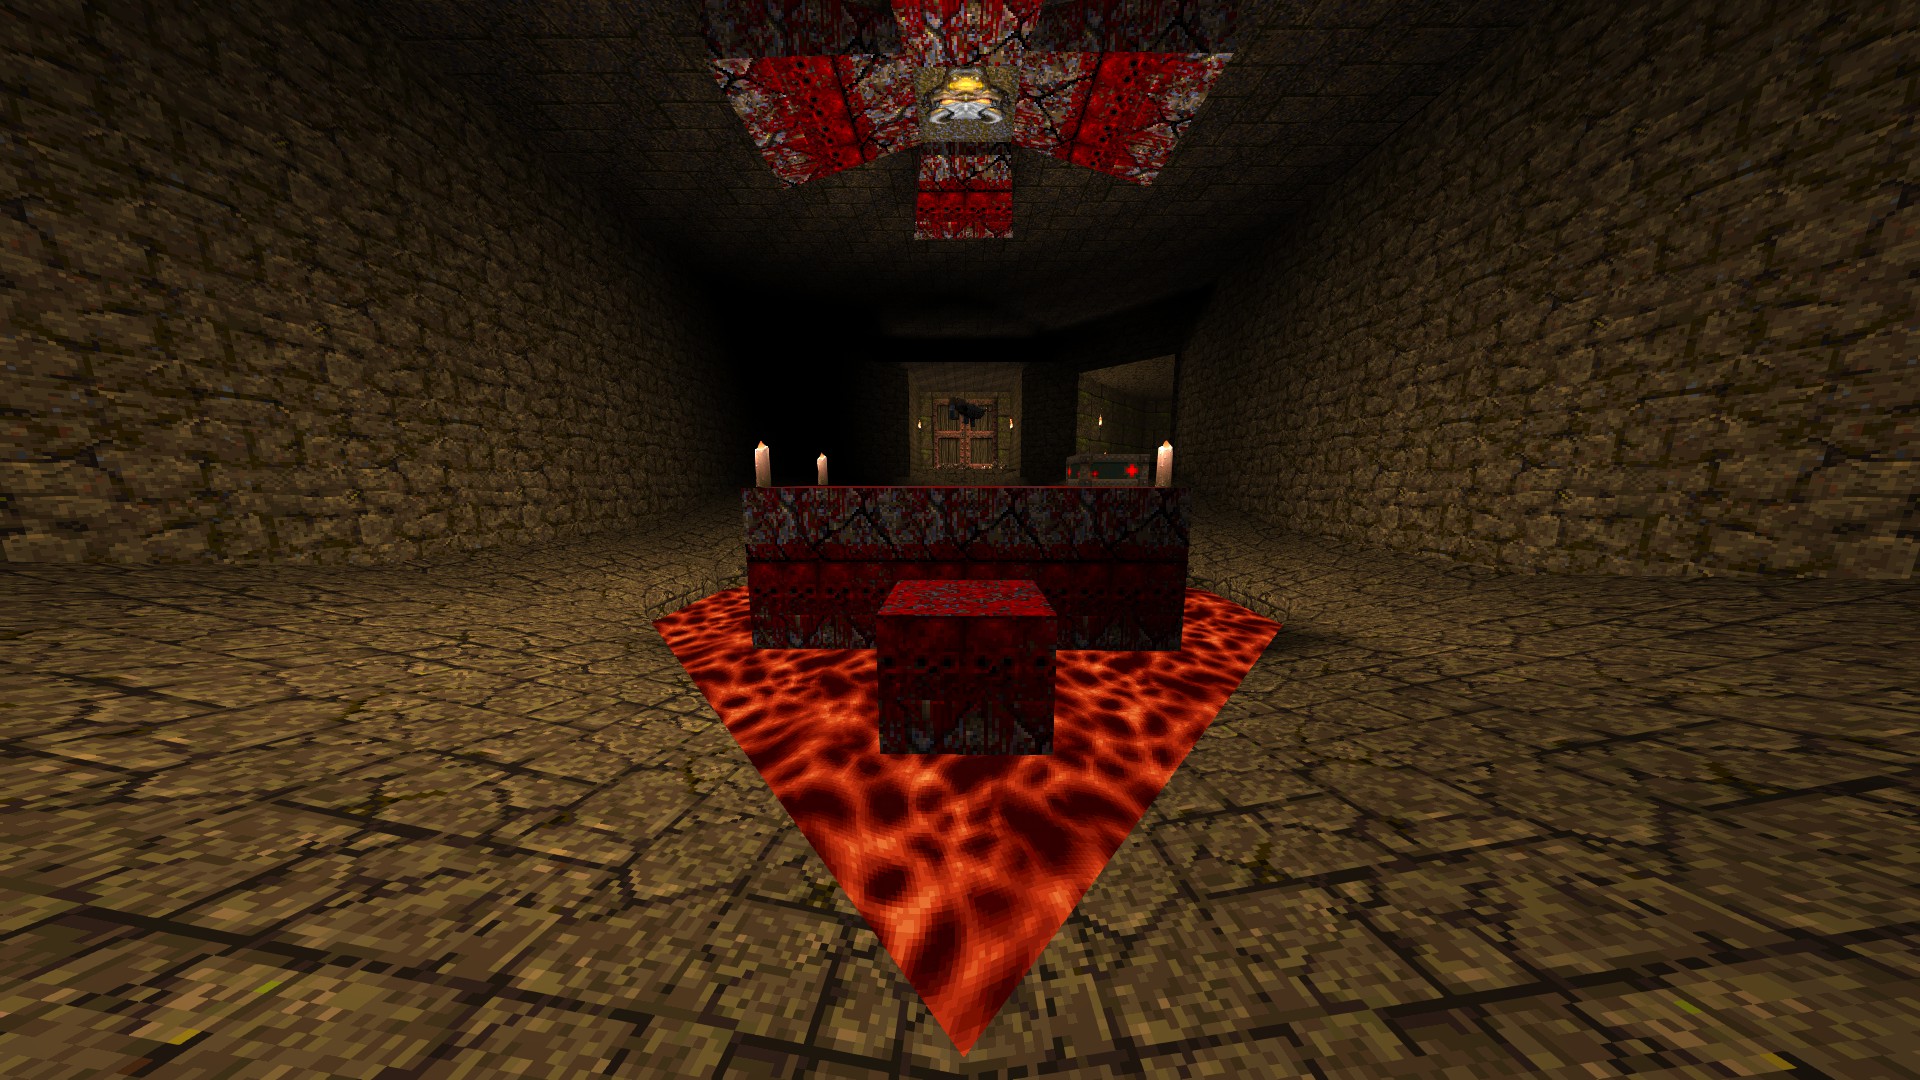
3/5 - In front of the gold key door, shoot the demon plate on the ceiling to make a step rise from the lava and help you get the lightning gun residing on the altar.
4/5 - After opening the silver key door, take the right path in the main hall to come across what seems to be a dead end. Get under the light source and jump-touch it to reveal a hidden teleporter that takes you to the quad damage on the walkway.
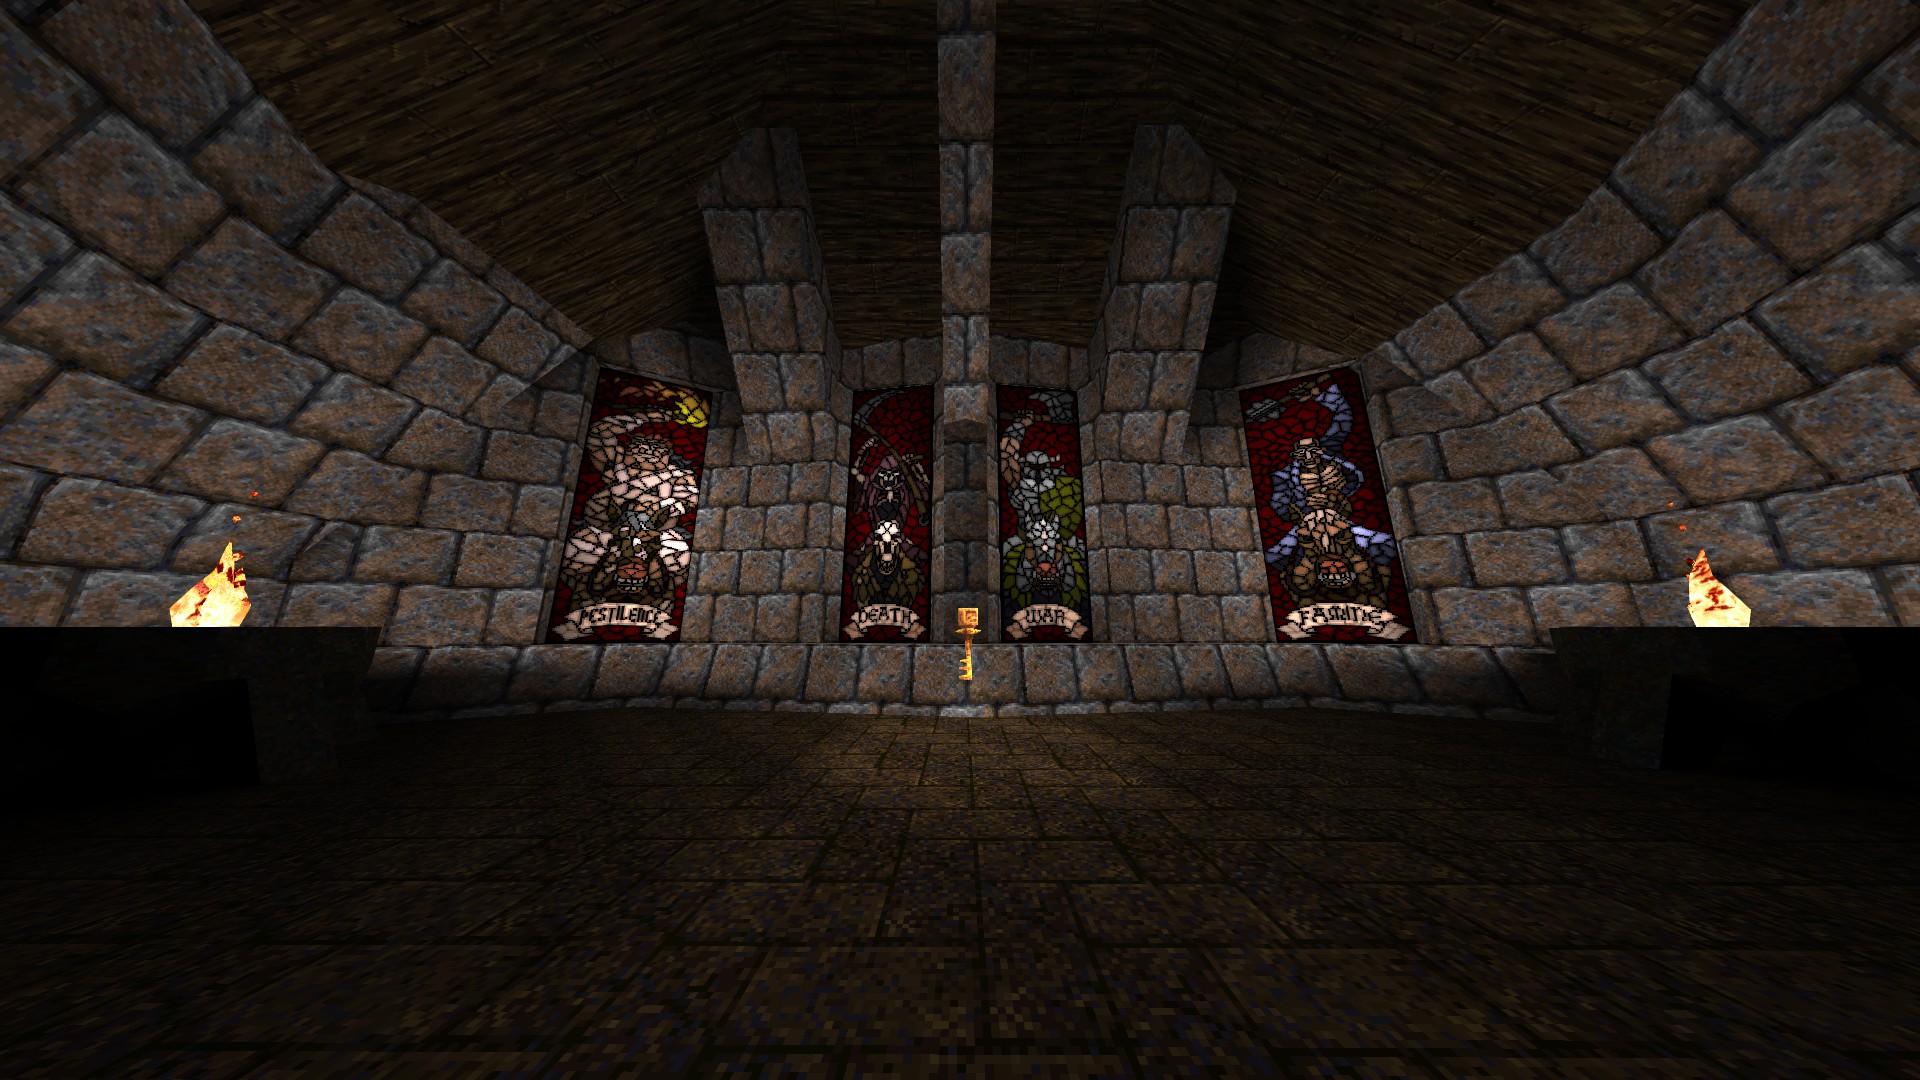
5/5 - After picking up the gold key, instead of leaving the room via the teleporter found behind the horsemen iconas, do it so via the newly-revealed opening under the altar in the previous hallway to find a power shield along the way.
---
R1M7: TOMB OF THE OVERLORD
1/4 - On the second floor, press the button at the end of the left row of spike shooters to reveal a hidden compartment under the nearby slope.
2/4 - As soon as you drop down to the lower floors, hit the mirrored one of the four iconas on the central pillar to reveal a hidden power shield.
3/4 - In the room just before the gold key, utilize the ledges on the walls to jump your way up to the quad damage residing in an alcove above.
4/4 - While activating the bridge in the caves, jump down into the slime to find a power shield in an alcove to your right.
E2: The Corridors of Time - Part I
This section covers the first four levels of E2 that contain a total of 11 secrets.
---
R2M1: TEMPUS FUGIT
1/3 - Take the other path on the roof of the structure in which you find a button to open the underwater grate. Extend the ledge by pressing the button at the end of the corridor, jump across and get the weapon and ammo on offer. Hit the wall on your left to reveal a hidden compartment with an armor and some more ammo inside.
2/3 - As you swim through the underwater section, hit the wall to the right of the pipe that leads to the gold key to reveal a hidden megahealth.
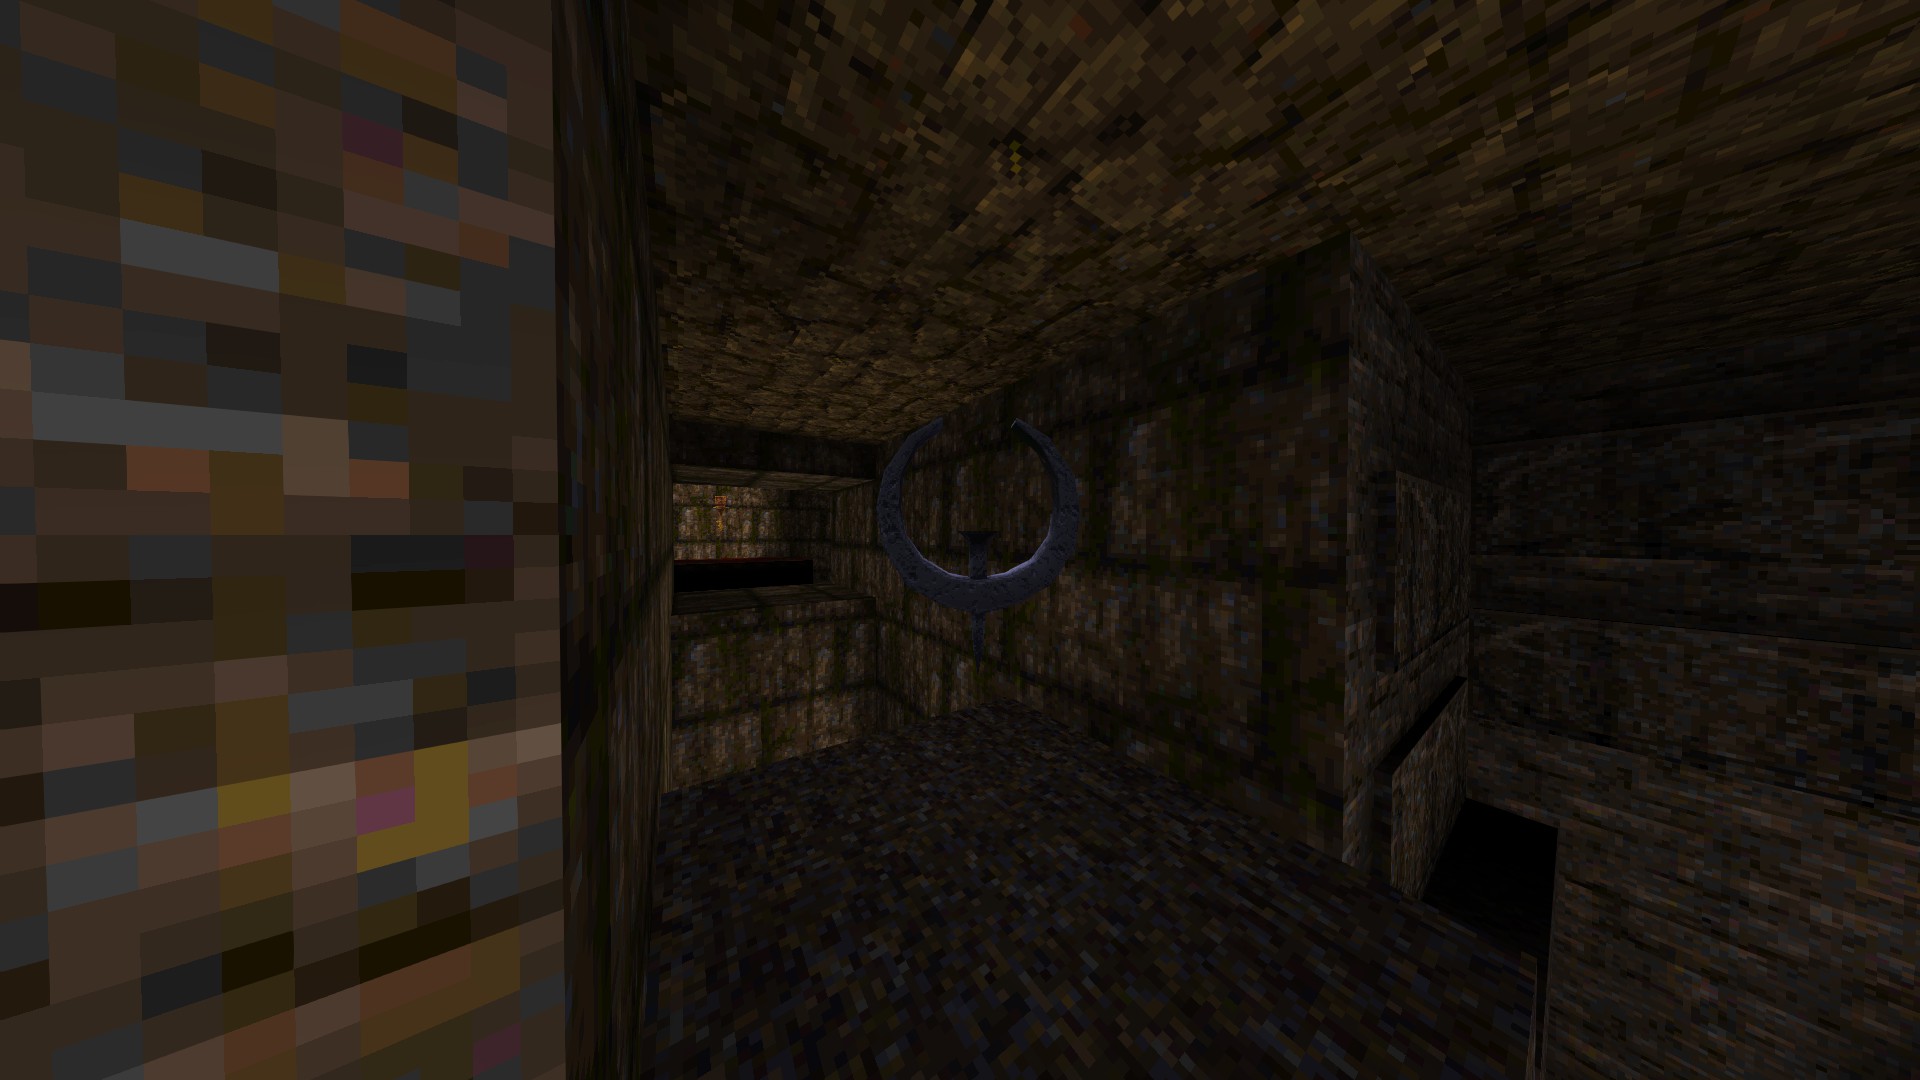
3/3 - Before going into the guardian's tomb, jump on top of the Quake logo in the middle of the stairs to get teleported to the ledge in the same area.
---
R2M2: ELEMENTAL FURY I
1/2 - Jump down to the area beneath the vertical crusher located on the upper part of the cave to find a hidden armor.
2/2 - In the wind tunnels' hub, shoot all of the four numbered plates found around the room. Doing so activates the lift behind the exit portal at the top of the structure. Ride it to get the quad damage lying out in the open.
---
R2M3: ELEMENTAL FURY II
1/1 - After dealing with the second hephaestus (aka lavaman), get into the side room full of spike shooters near the moving platforms on your path. Hug the wall to the right of the window to get behind it and find a hidden button. Hit the button to reveal a flight of stairs next to the platforms and get the megahealth residing on the ledge.
---
R2M4: CURSE OF OSIRIS
1/5 - As you enter the crypt chamber, look to your right and shoot the button above the spike pillar to reveal a hidden room under the crpyt that holds a ring of shadows and some ammo.
2/5 - Once you come across the boat, jump your way up to the top by via the set of stairs found on the other side of it to find a megahealth residing there.
3/5 - Near the tomb entrance, shoot the red light fixture on either of the two pillars found in the area to reveal an opening under the cobra statue facing it. Drop down, get the goodies and press the button in the room before leaving to maximize the loot you can get from the nearby treasure rooms.
4/5 - Return to the tomb entrance and shoot the fixture on the other pillar to reveal another opening under the cobra statue facing it. Drop down and get the goodies all the same.
5/5 - Before leaving via the portal, hit the panel between the ankhs to the left to reveal a teleporter that gets you to the top of the pillars in the same room.
E2: The Corridors of Time - Part II
This section covers the remaining four levels of E2 that contain a total of 14 secrets.
---
R2M5: WIZARD'S KEEP
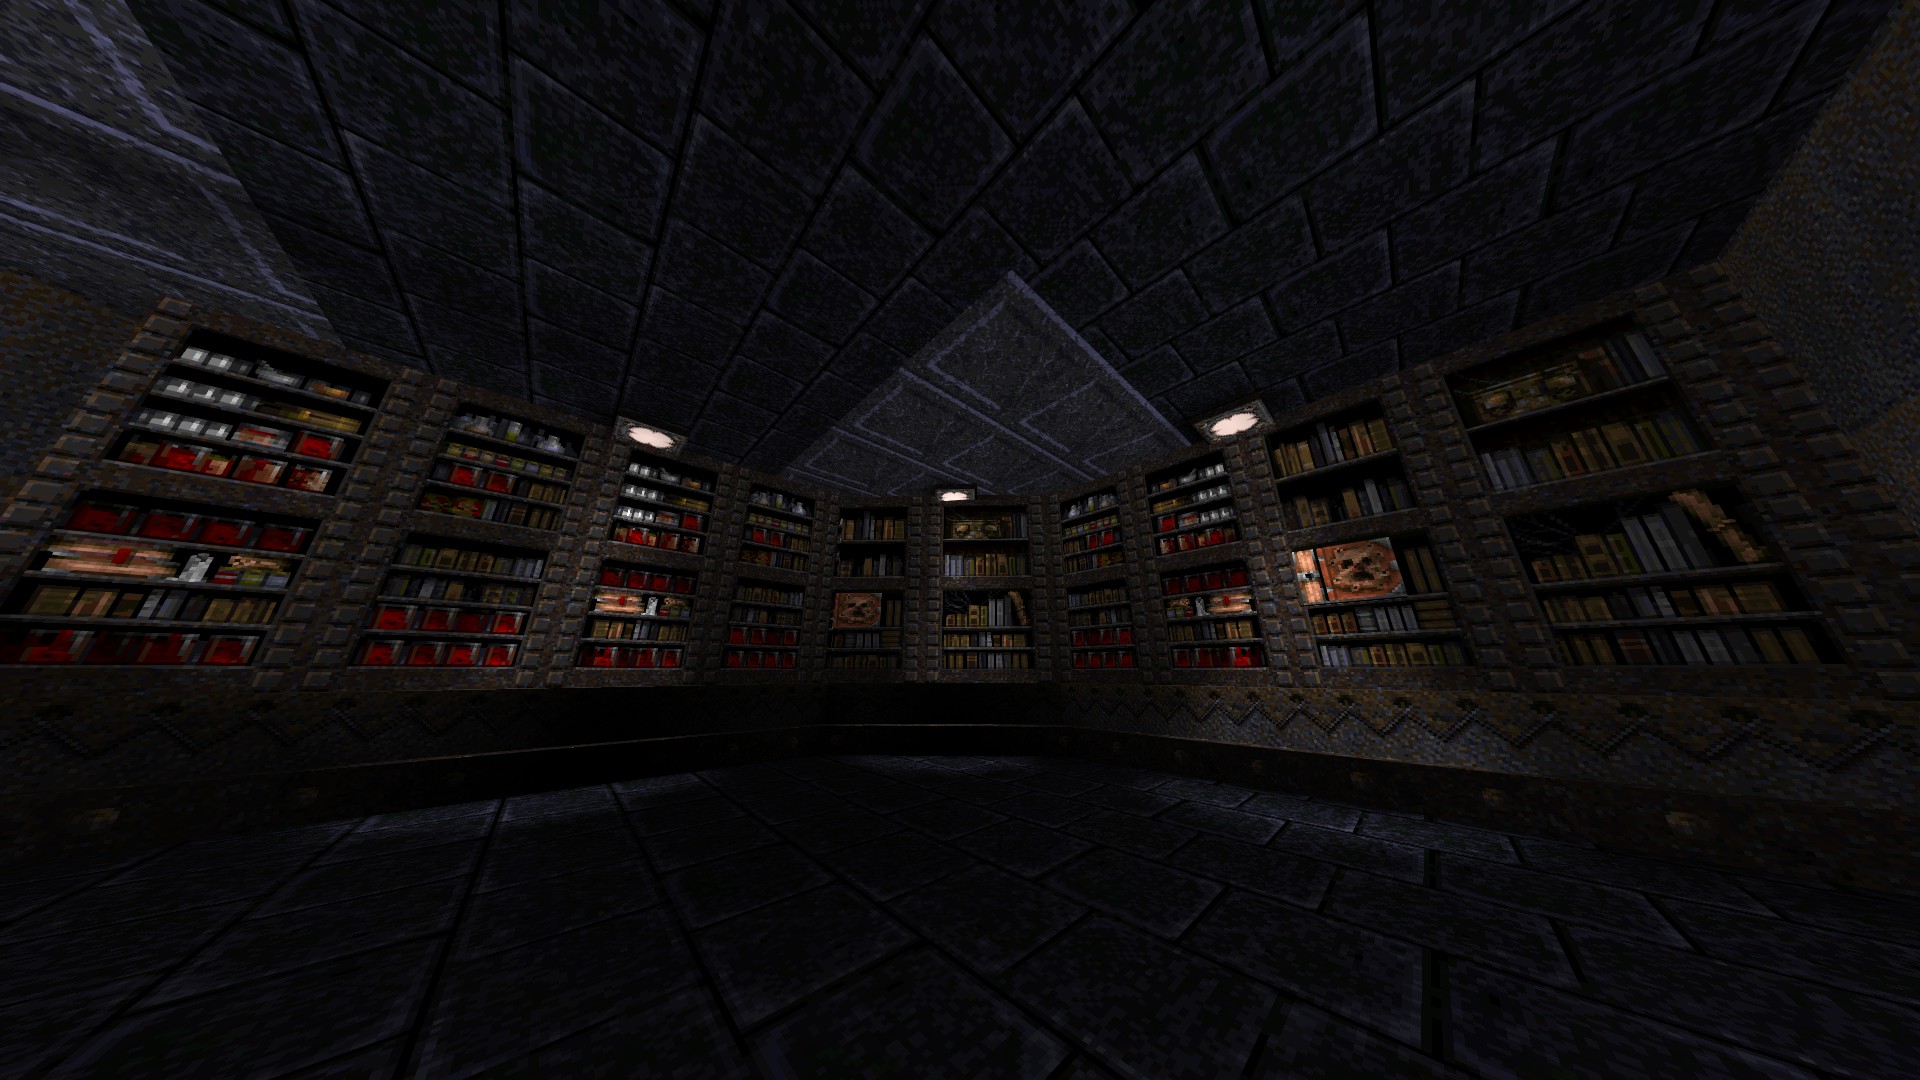
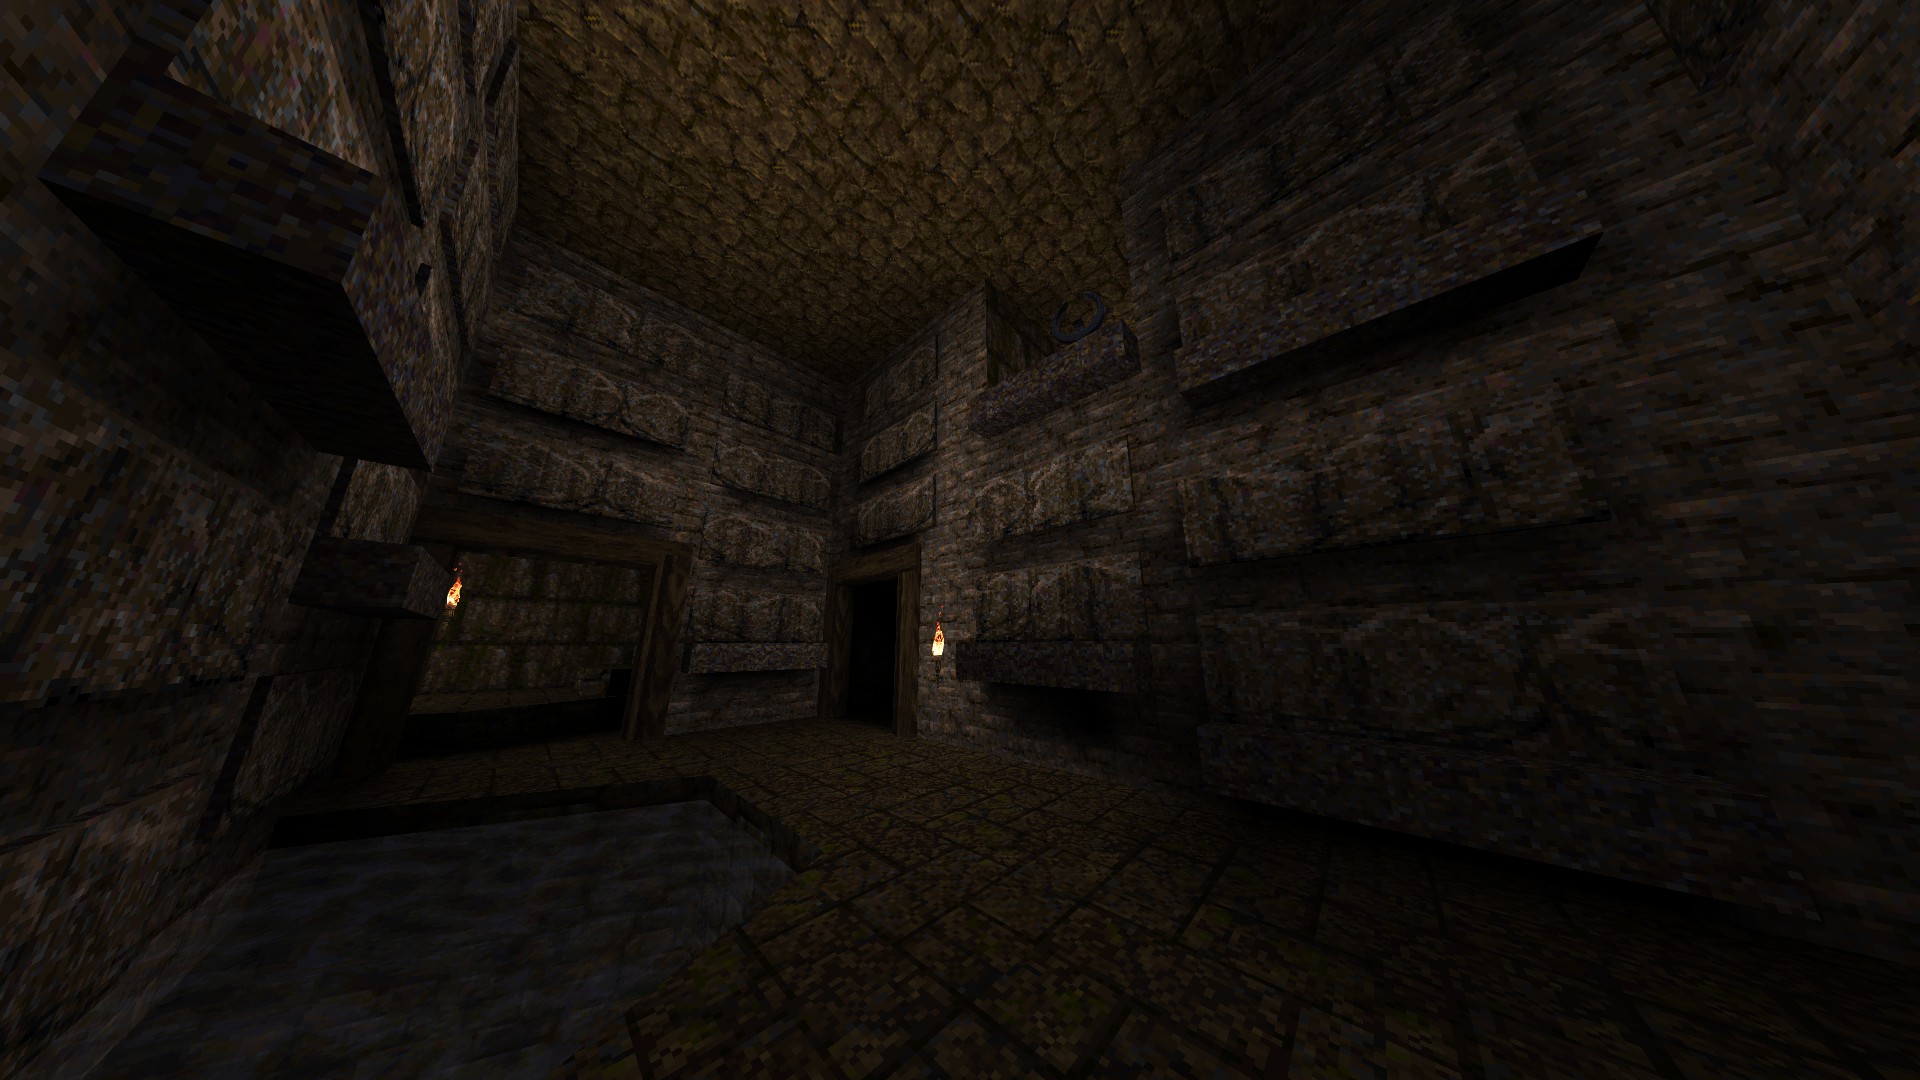
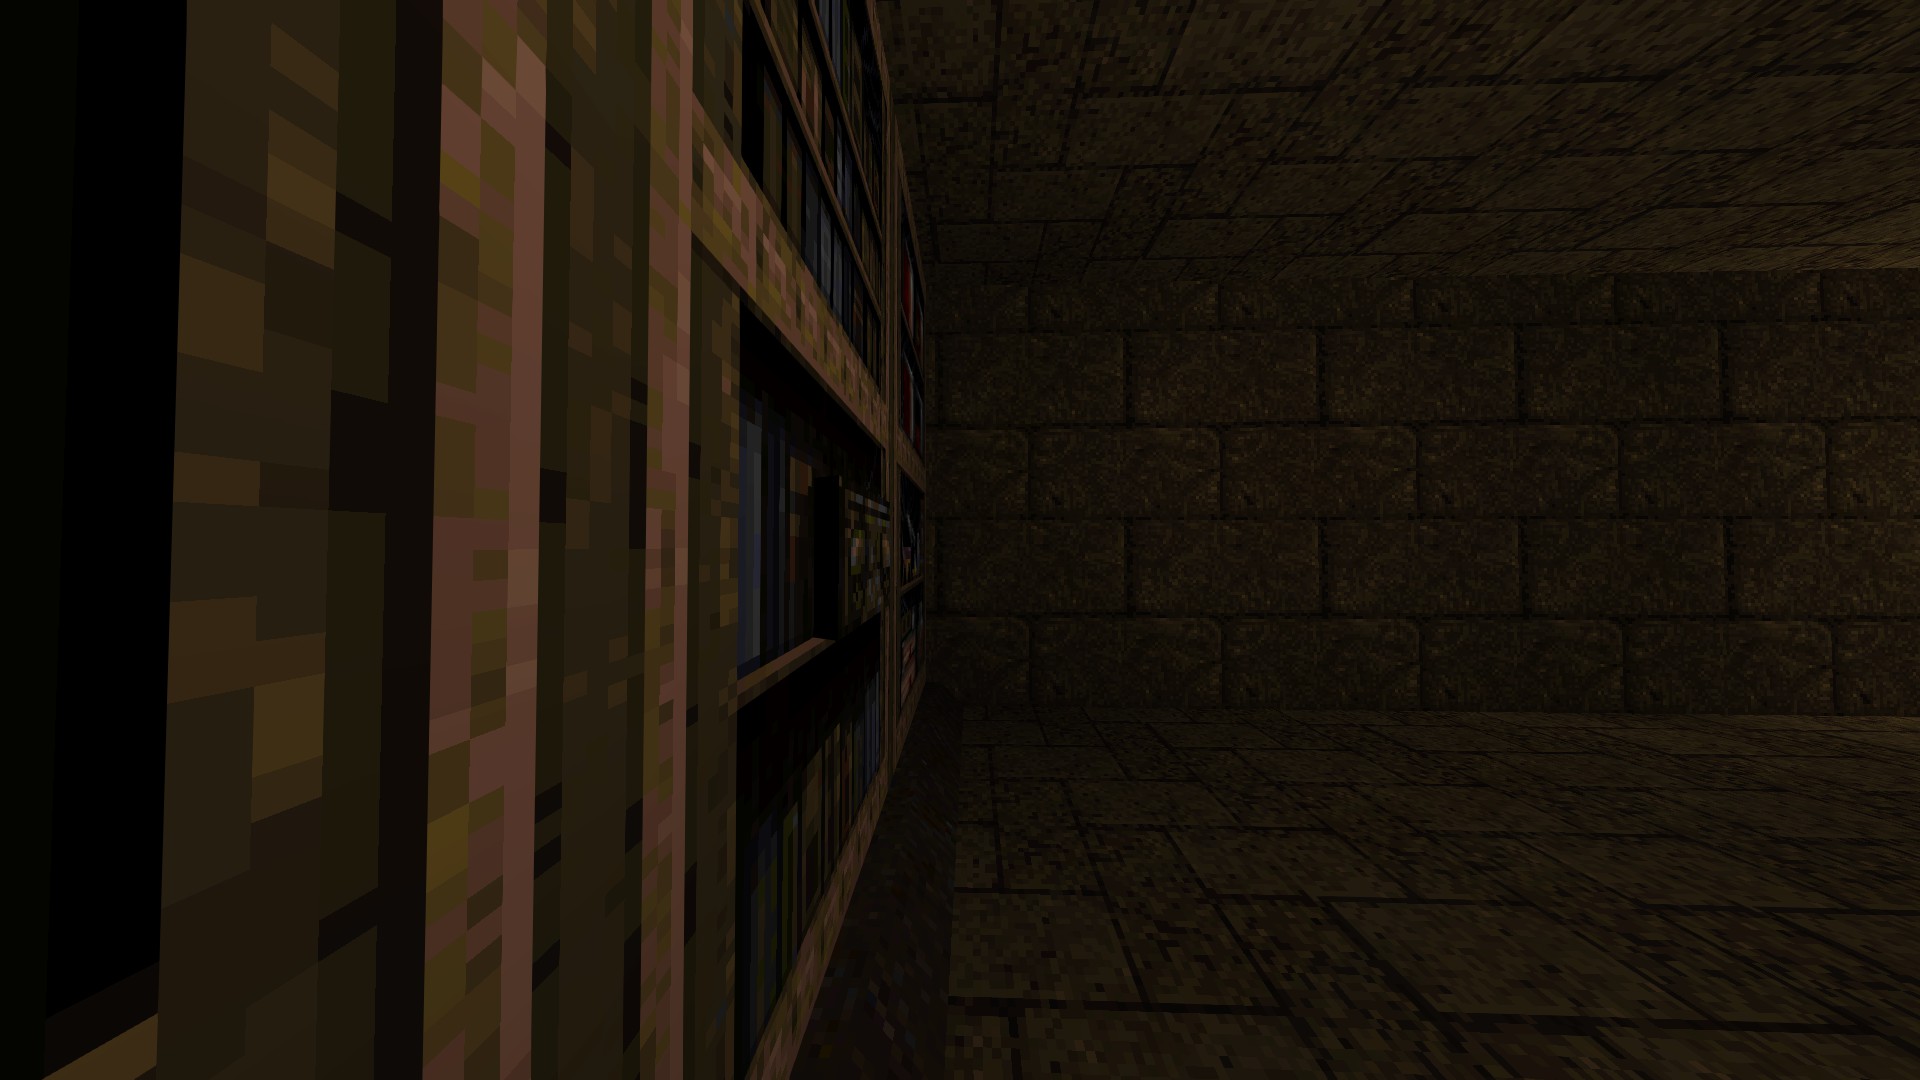
1/4 - Upon start, jump-touch the piece of wood between the shelves to open up a hidden compartment.
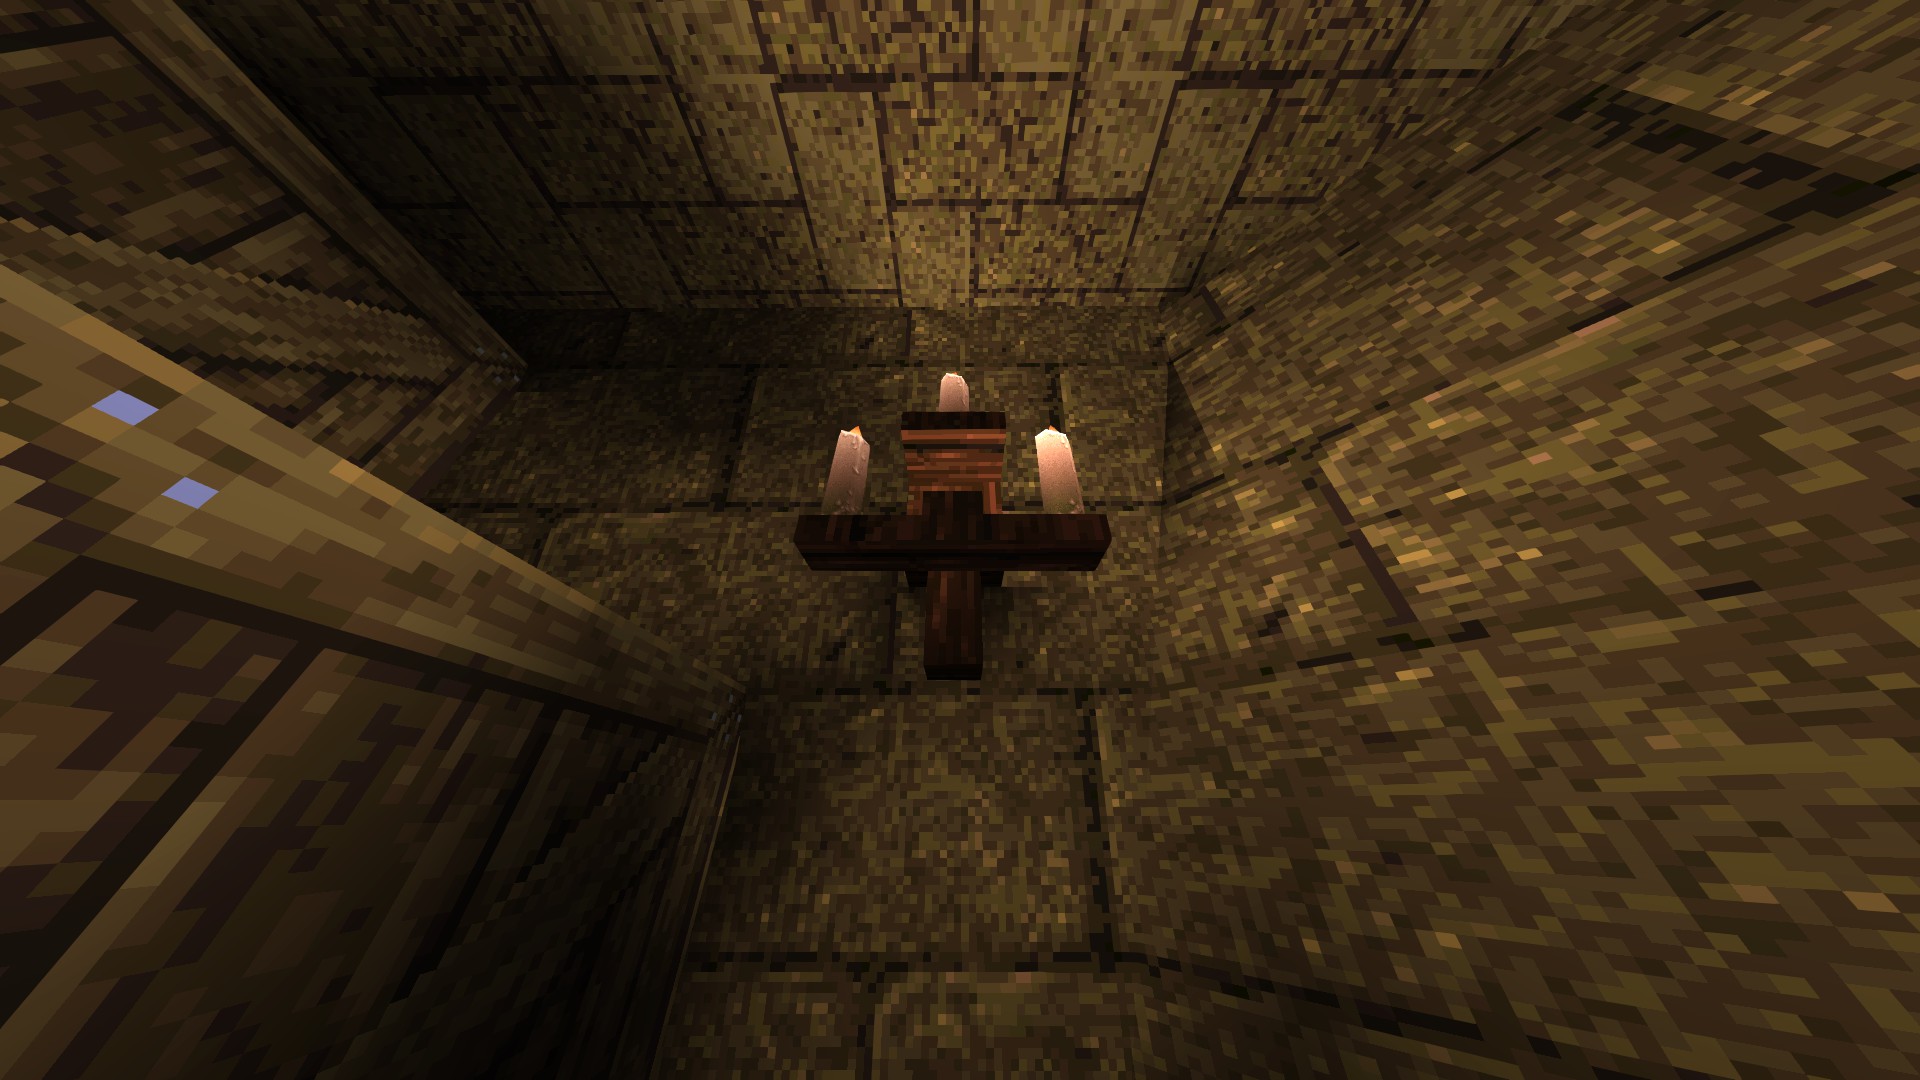
2/4 - Look behind the altar on your path for three candles and shoot the darker one in the middle to reveal a button on the front side of the altar. Shoot that button to open up a hidden compartment in the same room.
3/4 - Following on from the previous secret, jump over the spikes in the corner and land on the grating behind them to open up a hidden alcove in the adjacent room.
4/4 - After pressing the button that grants you access to the hallway leading outside, stand on the darkened part of the floor by it and shoot the dagger figure in the stained glass to get lifted to a hidden alcove.
Extra - As you make your way to the gold key, stop by for a second in the room with the elevator and the shelves. Press the container that juts out from the said shelves and jump-touch the wall candelabra on the opposite side to reveal an adjacent hidden room.
---
Easter Egg
Shoot the wall decoration found near the gold key to receive a message from the developers.
---
R2M6: BLOOD SACRIFICE
1/5 - Right after getting over the lava pit, go through the part of the wall with slightly misaligned texturing to find a gravity belt on the other side.
2/5 - Just after making your way over another lava pit, look for the part of the wall that breaks the texture pattern and shoot it to reveal a hidden compartment.
3/5 - Shoot the the wall in the corner of the corridor adjacent to the room with the snake statue to access a hidden area.
4/5 - Following on from the previous secret, jump on top of the skull motif near the end of the corridor to open up another hidden area nearby.
5/5 - After getting the silver key, look for a snake decoration on the bend as you traverse the following tunnels and jump-touch it to reveal a hidden compartment next to it.
---
R2M7: LAST BASTION
1/5 - Upon start, jump down into the river and swim left to come upon a hidden cave.
2/5 - Before going through the silver key door, explore the path further down the crusher on the first floor and shoot the button above the slime pit to reveal a hidden megahealth.
3/5 - Following on from the previous secret, get behind the crusher in question and press the button at the back. Upon returning to the silver key doors, look for a newly-revealed alcove with a ring of shadows in it.
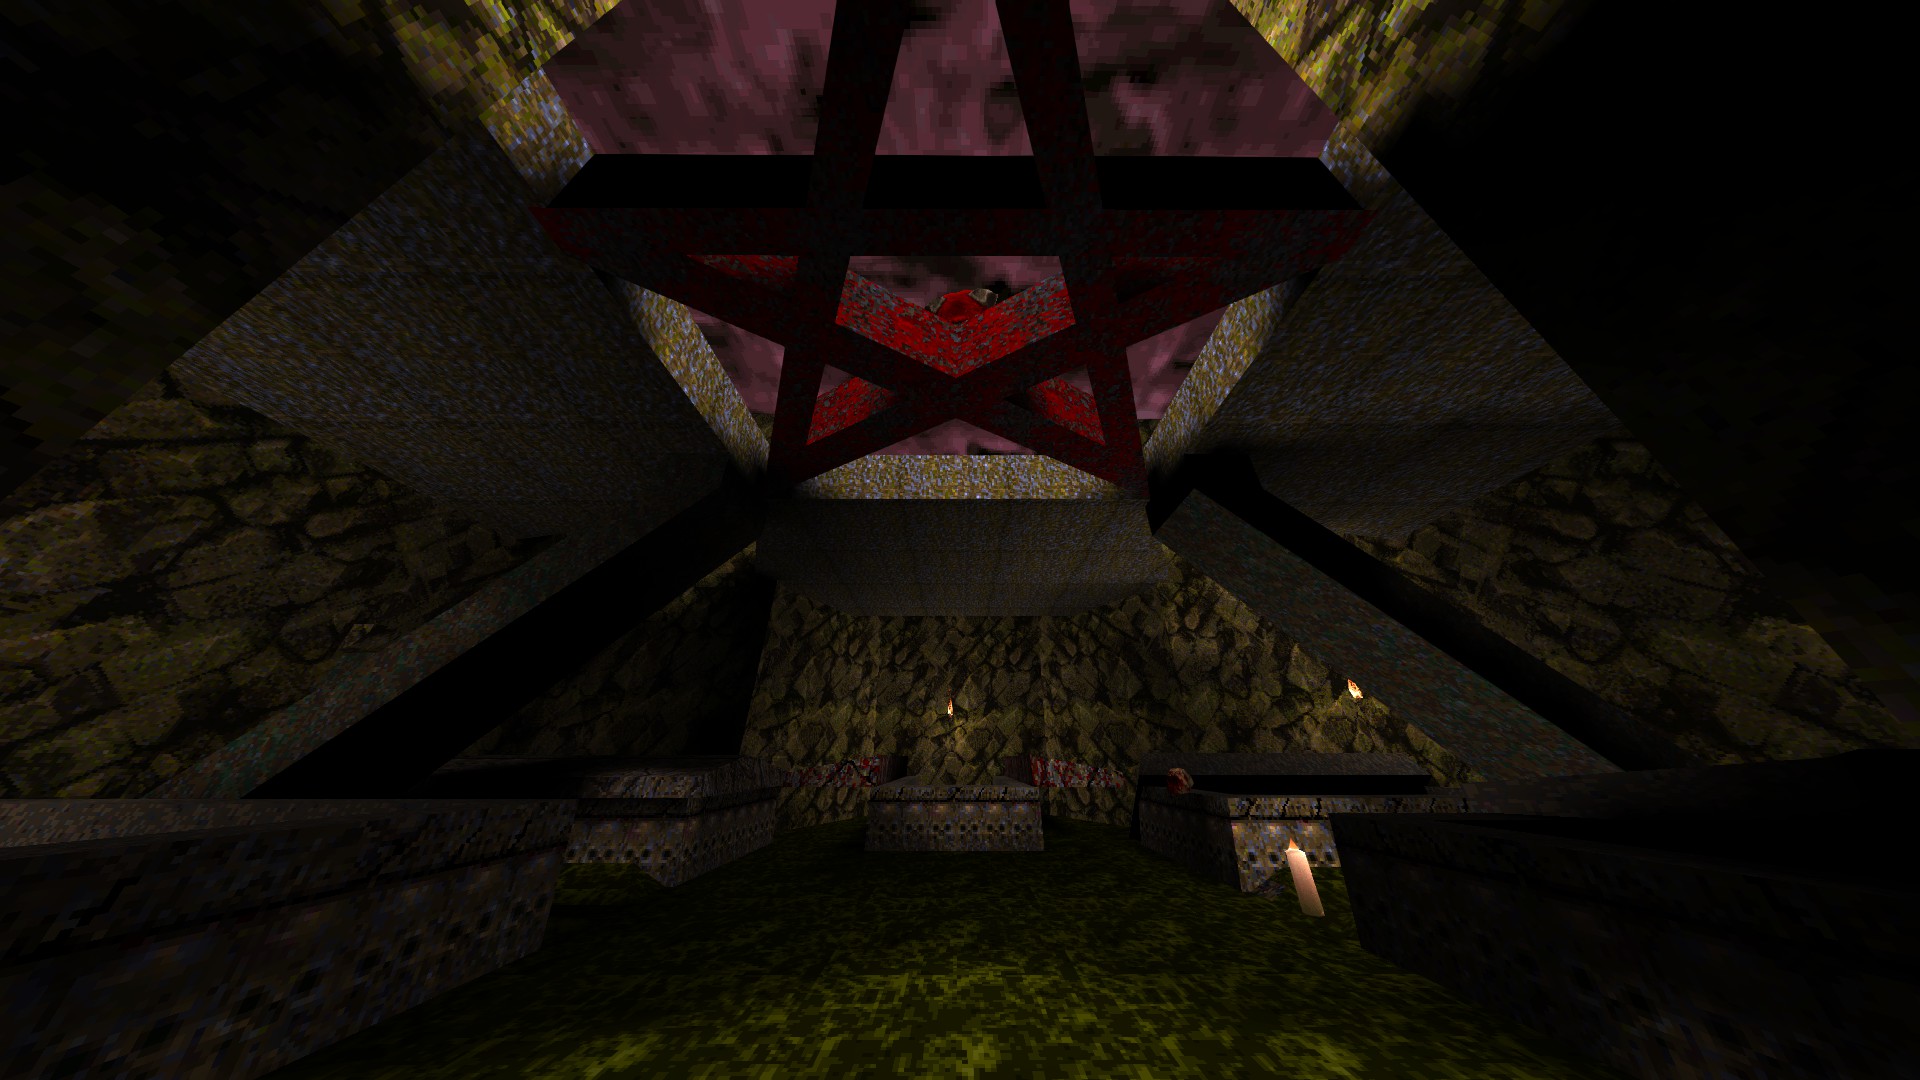
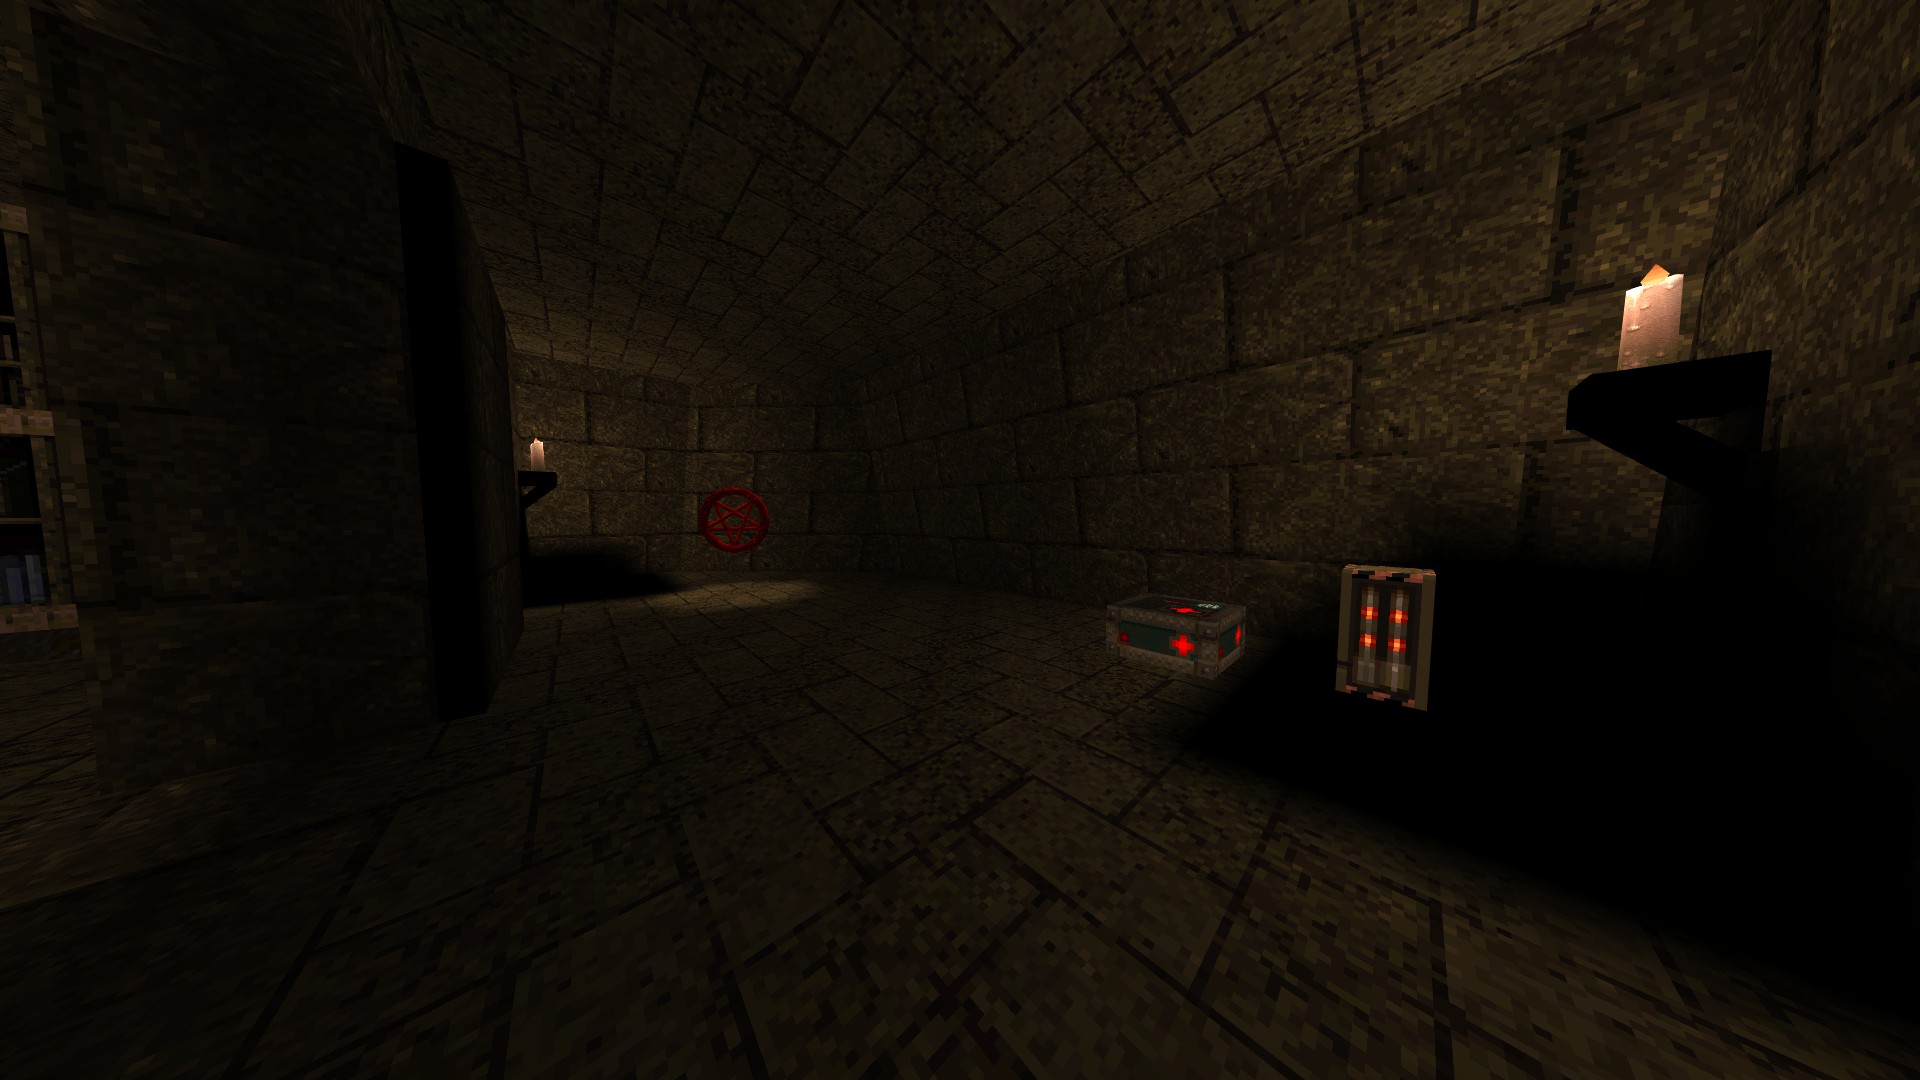
4/5 - Upon joining the zombies, look for four candles in the corridors on both sides and shoot all of them to reveal a pentagram of protection back in the middle.
5/5 - As soon as you make it out of the underhalls, turn around and shoot the button on the wall to reveal a flight of stairs to help you reach the armor residing on the ledge.
---
R2M8: SOURCE OF EVIL
This level does not contain any secrets.
'The ground shudders as reality shifts back to its predestined path.'
---
Other dimensions await...
3 Comments
Aug 19 @ 10:26pm 
Warning for secret hunters about Last Bastion: if you fall through the floor before getting the first two secrets, you will be locked out of them.
Sep 4, 2021 @ 9:14am 
Thanks for the guide!
By the way, I found that if you miss the opportunity to get 4th secret on R1M2: DREAD PORTAL by pressing the right button, you can get it later by grenade-jumping.
Aug 26, 2021 @ 10:45am 
you doing them all now :D