
Інсталювати Steam
увійти
|
мова
简体中文 (спрощена китайська)
繁體中文 (традиційна китайська)
日本語 (японська)
한국어 (корейська)
ไทย (тайська)
Български (болгарська)
Čeština (чеська)
Dansk (данська)
Deutsch (німецька)
English (англійська)
Español - España (іспанська — Іспанія)
Español - Latinoamérica (іспанська — Латинська Америка)
Ελληνικά (грецька)
Français (французька)
Italiano (італійська)
Bahasa Indonesia (індонезійська)
Magyar (угорська)
Nederlands (нідерландська)
Norsk (норвезька)
Polski (польська)
Português (португальська — Португалія)
Português - Brasil (португальська — Бразилія)
Română (румунська)
Русский (російська)
Suomi (фінська)
Svenska (шведська)
Türkçe (турецька)
Tiếng Việt (в’єтнамська)
Повідомити про проблему з перекладом


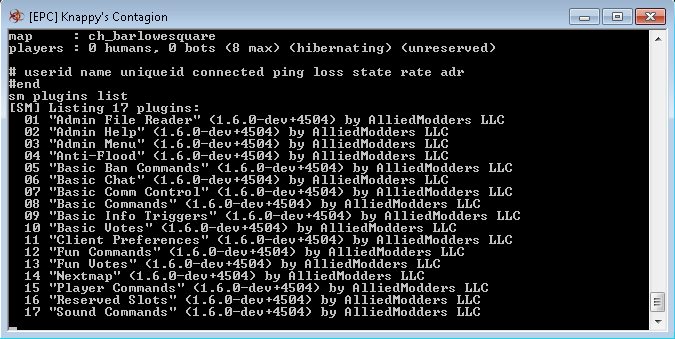
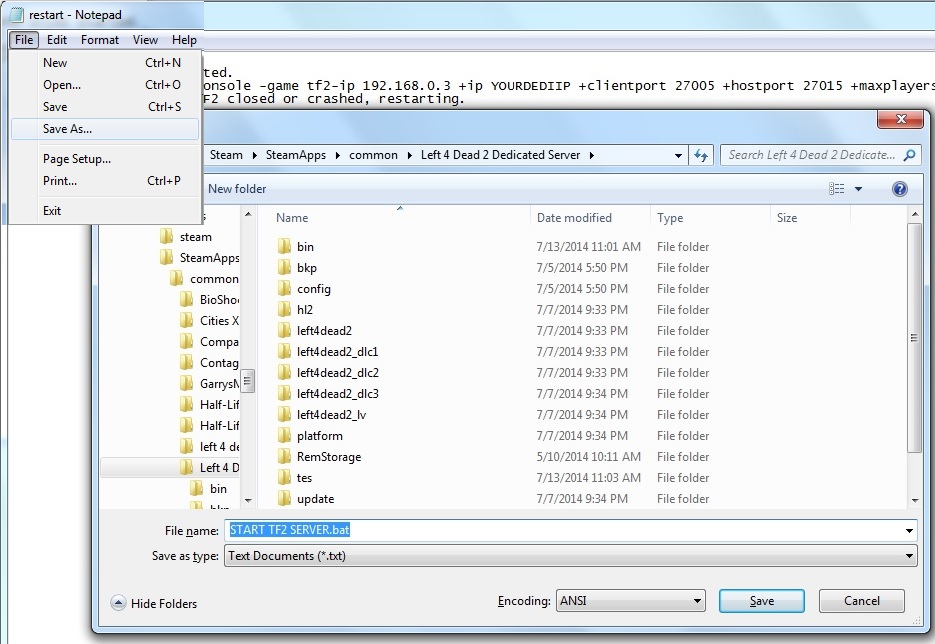


In the server console. But the file should automatically be executed when you open the server or change maps so I don't think you really need to do that step
This is an outdated tutorial and was not very thorough for being a "detailed" tutorial. Jesus Christ, I'm pulling my hair out trying to get to this to fucking work. It just doesn't make sense.
I don't want to waste more GBs just to get a dedicated server going.
It seems to only work on Windows 10, I don't know if anyone else got it worked on Windows 11.
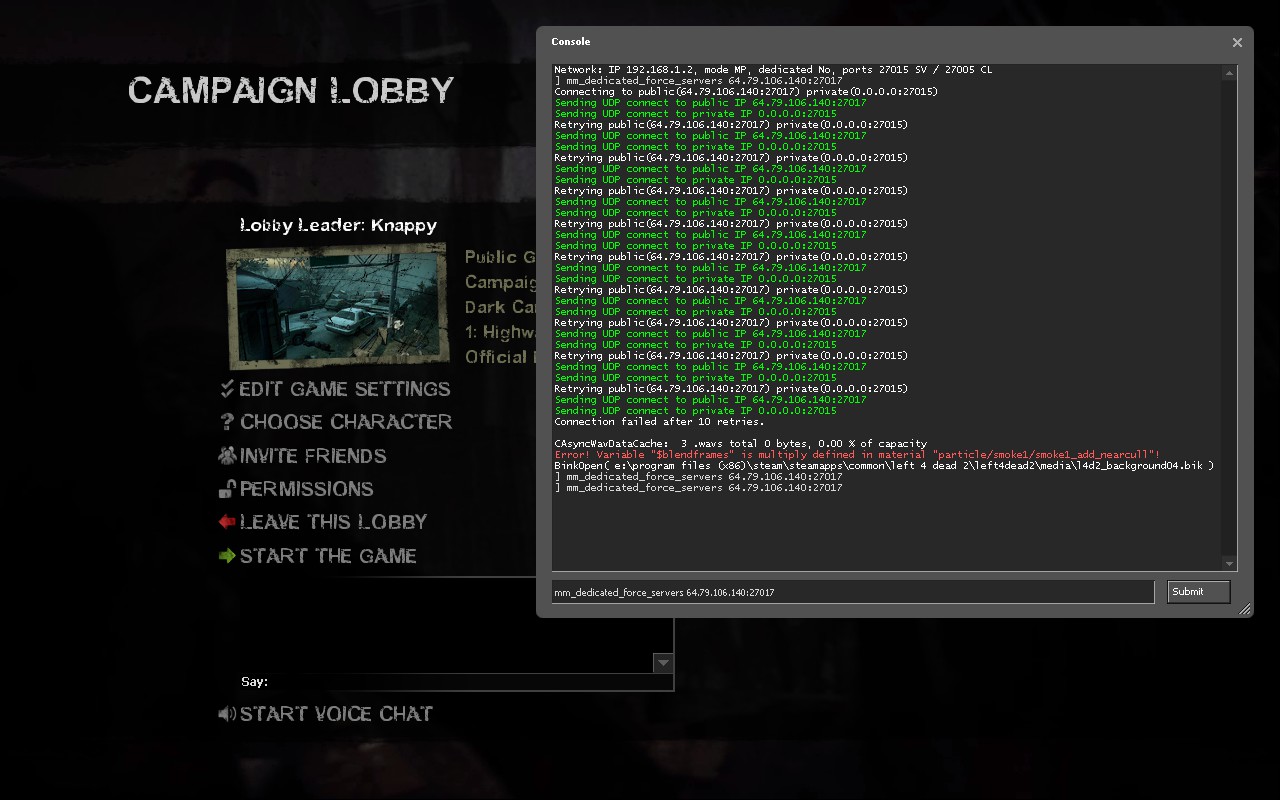
For everyone else who is using Windows 11, I just found the solution for not being able to connect to your own dedicated server.
Windows 11 is using IPv6 as default, you need to set them back to IPv4 through registry.
Also remove -ip +hostip, you don't need them to connect (you can still use +port).