
Steam installieren
Anmelden
|
Sprache
简体中文 (Vereinfachtes Chinesisch)
繁體中文 (Traditionelles Chinesisch)
日本語 (Japanisch)
한국어 (Koreanisch)
ไทย (Thai)
Български (Bulgarisch)
Čeština (Tschechisch)
Dansk (Dänisch)
English (Englisch)
Español – España (Spanisch – Spanien)
Español – Latinoamérica (Lateinamerikanisches Spanisch)
Ελληνικά (Griechisch)
Français (Französisch)
Italiano (Italienisch)
Bahasa Indonesia (Indonesisch)
Magyar (Ungarisch)
Nederlands (Niederländisch)
Norsk (Norwegisch)
Polski (Polnisch)
Português – Portugal (Portugiesisch – Portugal)
Português – Brasil (Portugiesisch – Brasilien)
Română (Rumänisch)
Русский (Russisch)
Suomi (Finnisch)
Svenska (Schwedisch)
Türkçe (Türkisch)
Tiếng Việt (Vietnamesisch)
Українська (Ukrainisch)
Ein Übersetzungsproblem melden


ENG: Choose the one that's on the list and write in my profile, I will answer the same!
+rep good player
+rep nice player
+rep gg wp
+rep gamer
+rep fast and nice trade
+rep good teammate
+rep nice teammate
+rep AWP GOD
+rep Cool friend
+rep Good job
+rep so good
+rep AK GOD
+rep I like you
+rep Love <3
+rep зайка
+rep clutch Ministr
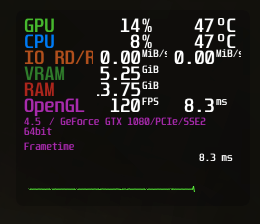
DXVK (responsible for DirectX 9, 10 and 11) has it's built in overlay. DXVK hud. It isn't as pretty as Mangohud and doesn't support all games. (vkd3d, which is responsible for DirectX12, does not have such a feature and you would still have to use Mangohud)
The readme of the DXVK github page lists all the various options: https://github.com/doitsujin/dxvk/
It is suggested, once you install this program, to run `gamemoded -t` at the terminal to test its functionality. This will run a set of tests which determine which parts are working and which may not be. I guarantee you that, by default, no distro of Linux will pass the whole suite of tests after only following the instructions on this walkthrough.
Any failures can be googled for solutions. The most common problem is going to be the renice/ioprio configurations, which require some changes to system files to work properly.
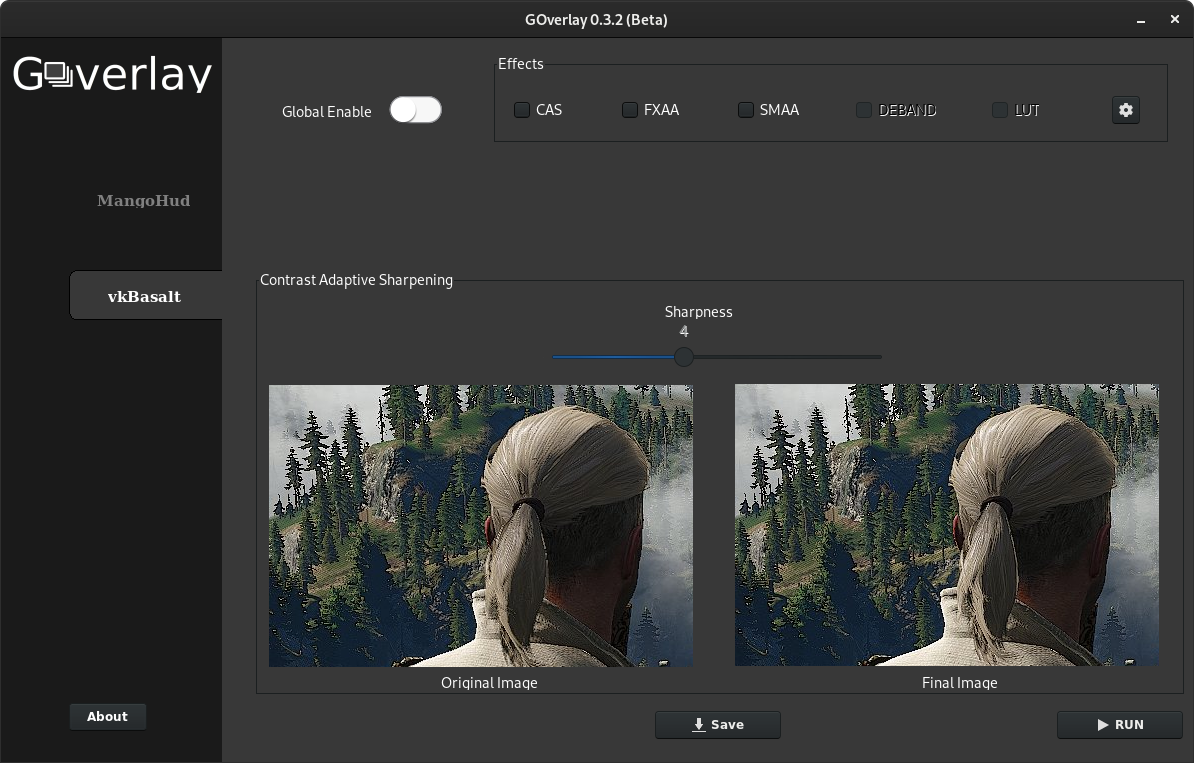
VKBasalt - its.... its awesome, wonderful!
I feel as if bought new videocard!
sudo nano /etc/X11/xorg.conf
My openSUSE:
/etc/X11/xorg.conf: No such file or directory"
On my OpenSUSE 15.4 it is xorg.conf.install. I haven't modified or tested it. I run Suse in a VM.
It's the Valves sauce to allow you to toggle amd fsr in real time on the SteamDeck.
You can also use it on the desktop.
https://github.com/Plagman/gamescope
Havn't really looked into it yet, but it seems interesting to say the least. It allows you to set custom resolutions, even beyond what your monitor offers, you can set fps limits, making libstrangle pretty much useless.
It's also already available in the Arch repo for native Steam and in the flathub repo, if you use Steam as a flatpak like me. And of course a git version in the AUR if you want the very latest version. Don't know about Ubuntu, but there's very likely a ppa which is going to brick your os once you update :D