Sea Dogs: To Each His Own

Sea Dogs: To Each His Own

122 ratings
The Landlubbers Guide | Complete Beginner Walkthrough
By ✌️Anders✌ and 1 collaborators
Having trouble with the tutorial quests? Is the game difficult and you need help? Are you stuck in a certain place and can't seem to progress forward? Look no further! The Landlubbers Guide will help you get you through the game and turn you into a proper captain!

What is included in this guide so far?
- Full walkthrough of the tutorial quests with illustrations
- Full walkthrough of the Final Lesson DLC quests with illustrations
- General tips that will aid you

This guide is meant for people that are
- Completely new to the game
- Stuck in a certain tutorial quest
- Need help with the Final Lesson DLC
- Looking for general playing tips

If you have any questions please write in the comment section and I will answer to the best of my ability.
4
2
   
Award
Favorite
Favorited
Unfavorite
Foreword
This guide was mainly written to help people through the tutorial stage. A lot of reviewers have down voted the game because they could not get past the tutorial. This annoyed me because the game got a lot more fun later on past the tutorial. With this guide there will be no more excuse that the tutorial is difficult, since it offers step-by-step instructions with illustrations ensuring that failure should be impossible.

I am also aware of the other guide by Zehi helping with the tutorial quest here on Steam. But I found the written English in it barely comprehensive and with big grammatical errors that directly causes failure in certain missions such as Rum Matters. Don't mean any offense to the author but I just wanted to offer the English speaking community a better guide.

At this point, the guide will contain complete walkthroughs of all the tutorial quests and show you the quickest way to complete the tutorial stage while getting the most out of it. Later on I intend to add more walkthroughs of the storyline quests regarding Fadey and some beginner quests I found with good rewards early on. In the end, this guide will be your ticket to early success in the game.
Welcome to the Caribbean!
You have now started a new game and are faced with many options of how you want it setup.
If you are a new player I would highly recommend that you don't turn the difficulty up more than Normal. As for the other options it is more a matter of personal taste. To get more information of the different settings, Right-Click on it and a textbox will pop up with information regarding the selected setting. When it comes to selecting the setup of your PIRATES points you can choose between
  • Gymnastics and Fencing
  • Accounting and Rhetorics
  • Athletics and Basic sword fighting
  • Gunnery and Musketry
Again, right-click on the points to see how they affect your character and choose which setup that suits you best. Personally, I go for accounting and rhetorics because trading is a good way to make money and the extra stealth bonus is always neat in missions that would have you infiltrate hostile ports. There is of course no "best" setup, only what you prefer as playstyle.

When you are done selecting your games setup, write a fitting profile name and press OK. A cutscene will now play and when it ends you will be met by a crew member telling you that you have arrived at your destination.
Picture above will be slightly different from what you will see. I am using a user interface mod that changes the look. But no worries, the options will still be the same. Link to mod further down
Lay of the Land
At the pier you will be greeted by Gregoire Valinnie. He offers to give you a tour of the colony and show you the different buildings you can interact with. If this is your first time playing I would strongly recommend accepting his offer and tag along on his tour. If you are an experienced player from Age of Pirates 2 then the tour will not be necessary, since the buildings are identical. But if you are a bit rusty in the fencing mechanics then Gregoire offers some practice later in his tour.

Before you continue in your journey, I would recommend that you read the documents in order to get the backstory. To do this, press F2 and select Quest log. Then click on the Documents tab and read the three entries. This will help you see the whole picture.
Gregoire Valinnie, your guide and friend
Finding your brother (Version 1)
There are two ways known to me to find your brother. The first version will be the direct approach where you get captured. The second one is a bit more stealthier where you ask around and act discreetly. Gameplay wise, the first version will have you get more value in items recieved. I have included both in this guide so you can choose which you want to proceed with. In this paragraph I will be explaining about the first version.

To start, you need to find a low-value weapon such as the harpoon. Reason why is because when you are captured - all of your belongings will be confiscated. Therefore, we are going to store our stuff in a safe place. To un-equip your weapon you need another weapon. That is why we need ideally a harpoon. You can buy one from the market stalls if they have it, or find it in a chest that you loot from houses/stores. If you need help with looting stuff, check out the section called "What is yours is mine" in the guide.

This is what you want to have. I found it in the governors mansion but its not certain it will be there for you. If you don't find one its not the end of the world, you will get a sword later from governor

When you have the harpoon, travel into the jungle outside the city gates. Head right and you will arrive at the local fort. There is a chest behind the fort by going around the right side. This chest is available 24/7 and is the best choice for storage during the tutorial phase. Now, store everything you have in the chest and head back to town.

The chest behind the fort

Back in town, go visit the governor and straight up ask him about your brother. He will call for the guards and have you arrested. Your things would be confiscated at this point, but since its stored we have lost nothing. You will then be visited by de Poincy in jail and he will explain the situation.

The governor of Saint Pierre

You will now be free to leave the prison. Once you are out, go visit the governor again and he will apologize for arresting you without a good reason. He will give you a sword, pistol and a leather armor. Equip all of these and head back to the fort to retrieve your belongings.

All the items are now equipped, the equip button is right above the amount of money you have

You should now head back to town and visit your brother at the orders headquarters. The building is easily identified by the four shields decorating the entrance. Once inside head right and go straight down the hallway and then right again. Keep going down to the cell area and find your brother furthest back.

Your brother rotting in a cell

At this point you are also presented with the option to skip the tutorial entirely, getting the money to buy the lugger immediately. Just select the dialogue to tell your brother that you want to skip this part and he will give you the option. For the sake of this guide, I am going to pretend that you do not want to skip the tutorial. The option is there however if you feel comfortable enough to jump straight to the sea.


The option to skip the tutorial (NOT RECOMMENDED FOR NEW PLAYERS)
Finding your brother (Version 2)
Start your search by asking people (not guards) around the streets about your brother. To do this, walk up to them and Left-click. Select the option "I need information" or "I have a question" in order to ask about your brother. The first people you ask will tell you that they have never heard that name before, but if you keep asking around you will then be told to talk to the abbot at the church.


After asking several people, this dialogue will appear. The person that gives this answer is random so it could be someone else in your game

We then head to the church to talk to the abbot. He will be at the left side of the altar. After talking to him, he tells us to wait a day so he can arrange a meeting with a friend of your brother. Exit the church and head to the tavern. Talk to the innkeeper and rent a room to the next morning.


The abbot you need to talk to

After a day, we head back to the abbot. He then introduces us to Corneille Baribeau, a member of the Order of Malta. He explains to us what has happend to our brother and invites you to see him at the Orders Headquarters. After you finish the dialogue he will head outside and lead you to the building. Once inside, keep following Corneille. In the cell on the right side furthest down is your brother.


Your brother rotting in a cell

He will explain more thoroughly what the situation is and how he plans to solve it. At this point you are also presented with the option to skip the tutorial entirely, getting the money to buy the lugger immediately. Just select the dialogue to tell your brother that you want to skip this part and he will give you the option. For the sake of this guide, I am going to pretend that you do not want to skip the tutorial. The option is there however if you feel comfortable enough to jump straight to the sea.


The option to skip the tutorial (NOT RECOMMENDED FOR NEW PLAYERS)
Before you keep going
Before you start doing anything else, I would like to mention that you have three days to pay for the lugger. If you don't manage to pay for it within time, you will get a much worse ship. Because of this you need to plan the quests you do accordingly so you can finish as fast as possible.

The following order of quests should be followed for fastest completion time
    First Day
  • Wine Quest (Accept Quest)
  • Rum Matters (Accept Quest)
  • Shopkeepers Assistant
  • Governors Earrings (Intertwined with Shopkeepers Assistant)
  • Cannibals
  • Woman for Nobleman (Accept Quest and talk to Madame)
  • Rum Matters (Complete Quest)
  • Woman for Nobleman (Complete Quest if done with Rum Matters within 23:00-23:59)
    Second Day
  • Wine Quest (Complete Quest)
  • Woman for Nobleman (If Not Completed)

If you are unable to keep up with this you must make sure that the Rum Matters quest starting 19:00 is completed on the first day. Any other uncompleted quests that day can then wait for day two.

All the quests have highly detailed walkthroughs below available when you need them.
What is yours is mine
The following should only be done at this point if you have a lot of spare time before a quest can be continued or want to be a bit kleptomantic with other peoples possessions. Note that doing this will drift your 'karma' slightly towards evil, but it is nothing that can't be remedied later by a few good deeds.

You now need to make enough money in order to buy the lugger from the shipwright. After I exit the Orders HQ I always start by rummaging through peoples houses, stores and the governors mansion for lootable chests. The contents of these chests vary a lot and you can get lucky/unlucky. But at this point every peso helps, so start by doing that and sell your loot off to the merchant stalls in the street. They offer different prices for different items so try to check out who has the best price.

When you loot someones home/store and people are inside the room, make sure that their backs are turned so they do not catch you stealing. If they do they will attack you (if male) or scream for guards (if female). To avoid this, wait for them to start moving to a different area of the room and time it accordingly. Hitting SPACE to loot chests also help me cut down the time I need to take the contents inside. You know a chest is lootable when a hand icon shows in the upper-right corner. Houses may be locked at certain hours of the day so you might not be able to loot them all before moving on.
Booty (Precious stones, gems and rings should be sold to banker, but at the tutorial you are locked to the market stalls)
Rum Matters
For this quest, start by visiting the tavern. Talk to the innkeeper and choose the option that you have a question. You then tell him you are looking for work and he offers you a smuggling job.


He gives you a passphrase which you must memorize to the letter. If you lose track of your phrase they are written exactly like this
  • "old Thomas has grown tired of waiting for the beer"
  • "the boards and the oakum will be here in the morning"
  • "don't wait for the south wind"
  • "the bay is ready for disembarkation"
  • "the camels are going north"

Accept the terms and wait until 19:00. You can pass the time by doing other jobs. If you have finished all the other jobs for the day and still have to wait, press Enter and select the 'Thinking out loud' option. Determine the time you wish you wait and press OK. After 19:00/19:05 you will have a quest trigger warning saying that the boat is ready in the bay. Simply walk up to the end of the left pier by the docks and Left-click when an icon appears. I advise you to save before heading to the boat so you can reset the wind at sea if it prevents you from reaching the lugger.

You will now be at sea with your 'impressive' longboat. You need to reach the lugger 'Ghost' within 05:00 or the quest will fail. In order to do so you will need to follow a certain path and use the feature 'Sail to'. Have a look at the map of the island below and I will walk you through the path.
Map of the Island

The lugger 'Ghost' is waiting out at sea north of Lamentin Beach. Therefore simply turn right out of the bay and keep going. Check to see if you can 'Sail to' Lamentin Bay by pressing Enter, selecting 'Sail to' and see if Lamentin Bay shows up as an option. If yes then select it and you will sail to it immediately. Select 'Sail to' again and lugger 'Ghost' is now an option. Select it. Once you have found the ship, press Enter again and select the 'Send a longboat' option. Once aboard the ship, talk to the captain and give the correct passphrase.

Lugger 'Ghost' found

Your ship will now be loaded up with the goods and you should now head to Le Francois. The quickest way to do this is to 'Sail to' Lamentin Bay again and head south until you can 'Sail to' Saint Pierre and use the 'Sail to' feature from there to head to Le Francois quickly. Once there, simply drop anchor and head ashore. You will be greeted by three men at the beach asking if the delivery went smooth. You say yes and now head back to the tavern for your 5000 pesos reward from the innkeeper.

If you managed to make it back to town within 23:00 to 23:59 you can also finish the Woman for Nobleman quest at the brothel so you won't have to wait until the next day.
Shopkeepers Assistant
To start this quest, simply visit the local store and talk to the merchant inside. Choose the dialogue "I come for a particular business purpose" and he will offer you a job finding his lost assistant, Gralam Lavois.
The Merchant

Gralam Lavois is in the tavern at Le Francois so you have to head into the jungle to get to him. Route in the jungle is Left, Right, Left and then you will arrive at the stockade of Le Francois. On your way there you will discover two natives running from a corpse. Loot the corpse by having your character directly above him and press Enter and choose the loot corpse option. Alternatively, you can just press 1. Take the earrings, they are for a later quest.

The body containing the earrings

Once in Le Francois you can find Gralam Lavois in the tavern, the shop or walking in the streets. He refuses to return to the shopkeeper, describing him as a slave master.

Gralam Lavois

Head back to Saint Pierre and go straight to the governors mansion. The earrings you picked up from the corpse belongs to his wife and he will give you a map of the Caribbean for it. The map itself is useless, you can easily find them on the internet so I would sell them to the monk merchant at the market since he offers the best price.

The Governor

Head back to the shopkeeper and report to him your failure to convince him. You are now tasked with finding a new assistant. Head back to Le Francois and talk to the innkeeper. Pay him 1000 to have him arrange interview with potential candidates. Come back at the top of the hour and talk to all three of them. The best choice is the one that offers 500 pesos and a bag of ambers. Choose him and lead him back to the shopkeeper.

The best candidate

Once there, the shopkeeper will ask you to come back in an hour so he can evaluate him. At this point, you can do another quest instead of waiting around but that is up to you. When you return, the shopkeeper is very happy about his new assistant and gives you the best reward.

The shopkeeper is happy
Woman for Nobleman
To start this quest, simply find Amable Amiel in the street and talk to him. He explains that he wishes to hire a certain girl at the brothel for one night. He is, however, concerned about his reputation and asks Charles to act in his stead and arrange for the girl to come to his house.

Amable Amiel, Nobleman

Accept the quest and head straight to the brothel. Go to the back room where the Madame resides. Talk to her and make arrangements for the girl to be delivered to Amable. She says you can pick her up between 23:00 and 23:59. If you fail to do so you will have to wait until the next day at the same time.

The Madame

Wait until the given time and then enter the brothel. Find the girl called Lutisse that Amable wishes to spend time with and ask her to follow you to his house. Amable's house is the large red roofed building next to the governors mansion. Walk up to the door when the girl is next to you and she will enter the house. The quest is now finished and Amable will deliver the girl back next morning. No further payment will be recieved since you got your cut from Amable at the start.

Amable Amiel's house next to the governors mansion
Cannibals
To start the quest, travel to the towns port authority. See the picture below if you are lost.
The local Port Authority

Talk to the man inside and ask him for a job
The man you need to talk to

He tells you about his friend, Prosper Trubal, who had his daughter kidnapped by natives. He urges you to go talk to him before he does something rash. Go out of the building and turn left towards the city gate. Prosper Trubal will stand there with his musket.

Prosper Trubal, ready to kill natives

Accept his quest and head out into the jungle. The path you need to follow is Left, Straight and Right. Before you can enter the last section, Prosper Trubal wishes to speak to you about his plan in dealing with the natives. You need to protect him by keeping the natives focused on you while he takes them out with his musket. The reload time is quite long but it only takes one shot to kill somebody. Kill the natives outside the cave and talk to Prosper Trubal again. He will repeat his strategy of keeping the natives off him. When you enter the cave you need to be a bit ballsy and run straight to the natives back in the cave. Run behind the campfire at the left side (So Prosper can hit his first native and not you).

The best position, allowing only two natives to attack you while Prosper has a clear shot

Deal with the natives as quickly as possible so that no corpse is allowed to disappear. The natives usually have good loot on them so check their corpses after the fight. If it takes too long they will start despawning.

Once you have done that head back to Prosper and talk to him. The daughter will then tell you about a second captive in the cave. Go back to the campfire and into the second room with the chest. Search the cave for loot and talk to the man. Wait for him to exit the cave and head outside. Prosper Trubal will thank you for saving his daughter.

Prosper Trubal is overjoyed

Head back to town with all three of them to get your reward. Once you enter the town gates, Prosper Trubal will give you the reward and Gilbert Cursee will always give you a reward. The quest will now finish and you will have recieved a currency called doubloons. Don't sell them off right away. The doubloons is required for a later quest after the tutorial in order to get a native officer.

Quest ends with Gilbert Cursee giving you a reward
Wine Quest
To start the quest you need to head to the French Fort outside of the city. Simply go right when you head to the jungle and you will reach the fort. Talk to the guard outside the entrance and he will give you the quest.

The guard you need to talk to

In order to get the wine, head to the market in town and talk to any merchant. They will sell you a wine bottle for 700 pesos.

Merchant with the option to sell wine

This should be done at the first day, since the guard won't buy the wine until the next day. To continue the quest, go back to the guard now standing on top of the fort - not the entrance. You will find him at the right at the very top of the stairs.

Guard gets his wine but wants more

He is now interested in purchasing 10 to 60 bottles of the wine. Buying the wine for him is a one-time purchase so you need to be able to buy 60 bottles to maximize your profits. The required sum to do this is 33 000 pesos. You should have gathered this sum from your quests and selling stuff you get. There is also a chance that you can loot the wine bottles from chests so check to see if you have some already so you don't have to buy all 60 bottles. Once you have the sum, return to the merchant who sold you the one bottle and ask for more. He/she will tell you that they don't have anymore but will reveal their supplier for 1000 pesos.

Ask the same merchant for more wine

Accept the terms and find out that the supplier is the merchant in the store. He will deny this the first time you visit him. Go back to the merchant in the street. Be careful to select the non-angry dialogue option when you ask her what went wrong. She will sell you a letter to the merchant in the store for 2000 pesos that will allow you to buy wine from him. Accept the terms and head to the merchant and buy 60 bottles (if you have none from before).

Merchant selling high quantity of wine

Now head back to the soldier at the fort and sell him 60 wine bottles. You should end up with 60 000 pesos and the quest ends.

Bottoms up friend!
Becoming a Captain
You have now completed all of the quests above and have more than enough money to buy the lugger. Head to the shipyard in town and talk to the man inside at the desk. Tell him you want to buy the ship for the 17 000 pesos required. You now have your own ship!

The shipwright

A ship needs a crew and to get it you need to head to the tavern. Talk to the innkeeper and ask him about it. He will direct you to a sailor at the table behind you. The sailor tells you that he will only be hired with his comrades and that a sum of 8000 pesos needs to be paid for the lot. Before you can purchase their service, you need to buy 100 food and medicine from the local store. Do that and return to him. He will accept your offer and you now have your own crew.

Right now your navigation skill is too low to control a lugger and will suffer penalties if you do not have a navigator with the required skill. To find a navigator you need to talk to the innkeeper. He will tell you to ask people on the street. Keep asking until someone tells you that a navigator called Folke Deluc is in jail.

We finally learn about the navigator

Head to the prison, if you are lost there is a picture of the building below.
The Prison in Saint Pierre

Talk to the commandant sitting at the table and ask about the navigator. He will tell you that he is arrested for not paying his debts to the local banker. We then need to talk to the banker about the debt. You now have the option of paying the debt yourself or doing a small favour for it. I recommend doing the favour since you need the money early on. He will then tell about a Spanish Engineer captured here on the island that is going to be handed over to the British. We need to rescue him and bring him back to the banker. If you do not have a pistol by now, the banker will give you one and some ammunition. If you do have a pistol, it might be a trick to stash your pistol somewhere, go visit the banker and get a new one and then retrieve the old one. This will especially be handy for your native officer later on, since he is skilled in firearms.

The banker you need to talk to

Head out into the jungle to Le Marin Cove. The path through the jungle is left, right, straight, straight. They will not show up until 21:00 so wait until then and they will appear. Take the thugs out and fend off the engineer when he attacks you. Then escort him back to the city.

Escorting the Spanish Engineer

Be careful to not enter the city until 01:00 when the guards are minimal. Recommend saving also before entering the city. Since you are escorting a enemy soldier in their city they will attack you if you are caught. Run to the banker when you have the chance. He will then agree to release Folke Deluc.

The banker gives you the bill of debt

Go to the tavern and rent a room until next morning. Then visit the prison again and show the commandant the bill of debt. Folke Deluc is then released and talks to you.

Your new navigator, Folke Deluc

When you head outside again you are greeted by Wolter Catcher who has a business propoisition for you. Accept it and board your ship at the pier. Once on your ship, press Enter and select the Cabin option. You will now talk to Folke Deluc again who asks you to purchase a number of things. He will have you return again and then go back to buy something else but if you buy everything in one go you only have to do it once. Ensure you have this in the hold and then talk to Folke Deluc to complete the quest.
  • 100 Cannon Balls
  • 100 Chain Shots
  • 100 Grape Shots
  • 100 Bombs
  • 200 Gunpowder
  • 50 Weapons
  • 100 Food
  • 10 Rum
  • 50 Medicine
Wolter Catcher, the man who gives you a business proposition

Before you can sail anywhere, you need to appoint Folke Deluc as your navigator. To do so, press F2 and go to the character screen. On the left side of the screen you can see the different roles. Left-click on the navigator button and select Folke. He is now appointed and you will not suffer any penalties to your skills. Once you are level 25 in navigation Folke Deluc is more or less deadweight and he will be easy to replace with better navigators further down the main quest. He will also ask you to retire at some point when visiting taverns.

Folke Deluc is now appointed as our navigator

With the required goods on hold and navigator appointed, it is time to talk to the innkeeper at Le Francois. Go to sea with your ship and 'Sail To' Le Francois. Moor and head ashore. The city gates should be right inside the jungle. Head to the tavern and talk to the innkeeper. Ask him about the business he wanted to discuss. He will answer confusingly that he has no business with you and thinks you have been tricked. He advises you to get back to your ship as fast as possible.

The tavern innkeeper at Le Francois

Go back to your ship and you will have a pirate tartane attack you. Press 2 to change to grape shot and fire at the enemy ship when he is close. When he is low on crew get in as close as possible until the 'Board' option appear. Press 'Space' and the boarding action will begin.

Try to kill the enemy crew without losing many of your own. Fire pistol with Q

When you have killed the enemy crew, don't proceed with looting the ship until you have checked all the doors on the two ships. They are lootable once you go up to them and contain useful items from time to time. You can do this in every boarding sequence.

In one of the doors I found a bottle of excellent wine!

Once you are done, just Left-click on your mouse and take everything from the hold of the tartane. You will have to sink this ship and other ships until you get an officer who can command it. The tutorial is now finished and you have unlocked the world map option. Use it to sail to Basse-Terre in Guadeloupe to visit Fadey.

Victory!
End of Tutorial & General Gameplay Tips
The guide for the tutorial stage will end here. The tutorial quests have hopefully made you more prepared to face the open world. There are a few but very important tips that have made my life as a captain much more easier. For the more experienced player, these tips might be very obvious but for the landlubbers it can be invaluable.
  • If you have a lot of pursuers after you on the world map, lead them close into the bay of friendly cities. The fort will demolish them for you and the closer you can get them to the fort the better.
  • Never try to jump into trading until you have found a decent officer as your purser. The merchants will make a fool out of you without one.
  • You can trick your opponents in combat by holding Shift and pressing Right-Click. This will prevent them from doing any damage to you and drain their stamina while giving you chance to counter attack. You need to read your opponent a bit if it is going to have a big impact.
  • If you are on a time schedule and you have to sail around an island that will take you a day or two to pass, I always just go to sea and sail to the other side of the island and then back to the world map. Saved me a couple times and can also be used to escape pursuers.
  • Practice a good savegame policy. Do manual saves and no overwrites so that bugs are kept to a minimum. Keep old save files for a while as well. If a quest further down is impossible to complete then its always good to go back and plan differently.
  • Generator quests are a good way of making money early on but also to increase your skills
  • You should be looking for good officers in taverns, check their skills and 'karma'. If you are a 'good guy' then a 'bad guy' officer won't want to serve with you for long.
  • Never sell any of the talismans you get as loot or quest rewards. They will be needed later in the main quest so keep them to save time at that point.
  • Be on the lookout for the 'Hot Raid' quest offered by captains in cities. You have to capture a ship belonging to a certain nation that has a certain number of goods. The best are the ones filled with silver and gold obviously, and a raid of a gold filled ship usually yields around 250 000 pesos.
  • If you are desperate for hiring new officers, travel to a town where you have not visited the tavern yet. Save the game and visit the tavern over and over again until you find an officer you are satisifed with. Ideally, they should have the same 'karma' alignment as you do or they will lose loyalty.
  • Bottles of rum can be sold to lighthouse keepers for 1000 pesos each. Therefore, do not use them in combat. You can also buy the rum from the marketplace for around 150 pesos and sell them to the lighthouse keeper for big profit.

Below is the guide with link to the mod I used and other mods that improve your game (currently removed or hidden)
http://steamcommunity.com/sharedfiles/filedetails/?id=870677495

Update: Check the comment section for a workaround to this problem!

I also recommend reading this guide written by LHookins
http://steamcommunity.com/sharedfiles/filedetails/?id=725813605
I would like to use these final lines to thank LHookins for helping me write the guide for the tutorial. He knows a lot more about the tutorial process than I originally did, probably because he claims to have done it over 30 times. He also helped looking through the tutorial guide and offer suggestions for improvement. I am convinced that the guide would not have been as good without your input. Thank you :)
Caribbean in a Nutshell Part 1
You should now have set sail to Guadeloupe, to the town of Basse-Terre. It is on the southern tip of the main island. Once you are in town, Fadey the Muscovite's house is at the end to the left by the statue. See the picture below if you are lost. The door should say "Fadey's house".

Fadey's house in Basse-Terre

Go inside and talk to Fadey sitting at the table. He will explain that he was recently robbed and has no money to give you. Instead, he will give you an enchanted dagger called 'Chieftain's Talon'. He insist that it is worth much more than the gambling debt. You can also offer him to look for his prized collection of swords. The first sword is called 'Scimitar' and can be found randomly in any ships chest that you board that are at least a 3rd rate ship. The two other are called 'Wrath of the Prophet' and 'Khanda' which can be found during the main quest.

Fadey the Muscovite at his house in Basse-Terre

Before you leave, he will also tell you about another break-in by a native. He is now locked up in the prison awaiting a public hanging. It is in our interest to free this native since we can recruit him as an officer. You should therefore head to the prison in Basse-Terre after speaking to Fadey. Talk to the commandant at the table inside about speaking to the native. He agrees, and you should then be able to head inside the prison. Talk to the native, Tichingitu, and ask him about the incident. He will tell you that he was hungry and that no 'pale-face' would help him. Tell him that you are going to set him free and head back to Fadey.

Tichingitu in prison

He offers to write a pardon for 100 doubloons. If you have not spent any doubloons you got from the tutorial yet then you should have 35 doubloons already. Go to the banker in Basse-Terre and buy the remaining 65 doubloons. It might seem like a steep price for an officer but he is worth every doubloon. Head back to Fadey and give him the amount for the pardon. You should then head back to the commandant at the prison with the pardon in order to have Tichingutu released. Go inside the prison and tell him the good news. You will then be teleported outside the city gates where you tell him that he is free to leave. He will refuse and offer his service as an officer. Accept the offer and assign him to the role as 'Boarder'. Now lets look at his skills.

Tichingitu has the reputation of 'ordinary sailor' which means he will not disapprove of good or bad actions. This means he will be fiercly loyal to you until the day you die.

As you can see, he is relatively very skilled in sword fighting. By default he carries a tomahawk (Heavy Weapons) with him. But he is also good with guns, so if you managed to get two pistols during the tutorial by getting one from the governor and one from the banker then you can give him the other one. To do this, walk up to him and select the 'Exchange' option. Give him the pistol, along with bullets and gunpowder, and he will equip it once you exit.

With a new dagger and a native in tow, you should head back to your brother in Saint-Pierre. He will disapprove of the dagger and its value, saying that you got fooled by him. But the dagger is valuable, it gives you a huge damage bonus to undead/skeletons and will be an important tool later in the main quest. Since we did not get the money we expected from Fadey, your brother suggests you to see him again and ask him for a job.

Brother thinks you have been fooled.

Before you accept the job from Fadey you should ensure the following:
  • You have a fully repaired hull and sails
  • You have the maximum amount of crew hired
  • You have enough food for 20-30 Days (Depends if you prefer to restock underway)
  • You have rum for 10-15 Days (Morale of crew will drop when at maximum crew)

We head back to Fadey and he sets us up with a job for a local merchant. We are to meet him at the store in Basse-Terre next morning, so you can either head to the tavern for a rest or do something else. When you go to the shop he will be standing by the desk. Talk to him and he will explain that the job is to transport a large quantity of bombs and gunpowder to the fort in Port-au-Prince at Hispaniola.

Our employer

When your ship is loaded up, the cargo limit might be exceeded. This will prevent you from going to the world map. In order to fix this you need to get rid of some of the other cargo you have in the hold. I prefer throwing the cannon balls and chain-shots overboard. Once you have done that you will be able to use the world map. But before you leave Basse-Terre, I suggest that you stay a day or two in the bay on the world map. A scripted pirate ship will arrive and attack you and there is no way you can outsail him with a full hold. Therefore you stay in the bay and lead him into the fort's guns. They will wreak havoc on them and once they are sunk you can carry on to Port-au-Prince. See the map of Hispaniola below to orientate yourself. The island itself is north-west of Guadeloupe.

Map of Hispaniola

Once you have arrived at Port-au-Prince, head into the jungle and go right to arrive at the fort. Go all the way down the staircase inside the fort and through the door at the bottom. The fort's commander will be sitting at the table. He will take the bombs and gunpowder and pay you 5000 pesos.

The fort's commander

The next part of the mission is to transport 24-pounder cannons to the French frigate 'Warlike' moored next to Portobello. For this mission you have 14 days which is a tight schedule. Before you leave port, make sure to stock up on food for 25-30 days. When you head to the world map, you will be chased by a Spanish interceptor. Do the same scheme again as with the pirate ship by luring him into the French fort. Once the fort have made their ship into driftwood, you are free to sail straight to Portobello.

Au revoir mes amis!

A trick I use to save time on the trip are to sail close to the north-side of Jamaica, go to sea, sail-to Port-Royal and go back to the world map. Saves a day or two depending on the wind. Be sure not to sail straight into the port of Portobello since they will attack you. The frigate 'Warlike' is out at sea west of Portobello and therefore you should exit the world map in the same area like the picture below.

Recommended place to 'go to sea'

'Sail to' frigate 'Warlike' and send a longboat to talk to the captain. He will give you 200 doubloons and offer you another mission. You have the option to turn down but I highly suggest that you keep going.

Frigate 'Warlike' found
Caribbean in a Nutshell Part 2
Next mission is to find out why the Spanish heavy galleon 'Alacantara' have not gone to sea yet and rendevouz with the French agent Sylvan Laforet AKA Jaime Silicio inside Portobello. Start by 'Sail to' Mosquitoes Bay and moor. The path through the jungle is left and then straight. Be sure to save the game before entering the city and only enter it after 01:00 AM. Once inside you can try to reach the tavern undetected or simply wait in one of the unlocked houses. Guards can still detect you during the day but at a much lower range. Portobello has very narrow streets so it is more difficult to sneak into. Once you have found a hiding spot and waited until daytime, speak to one of the patrons sitting inside the tavern offering you to drink with them. Buy them a round and they will spill the news that the French spy has been caught. Whatever you do, DO NOT ask the innkeeper about Jaime Silicio. He will call upon a team of guards.

A drunken patron tells us about the French agent

The French spy is therefore lost and you should now concentrate on finding out more about the 'Alacantara'. Asking the locals are dangerous though so we need to use one of Portobelo's beggers to do our scheme. You can find one walking around or sitting on his rump begging for scraps. If he is nowhere to be found you can try to wait a few hours and see if he appears then. Trick him into working for you and meet him at the pier at 23:00 PM.

Our new 'secret' agent. He might look different in your game, its random but you can easily tell who are beggers.

When you meet him at the pier, he will tell you that the ship is waiting for a gunpowder delivery from a Spanish bark ship. If the ship does not make it within a certain time, the 'Alacantara' will set sail without it. Pay the begger his 5000 pesos and head straight back to the captain of 'Warlike' with this valuable information to recieve your reward.

Our agent outside the shipyard

You now get the task of either sinking or boarding the bark. I recommend boarding the ship since you get good items from the ships chest. Go to the world map and sail east along the coastline until you see a ship with purple sails. The purple color on the sails indicates a quest related ship. Intercept it and board it. If you have the maximum amount of crew I told you to have then it should be a fair fight. Be careful not to lose your native officer since he will take part in the boarding. Once you have defeated the bark you can either scuttle it or trade it for your current ship. If you are going to be a trader then trade the ship for yours, but if you are going to be fighting and doing courier missions then I recommend that you keep your lugger.

These items will always be inside the ship chest, therefore boarding her is the best option. Make sure that you equip the ordinary spyglass since it is better than the cheap one you have.


With the bark dealt with, the frigate 'Warlike' should be able to capture 'Alacantara' when she runs out of gunpowder.

You should now head back to the merchant at Basse-Terre where you will get your final reward of 400 doubloons and a pat on your back. With that the quest ends and you are now free to do what you want for three months until you return to your brother. I suggest you keep following my guide as I will be helping you through beginner quests around the map with neat rewards.

The quest ends with the merchant at Basse-Terre giving us a reward
The Final Lesson DLC
All the recommended beginner quests are from the same DLC - the Final Lesson. Before you attempt to start any of the quests below, make sure that you have the DLC.

http://store.steampowered.com/app/452520/Sea_Dogs_To_Each_His_Own__The_Final_Lesson/

There are also a certain requirement to start any of the quests
  • You need to have a level of 4-12 for the quests - not lower and not higher
  • You need to have a level of 14 or less for the bonus quest

With all the tutorial quest done and the Caribbean in a Nutshell complete, I found myself at level 3. To advance to level 4 I did a couple courier missions.

If you do not have the DLC and have no wish for purchasing it, then you can do generator quests from governors, merchants and harbour masters for three months until you see your brother again. I prefer doing the DLC to keep the gameplay interesting for me. With that out of the way, lets start the first quest.
Grandee Albalate
Suggested Requirements:
  • A decent skill level in your weapon of choice (30-35 was enough for Normal Difficulty)
  • You know how to fence properly using different moves
  • Several health potions
  • Pistol with ammunition
  • Convenient to have the ship ability to 'raise the Spanish Flag' or 'raise the Dutch Flag'
To start the quest, visit the town of Port-au-Prince on Hispaniola. Once there, head to the tavern. The maid will walk up to you and tell you that there is a fight going on upstairs.

Quest starts with her telling you about a fight upstairs in the tavern

Run up the stairs and through the door. Two thugs are attacking a Spanish man called Domingo Albalate. Kill them both and then a captain of the guard will enter and arrest Domingo. The Spanish man insist that you come visit his house in Santo Domingo so he can give you a reward. The captain then takes him away and you now have to get to Santo Domingo within a few days.

Domingo Albalate, the Spanish man you rescue

The city is on the other side of the island so the best way to reach it within the timer is to go through the jungle. Path through the jungle is left, right, straight, straight, straight, left. As usual, you have to wait until dark until you can enter the town. The house is the first on the right as you enter the city gate.

Domingo Albalate's house in Santo Domingo

Once inside, you will be greeted by a man named Ugo. He will insist that you leave the house so that he can alert the guard about Domingo's fate in Port-au-Prince. Do not let him throw you out or the quest will end here. When you refuse to leave he will call for two thugs from upstairs to fight you alongside him.

The fake 'Ugo' who wants Domingo dead

Let the two thugs run down the stairs to you and then run around them and go up the stairs. This will let you fight them one-on-one and should be relatively easy to kill. Once you kill 'Ugo' you get the objective to search the place for clues. Start with the chests and then go to the real dead Ugo sitting at the table upstairs with a note. Walk up to the note and press 'Space' to pick it up.

The real Ugo with the note beside him

Domingo will now enter the house and ask what happened. You will tell him everything and he takes you to the tavern to talk more about it. He gives you his life story, a Dutch trading licence and 20 000 pesos to travel to his family plantation on Portobello. Sneak out of the city and back to Port-au-Prince to your ship and sail to Portobello. On your way, you might be intercepted by a Spanish ship. You can identify it by having an orange sail on the world map. This ship will catch you no matter what. If you want to escape, block the ship by running it into other patrols/convoys or sea battles. Delay it long enough until you reach Jamaica and can 'Sail To' Port Royal. Then, go to the world map again and lead the ship into the bay. The fort will do the rest. You can now travel to Portobello without any more chasers.

However, I want to add that the ships chest during boarding has fixed loot with 3 amulets, doubloons and pesos. If you want it you will have to board her. The fight is not too diffcult but it might take a few tries until you win without losing all your crew and wrecking your boat.

The Spanish interceptor on the world map. I made it all the way to Portobello without him catching up to me. You might not be that lucky. I still had to fight him after the quest was finished.

If you have the ability to raise the Spanish flag - do so before arriving at Portobello and show your trading licence at the port. They will let you through unhindered. If you don't then you have to sneak through the jungle from Mosquitoes Bay. The plantation is straight ahead when you go into the jungle from the city gates.

Walk up to the plantation and Domingo will talk to you. You have to find the house belonging to his uncle, Luis Ortiz. The house you need to enter is pictured below.
Luis Ortiz's house in the plantation

Go inside, loot the chests and then walk up to the chest to the left of the fireplace. When a hand icon appears, press 'Space' and you will get his almanac. Domingo will speak to you again and discover that his uncle have been stealing from him for years. He plans to take these evidences to court in Portobello. Go outside and Luis Ortiz along with 4 of his bodyguards will run up to you. He will try to bribe you with 20 000 pesos if you do not help Domingo dealing with him.

Luis Ortiz along with his bodyguards confronting you when you step outside

I suggest you decline his offer and fight him. It may seem like they have the upper-hand but Domingo is an excellent fencer and will deal heavy damage towards them. Kill them all and Domingo will tell you to come see him again tomorrow.

Domingo thanks you for your help and asks you to see him tomorrow

Wait until 09:00 AM next morning and visit the house again. Domingo will reward you for helping him. He gives you 200 units of coffe, 3 amulets, a good spyglass and his sword. Equip the spyglass, store the amulets for main quest and use the sword if you prefer foils/rapiers. You can get a decent price for the coffe in town.

The quest is now finished
Resin Dogs
Suggested Requirements:
  • Plenty of health items
  • Decent fencing skill in your weapon of choice
  • You know how to fence properly using different moves
  • A pistol with plenty of ammunition
  • Able to board a 5th rate bark and escape/fight two escort ships
  • Not be afraid of a trial and error process

To start the quest, visit Saint Pierre and mingle in the streets. A man will run up to you telling that the shipwright has a job for you. Visit the shipwright, choose the dialogue 'I wish to talk to you' and listen to his offer.

The shipwrights messenger in Saint-Pierre

The job is to board a Spanish bark loaded with the strategic resource resin. The shipwright will pay you 15 doubloons for each unit you bring him. Accept the quest and make sure that you leave the port with maximum crew, repaired ship and enough weapons and medicine on board. Be sure to bring along grapeshot ammunition and gunpowder. The Spanish bark will have a crew of around 60-70 depending on the variant. With all of that done, it is time to head towards Trinidad and Tobago. The island is south-east from Martinique.

The shipwright gives us his mission

The convoy is easily identifiable by it having purple sails. Be careful to not engage it too close to the Spanish port at Trinidad and Tobago. The bark will be the middle ship of the convoy. In my game at level 5 it was protected by a sloop and a lugger.

The convoy on the world map. It is fine to engage it in this area

Give the bark a few whiffs of grapeshots at close range before boarding and it should be no problem capturing her. There are more goods on the ship like sugar in my game, but if your plan is to escape the two escorts then you need to be as light as possible. I dropped all my ammunition and gunpowder which made it easy to escape them.

It should go without saying, but do make sure that you transfer the resin from the bark to your ship before scuttling her. If you don't you will have to load a previous save and board her again.

Having made my ship as light as possible, the pursuers have no chance of catching me and I quickly escape. The convoy will still be present on the world map but don't worry, you got what you came for.

It's time to head back to the shipwright in Saint-Pierre. He will start unloading the resin and counting up your doubloons. Lieutenant Felicien Gronier will then step through the door and try to arrest you both for smuggling. The shipwright will, however, take all the blame and be arrested.

Lieutenant Felicien Gronier catching us in the act

You are then teleported outside and are greeted by your old friend Gregoire Valinnie. He invites you to the tavern for a round of drink to talk about it. There he helps you realize that you have been tricked. The shipwright and lieutenant are actually old friends, and by doing a fake-arrest they have stolen the resin from you. Gregoire suggests that you wait a few days to see if the shipwright is 'magically' released from prison.

Gregoire Valinnie, your old friend

Rent a room in the tavern until morning, and then rent it again to the next morning. The shipyard is now open again. Go visit the shipwright who will play stupid and make excuses. Leave the shipyard and Gregoire will talk to you again. He has information that Felicien Gronier has set sail with his tartane 'Topaz' to Guadeloupe. Our next move is to intercept their operation and try to recover our stolen goods. The exact location is marked on the map below.

X marks the spot

Be careful to not get too close to the 'Topaz' or the quest will fail. They are currently unloading the goods to the bay so you have to wait two days. To do this go to your cabin and wait there for the given time. The 'Topaz' will then sail away. Wait for a trigger saying 'You are free to go ashore' and then 'Sail To' Morne-a-l'eau Cove.

We lie in wait for the 'Topaz' to finish unloading until we can strike

Before you go ashore, be prepared for a heavy fight. This part had me almost rip out my hair in frustration because I were not ready for it. Unassign your officers as boarders if you don't want them to die, which they most certainly will. You land ashore with a group of your men and attack another group of thugs sitting on the goods. Try to have not too many of your men die in the initial fight. Felicien Gronier will arrive at the bay with his elite soldiers once you have dealt with them. He will give you the chance to walk away or you can fight for your goods.

Felicien Gronier arrives on the beach with his thugs

I say we kill the bastard, and once you decline they will attack. To make this fight that much easier, you should turn around and charge the musket man before he manages to kill one of your men. Ensure that he dies before all your men are slaughtered. If you can manage, try to run to the other musket man and kill him too. He will most of the times one-shot you but you will make it after a few tries. Killing him will mean that you won't have to deal him later after killing the others. It can be difficult approaching him then since he will fire at you the moment you are in the open and kill you. If you find yourself in this situation, use the trees for cover and hide behind them when he shoots. When he does you are free to charge him.

Kill, kill, kill

Once you have killed one or two musket men and all of your own men are dead, you should retreat back to the rock pass in order to fight them one-on-one. See the picture below.

The rock pass that prevents them from encircling you. They will eventually push through.

When they have pushed through the rock pass you should retreat to the bridge and fight them one-on-one there. Be careful to have full health if you fight one with a pistol or you risk them killing you with it. If you die you will have to repeat the whole process.

En garde monsieur!

When they are dead you will have recieved half of the resin, shipsilk, ironwood and ropes. These are all strategic resources that you can use to upgrade your ship with. If you want money then you can sell them to smugglers. If you want to keep them I suggest you rent a warehouse for 750 pesos a month in the shipyard of
  • Saint Christopher - Capsterville (French)
  • Jamaica - Port Royal (English)
  • Curacao - Willemstad (Dutch)
  • Cuba - Havana (Spanish)
You should not be storing them in your ship since rats will often spoil your goods.

When you head back to your ship you will be attacked by the 'Topaz'. Very easy fight and you can sink or board her. Defeat her and the quest will end.
Prison Break [Part 1]
Suggested Requirements:
  • Fully repaired ship
  • Maximum amount of crew
  • Plenty of health potions
  • Decent skill level in your weapon of choice
  • Can fence properly using different moves
This quest has a lot of different twists you can do to change the outcome. In the end, you should choose which suits you best. 2 of 3 endings will make you enemy with either England or Dutch so plan ahead carefully.

To start the quest, travel to Capsterville on Saint Christopher. On the pier you will be approached by Lieutenant Caspar Gratton of the royal marines. He needs him and his troops to be transported to Grand Case Beach on Saint-Martin.
Lieutenant Caspar Gratton of the Royal Marines

Accept the quest and head for Saint-Martin. Once you are close, go to sea and 'Sail to' Grand Case Beach. Go ashore and Caspar will ask you to stay three more days so you can help them escape. When they leave you have the chance to simply leave them to their fate or continue on. If you decide to leave then the quest ends here. You will then have avoided getting mixed up in the war between the English and Dutch and will not make any enemies.

Talking to Caspar Gratton on the Grand Case Beach

To continue the quest, decide to stay and head to Phillipsburg in order to investigate what is really going on. Go to the tavern and talk to the innkeeper. Ask him about local rumours and pay him 1000 pesos. He will tell that an English ship was captured along with several high ranking officers.

The innkeeper tells us the truth about why the royal marines are here on the island.

When you leave the tavern you will be approached by a Dutch soldier. He says that the governor wants to speak with you. You are then teleported to the governors mansion. Speak with him and he will ask you if you have seen anything suspicious recently. Make your choice here on which side you will aid. Lie to him and say you are a peaceful trader if you want to support the English or offer your help if you want to support the Dutch. Once you have made your choice, go to the quest guide for your chosen side.

The governor of Phillipsburg

Prison Break [Part 2 - Dutch]
Offer your help to the governor and he will direct you to the commandant in the prison for more clues to find out where the british soldiers went. He will tell you that a detachment of soldiers he sent out into the jungle went missing.

The commandant of Phillipsburg

We then head out into the jungle, the path is left and then right. You will arrive to a cave. Enter it and search it until you find Caspar Gratton along with his men dressed up in Dutch uniforms they took from the missing detachment. He will ask for your help again with contacting an agent inside the city.

Caspar Gratton disguised as a Dutch soldier

Since we have decided to help the Dutch, we head straight back to the commandant to tell him where the English soldiers are. He will immediately organize a group of soldiers to take them out, and offers you to come along with them for an extra reward. I suggest you accept his offer. You will be teleported to the jungle outside the city gates and a large patrol will come towards you. Their leader will tell you to lead them to the cave where the English soldiers are hiding.

The leader of the Dutch patrol

Go back to the cave and the Dutch patrol leader will tell you about his plan to ambush them from behind while you are distracting them. Agree to the plan and head inside the cave. Talk to Caspar Gratton and distract him. The Dutch soldiers will then arrive, slowly, and you will have to kill the English soldiers. After you have done that the Dutch patrol leader will tell you to come by the governors house tomorrow for your reward.

The Dutch patrol leader telling you to visit the governors mansion tomorrow

Visit the governor again next morning and you will recieve 10 000 pesos along with a Dutch trading licence for half a year! This document is extremely useful if you are going to trade your way to fortune. The English, however, will not like this at all and set a bounty on your head for 10 000 pesos. The quest then ends and you should start thinking of repairing your relation with the English. You can do this by visiting Fadey in Basse-Terre and he will fix your relation for a price.

The governor is happy with our efforts and gives us our reward
Prison Break [Part 3 - English]
Lie to the governors face that you are here on peaceful intentions as a trader. Then, go out into the jungle and head left and then right. You will arrive at a cave. Search it and you will find Caspar Gratton along with his men disguised as Dutch soldiers.

Caspar Gratton and his men inside the cave

He wants you to contact a Filippe Jacobsen inside Phillipsburg at the local church. He will be there from 8 AM to 10 AM. We then head back to the city in order to make contact with the agent. He will be standing to the left of the altar inside the church. He will tell you about his plan to rescue the english prisoners. For this he needs 24 doubloons to buy a dream elixir that he will spike the wine of the prison guards with. Give him the amount and come back to him tomorrow. When you return to him, he will tell you that he was successful in spiking the wine. The prison guards will fall asleep around midnight and you should head back to Caspar Gratton to begin the rescue operation.

Filippe Jacobsen, our agent inside Phillipsburg

When you return to Caspar Gratton, he will tell you to meet outside the city gates at 23:00 PM and have your ship moored at Grand Case beach. Head back to your ship and moor it at the beach if you have not already and wait outside the city gate until 23:00 PM. Caspar Gratton will then run up to the gates with his men and ask if you are ready. Say yes and you will teleport inside the city. Make your way to the prison and walk up to the door. Caspar Gratton and his men will run inside and grab the prisoners while you wait outside. Once they are free you will have to sneak out of the city and back to Grand Case Beach.

Caspar Gratton and his men with the rescued officers

When you arrive at the beach, however, a Dutch patrol will attack you and you will have to kill them. If you find the soldiers difficult to fight then you can let Caspar Gratton and his men deal with them while you hang back. Once they are dealt with you need to head back to your ship and escape from the island.

The Dutch soldiers ambushing you at Grand Case Beach

Out at sea there is a Dutch ship you will have to defeat by boarding or sinking her. Running away will not let you enter the world map, so your only option is to fight her. At level 6 I fought a lugger, but you may meet a tougher ship if you are at a higher level. After you defeat her, head to Saint John on Antigua to drop off your passengers. Caspar Gratton will talk to you at the port, thanking you for your great help with his mission. He will tell you to see the colonel at the governors mansion tomorrow.

Caspar Gratton thanks you for your help

Wait until next day and then head to the governors mansion. Once inside, go through the door to the left. The colonel will sit at the table. He will give you a reward of 30 000 pesos, a sword, a arequebus and a Good reputation with England. The Dutch on the other hand will put a bounty on your head. The quest will then end here. To fix your relation with the Dutch you should talk to the abbot at the church in Saint-Pierre. He will make amends for a price.

Colonel Jonathan Fox will thank you for aiding his men with their mission


Price of Discretion [Part 1]
Suggested Requirements
  • A fully repaired ship
  • Able to fight and board a 4th rate War Schooner
  • Maximum hired crew
  • Plenty of health potions
  • Pistol with ammunition
  • Convenient to have 'raise Dutch Flag' or 'raise Spanish Flag' and a trading licence
  • Able to fight several opponents at once (3 at most)

To start the quest, visit the town of Basse-Terre on Guadeloupe. You should be approached in the streets by a man called Bertrand Pinette. He will offer you a job to transport him and two of his friends to Panama within ten days for 300 doubloons. You are to pick them up at Capster Bay at 22:00 PM.

Bertrand Pinette in Basse-Terre

Meet them at the beach and Bertrand will give you your advance of 150 doubloons. Him, a Spanish Officer and a French Officer will then board your ship.

Bertrand Pinette on Capster Beach with his associates

Your target is Mosquitoes Bay near Portobello within ten days. Sail to the sea west of Portobello and 'Go to sea'. Then you can 'Sail To' Mosquitoes Bay. Moor and talk to Betrand on the beach. He will give you your other half of 150 doubloons.

Bertrand Pinette gives us our other half of the reward on Mosquitoes Bay

The quest seems to end here, but that is not the case. Go back to Basse-Terre on Guadeloupe. A man representing the local banker asks you to see his employer. The banker tells you that Bertrand Pinette loaned a considerable amount before escaping with an escaped Spanish Officer and a French deserter using your help. He threatens to report this to the governor unless you chase down Bertrand and bring him back. We are given two months to complete the task.

The local banker at Basse-Terre that blackmails us

We now need to head into the Spanish city of Panama that is on the other side of Portobello. See the map below to orientate yourself.

Map of Panama

If you have the 'Raise Dutch Flag' or 'Raise Spanish Flag' ability along with a trading licence you can go straight through Portobello and then to Panama. I don't have it so I will walk through the jungle from Mosquitoes Bay. Path through the jungle is left, right, straight and straight. Wait until 01:00 AM before entering the town if you do not have a trading licence. Go to the tavern and ask him about Bertrand Pinette and his passengers. He will point you to Portobello.

The innkeeper at the tavern in Panama

Go out the city gates and go left, straight, straight and right to arrive at the gates of Portobello. Do the exact same thing as you did in Panama by sneaking inside and speaking to the innkeeper at the tavern. Bribe him with a 1000 pesos. He will tell you about the French deserter that has been made a captain of the Spanish navy and changed his name to Juan Deno.

The innkeeper at the tavern in Portobello

Get back to your ship and you will get a quest update telling you that the Spanish ship is docked in Portobello and that you should wait for it to sail away. Go to the world map and wait by Portobello until a ship with purple flag appears. This is the quest ship and you should wait until he is sailed away from Portobello before engaging him. When the time is right, engange him and defeat him in boarding to learn more about Bertrand Pinette.

The war schooner 'Sario'

As you can see in the picture above I only have a 5th rate lugger against a 4th rate war schooner. If you find yourself outmatched, a decent tactic is to maintain a large distance between your ships so that the 'Sario' will spend up all his ammunition and gunpowder. When he does, its your time to strike. Alternatively, he might blow up all his cannons before that so check with your spyglass. Load up with grapeshots and kill all his crew so that you can board her and recieve the most skill increase in cannons and accuracy. Be careful to not let him get too close and board you instead.

My turn

When you have defeated him you will find him in your cargo hold. Go to your cabin and exit through the door. Talk to him and he will tell you everything if you drop him off at Mosquitoes Bay. Do as he says and talk to him at the beach. He will tell you that Bertrand Pinette has fled to the plantation at Barbados.

Juan Deno at the beach of Mosquitoes Bay

Once you have arrived on Barbados, go through the city gate to the right of the governors mansion. It will lead you directly to the plantation. Bertrand Pinette will be inside one of the houses. See the picture of the building below if you are lost.

The house on the plantation where you will find Bertrand Pinette in

He now gives you the choice of counter-blackmailing the banker and recieve the location of a stash he will give you for not taking him back to Guadeloupe. Make your choice and go to the relevant walkthrough. Both paths are fairly equal in their rewards, but capturing Bertrand will require some patience.
Price of Discretion [Part 2 - Counter Blackmail]
You have now accepted Bertrand's offer to counter blackmail the banker. He will give you a piece of evidence that will shut him up. Travel back to Basse-Terre on Guadeloupe to confront the banker. He will agree to stop blackmailing you.

The banker of Basse-Terre

You should then head to the cave where Bertrand has left a stash for you. The path through the jungle is left, straight and straight. Suggest you save before entering the cave - it might not be uninhabited. To find the chest with your reward go up the path to the left in the first room. The chest will then be behind a couple of large stones infront of you.

Our reward from Betrand, be sure to "equip" the purses to withdraw its contents. You should end up with 150 Doubloons from the purses.

Leave the cave and two hired assassins will arrive sent by our friend the banker. Kill them both and then head back to the banker to knock your message into his thick skull. He will bother you no longer and the quest will end.

The hired assassins sent by our friend the banker in a weak attempt to silence us.

Price of Discretion [Part 3 - Capturing Bertrand]
You have now decided to capture the scoundrel Bertrand. After talking to him you need to leave the plantation, but instead of going to the city - take the other passage to the lighthouse. A quest update will trigger telling you about a plan to capture Bertrand on his way to town and bring him to your ship moored at the lighthouse. Therefore you should go to town and onto your ship and 'Sail To' Barbados Lighthouse and moor there.

The escape path has been prepared

Go inside to the crossroad. Before you wait in ambush you need activate a trigger. Walk to the same place as pictured below before you start hiding for the ambush. You will then get the dialogue as shown on the picture.

We have now activated the trigger and can lie in wait for the ambush on Bertrand.

Don't move after you close the dialogue. Wait for three days and after that check in every hour. When you arrive at the exact moment Bertrand is there, a quest update will trigger. He will be escorted by two bodyguards. Deal with them both and Bertrand will surrender.

Bertrand and his bodyguards spawned right next to me and started to walk towards the city gates.

You should now head back to Basse-Terre on Guadeloupe with your captive. Once there, head to the banker and inform him of the 'cargo'. He will take him off your hands and gives you a chest filled with 150 doubloons, an amulet and a positive reputation increase. Store the amulet in your ship's chest for main quest and spend the doubloons at your leisure. The quest is now finished.

We inform the banker in Basse-Terre about our precious 'cargo'

Just like Home
Suggested Requirements
  • Plenty of health potions
  • Decent skill level in your weapon of choice
  • You know how to fence properly using different moves
  • Pistol with ammunition

[!] CAUTION - it appears my original solution to this quest does not give you the best reward possible so if you want to complete it with the best reward go all the way back to the first page in the comment section where another player explains how he did it. [!]

If you have done all previous quests then this will be the last before you can do the bonus quest. To start the quest, sail to Tortuga and moor. Once you are at the pier, a woman will run up to you and give you an invite to the party of the governors wife. Accept and wait until 18:00 PM.

The messenger to the wife of the governor

Head inside the governors mansion after 18:00 PM and go inside the door to the left. The wife will stand at the end of the table. Instead of having a good time, she gives you the task of robbing her husband the governor. To do this you need a duplicate key held by a thug at the local tavern. Accept the quest and head for the tavern.

The wife to the governor of Tortuga

You will find the thug sitting at the table inside the tavern. Talk to him and ask him for the key. He will ask money for it and you have the choice to pay or kill him. He drops decent loot when you kill him along with the key so I suggest bloodshed. He will have help of 1-2 other thugs depending on your level. After you kill him you need to head back to the wife at the mansion the next morning. She will now be in her bedroom, so go right now and up the stairs to the bedroom.

The thug at the tavern in Tortuga

At this point you will have to make a decision to either give her the key or rob the chest yourself. If you let her have the key she will take everything and deny ever knowing you. Therefore I suggest you hang onto the key. You will find the chest on the left side of the office when you exit the bedroom. Make sure to save the game before looting the chest - a hired thug will attack you.

The chest you need to loot. Should be 10 000 pesos, a Manga Rosa, several amulets and 200 diamonds. Store the amulets in your ship's chest for main quest.

The thug is a good fencer and carries a pistol with him. He will shoot you and probably kill you with one shot. To avoid this take cover behind the door until he runs up to you. You also have the possibility of recruiting him as your own officer. To do this you need a high level of charisma in order to persuade him with your offer.

Fighting the thug sent by the governors wife

Once he is dead or recruited you can either return to the wife or simply sail away from Tortuga and keep your loot. As much as it tempts to just run away and leave her with nothing, France will put a bounty of 16 000 pesos for your head if you do. Even though it stings, I believe the best option is to return to the wife and give her half of the diamonds and be done with it. The quest will end and if you have completed all other quests you can now start the final bonus quest.

Quest ends with you giving half of the diamonds to the wife.

The Final Lesson
Heavily Suggested Requirements
  • Plenty of health potions
  • Level 14
  • Pistol/Musket with plenty of ammunition
  • Good fighting skills and abilities
You have now completed all of the five quests from the DLC. It is now time for the Final Lesson. To start the quest, sail back to Saint-Pierre on Martinique and you will meet your old friend Gregoire Valinnie. He tells you about a Dutch fleut loaded with strategic goods that went ashore and got captured by natives. His plan is to seize the goods from the natives and sell it to a buyer he has found.

Gregoire Valinnie waiting for you at the pier in Saint-Pierre

We now need to reach Boca de la Serpienta within a week. It is located south of Trinidad and Tobago. See the map below to orientate yourself.

Map of Cumana

Before mooring you should be prepared for a large battle with the natives on the beach. There will be two waves of around 10 natives you have to deal with. You should make sure that Gregoire Valinnie are in the thick of the fighting since he is an excellent fencer and will cut the natives into pieces. Once you have dealt with the natives you must head into the jungle.

Battle on the beach

In the jungle you will meet your old friend Prosper Trubal along with the rest of the expedition that will warn you about the chieftain arriving with soldiers armed with Dutch muskets. You agree on facing them in battle. The natives will then arrive and you have to kill them all in order to proceed. Be careful to not stand in the sights of the native muskets or you will surely be killed.

Chaaaaaaaaaarge!

Make sure that you search the native corpses for loot. I found all of these amulets on one of them.

Head further into the jungle and you will get a cutscene saying that you have loaded the goods onto your ship. You are then teleported back to the beach and have to fight the Dutch and the English. Once they are dealt with you have to travel back to Saint-Pierre with the loot.

The Dutch and British fighting each other on the beach

When you arrive in Saint-Pierre you will be told by Gregoire to meet up at Lamentin Bay after midnight to sell the cargo. Do so and talk to the buyers on the beach. They will accept and give you your money. But then, Gregoire will call upon his men and a native with a... 'cannon' musket will kill all of the buyers. He will then give you the option of either walking away with 60 000+ pesos or fighting them over the whole amount.

Gregoire Valinnie betrays us

Fighting them is extremely difficult. Not only because Gregoire and his 2 fighters have over 300 hp points, potions and good weapons but you will also risk getting instant-killed by the native shooting his 'cannon' musket even though you are covered by enemies or objects.

In the end, the choice is up to you. Either way you have now learned the final lesson. The quest ends when you have killed them or walked away.
The End
You have now completed the tutorial stage, Fadey's quests and the Final Lesson DLC. The experience have hopefully made you a better captain and ready to face the challenges of the main quest and other DLC's. If you run into trouble you can ask for help here or go to the forums.

A totally accurate portrayal of how you will do in the game going forward

If you found this guide helpful, drop a fair rating. Any good/bad criticism related to the guide is also welcome as long as you keep it respectful. I have dedicated a lot of my time to write this guide, so I am naturally interested in knowing how well I did.


Thanks for reading and good luck on your future adventures in the Caribbean!

77 Comments
✌️Anders✌  [author] Apr 16, 2022 @ 3:58am 
@fclara1 I'm not entirely sure what area you are having problem with. Is it the UI mod that I'm using that is causing issues? I know the game has received plenty of updates recently as well as moving to a new engine so i'm not sure if older ui mods are compatible any longer.
fclara1 Apr 15, 2022 @ 4:18pm 
everything downloaded fine. Problem is the screen is spread out , cutting off the means of seeing what is off screen. Just like it is over magnified. help.
✌️Anders✌  [author] May 11, 2020 @ 8:24am 
I haven't checked that personally but it makes no sense that they would have the time run out before you even know about it existing. I'd say the timer starts when you talk to the shipyard owner. I have provided a list of what you should do first of missions above in the "Before you keep going" section to minimize time spent so that could help you if time is of the essence.

Overall I haven't been able to quality check the guide for the latest versions and see if my information still holds but if there are cases where my guide gives the wrong information in the latest version do let me know so I can make the changes for it.
Zhitzu May 11, 2020 @ 8:00am 
Thank you for the quick response! Havent talked to the shipyard owner yet. Does the timer start when I take the quest/ talk to the brother or is it upon game start? I have spent at least two days ingame wandering around trying to figure out what to do and if I fudged it already I might aswell start over.
✌️Anders✌  [author] May 11, 2020 @ 7:37am 
I'm not sure if they recently changed the time requirement to be more lenient but it was three days at the time of writing this guide. If you want a confirmed time requirement the shipyard owner will tell you first time you ask him about the ship and he gives you the required sum of money you must gather.
Zhitzu May 11, 2020 @ 7:27am 
Hello. I'm a bit confused as to the time limit thing. Here it says you have three days to get the money or you get a bad ship. In another guide I saw, it says you have a week to do so. Is the timescales different from a given version of the game?
✌️Anders✌  [author] Feb 3, 2020 @ 4:18am 
Scratch that, you can still get the links from the site. Just press on the links and when you get redirected you should see a url on the top of the screen in a box. Go to the bit of the link where it says 'url=' and copy and paste the section after this and you will get access to the google drive file containing the selected mods

Happy modding! :jollyr:
✌️Anders✌  [author] Feb 3, 2020 @ 4:13am 
@Kaminsky

I was lucky enough to find a way to restore the guide even though its been hidden/deleted. The links does not work unfortunately but you can see the mods listed as well as the address to the sites they were directly taken from so you have a good idea where to look.

https://web.archive.org/web/20190713075217/https://steamcommunity.com/sharedfiles/filedetails/?id=870677495
Kaminsky Feb 1, 2020 @ 6:29pm 
Thanks for the quick reply! I'll look into those mods you listed.
✌️Anders✌  [author] Feb 1, 2020 @ 1:37pm 
@Kaminsky
The link referred to another guide here on the steam forums but it appears that it has been recently removed or temporarily taken down. Since I am not the author of the guide there is very little I can do to remedy this.

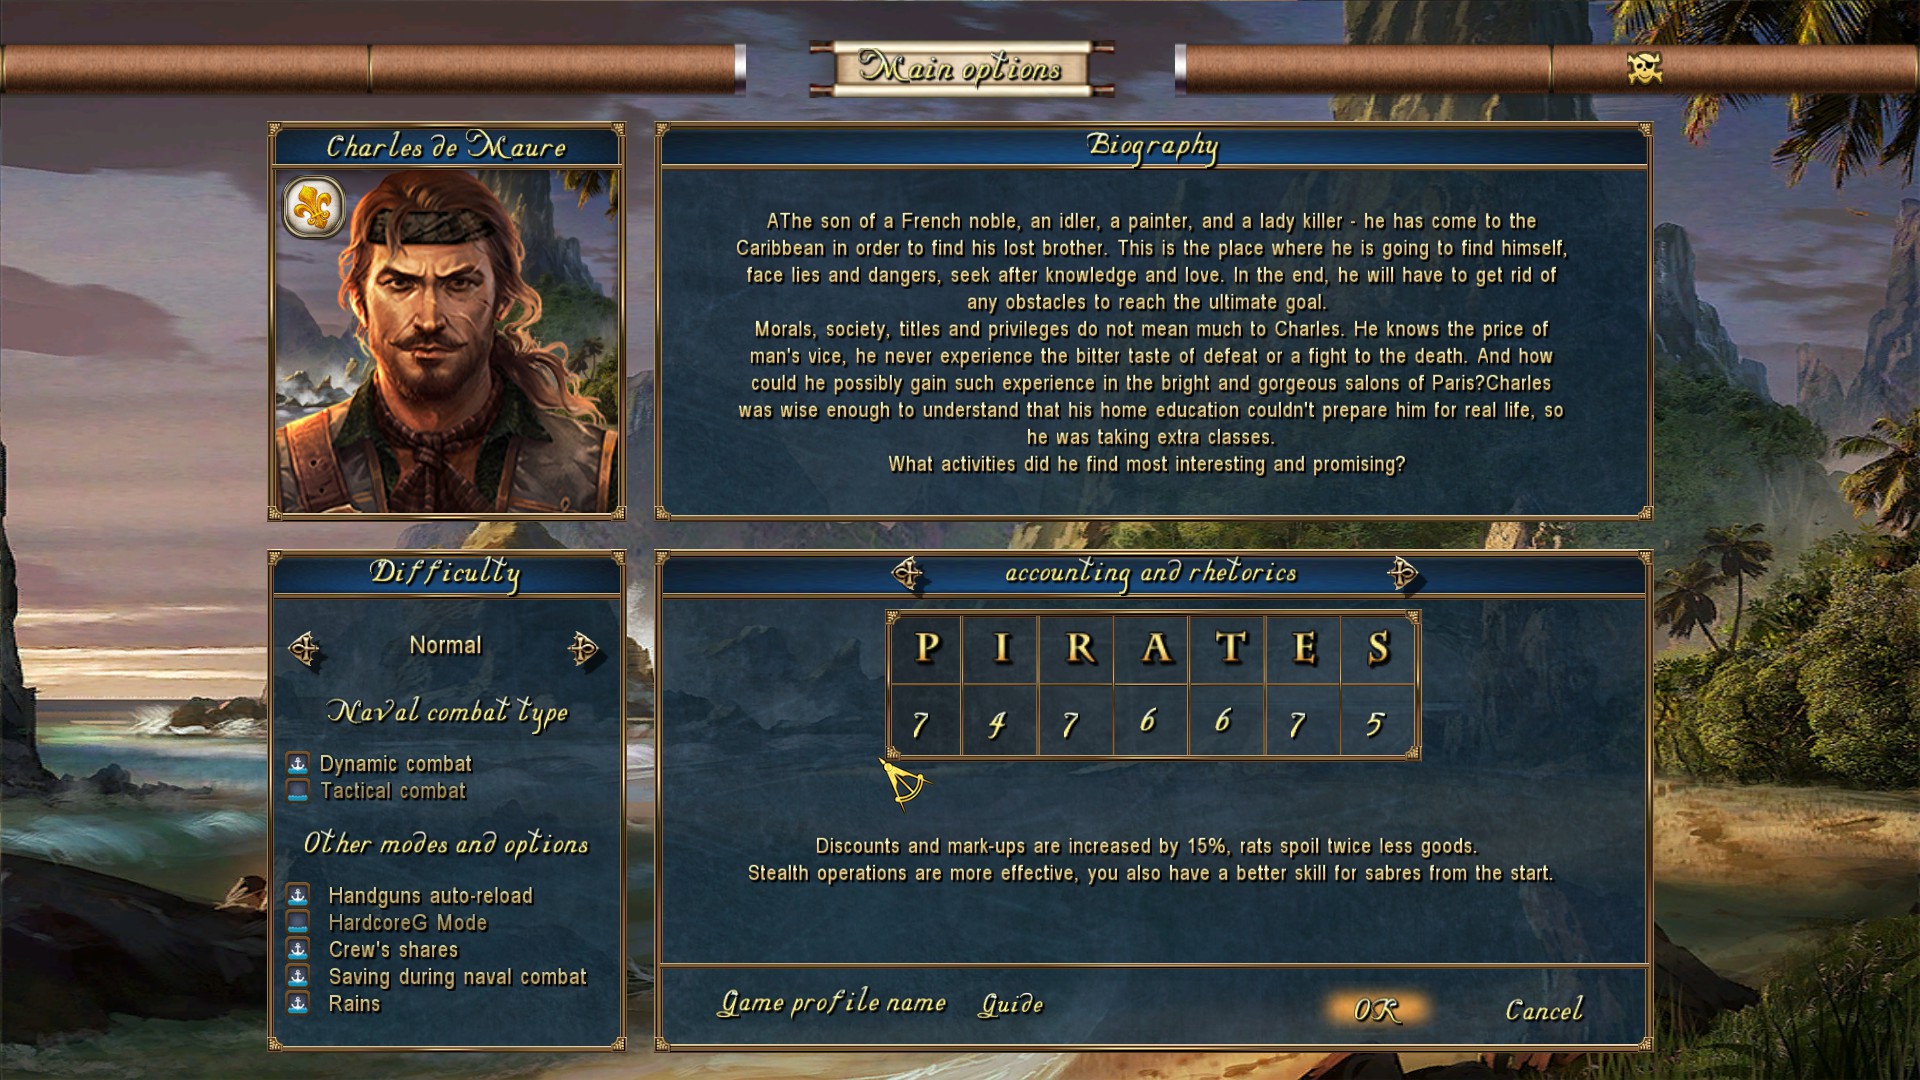
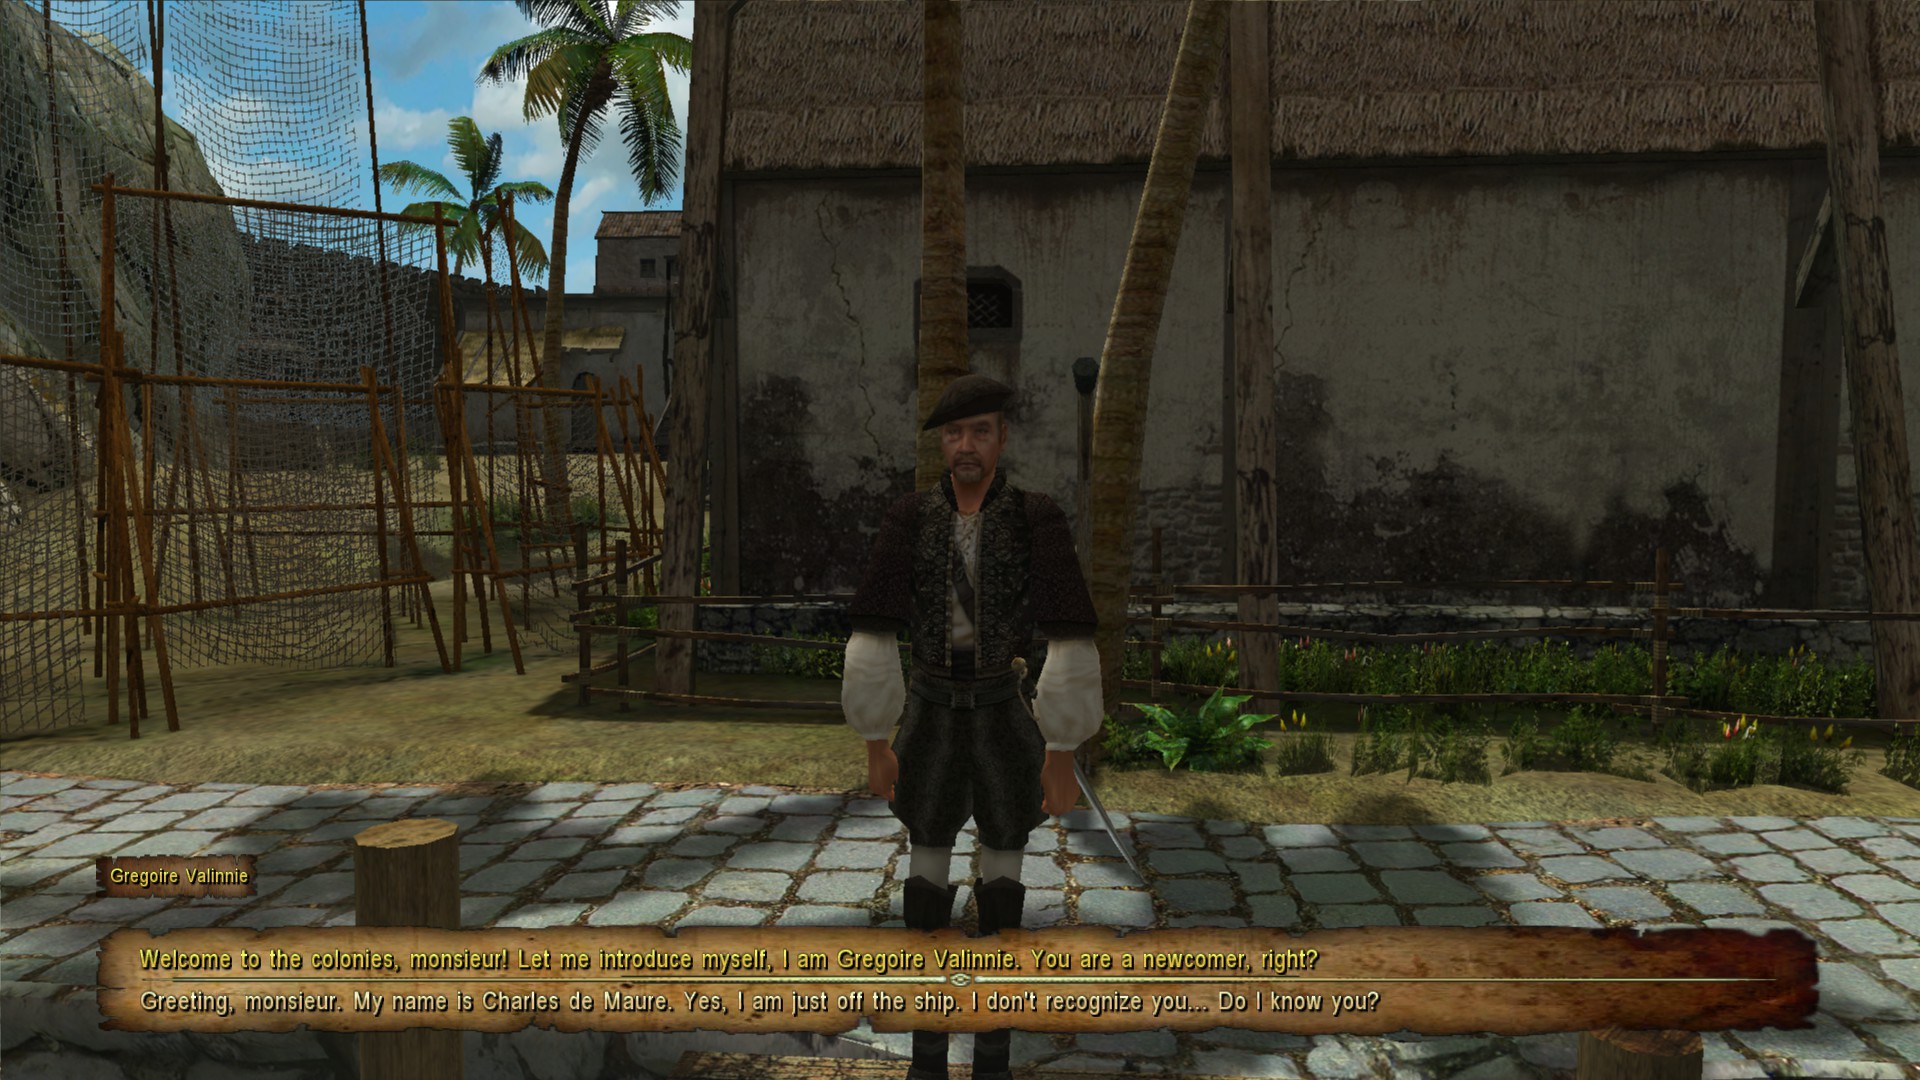
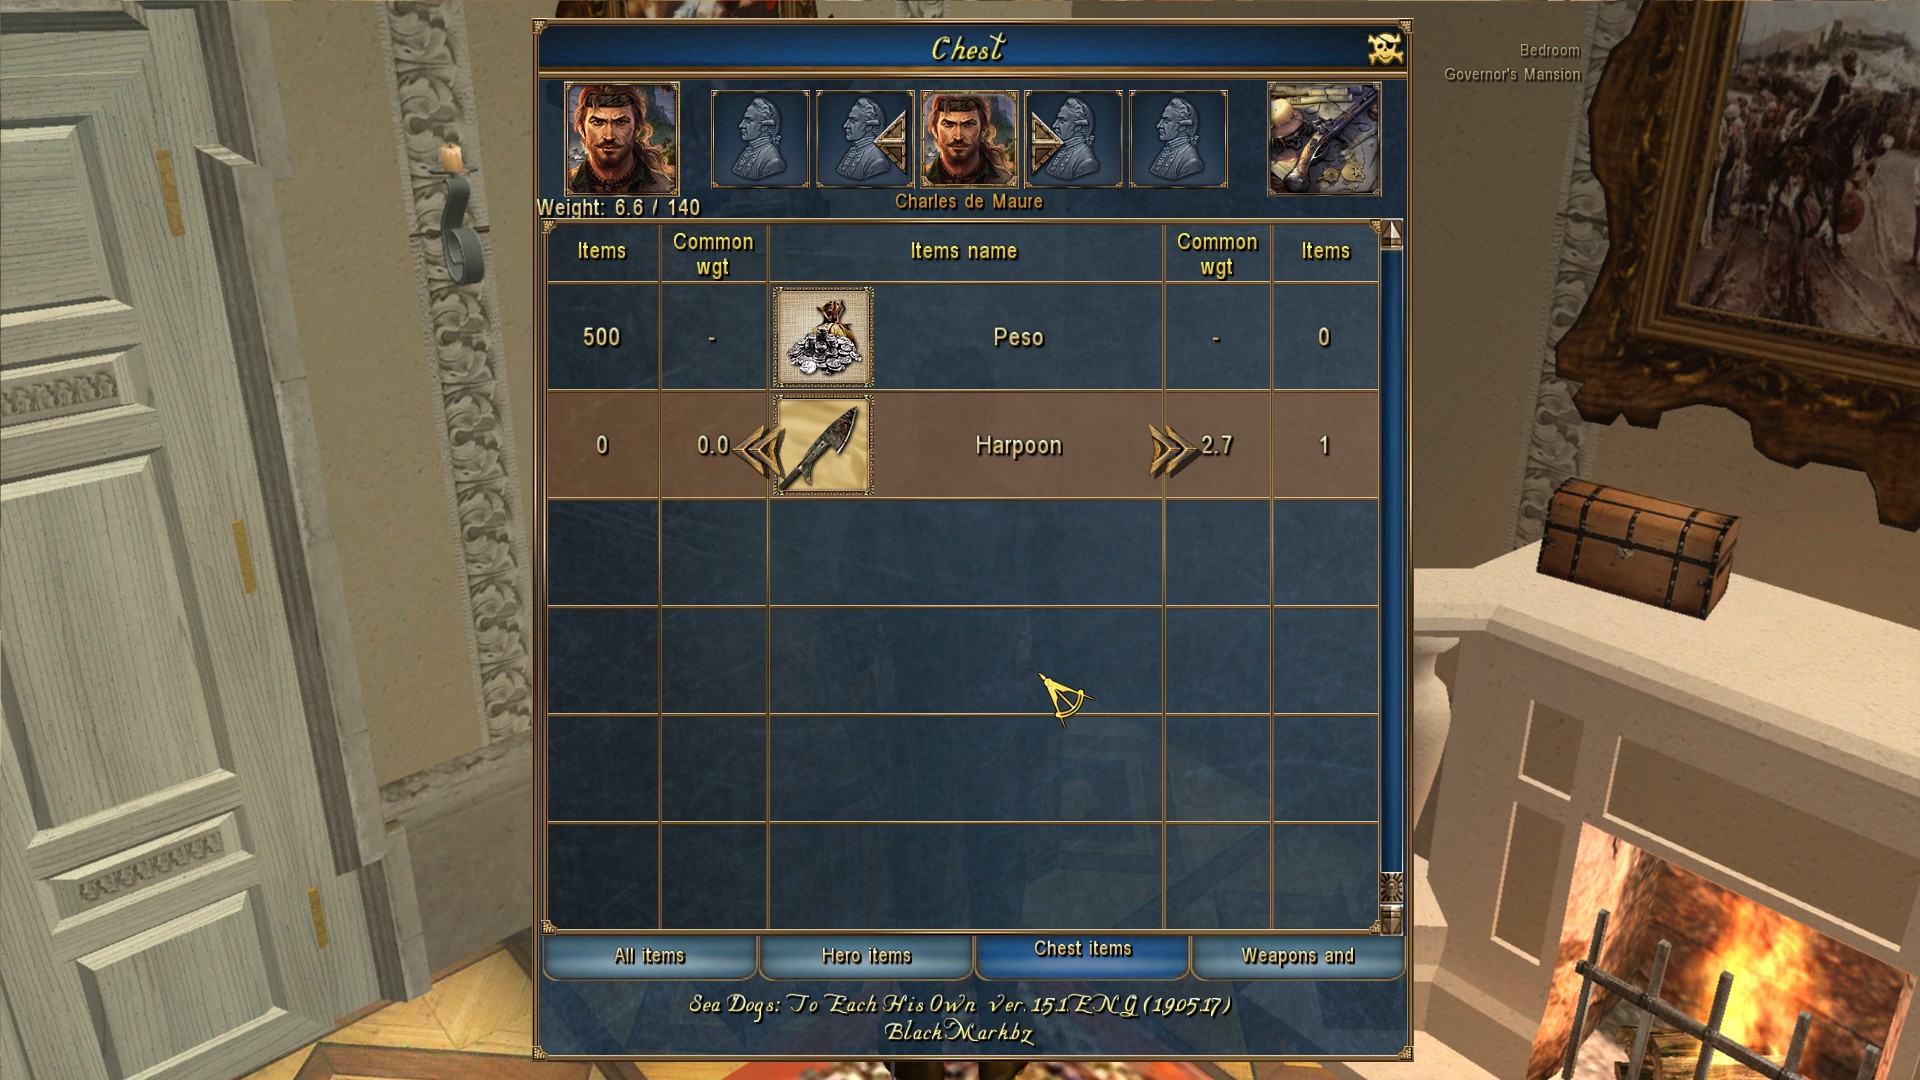
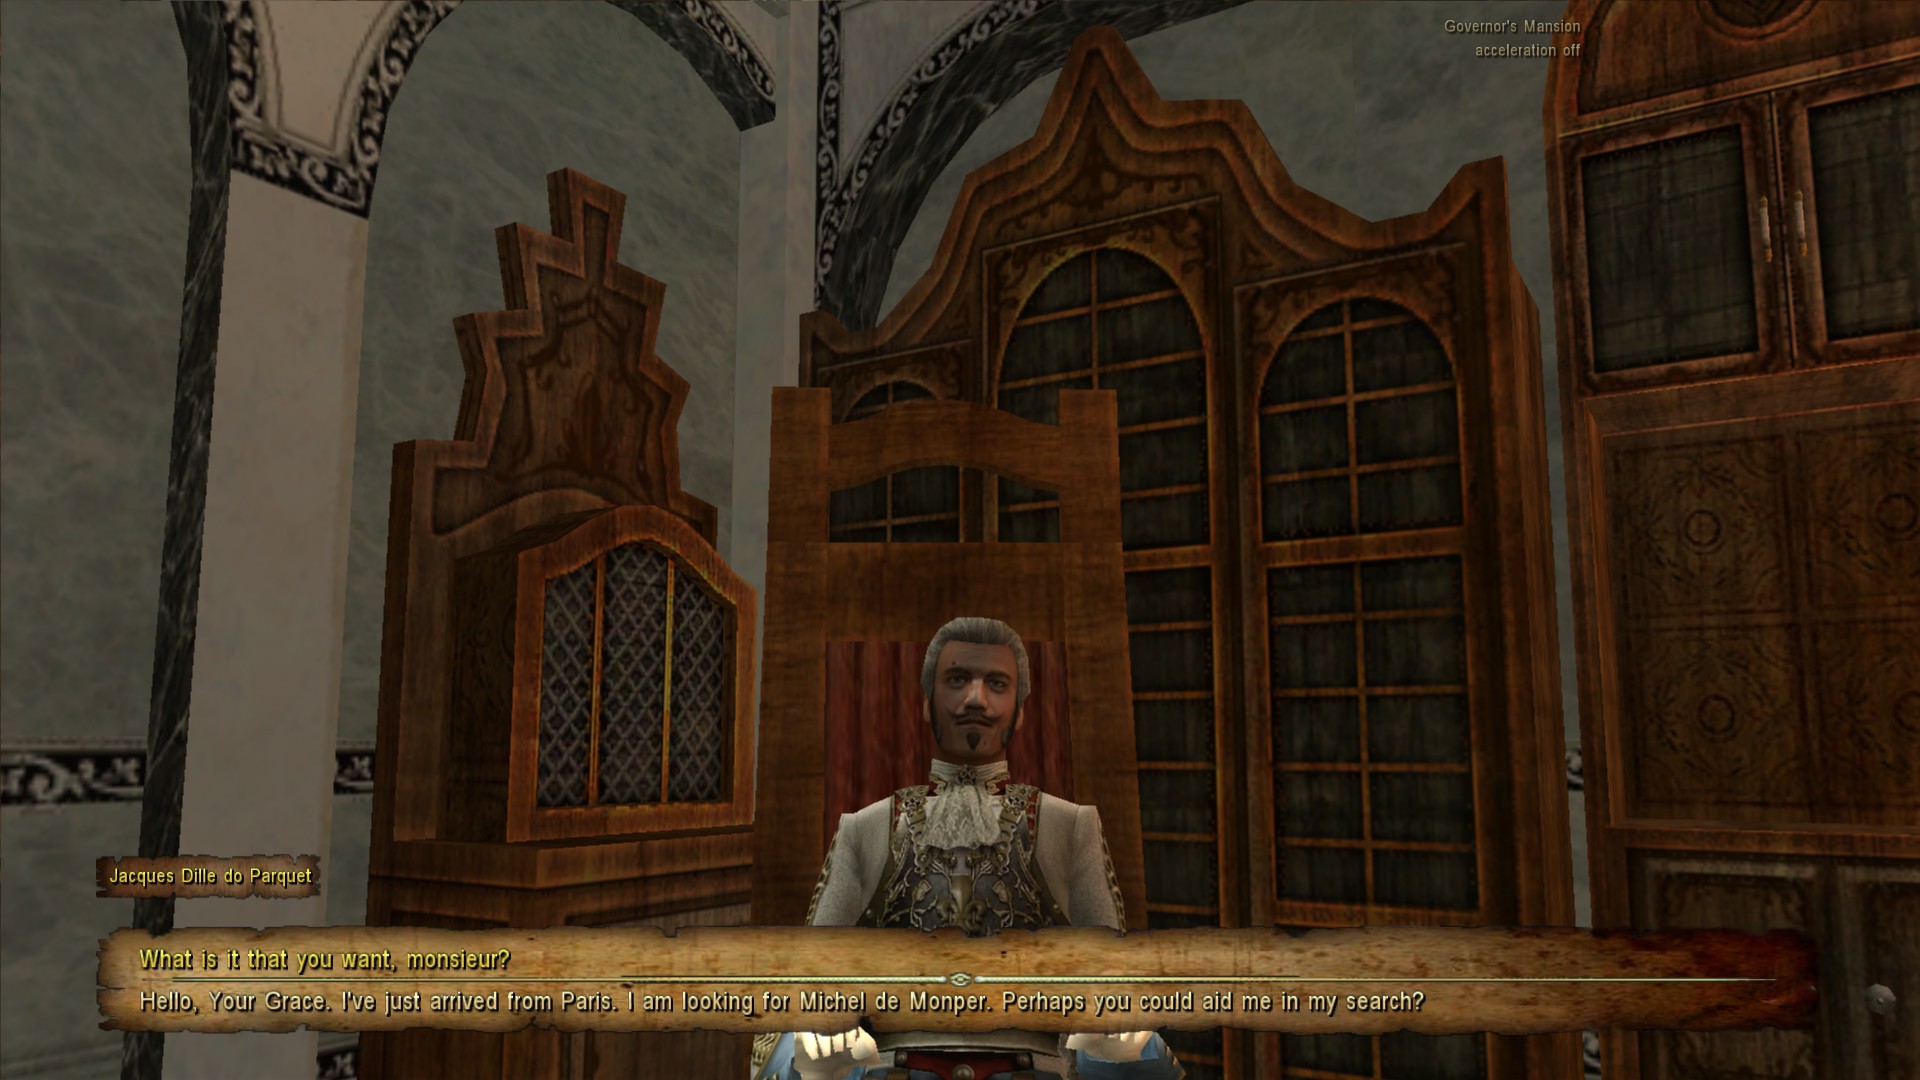
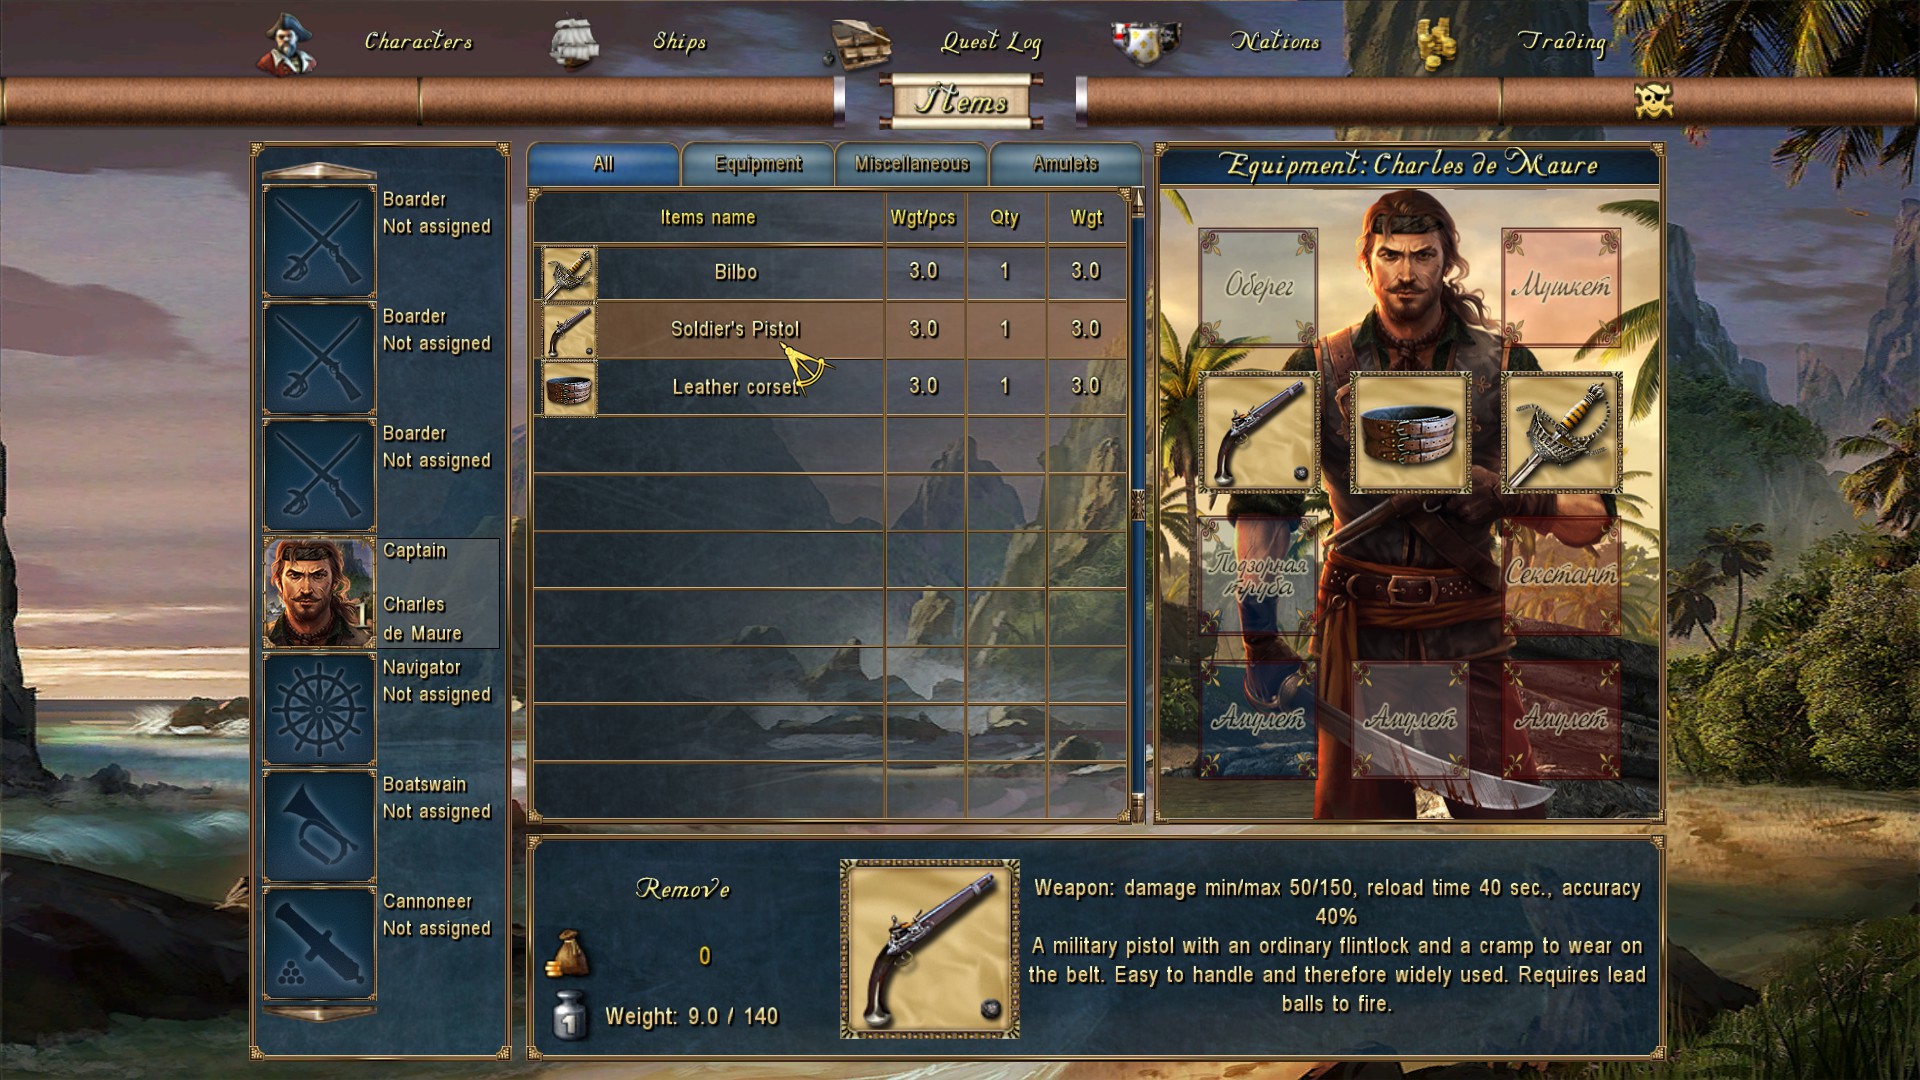
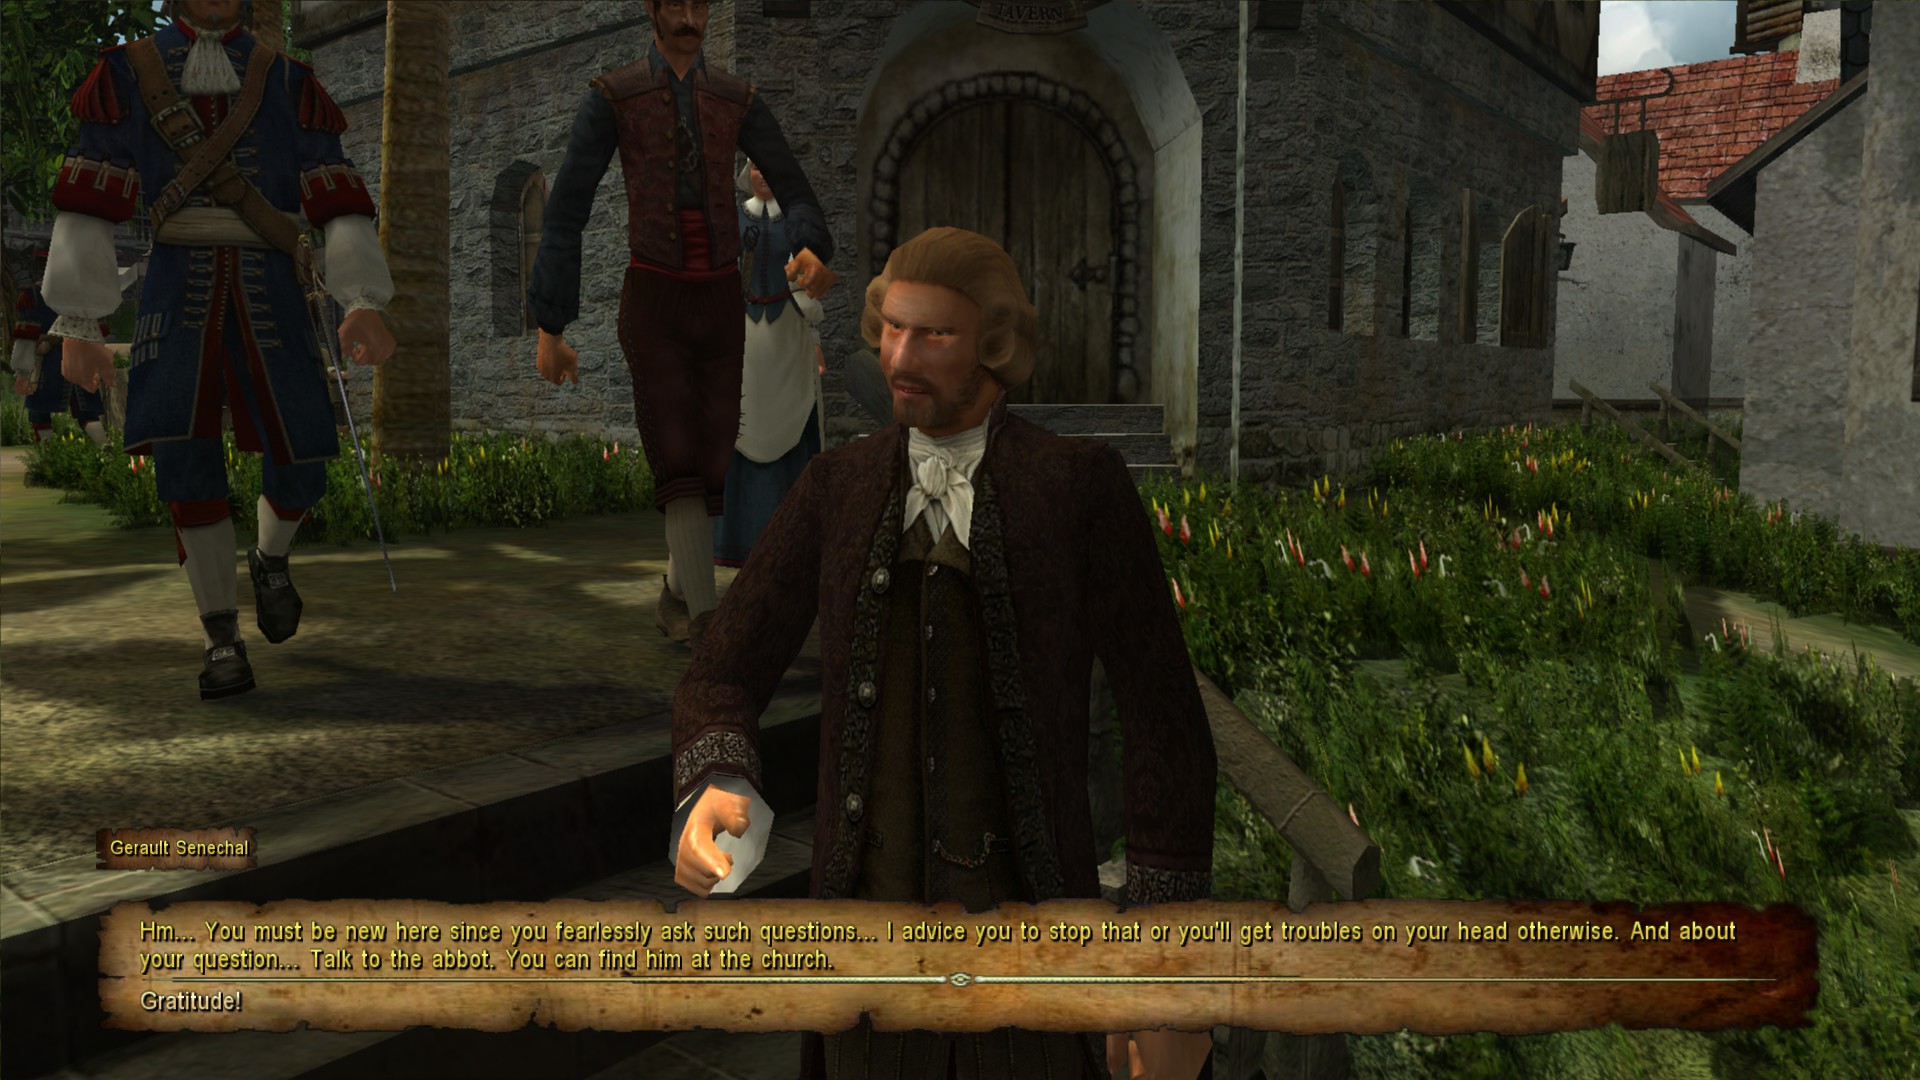
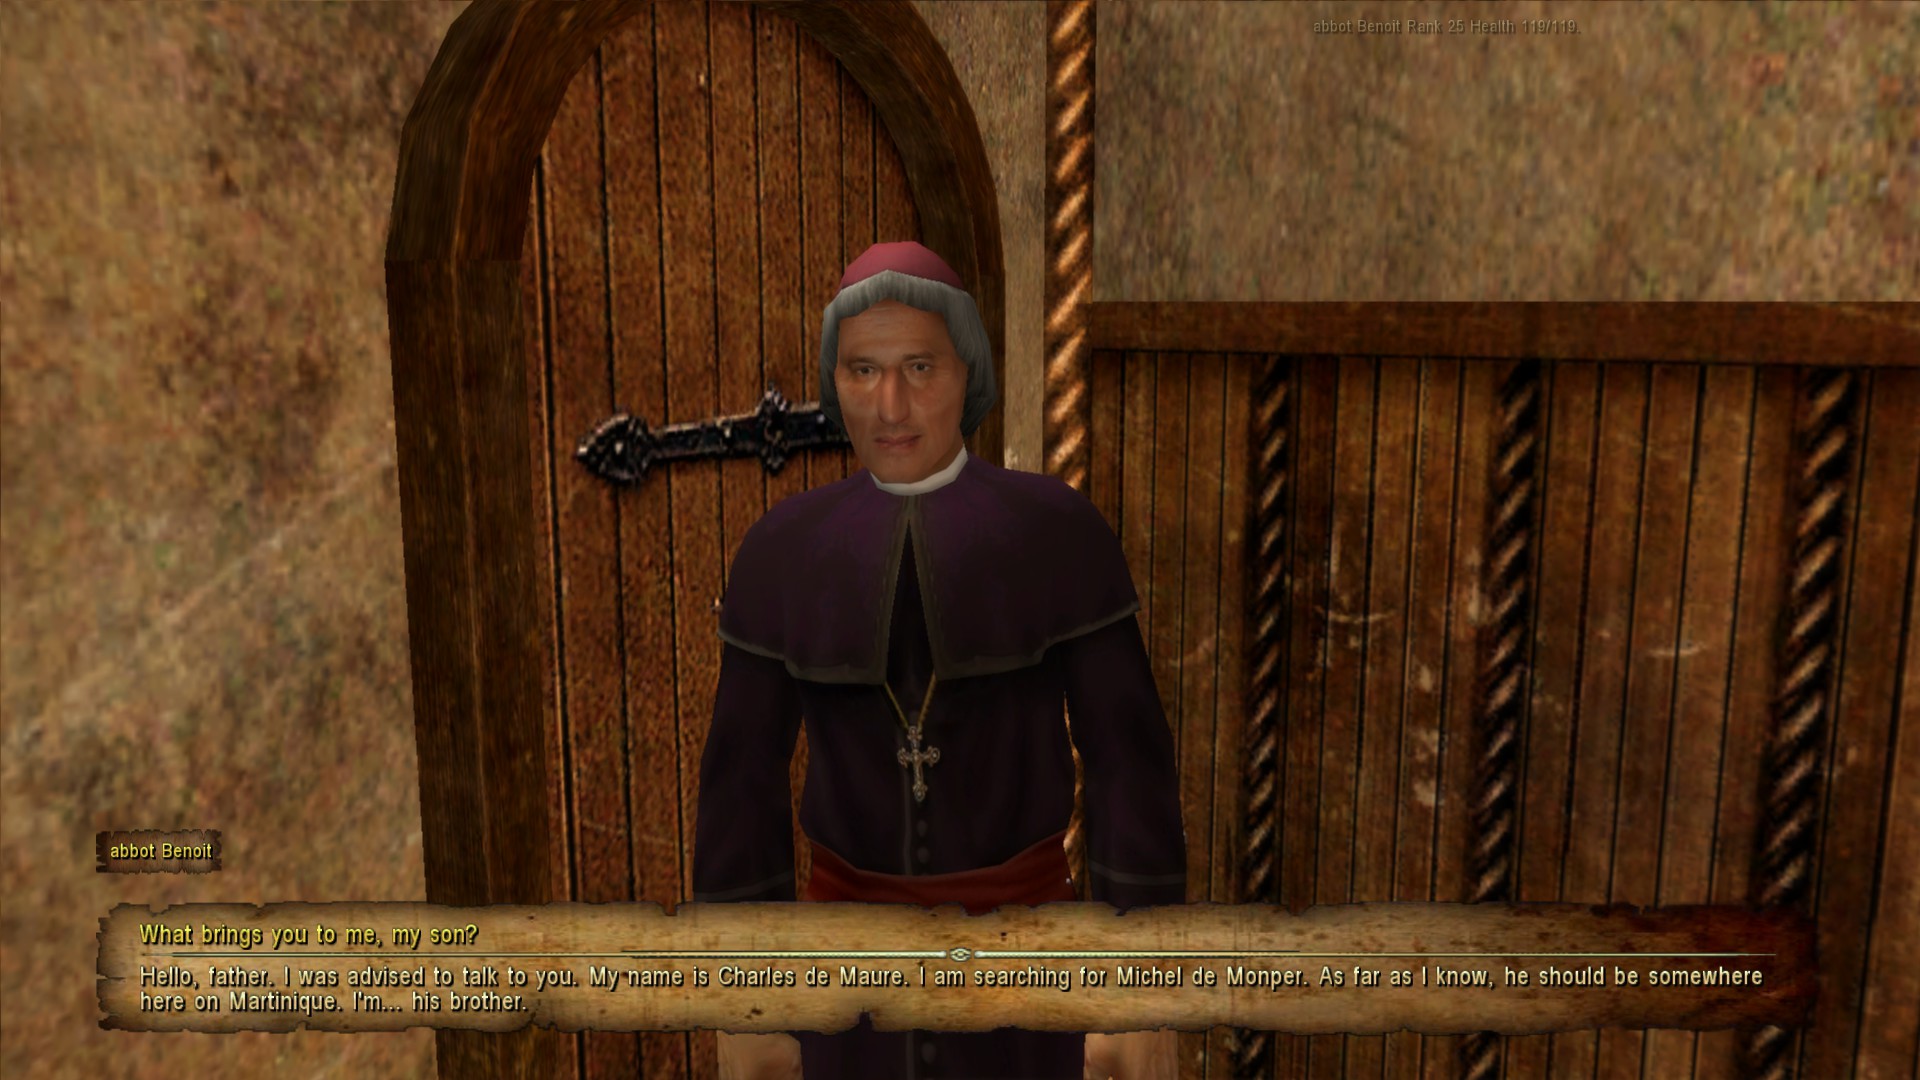
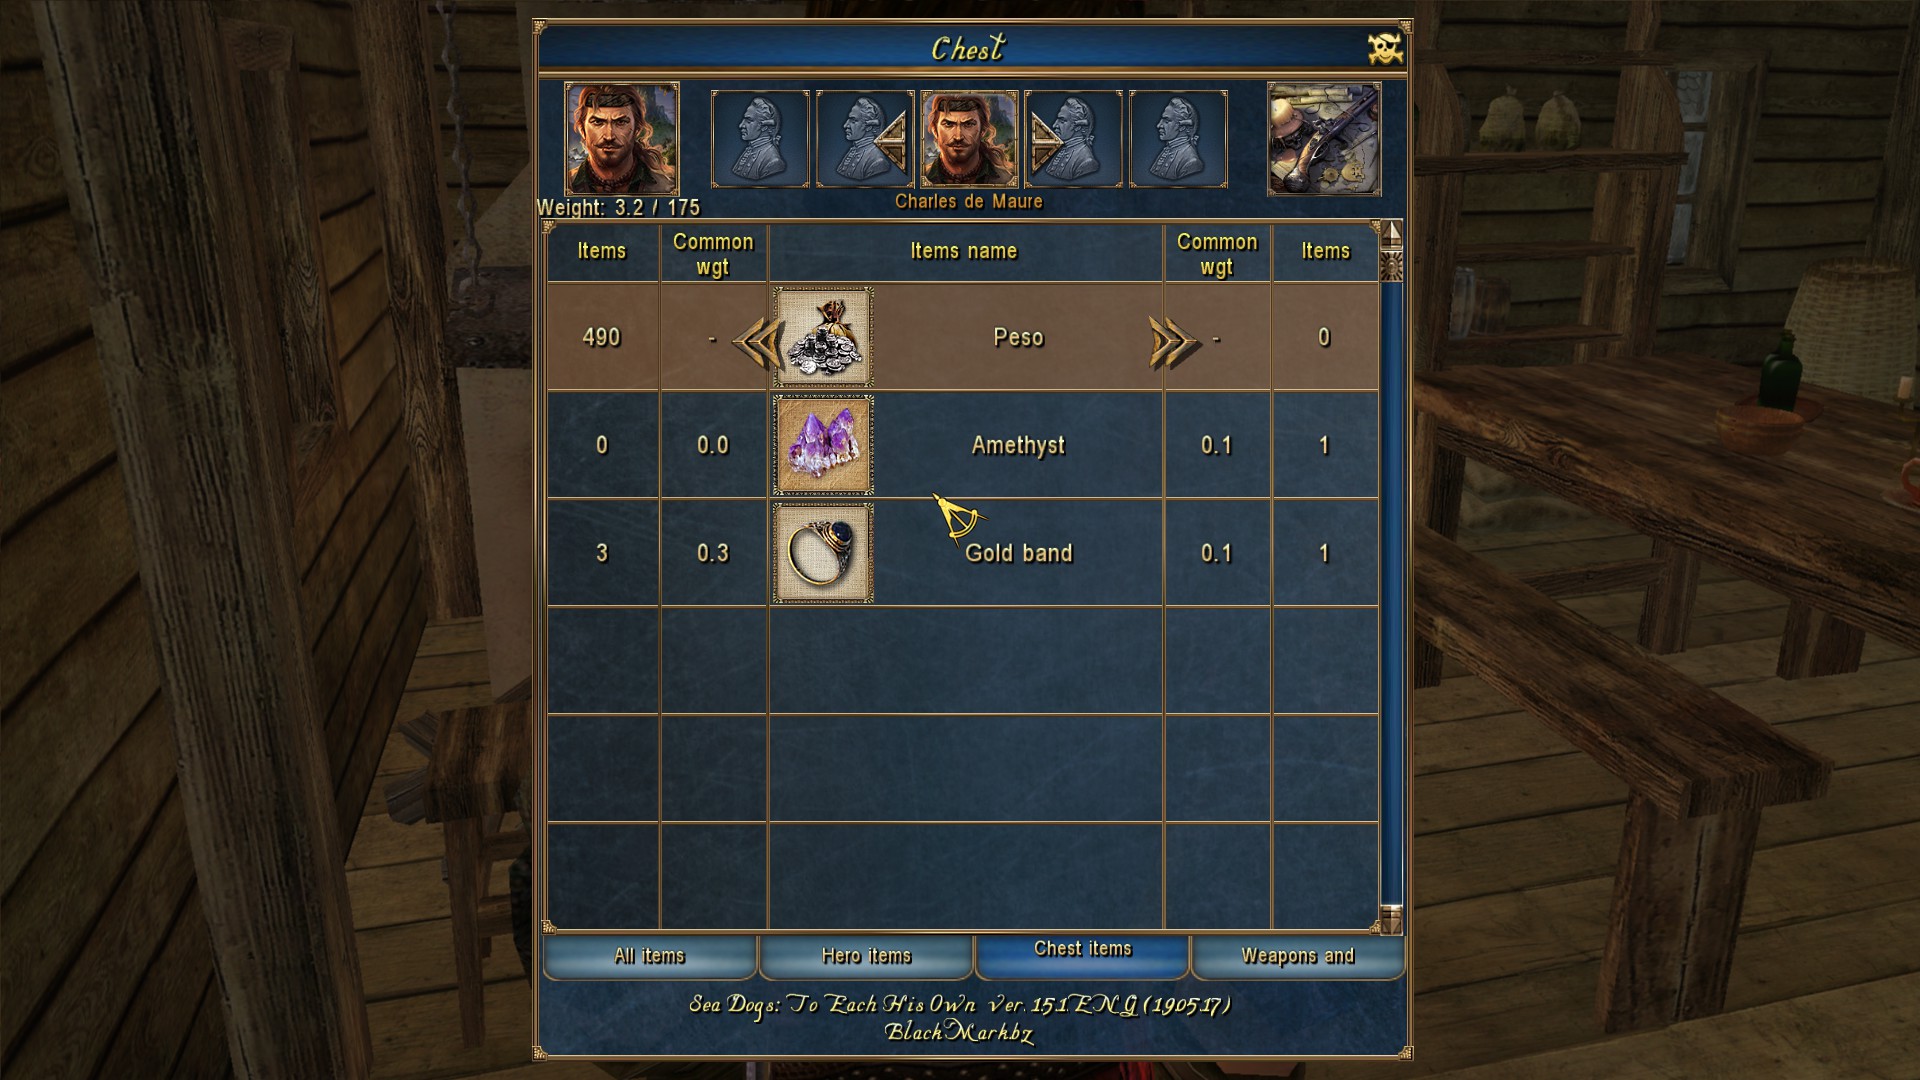
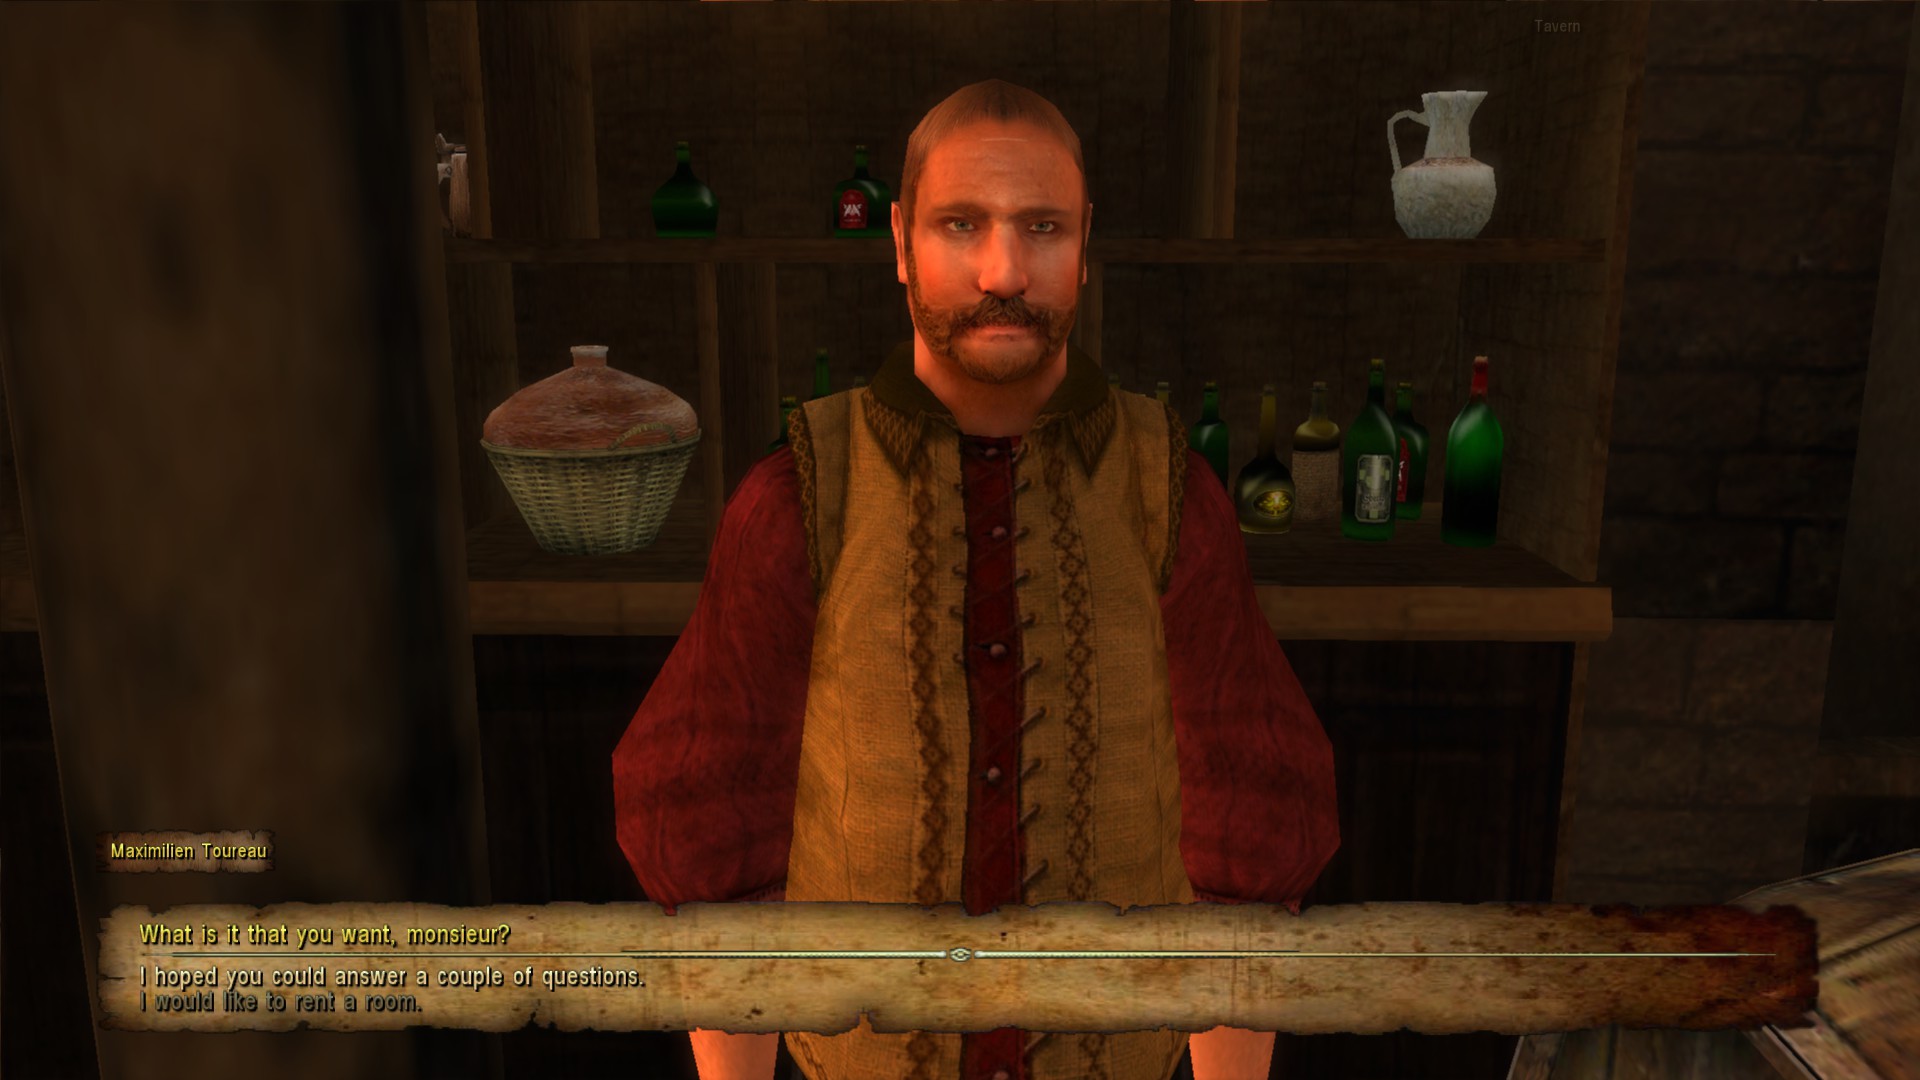
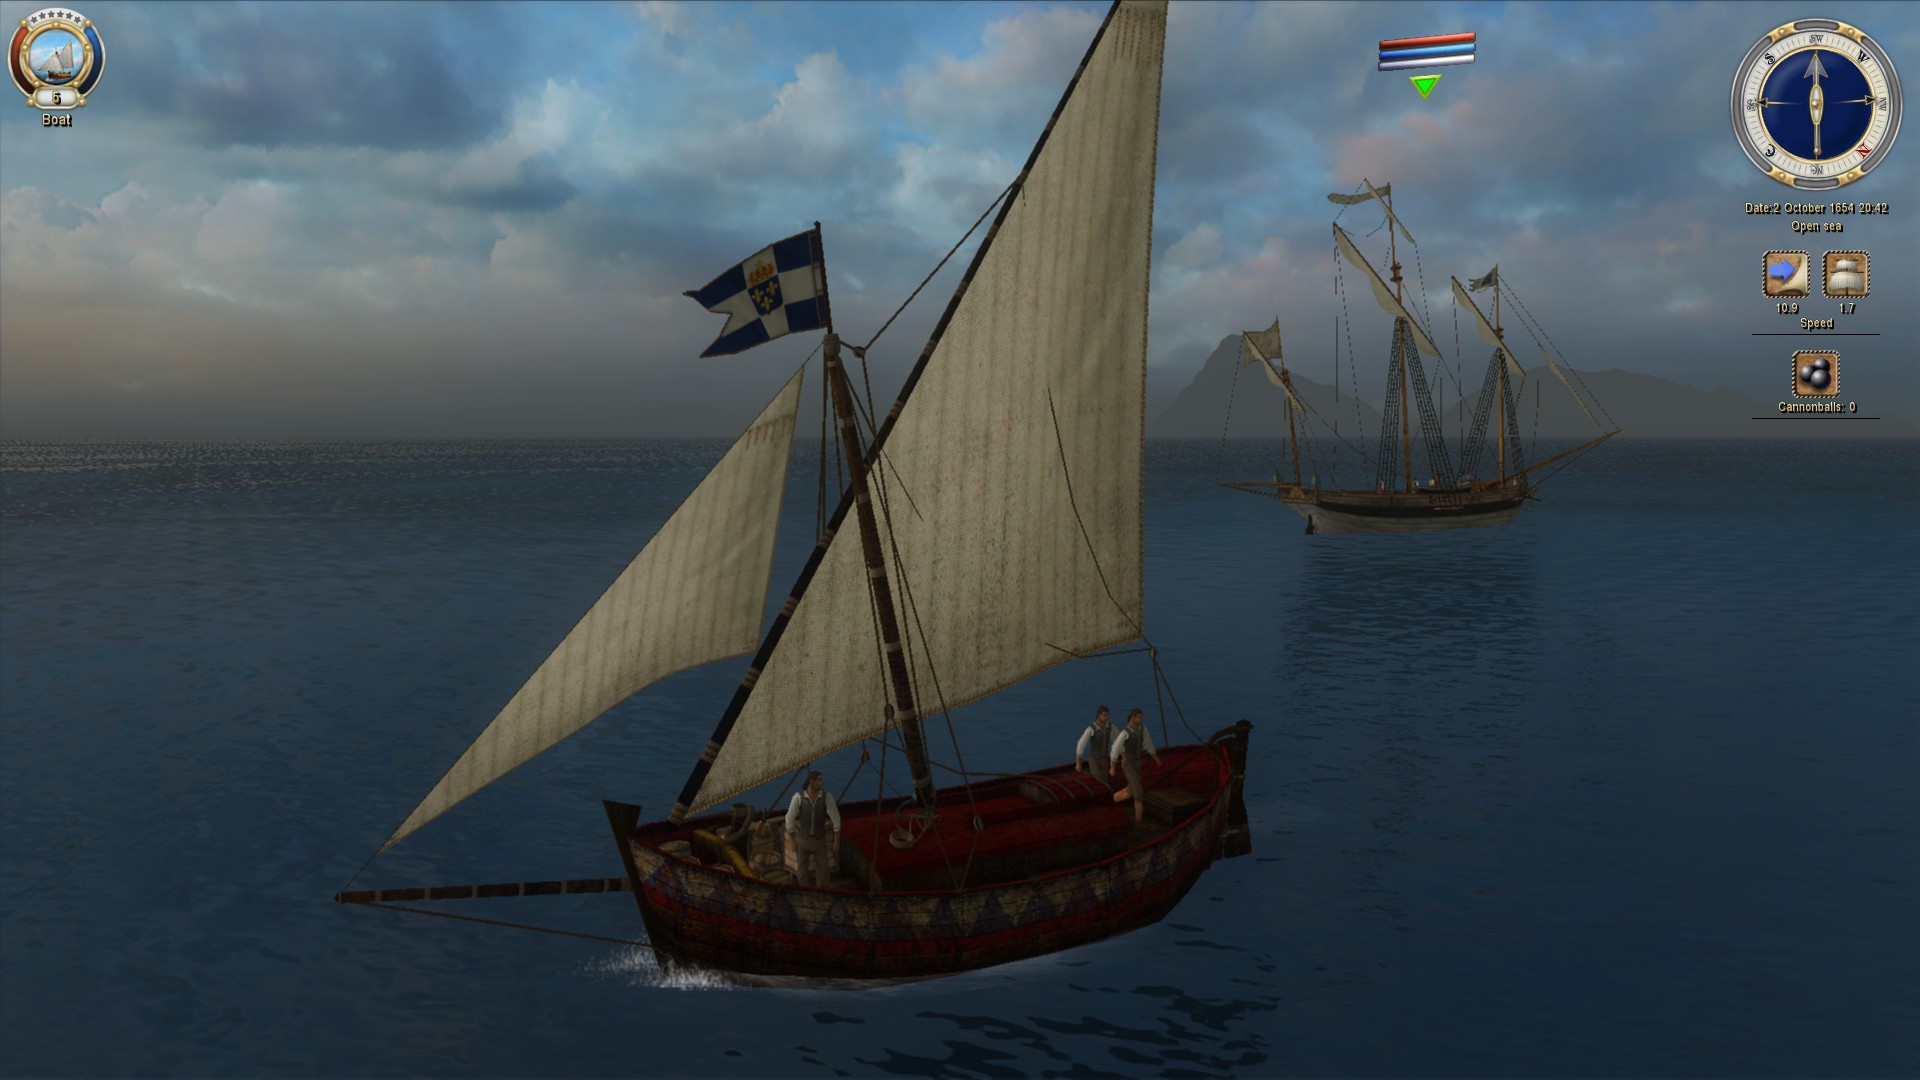
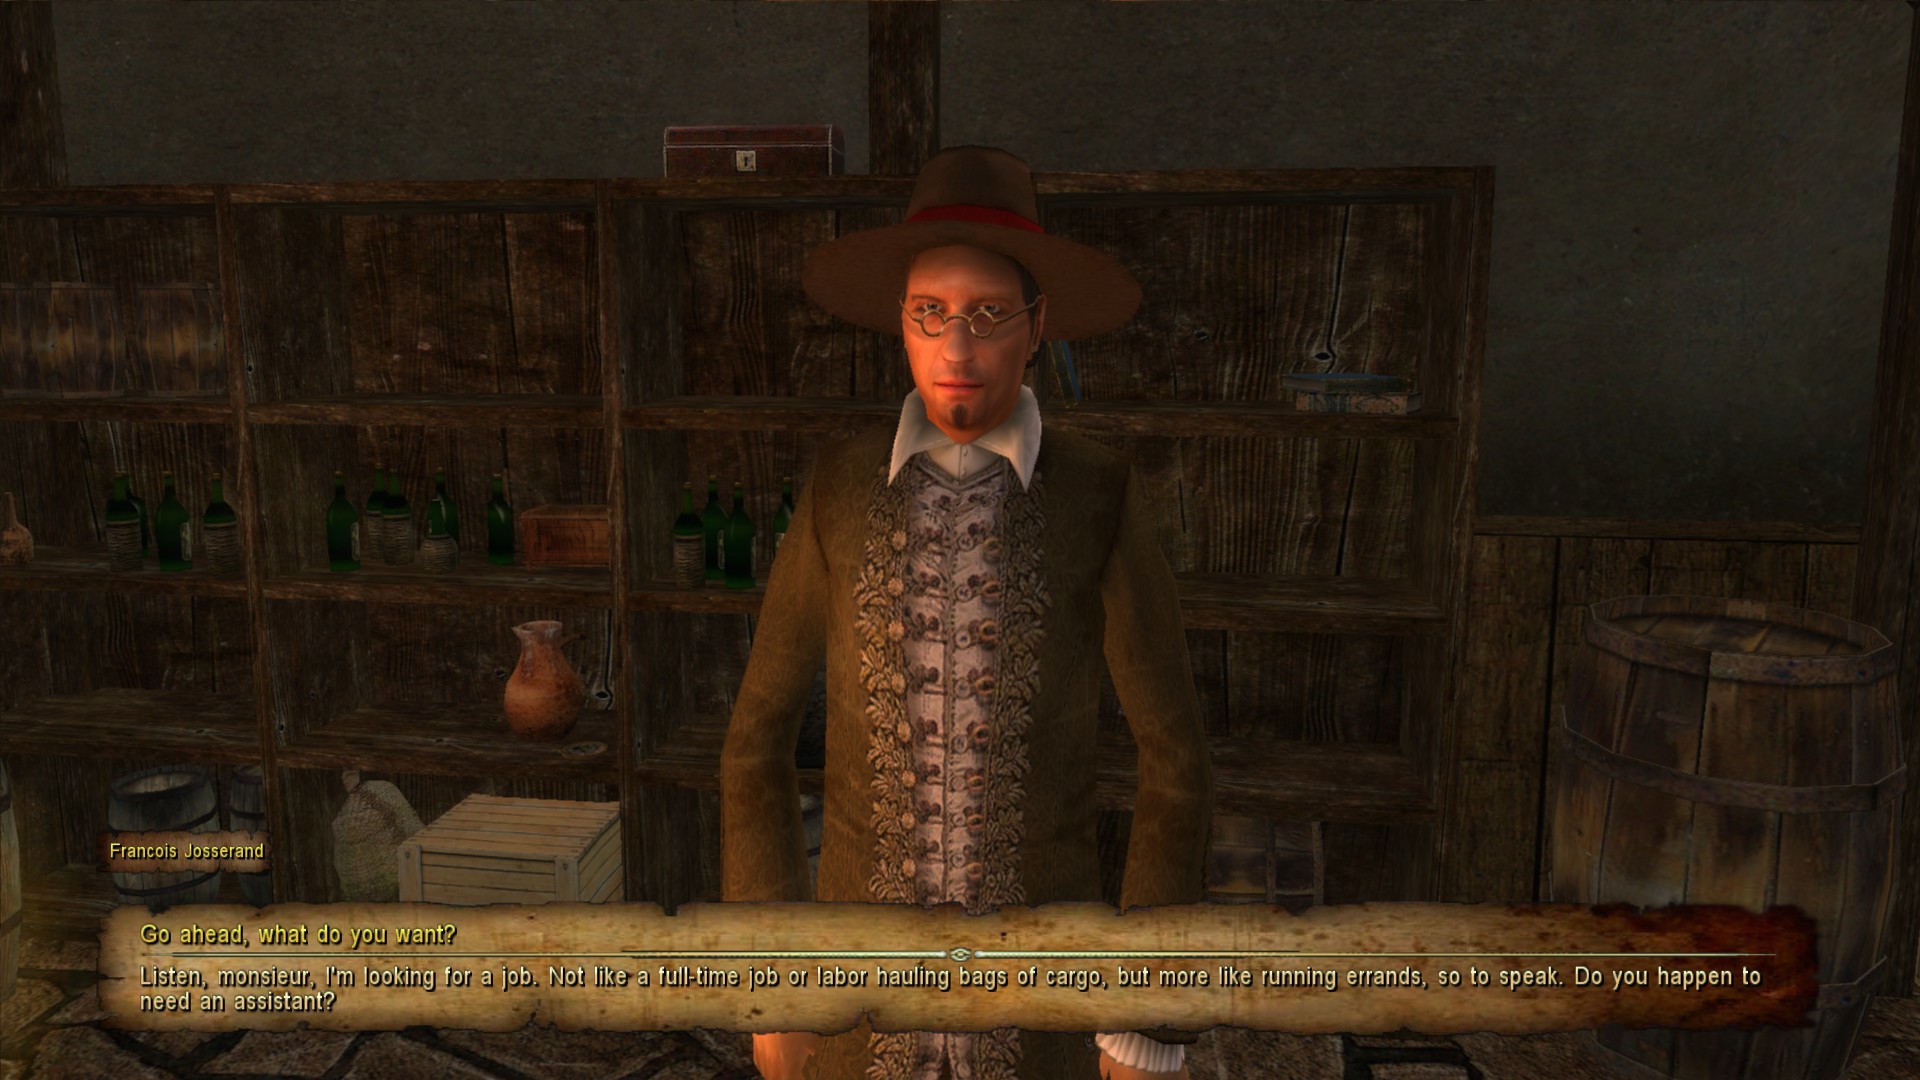
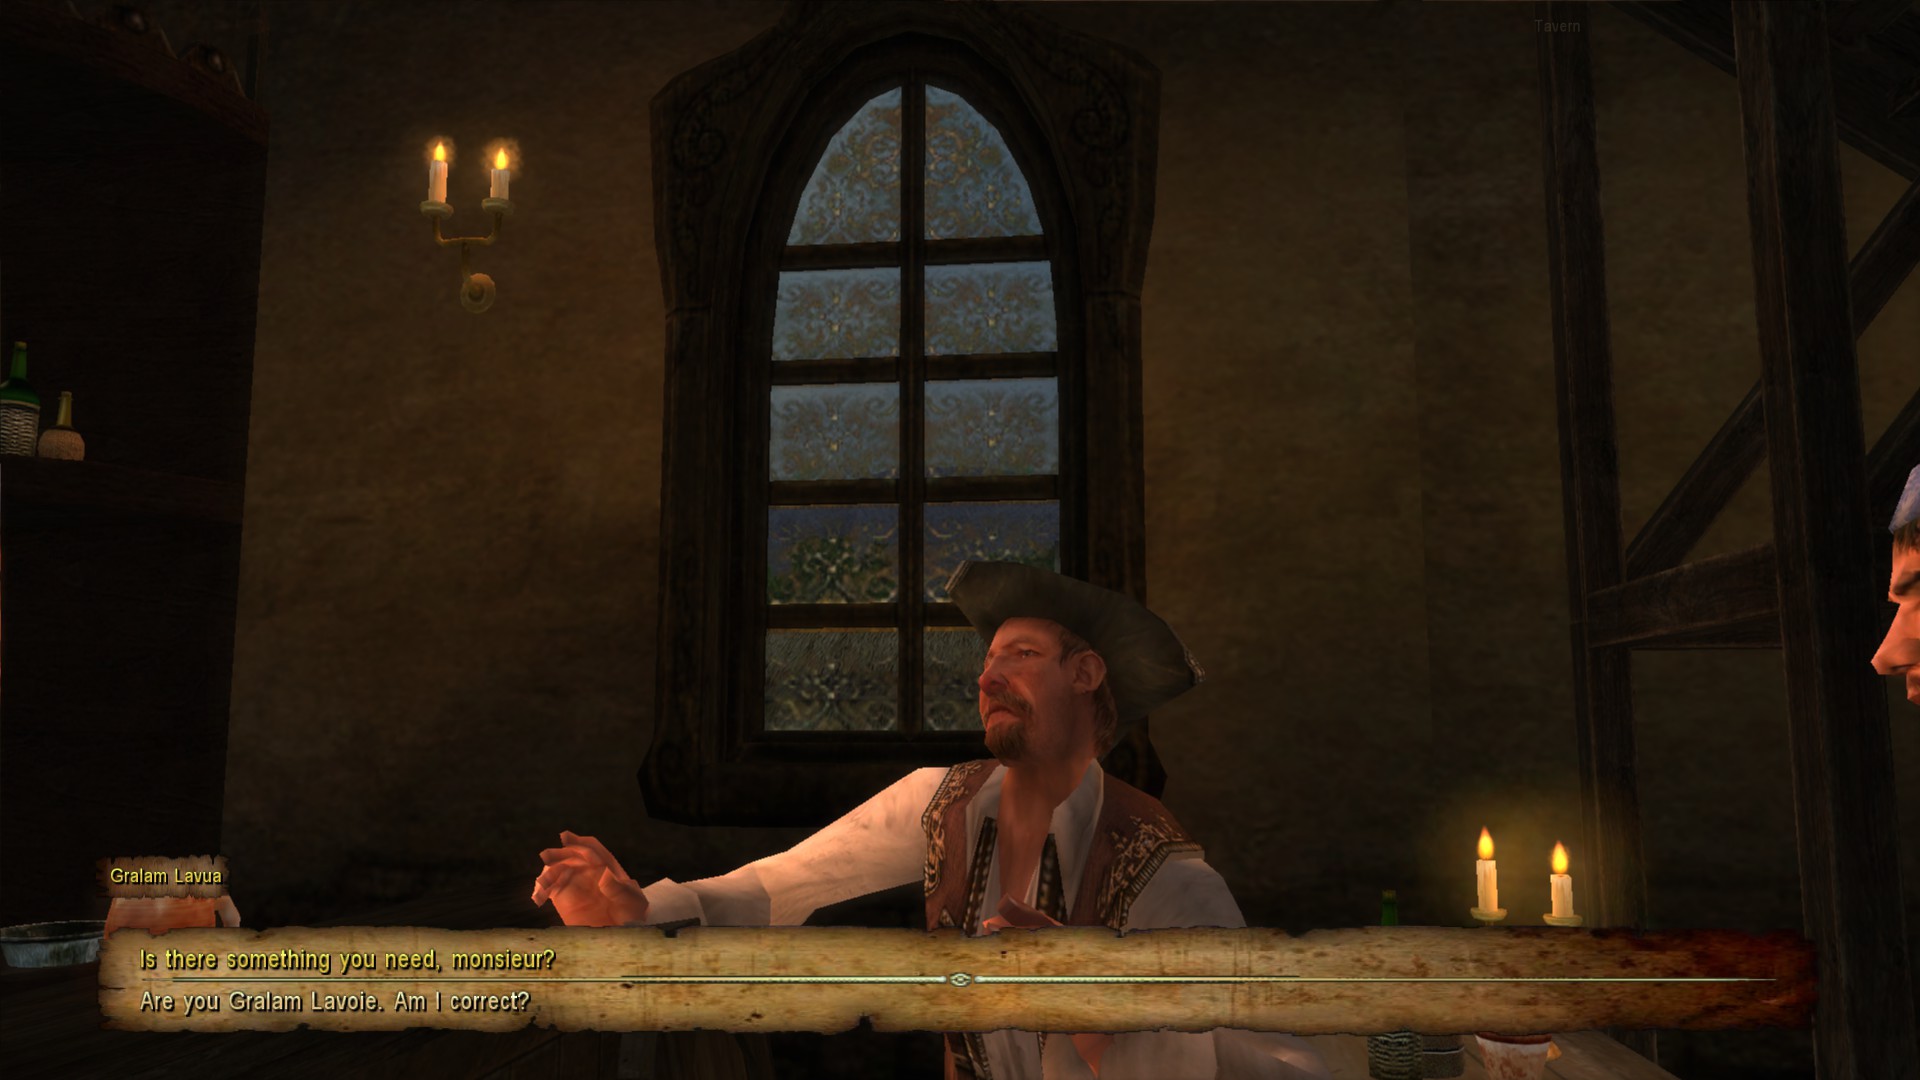
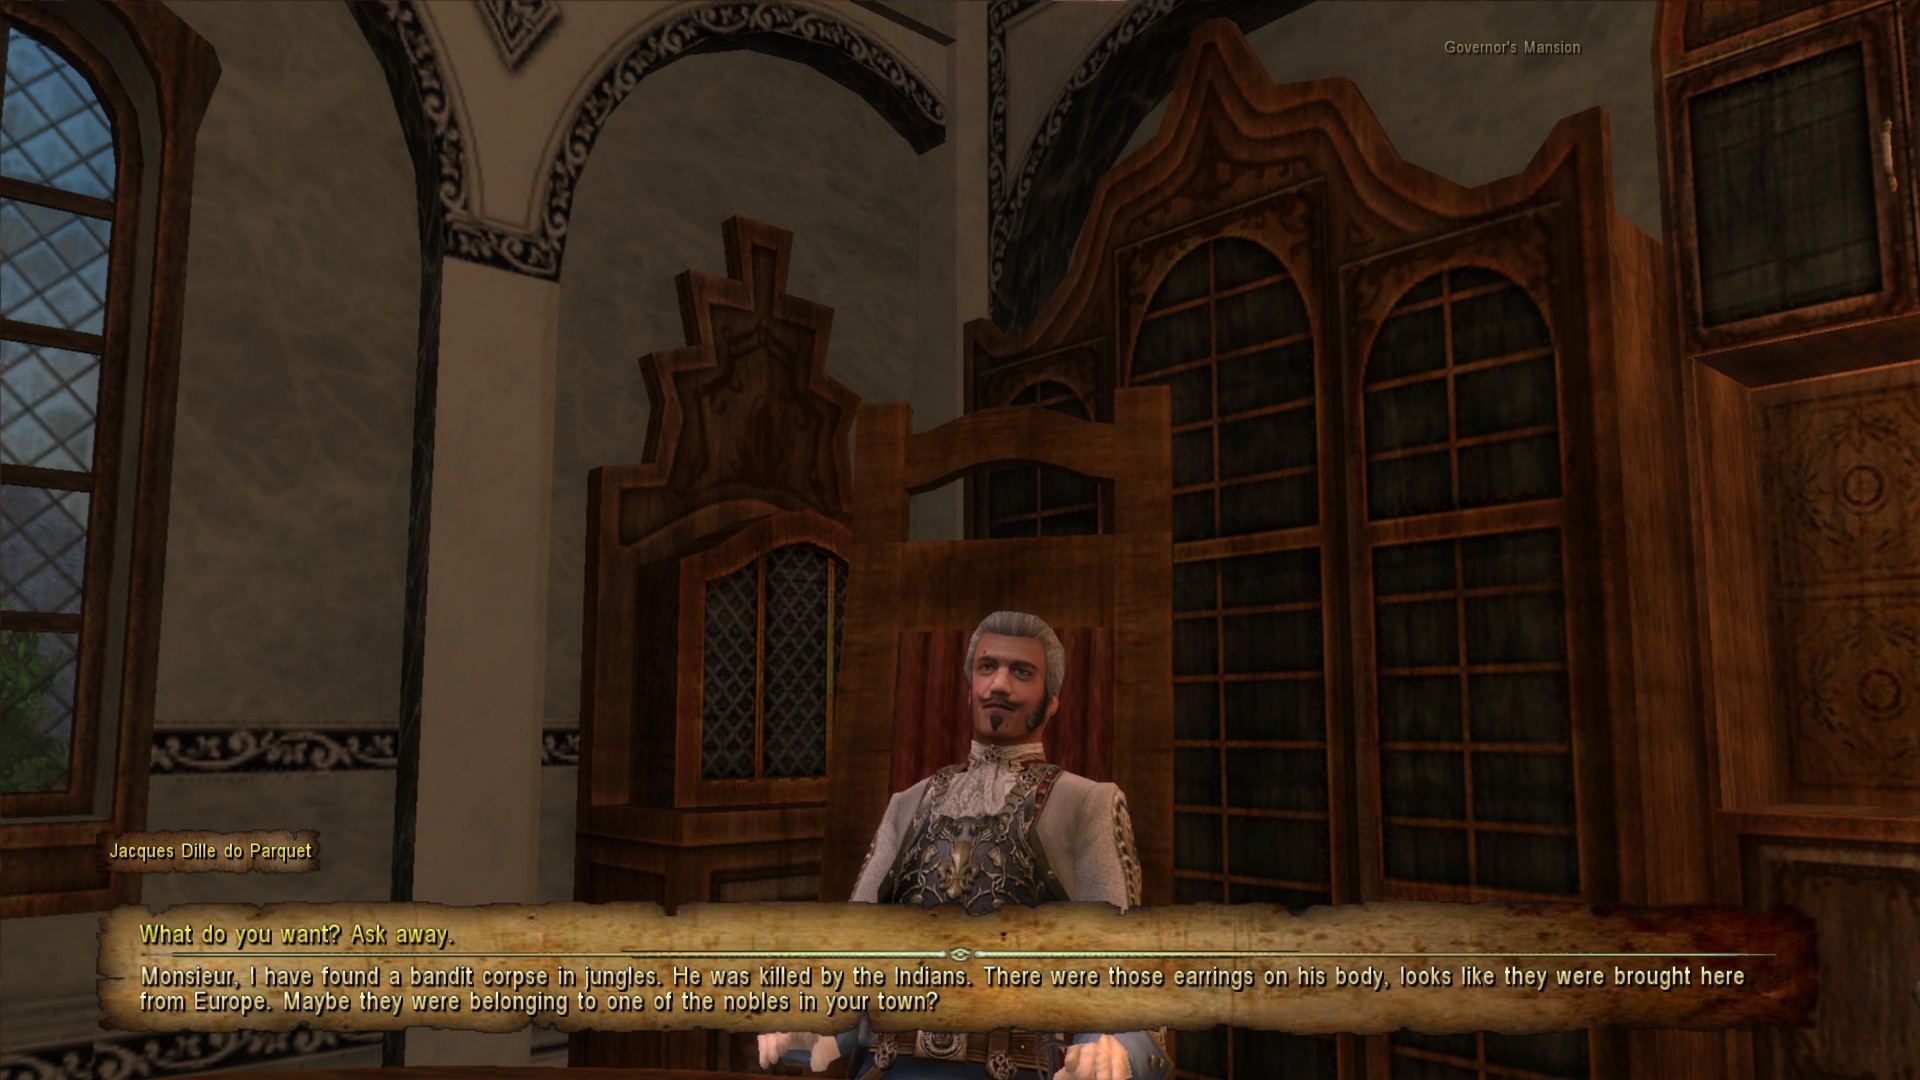
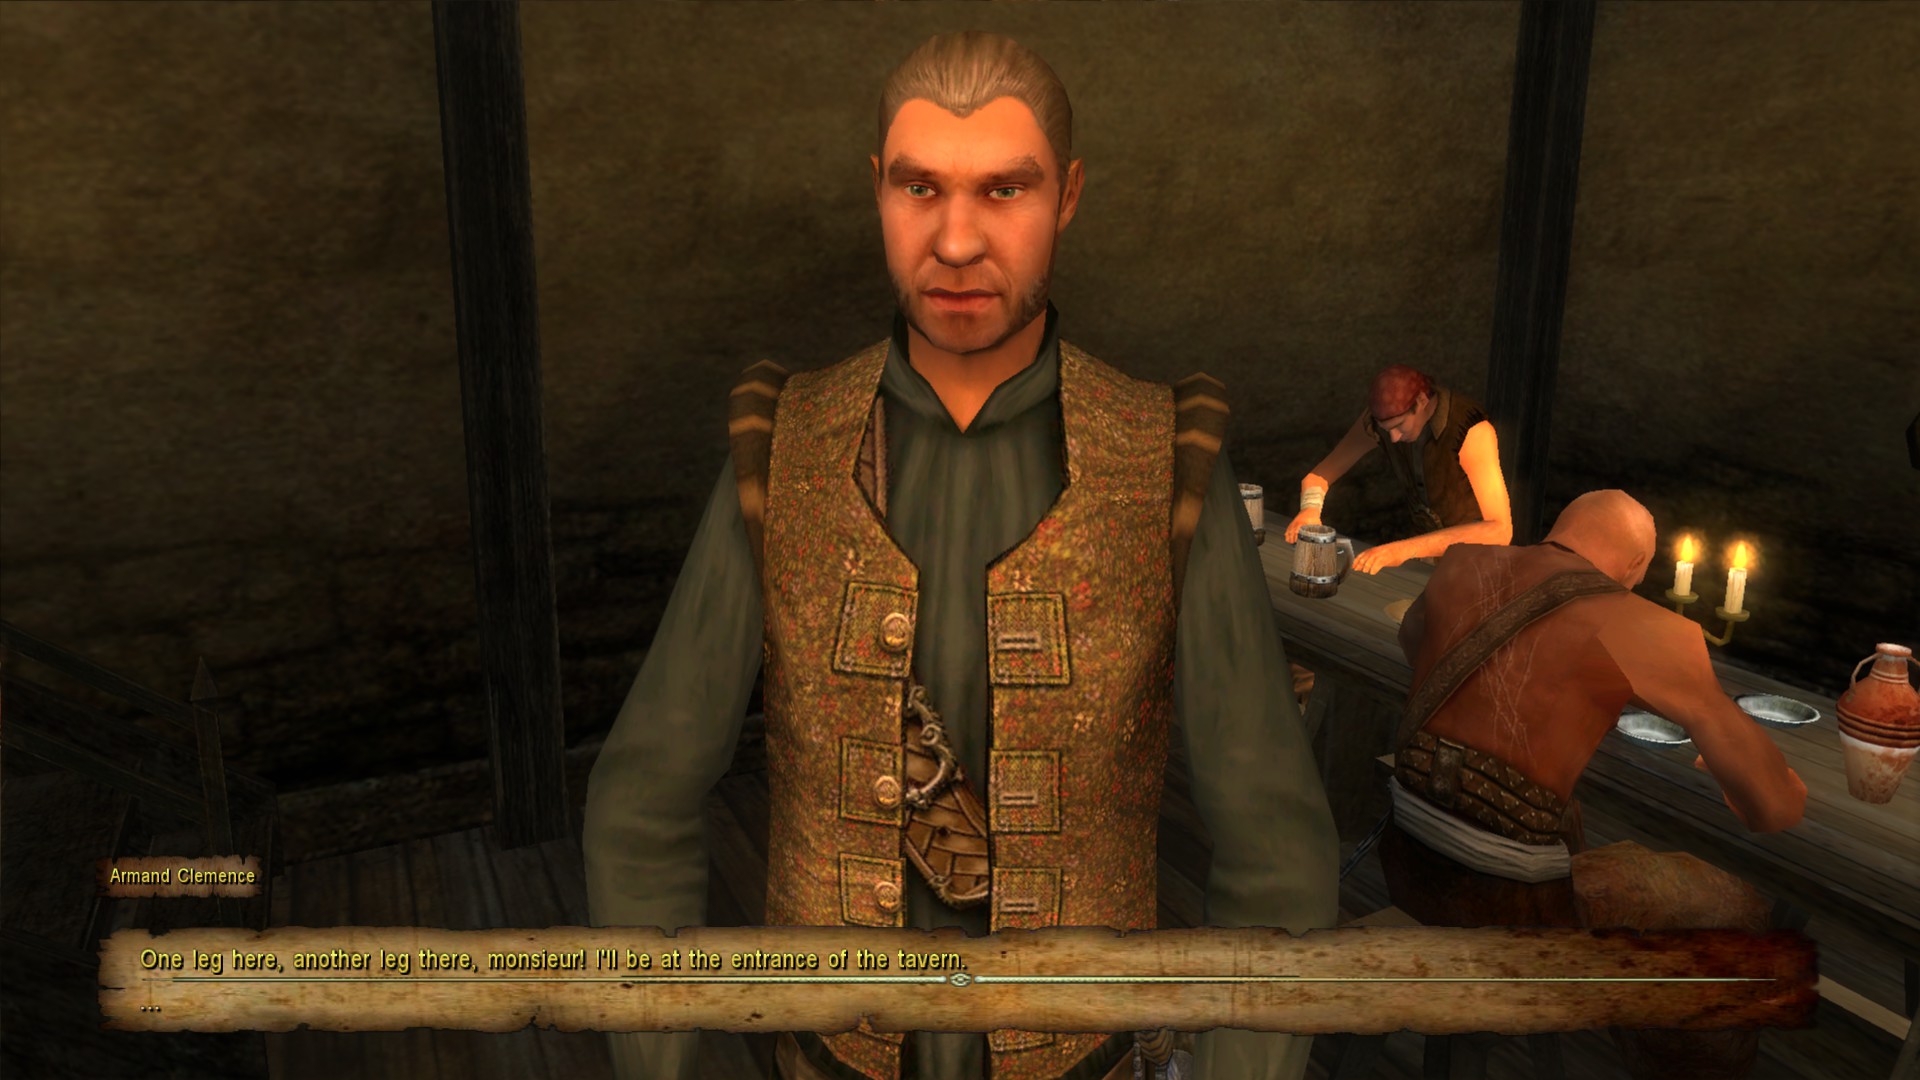
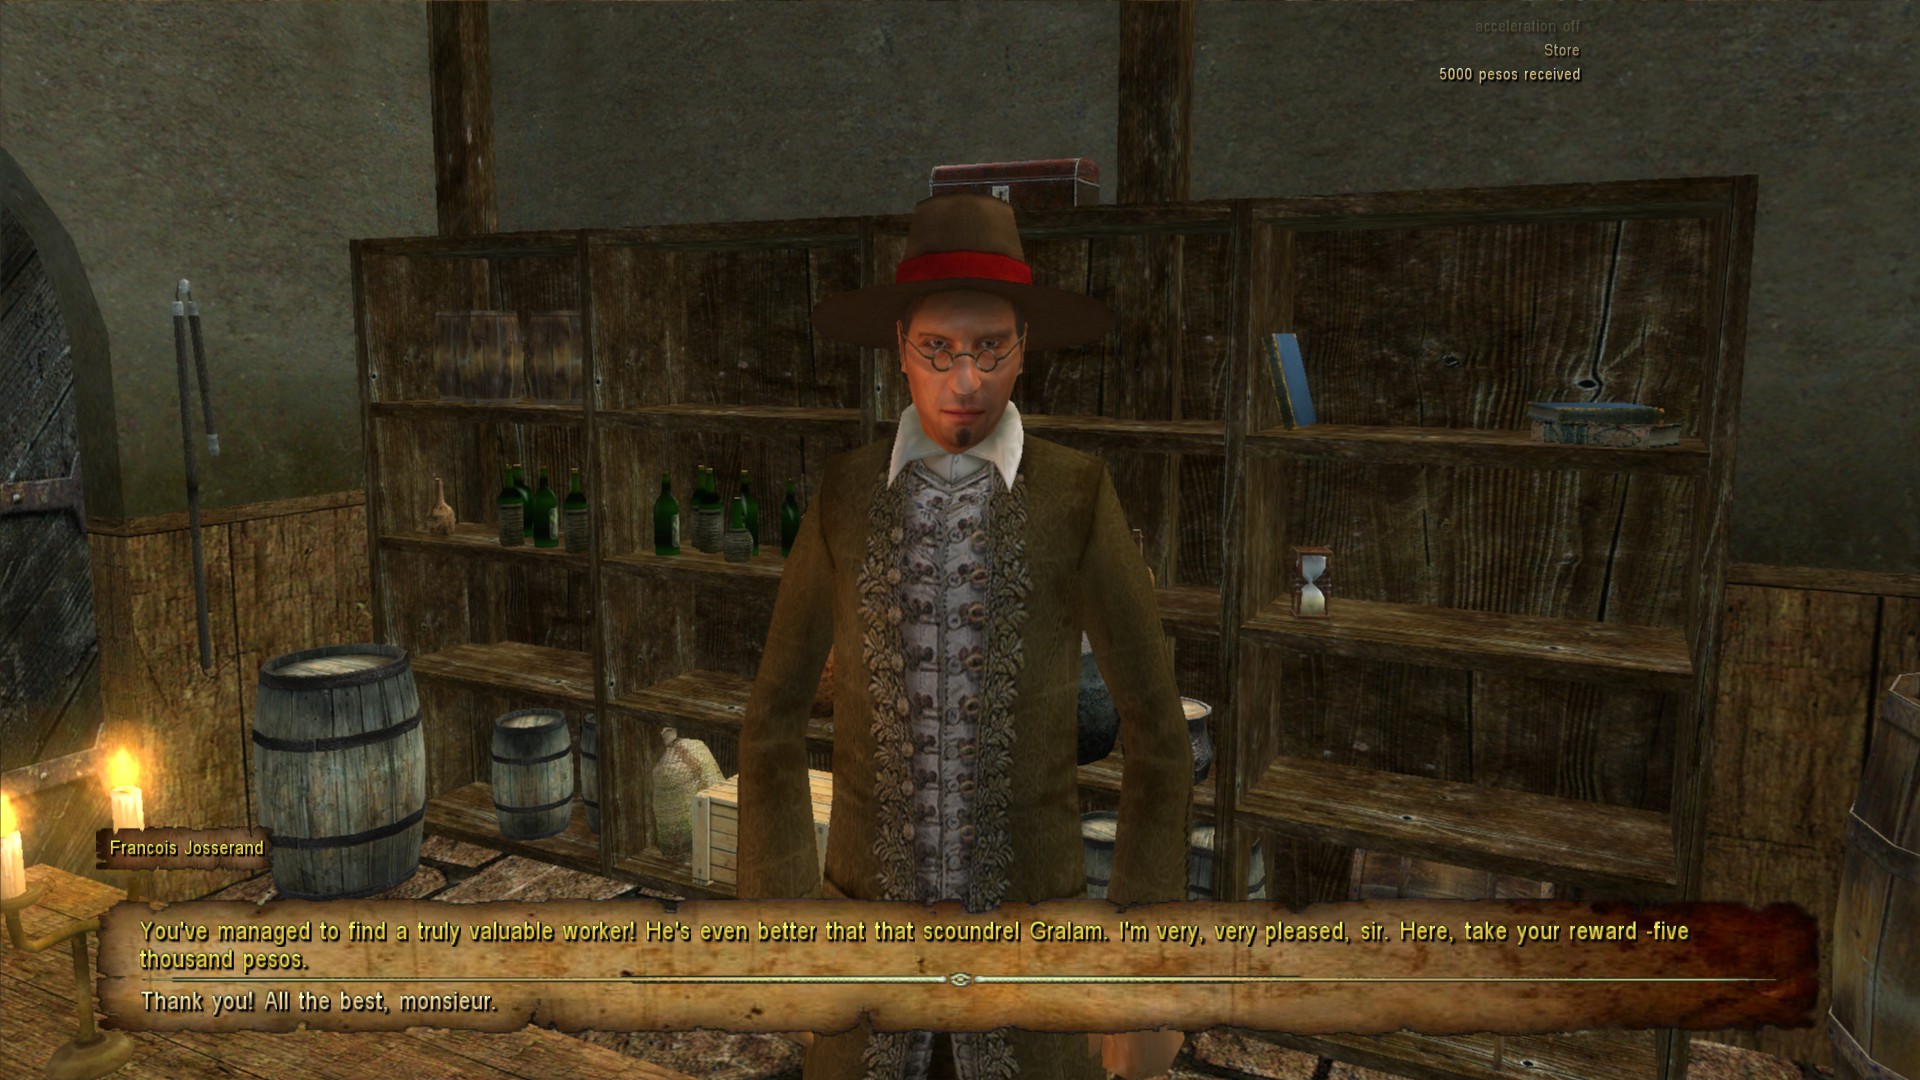
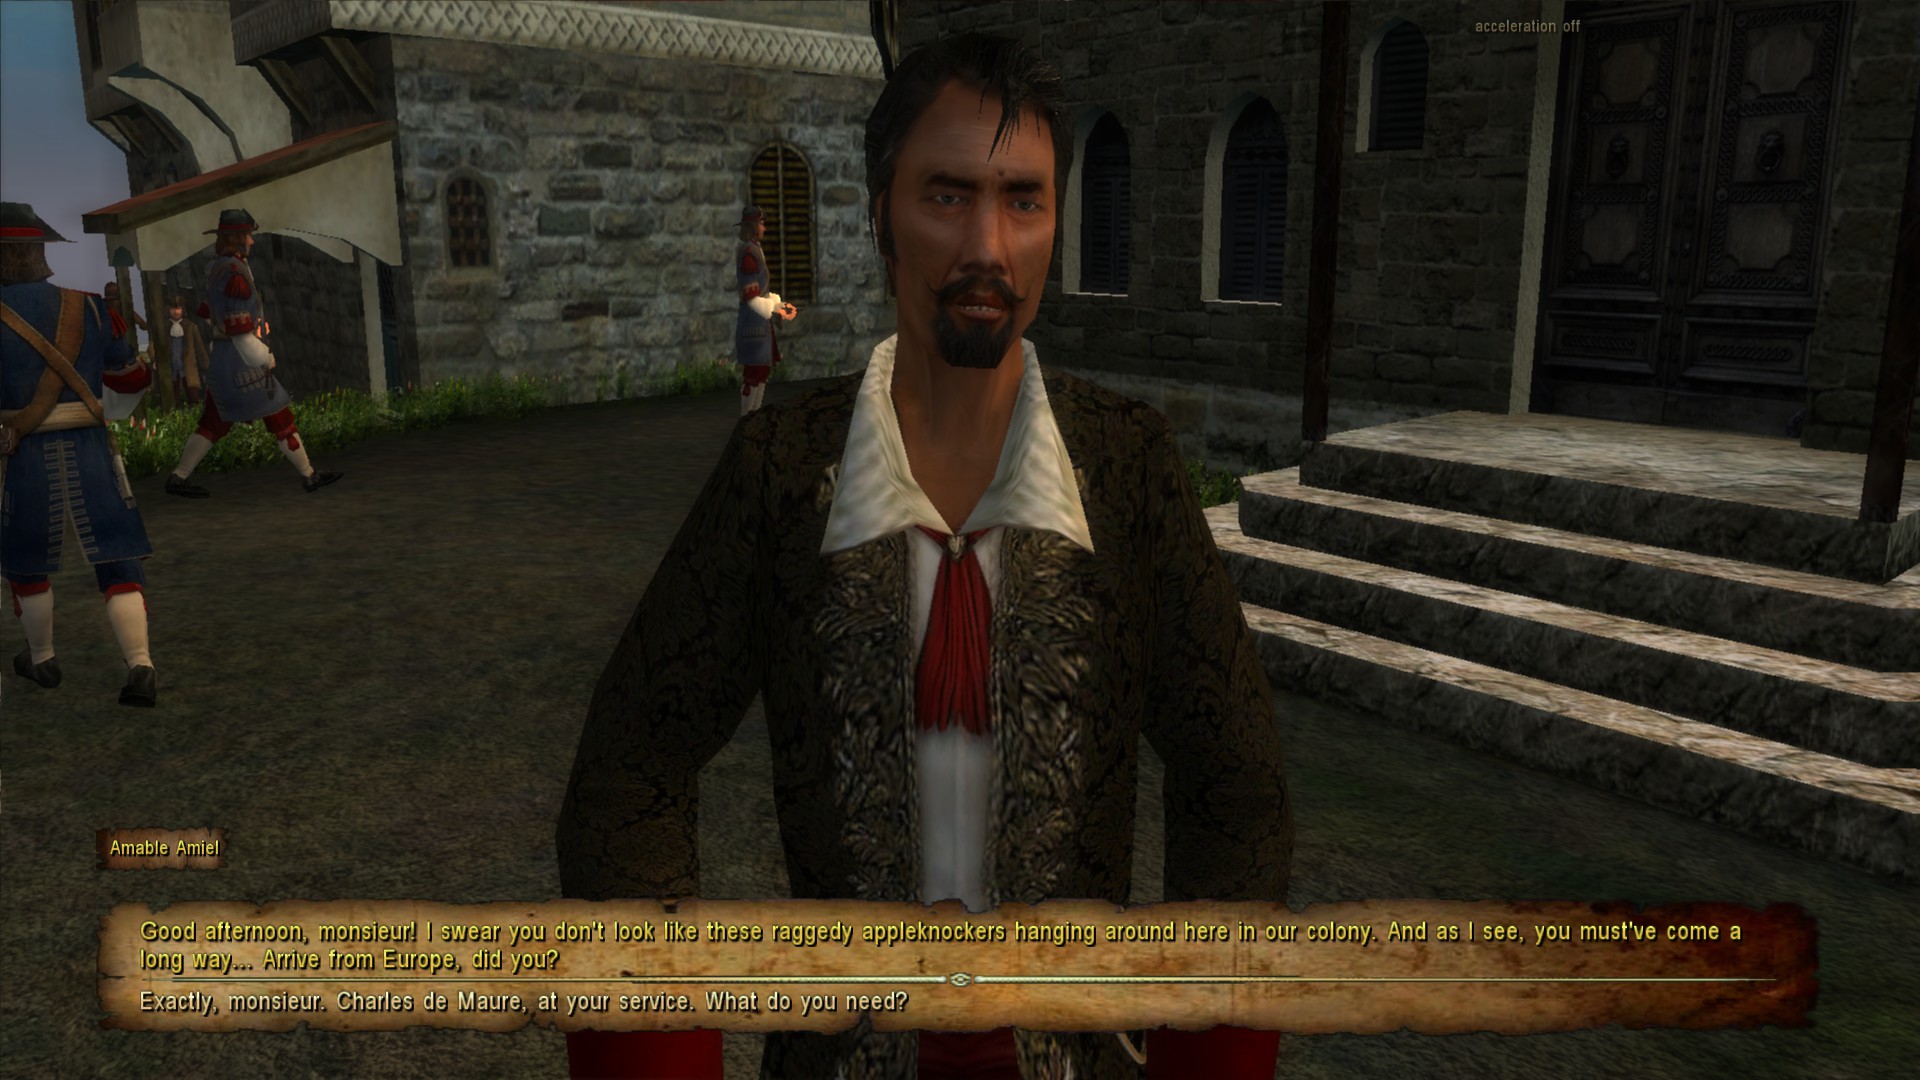
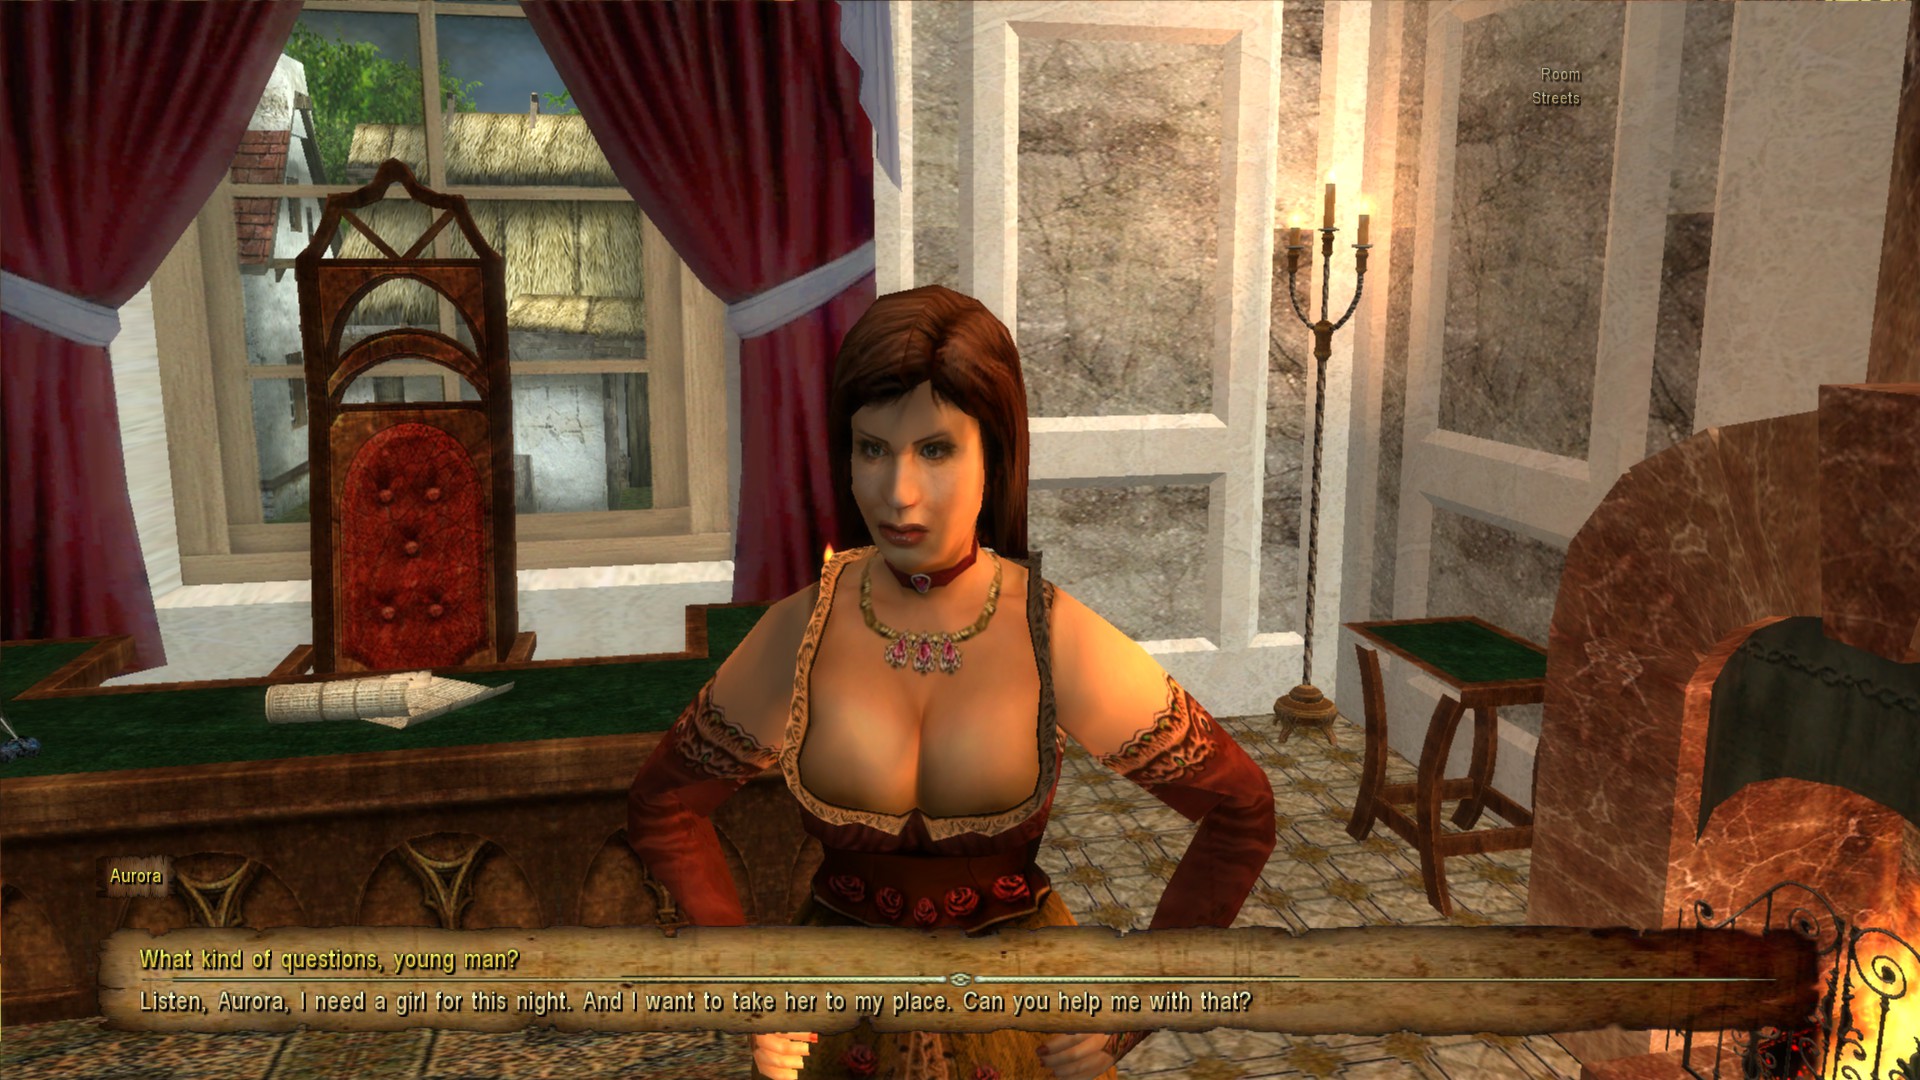
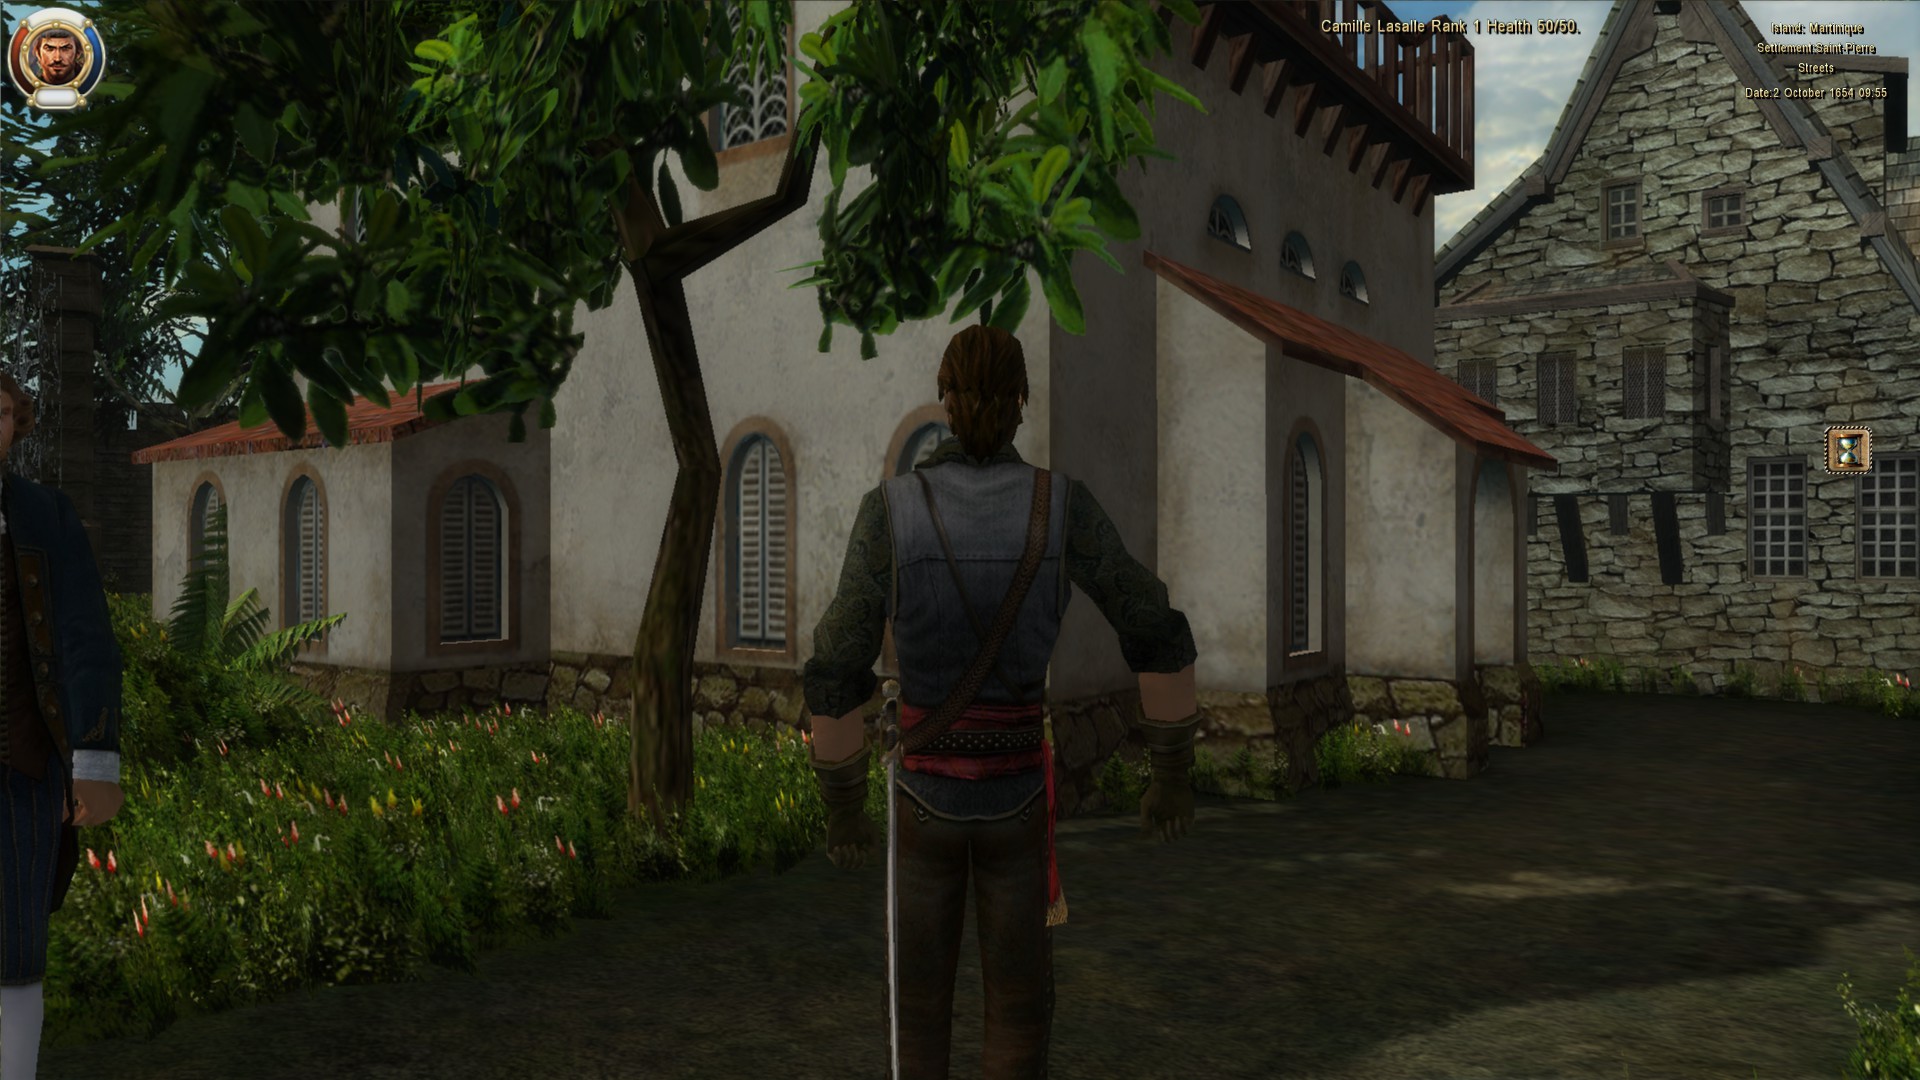
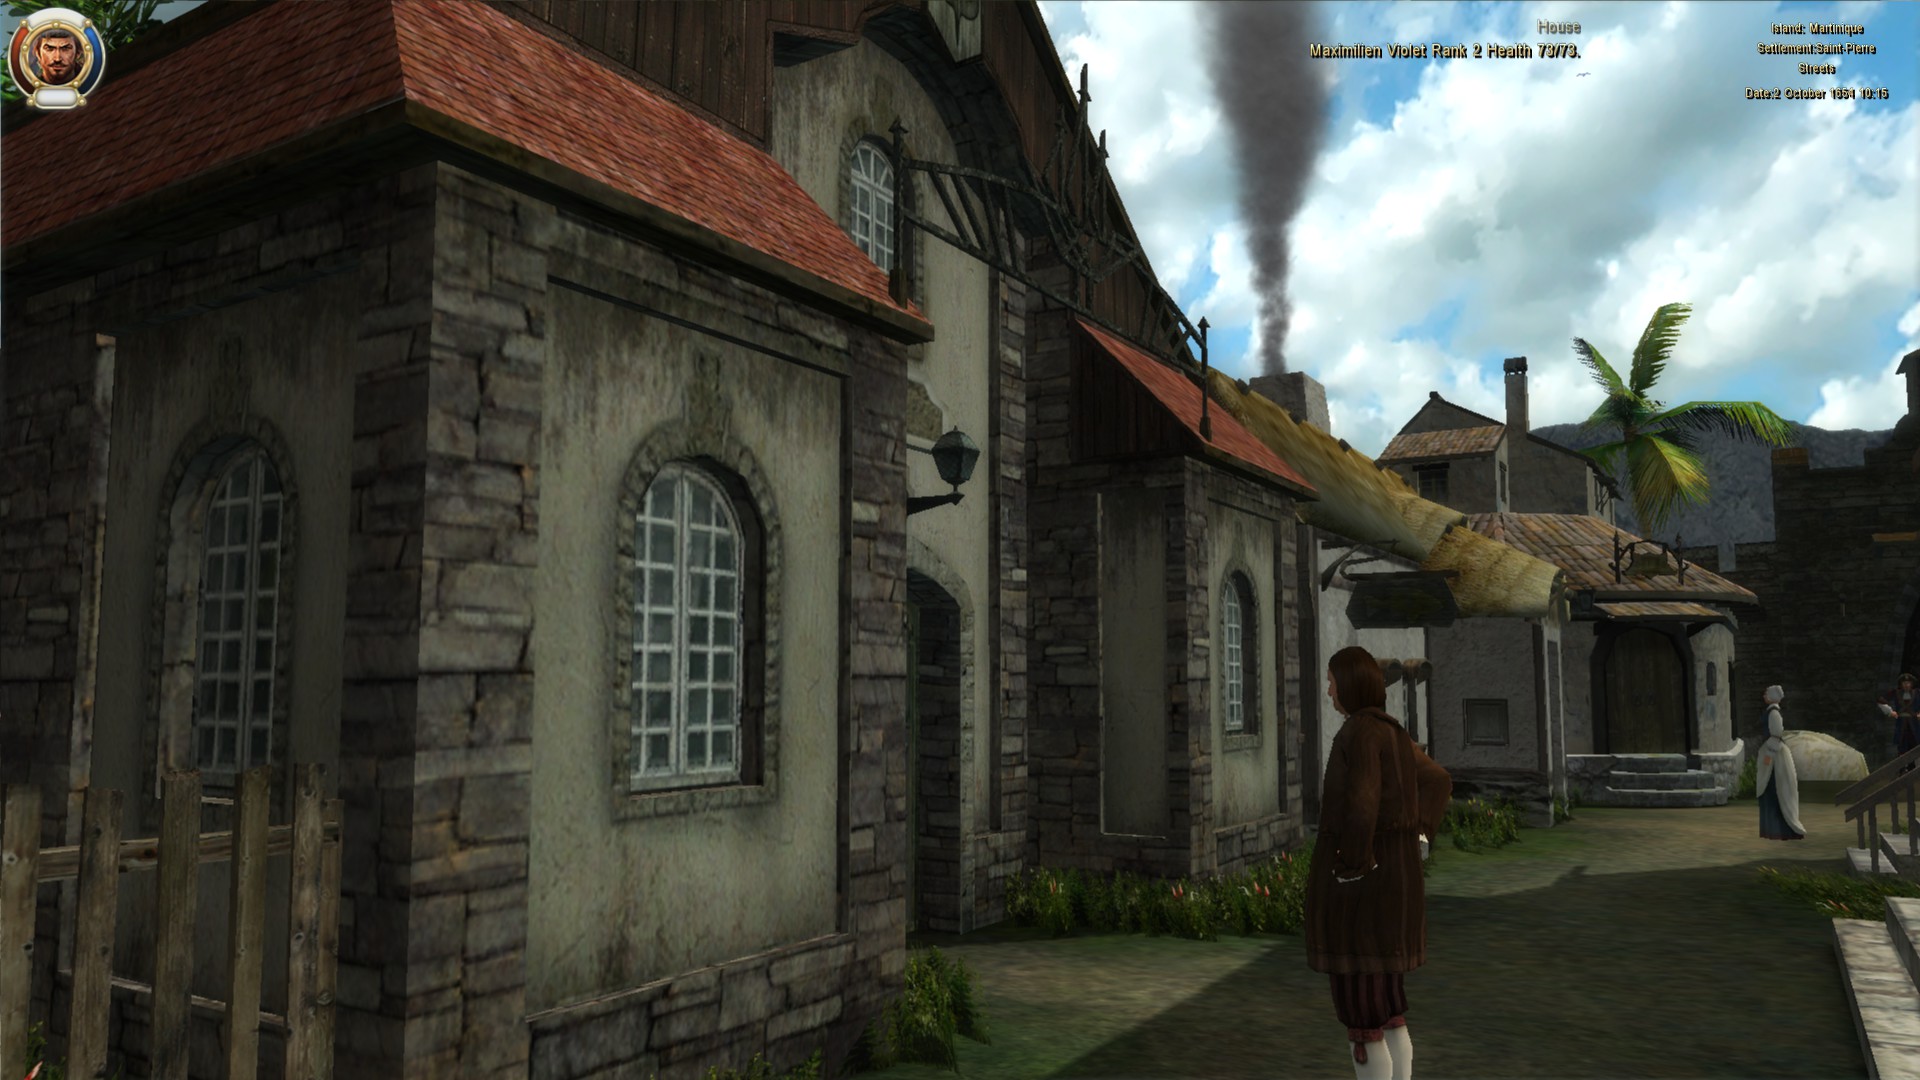
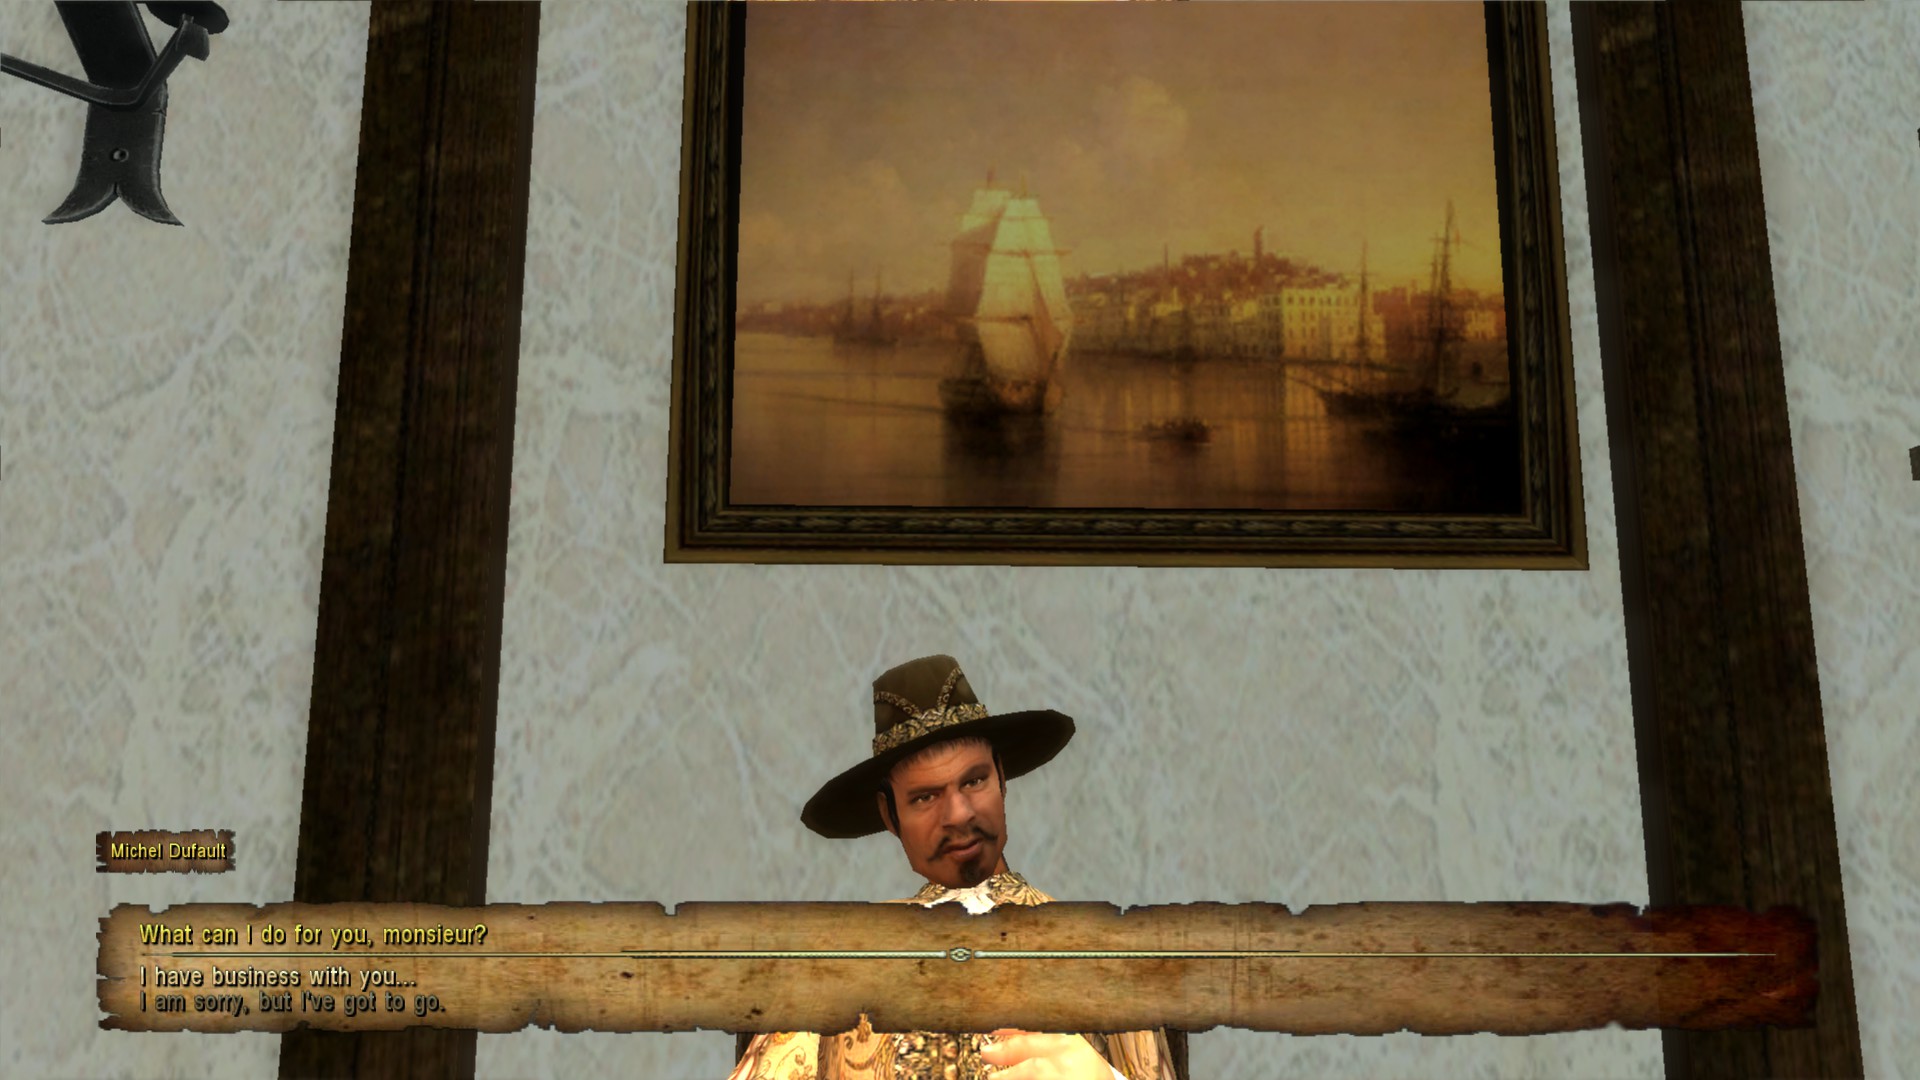
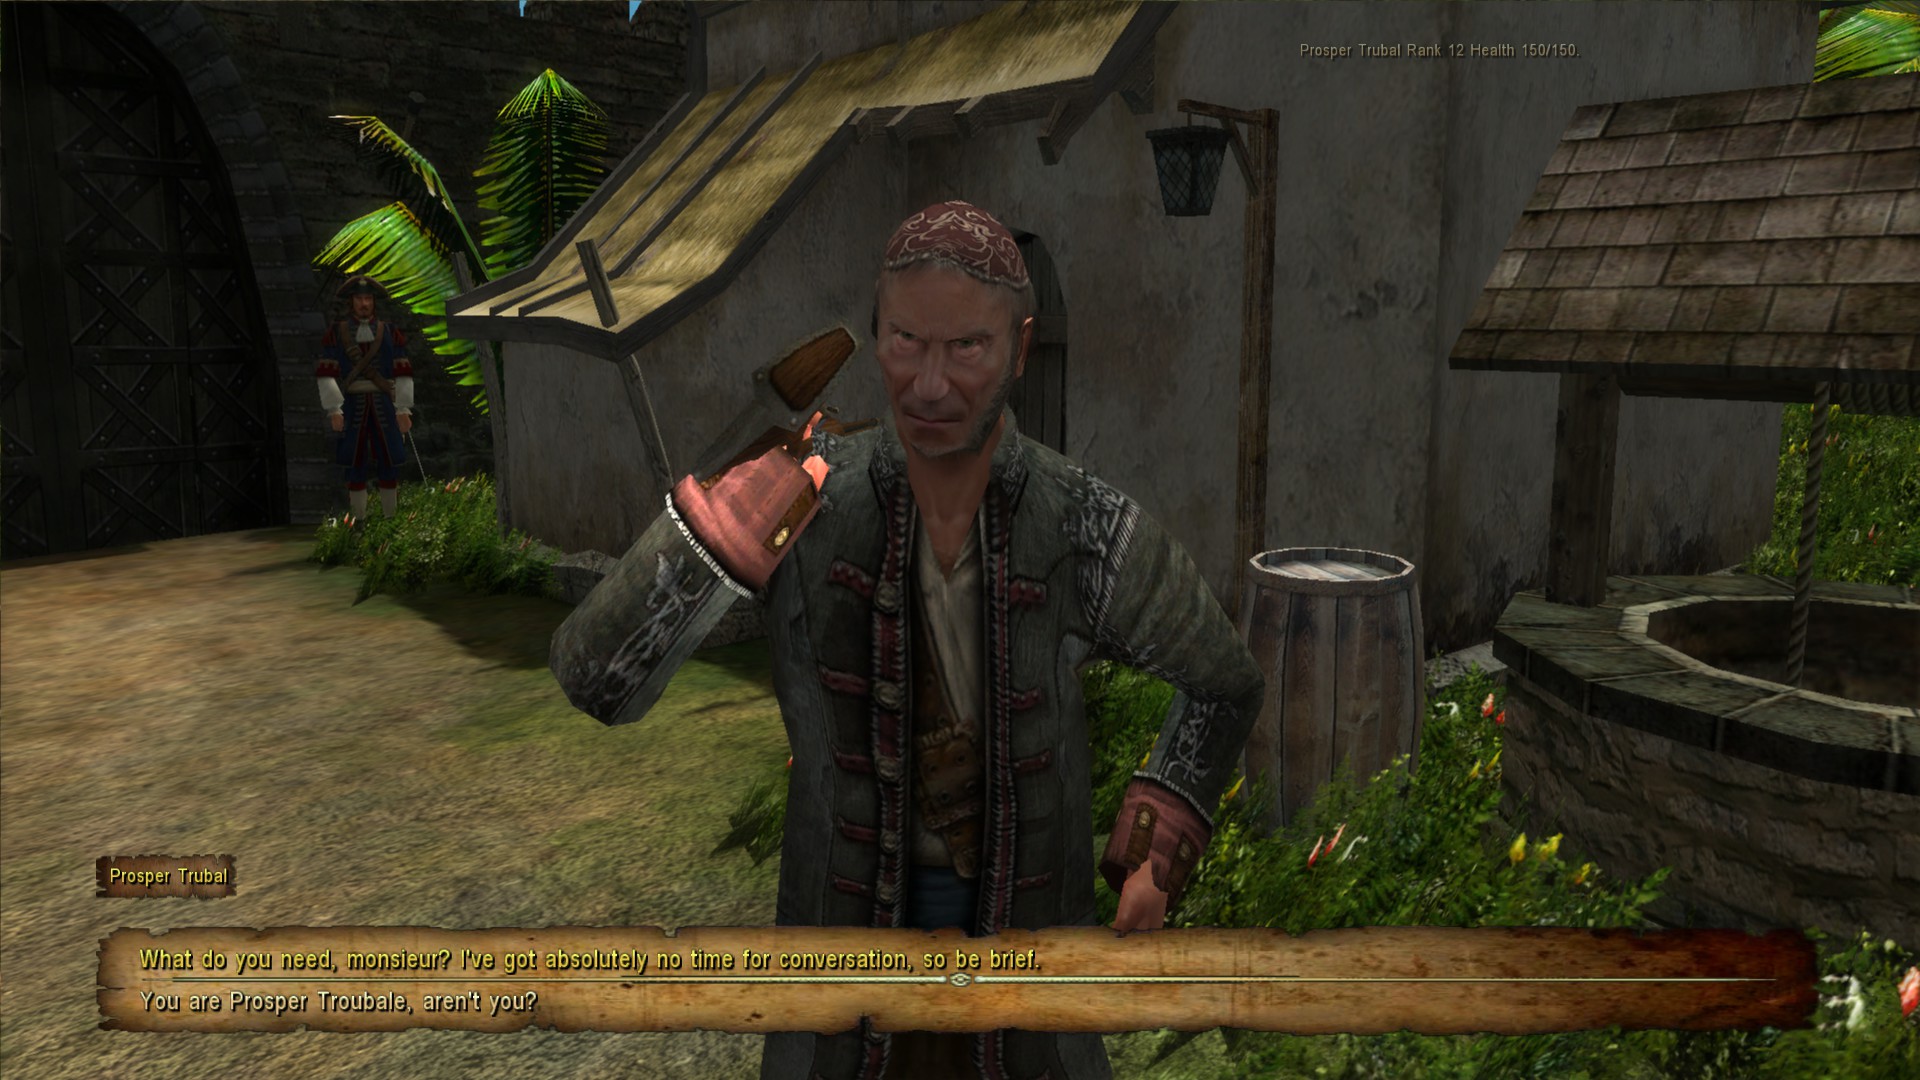
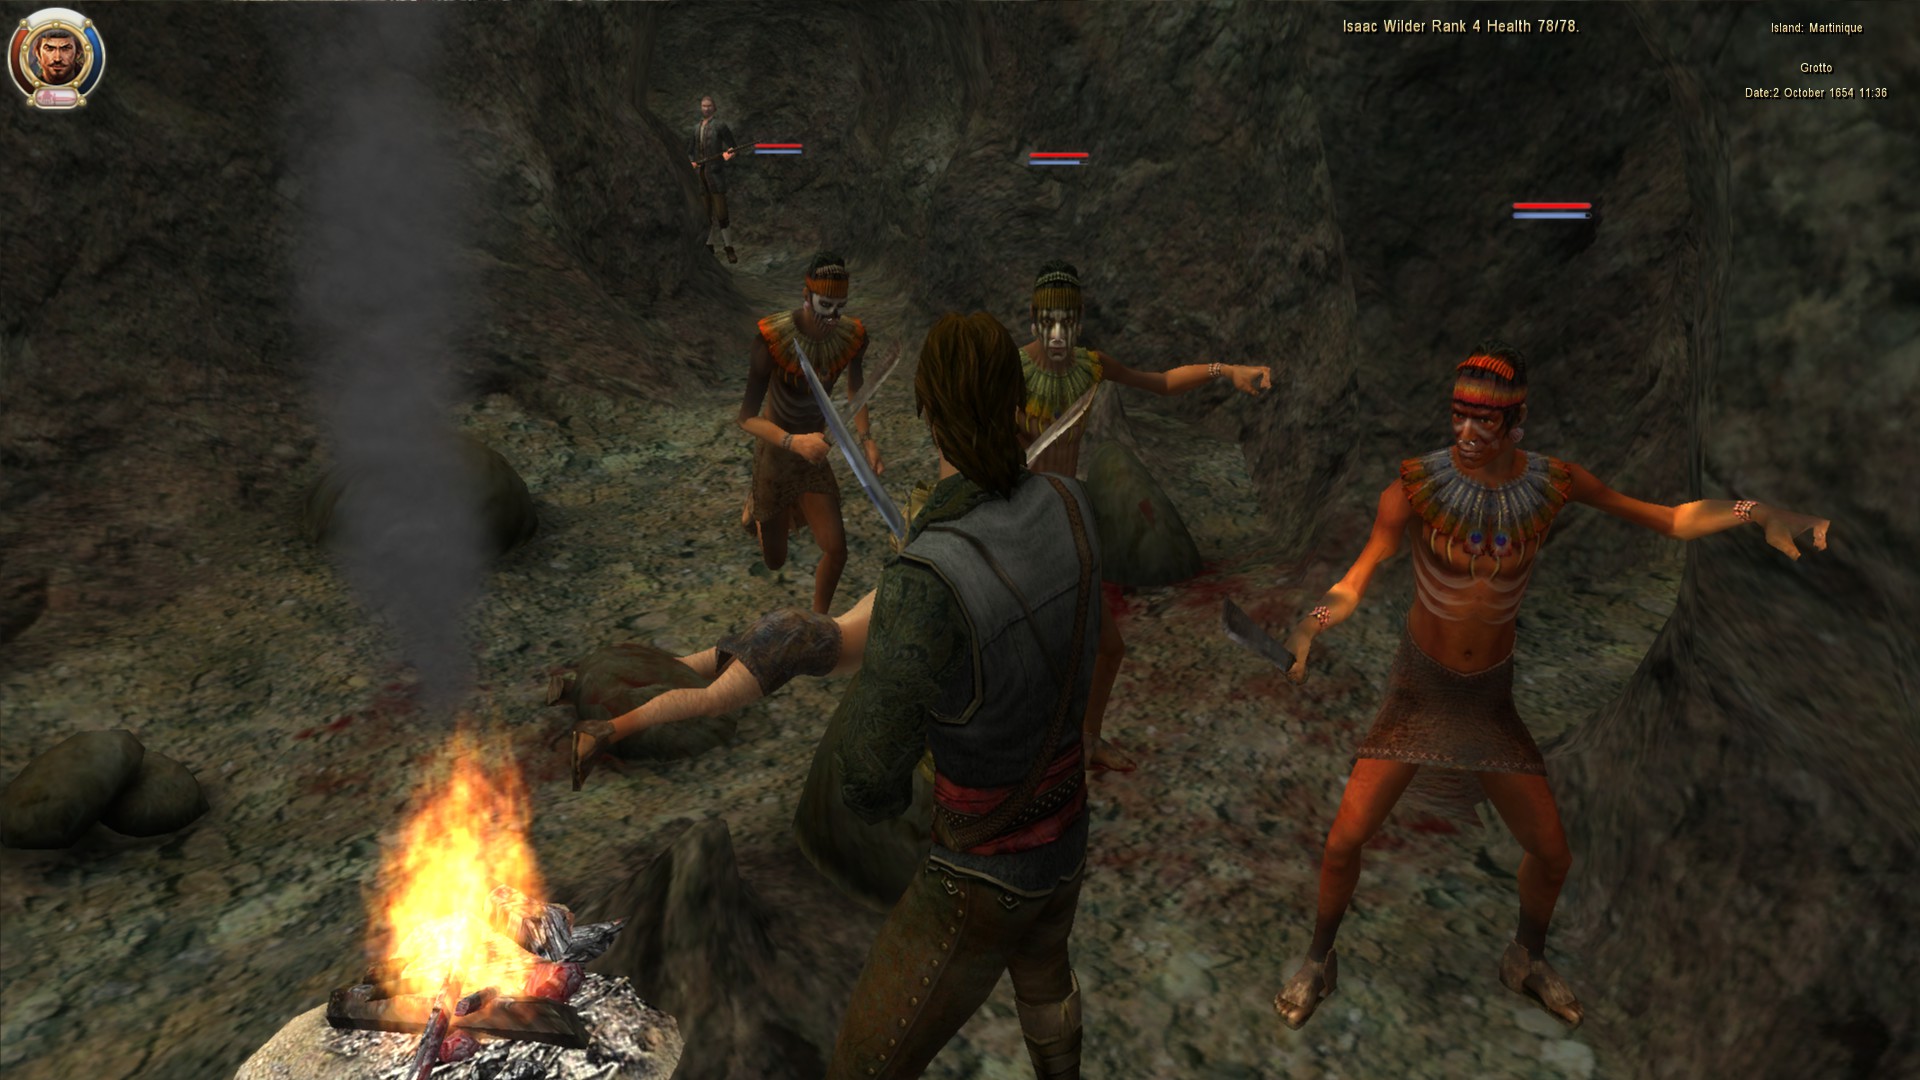
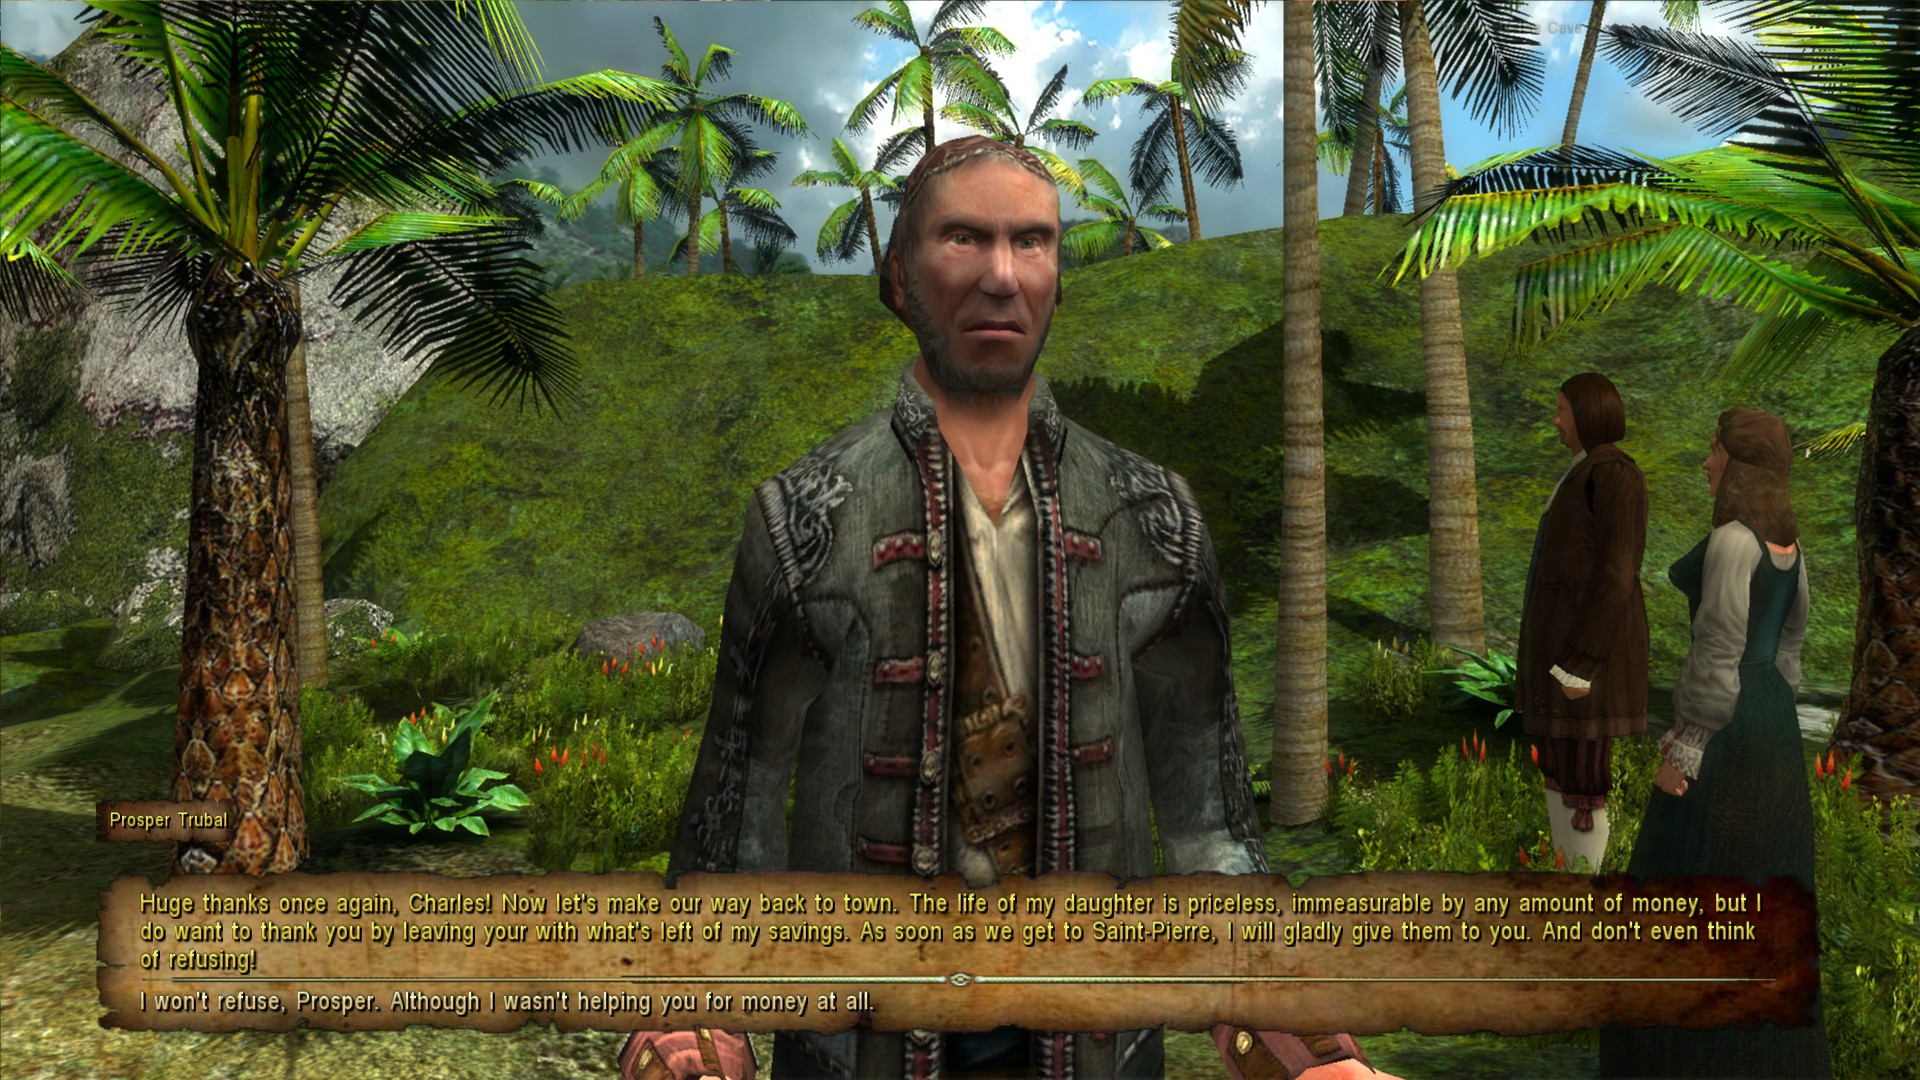
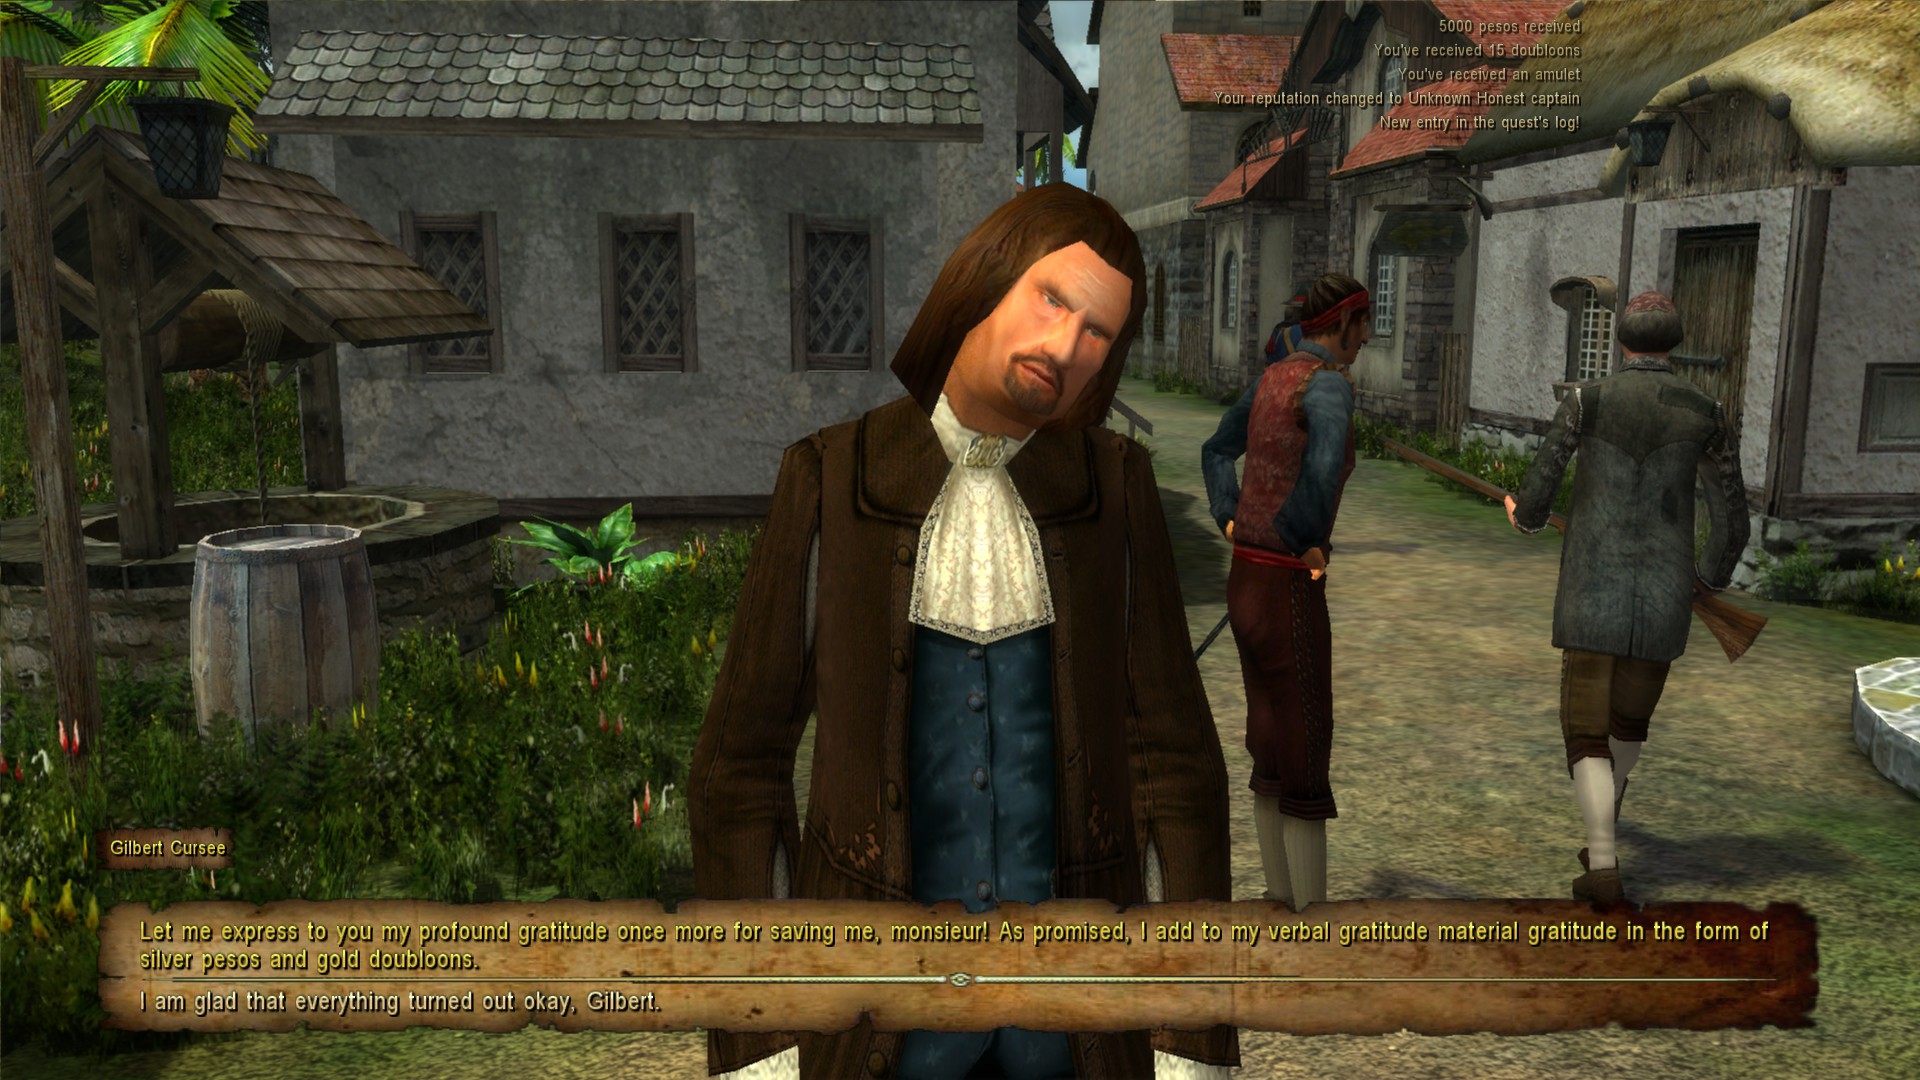
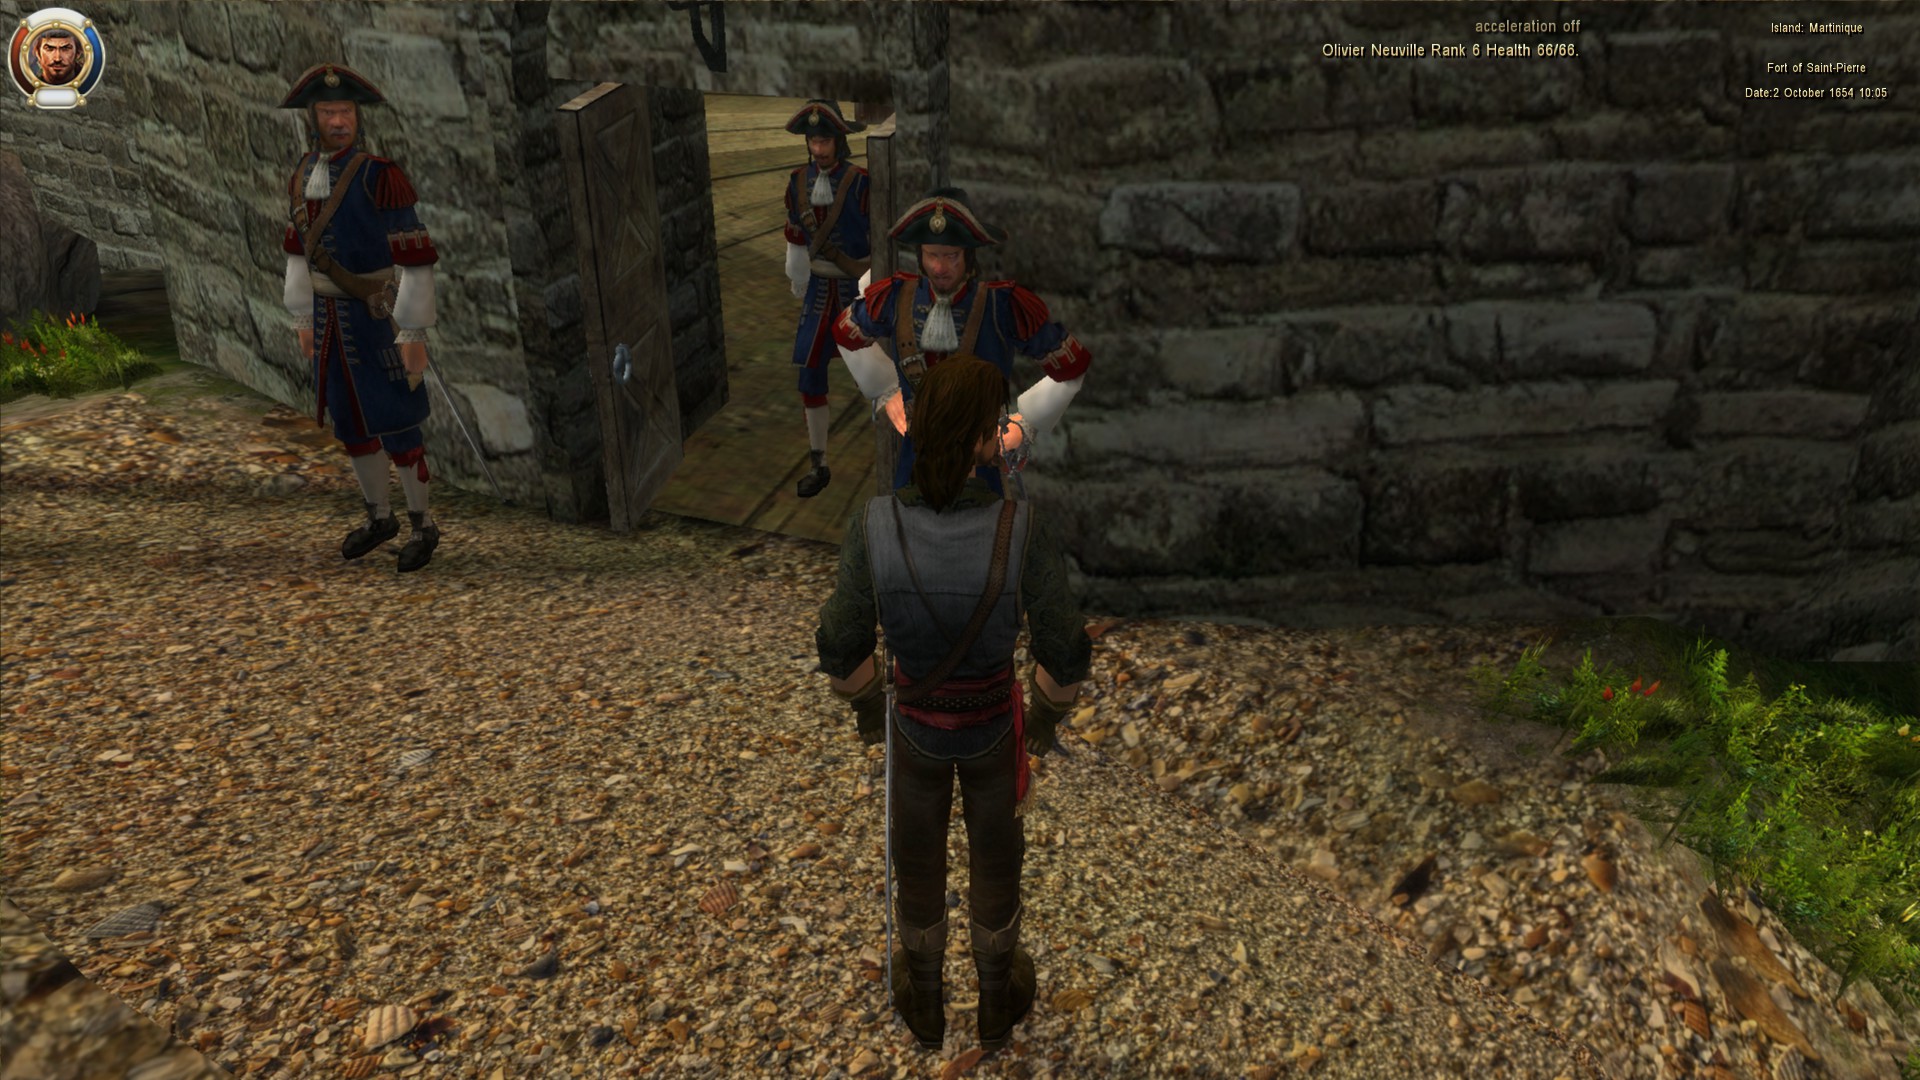
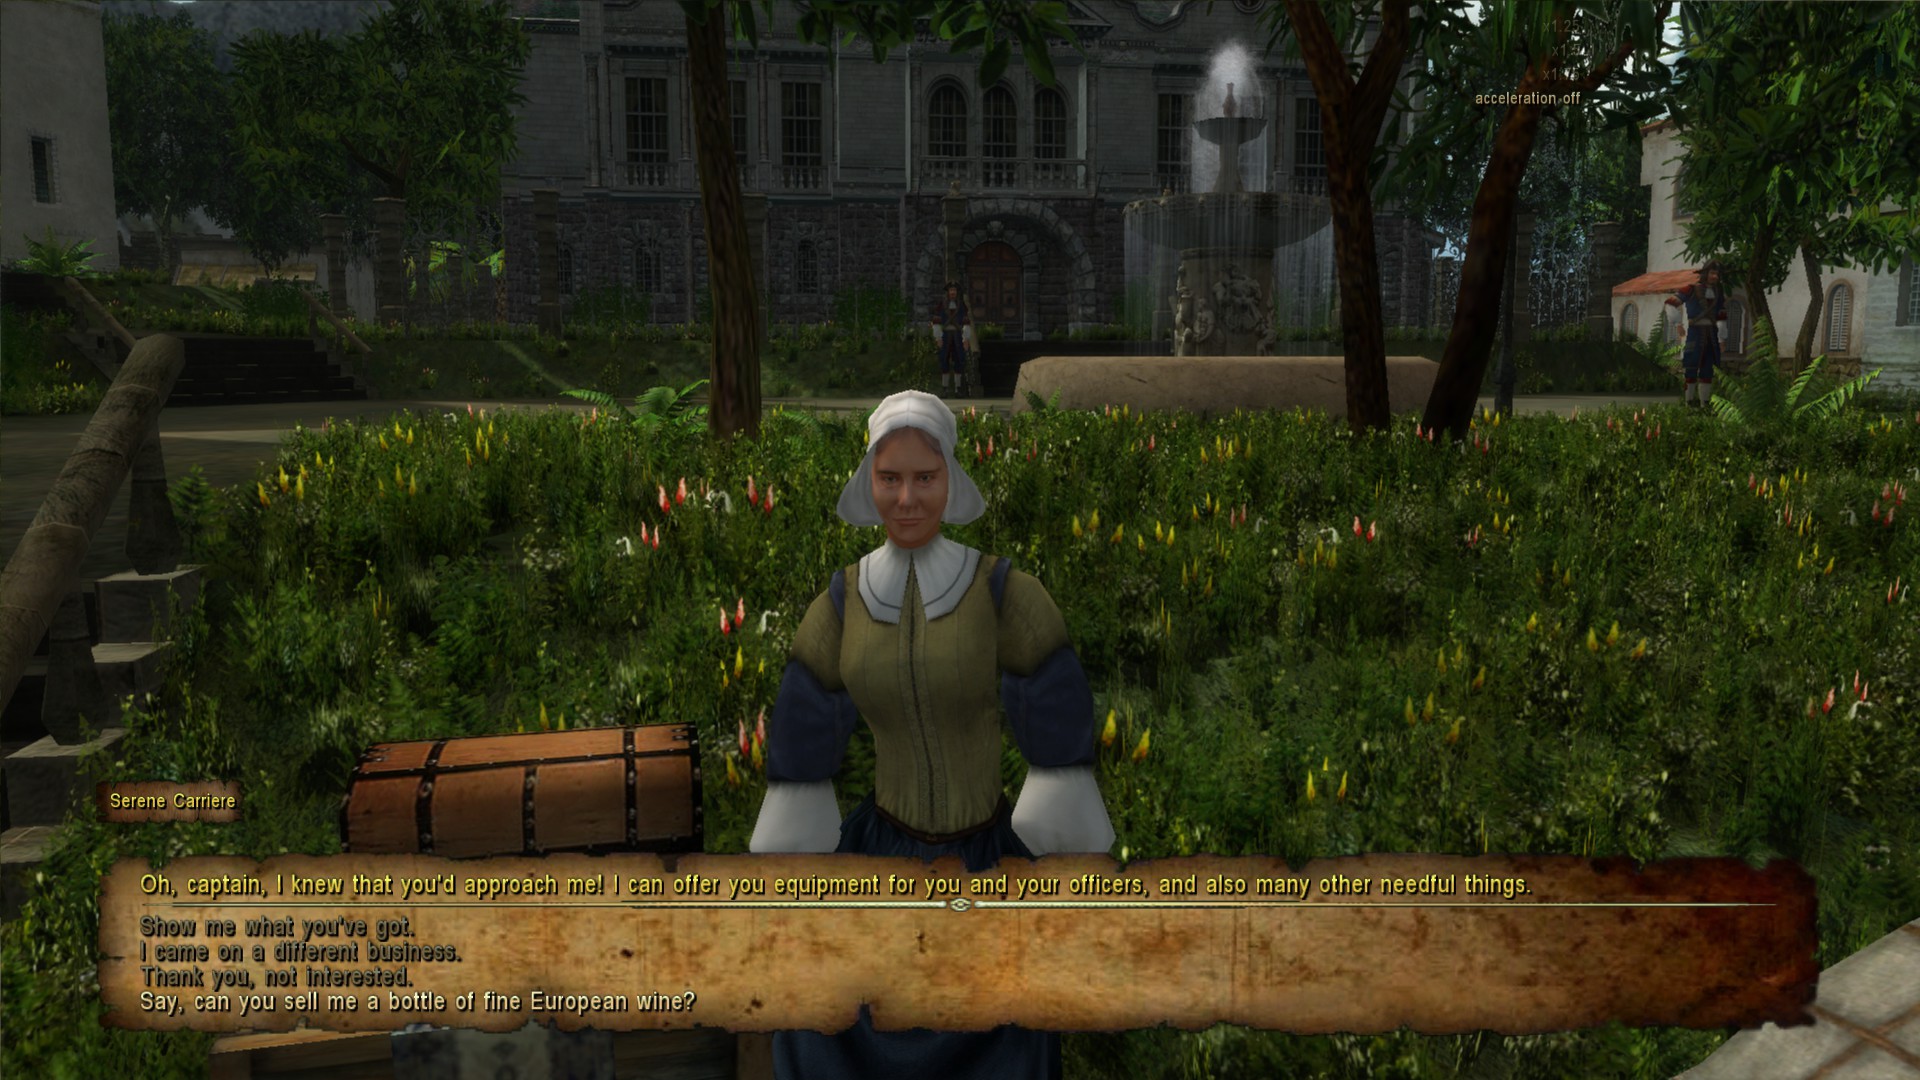
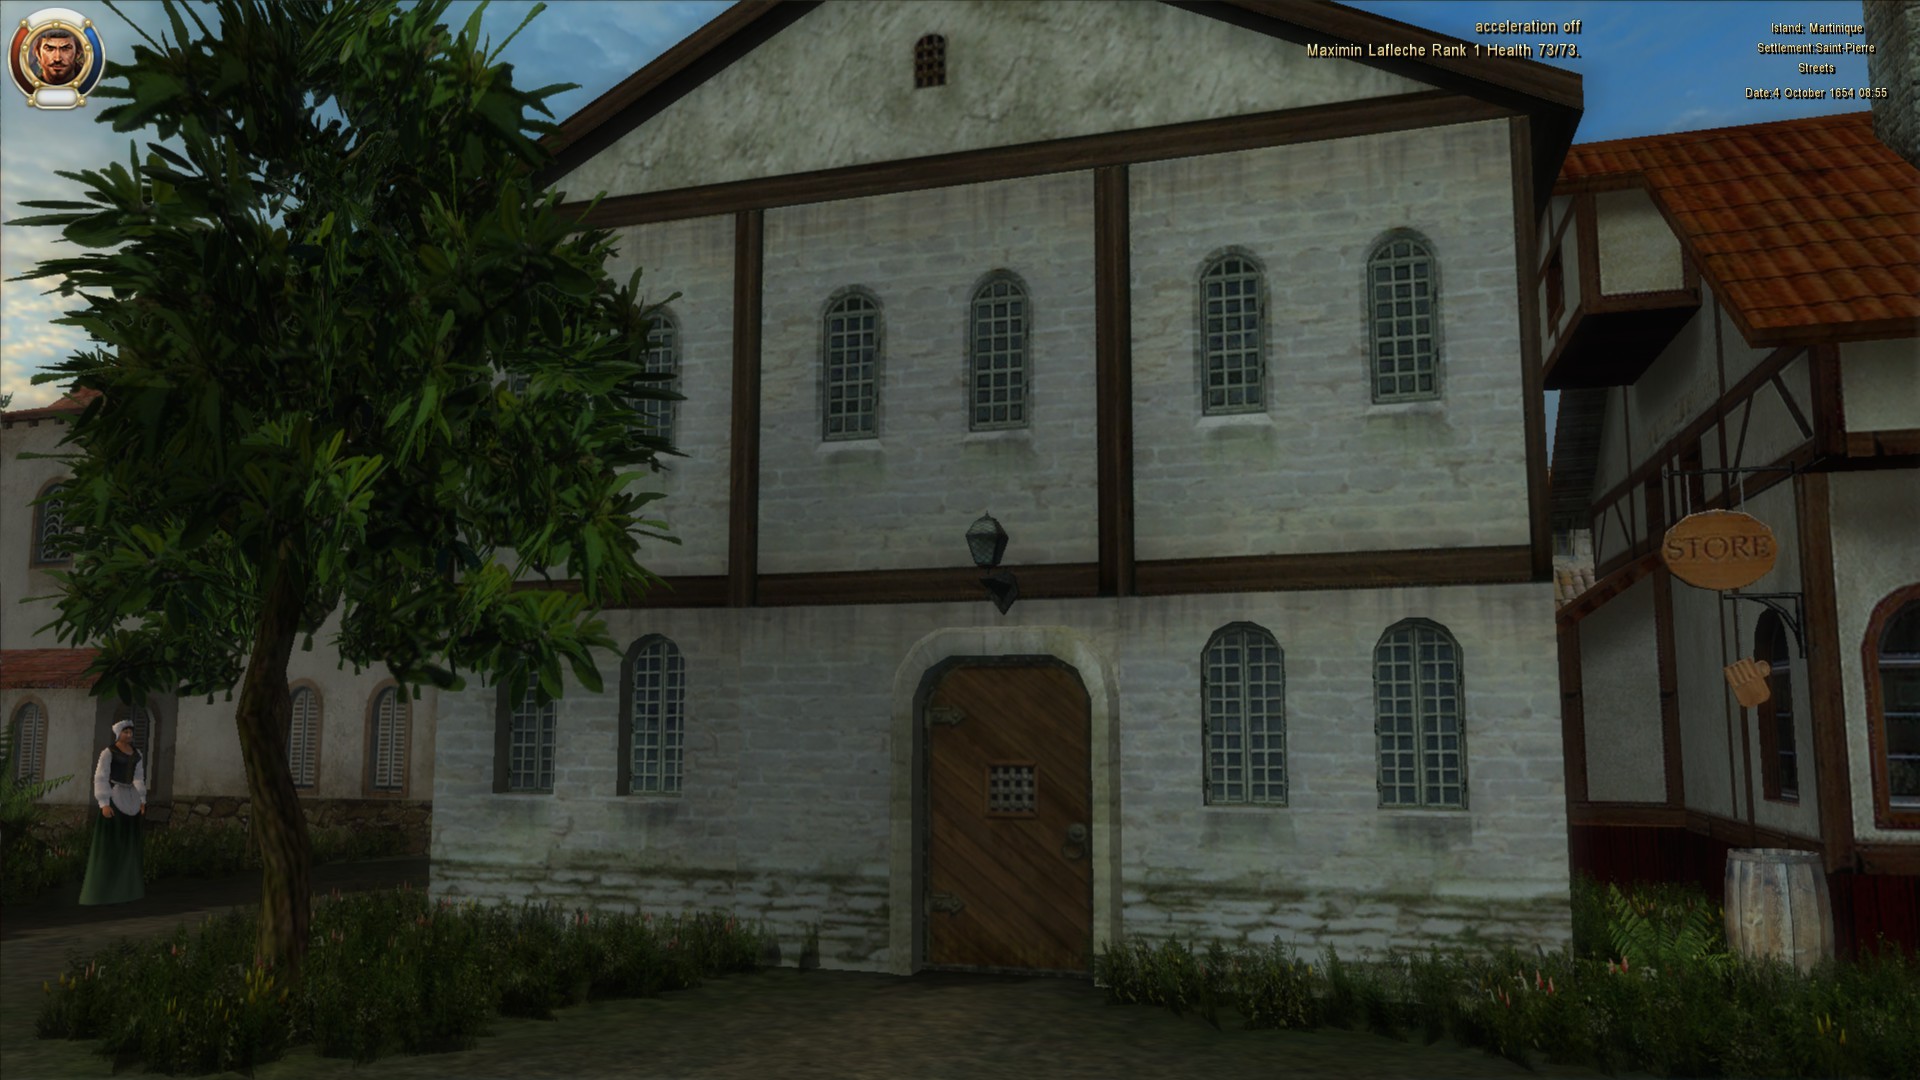
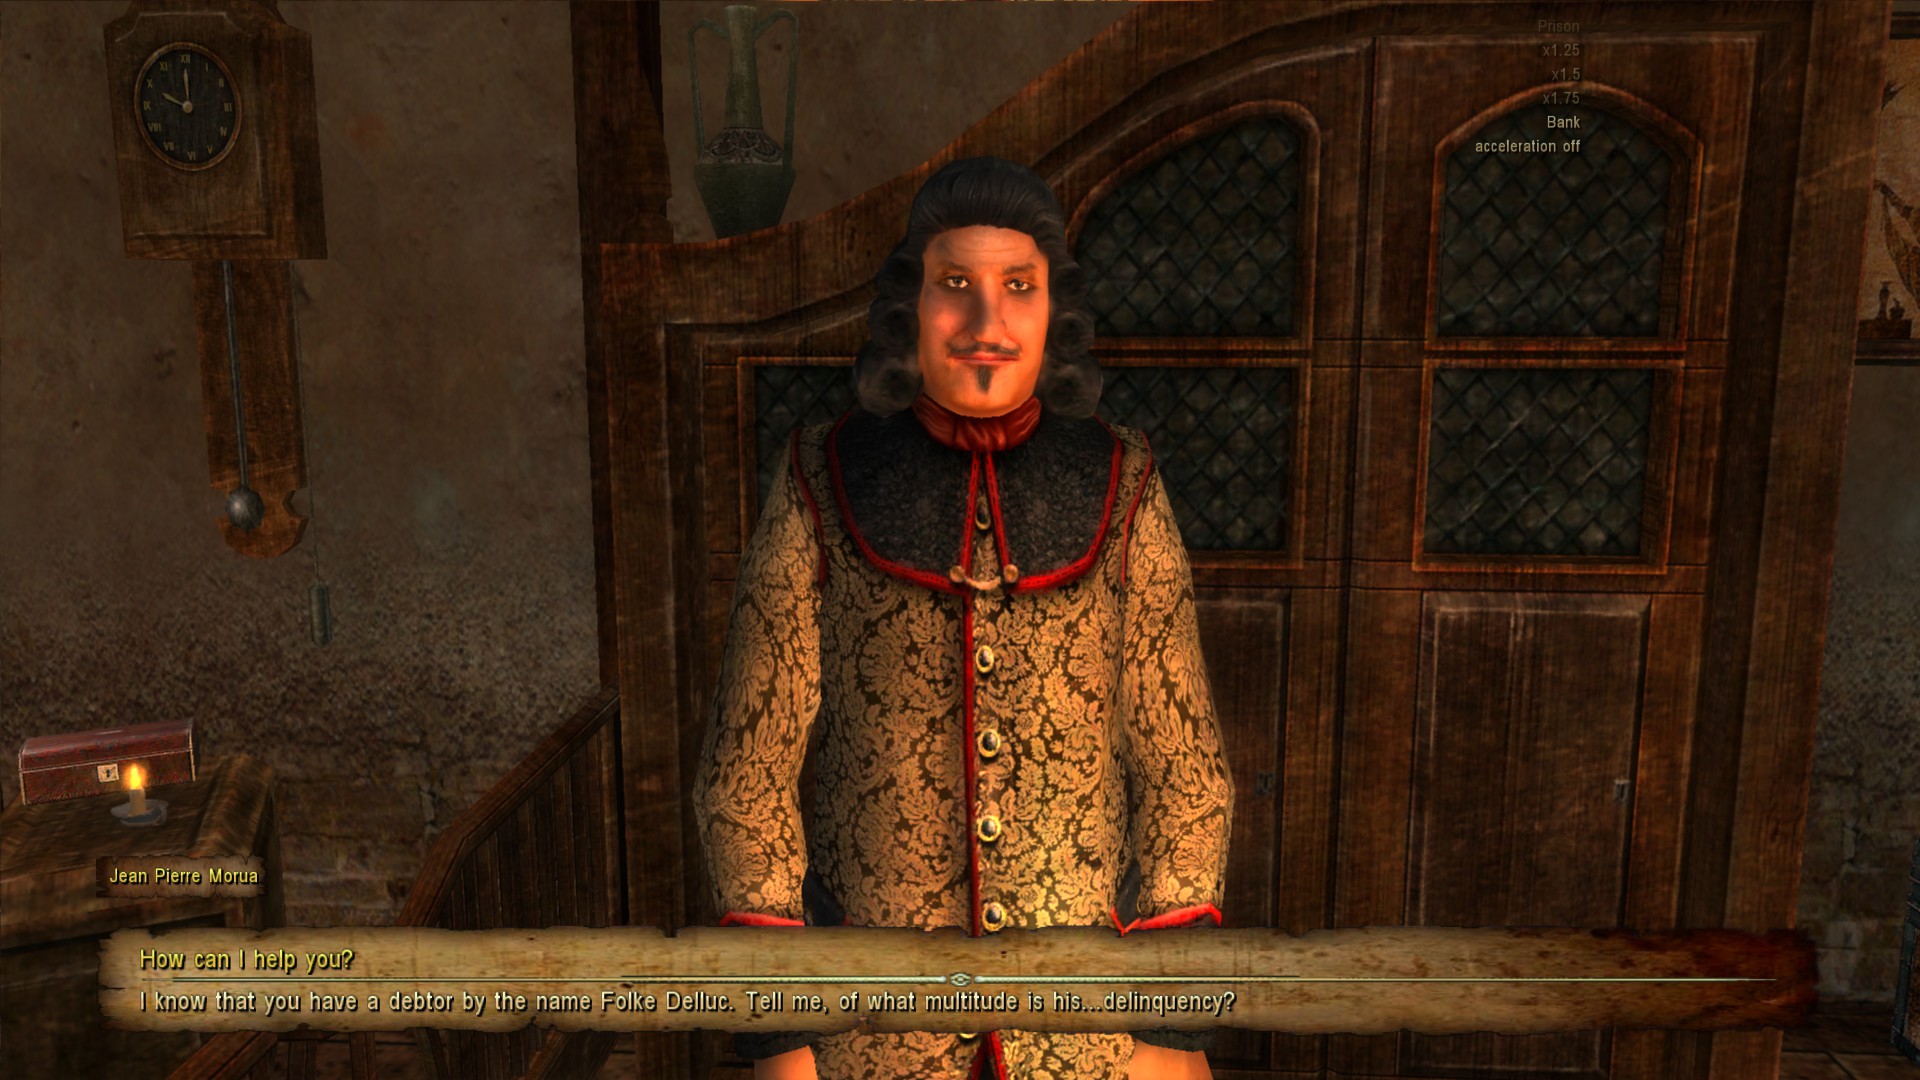
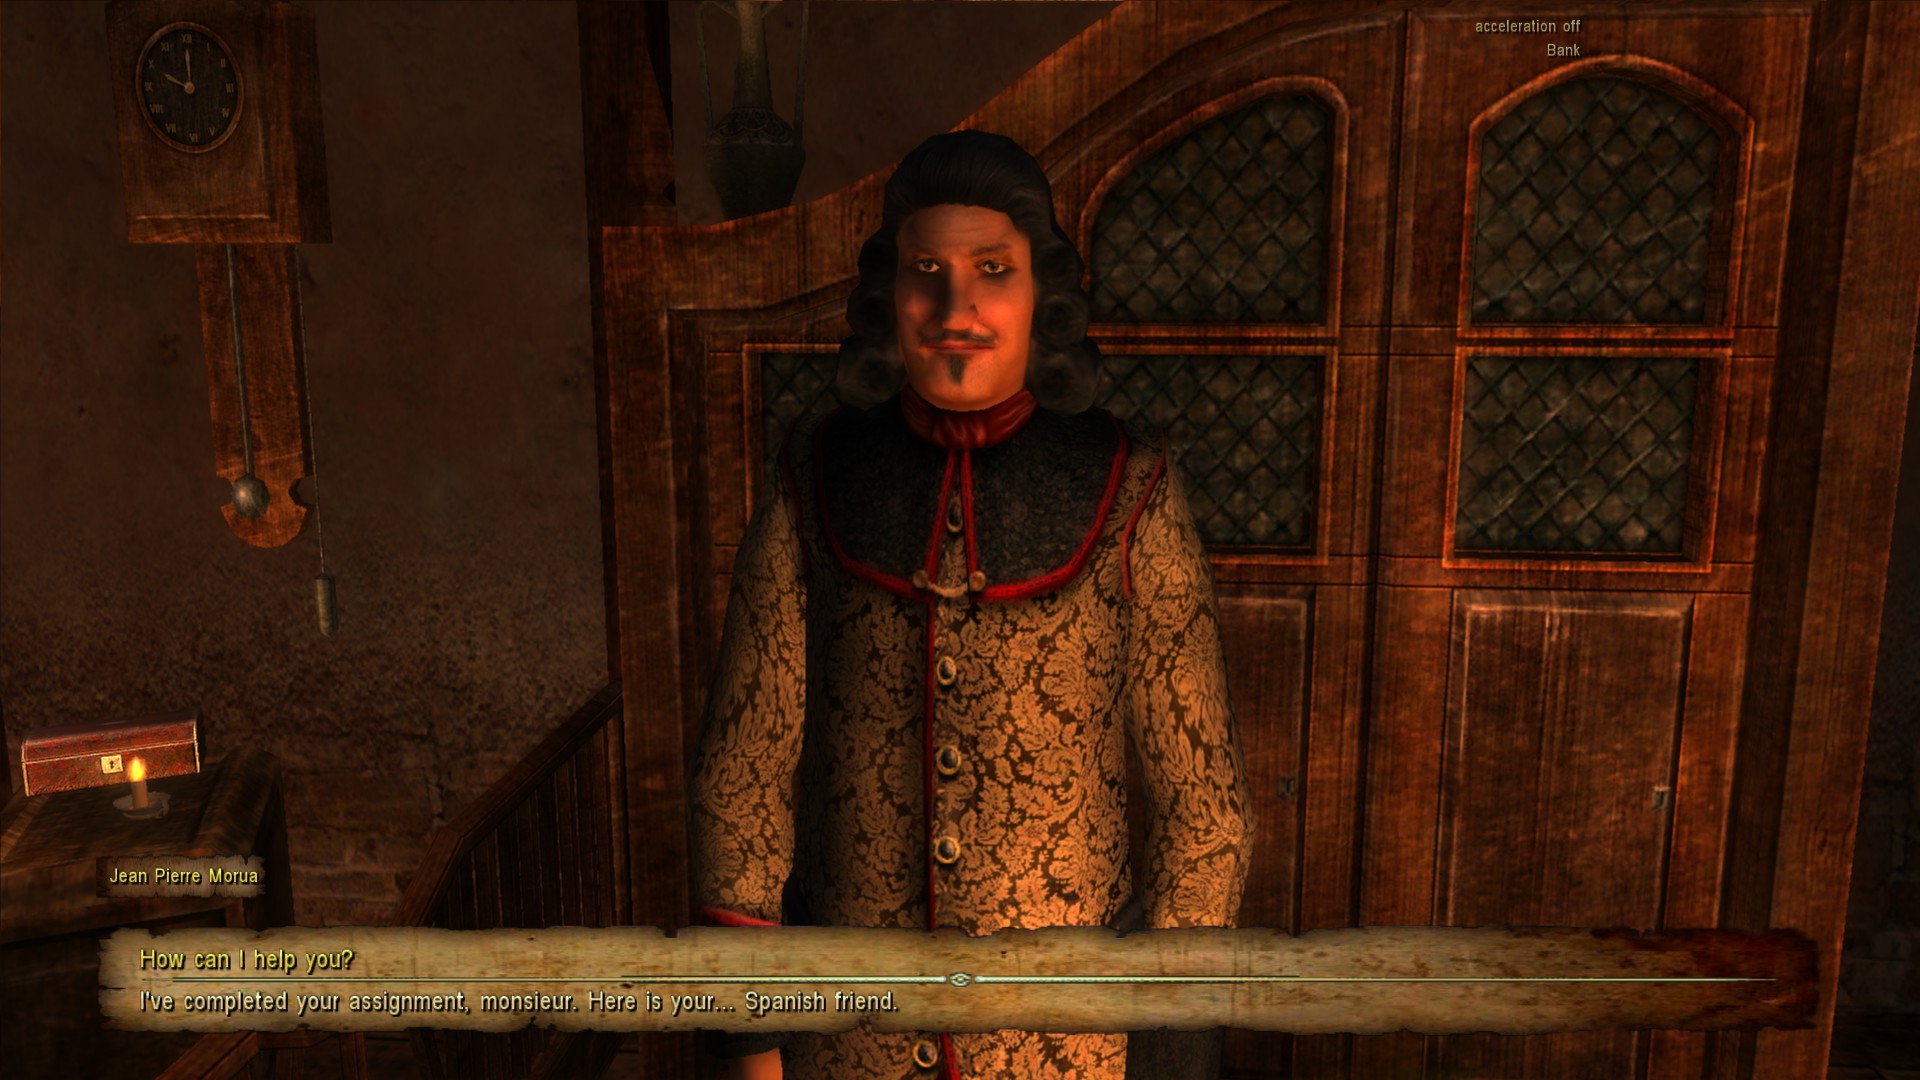
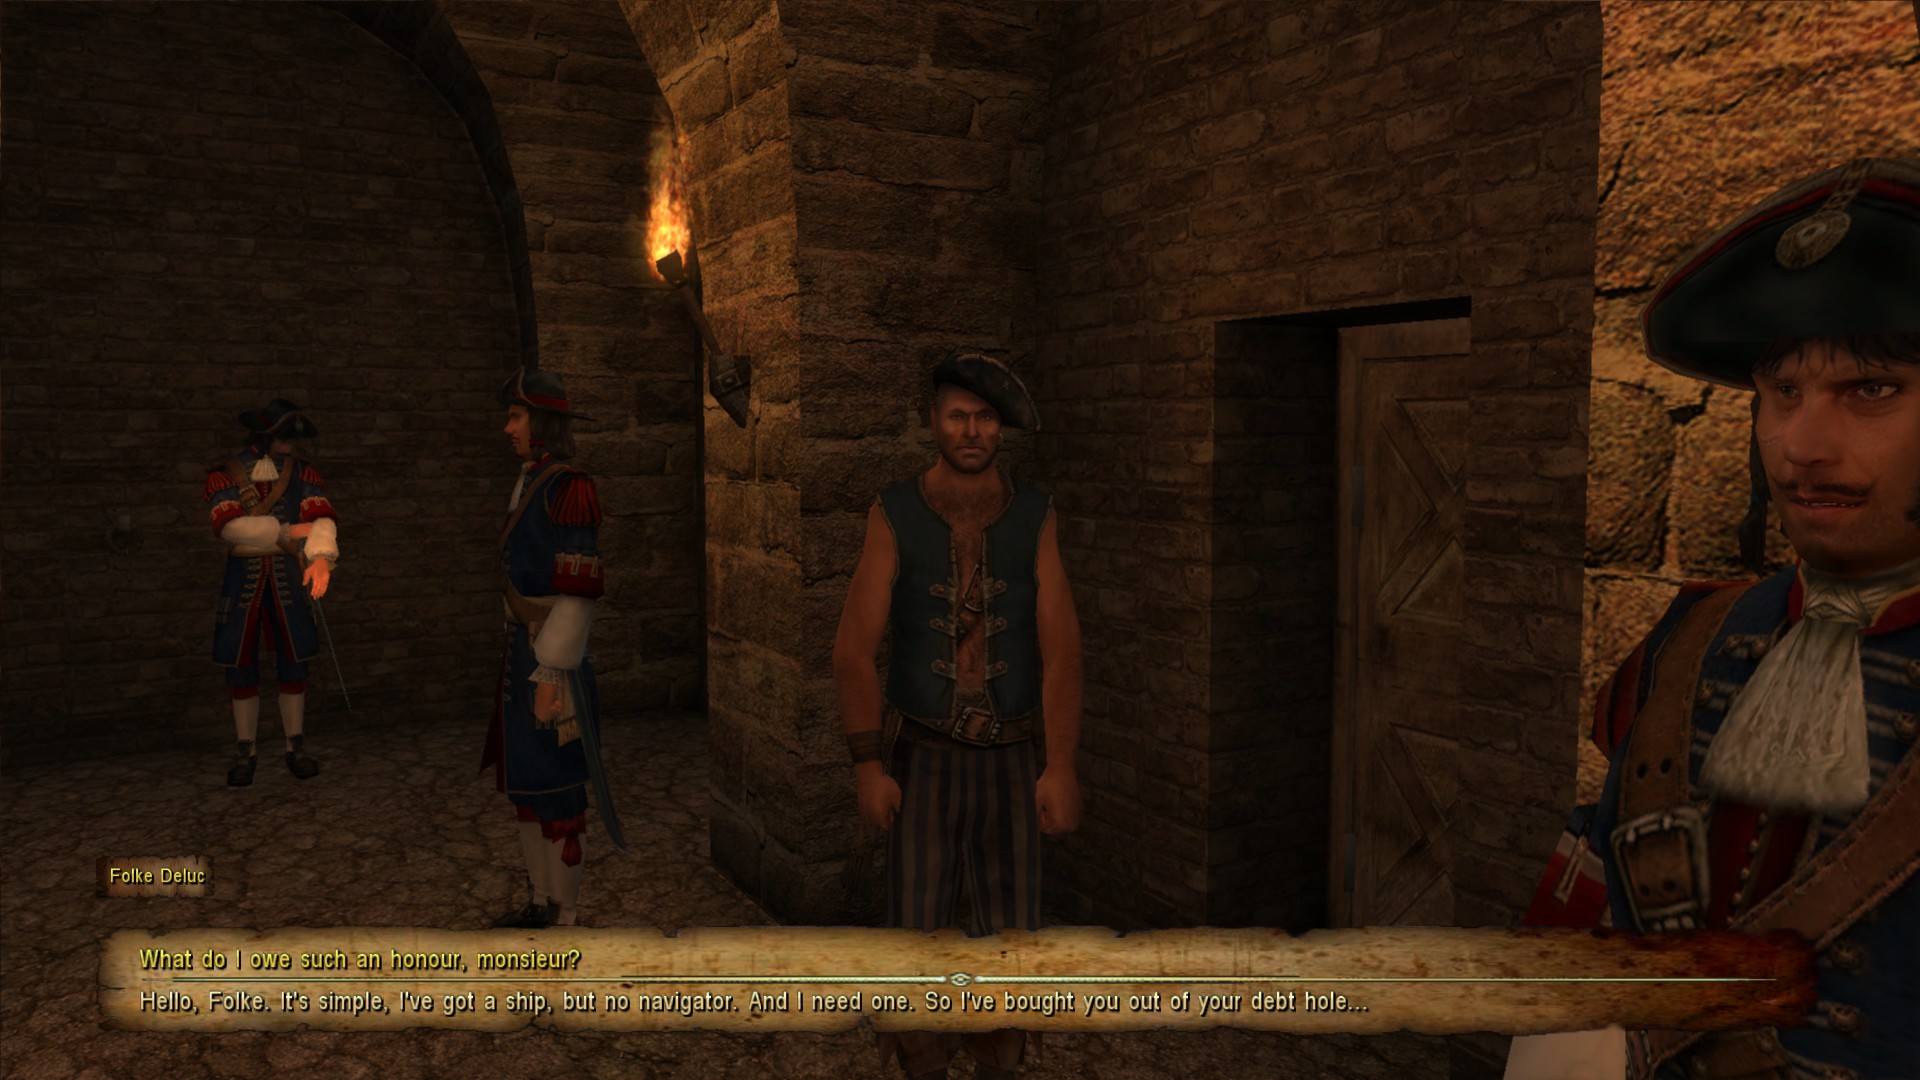
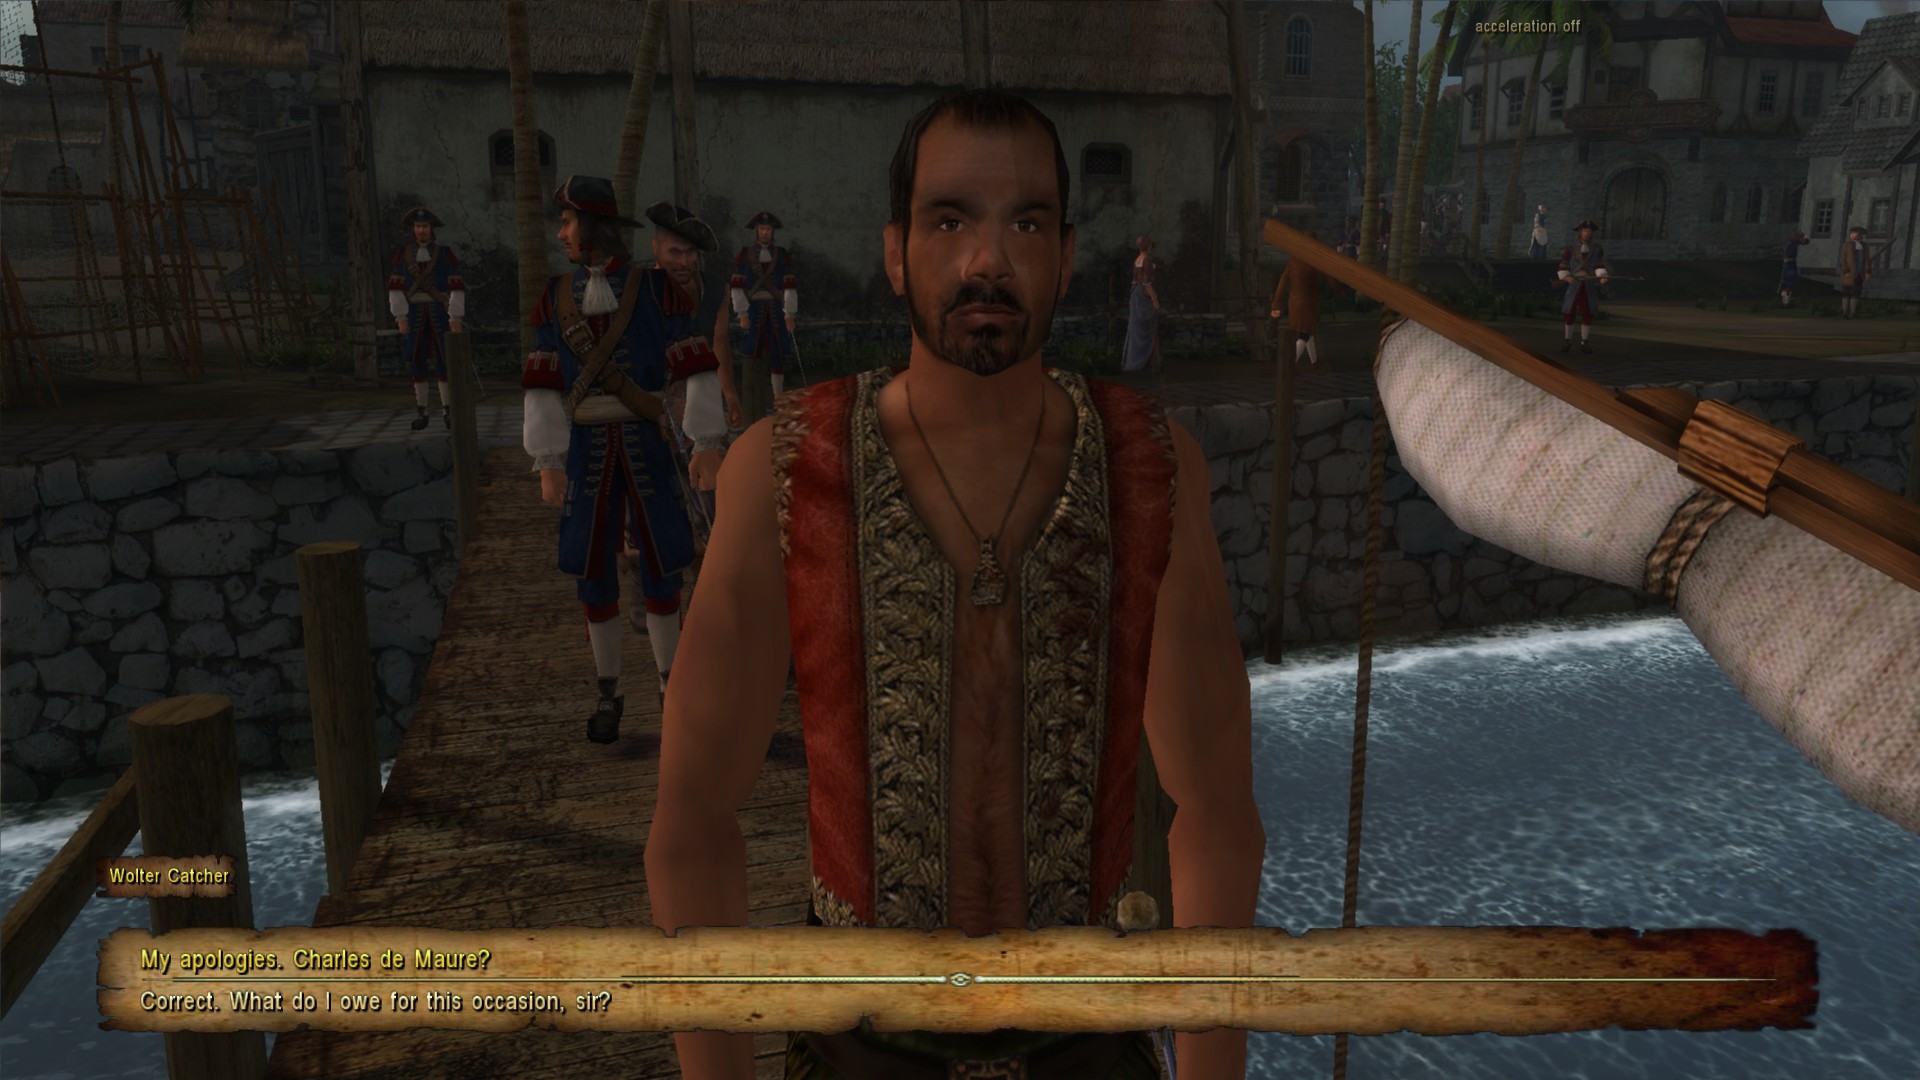
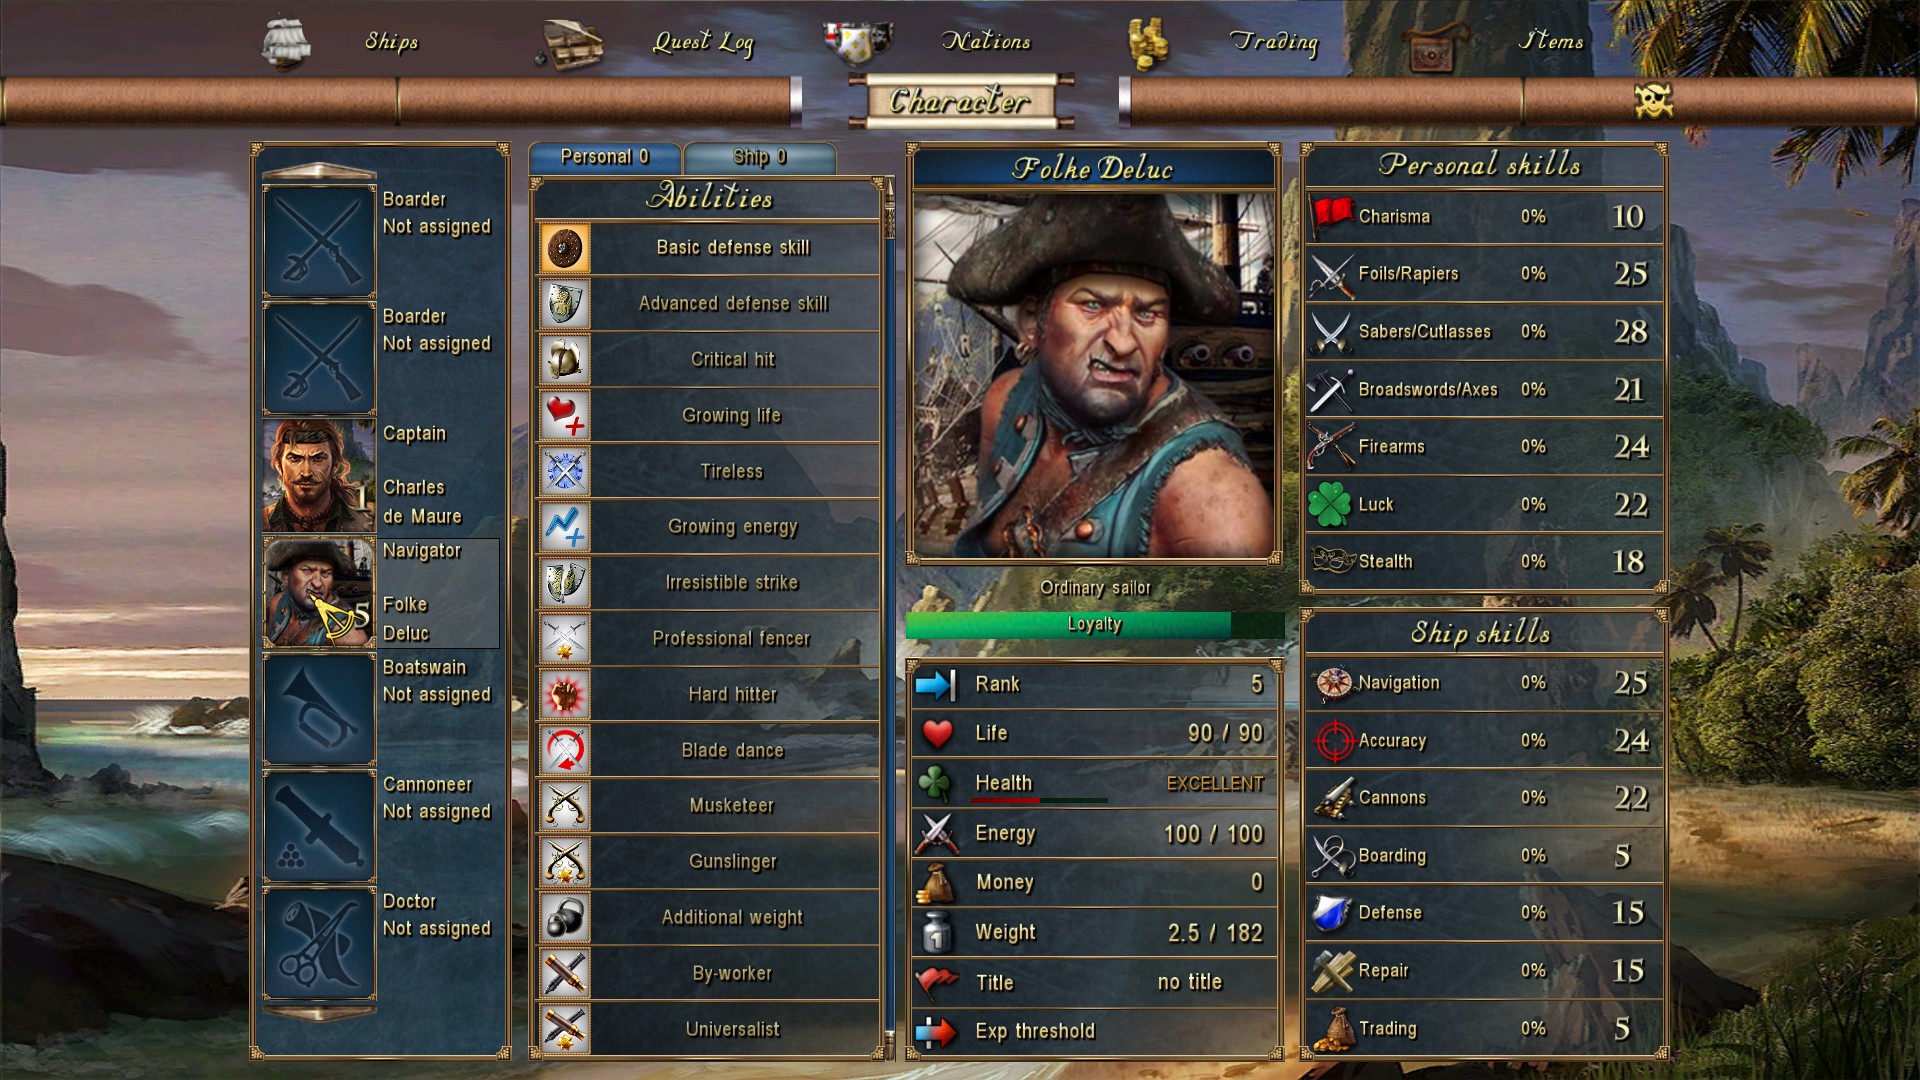
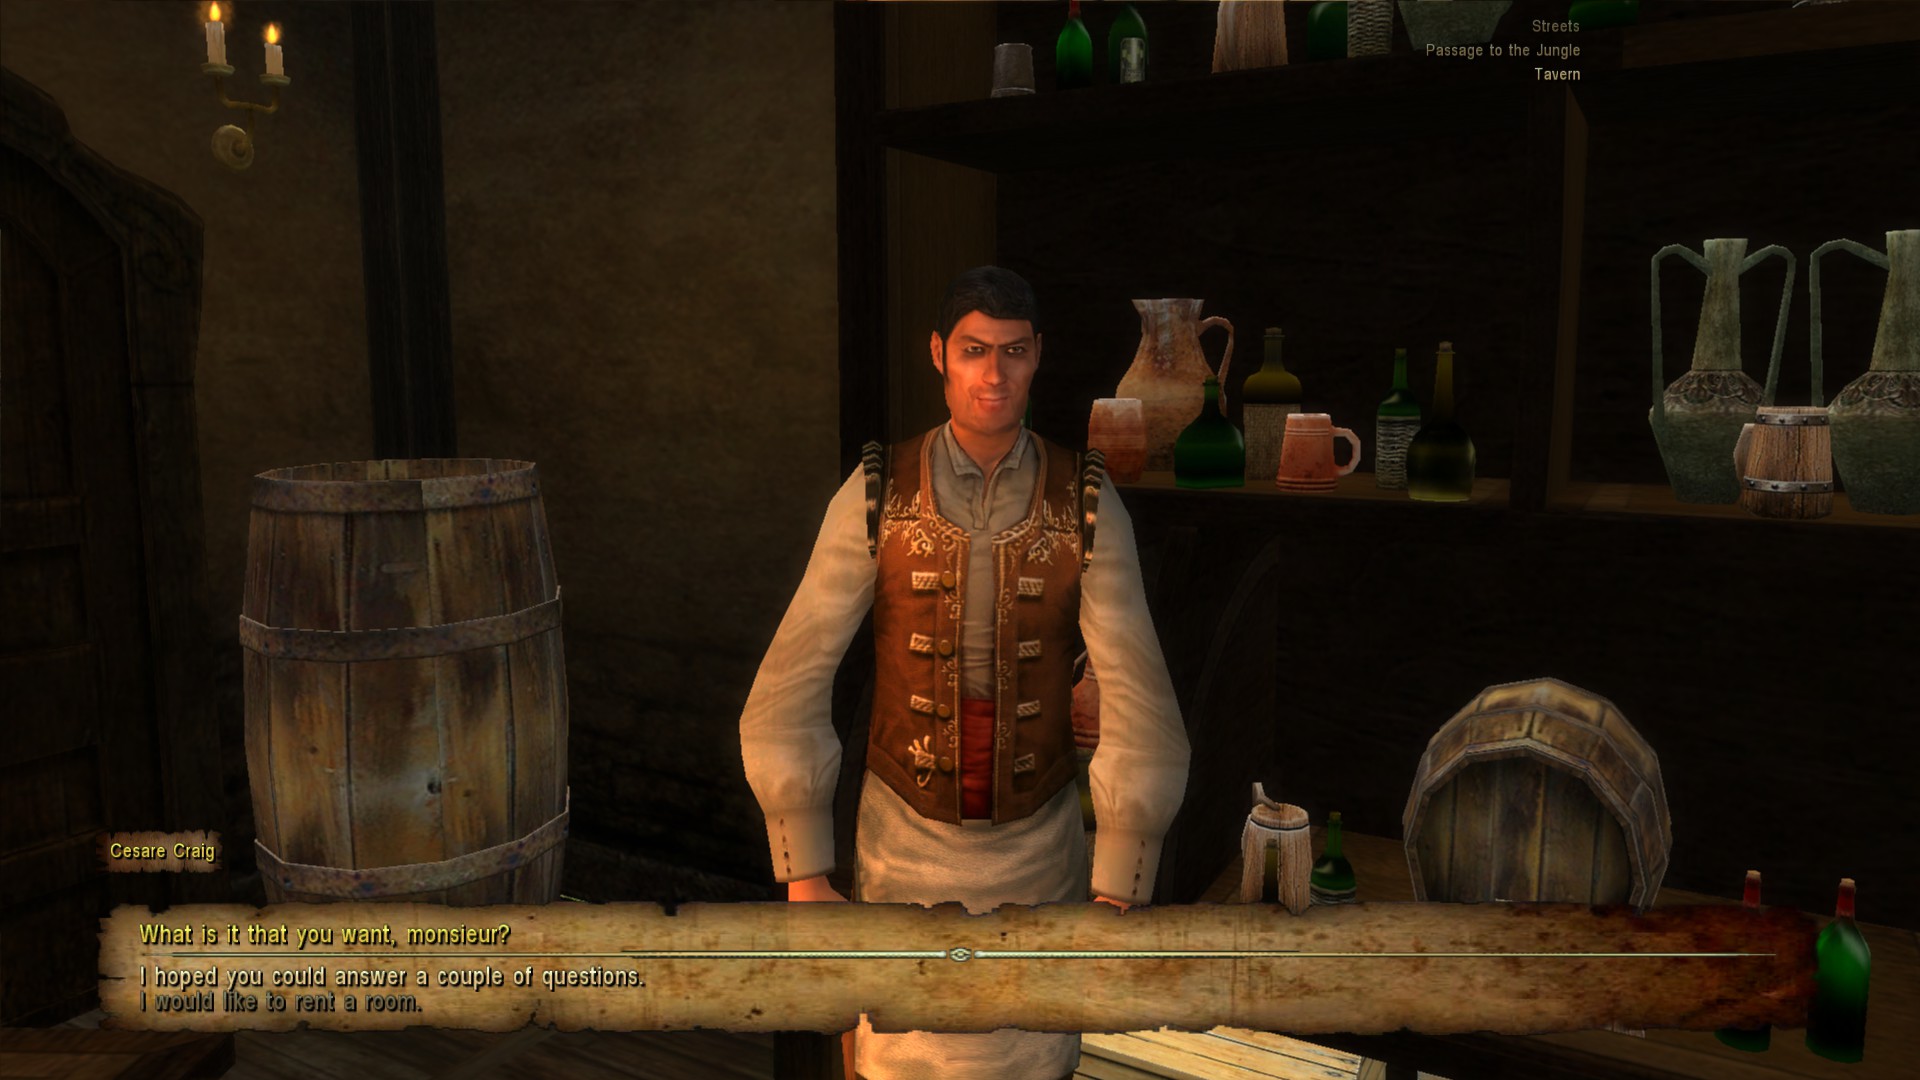
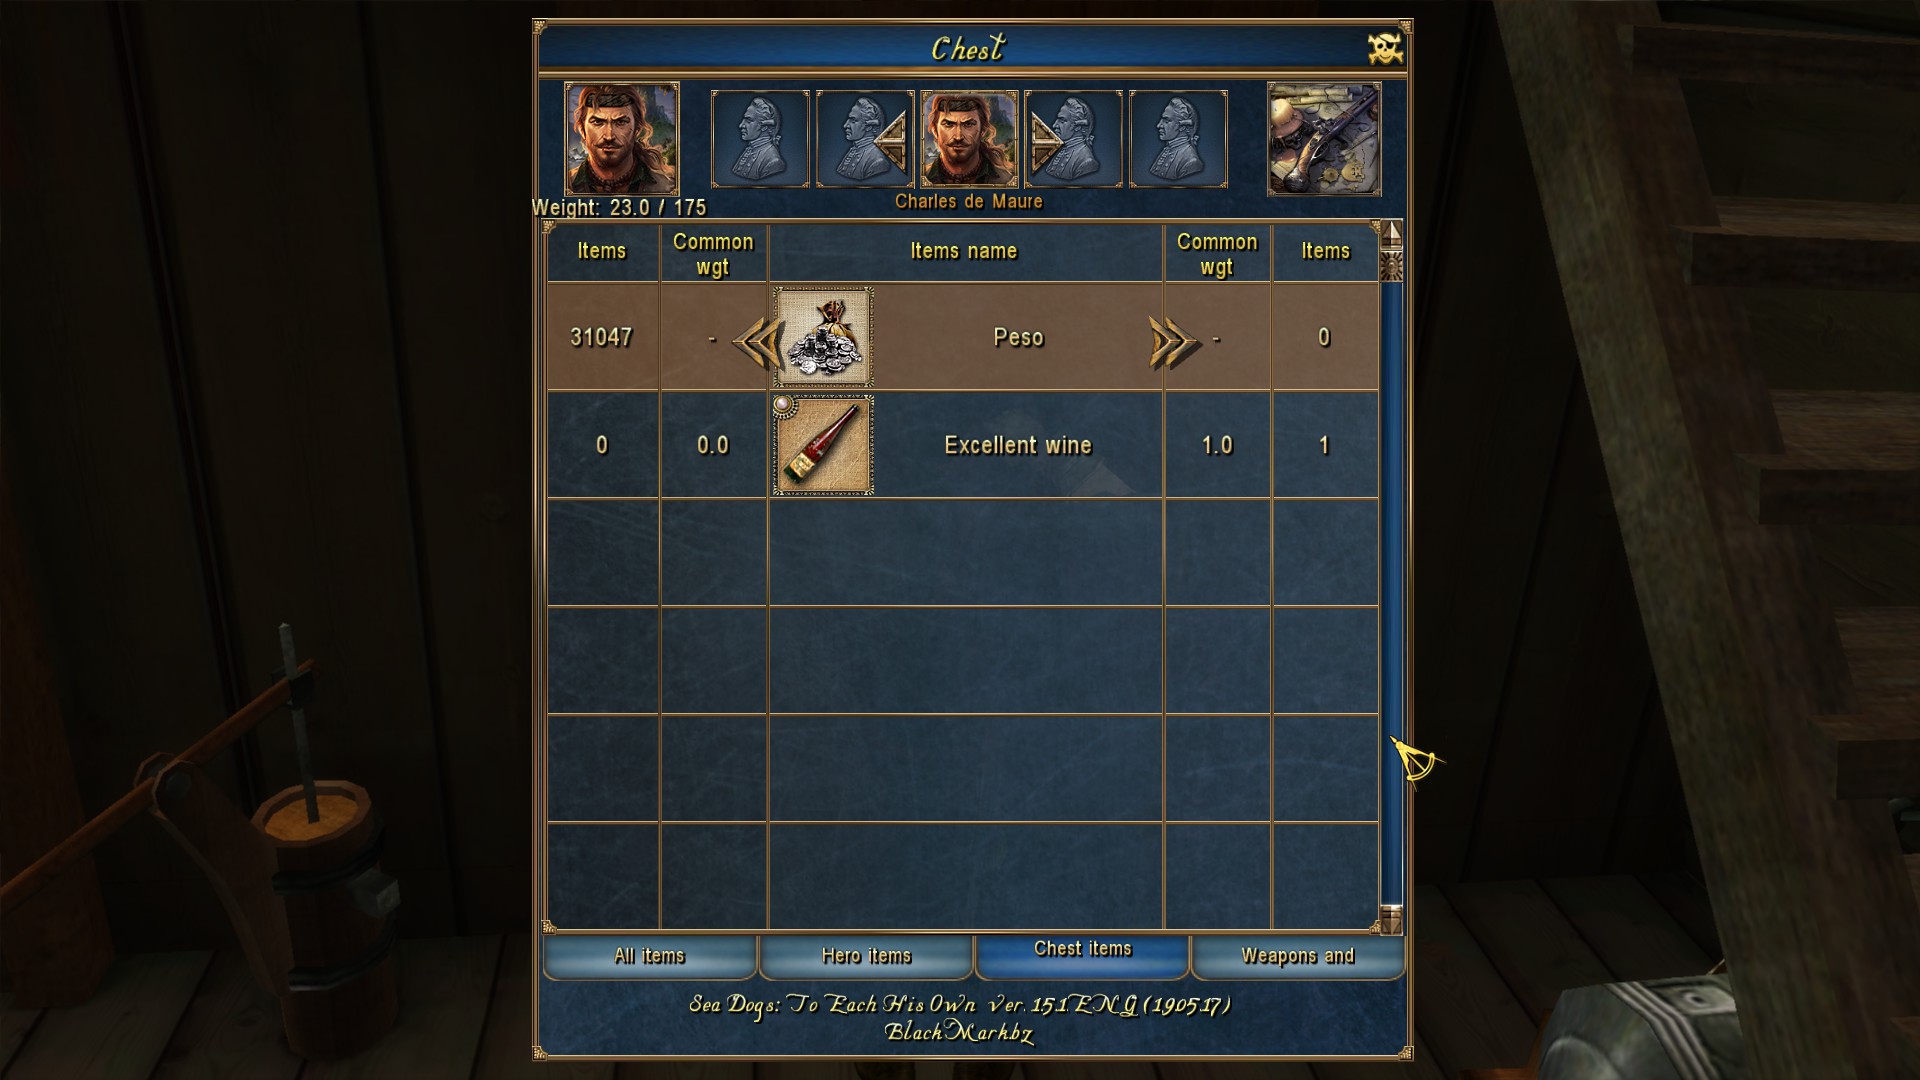
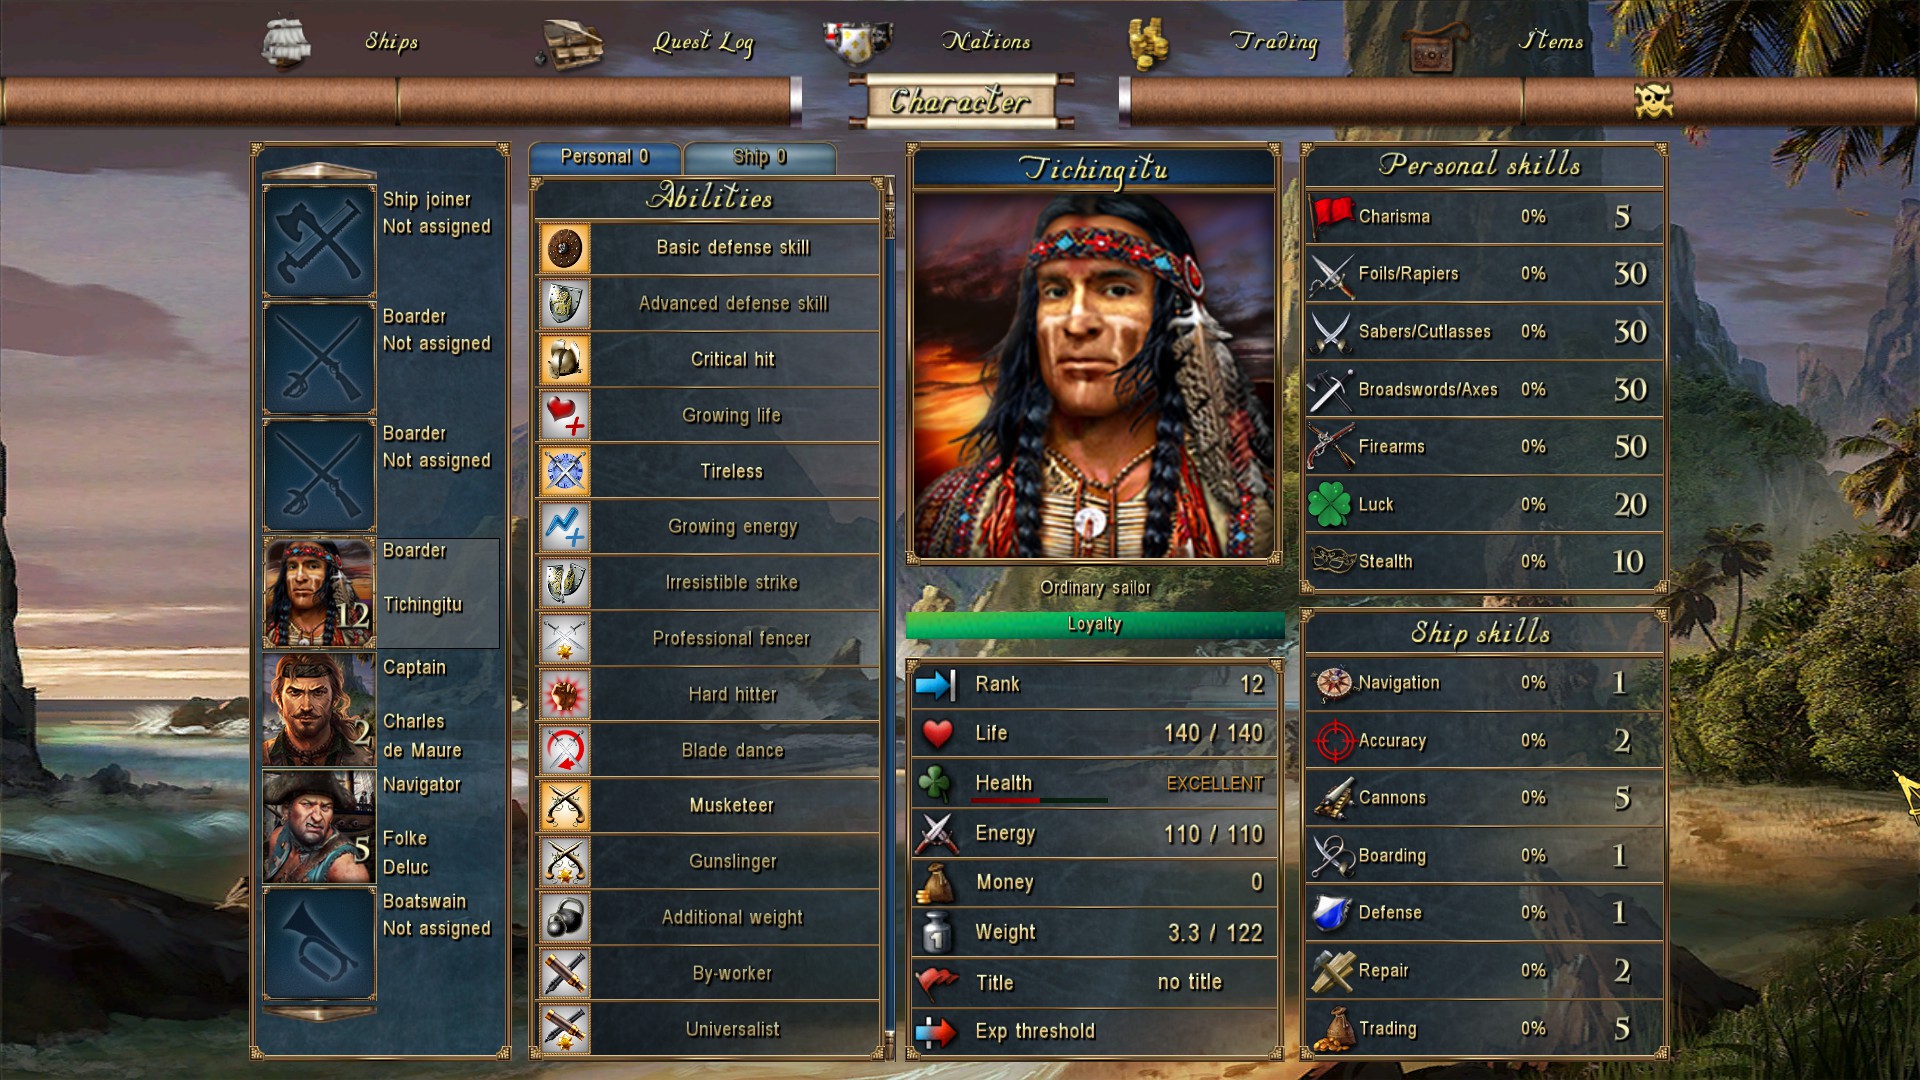
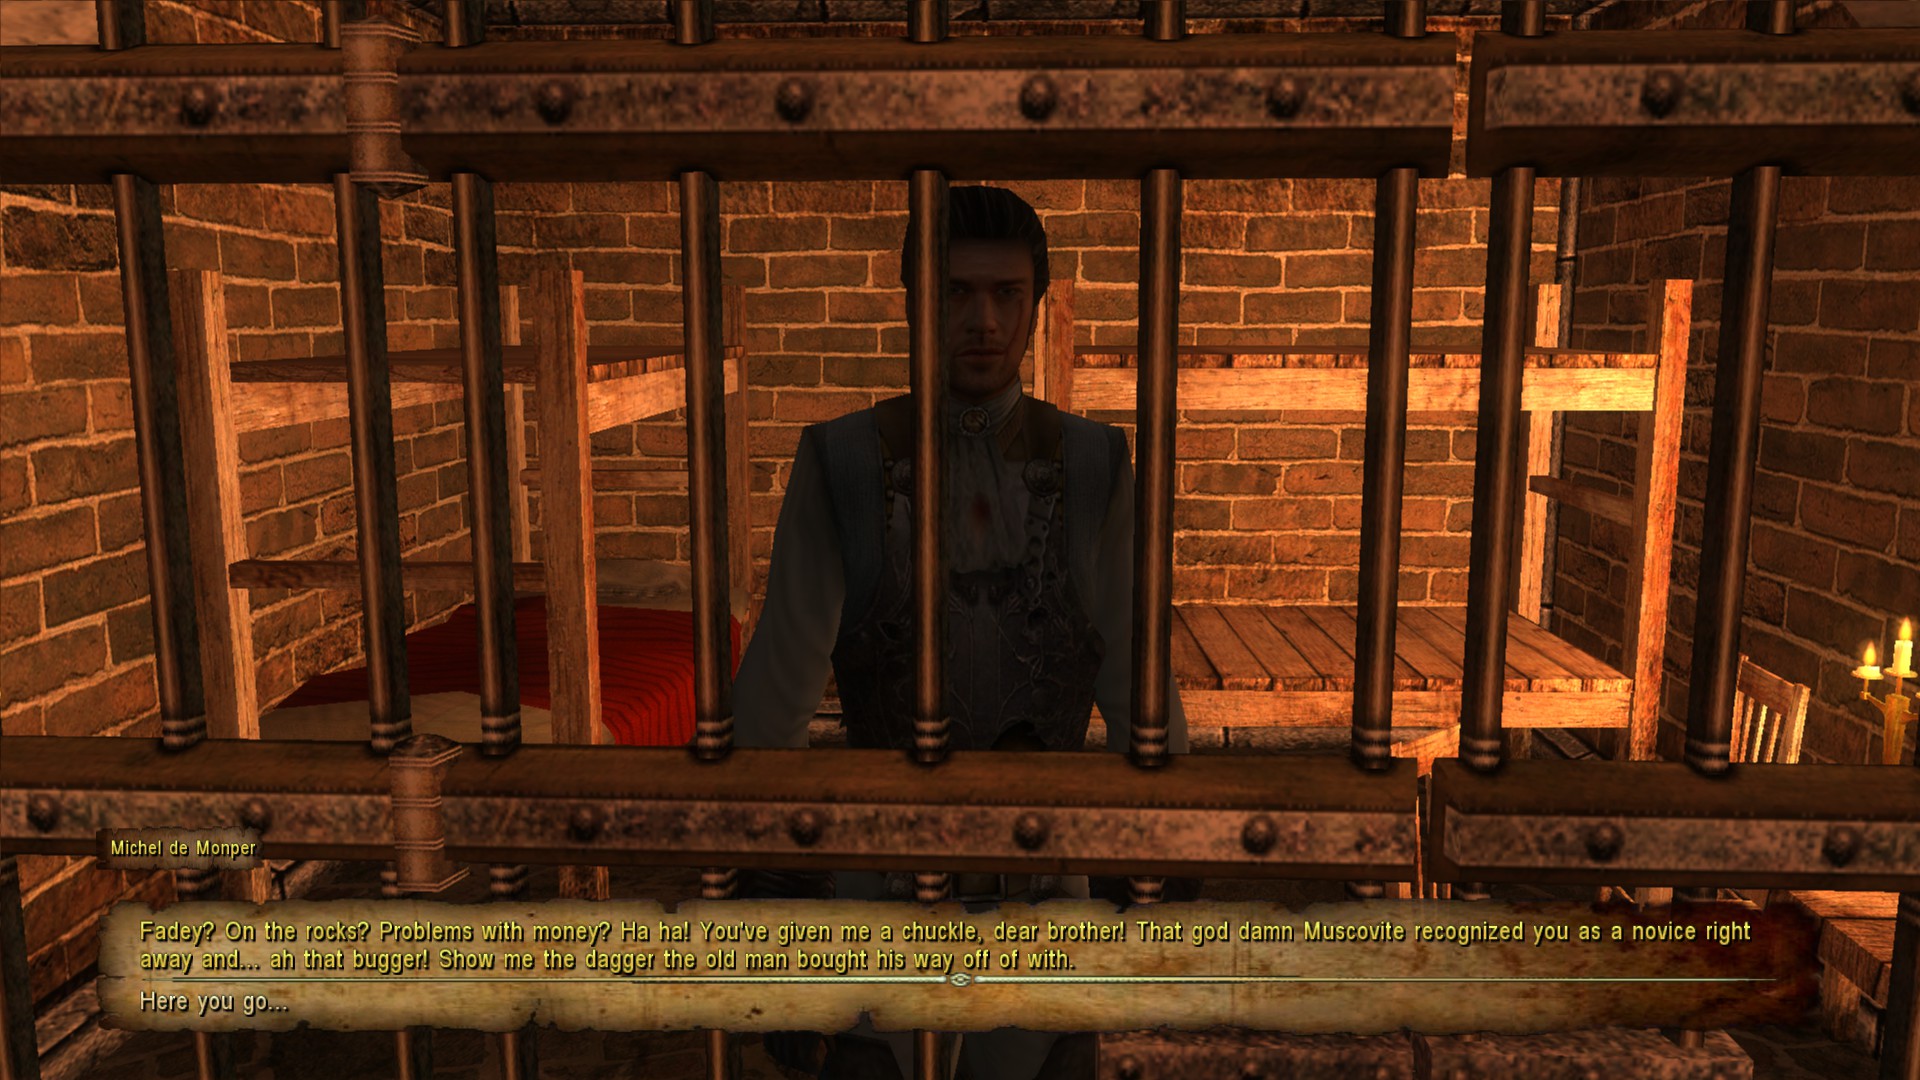
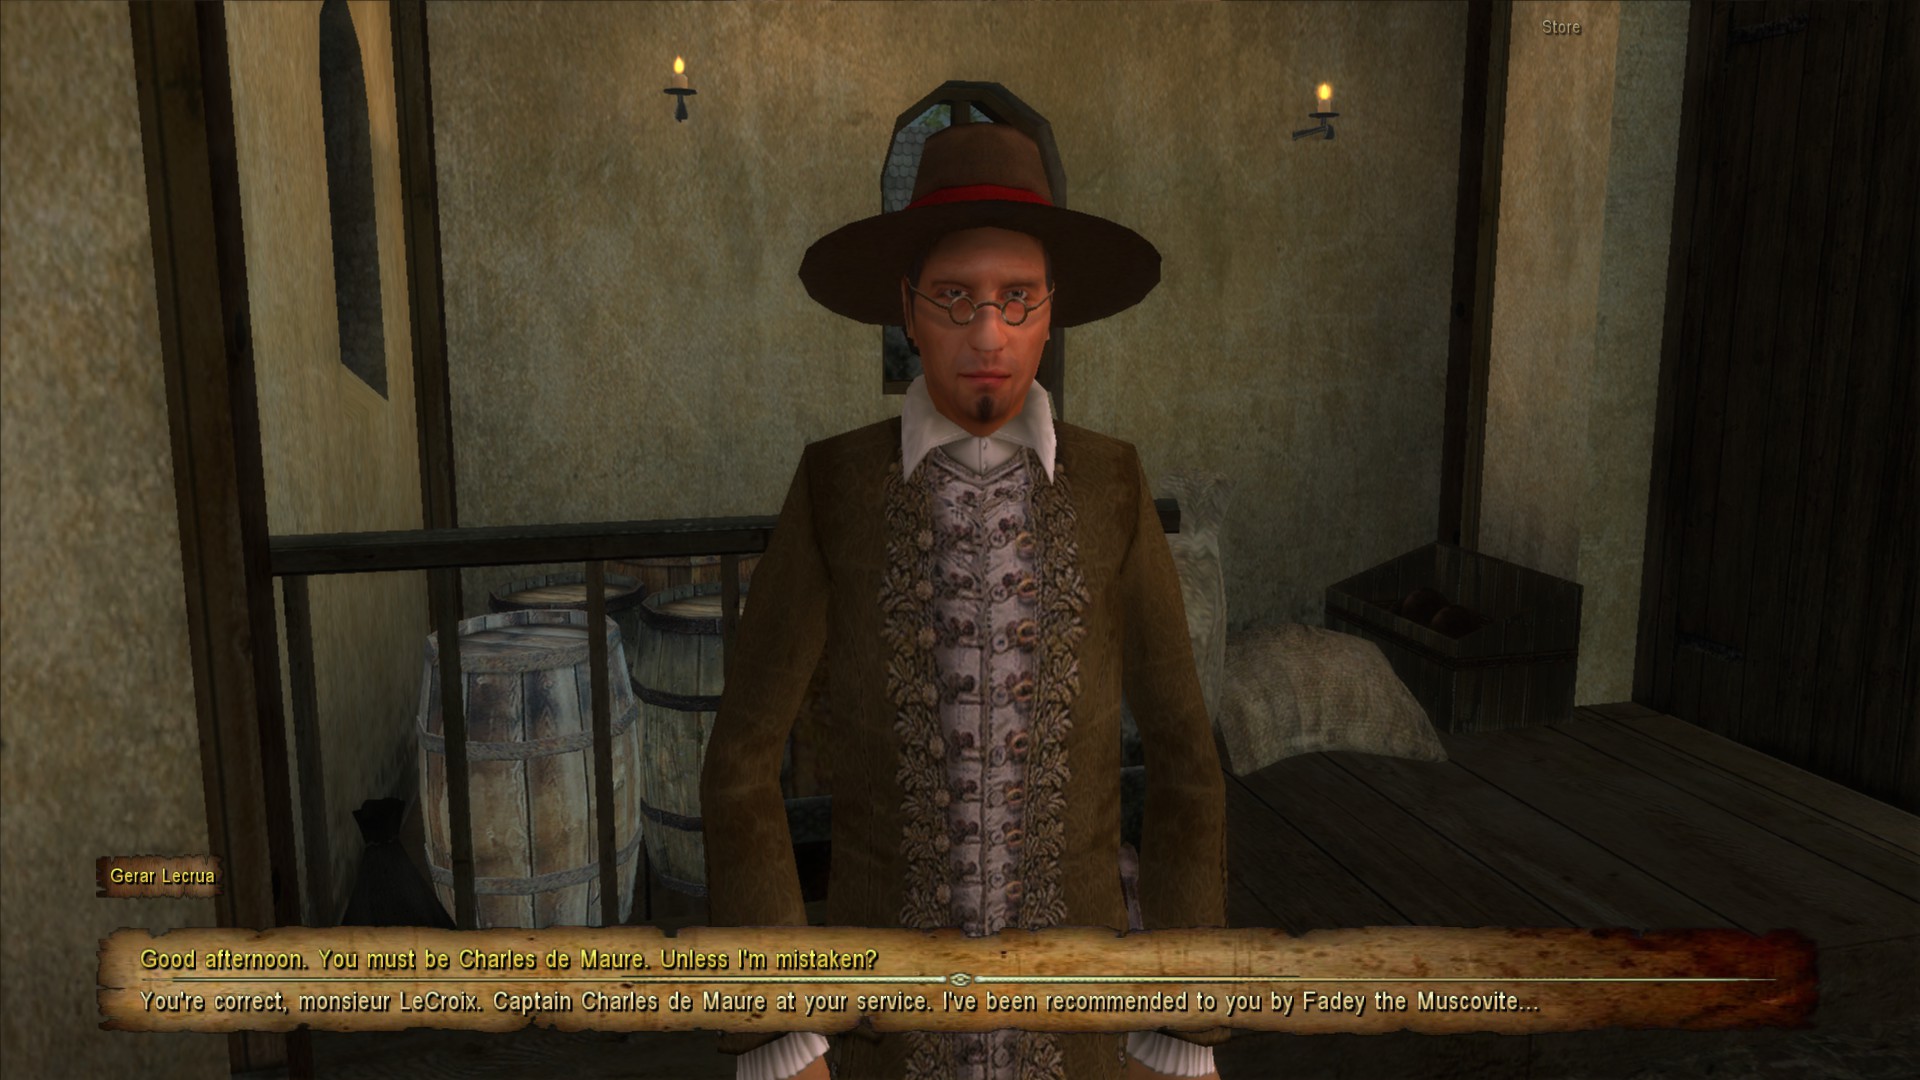
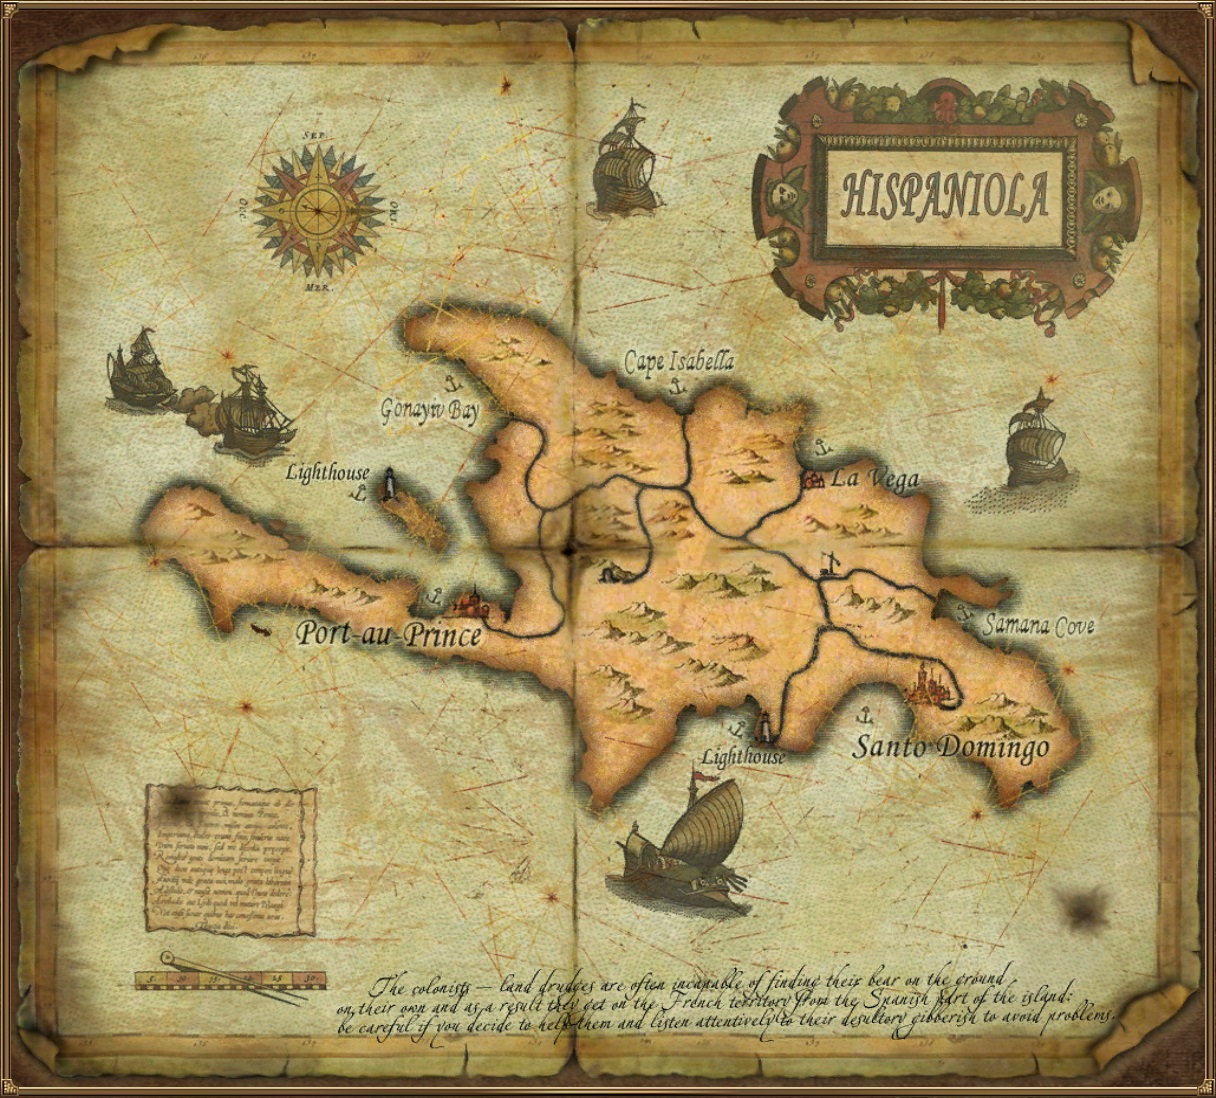
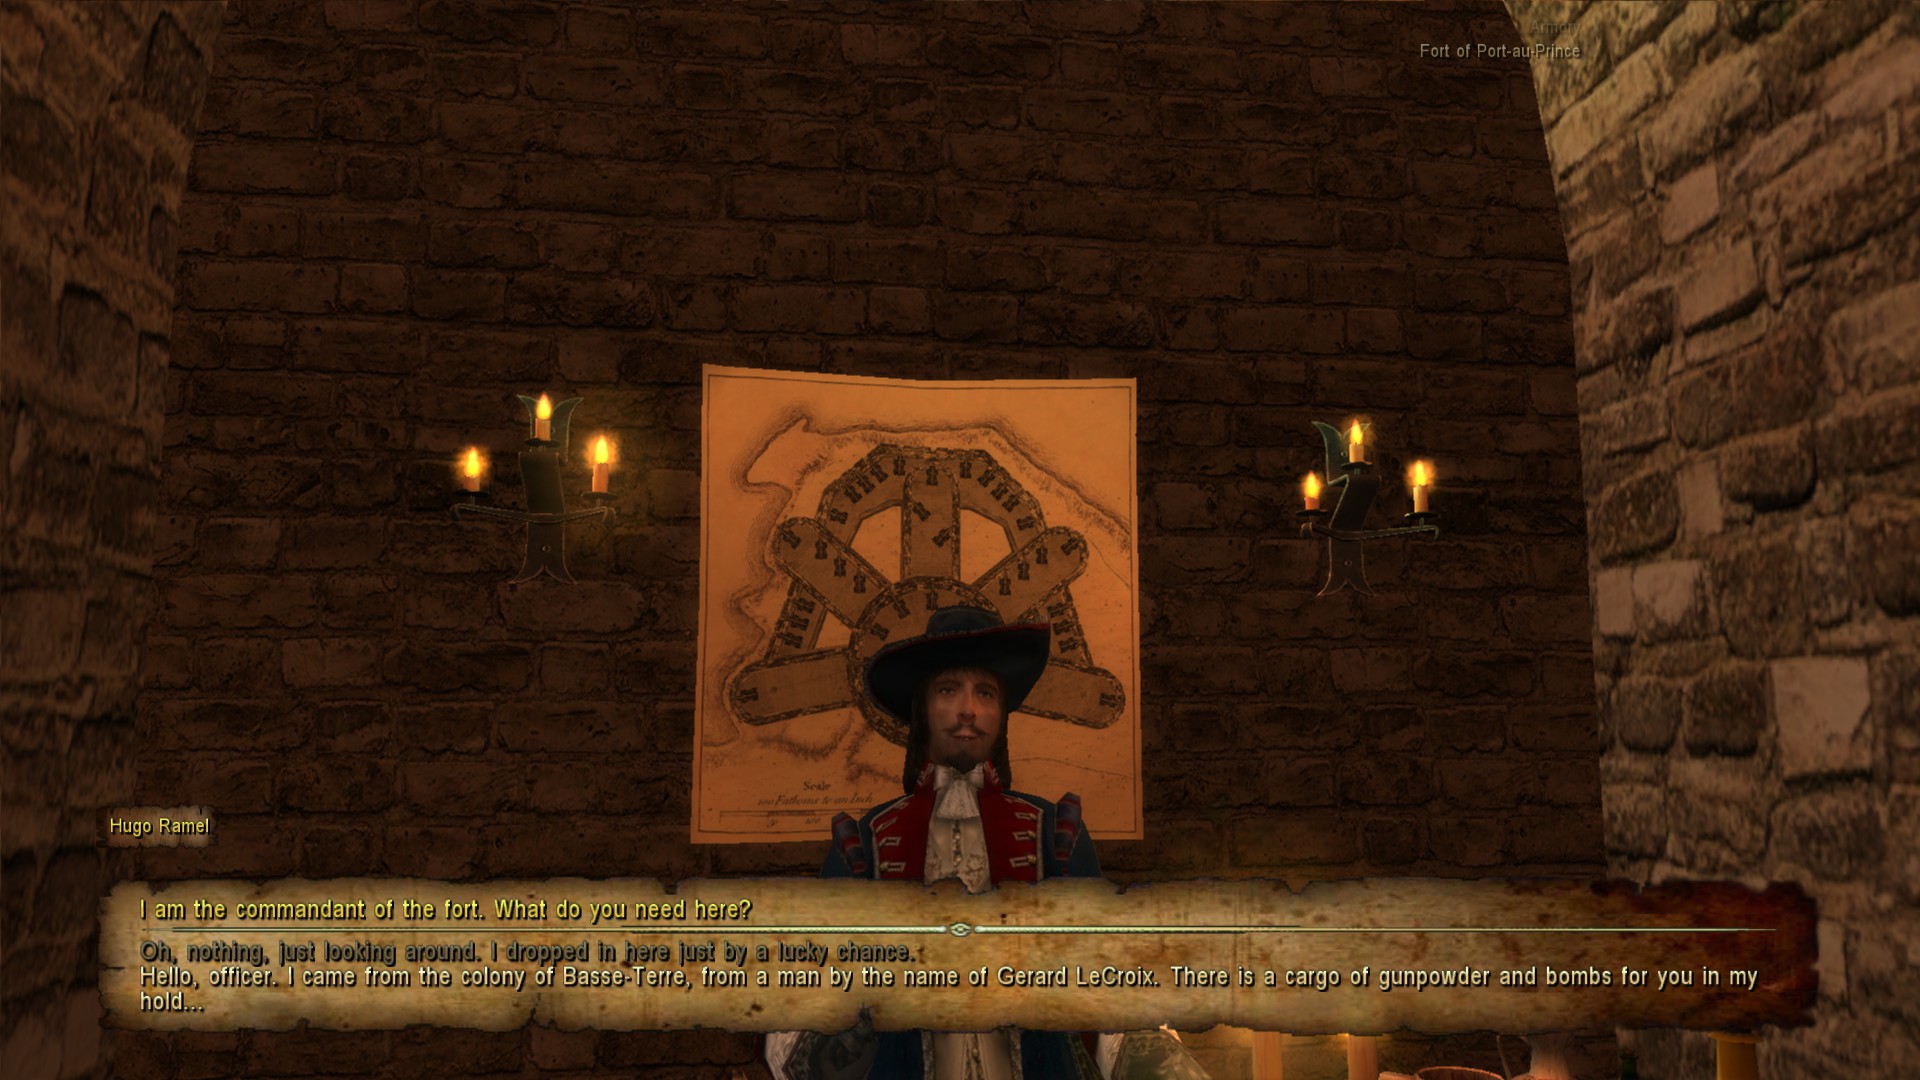
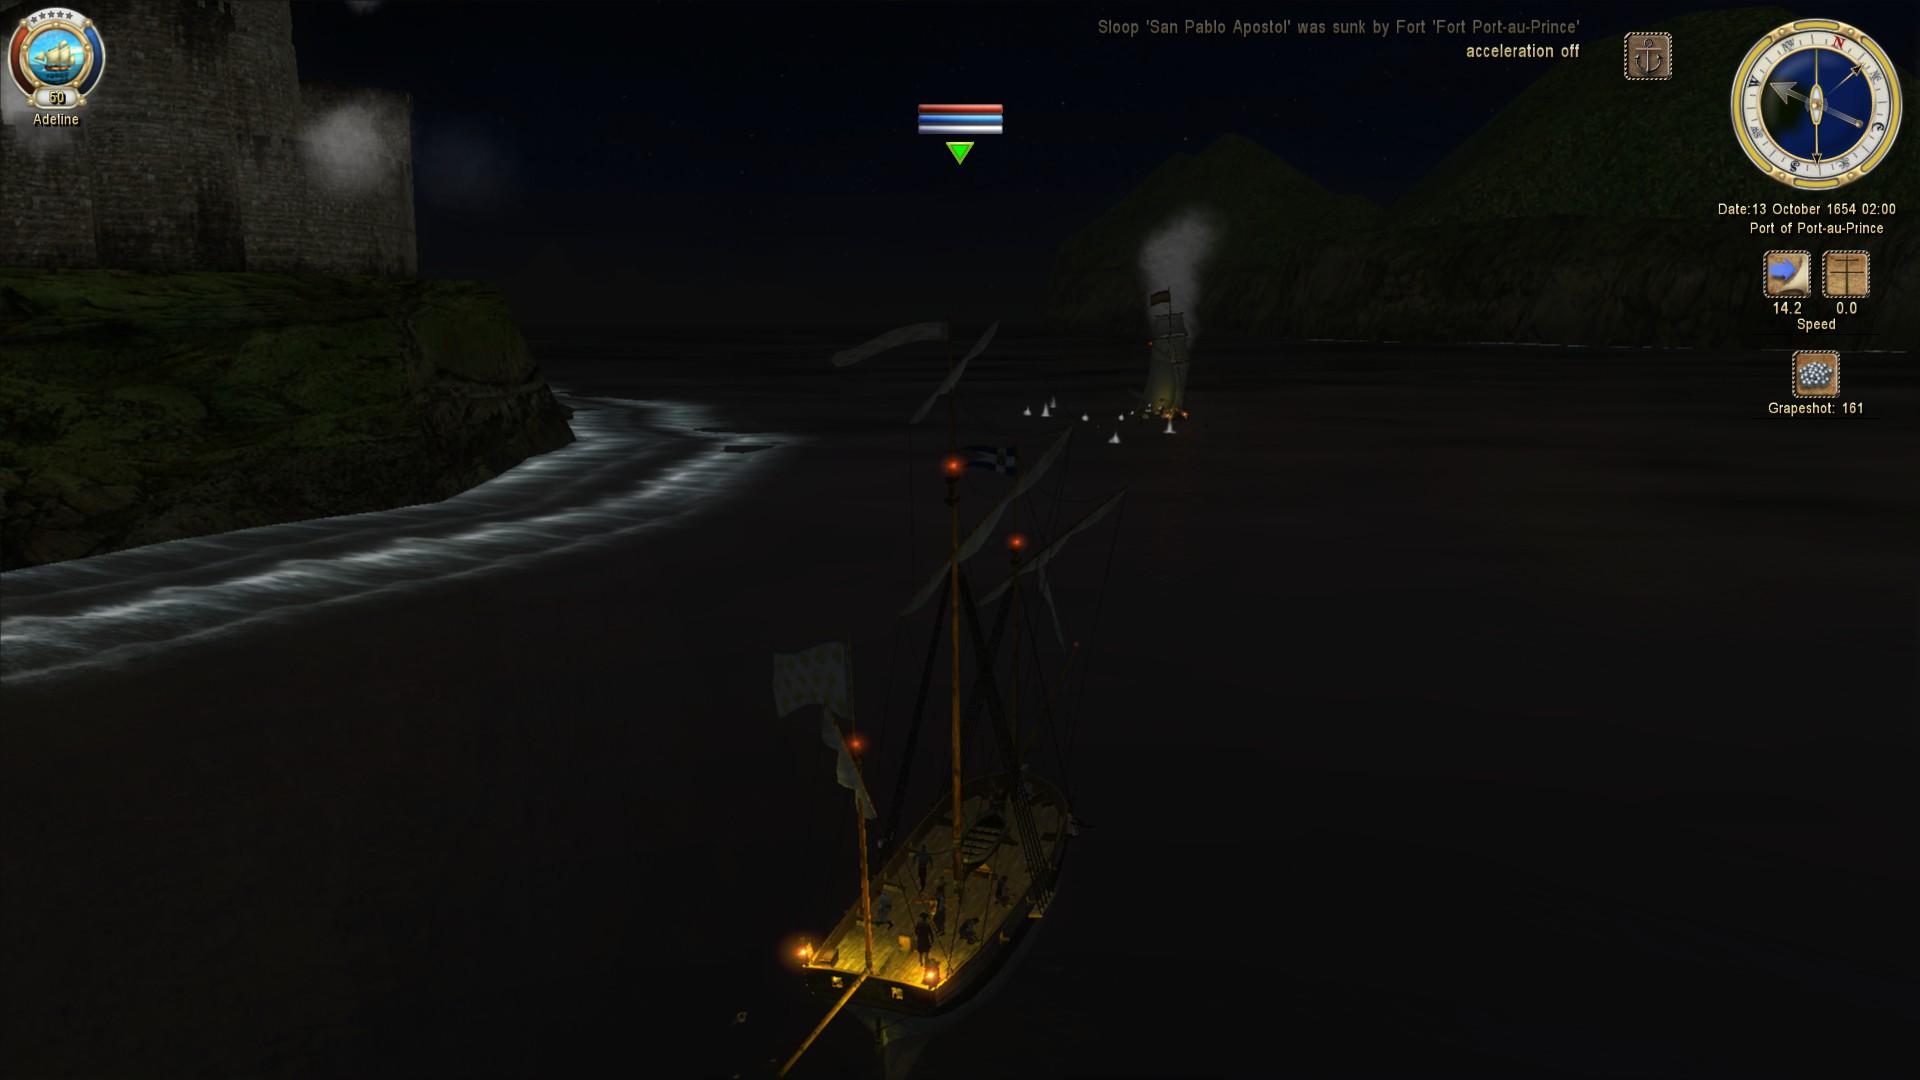
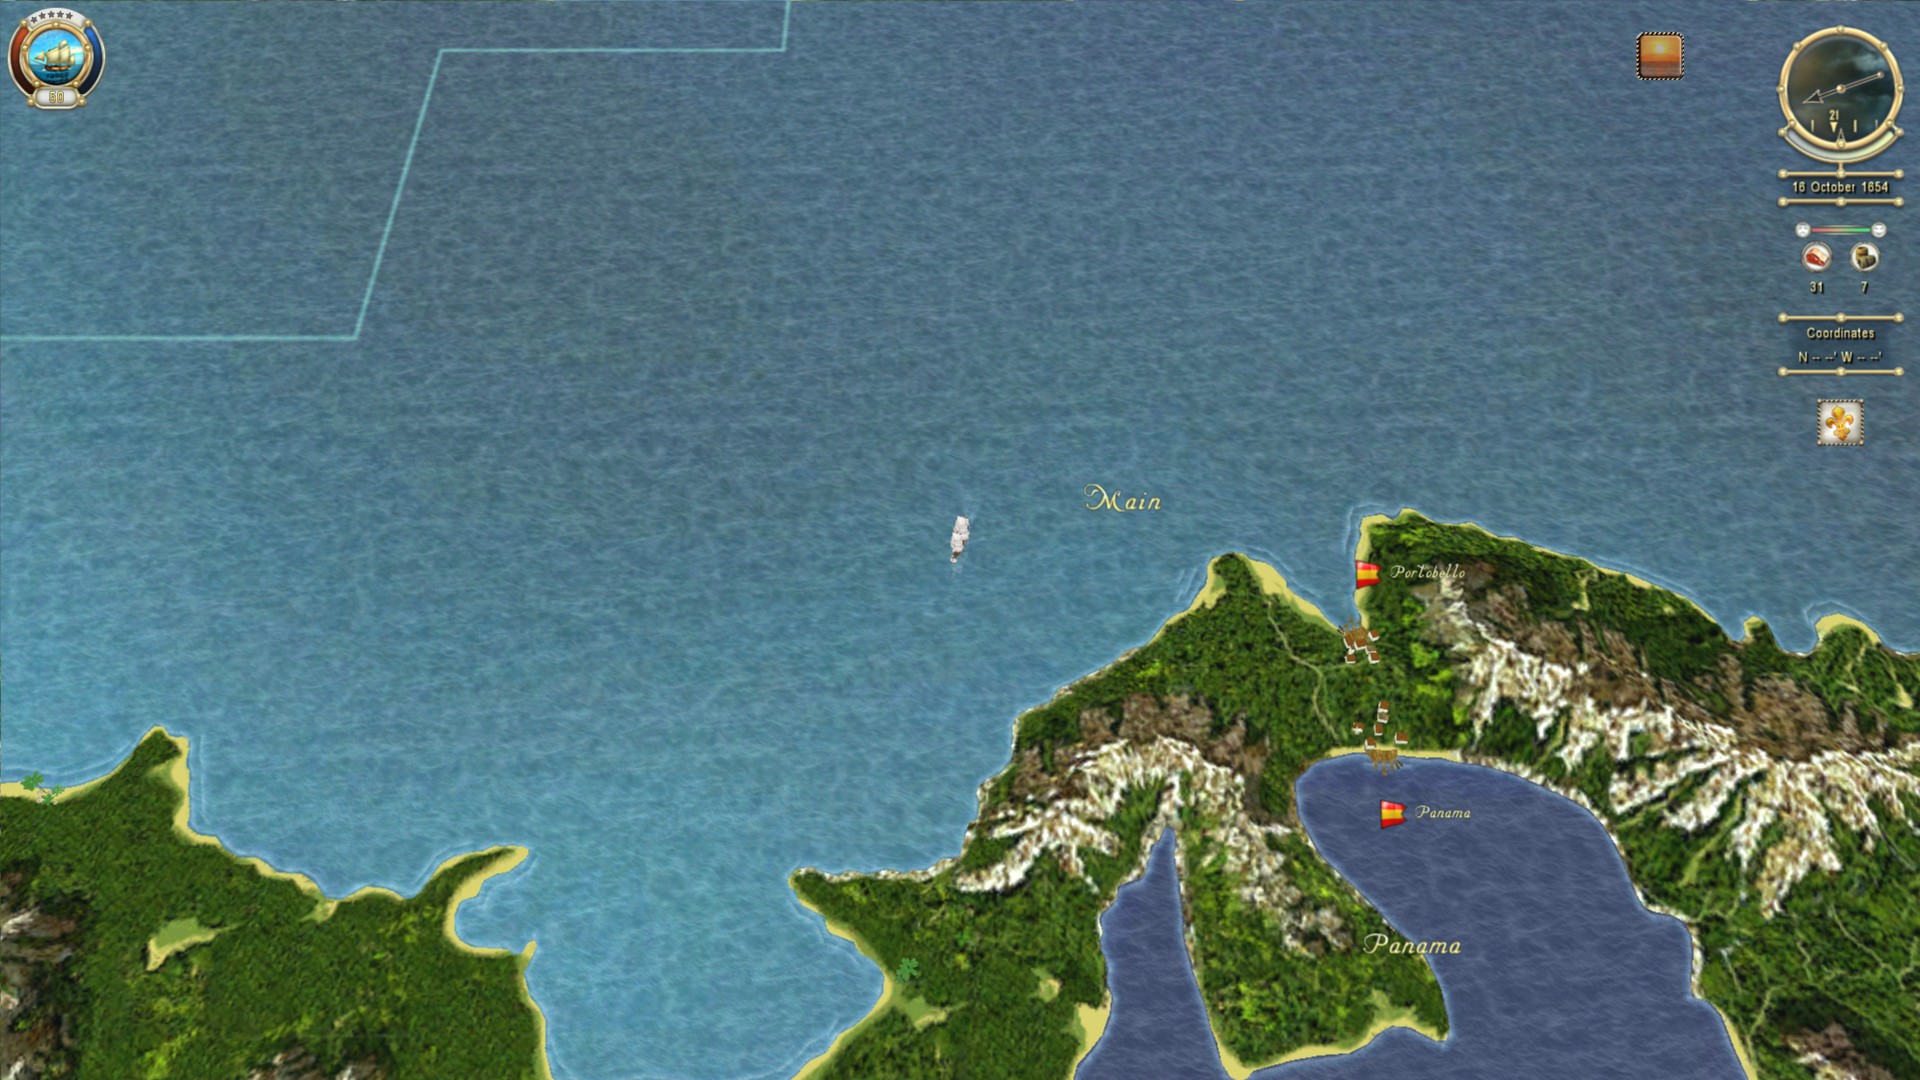
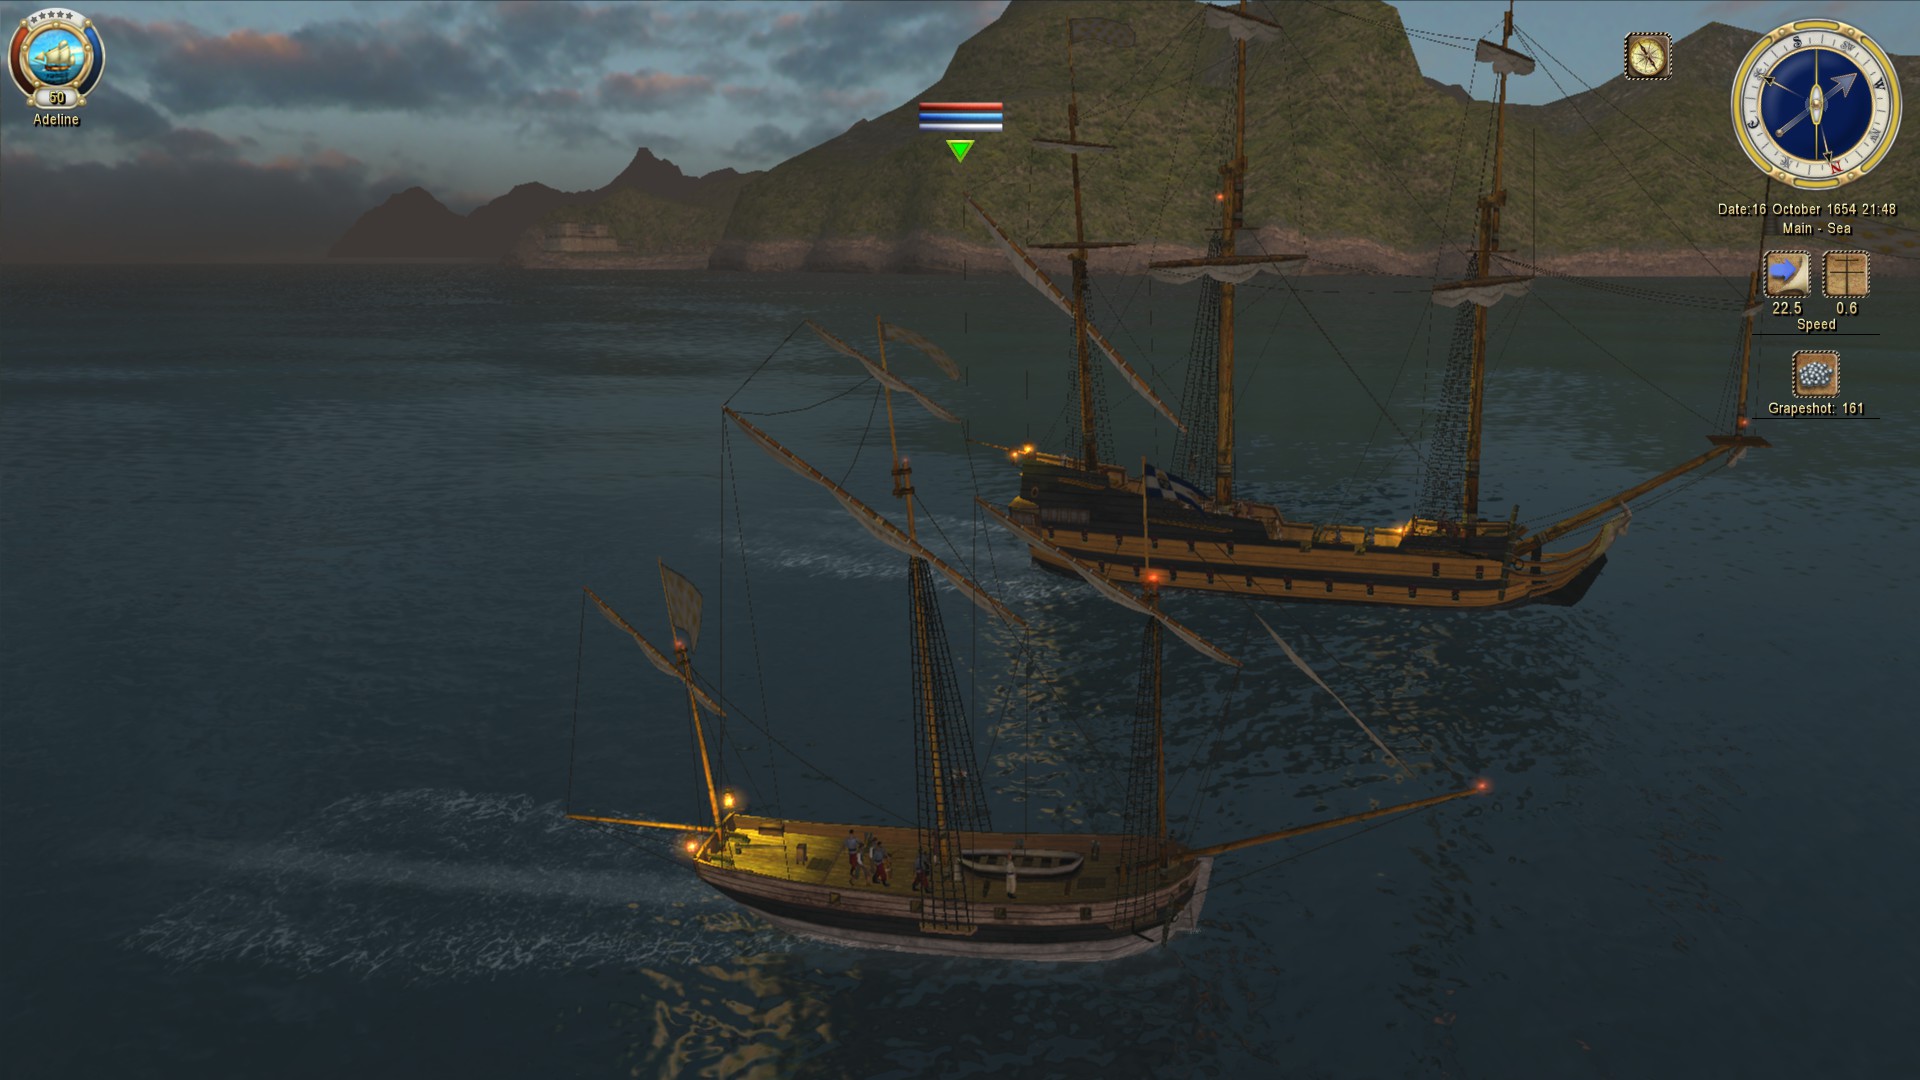
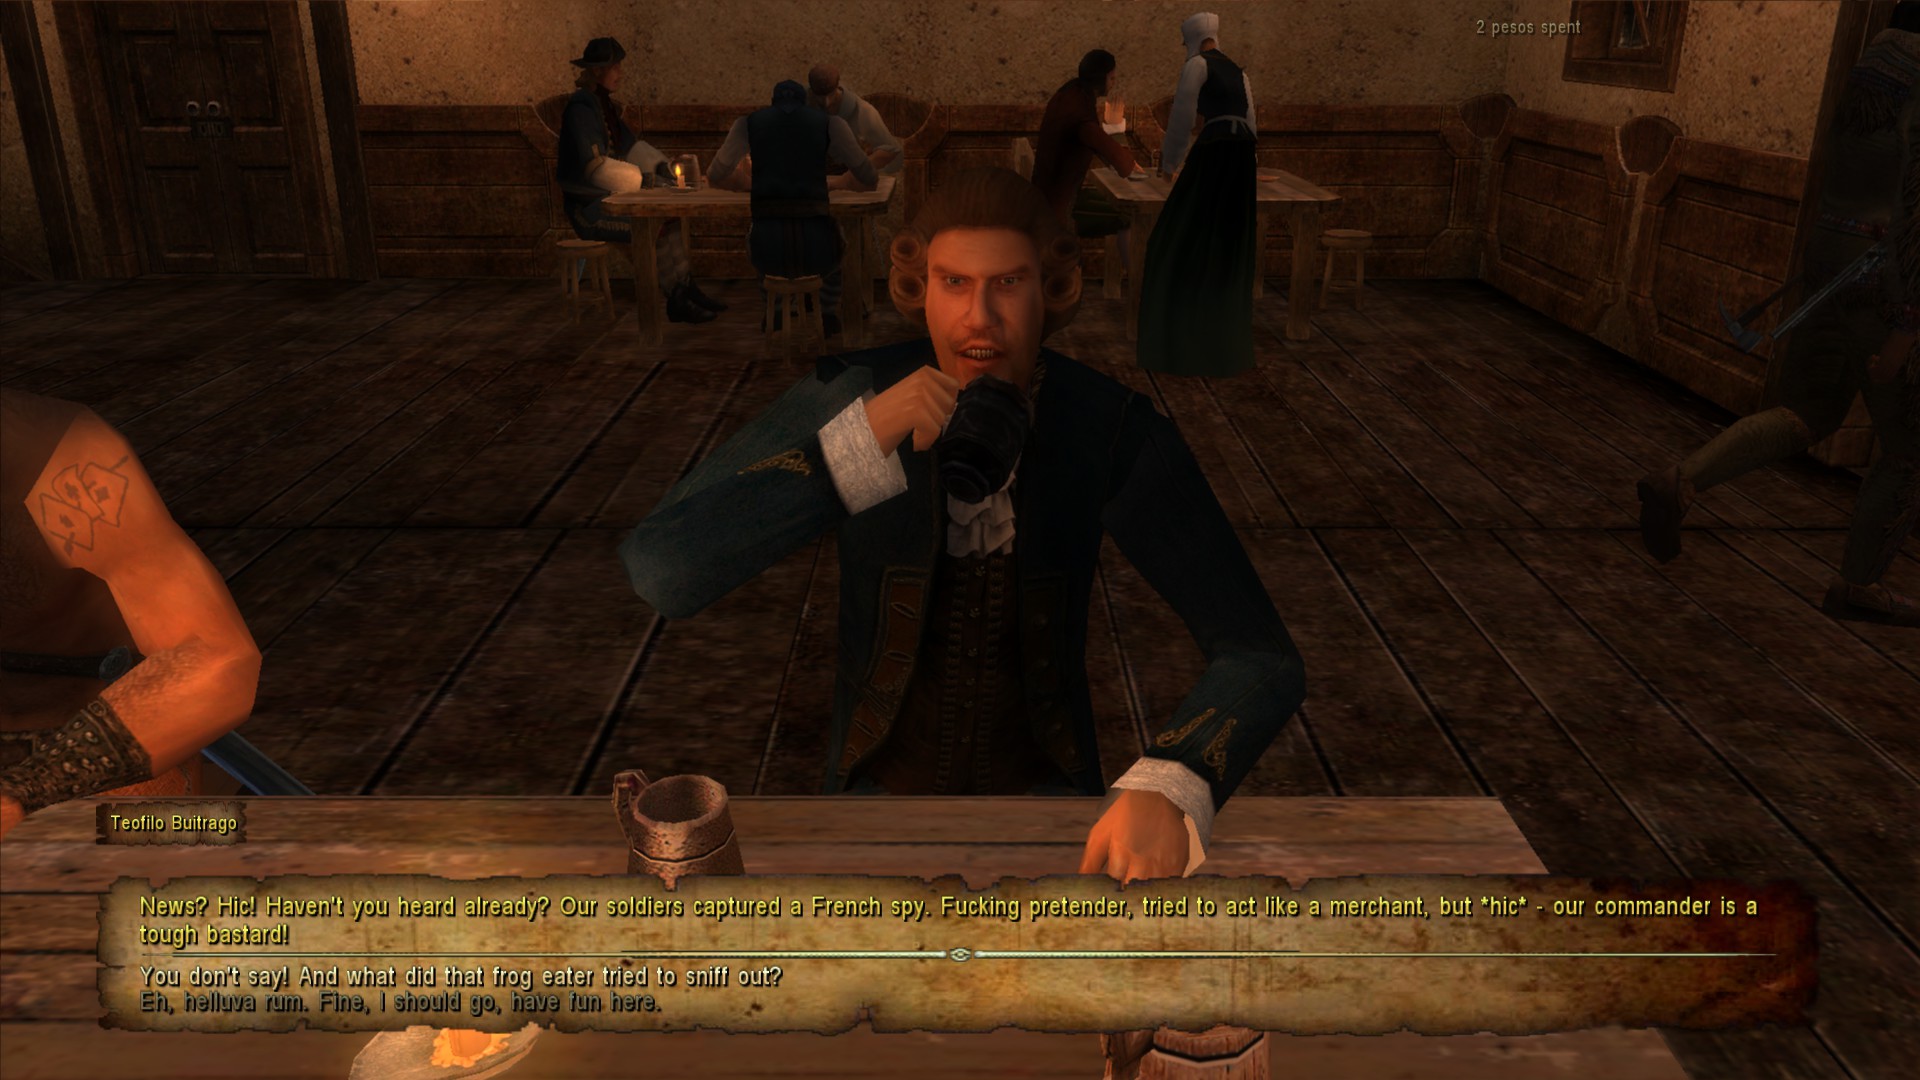
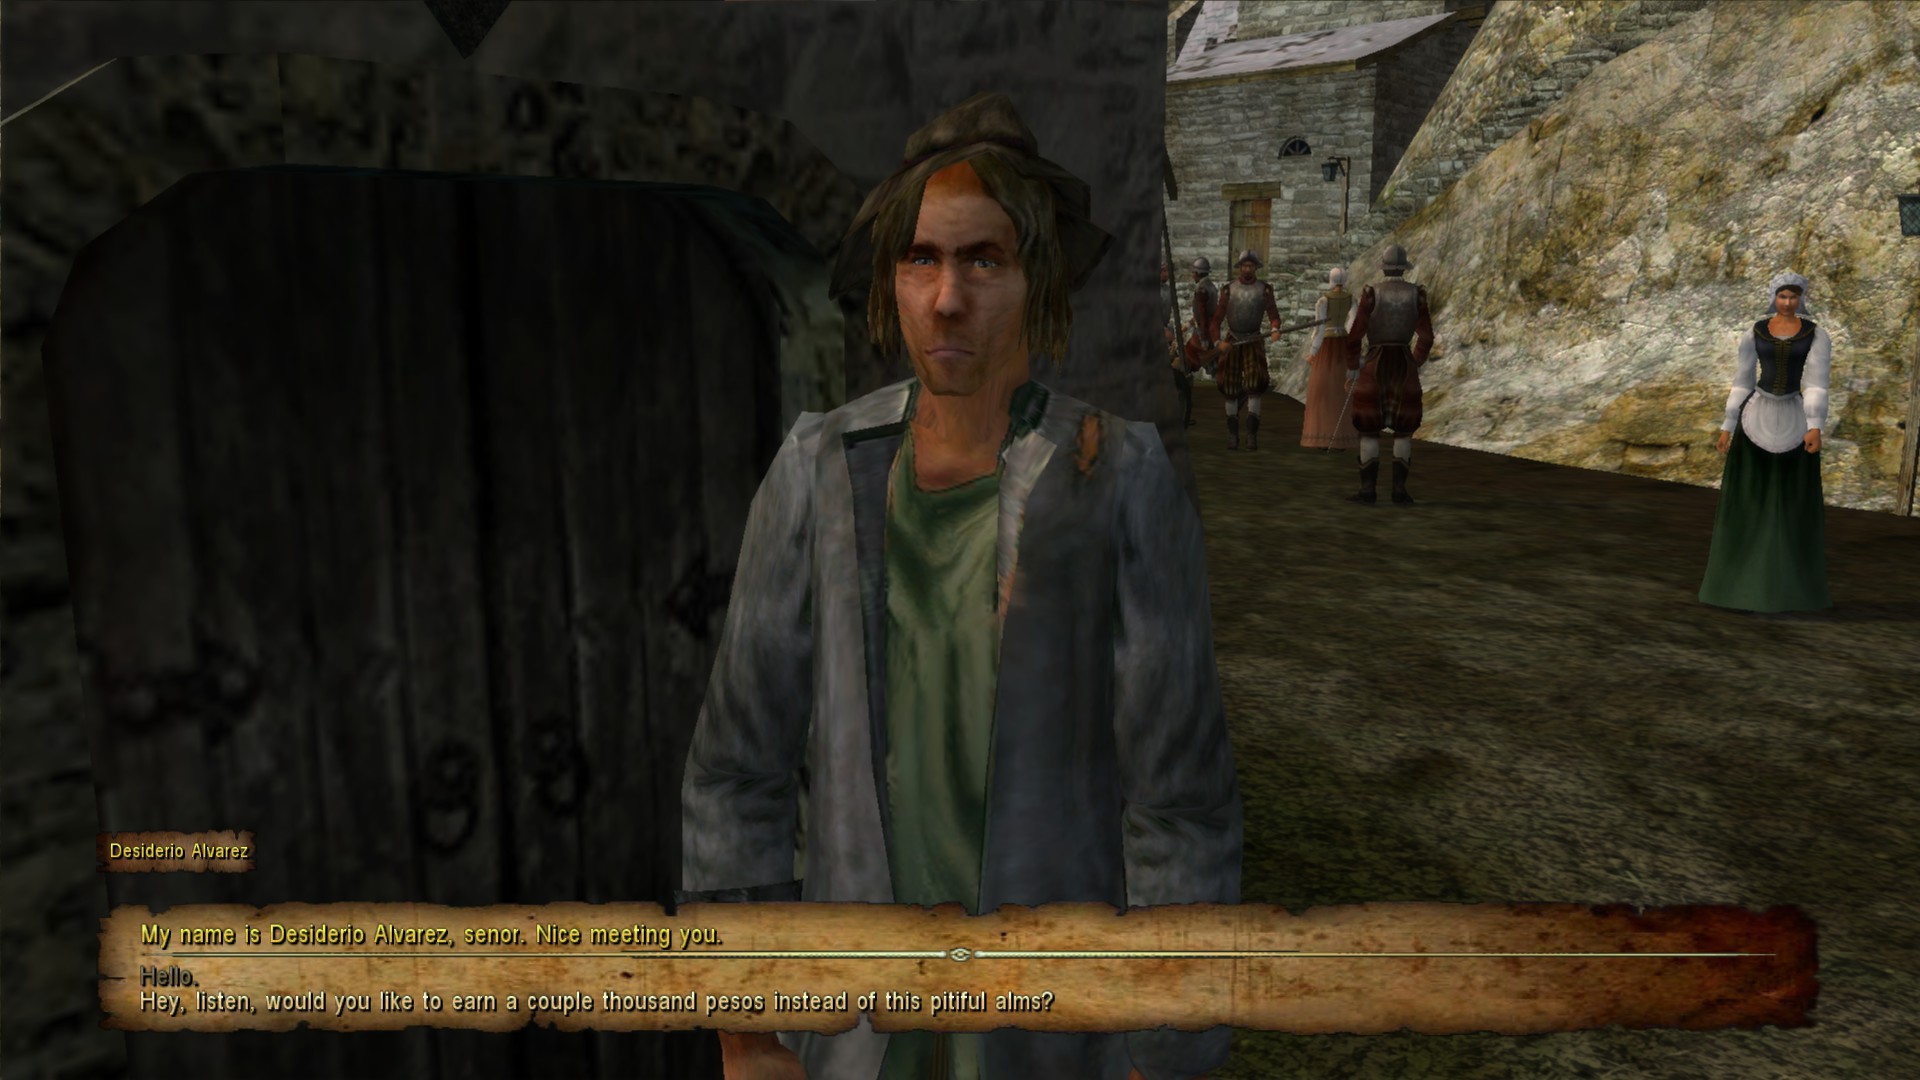
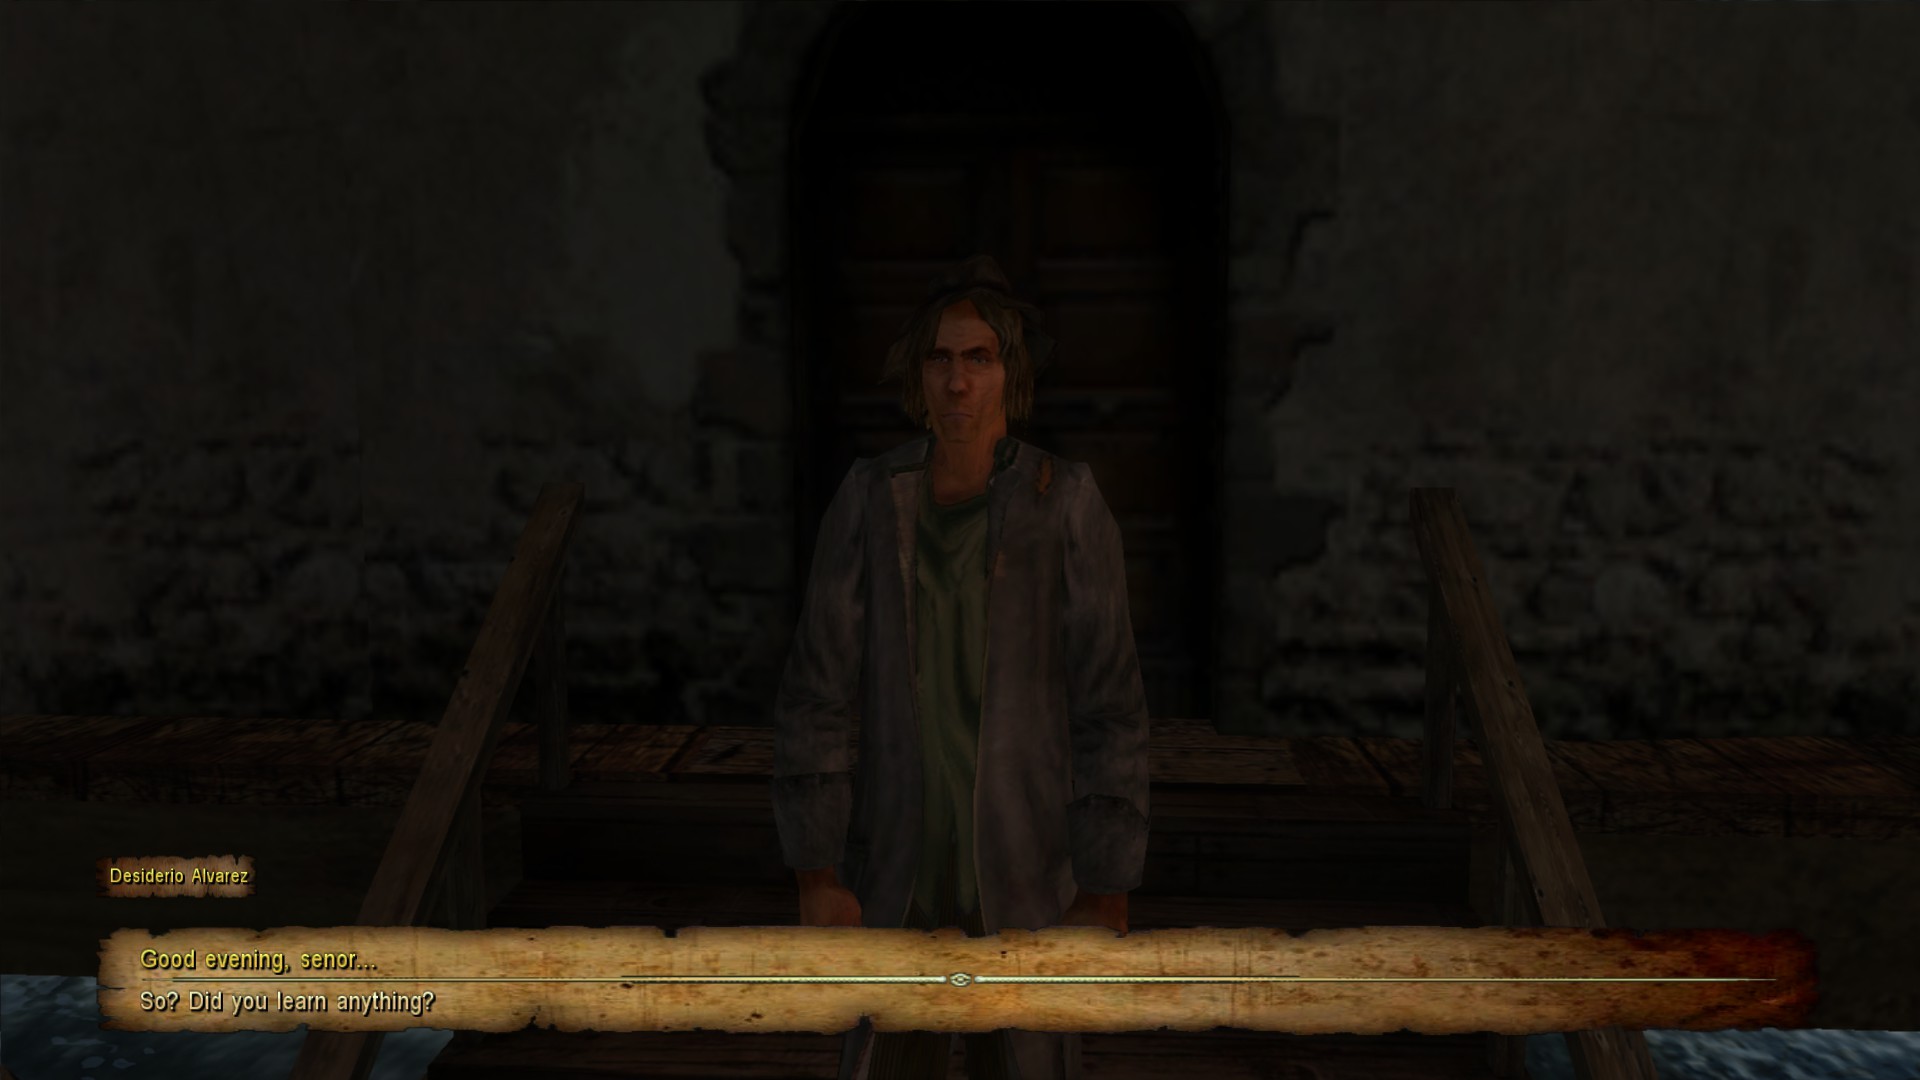
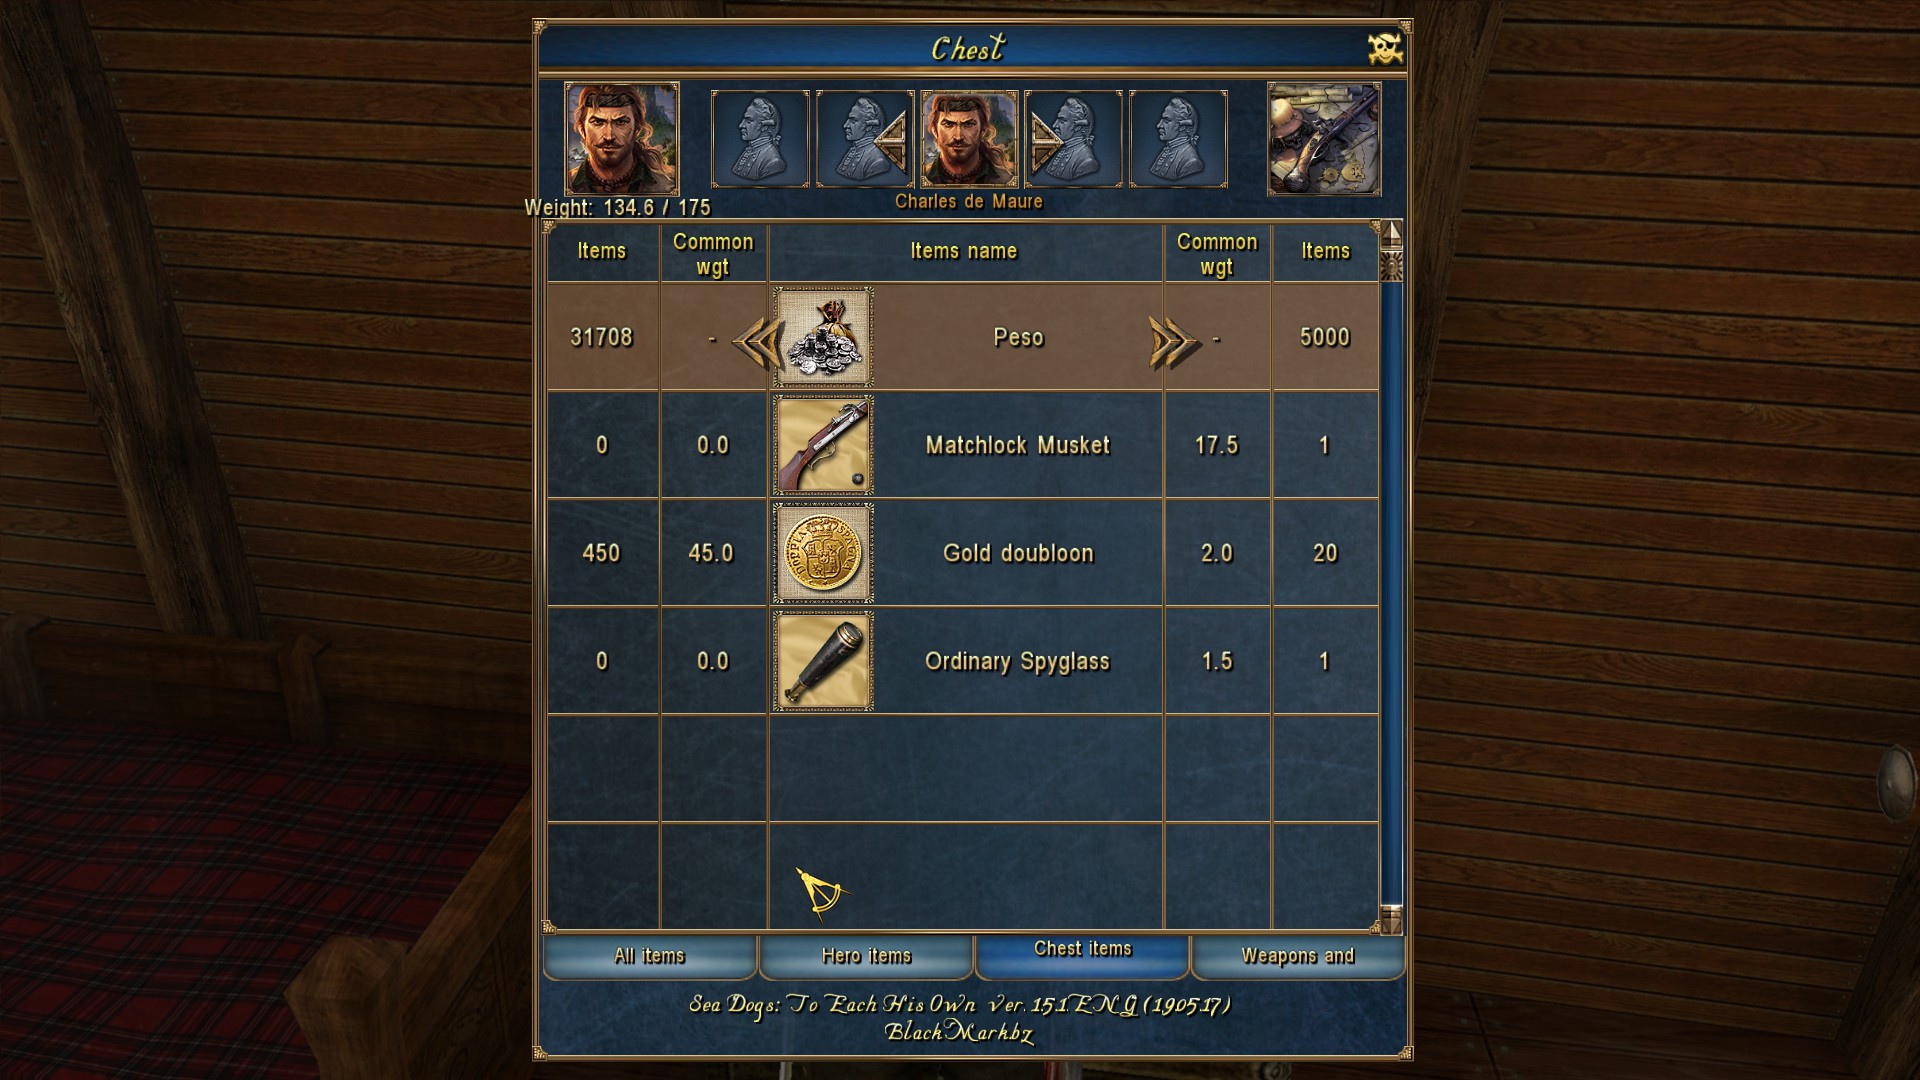
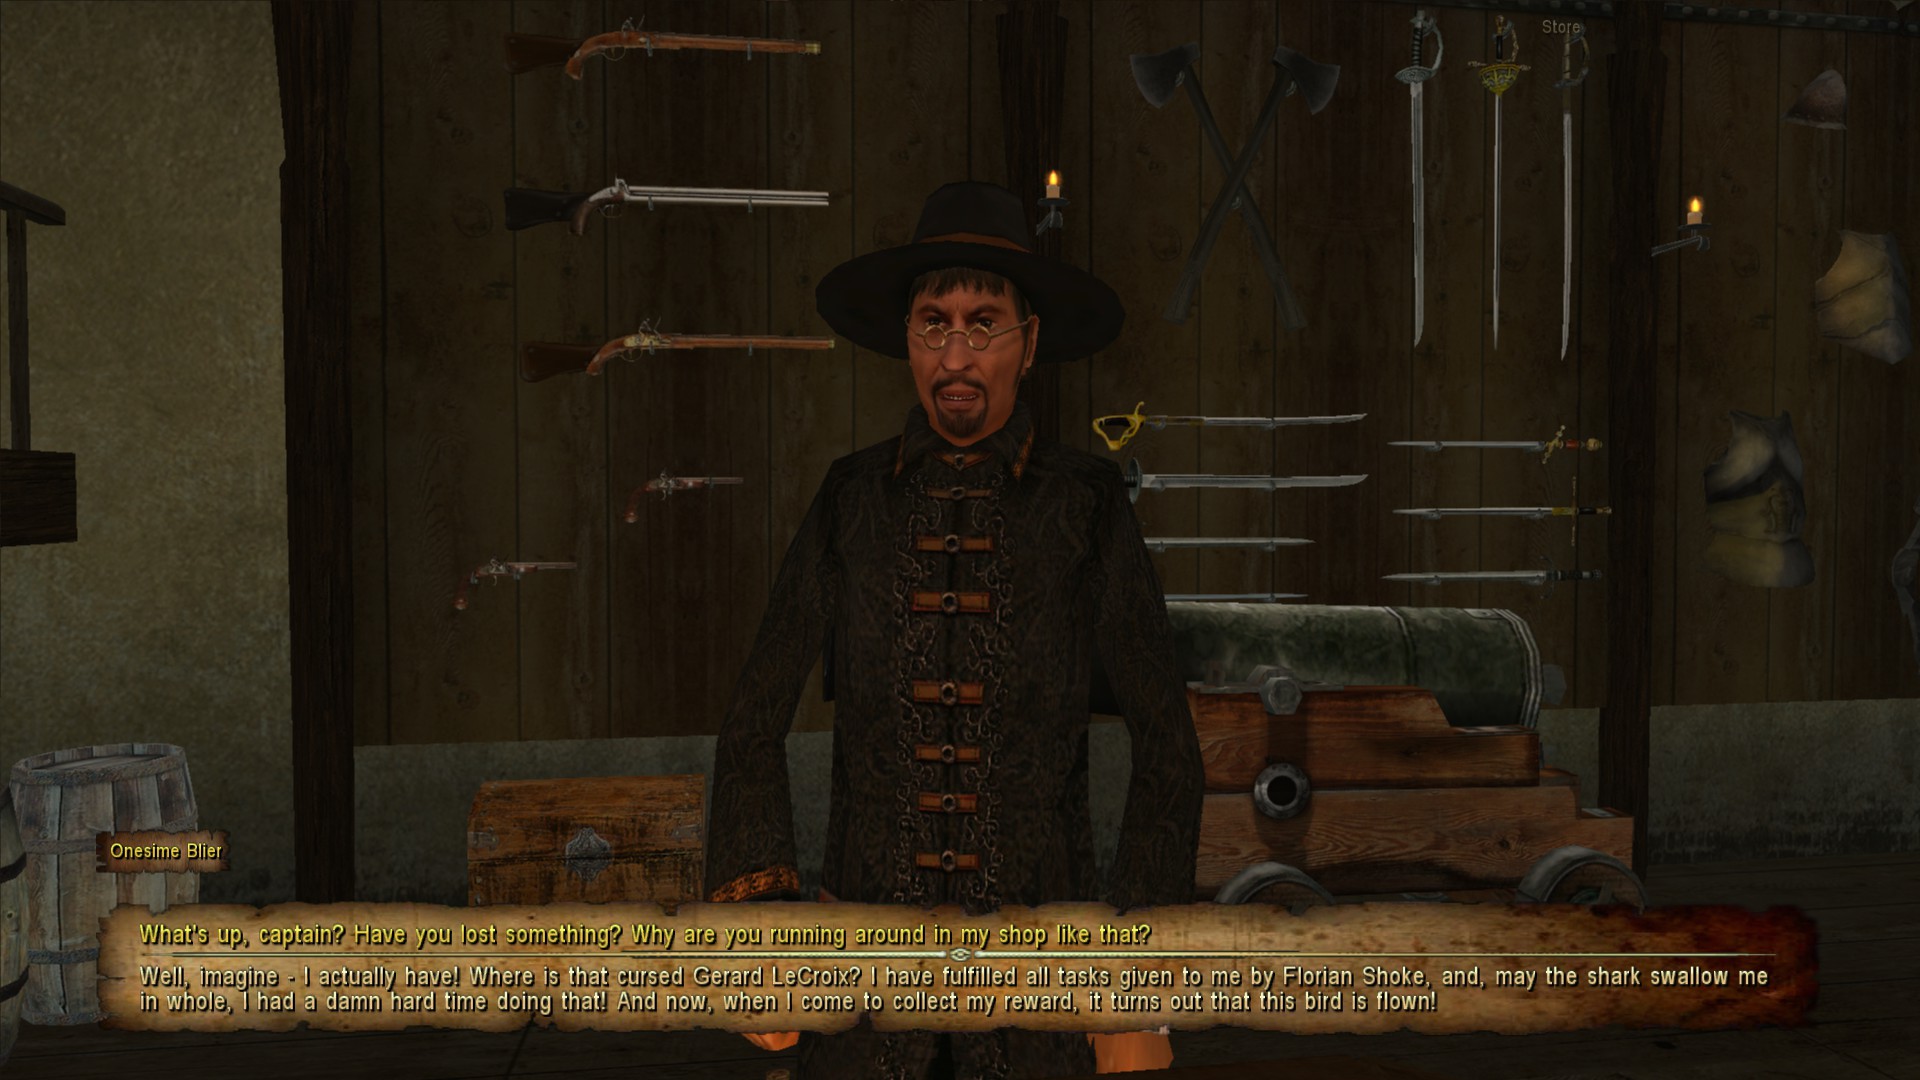
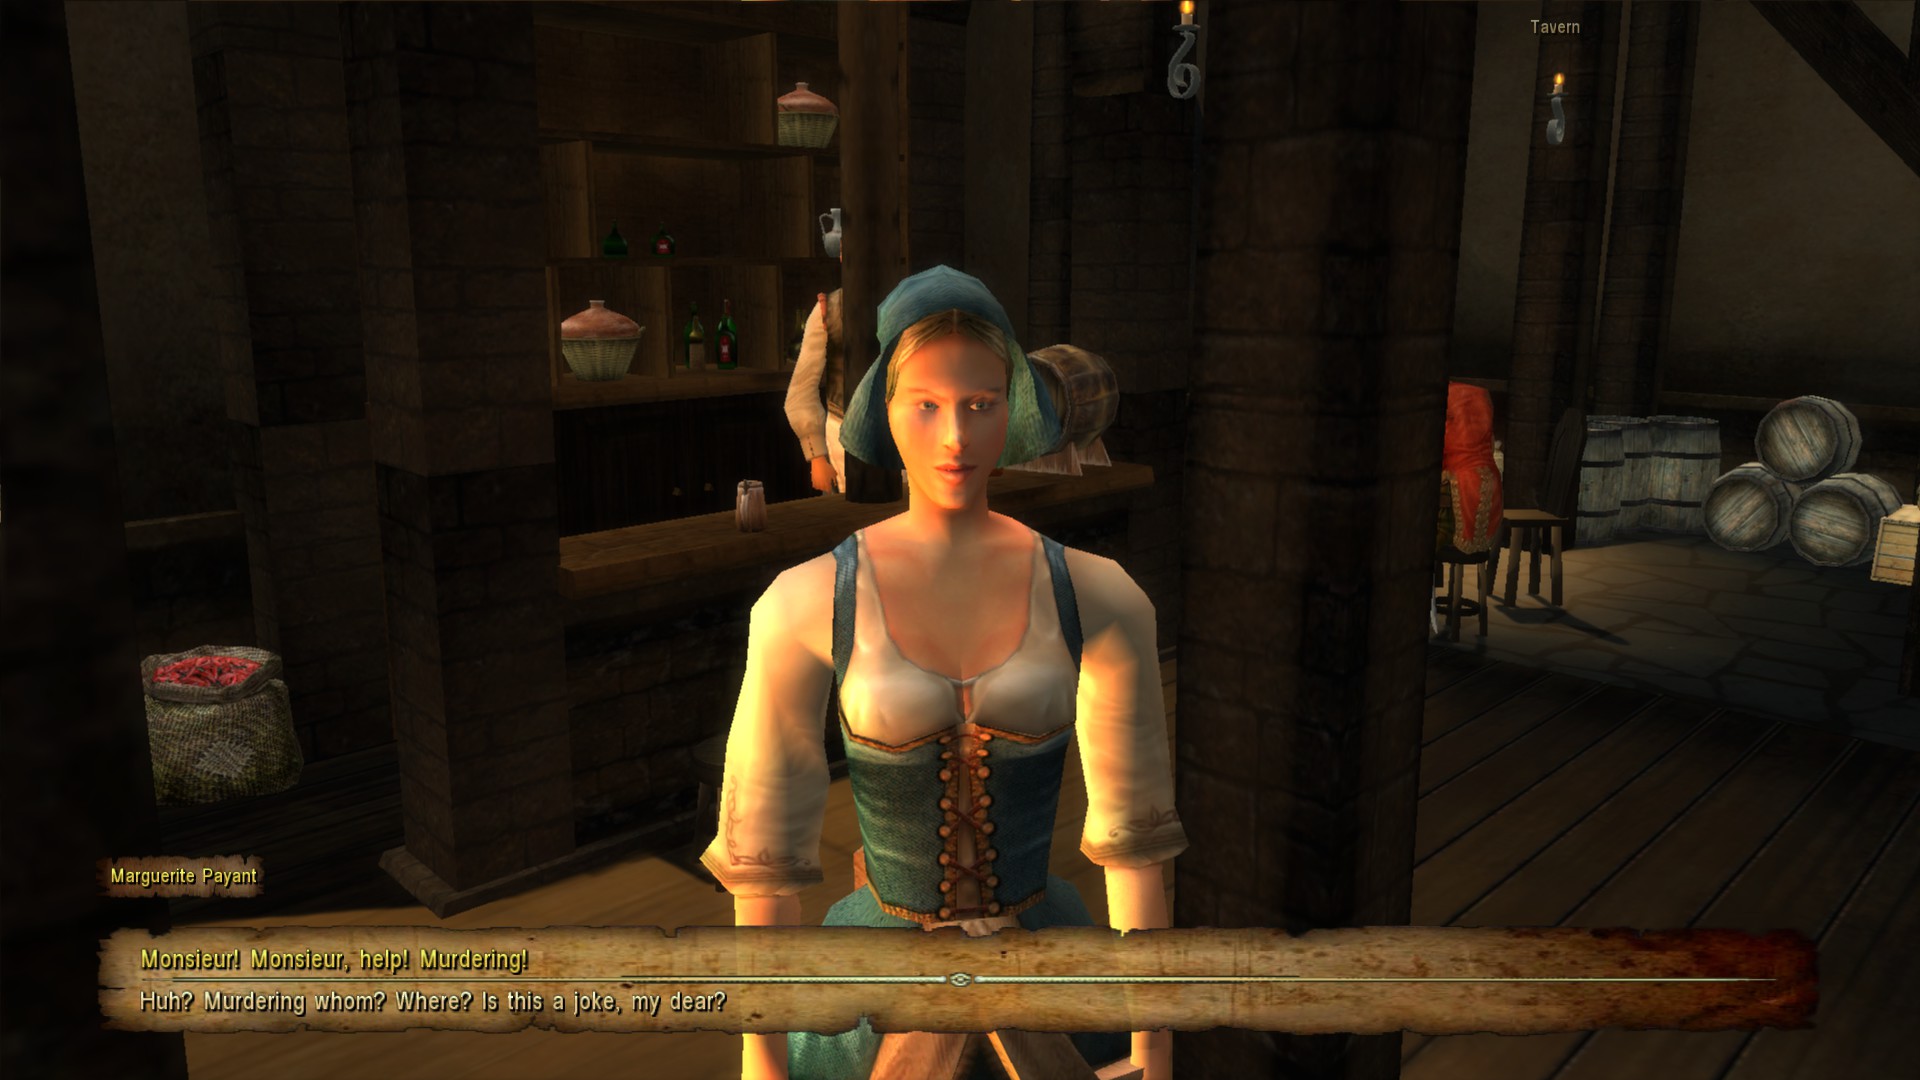
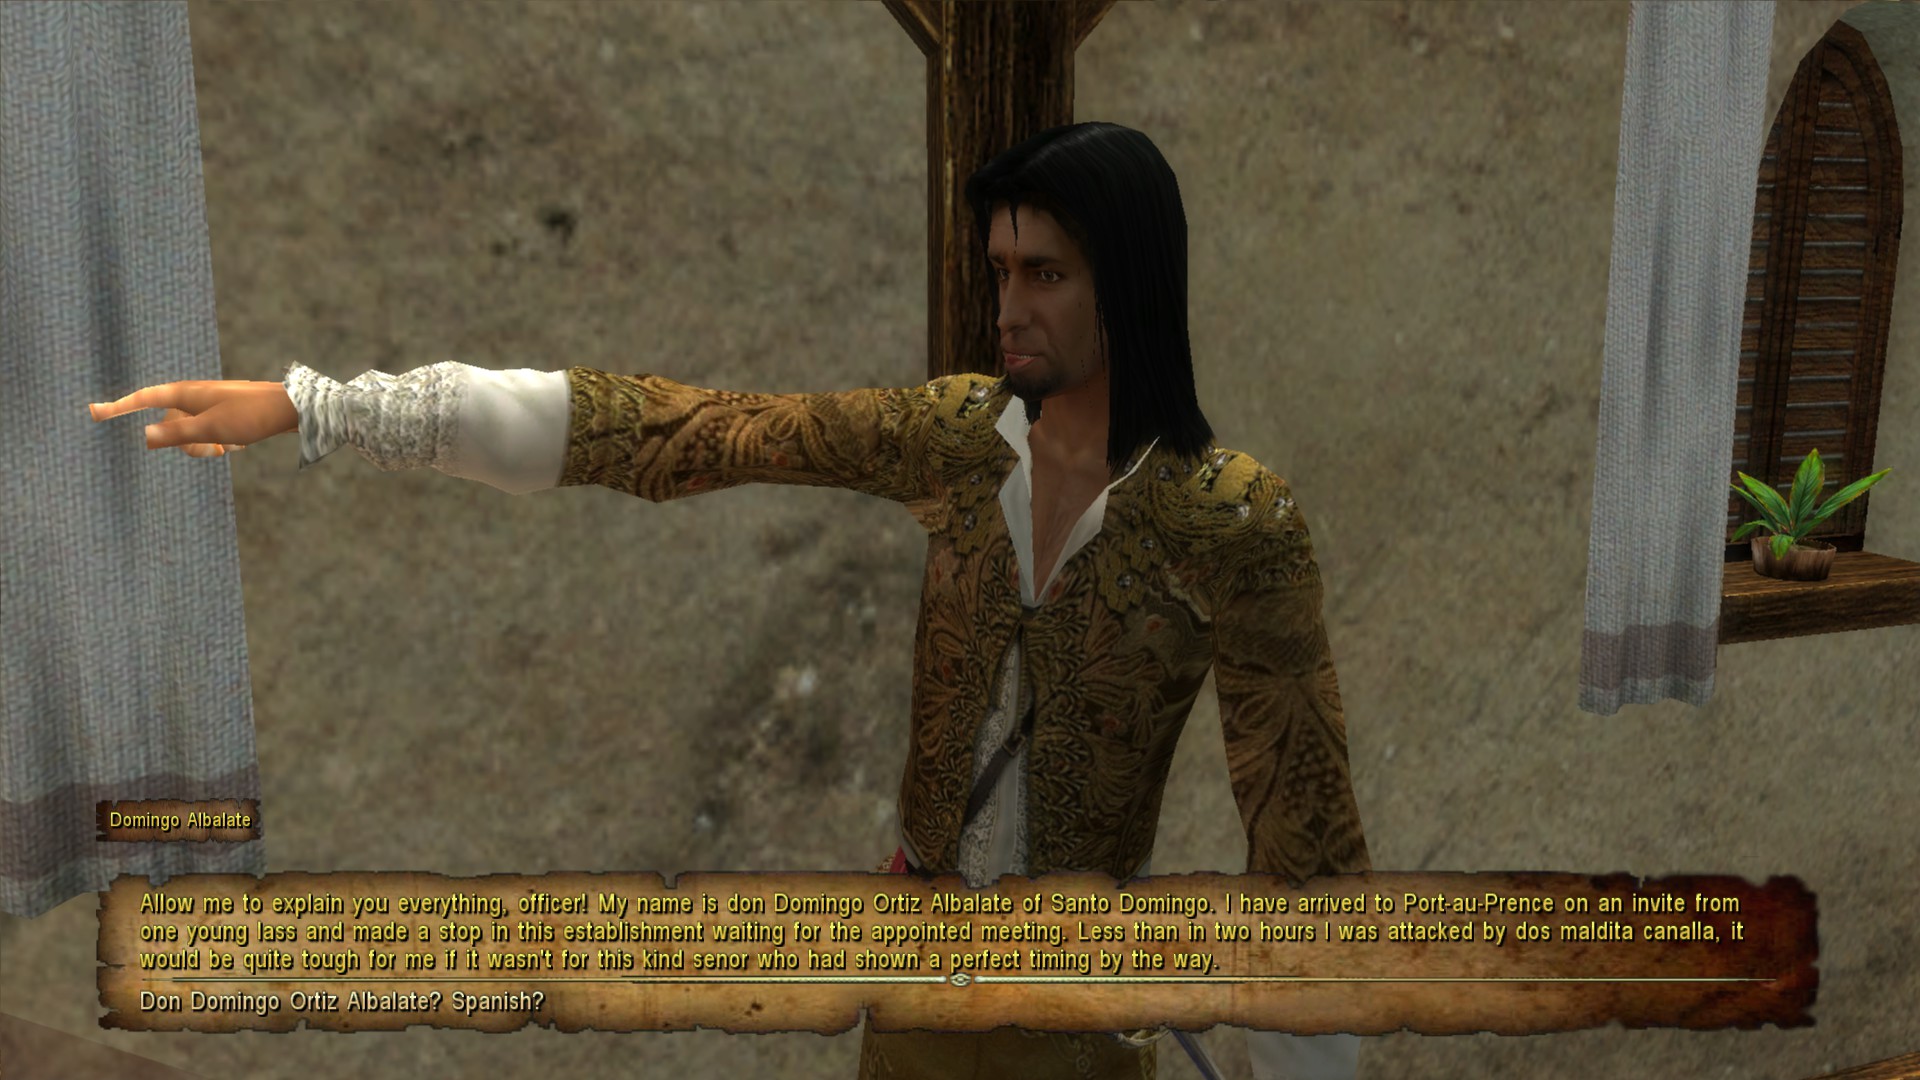
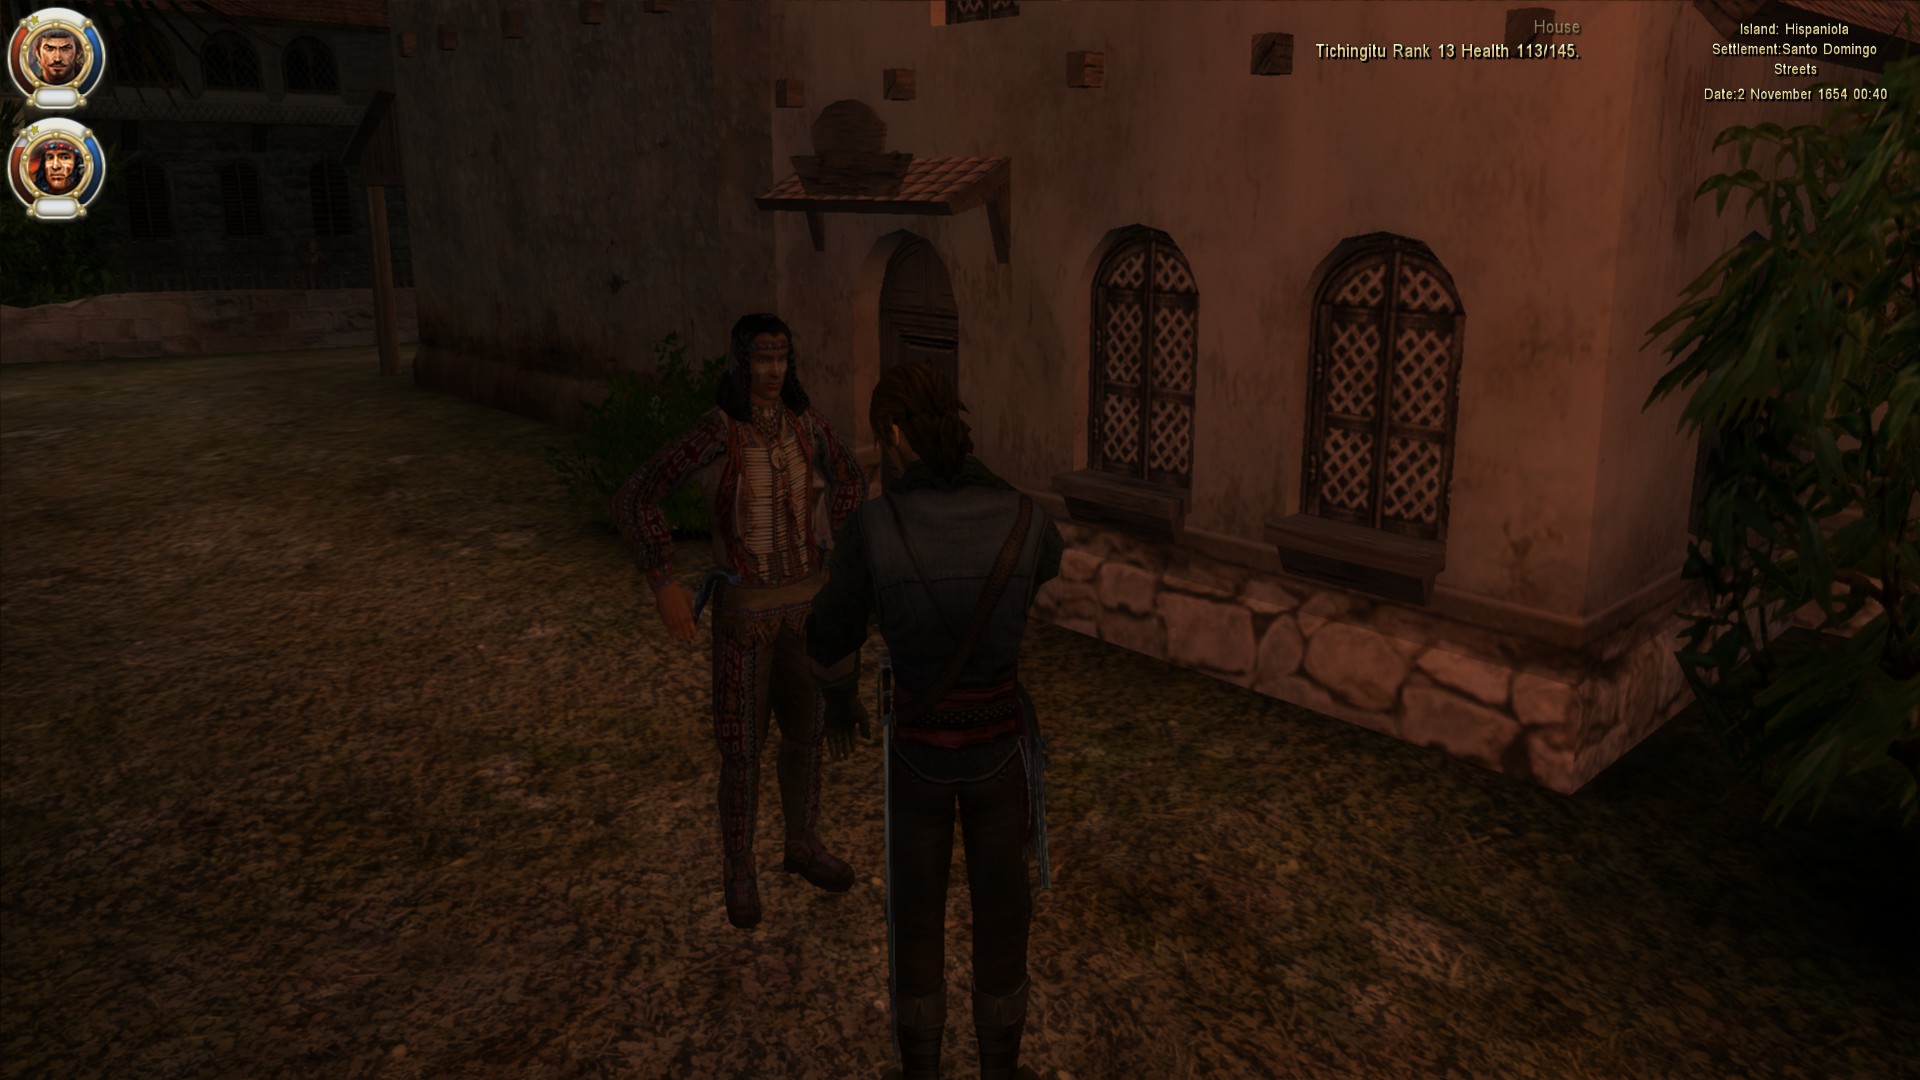
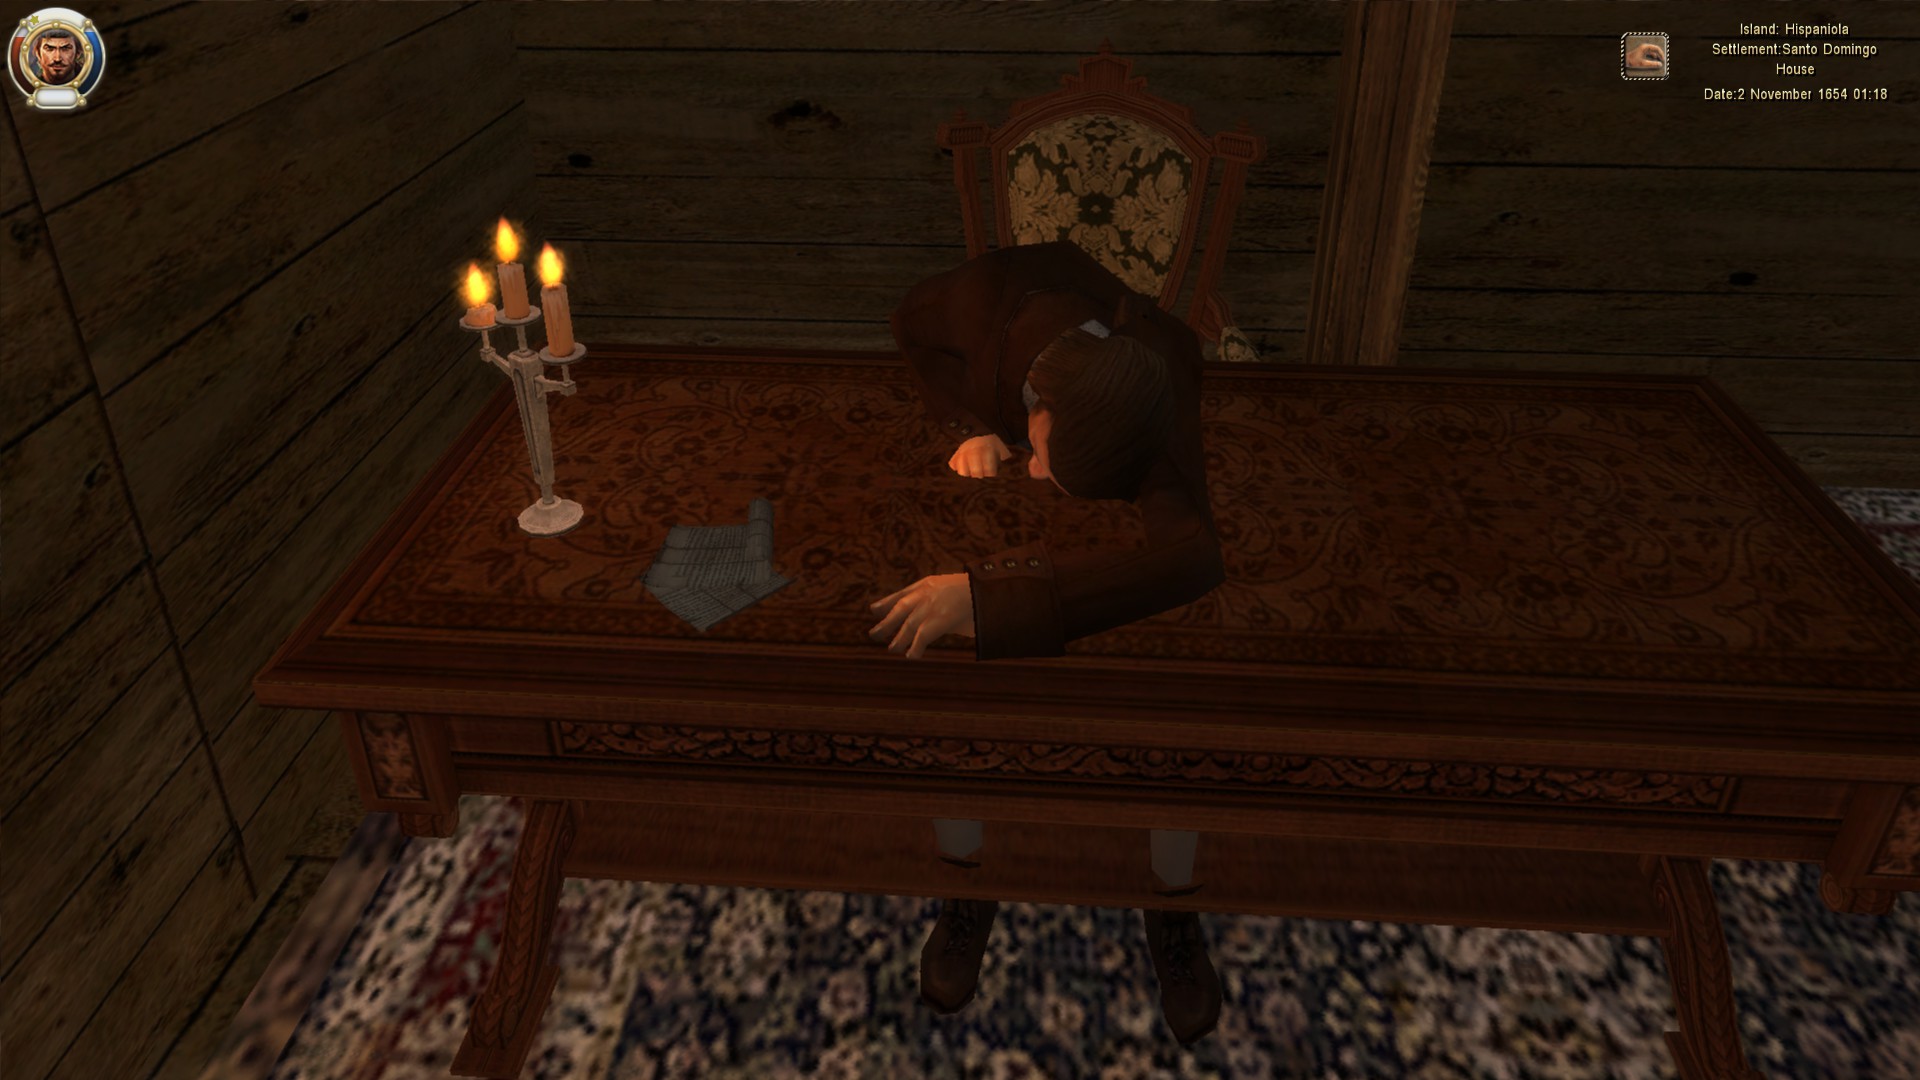
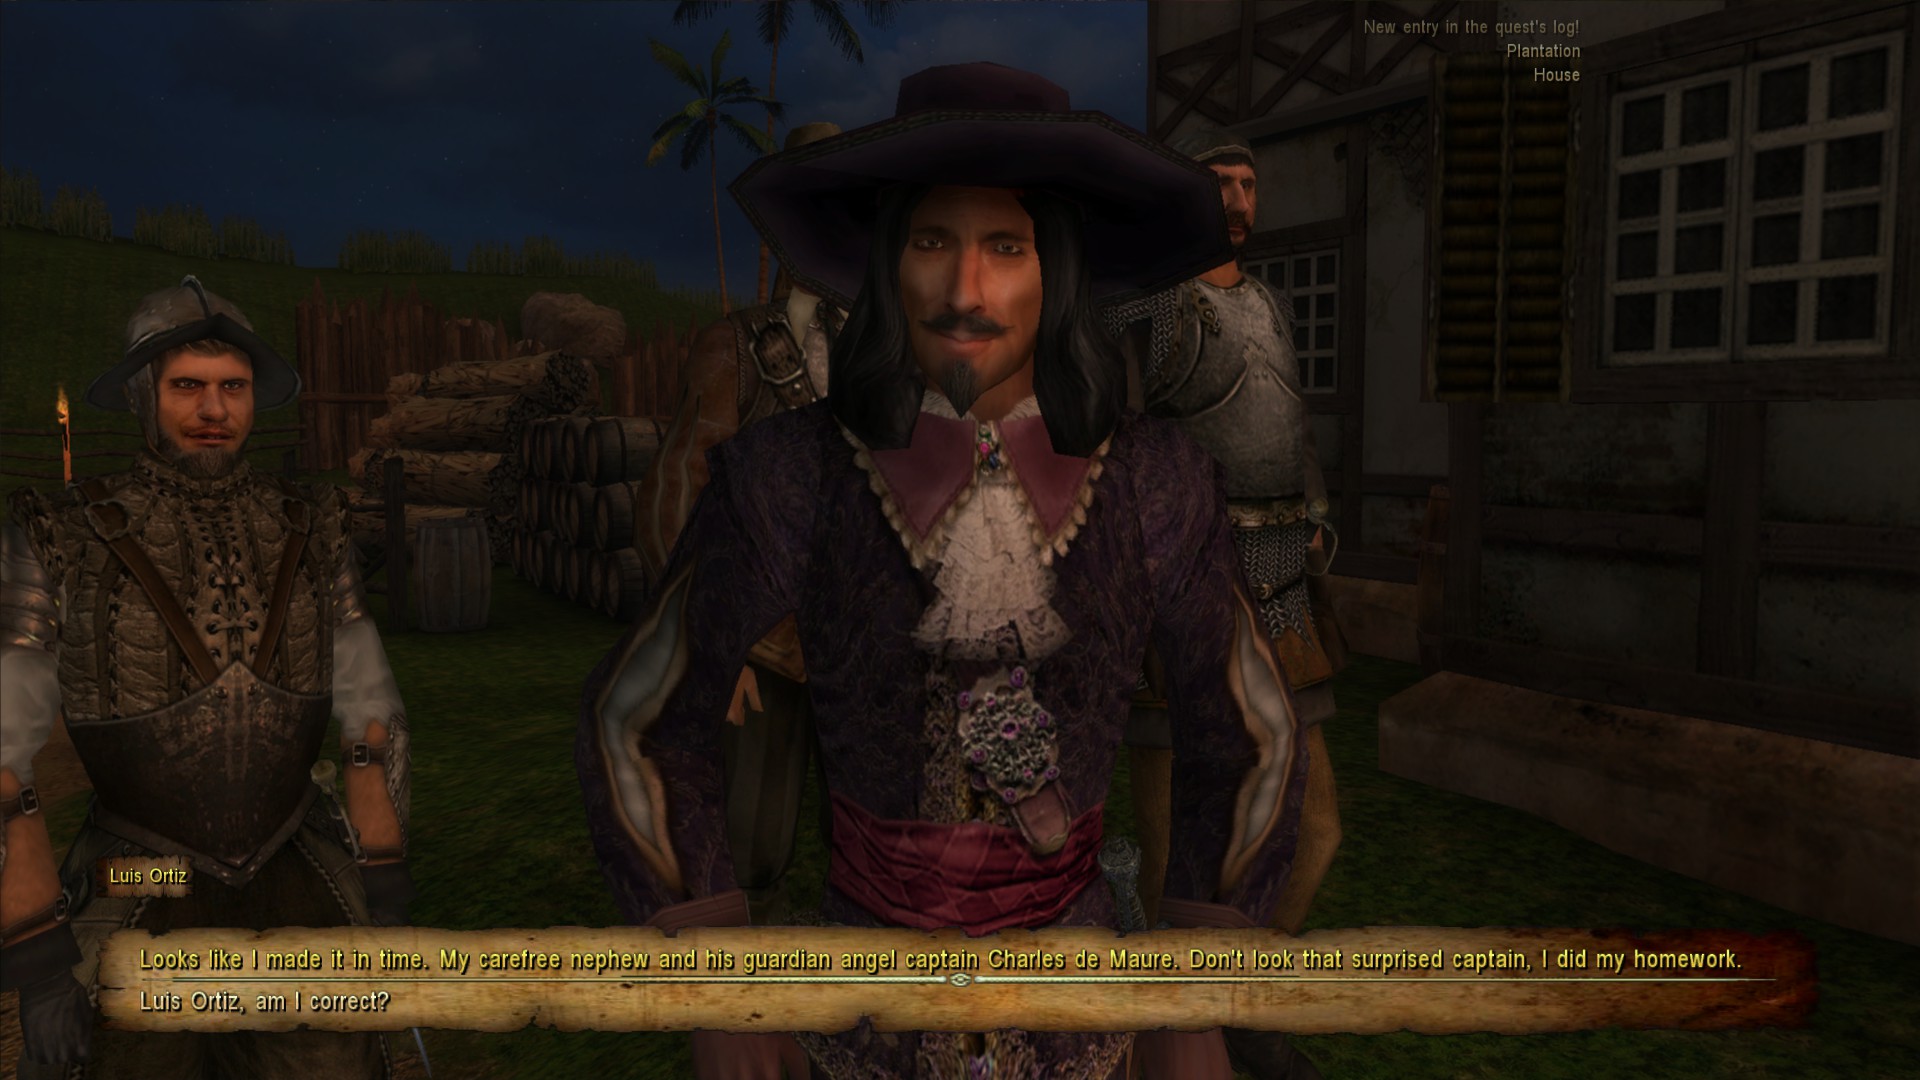
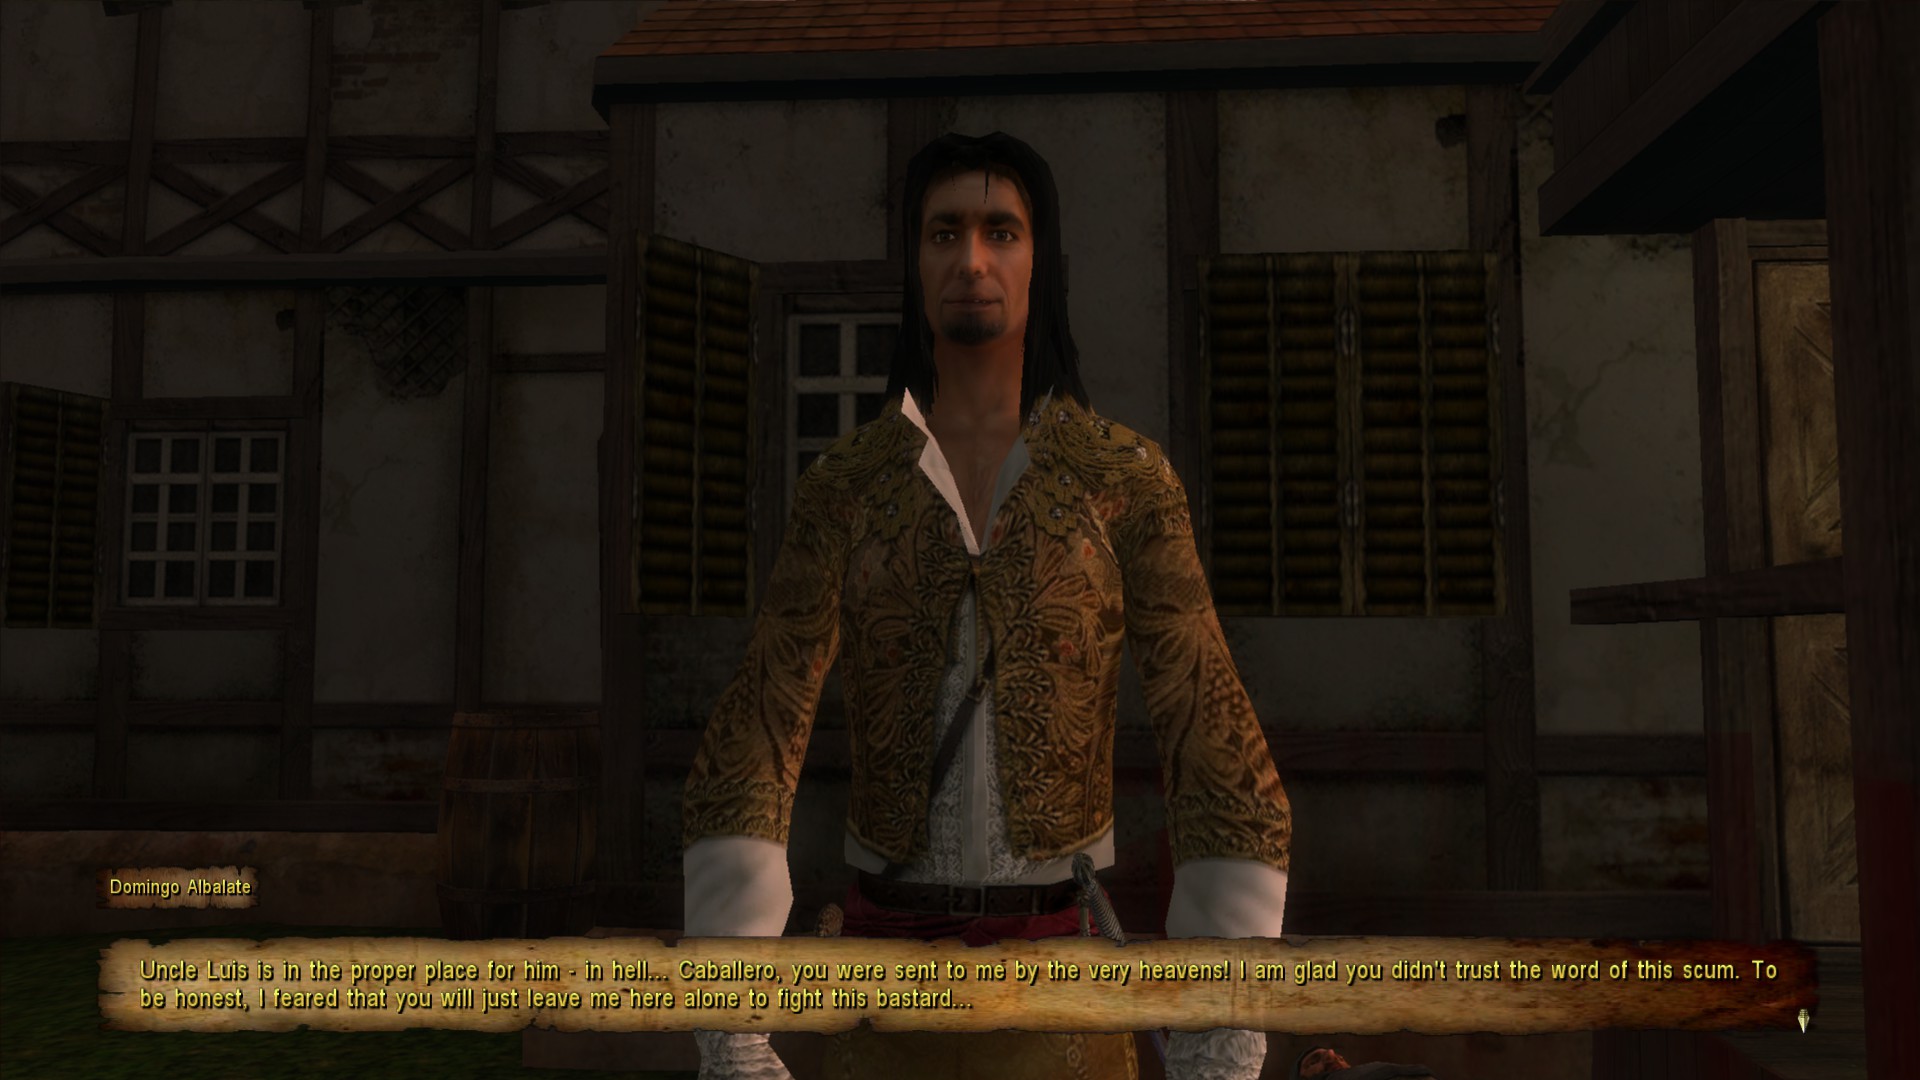
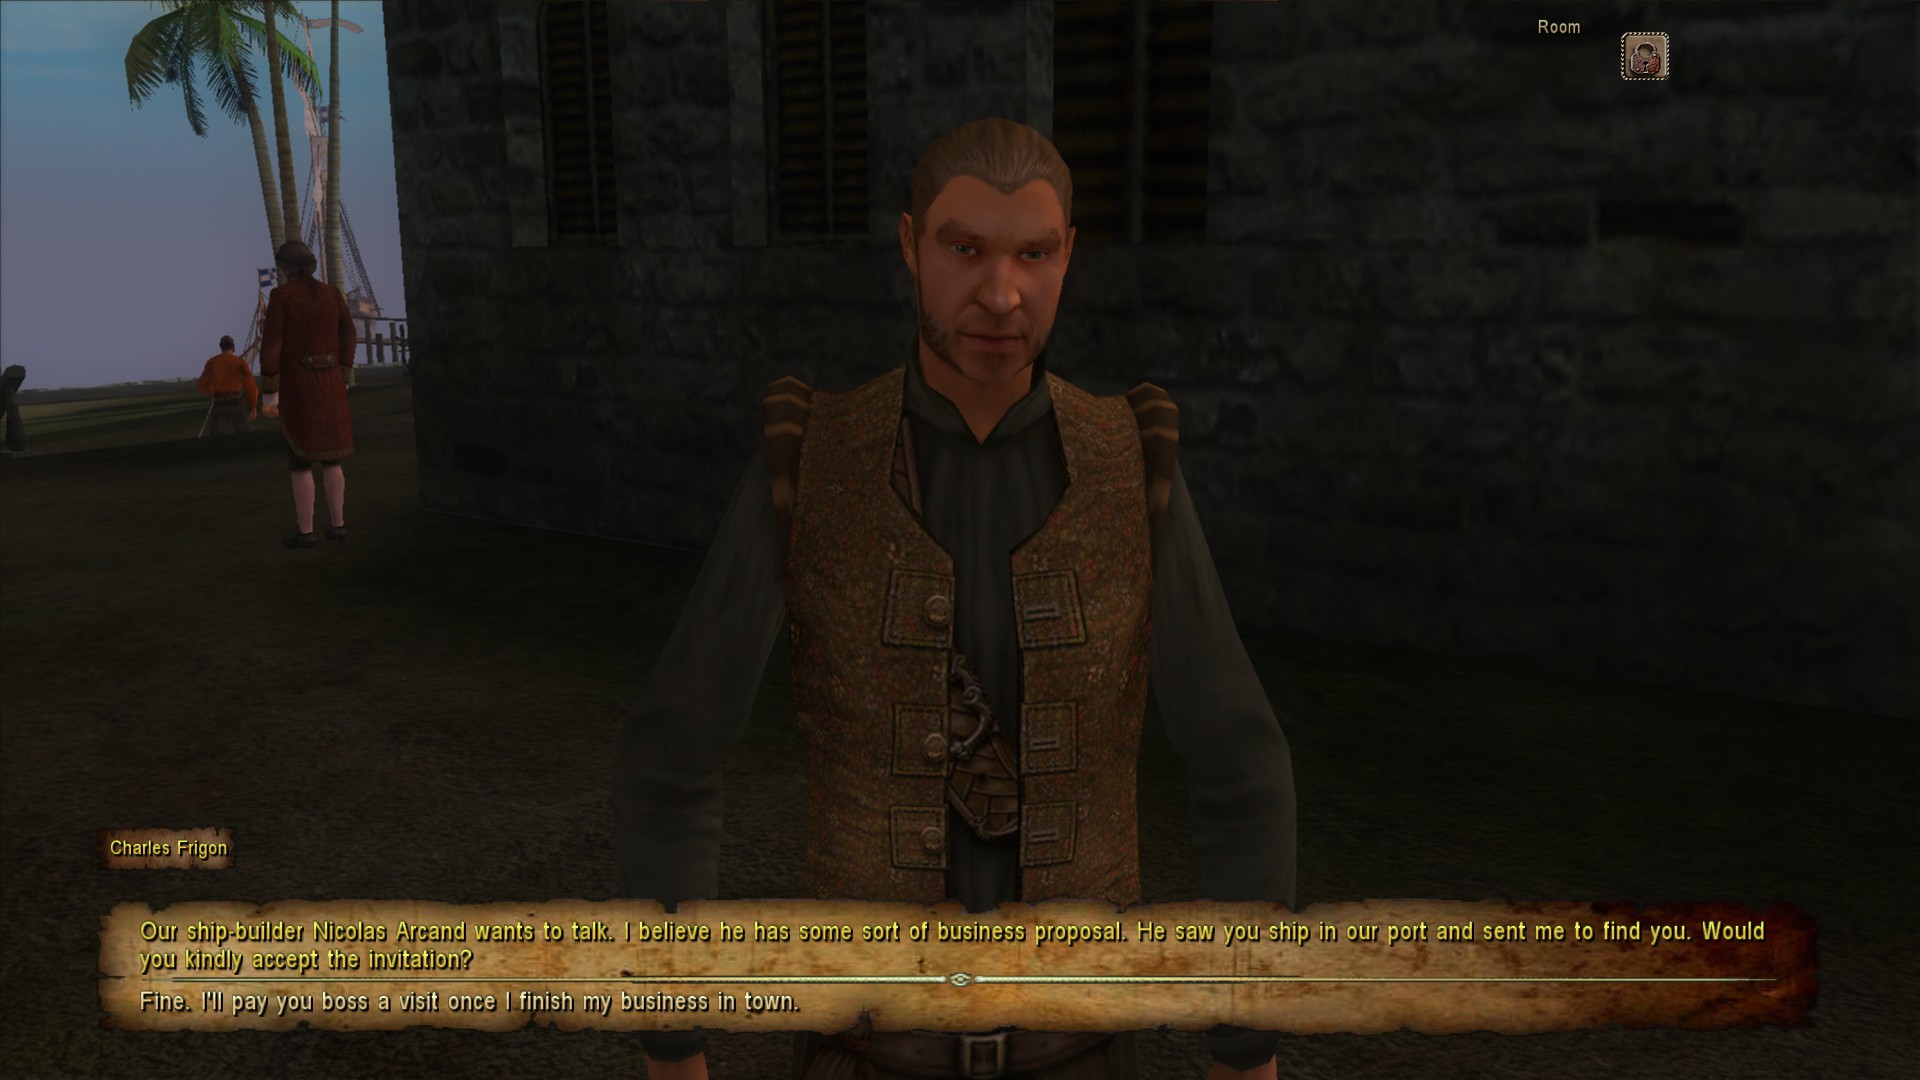
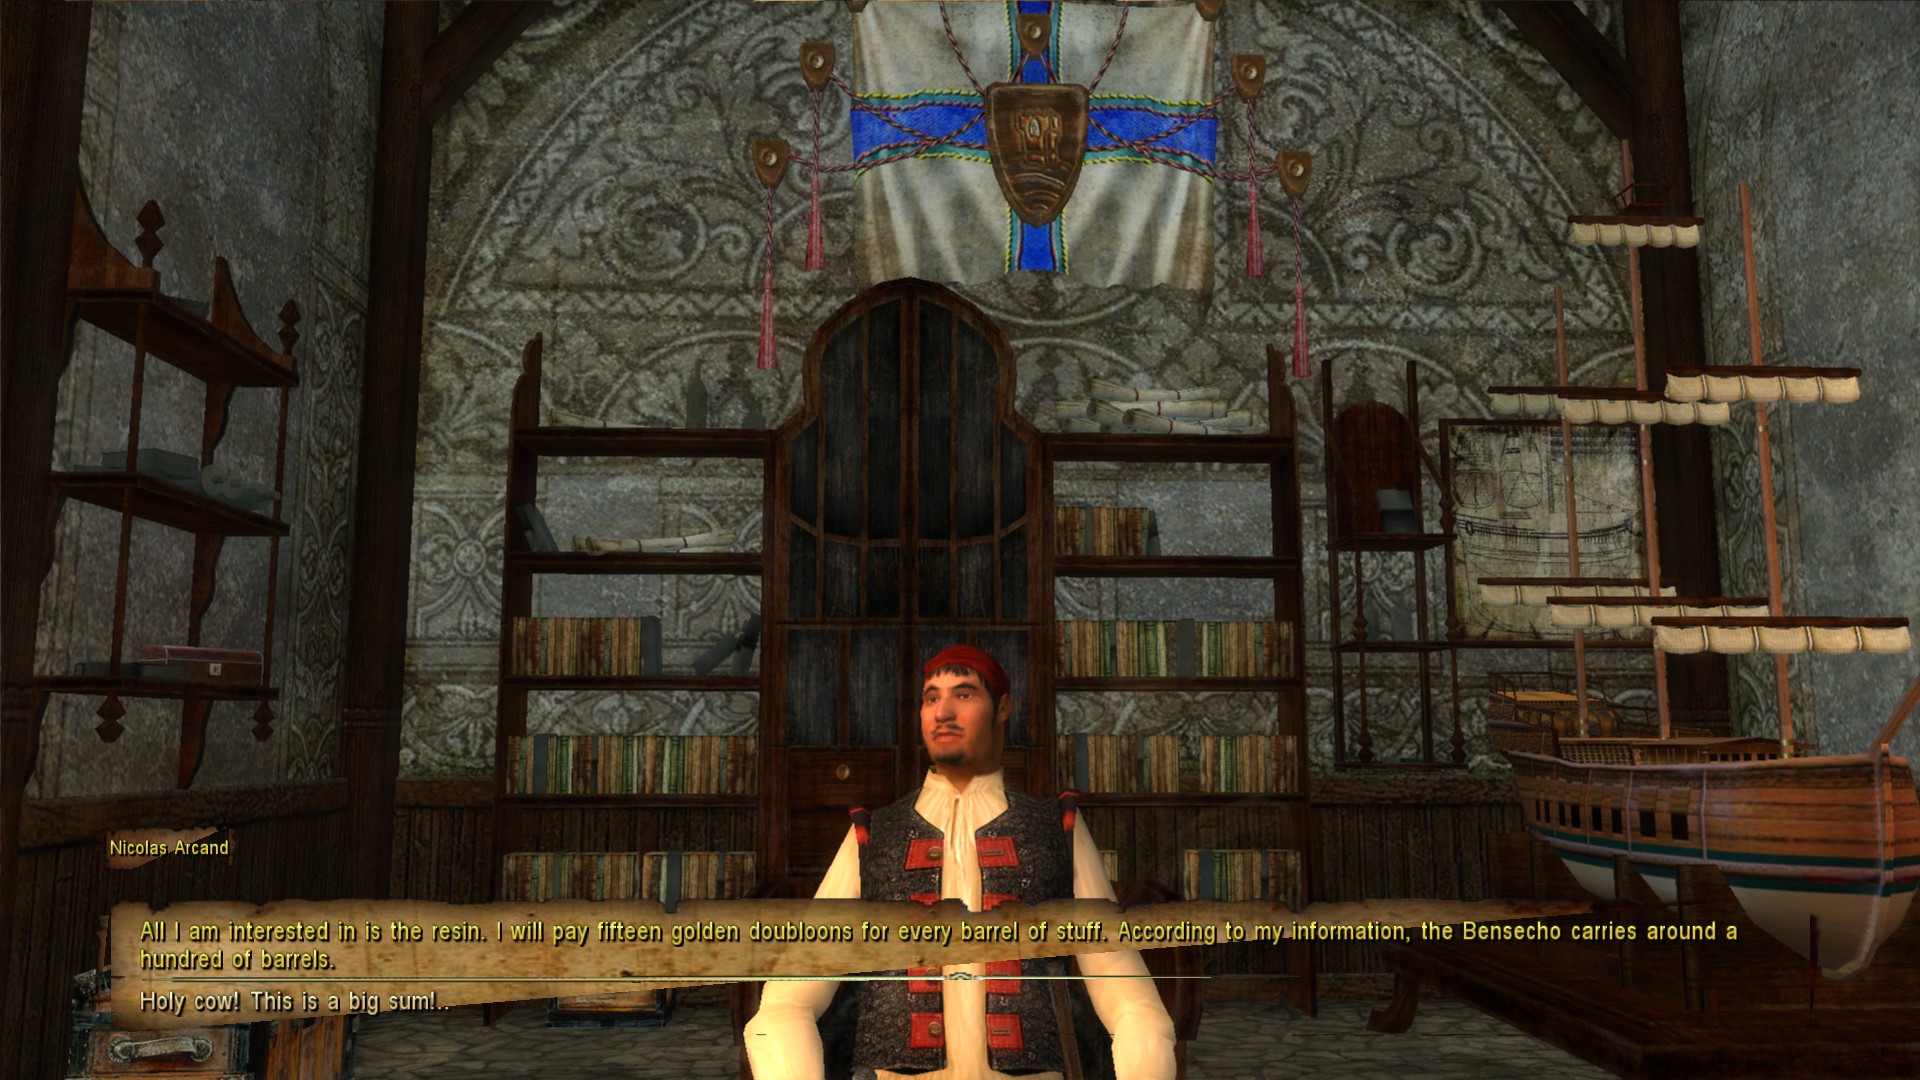
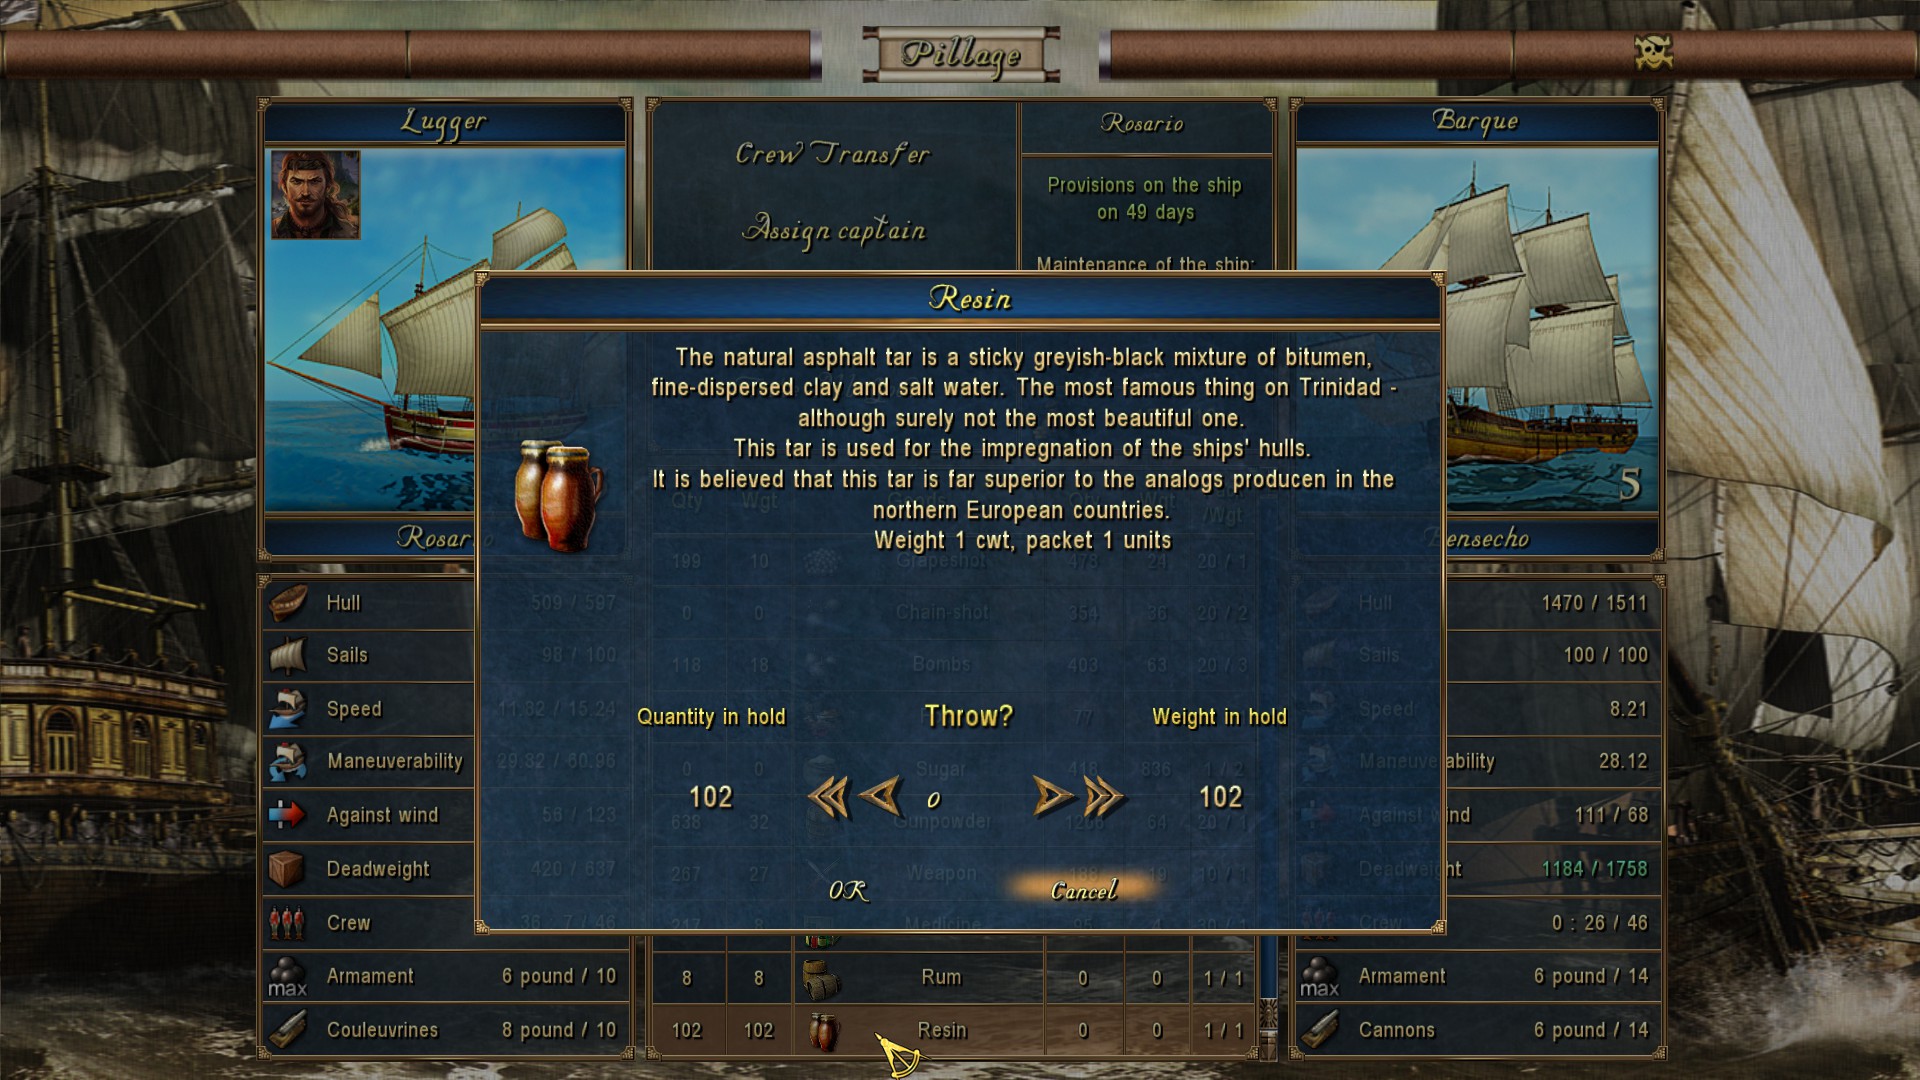
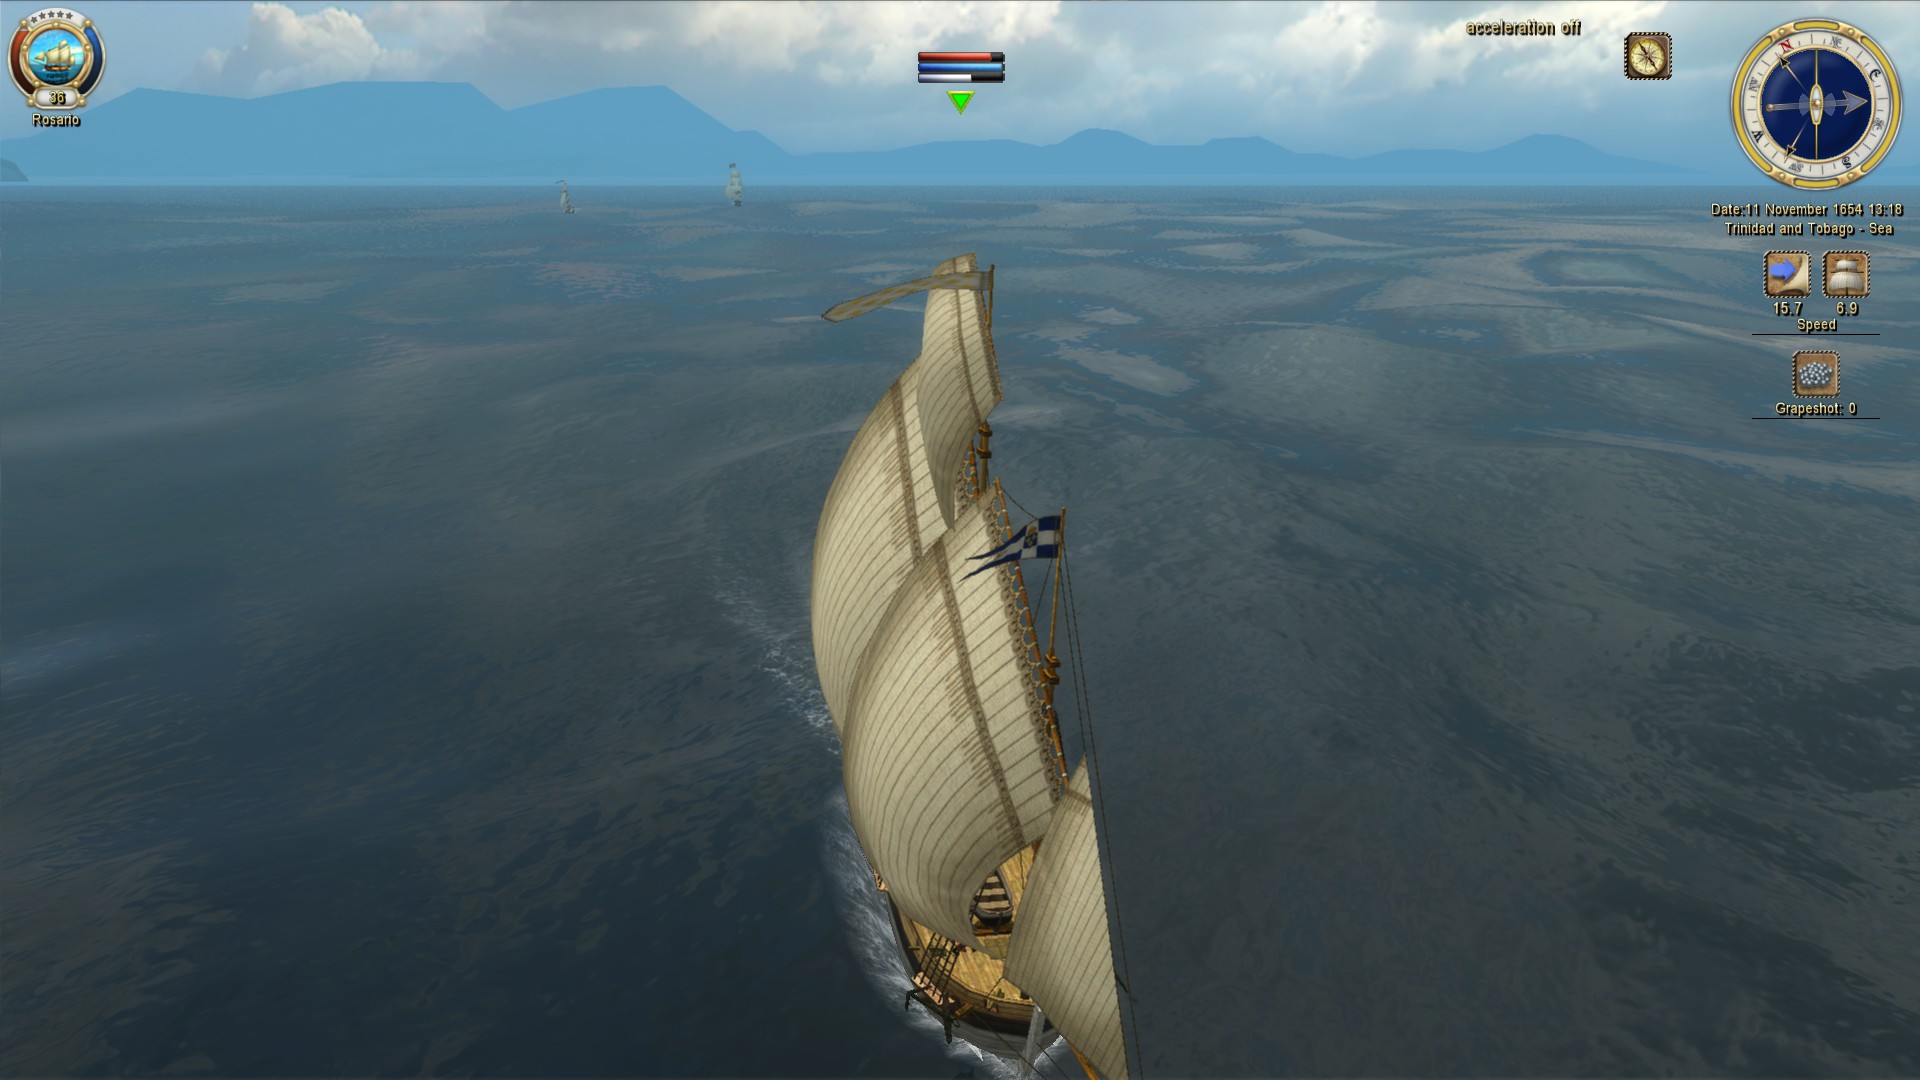
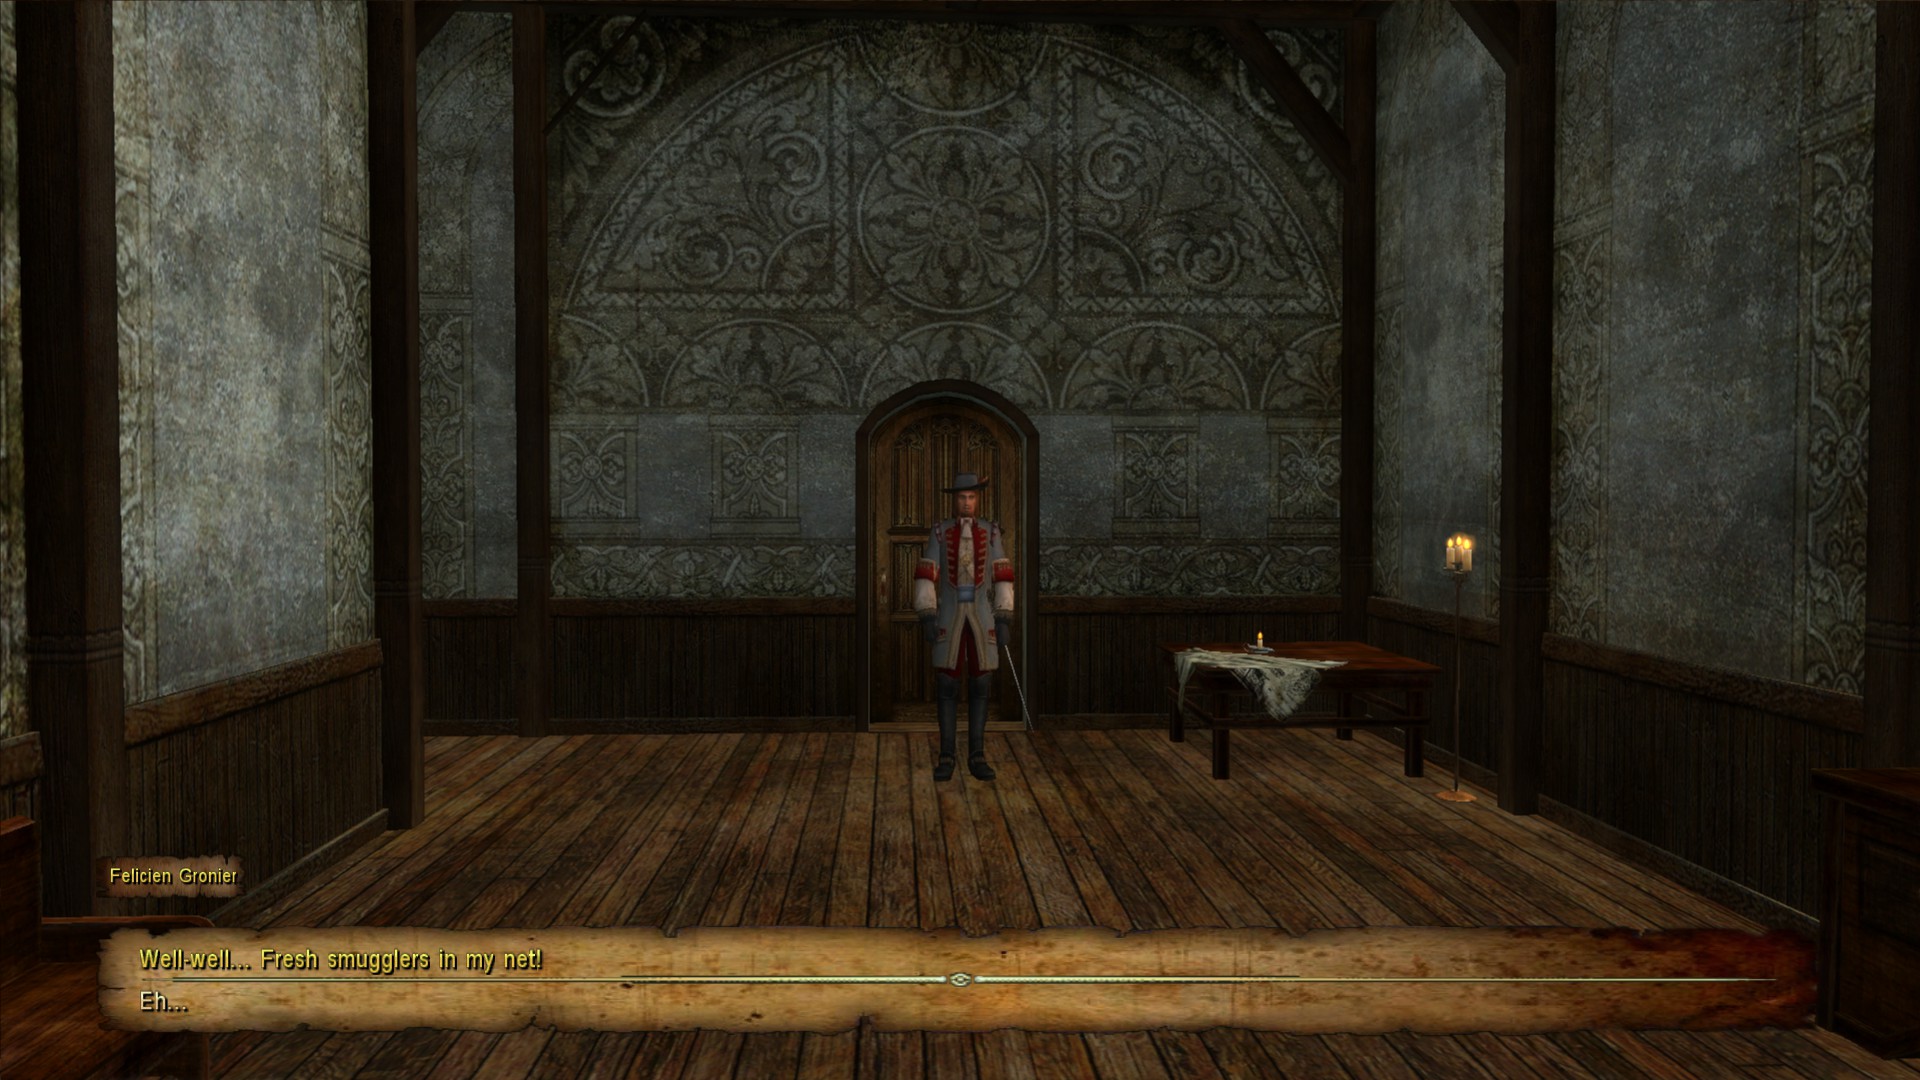
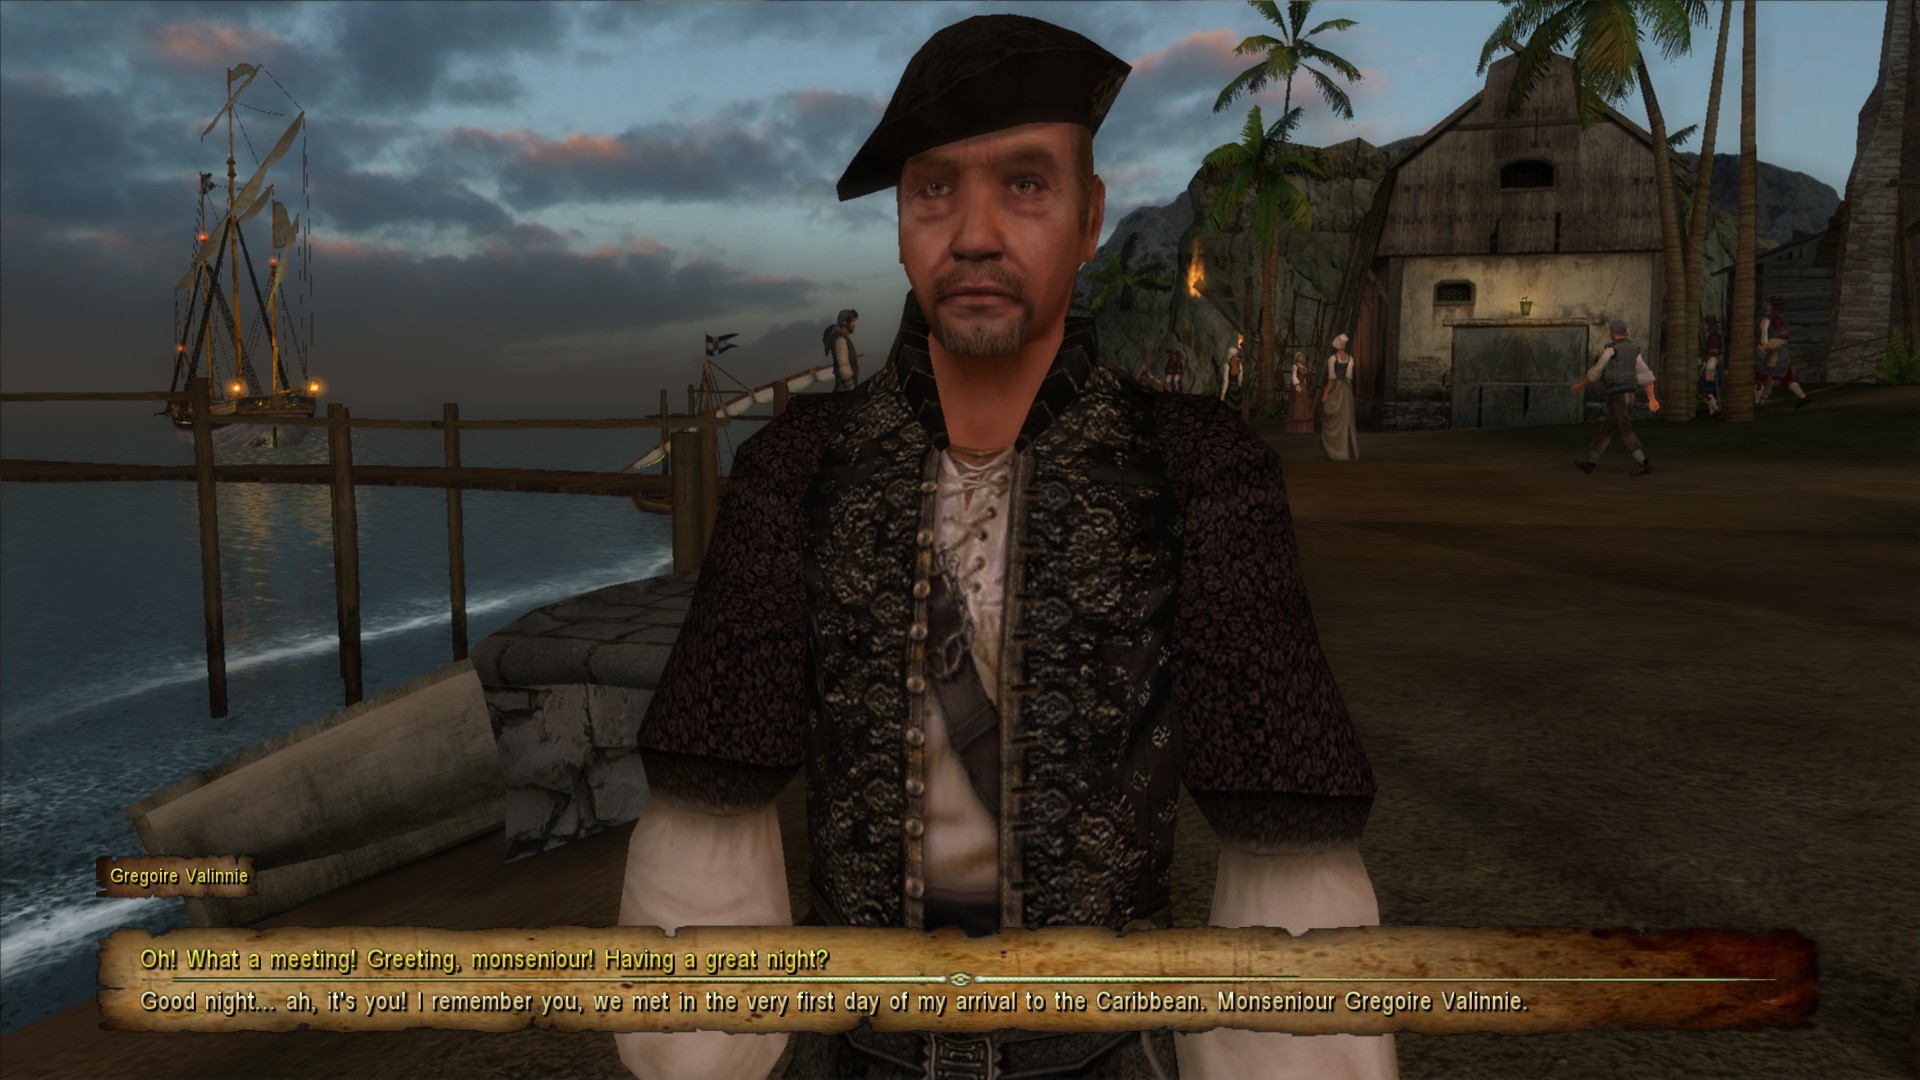
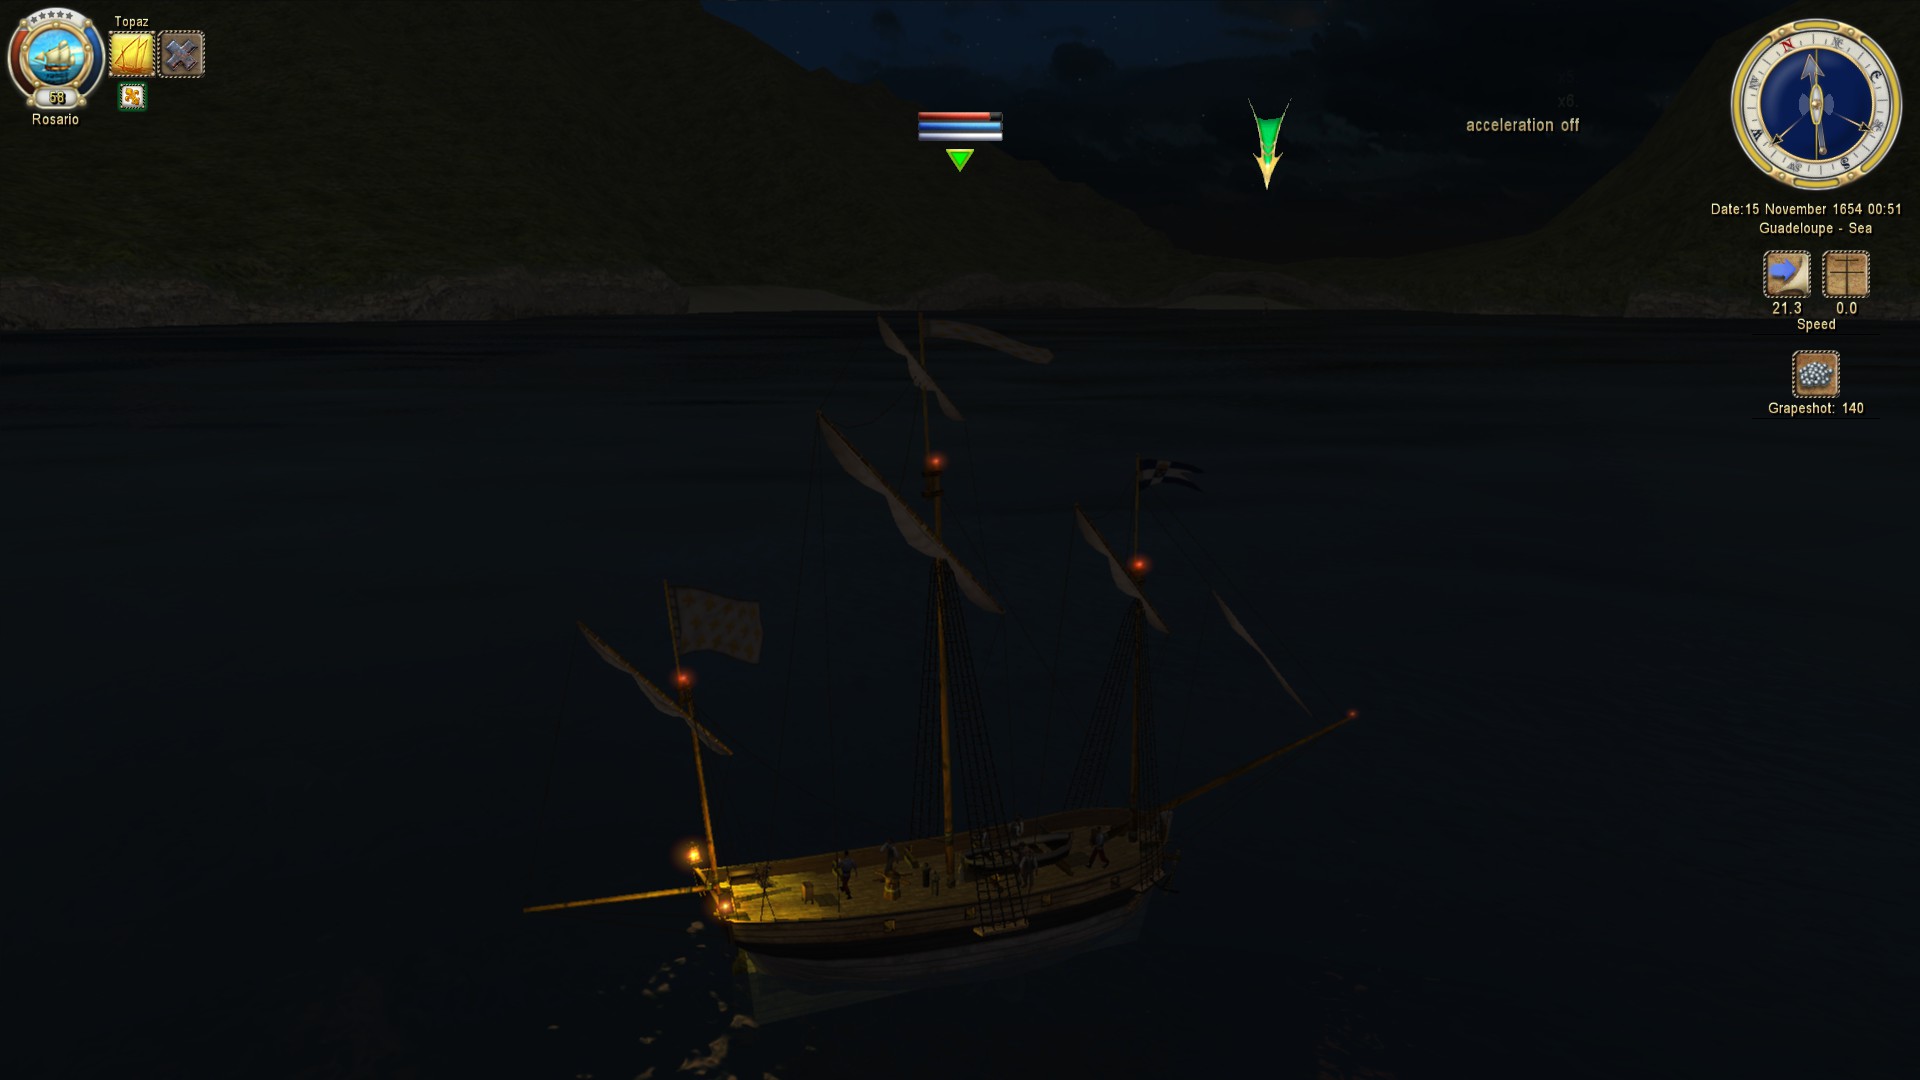
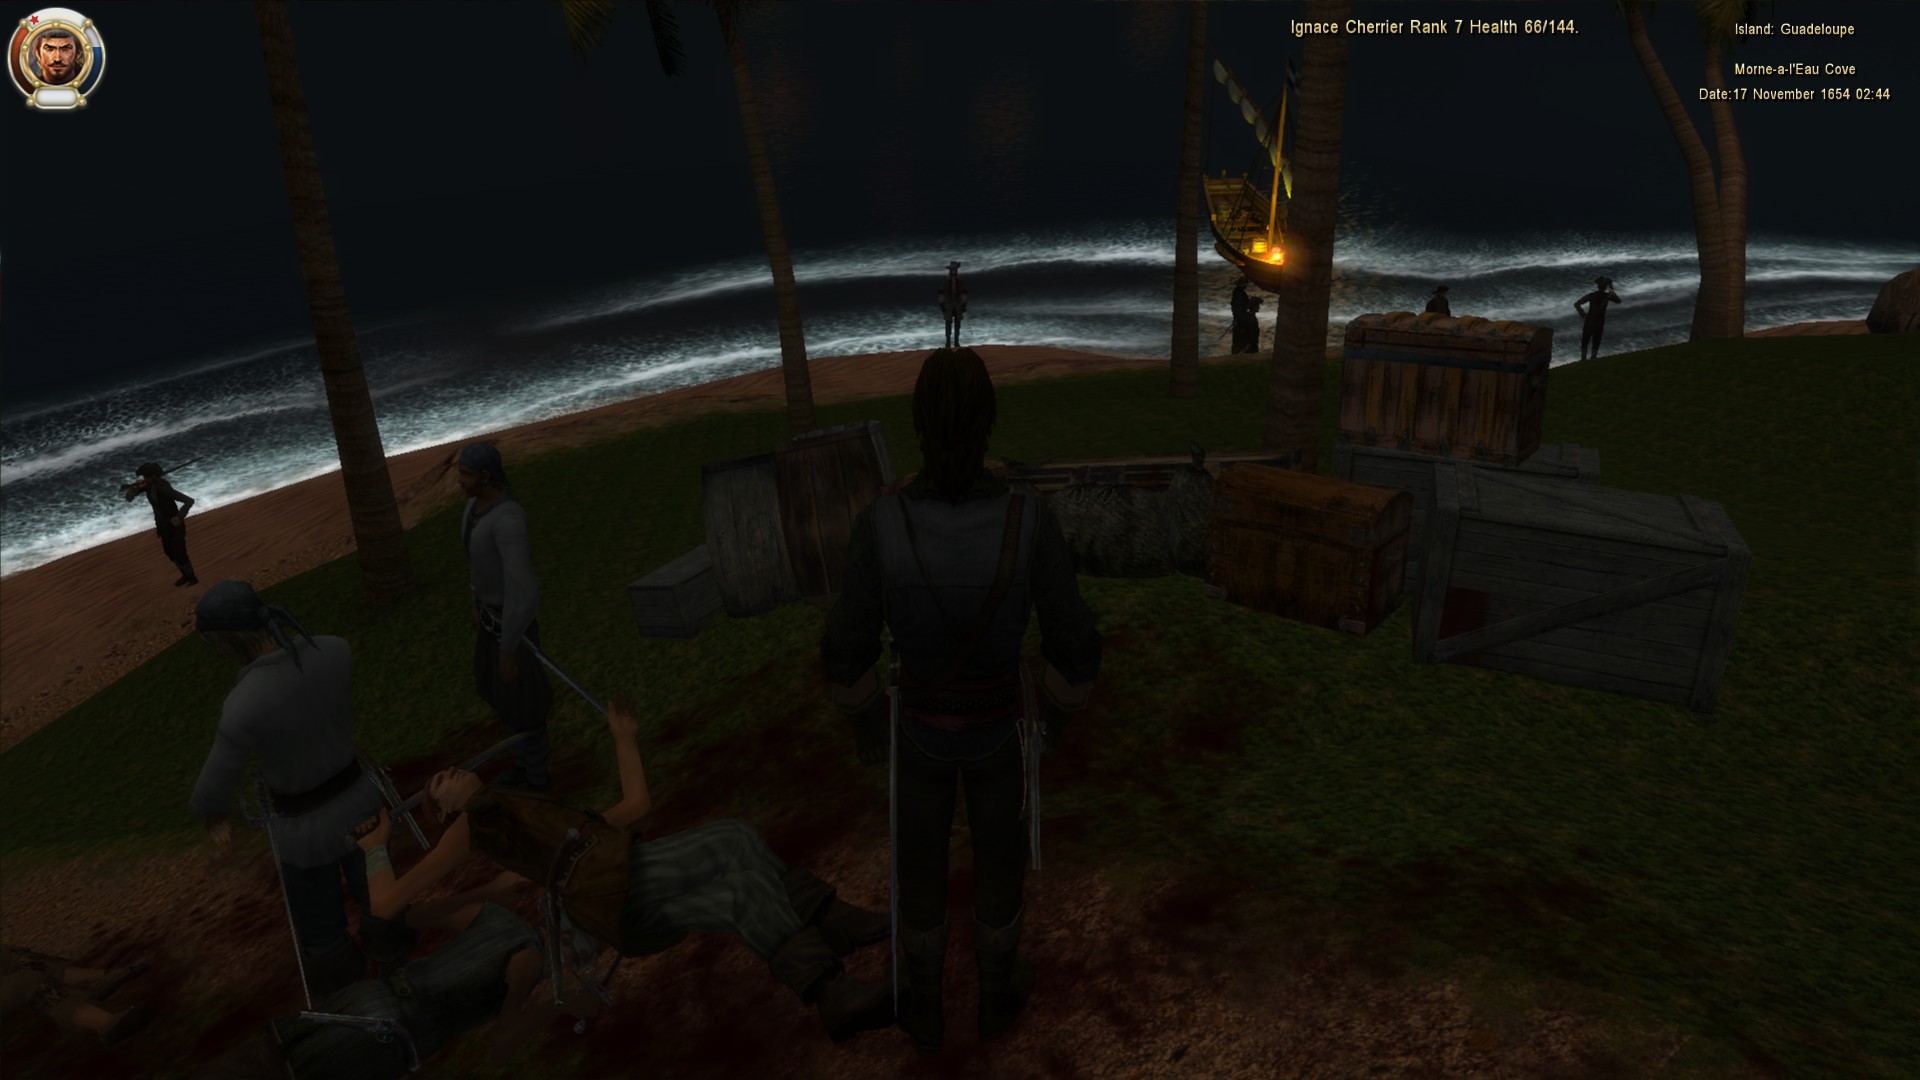
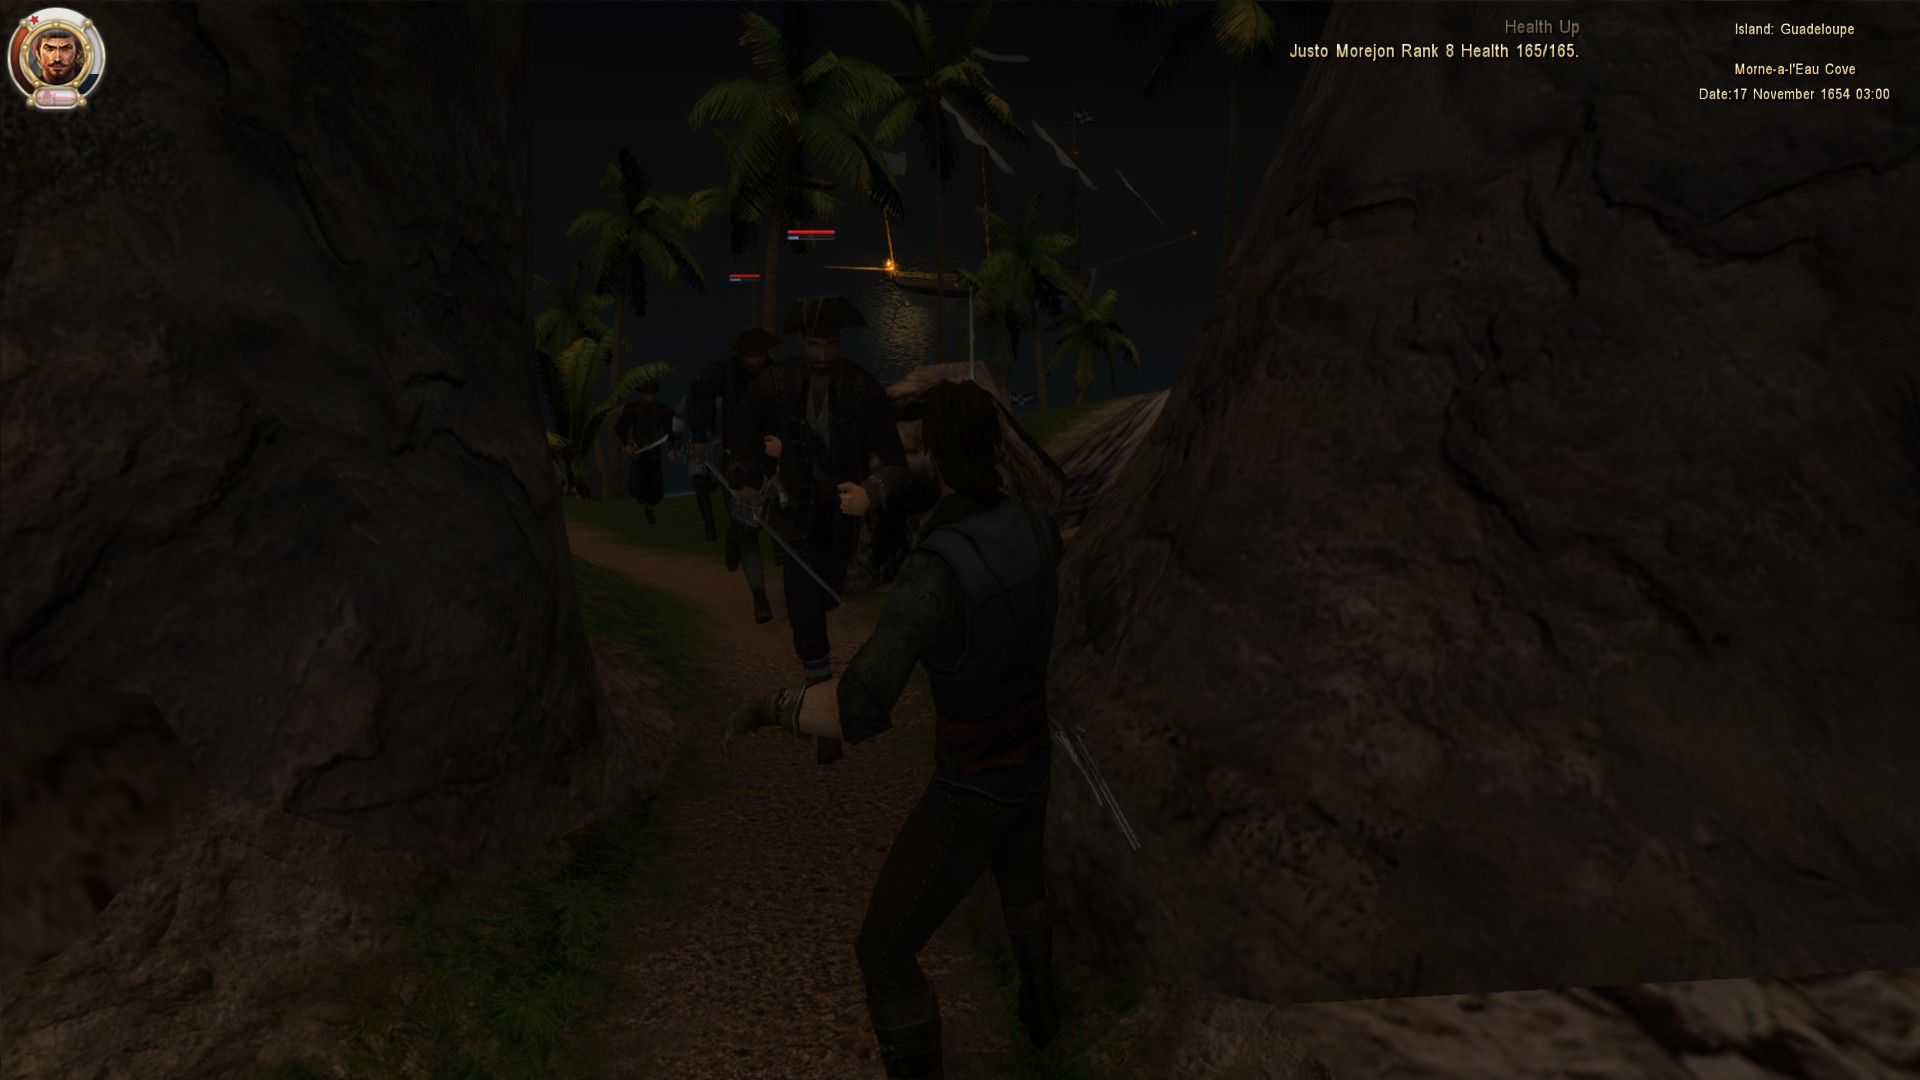
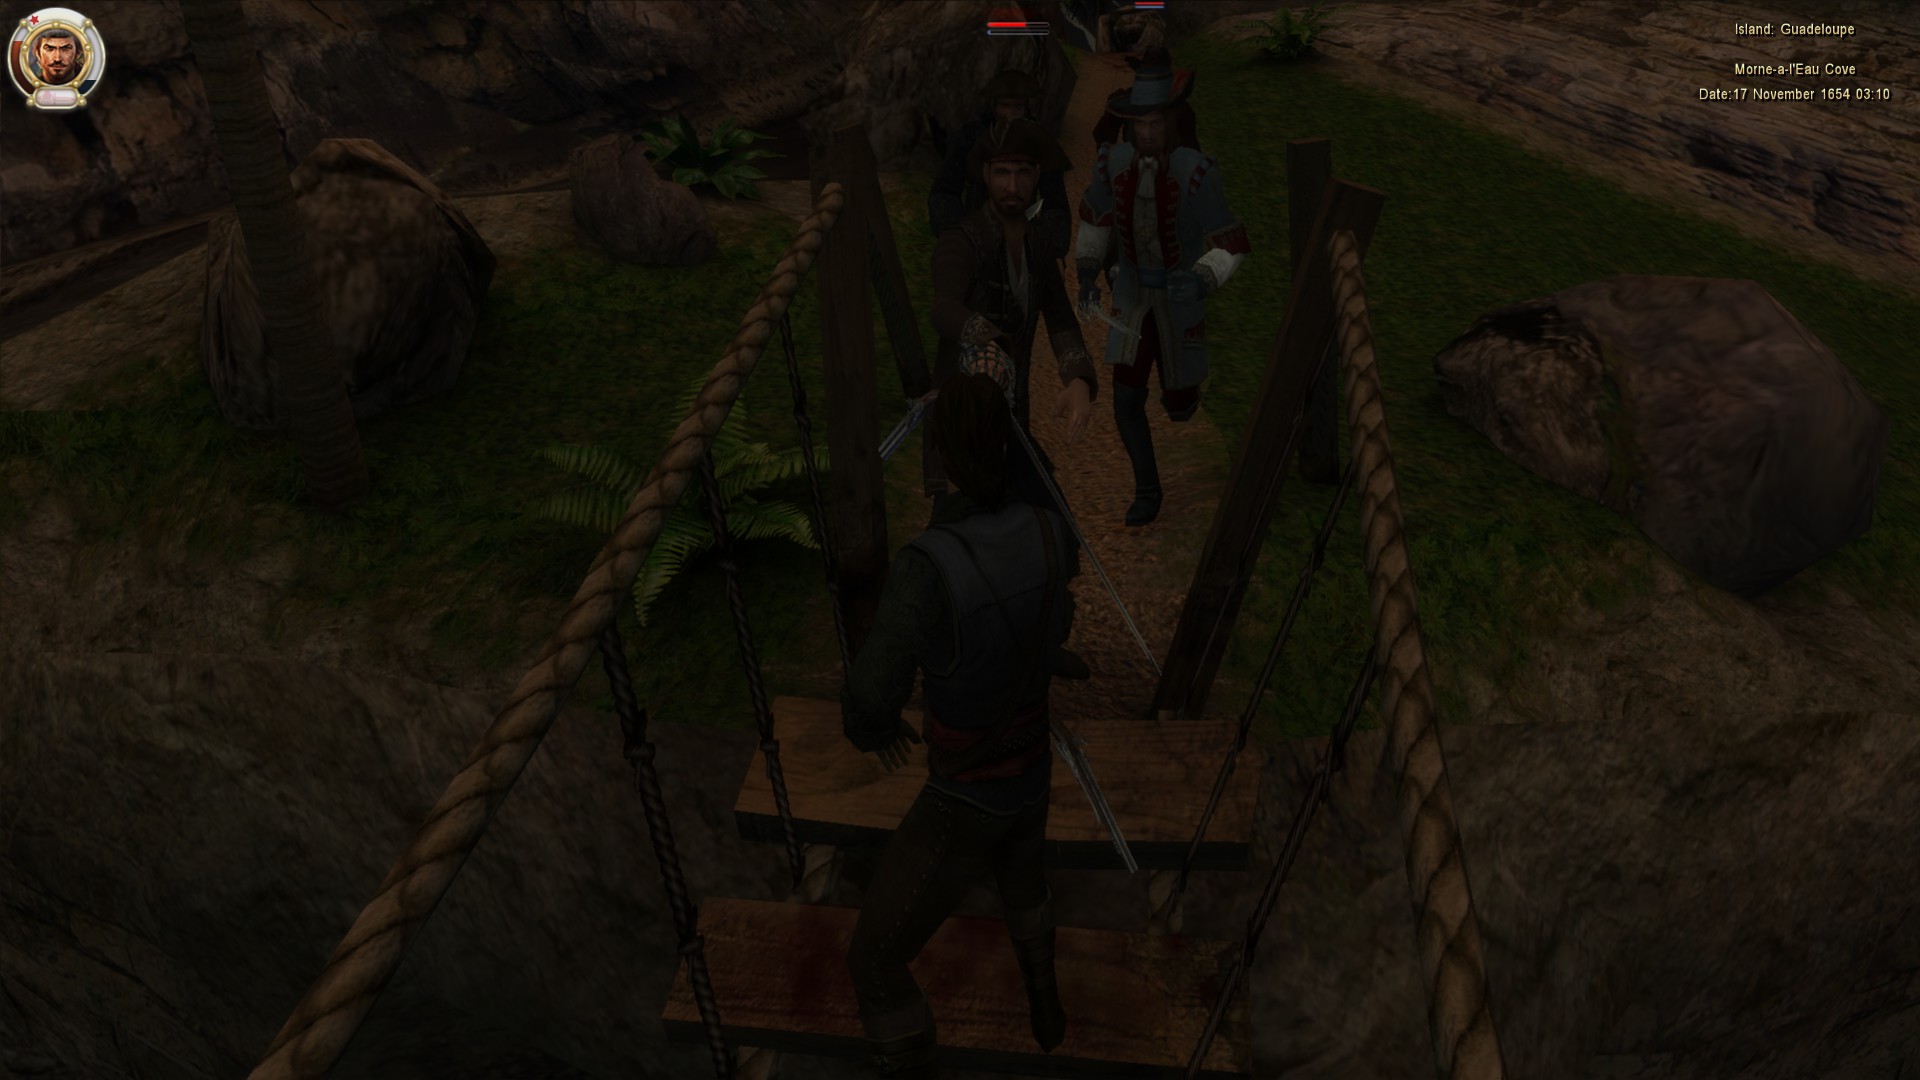
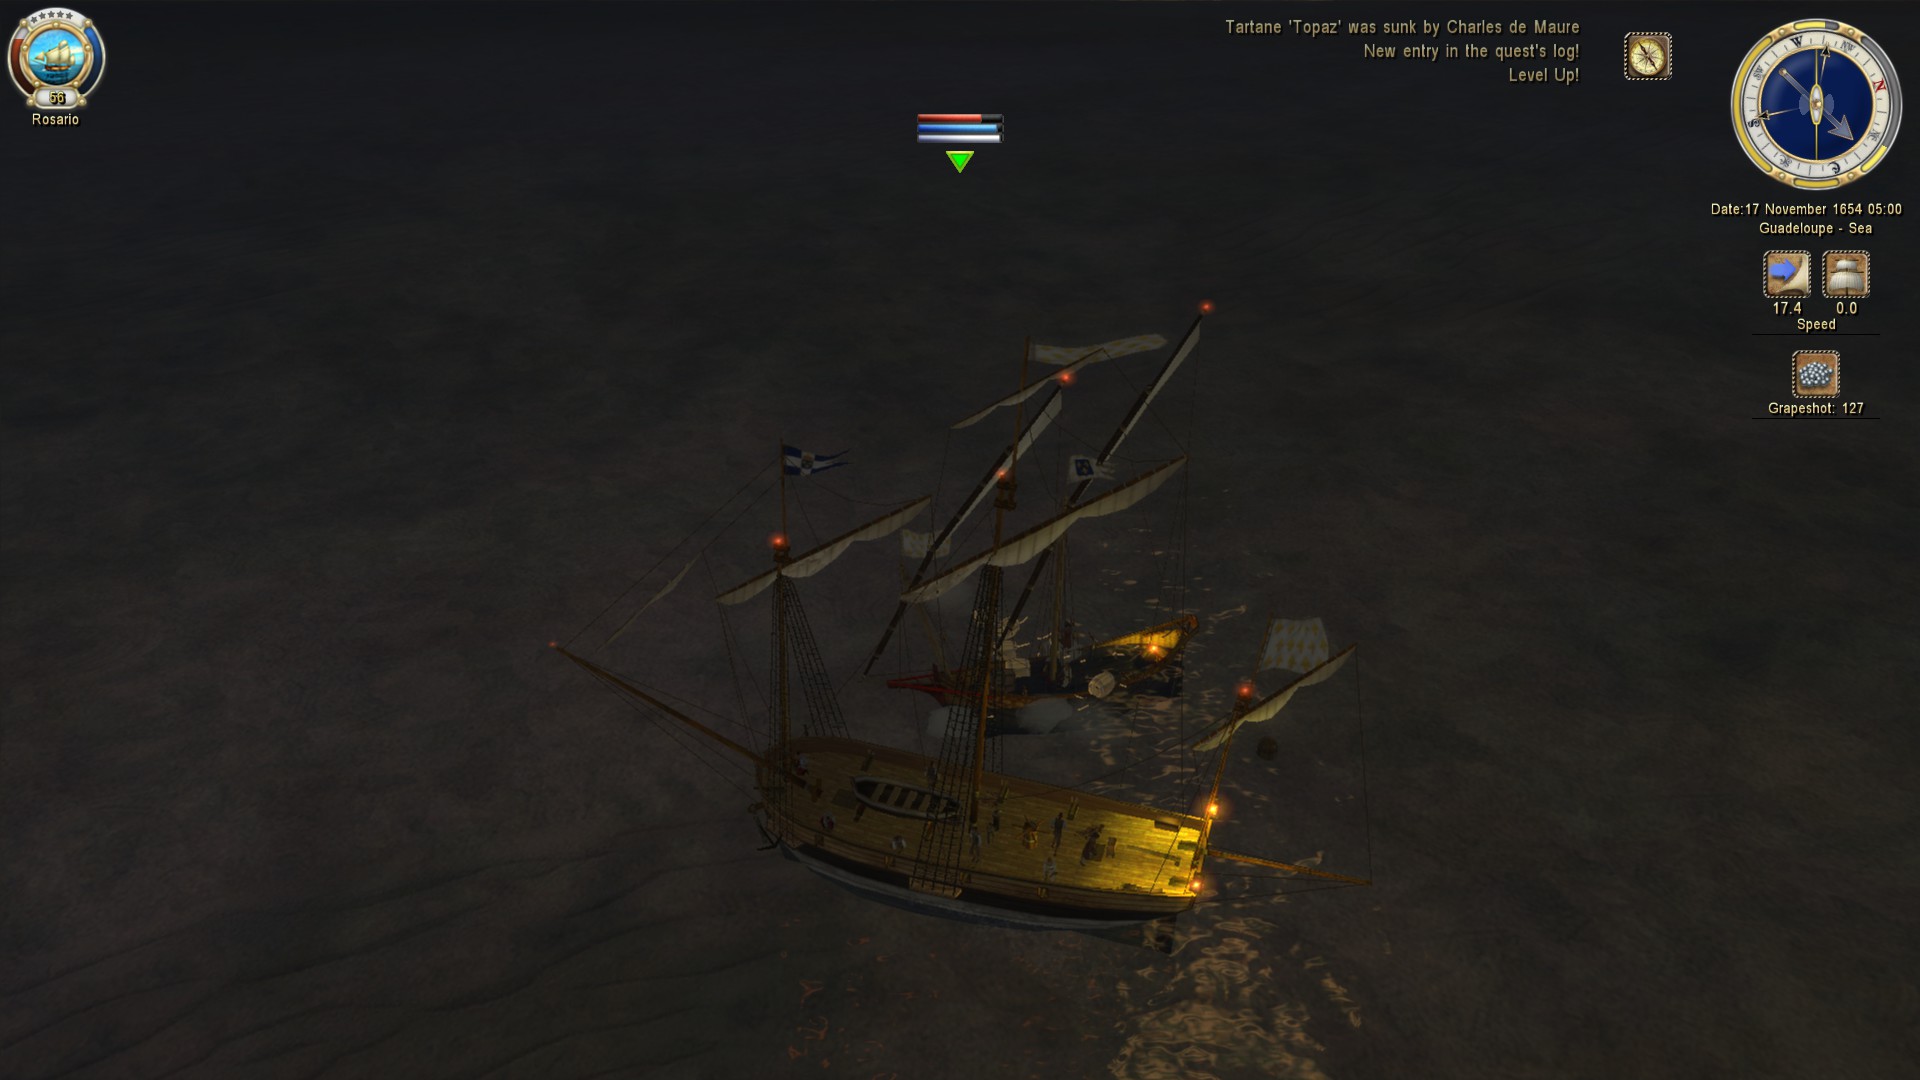
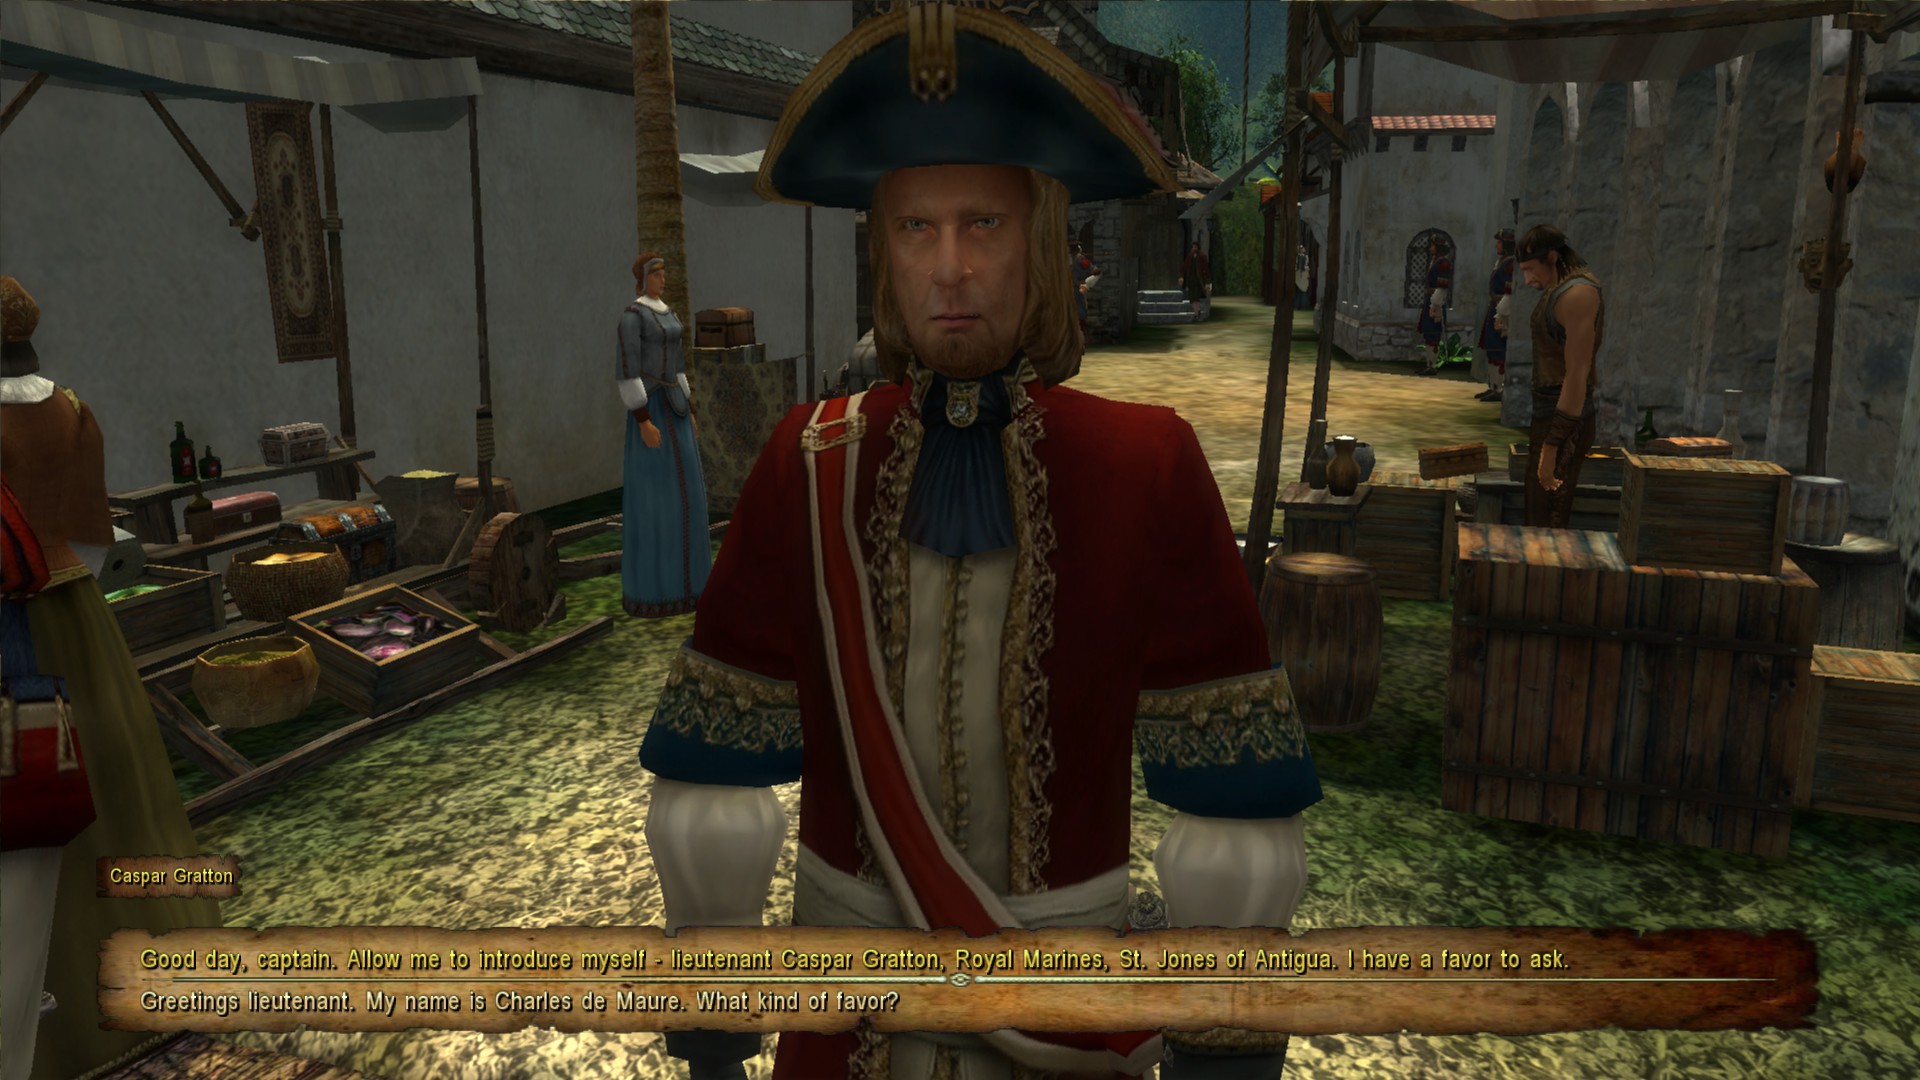
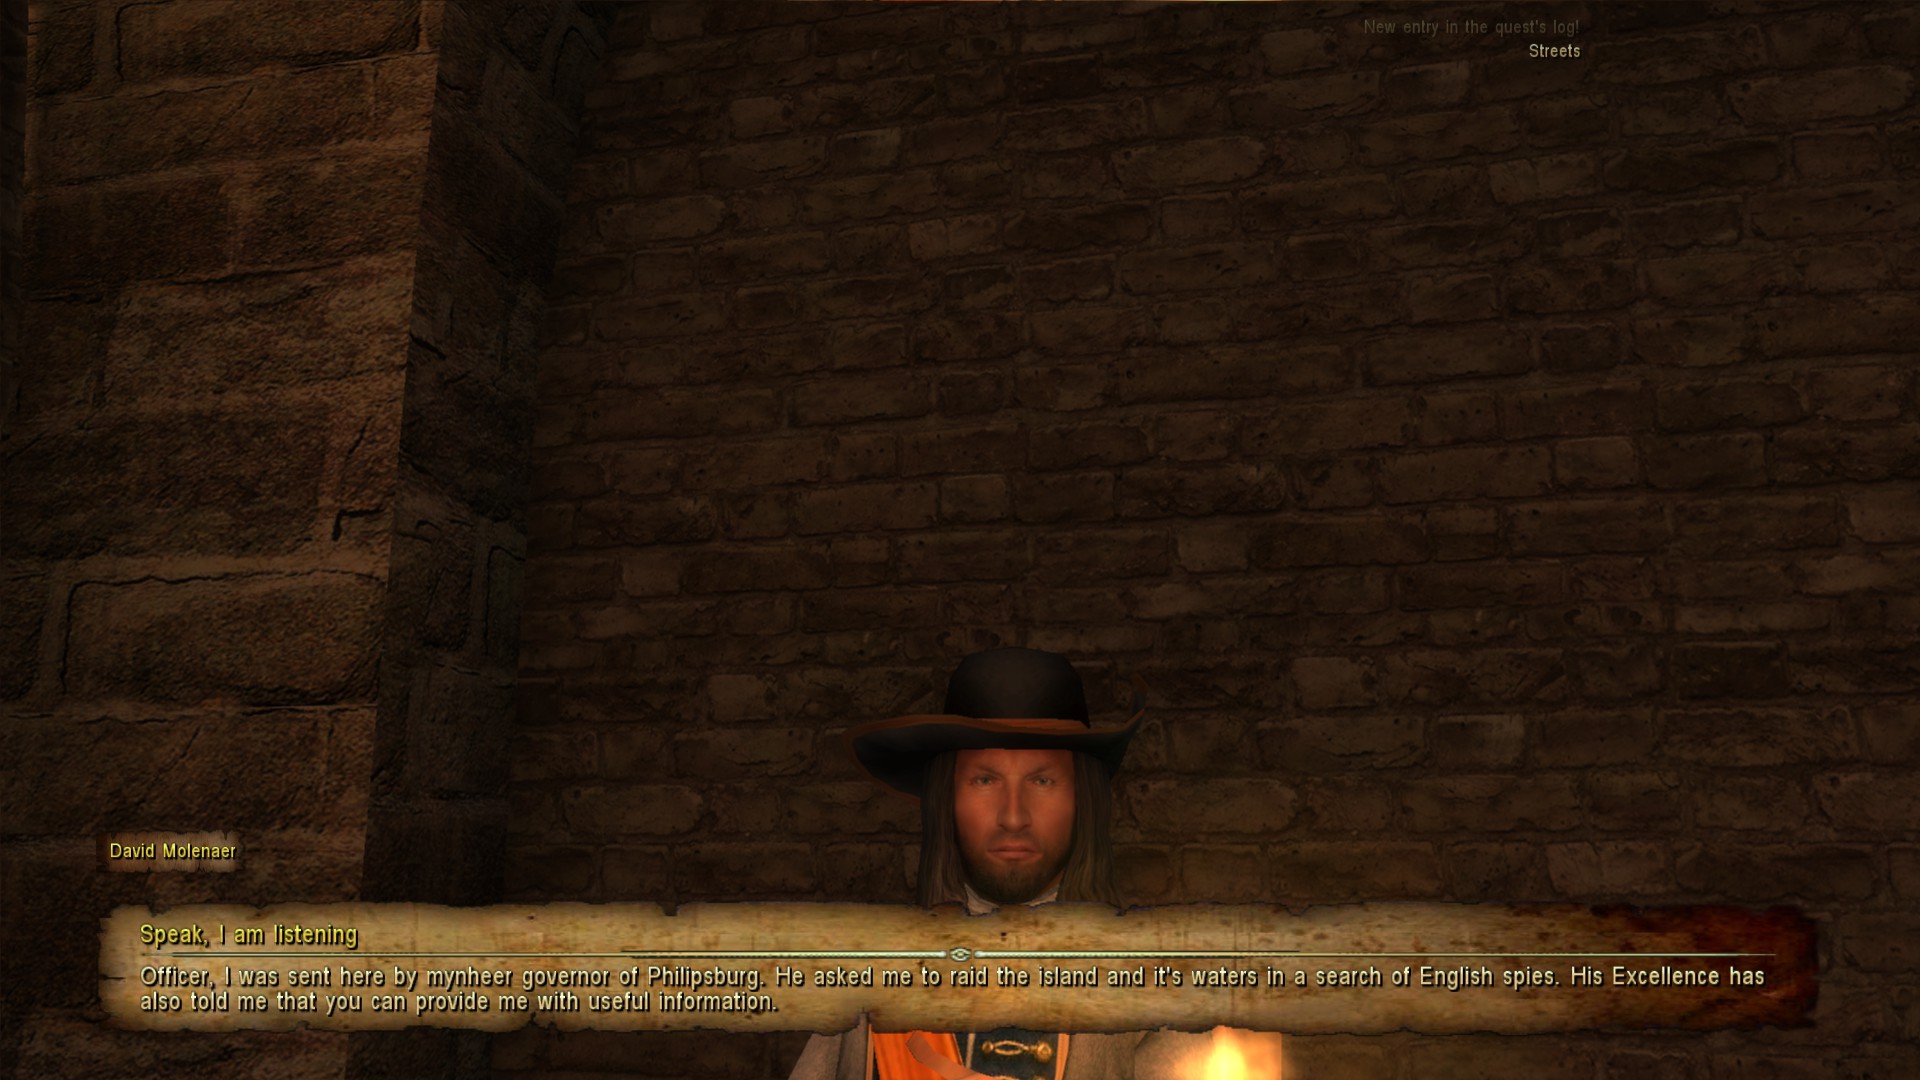
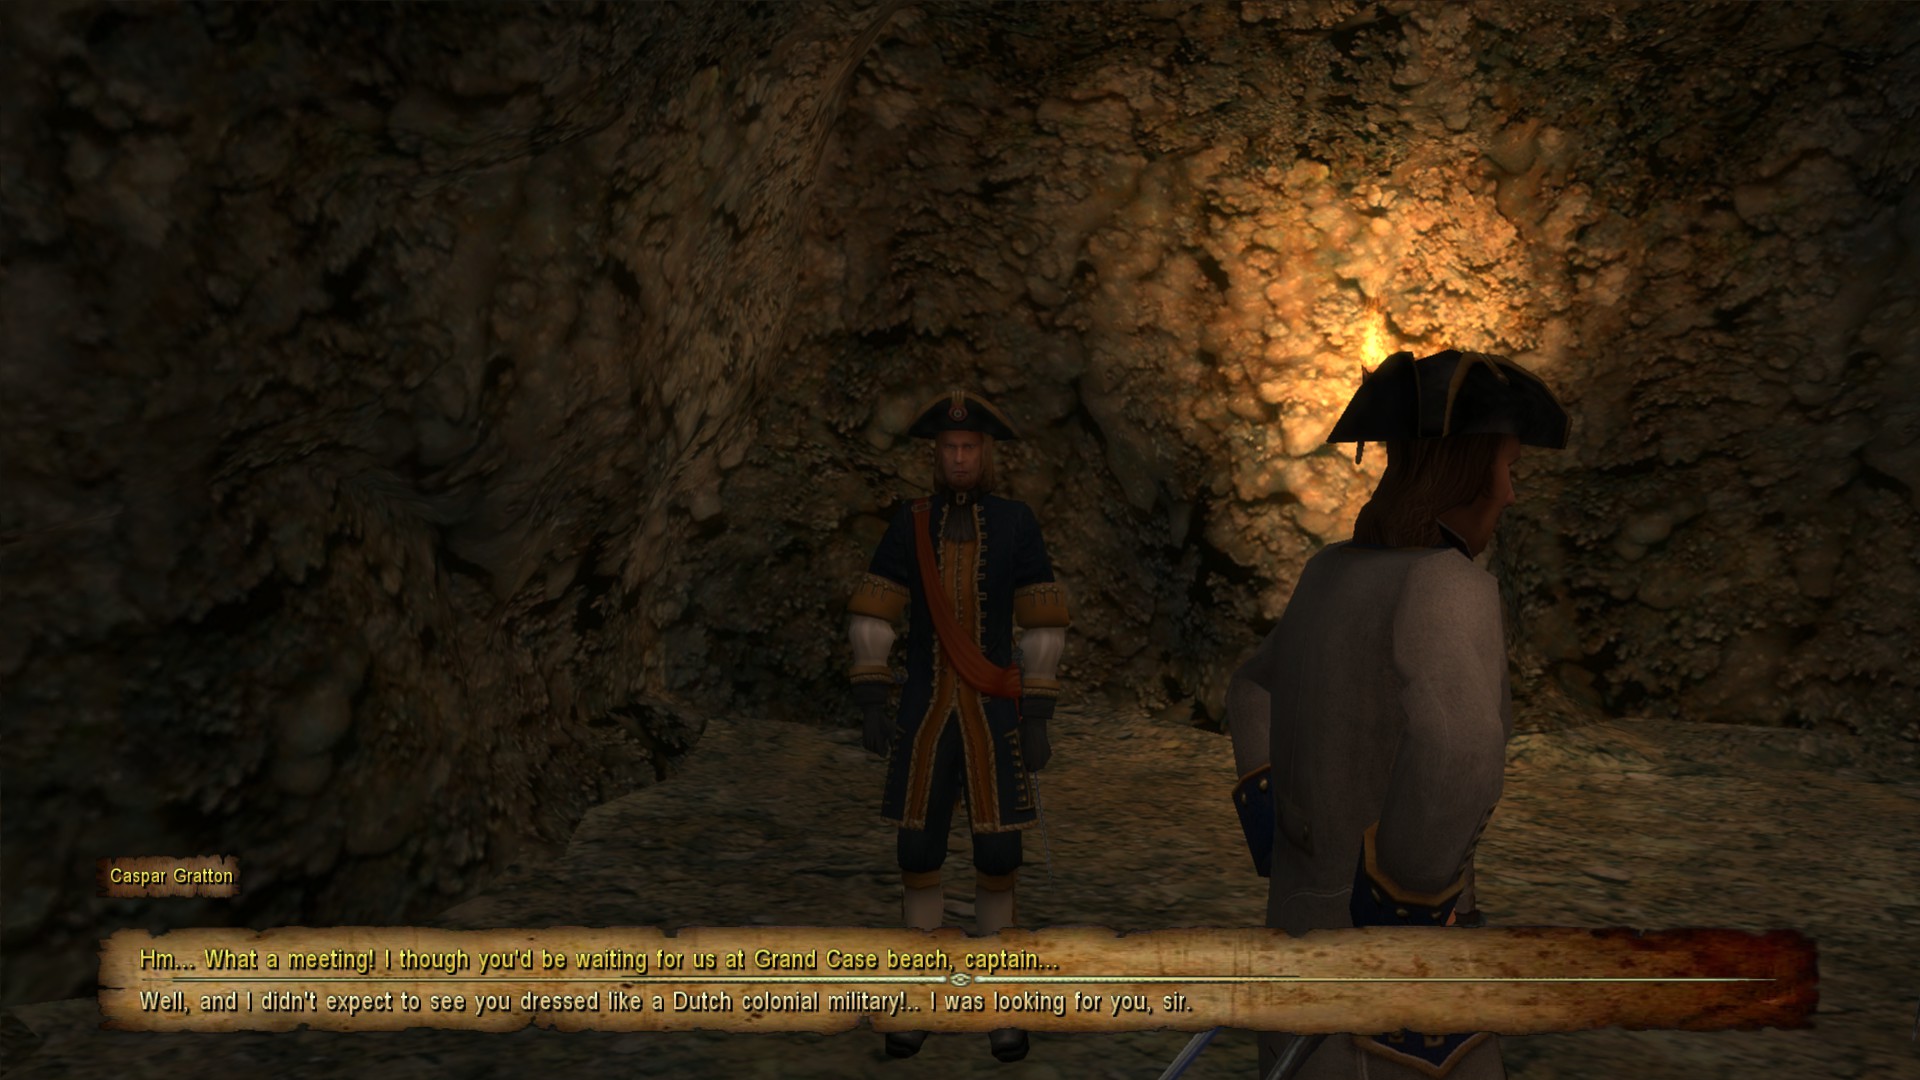
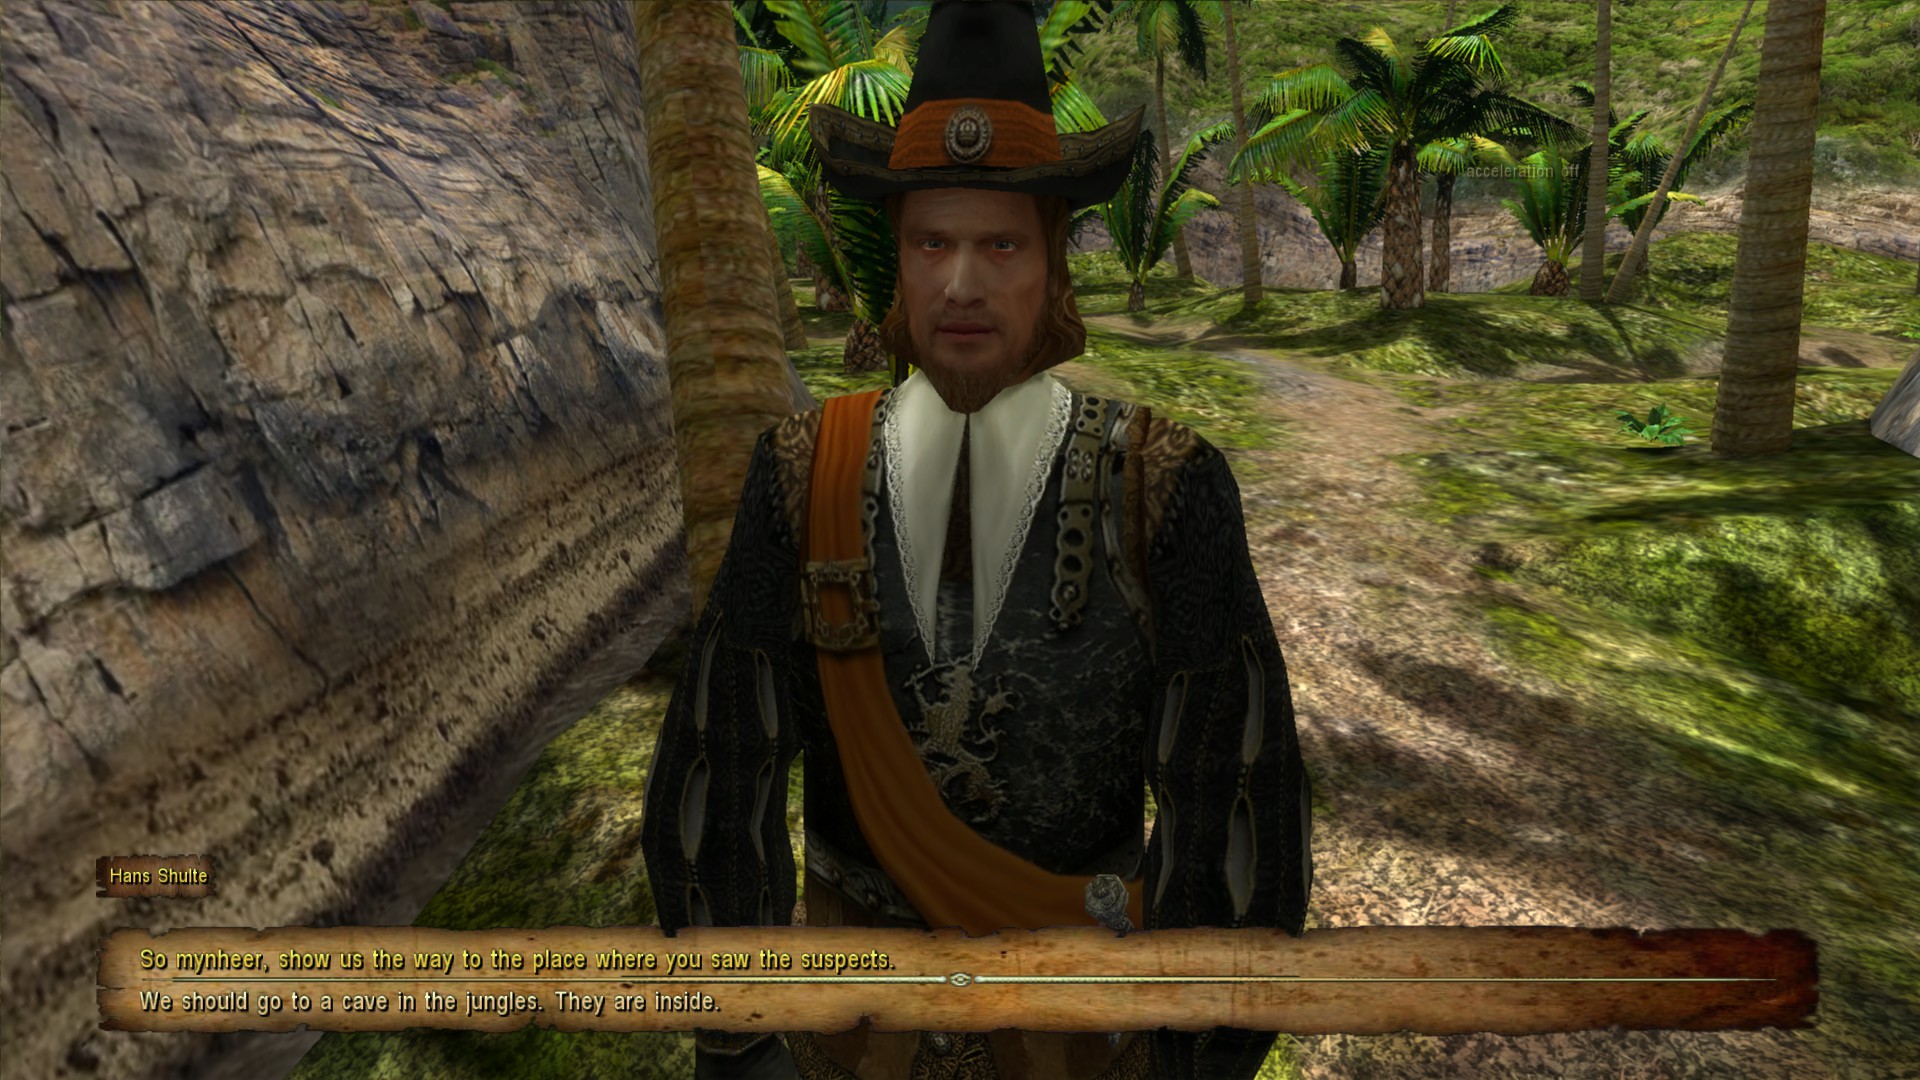
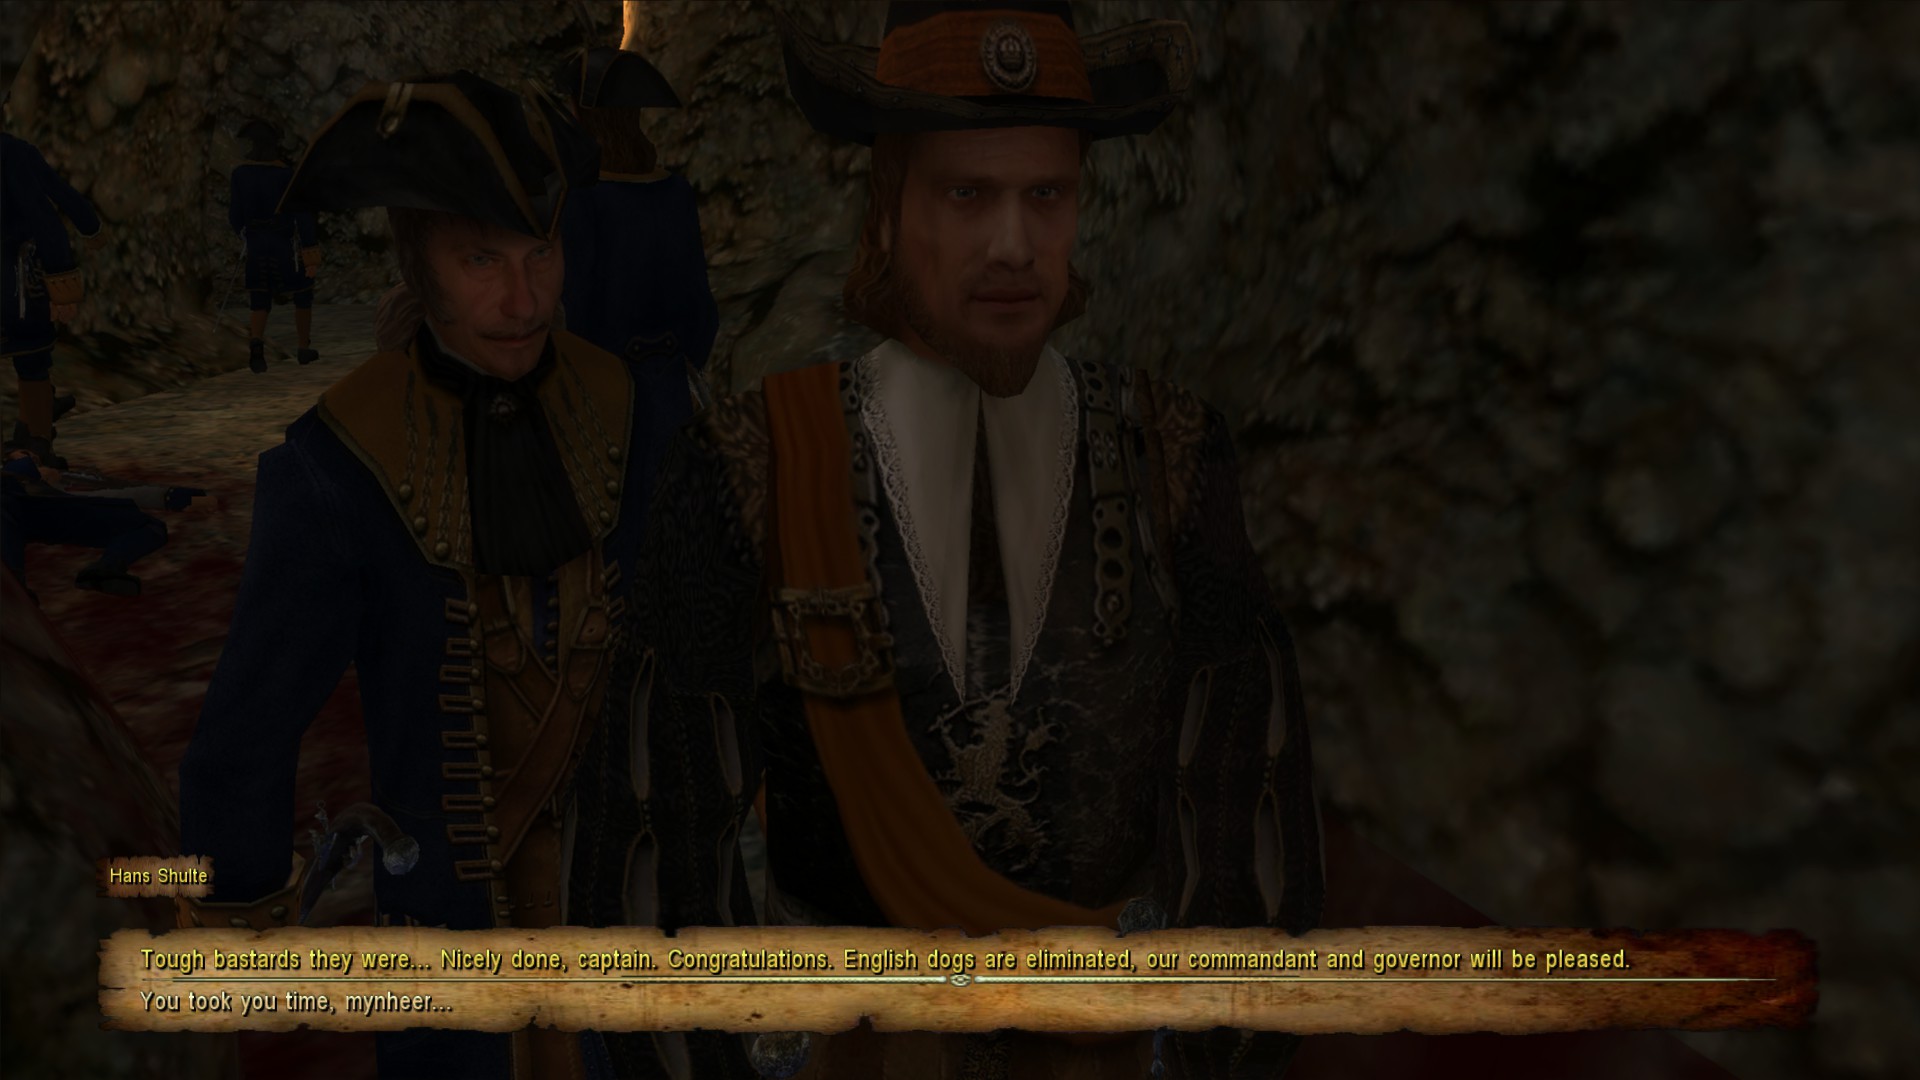
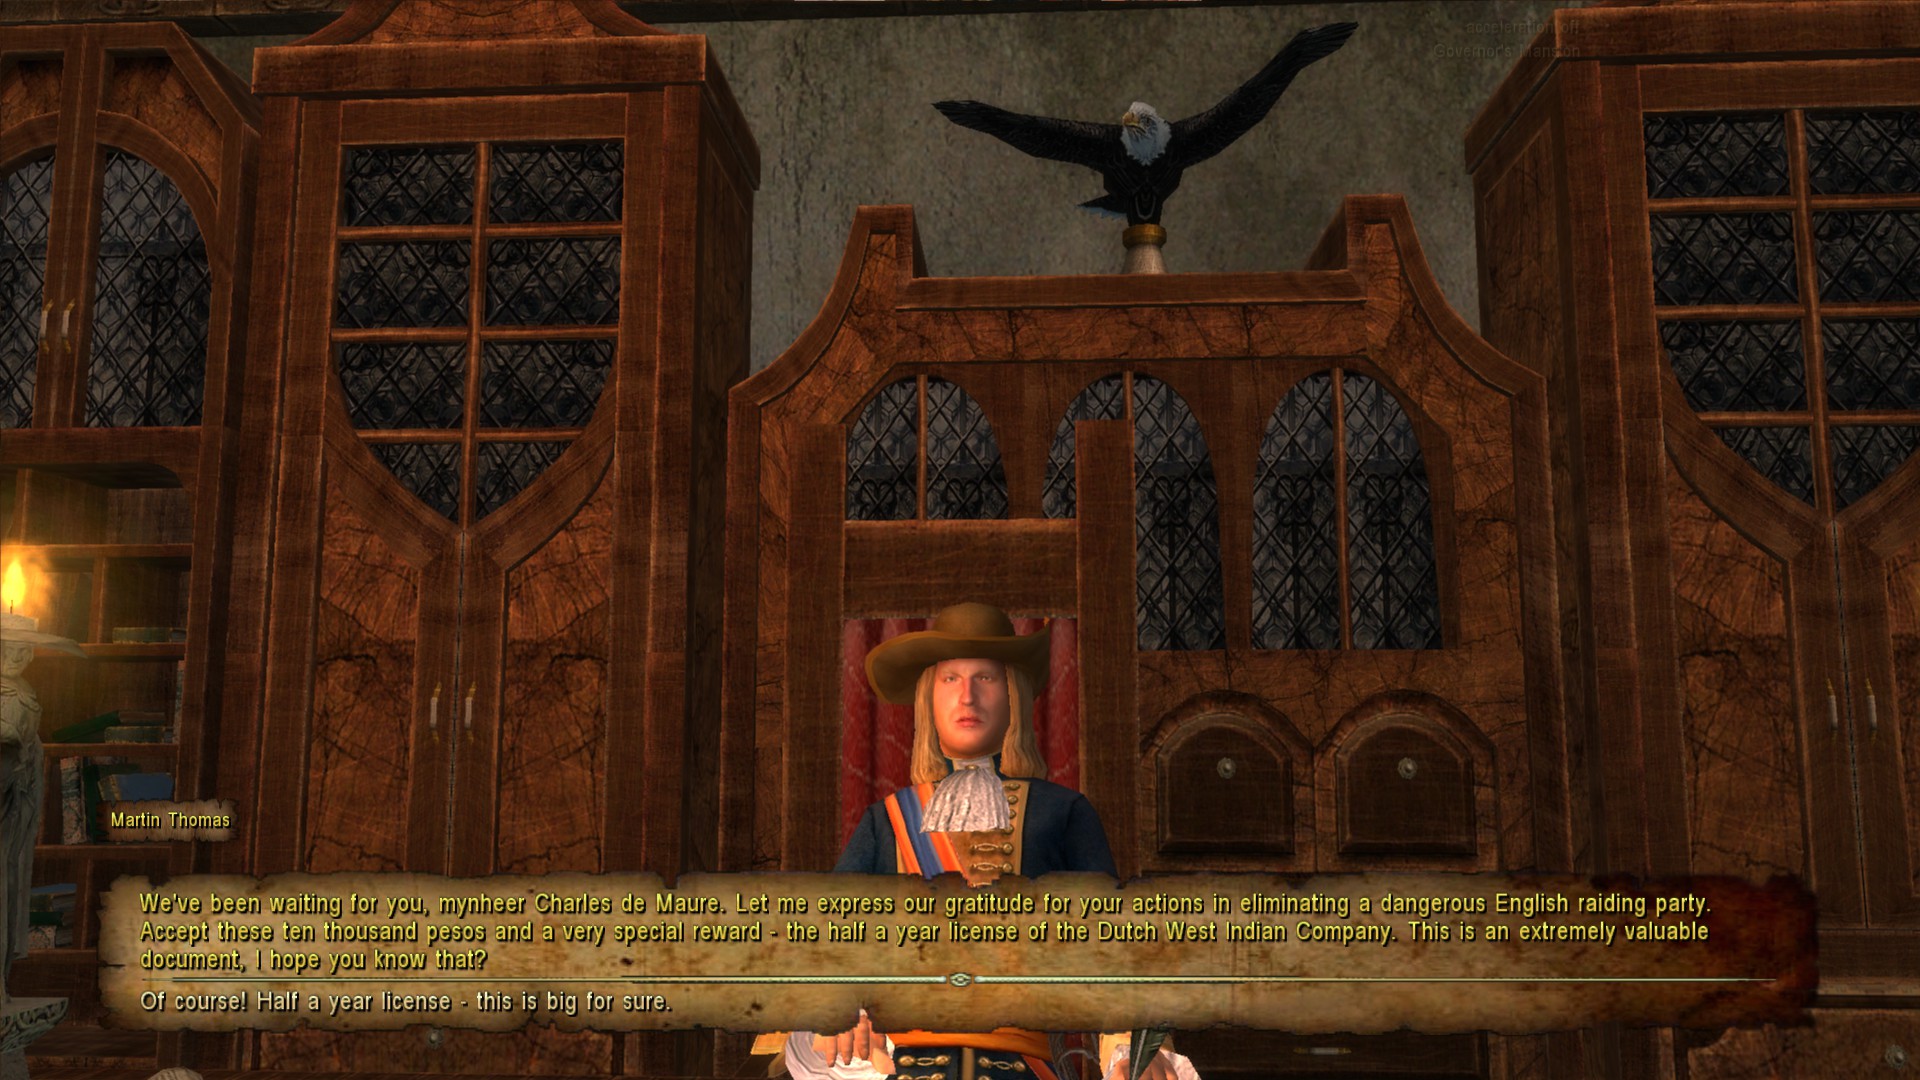
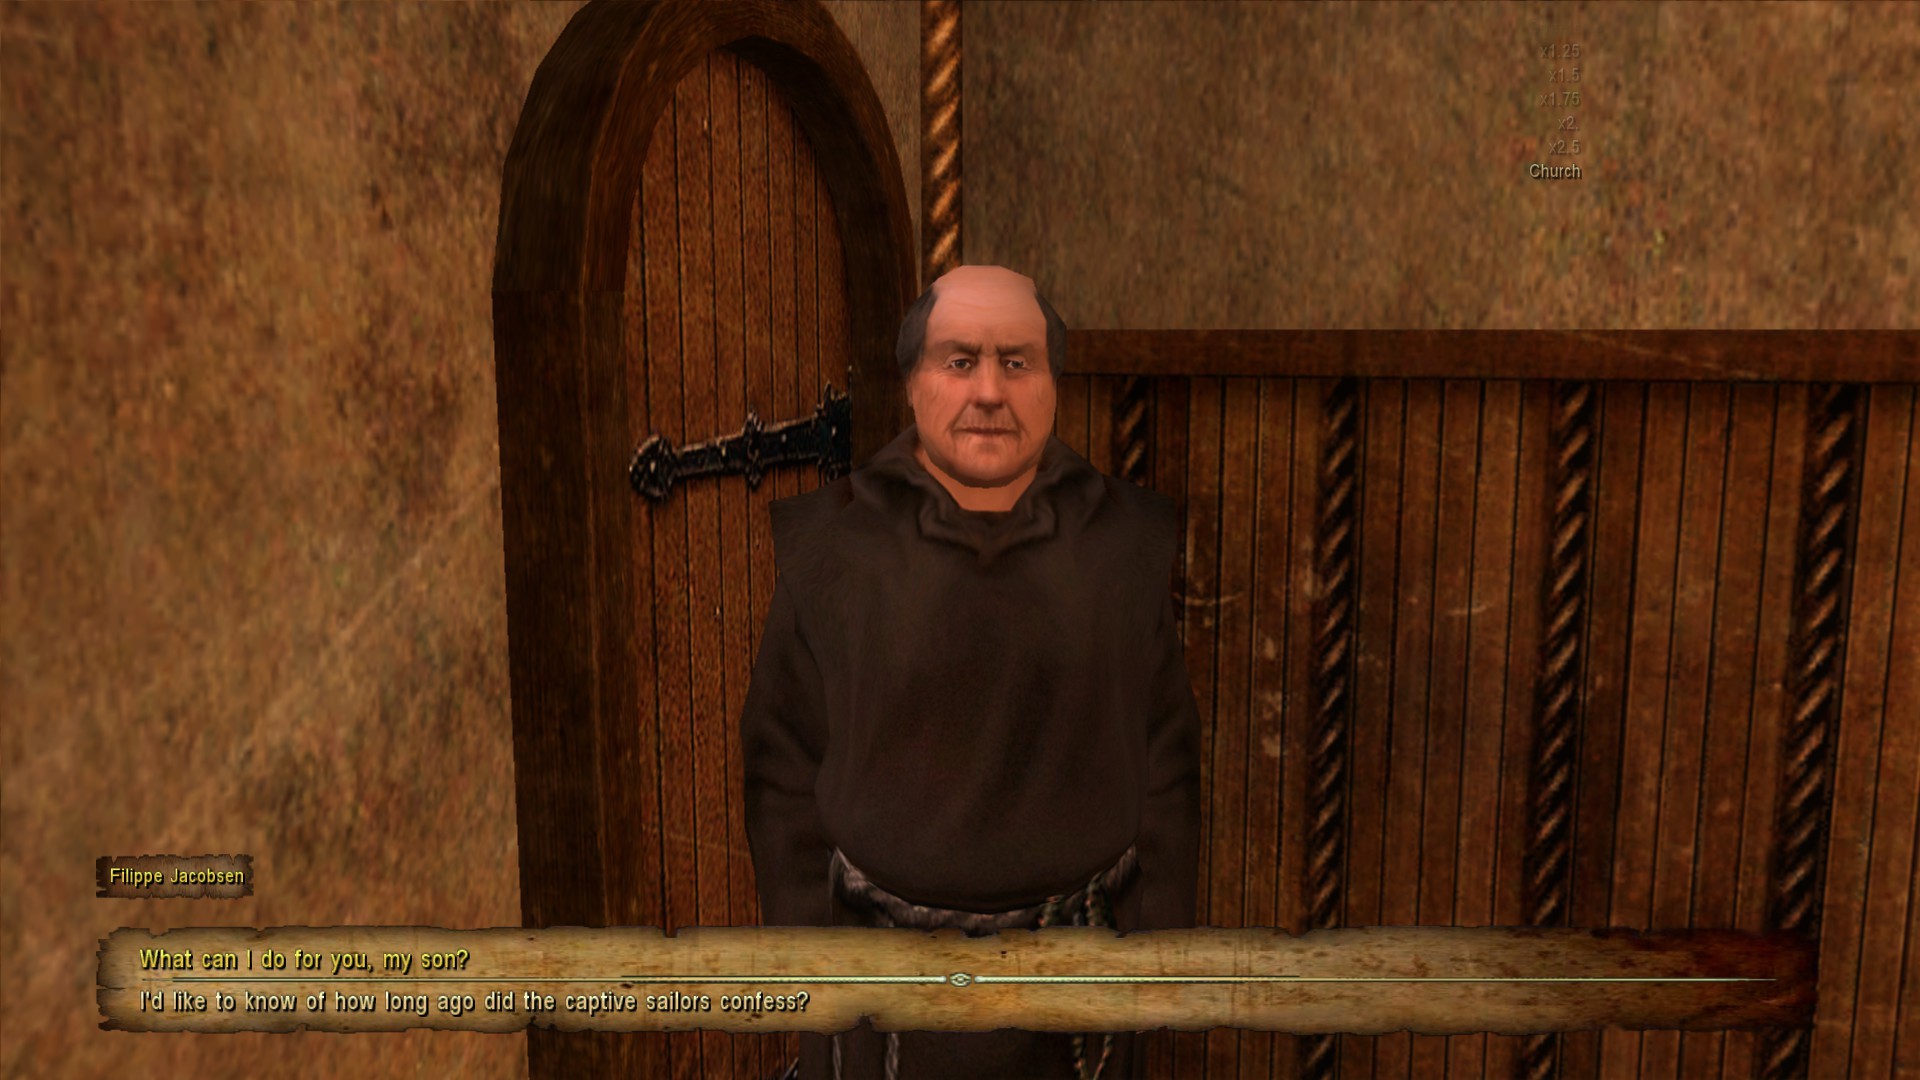
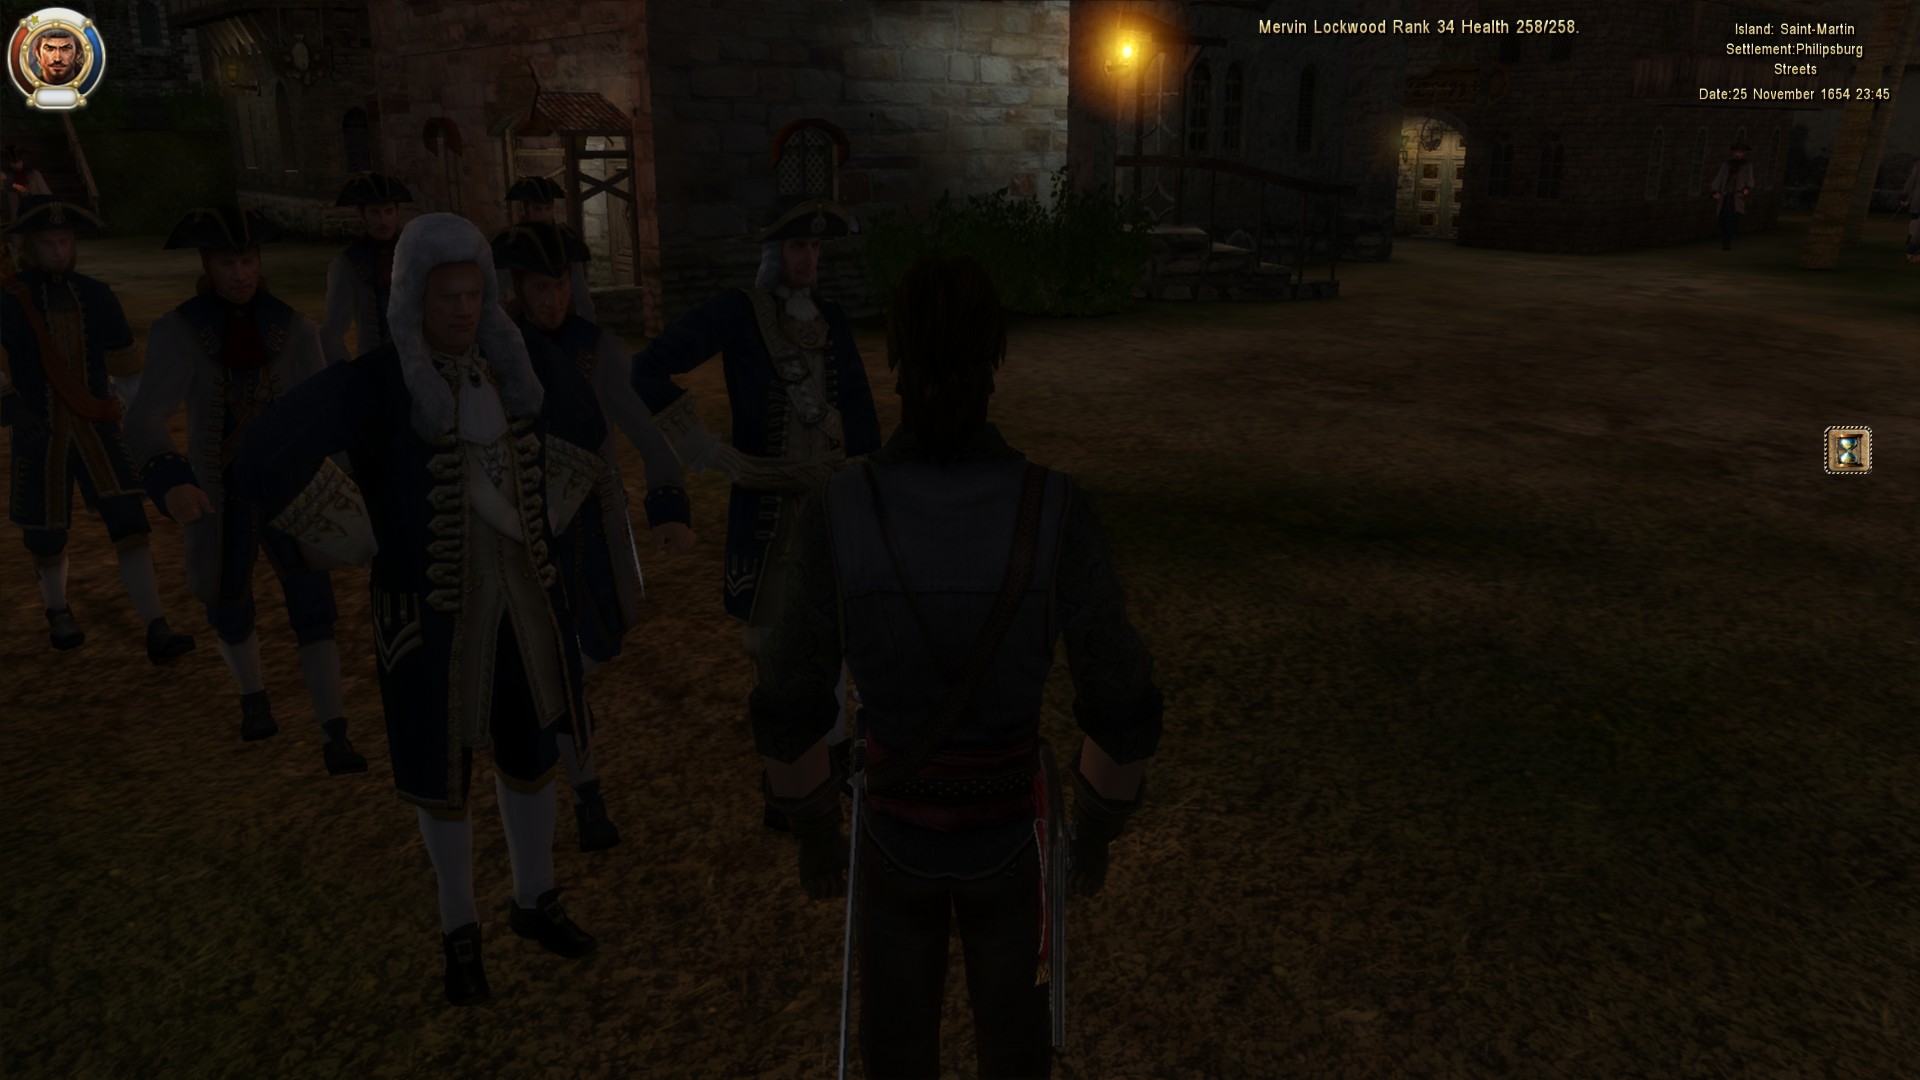
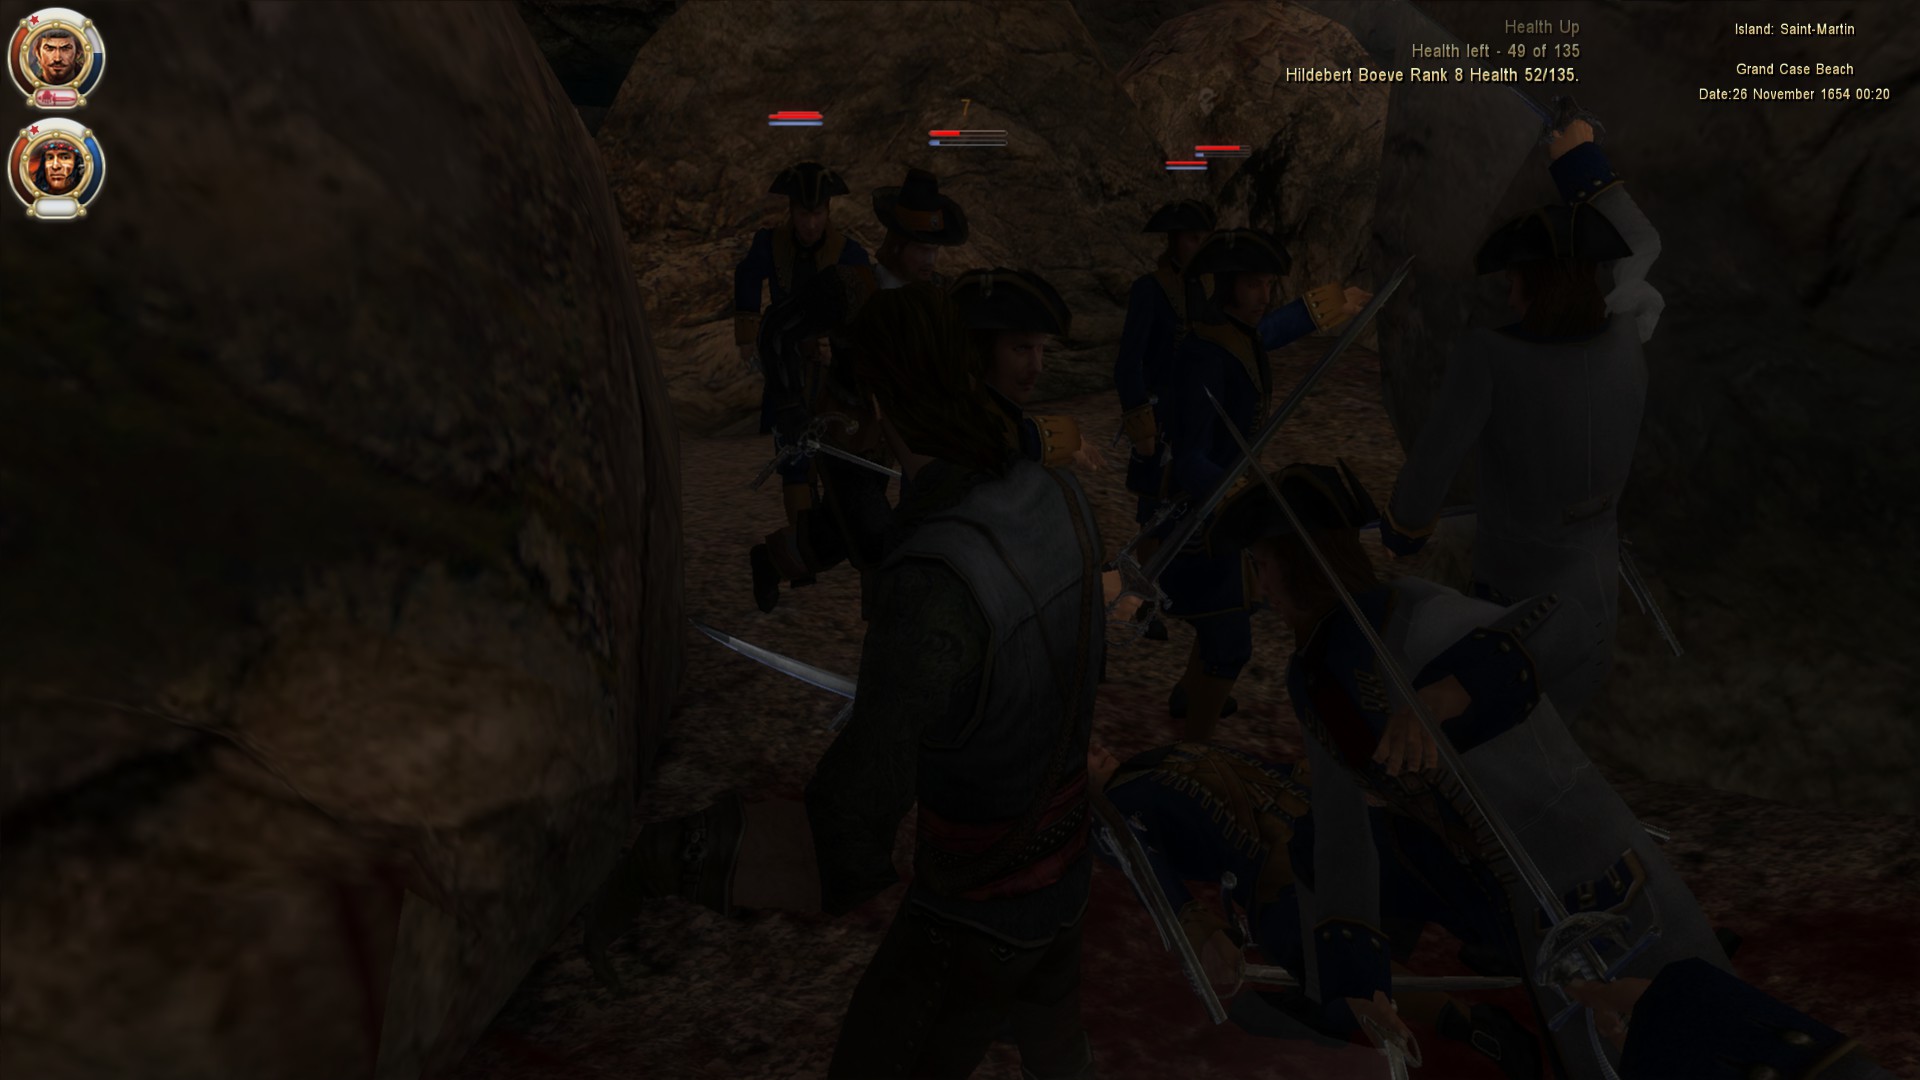
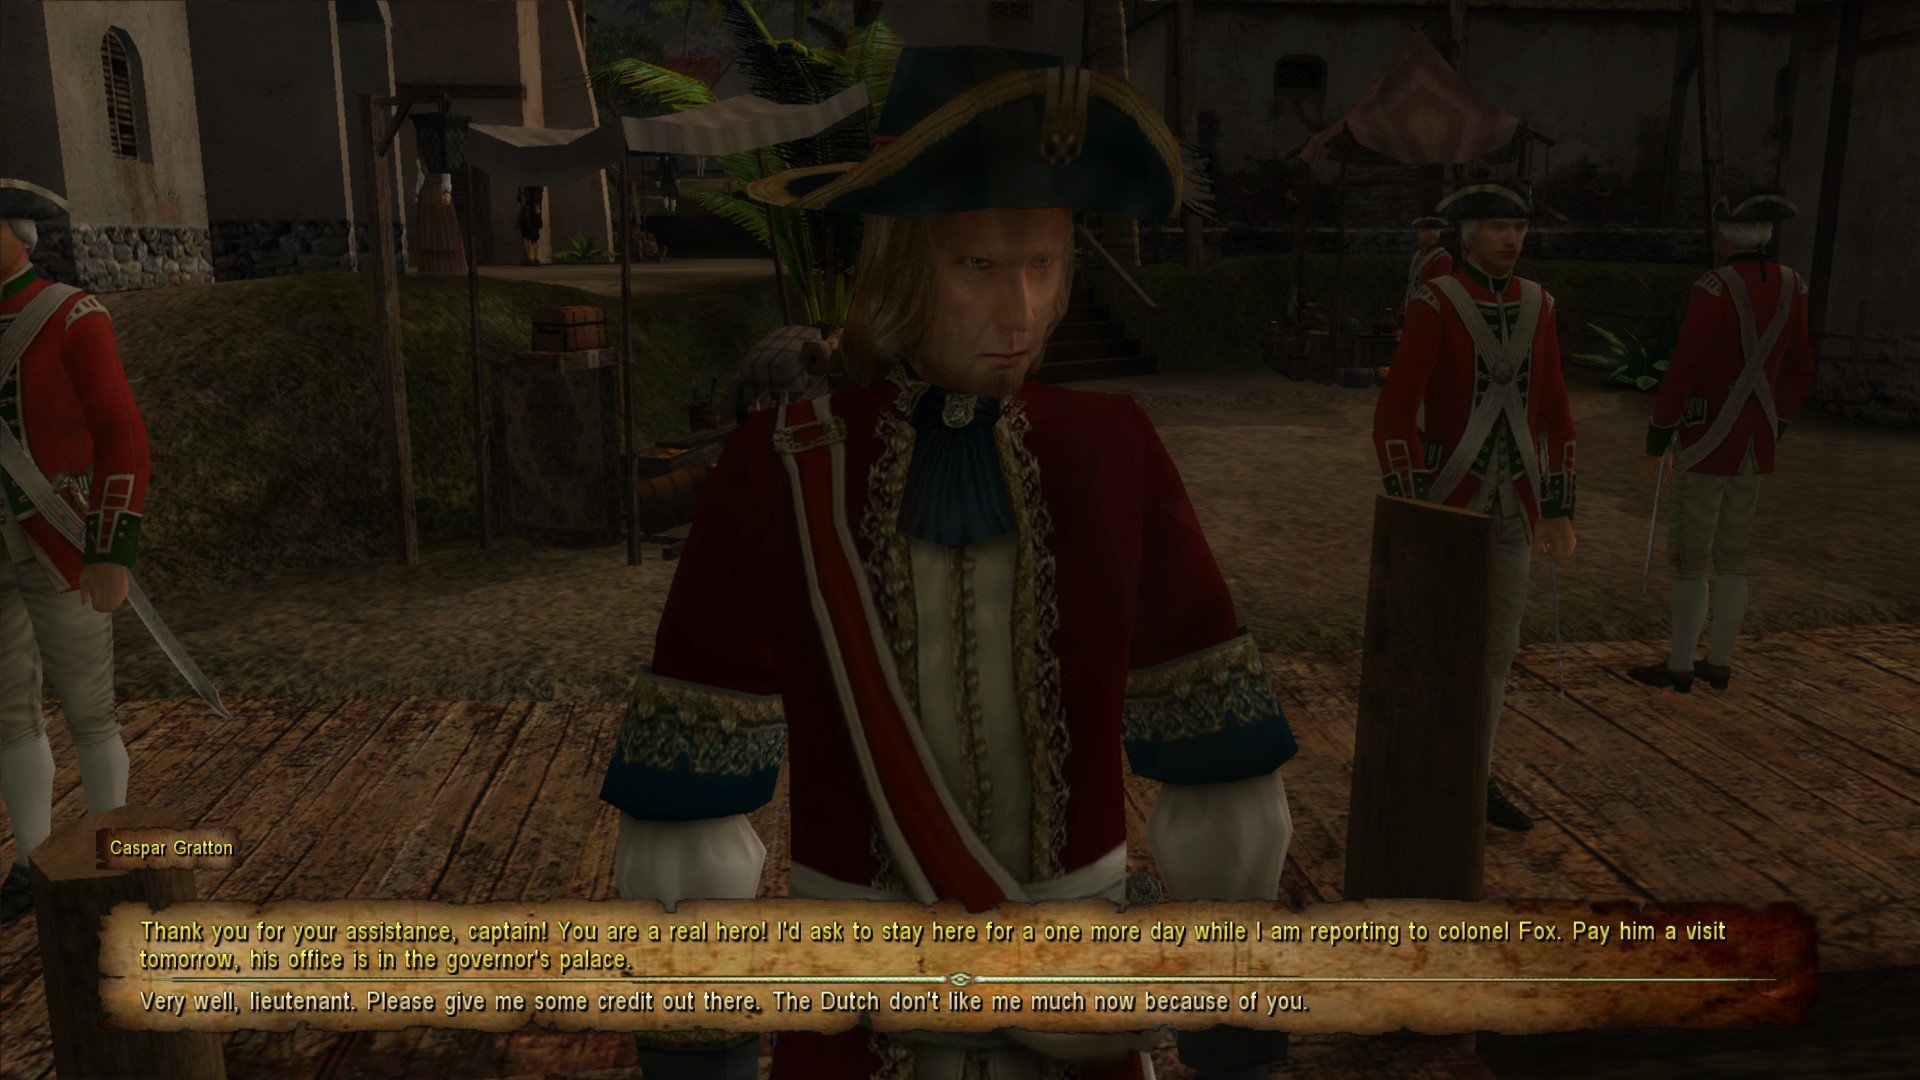
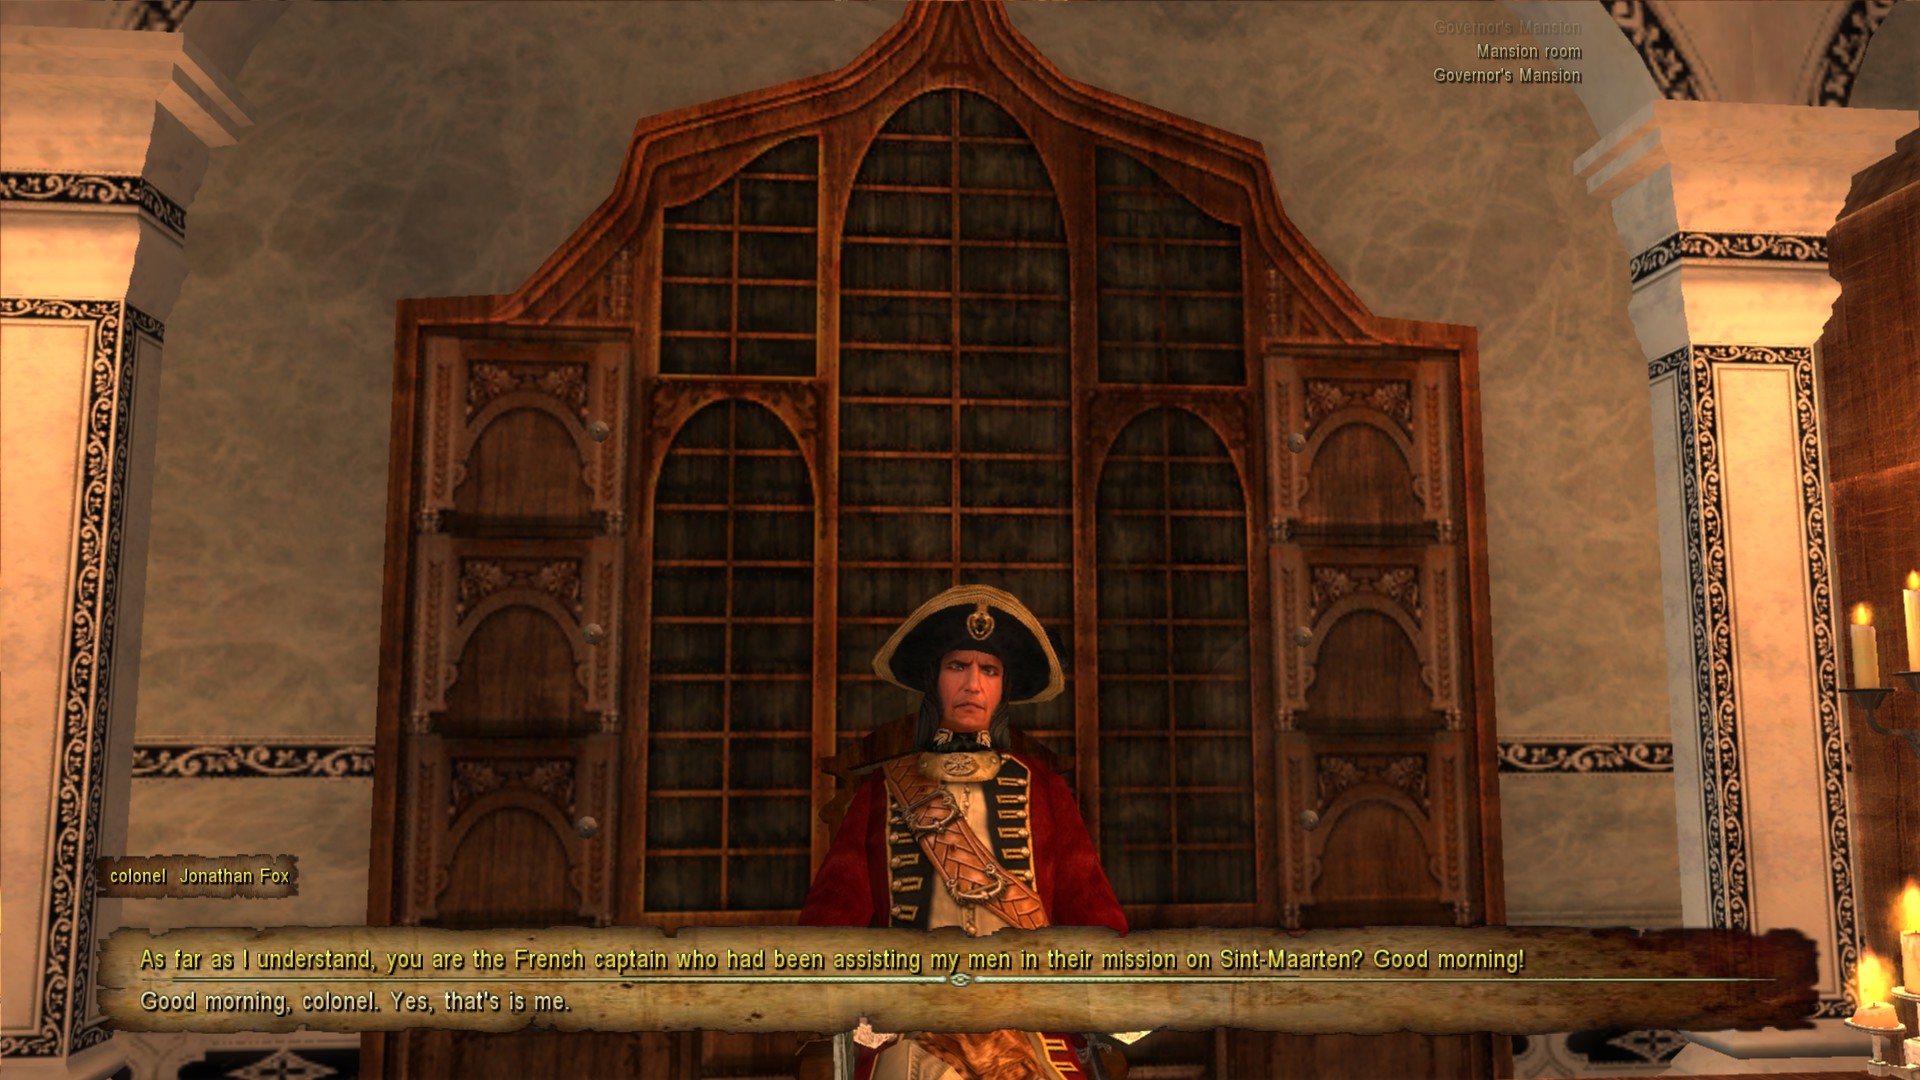
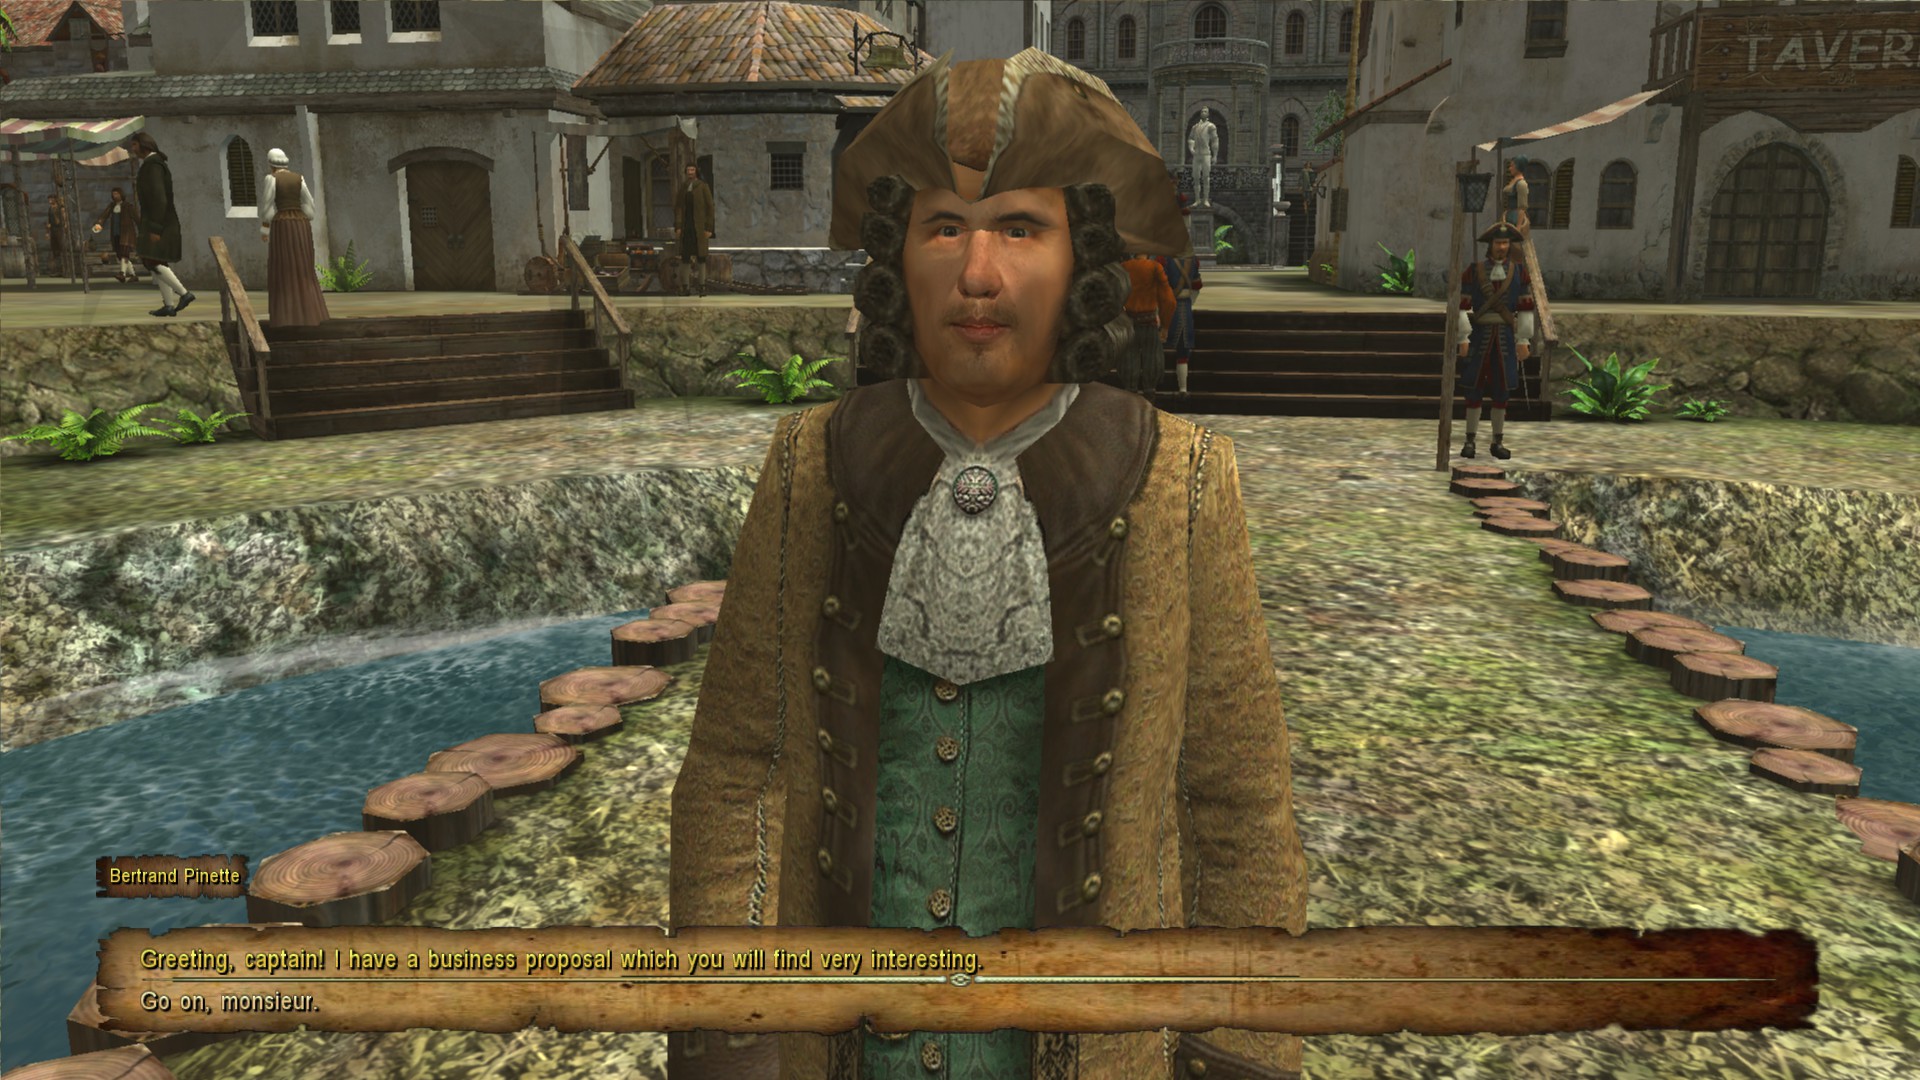
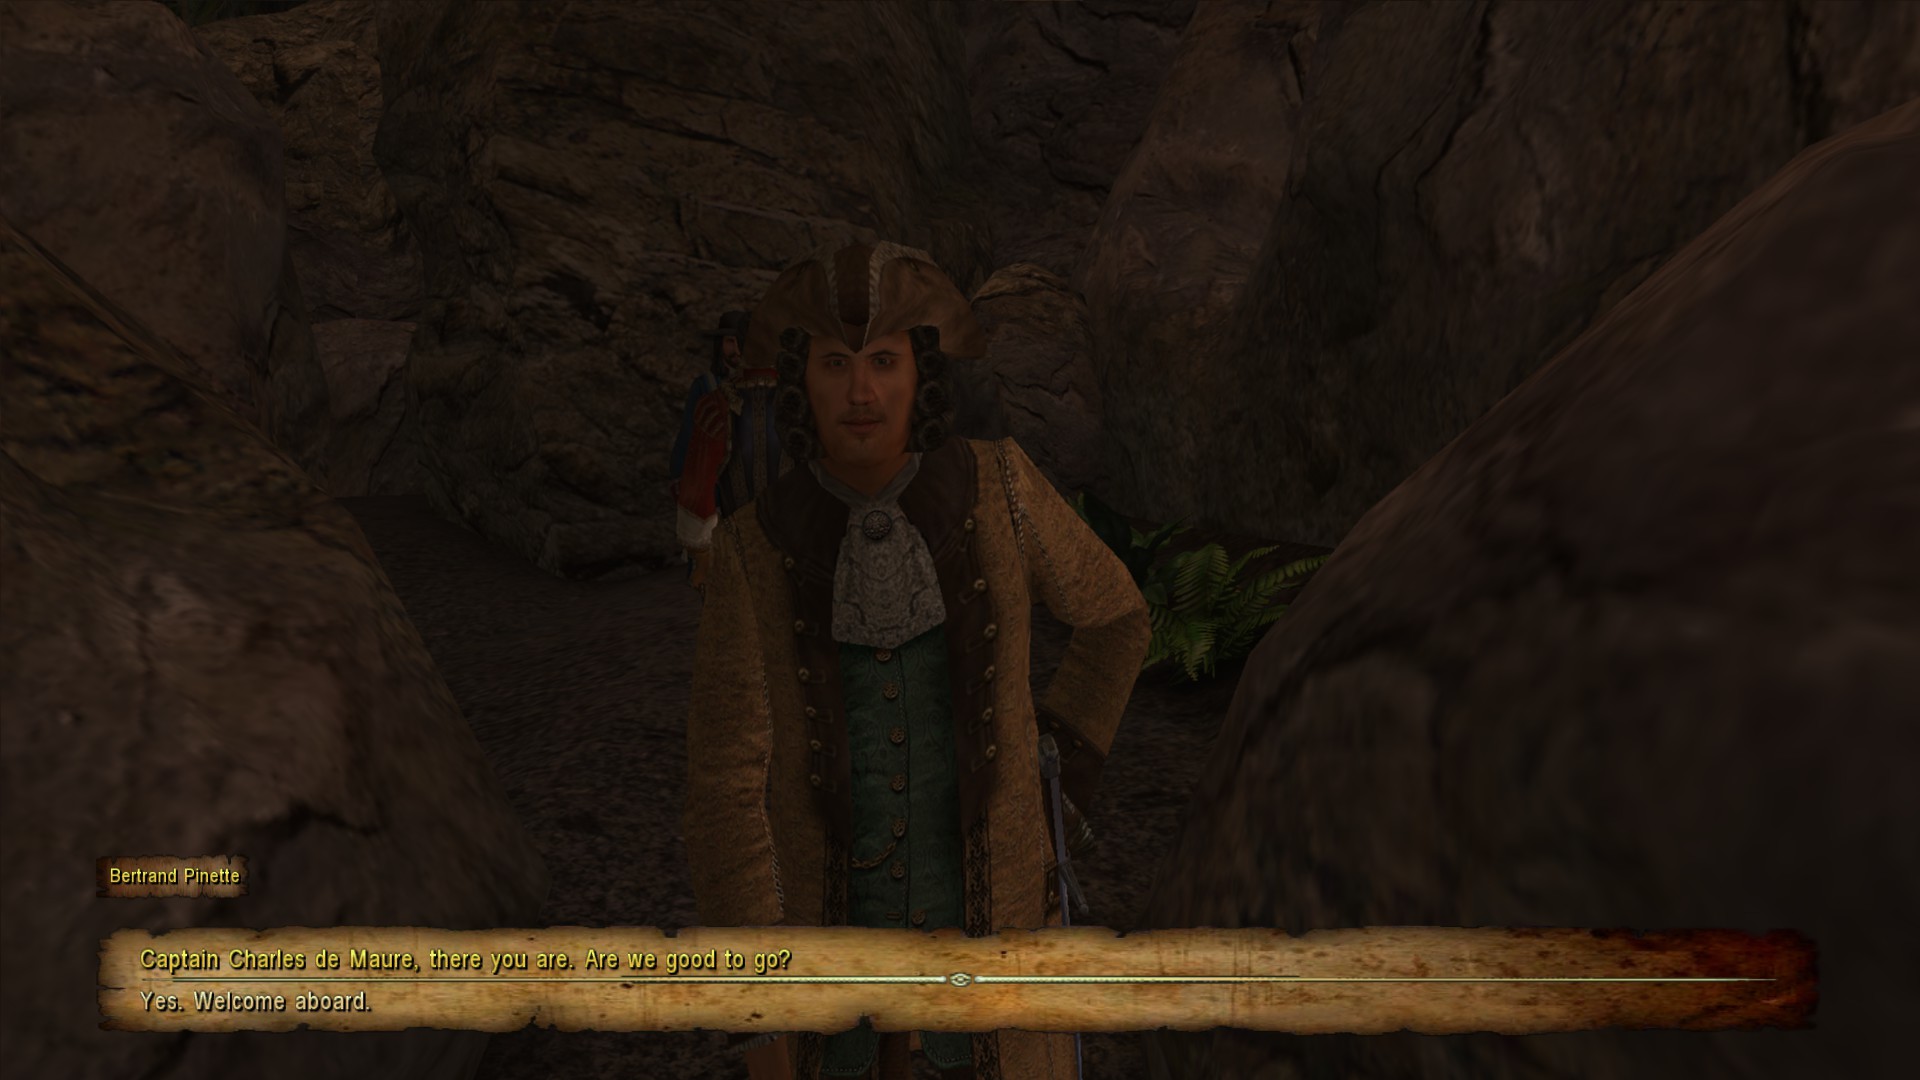
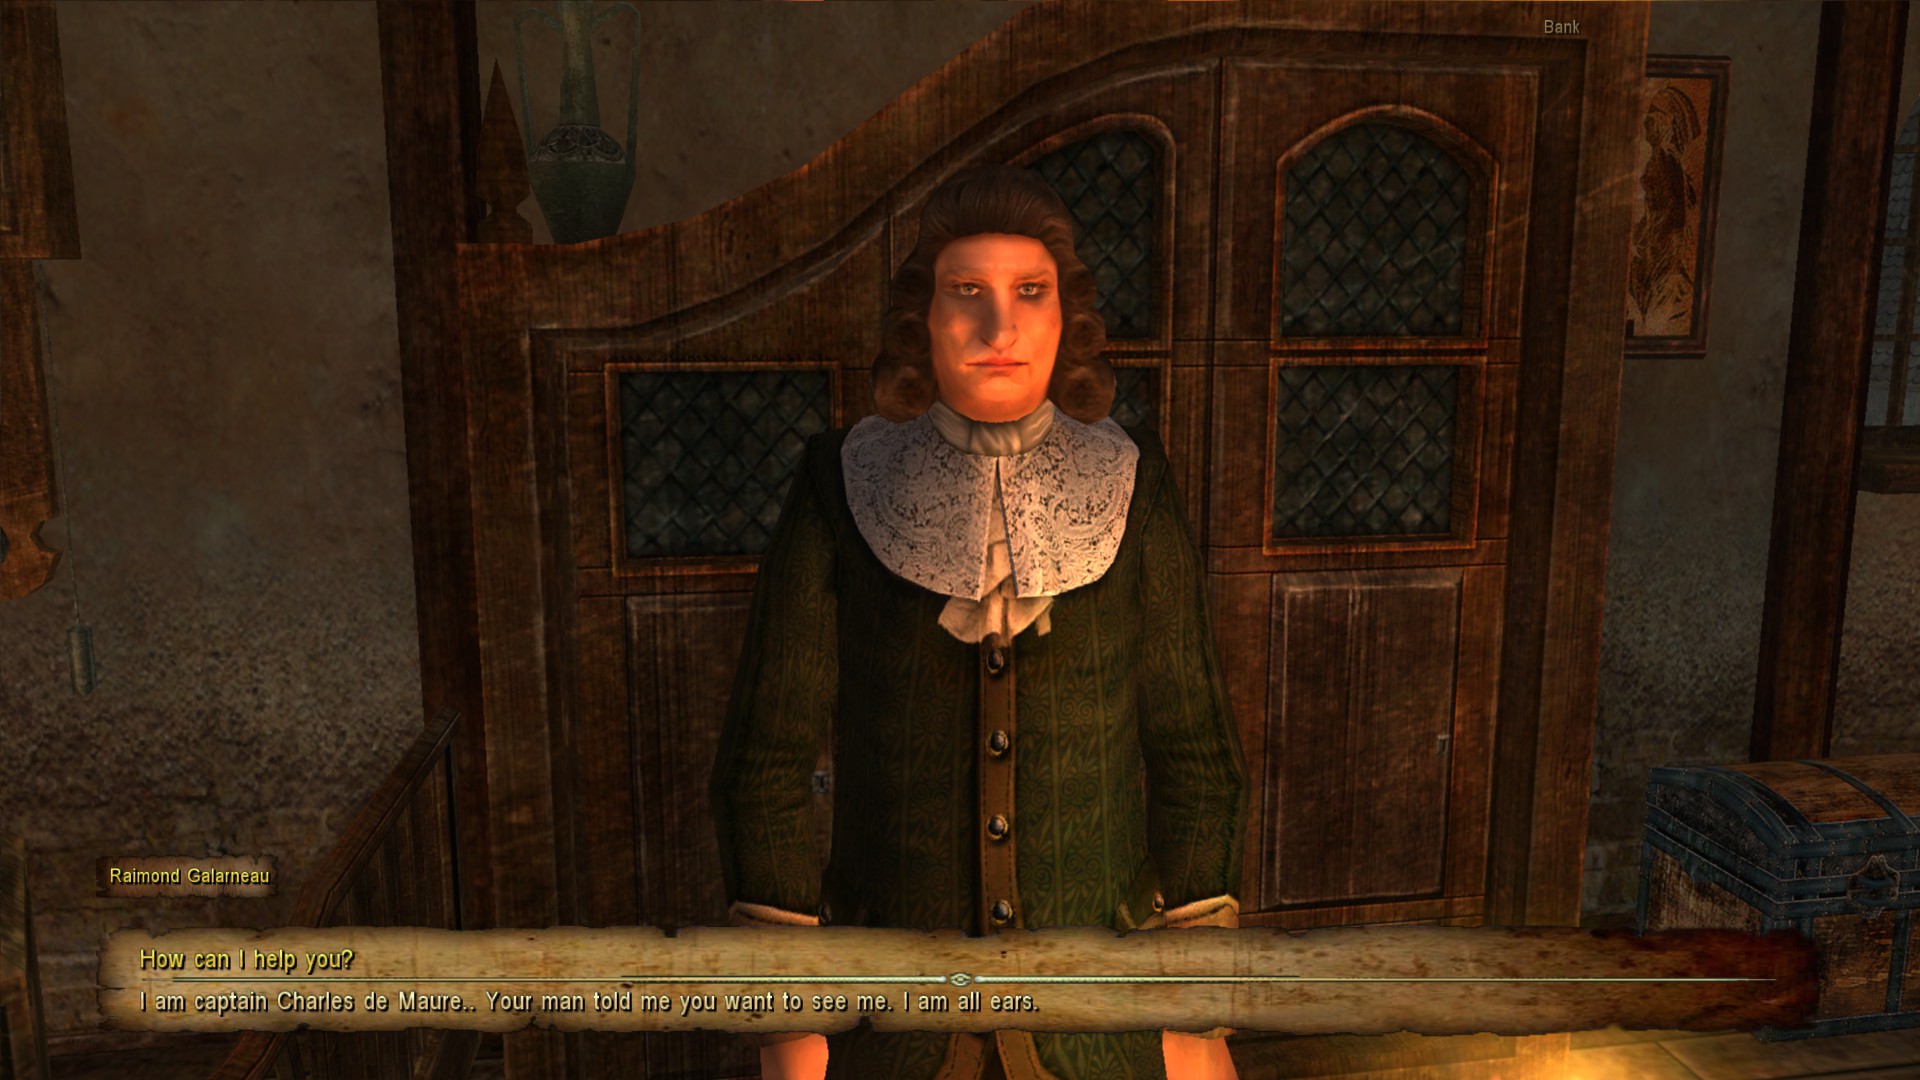
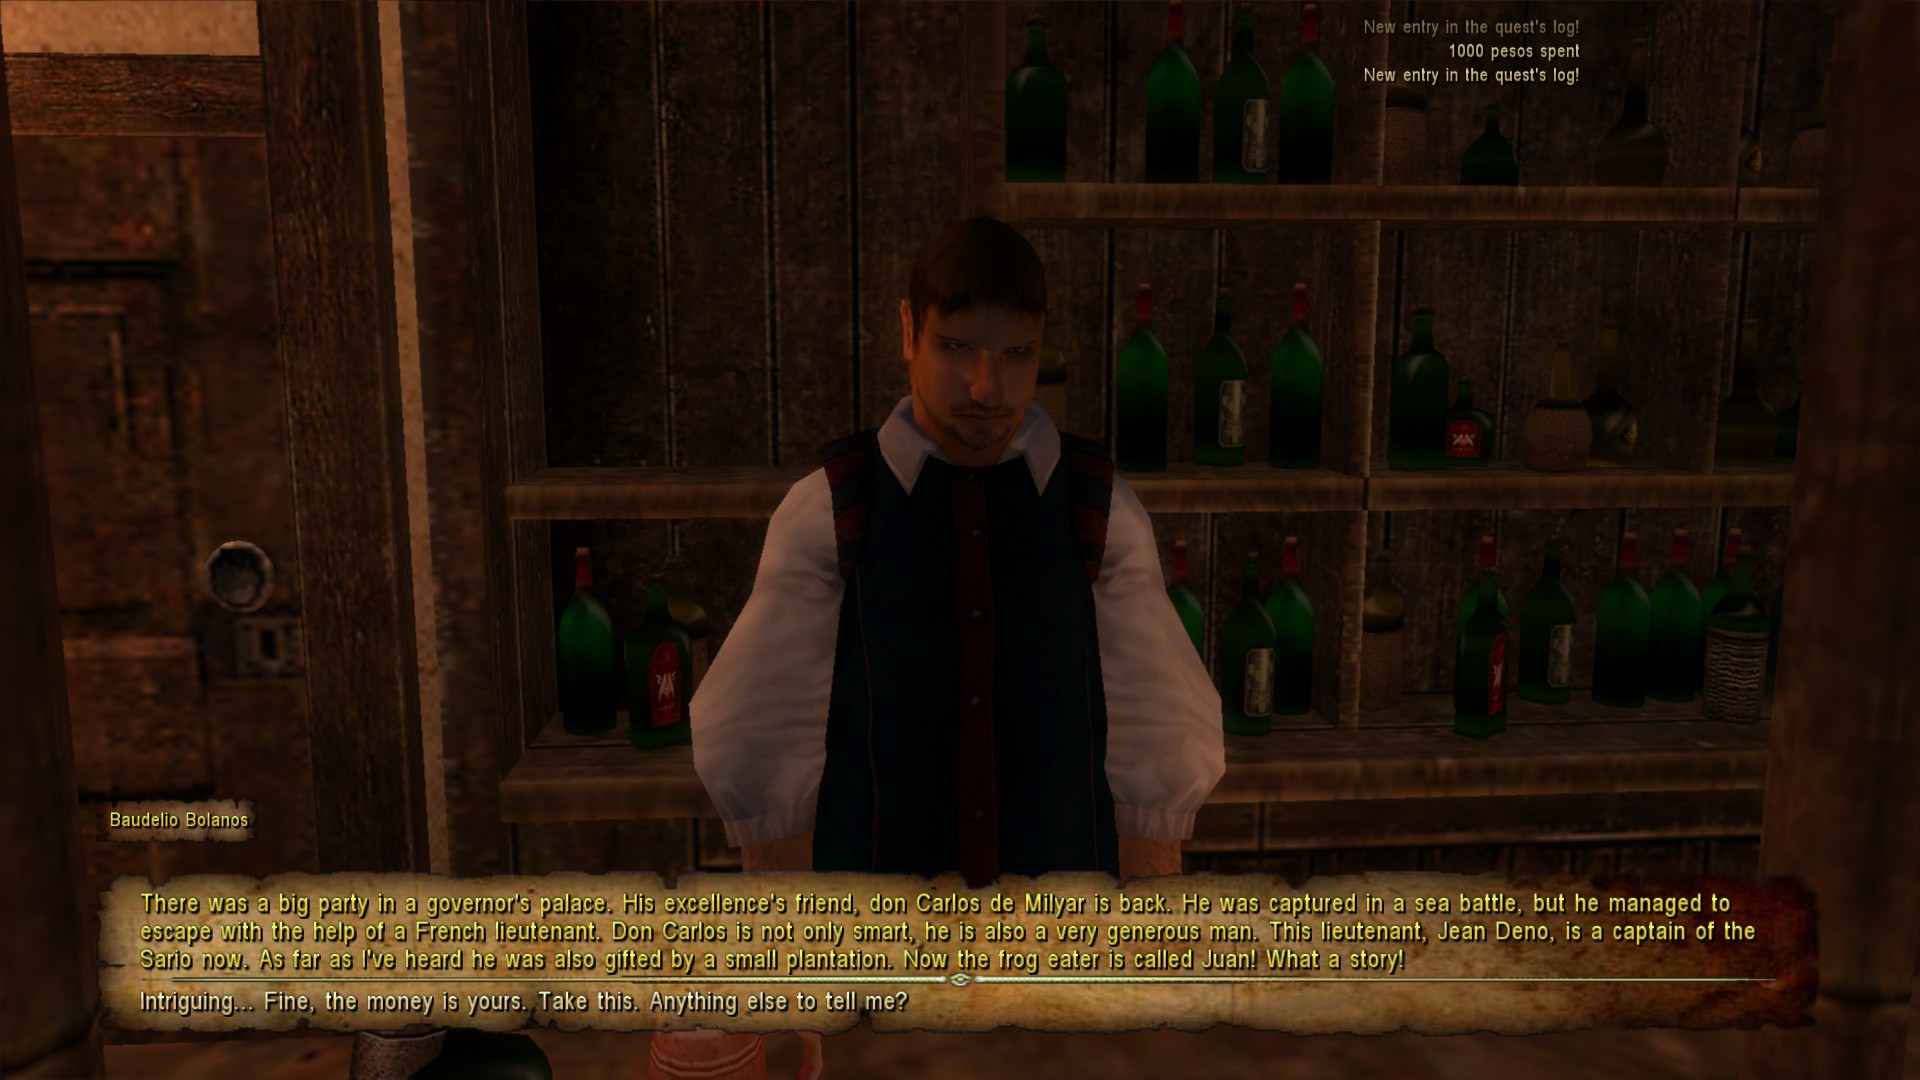
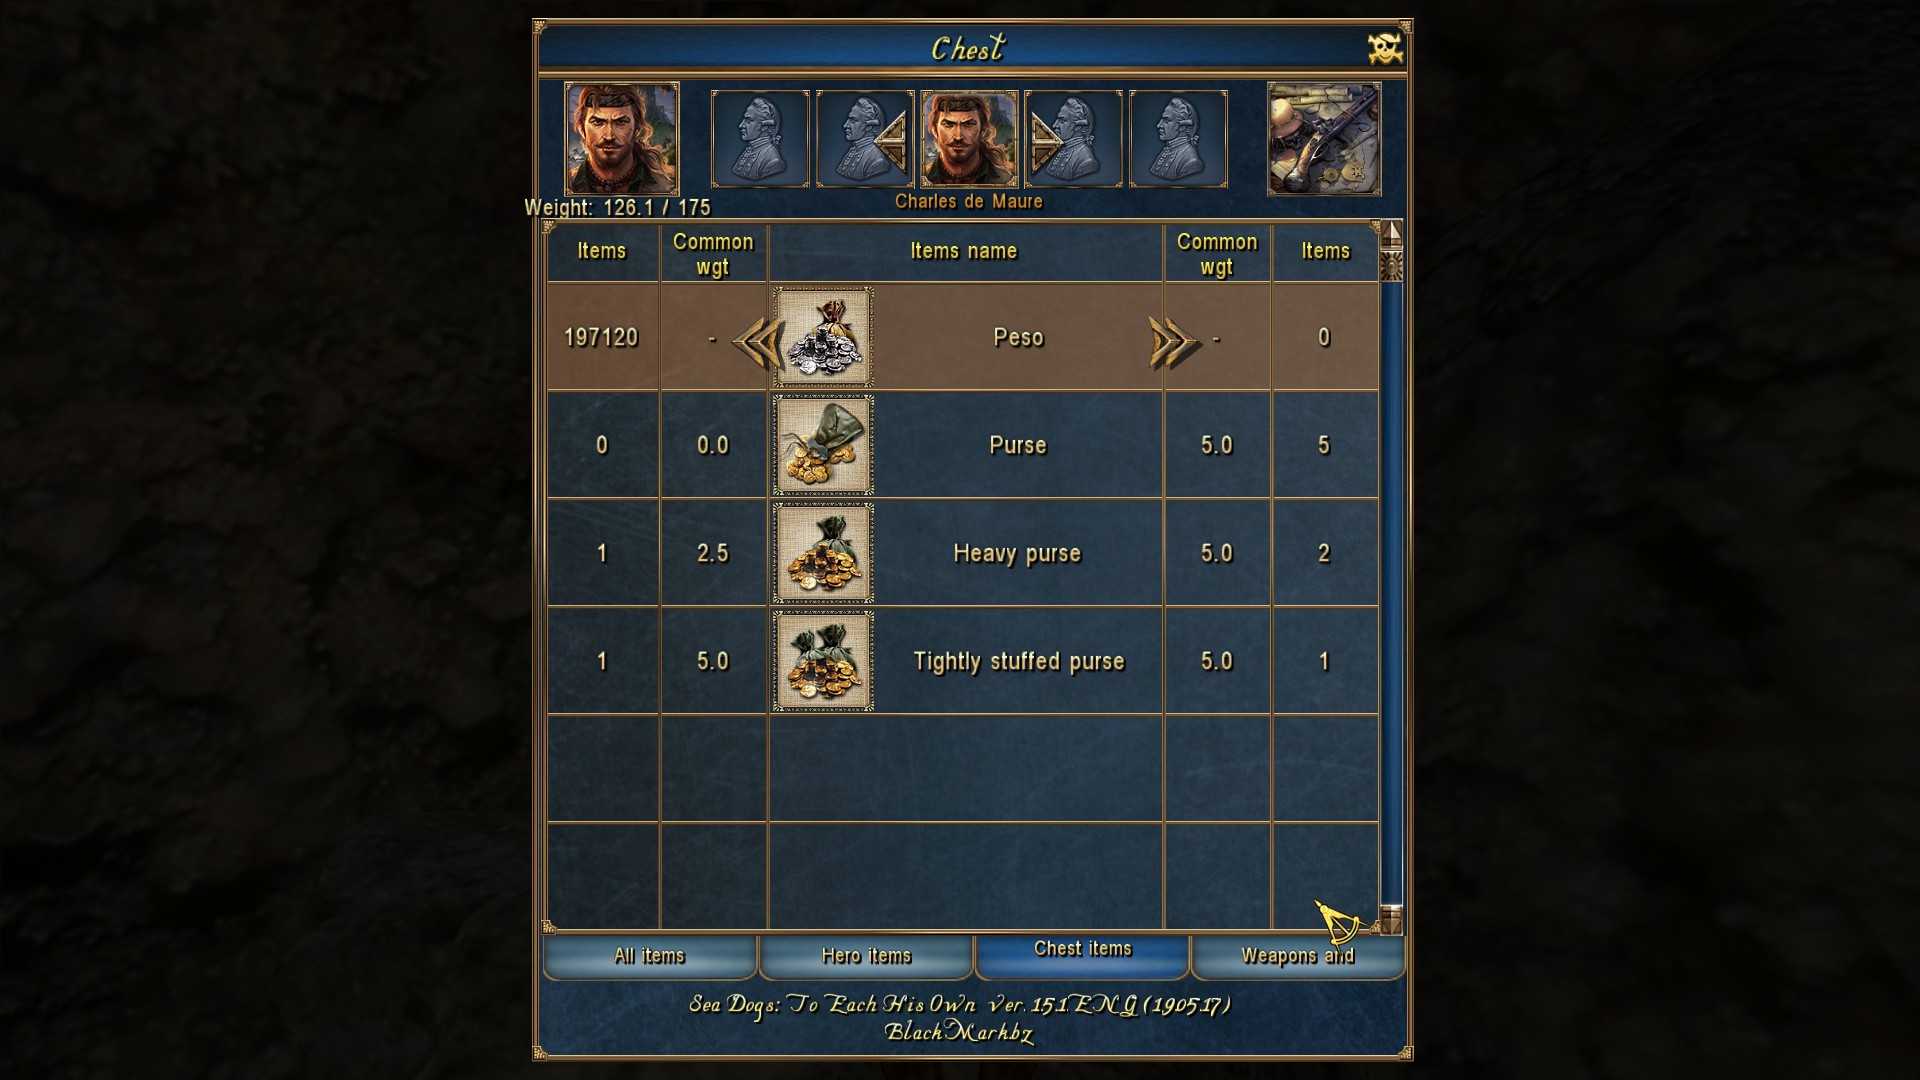
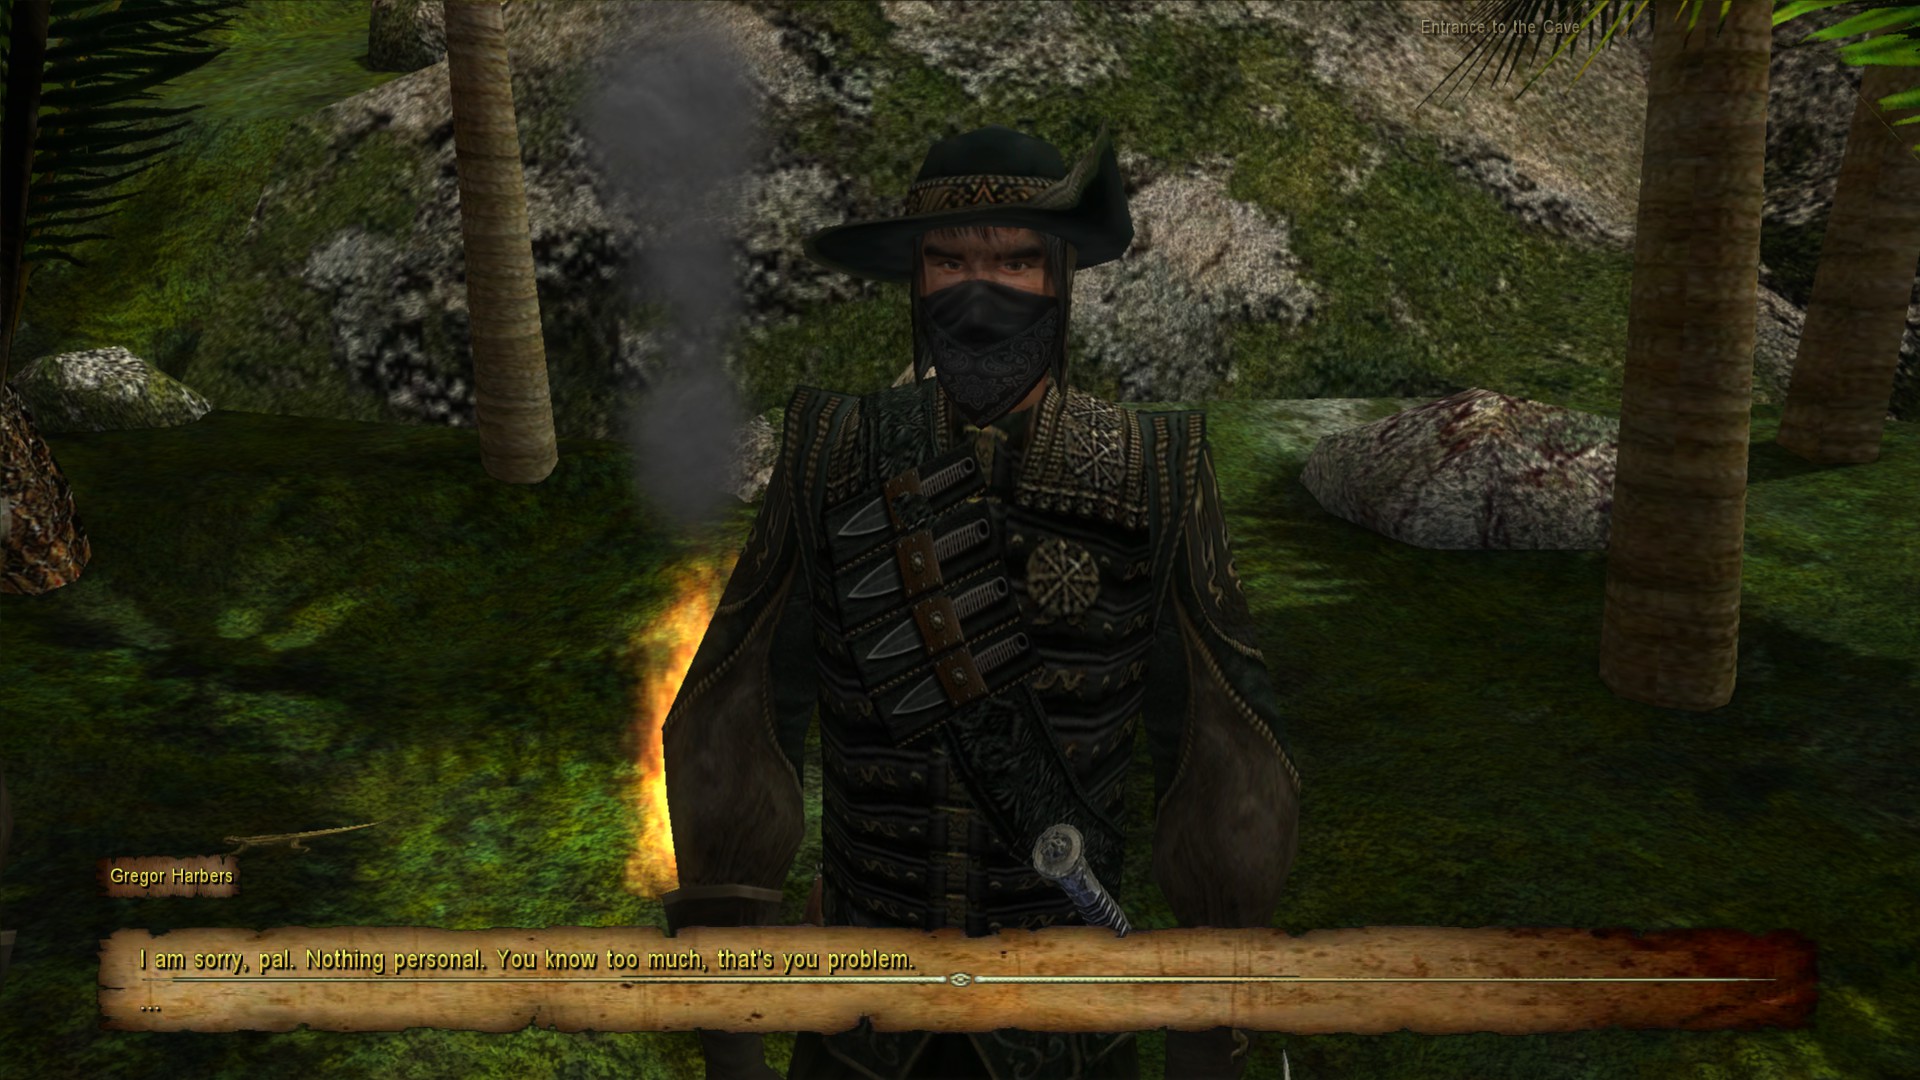
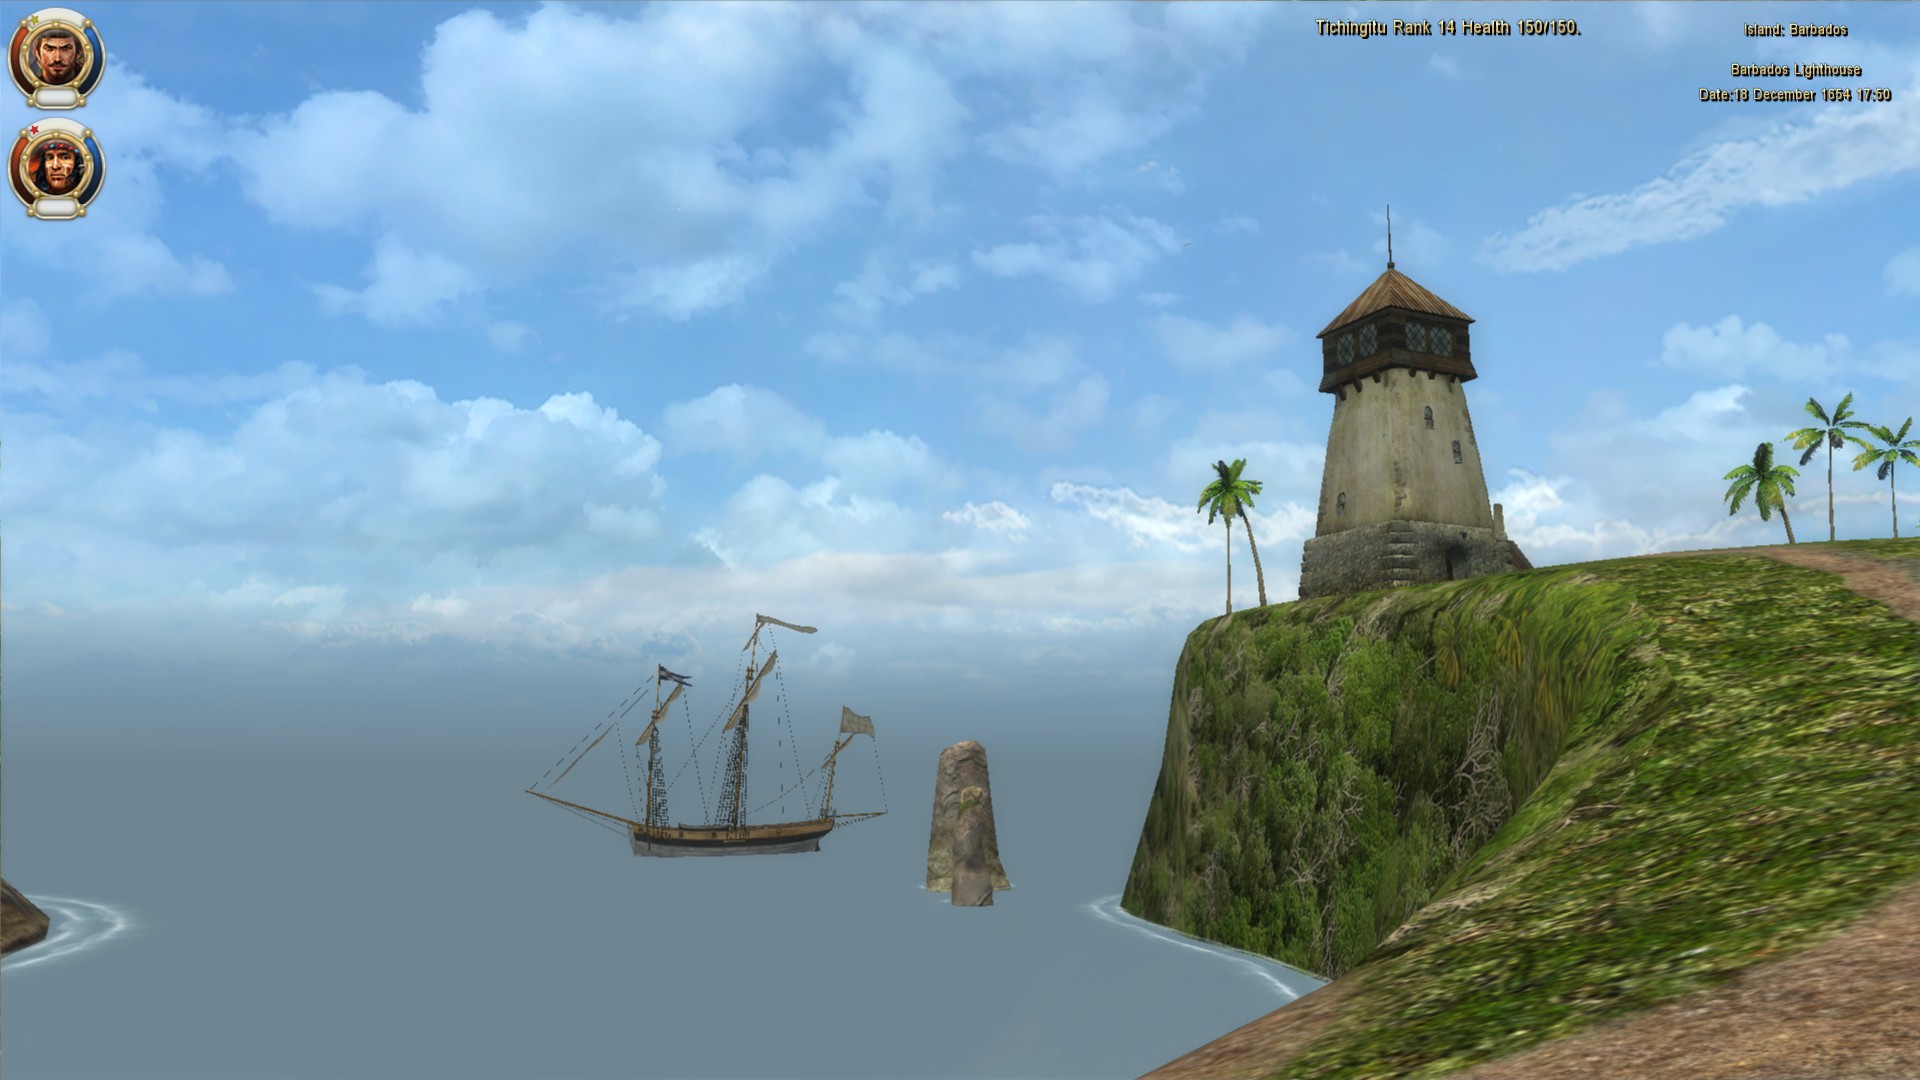
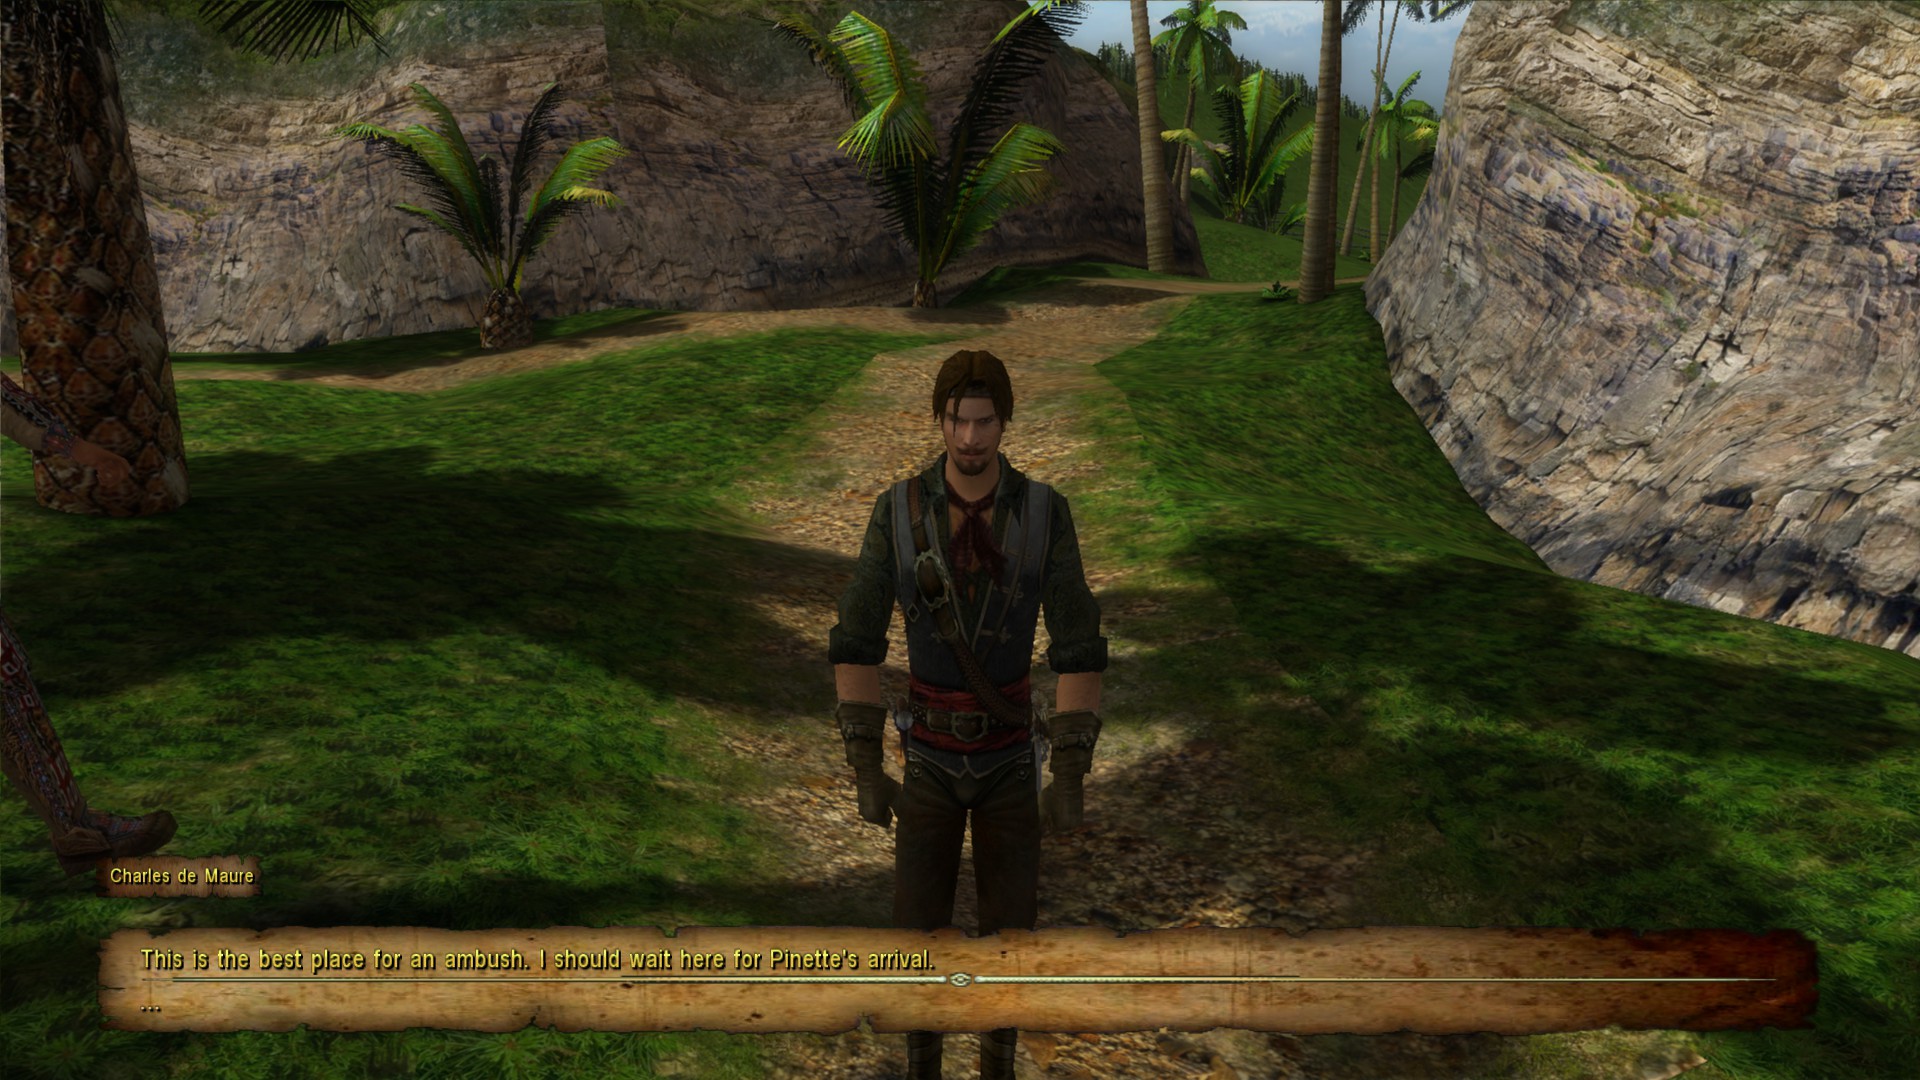
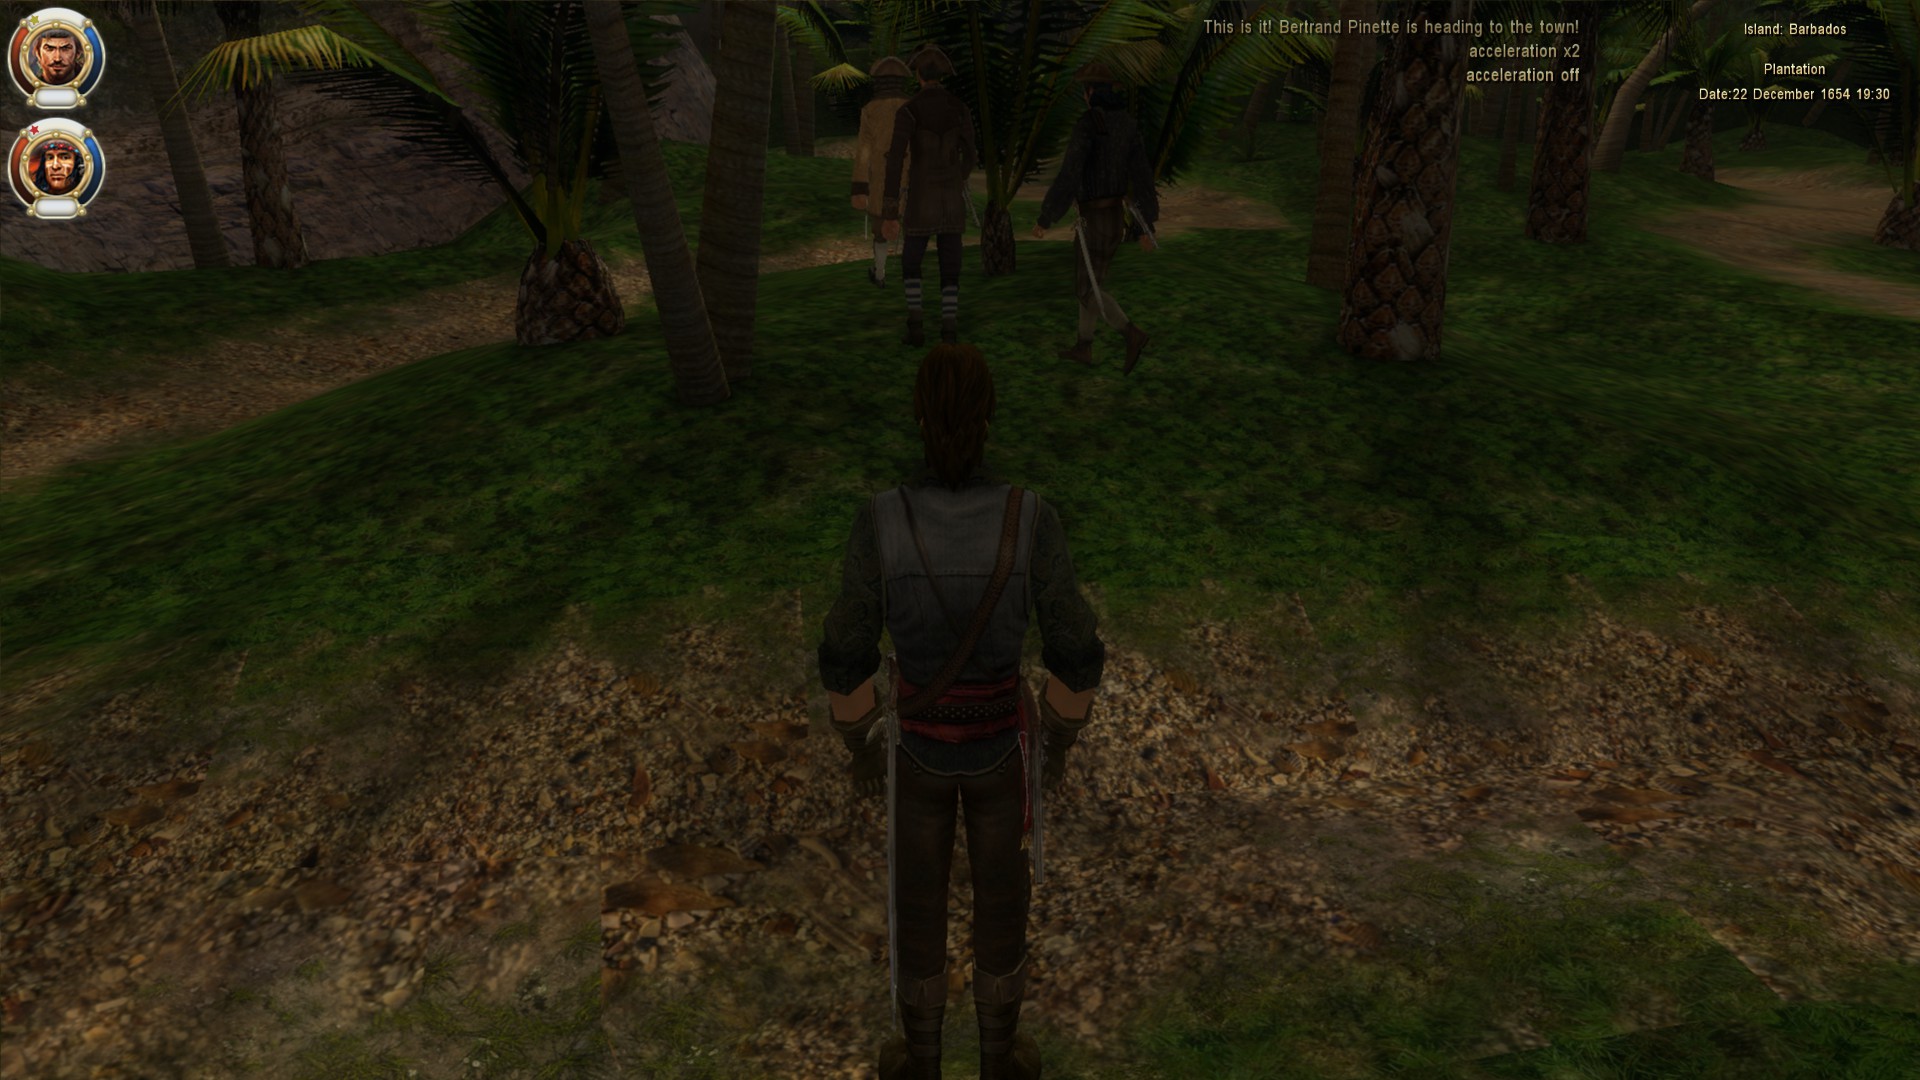
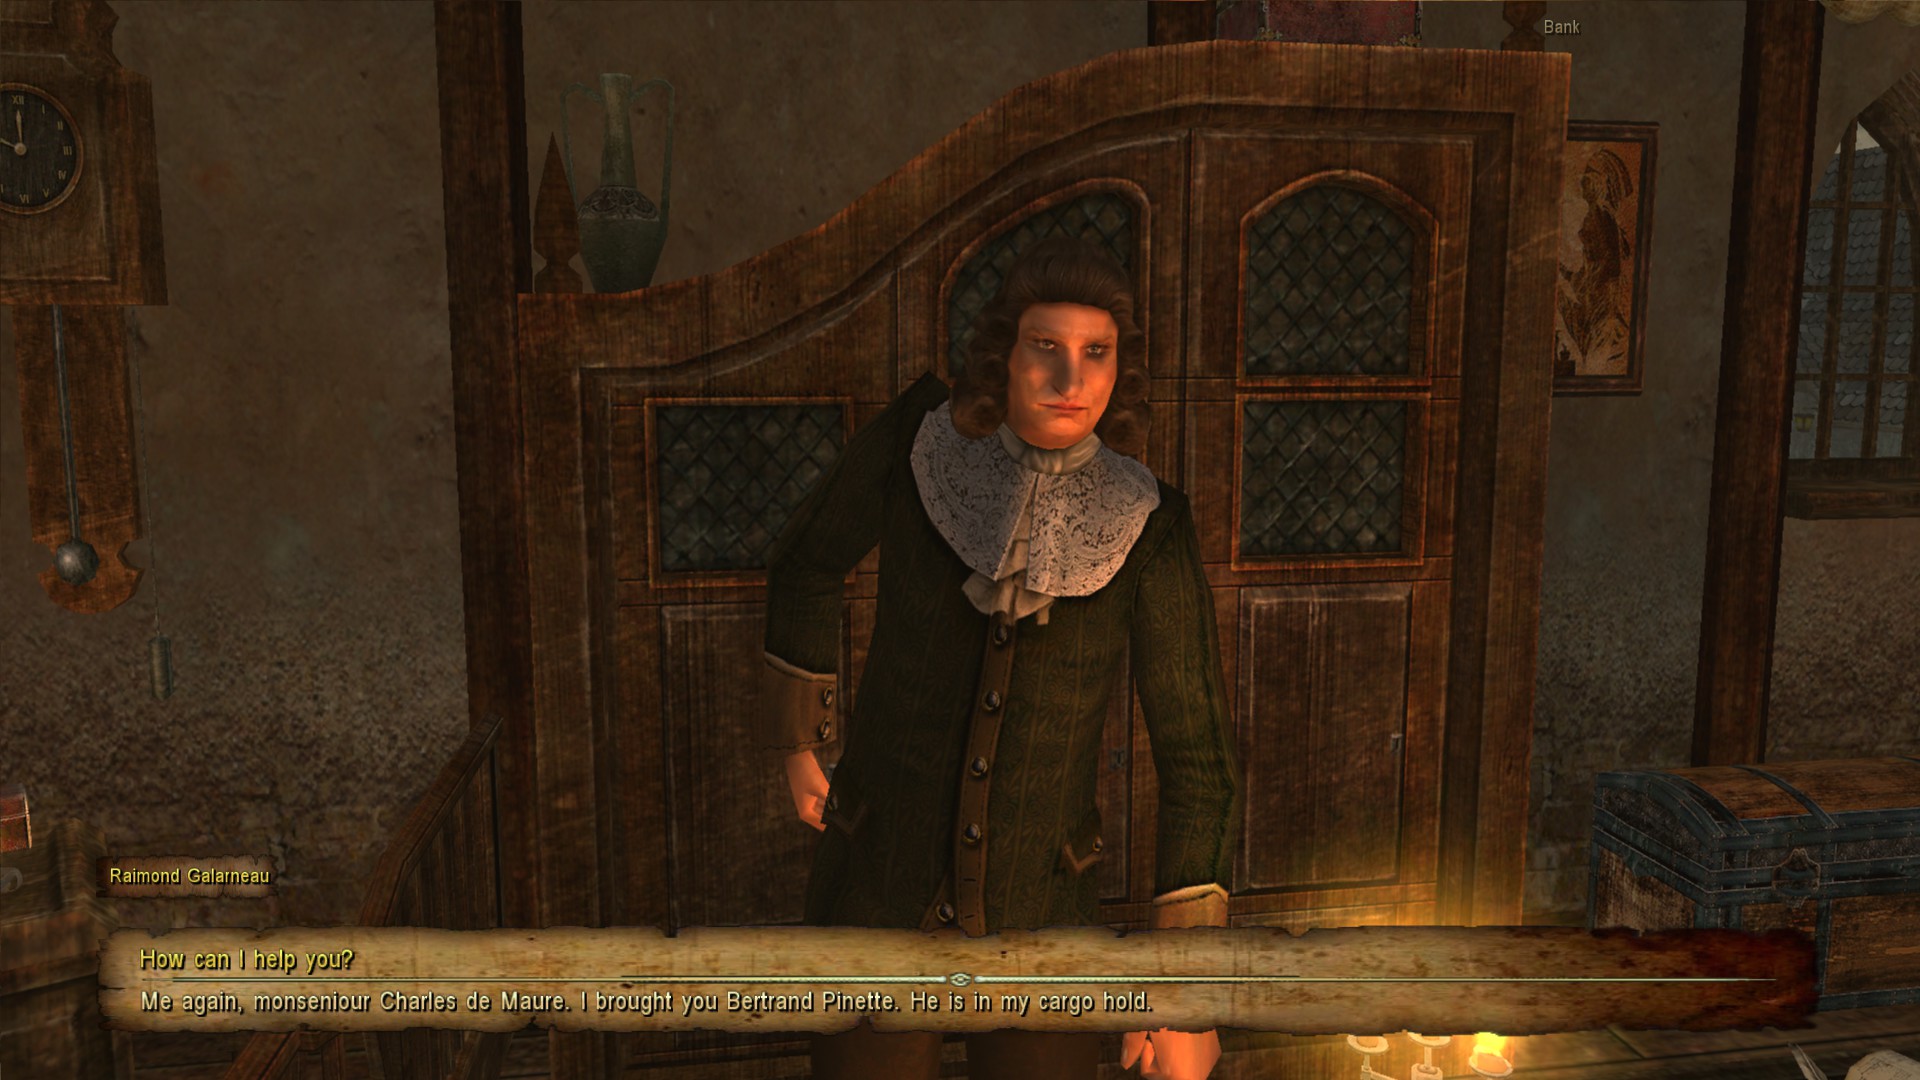
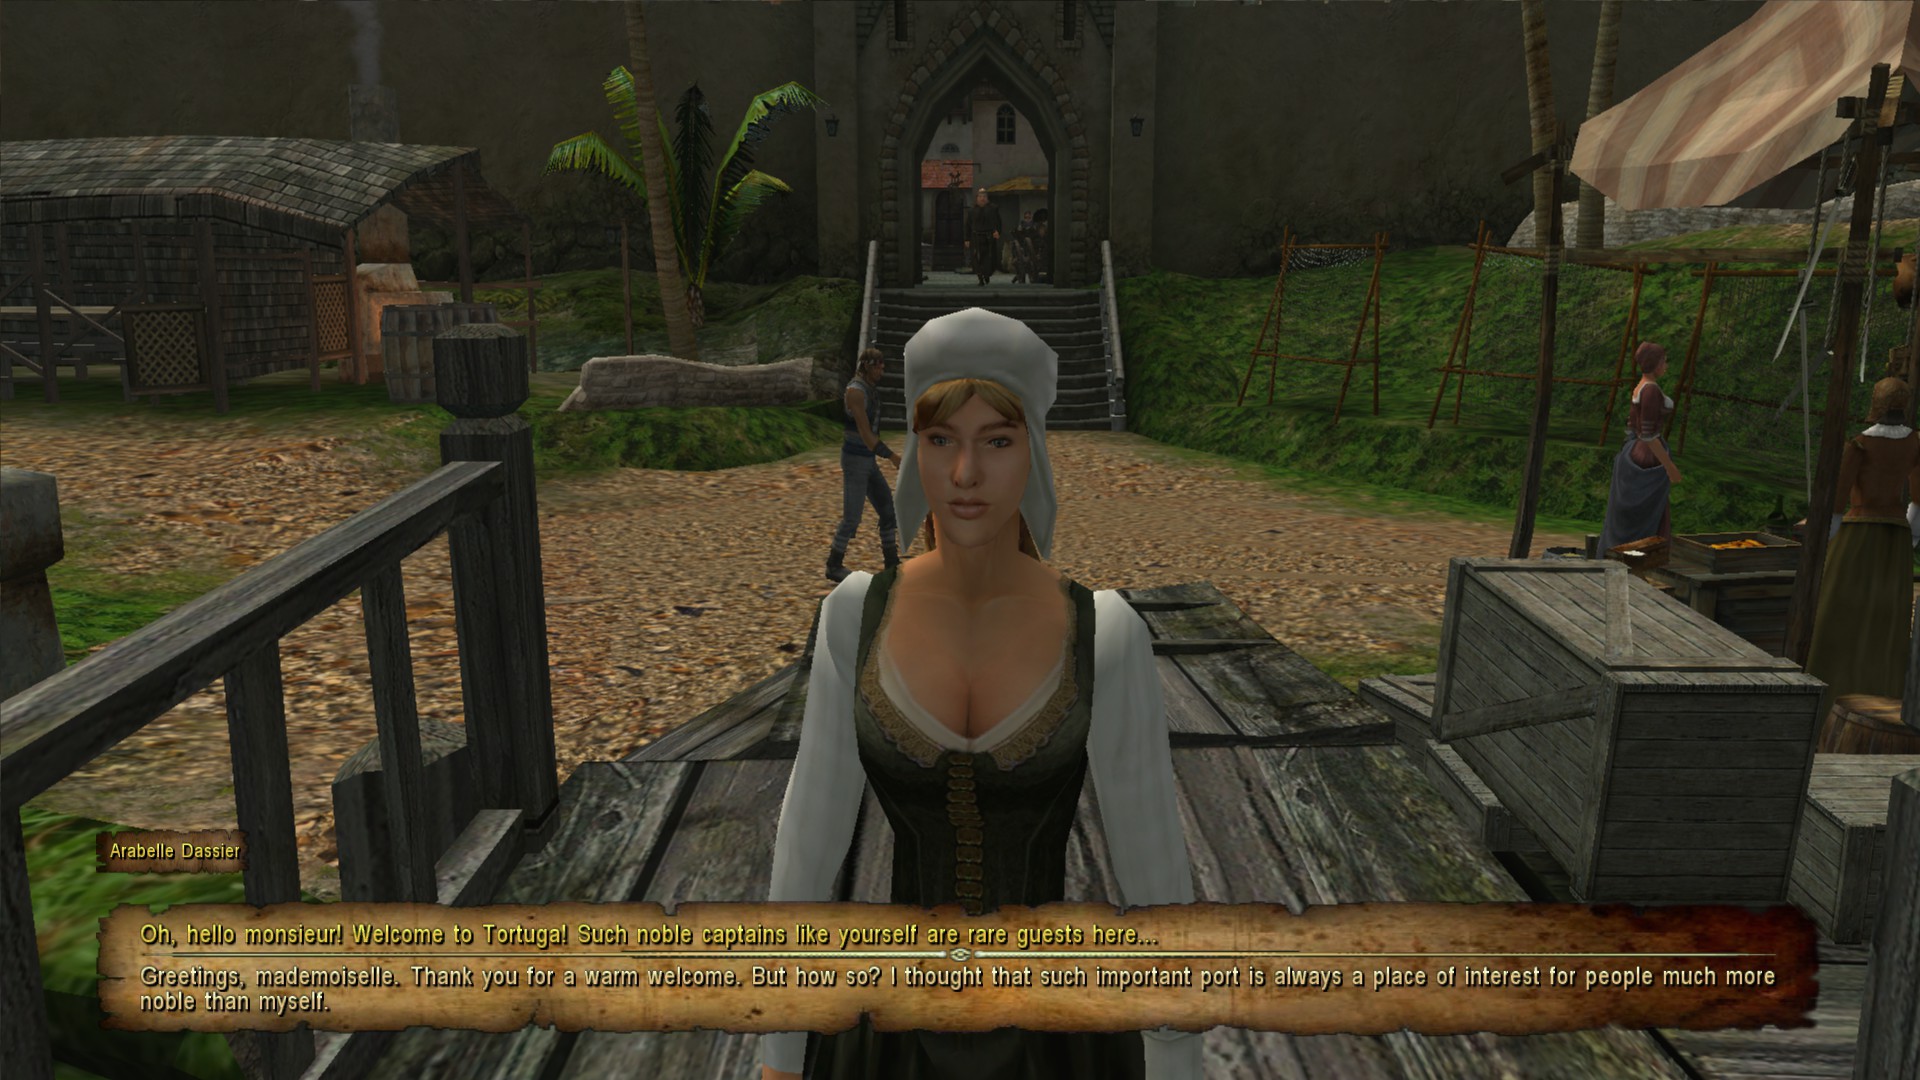
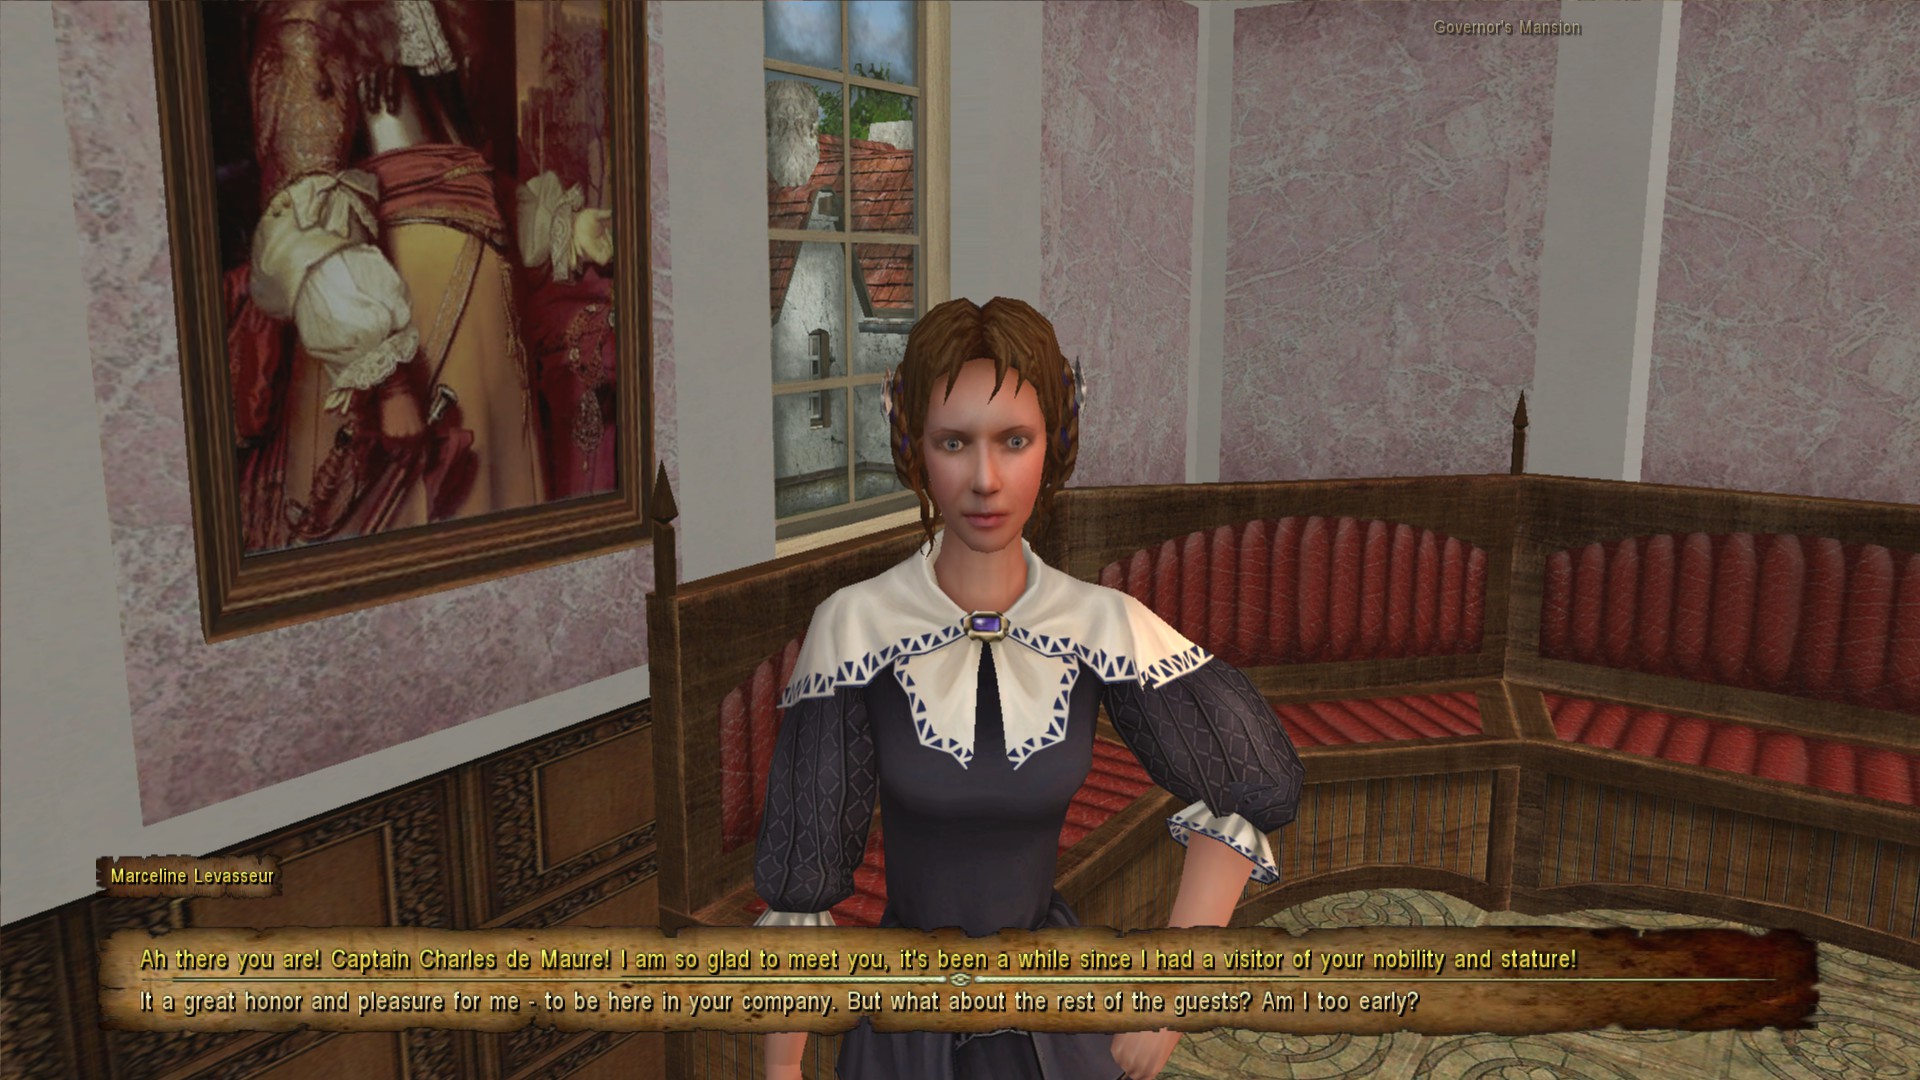
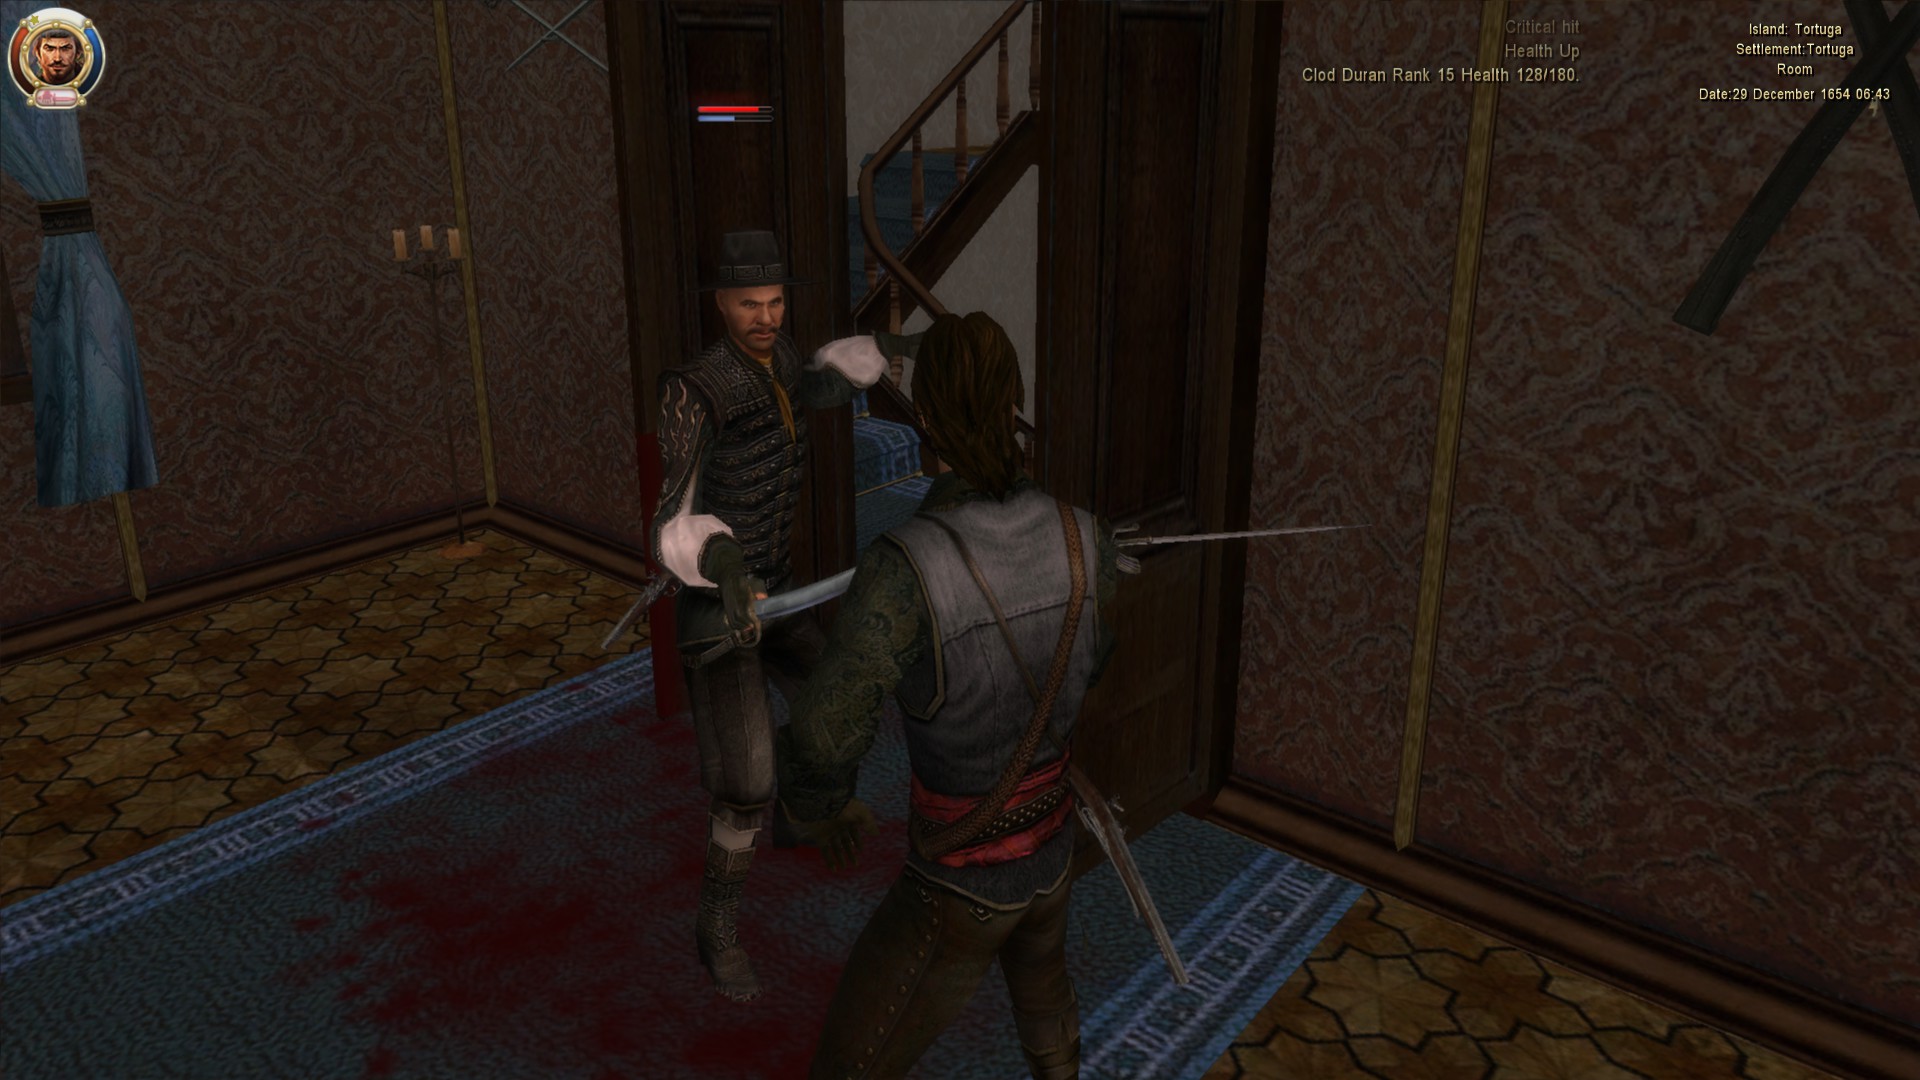
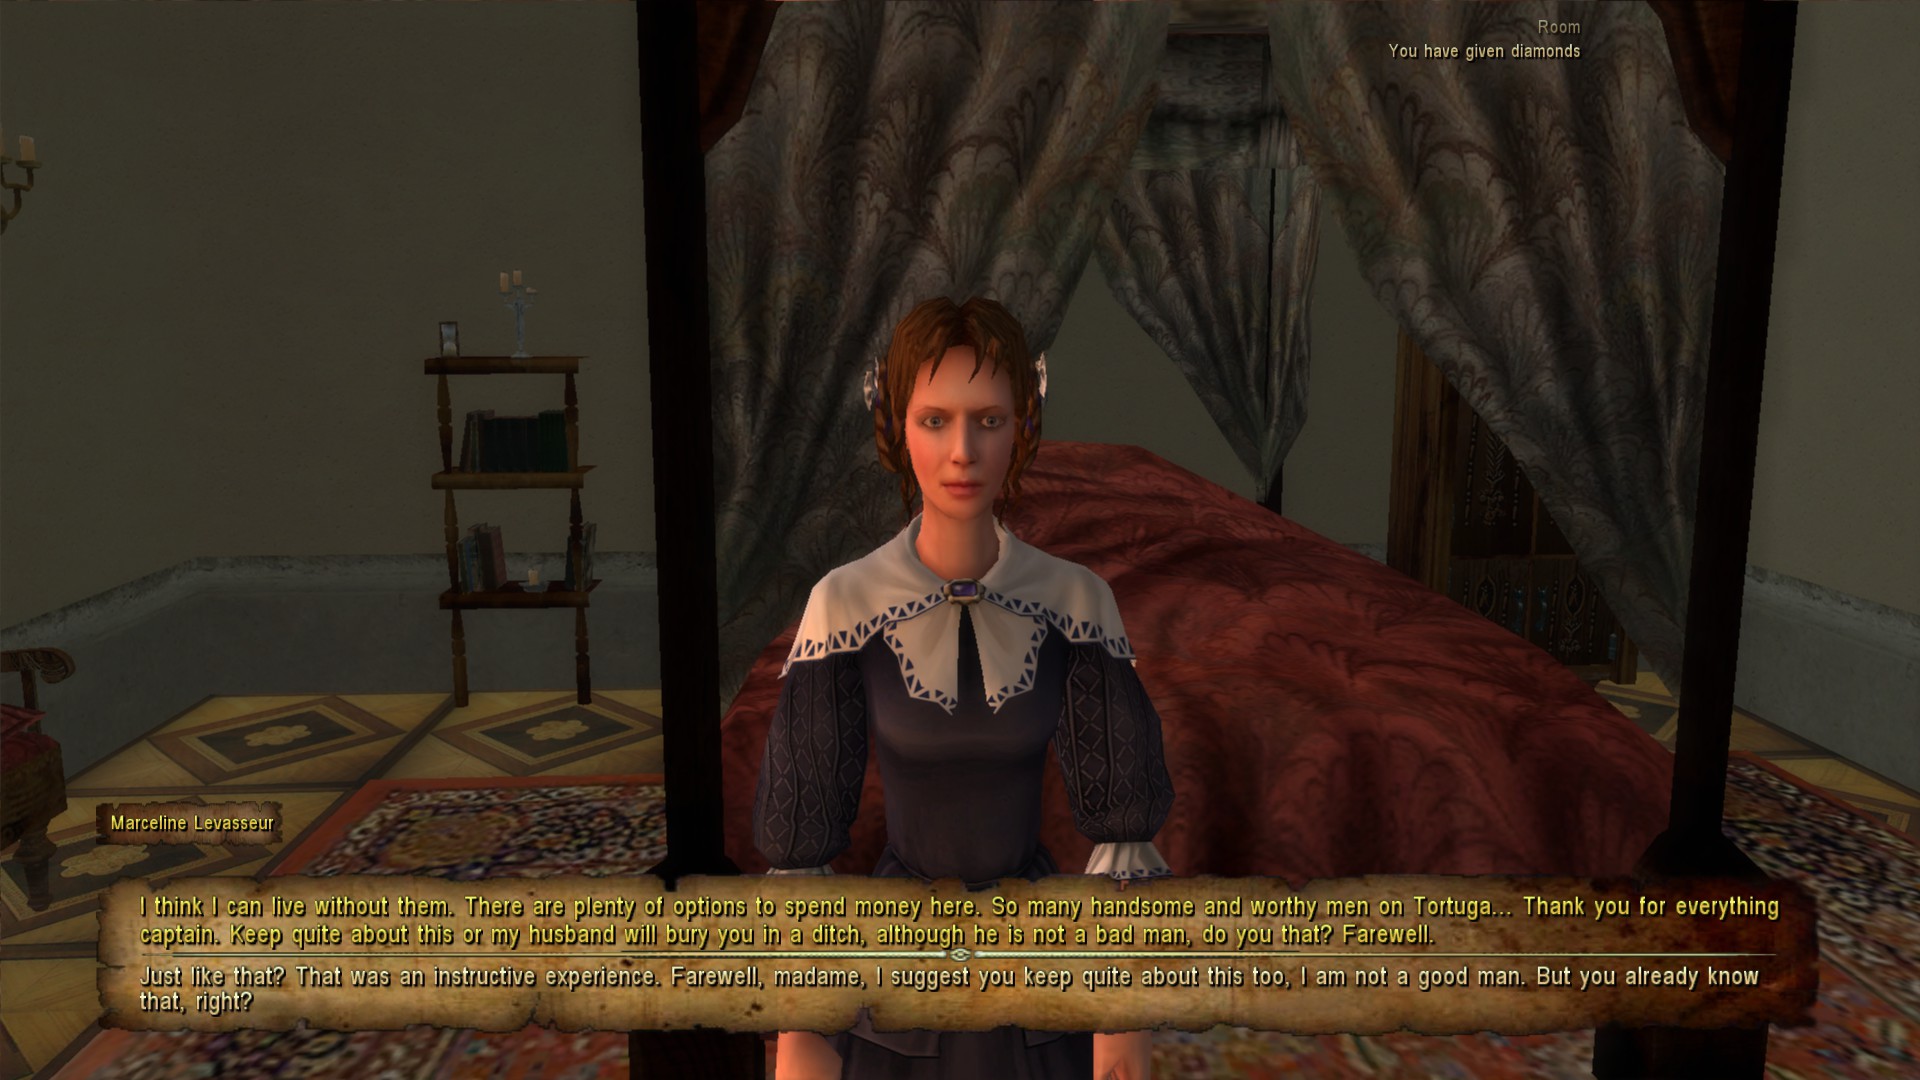
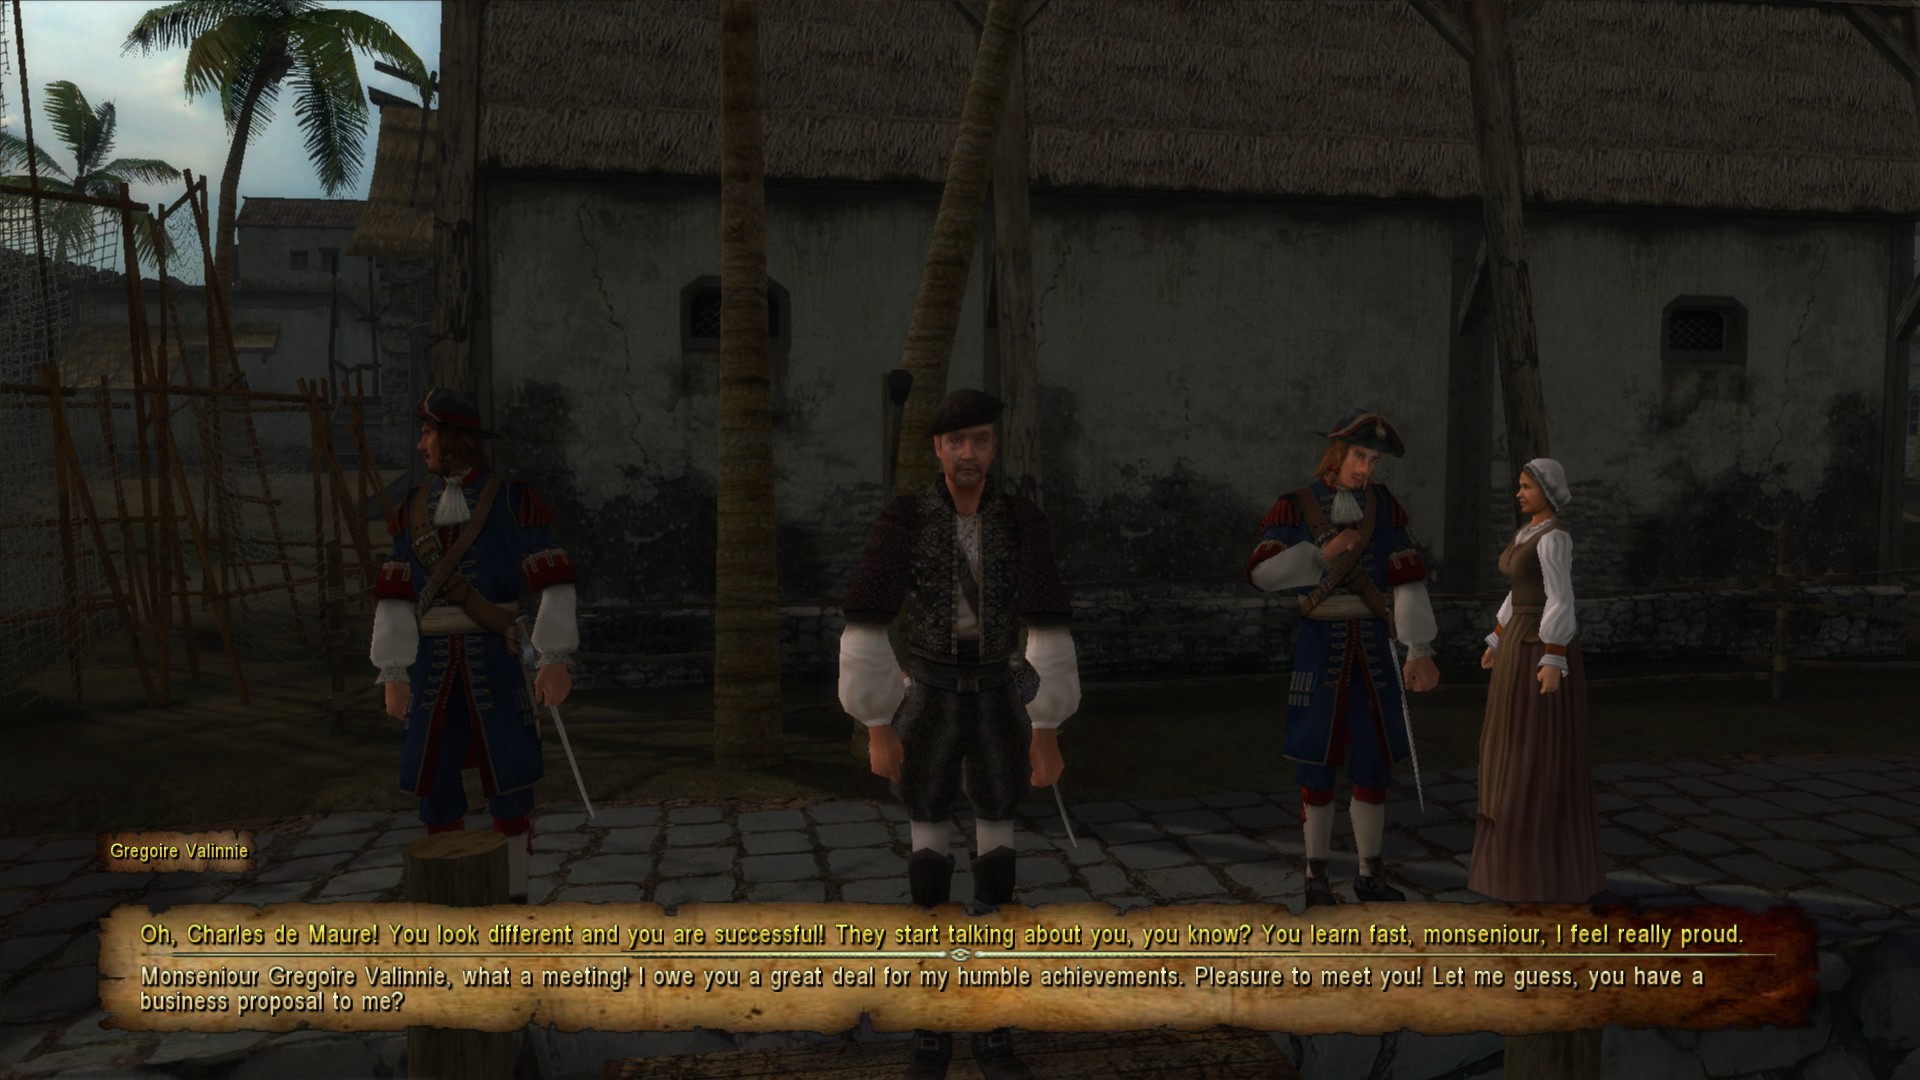
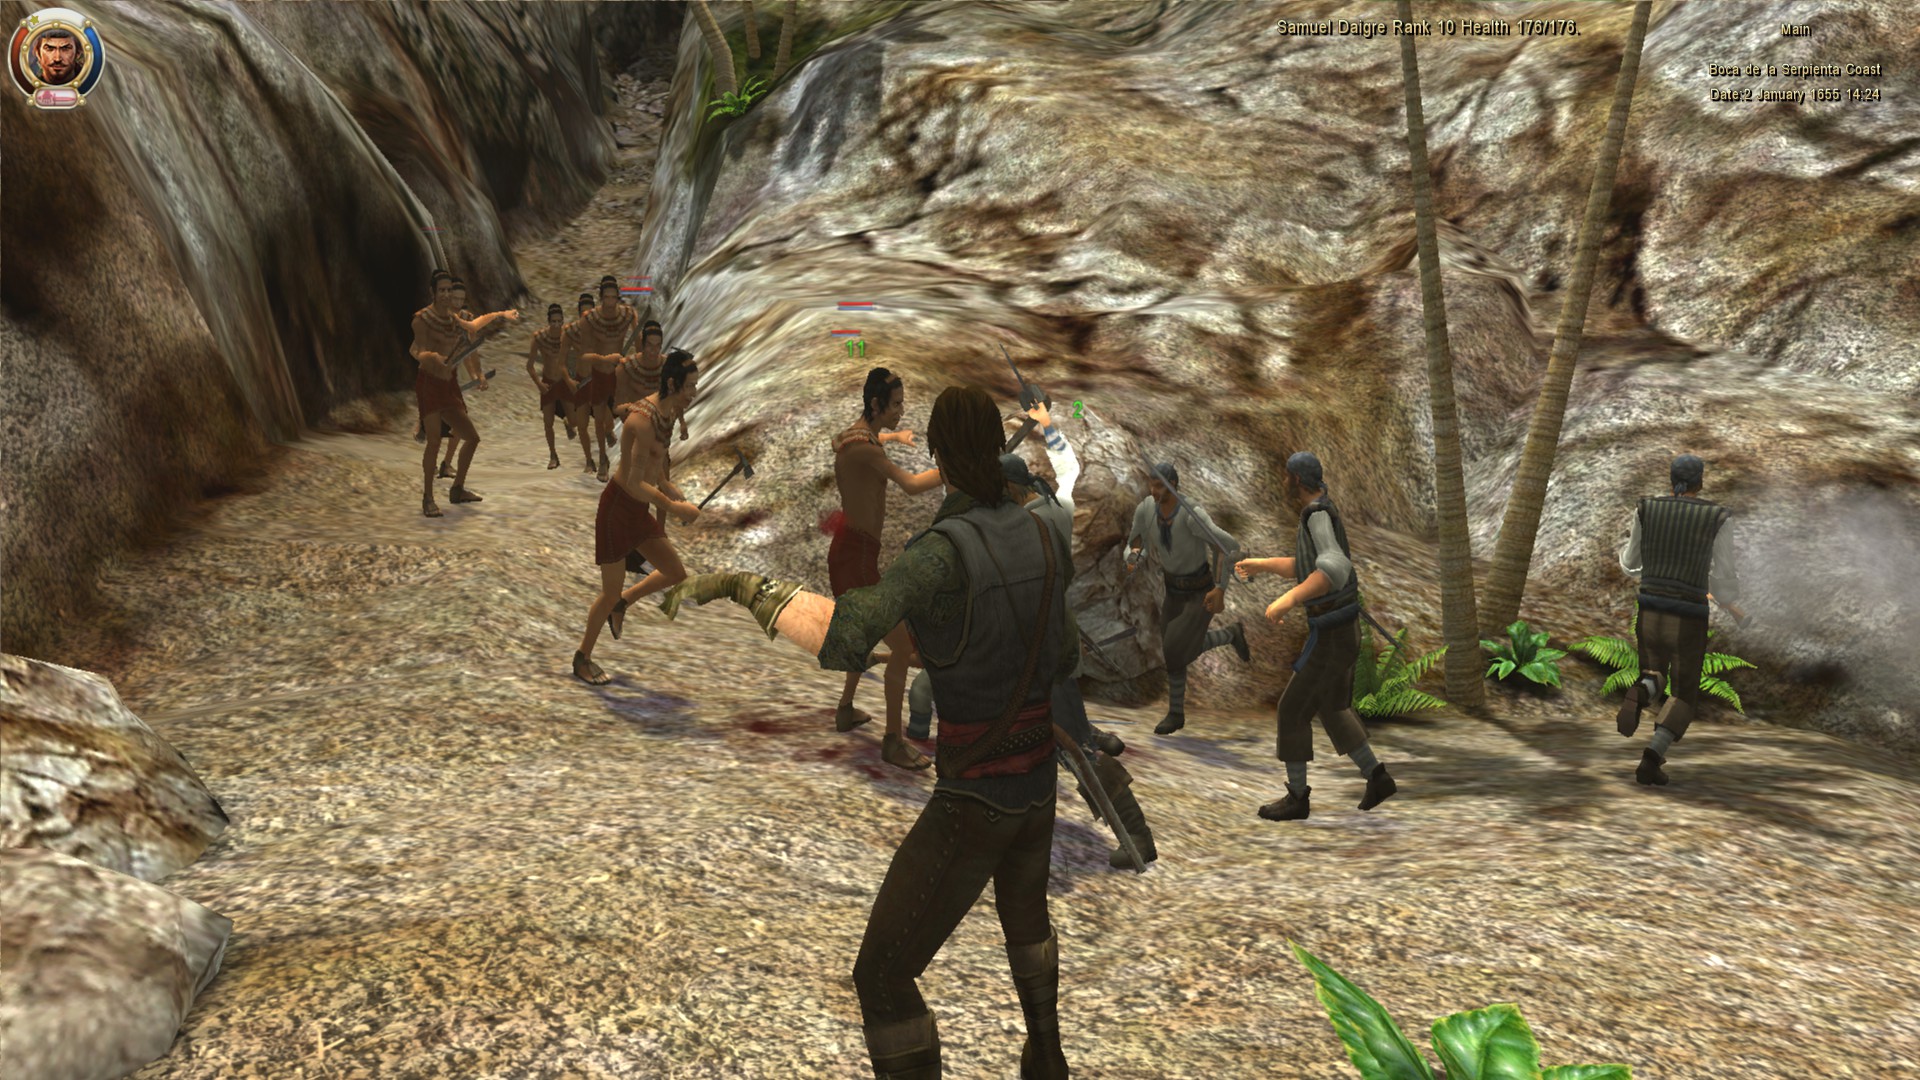
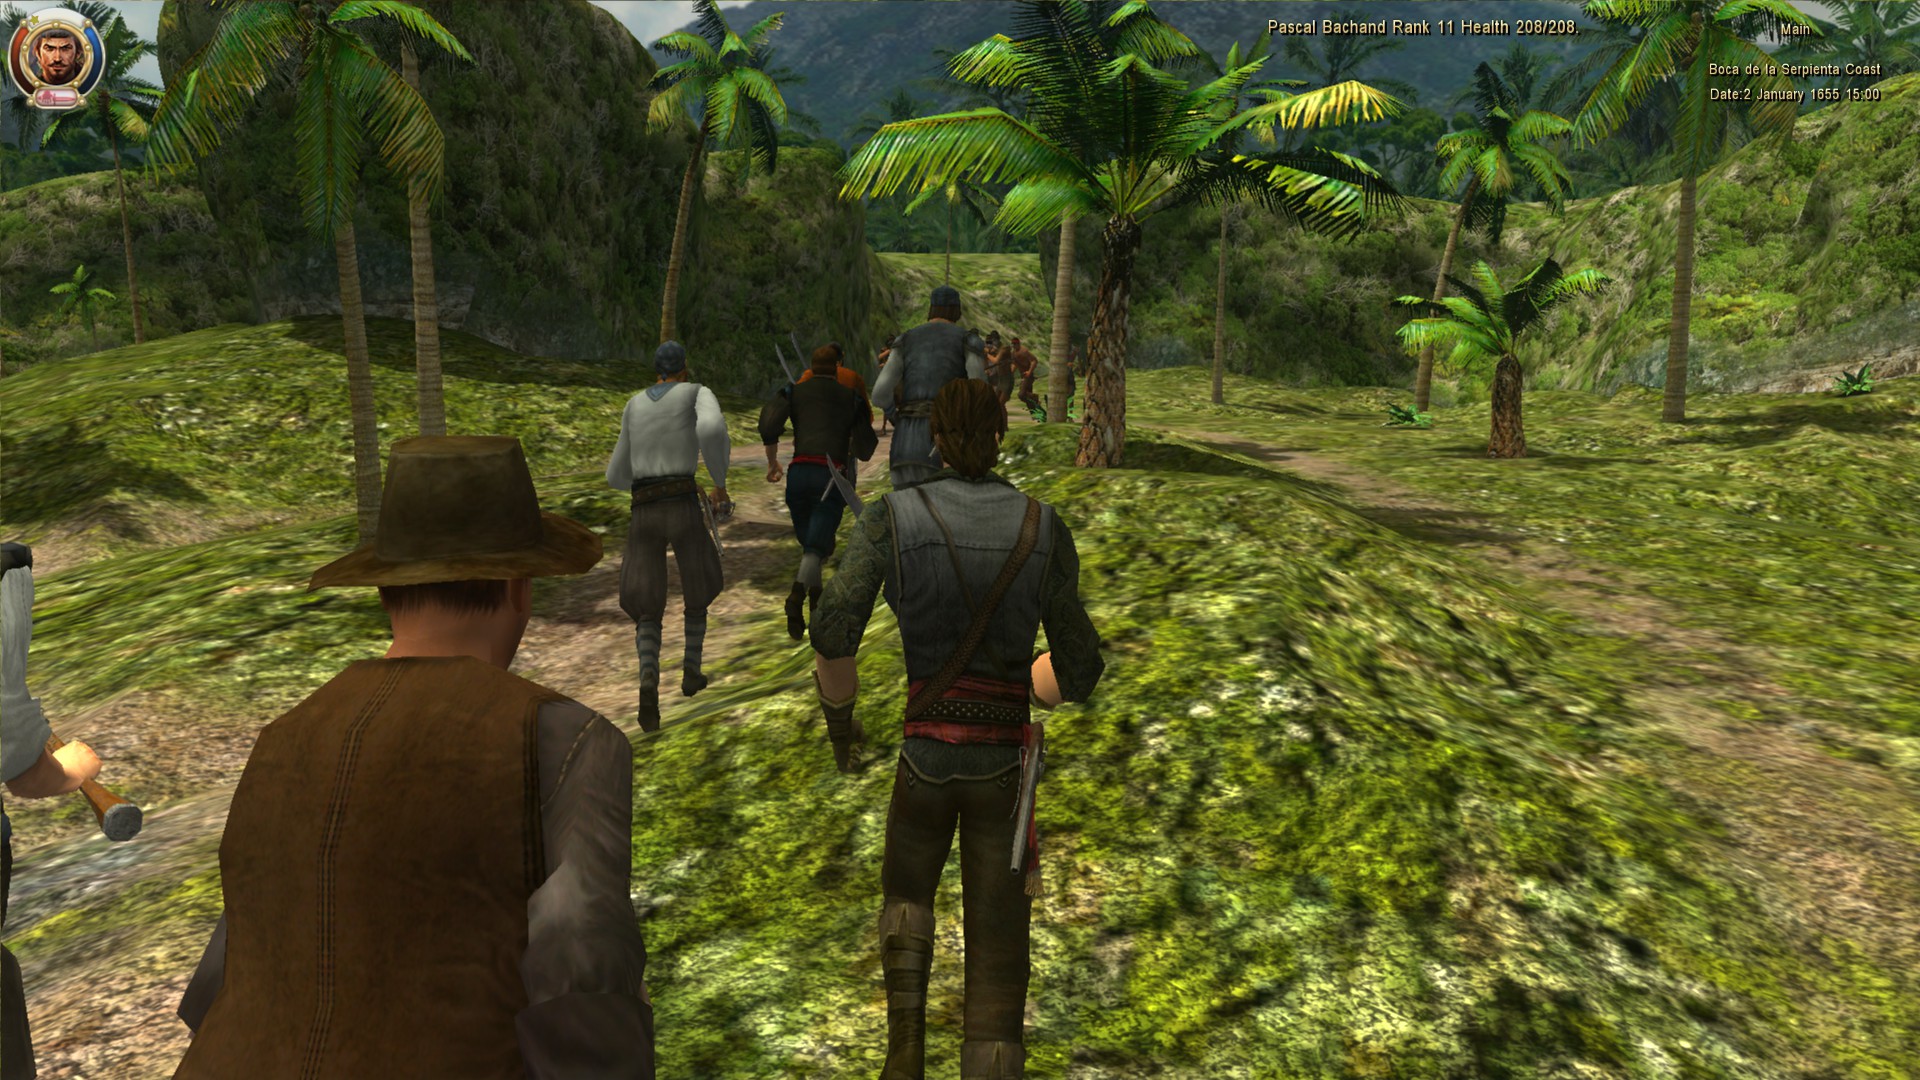
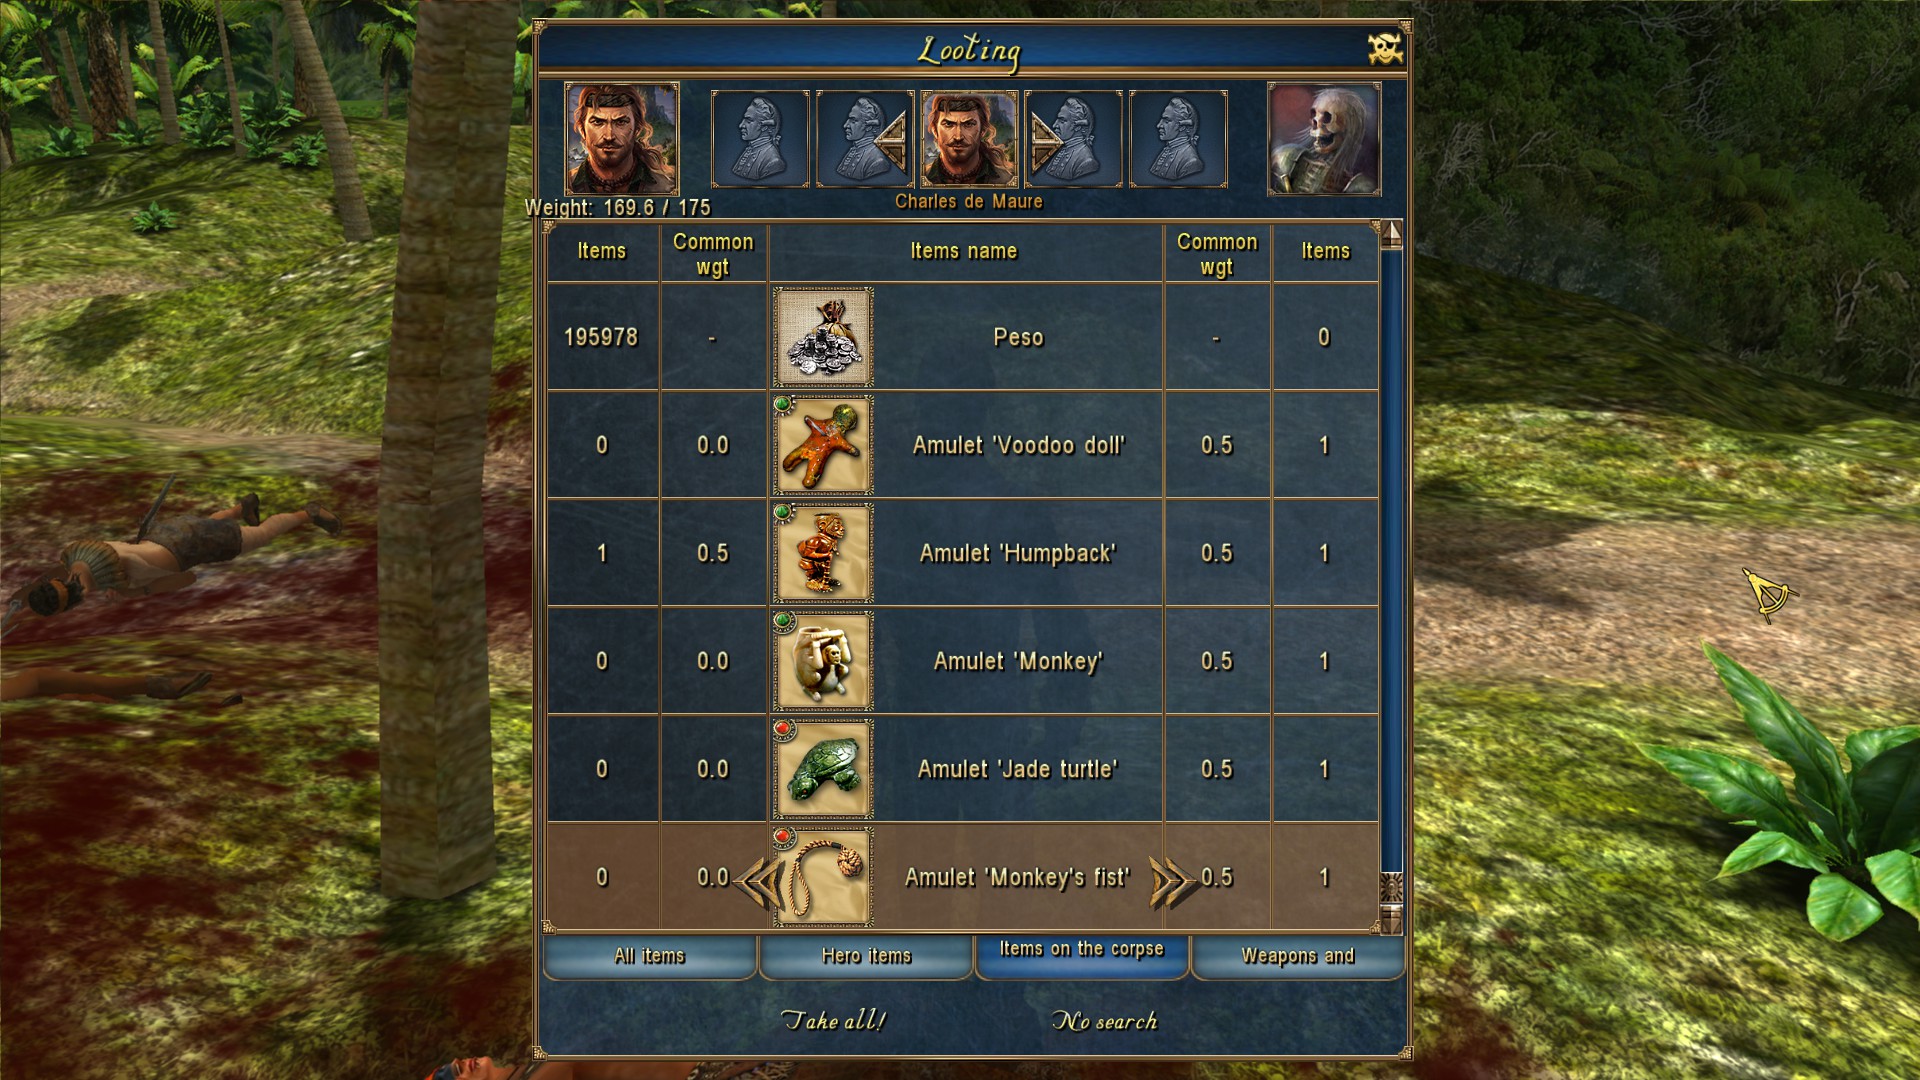
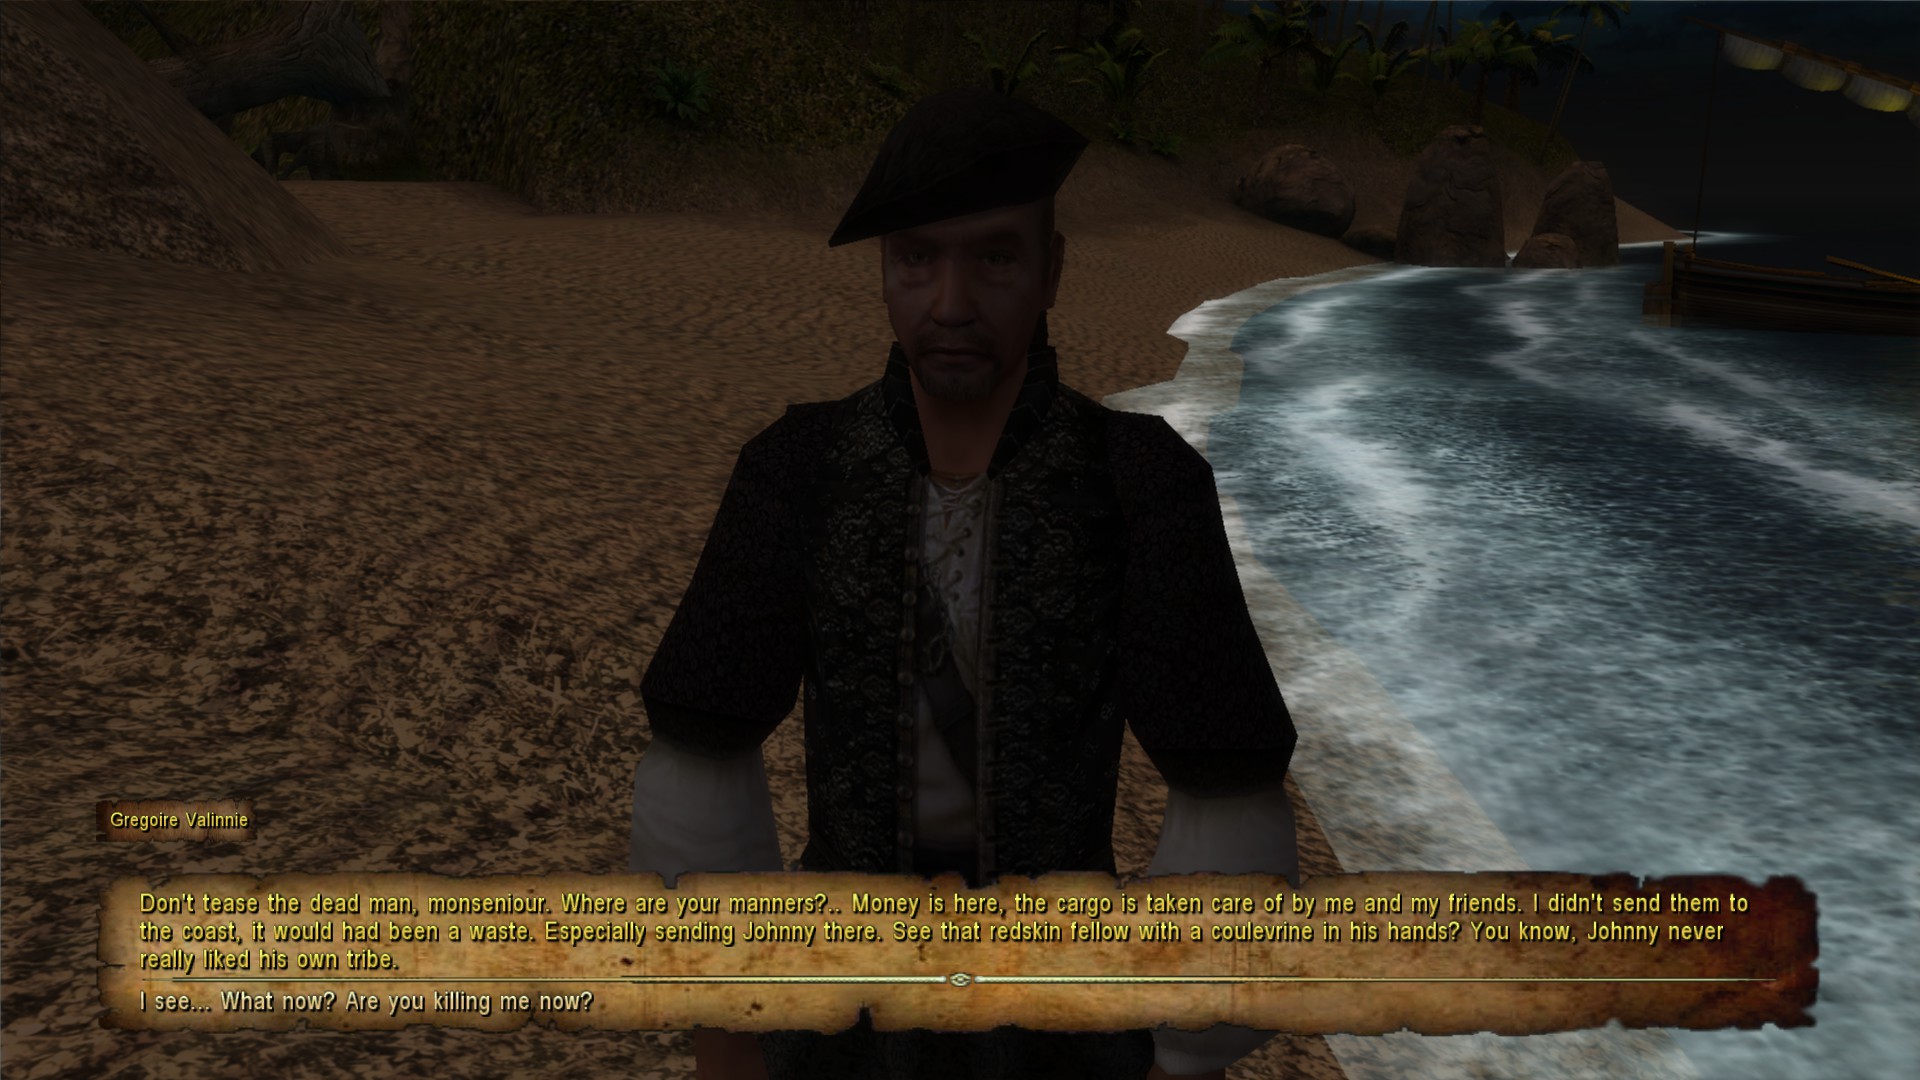
Many of the mods the guide listed were shared from the russian speaking community so I'm unsure if its possible to track these down yourself if you don't know russian. Mods I personally used from the guide were the UI mod you can see from the screenshots above, improved Charles player model, textures mod and better icons for the "Enter" menu.

Your best shot is to track down these mods from the information I have provided above or hope that the guide is brought back soon. I no longer have the mod files on my system since it's been a while since I touched the game.

Best of luck