EPOCH
Not enough ratings
The Last Guardian - EPOCH
By XenoCeratohm
Information on Enemies and Loadout, tactics to improve your play and tips for achievements and arena mode.
   
Award
Favorite
Favorited
Unfavorite
Basic Combat and Tactics
The tutorial that the game gives you when you first play is enough to teach you the basics of playing the game. You fire your weapon at the enemies and dodge when their fire comes. However, as more and more enemies appear in each wave, you may need to learn better timings.

Shooting
The best time to fire your weapon is when the enemy is not firing. If all the enemies are in sync and reloading together, stand ready to fire and shoot at one as soon as they stand up, dodging their fire just before it reaches you. If the enemies are firing and different times, you will have to choose the best window to fire, and utilise super jumps to throw the enemies tracking off of you for a few seconds. Make sure you prioritise which enemies to take out first, usually the lower health enemies, such as Gunners or Slicers, are best as you can reduce the amount of fire coming your way.

Dodging
You want to keep moving. The more you move, the harder it is for enemies to shoot you. Usually you have a short window to shoot enemies before you have to dodge after a roll. A super jump will give you a much longer time to fire. You can also utilise cover to avoid fire. It is best to reload behind cover, as some weapons have a long reload time. Watch and listen out for grenades, they are easy to dodge if you are aware of their location. You can use the speed of the sound replay to know exactly what time to dodge the grenades.

Counters and Missiles
Using Counters and Missiles is essential to do when you are not taking fire. You will be locked into a stood up position for a few seconds, so make sure you will not receive heavy fire for the duration, or you will find it much harder to complete the level or survive arena. Missiles are best to use for crowd control. Counters are great for finishing off enemies that survived your clip on low health.

Boosters
Boosters are great for reducing the damage you take and increasing the amount of damage you can deal to enemies for a short time. There is more on boosters in the Loadout section, but make sure you use them as much as possible to get the most out of them.
Loadout
There are many weapons and armours in EPOCH, each with a slightly different way of firing or a different perk. It's mainly down to personal preference which ones you choose, but this section should give enough information to allow you to choose, or see what a weapon does before you buy it.

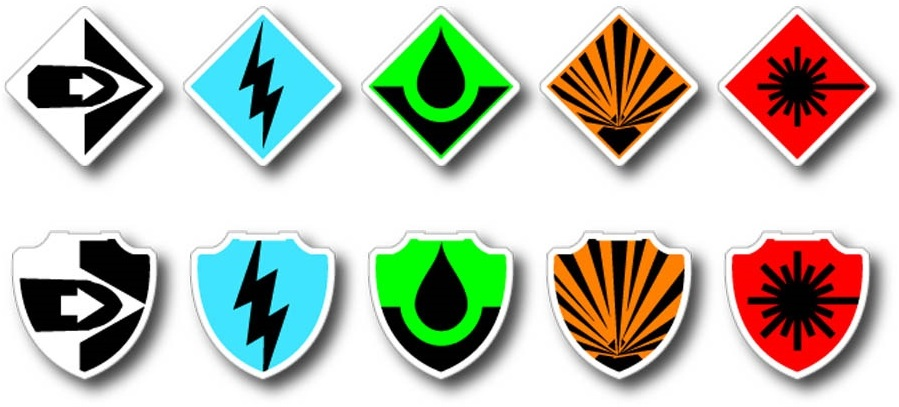
From left to right; Kinetic, Shock, Corrosive, Explosive, Laser

These are the weapon and armour types. The top row being weapon, the bottom row being armour. You can see these icons on the picture for each level, so you know the strengths and weaknesses of the enemies for it. It is best to choose armour that has the same type as the icon on the left, and any weapon that has a different type to the icon on the right.

When scrolling through the store, the weapon or armour most to the right will usually have the highest damage or health. These are always good choices, however, the weapon may not suit your playstyle or work well with your chosen booster. A good way to try out weapons is to buy the cheapest one and test it on easy mode. Golden Hydra is generally the best armour, it has the highest health and a base repair rate.

There is only one weapon for each type, and each fire slightly differently. With most weapons, it is best to focus your fire on one enemy until they are dead, before moving onto the next. However, with the Shock weapons and Corrosive weapons, spreading out your fire can output more damage, especially with the chaining on the Shock weapons, or changing targets when you know the damage over time of the Corrosive weapon will kill the enemy you were attacking.

Weapons
Kinetic
The Kinetic cannons are standard weapons, firing the bullets at enemies with a decent accurarcy. The King Hit (Tier 4 Kinetic) has a great fire rate, and a very reliable accuracy. King Hit can fires continuously if you hold down the fire button. The reload on it is at standard speed, so pairing this weapon with Overdrive will enable you to unload the full clip and reload before the booster runs out.

Shock
The Shock chain weapons do smaller damage per shot than the other weapons, but this has the added effect of each shot bouncing onto and damaging nearby enemies. Zeus (Tier 4 Shock) has an slow fire rate, firing on bullet at a time. It has standard reload speed. It is best to shoot enemies in the middle areas so that shots are more likely to damage nearby enemies too. This weapon takes a long time to take out single enemies, so can be quite hard to use effectively without practice.

Corrosive
The Corrosive damage over time weapons fire bullets that do a set amount of damage, but this damage is not applied instantly. The Liquifier (Tier 4 Corrosive) will fire its clip in 4 shots, with a decent cooldown after each shot, making a shoot-move-shoot tactic quite effective. These weapons also have the standard reload speed. Due to the damage over time, once an enemy is on low enough health, you can change targets and let the corrosive effect finish off the previous one. The lack of instant damage can make it hard to pick off targets quickly, so waves with a lot of enemies could be difficult.

Explosive
The Explosive weapons fire grenades similar to a Grenadier, which are capable of hitting some enemies in cover, at the cost of a bit of damage reduction. The Boomer (Tier 4 Explosive) can fire 4 grenades, which a short cooldown in between. The standard reload speed enables this weapon to pack out some decent damage. The ability to damage enemies behind cover can allow you to take out any enemy you don't want in the field first. Explosions from these grenades also have a little splash damage to nearby camps, which can help with crowd control.

Laser
The Laser weapons fire similar to the Kinetic ones, and deal the highest damage of all weapons per shot. Torchlight (Tier 4 Laser) has a slower rate of fire than King Hit, but does do more damage overall. Laser weapons have the longest reload time, so it can be hard to reload a full clip if there are a lot of grenades or slicer beams around. The Laser weapons also have an unreliable accuracy, so you can miss out on quite a lot of damage if you are unable to account for this with your aim.


Counters
Counters are your throwable grenades, with each counter type changing the effect of the counter. At lower difficulties, damage counters are quite effective, but at higher difficulties, the damage output is quite insignificant, making them not worth the time to throw, so effect counters are a better choice.

Damage Counters: Kinetic, Corrosive, Explosive - These will all deal a set amount of damage to an
enemy, with the Corrosive counter doing
damage over time instead of instant damage.

Effect Counter: Shock, Laser - These counters do not deal damage, but instead apply an effect to
enemies:
Shock - Will stun enemies, making enemies both above
and behind cover stand up and be unable to
move for the duration
Laser - Slow down enemies, reducing their rate of fire
and dodge speed.

Missiles
Similar to counters, but these fire multiple rockets (varying depending on the Payload number) and do not have status effects, only damage. There isn't much to consider with missiles, so just choose the one with the highest damage and payload, and make sure that the current level does not have defence against the type of missile you have.

Boosters
Boosters are entirely personal choice to your playstyle, but some may be more effective in certain situations.

Overdrive - Can't go wrong with Overdrive, a short window to pack out damage safely whilst dodging fire and getting a free reload.

Quick Draw - Increases your weapons fire rate. Not bad for some weapons, but Overdrive tends to work better for this.

Decoy - Deploys a hologram at a camp, which draws all enemy fire but Slicers. Great for taking out enemies without having to waste time dodging. Has a very good recharge speed for its duration.

Shield - Deploys a complete damage barrier at one camp. Protects against all bullets but not Slicer beams or grenades.

Bot Doc - Recovers health. The lower tier Bot Docs aren't overly worth it, and whilst highest tier Bot Doc is good, using Overdrive to avoid taking damage is much better than using Bot Doc to recover it, especially if you use an armour that has its own repair rate.


In summary, it's best to choose a loadout that suits your playstyle, but if you're struggling, try changing out to see if any other tools work better for the job.
Enemies
There are 5 different enemies in EPOCH, 4 you will encounter in most gameplay, and one boss. Each of them can cause different problems for you and will each need a slightly different method of fighting.

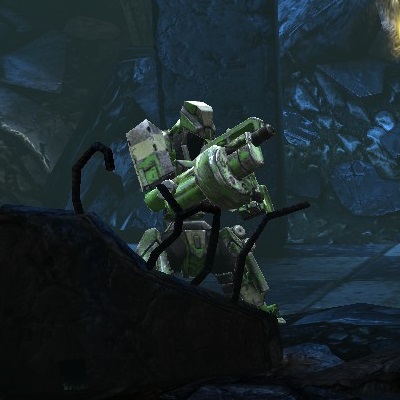
Gunner
The Gunner is the standard soldier unit, the will fire their full clip at you and then reload. Most will take cover whilst reloading. The rate of fire of Gunners varies, the slower ones tend to have a higher damage, so avoid standing in one place for too long. Some Gunners will fire their clip in 3 short bursts, so dodging is a good way to avoid them. Gunners weapons can be any of the five types, and the bullet will look different for each one, as well as make a different sound. At higher difficulties, Gunners will get more evasive. Whilst easy to dodge, they make it hard for you to take out high value targets such as Grenadiers, so sometimes taking out Gunners first is the best way to minimise the damage you take.

Overall, Gunners are not a threat alone, but a few of them in a crowd can make it hard for you to keep your health up.
- Dodge their shots just before they reach you
- Super jumps throw off their tracking for a few seconds, utilise this to avoid them
- Gunners have standard health, so a full clip should easily take them out
- If you can't focus the high value targets, take out Gunners to reduce the pressure on you


Grenadier
Grenadiers are self explanatory, they fire grenades. Their grenades will sit at your camps and count down for a few seconds before exploding. You can tell how close a grenade is to exploding by how fast the sound cue is going. However, this can be difficult if there are many grenades at multiple camps. In crowded areas, Grenadiers can be very difficult, as sometimes you will be unable to dodge enemies such as Gunners or Slicers, and other times you will not be able to stay undercover as you will need to super jump to the far camp. They are a high value target, which you should try to prioritise taking out first, however, they tend to reload and stay under cover for a long time, meaning you may not have a window that you can use to shoot them without taking damage. Grenadiers also have more health than other enemies, which makes it take longer to take them out. On the last section of the level Humanity Concourse, Grenadiers can serve as a big problem, so the best way to counter them is to take out the Slicer first, so you can easily dodge the grenades.

Overall, Grenadiers in a crowd are the most dangerous, as a single Grenadier can be dodged very easily, so you will need to evaluate each situation in order to decide whether its best to take out the Grenadier first or not.
- Listen to the sound cues to know when a grenade may explode
- Try not to be in situations facing multiple Grenadiers, as every camp will have a grenade on it
- Grenadiers have high health, so taking out lower health enemies first can reduce the damage you
could take
- If there is no window to take out the Grenadier, take out its support first


Slicer
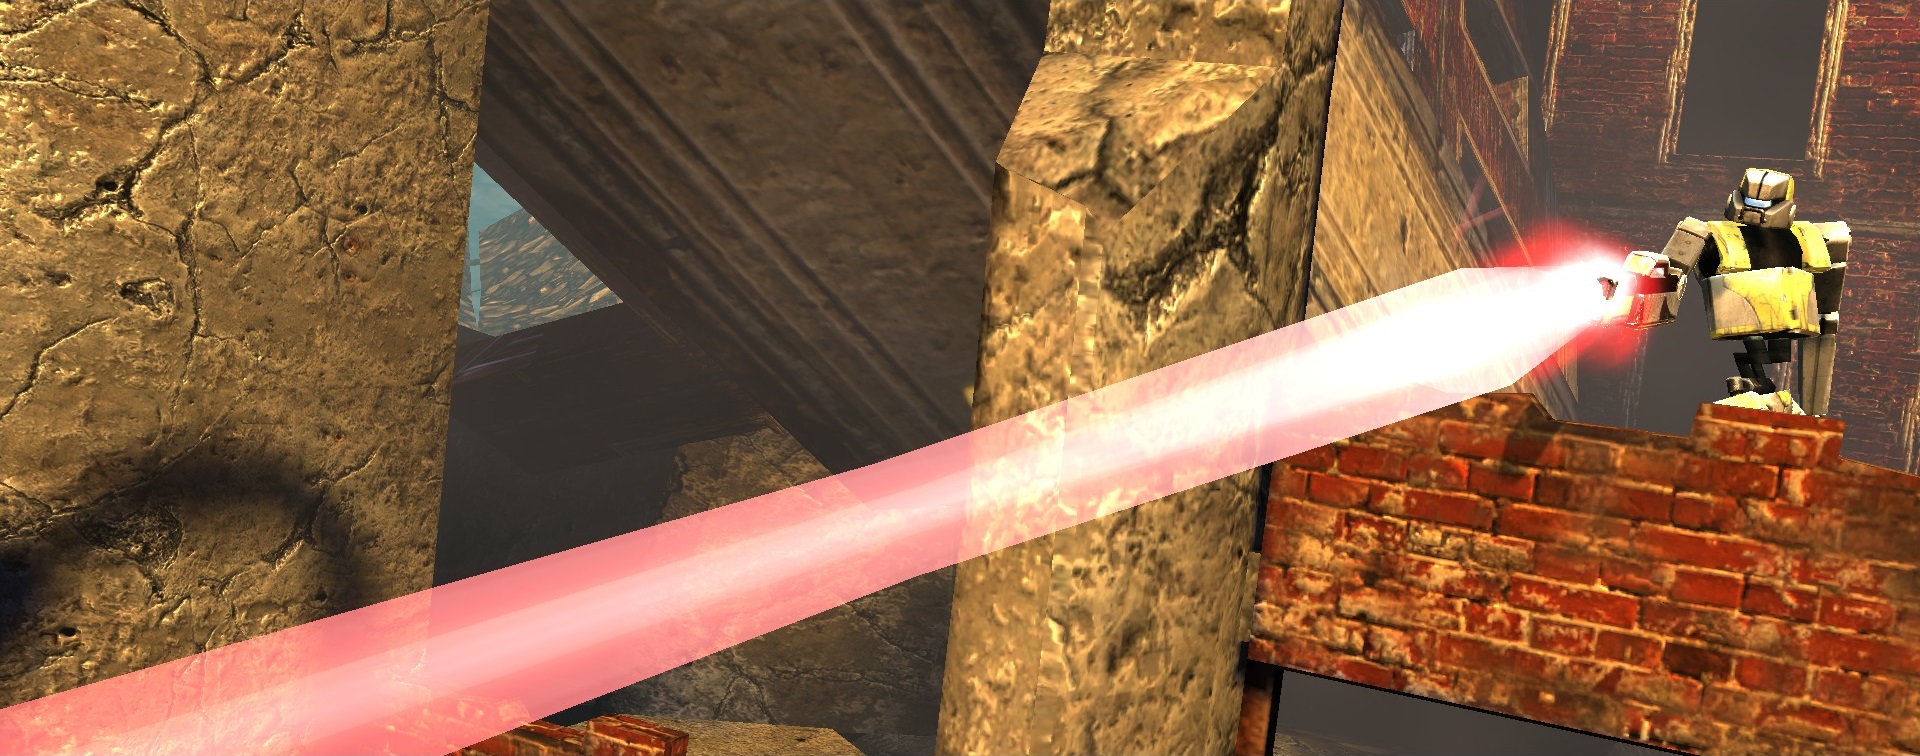
Slicers fire a continuous energy beam and will swipe across the camps, before reloading. Slicer beams go through the camp barricades, so will damage you regardless of whether you are stood up or behind cover. Slicers will start their swipe from the opposite side to the side you are currently at. If you are in the middle camp, it will be random whether it starts from the left or the right. Slicers alone are not hard to dodge, you can super jump from an edge camp to easily get clear. However, if you are unable to super jump, rolling through the beam just as it gets to your camp is the best way to minimise the damage you take from it. When Grenadiers are in the mix, Slicers can become much harder to dodge, as a super jump may land you straight into an exploding grenade. Due to this, Slicers are a high value target, and that combined with the fact they are exposed for a long time means that you should more often then not, prioritise Slicers when you get to a new section of a level. Slicers also have standard health, making them faster to kill, so you should be able to take out a Slicer at the start of the wave before the bullets of Gunners even reach you.

Overall, Slicers are easy to dodge and have health equivalent to about 1 clip. Taking them out straight away can give you a good window to take out other high value targets.
- Super jumps enable you to take no damage from a Slicer
- Average health makes them easy to take out with assistance from boosters such as Overdrive or
Quick Draw
- Focus them first in team fights to make your camps safer


Blaster
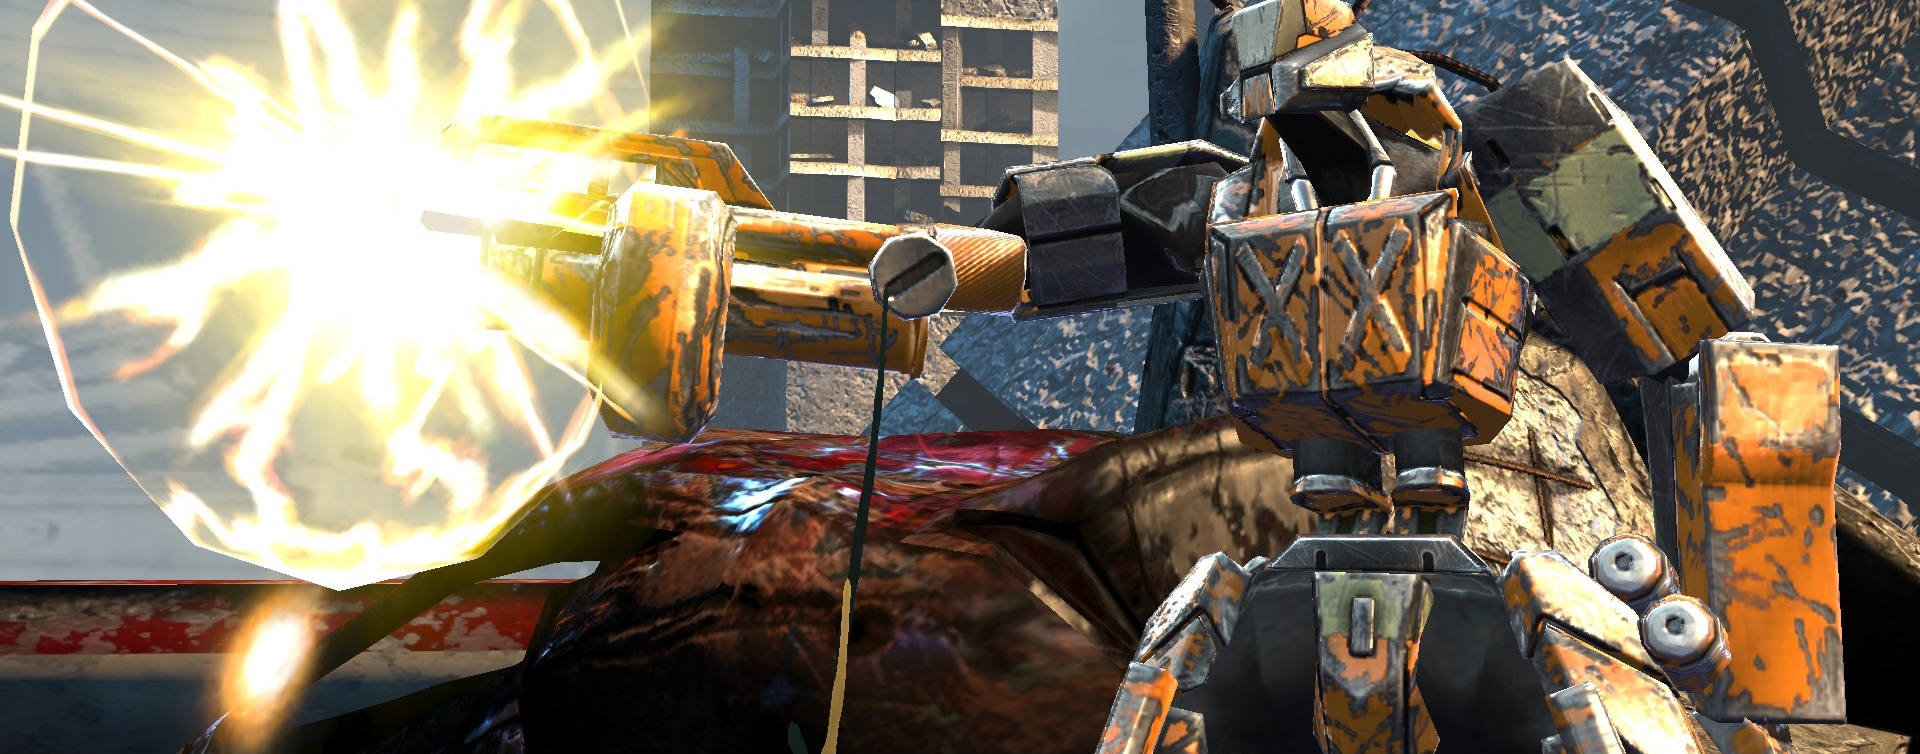
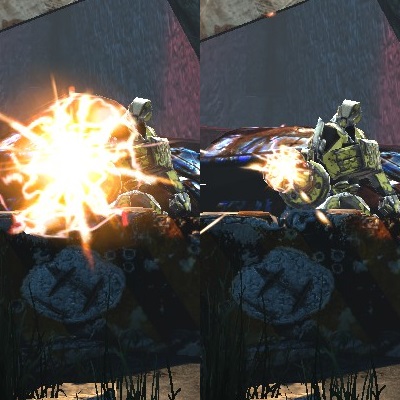
Blasters will charge up an energy shot with a notable sound cue, before firing it at you. They are similar in appearance to Grenadiers, but will never be green in colour like them. You can tell how close a Blaster is to firing by the pitch of the sound (the higher it is, the closer it is) or by the size of the energy orb at the end of their weapon, as it gets smaller as it gets closer to being fired.At higher difficulties, Blasters will take less time to charge their weapon, so ensure you are always listening out for their weapon. You can generally avoid their shots by dodging at the time when they fire their weapon, which has a distinct sound after the charging sound. If you cannot switch camps, ducking behind cover at the instant they fire it will also dodge the shot on most camps. If you are behind cover when the Blaster fires, the shot will hit the cover and deal reduced damage to you, so make sure you keep moving. A few camps on various levels are not effected by this, so you can stay in that cover and take no damage. Blasters have more health than other enemies, similar to Grenadiers, so although it can be beneficial to focus them first, it can often take more then one clip to take one down at higher difficulties, so focusing their support first can reduce the overall damage coming your way.

Overall, Blasters are a high health enemy with hard hitting projectiles, but one you get used to the timing, dodging a Blaster should be easy.
- Dodging when you hear the firing sound cue should ensure you dodge the projectile
- Listen to the pitch of the charging sound or the size of the energy orb to know when to dodge
- With higher health then Gunners and Slicers, Blasters can take a lot of time to take out
- Being under cover of camps will not always protect you fully from the damage of the Blasters
projecticle, but it does reduce the damage taken


These are all the standard enemies you will face throughout EPOCH.
O.G.R.E Boss Fight
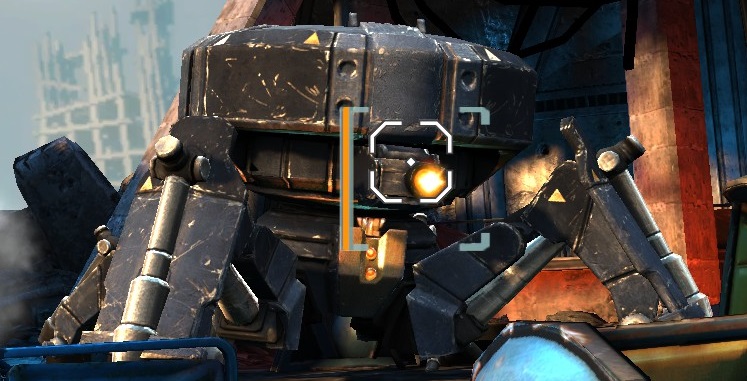
The final boss of EPOCH, the O.G.R.E will only be encountered on the very last level of each difficulty. The O.G.R.E has a specific order in which it attacks you, so once you understand this, you will be much better equipped to beat it at higher levels.

The above picture is a quick summary on the attacks the O.G.R.E will use. At the very start, it will use a Slicer beam once, before doing 3 Blaster shots. This will repeat until you lower its health enough to start the next stage.
The next stage has the O.G.R.E block its face, and fire with its top turret, whilst occasionally firing grenades. Getting the turret down to half health will get to the next stage.
The O.G.R.E then repeats the original stage, this time doing 2 swipes with the Slicer beam and firing more Blaster shots. After this stage, the O.G.R.E will fire with its 2 side turrets, before returning to the Slicer/Blaster stage, followed by all 3 turrets, with the end of the boss fight being a final round of Slicer/Blaster.

The stages of the boss fight in summary:
- 1 Slicer beam, 3 Blaster shots, repeated until you lower its health enough
- Top turret and occasional grenades, repeated until turrets reaches half health
- 2 Slicer beams, more than 3 Blaster shots, repeated until health lowered enough
- 2 side turrets, more grenades, repeated until both turrets reach half health
- 2 Slicers beams, even more Blaster shots, repeated until health lowered enough
- All 3 turrets, and one grenade fired to each camp, repeated until all turrets are destroyed
- Slicer beams and Blaster shots, repeated until the O.G.R.E is destroyed

Your best window to fire at the O.G.R.E is when it is using the Slicer beam, or when its turrets are not firing. Overdrive is a very useful booster for this boss fight, as it gives you enough time to fire a whole clip or reload, which can be quite difficult as it fires its Blaster shots very quickly.

If you finish a turret stage in the middle camp, you should roll to a side camp in order to dodge the Slicer beam, however, it will be a 50/50 chance that the Slicer beam will start at the camp you chose, and you will take a large amount of damage. To avoid this, try to finish each turret stage in a side camp. This could land you a bit of grenade damage, but this is much less damage then the Slicer beam.

Having strong weapons and armour is essential to this fight, usually the highest tier of the difficulty you are on, such as on Hard, using Tier 3 armour and weapons.
Getting XP and Credits
If you're trying to complete the game, you will need credits to buy new tools and the higher level you are, the more damage and health you have.


Credits
The best way to grind lots of credits it to replay the O.G.R.E fight of the previous difficulty, with the highest armour and weapon you have. Make sure you pay attention to the Best Attack and Best Defence to make it easier.

Once you have beaten Ultra, replaying the Ultra O.G.R.E fight will net you over 1000000 credits each time, which is great for grinding credits to get the Utilities for Arena mode.

Do not play Arena mode to grind credits, as you get very few for beating a lot of enemies.

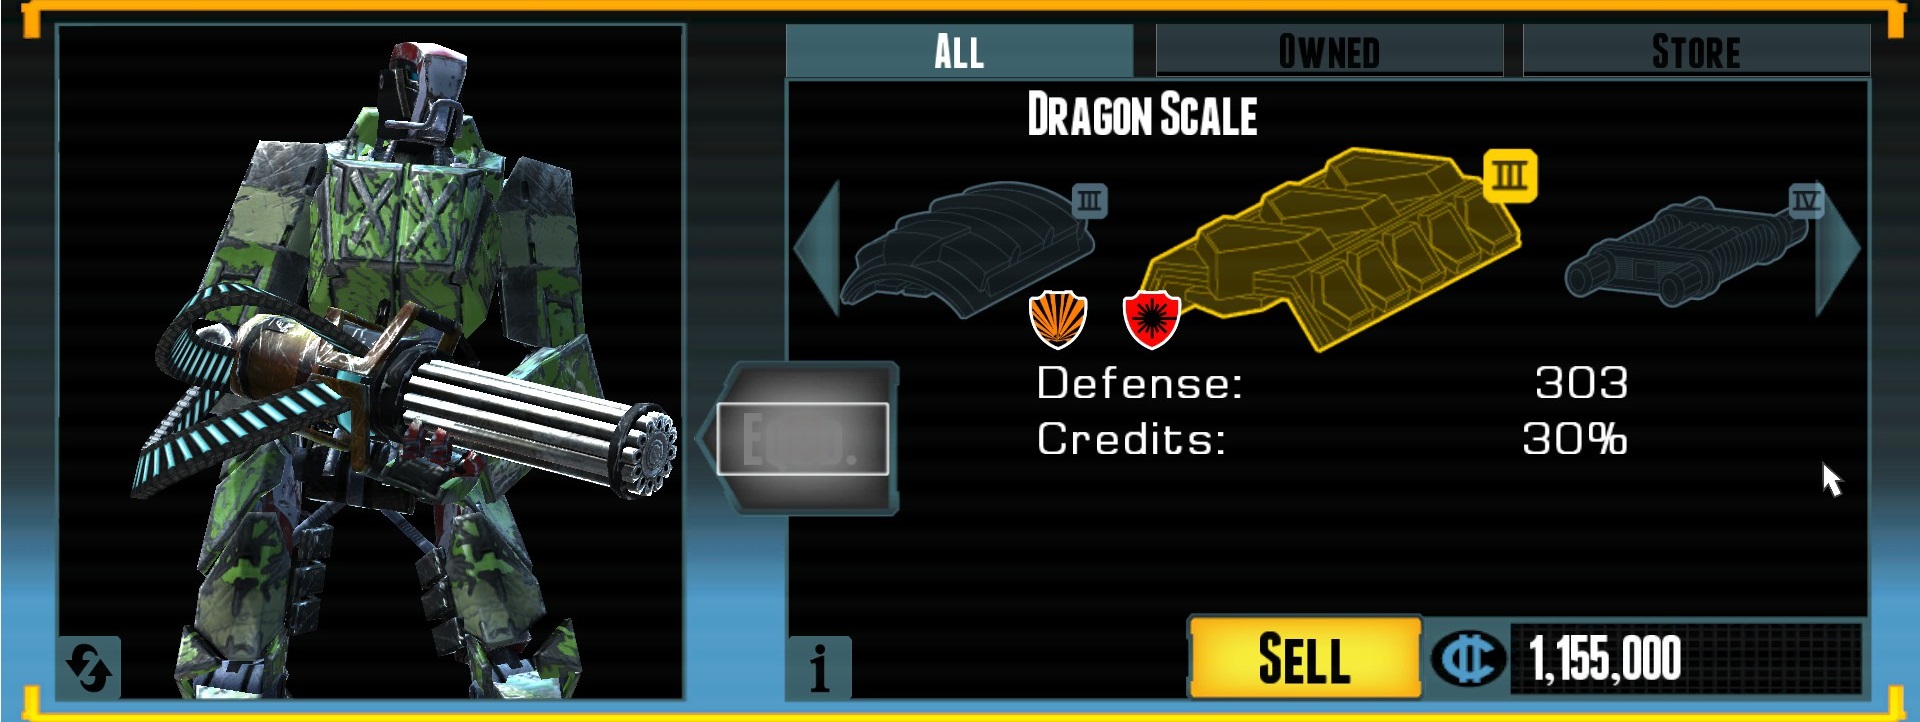
You can also equip this armour to get a bonus 30% credits. You may need to get a few extra XP Levels first to ensure you have a high enough Defence to withstand the Ultra O.G.R.E.


XP
The O.G.R.E boss fight does not grant you much XP, so the best way to grind XP is to play some of the previous levels on that same Difficulty. However, these levels can be tough to complete, especially if you are using the XP armour, so keep going back levels until you can easily complete it. A good level to start on is Boyle-Mullins Tunnel, as this one has a few enemies at a time and is relatively fast to complete. You should be able to level up after 3 completions of this level, more or less depending on your current level. When you feel the XP grind is too slow, go to the next level up.

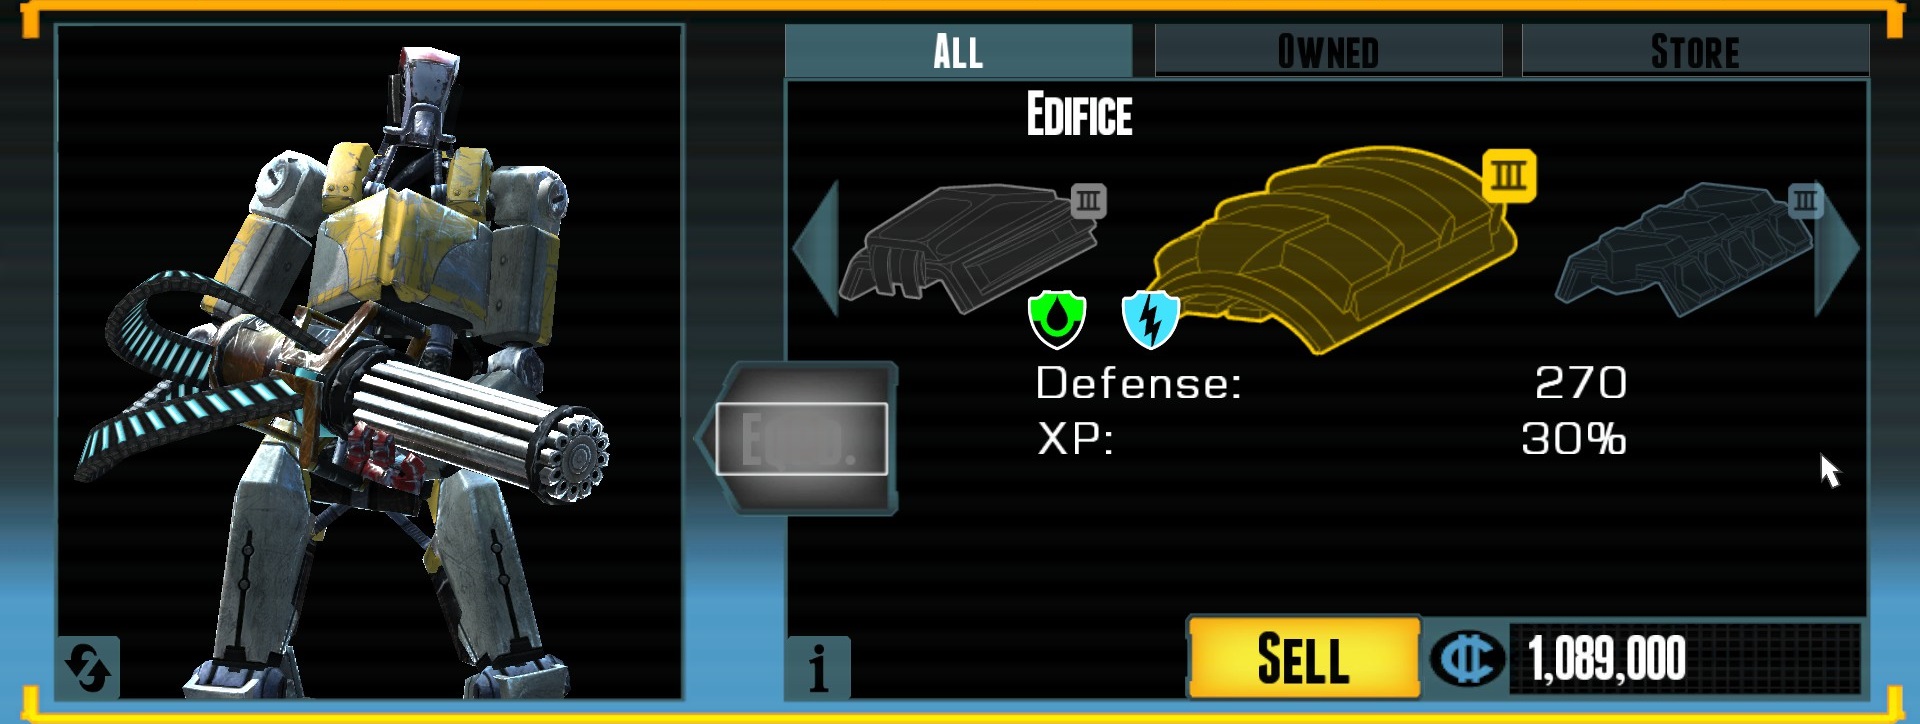
This is the 30% bonus XP armour. It has low defence so make sure you are evasive.
Arena Mode
Once you have beaten every level of the game on each difficulty, the only progress to make is through arena! Arena mode can be quite fun, and the scaling difficulty of the enemies is at a great pace to keep the game fun. Turning on all of the Utilities can enable you to get a great highscore.

Loadout
Choose your best armour and weapons, the highest damage missile, and definitely an Effect Counter. Bot Doc can be a very useful Booster to keep your health up, but if you are evasive enough and have a Repair Rate armour, you won't need it. Overdrive is very useful for crowd control later into the waves, as is Decoy. Shields can be useful but with the Grenadiers and Slicers you will encounter at later waves, it can end up becoming useless.

Fighting
Using all the tactics you have developed through playing will be plenty to get you through to higher scores. Making sure you take out high value targets such as Grenadiers and Slicers should keep your health up, and listening out for Blaster shots will help you time your dodges. Try to use windows of no enemy fire to unload your clip, and dodging before reloading can help.

Highscore
The best way to max out your highscore is to utilise all of the Utilities. Just make sure you still play sensibly when they are active so you don't take any unnecessary damage. Some waves you may have bad luck and take more damage then normal, so if you don't reach the highscore you want, you can try again and maybe exceed the previous one bar far. You also want to try to take out multiple enemies quickly to get the multi-kill score bonuses.


Arena mode is great fun in the post game, and make sure you play each level 8 times to unlock the intercepts for each one!
Achievements
EPOCH is a relatively easy game to 100%, some might take a little bit of time to get.

Level Achievements
You will unlock all of the level achievements by completing the Easy campaign, this is the name of each of them: Recycler, Shopper, Home Sweet Home, Risky Business, Ten Hut!, Hit the Road, Underground, Moving On Up, Oh the Humanity!, Ice to Meet You.

Difficulty Achievements
These achievements are earned by completing each difficulty campaign. Make sure you have the highest loadout for each difficulty and some good tactics, and you should get these relatively quickly.
The End, Or is it?, Yes it is!, This time for sure!

Enemy Kills Achievements
To get these achievements you just have to destroy a set amount of enemies. As you unlock other achievements or play through arena you will unlock these. The end screen of arena has an overall robot kill counter.

I Did Not Murder Him!
Destroy 1000 enemies

Wake Up: Time to Die!
Destroy 4000 enemies

You're Terminated!
Destroy 10000 enemies

The Other Achievements
This list contains every other achievement, and how you unlock it.

Arms Dealer
Buy a Tier 4 weapon. You should unlock this if you try to beat the higher difficulties

Blacksmith
Buy a Tier 4 armour. Same as Arms Dealer, you will need to in order to beat higher difficulties

Need Input!
Sit in the store and keep scrolling the mouse wheel, once you have scrolled 100 times the achievement should unlock

Stay Out Of Trouble
You have to stay on location select the menu for 5 minutes

Shooting Up The Place
Destroy all the destructibles in one level. Move your mouse around the screen until you see the aiming box. Once you have seen each destructible you should be able to spot them easily.

Devastator
Run through the campaign ensuring you break EVERY destructible. Easy to unlock on Easy difficulty.

eBibliophile
Unlock all the intercepts. Replay every level on Easy over and over until you do not get an intercept reward for that level - you have unlocked them all for that level. You then have to play each arena level 8 times. You can do this quickly by pressing Esc and the Exit to end the round to get your intercept.
Story Summary
This section will summarise the story of the main game, with a bit of additional information from intercepts. But to learn the full story, you should read the intercepts for yourself as there is a large amount of them.


EPOCH (the robot you play as) is an Alphatekk Guardian, a model of robot used as a personal protector. EPOCH was the personal protector to Princess Amelia. Around the time the war was starting, Amelia was tinkering with EPOCH (as she often did), changing his processors, when he randomly fired on the cleaning robot across the room. The royal guards quickly shut down EPOCH with shock rods, and were going to dispose of him, but Princess Amelia begged them to recycle him, as he had protected her since she was a baby. Much later, EPOCH awoke in the recycling depot, and decided to try to find Princess Amelia, to continue protecting her.

The world EPOCH awoke to was post-apocalyptic, the city was in ruins and no humans could be found. As EPOCH tried to get to the cryo tower Amelia was last known to be at, he encountered many robots that attacked him. When EPOCH finally reached the tower, he found Amelia was not there, and the O.G.R.E robot that was left to protect her awoke, and engaged EPOCH. Once EPOCH had defeated it, he went to the edge of the tower, looking over the city and wondering what to do next. Through intercepts, you learn Amelia was moved to a backup cryogenics facility, and this is where EPOCH.2 starts.


The war that destroyed the city was fought between two control A.Is for robot companies, Omegatroniks and Alphatekk. When a programmer was investigating with the A.I, trying to find out how they decided how to make their companies more profitable, he allowed the two A.Is to communicate to each other directly. This resulted in the A.Is determining that it was more financially viable for them to attempt to destroy each other than out market each other. The A.Is then took control over all of their robots, slowly reprogramming some and instantly converting others, before setting them to war against the other robots. EPOCH was not taken over, due to his control software being burnt out.
6 Comments
JeramZ Jun 22, 2023 @ 12:50pm 
Devastator achievement seems broken. Finished the campaign on easy, repeated each stage ensuring to break each destructible. Didn't pop.
Created new save file and completed 2nd playthru, but still didn't pop. Do you have to go thru the stages without repeating it in case you missed a destructible?
4-Ø-Fox Oct 22, 2022 @ 2:22am 
Thank's for that tip, god its been *forever* aye, apparently I got it the next day, but I appreciate it all the same
Dale Cooper May 10, 2021 @ 5:27am 
Shooting Up The Place - it's hard achievement for me. Some destructibles are hidden on location. I found them only with electro gun that shoots with chain.
sfnhltb Mar 24, 2020 @ 4:33pm 
Personally for weapon the grenade launcher - being able to hit enemies in cover. For grenade - stun, to take one enemy (especially slicers) out of the fight while you get control of a wave. For armour + speed (or +xp when grinding). For support - I prefer Decoy, place at start of wave, roll away and unload on the enemies without having to dodge (except slicers).
4-Ø-Fox Oct 3, 2018 @ 4:55am 
Question, what kit is objectivly the best for Ultra??
4-Ø-Fox Oct 2, 2018 @ 4:06pm 
I love you for this, especially the story. That is a nice clean summary of it which I really did want. Hope more people read this, but I doubt people will play the game enough to bother... which is a shame wis hthey would release EPOCH.2 on pc.

Puppy ^+^