
Install Steam
login
|
language
简体中文 (Simplified Chinese)
繁體中文 (Traditional Chinese)
日本語 (Japanese)
한국어 (Korean)
ไทย (Thai)
Български (Bulgarian)
Čeština (Czech)
Dansk (Danish)
Deutsch (German)
Español - España (Spanish - Spain)
Español - Latinoamérica (Spanish - Latin America)
Ελληνικά (Greek)
Français (French)
Italiano (Italian)
Bahasa Indonesia (Indonesian)
Magyar (Hungarian)
Nederlands (Dutch)
Norsk (Norwegian)
Polski (Polish)
Português (Portuguese - Portugal)
Português - Brasil (Portuguese - Brazil)
Română (Romanian)
Русский (Russian)
Suomi (Finnish)
Svenska (Swedish)
Türkçe (Turkish)
Tiếng Việt (Vietnamese)
Українська (Ukrainian)
Report a translation problem


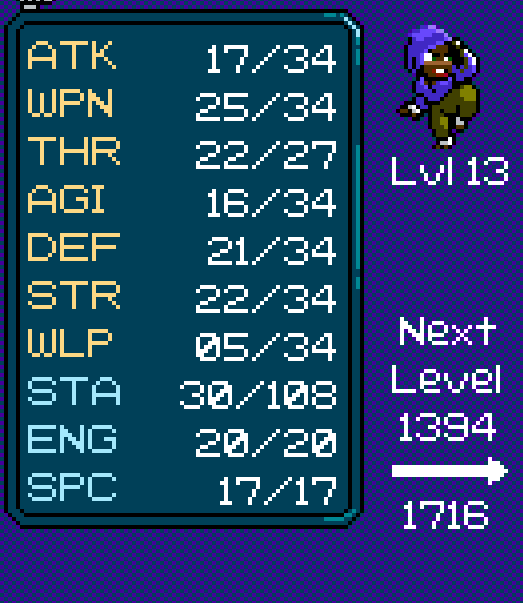


Paul is broken no matter where you are in the story (I think enemies even dodge less), but he does need ATK as well as STR to make good use of his specials, especially his Down+S since you can easily use that mid-combo.
Like, Rudy only has a 3-hit combo, which means that STR is pretty much useless to him.
Paul on the other hand has the longest combo chain of all characters (as far as I'm aware) making STR stat much more relevant to him.
For now I'll simply add in the changelog and overview that ENG values are currently incorrect and give you credit for the discovery. Thanks for telling me!
Hi, it's me again. I managed to bring to maximum the statistics of all the characters (thanks also to this guide, thanks again), except the ENG, which I left last because it seems the most difficult.
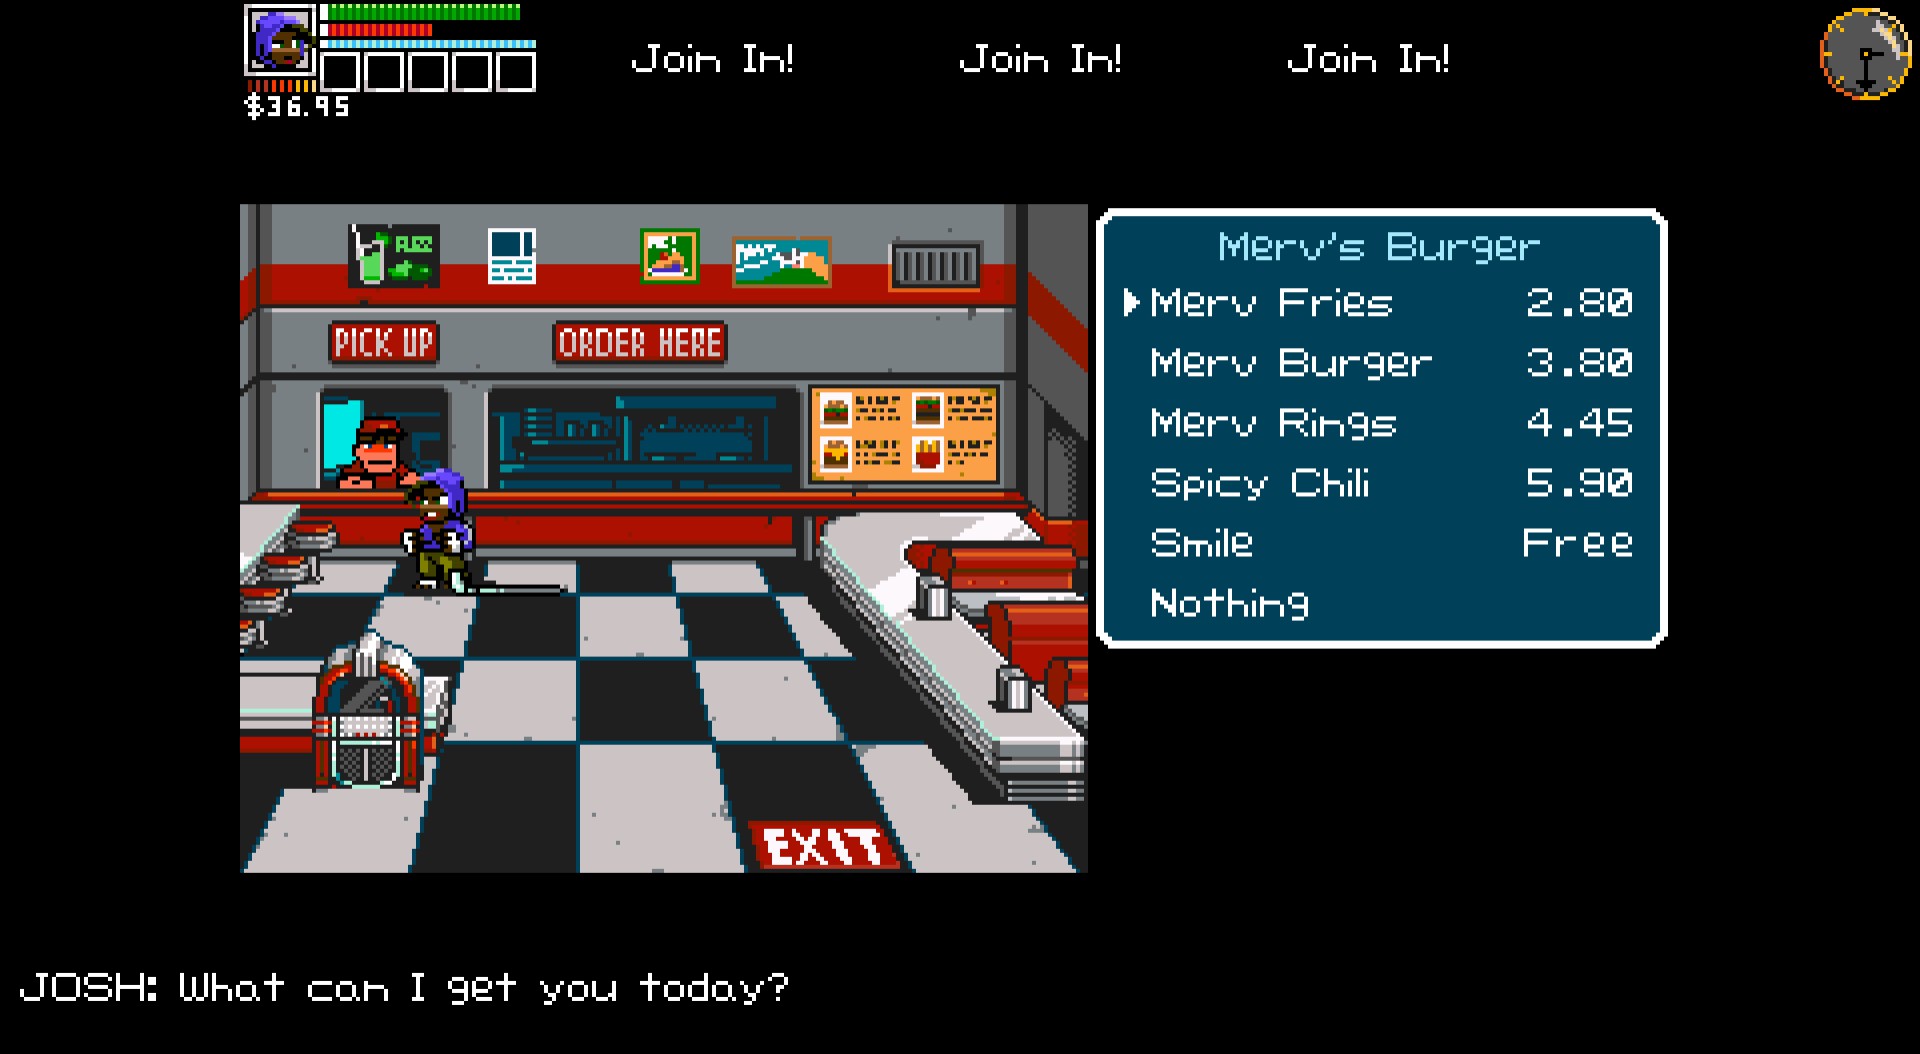
In fact, from what I understand, one of the last patches has brought the maximum value of ENG to more than 1000 (a value so high seems totally unnecessary). But I wanted to inform you that apparently it has also changed the amount of ENG that provide food, so for example the Merv Burger now provides +6 ENG to a character of level 40, so maybe you should change the guide regarding the ENG if you want and have time.