
Install Steam
login
|
language
简体中文 (Simplified Chinese)
繁體中文 (Traditional Chinese)
日本語 (Japanese)
한국어 (Korean)
ไทย (Thai)
Български (Bulgarian)
Čeština (Czech)
Dansk (Danish)
Deutsch (German)
Español - España (Spanish - Spain)
Español - Latinoamérica (Spanish - Latin America)
Ελληνικά (Greek)
Français (French)
Italiano (Italian)
Bahasa Indonesia (Indonesian)
Magyar (Hungarian)
Nederlands (Dutch)
Norsk (Norwegian)
Polski (Polish)
Português (Portuguese - Portugal)
Português - Brasil (Portuguese - Brazil)
Română (Romanian)
Русский (Russian)
Suomi (Finnish)
Svenska (Swedish)
Türkçe (Turkish)
Tiếng Việt (Vietnamese)
Українська (Ukrainian)
Report a translation problem


cat
fine...
I will tell you the truth...
I am secretly involved in the dipster invasion and...
they will take over the world soon...
and there will be no survivors unless...
you help me defeat the dipster named AAAAAAAAAAAAAAAAA...
it is our only chance...
to protect the world...
or there will be no world to protect.
copy and paste this to save the world
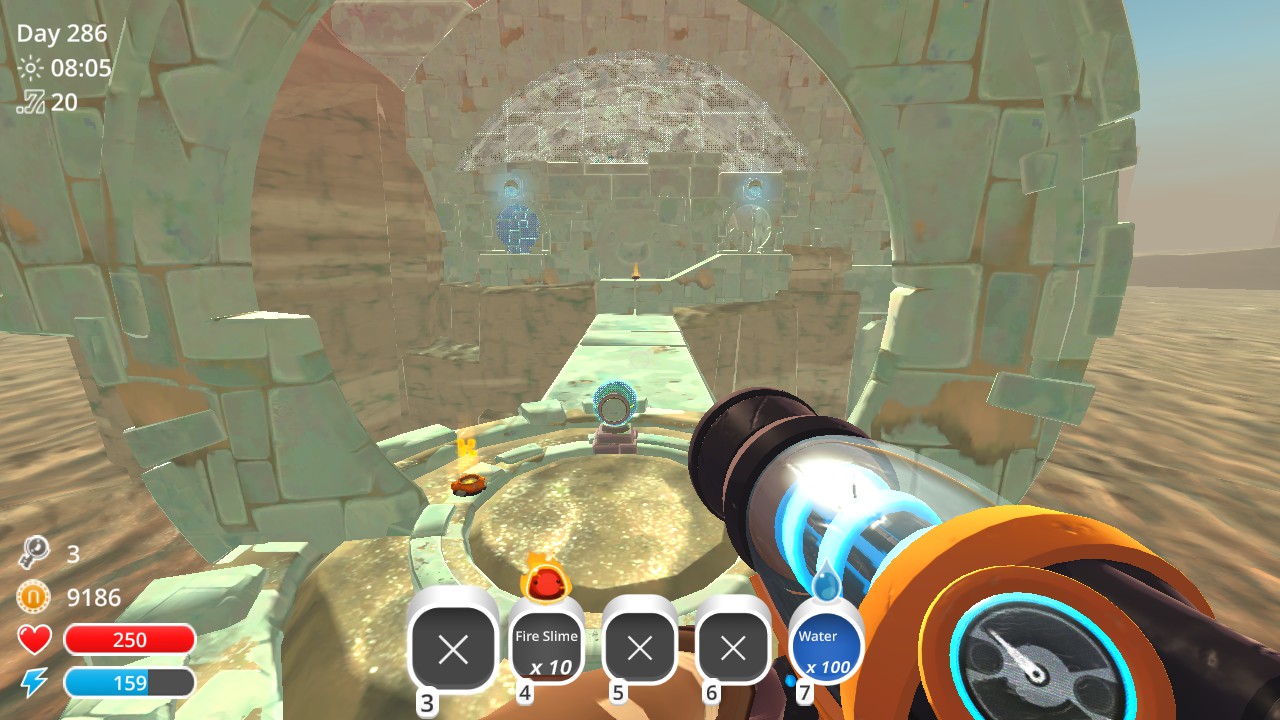
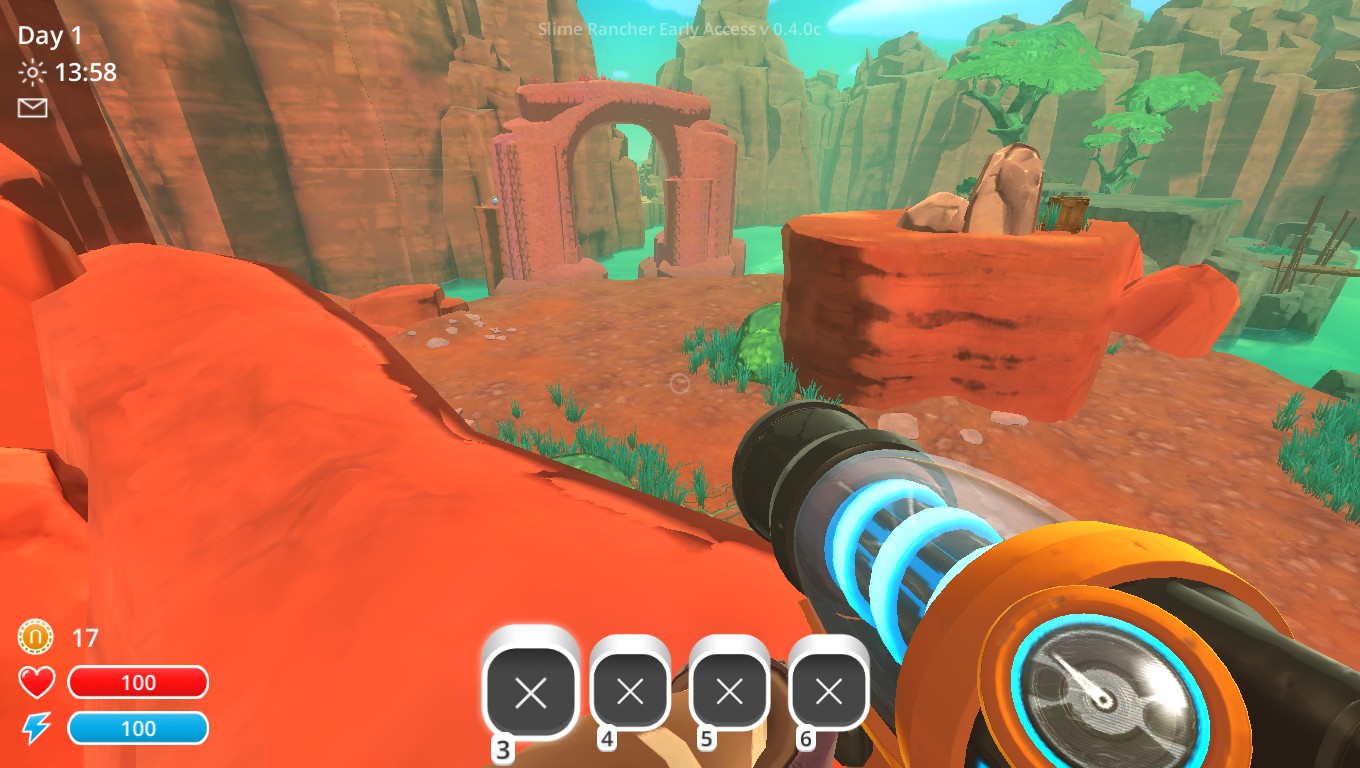
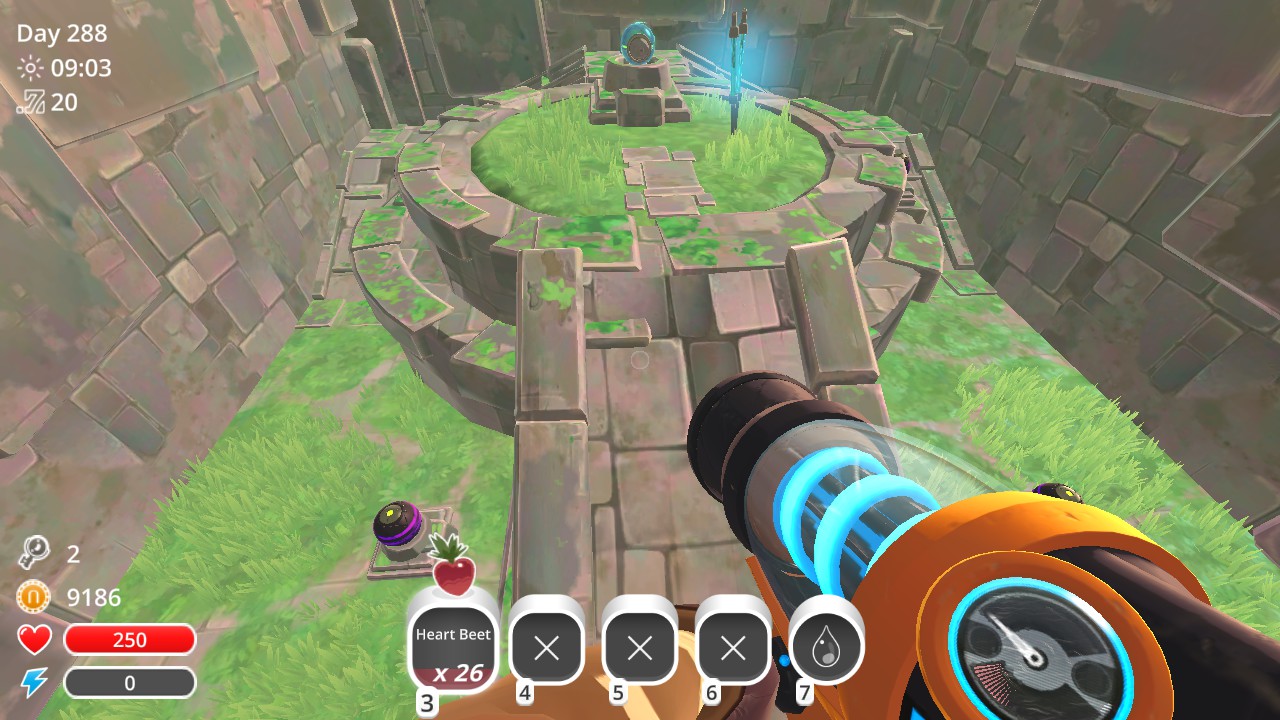
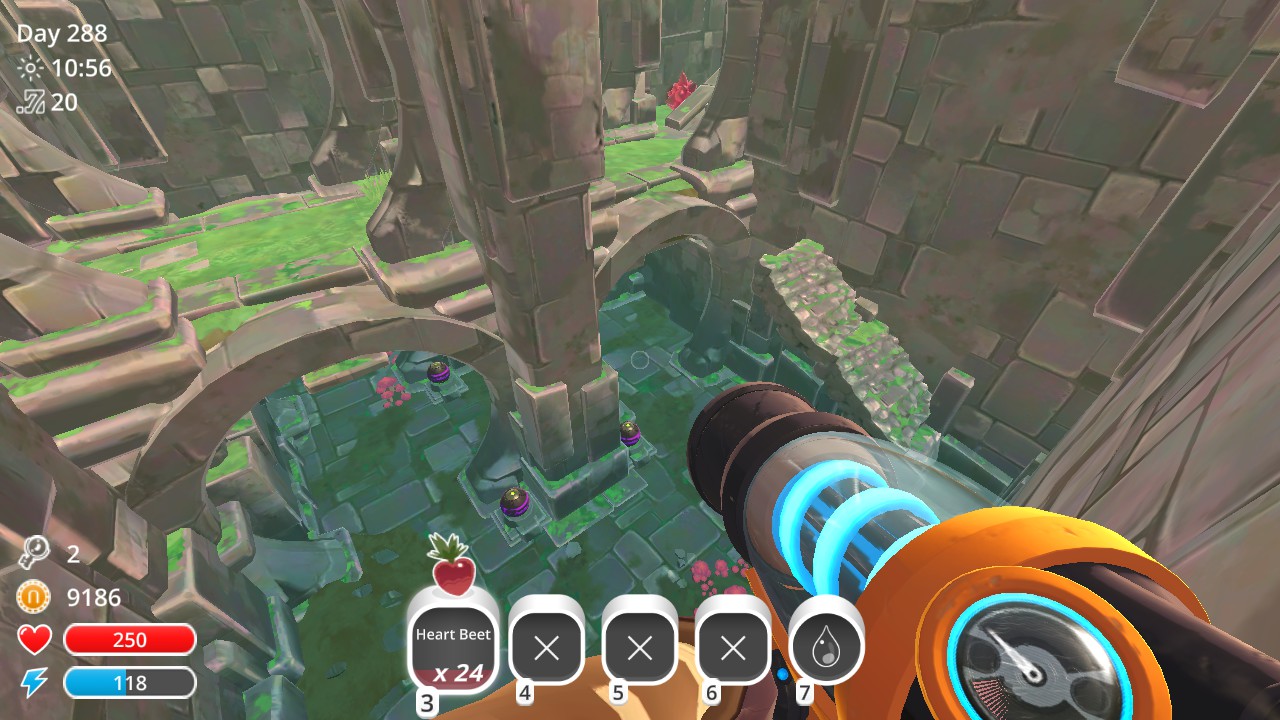
>At the farthest edge you can fly around to find another small alcove Pod
Which direction do you mean? "farthest edge" is a bit vague
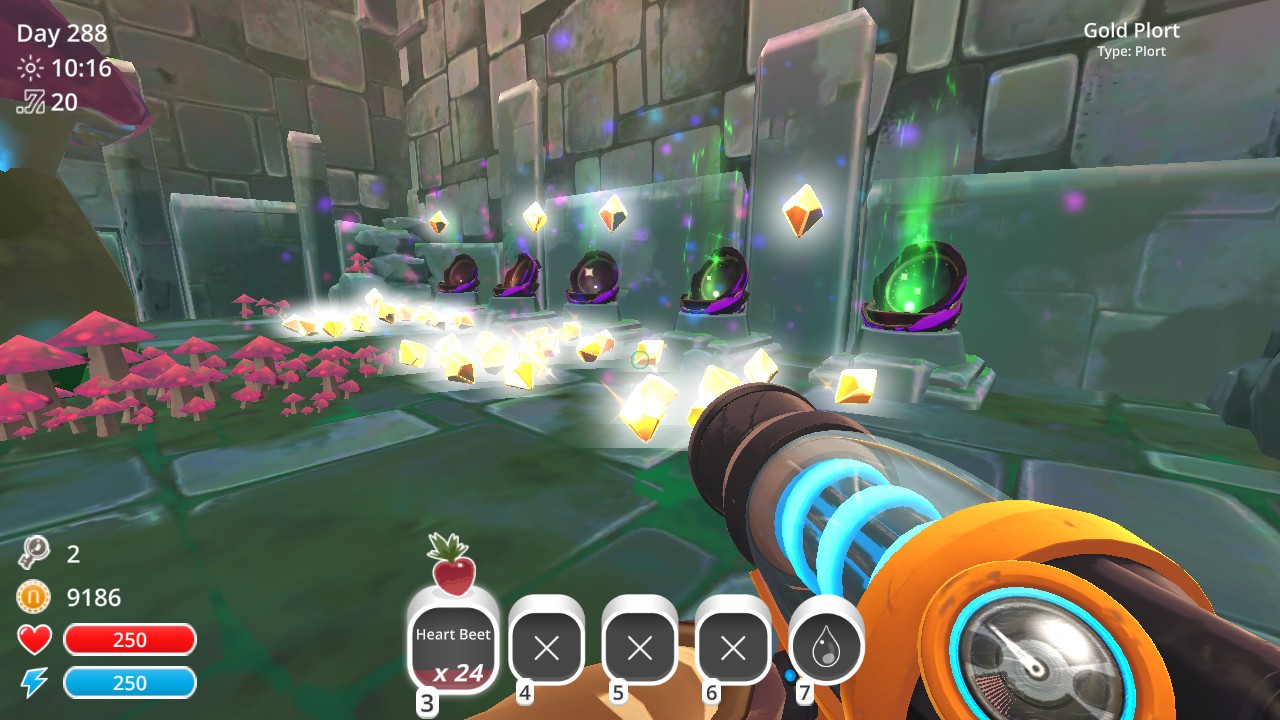
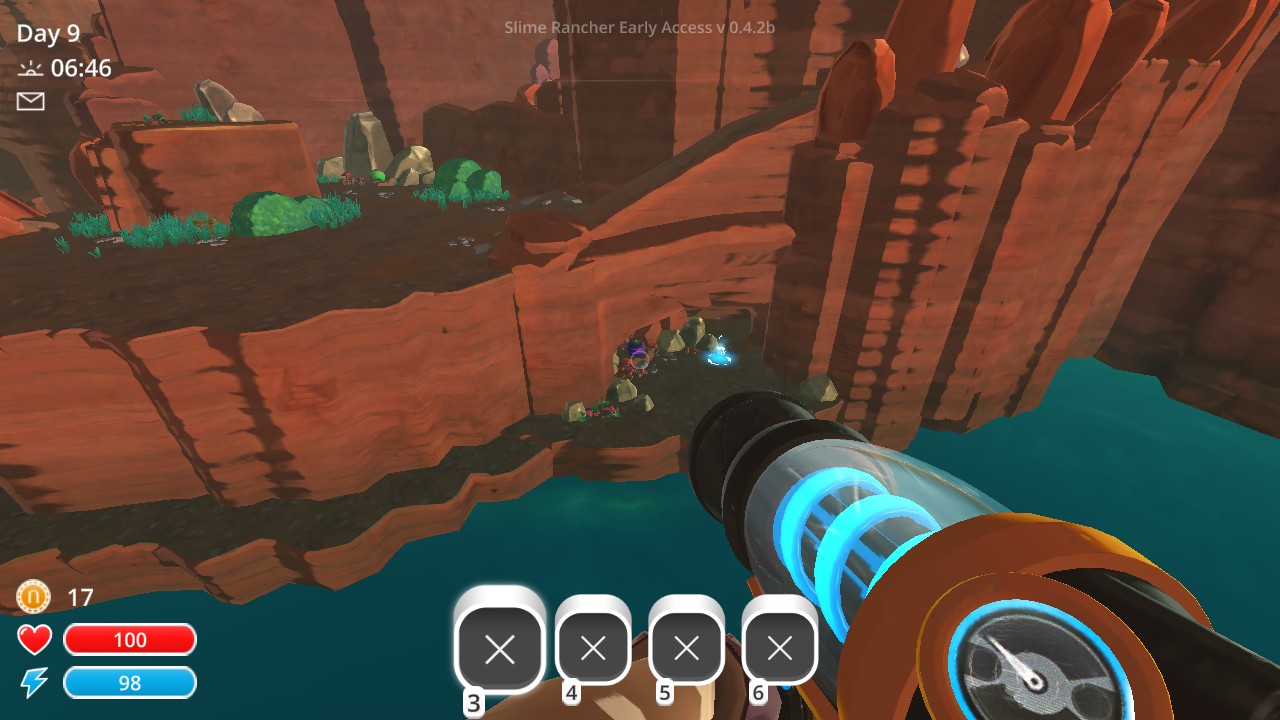
Also in latest update there were two more treasure pods pods added. One in the area behind the grotto and the other on one of the platforms in the Ancient Ruins Courtyard