Darkest Dungeon®

Darkest Dungeon®

97 avaliações
Some Tips on What to Do in Darkest Dungeon (NOT COMPLETE)
Por Ya Boi Stank
This guide mostly shows some tips and concepts of how to play that can end up saving you when the game starts to go south. I would not call myself an expert but I thought writing out a guide with some of the tips I learned can help a lot. This is a work in progress but I wanted to publish this to get feedback as well as anything I might have missed or spoke incorrectly about.
   
Premiar
+ favoritos
Nos favoritos
- favoritos
What To Bring For Supplies
Determining what you need to bring can be stressful, trying to find that balance of enough supplies and not too much money isn't something easy to tell right away, and if done incorrectly, might ruin you save file (so little money you have no supplies to buy, or bought too little supplies and everyone died or overstressed). Each area needs different items and the size of them means different amount of supplies, so here is what I have learned:


Small Ruins
  • 6-10 Torches (low torches for dim light consistent or high for radiant light consistent)
  • 8-10 Food
  • 1-3 Bandages
  • 2 Shovels
  • (Optional) 1-2 Skeleton keys
  • 1 Medicinal Herb
  • 1-2 Holy Water

Medium Ruins
  • 12-16 Torches
  • 18-20 Food
  • 3-4 Bandages
  • 2-3 Shovels
  • 2 Skeleton keys
  • 2 Medicinal Herbs
  • 2 Holy Water

Large Ruins -NOT EXPERIENCED IN YET-

Small Coves
  • 6-10 Torches
  • 8-10 Food
  • 2-3 Bandages
  • 2 Shovels
  • 2-3 Medicinal Herbs

Medium Coves
  • 12-16 Torches
  • 18-20 Food
  • 4-5 Bandages
  • 4-5 Shovels
  • 4 Medicinal Herbs
  • (Optional) 1 Skeleton key

Large Coves -NOT EXPERIENCED IN YET-

Small Warrens
  • 6-10 Torches
  • 0-6 Food (warrens have curios that give out a lot of food)
  • 2-3 Antivenom
  • 2 Bandages
  • 1 Shovel
  • 2 medical herbs (use these on dinner carts to get food)
  • (Optional) 1 holy water

Medium Warrens
  • 12-16 Torches
  • 8-10 Food
  • 4-6 Antivenom
  • 3 Bandages
  • 3 Shovels
  • 2-3 Medicinal Herbs
  • 1-2 holy water
  • (Optional) 1 Skeleton key

Large Warrens -NOT EXPERIENCED YET-

Small Wealds
  • 6-10 Torches
  • 8-10 Food
  • 3-4 Bandages
  • 3 Shovels
  • 1 Medicinal Herb
  • 2 antivenom

Medium Wealds
  • 12-16 Torches
  • 18-20 Food
  • 5-7 Bandages
  • 3-4 Shovels
  • 2 Medicinal Herbs
  • 3-4 antivenom
  • (Optional) 1 Skeleton key

Large Welds -NOT EXPERIENCED YET-

Darkest Dungeon -NOT EXPERIENCED YET-


The medicinal herbs, holy water, and especially the skeleton key are more used for curio interactions rather than its intended use. Each item has an intended use, such as bandages for stopping bleed or shovels for digging. For a more in depth use for each item on how they effect curios, check the curios section.


--------------------------------------------------------------------------------------------------------------------------
Tips about each item:
  • Torches:

-Cost: 75 Gold each
-Stacksize: 8
-Effect: Light increased by 25 pts


-Be efficient, don't use another torch above 82 light, moving will make it go down to 76 which is still radiant light
-Walking to a dark square (unexplored) reduces light by 6
-Walking to a bright square (explored) reduces light by 1
-There are moves that raise and lower the light, so be careful when you get close to dim lighting
-Radiant light is 100-76
  • +15% Scouting
  • +25% To surprise enemy (all enemies attack last)
-Dim Light is 75-51
  • +10% Stress
  • +7.5% Scouting
  • +15% To surprise enemy
  • +1% Enemy CRIT
-Shadowy Light 50-26
  • +20% Stress
  • +10% Enemy DMG
  • +5% Enemy ACC
  • +10% To surprise enemy
  • +15% To surprise heroes (shuffle all heroes)
  • +50% Loot
  • +1% Hero CRIT
  • +1% Enemy CRIT
-Dark 25-1
  • +30% Stress
  • +15% Enemy DMG
  • +10% Enemy ACC
  • +5% To surprise enemy
  • +25% To surprise heroes
  • +75% Loot
  • +2% Hero CRIT
  • +3% Enemy CRIT
-Black as Pitch 0
  • +40% Stress
  • +25% Enemy DMG
  • +12.5% Enemy ACC
  • +40% To surprise Heroes
  • +95%-75% Loot
  • +3% Hero CRIT
  • +5% Enemy CRIT


  • Food:

-Costs: 75 Gold each
-Stacksize: 12
-Effect: heals the Hero 5% of max health when out of combat


*Every once in a while there will be a pop-up that says the Heroes are over exerted and are now hungry, this is when food is essential to save for. The choice to eat isn't that much of a benefit but the consequences for not eating is quite severe. If you need to heal a Hero just make sure to save at least 8 food if it is still early in the dungeon. In medium and long dungeons I wouldn't recommend healing with food at all, or at least very little.


  • Antivenom

-Costs: 150 Gold each
-Stacksize: 6
-Effect: Cures blight


  • Bandage

-Costs: 150 Gold each
-Stacksize: 6
-Effect: Cures bleed


  • Holy Water

-Costs: 150 Gold each
-Stacksize: 6
-Effect: Resist debuffs


  • Laudanum

-Costs: 100 Gold each
-Stacksize: 6
-Effect: Used to remove horror debuff (stress over time debuffs)


  • Medicinal Herbs

-Costs: 200 Gold each
-Stacksize: 6
-Effect: Cures debuffs


  • Shovel

-Costs: 250 Gold each
-Stack: 4
-Effect: Interact with curios (like removing a wall that blocks the path)


  • Skeleton Key

-Costs: 200 Gold each
-Stack: 6
-Effect: Interact with curios (like opening a locked chest)


Curios
Curios are items that can be interacted with that are located throughout the dungeons you explore. Some of these curios are more beneficial to use an item on them for more reward and less risk of getting a negative effect. There are area specific curios that can be found in only certain dungeons as well as general curios that can be found in any dungeon. Here is a cheat-sheet of each curio that can be found as well as what items will grant you more / different rewards (credit goes to Cooties[imgur.com] for the images)


  • Cove


  • Ruins


  • Warrens


  • Weald

The Town
All the loot you earn and family heirlooms you get will be spent here in Hamlet and the biggest chunk of your money will be removing quirks and reducing stress. Your heirlooms will upgrade buildings by reducing cost or upgrading them for more slots. You can exchange your heirlooms by pressing the 2 arrows by the icons below. Crests are the most common, Busts and Deeds are uncommon, and Portraits are rare. The Best way to spend them early in the game is to upgrade the stage Coach Network to 1 and Hero Barracks to 2. The next step is to reduce the stress in the Abby (or Tavern) as much as possible before you unlock the Guild. Both the Abby and Tavern can cause new quirks to appear, most commonly are the ones where the hero no longer will relieve stress in what they did or only will relieve stress that way. There are other affects too however, losing a lot of money or even misplacing items they had on them (Tip: always unequip items in town).


The Guild allows you to upgrade the strength of a hero's ability and allows you to change the ability to the ones that are locked (for 1,000 gold). Upgrade the Instructor Mastery to 1 and Training Regiment to 2, keep it there until you have at least 1 party that all are level 3. For the Sanitarium, focus only on the Treatment Library upgrades and only do the Medical Ward upgrades when you actually catch a disease. When a negative quirk becomes locked, never try to unlock it until a town event lowers them or is completely free. The higher the level of the hero the more expensive it becomes so getting rid of negative quirks while they are low level is ideal (but that would typically mean you are still early in the game so money is tight). The ones that should take priority in removing are quirks that lower stats that benefit a class (like total hp for tanks, DMG for attackers) or ones that force them to interact with an object. The reason for the last one is that they will interact with corpses without cleaning them which is very bad and can result in another negative quirk or disease. Never remove quirks that are minor, like will only meditate, or lower DMG when torch is below 26. trying to remove all of a character's quirks is a fast way to have no money left to spend, same goes with upgrading all of their equipment.
Party Breakdown
For a mission to go smoothly I recommend a balanced team of abilities for beginners, you should have all of these 4 abilities: Healer, Range Attacker, Attacker, and Tank. The position numbers for the party looks like this

4-3-2-1----------1-2-3-4

The Tank: They should always be in the front spot or second. There speed isn't a issue so I wouldn't recommend trying to boost their speed. The Tank should have a self PROT buff ability which will reduce their damage taken. An alternative is a self heal which is more effective in healing companions that took too much damage at the end of the round.
This buff in particular has a self target effect, which means enemies will make them a priority and attack them, so if you go down this route I recommend trinkets with health boosts. The most common one is the Health Stone, this is ideal because the tank's speed being lowered isn't an issue since how
low it is to begin with. However their dodge could be at a good amount with some dodge boosting trinkets, but the best thing to do is just stack 2 max hp trinkets (NOTE: you can't have 2 of the exact trinket so you can't have 2 Health Stones). I recommend using the Crusader, they also have an exclusive trinket that boosts max hp with no negative effects. An alternative could be the Leper, having high max health and self buffs but has low starting ACC and low dodge. The other
viable option for a more offensive tank is the Hellion, she has lower max hp but higher dodge and speed, and is able to attack all enemy positions. The issue with a hellion however is having a low starting accuracy and abilities that lower her DMG and DODGE. Her Adrenaline Rush is a good buff however for offense.


The Healer: They should be in one of the back 2, almost all healing skills require this position. If you want a character purely for healing the Vestal is the best option. For a full healer they should definitely have a heal boost and a speed boost trinket, the most common ones are Chirurgeon's Charm and Swift Cloak.


What makes a good healer is how they can heal faster than most units so they can beat them to their attack. It is however possible to have a hybrid for this character (I wouldn't recommend it but is possible), having both healing and attack. Placing her behind the Tank will allow her to attack anyone and heal as well, but this limits her healing to just an overall party heal that is a very low amount so any severe hits won't be recovered as easily. The benefit however is that 2 of her attacks will reduce the enemies DODGE, DMG, and ACC.

If you want to go hybrid healer, the other 3 characters have to be able to heal themselves so that they can recover on their own if they get too close to dying. This is a possible build but make sure to fully heal before killing the last enemy in an encounter, be sure not to prolong the fight for too long because stalling can cause the party to receive stress points. This usually happens around round 5 and up during my play time. Another option for a healer is the Occultist which is a very interesting one at that. I would call him a gambler healer, he can heal 0 or can heal 12 with the chance of bleeding the target being healed. Do not upgrade this ability until much later, this ability upgraded only pushes the max heal up by 2 and the minimum is still at 0 and the upgrade increases the chance of bleed and damage of it.


The Attacker: They can be a little more flexible since most of their attacks -can- should be able to attack in the first 3 spots, for someone that is just starting out I recommend having them in the second spot. These attackers can do one of two things: be a stationary attacker or a attack shuffler. Attack shufflers have the ability to shuffle party positions or enemy positions, they should never shuffle to the 4th spot if you have the healer in the 3rd or the healer can't use heal abilities. The Jester is the one most prone to this so have your healer in the 4th spot (or have a hybrid heal party). Overall, I would never recommend a jester in your party if you are a beginner, it does more harm than good. The best for stationary and shuffler is the highwayman. I also would add that speed is essential to the attacker, so for sure have a swift cloak trinket for them. My favorite shuffler would have to be highwayman with melee attack skills almost exclusively. It works well for damage, speed, and even has decent range to hit all enemies (only Duelist's Advance can hit back 2).


The other option is an enemy shuffler, they are attackers that can shuffle the enemies' positions to force them to use certain attacks; this also allows other companions to hit the target easier. My preference for this one is the Bounty Hunter, he has 3 -shuffle- move abilities and can hit anyone if in
the 2nd spot (for clarification, he has 1 shuffle; when I say move abilities I mean forces the enemies to move). His flashbang stuns any enemy so it is perfect to stop their attack from happening. One of his abilities has a damage boost to stunned enemies, also has another attack that does more damage vs. humans plus marked enemies. Because of how high his marked damage boost is I recommend him having mark ability on or another ally to have it that is faster than him. Marked damage boost is best saved for high hp enemies or high PROT enemies, this is because marking an enemy grunt then attacking is more tedious than just attacking twice.


The Range Attacker: This can either be another attacker that can hit back row or someone that can buff party / debuff enemies. If your attacker is similar to mine (small range) then your range attacker has to make up for it as a damage range attacker. The best for damage range attacker are: Highwayman, Grave Robber, Occultist, and Bounty Hunter; for buff / debuff it would be Plague Doctor. If you are going for range damage it is very similar to what you want for the normal attacker, the buff / debuff you would use high stun and plague chance items. The best option for this is the
Witch's Vial since it is a high % boost with no negative effects, there is another common one that is an elephant trinket called Dazzling charm but putting on a speed boost or ACC boost is a better choice for the second trinket. She can also heal blight and bleed on top of a heal of 1hp, which is perfect when you want to cut back on costs of supplies.


--------------------------------------------------------------------------------------------------------------------------
When you decide what characters work best with one another, label which party they belong to by putting a number after their name, that way farther down the road you don't mix them up.

10 comentário(s)
The Sprinkler 1 de abr. às 22:39 
I like this guide, and wish there were more in depth information
Von Uhlmann 愛 10/jan./2020 às 9:46 
Thank you, i wasent inexperianced when it comes to darkest dungeon but this helps a fuck ton, thank you! :steamhappy:
Sitting Horse 5/jan./2020 às 19:08 
Thanks for sharing these tips!
malevolentnuzzler 25/dez./2019 às 10:16 
seem like you over pack, leaving little room for treasure. unless you use all you consumables, you are wasting space and coin
Lampros 17/jul./2017 às 16:37 
Please update, if you can! ;)
RexIvan 26/nov./2016 às 23:12 
You forgot the most important part: Don't be a wuss. Take your lumps, get back up, and move forward. :yawp:
The Lorax 21/nov./2016 às 6:31 
personally I don't agree with all the over preperation, plus you forgot bandages and antivenom for battles and such, this guide was obviously made by an amateur
CombatJanitor 15/nov./2016 às 22:54 
Hey hey, you can actually just live with 12 Rations and 8 torches on both short and medium dungeons. Just remember to buy a couple of herbs for extra ration then a couple of shovels and keys for secret rooms. Soon enough you will realize that you sell a lot of unused supplies at the end of the mission. Adjust and get the optimal supply on your next.

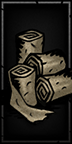
Once you git gud with torches and soon you can just live without them with moon trinkets. The dark awards more loot.
Bulletdrone 5/ago./2016 às 4:58 
No Man at Arms for tank?
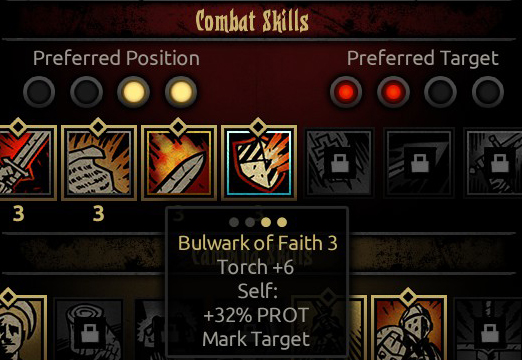
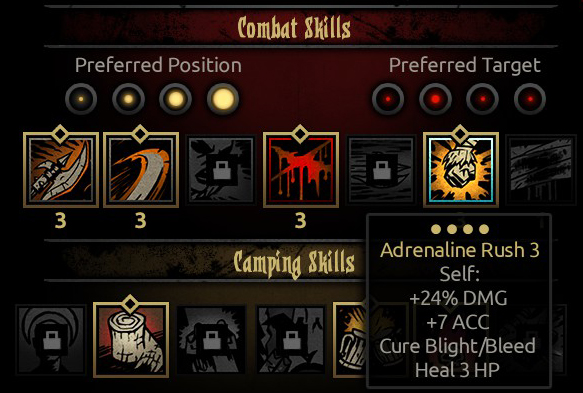
No houndmaster for tank?

Both of them can defend an ally while giving themself a defensive buff. The man at arms gives a solid prot boost while the houndmaster got a more risky dodge increase. Which both saved my lives more then an crusader has ever done.
SkyRaider 2/ago./2016 às 20:20 
I think your supply for each dungeon is too high, 12 torches maybe enough to get radiant light to the end of the dungeon, but in keeping the fire at 51-75 is more profitable.

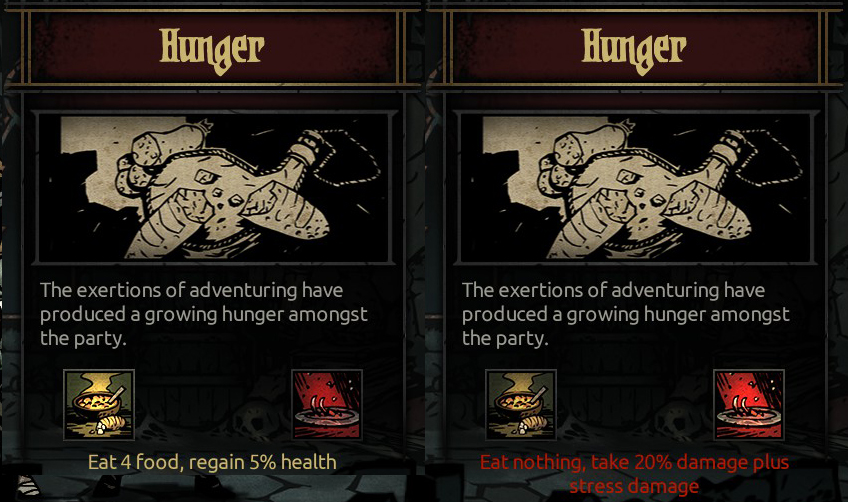
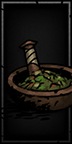
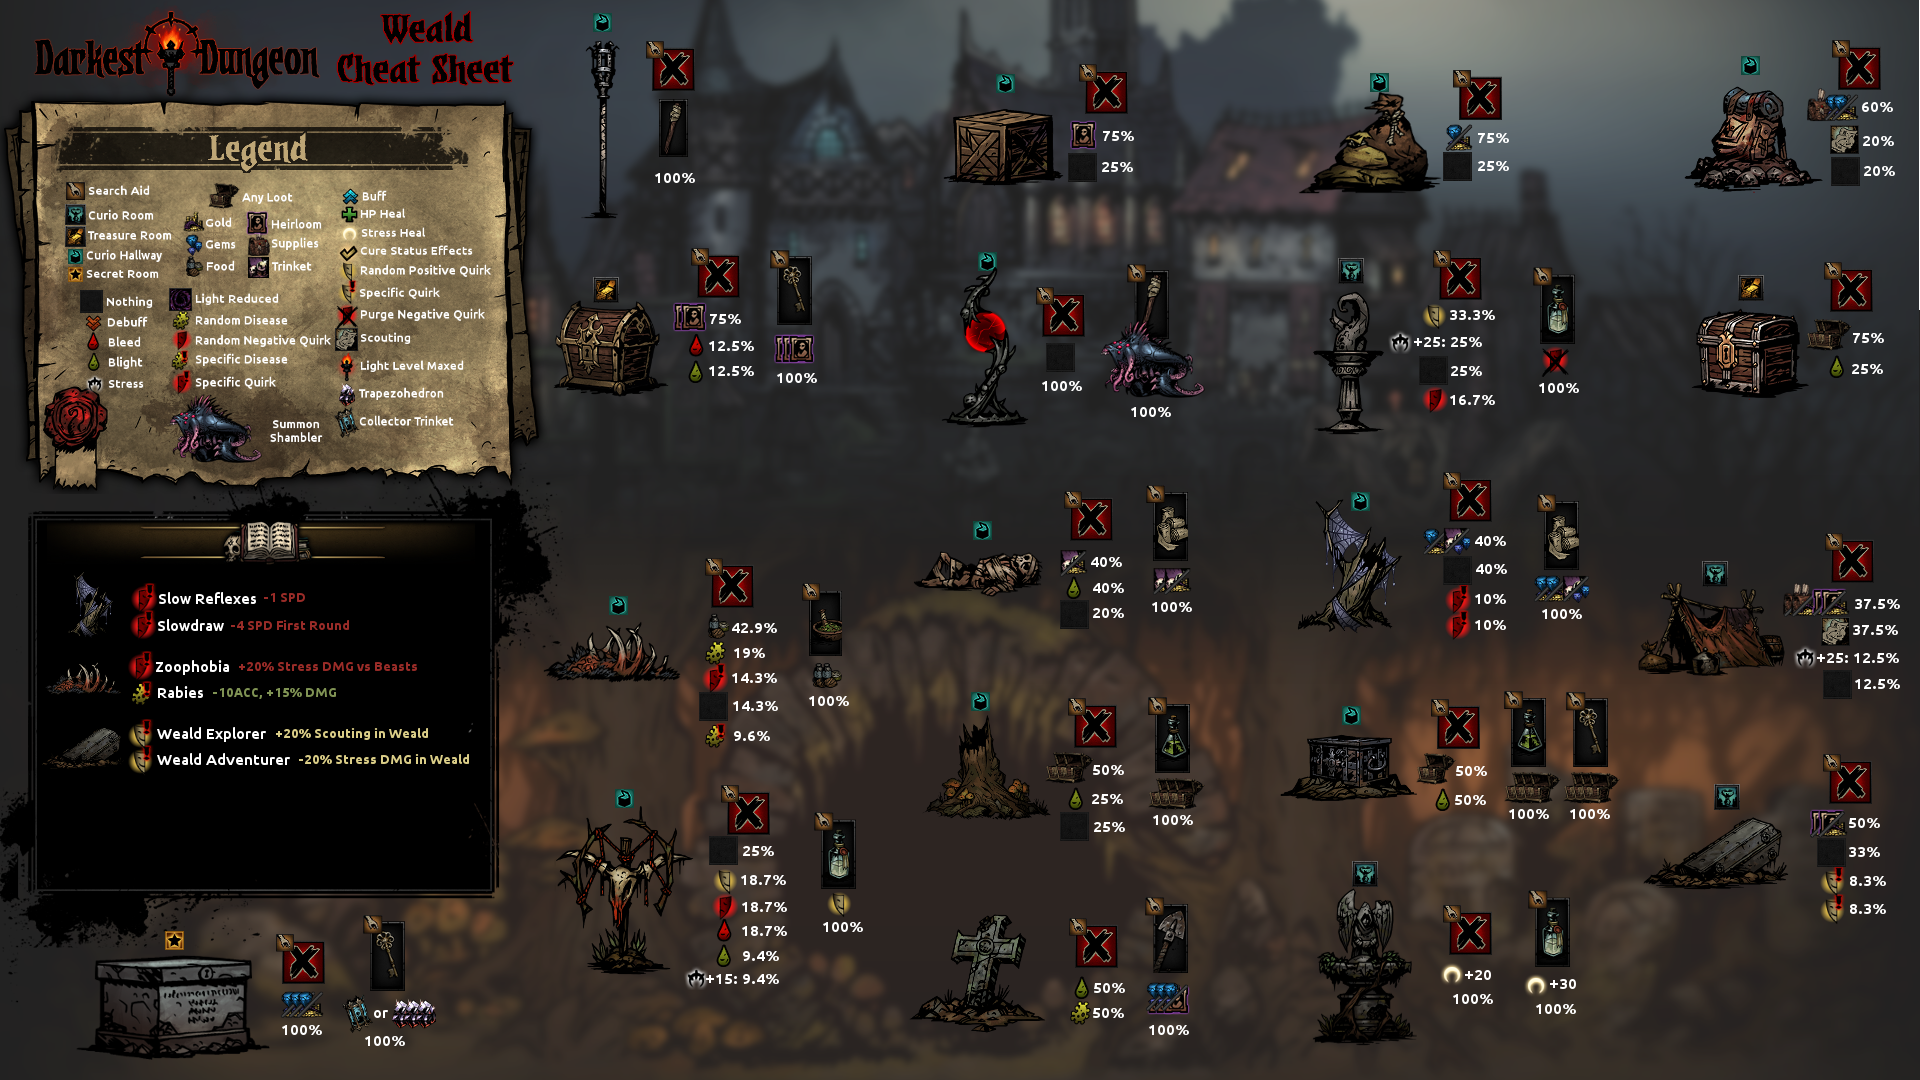
12 food is 3 times hunger event , but 8 is enough. I rarely have more than 2 hunger event.

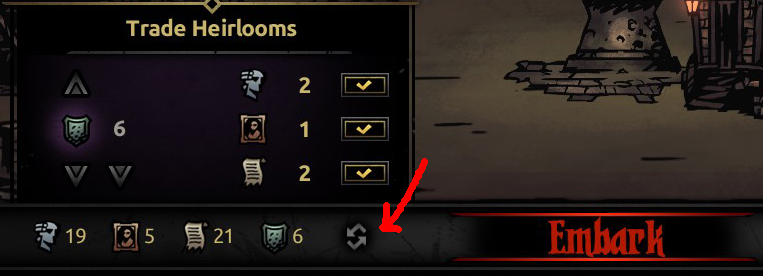
The cost of your provision is 3700 while a small ruins run tend to give around 4000 gold, so that is not very efficient. Remember, your hero is expendable, so try hoard many gold and heirloom as possible.

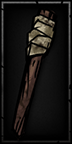
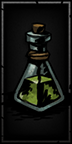
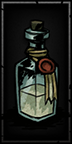
In small ruins run, I ussually just bring 6 torches 4 food 1 key 1 shovel 2 holy water

That is 1500 gold supply, Sometimes the run is a breeze, sometimes its hard as f***, but I can always return to town and at least it will always make a profit.

This is me, but all people had different opinion and way to play. Nice guide ! Keep it up :)