ARK: Survival Evolved
Оцінок: 42
Creating Pitched Roofs
Від KierKain та 1 співавторів
Add aesthetics to your structures! This guide is our workaround for creating sloped roofs until they are officially patched in.
   
Нагородити
До улюбленого
В улюблених
Прибрати
Flat roofs galore.
Being adventurers at heart, we set out to explore and colonize different parts of the island. Along the way we noticed a running theme with our various structures: they all had flat roofs. Flat roofs on our castles, flat roofs on our towers, flat roofs on our dino enclosures, flat roofs on our raider tra-uh, houses. We got bored with the norm quickly.

As official slanted roof objects haven't been implemented into the game yet, here are a few of the pitched roof variants that we've tested.

There are a few things to note about these workarounds:
  • gaps are often created as a byproduct of the ramped roofs (until official pitched roof options, or smart walls, are patched into the game);
  • wall corners often protrude through the sides of the ramps adding a crow-stepped look to the various styles;
  • the game will not yet recognize ramps as ceilings, thus you might not get the home bonus (protection from temperature, rain, etc.) from these variants (or you might get partial bonuses, as is the case with the pentice style);
  • there is a bug that causes some of the walls to force-snap sideways and/or backward if there are certain objects near them (e.g. pillars, ceilings, fence foundations, ramps, etc.), so it may take a couple attempts to set the desired oritentation for them; and
  • we use fence foundations in many cases to patch the holes and/or add aesthetics to the structure, and encourage you to do the same.
A note about the guard rails.
Several readers have asked how we were able to create the guard rails featured on a couple of our houses. Well, the ugly of it is you need to place fence foundations in the location you want the rail to be placed and then, through a careful process of Lego snapping, stack subsequent foundations upon the first until you reach the desired height (note that any overhanging ramps/roofs can impede the fence foundations from stacking to the desired height, so build rails first then place the ramps). Just demolish the fence foundations below the topmost one afterward. Voila! Makeshift guard rails.

The guide "How To Make A Guard Rail" by ElPimpident covers this subject in greater detail.

NOTE: sometimes you'll find yourself in a situation where the rails snap to the edge of a floor piece rather than to the middle of the floor where you had it positioned. A reader posted a screenshot for a workaround in the comments section that addresses this.

Thanks to Stollenwerk for the suggestion!
Monopitch (single-slope) style.
This is a simple lean-to that we constructed on a small cliff face.

Step 1: we built a simple L shaped frame in the direction we wanted our roof to face.
NOTE: the front wall needs to be taller than the side walls.

Step 2: starting at the taller front wall, we built the ramps down until they hung over the back wall.

Here is a variant that builds the slope off of a flat roof awning (which we think looks better).
Pentice style.
This is a small pentice style roof that we constructed over our country cabin.

Step 1: we made an inverted T with the top front and back of our frame that was connected via a flat roof (imagine the house frame looking like a giant basket... not very attractive, we know, but bear with us).
NOTE: in the picture on the right we used fence foundations on one side of the structure to show you how the gaps between the roof and wall can be filled in.

Step 2: we placed three ramps along the first side of our frame.

We did likewise with the second side.
Gable style.
This is a simple gable style roof that we built over our stone house.
NOTE: the large open spaces under this roof are perfect for a second story balcony.

Step 1: we began by placing stone fence foundations in a line along the center of our flat roof.
NOTE: we cordoned off the perimeter of our roof with railing to keep us from falling off once our roof is finished, and because we think it looks good.

Step 2: we placed stone walls upon the fence foundations and stacked them three high.

Step 3: the fence foundations are sticking through the lower roof, so we knocked them down.
NOTE: don't worry, the walls will stay up without the foundations now that they are set.

Step 4: we placed the first ramp on the top of the upper walls and extended them to the edge of the side walls.

We placed ramps in similar fashion along both sides of our upper walls to complete the roof.
Our little uncoordinated village.
Once again, here is what the end result of these variants looked like for us.


We would love to see your own pitched roof variants! Perhaps we'll share some more of ours later on, or perhaps we'll just move on to another guide. Could go either way, really.
Коментарів: 24
Stollenwerk 28 лип. 2015 о 10:10 
Hey Helene, I like your style.
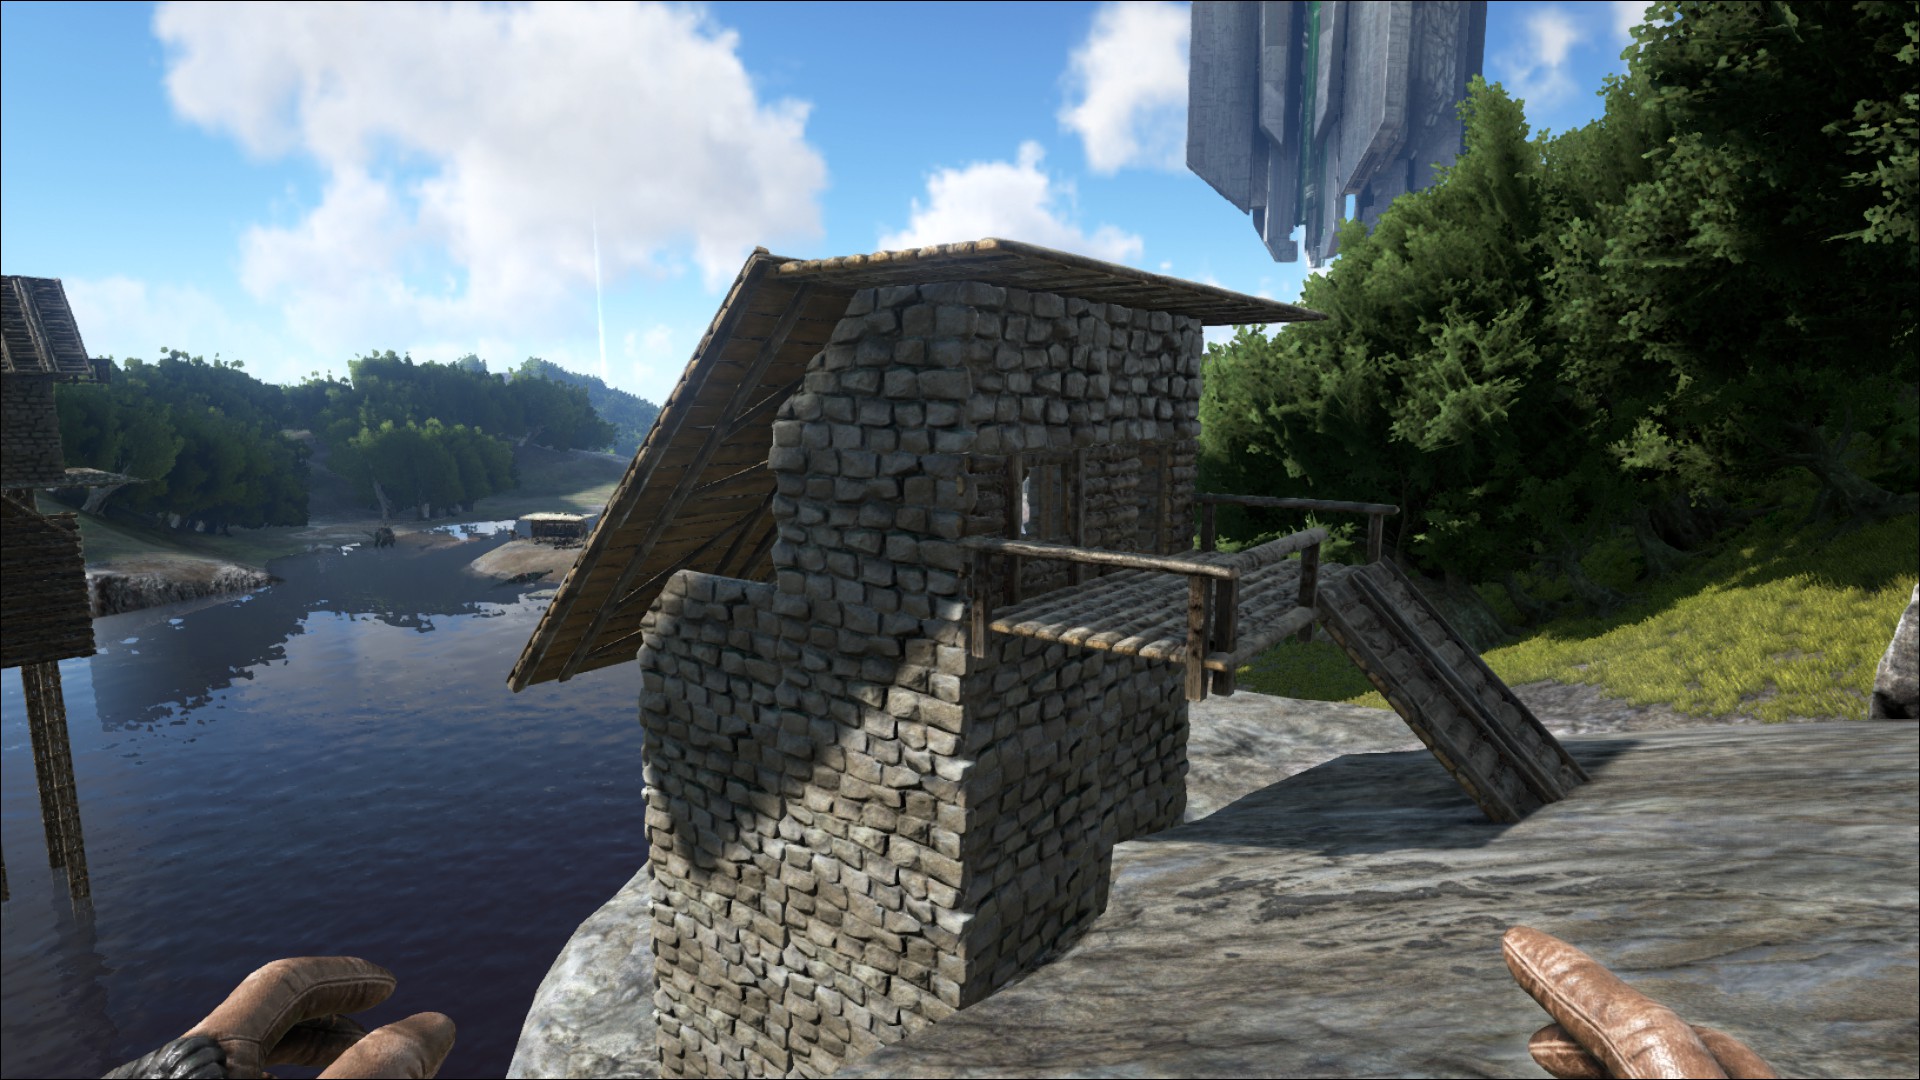
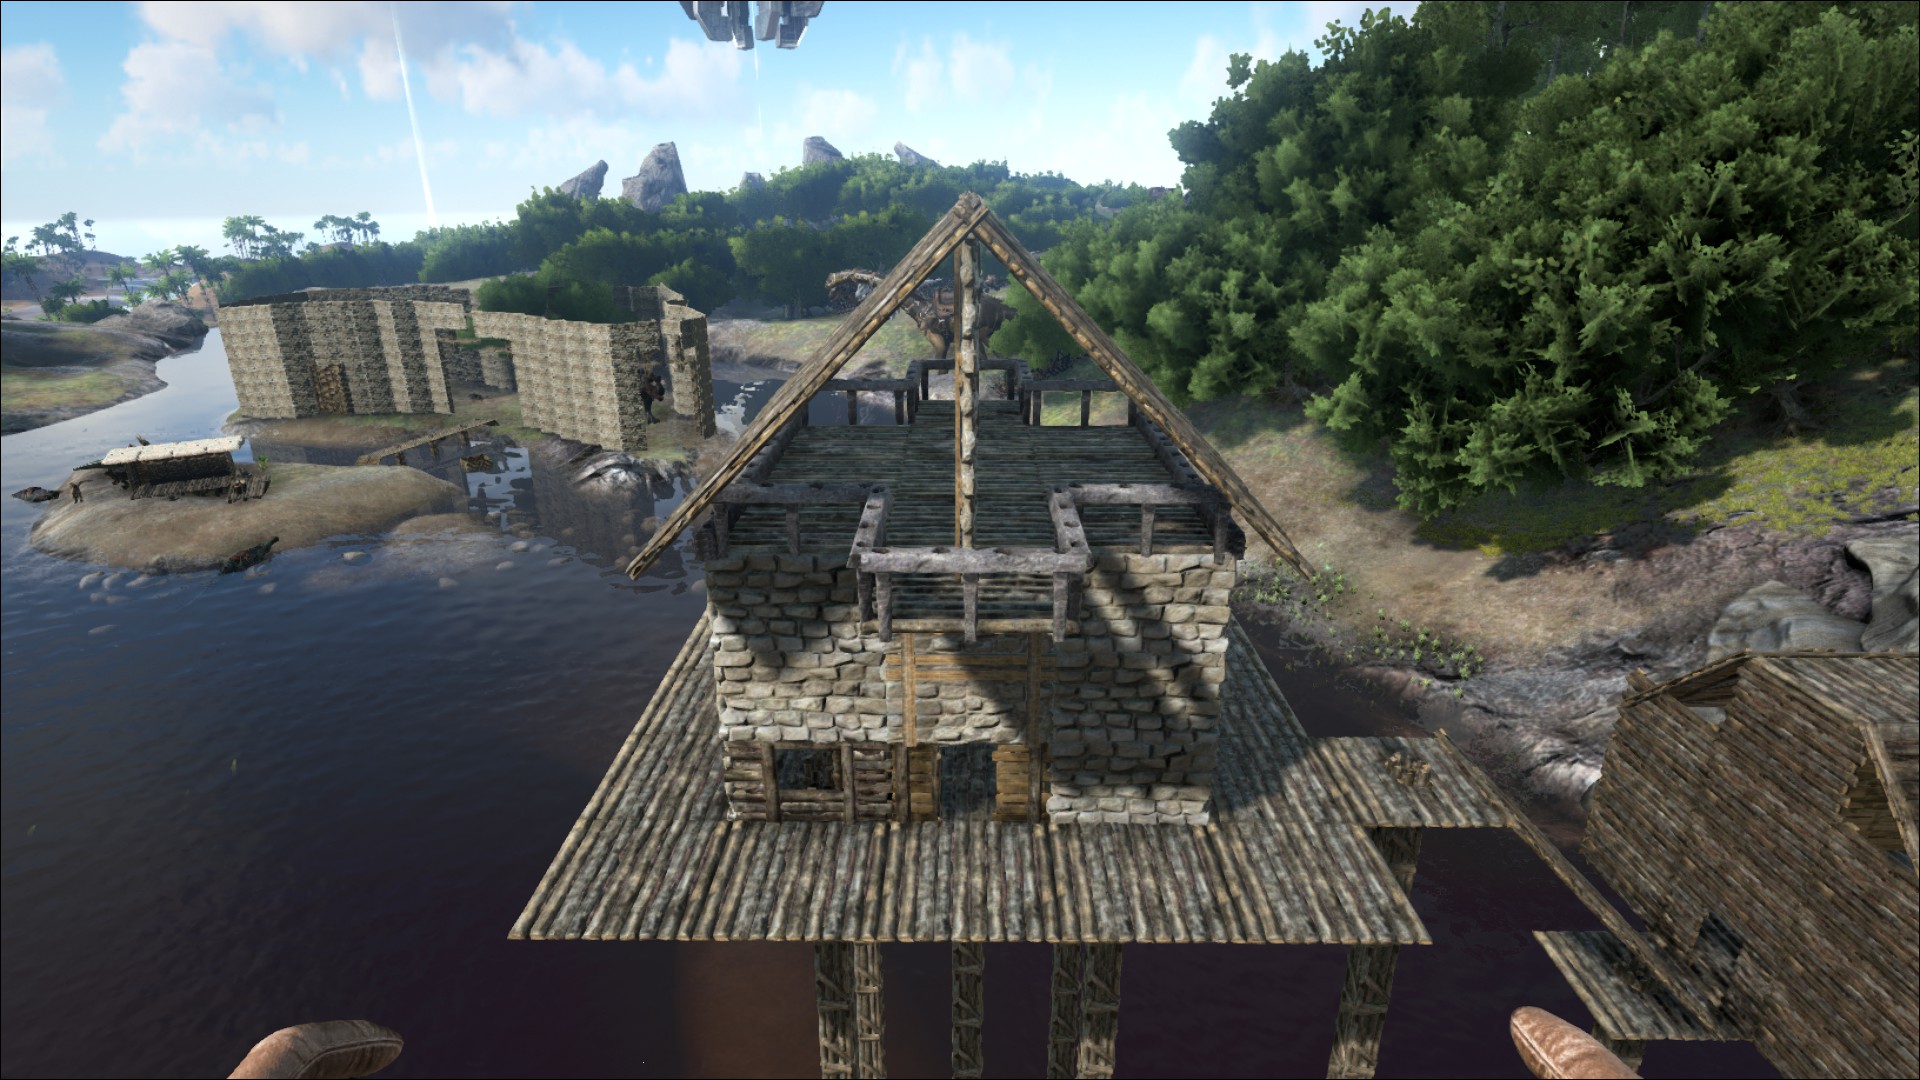
Well, nice woman...nice house ;-)
KierKain  [автор] 27 лип. 2015 о 13:39 
Helene wrote:
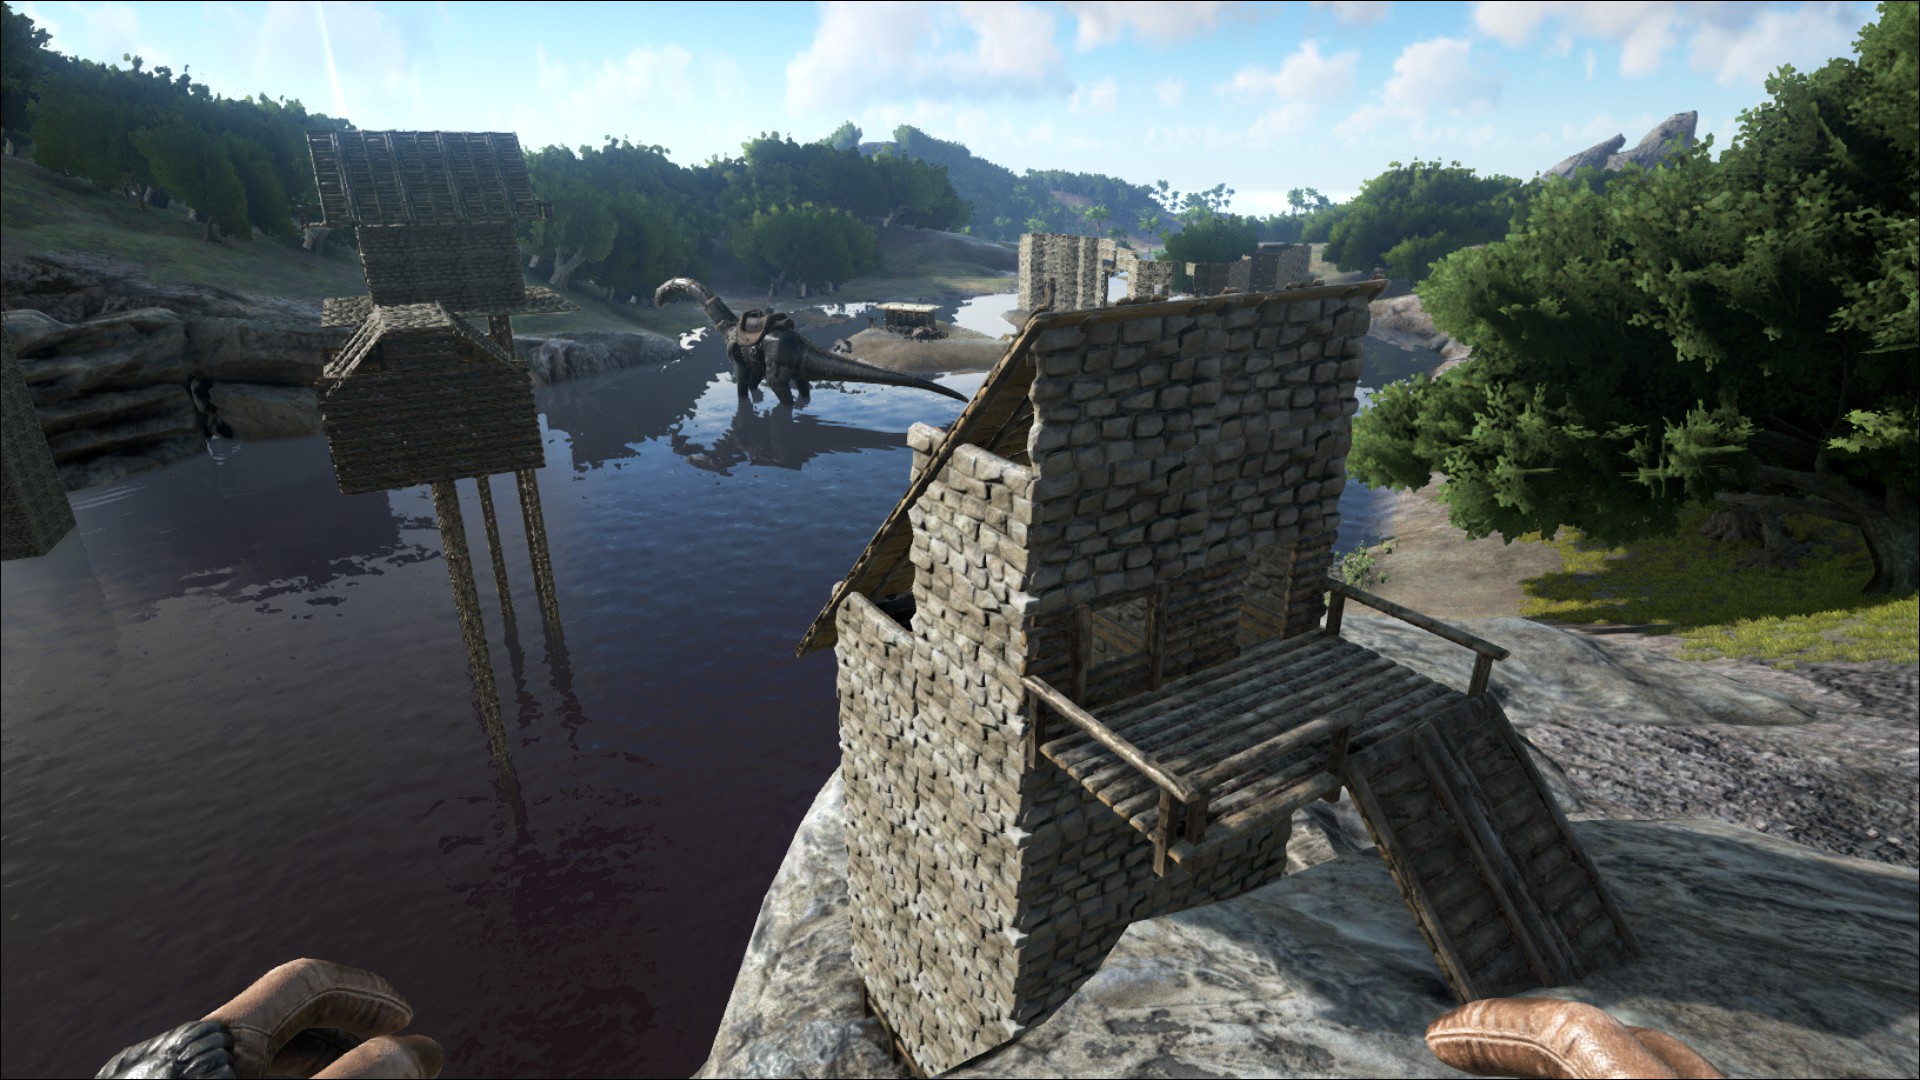
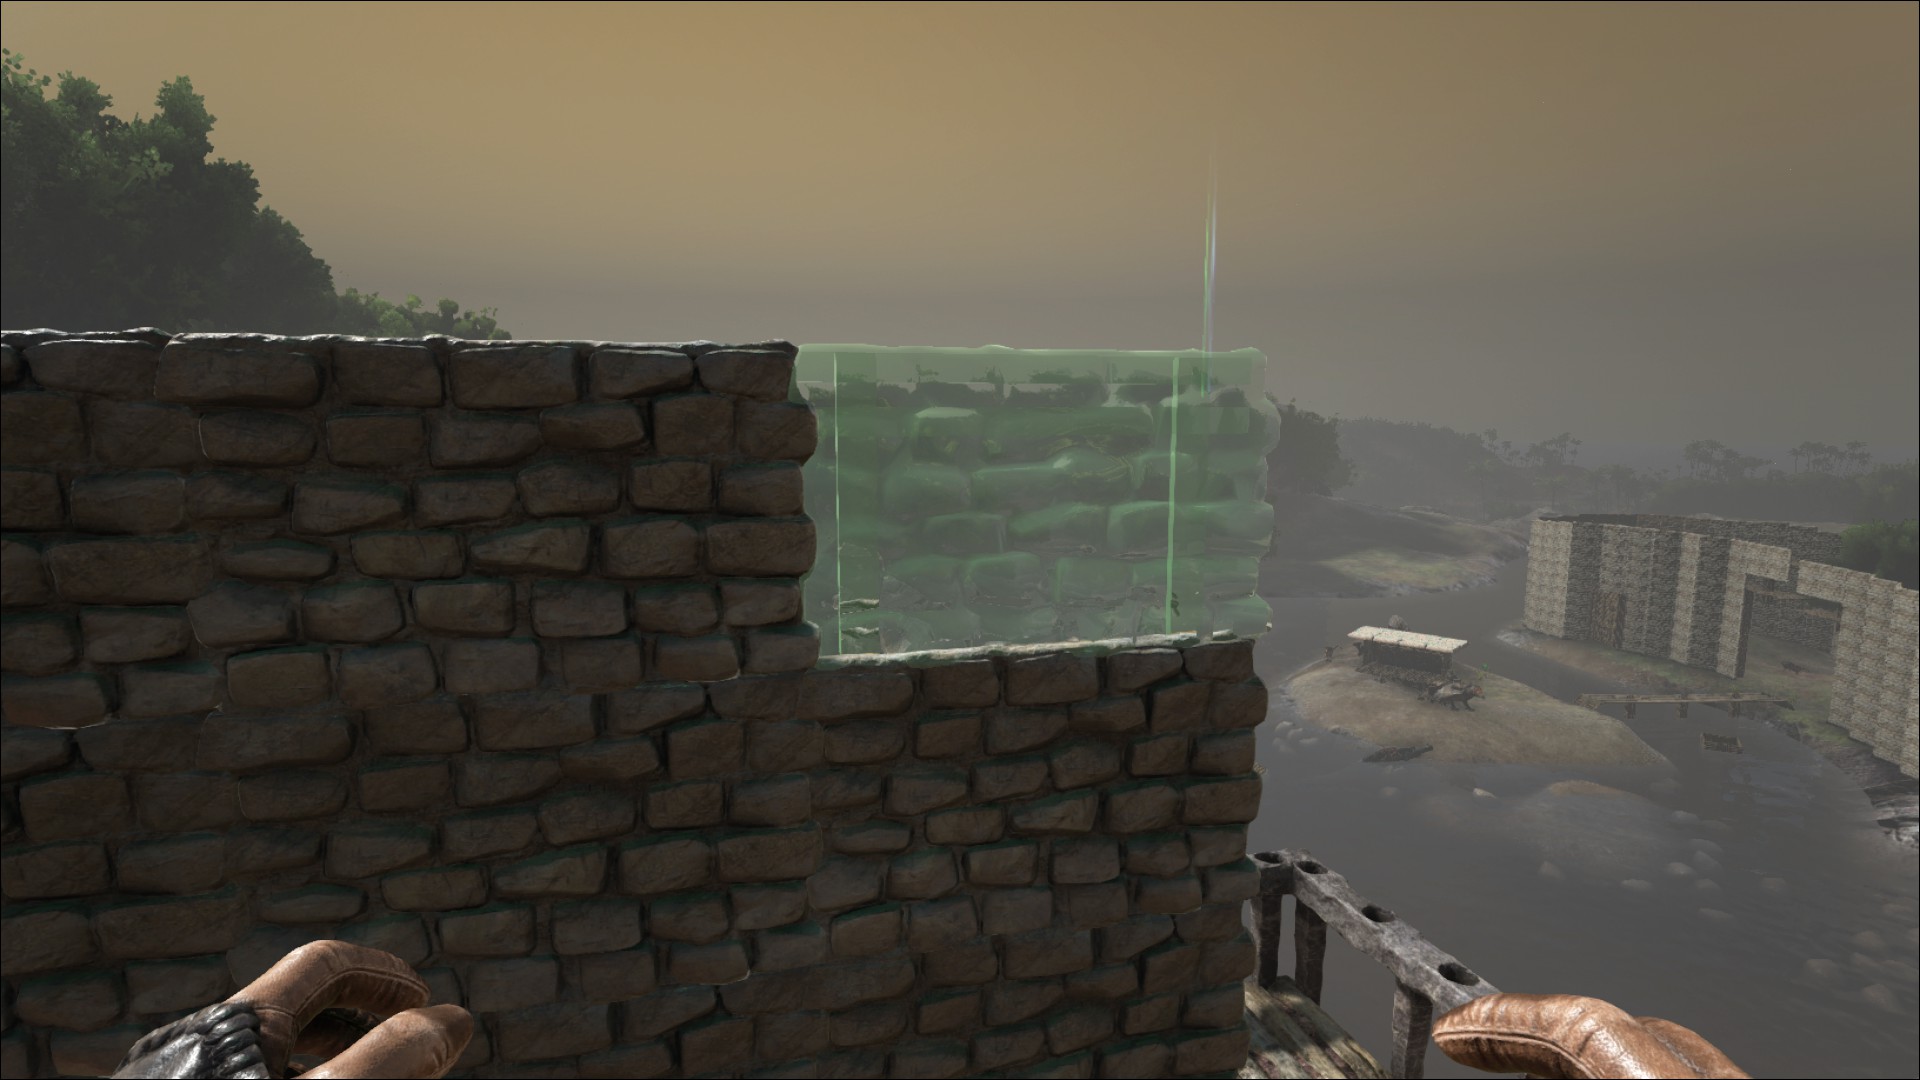
"For some reason i cannot paint the fence foundations :( Got any ideas on how to make em "pop" more? :D http://steamcommunity.com/sharedfiles/filedetails/?id=489279083"
-----
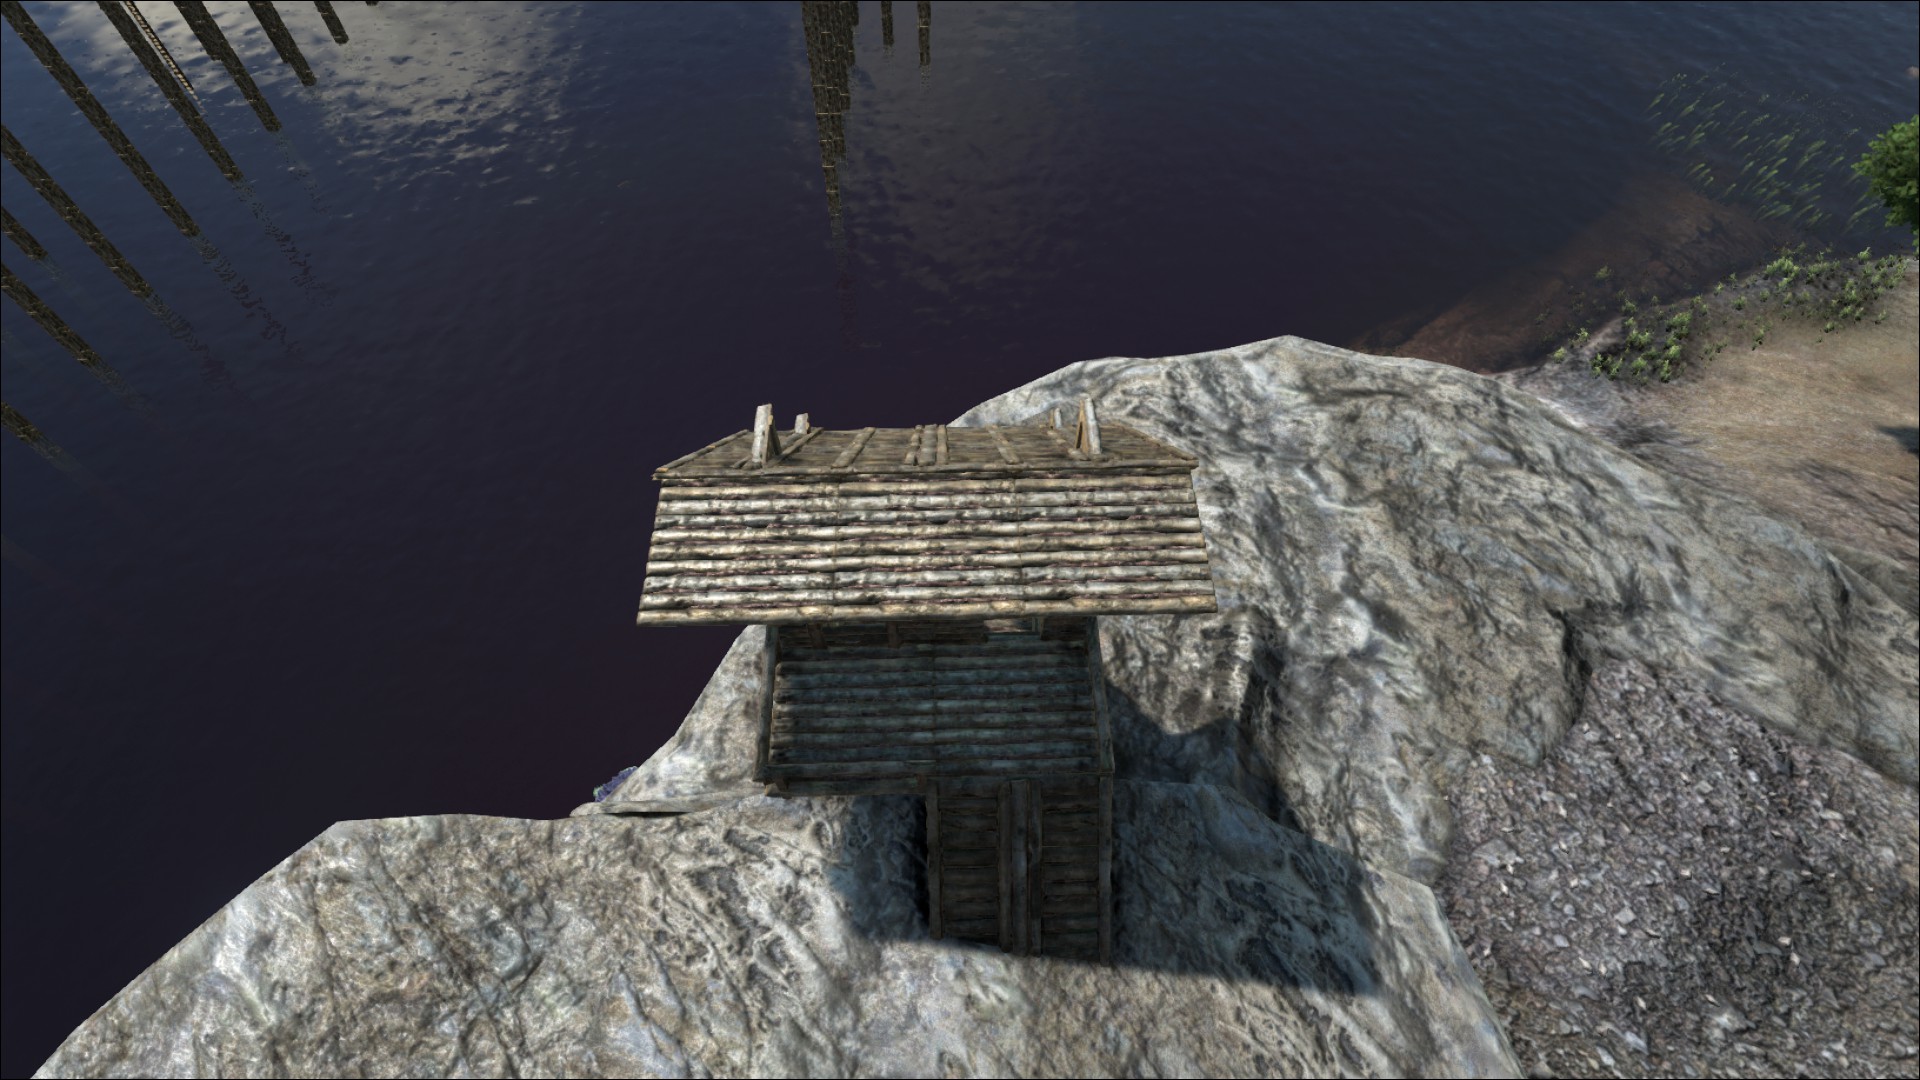
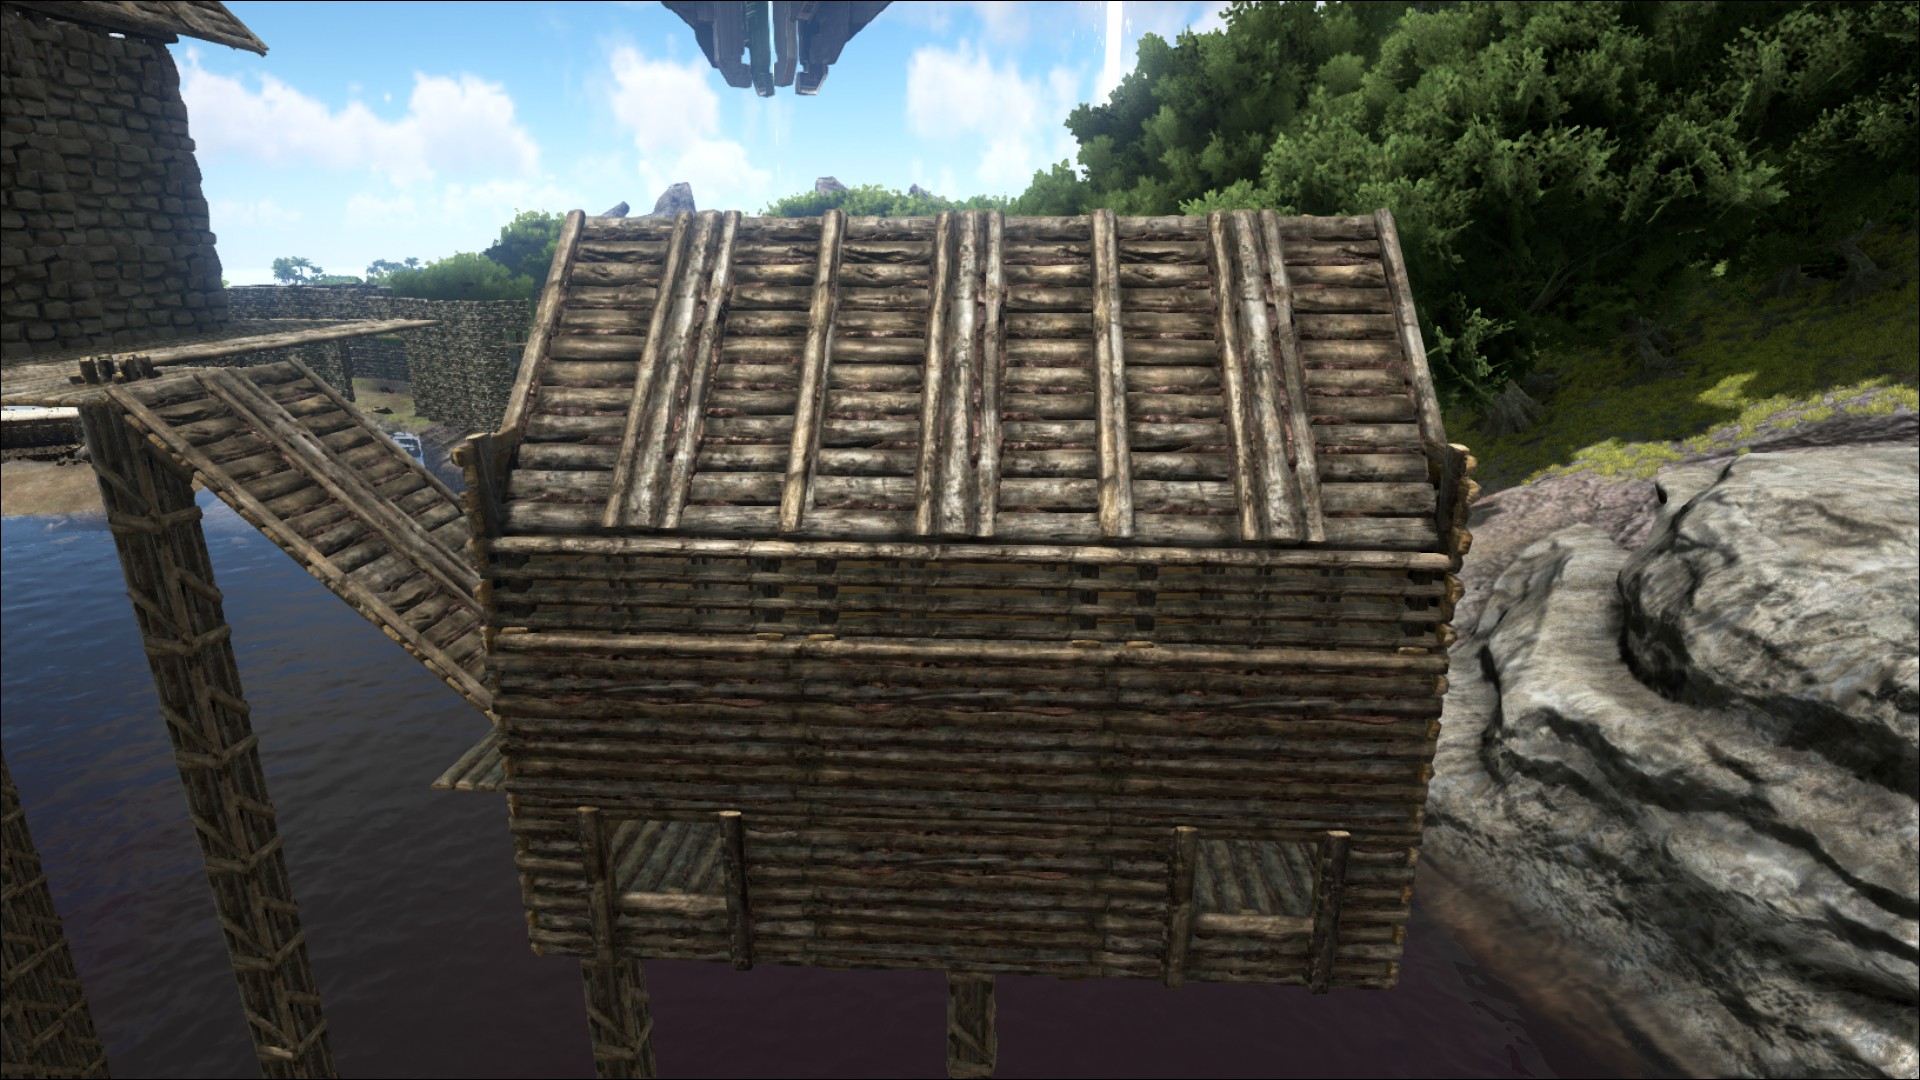
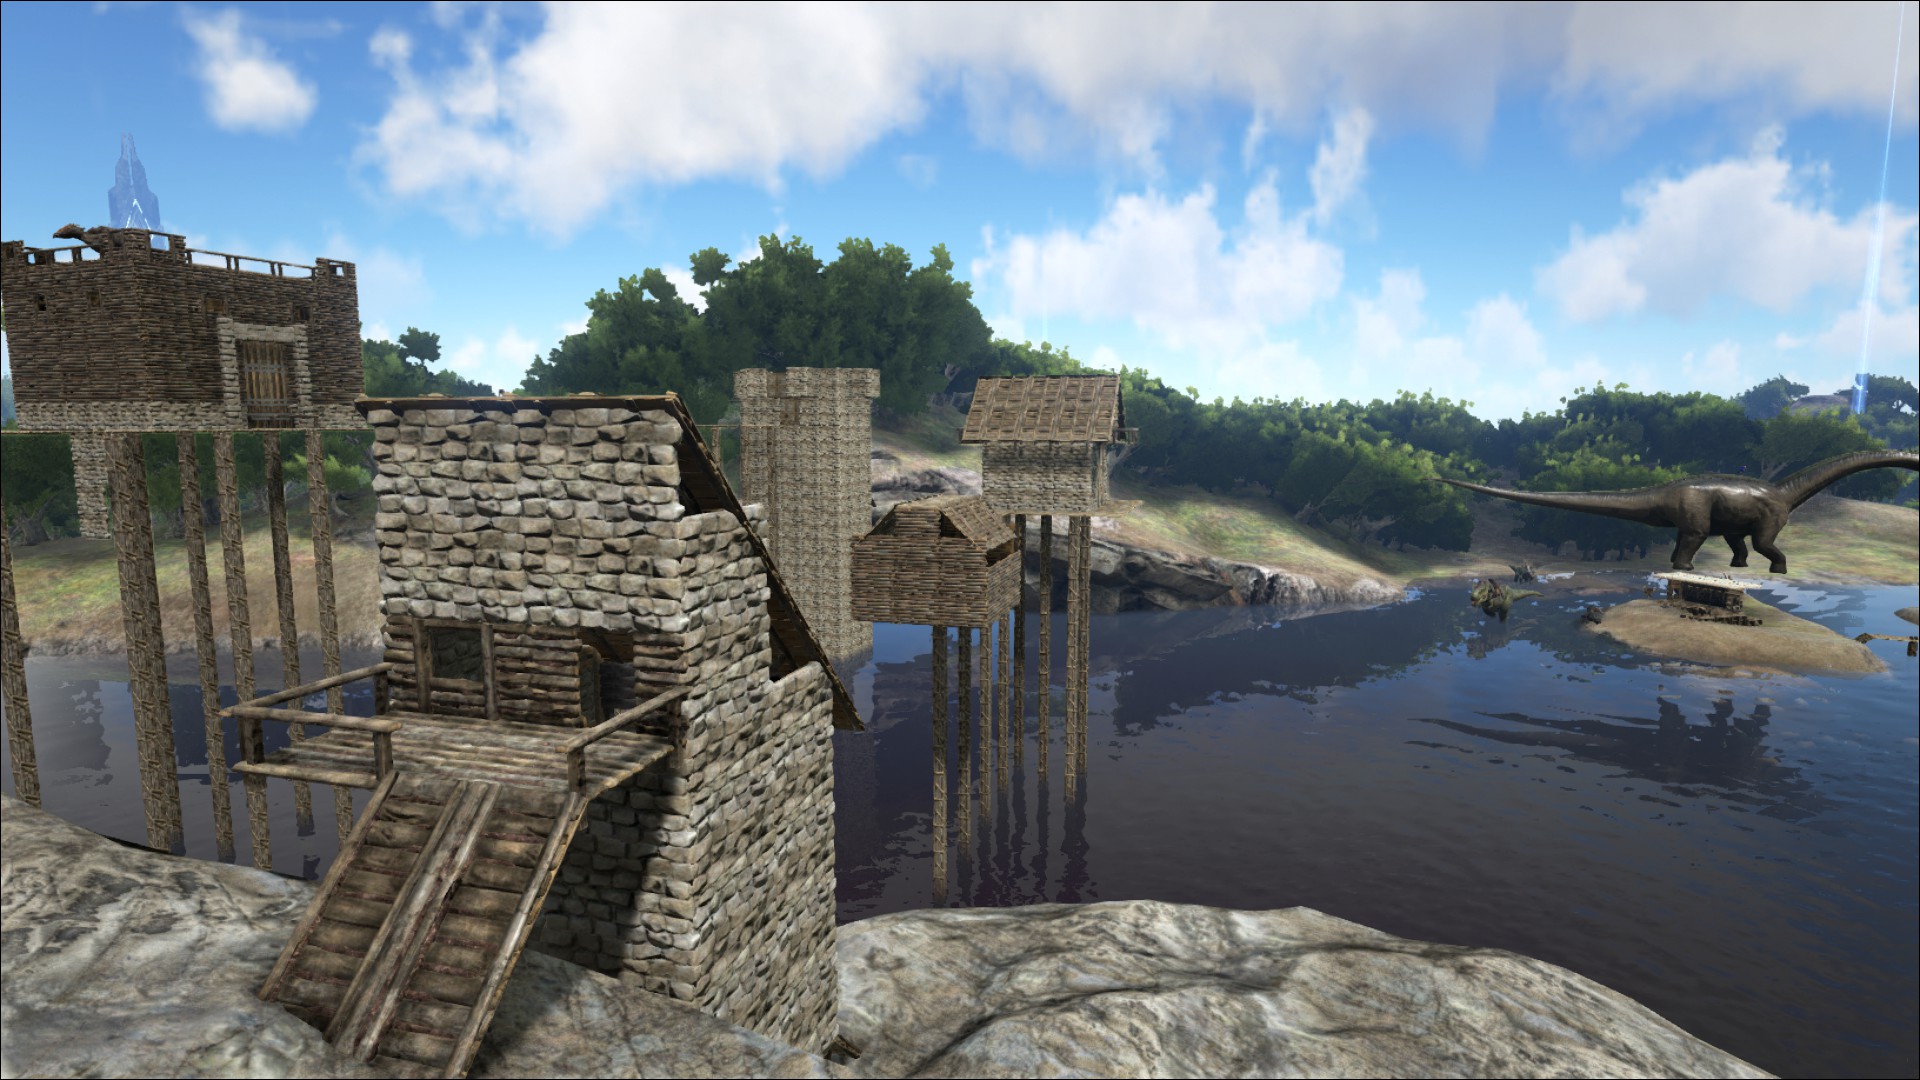
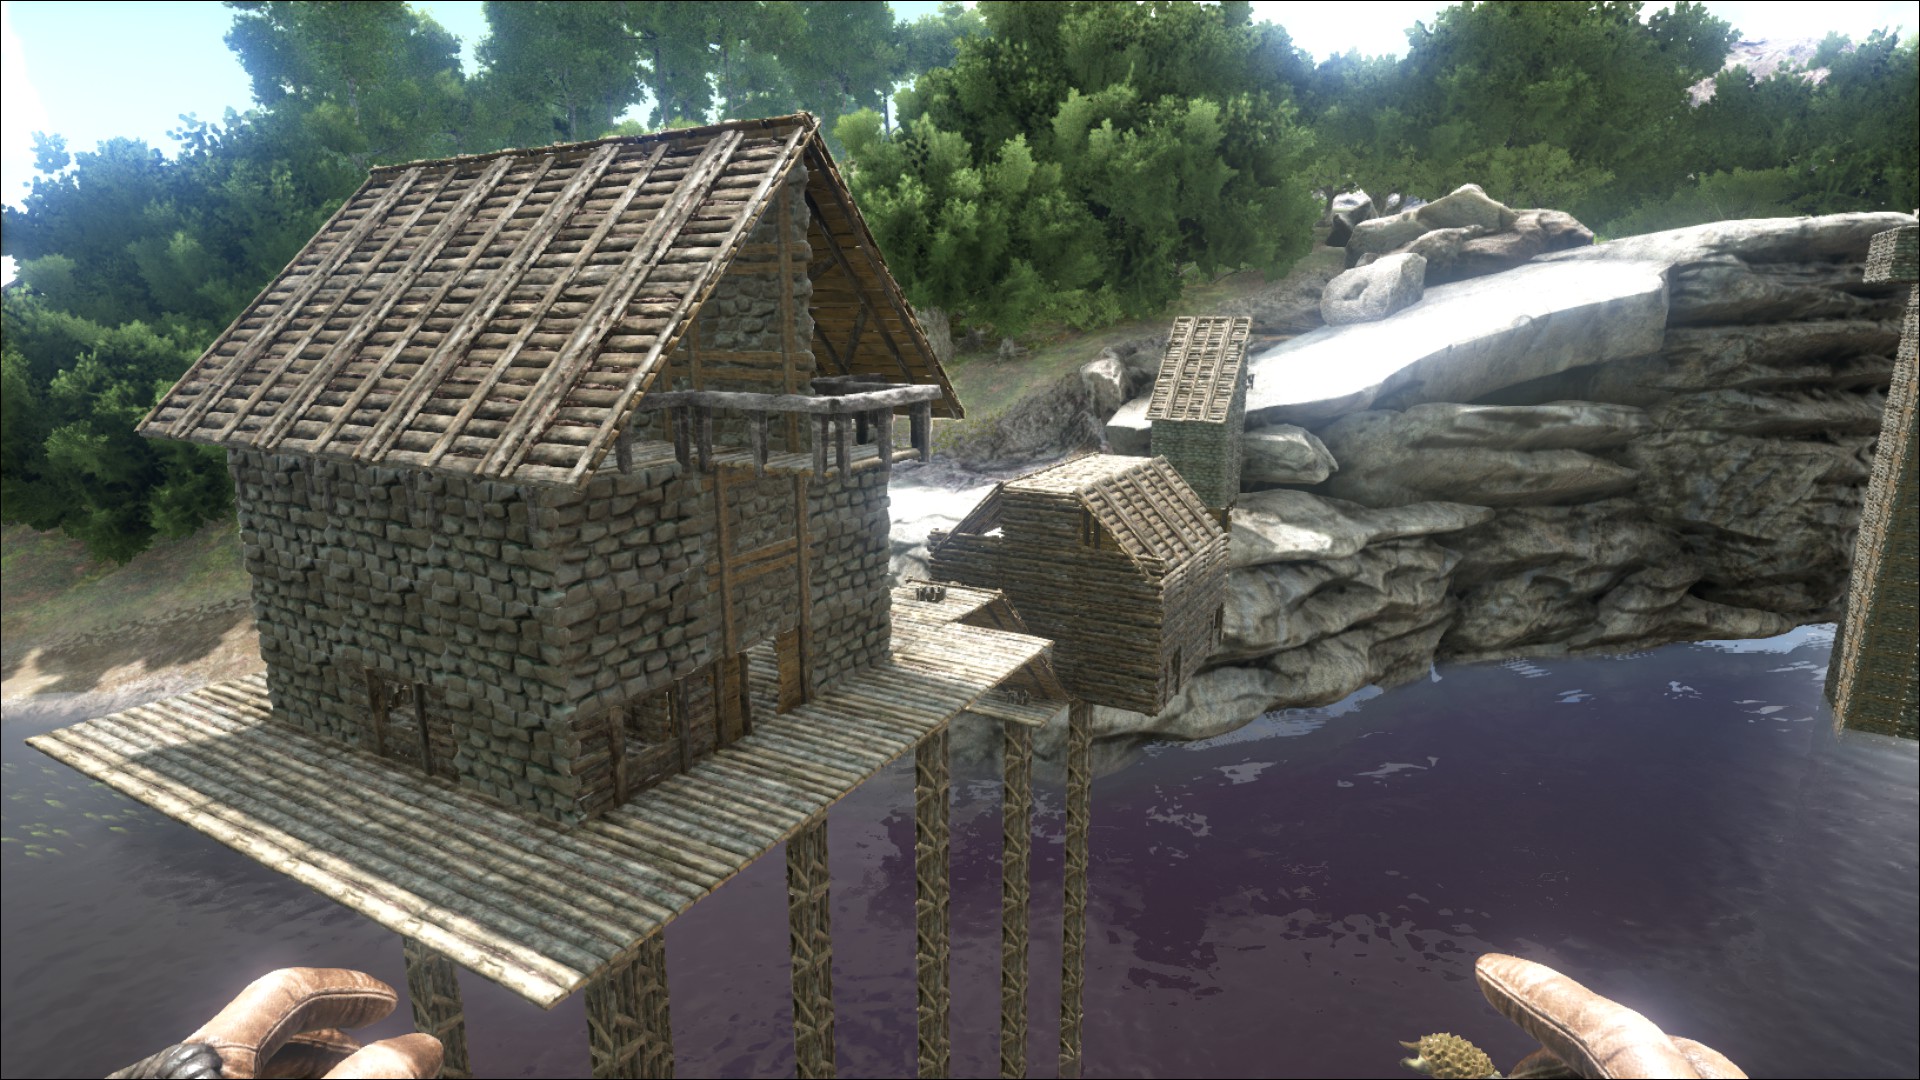
Very nice house. Are you at the Southwest Plateau (site 1.08 in the Fast Traveler (vol 1))?

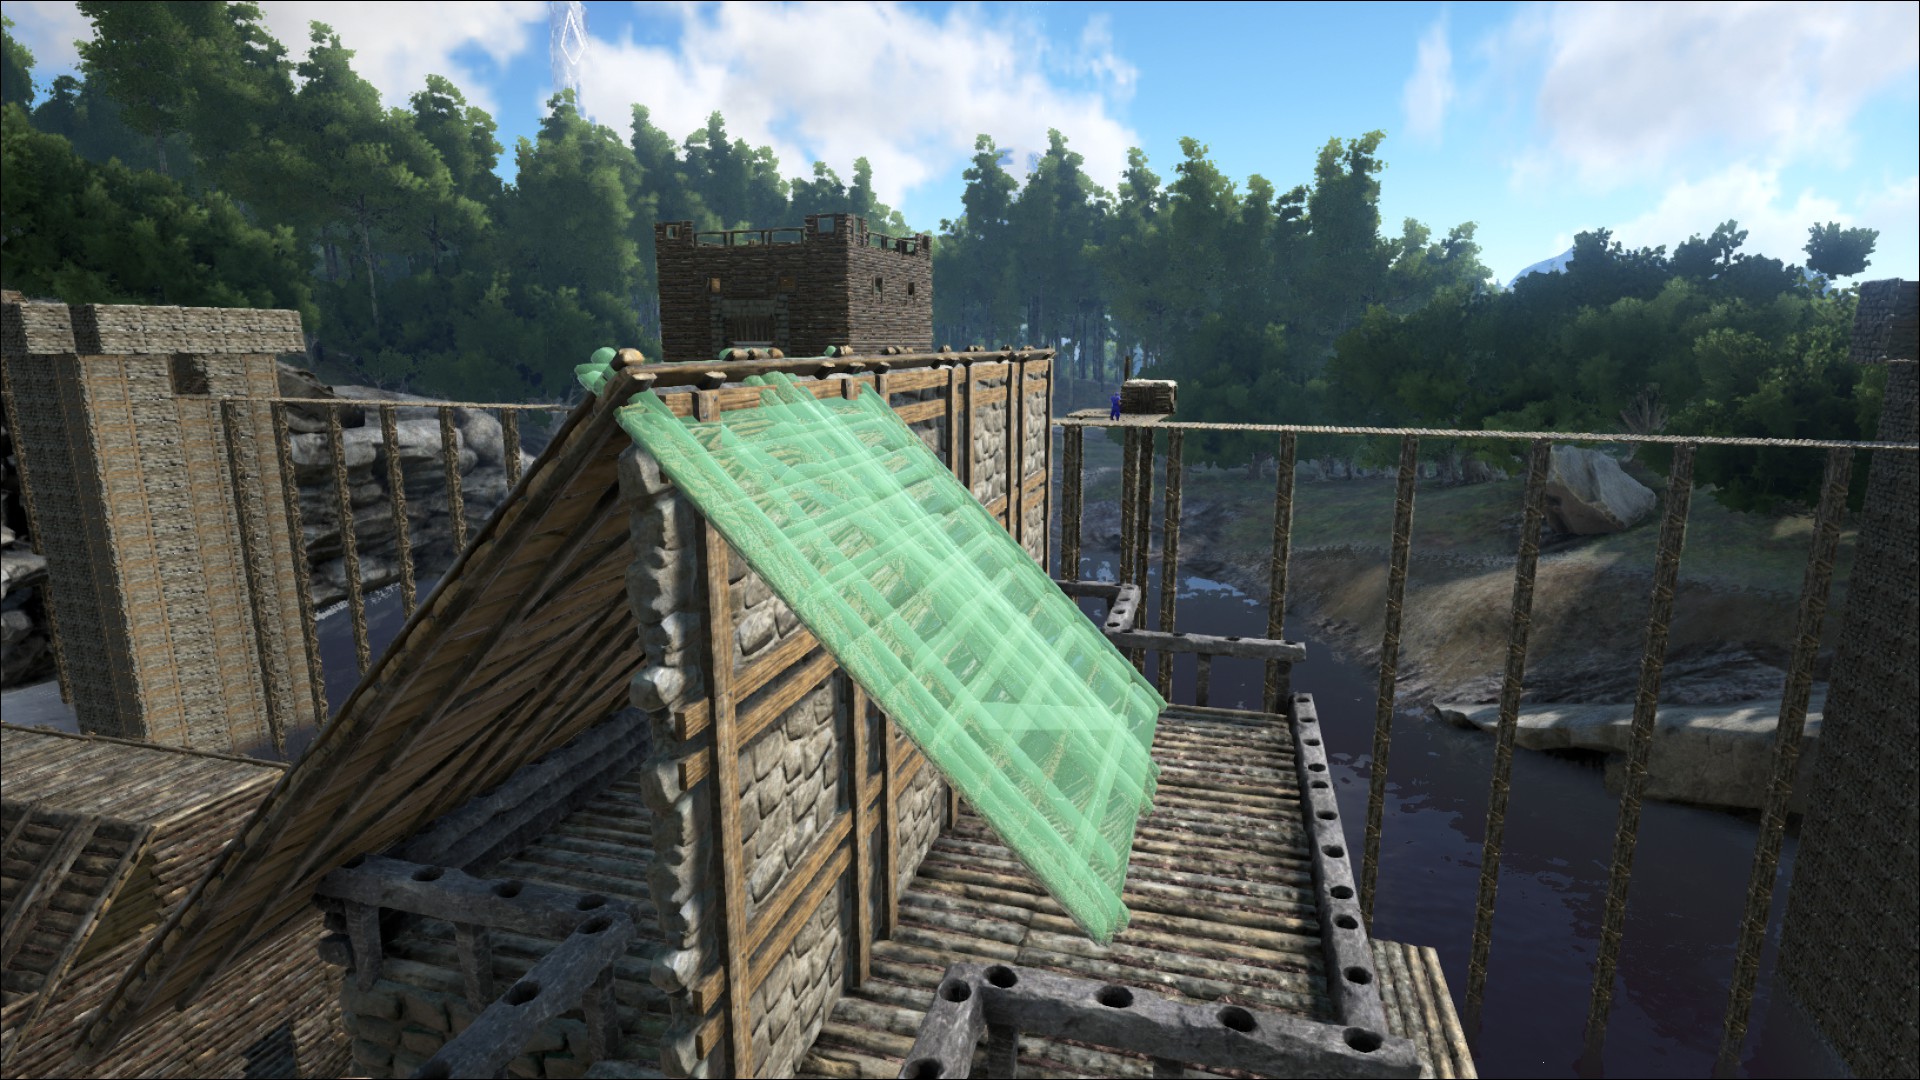
Hopefully the inability for paint to apply to fence foundations will be patched soon. Until then you can try topping your rails with metal fence foundations to make 'em pop... and potentially blind you if you haven't turned down the bloom quality. This is assuming you have enough metal of course. Another thing you can try is placing a piece of stone/metal irrigation directly on top of your rails. This sort of gives your rails a hand guide sort of look (although it can take some finesse to place them on corner sections).

Let me know if you figure something else out!
KierKain  [автор] 27 лип. 2015 о 12:36 
Stollenwerk wrote:
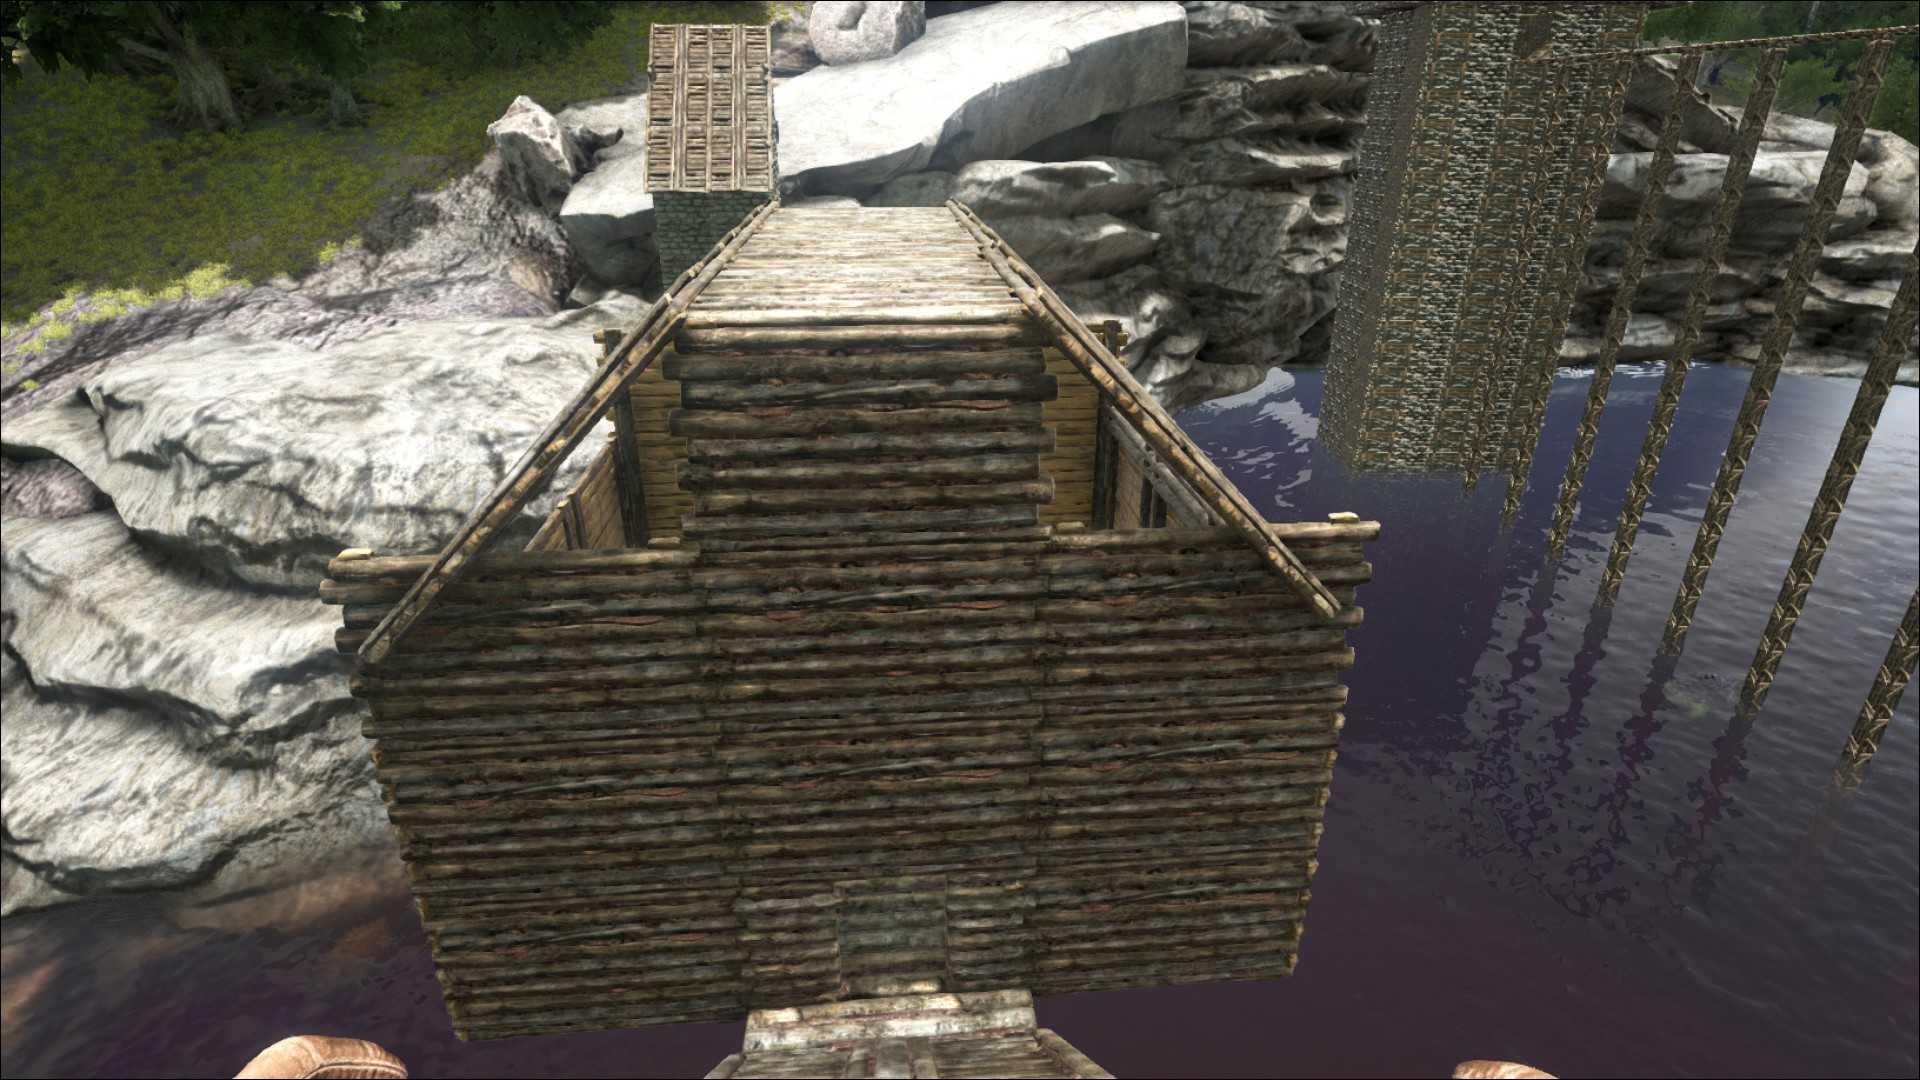
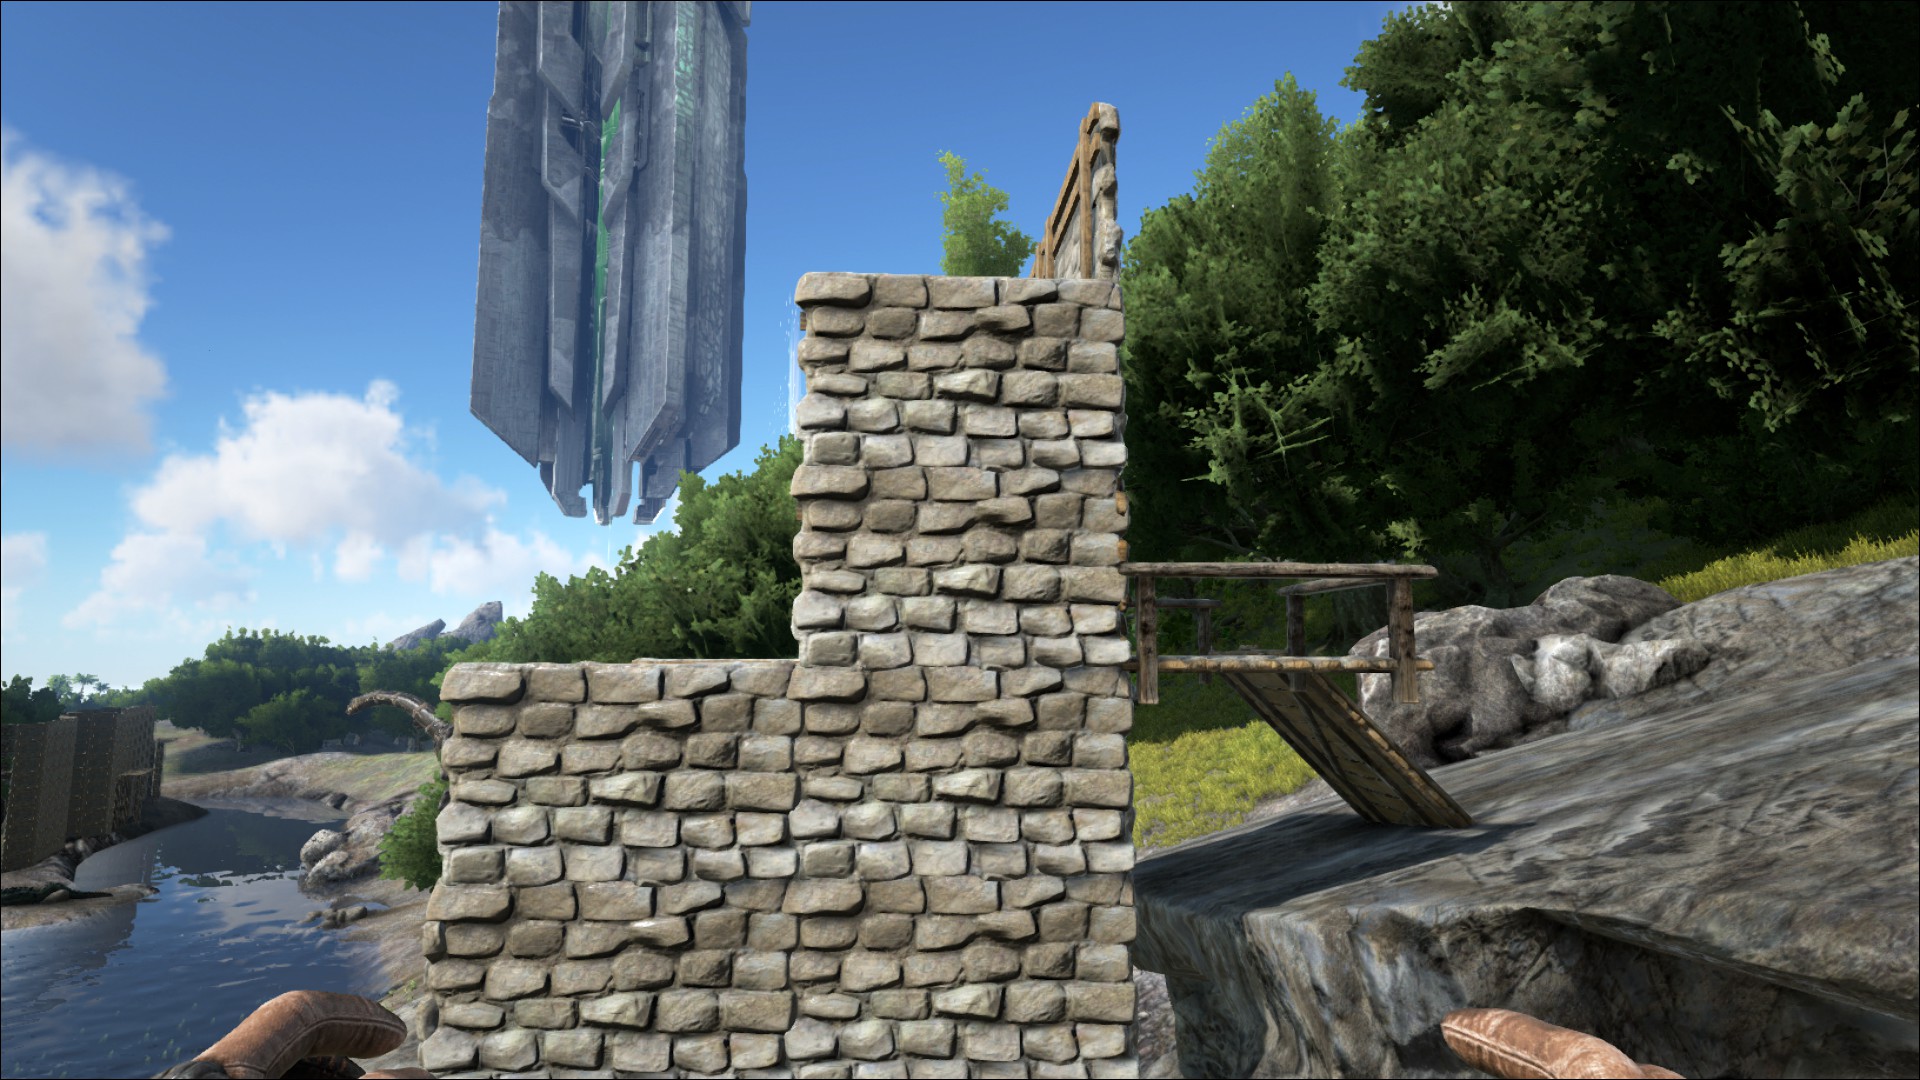
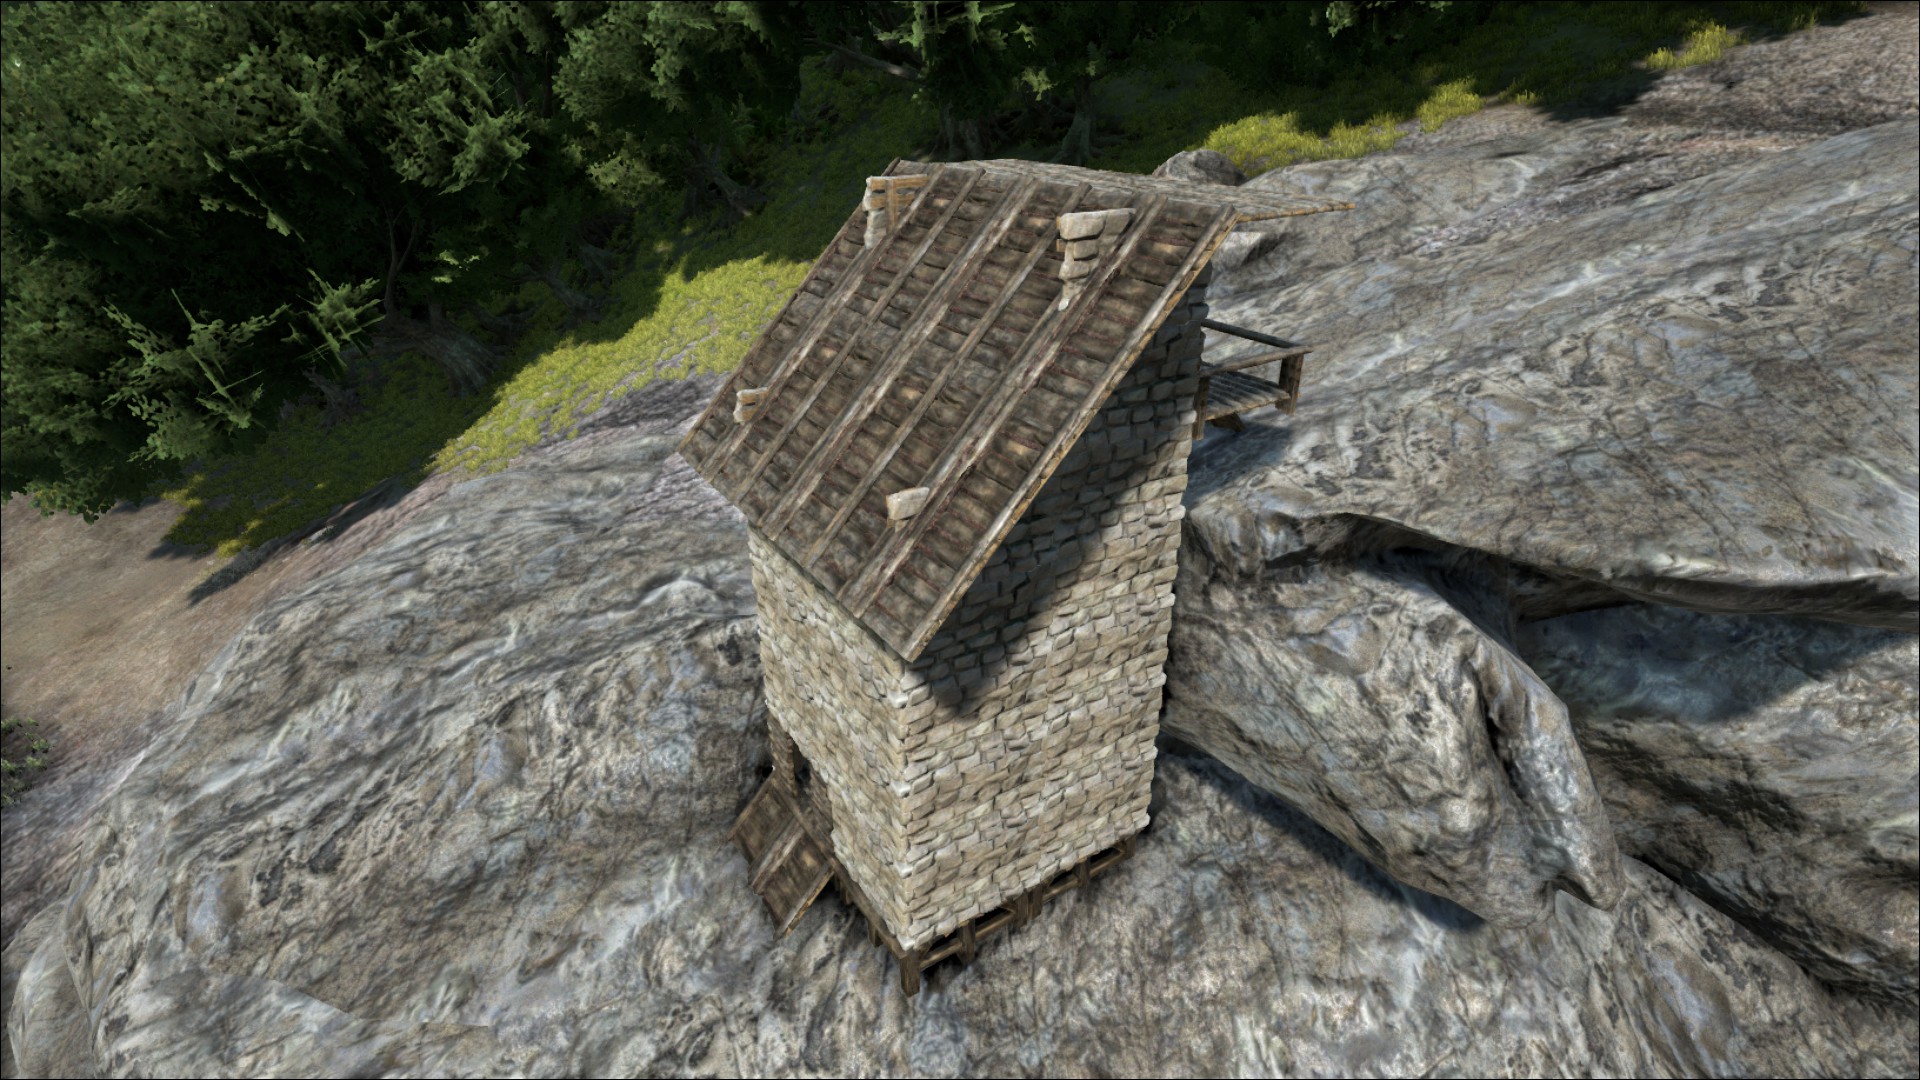
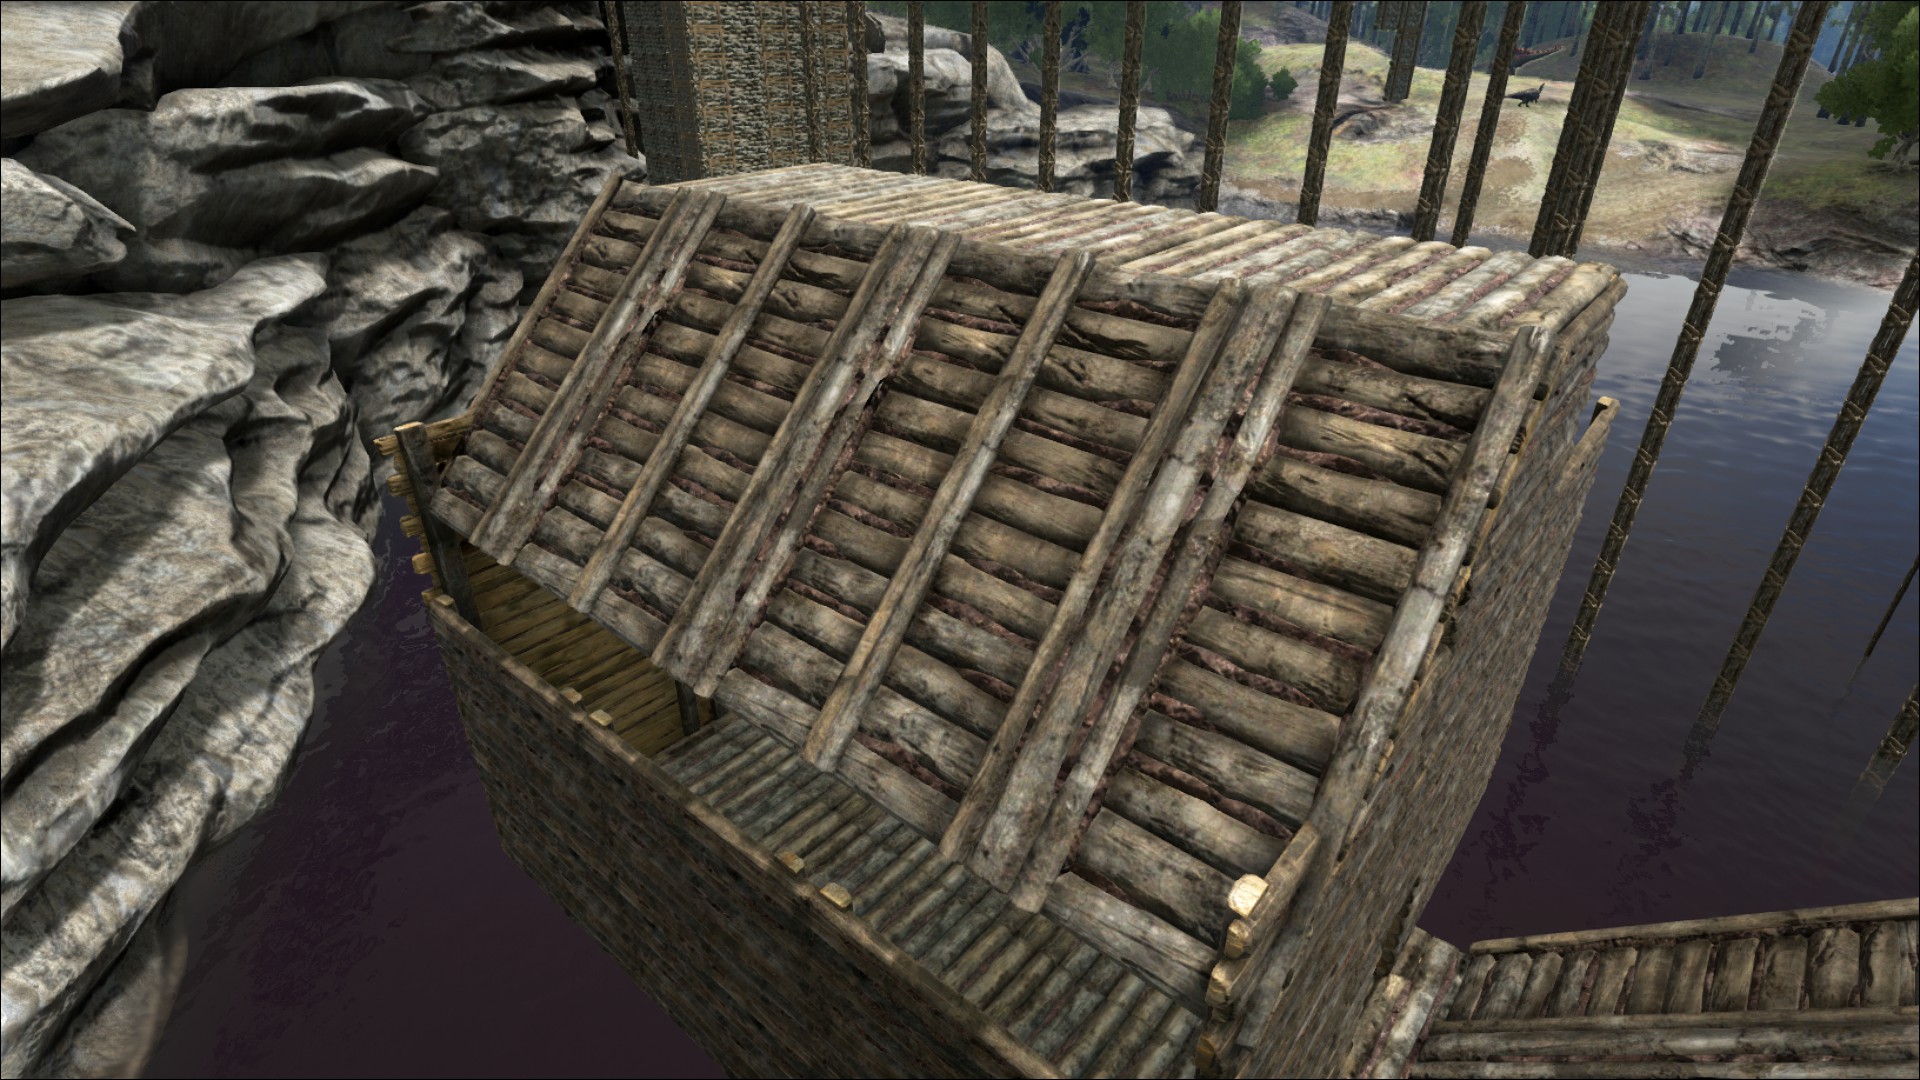
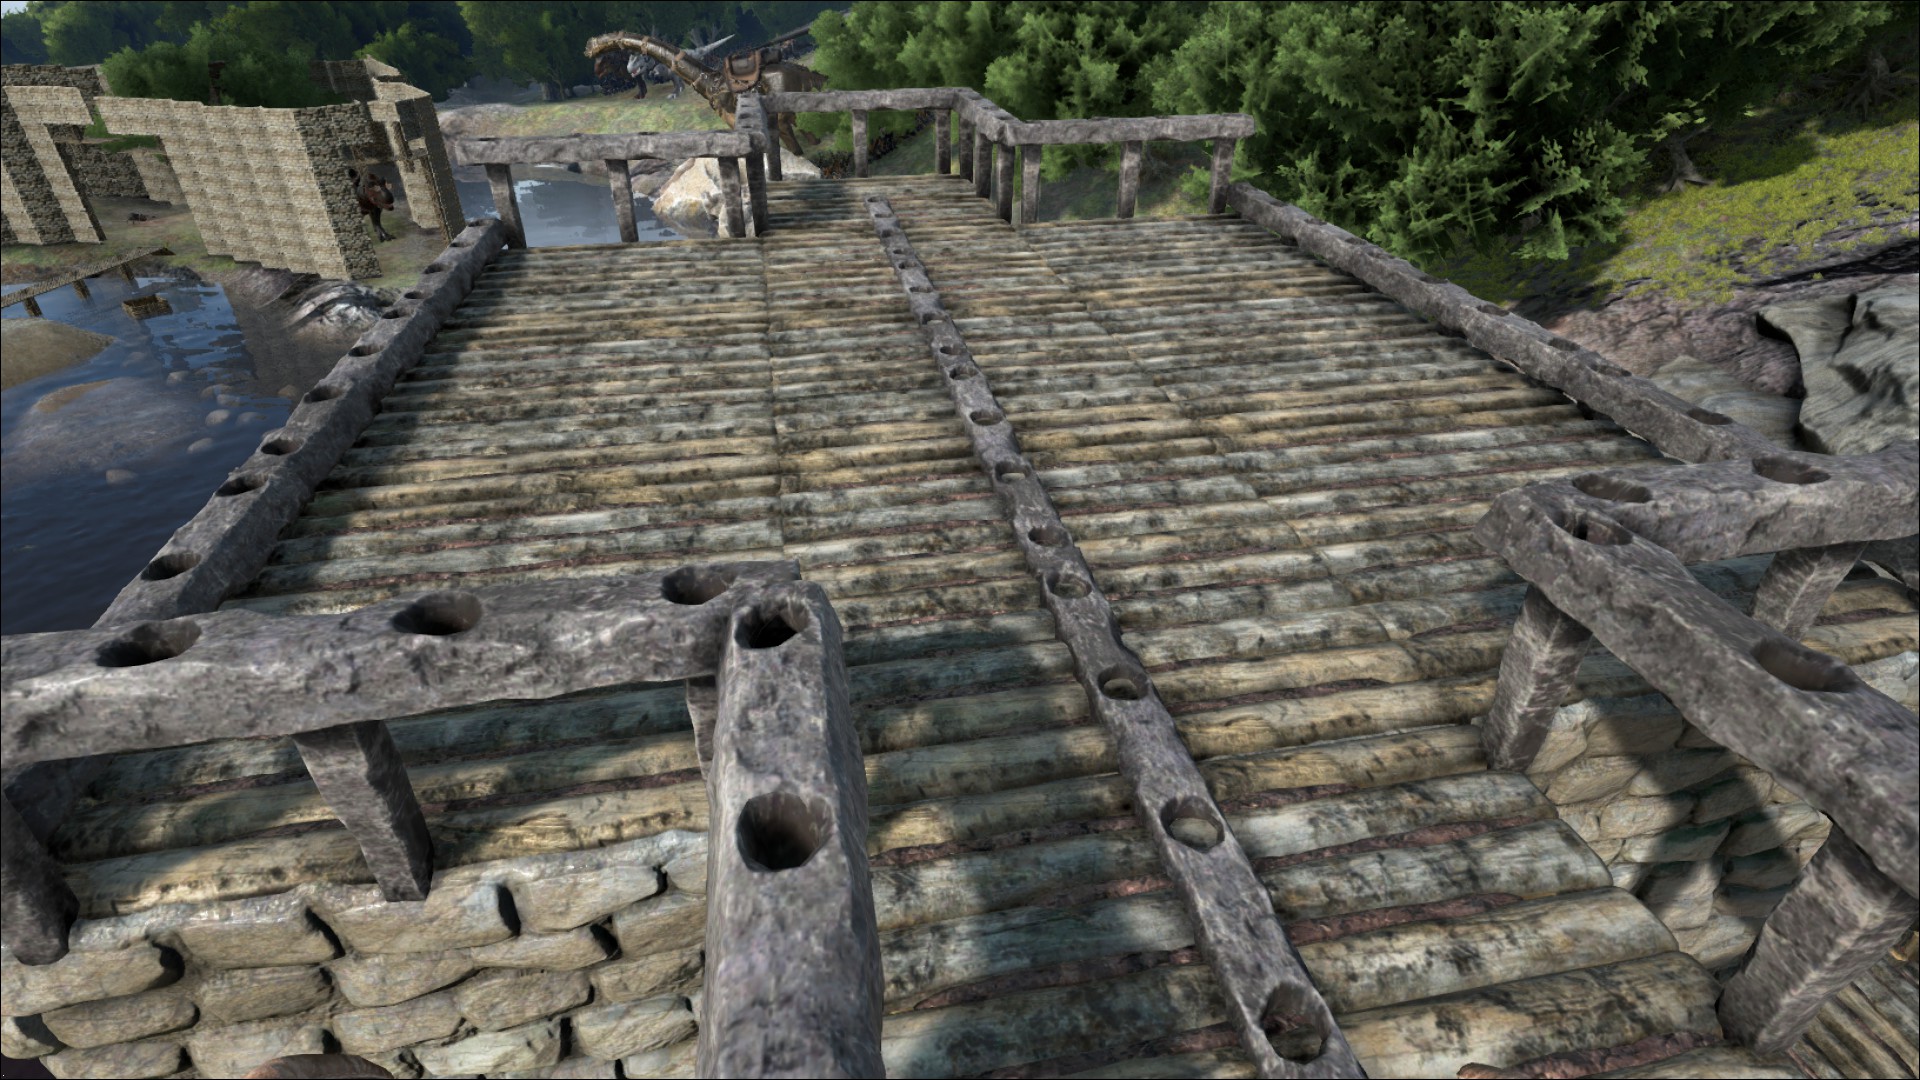
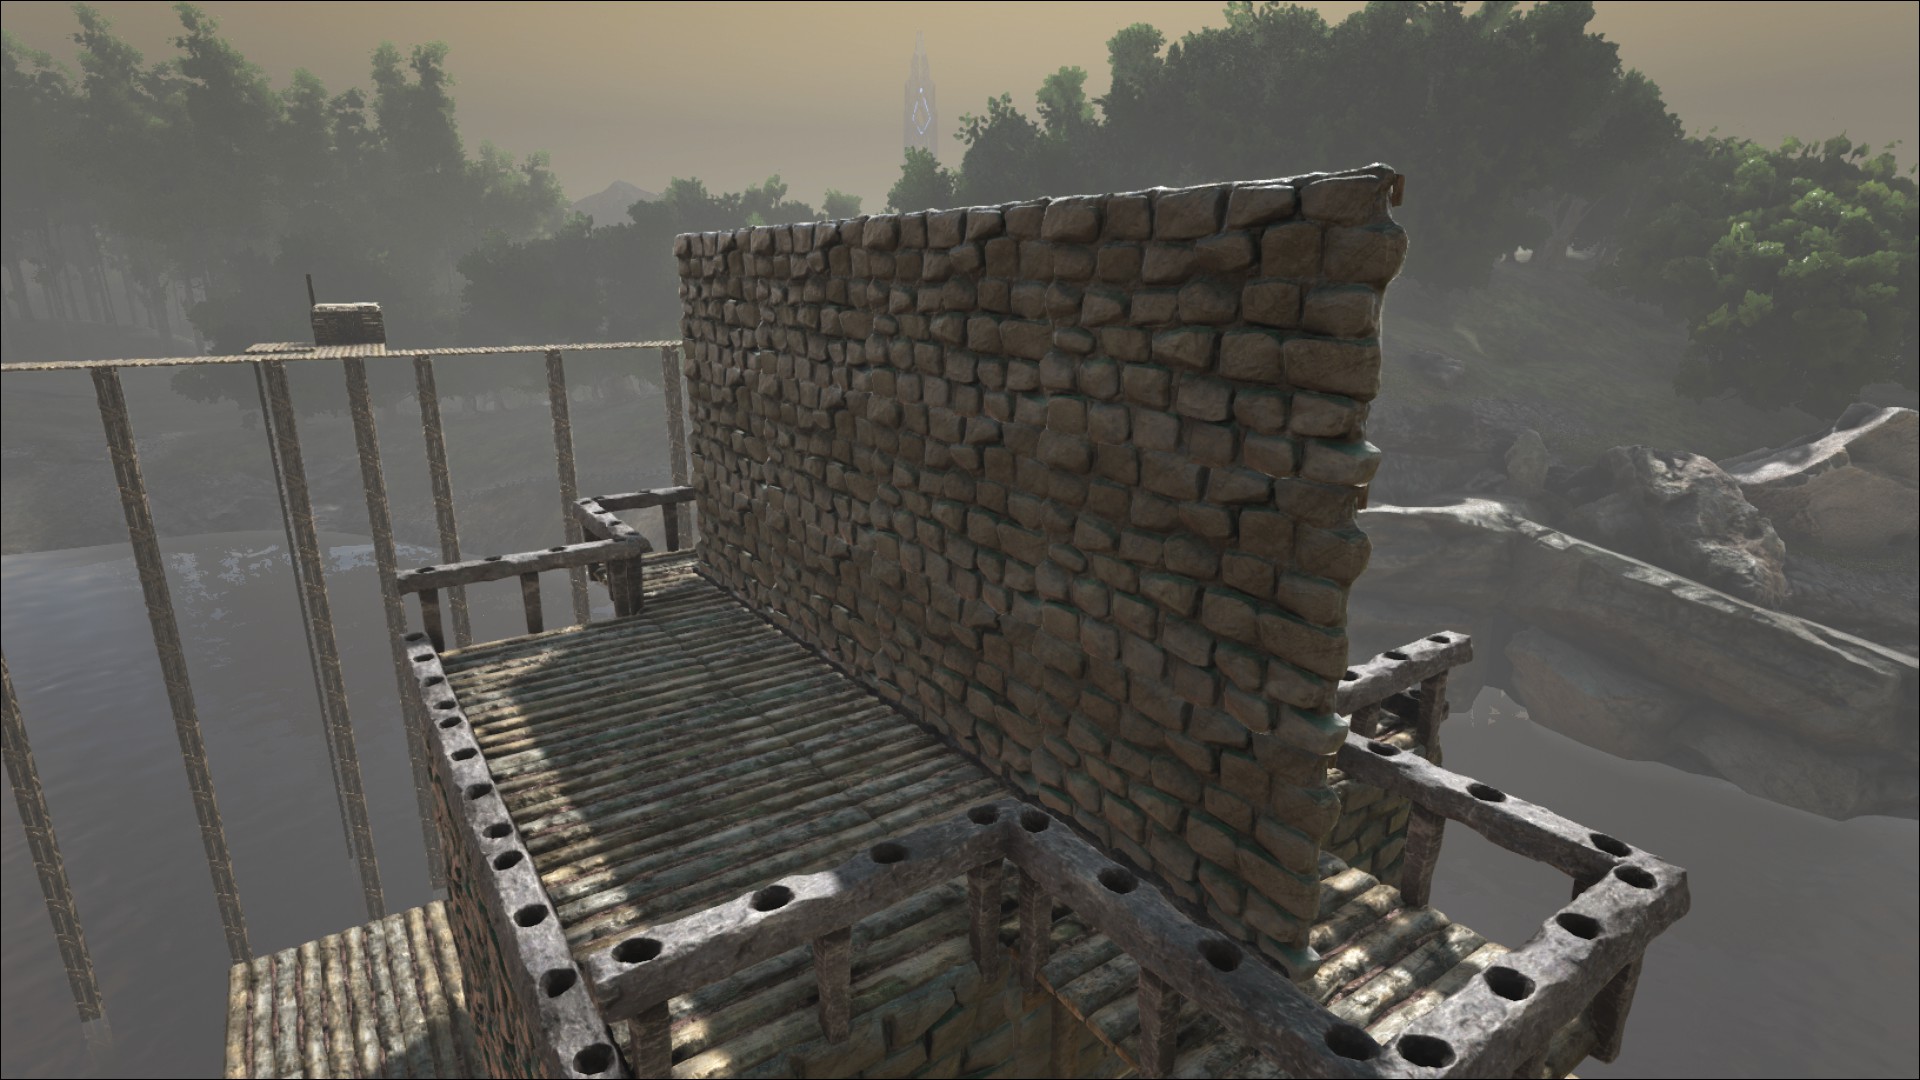
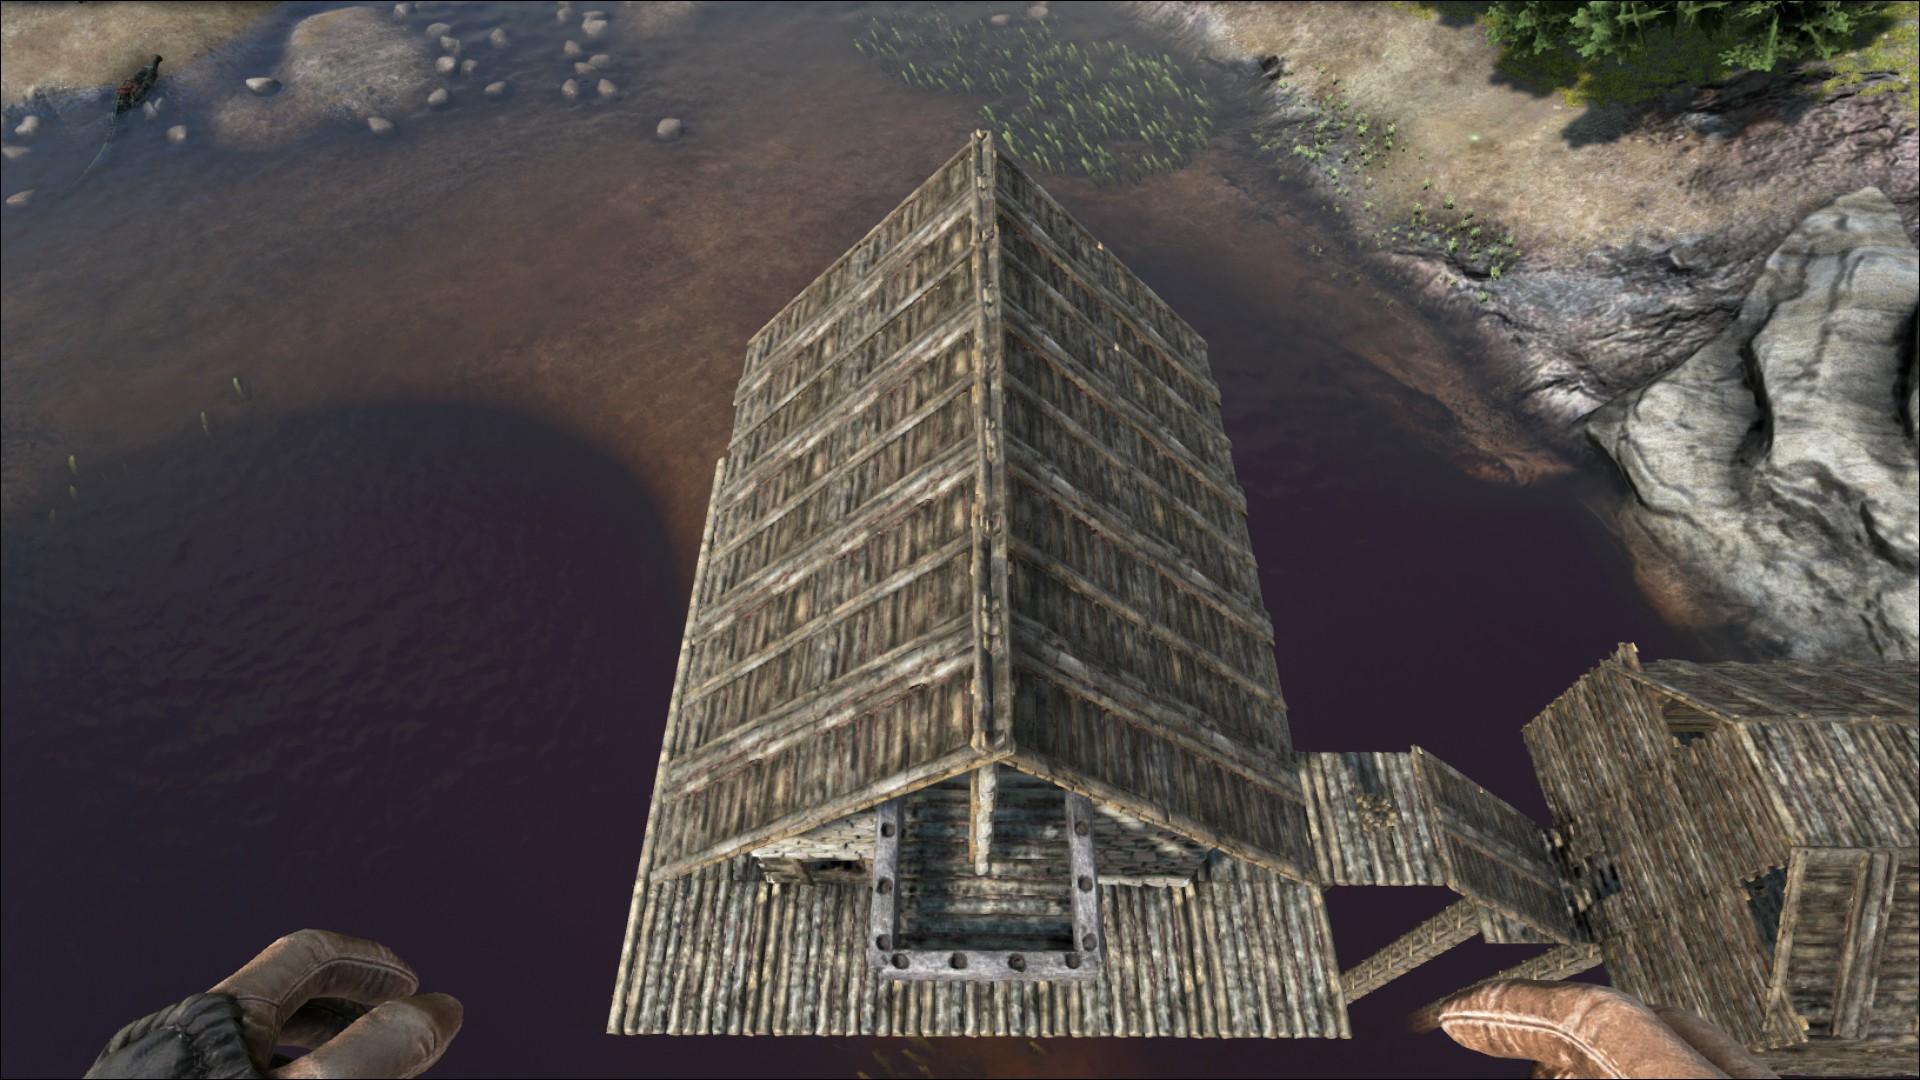
"It's odd, but they seem to have changed something to the stone foundations.
When I piled them in the past they looked thicker, but since one of the last updates they look the same way like wood foundations when pileing them..."
-----
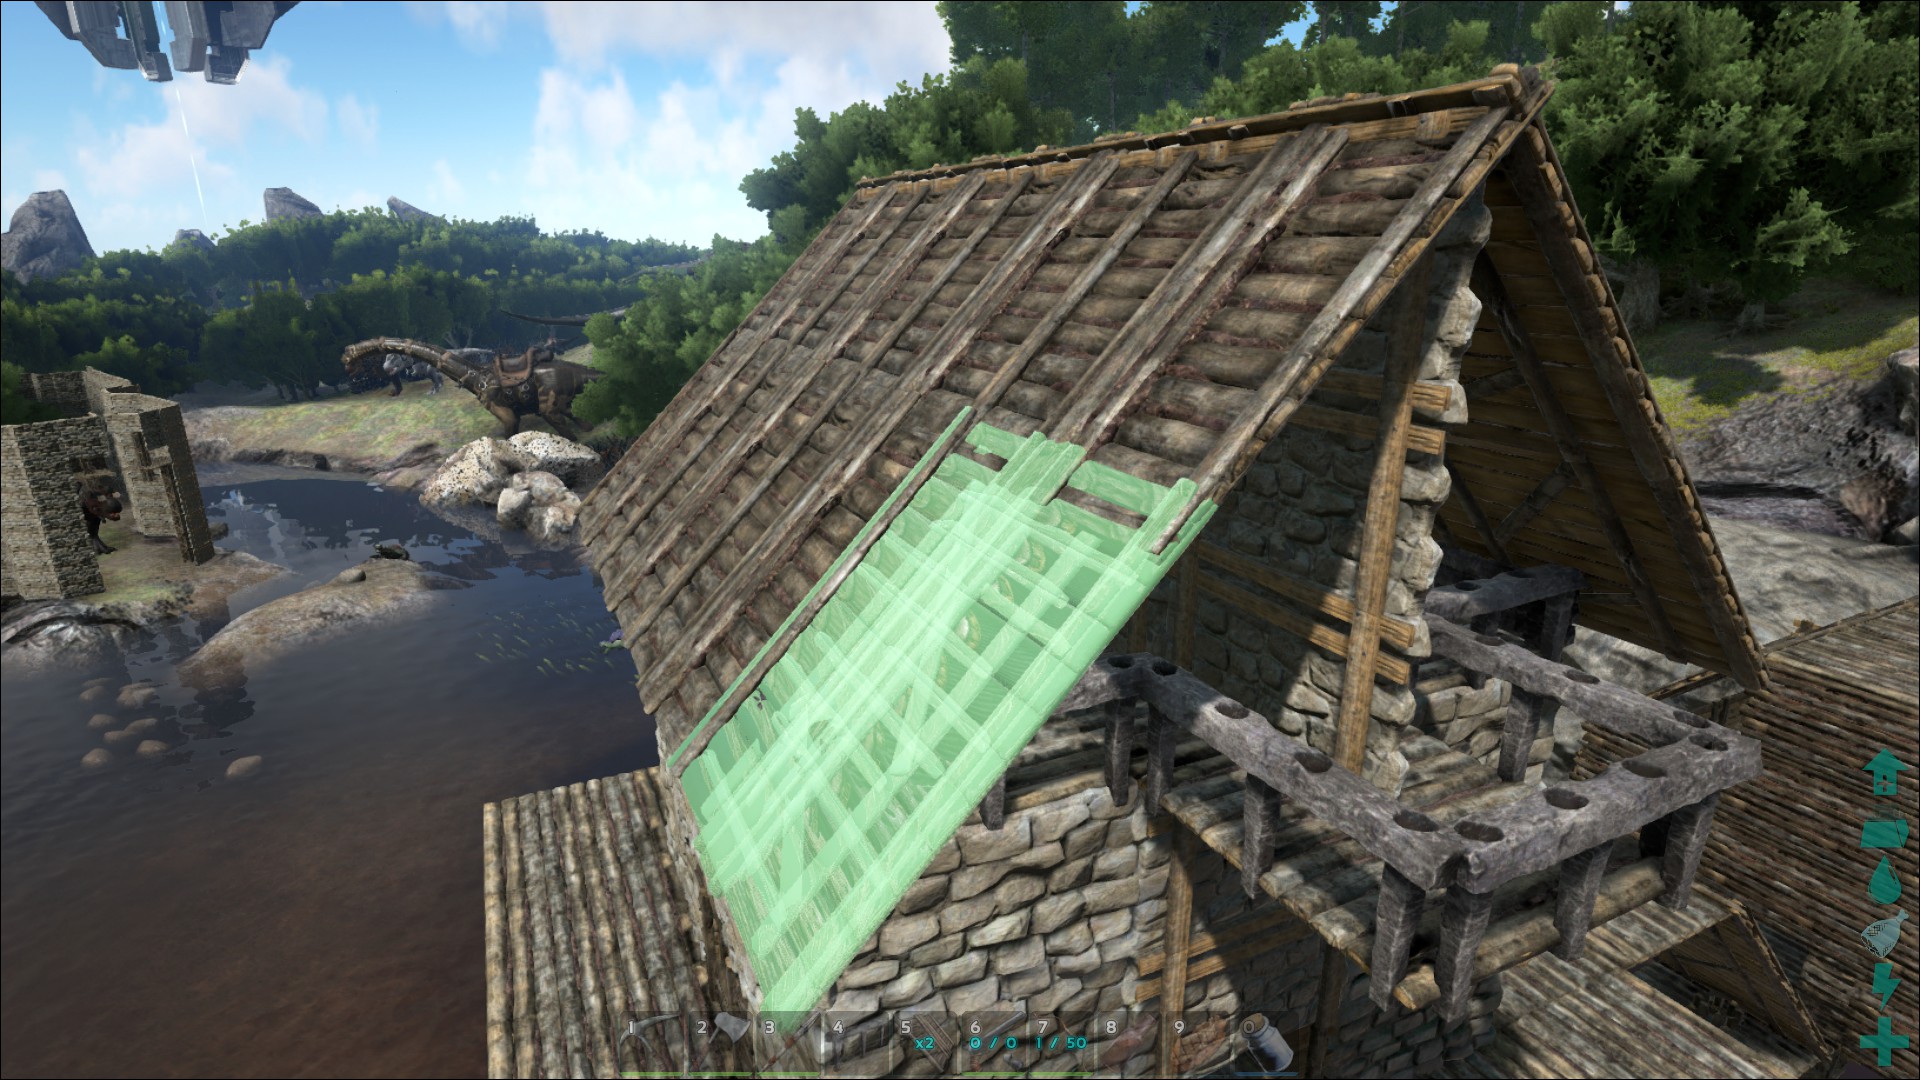
I noticed this yesterday as well. Something is different resulting in stone fence foundations not stacking the same way as they did before. It now seems to take considerably more of them to reach the same height as wood/metal fence foundations. In the interim just top off your wooden foundations with stone rather than making the entire stack out of stone, so you don't end up wasting a ton of more expensive materials.

Thanks for sharing!
Helene 27 лип. 2015 о 12:34 
For some reason i cannot paint the fence foundations :( Got any ideas on how to make em "pop" more? :D http://steamcommunity.com/sharedfiles/filedetails/?id=489279083
Stollenwerk 27 лип. 2015 о 10:30 
It's odd, but they seem to have changed something to the stone foundations.
When I piled them in the past they looked thicker, but since one of the last updates they look the same way like wood foundations when pileing them...
KierKain  [автор] 26 лип. 2015 о 13:56 
Helene wrote:
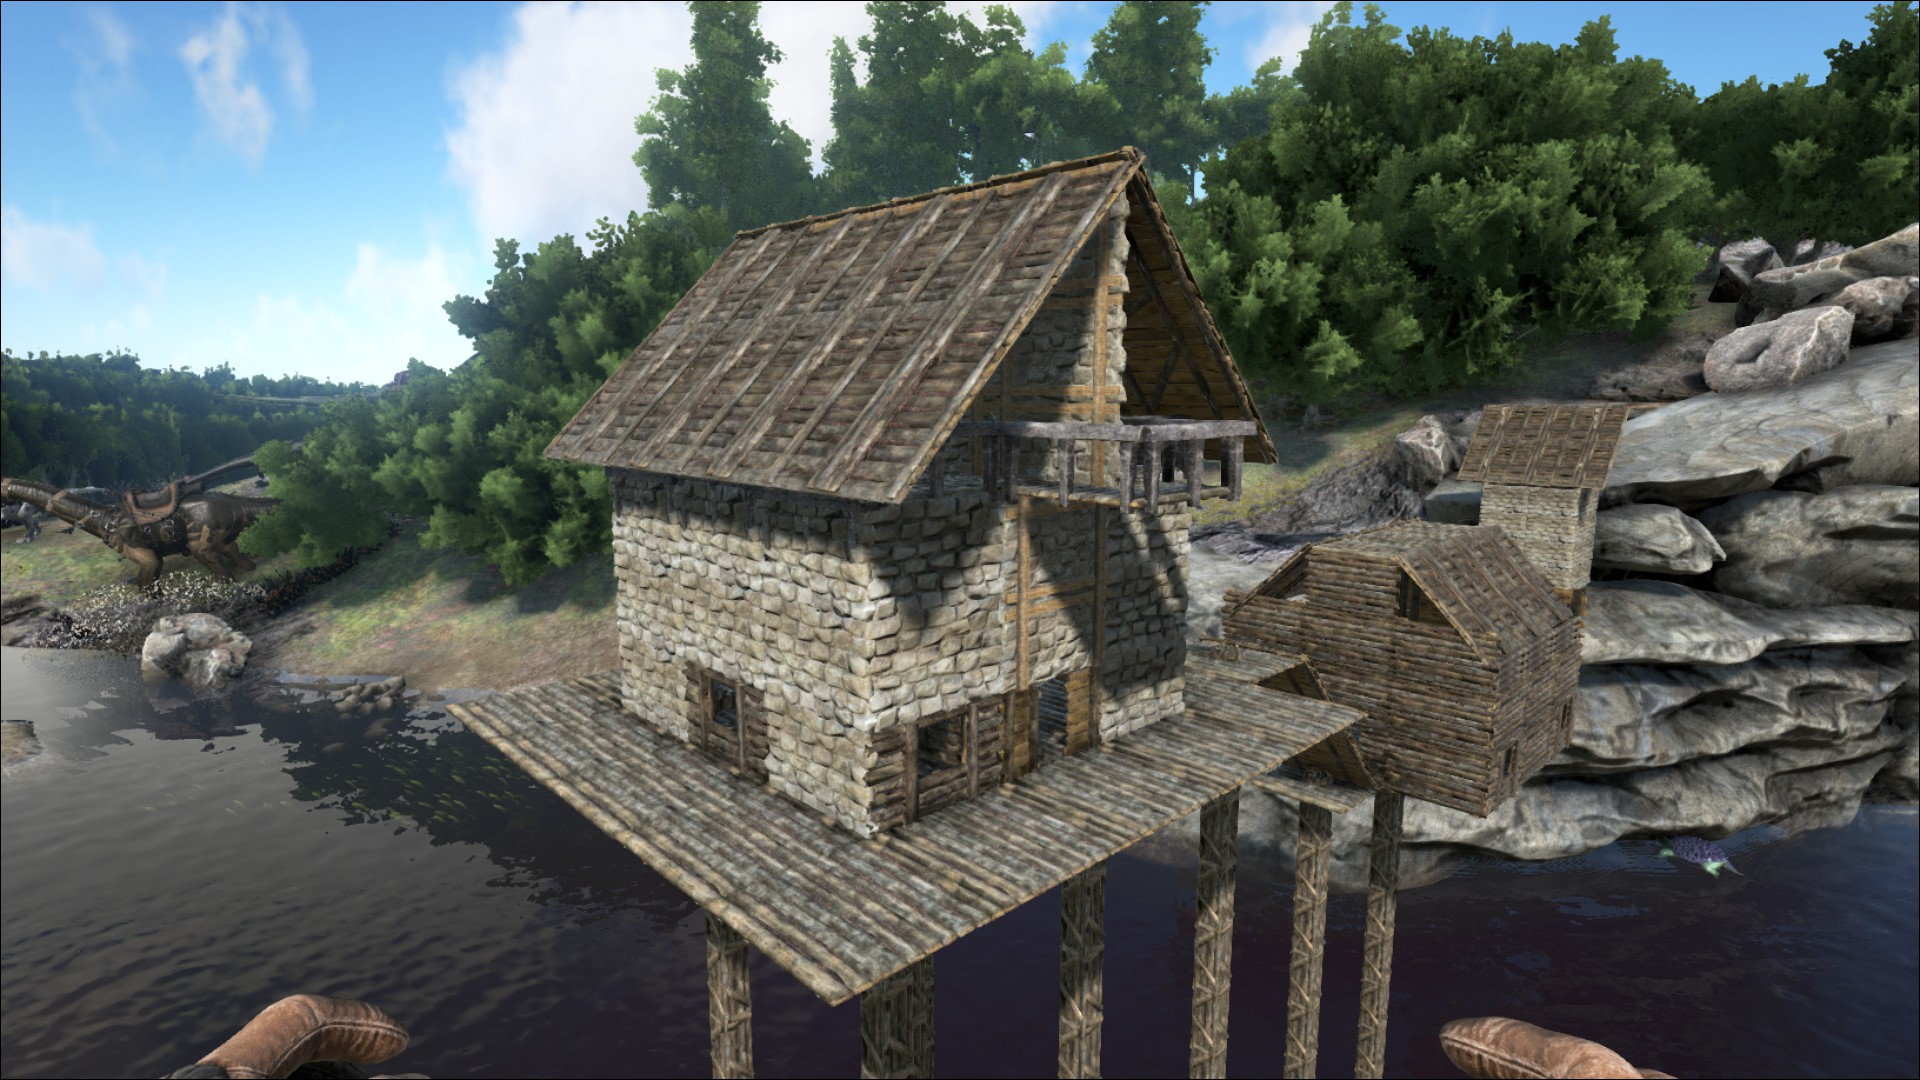
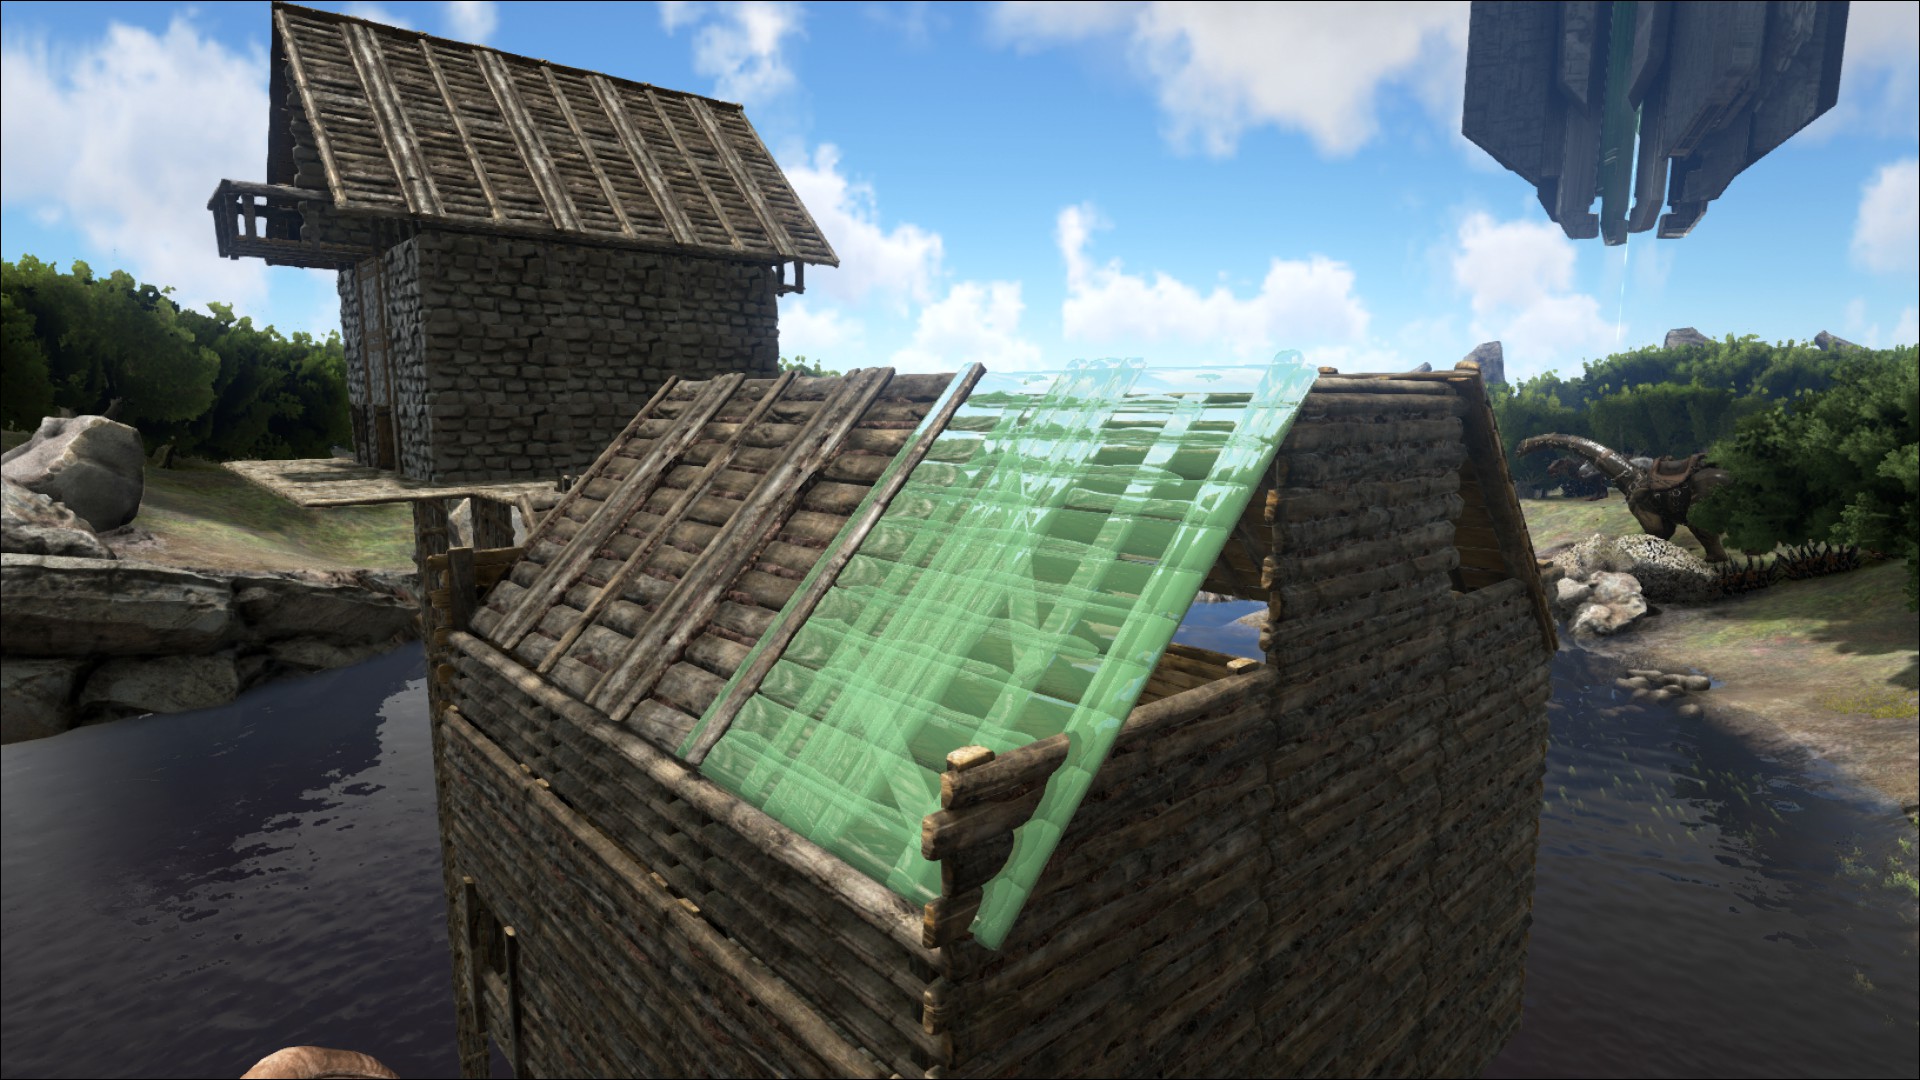
"Aw thank you so much for the great ideas! the fence though, damn that takes alot of time and resources! I have a question though, Is stone and wooden fence [...]"
-----
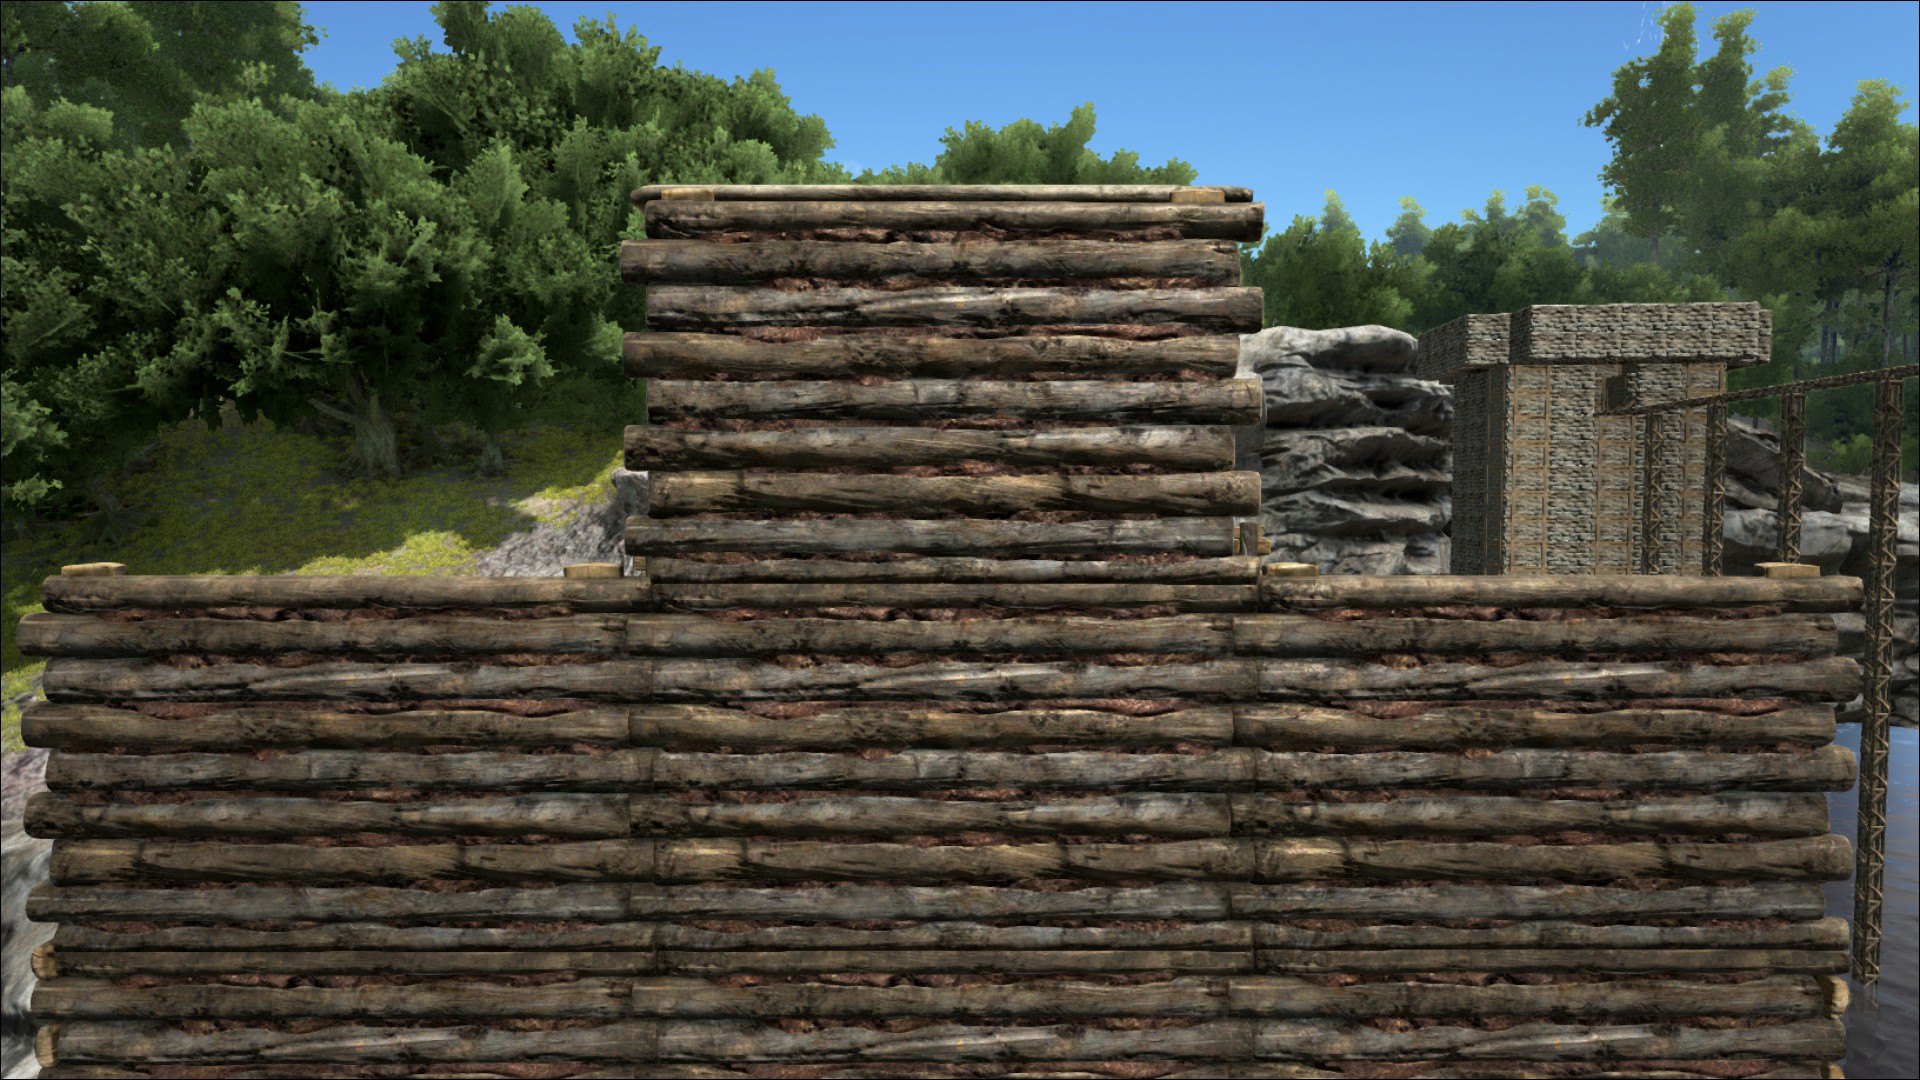
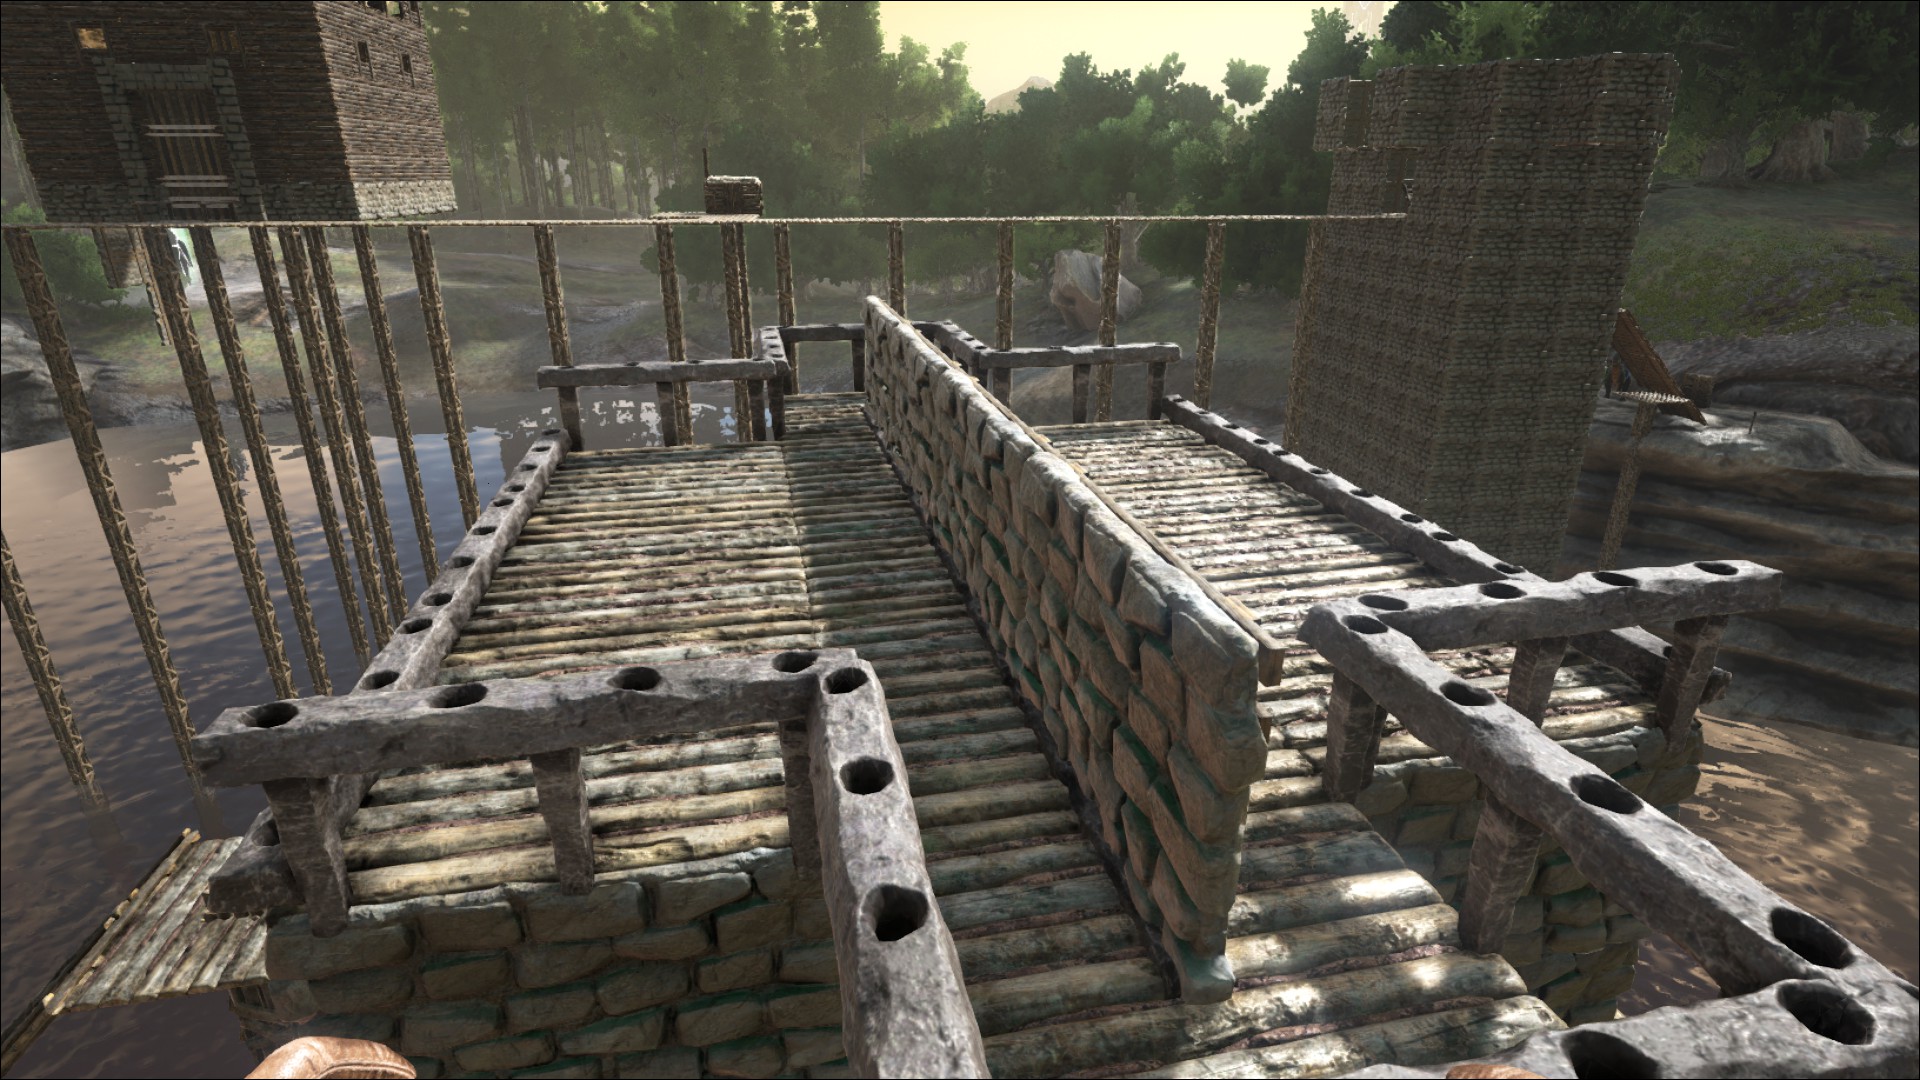
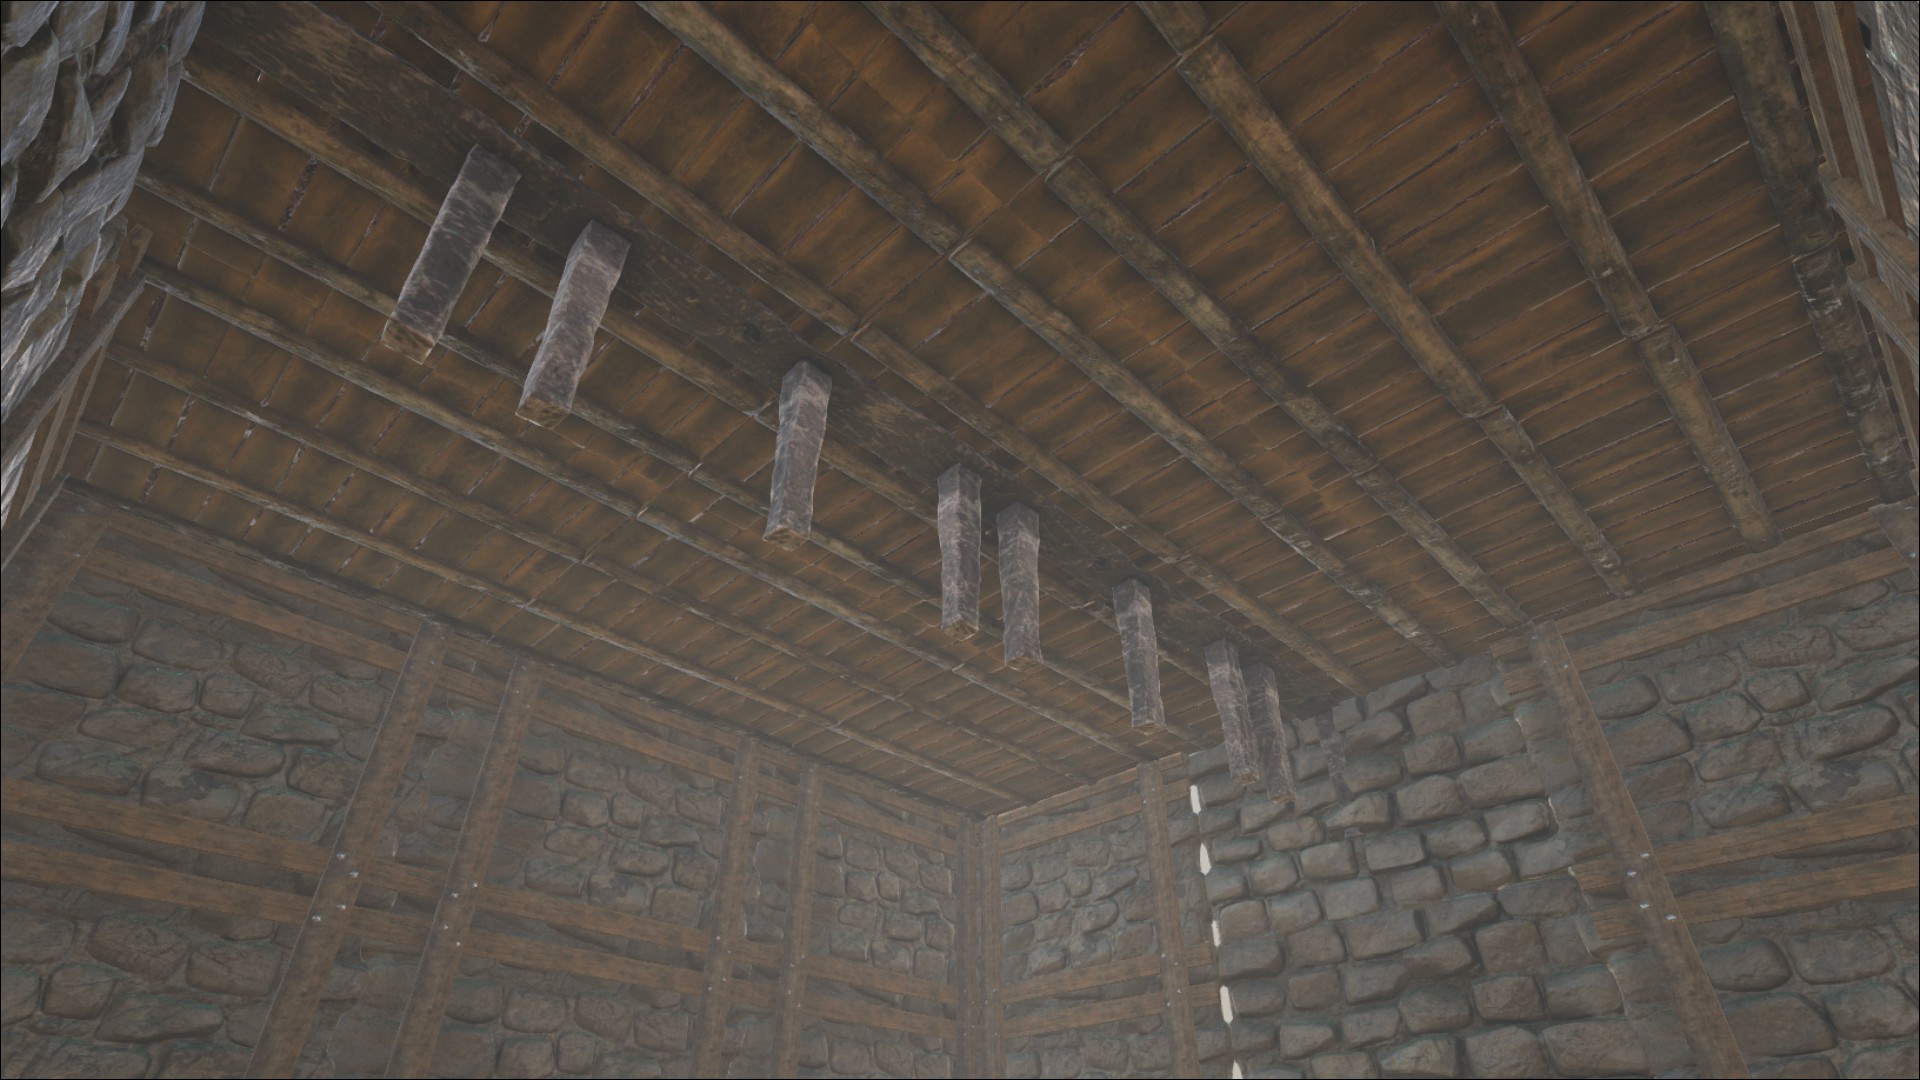
You're very welcome. :o) Like various structure types, wooden fence foundations are slightly thinner/shallower than stone ones. They should be about the same height, but they will appear larger in every other way. If it took you 15 wooden foundations to reach your desired height then unfortunately it would probably take you the same in stone (given the snap point height being roughly the same). I chose stone because I wanted a variation among my designs (already had wooden rails on another house). To save resources I recommend building the rails out of wood and then top it off with stone or metal if that's the type you want. This way you're not wasting stone or metal on the demolished pieces.

Thanks for the comment/questions! Let me know if you have any others and be sure to check out my other guides.
Helene 26 лип. 2015 о 6:47 
Aw thank you so much for the great ideas! the fence though, damn that takes alot of time and resources! I have a question though, Is stone and wooden fence foundation the same hight? I had to place about 15 wooden foundations to be able to get it to the hight i wanted. Stone foundation just looks so much thicker (from seeing it in the picture) so maybe it only takes 5 to make it to the same hight as 15 wooden? Is there a reason why you chose stone? maybe it takes less resources?? :D ty
KierKain  [автор] 13 лип. 2015 о 13:18 
Stollenwerk wrote:
"The server I'm playing on is Official PVE 269 with version 185.5"
-----
Interesting. The cause of this problem remains a mystery then.

Thanks for sharing!
Stollenwerk 13 лип. 2015 о 13:11 
The server I'm playing on is Official PVE 269 with version 185.5
KierKain  [автор] 13 лип. 2015 о 12:45 
Stollenwerk wrote:
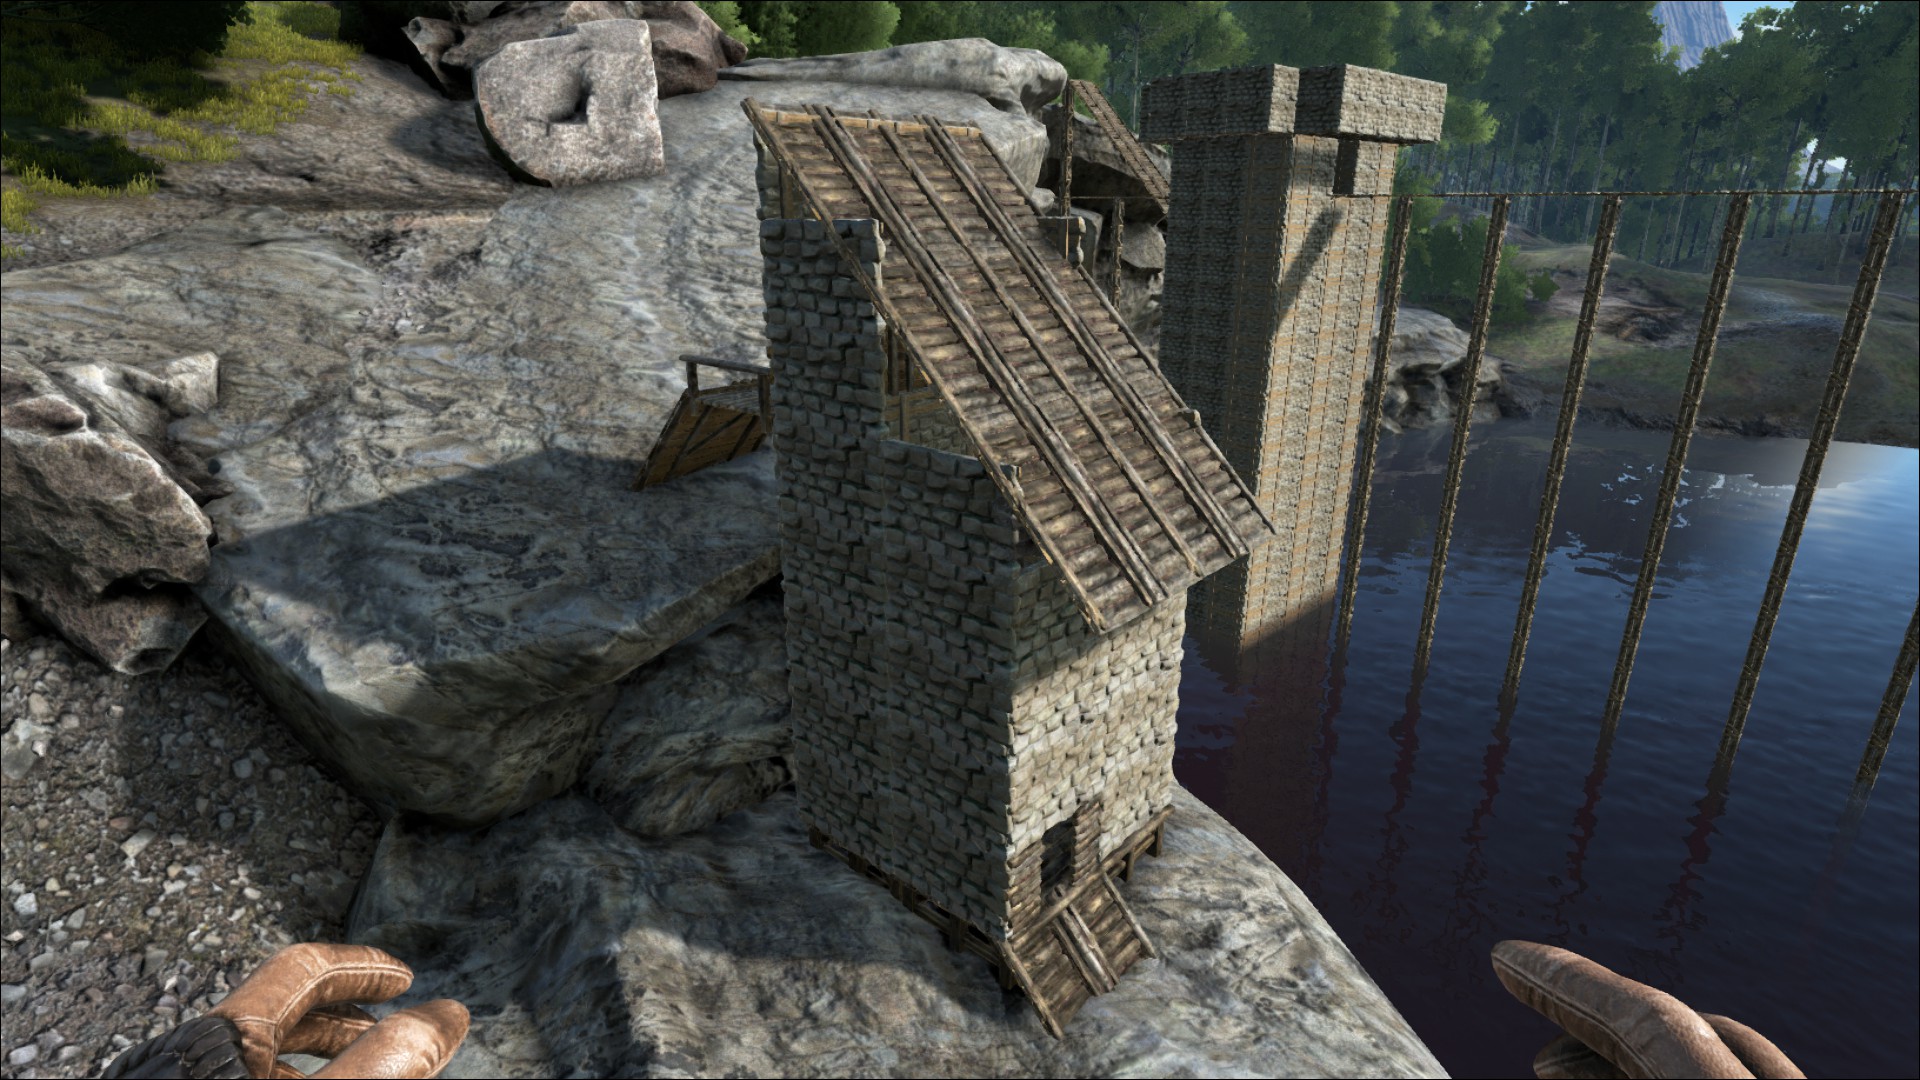
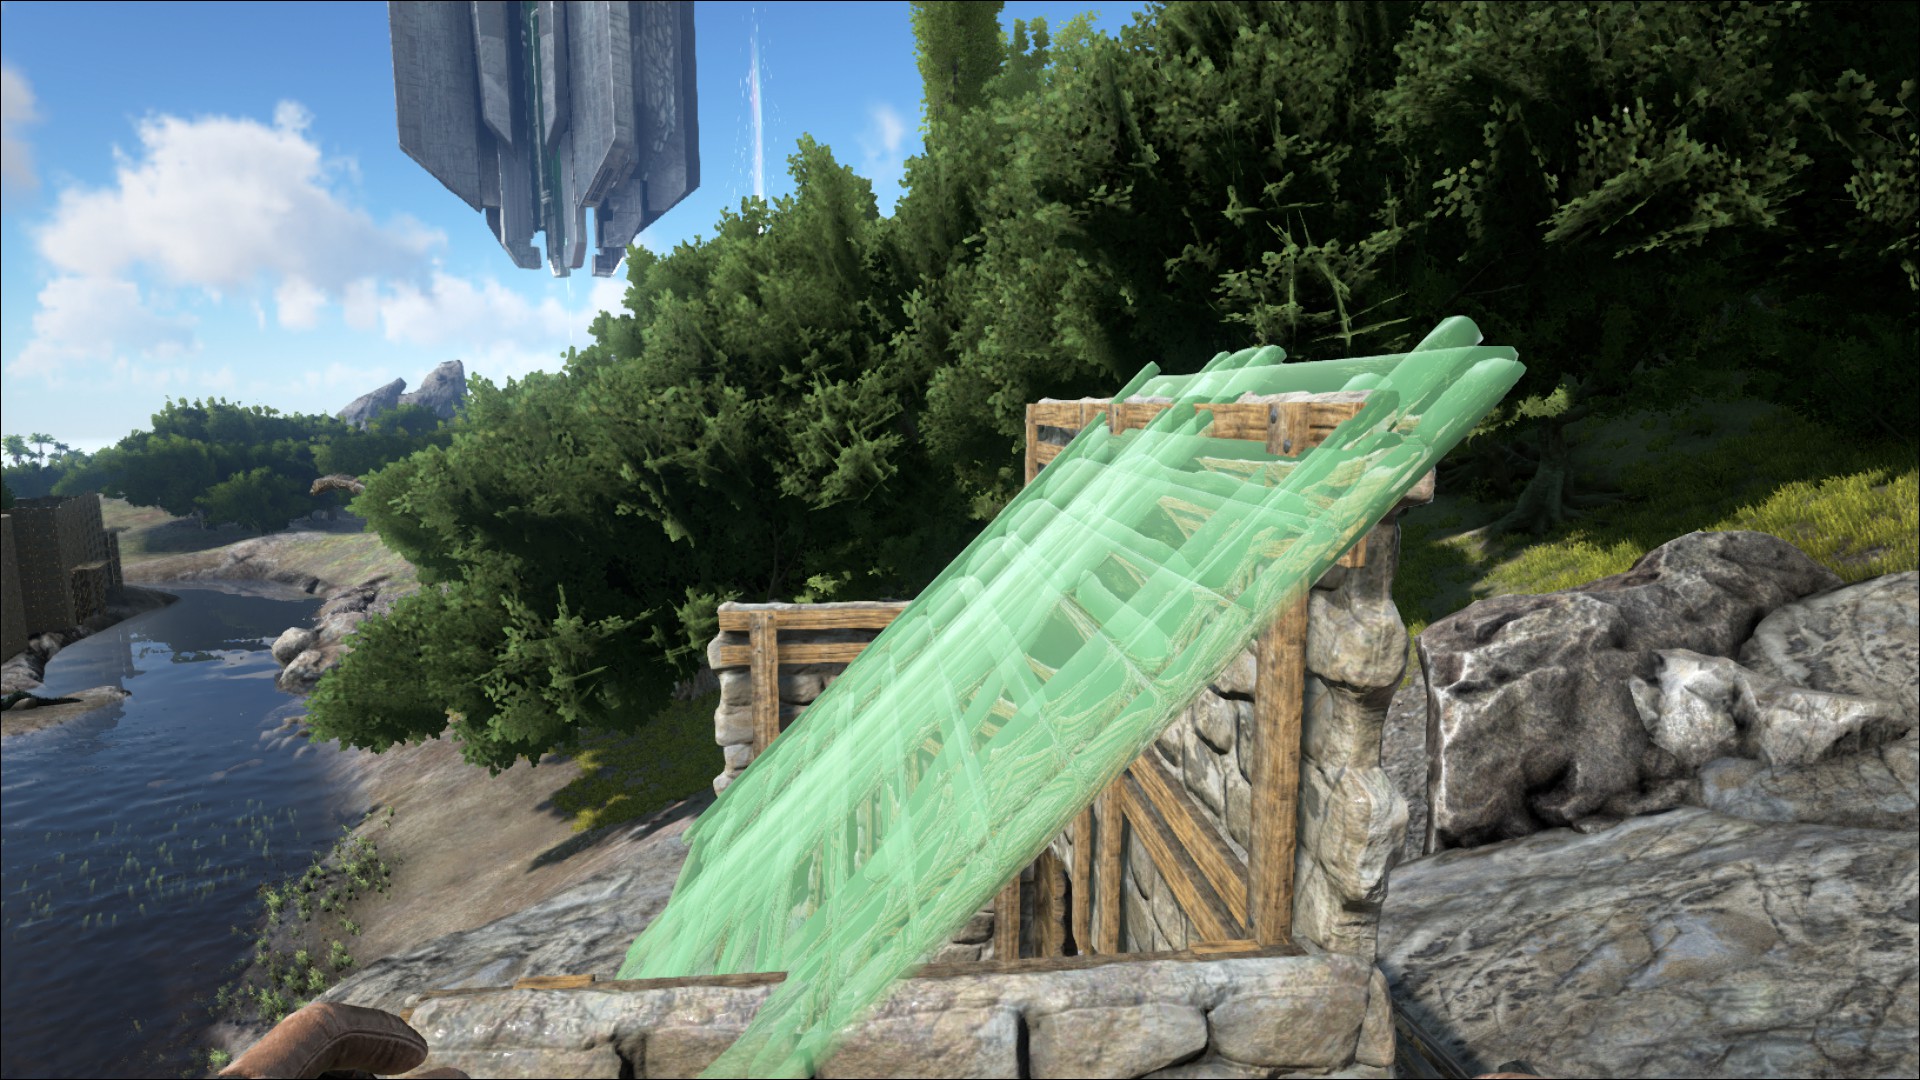
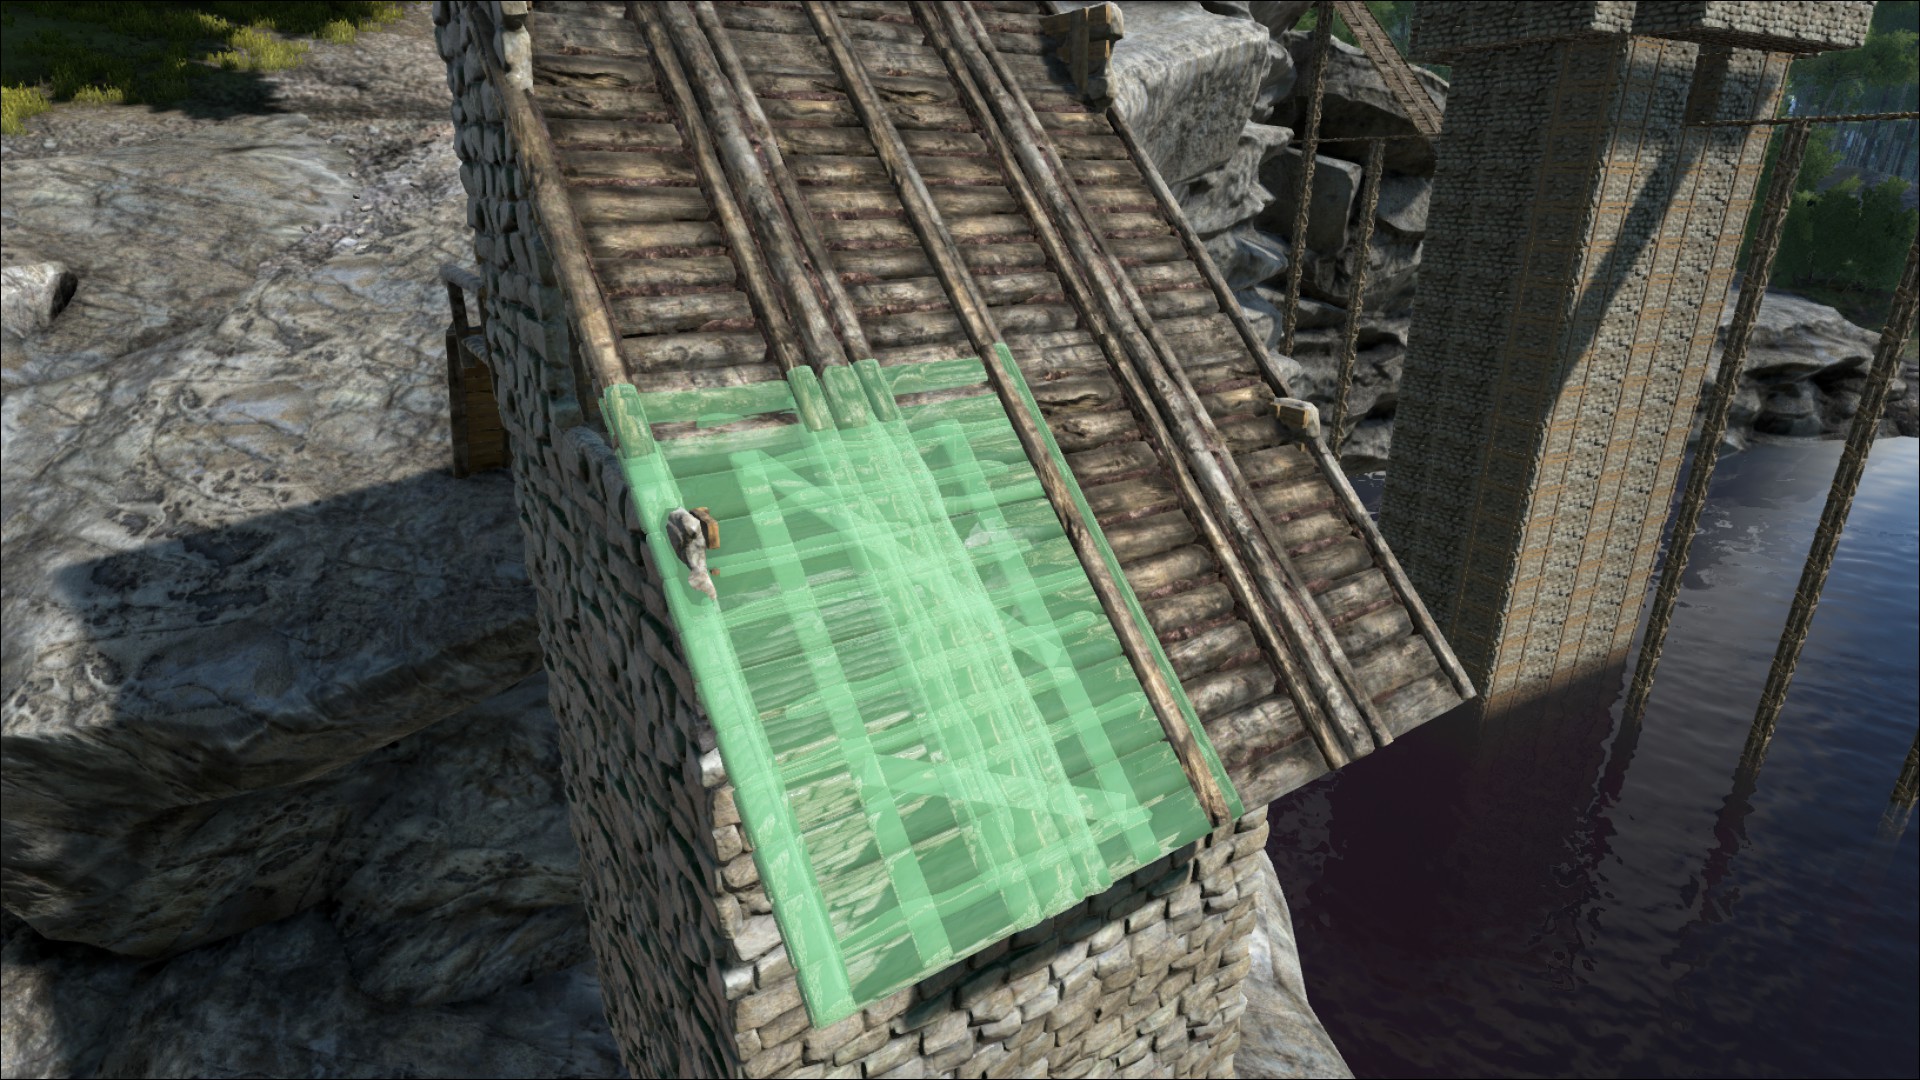
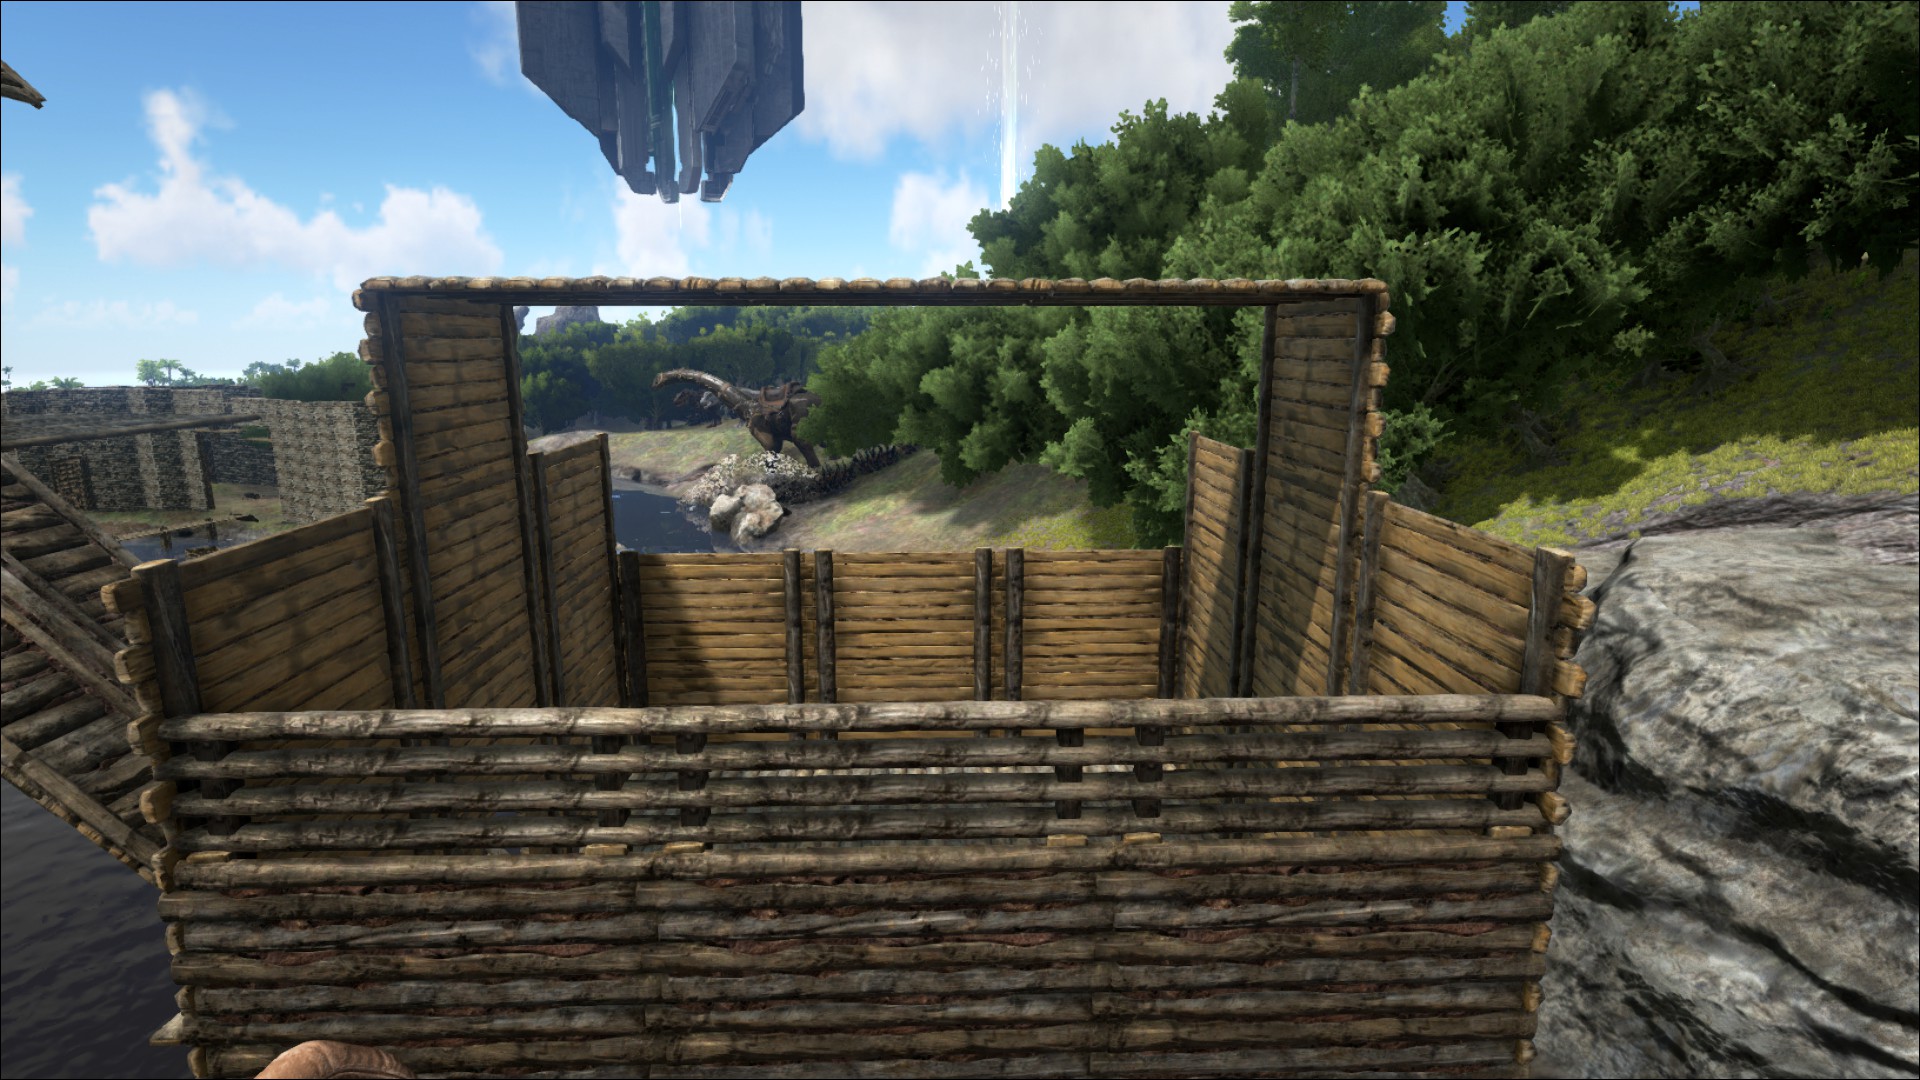
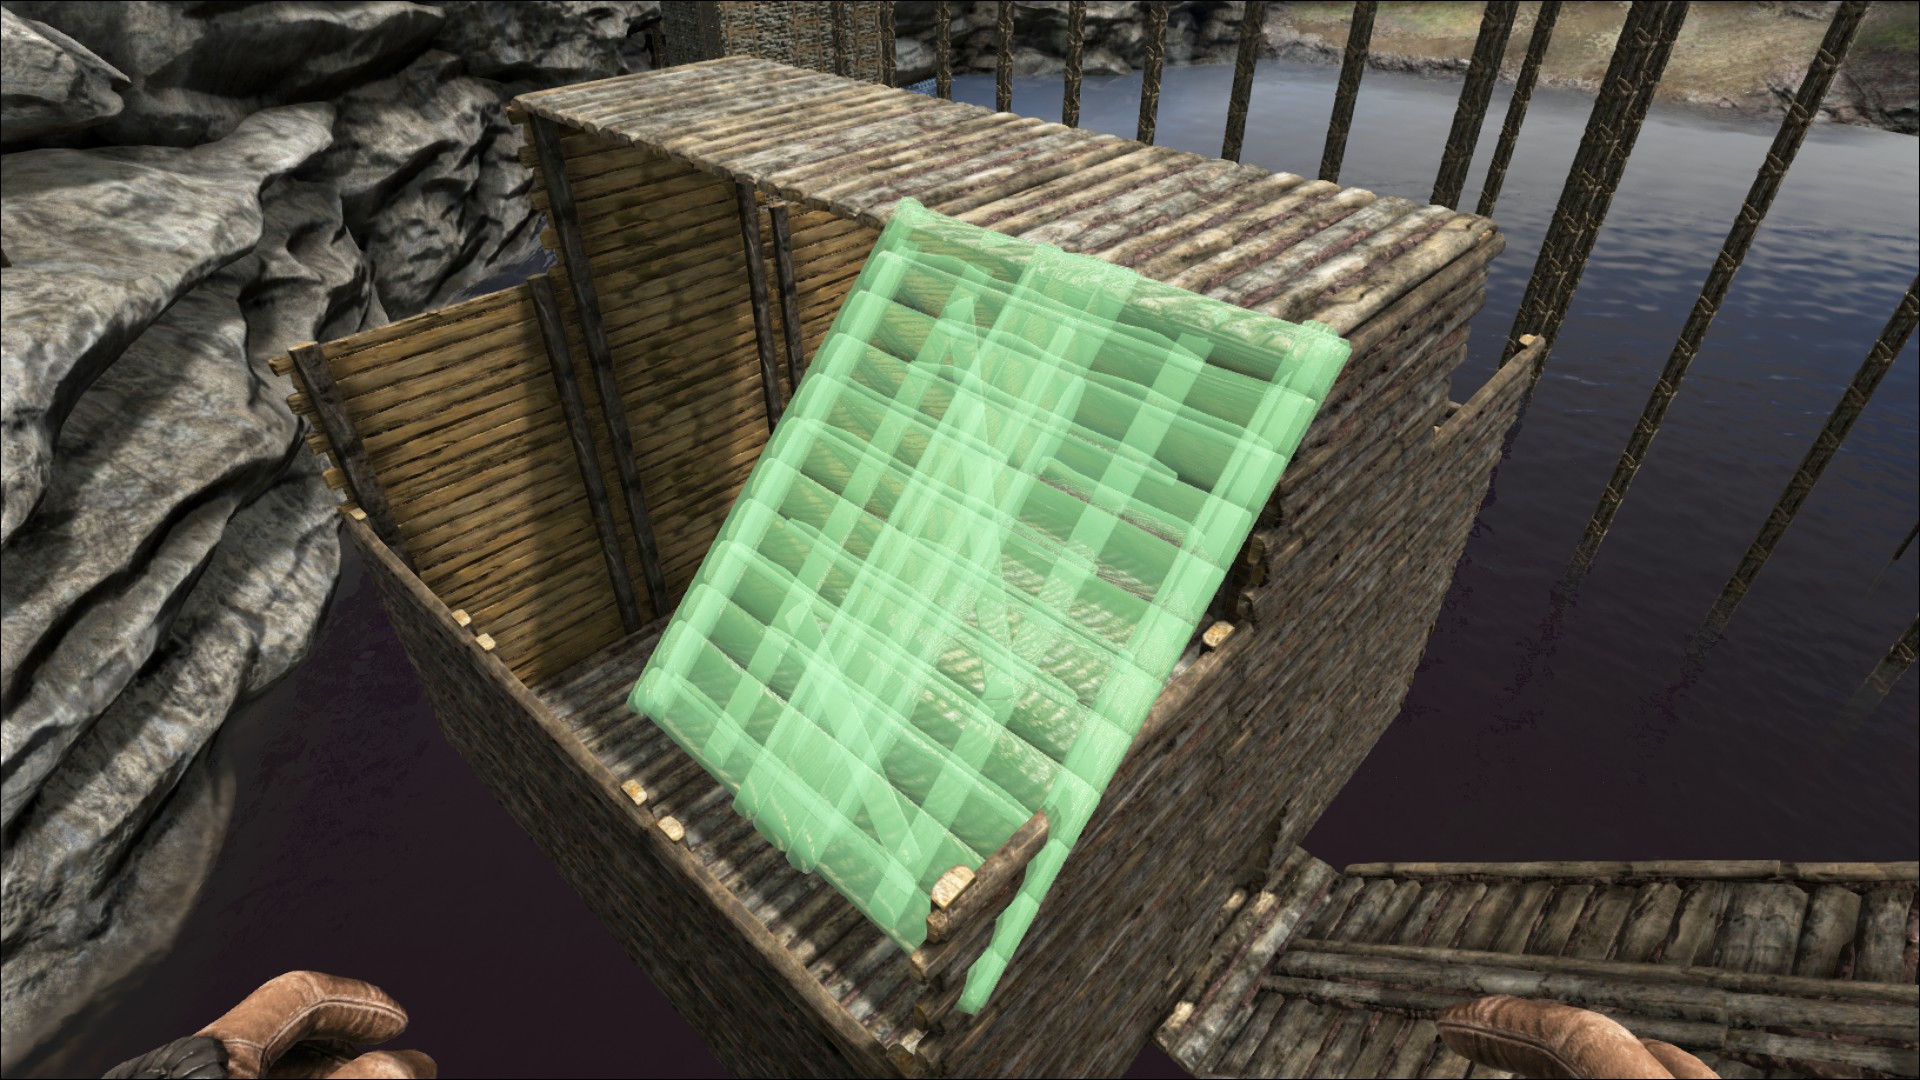
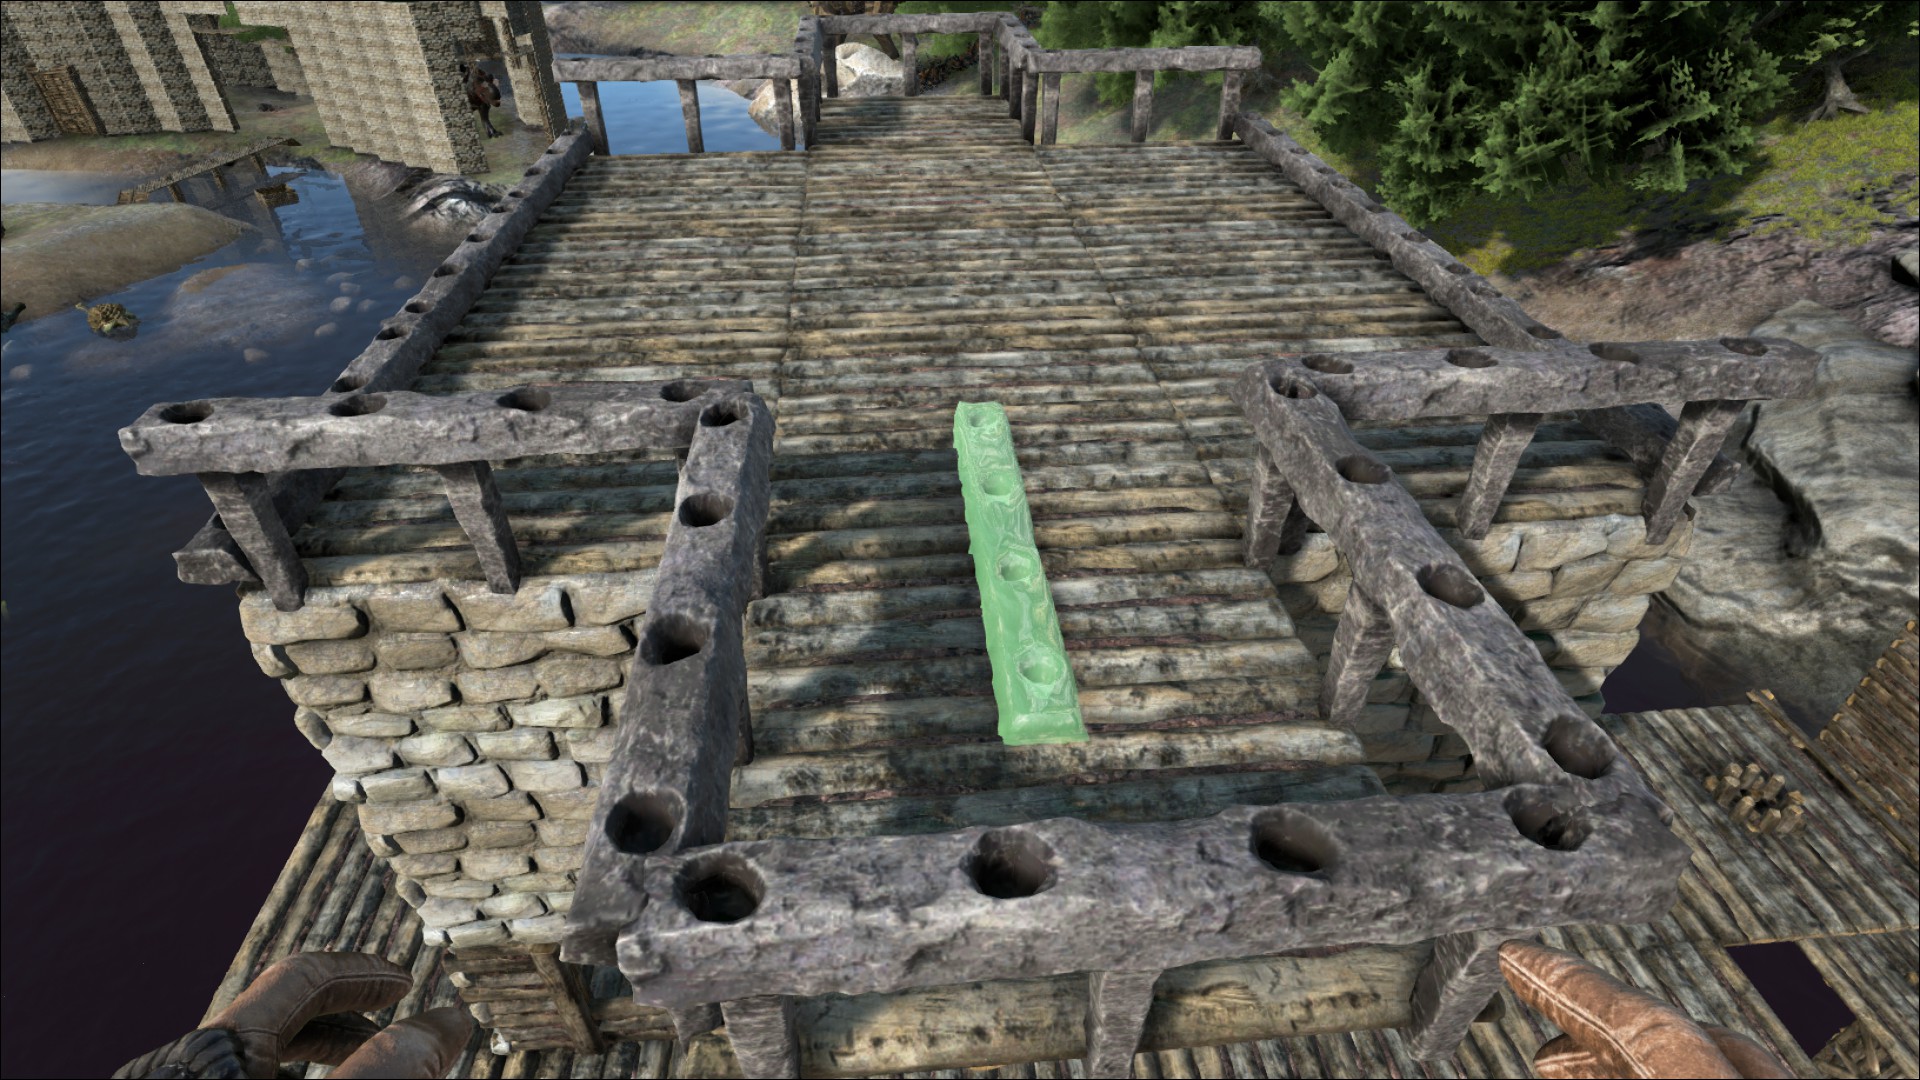
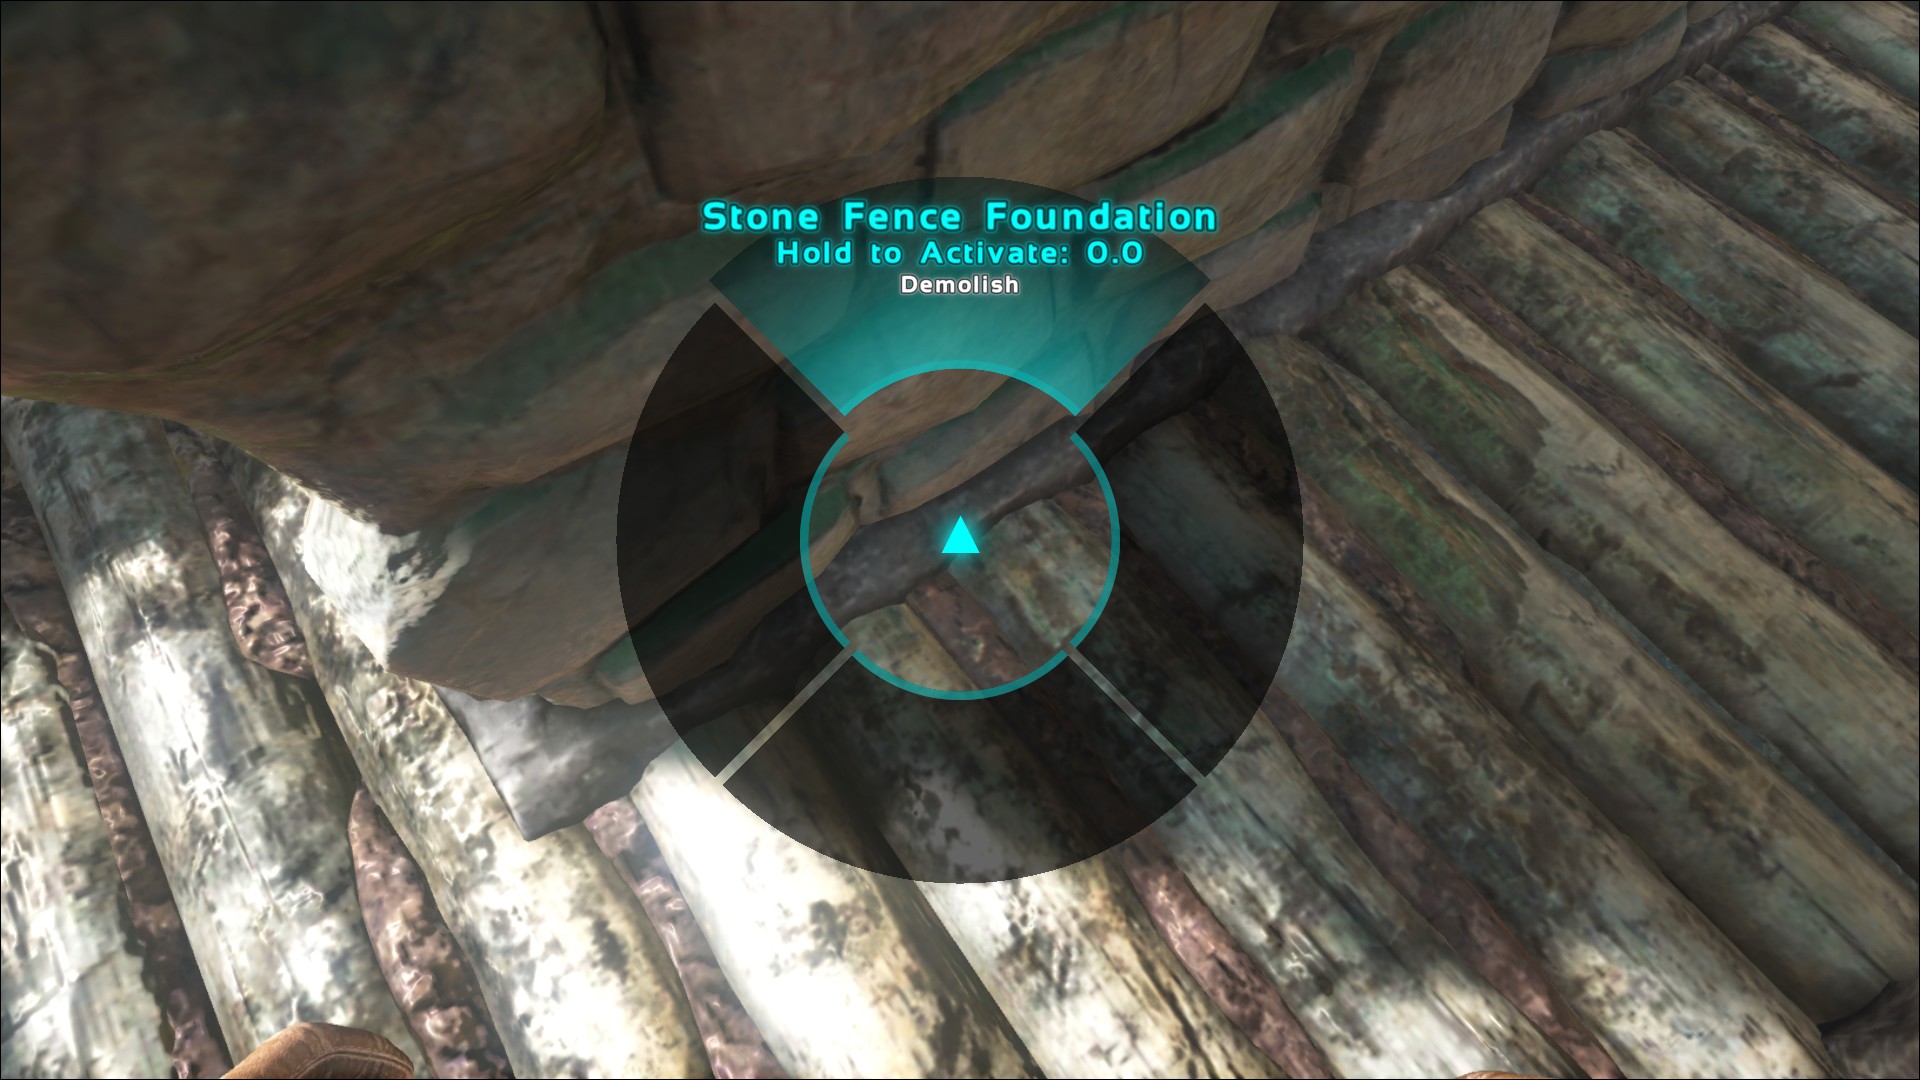
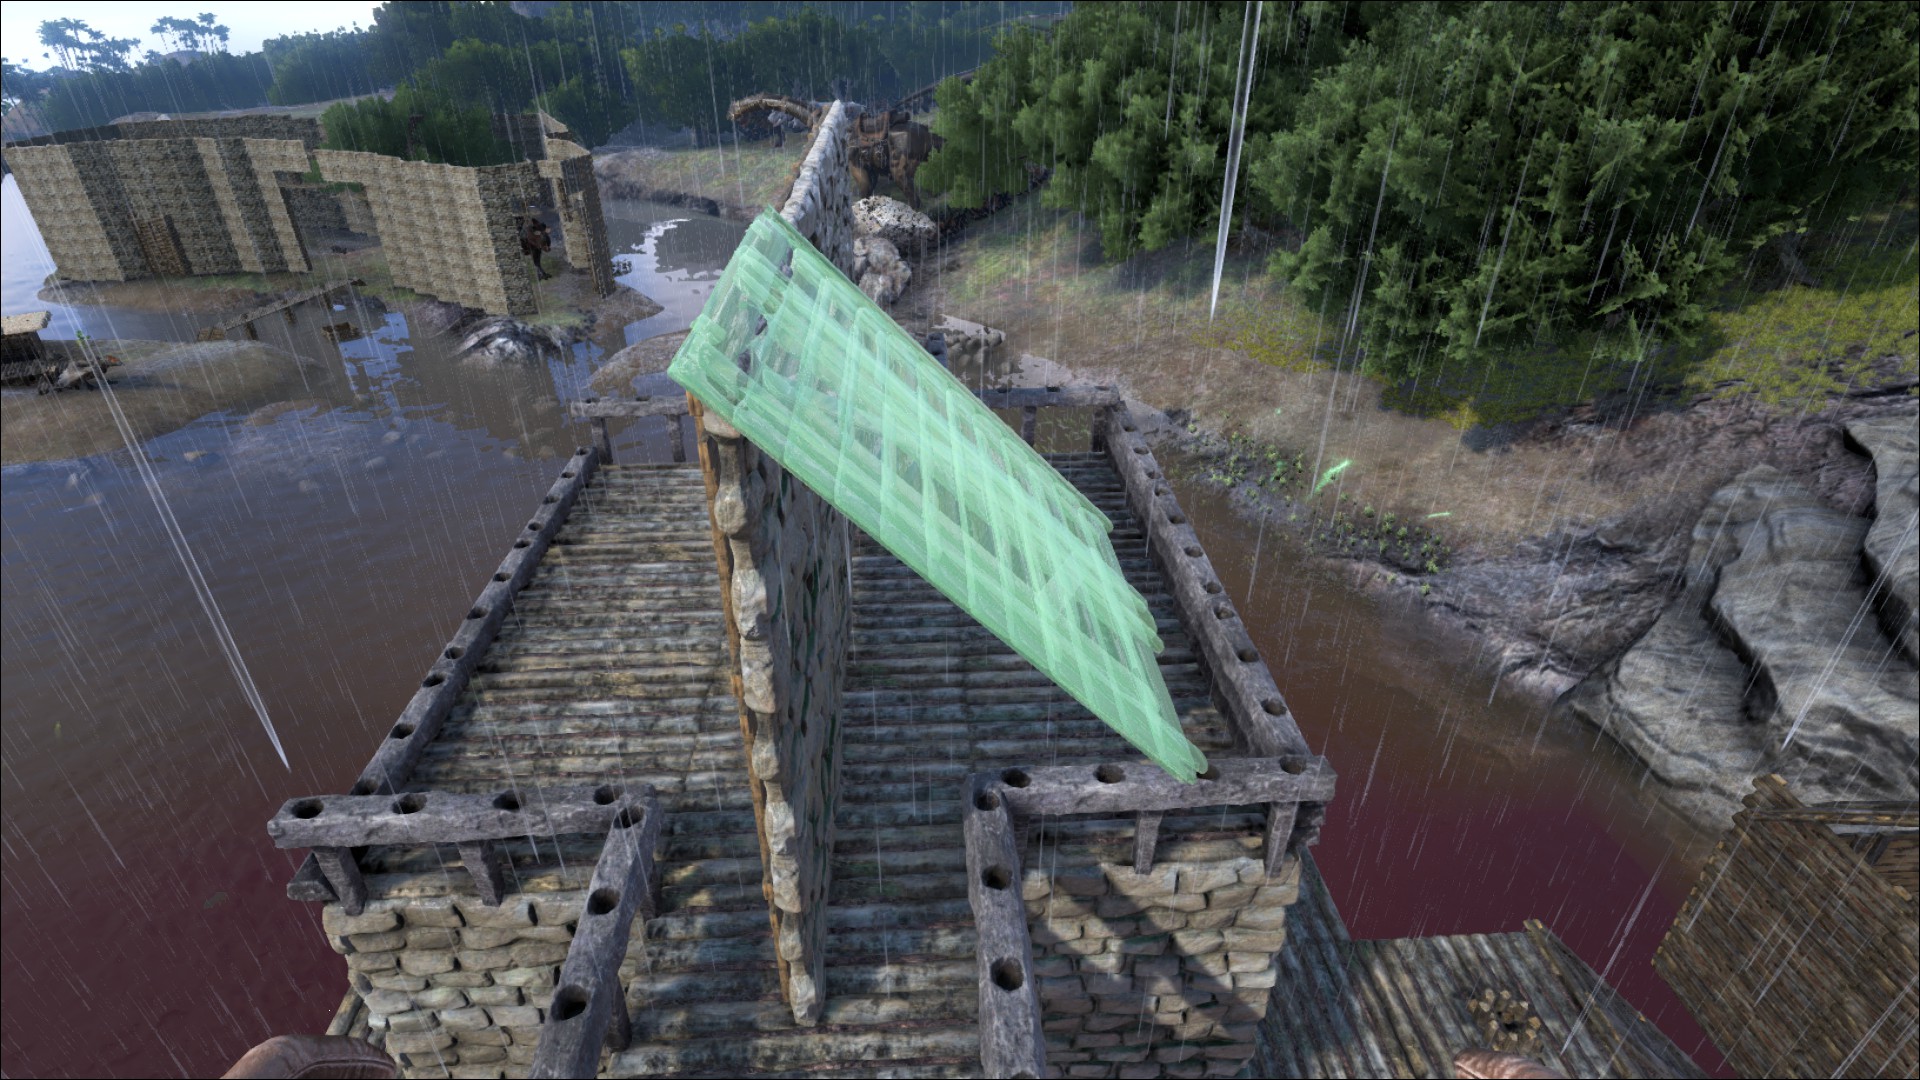
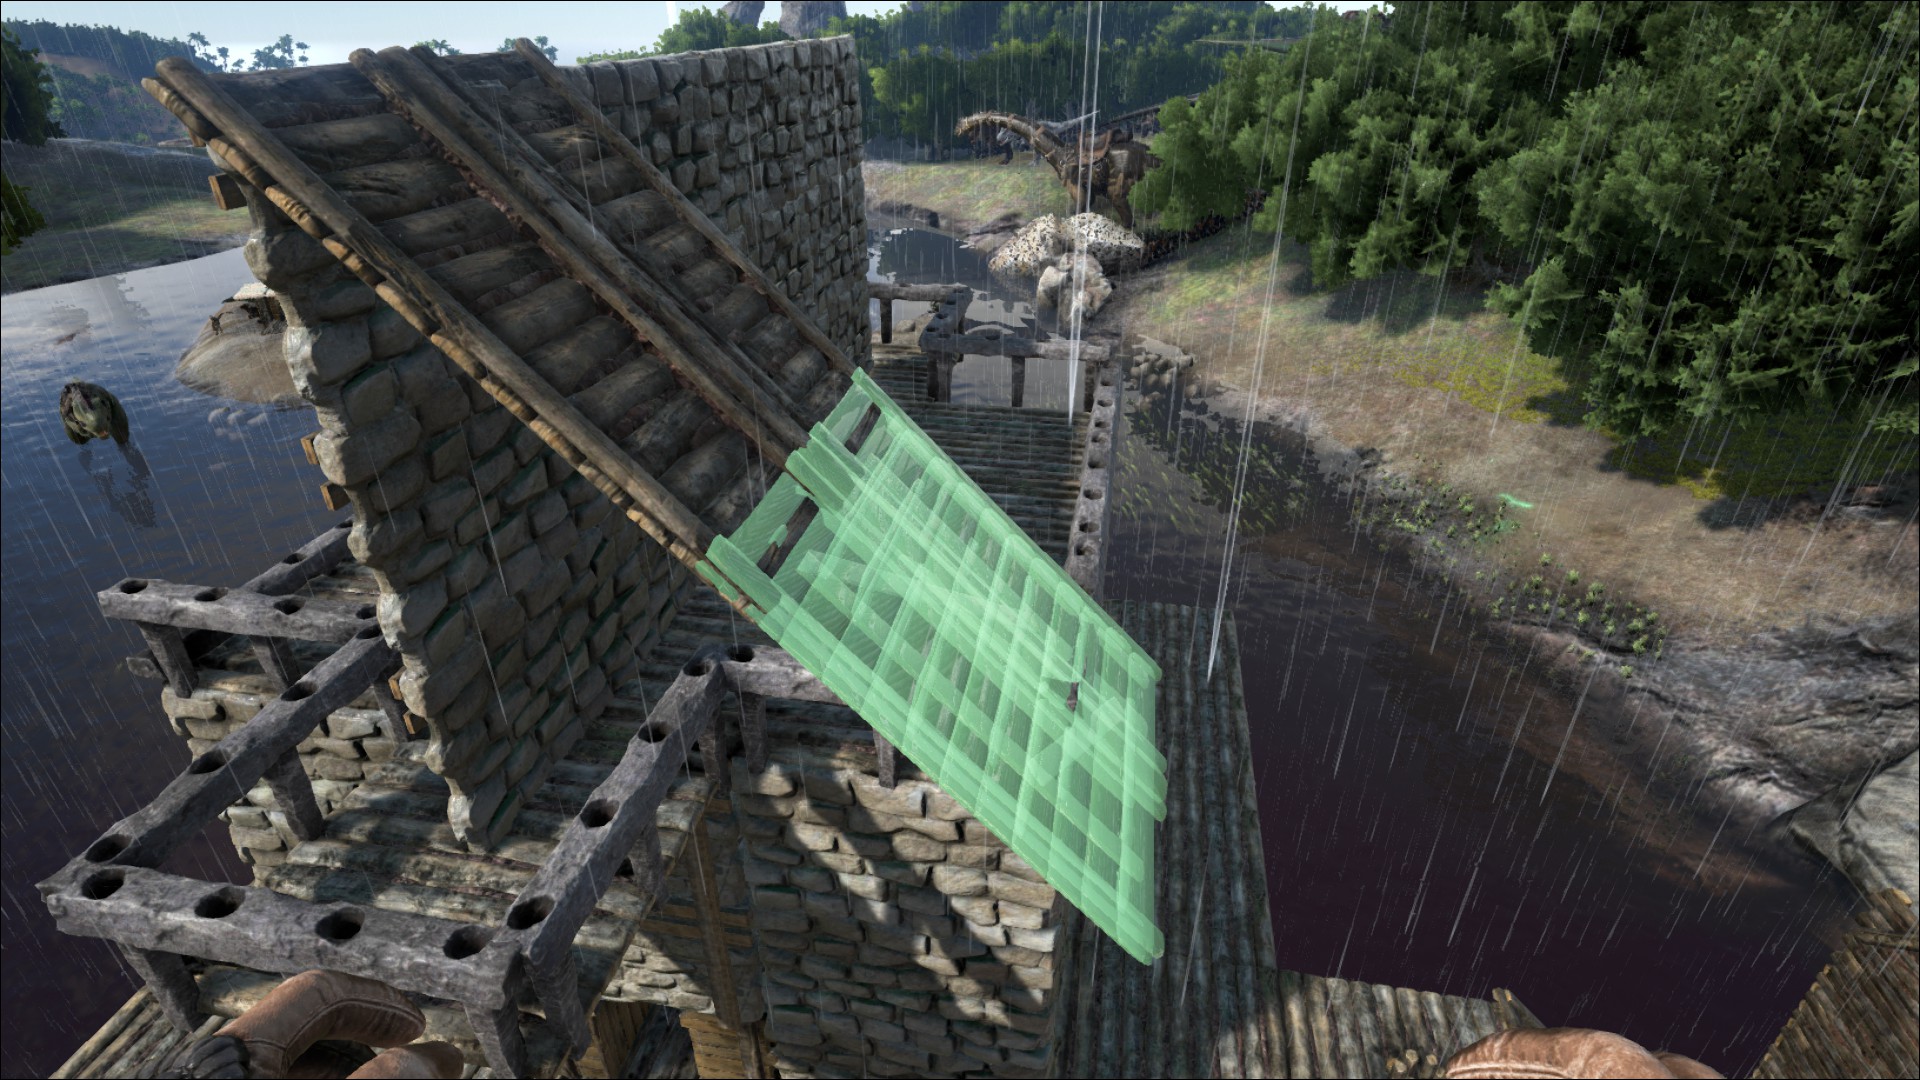
"I tested it on a local server, while the servers where down.
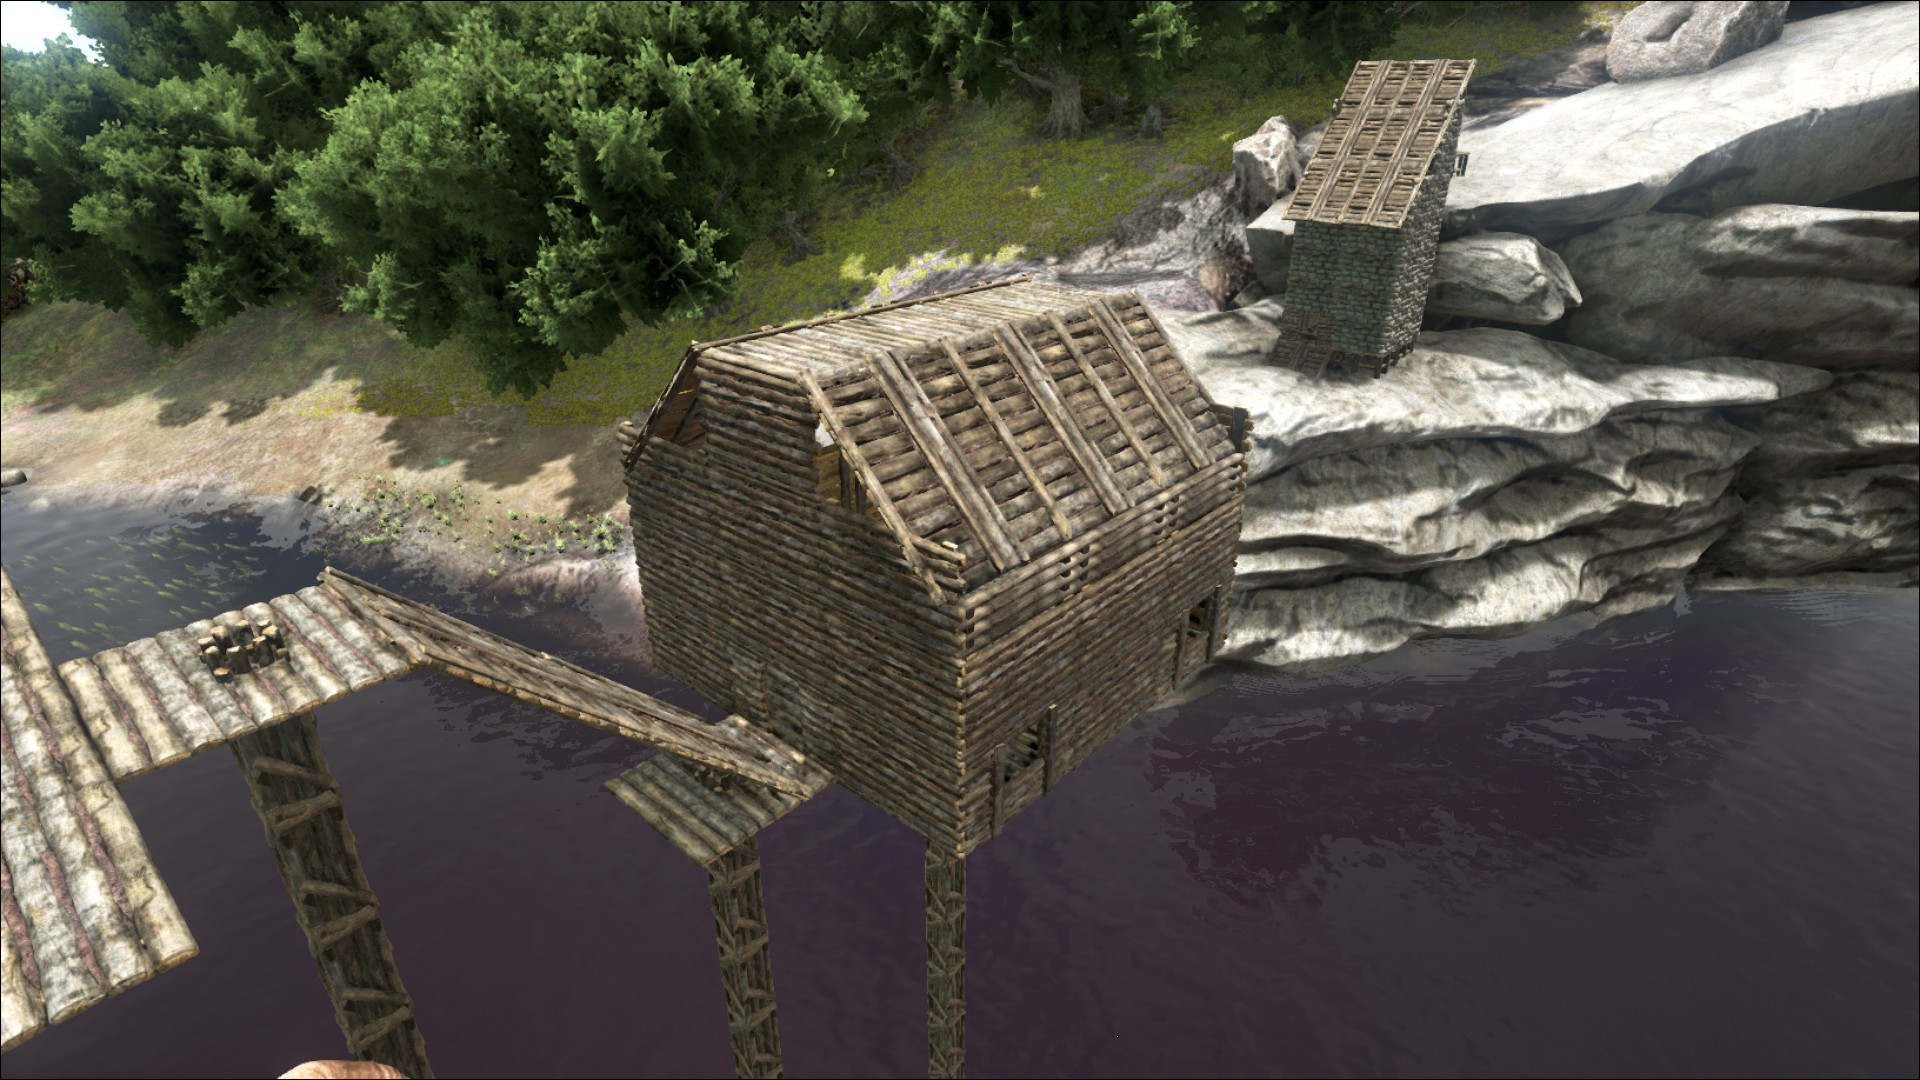
Now on the server I'm playing on, I was simply able to place the first foundation in the middle without snapping. Very odd. But when it doesn't work the way to place the foundations like in the screenshot should solve the problem."
-----
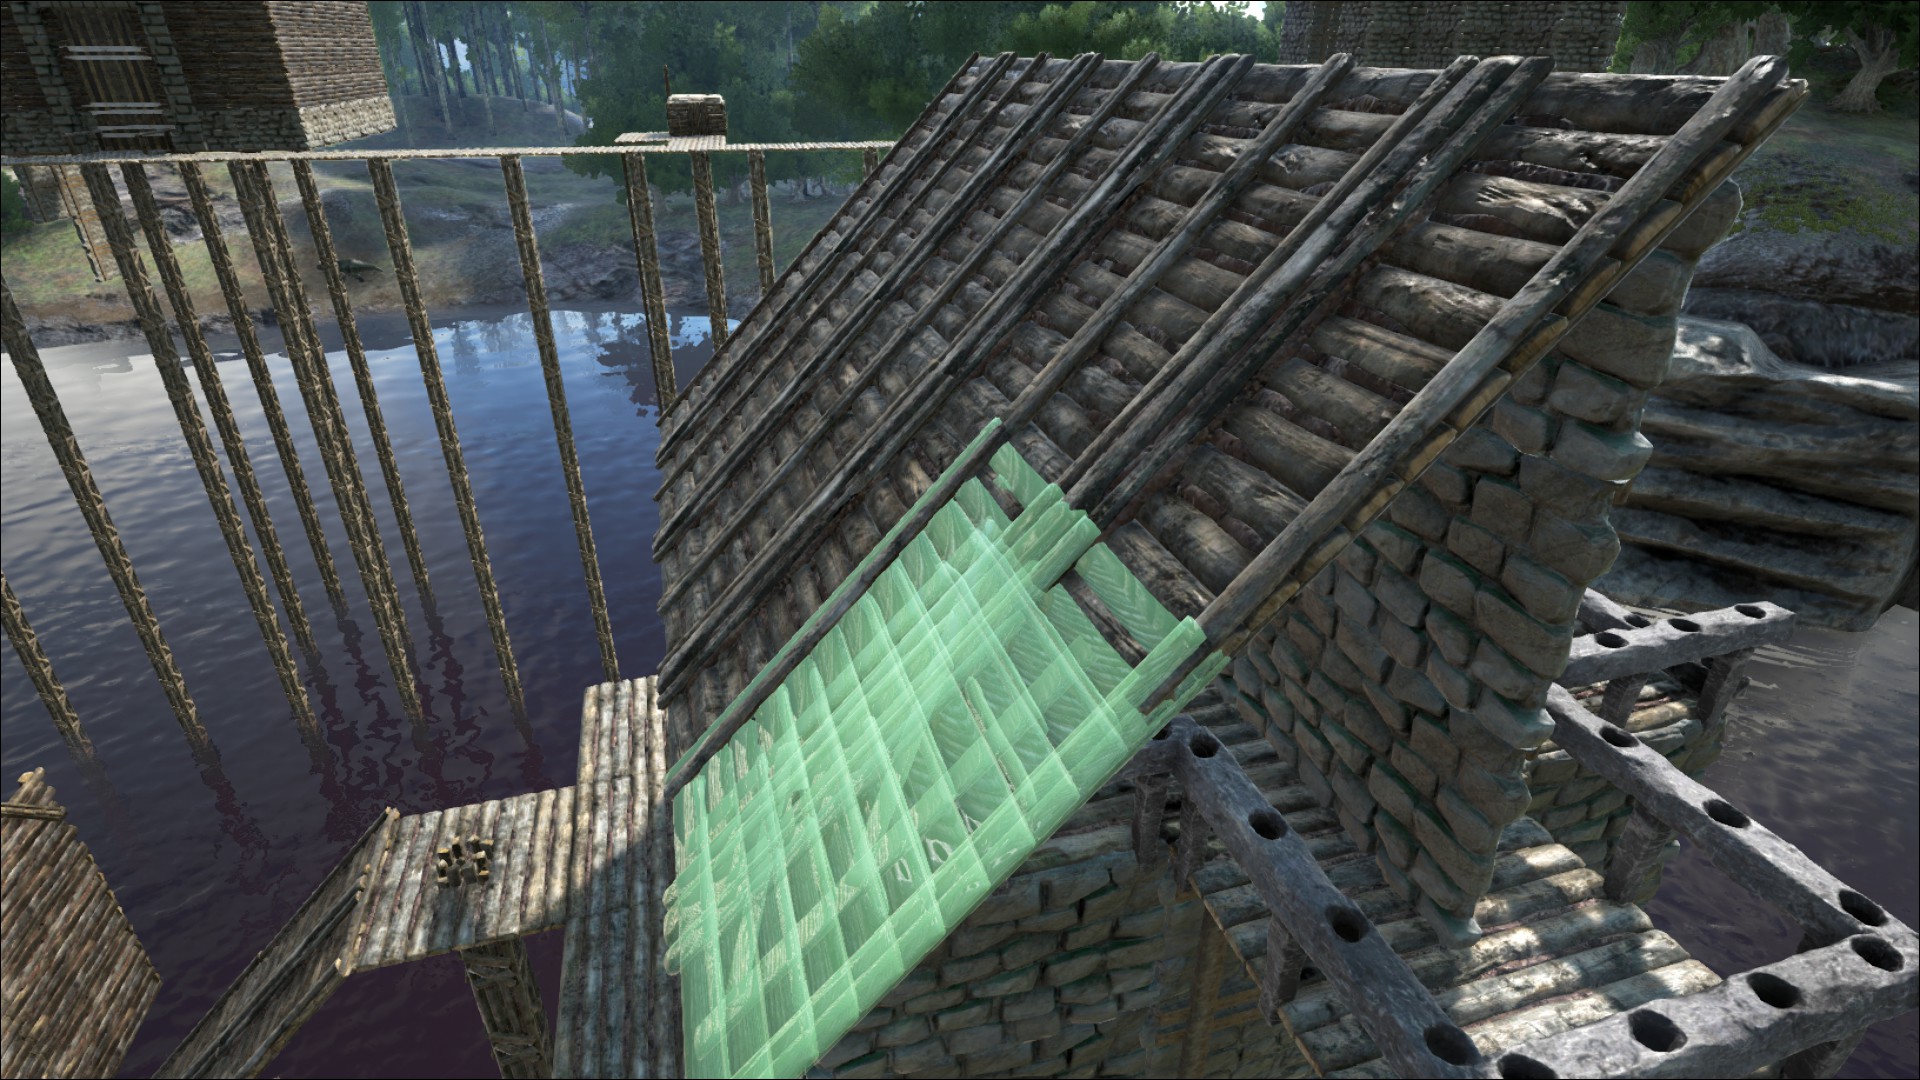
I'm curious what version the server is that you're playing on. I first noticed the issue of foundations and walls snapping to undesired orientations after patch 182 (hence my workaround guide addressing the glitch). Could the server version be ealier than that? I'll mention your work around for anyone wanting to copy some of hte rail techniques demonstrated in this guide.

Thanks for sharing!