ARK: Survival Evolved

ARK: Survival Evolved

101 voti
Pillars: a workaround for creating flush surfaces.
Di KierKain e altri 1 collaboratori
This is a workaround for anyone wanting to create flush flooring upon pillars without having the tips (of the pillars) protrude out the top.
   
Premio
Aggiungi ai preferiti
Preferito
Rimuovi dai preferiti
Building a bridge: merging aesthetics with function.
Building a bridge has become a bit easier since recent patches were implemented, namely many of the issues where pillars weren't detected as foundations by nearby structures were resolved. So, we set out to build a small bridge to test out the changes. This is our end result.


Now at first we ran into a bit of trouble. Everytime we placed a new pillar beneath a wooden ceiling (which is what we used for flooring), the tops of the pillars would jut up through the floor like a T-rex walked across it and crushed it down through the supports. Through a lot of trial-and-error, and about 10k pieces of wood later, we found two workarounds that allow both the main bridge and its extensions to sit flush upon the pillars. Be warned that it does waste quite a few pieces of flooring (whatever type you decide to use) and pillars, but the tradeoff is a single (or dual) layer of flush flooring that looks great and is fully functional. Plus you get half the construction materials back, so it's not quite as painful as it could be.

Method 1 is ideal if you are just starting your foundation as it uses fewer materials, takes considerably less time, and guarantees a flush surface with joined pieces. It uses a dual-layer approach.

Method 2 is best used in situations where you already have an existing structure and want to expand it, but didn't follow method 1. It will get you on track for continuing with method 1, or can be used stand alone if your expansion is small (or if you don't like the idea of having a dual layer floor). It uses a kabob approach.

Hope it helps!
The workaround (method 1).
Step 1: we built our initial platform on the first pillar.

Step 2: we built a second pillar as far from the first one as possible.
NOTE: if you need help figuring out how to place subsequent pillars after the first one, check out (method 2, Step 2-4) for instructions.

Step 3: we placed a roof piece on top of the part of the pillar that was protruding through the floor, giving us dual layers.
NOTE: this top roof piece is going to be the actual floor of our structure, not the bottom piece that we started with.

Step 4: we continued expanding outward placing a roof piece on each layer.

Step 5: we placed the next pillar on the bottom layer so that the top of it was hidden by the upper layer.
Place subsequent pillars in a similar fashion.
NOTE: make sure the pillar snaps onto the bottom layer. It is easy for it to suddenly jump up through the top layer with even the slightest change in viewing angle.

Step 6: we went back and placed the top layer of roof (the actual floor) over the rest of the structure.
The workaround (method 2).
Step 1: we chose the location for our extension and built it out as far as we could from the existing foundation (which wasn't very far), like so.

Step 2: we attached the first piece of our pillar directly to the bottom of our wooden floor and built down toward the ground.

Step 3: we made sure to extend the pillar all the way down to the ground.
NOTE: pay close attention to any gaps that might be easy to overlook, especially in murky water.

Step 4: we ensured that our newly erected pillar was now acting as a foundation by seeing if it would let us place a piece of flooring next to it.
Check mark for the foundation.
NOTE: the pillar's top is sticking up out of the floor like a wooden mole which is what we're about to surgically remove.

Step 5: now that the pillar is secured we knocked down the wooden floor that we originally built the pillar from, and the two top-most pieces of the pillar itself.

Step 6: we placed a wooden roof piece on the very top of our newly lowered pillar, and placed a new pillar piece where it was just protruding out of the top of the roof.
NOTE: it does take some angling to get it right due to the pillar wanting to snap onto a higher snap point.

Step 7: we placed another pillar piece on top of the last one, only we had to be sure to use the lower snap point of the two.
NOTE: the pillar depicted in the picture on the left is slightly lower than the one depicted on the right, making it the correct choice. Pay close attention to the subtle difference.

Step 8: we placed a roof on the new stacked pillar followed by another pillar positioned at the lowest snap point, so it's just barely protruding out the top.
We repeated this process until the final roof piece was flush with the rest of the bridge flooring.
NOTE: depending upon what type of flooring you're using, or combination thereof, you might find that you need to go back to Step 7 and choose the snap point depicted in the picture on the right (the higher one). We found this to be true when extending wooden roofs on stone walls.

Step 9: we looked at the kabob of wooden pillars and roofs that we made and, after shaking our heads at the thought of all this work being avoided hopefully by a future patch, demolished the wooden roof pieces underneath the top-most two (this also demolishes the extra pillars, so no worries about it not being uniform with the rest of them).

Now you are ready to begin building your dual layer floor, so jump up to (method 1, Step 4) and continue from there. Alternatively, you can demolish the lower floor piece if you just want to have a single layer floor as demonstrated on our bridge.
NOTE: if by some act of misfortune you knock down the top-most roof piece, or wooden pillar, after knocking down one of the lower ones, your best bet is to knock the kabob down all the way back to the start of Step 7 as simply replacing the top roof and/or pillar may not yield the same flush snap point.
The finished product.
And there you have it. That's our stand-alone workaround for creating flush flooring using pillars as the foundation. There may have been an easier method(s), but these were the only ones we used while working with multiple floor/wall types that produced consistent results. Here is the finished product.

method 1

method 2

Now you can use two layers of flooring to achieve that flush look, or conversly temporarily build six stacked layers in order to have one perfect one. Win-win, right? Right?! <frustrated sob>
-------------------------
Hunt big, or go play Minecraft.
34 commenti
Serinitus 21 nov 2019, ore 8:15 
so its sad that even with the S+ additions they couldnt fix the pillars to not need this trick
Justidude 19 giu 2017, ore 11:05 
THERE IS AN EASIER WAY!
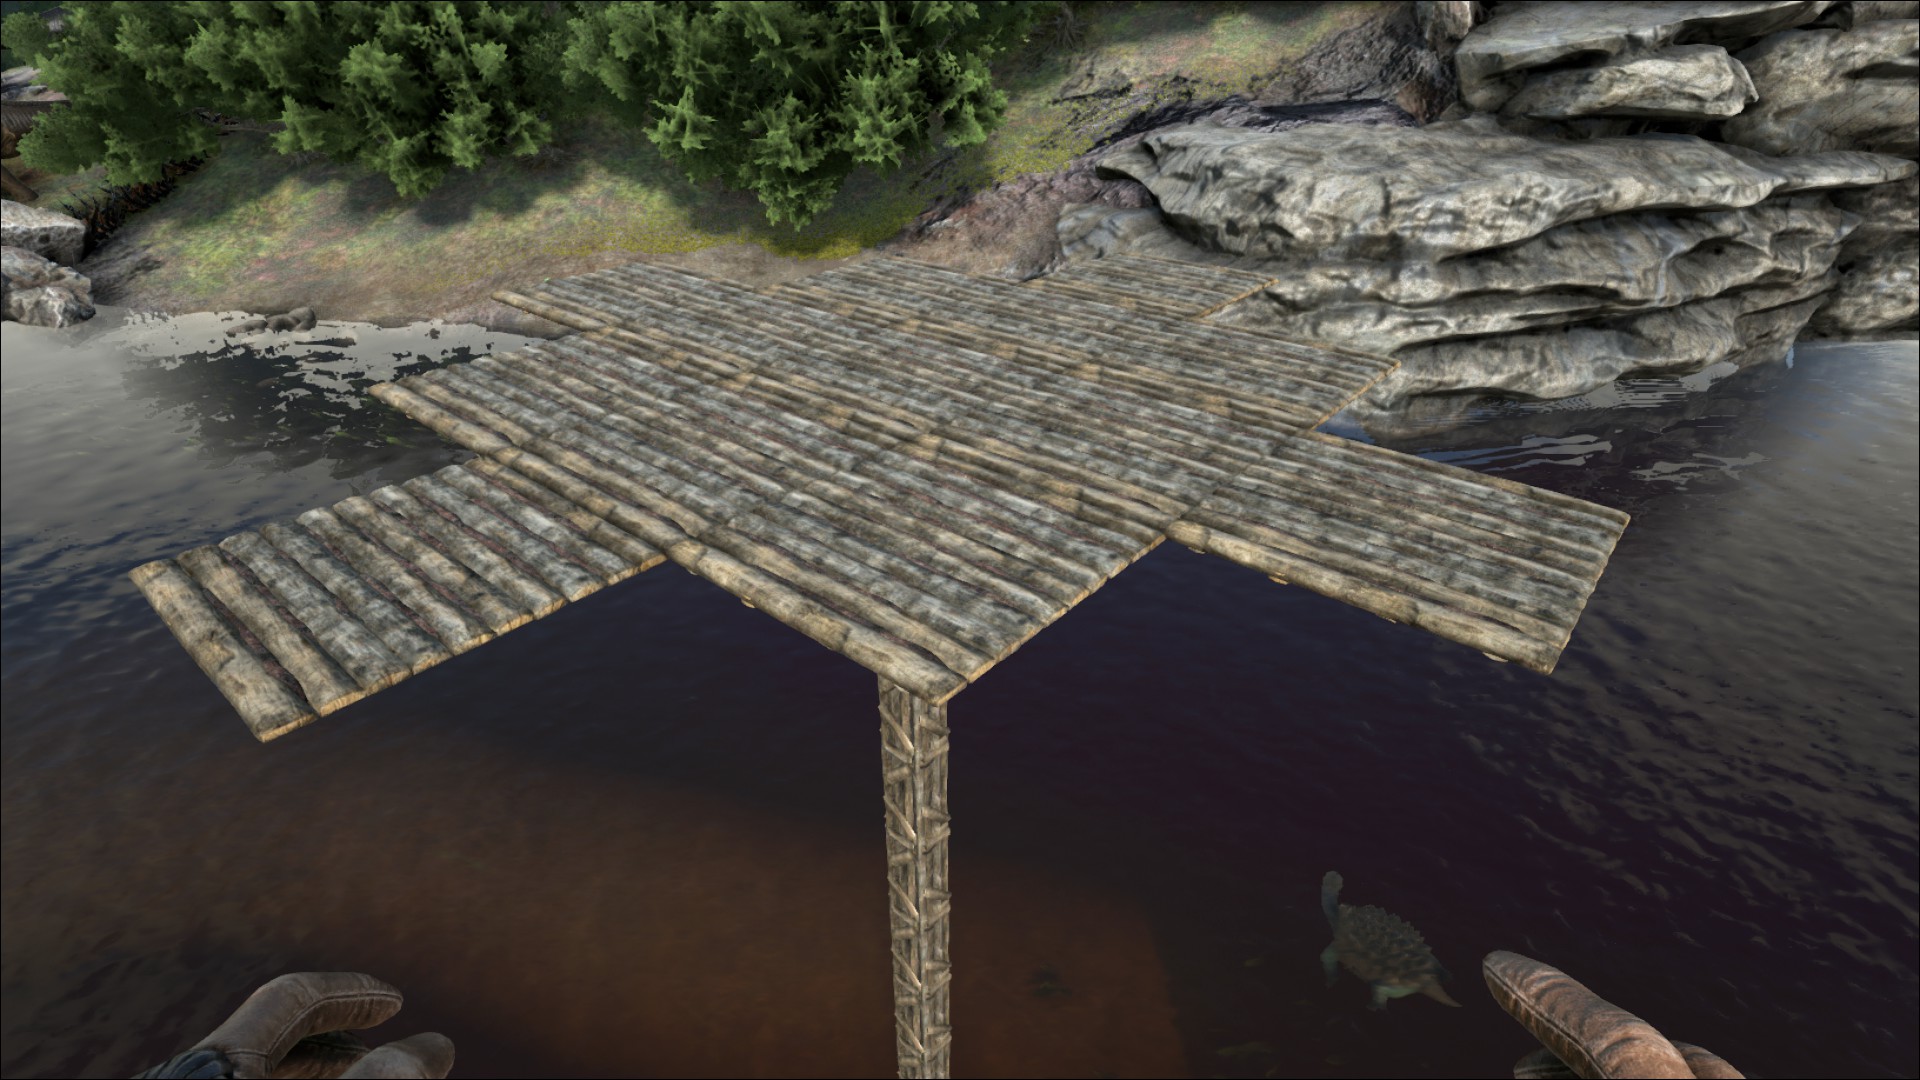
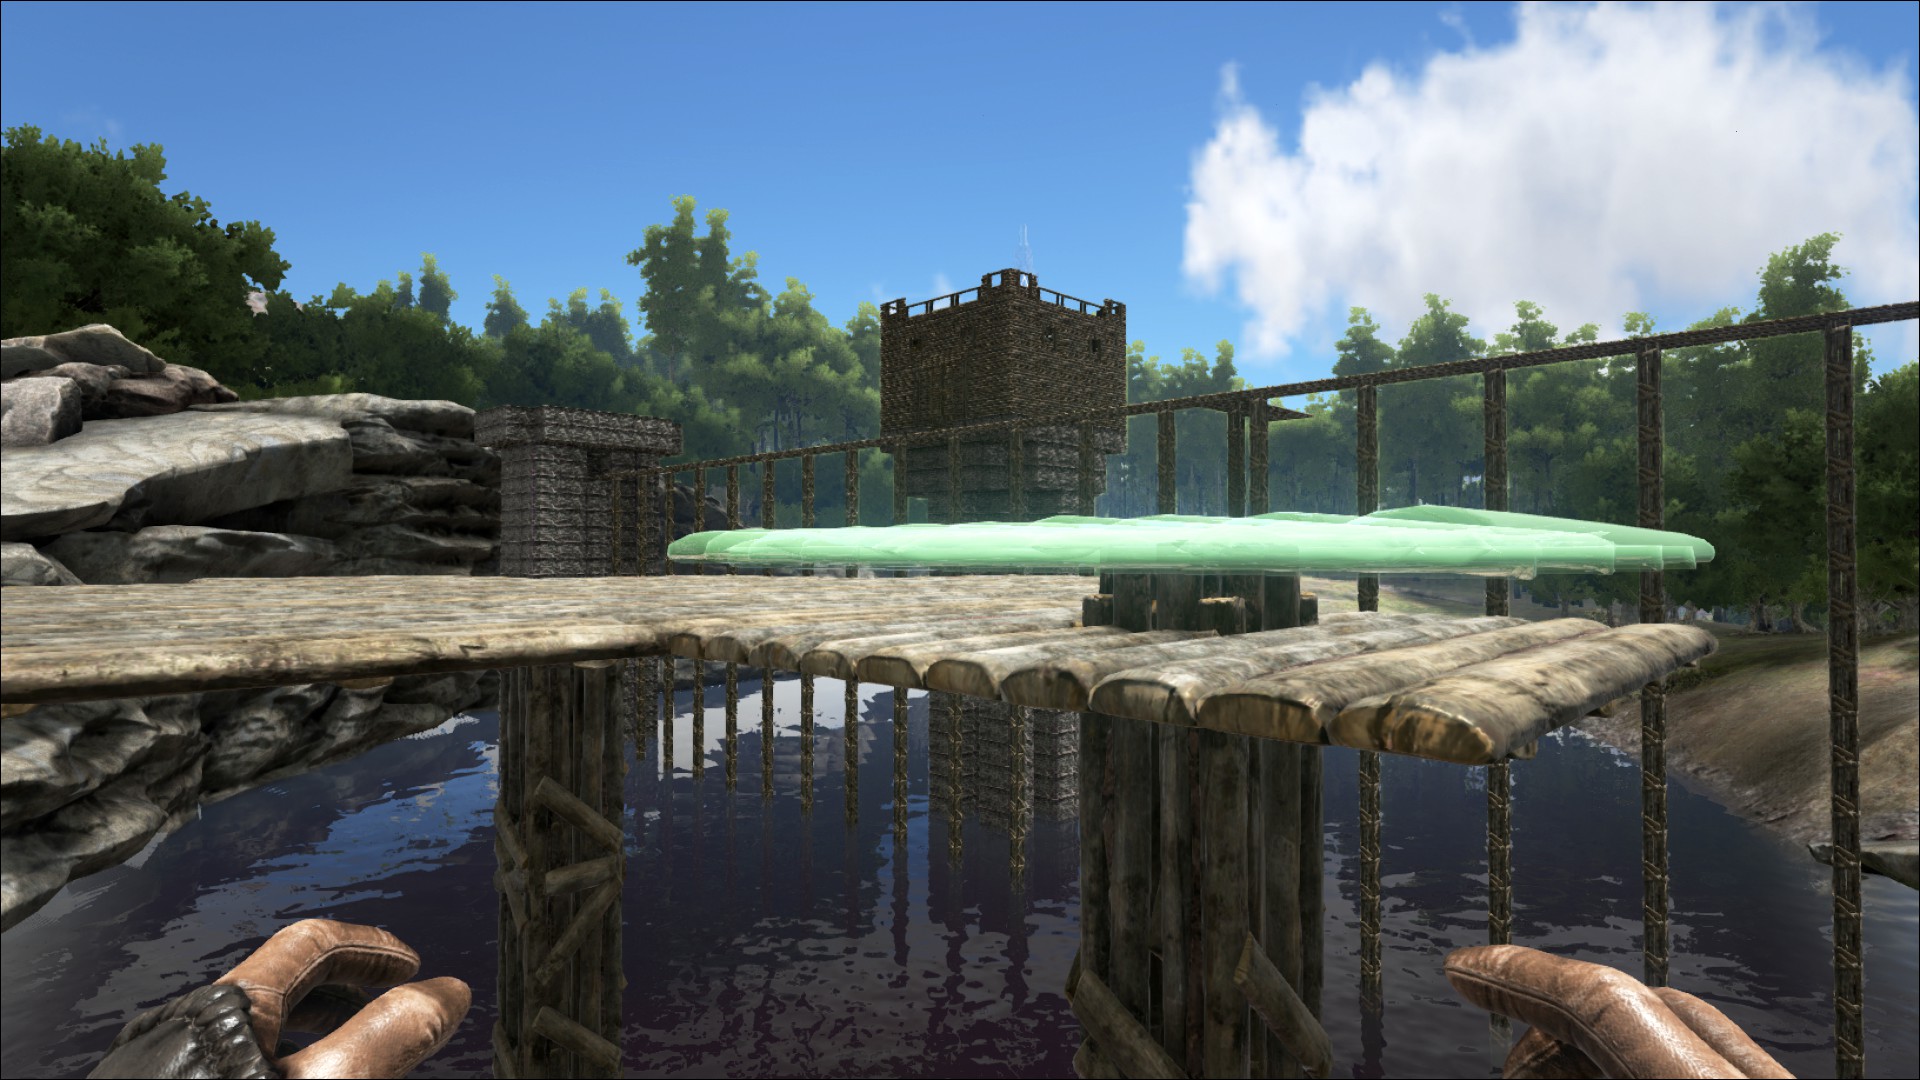
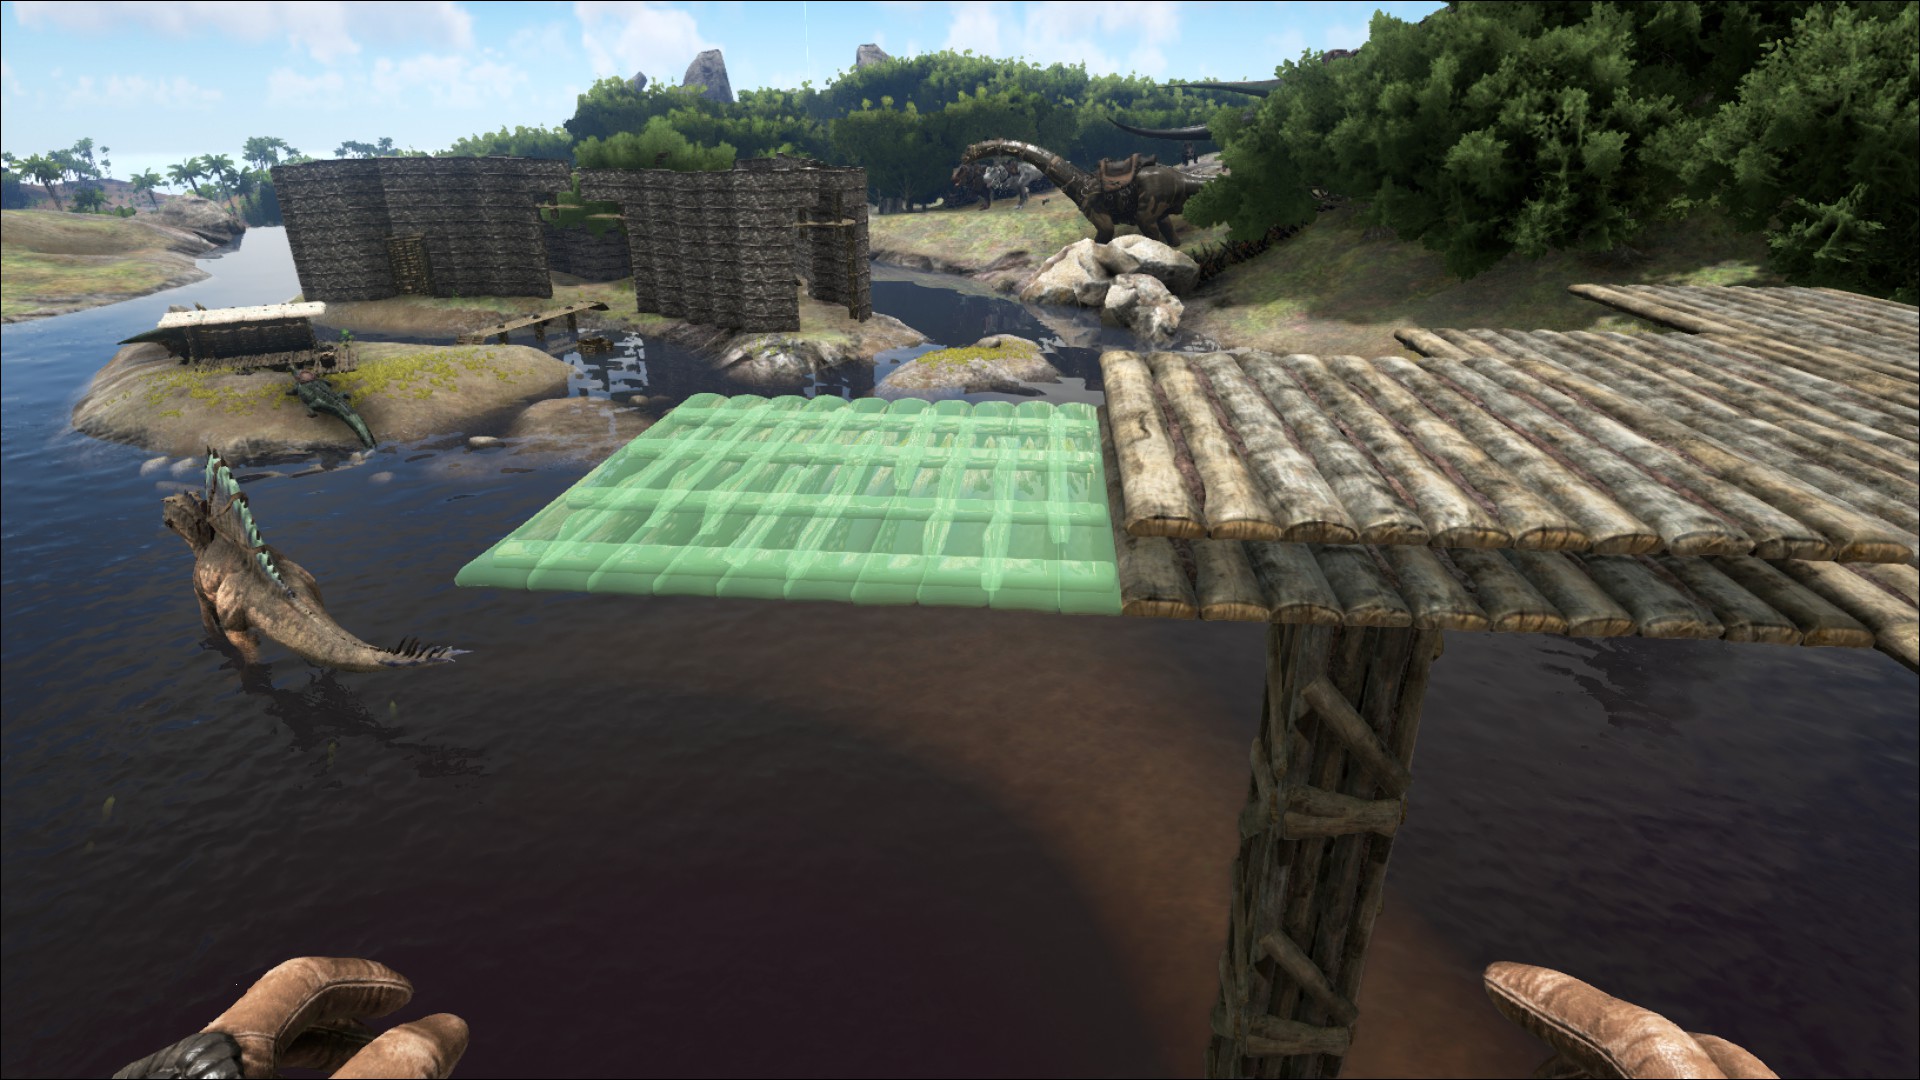
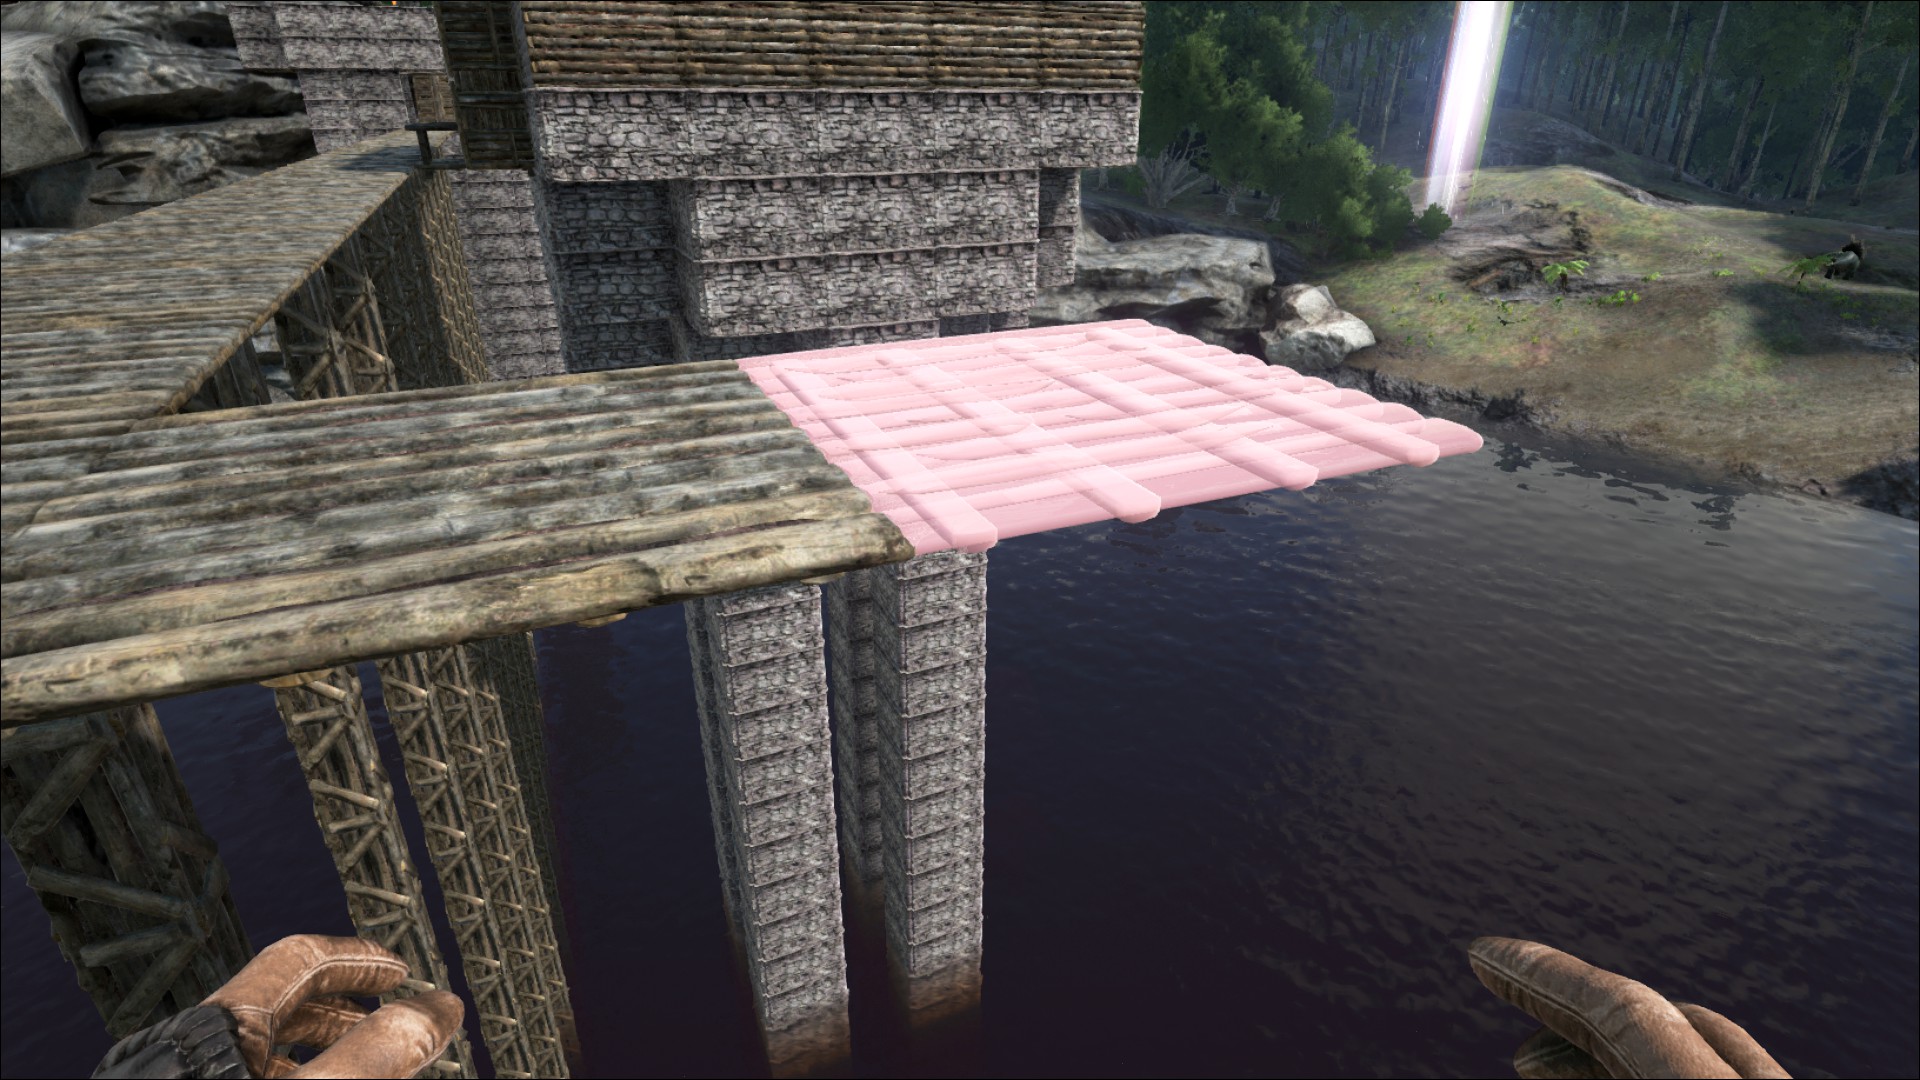
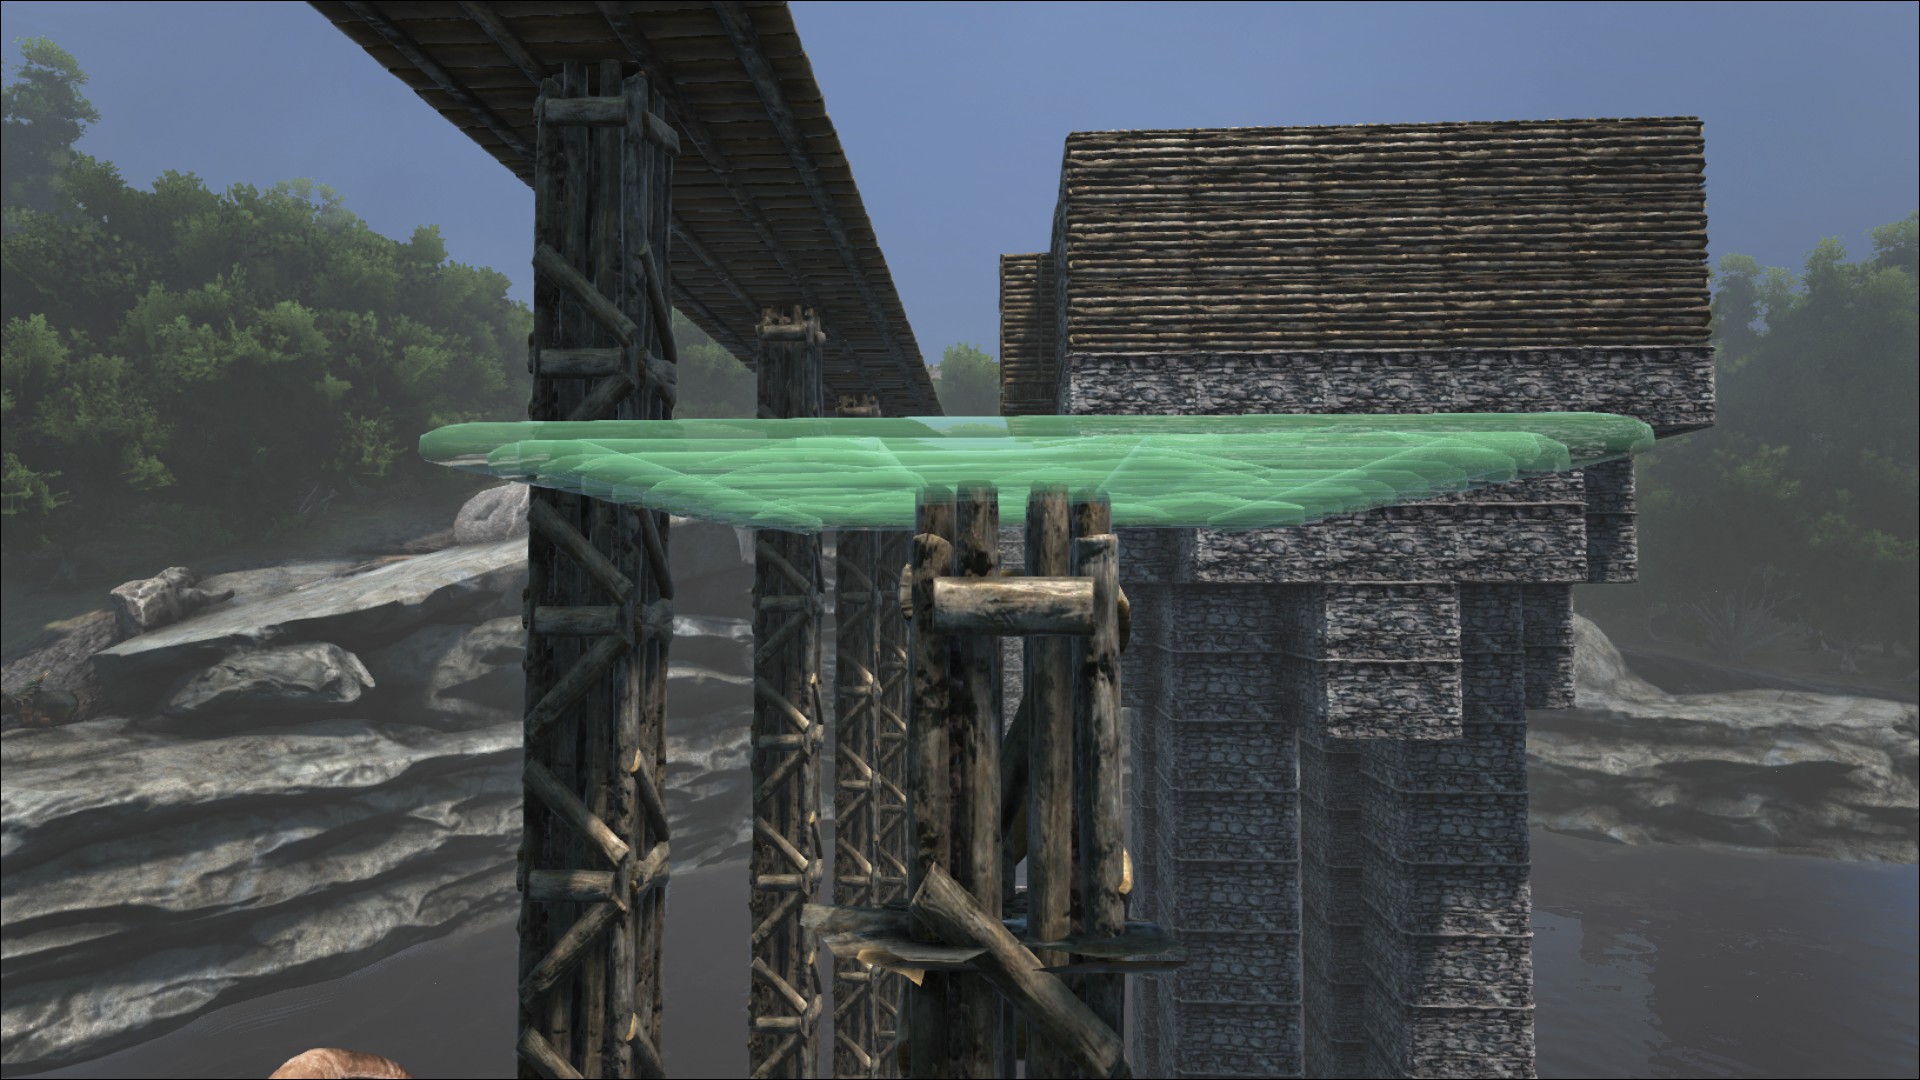
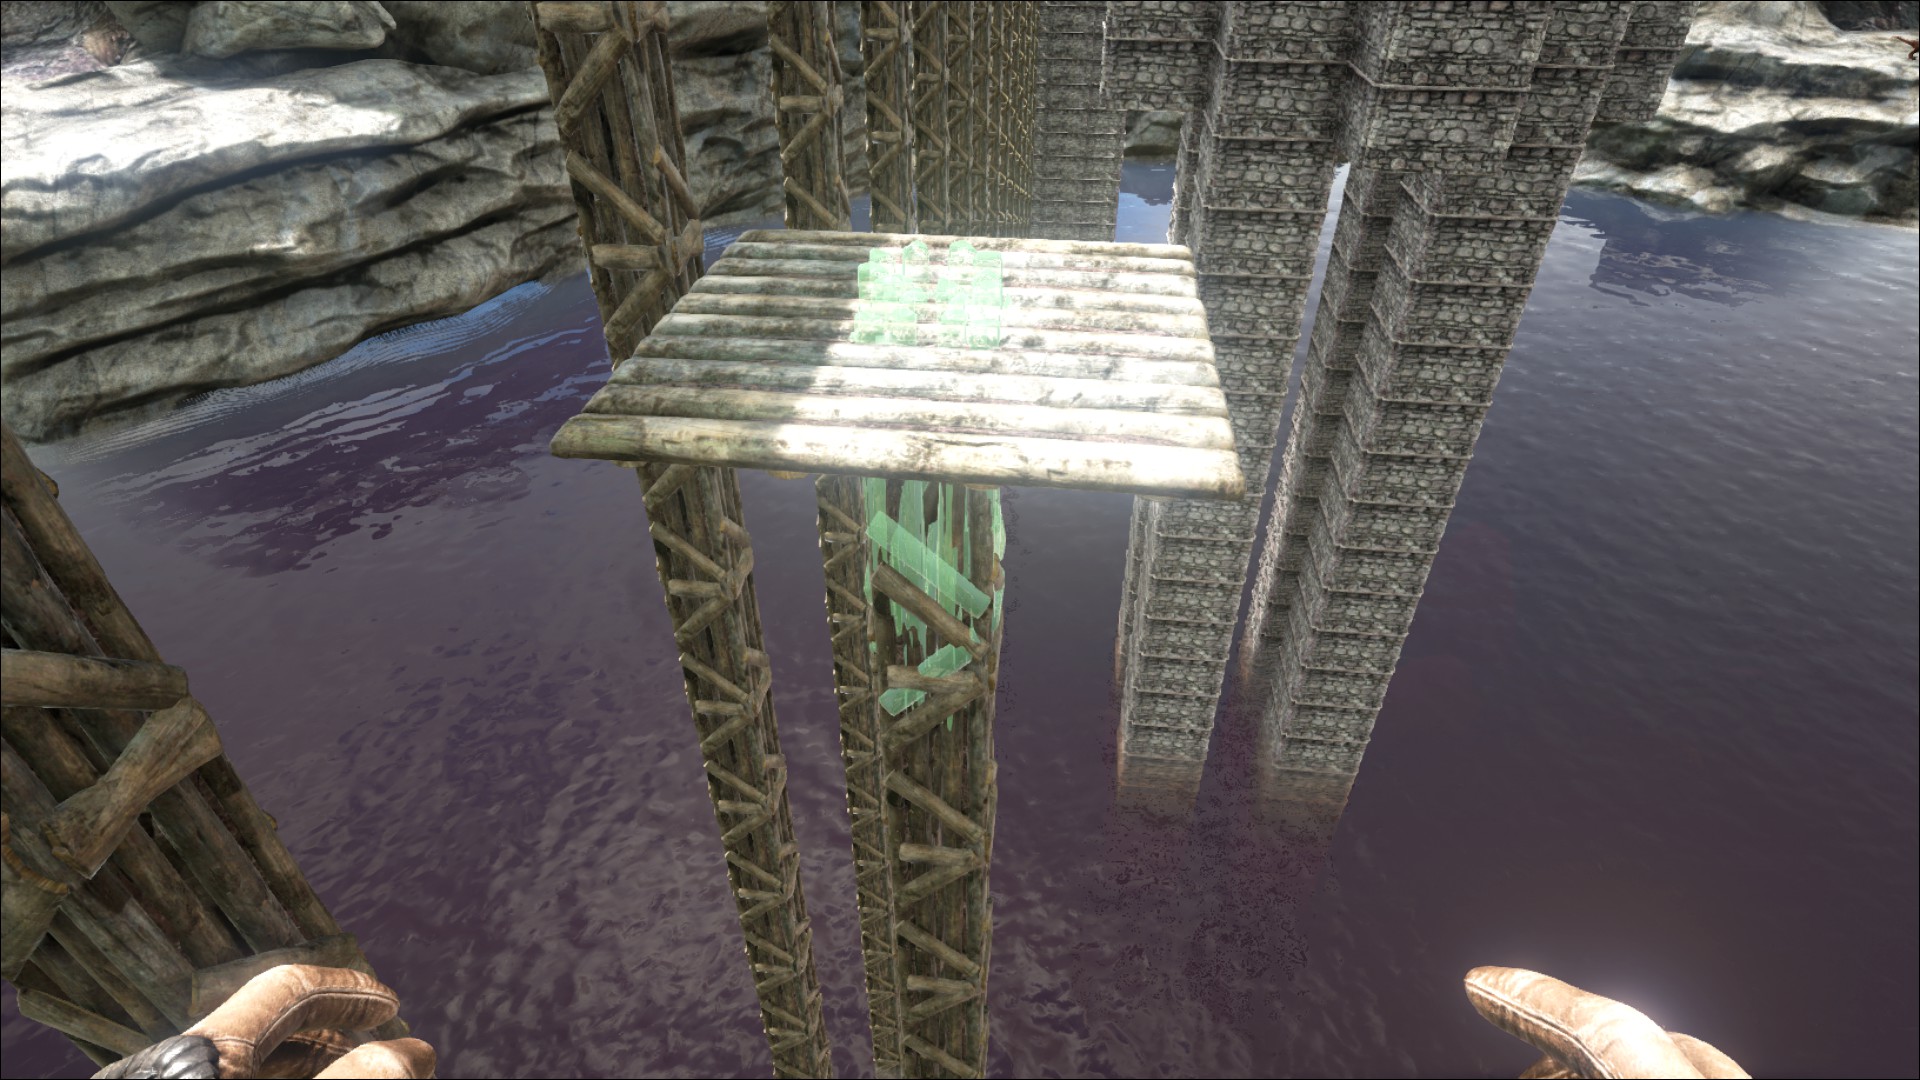
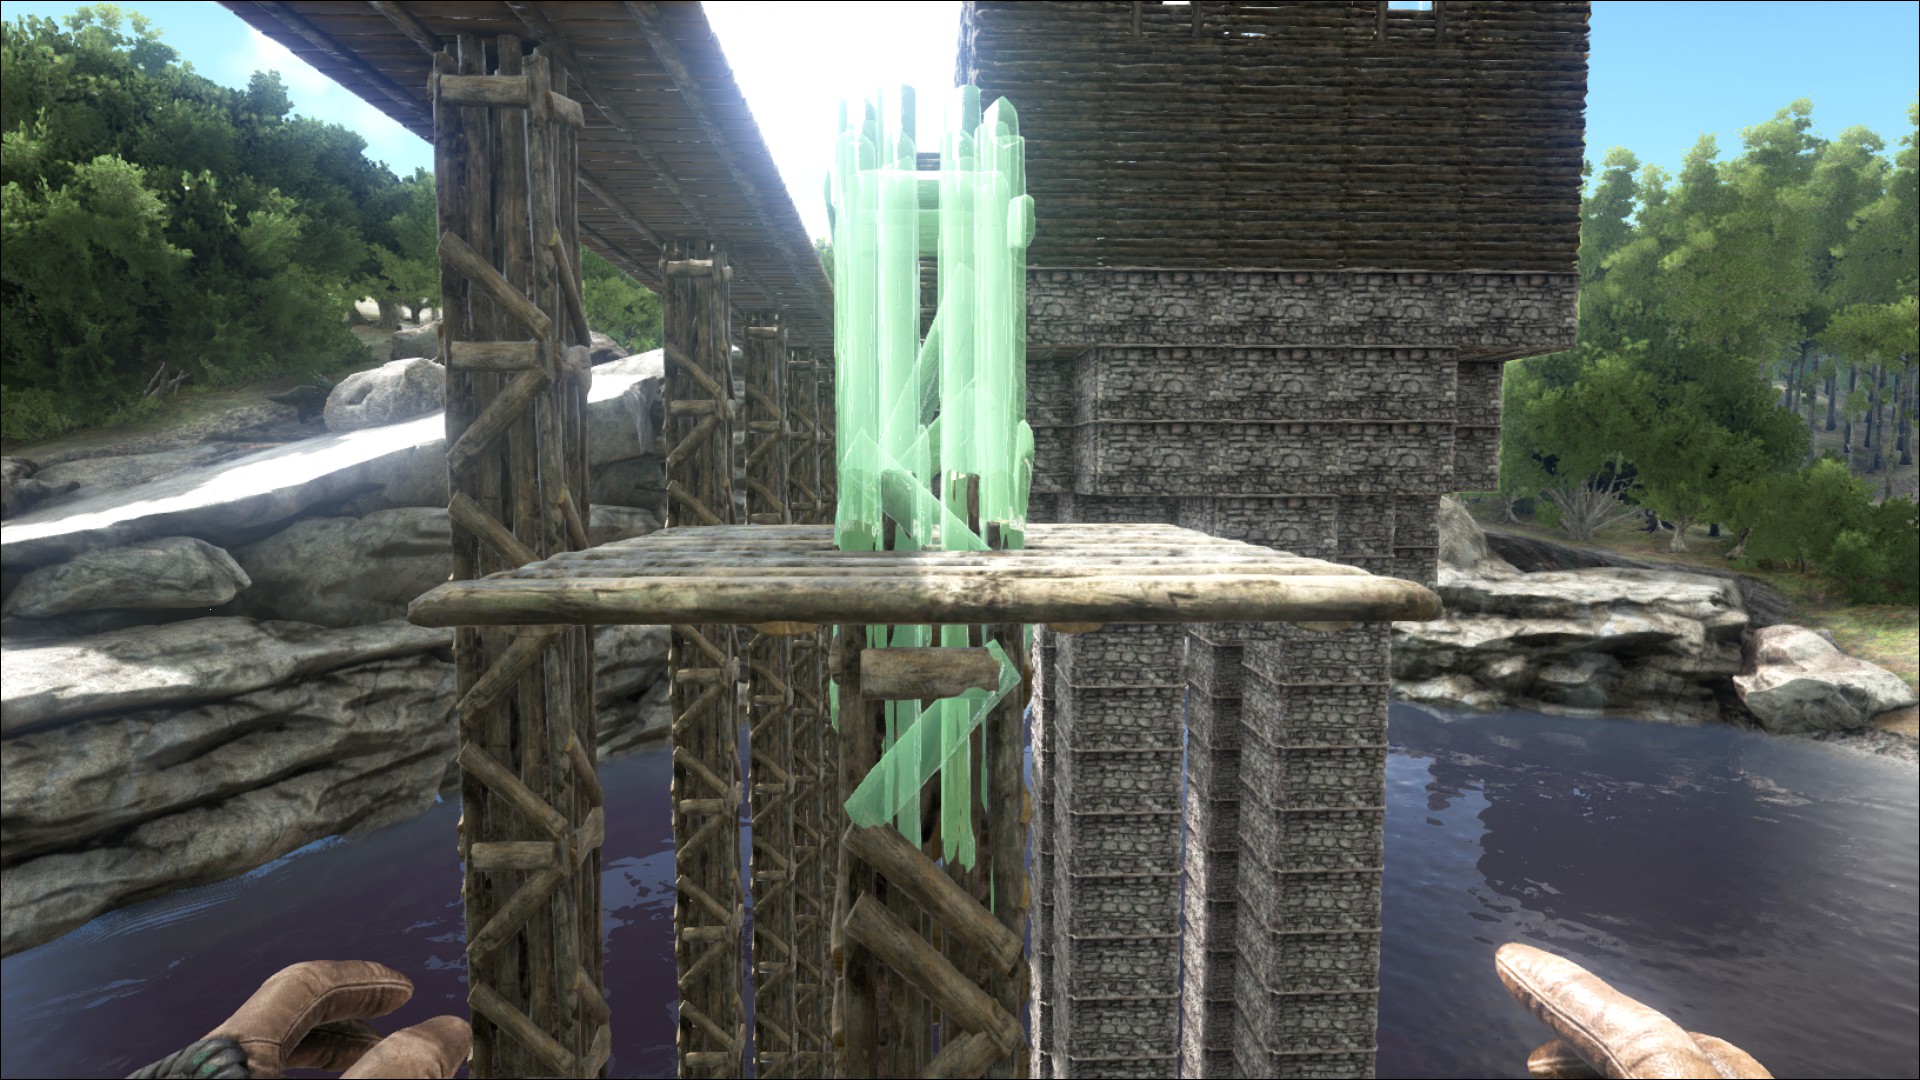
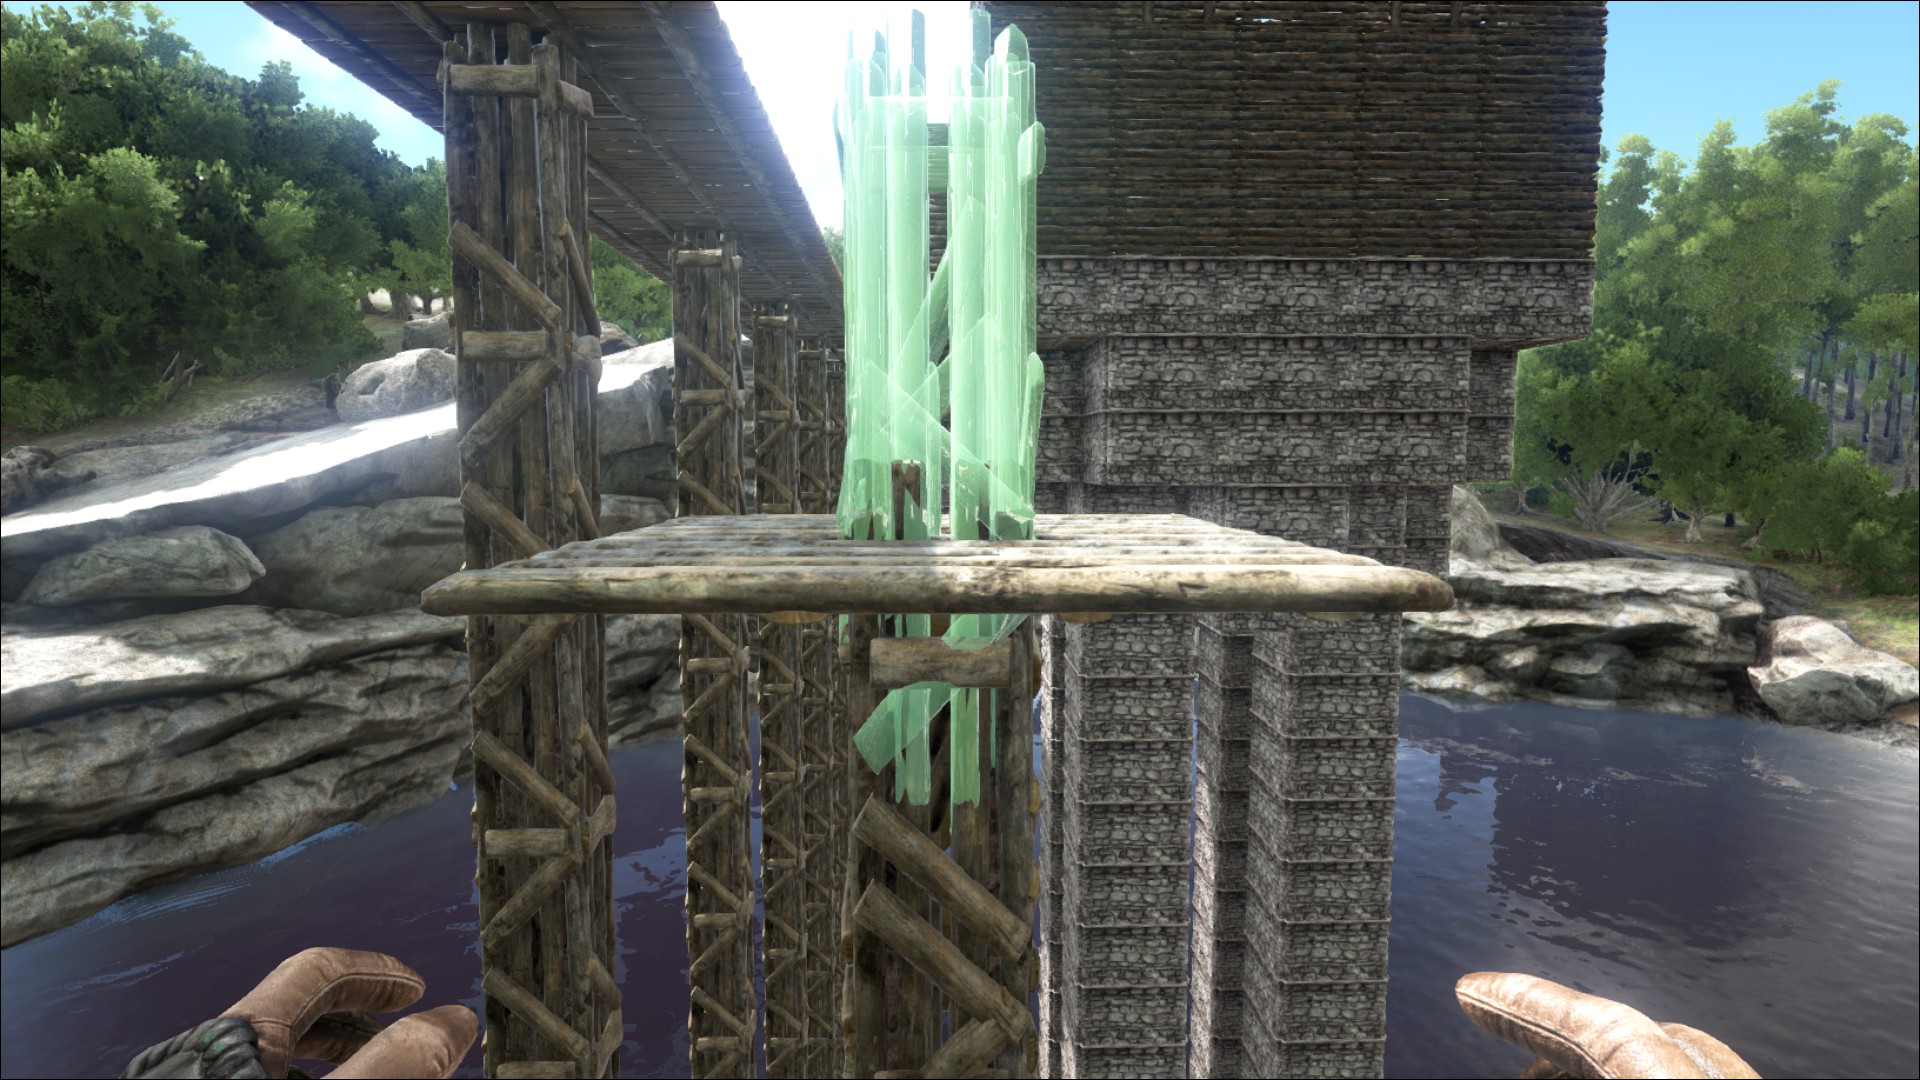
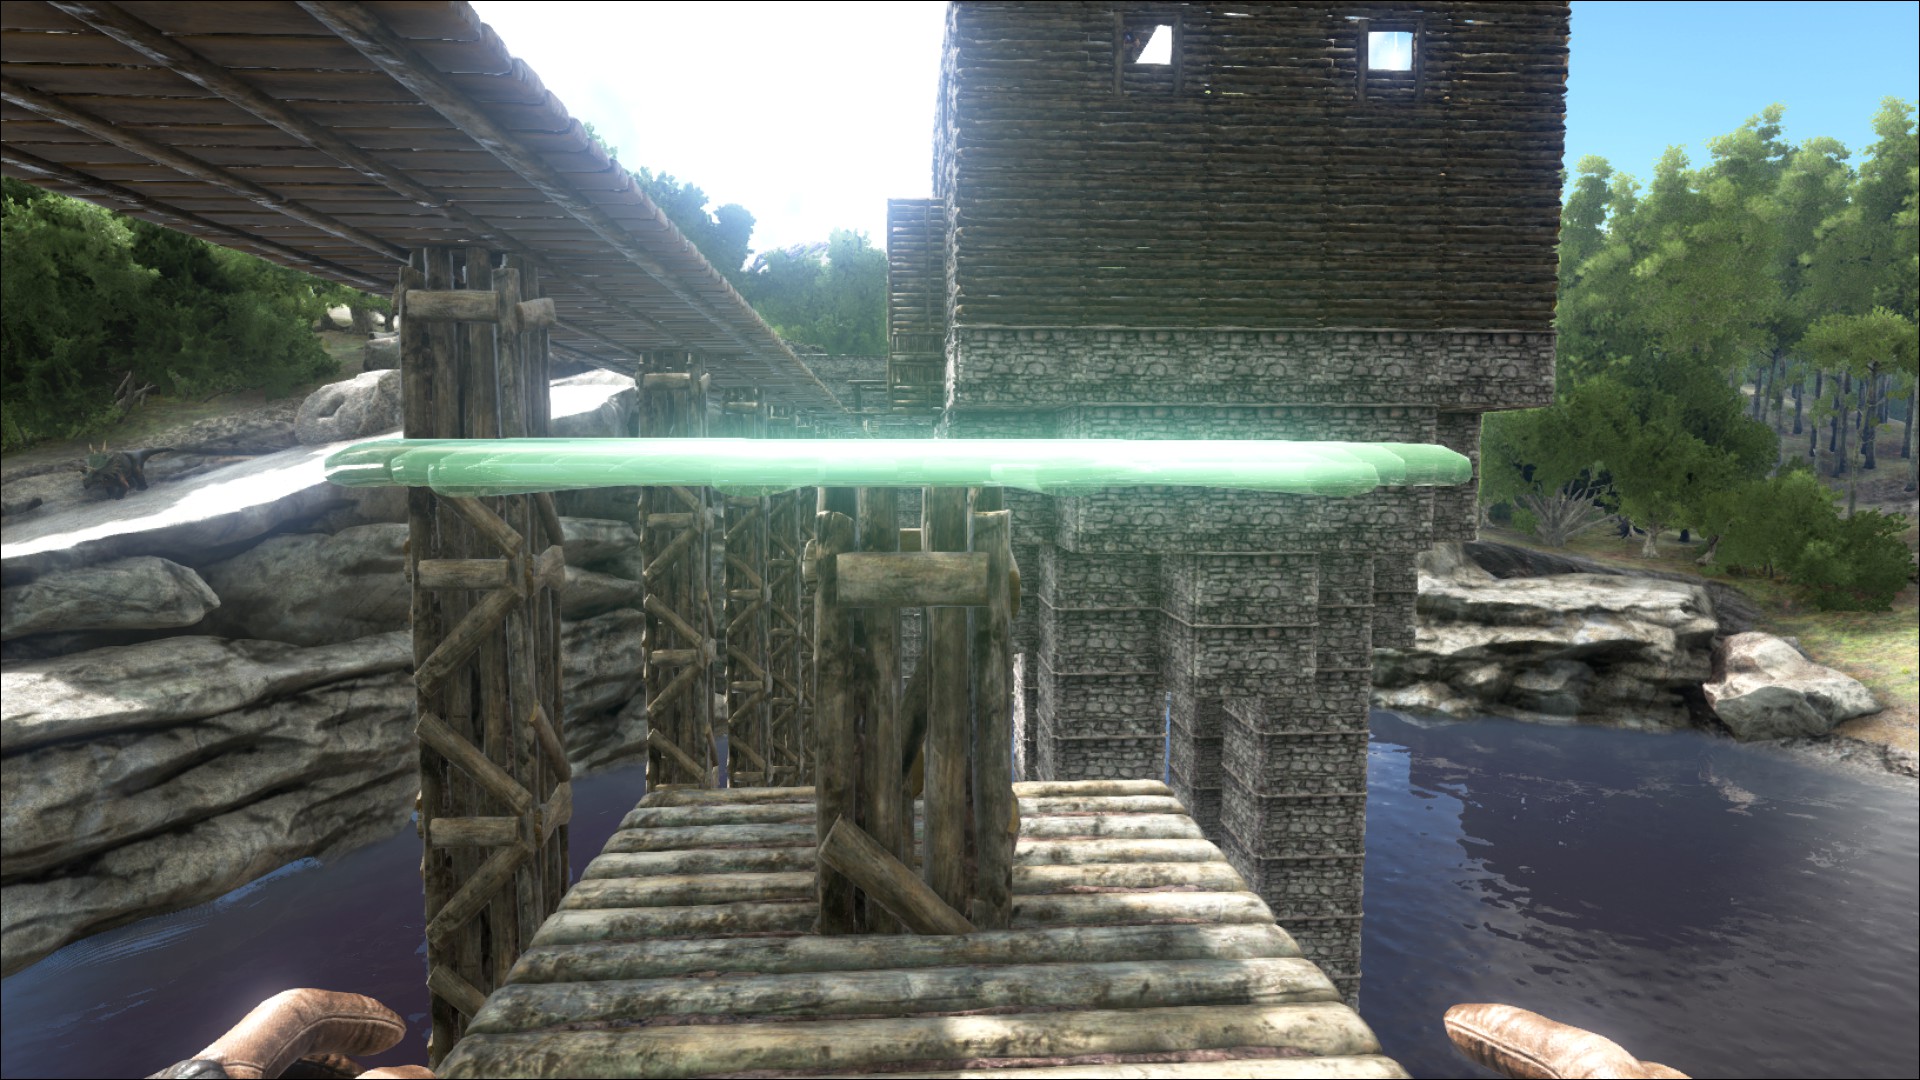
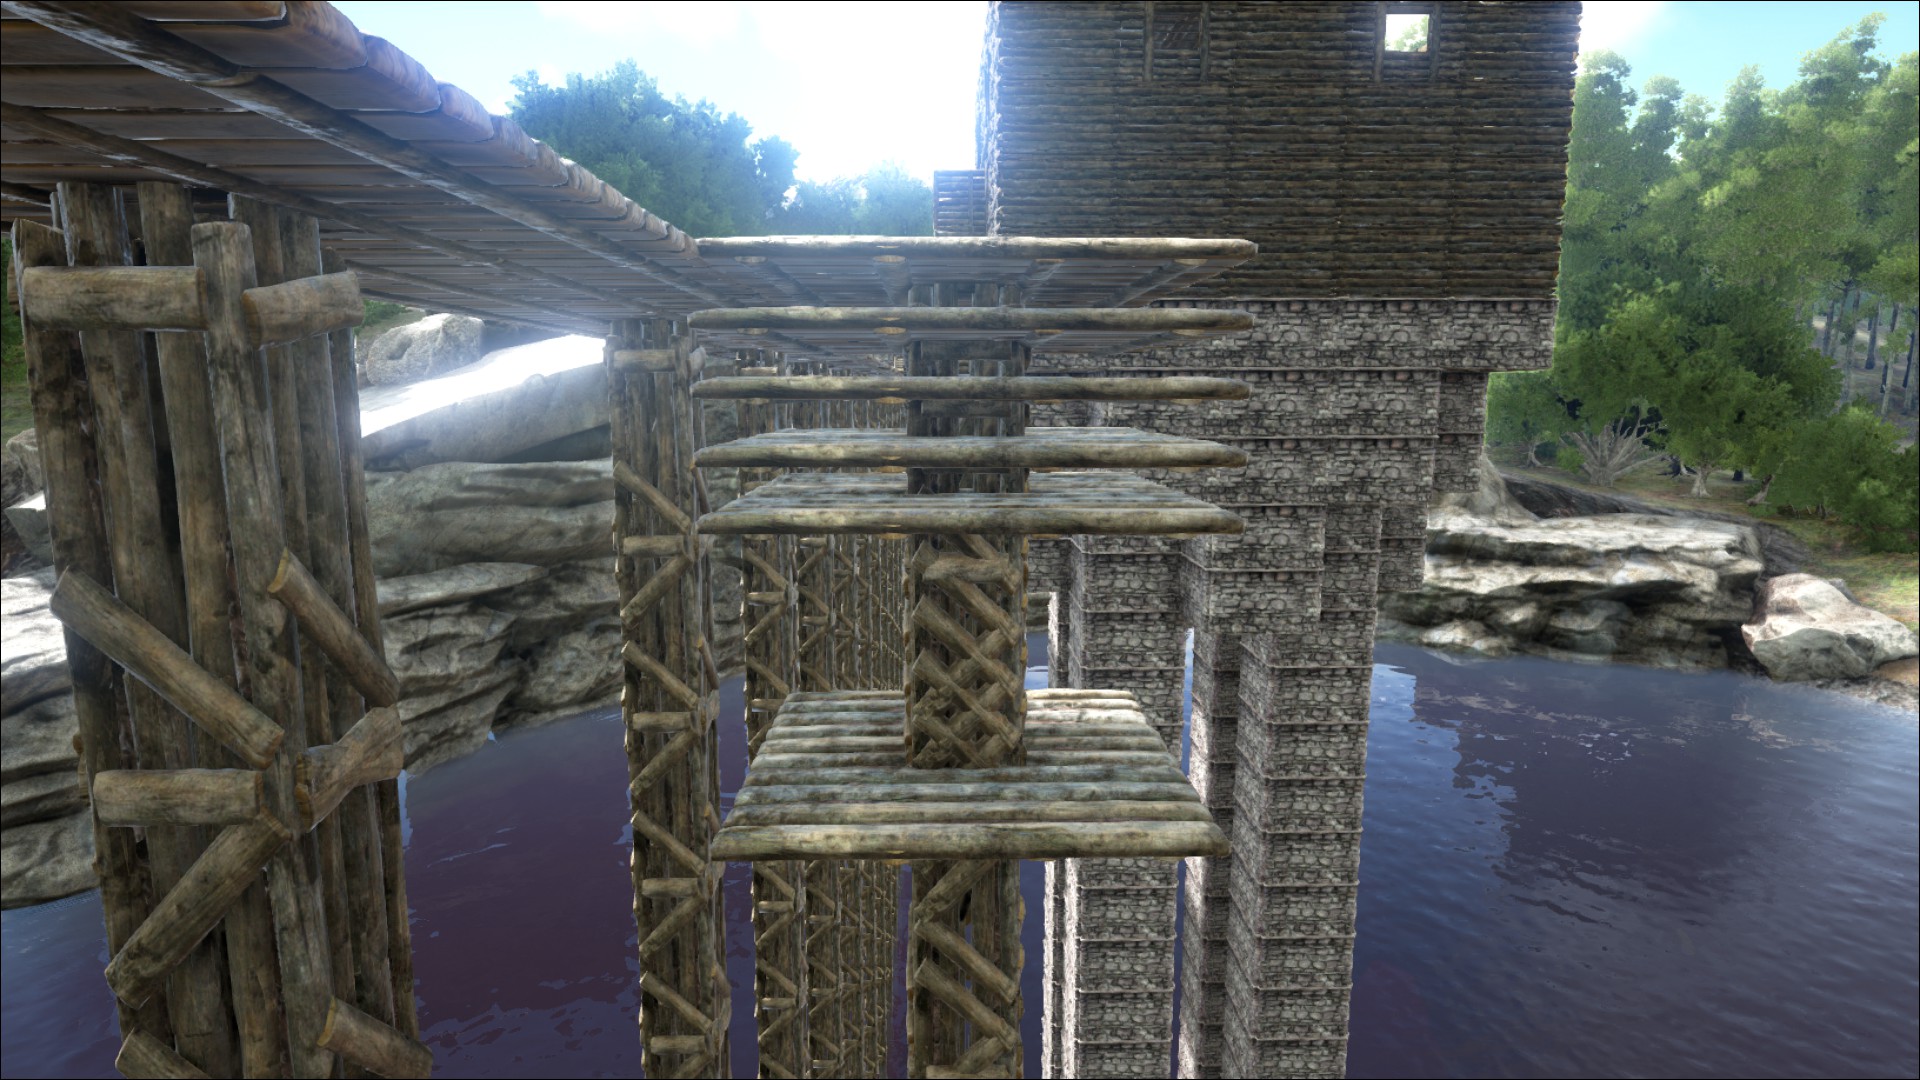
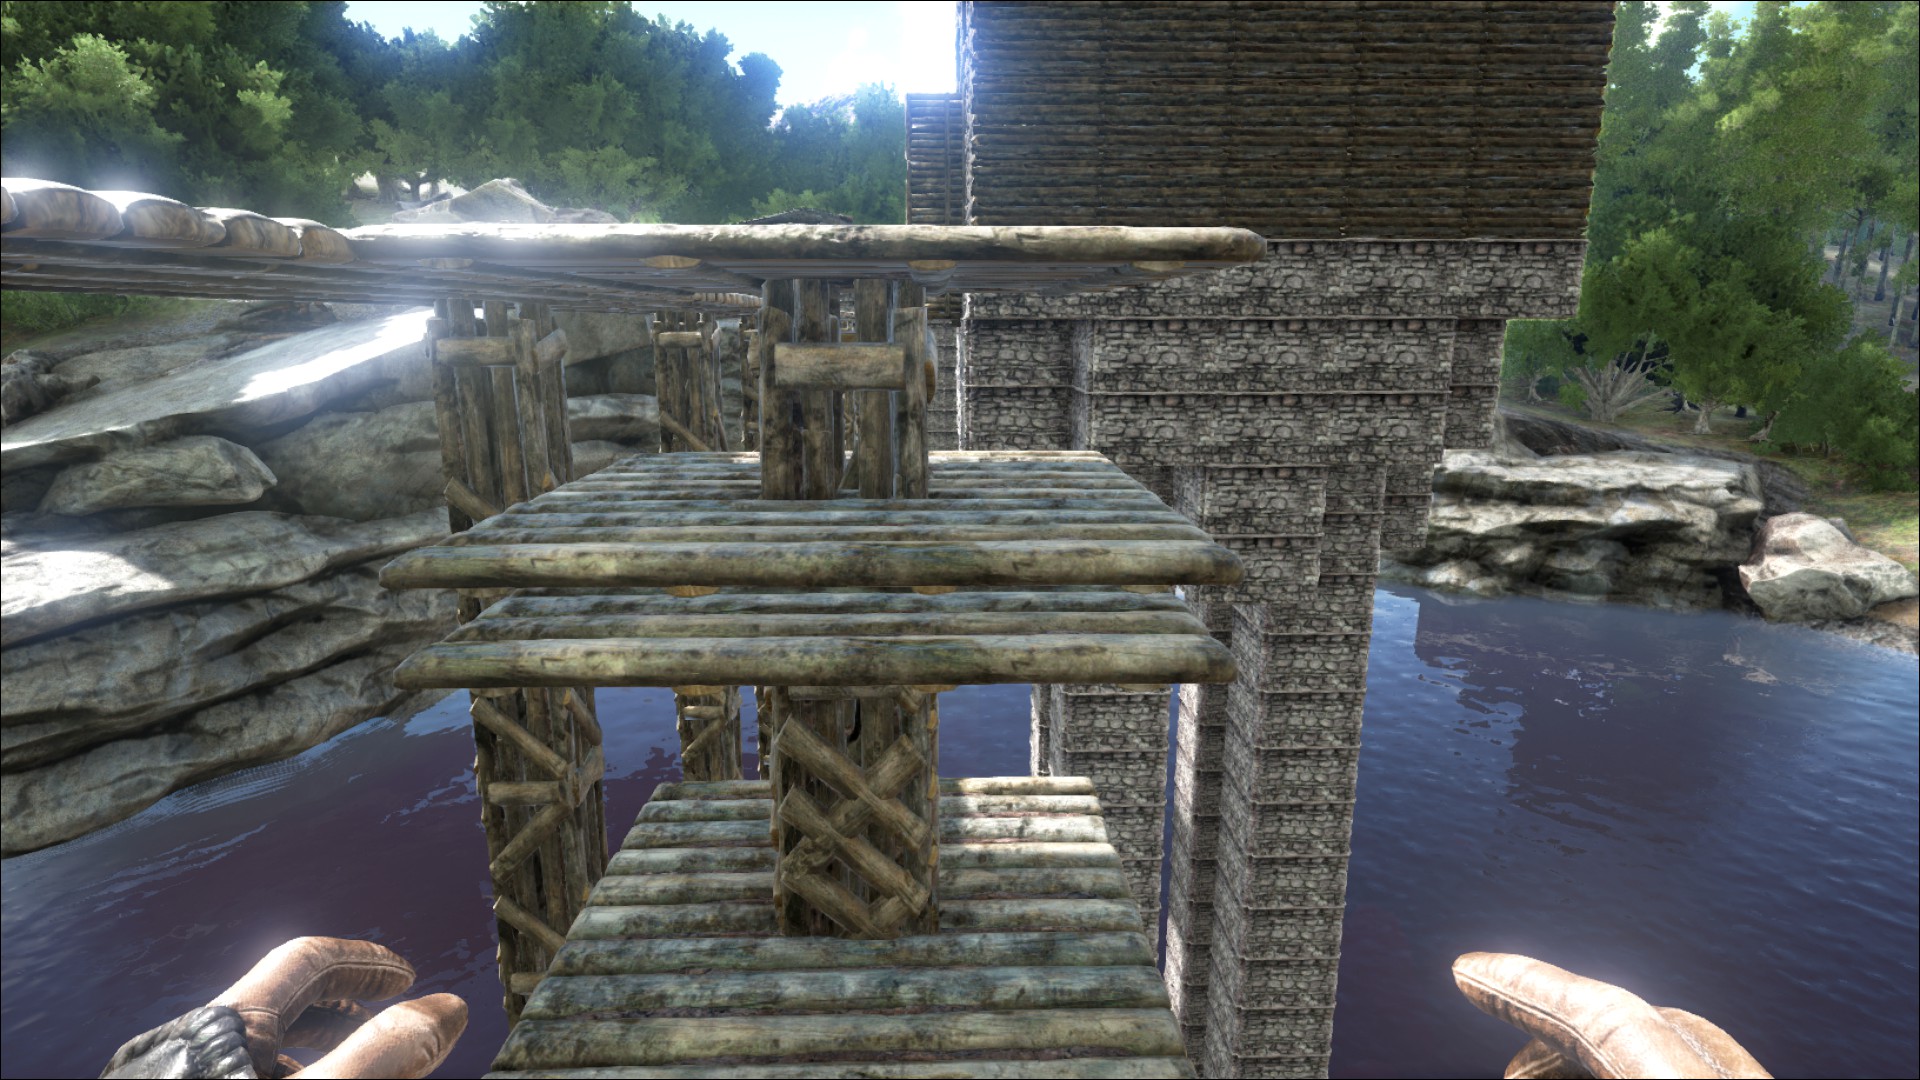
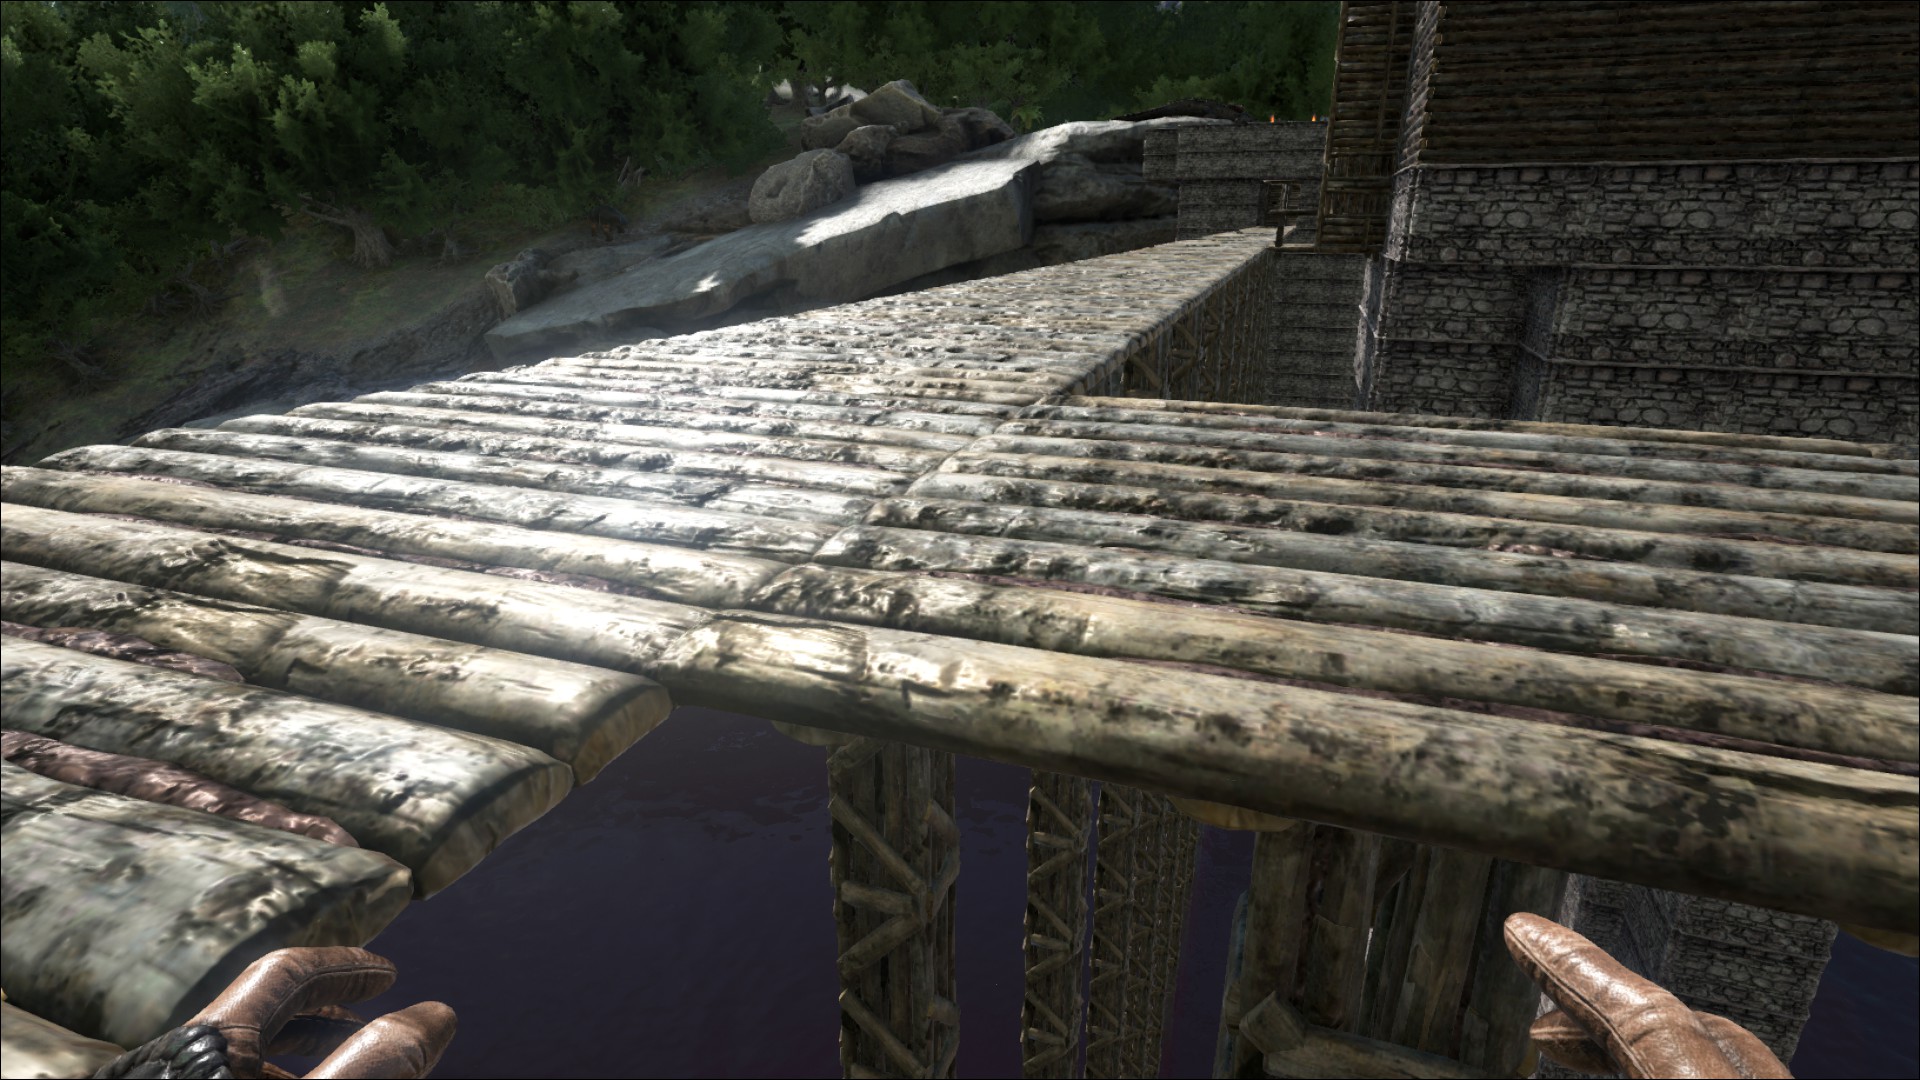
Step 1: build a pillar 50/50 through the ceiling tile you want to support.
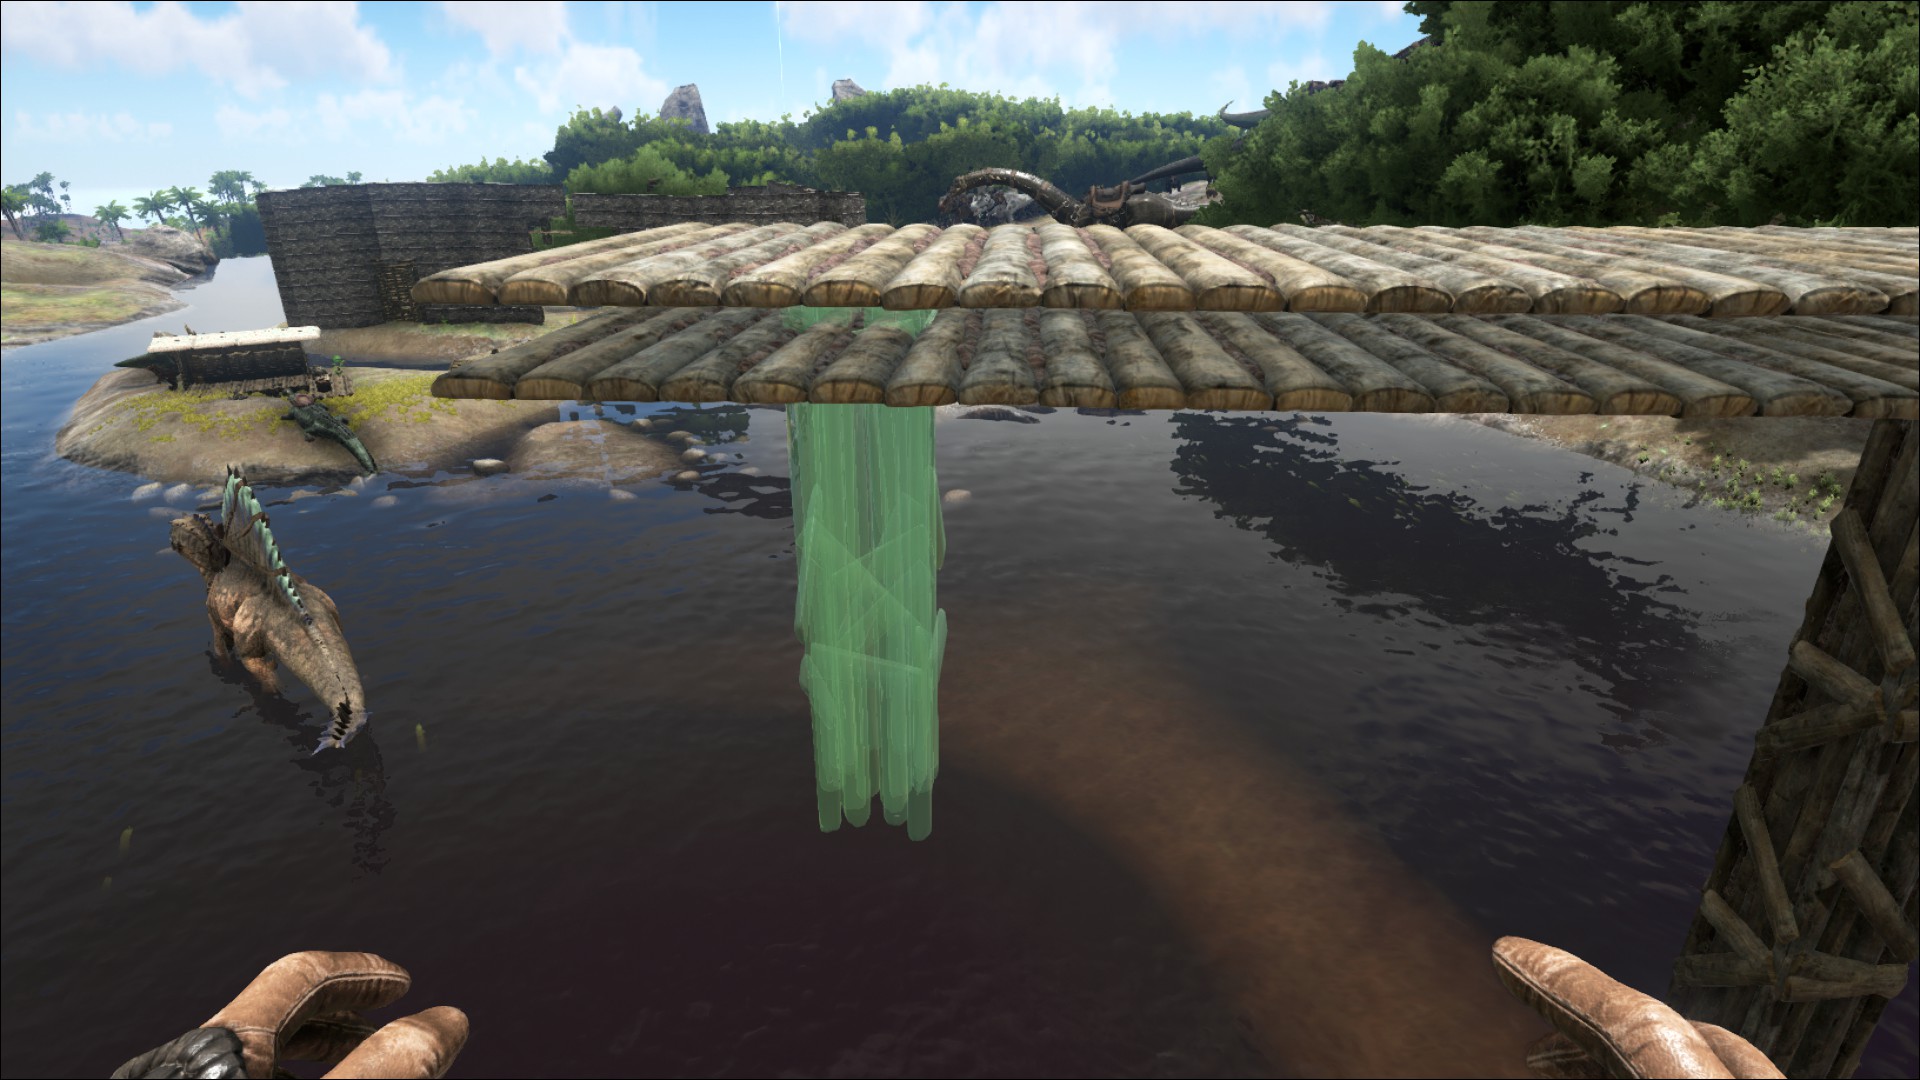
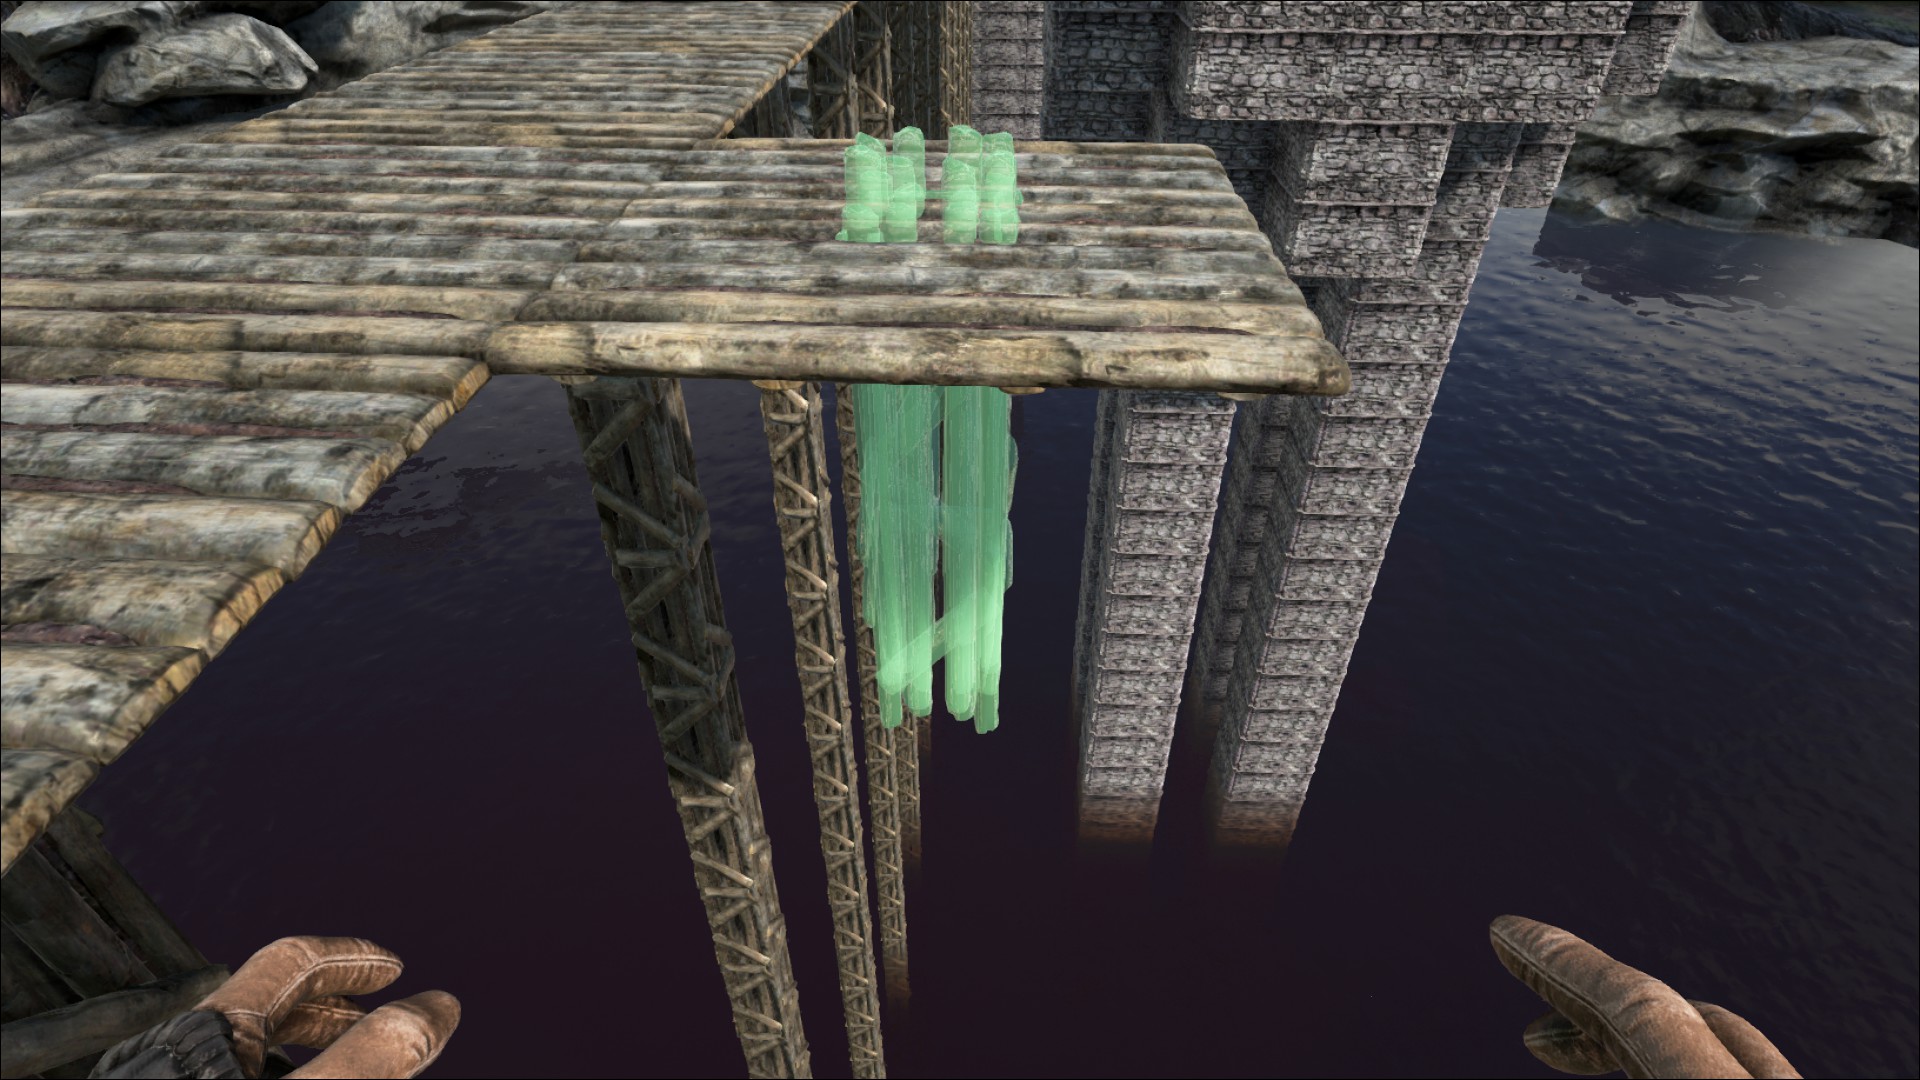
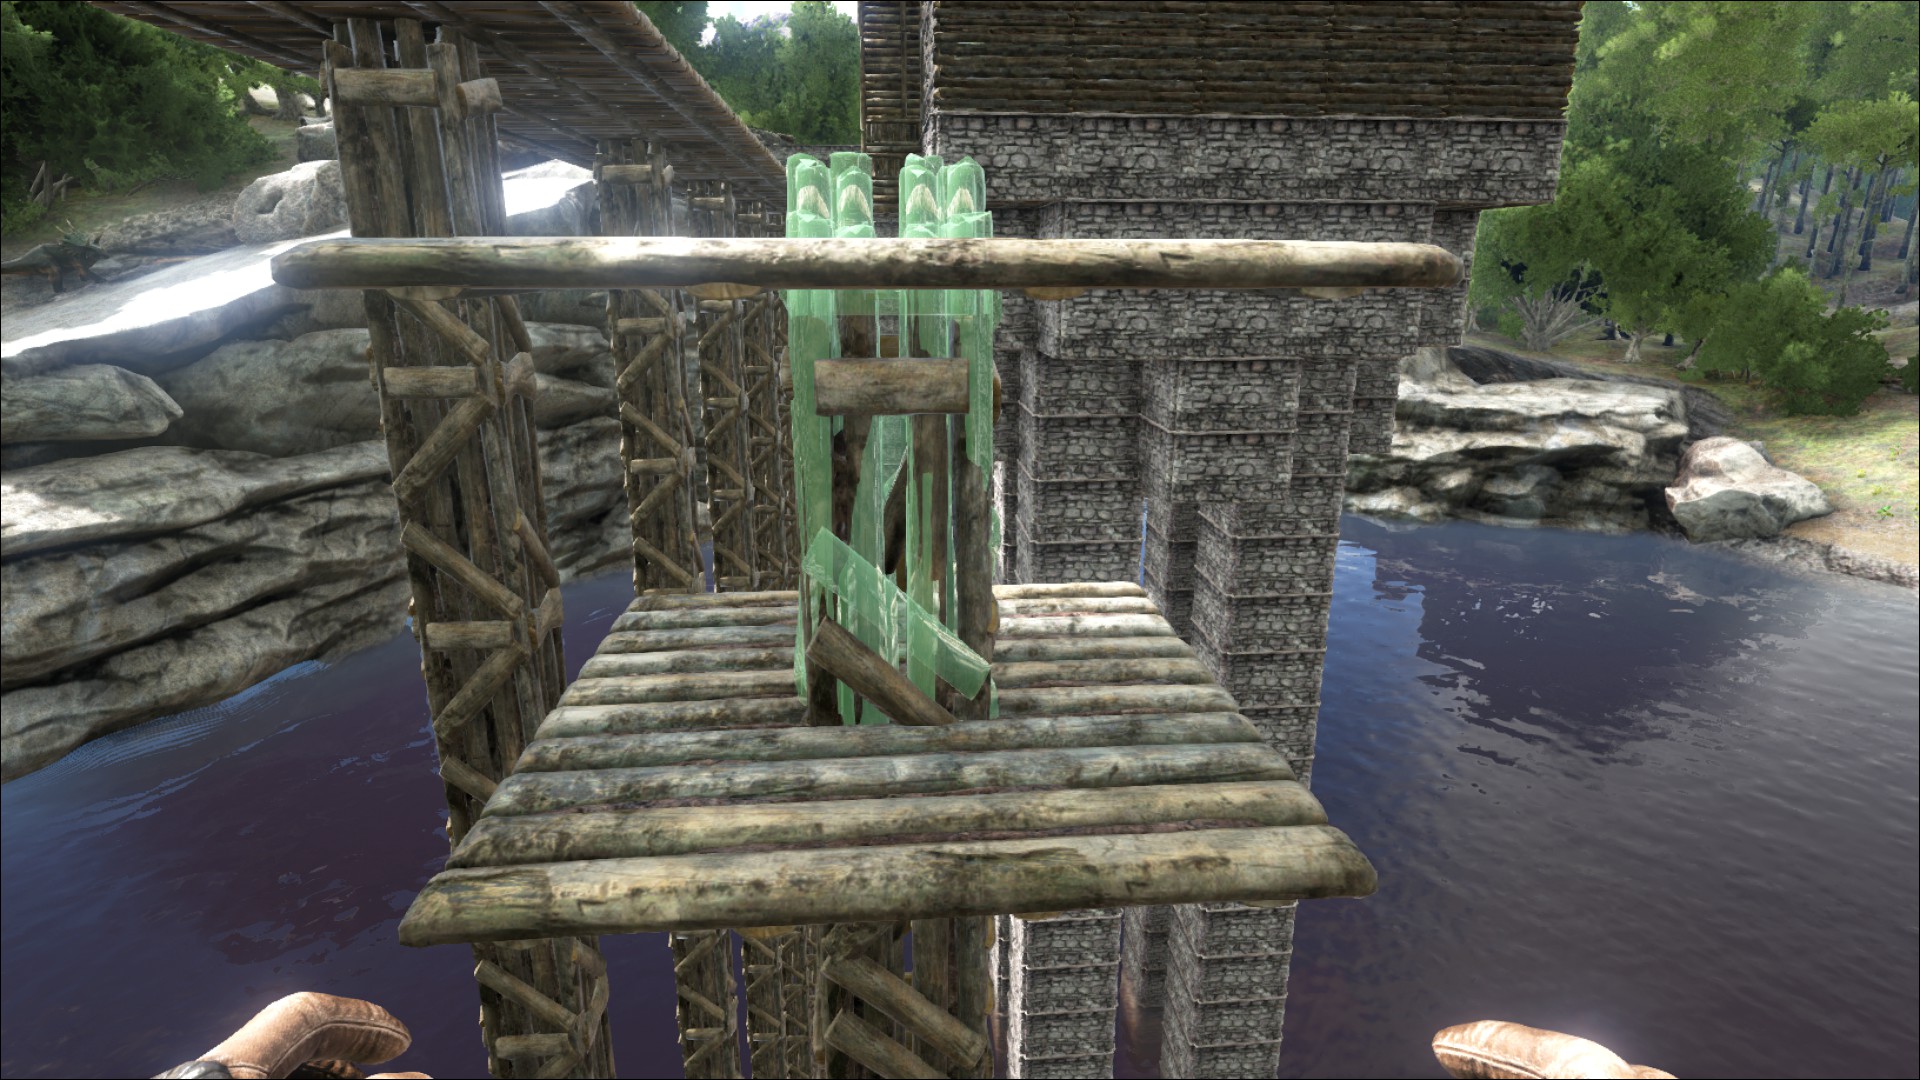
Step 2: build a pillar below it and you will find that there are two snap points for it. The lower of the two will not jutt through the floor.
(This step can take a few pillars because in some cases it really wants to snap to the higher position)
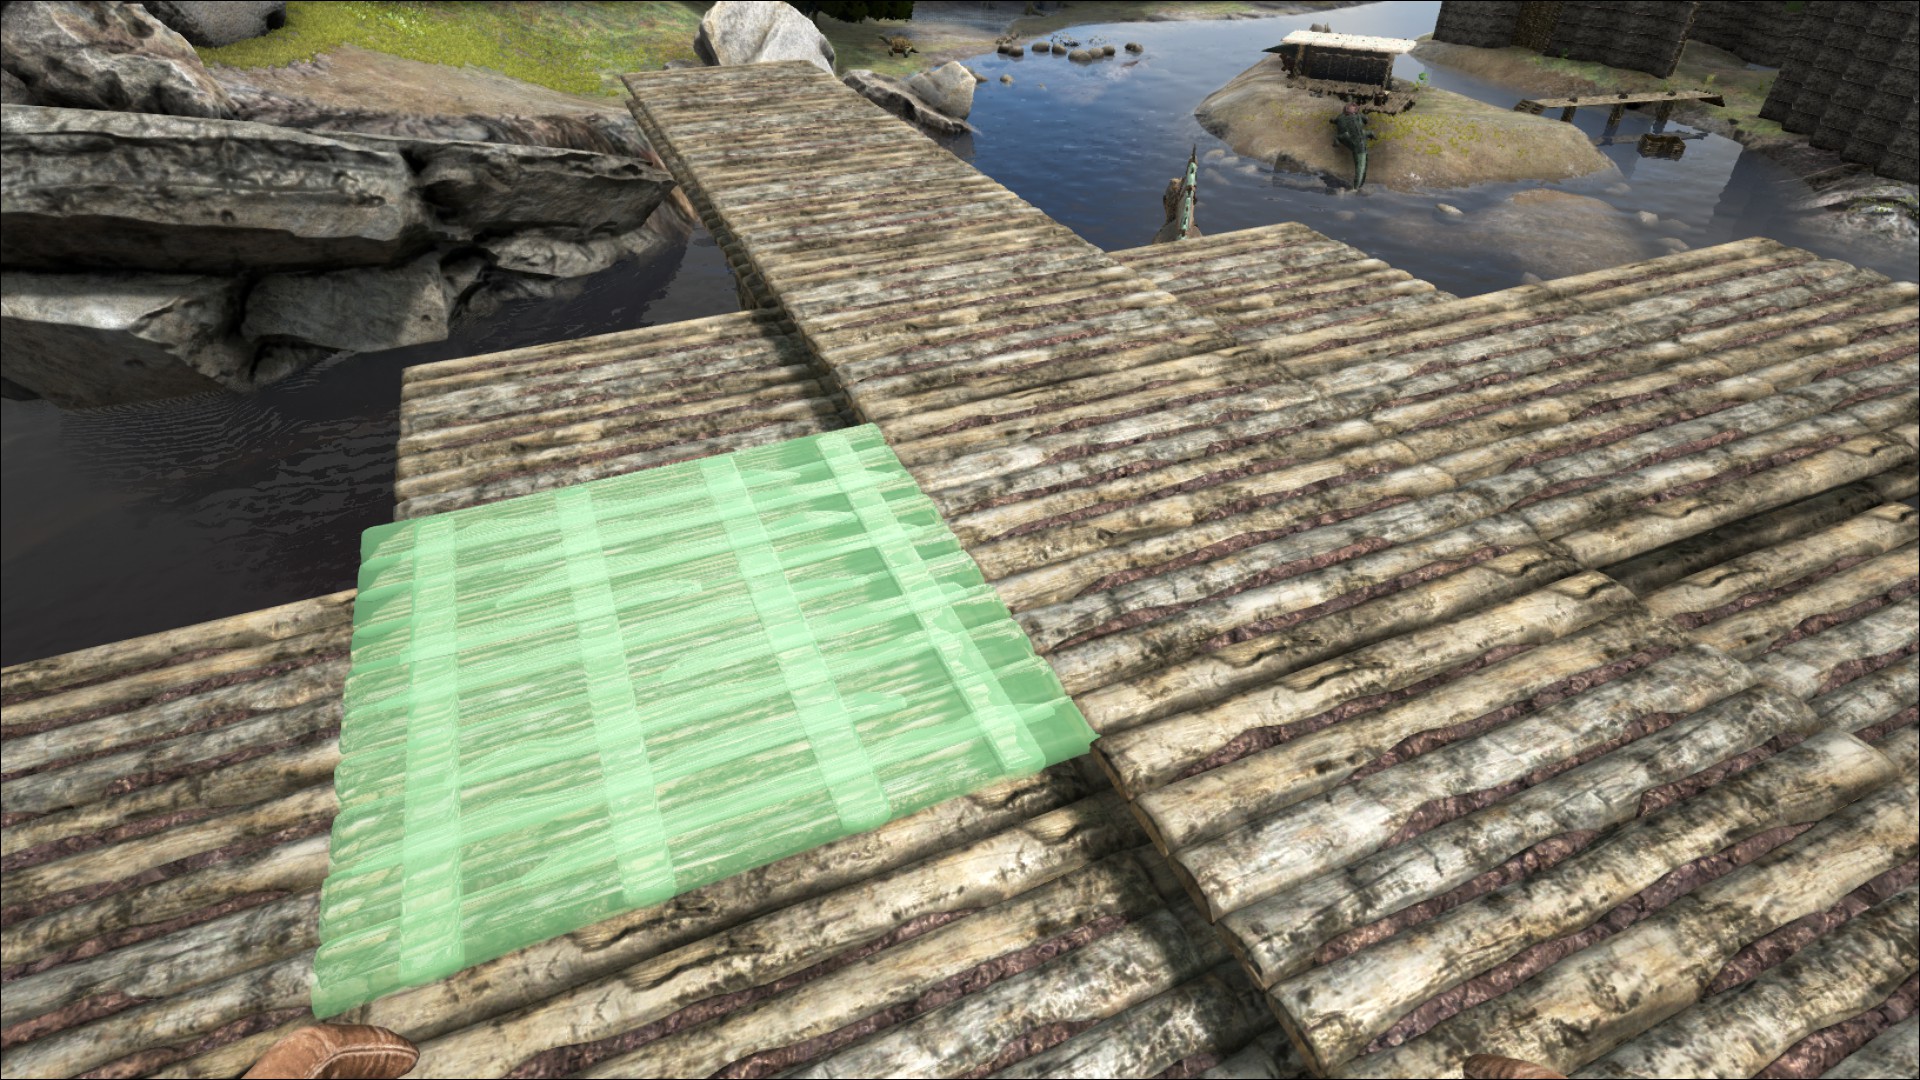
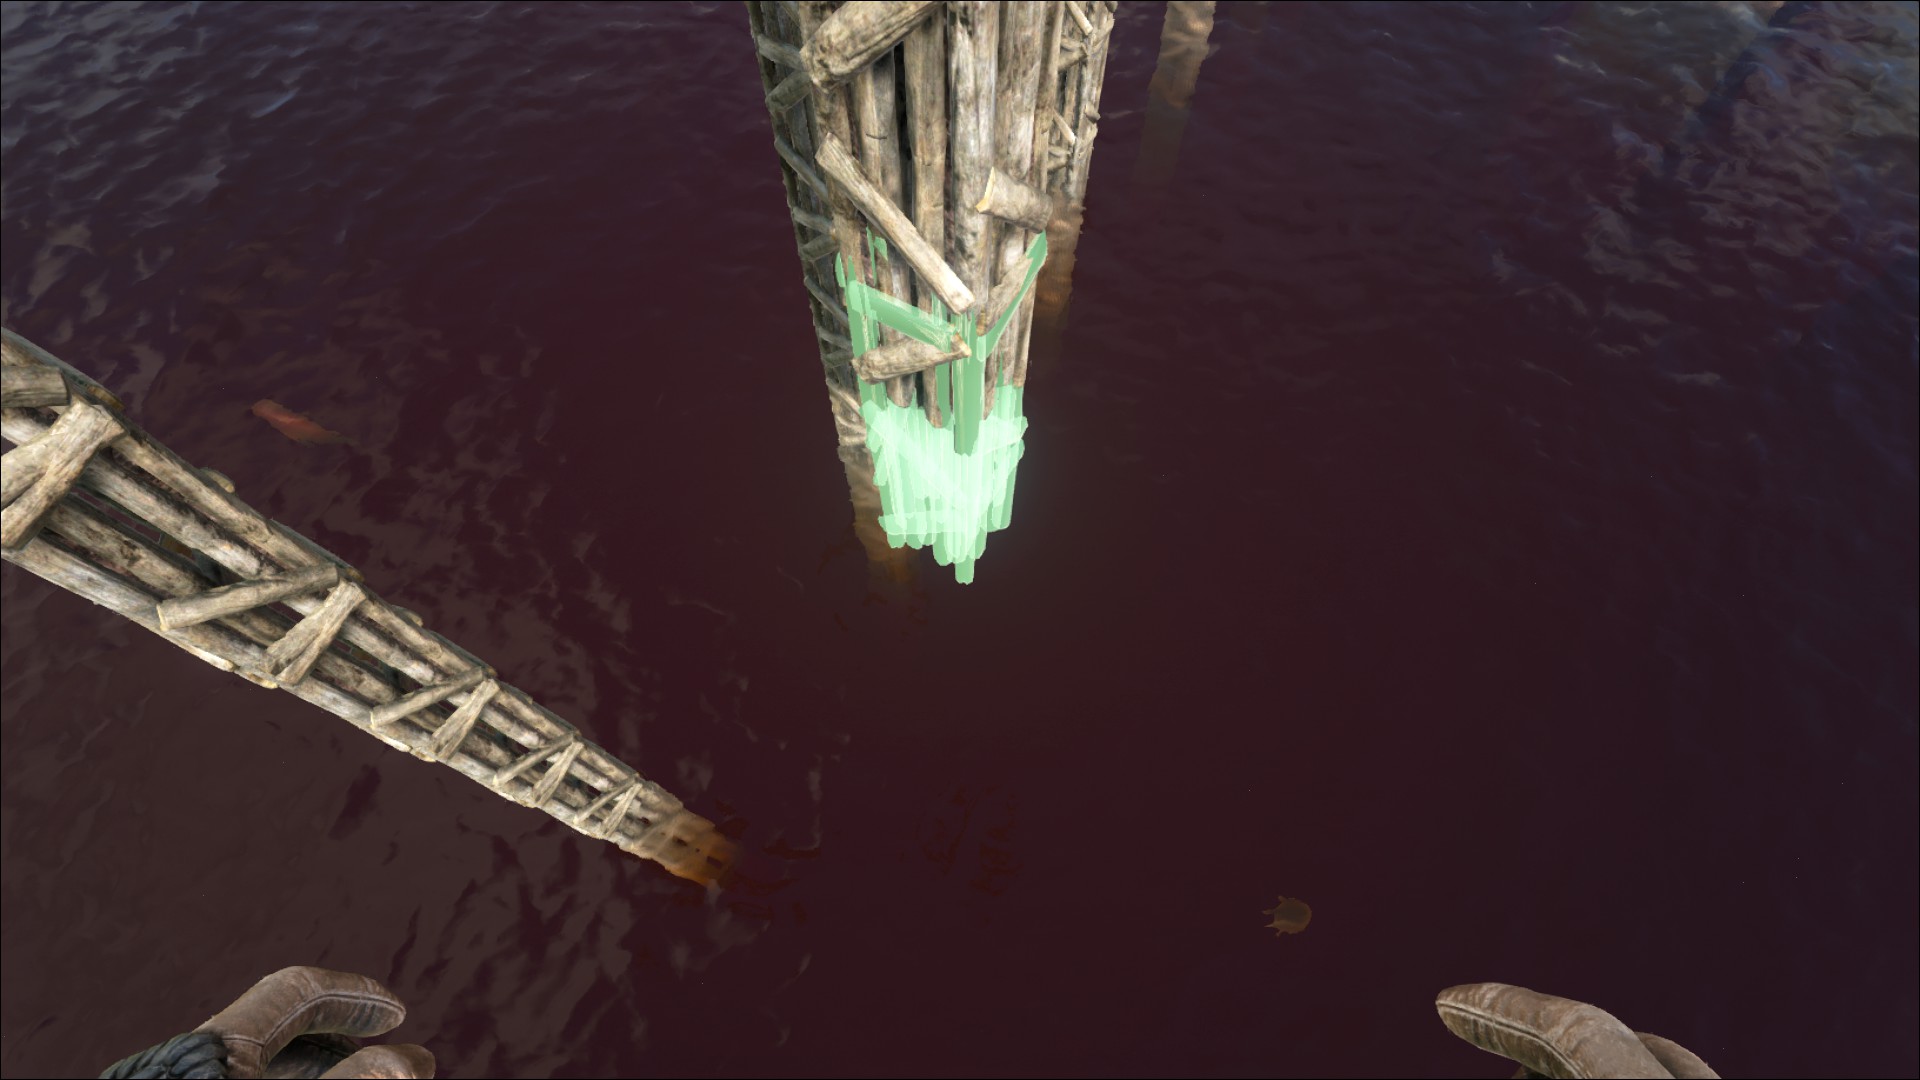
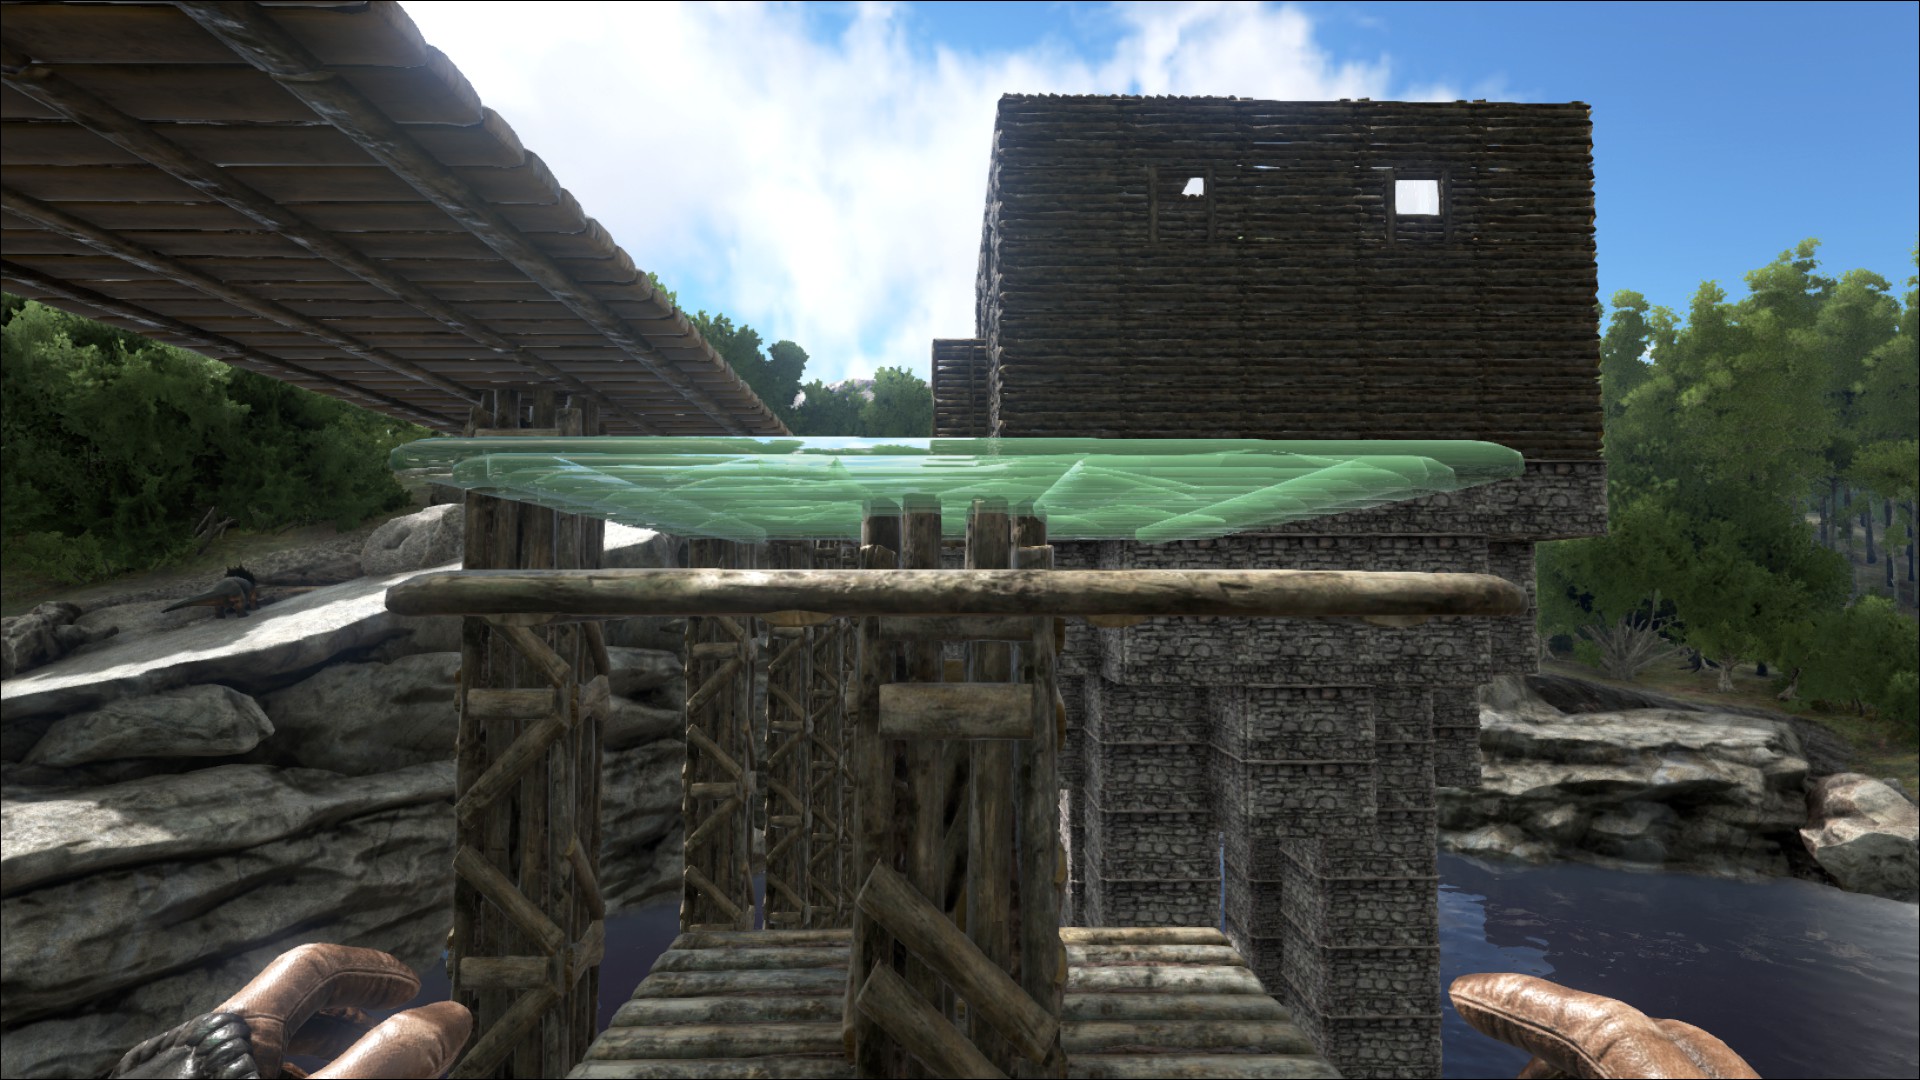
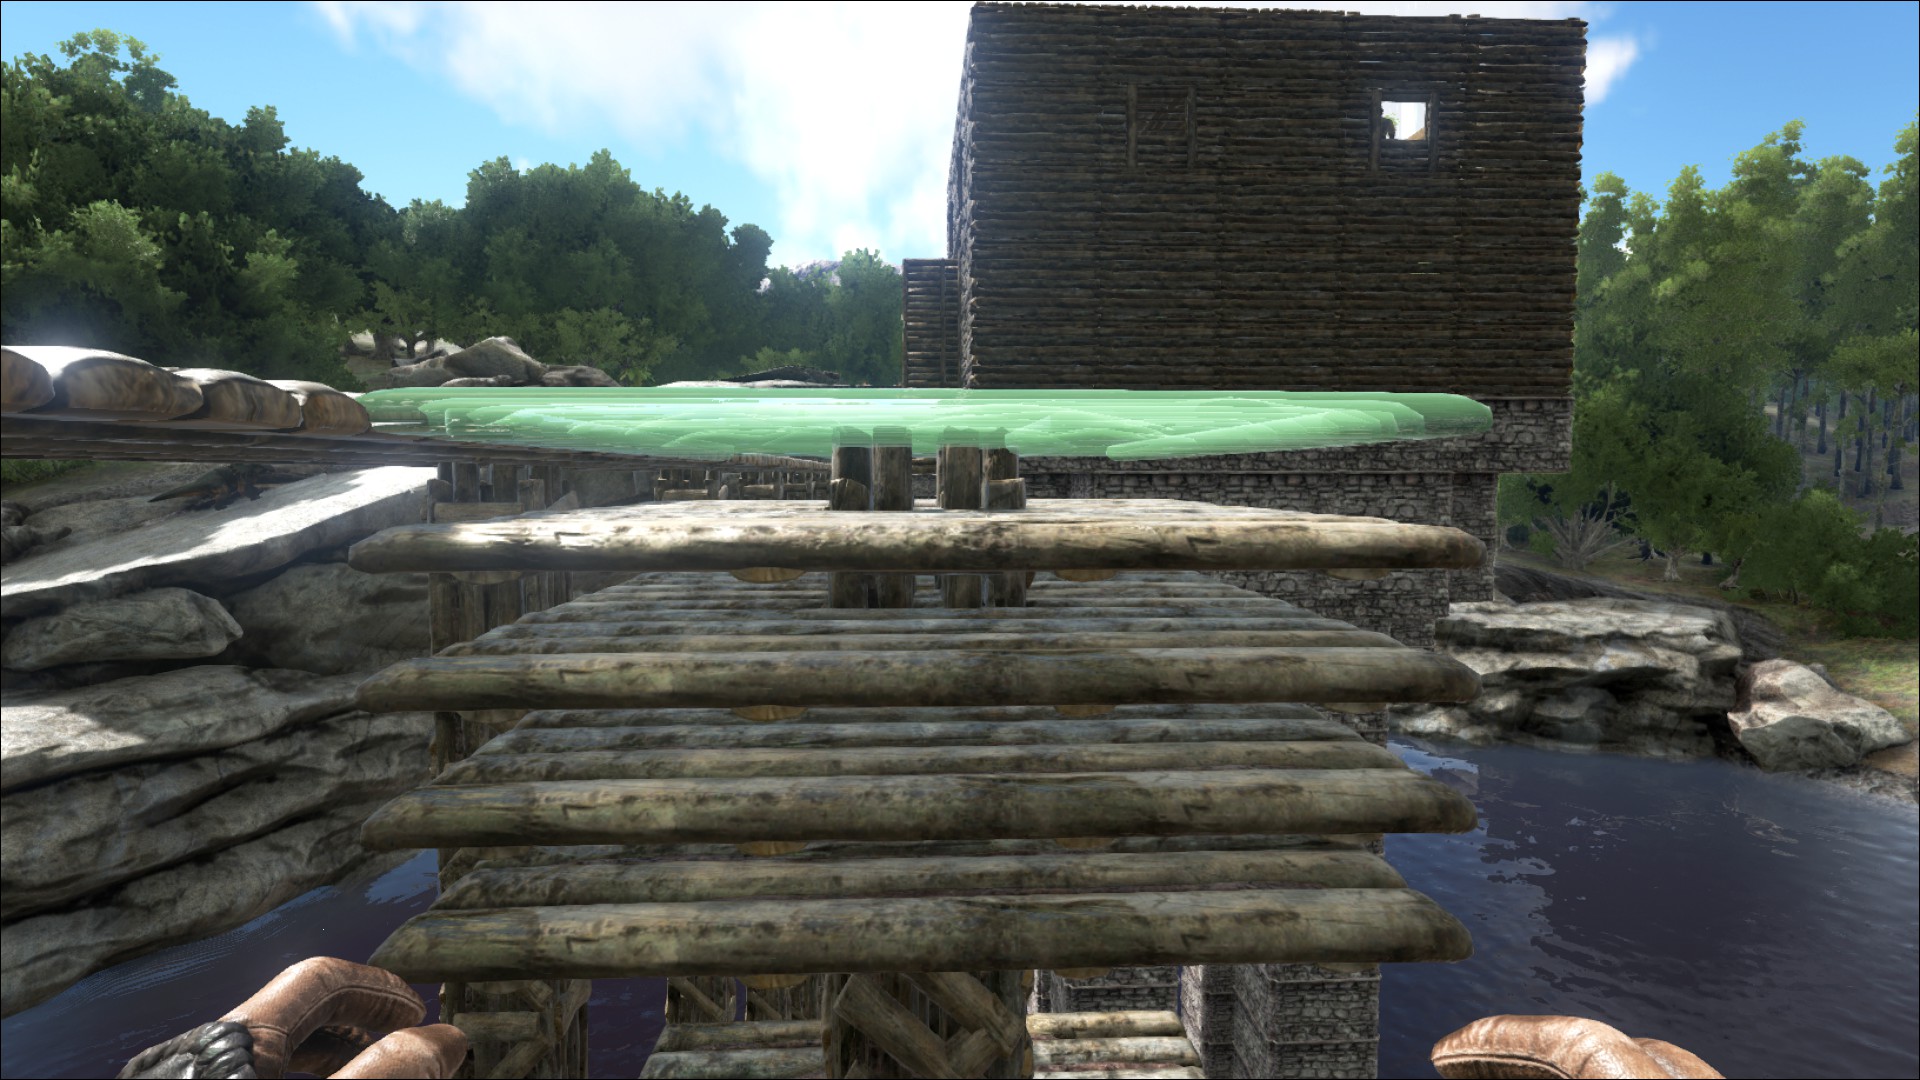
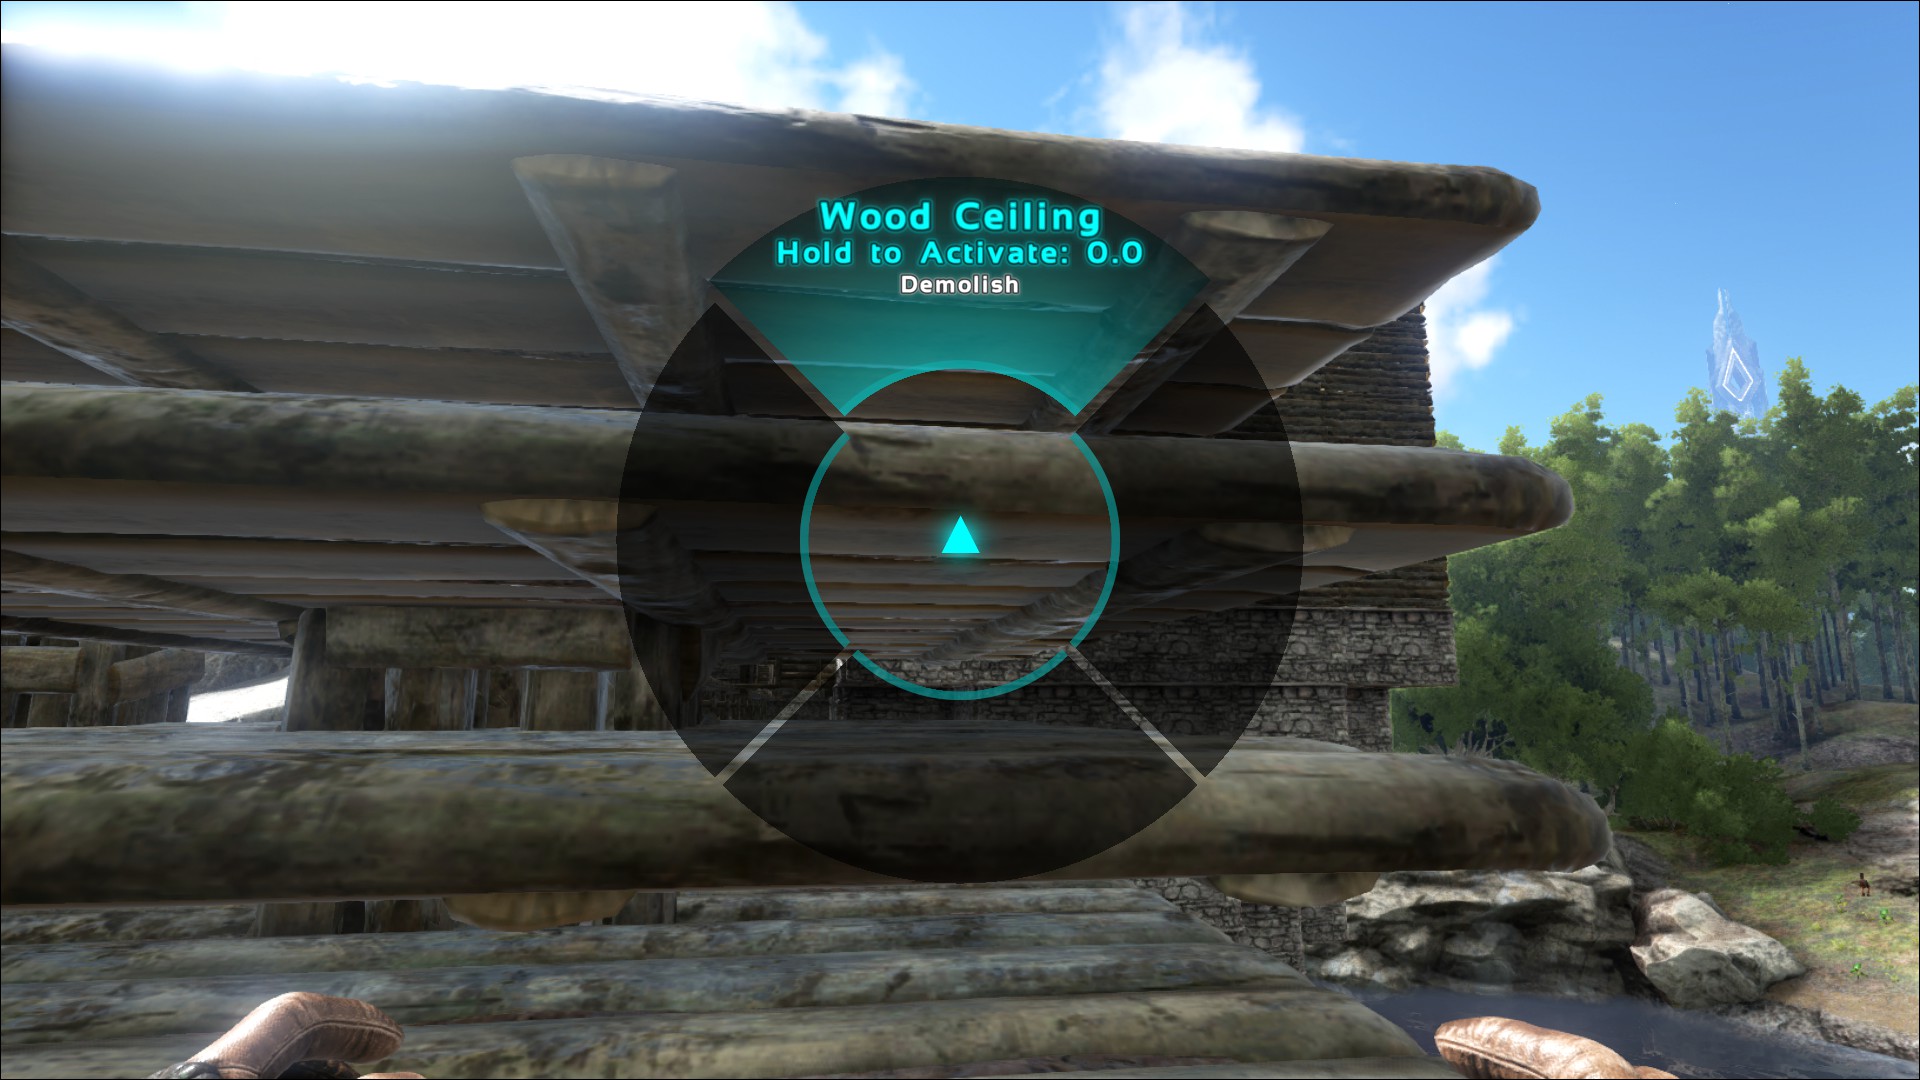
Step 3: destroy the 50/50 pillar and voila smooth ceiling!
Melixach 7 ago 2015, ore 9:40 
We use method #1, but instead of just building a second layer on top of the protrusion, we destroy the floor and place a new one right on top of the pillar giving it an even, single layer all across the surface. If you're going to do this, just make sure that all of your pillars are placed first otherwise when you go to rip out the floor and place the new floor on top of the pillars, any new pillars you lay down will stick up through the floor and you'll have to match all of the flooring AND pillars to the higher ones. It takes more time, but it gets rid of the double layer look and you get half of the resources back from destroying the floor, so you safe a little bit of time on the farming end. Hope this helps.
Reynard 2 ago 2015, ore 12:03 
This is a great guide! Many thanks for sharing these great tips and instructions. Aesthetically pleasing bridges for all! \o/
Thrawn 30 lug 2015, ore 11:17 
That is a good idea. I was apprehensive about building the ladders because i was afraid I would place them wrong and end up unable to build. But if i build in the middle on the unfinished edge that just might work. Thanks.
KierKain  [autore] 29 lug 2015, ore 18:24 
Thrawn wrote:
"Ya scaffolding seems out of the question because of the resources it would take.I'm pretty bad at the flying because I can get close but if then to adjust even a little I go zooming."
-----
If you have a partner who can assist you just ask him (or her) to carry you, so you don't have to worry about flying while you place the structures.

Is it too much of a resource drain to use just ladders? If you can swing it just build a single ladder going down from the top unfinished edge of your bridge, and build the pillar in one swoop from on the ladder. Demolish the ladder for 1/2 materials and extend your bridge a couple more spaces, then repeat. Considerably less resource cost than scaffolding, but possibly more control than using a flyer.

I am optimistic that the developers will incorporate something like a grappling hook or rappelling harness for scaling down steep slopes/drop offs in the future (although this may be wishful thinking on my part, we'll see).
Thrawn 29 lug 2015, ore 16:57 
Ya scaffolding seems out of the question because of the resources it would take.I'm pretty bad at the flying because I can get close but if then to adjust even a little I go zooming.
KierKain  [autore] 29 lug 2015, ore 13:18 
Thrawn wrote:
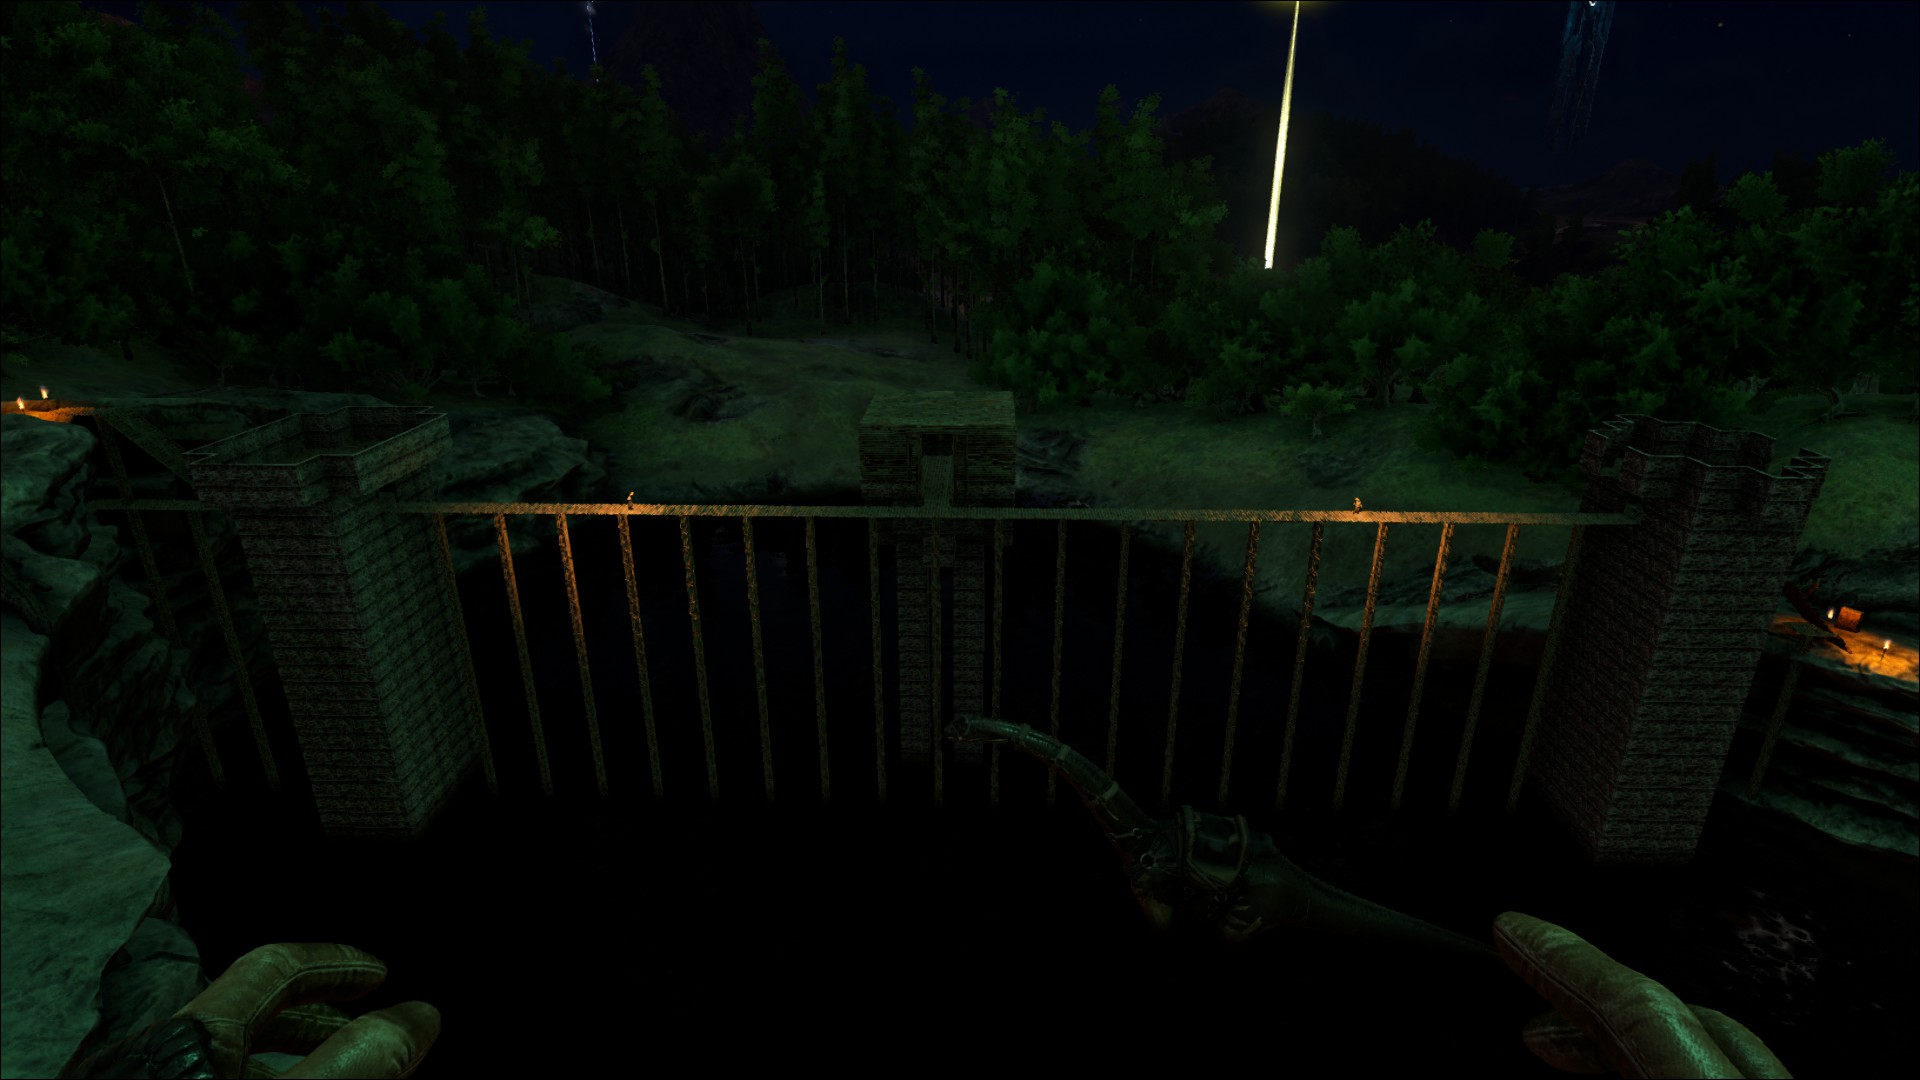
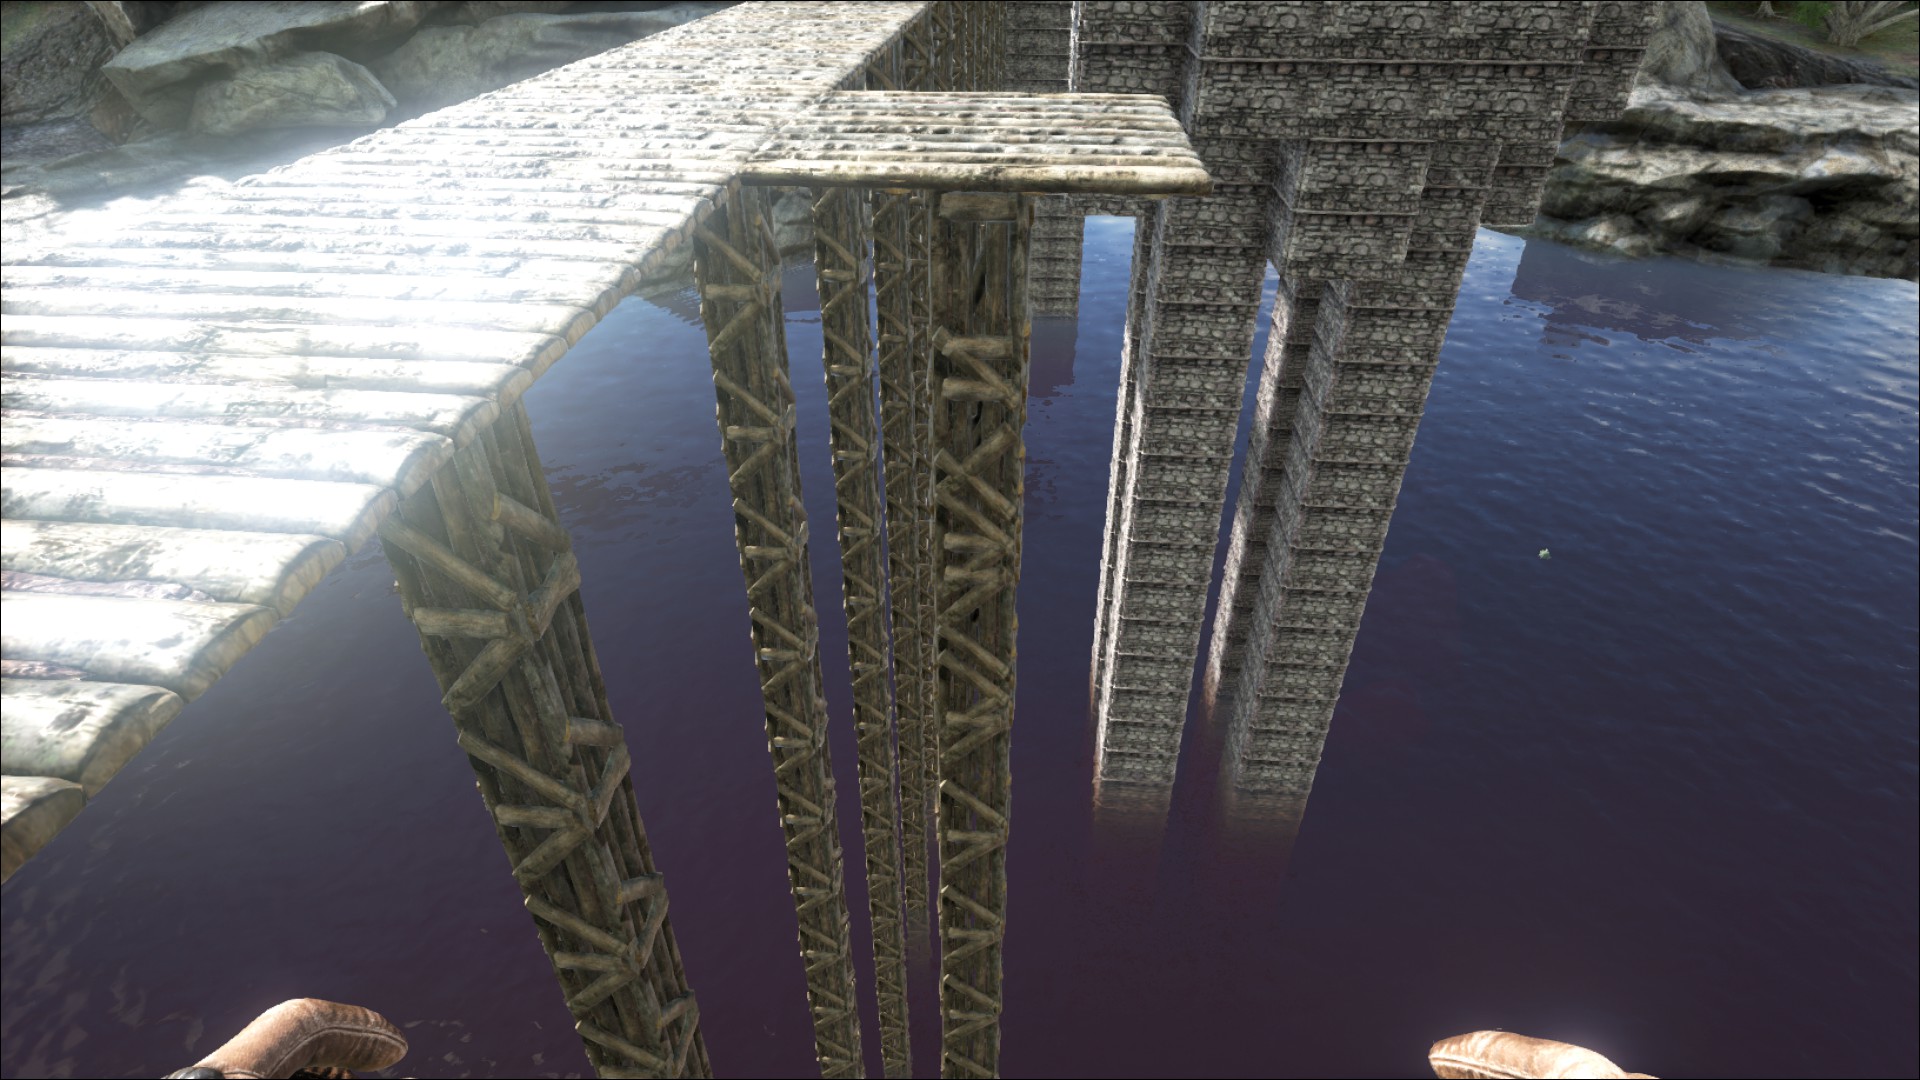
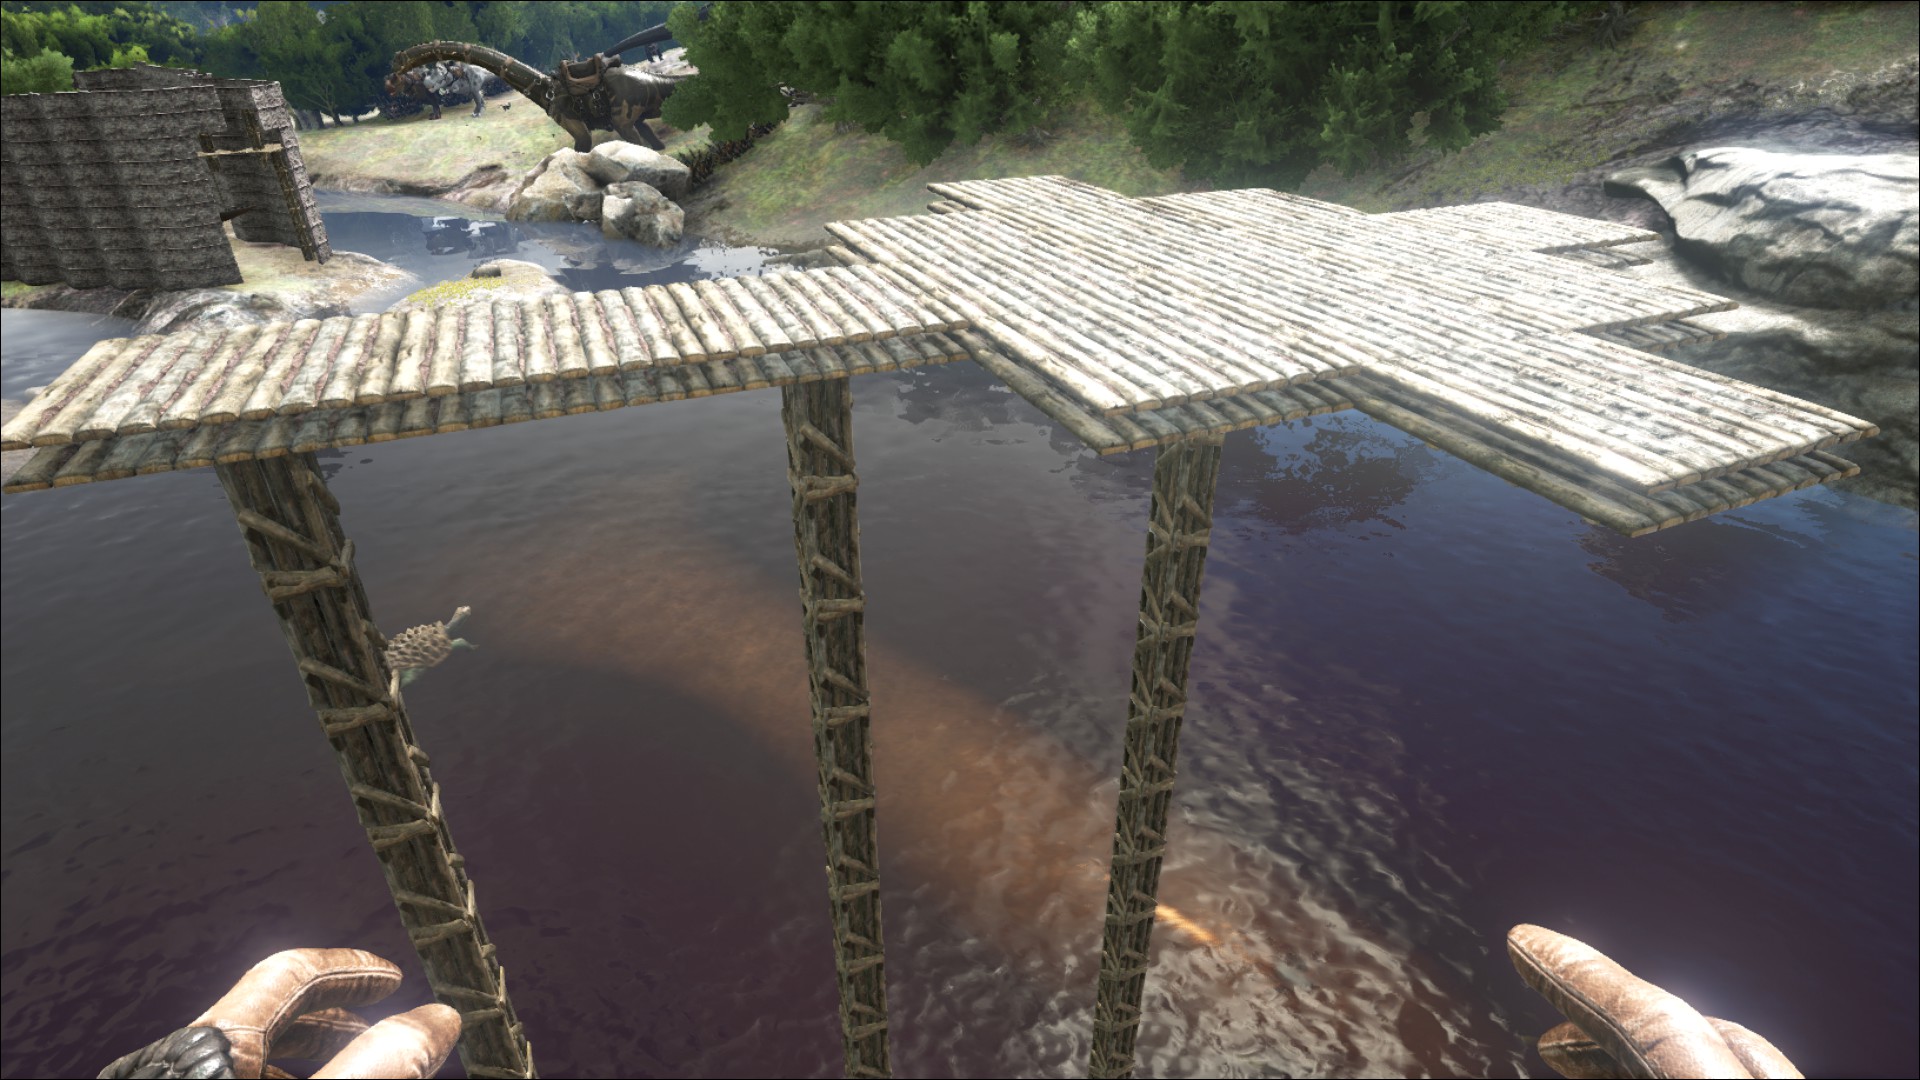
"Any tips on building the pillars easier? I'm building rather tall bridges and I have a heck of a time building the pillars down because I have to fly to reach the top and middle sections. It is a pain flying around and around to get to just the right spot."
-----
Flying is actually the most resource friendly way to build tall bridges, in my opinion. Most of the tips for building bridges aren't applicable when using a flyer because terrain elevations and gravity aren't inhibiting.

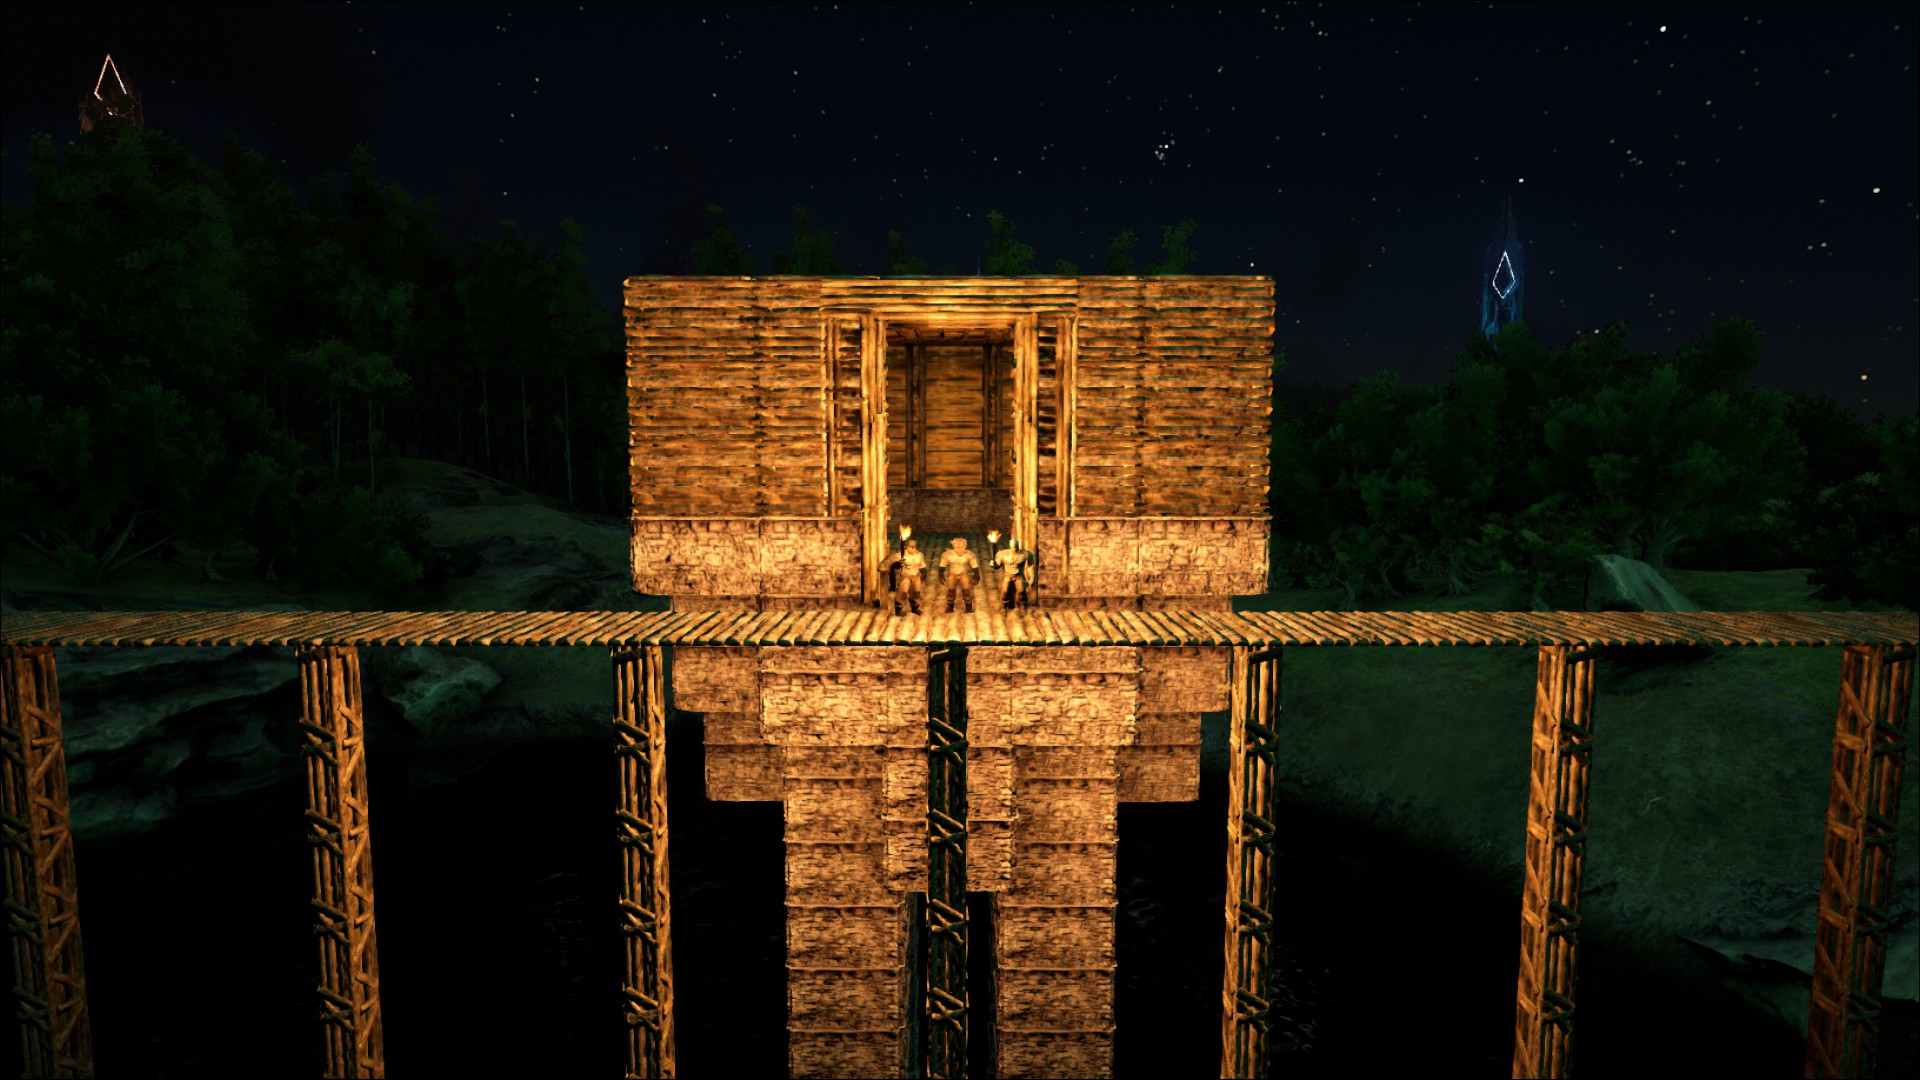
Scaffolding is another option, but it takes time to build and lots more resources. Building one level at a time from the bottom up is quickest, and if you connect each level of scaffolding with a ladder traversing the structure may be quicker than trying to place everything via flyer in the long run after you establish a rhythm. May be. Depends on how skilled you are at precision flying.

Thanks for the question!
Thrawn 29 lug 2015, ore 9:53 
Any tips on building the pillars easier? I'm building rather tall bridges and I have a heck of a time building the pillars down because I have to fly to reach the top and middle sections. It is a pain flying around and around to get to just the right spot.
Wuppi_Ro 16 lug 2015, ore 6:33 
Thanks for your Workaround Tutorial. I've 3 additions to this:

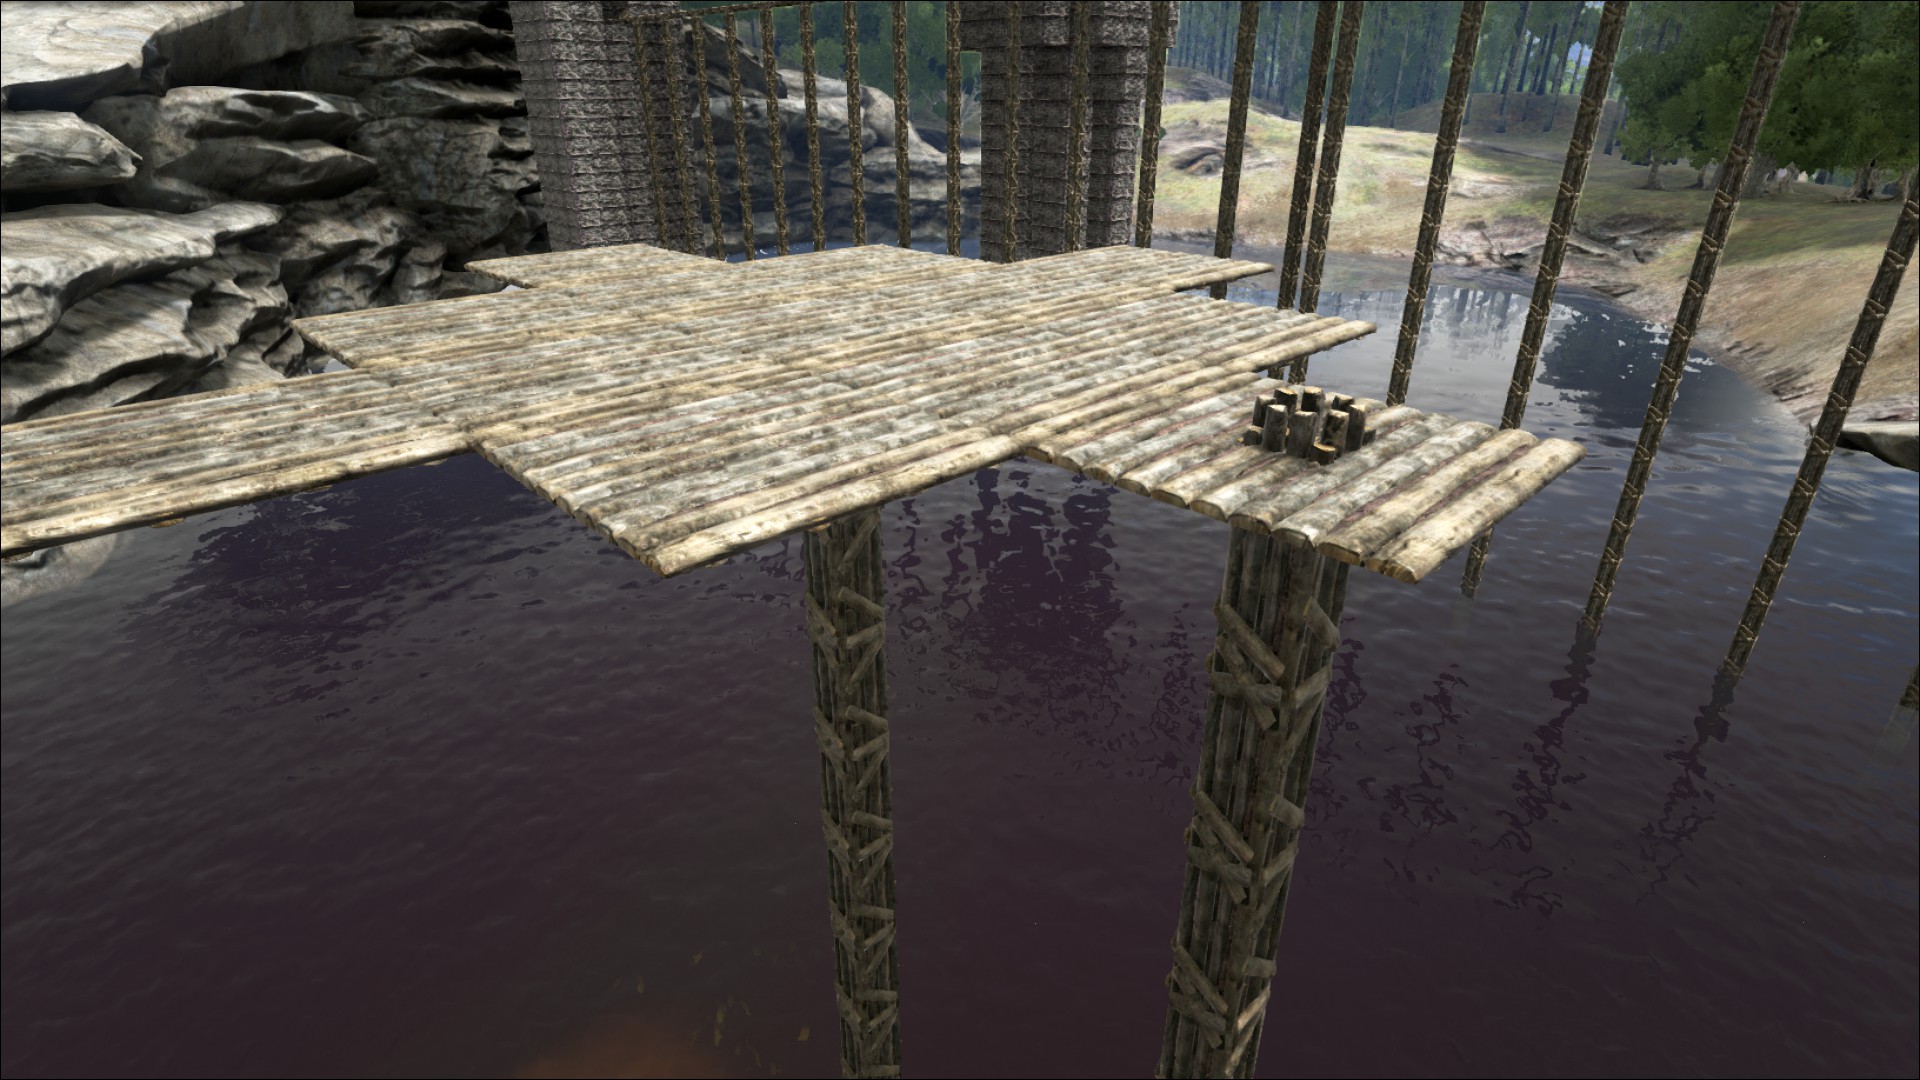
1. You kan build a second pillar of method 2 much easier: Before destroying the unnecessary strukture you can place some floors beside the second floor of the 5 floors. Where you want to build the new pillar you place one Pillar under this floor. Now you can place a second (the last of the 5) supporting Floors to place the final top of the Pillar. Now you can place the final floor. If you wand a quit fine Pillar destroy all supporting floors and Pillars. Now you can build the rest of final pillar down to ground.

2. You can use thatch ceilings instead if wooden floors. This reduces the costs

3. You can do the same with other Materials. It's recommendet to build only final Structure out oft the final material.