ARK: Survival Evolved

ARK: Survival Evolved

Pas assez d'évaluations
Ark: Survival Evolved Dedicated Server Tutorial in 2025
De haru
Hello, in this guide I will show you how to host your own dedicated Ark: Survival Evolved Server on Windows
   
Récompenser
Ajouter aux favoris
Favoris
Retirer des favoris
Hosting Your Own Ark: Survival Evolved Server on Windows in 2025
Introduction
Welcome to our guide on hosting your own Ark: Survival Evolved server!

You can watch the video tutorial here

Prerequisites

You will need to install the following

Install DirectX End-User Runtime[www.microsoft.com]

Microsoft]Install Visual C++ Redistributable 2013[www.microsoft.com]

Installing HaruHost
HaruHost is a game server management software that I made free to use it has a lot of features making ark survival evolved server management a breeze

Download and Setup HaruHost
1. Visit HaruHost[haruhost.com] to download the application.
2. Run the installer and follow the on-screen instructions.
3. Open HaruHost

4. Navigate to Settings and and edit the programs resolution

5. Close and reopen HaruHost for changes to take effect.


Install the game server
1. Click the create button and from the options select Ark: Survival Evolved

2. Name your game server and press create

3. Press the install button

4.Follow the installation logs and wait for the installation to complete. This may take a long while


Adding mods and a map mod

1. Press the edit button

2. Make sure you're in the mods section
3. Search for mods you want to be added by pressing the search button and type in the name or id of the mod
4. Then press the add button to add the mod

Since we are using Svartalfheim as our mod map we need to do some additional stuff
5. Go to Base config
6. Select the Mod Map type and press search

7. Now search for the mod map and press the add button

8. This will apply the mod map id field, make sure the mod map name is correct as some times it's different from the mod name itself

9. Don't forget to press the save button

Starting the game server

1. Now go back to the game servers list and press the start button for the game server to start
2. First all the mods will be checked if they need to be installed
3. The server may take pretty long to load on my machine it ranges between a few minutes to 5 minutes.

There might be a few occasions where the servers seems to have stopped loading when that happens press the stop button and startup the server again. It may be that it needs more time I'm not sure, but if it takes over 5 minutes stopping it and starting it up again takes only about 50 seconds so it seems to be worth it.

Login to the game server

1. Launch Ark: Survival Evolved and press the JOIN ARK

2. On the server listing make sure to select lan
3. Congrats You have joined your modded server

Now in order for other to join your game server you will need to add firewall exceptions and do router portforwarding but this is out of scope for this tutorial

Additional Settings

Since we are editing raw configuration files, make sure the server is offline, or else ark itself will overwrite your edited config before shutdown.

Making yourself an admin

1. Go to the base config section and scroll down to administrator list
2. Here you can simply insert your steam profile url or the profile id

Changing the taming speed
1. Go to the advanced config section
2. Type in taming which should filter out the settings
3. Edit the taming value

That's it!
2 commentaires
Daranck 12 févr. à 9h17 
Hello o/"
Thanks for this, its really helpfull.
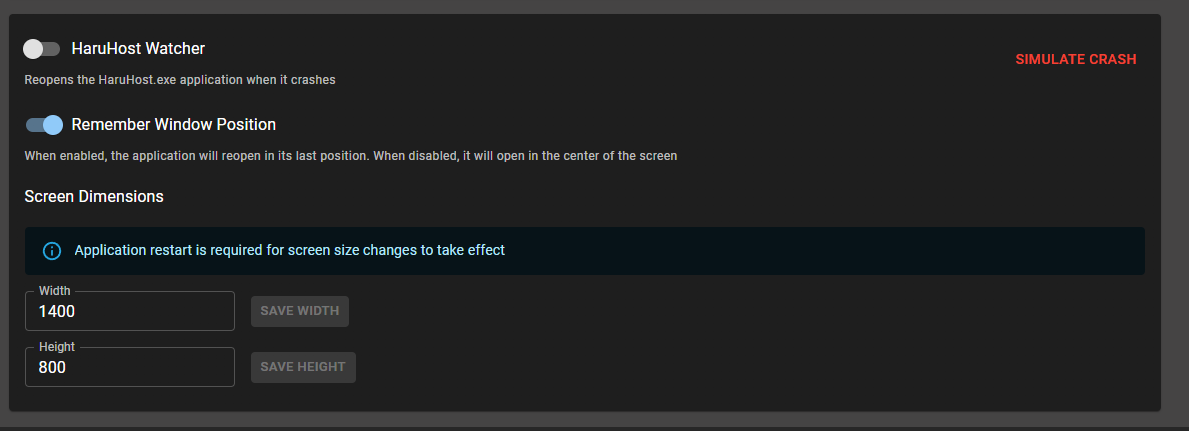
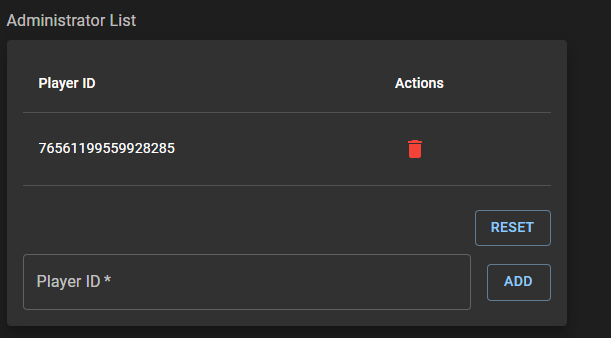
I just have 1 problem ; the program doesnt keep my settings and mods once I close the program.
If anyone knows how to solve this, it will help me a lot.
KEEPER 12 févr. à 9h02 
Hey bro. I have some problems:
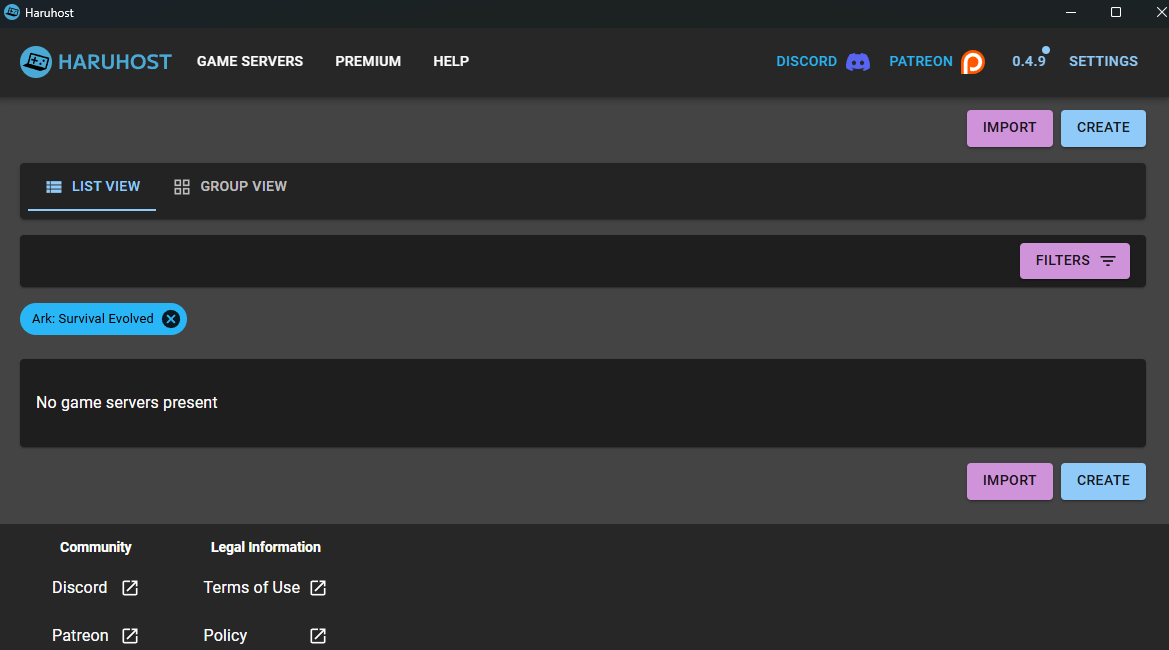
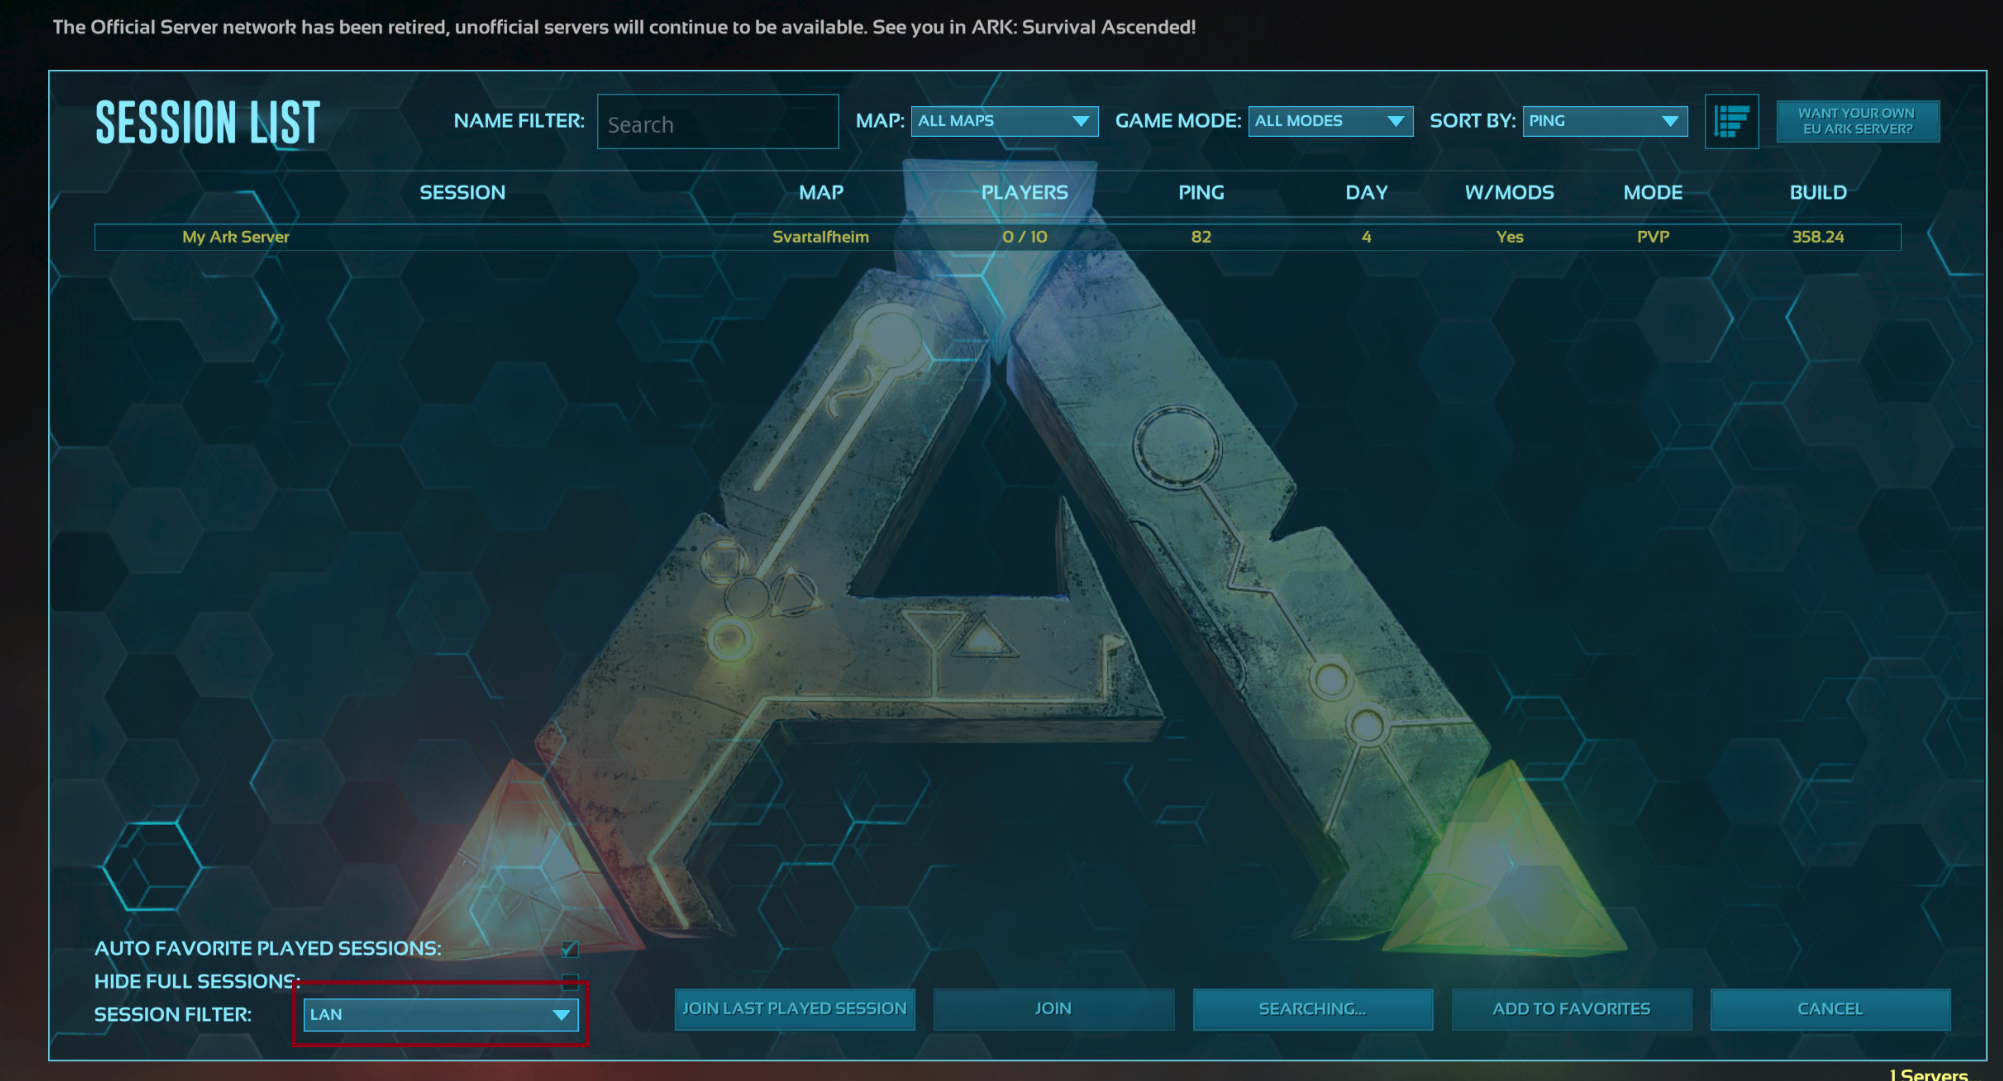
1) i can't see my server in server list but i open ports and do all step by step
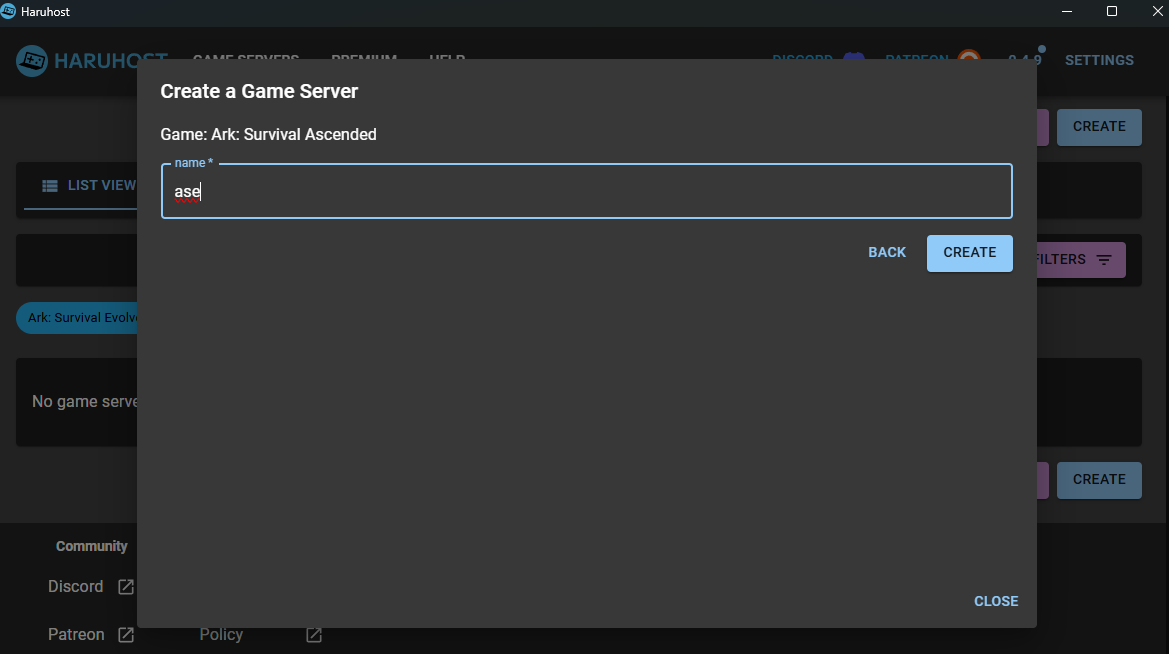
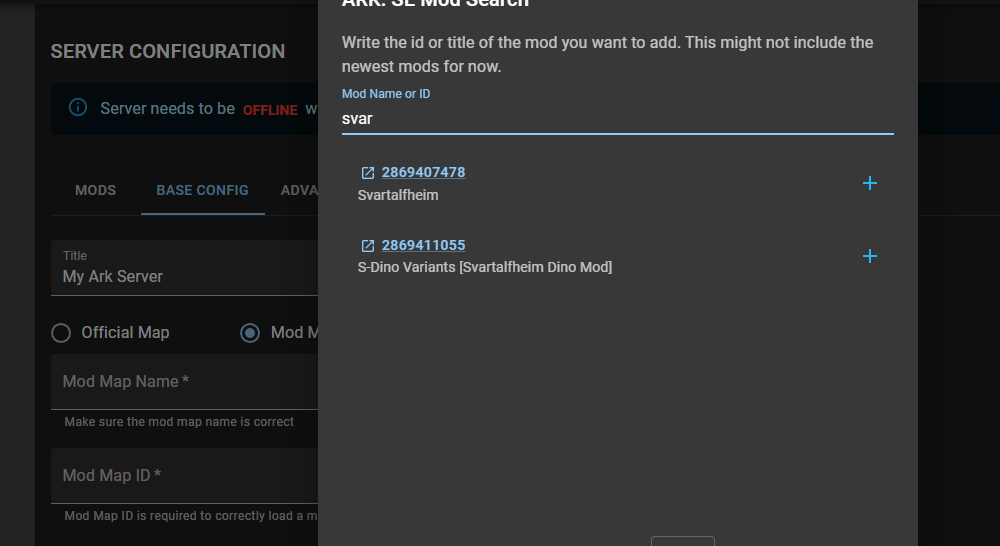
2) for each starting server download all mods. Is It just starting it or really downloading every time?
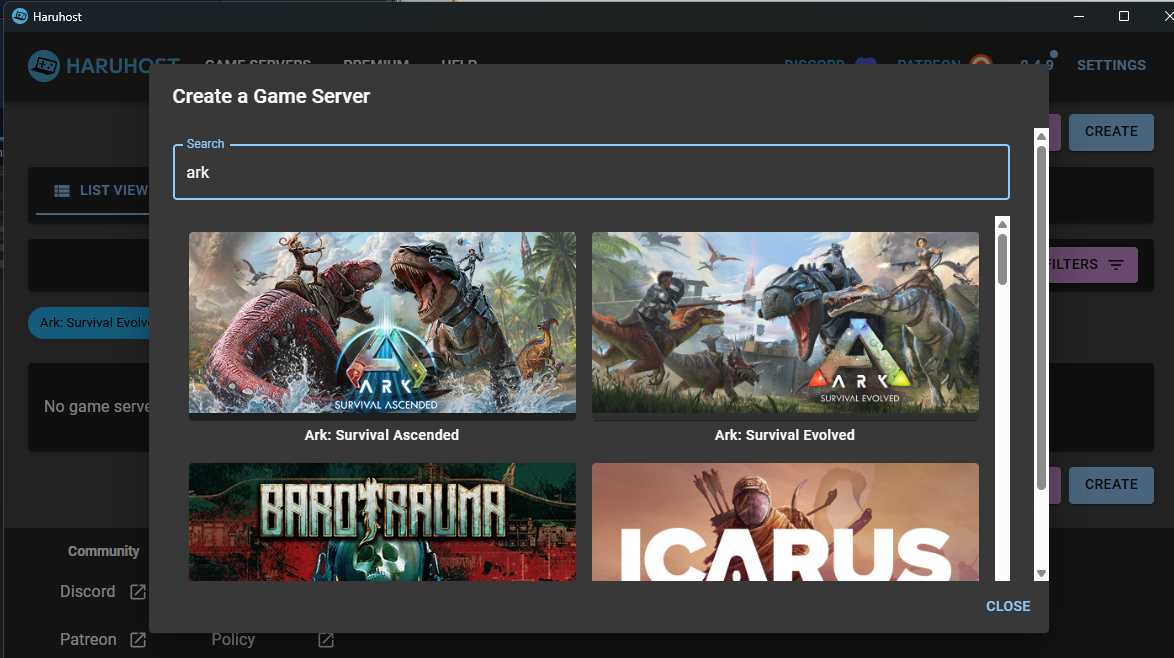
3) Can I create server from existing mao and personages? I play with friend just on the Host and we don't want to lose our progress.

Anyway, thx for ur job)