Middle-earth™: Shadow of Mordor™

Middle-earth™: Shadow of Mordor™

Ocen: 258
The photographers guide to Middle-earth: Shadow of Mordor
Autorstwa: Psychedelic Adventurer
A quick and simple guide to getting to grips with the many ways to capture and edit screenshots in Shadow Of Mordor.

3
2
   
Przyznaj nagrodę
Ulubione
Ulubione
Usuń z ulubionych
Introduction


Middle-earth: Shadow of Mordor is a truly next gen title with some amazing and spectacular sights. Not counting of course the many bloody dioramas you can stage with the massacre of untold numbers of orks. Fortunately Monolith have released useful tools allowing the player to make personalized pictures and screenshots ingame.

Not everything is completely clear cut however. Some of the options are clear cut and don't requite explanation. However some aren't as simple. This guide will hopefully help people struggling to understand the finer points of making cool screen shots. It is obvious that your pictures will be prettier if you use higher quality graphics options. Tweaking the .ini files can also be useful to improve the graphics. The best guide I've found to tweak the files is written for Geforce Optimize , it details the effect and the performance impact of each option and give some nice advanced tweaks. Don't forget also the free official High Resolution Texture Pack to improve the textures.

Note:It's also important to say that while the official specs for this game recommend 6-8gb for Higher texture quality, this is way overkill unless you're playing the game at anything other than 4K or higher resolutions. Even with my gtx 780, I could easily maintain 60fps with everything maxed out at 1920x1080p.
It is also recommended you upscale your resolution (if your system can handle it) so that the screen shots will be clearer.


You can follow me, and see the rest of my guides here:
http://steamcommunity.com/id/StarSide/myworkshopfiles/?section=guides


Basics
The first thing to know is... how to take a screenshot. Duh.
The most convenient way is to use the Steam tool, which also means it will be added to your libary of in-steam screen shots to share and compile.


To take a picture, just press F12 (default key) ingame, and a screenshot notification should pop up in the corner. You can also tweak the Steam options to change the key to your preference.
Commands:
Right off the bat, you'll notice Monolith has spent some time making this as accessible as possible. This isn't some dury rigged screen shot taker than someone had to make in the command line. This is an official tool made by the devs.


Each section of FX has a different menu. By default you scrolls through them using the '1' and '2' keys.


Be mindful what menu you are on and dont accidently ruin your pic by jolting the screen when you meant to change something
Camera
This menu primarily control the camera. You can change the angle, zoom, and placement of the camera, and it's exact placement.
Be aware that you can't free roam while in this mode. You're still locked to Talion to an extent.

Distance

To move the camera foward and backward press the 'W' & 'S' keys respectively.


Note The resolution you play at will great depend upon the quality of the screen shots you take which are at a father distance.

Roll

Pretty self explanatary.
With the 'A' & 'D' keys you can the rotate the camera. There is not limit to rotation so you can fine tune the camera to your exact spec.


Zoom
Zoom

Not to be confused with the 'Move' feature. While it controls the camera to the point you want, you'll want to use the Zoom feature to shapen the camera to a point where everything is clear and distict.


Depth Of Field
This is where thing start to get complicated.


These options allow you to manipulate the depth of field on the camera to draw the eye to certain details. Useful but dificult to perform properly.


Range & Intensity
I'll cover these two together since both are interlinked with one another.
Heightening the Depth of field makes the blur more intence.

Changing the Range will determine how far aware the blur will present itself from the camera.
A shallow depth of field can sometimes be preferable. It enables you to blur background and foreground details, causing distractions to melt away and allowing you to direct viewers to the focal point in a picture

Vignette
Vignettes are a simple yet subtle way to guide the eye through a shot and here are four ways to create one. That's if you do it right.


The Vignettes intensity can be decreased or increased given the need, or you can simply turn it off like with the rest of the filters.
Overlay
Want to include a tacky boarder to your shot? Well now you can!
Ok, some of them are rather cool. I'm not really going to recommend them however, unless you're looking for something specific. (The black bar effect for example)


I did some quick preliminary shots to show some of them off.
Here they are:


Frame

Film Bars:

Grunge:

Bow Master

Ornante Dark

Ornane Light

Blood Lust

Ork Blood Lust

Combat Finisher

Fine Line

Craftsmen

Dark Wraith

Dwarven Touch
Shap Encounter

Beast

Flame Of justice

Executioner

Warhammer


Texture


Wraith

Wraith Light

Film Grain

Water Stained

Metal

Canvas

Parchment
Logo
This will allow you to slap a nice branded image on your piece. Personally I have no idea why anyone would want to use this but only time will tell.

Basically the same as the others, but you can move it around a bit.

Tips
A few things to remember when taking screen shots:

  • Dont forget to click the 'Tab' key to hide the HUD. No one wants to see that ugly health bar in the way of that sexy vista you just took.

  • Crank the AA as high as high as possible. This will smooth out the textures and give you cleaner screenshots. This is especially usefull when taking screen shots with lots of stuff going on.

  • Upscaling, use it.
    Shadow Of Mordor provides a nifty little tool in the options menu to upscale the resolution past what your monitor can provide on the screen. Normally you would have to tinker with the resolution settings on desktop, so it's cool to see Devs letting people do this in the menu's so big props to them for including this.

    This will have the effect of sticking more pixals on the screen, providing greater detail and fedelity. However, this will come at the price of performence. Of course, all your really need is to be able to line up a good shot and get into editing mode, so it's not so important to have a bad frame rate if all you're trying to do it set up a cool shot in my opinion.
Conclusion
So there you go. Now you're ready to go out and make some beautiful pictures!Be sure to upload them to the Steam screenshot libary for everyone to see!

http://steamcommunity.com/sharedfiles/filedetails/?id=339328595
Thanks for viewing and please leave a like, and I hope you will find this guide useful. Please feel free to comment below if you think I should add some things or want to ask me a question.

Happy snapping folks!

~Peace~

I hope you have enjoyed my guide. I have also written various other guides. I have including links to the 'Photographers Guide' series down below.
http://steamcommunity.com/sharedfiles/filedetails/?id=899439083
http://steamcommunity.com/sharedfiles/filedetails/?id=458401001

My complete selection of guides


Disclaimer: This guide was created by me and me alone. If you want to use this guide on another site or as a piece of a larger guide, feel free so long as you credit me and provide a link to the source

Some images were used from Steam database to add flavour to this guide.
All Screenshots were taken by me however

[Optional] Donate!
If this guide helped you out, and you would like to say thanks,throw something my way.
Of course this is not necessary however; It just gives me a little more insentive to write and edit more in the future!

https://steamcommunity.com/tradeoffer/new/?partner=38602821&token=A3SrzMse
Komentarzy: 11
Shepard-Commander 24 sierpnia 2021 o 9:38 
Mordor did what Cyberjank wouldn't.

That's something to learn right here CDPR.
Great guide BTW.
Cap'n Saccade 18 grudnia 2020 o 10:46 
I think you need to add "how to turn on camera mode", as mine re-installed (clean settings, new win10 install) and the default was it off on L3 button...

I've been looking for ages how to turn it on and finally found it on gameFAQ's forums.

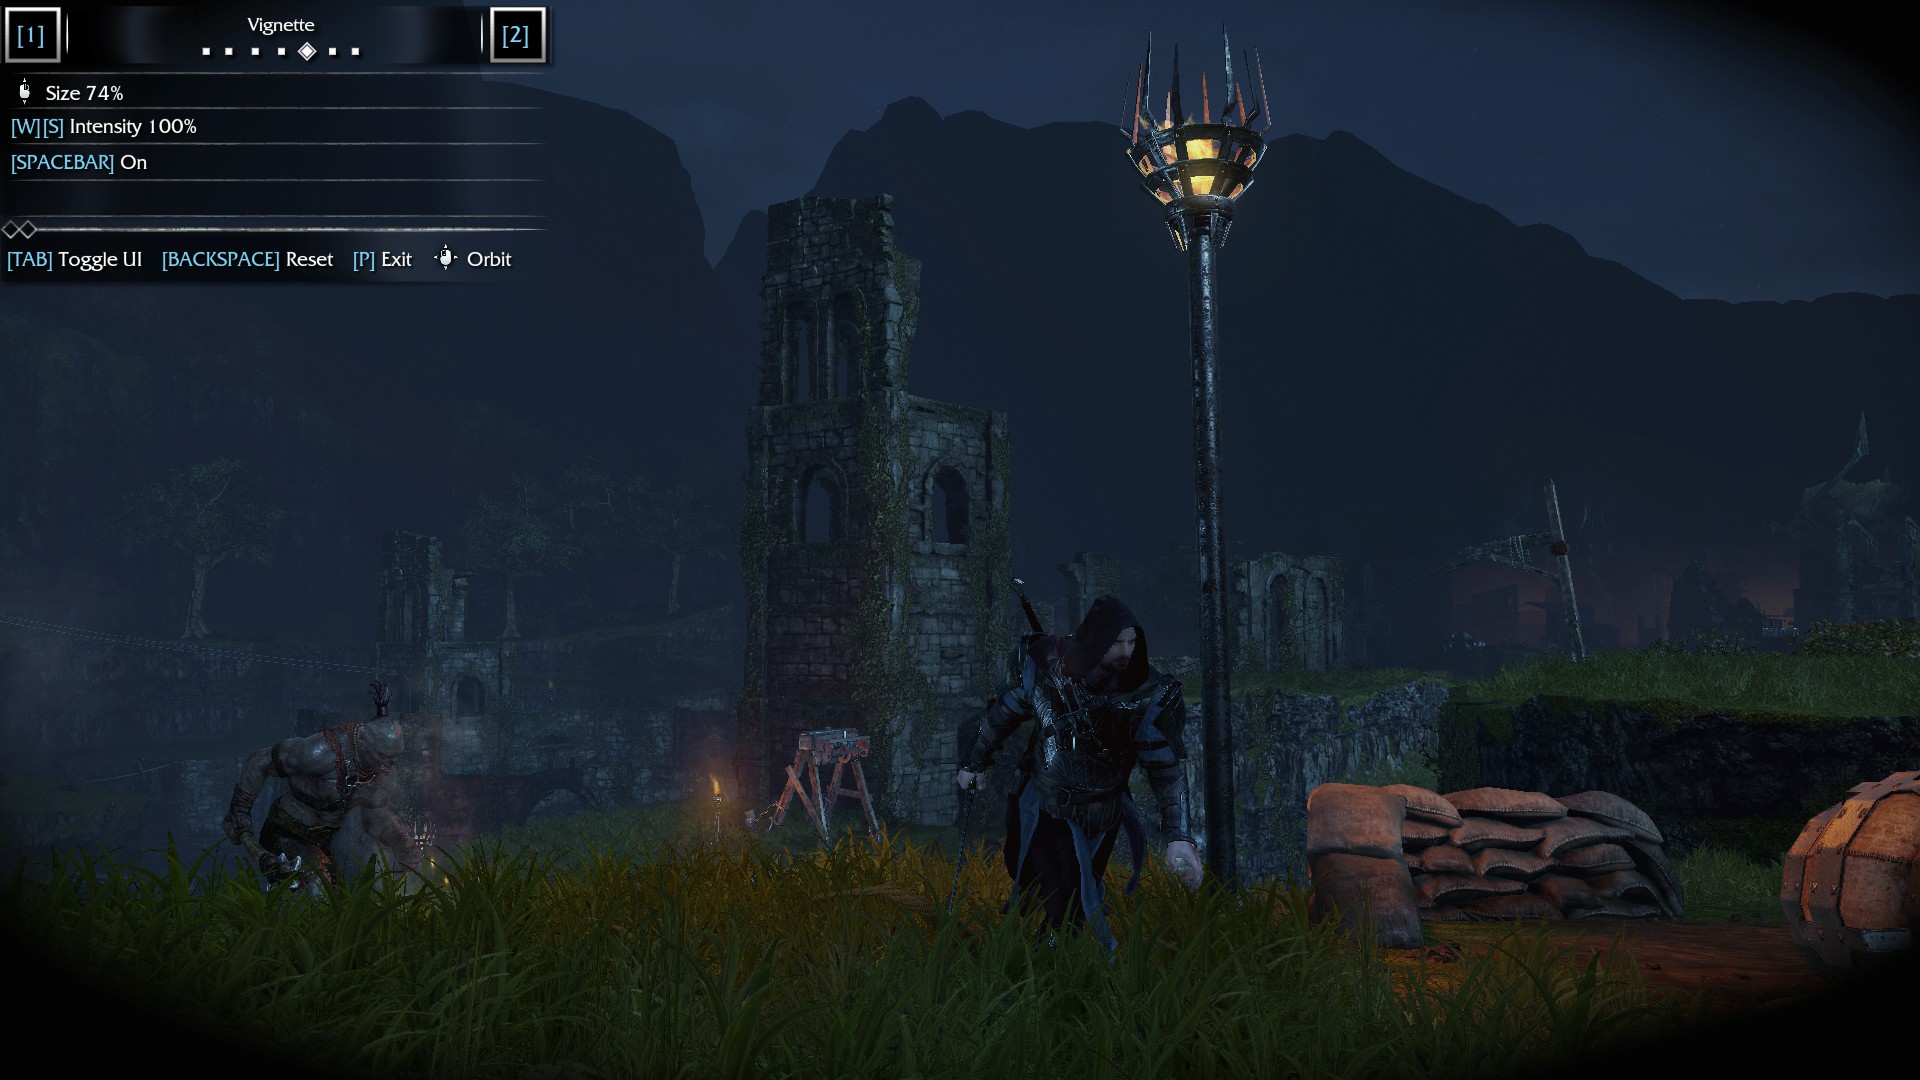
Something about: first going from the menu into options, then game settings make sure "allow photo mode" is checked and the hotkey is set (default, "P" or "L3").

In the guide, it says only press f12 - at the very start.
I was doing that and expecting the photo editor to appear but it never did until I found out about the option being off.
SAM 11 sierpnia 2020 o 15:22 
All games need a camera mode
Psychedelic Adventurer  [autor] 13 kwietnia 2017 o 9:56 
Hi guys. I'm glad all of you are finding the guide informative. Since we'll be getting a sequel for this game, I thought I'd come back and revisit some of my old games and give them a bit of polish. :Corinthian:

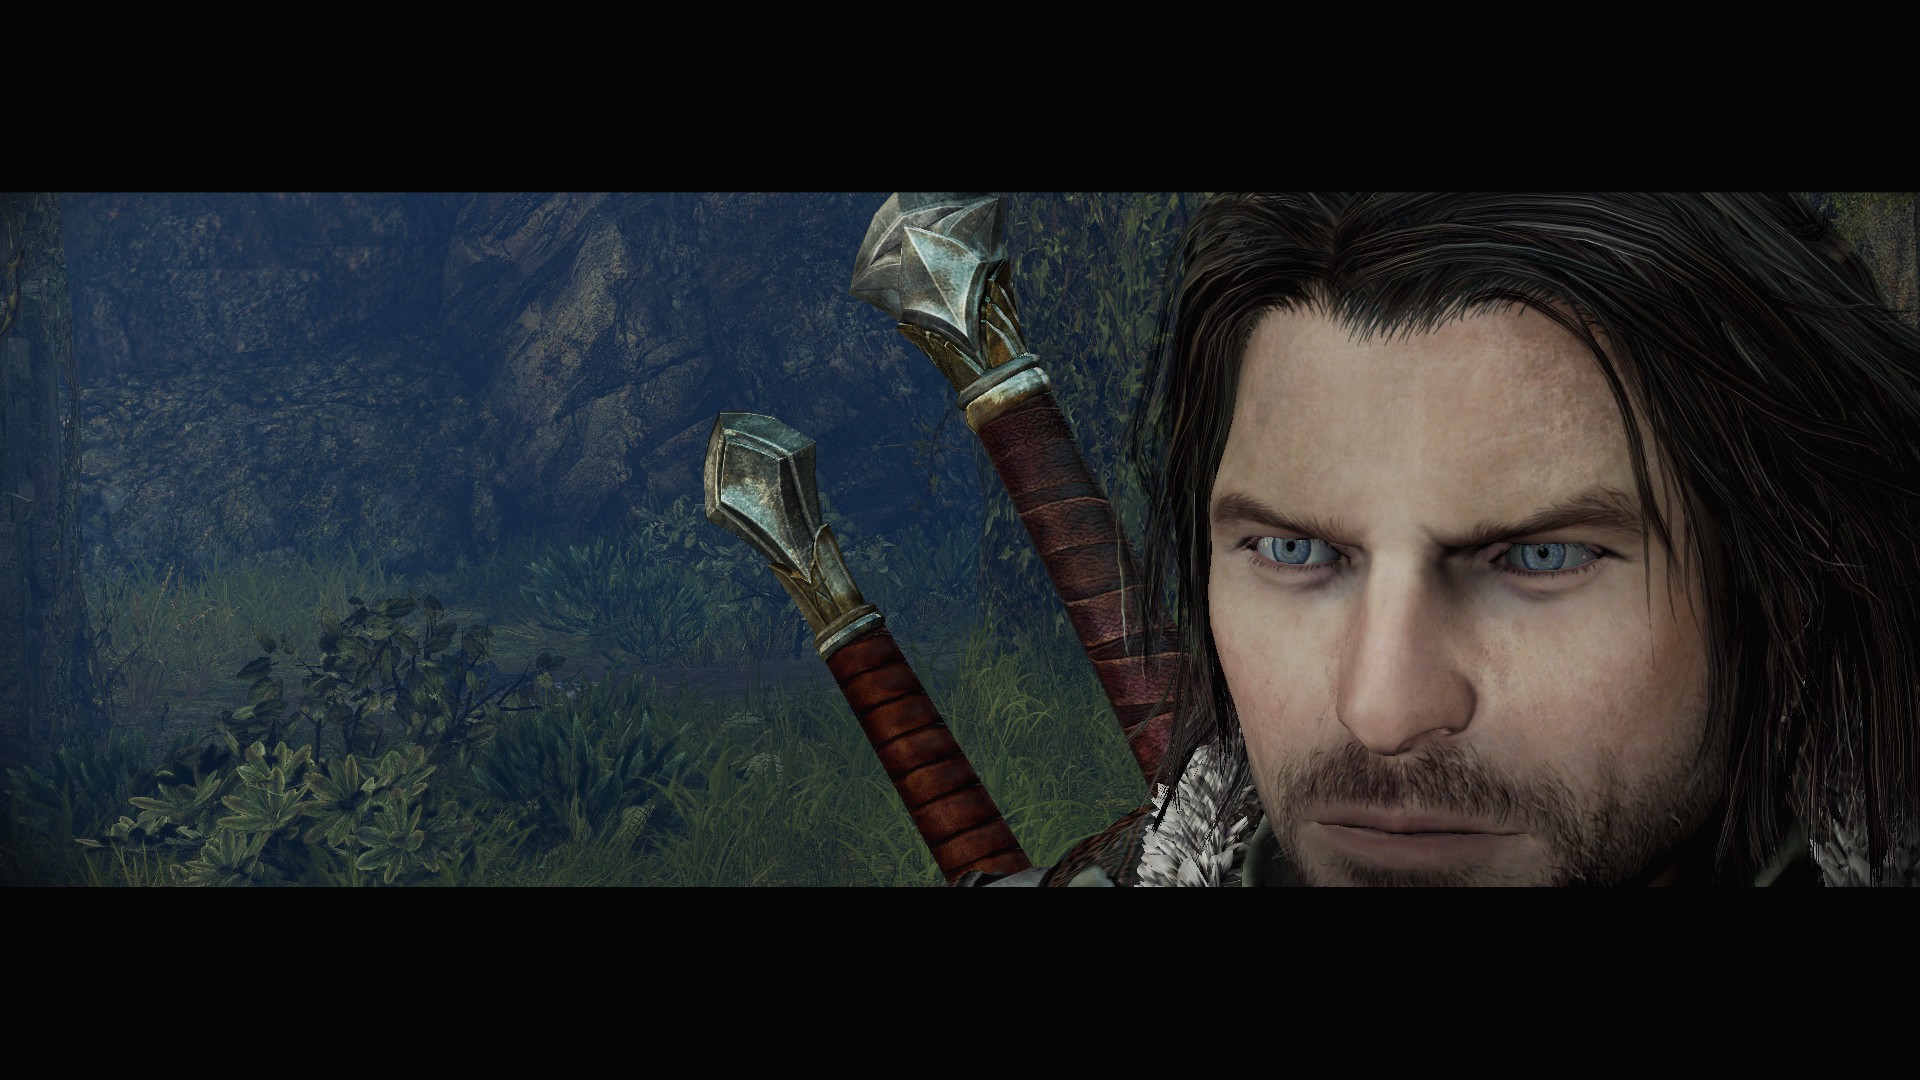
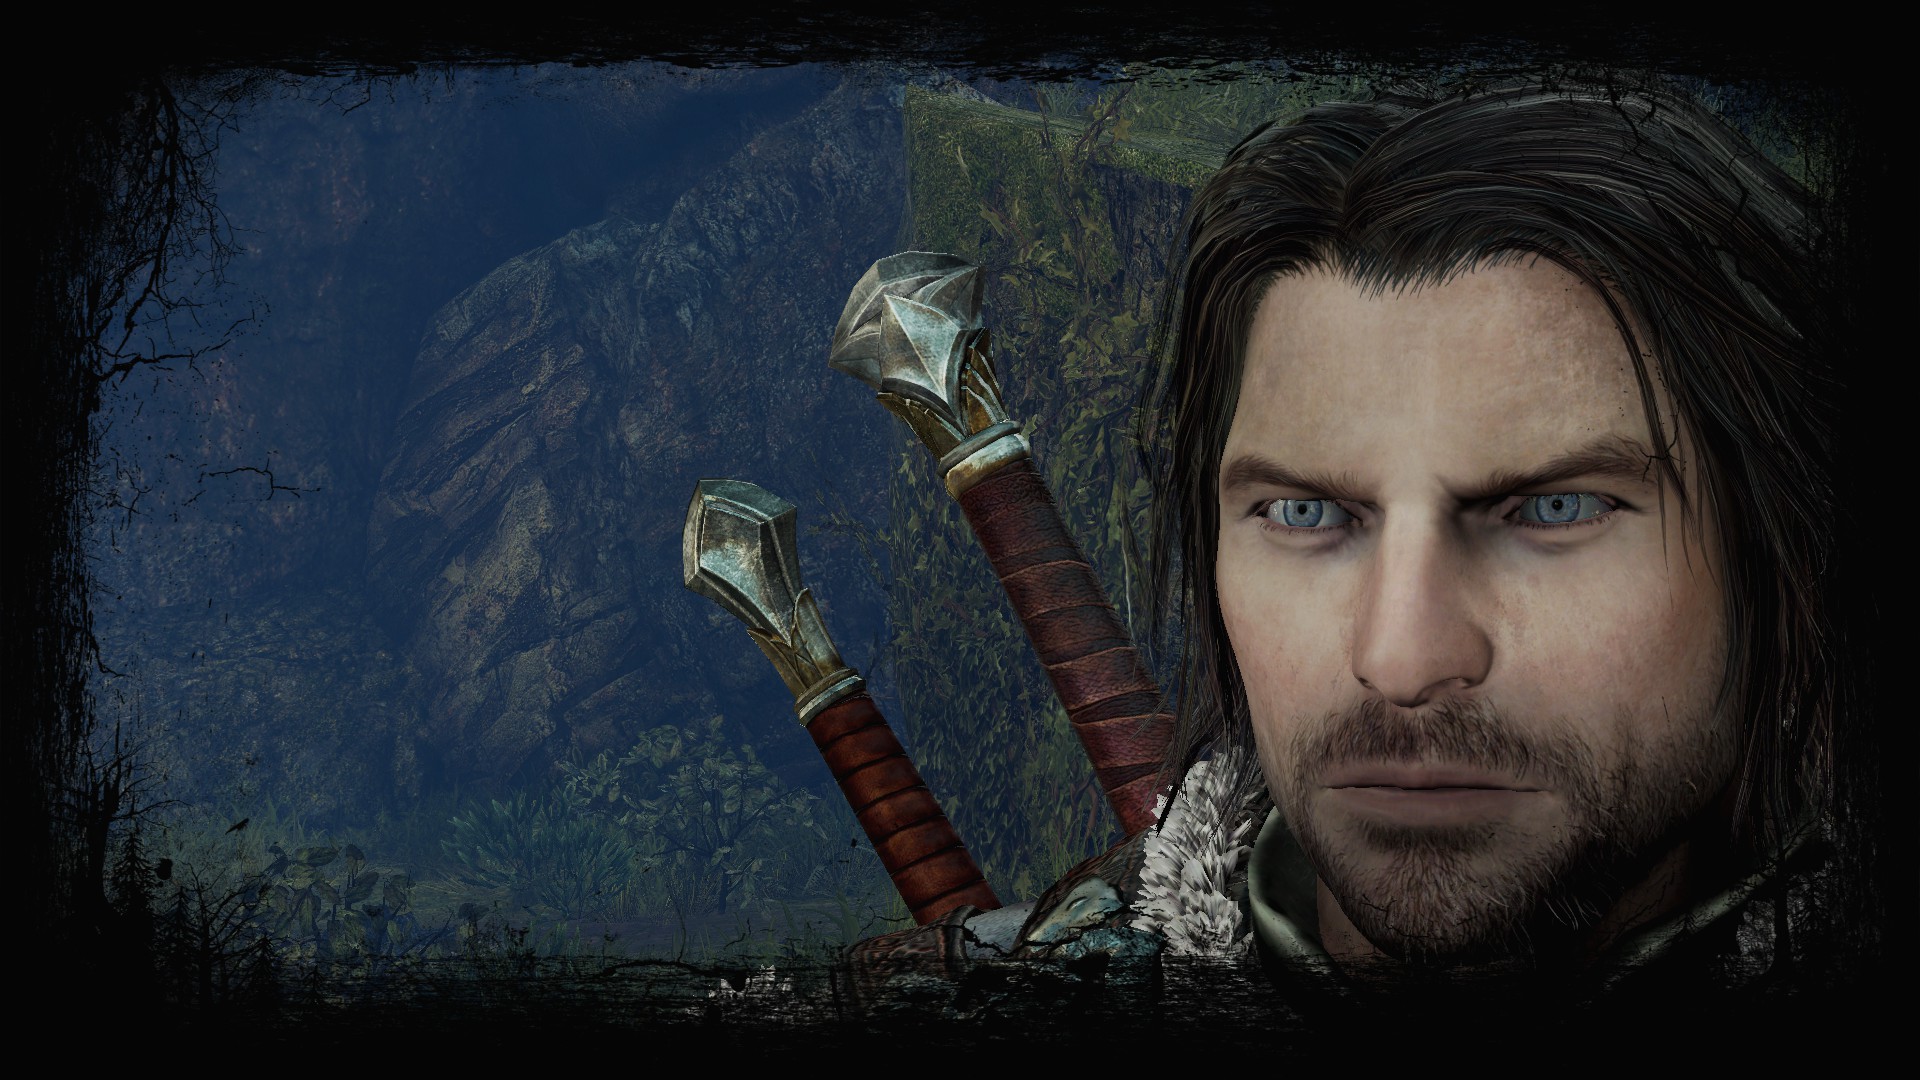
-I've added a new cover image for the guide, as well as a new banner. The old screenshot was community screenshot and was only ever supposed to be a placeholder.

-Corrected some spelling mistakes, and fixed some of the png's that were looking rather janky.

Again, hope you all liked the guide, stay tuned for further guides which can be found here:http://steamcommunity.com/id/StarSide/myworkshopfiles/?section=guides
Knot Quay 13 kwietnia 2017 o 8:52 
This is how to actually take screenshots. Most on the community are really basic or taken in cutscenes. They need a guide like this. I take pleasure in taking cinematic screenshots all the time (check my profile if you want to see them :) ). Great work!
Psychedelic Adventurer  [autor] 30 grudnia 2016 o 1:23 
The UI can be switched off in cam mode. I can't remember what button it is off the top of my head but it isn't hard to find. :Corinthian:
stryx 21 sierpnia 2015 o 15:14 
This guide is sick. Well done man. I suck at taking pictures though xD
VenusVexed 18 czerwca 2015 o 12:25 
Great guide ^~^
!P e t e r 15 lutego 2015 o 19:46 
how can i change the resolution to 1440p??? i have gtx 970 strix but in-game settings just says 100%= 1080p 150%=1620 and 200%=2560p help plsssss
SheepdogX 13 listopada 2014 o 16:20 
A lot of options, almost like my SLR.