Rolling Line

Rolling Line

Not enough ratings
Terrain modding
By Franks
This official guide explains how to use 3D modelling software to create terrain for the new terrain modding system.
   
Award
Favorite
Favorited
Unfavorite
What is the terrain system?
The official terrain modding system lets you import 3D models into the game to use for advanced map terrain. This system is how some of the official maps are made (like the Top Of The South, Santa Fe, National Park, etc), instead of using the normal in-game tables and terrain props.

In-game props & tables have lots of limitations, but if you use your own 3D models made in external software then you can create very advanced terrain with all sorts of features that are not normally possible in-game.
With this new terrain system you can also customize things like view distance and low-detail versions of your terrain. You can also export the track & props in your map as raw 3D models to be used in external software. This is especially useful for aligning your terrain to the track on your map!
Terrain mods can also be packaged inside your workshop upload and easily included with the map for other players to download.

Best of all, you can create this "clipped wall" effect on your maps, where the scenery is aligned with the table edge of the layout. This is commonly seen in real model railways and this effect is used in lots of the official maps:


You can find a template example terrain mod in the templates folder, which shows how the Santa Fe official map's terrain can be set up as an editable terrain mod:

...RollingLine\Modding\templates\terrain mod examples


You can also find an upload of the map used in this example here:

https://steamcommunity.com/sharedfiles/filedetails/?id=3360935447
https://steamcommunity.com/sharedfiles/filedetails/?id=3360935886
Creating a terrain 3D model
This guide will explain how to make a terrain mod for a new map from start-to-finish.

For this example you can start from an empty map, and make something simple.
Just some tables with track on them! Maybe throw in a tunnel or a bridge to make things more interesting:


Once you've got a bare-bones map ready, the next step is to export this to a 3D model which you can then use as a guide to make terrain from.

Find the "Modding -> Terrain" drawer, and then press the "options menu" button:


The options menu has a bunch of settings for exporting parts of your map:


For this example we want to keep the "Export area" to the entire map, but for larger maps you can choose to only export smaller sections of it.

Set the "Export type" to "Props" and click "Export", this will create a 3D model file (.obj) in the export folder containing all the props in the map.

Next change the "Export type" to "Track simple" and click "Export" again.
This time the game will generate a model which contains a simplified mesh that follows where the track in the map is. We will use this for making terrain.

Click "Open export folder" and you should now have two files:
(If your map is larger then these exported files might be split into multiple parts)


The next step is to use your 3D modelling software of choice to make the terrain mesh.
I recommend Blender, and I've used Blender for all of the 3D modelling in the game.

In your 3D modeling software import both of the .obj files into an empty scene:


The first step of editing the mesh is to select the track model and merge duplicate vertexes. In Blender this is done by pressing "M" and then choosing "by distance".

This simply cleans up any overlapping vertexes and makes editing things later on much easier.


Next you can use the "Extrude" function (pressing "E" with vertexes selected in Blender).
Select the sides of the track mesh and extrude them in both directions away from the track. Keep doing this to eventually fill out the area surrounding the track to make terrain!


Keep making terrain like this until you have filled out the whole table area. Make sure the edges are nice and aligned. Disabling the props mesh will make it easier to see what you are doing.


Next select all the edges and extrude down. This will make the sides of the table.


One last step to clean things up is to set the correct shading.
Shade the whole model as "smooth" (to get rid of the hard edges and make the terrain look smooth). Though you can add a few sharp edges along the edges and corners to make things look nicer:


Texture work

You'll also need a texture.
You can make one in any software you like, I personally use Paint.NET.
Just put some colors together, making sure to include a separate color for the table (black in this example). Save this as a .PNG image.


Import this image into your 3D modelling software and UV-map different parts of the terrain model on to it.

My process for doing this is:
- select the area you want to color (e.g. the walls).
- UV-unwrap it onto the texture.
- Select all the new vertexes on the UV map and merge them into a single point.
- move this point to the color of choice.


The model is now ready (enough) to preview it in-game.
Firstly, export the new terrain mesh which you have made from Blender into an .obj file.
(Make sure to just export the terrain mesh! don't include any other meshes, like the prop import)

In Blender you can do this by clicking "File -> Export -> Wavefront (.obj)"
Make sure to check "Selection only" to only export the single model you want, instead of the whole file.

Export this model to the custom assets folder:
....\Rolling Line\Modding\Custom assets

Make sure both the .obj file and the .png texture file are both in the custom assets folder, and then it is time to move on to making the terrain mod.

Making the terrain mod
The terrain modding system works just like the train mod and prop mod systems, so you will be importing 3D models & textures into the game using the modding manager just like when using those systems.

You can find a huge guide here with lots of info about importing models and textures:
https://steamcommunity.com/sharedfiles/filedetails/?id=2664192139

To get started, create a new "Terrain" mod from the modding manager:


From here you will see the main options for the mod, like setting tags and a thumbnail.
But most importantly you will see the "Segment list".
Each terrain mod can have multiple segments, and each one of these segments can have different properties (like being visible on a different skybox).

For example, you may want to have different segments for the walls & backdrops of your map which are only visible in large scale, or have a different segment for the skybox terrain that is only visible in miniature.

You can also split your map into regions to make editing easier. Like having one segment for each biome of your map.


You can click on a segment to edit it, and it will open this menu with a bunch of options:


These options are:
  • Models - add 3D models (with textures) for this segment to display,
  • Collision mesh - use a custom 3D model for collision, if left empty then this model will have no collision.
  • Copy collision from main model - alternatively you can just automatically use the collision from the first 3D model in the "models" list. This is useful if you want the collision to match the display mesh.
  • Collision always active - this will force the collision for this segment to always be enabled at any view distance. Otherwise the collision will be disabled when they player gets further away than the "low detail view distance".
  • Low detail mesh - Use a custom 3D model to replace the normal models when the player is beyond the "low detail view distance". This is great for optimization on large maps!
  • View distance - when the player is beyond this distance the whole terrain segment will be hidden
  • Low detail view distance - when the player is beyond this distance the collision will be disabled and the low detail 3D model will be used (if you have set one).
  • Set center point - This will let you change where the "center point" of this segment is. It should be right in the middle of the terrain mass. Make sure to set this, since the view distance values will check the players distance from this point.
  • Skybox layer - Choose whether this segment is only visible on the large scale/miniature skybox layers.
  • Skybox region - If you choose "miniature only" as the skybox layer, then you can further set which skybox you want this terrain to be visible for.

For this example, we want to edit the "main" model and set the model and texture to the ones we just put in the custom assets folder:


That's all we need to set up for this mod!
More complex terrain would involve changing things like the view distance, center point, collision mesh, etc. But for now just simply click the "Spawn terrain on map" button and it will appear in your map:


Now that you've spawned the terrain on your map, it should look something like this.
You'll likely see the old table props mixing with the terrain model, so you can delete those tables now to clean things up:


The next step is to fine-tune your terrain model and make edits until your are happy with the result.

You can keep doing this in the modding manager, by saving over the .obj file in the custom assets folder and then clicking "refresh asset folder" to get the updated model, or you can save your mod and edit the newly created mod files instead.

To do this, first save the mod and exit the modding manager.

Now go back to the "Modding -> Terrain" drawer and open the options menu again.
You'll see two buttons for "refresh terrain" and "open asset folder".


Now that you've saved the terrain mod, it will have generated a mod folder and moved the texture & model files into this new folder.

To edit this terrain further simply update these files (ignore the old ones in the "custom assets" folder):


After you've saved over the model/texture files simply click "Refresh terrain" to update the terrain in-game, you don't need to use the modding manager at all!


And that's all you need!
If you want to upload your map to the workshop then simply add this terrain mod as one of the packaged mods.
Advanced options
(coming soon)
21 Comments
HvyHal Gam3ing Jan 30 @ 1:34am 
@Franks AS far as I understand you are the only one developing this game. You've actually done a really amazing job with it I am impressed. You've put a lot of time and dedication into to it. Do please keep up the good work. I am still interested to see where this goes. I check on it for updates on the regular and still mess around with it from time to time so it's totally worth it. I may yet one day take a poke at terrain modding the way it is I havent totally given up on it. But it dosent help my case either that right now my addiction is Farming Sim22. I know i'm behind the times on that now but i'm just not ready to give it up for Farm sim 25 LOL
Franks  [author] Jan 29 @ 5:59pm 
@HvyHal Gam3ing, that's completely fair. Terrain modding is just an optional way to make more complex maps for anyone who knows how to use 3D modelling tools.
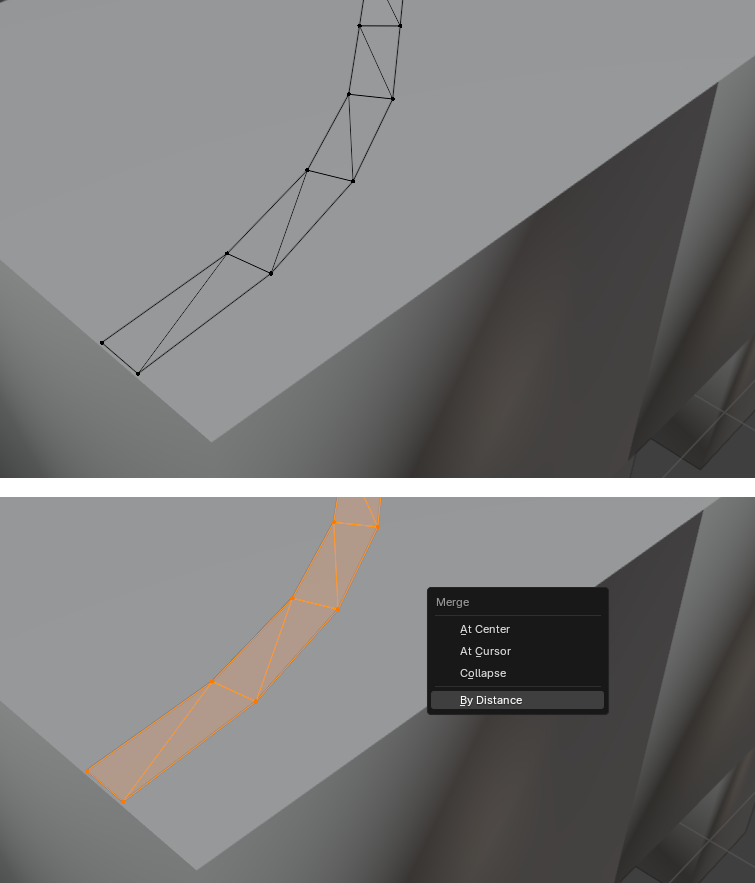
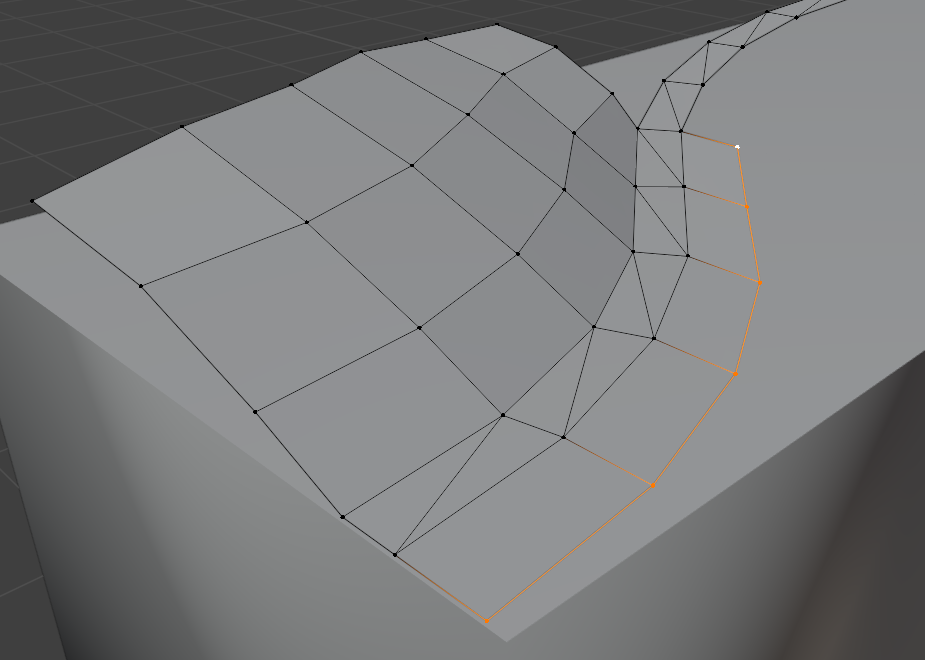
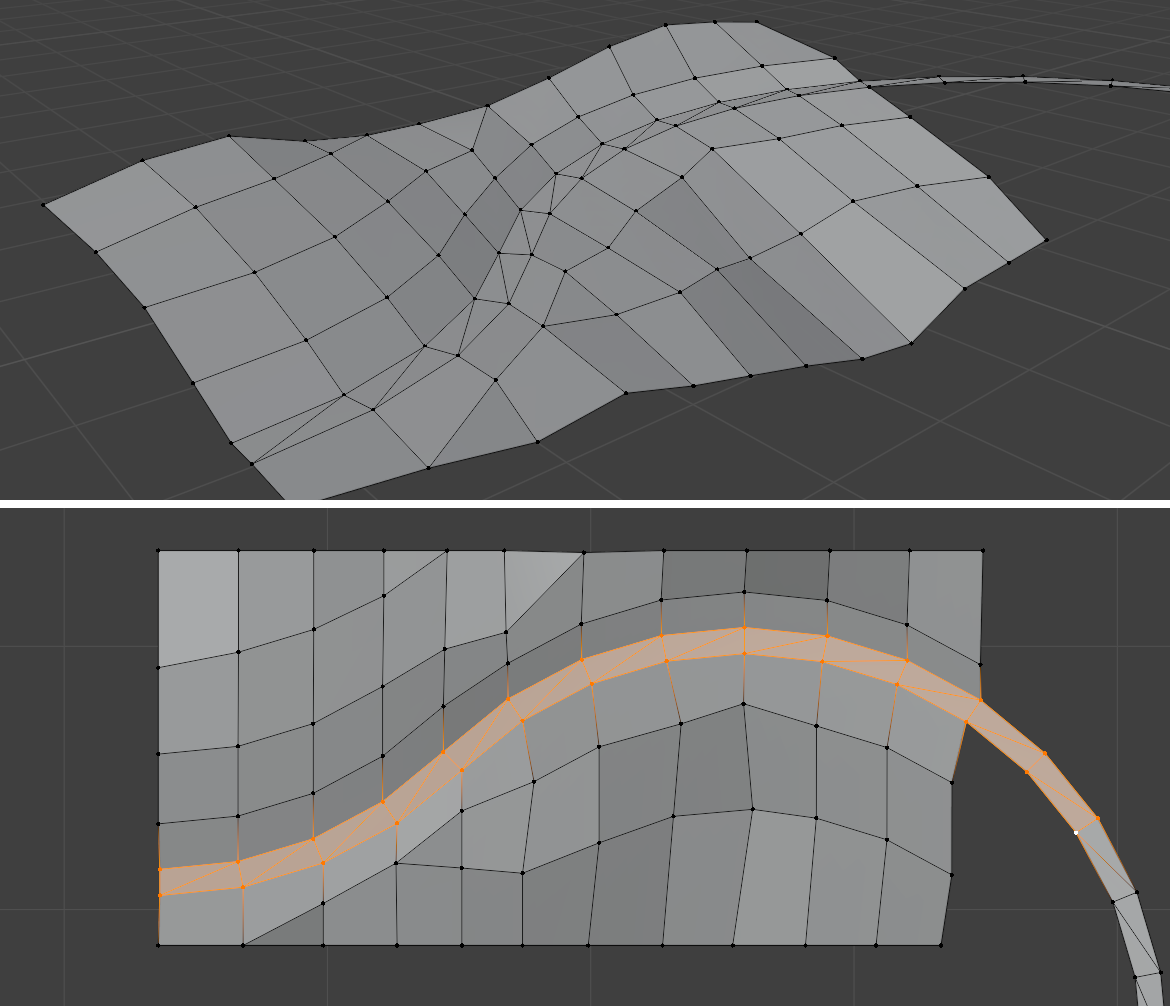
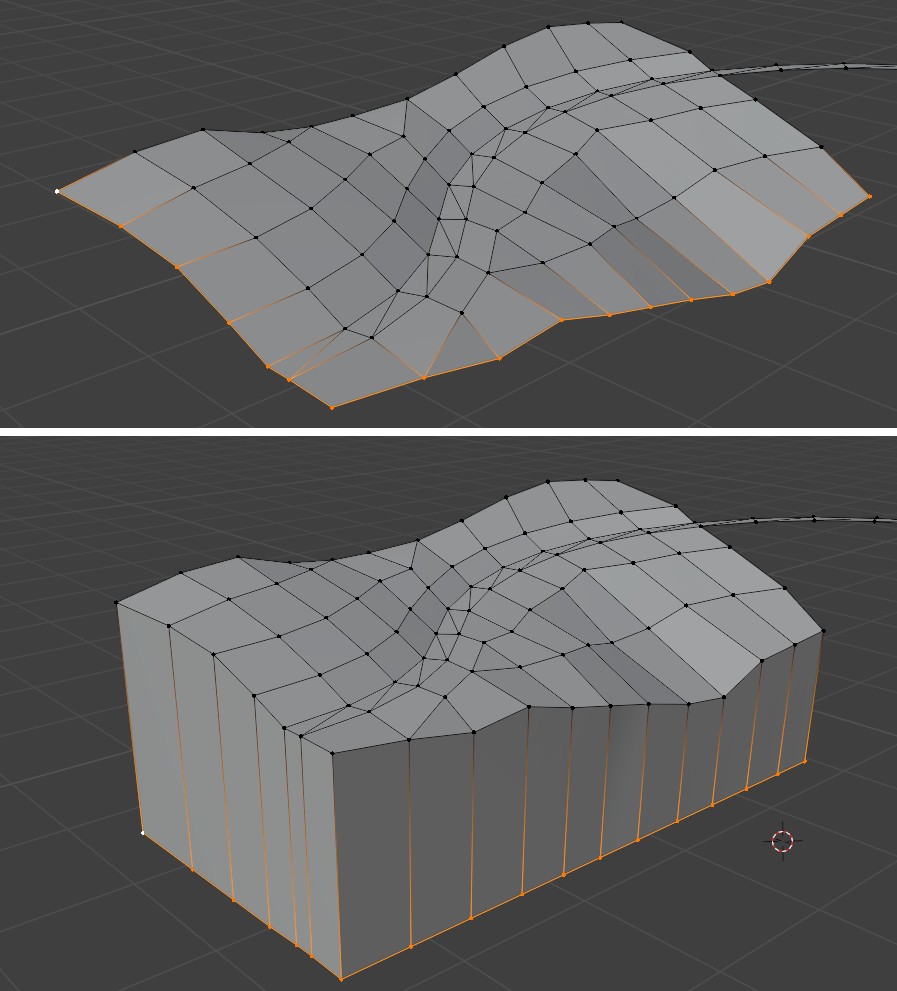
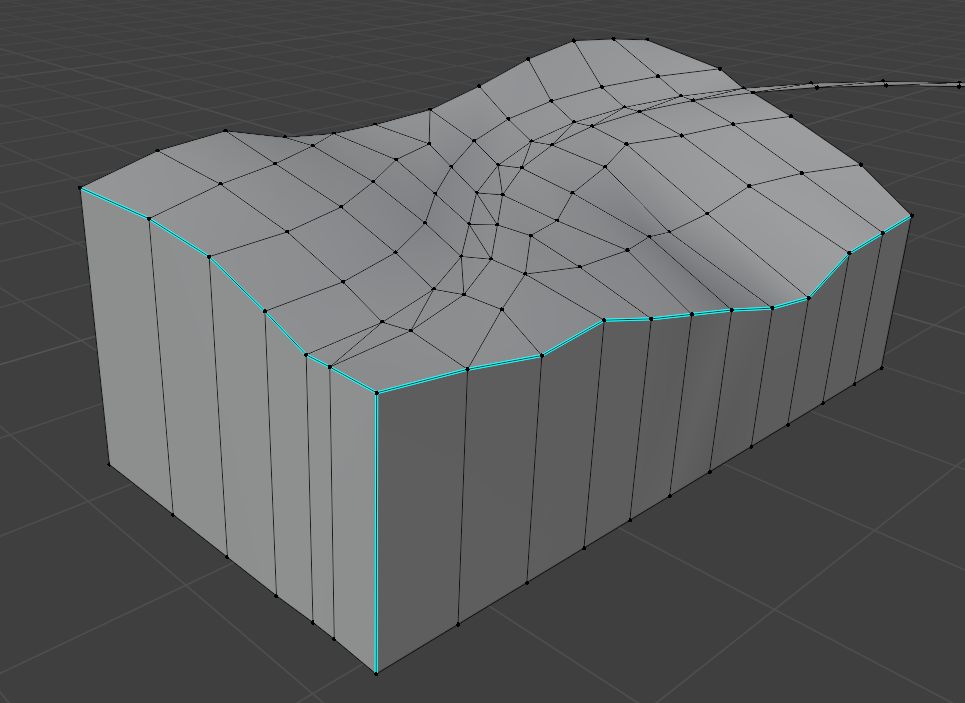
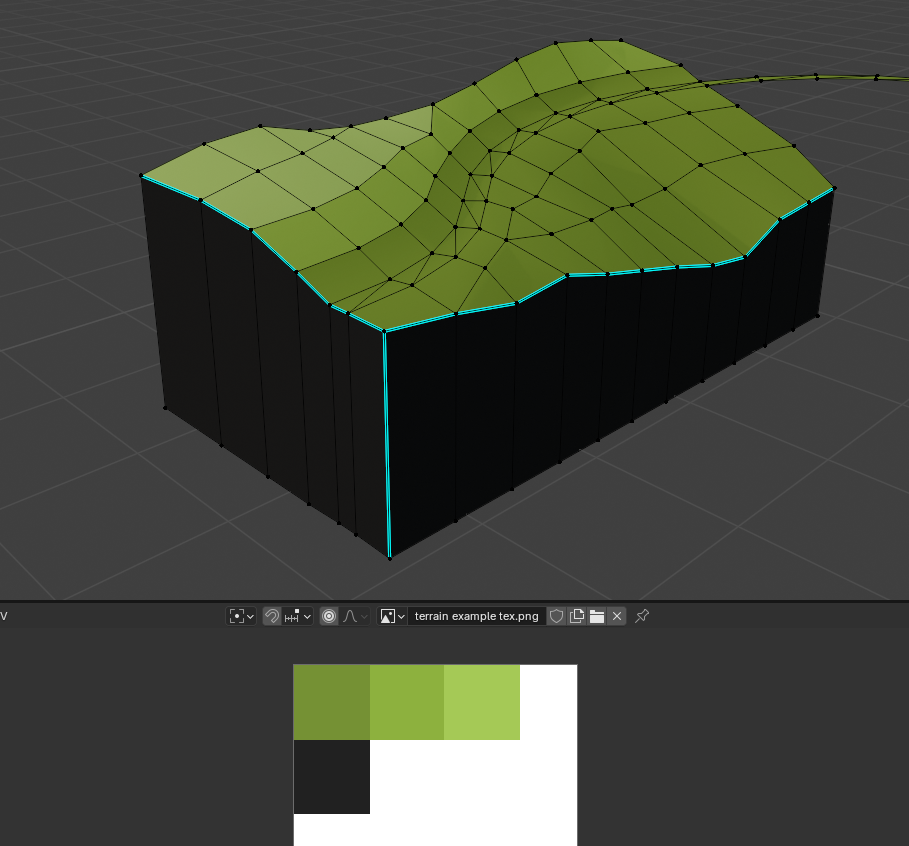
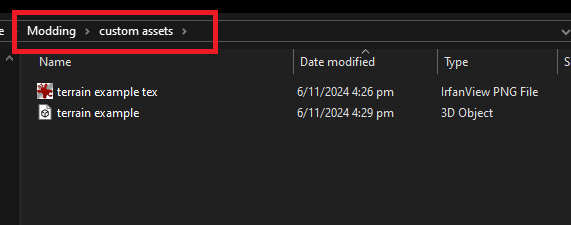
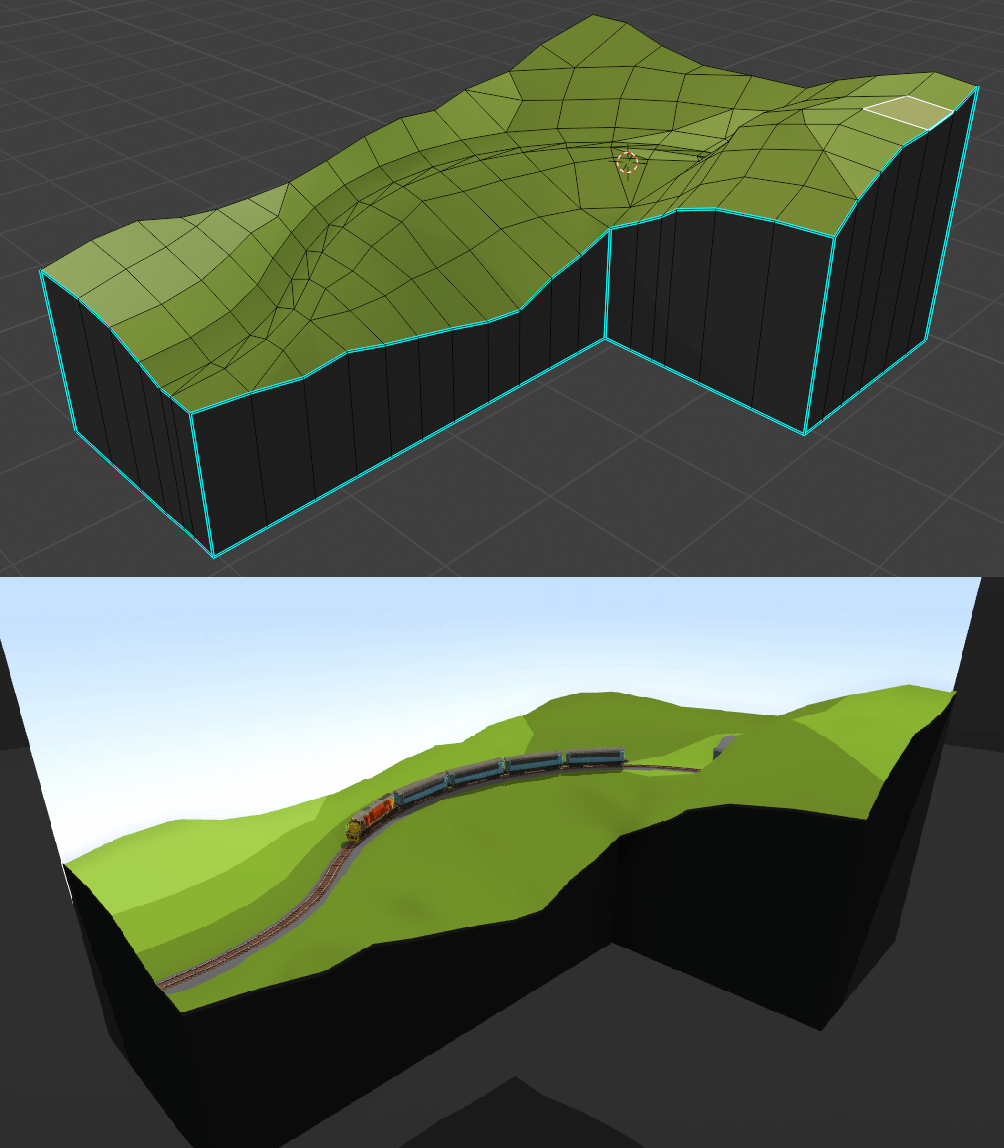
One day i really do hope to make a real in-game terrain sculpting system, though it would be a hugely complex job. I don't have any ideas for how to get the "hard edge" color painting style, as well as the curved wall edges, in a terrain system. I know it can certainly be done using complex vertex programming, but this is getting a bit too far beyond what I know how to program. I'll surely have a go at it one day though!
HvyHal Gam3ing Jan 26 @ 2:26pm 
This really is not for me. Maybe at some point I will take the time to learn it. But just not right now. I was really hopping to be able to do all this in game. But it seems like more and more you have to be more of a modder to get the most out of this game. And that's fine. I'm not dissing this game or anyone, it's just not my level playing. I hate to say it but i'm probably gonna have to park this game for a while. It's ok that you made it this way. I still enjoy it from time to time. I just don't see myself enjoying having to use more than one software to do one thing.

Is it possible that terrain editing can be handled in game or is that just not the direction you are wanting to take things?
Franks  [author] Nov 27, 2024 @ 10:56am 
@Maxamus_Prime, this is likley caused by the terrain model being split into multiple "objects" in the model file. The collision will only apply to the first object loaded, not all of them. In Blender make sure to "Join" all objects together before exporting.

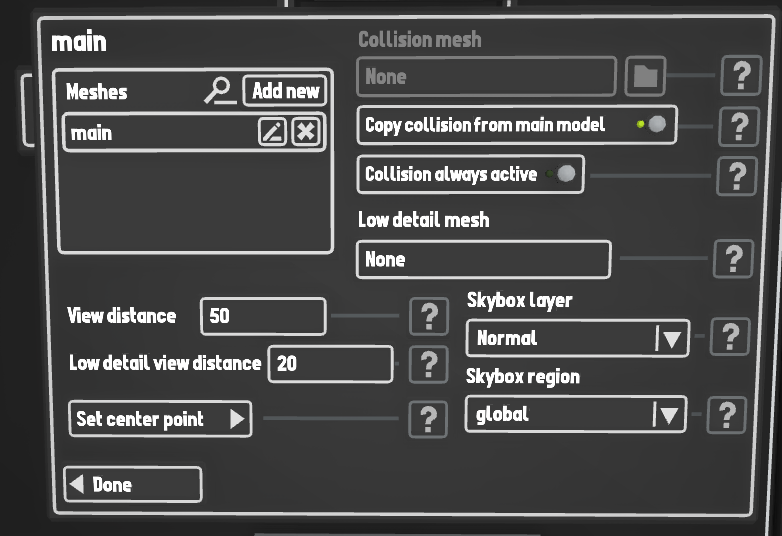
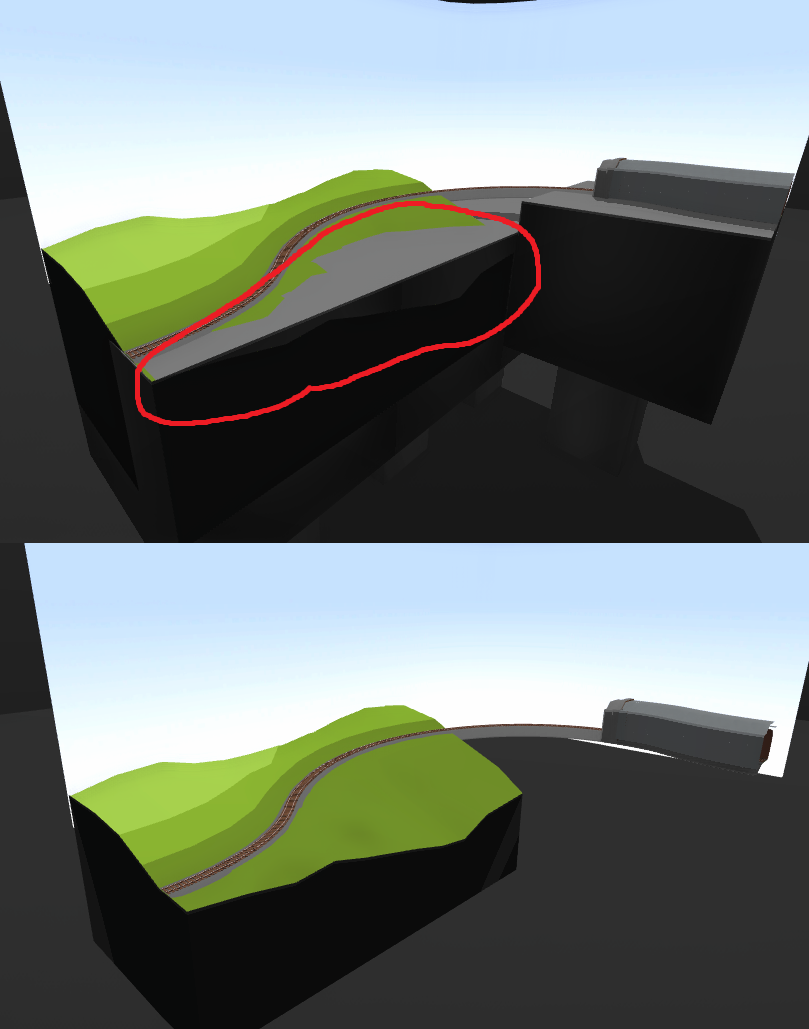
Also this will be fixed in a future update, in the next update you'll be able to have multiple collision meshes and this shouldn't be a problem any more
Maxamus_Prime Nov 26, 2024 @ 10:09pm 
i need some help. I created terrain in blender. Painted it and imported it. Everything shows up correctly but I cannot get collisions to work. I select "copy collisions from main model" and that didnt work. Any ideas?
cassette disc Nov 14, 2024 @ 8:42pm 
@Franks Ahhhh, gotcha. Thanks for the answer.
Franks  [author] Nov 14, 2024 @ 8:38pm 
@cassette disc, the purpose of this terrain system is to make it easier to align 3D models with the layouts track (hence why the position is locked in place, the exported track will always line up with the terrain 3D model).
If you want to move it around and don't need it to be aligned to track then a prop mod would have the same functionality (e.g. snapping)
cassette disc Nov 14, 2024 @ 7:19pm 
Is there a way to move these like tables, in terms of snapping and rotation? That's the only issue I've had, is when I want to bring in multiple copies of a terrain piece and I have to slide them into place using the movement (F) tool. For reference I've been using the official example as a test.

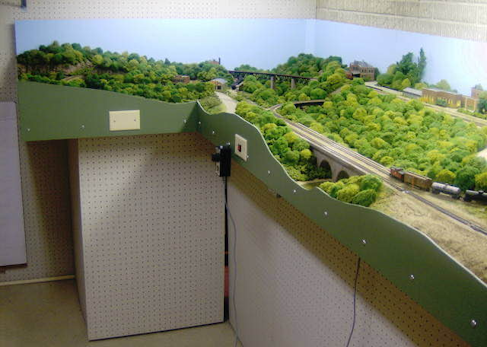
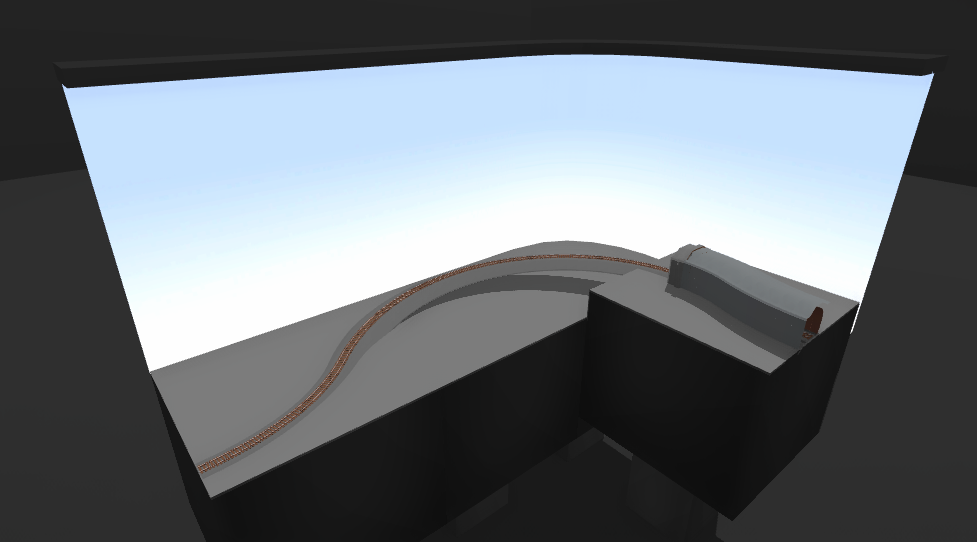
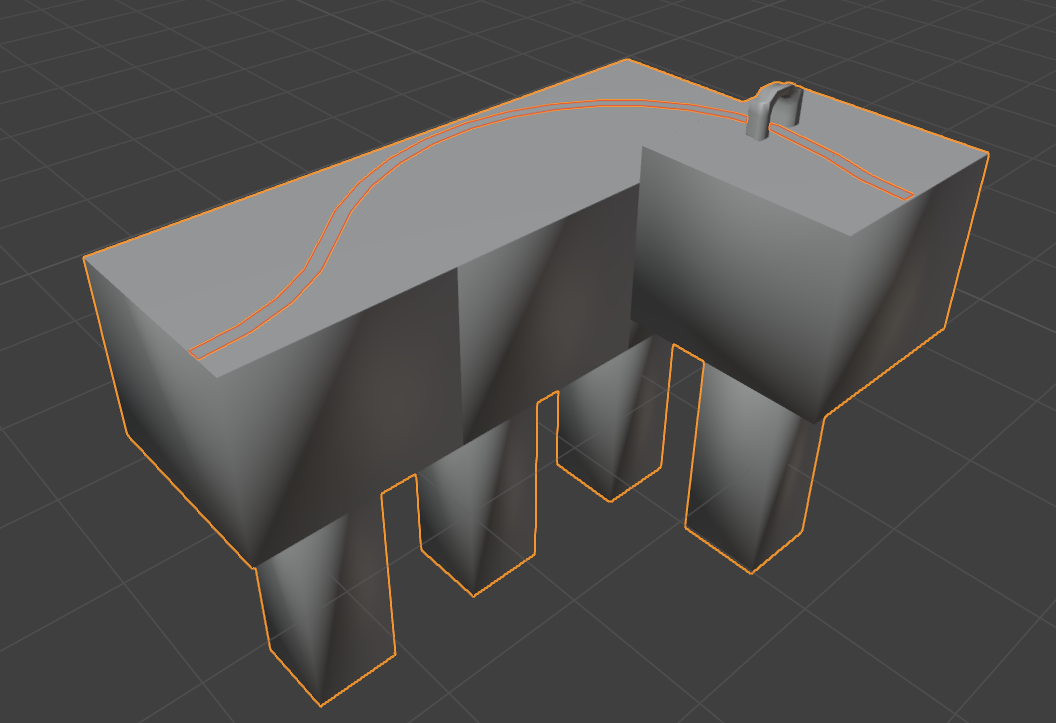
It'd be nice to be able to make loosely table-shaped terrain and then treat it like tables (or better yet, vertically-stackable "tables").
Mc Money Man 101 Nov 13, 2024 @ 11:36am 
@Franks, I appreciate the response and completely understand. I should have probably worded it a bit better though. I'm certain the new technical abilities are great, but as someone who lacks the skill to operate those systems, I have to use the in-game abilities. This is slightly bothersome to me because I really do enjoy this game, but the in-game and technical limitations prevent me from properly creating my ideas. To my knowledge the game is quite young, and I'm certain it will continue to grow, but I'm worried these technical solutions will end up being permanent. Completely curbing the creativity of many supporters and fans by forcing people to learn very technical and difficult skills just to create simple layouts.
Slapballs Nov 12, 2024 @ 6:17pm 
can you make a tool in the tool drawer called something like terrain tool with controls like left=up and right=down and hold both=level. idk but it would be awsome