Foxhole
(Servono più voti)
How to Create a Mod for Foxhole
Da yurisuika
A guide on how to create a simple texture mod for Foxhole! Learn how to extract the vanilla game assets, edit them, and repackage them to make your own mod!
   
Premio
Aggiungi ai preferiti
Preferito
Rimuovi dai preferiti
Starting Off
When it comes down to it, making a mod for Foxhole is pretty simple and anyone can do it!

Foxhole runs on Unreal Engine, a widely used game engine. There are a lot of things you can modify in Foxhole, but we will focus on making a simple texture mod to keep this tutorial simple and easy to follow. You will need a few software to complete the process, those being:

As well, you can use image and text editors that are built into Windows like Paint and Notepad, but I use these software in this tutorial:

So, let's start by opening up Steam and heading to your game!


If you are wondering why things may look different in this guide, I am using my Steam skin Zehn[github.com].
Checking Unreal Version
It is crucial that your mod project is built under the same version as the current version of Foxhole. This has been 4.24.3 for a while, but it may change in the future, so do check!

To do so, navigate to your game directory. This will most likely be at C:\Program Files (x86)\Steam\steamapps\common\Foxhole, but this may be different depending on where your Steam library is set to. The easiest way to get to it is to open up your Game Properties dialog in Steam, go to the Installed Files tab, and click on Browse....


Now, you should have the directory opened in Windows Explorer.


You will want to right click on War.exe and select Properties at the bottom. Head to the Details tab, and you will see the version listed in several locations.

Extracting the Game Files
Navigate further into your game folder to ~\War\Content\Paks. This is where the binary files are saved. You will notice only one file, War-WindowsNoEditor.pak — this large file contains all of the game's assets.


We need to extract the assets we want to modify from this, so we will use UE Viewer. Your download will have a name like umodel_win32.zip. Extract its contents into the Paks folder.


Click to open umodel_64.exe — a window will open up. You want to ensure that the path is the same as your current path. If all is set, click OK.


You will see a tree list of all of the content inside. If you are trying to find a certain asset, click on Flat View. For this tutorial, we will just extract the entire Textures folder. Not all texture assets are in this folder, but the ones that are presently allowed to be modified are. Right click on the Textures folder and select Export folder content.


A dialog will pop up — select where you want these files exported. These will by default be in the same directory as your Paks folder.

Change Texture format to PNG. Afterwards, click OK.


Before it proceeds, it will ask to verify what UE version these assets are packaged for. Select the same version as you found before.


It will now export all of the content. Since we are exporting everything from the Textures folder, this may take some time. If you desire to only export a certain asset and know which one it is, you may do so instead.


Afterwards, you may close UE Viewer.
Editing the Asset
You will now have a folder called UmodelExport where you have selected to export the assets to.


I like to export everything once per update and back up the files to future reference, but you may leave these exported files here now.

So, say we want to edit the buildable sign — that file will be located at ~\UmodelExport\Textures\Structures. There are different types of texture maps that go together to make a 3D object, but the color texture one is called BuildableSignPostA.png. This is called the albedo map (A). The others are for normal (N) and materiality (M) maps, but you don't need to worry about those for this tutorial. Navigate to the directory and open the file in your preferred image editing software.


Edit your asset however you like. Once you are done, export your work as a PNG file to wherever you want. Ensure to keep the same file name as the original.


Now that we have the asset ready, we can move on to creating the mod itself.
Creating the Unreal Project
You first must install the Epic Games launcher that you have downloaded. Once that is finished, head to the Unreal Engine tab on the left. From there, select the Library tab on the top.

Where it says Engine Versions, click the + icon to add a new installation. Use the dropdown on the version number and set that to Foxhole's UE version. In this example it would be 4.24.3.


From there, choose whatever directory you desire it to be installed to and proceed. This will take a while, for this specific version it is over 10GB in size. However, once that is done, you may launch Unreal Editor.

It will first ask you to create a new project. The following will vary depending on the version of Unreal Engine you are using, but it generally all is the same. Select Games type and then Next.


For Template, select Blank and then click Next.


It will then ask you to select several options for the project. Ensure that No Starter Content is selected.

It will also ask you for the directory and name of the project. Keep in mind where this directory is, but it should be wherever your system's Documents folder is set to in a folder called Unreal Projects. Name your project whatever you like, and click Create Project.


Now you have your blank project. There is a lot on the screen, but most of this we will not have to worry about for this tutorial.


One thing we must do first is to disable Event Driven Loader, or else our created cooked assets will not work and the game will fail to launch. Head to the menu bar under Edit and select Project Settings.... Make sure this option is unchecked.


Now everything should be ready to start adding the assets!
Cooking an Asset
We don't need to do a whole lot of stuff in Unreal Editor, despite its large download.

First, we must reference where our original asset was located in the UmodelExport folder. For this asset, it was in ~\Textures\Structures, but your asset may be elsewhere. We will have to recreate this file tree in our Unreal project.

At the bottom pane, right click and select New Folder and rename it to Textures. Double click on that created folder to enter it and do the same for Structures.


Once inside the final folder, you will want to import your modified asset. Select Import at the top of the pane and select the asset.


This may be good enough for some, but we can take an additional step to drastically improve the quality of our asset.

Double click on the asset and a dialog will pop up. On the right side, for Compression Settings select the final option called BC7. Under the details section at the top right it should say BC7 as your compression type. If your asset looks oddly shaded when you are in the game, you will want to go back here and check sRGB, as I have found some issues with certain objects without this enabled.

Depending on what type of asset you are modifying, you may want to change Texture Group in the Level of Details section.

You can also click Reimport at the top if you want to change anything after you have initially imported the asset. Then you may click Save and close the dialog.


Now, back in the main editor window, from the menu bar head to File and then select Save All.

Then, under File again select Cook Content For Windows. You will see a small notification. This may take a moment to run, but once it is finished you may close out of Unreal Editor.

Packaging the Mod
Now you will want to install Python from the installer that you have downloaded.

Open a new window in Explorer and create a folder for packaging your assets together.


Inside of this, add the u4pak.py Python script you downloaded earlier from the GitHub archive. If you do not know how to download source from GitHub, select the green Code dropdown and click Download ZIP.

In the same folder, right click and under New select Text Document.

You will want to rename this, including the extension, to run.bat. The name doesn't really matter, but it needs to be a BAT file. If you do not have file extensions visible, you can view them by unchecking Hide extensions for known file types under Explorer's Folder Options dialog.


Open this in your preferred text editor. I like to use Pulsar, a continuation of Atom, but you may use Notepad or whatever pleases you.

You will want to add a single line like this:

u4pak.py pack War-WindowsNoEditor_Tutorial.pak War

You can put whatever you want where it says Tutorial as long as there are no spaces. This needs the preceding War-WindowsNoEditor_ because Unreal Engine loads packages alphabetically, so if your filename is loaded earlier the game will override it.

Save and exit your text editor.


Now we want to recreate the file structure as you witnessed when you exported the assets from the original PAK. Start by creating a folder called War.


Open your Unreal project folder in a new Explorer window.


From there go to ~\Saved\Cooked\WindowsNoEditor\Tutorial. The last folder will depend on your Unreal project name.


Copy the Content folder into the War folder you recently created.

Now double click on run.bat and your mod has been packaged!

Adding Your Mod to the Game
Now is the easiest part of all.

Simply copy the PAK file you just created into the Paks folder you opened earlier in the game directory.


You may now delete the UmodelExport folder, but I recommend moving it elsewhere for future modding usage.

Now open up your game and see your wonderful mod!

13 commenti
yurisuika  [autore] 14 apr, ore 23:22 
Sure as long as you do the appropriate folders. I don't know about modding the chat though, I've not looked into that.

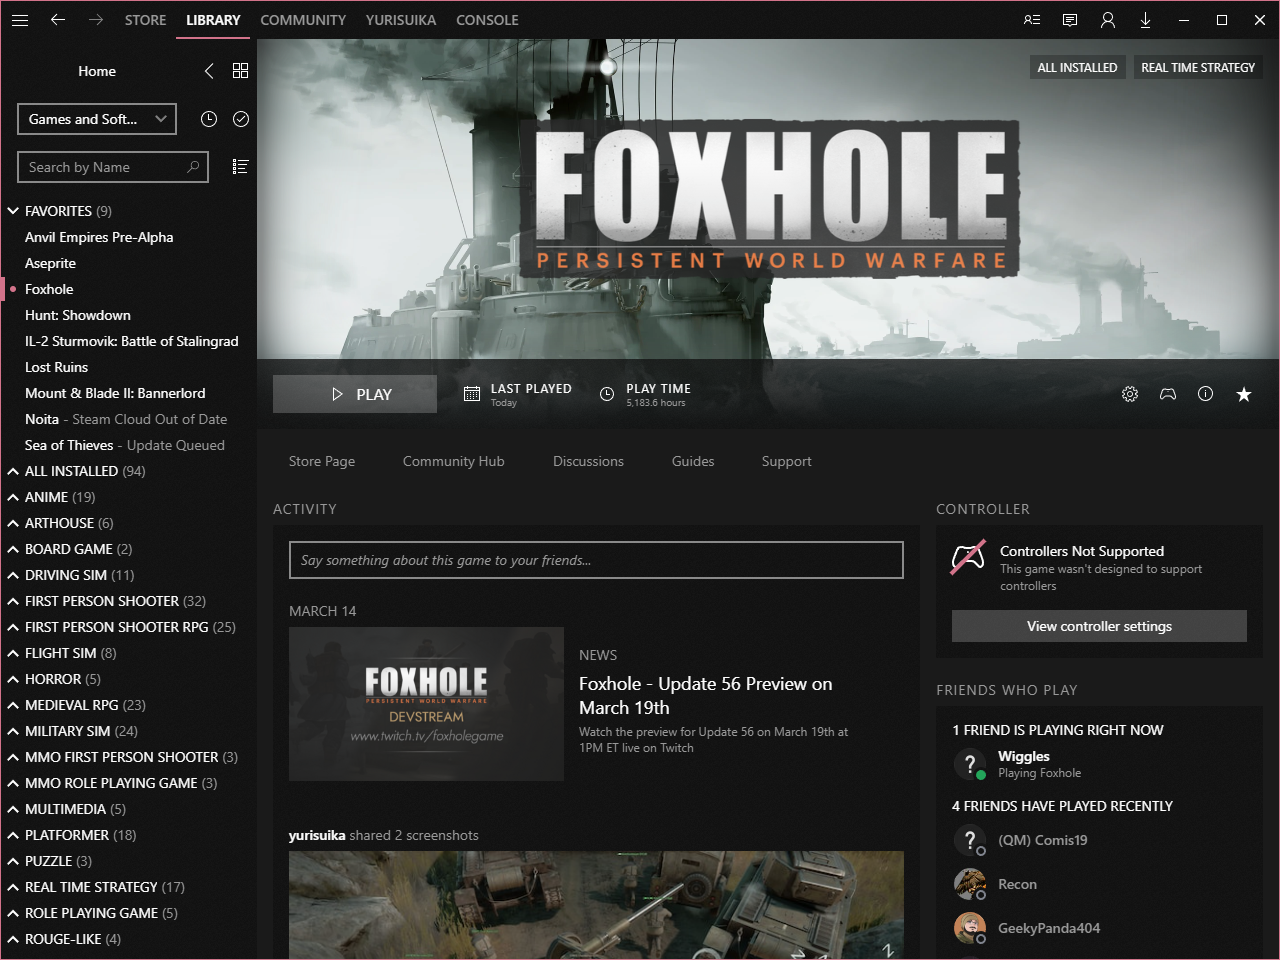
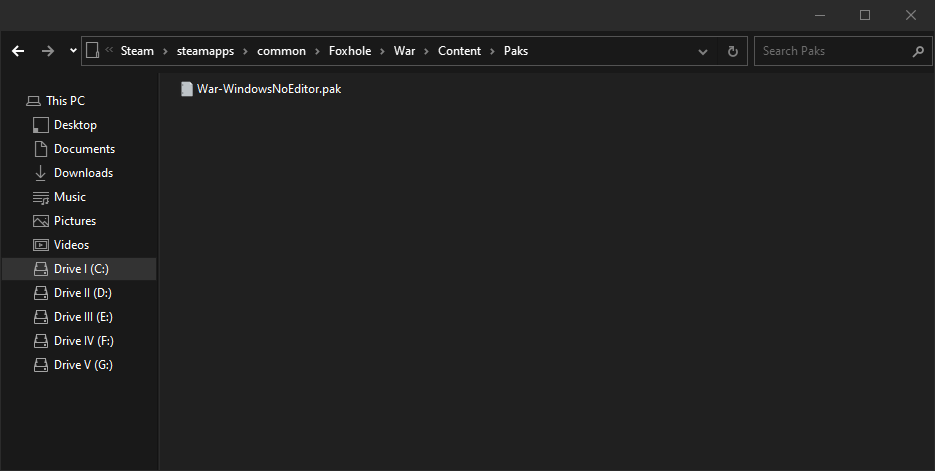
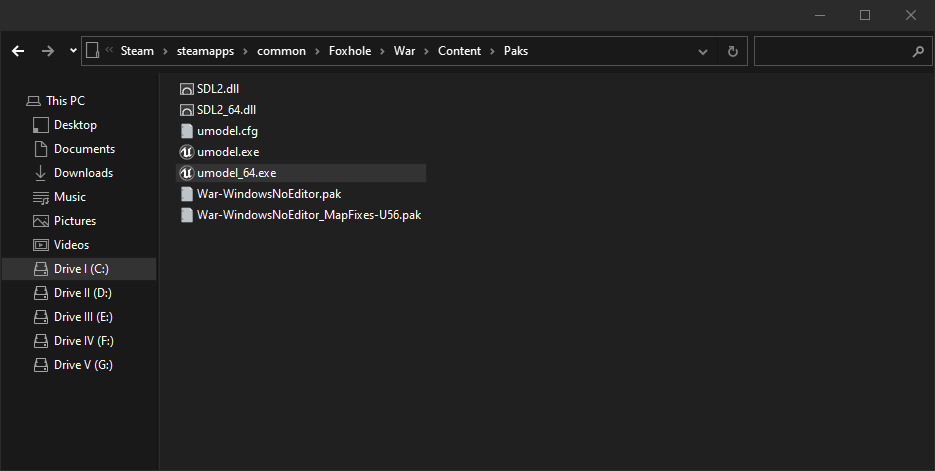
Looks like the same images broke again, so I reuploaded them using different file names. Hopefully they stay now.
Sargos 17 mar, ore 3:45 
This is the same workflow even for editing icons, chat or the map?
Blizzard 27 nov 2024, ore 8:31 
That fixed it! Thanks!
Blizzard 27 nov 2024, ore 7:45 
Ill try that, for now i been experimenting with diffrent compressions and im wayyyyy to afraid to switch texture type.

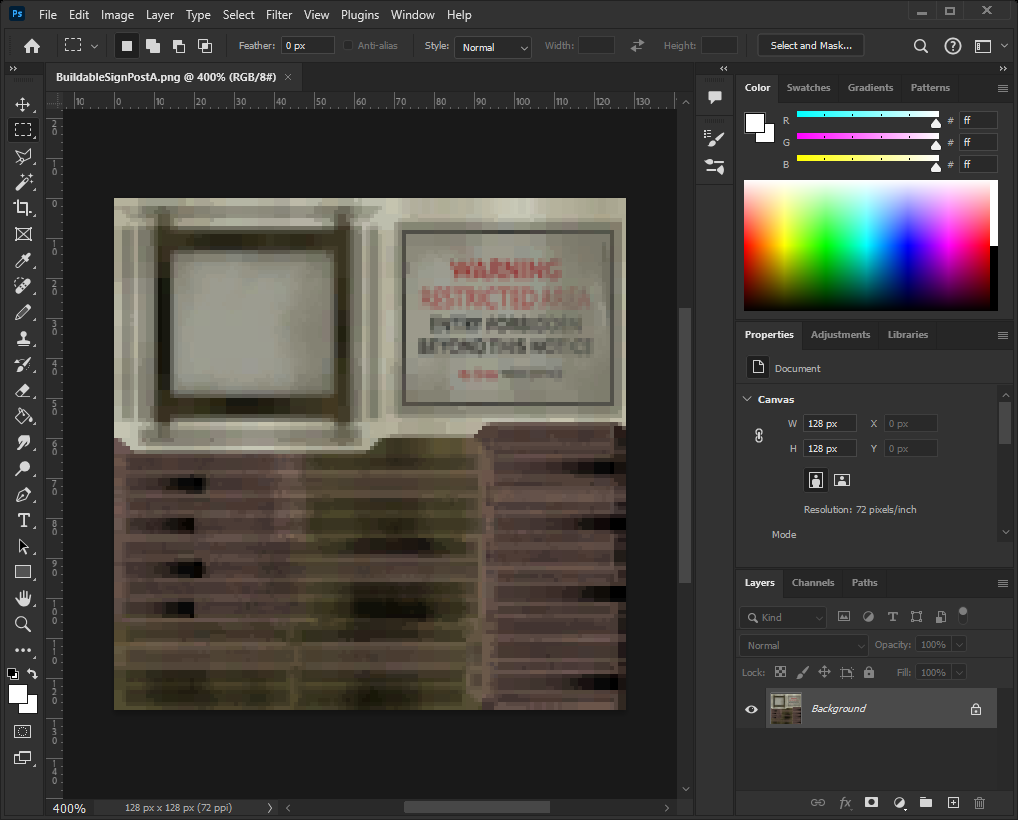
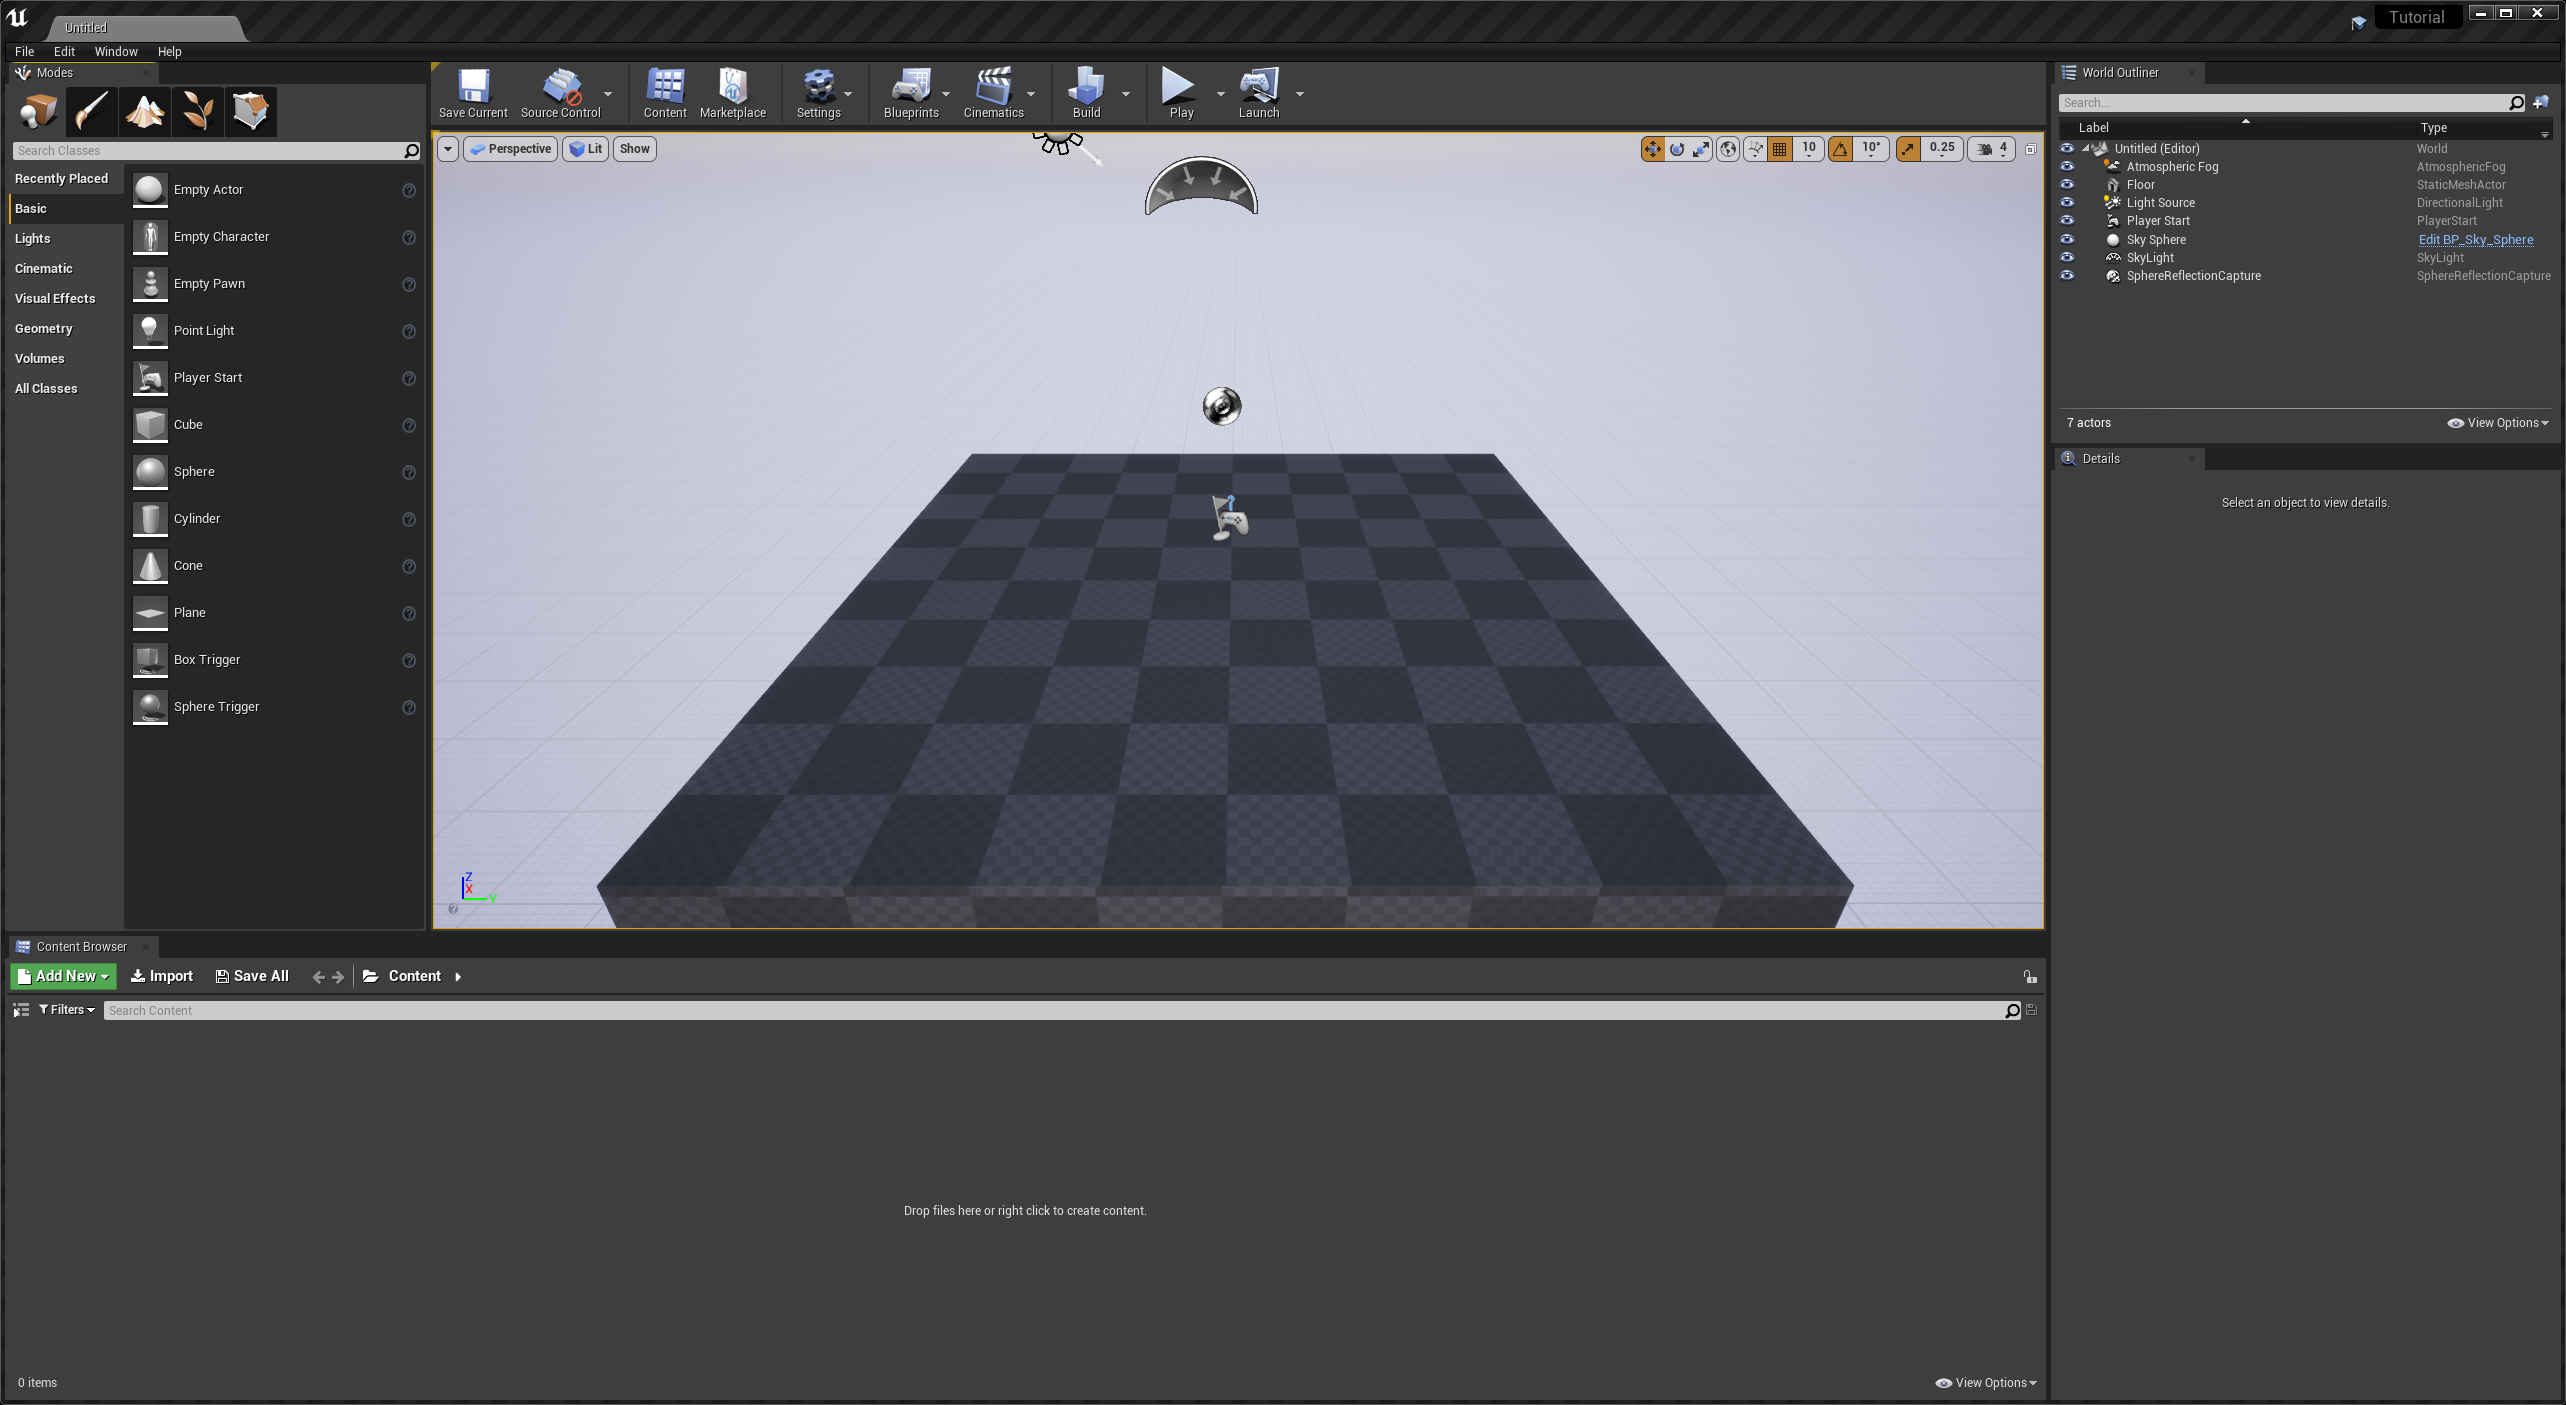
I though since those layers are not mono and are seperated between diffrent aspects i shouldnt use srgb.
yurisuika  [autore] 26 nov 2024, ore 20:40 
Perhaps try setting the asset to use sRGB colorspace as mentioned above? When you open the asset options in UE.
Blizzard 26 nov 2024, ore 15:30 
Hm, I have an issue.
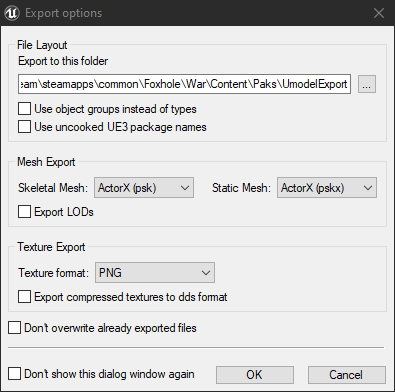
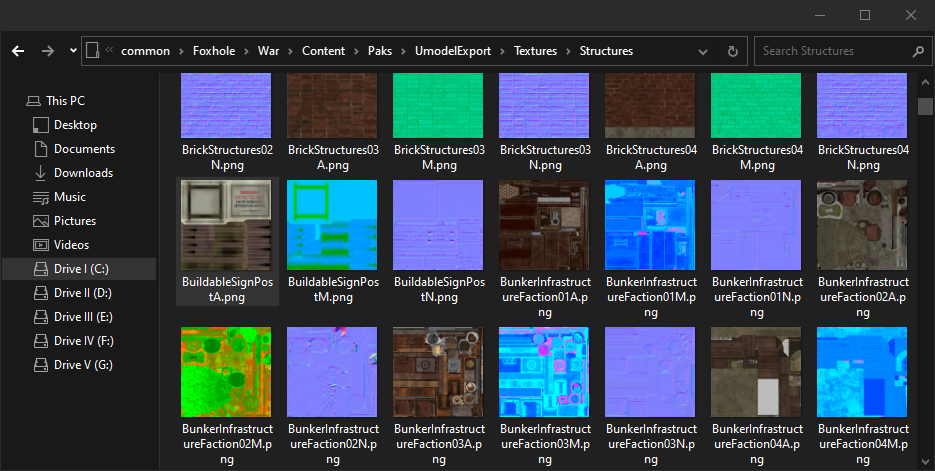
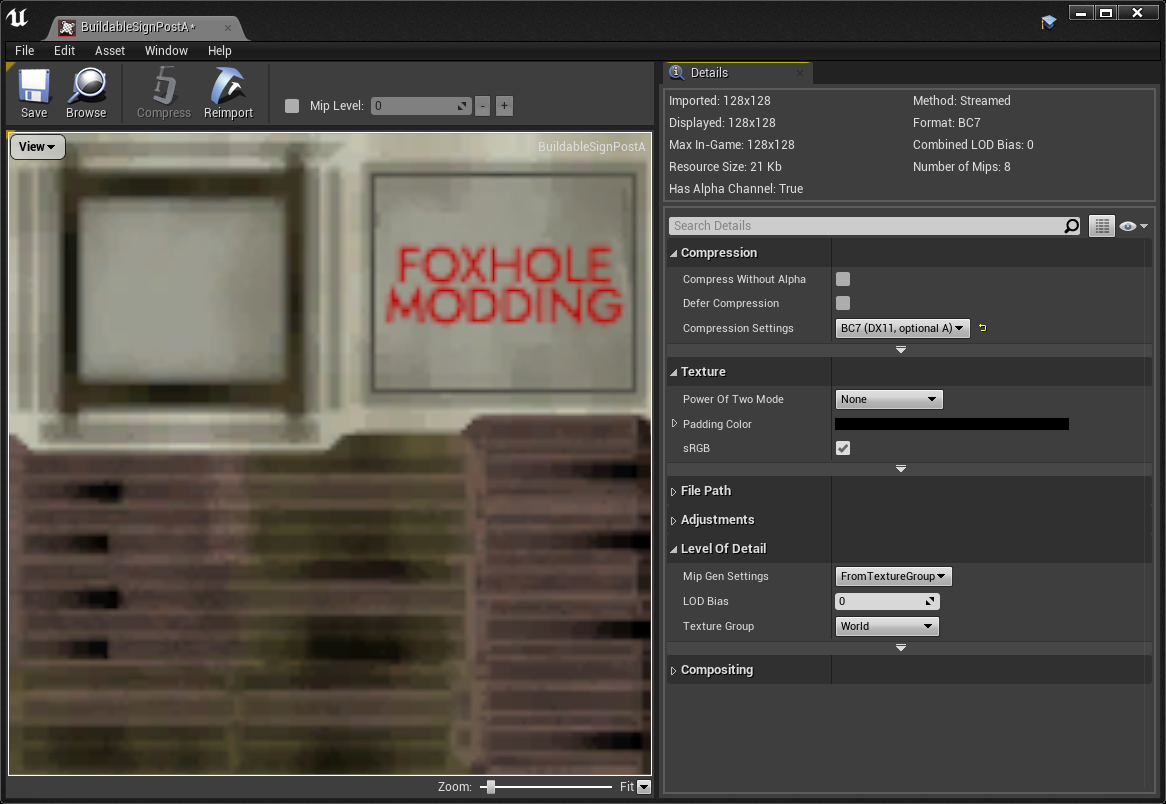
I made a simple retexture, but even tho the file looks good in viewer, and in 2d pixture itself.

But, in game its really really bright, trying to figure out whats wrong.
yurisuika  [autore] 27 set 2024, ore 14:25 
If you can find an alternative software that does not show such a report, I can replace it with that. Otherwise, based on that only a single VT vendor came up with any detection, and this report is only in the 32-bit version and not the 64-bit one, I think it is safe to assume it is just a false positive. And so just use the 64-bit one if you are worried so? Which you should probably be doing anyways.
SabrePlays 22 set 2024, ore 23:48 
Probably not lol was doing this while very tired not the best idea. Just wanted to say that there don't seem to be any missing images on this guide on my side? I counted 26 images?
yurisuika  [autore] 22 set 2024, ore 23:35 
It seems as though a lot of the images on this guide were corrupted as Steam guide images seem to do for some reason unlike screenshots or artwork, and I can't find them anywhere on my system, so for now there will remain blank areas on the guide.
yurisuika  [autore] 22 set 2024, ore 23:18 
It sounds like perhaps you did not associate PY files with Python when you installed it?

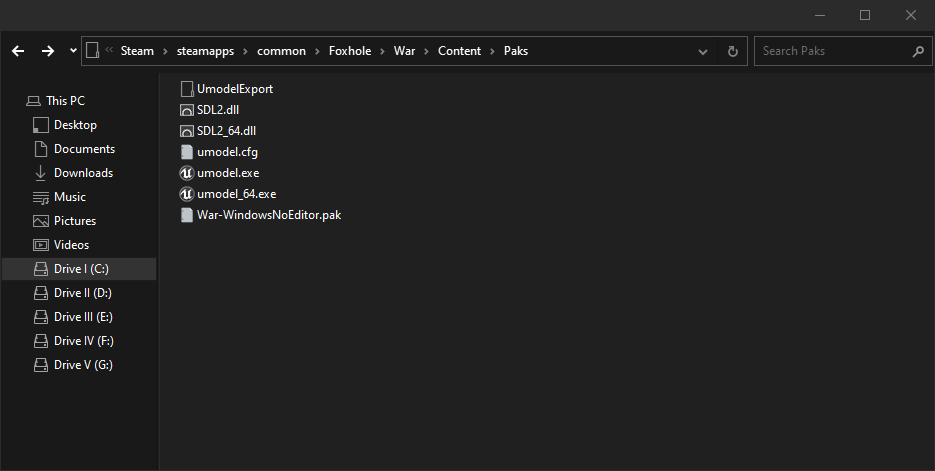
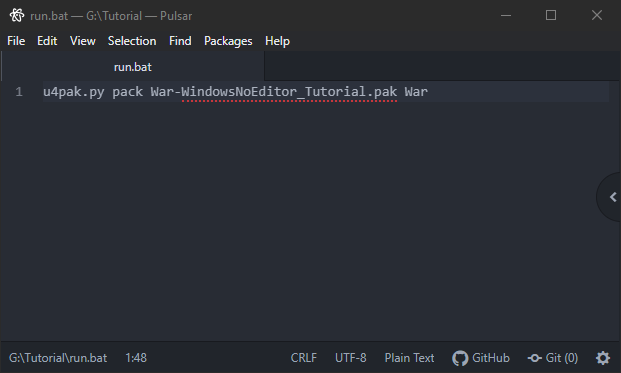
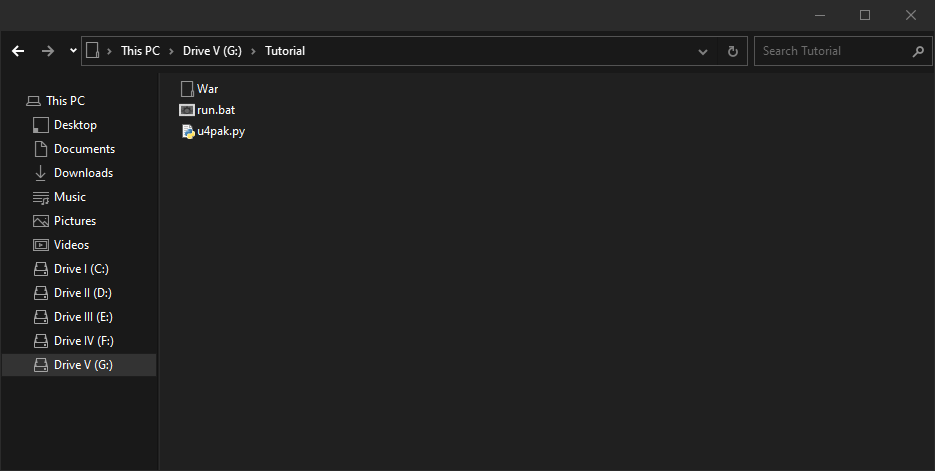
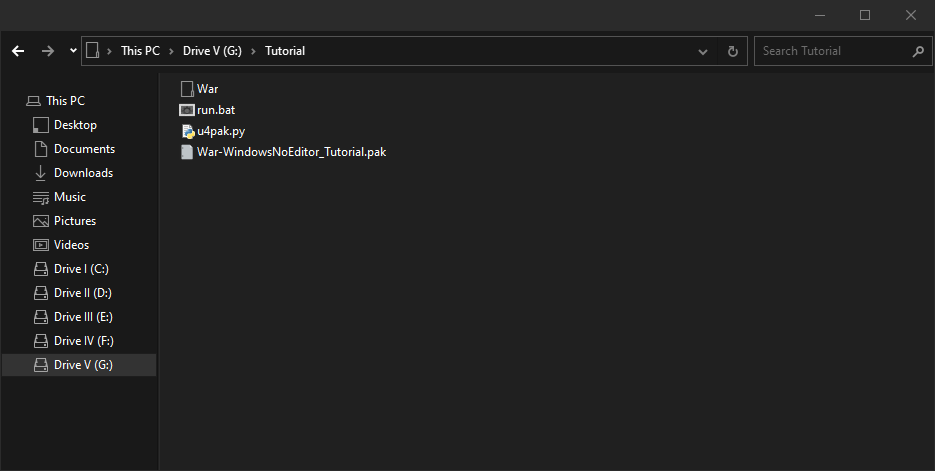
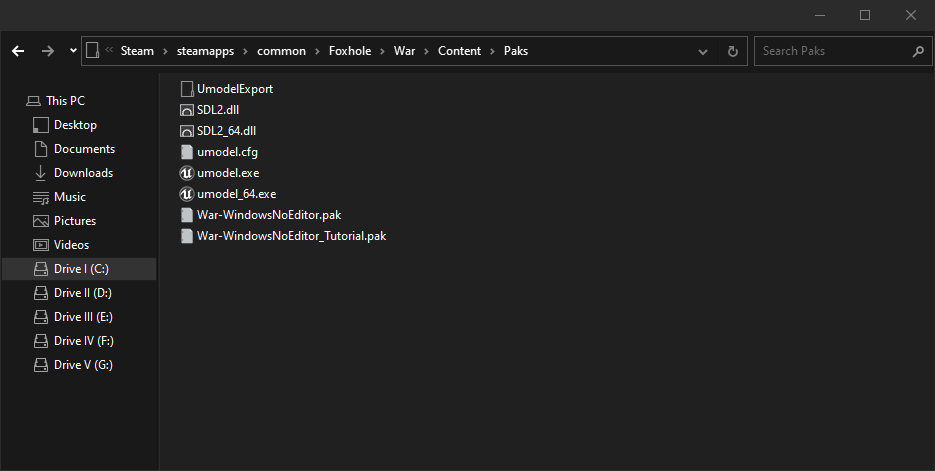
Regardless, it is just a single line command so you don't really need to run it through a batch file, but it does save you time if you end up packing it multiple times and sure beats having to always cd to the dir.