No More Room in Hell

No More Room in Hell

Not enough ratings
mg_farm - A Guide to Growing Crops and Killing Zombies
By Qwazzy
I really, really enjoy the casual / chill / cozy vibes of this map, and have already put about 8 hours into it total. I decided to make a guide about it, even though I'm expecting maybe two people total to look at it. Maybe more, who knows!

Currently up to date for map revision 2, from December 9.
2
   
Award
Favorite
Favorited
Unfavorite
QUICK WARNING (spoilers and whatnot)
Part of the fun of this map is figuring out how stuff works on your own, so I encourage you to try the map out for yourself first. You can use this guide as reference material if you can't figure something out, or binge on it after giving it enough time and wanting to see what you missed. (Heck, I'll probably miss some things too. I'm only human.)

I can't stop you from reading this whole thing and going into the map with considerable knowledge already at your fingertips. I'm not the boss of you. But consider setting this aside for a bit and exploring the map blind if you want maximum enjoyment.
What is this map?
mg_farm is a map created by Porkchops4lunch, Durkhaz, Merzarime, and Dysphie. It's a deceptively intricate map using well-designed Hammer entities and even multiple vscripts to make everything work in ways unexpected for a typical NMRIH map. The goal is to end the map by pouring enough money into the auto shop to repair a van, and use it to leave. Though you'll quickly find this map is more about the journey, not the destination. There are a myriad of ways to earn money, such as farming (the obvious draw), feeding farm animals, foraging for mushrooms, fishing in the river, and doing quests from town.

You can find the map here:
https://steamcommunity.com/sharedfiles/filedetails/?id=3108731116
The Basics
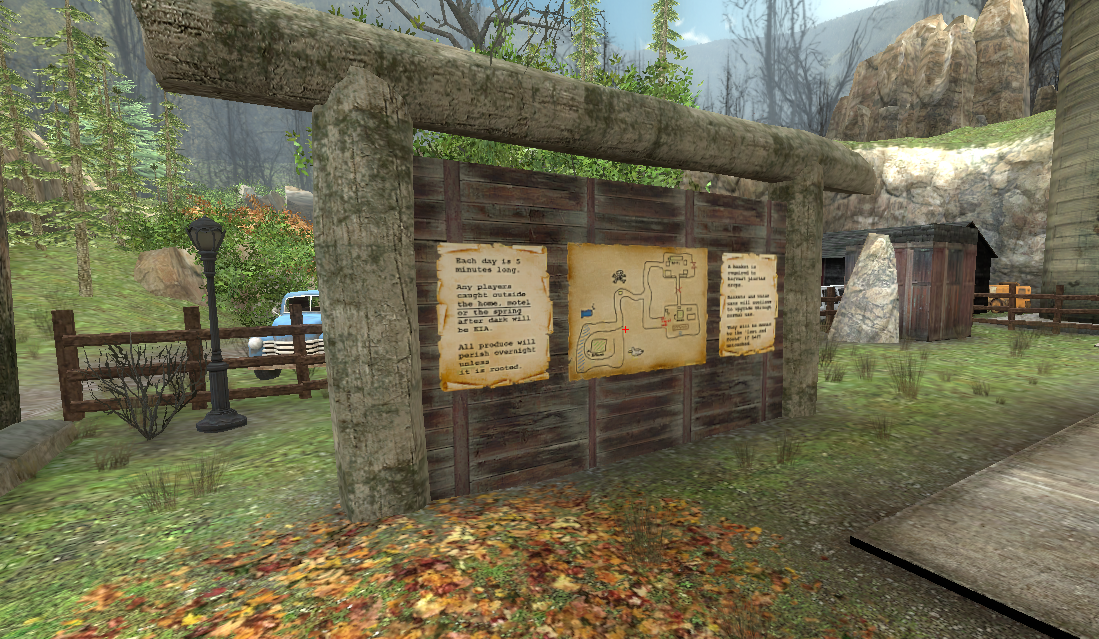
Here are the basics of how the map works. Most of this can be found in the map as well, on the bulletin board to the right as you leave the farmhouse's front door.

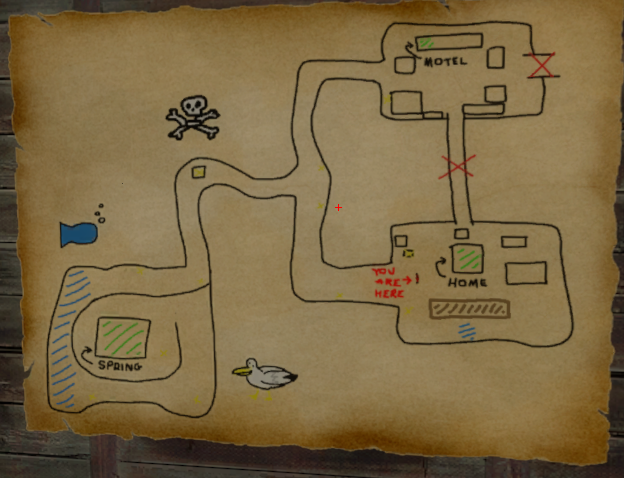
The map is fairly straightforward. Green spots are safe zones. The brown spot is the field, and blue spots are water. The middle red X is the blocked tunnel, the other red X the extraction spot for later on. There's a couple more icons that actually do have meaning and aren't just decor.
Skull - noting a dangerous spot. Multiple elimination quests spawn their targets here. Tread this area carefully.
Fish - fish spawn here and float down the river.
Bird - the bird spawns around here and flies around the forest.

Day and Night
The map has a day and night cycle, each day taking 5 minutes. As the last moments of the day end, you'll see several telltale signs - your vision darkening, nighttime ambience playing, and a wolf's howl when about five seconds remain.

If you are not in a safe zone when the day ends, you die instantly. Same for zombies.

The three safe zones are:
1. The farmhouse, where you initially spawn.
2. The hot springs located deep in the forest.
3. The motel in town, inside Room #1.

Initially, you'll need to pay attention to the lighting and ambience to ensure nightfall doesn't sneak up on you. Later you can buy upgrades that make it easier to tell how the time is progressing, most notably the shelf clock in Eleven-7 and the clock tower in the Scrapyard. The jukebox also helps, as the cozy music fades out near the end of the day, reminding you night is coming.

Money
Money drives most of the map's elements. Vscript provides a handy display on the right of your screen with your current money amount at all times. When money is added or subtracted, you'll see that appear in the center of your screen, though it won't tell you who spent it or what for.

Money is shared between the entire server. You don't have your own money pool. Keep that in mind before you go on a shopping spree and get kicked by annoyed players.
The Farm
The place you'll be spending the most of your time.

Here's what's available at the farm. Note that parts initially locked at the start of the map will be labelled as "(LOCKED)" in their title.

The Field
Where you plant crops and harvest them for teh moneez.

First, you need to clear some space, as the field is overrun with stone and wood debris. Either use your fists or get a melee - there's a knife and cleaver in the kitchen, and a hatchet stuck to a wooden stump in the yard. Then whack the debris until it breaks. The ones closest to the center are weakest, while the ones further out to either side will be tougher and you might want other players to help you break it.

Once clear, you can plant some seeds. They're the colored boxes over near the bulletin board. You start with a few at your disposal, and when more are bought they will show up here as well. Take them to the field and lay them where you want to plant, and punch it. If successful, a seed will form before your very eyes on light brown soil. If failed, a message will appear on screen to tell you what's wrong (for example, not enough space to plant).

Tip: You don't explicitly need a punch to plant the seeds. Damage in general will do. Holding a melee? Swing it. Holding a gun? Simply shove! Easy planting without putting your weapon away.

Next, take a watering can, dip it in water (there's a pond right next to the field), and bump the watering can on the crop. The soil will turn dark brown. Plants need to be watered once a day, and once they're watered, you can turn your attention to other matters until the next day begins.

Alternatively, you can strategically place sprinklers to do the watering for you. In my personal experience, they can be useful solo, but on servers I've noticed they don't seem to work sometimes (which I think is the server's fault, so YMMV - if you place a sprinkler and see a solid blue circle, you should be good to use 'em). Regardless, they're less necessary with groups since the work can be split up and leveled-up watering cans make the watering process easier. Use whichever works best for you. Remember that sprinkers only activate their effect at the very start of the day, so when you initially place them, you should still water the plants manually that day and the sprinklers will take over next day onward.

When the plant is done growing, you'll see fruit attached to it, ready to harvest. Grab a basket and hold the basket inside the plant. You should see a progress meter fill. Each time it fills, one crop is harvested. Some plants have multiple like tomatoes and oranges, some like the melon only have 1 per plant. You can continue to harvest until the basket is full, at which point you bring it to the shipping box by the field to sell for sweet cash.

Both the baskets and watering cans have their own "experience" that goes up by repeated use. When baskets level up, they harvest faster and hold more. When watering cans level up, they can water more plants before needing to be refilled. You can buy more of each in town, but they start off at their own level 1 and gain experience separately from the others.

Wine
A barrel and berry bush can be found behind the seed depository. Holding E on the bush drops 3 berries. Placing one in the barrel causes it to glow. Then the waiting game begins, as you must wait for 3 days to pass - after the 3rd nightfall, the barrel empties and wine spawns atop. You can sell the wine at home, or in town as a quest item for a higher reward.

The berries can be sold as-is for a measly $5 each. Only one berry per 3 days is needed for wine, so the others if sold add up to an extra $40 per 3 days on top of the wine's sale. Relatively low-effort, especially if sped up with coffee.

The main thing to remember about the wine is that it despawns the same as other products if left to the end of the day. It always spawns 3 days after it's started, at the beginning of the day, regardless of whether you initiated it at sunup or just before running into the house for the night. Simply put, if you activated the barrel on day 4, the wine spawns on day 7 and is gone by day 8. Remember when you started it, or simply get into the habit of peeking out at it as you leave the house in the morning to spot the presence of the wine bottle.

Respawn Totem
End of day has a trigger to respawn players after the night-kill does its thing. But if you need to respawn them sooner, the totem does so, for $10 a pop. Not needed on Casual difficulty, as respawns are free and frequent.

(LOCKED) Barn
The barn is where farm animals are kept. The barn can be unlocked from the scrapyard in town. The same store also sells cows and chickens for it.

At the back are two tubs. One lets you withdraw feed from the silo to use on the cows or chickens. The other tub lets you put feed back into the silo, if you need to. The silo holds 10 feed initially, but can be upgraded to hold 50. As of now there's no numeric display of the silo's contents that I'm aware of.

You can have a max of two cows. Each cow can be fed once per day, which puts a milk bucket under them. Hold E on the cow to milk them, which fills the bucket. This can then be sold. Cows won't die if not fed, but they won't produce either.

You can have a max of four chickens. Each chicken can be fed, which causes it to lay one egg a day for 3 days in a row (the eggs can be sold as-is), after which it will need to be fed again. Chickens won't die if not fed, but they won't produce either. Additionally, each chicken can be bought an upgrade at the Scrapyard to become Golden Chickens, which lay gold eggs worth 4x more than regular eggs.

Cornfield
The corn grows all by itself. All you have to do to harvest it when grown is hold E on it. Doing so adds 2 animal feed to your silo.

Lost and Found
This space is where items are teleported to if unused for several days. This doesn't teleport every item like guns/melee, but mainly map-centric items that might cause problems if they're lost. For example, baskets and watering cans and unplanted seeds. It's a good idea to check the L&F every few days in case something teleported there.

(LOCKED) Weed Shed
Yep, you can grow weed on this map. And it's decently profitable too.
The only seed that can't be grown in the field is weed, represented by a jet-black box with purple glow. These must be planted in pots inside the weed shed, and they can't even be bought until the shed is unlocked. Once planted, they too must be watered, unless the "shed sprinkler" upgrade is purchased (which is highly, highly recommended). After that, it's just a matter of waiting until they're fully grown and harvesting with a basket as usual. With the sprinkler upgrade, weed is a profitable and low-maintenance plant, well worth keeping in stock at all times.

(LOCKED) Tool Shed
A small tool shed, locked with a padlock. A welder bought in town is needed to open. Inside is an inventory box with an assortment of melee weapons as well as some fuel for the chainsaw. It's a good idea to unlock this early so everyone has a melee weapon to defend themselves with.

(LOCKED) Teleporter
A two-way teleporter between the hot springs and the farm. Must be bought on the hot springs' side before it can be used freely.

(LOCKED) Basement
A basement area under the farmhouse. It's pretty much entirely recreational - you can buy instruments and other decorations for the basement to admire and play with.

(LOCKED) Tunnel
A tunnel behind the farmhouse that leads directly to town. It's initially blocked and must be cleared with dynamite to enable free access. Costs $1,000 to do this, but worth it in the long run, especially whenever you need to make purchases in town.
The Forest
Refer to the map at the farm to see the general shape of the forest. It's more of a linear forest "path" that has a loop at the end where the hot springs are. Travelling it is scenic, though potentially dangerous, as it's usually filled with zombies. Tread with care.

Mushrooms can be found here decently often in various spots. They can be carried to the hot springs and sold there. They usually can be sold at home too.

You can also find the occasional purple seed box. These can be taken home and planted, yielding a very profitable crop.

A seagull can be seen flying over this area - if you shoot it down, you can get a meat cube from it. Take it to the hot spring for an easy sell, or take 3 of them to the quest box in town for a greater reward. Shotguns are probably your best friend for taking down the bird, though other guns can too - be prepared to lead your shot some, depending on your connection quality to the server.

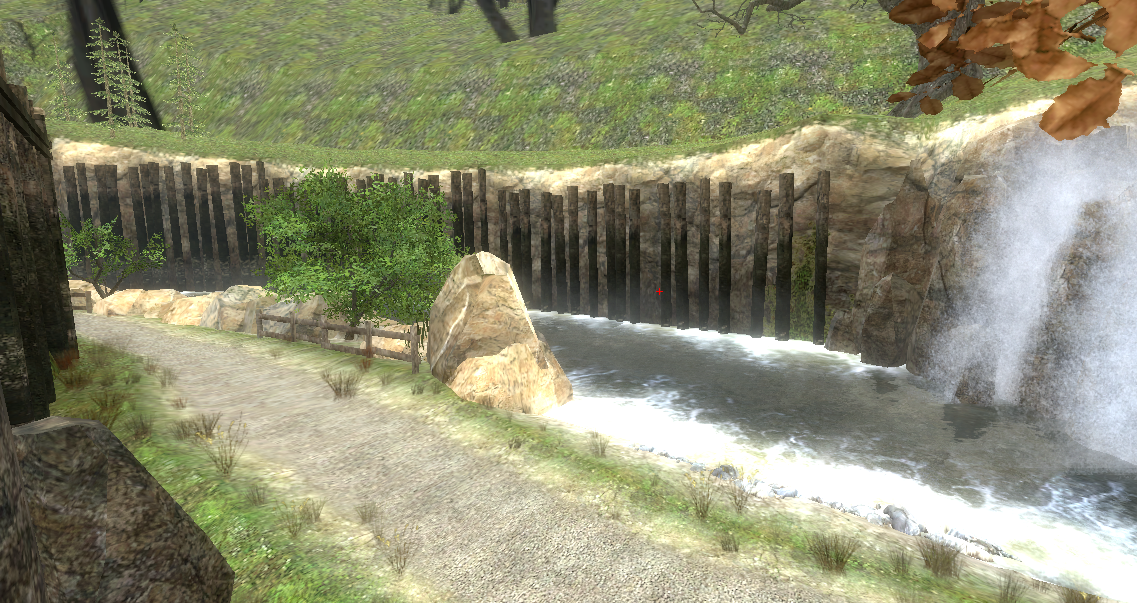
And lastly, there's a short river spot along the path where fish can spawn and float down the river. You can "fish" for them by grabbing them out of the water and taking them to sell the same way as mushrooms. This can be decently lucrative early-game and an alternative to those who find farming dull.
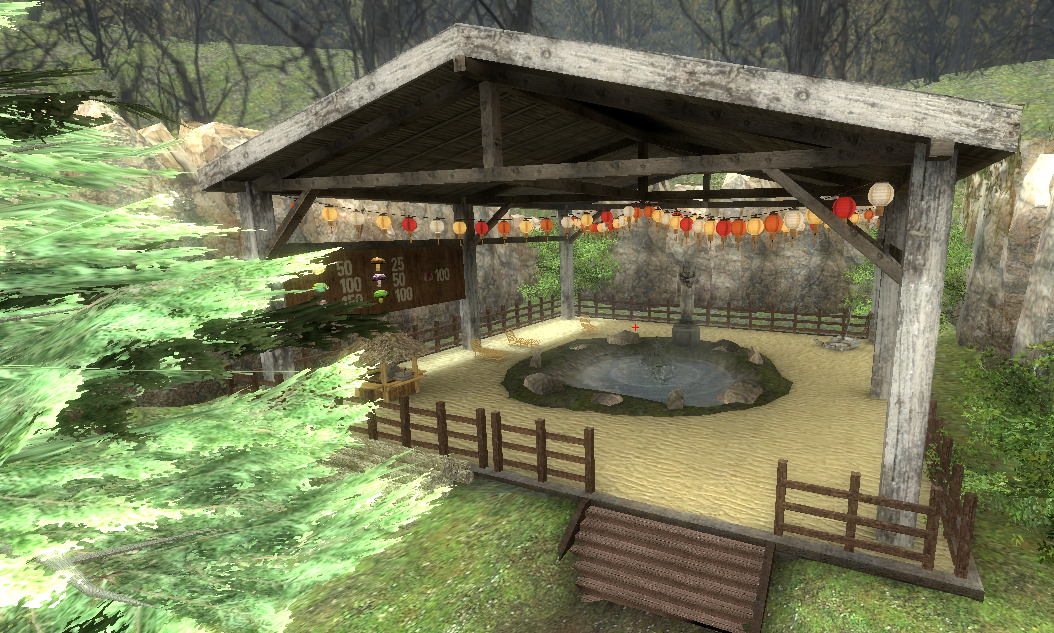
Hot Springs
A cozy spot in the woods. Here you can sell fish and mushrooms, as well as meat cubes from birds you might manage to shoot down. There's an unlockable teleporter leading back to the farm.

If you can't get the teleporter, you can shorten your travel home by carefully descending the cliffside next to the spring. Be careful, as going off in one jump can easily kill you with fall damage. Go down Skyrim-style.
The Town
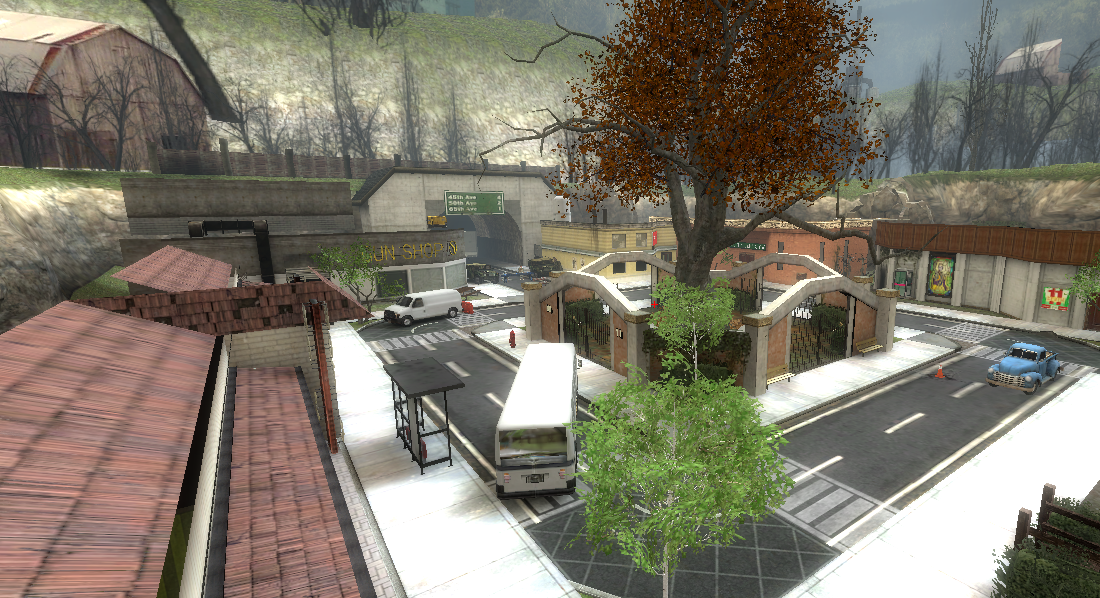
Easily the most complex and fun part of the map besides the farm itself. The town has a myriad of shops to explore.

The Scrapyard
A random assortment of useful things to buy. Some of the most noteworthy are:

  • The Barn and its upgrades, covered in the Farm section.
  • The weed shed and upgrades, covered in the Farm section.
  • A Bell Tower, used to warn players of a dangerous horde about to descend on the farm.
  • Some cute pets for the farm!
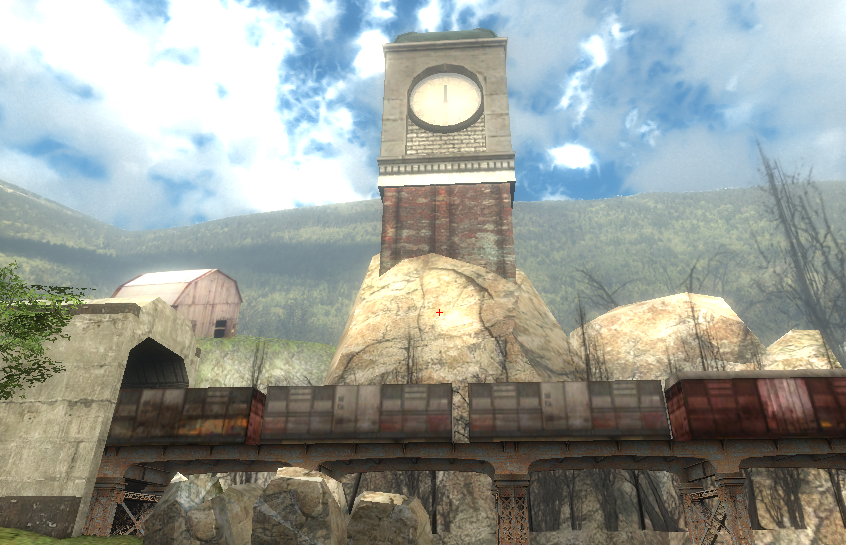
  • A clock tower, visible in the skybox, that shows the time throughout the day. Very useful to tell at a glance how much time remains in the current day. (It doesn't start working until the day after it's bought.)

Motel
The motel is the safe spot in town to survive the night. There are four rooms, though only room 1 is available. Players can rent it for 1 night for $10, or it can be permanently unlocked for $500. if rented, the players will be teleported outside with the door locked at sunbreak. If bought, they'll stay inside and the door remains unlocked.

The motel owner also sells keys for a very, very expensive hovercraft...

Gun Store
About what you'd expect. And ran by someone you'd expect, too.

There's only one of each gun to buy, so if a player has a gun and leaves the server, you'll have to go looking for where they dropped it. Keep this in mind.

Ammo can be bought, though there's a limit of 20 boxes per day to avoid spam. Additionally, ammo on the ground and not in players' inventory disappears at end of day, so don't pile up ammo at home. Buy only what you can carry, and don't overdo it. You can always come back and buy more.

Players can also buy armor, which functions just like suit armor from Half-Life 2.

Lastly, players can buy up to three turrets here. Each has their own color to distinguish between them, though they function identically to one another. The turrets are deceptively complex - they can take multiple ammo types, can only hold a limited amount of ammo per clip, can be carried to a chosen spot, mounted in place to keep them from moving, player-controlled when mounted, ammo can be ejected, upgrade cubes can be bought and inserted to improve them.... and on top of all that, you can also insert random various objects to act as ammo of their own. Which items you can insert is something you'll have to experiment with yourself. Though I will provide one hint if you want it:

Have you bought Maxwell yet?

Feed and Seed
Where you buy seed and feed, simple as.
Seeds are automatically sent to the seed baskets at home.
Feed is automatically deposited at the silo.
(It may initially seem as if you can only buy 1 feed, as it disappears, but just wait - it reappears after a second or two, allowing you to buy as many as you need.)

Pharmacy
For health supplies as well as Contracts (quests, if you prefer).
Health supplies are pretty self-explanatory.

Quests are an interesting part of the map. When accepted by pressing E on them, they turn red. When completed, there's a short cooldown period (usually 60 seconds) before they turn white again, ready to be re-accepted.

There are six delivery requests, paying players to bring certain items to the box inside the Pharmacy. Some are simple products you make at the farm, or forage in the forest. The missing jewel only spawns when the quest is active, and must be found and brought to the pharmacy box for the reward.

The other six quests are elimination quests. Activating them spawns special enemies on the map that must be killed for a reward. If not killed by the end of the day, they despawn and the quest has to be re-activated in town. It's usually not a good idea to spawn all six at once unless you're really prepared for it.

If you want to find out where these spawn on your own, don't read the spoilers below.

1) Red Seagull - spawns on the roof at home. Can be shot, or if you go out a second-floor window onto the roof, you can simply shove it to kill it.

2) Scientist - spawns at the hot spring. Incredibly easy to kill, but not worth much. Usually not worth doing unless you're already going to the spring for another reason, or have access to the teleporter.

3) Giant - spawns near the river. Deceptively easy to kill with headshots.

4) Army zombies - spawn in a big group by the ruined house. Some are runners, others are walkers. Be ready for this one, as you can easily be swarmed by multiple runners. You must kill all of them to get the reward.

5) Zombie Dogs - spawn near the ruined house. Can be tricky to kill if you're not ready, as their hitboxes are different than the average zombie. I usually aim for center mass with a shotgun or an automatic spray. You must kill all of them to get the reward.

6) Chainsaw Zombie - probably the deadliest. Runs very fast, and can one-hit kill you if you let it "grab" you with the chainsaw. Spawns near the bottom of the cliff the hot spring is on (where you skyrim-descend the cliffside). If you have trouble dealing with him in person, consider leading him into a turret ambush.

Seven-11 (Eleven-7?)
The "convenience" store, with a wide plethora of items to buy. Many are cosmetic or silly in nature, but some are genuinely useful items. Some highlights:
  • Plinko and slot machine, which are very simple gambling tools with no interactivity other than pressing E on them and seeing if you won anything. The amounts you get are so low that it's more of a novelty than an actual money-maker. (Not trying to complain about 'em, just pointing out it's not something you want to sit in front of and spam E on for entire days. I hope.)
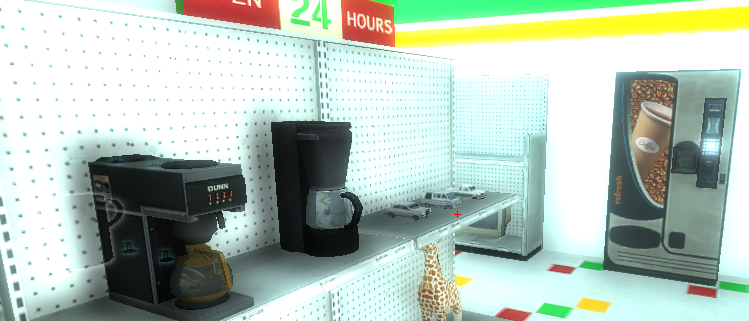
  • Coffee machines for home, and a coffee vending machine. More about coffee in its own section.
  • More baskets, watering cans, and sprinklers.
  • A small shelf clock. When bought, a timer will appear near the end of the day to count down the last sixty seconds before the nightfall death trigger.
  • Dynamite for the shortcut, and welder for the tool shed.
  • Mini-Teleporter. Placed by the seed baskets at home. The small square pad is the teleport destination and can be moved freely by picking it up. This is very useful for moving a lot of seeds to the field or weed shed without running back and forth one seed at a time.
  • Minecraft swords that actually hurt enemies!
  • A jukebox that plays fitting Stardew Valley music to vibe to as you farm. It's useful too, as it fades out near the end of the day, giving players a warning that end-of-day is approaching.
Auto Shop
The endgame. Has multiple expensive items to buy, which all fit into the van. Once all have been bought, the van drives out and players can end the map by extracting. That's pretty much it.

The "Tree"
An ominous tree with a face on it. Can spend $100 here to advance all crops' growth by one day instantly. Very useful when you have a lot of crops planted and watered already, including weed in the shed.

Blue Delivery Truck
Players can place carryable items into the bed of the truck to teleport them to the identical blue truck at the farm, for a cost per item. Useful at the beginning, though once you have coffee and the shortcut unlocked it becomes less useful unless you're trying to move multiple items in bulk.
About Coffee
You'll quickly realize that getting around the map in five-minute intervals can be a bit of a slog. Luckily, you have a weapon to combat this - coffee, that increases your movement speed!

There are three sources of coffee you can acquire, sorted by power:

1) The basic coffee maker. Costs $100 at Eleven-7. Found at home in the kitchen. Multiplies your speed by 1.5x - not a huge boost, but useful early-game for certain, easily acquired with only a few crop sales. Get this first.

2) The deluxe coffee maker. Costs $1,000 at Eleven-7. Found at home in the kitchen. Multiplies your speed by 3x - very useful, and will become a daily routine once you have it!

3) The coffee vending machine at Eleven-7. You can't bring this one home, but you can buy coffee from it for $5 per serving, and it multiplies your speed by a startling 4x! Useful especially for those who stay at the motel overnight.

Want a HOT TIP (hot like coffee, even) about the speed effect? Check the spoiler below.

The home and motel safe zones remove the coffee effect at end of day. But the hot spring does NOT. I'm not sure if this is intentional or an oversight (if the latter, it might get patched later). But it's useful nonetheless. If the teleporter is unlocked, players at the farm can opt to wait at the spring instead of the farmhouse so they don't have to re-use the coffee machine. And since the vending machine coffee is strongest, players can use the hot spring to keep that 4x effect without re-buying another cup in town! (You'll feel like a zoomin' superhero with this one weird trick. Just be careful not to sprint into the loving arms of a zombie while you're kicking up dust.)
About Blood Moons
Every handful of days or so, an event will trigger about 2 minutes into the day. I call it a Blood Moon, though it's not explicitly named ingame from my understanding. A loud jeering laugh will play and your vision will be distorted by red as a huge horde of zombies begin to spawn all around the farm, including more than a few runners. When the day ends, the blood moon ends too. So you'll have about 3 minutes of zombie mayhem to deal with.

This event is dangerous for obvious reasons, and makes doing the routine farmwork difficult if not impossible unless well prepared.

Don't forget the bell tower upgrade. It gives you a warning at the beginning of the day that a blood moon is approaching.

One tactic is to simply run away. Zombies only mob the farm and woods - retreating to the hot spring or town is a simple, if not boring tactic to avoid this headache entirely.

The other tactic is to hold the farm, using guns and melee as well as prepared turrets. This is arguably the most fun way to handle it, though it can drain some of your money for guns and ammo. It's very important to remember that zombies die the same way you do at nightfall - if all the players hold up in the house and lead a bunch of zombies inside to attack them, they won't despawn at the end of the day, leading to a messy cleanup the next day (not to mention the possibility of being bitten during the fadeout when you're blind!). It's a good idea to stay outdoors and only retreat inside when the day is just about to end. Alternatively you can get on the second floor roof to be mostly safe for a bit, though that will lead zombies into the house.

Don't worry too much about the farm on these days - plants and animals won't die without attention, they just pause until addressed. Focus on your own survival so you don't leave dropped weapons lying around and turn your own corpses into runners that make the fight even more difficult. And consider buying and using gene prior to a blood moon to avoid turning if you die.
Conclusion
I will try to keep this updated whenever the map happens to update. You are of course welcome to correct me if any of the info here is wrong. I don't intend for any of it to be, and will fix anything that needs fixing.

A big thanks to Porkchops4lunch, Durkhaz, Merzarime, and Dysphie for making this unique map. A lot of time and effort was put into it and it shows! If you enjoy the map, make sure to visit the workshop page for it and give it a thumbs-up and a favorite, too. A comment wouldn't go amiss either, I'm certain!

And if you actually read though this entire thing, thanks! I hope it was of help to you.

I'll link to the map again one more time, for convenience:
https://steamcommunity.com/sharedfiles/filedetails/?id=3108731116
15 Comments
Mxple4Leafs Feb 9 @ 8:22am 
Oh.. Thanks lmao
Qwazzy  [author] Feb 9 @ 5:06am 
That's the auto shop in town. Lots of expensive purchases, and essentially is the endgame so you can bring the map to a close instead of going on infinitely.
Mxple4Leafs Feb 8 @ 9:59pm 
How do I "prepare a vehicle that's suitable for travel"?
Qwazzy  [author] Dec 14, 2024 @ 9:10pm 
I'm probably gonna make another guide soon that has my custom CFG setups and other useful CVARs to edit, for those playing on their own servers and wanting to tweak the game to their preference.
Qwazzy  [author] Dec 14, 2024 @ 9:09pm 
If you are playing on a local server and can enable cheats, then you can simply spawn a logic_timer that repeatedly deletes any runners that spawn in. This is how I do it when I play offline solo. After enabling cheats, paste this into the console:

ent_create logic_timer refiretime 0.3 startdisabled 0 ontimer"npc_nmrih_runnerzombie*,Kill"

You can adjust the "refiretime" to a larger number if it makes your game laggy, though I have no issue at all using that speed. 0.3 is three-tenths of a second, so 1 means "1 second".

Alternatively, if you would rather make the runners turn into shamblers instead of simply dying, use this:

ent_create logic_timer refiretime 0.3 startdisabled 0 ontimer"npc_nmrih_runnerzombie*,BecomeShambler"

And if you want to get rid of kid zombies too (you can't turn them into shamblers):

ent_create logic_timer refiretime 0.3 startdisabled 0 ontimer"npc_nmrih_kidzombie*,Kill"
suzinistherealjuno Dec 14, 2024 @ 6:22pm 
i heard you know how to remove runners from the game entirely. can you share this information? there are multiple mods on the workshop to do this but they only partially work
Qwazzy  [author] Nov 17, 2024 @ 7:00am 
Much appreciated. :steamthumbsup:
Cpt.Haxray Nov 17, 2024 @ 1:10am 
Just want to confirm that this is a fantastic guide for Porkchop's map.
Qwazzy  [author] Jul 10, 2024 @ 10:40pm 
Played the map the other day and it still worked fine. Make sure you have the right seed (black box) and try to put it as close to the center of the pot on the table as possible before you hit it.
BlackDragon Jul 10, 2024 @ 9:56am 
Weed seems broken. "Need pottery" message when planted in the pot inside weed shed