Team Fortress 2

Team Fortress 2

61 ratings
MvM: a guide for Advanced Missions
By Vallinek and 1 collaborators
This guide's goal is to give out general tips for every Advanced mission in Mann VS Machine.
   
Award
Favorite
Favorited
Unfavorite
Introduction
A lot of players, including us, found the mission names to not be a good description of the mission content. All we really get is a punny name, often with Added Alliterative Appeal, and it's off to do our job. So, we made this guide, which gives basic description of each mission's content, as well as final wave info.
This guide was intended for experienced MvM players, so you won't learn any basics here, but you will learn what to expect from each mission. They are divided into tours they belong to, for the ease of use.
Have fun reading!
Operation Steel Trap - Disk Deletion (Decoy)
Things to know about this mission:
  • This mission contains different types of Giants - Giant Flare gun Pyros, Giant Crit-Boosted Soldiers, Giant Heavies and Giant Scouts (on waves 3 and 7).
  • Each wave usually has a different spam of enemies - Wave 2 features a crapton of Bowmen, while Wave 4 - a lot of Heavy Champs.
  • This mission throws quite a bit of Soldiers at you, and sometimes Heavies and Demomen.

Final wave:
It is basically a spam of Giant Crit-Boosted Soldiers and Giant Heavies, with two tanks and some Heavies thrown in-between, plus Snipers running around. You'll need good firepower to take them down, so having both a Heavy and a Pyro will be immensely helpful. The last few giants come with Uber Medics, so get ready for that.
Operation Steel Trap - Data Demolition (Decoy)
Things to know about this mission:
  • The first wave can be kinda difficult, as you are faced with six Giant Sandman Scouts while having only 400$ worth of credits to use. You can try going unupgraded Natascha Heavy for that one wave if you're having problems with it.
  • It features quite a bit of tanks. A tank buster is very useful.
  • You will find a good amount of different giants: Giant Crit-Boosted Soldiers, Giant Rapid Fire Soldiers, Giant Deflector Heavies, Giant Demomen and Giant Scouts (on waves 1 and 4).
  • All the Medics present in this mission are of the QuickFix variety, so you don't really need a Uber Medic killer.
  • There is quite a bit of Heavy Champs in this mission. They're basically damage sponges and you shouldn't worry about them too much.
  • Waves 4 and 6 feature crit-boosted Heavy Mittens that take flanking routes. They're weak, but if they get too close to you, they're going to make you laugh and you're basically dead at this point.

Final wave:
It begins with a tank and a spam of Heavy Mittens from flanking routes. Then, four Giant Demomen with Demoknights and a pair of Giant Soldiers. After that, another tank with more Heavy Mittens. Then, two Giant Deflector Heavies with Medics, another tank, and two Giant Rapid Fire Soldiers, also with Medics. Be watchful of Snipers throughout the whole thing.
Operation Steel Trap - Ctrl+Alt+Destruction (Coaltown)
Things to know about this mission:
  • It features quite a bit of Scouts, Heavies and Soldiers.
  • It sends quite a bit of Giant Soldiers and Giant Heavies your way. Some of them are assisted by Uber Medics.
  • Waves 4 and 7 feature Giant Scouts. Be prepared.
  • Waves 2, 5 and 7 feature tanks. A tank buster can make the work easier.

Final wave:
The wave begins with six Giant Scouts ALL descending at once. Destroy them as quickly as possible. Then, two Giant Heavies and one Giant Crit-Boosted Soldier, all assisted by Uber Medics, come in from the side paths, one after another. After that, two tanks, a spam of Scouts with eight Rapid Fire Soldiers coming in from both side paths, finishing with the last tank. Be careful not to die to Snipers throughout the whole thing.
Operation Steel Trap - CPU Slaughter (Coaltown)
This mission is pretty easy.

Things to know about this mission:
  • This mission has some tanks, especially the last wave, so a tank buster is very helpful.
  • There are often groups of robots (Soldiers/Heavies) with single Uber Medics. Try not to pop the Medics.
  • Expect some Giants, but fortunately, there are no Giant Scouts present.

Final wave:
It begins with an immediate appearance of a tank, followed by Soldier/Heavy spam. After that, two Giant Deflector Heavies with Uber Medics drop down one by one, which shouldn't be too huge of a problem. After that, another tank, followed by a spam of Soldier/Medic pairs and Sydney Snipers assaulting you throughout the rest of the wave. After that, some Scouts with a third tank.
Operation Steel Trap - Machine Massacre (Mannworks)
Another easy mission.

Things to know about this mission:
  • It doesn't feature much spam, single, maybe pairs of giants with Uber Medics, and a few tanks.
  • This mission has some Giant Deflector Heavies and Giant Rapid Fire Soldiers, usually assisted by Uber Medics, however they almost always appear alone, so they should be given the usual treatment of Medic removal and concentrated focus-fire.

Final wave:
It starts off by dropping two tanks at once, followed by Demomen and Pyros. Just concentrate on shooting the tanks while taking out anything that tries to get close. After that, a brief moment of silence before the first Giant Deflector Heavy drops down with four Uber Medics, followed by two more similar squads. There is quite some time between each one dropping on the field, so you should probably be done with each one before the next one arrives. When the last giant drops on the field, two more tanks arrive, shortly followed by the appearance of Spies. Spycheck, deal with the Heavy, and keep shooting at the tanks.
Operation Steel Trap - Mech Mutilation (Mannworks)
This mission is different from others. It's an endurance type mission, meaning instead of 6-8 short waves, you get 3 really long ones. Probably the only Steel Trap mission that might be moderately difficult for experienced teams.

Things to know about this mission:
  • The first and last wave feature tanks. A good tank buster can be useful in this mission.
  • Pyros are aplenty in this mission, and most of them are capable of airblast. Take care.
  • Starting from the second wave, Uber Medics start appearing with some of the Giants, as well as Razorback Snipers and Spies. Be ready for them.

First wave:
It begins with a spam of Soldiers, Pyros and Steel Gauntlets, so some good firepower is already required. Then, two Giant Heavies with more Pyros. After that, some Demoknights, with double tank in-between them. The most difficult part of this wave is beating it with only 1000$ starting credits.


Second wave:
It spams five pairs of Giant Demomen assisted by Pyros and Sandman Scouts. After that, tons of Bowmen with some Pyros and a few Giant Pyros. Halfway through normal Pyros will stop appearing, but the giant ones will have Uber Medics with them. Be mindful of Spies and Snipers throughout the whole thing.


Final wave:
It starts off with - again - some Pyros, and Giant Rapid Fire Soldiers with Uber Medics. After that, some Heavies and Pyros, and then squadrons of Scouts. After that, double tank again, shortly followed by two pairs of Giant Heavies with Uber Medics, and some Sandman Scouts constantly appearing in support. Again, take care not to die to Snipers or Spies.
Operation Mecha Engine - Disintegration (Decoy)
Things to know about this mission:
  • This mission features a ton of melee-using robots which pose almost absolutely no threat.
  • This mission throws out a lot of Giant Scouts your way. Be prepared to fend them off.
  • The only other Giants besides the Scouts are Giant Demoknights on Wave 2 and the final wave boss.
  • Remember: every single wave contains a ton of Engineer robots in Support. Either prevent them from setting up or retreat when they do. Try to defend the spawn if they get too far.
  • The only Uber Medics in this mission are attached to the Engie bots. That can make taking them out slightly harder.
  • The tank-busting might get awry due to Engineer bots: clear some of them out if you know that a tank is coming soon.

Final wave:
It features a boss robot - Major Bomber, who has 40000HP, regenerates 200HP per second, and behaves similarly to a Giant Crit-Boosted Rapid Fire Demoman. Even with maxed out resistances, the whole volley of crit grenades will kill you unless you get lucky. The preferred tactic is having a Heavy or two with Uber Canteens point-blank shoot the boss, maybe with a help of a Medic with Projectile Shield and Kritzkrieg. He's tough, but not impossible to take out.

Operation Mecha Engine - Broken Parts (Bigrock)
Definitely the hardest mission in the Mecha Engine tour, and probably the hardest Advanced mission.

Things to know about this mission:
  • It throws a ton of crit-boosted robots your way, so max out crit resistance first as a top priority.
  • This mission has it all: Uber Medics, Giant QuickFix Medics, Giant Scouts, all kinds of Giants, and tanks. This is the ultimate test of your ability to somehow not lose control over the situation.
  • Wave 4 is weird: it features a spam of crit-boosted Scouts with an army (almost 100!) of Spies. Fortunately, the Spies should be dead before the Giant Heavies start appearing, so it shouldn't be too difficult. Just keep spychecking.


  • Wave 5 features a crapton of Steel Gauntlets with some Uber Medics and Crit-boosted Soldiers. Just keep wailing on those guys and you should be okay.


  • Wave 6 is basically the ultimate test: it has a spam of all types of crit-boosted normal robots, as well as Giant Crit-Boosted Deflector Heavies with Giant QuickFix Medics, Giant Rapid Fire Soldiers, Giant Scouts, and three tanks. The wave begins with the normal robots, and then throws tanks and giants at you. There are also Snipers present. Your team will need to multi-task to make it through this wave. A good tank buster will most likely make it easier for the team to deal with everything.

Final wave:
It features a boss robot - Sergeant Crits. It has 60000HP, regenerates 250HP per second, and behaves similarly to Giant Crit-Boosted Rapid Fire Soldiers. At this point, you should have maxed out resistances, so just be careful not to get hit too much and keep shooting the guy. Try not to die to Spies or Snipers.
Operation Mecha Engine - Bone Shaker (Bigrock)
Things to know about this mission:
  • This mission contains a few tanks. A good tank buster is indispensable.
  • Be prepared for a lot of Bonk Scouts, Heavies and Soldiers.
  • Like with other Mecha Engine missions, there are a lot of Engineer bots around, but they aren't as numerous as on Disintegration.
  • Waves 3 and 4 contain Giant Scouts. Don't let them slip past you.
  • From wave 5 onwards, Uber Medics start to show up. It's a good moment to make your Scout go Spy, if you want to.
  • Wave 6 constains Giant QuickFix Medics. Be prepared for them.

Final wave:
This wave features probably the easiest MvM boss of all: Captain Punch. He has 60000HP, regenerates 250HP per second, and is able to one-shot everyone, except he's using the Fists of Steel. While they do give him a huge damage resistance, his range is practically nonexistant, so he can't do anything to you unless you get too close. His melee damage vulnerability also makes Spy even more effective. The real threats are the armies of Snipers and Spies in Support - one-two people getting rid of them while the rest wails on the boss should do the trick. It's basically a test of how much raw damage you can dish.

Operation Two Cities - Empire Escalation (Mannhattan)
The harder of the Mannhattan missions, and probably the hardest Two Cities mission.

Things to know about this mission:
  • The whole mission is full of crit spam, so don't forget about ressistances in later waves.
  • There are Uber Medics in almost every wave. Leaving them alive could be very painful, so Demo who knows what to do is a life-saver.
  • Watch out for Giant Black Box Soldiers, they will restore their full health upon hitting a player. Either use the Projectile Shield or point-blank minigun fire to take them down.
  • Escalation contains all kinds of Giant Scouts, so taking a Natascha Heavy could help if your team has problems with them, but it's not necessary.
  • Be very aware of Steel Gauntlets, because they can easily rush through your lines and cap gates. They have Fists of Steel, usually with permanent crits, that can be really deadly, so dealing with them requires a great amount of firepower.

Final wave:
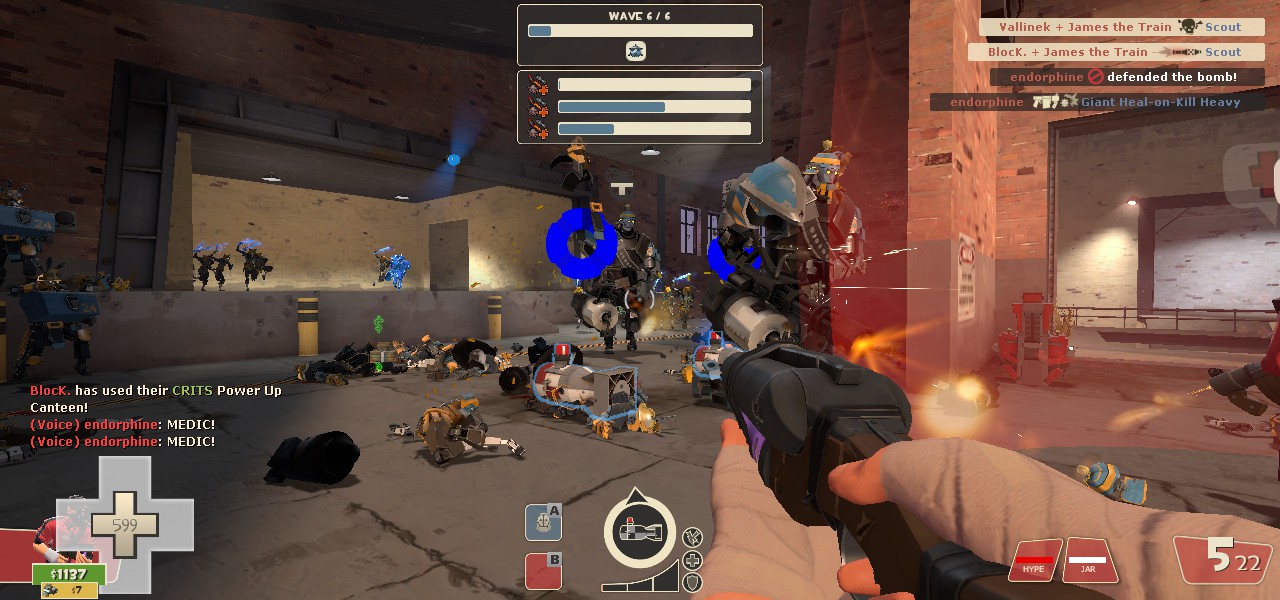
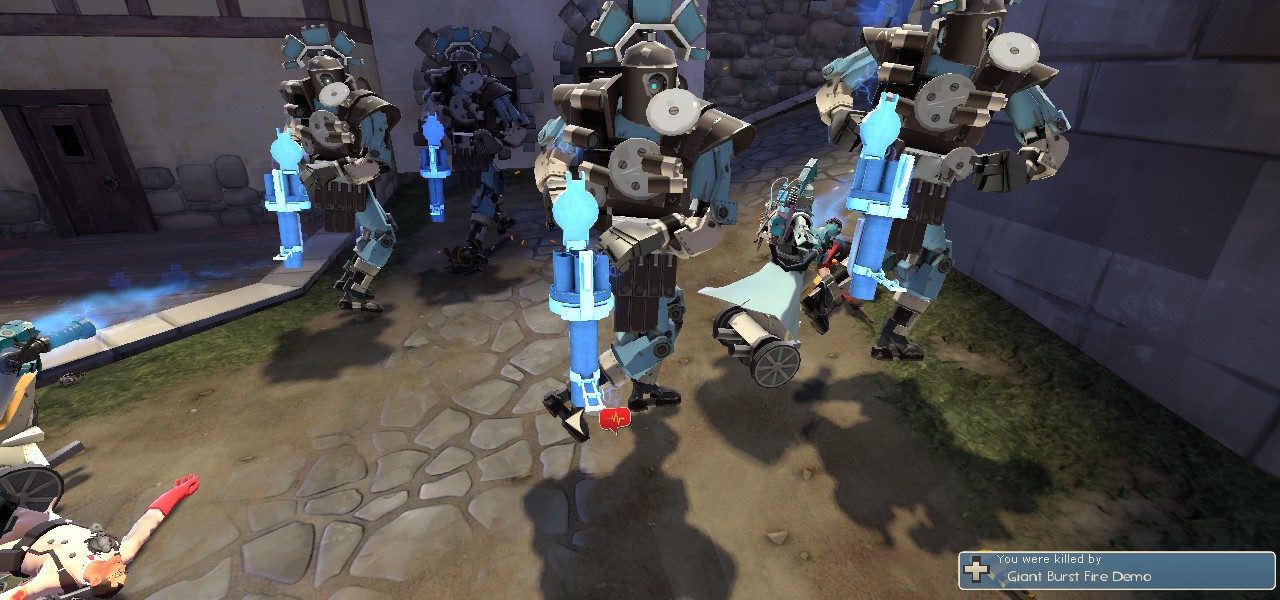
It contains 11 Giant Deflector Heal-on-Kill Heavies, 4 Giant FAN Scouts, a couple of Concheror Soldiers and a few combos of Crit Direct Hit Soldiers and Uber Medics. The first Giant Heavy is a boss. When he's about half-way to Gate A, Scouts come in immediately trying to cap the gate. After defeating the boss and Scouts, Soldier-Medic combos come in with Crit Heavies from support. Next 4 Giant Heavies are also bosses but much weaker. They all come in about a few seconds after each other. The last 6 Heavies aren't bosses, but have permanent crits. All 10 Heavies are assisted by Crit Scouts and Engies from Support. This wave may seem a little hard, but with ressistances upgraded, it becomes quite easy. One of most important things is to not let Heavies kill you. The first Heavy regains 1/3 of his health on kill, while other Heavies are restored back to full.

Here's a screenshot of the last wave when Giant Heavies come:
Operation Two Cities - Metro Malice (Mannhattan)
The easier of the Mannhattan missions.

Things to know about this mission:
  • The first three waves have a lot of Giant Scouts. Be prepared to fend them off.
  • This mission's Giant QuickFix Medics cannot pop their Uber, making them much less scary than they might seem at first.
  • The final wave features Giant Black Box Soldiers, which heal almost all of their HP if they as much as scratch you. Either use a Projectile Shield or point-blank minigun fire.
  • As in Empire Escalation, be aware of Steel Gauntlets. They can easily rush through your lines killing everyone at close range.

Final wave:
It begins with a squad of Steel Gauntlets, followed by Giant Crit-Boosted Burst Fire Soldiers and Giant Pyros. Then, crit-boosted FAN Scouts with Backup Soldiers and more Steel Gauntlets, and a few more Giant Crit-Boosted Burst Fire Soldiers. Then, the hardest part comes around: three pairs of Giant Black Box Soldiers and Giant QuickFix Medics, supported by an army of Crit Bowmen. Get rid of the Medics, and take out the Soldiers, while taking care not to die to Bowmen.

Operation Two Cities - Hamlet Hostility (Rottenburg)
Probably the easiest Two Cities mission.

Things to know about this mission:
  • Hamlet Hostility throws at you a plenty of Giant Robots with Uber Medics in almost every wave. A good Demo is very useful in this mission.
  • The first wave contains a variety of many explosive attacks. This wave is usually hard to deal with due to lack of explosive ressistances and sometimes has to be retried a few times.
  • In sixth wave a boss Demoman (Sir Nukesalot) comes in. He has 50000HP and can one-shot you with his cannonballs. Be aware of them, because they also have an increased explosion radius (+20%). Heavy's Knockback Rage is very good against him, so it should be a priority to upgrade it before the wave starts, as well as airblasting to keep him in place.
  • Watch out for Super Scouts in waves 3 and 4, because they can sneak past your lines and quickly deliver the bomb. Placing Sentry in the spot shown on the picture below can bodyblock Scouts, making them easy targets for the team.


Final wave:
In comparison to previous waves, the last wave seems to be a joke for many players. It contains 3 tanks and Pyros / Demomen / Spies / Snipers / Demoknights and Fast Scorch Shot Pyros in support. The best tactic for this wave is refunding upgrades and switching to Pyro with Phlogistinator. Of course there are other tactics; sometimes players just want to get through without switching, but pyro tactic is still the most effective one. When upgrading don't forget about resistances and health on kill, because they can save your life many times during the fight. First tank comes right at start of the wave. Second tank comes when first is about to hit the barricade. Same goes for the third.
Operation Two Cities - Bavarian Botbash (Rottenburg)
Things to know about this mission:
  • This mission contains a lot of Giant QuickFix Medics, so your team needs to be good at removing them.
  • This mission throws a lot of crit-boosted robots at you, some of them giants. Remember to get resistances.
  • The second-to-last wave gets a special mention, since it's pretty difficult. It features an endless spam of crit-boosted Scouts, Demos and Bowmen, with Concheror Soldiers mixed in. It also drops four giants (Giant Demo, Giant Rapid Fire Soldier, and two Giant Deflector Heavies), each one assisted by two Giant QuickFix Medics (though those that aren't with the Demo can't pop their Ubers), with a tank thrown in between the first and second giants. Your team needs to be really efficient at removing the Medics, or else you won't stand a chance.

Final wave:
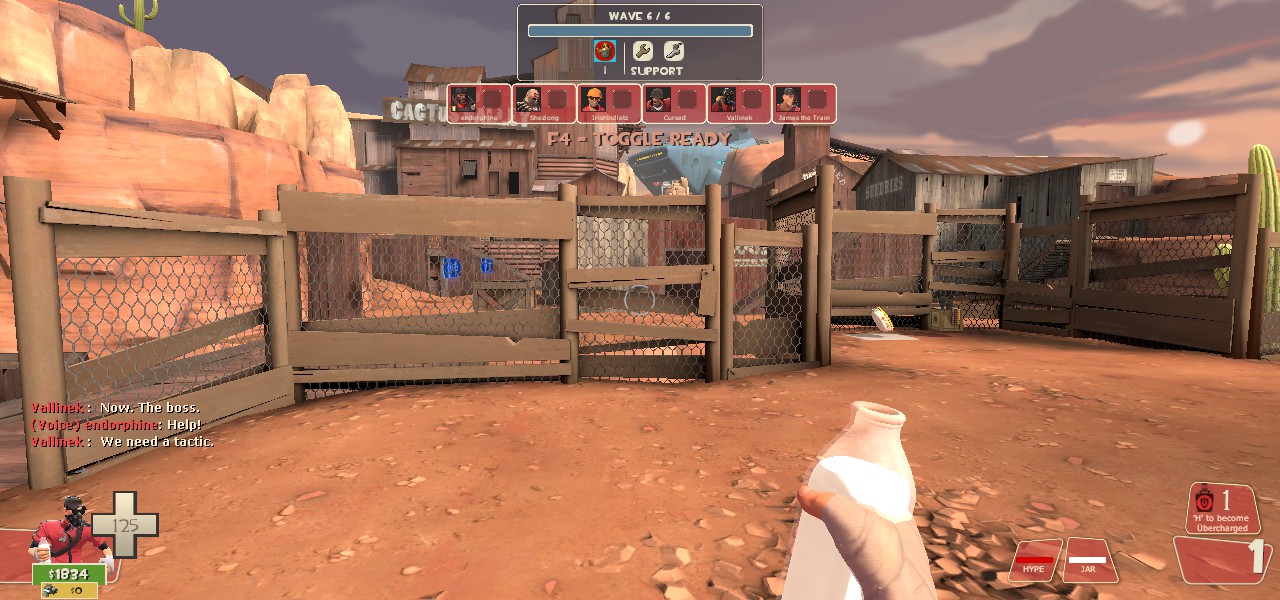
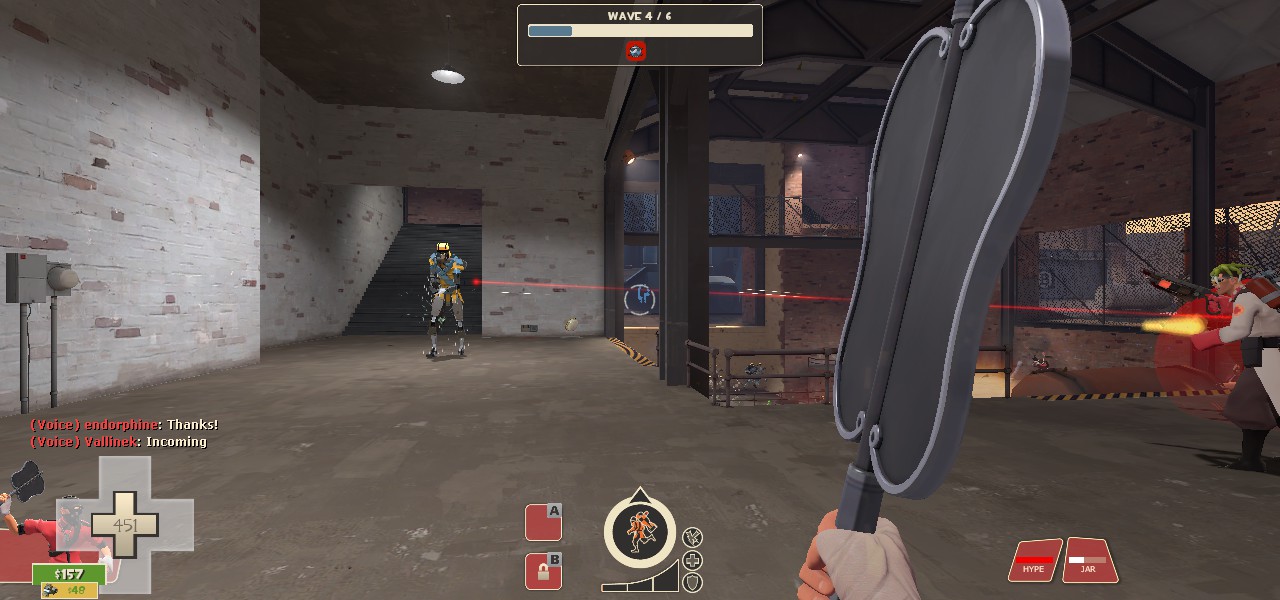
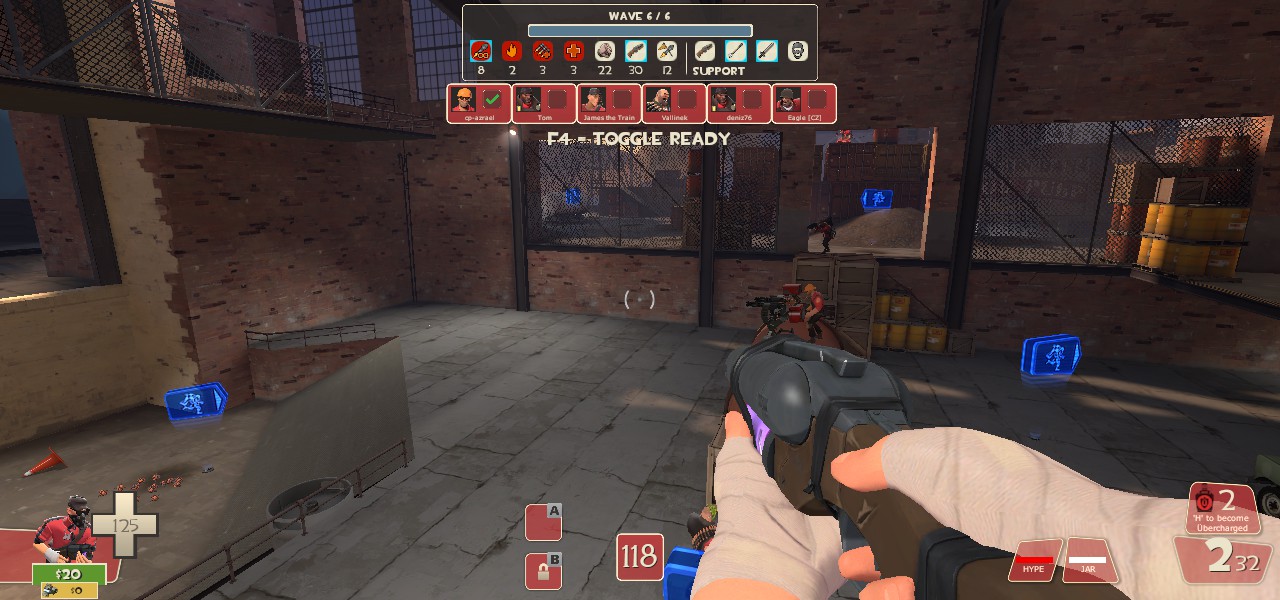
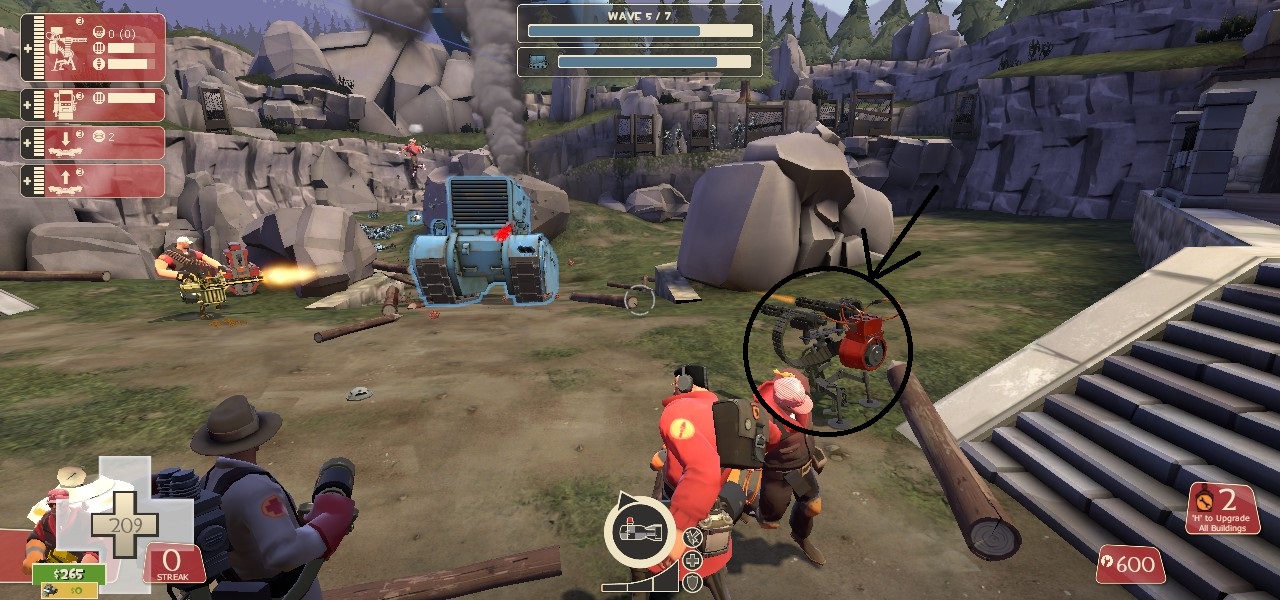
Honestly, in comparison to what you had to go through to get this far, this is just painfully easy. I suggest having your Engie refund and go a battle class, because you just won't be able to hold your position with this many giants around. It starts off with a single tank, which should be down by the time the first giants start dropping down. There's quite a bit of Uber Medics around, but at this point, you should have no problem removing them. Have your Medic (if you've got one) throw up a shield if you feel the spam is too much for your resistances to take. Speaking of that, if you don't have maxed out Crit Resistance by this point then you should seriously rethink the results of your last I.Q. test. This wave might seem scary, but all you really need is some strong direct firepower and you'll be done in no time. Just watch out for Spies and Snipers, which will try to assault you throughout the whole thing. Sometimes robots create groups, making them harder to kill. You'll know when something like this comes in:
Final notes
I hope you enjoyed the guide and now will know what each mission has to offer.

Special thanks:
  • James the Fabulous - for a lot of useful info, screenshots, editing, and being a good team member.
  • Endorphine, KUS KUS GUY and Lucky Man - for being dependable teammates and having lots of fun with playing those missions.

Good luck on your next mission!
61 Comments
Bluebirdo Oct 9, 2016 @ 12:59pm 
Nice guide, but one thing to mention is that the 4 soldier, 1 scout, 1 engie can work on Botbash, since most of the waves don't have uber medics, and multiple sollies are good for stunning the giant scouts.
Vallinek  [author] Jun 18, 2016 @ 1:33pm 
I think the MvM meta changed since I wrote this guide, but that's good to hear, since the general idea is about the same. I am happy to help.
Jeffrey Epstein Jun 18, 2016 @ 1:32pm 
You helped me and my team to win the final round! thank you so much.
Vallinek  [author] Feb 25, 2016 @ 10:40am 
Sorry, I kinda stopped playing after they introduced Uber stealing to weapon pickup and consequently broke my main in my eyes at least. Would probably help out otherwise.
bobes sponja Feb 25, 2016 @ 10:32am 
If I ever get a team that gets there, I'll tell them to try this. Thanks!
Also, if you wanna play mecha engine or boot camp, add me on steam. (this goes to everyone)
Vallinek  [author] Feb 25, 2016 @ 8:59am 
I once beat him with just two other friends, all of us being Heavies with Uber canteen spam. Barely, but it counts.
If you wanna cheese it out the most, just get a few heavies and let your Med shield them from the boss before spamming your canteens.
bobes sponja Feb 25, 2016 @ 8:35am 
Can you recommend something effective for disintegration's final boss? My team tried everything: sydney sleeper sniper constantly jarating it, heavies point blank with übercanteen, all engis.... but we kept failing and everyone ragequitted :steamsad:
Vallinek  [author] Jan 21, 2016 @ 10:08am 
Actually Engineer is the one class you can never go wrong with having. Less for the sentry and more for the dispenser and teleporters. Keeping the frontline alive is what matters the most to being an Engineer - Sentry is mostly just something that can tank a ton of damage with Wrangler for the team.
Cheeseball Moth Jan 21, 2016 @ 9:39am 
Not to mention, I was kicked earlier from a Disintegration server JUST BECAUSE I WAS AN ENGINEER.
Cheeseball Moth Jan 21, 2016 @ 9:32am 
I think the biggest problem of Mecha Engine for me is incompetent idiots. They'll either be competent, but leave the server within a short time, or incompetent free-to-plays who think it's a good idea to have more than two of the same class.
There are idiots out there, my friend.