FINAL FANTASY IX
323 ψήφοι
FFIX - Missable & Optional Content
Από Abyss
Every missable in the game, bundled together with things I considered worth mentioning cause why not.

This guide is structured by location in the order you reach them. Spoilers. Obviously.
11
4
6
5
8
2
3
3
2
   
Βραβείο
Αγαπημένο
Αγαπημένο
Μη αγαπημένο
Introduction
Self esteem booster
Remember to give it a thumbs up and favorite if it helped you, I need that stuff for self validation :)

YOU FAILED: Excalibur II
Before we even step into the shoes of Zidane it is important that you have your expectations set in regards to completion.

You see, Square decided to add a little bit of a speedrun challenge to this game, where you can only get this Ultimate Weapon by making it to its location in the final dungeon within 12 hours. This was needed as Square made a deal with the Japanese Government back in the day to train the citizens to become super human sleeper agents capable of completing any mission as fast as possible. It is worth noting that a portion of this paragraph is a lie.

Technically speaking this is not missable, in fact you may even have time to spare if you are somewhat familiar with the game. However, it would be safe to assume you will miss it if it is your first playthrough.

Lastly, if your OCD is already triggering, you can circumvent the time limit by overflowing the in-game timer so that it goes back to 00:00:00 after keeping the game open for 2.92 years. Or, you know... by committing the cardinal sin of cheating on a single player game from literally the year 2000. It will be our little secret ;)

Unrevisitable Locations & Treasure Hunter Rank
On the topic of wasting time to ensure we do not get Excalibur II, this game wants you to collect 75% of the treasures it offers which includes treasure chests found in the areas, every key item in the Auction House and chests found while riding a Chocobo.

To add insult to injury, this game has several areas and sections of areas that become inaccessible at various points in the game, for your own mental sanity please just assume all areas of the game are unrevisitable and be as diligent as possible on your first visit as this guide will not tell you where every chest is cause at that point I may as well write a Walkthrough instead.

It's All in the Cards
Yet another reason to fail Excalibur II's time requirement, you need to defeat 100 different opponents in Tetra Master for three achievements, fight everyone you meet like we are playing Yu-Gi-Oh!

Mognet Deliveries
Through the course of the game you will be able to help with the mognet letter delivery. Almost all of the letters are missable and so they are documented in this guide. The last few are actually required for a sidequest as well so you should do those at the very least. You have been warned.

These will be labeled as "Mognet (Sender to Recipient START/END)" for each of them.

ATE
Active Time Events are optional scenes you can watch to get a bit more of that juicy world building. Some of them have pre-requisites and can be easy to miss.

Do note this guide will not include screenshots even when we talk about each of the 79* bloody things, we can pretend I'm trying to save digital paper or something.
*You may notice this guide has 82 in total, this is because all three "Teach Me, Mogster! Lesson #" ATEs do not count for the achievement.

Lastly, The letter "M" indicates an ATE is mandatory.

Gil Cheat
You may not want to use this cheat until after watching ATE 075 since it requires for you to have less than 50 Gil and spending all of it will be complicated.

Save Slots
Use them. That's it... this section's only purpose is the first -and last- friendly reminder that this game loves you and is giving you enough save slots for an entire household to play it multiple runs each, so the least you can do is use them.

Also, do try to prioritize the missables over anything else, this will save you headaches having to reload any of the aforementioned backups.

Optional Content
To keep things simple all optional content will be labeled with a + sign at the beginning of the entry.
Alexandria
  • +Misc: Do NOT pull the rope at the chapel if you receive this prompt, which would either mean you went there before getting your stamp or refused Puck's offer.
    We will do this later in the game for it to have more cards.
    Note: Right now it only contains Ironite, Goblin and Fang. If you still want them for any reason.
  • +Minigame (Jump Rope): Talk to the girls playing rope next to the Ticket Booth and accept to play, you can get various rewards depending on how many jumps you make:
    0020 - 10 Gil
    0050 - Cactuar Card
    0100 - Genji Card
    0200 - Alexandria Card
    0300 - Tiger Racket Card
    1000 - King of Jump Rope
    Note: You have one more chance to play this minigame later in the story. However, you need at least 50 jumps for a mognet letter delivery later in the game.
  • Misc: After taking control of Vivi we need to do a brief "questline" to meet Alleyway Jack:
    1-Peek into the Ticket Booth.
    2-Head west from the TB, after a small scene the Rat Kid will talk to you, agree to follow his orders.
    3-Talk to the redhead guy that will walk through the alleyway.
    4-You will accompany him to the tavern and learn about Tetra Master.
    If you got extra cards by doing the Jump Rope minigame you can now challenge Alleway Jack to a duel.
  • Mognet (Kupo to Monty START): You will meet your first moogle while helping the fortnite player at the Church Steeple. Ask him about the Mognet to initiate your first delivery.
    Monty can be found in the Evil Forest later in the game.
  • +Minigame (Sword Fight): Hit the correct inputs to please the nobles, you get a reward based on the number of nobles you managed to impress:
    001-049 - Ether
    050-079 - Elixir
    080-099 - Silk Shirt
    100 - Moonstone* + 10,000 Gil
    *This item is required for an achievement later.
    Note: To actually get the item reward you need to go talk to the Queen once you are playing as Steiner.
Evil Forest
This is a one time area.

ATE
There are seven ATEs to watch before you leave this area.
  • M01- The Forest Keeper.
    Prima Vista / Crash Site.
  • 02- Time to Escape.
    Prima Vista / Hallway.
  • 03- Girl Who Was Left Behind.
    Prima Vista / Hallway.
  • 04- My Little Baby.
    Prima Vista / Hallway.
    Must watch ATE 02 first.
  • 05- Orchestra in the Forest.
    Evil Forest / Trail.
  • M06- Do As I Say, Not As I Do.
    Evil Forest / Spring.
  • M07- Teach Me, Mogster! Lesson 1.
    Exit to the world map.
ATE 01 to 04 are in the Prima Vista airship, which is technically a separate area from the Evil Forest if we go by the in-game menu. But it just so happens that the PV crashed into EF so I am merging sections.

Exploration
  • Mognet (Kupo to Monty END): Find Monty "hidden" in a tree trunk by the healing spring.
Ice Cavern
This area will be unrevisitable at a later point in the game (Disc 2).

ATE
There is one ATE to watch before you leave this area.
  • M08 - Teach Me, Mogster! Lesson 2.
    Ice Cavern / Cave.

Exploration
  • Mognet (Mois to Gumo START): Talk to the Kupo after you take a left on the branching path before the boss fight (you can backtrack once you beat the boss if you missed it).
Sidenote: Dagger is a stupid name :)
Dali
The underground Storage Area is a one time area.

ATE
There are six ATEs to watch before you leave this area.
  • 09 - Vivi, Confused.
    Dali / Inn.
  • 10 - Dagger Tries.
    Dali / Inn.
  • 11 - Cat's Eye.
    Dali / Village Road.
  • 12 - Cat's Eye 2.
    Dali / Village Road.
    Must watch ATE 11 first.
  • 13 - Dagger Tries Harder.
    Dali / Inn.
    Must watch ATE 10 first. I got it by entering the Inn again after watching ATE 12.
    You may need to visit three areas before you get it.
  • M14 - Queen Brahne's Steiner.
    Dali / Inn.

Exploration
  • Mognet (Mois to Gumo END): Deliver the letter to the moogle inside the Inn.
  • Sidequest (Stellazzio): Grab the Aries coin on the room with the ladder that leads into the undergroupd at Windmill 1F.
  • Mognet (Kumop to Mogki START): Get the letter from the moogle hidden inside the barrel in room after the chocobo inside the underground Storage Area.
Lindblum
Lindblum Castle
IMPORTANT: It is very easy to miss the stuff at the Castle if you are not paying attention, as soon as you take control of Zidane make sure to complete them and avoid exploring until you are done!
  • Extra: Go back to where your cargo airship is and take the stairs down, you will see Zebolt for the first time.
  • Mognet (Kumop to Mogki END): From the room with the airship head into the next screen and then take the stairs to the right, now enter the room left at the end of the path to find the moogle.
  • Mognet (Mogki to Atla START): Talk to the moogle once again after delivering Kumop's letter.
    Note: You have one more chance to deliver deal with both of the letters above when revisiting the castle after checking out the hideout as Zidane but there's no reason to delay it.


ATE | Lindblum
There are six ATEs to watch before you leave this area.
  • M15 - Teach Me, Mogster! (My First Synthesis Lesson).
    Lindblum / Inn.
  • 016 - Small-Town Knight In A Big City.
    Lindblum / Main Street.
  • M017 - Vivi's Shopping.
    Lindblum / Main Street.
    This one is triggered once you go enter the door opposite from the Inn.
  • 018 - Steam Engine.
    Lindblum / Station Area.
    Head to the Theater District and exit the station to have this one pop.
  • M019 - What Can I Do?
    Lindblum / Hideout.
  • 020 - Baku And His Crew.
    Lindblum / Theater Ave.
    After exiting the hideout you will have the chance to trigger it. The hideout is the building with the large clock above the entrance on the area before you see Lowell and Moogle Man for the first time.
Exploration | Lindblum
IMPORTANT: Make sure to do everything before going back to the Castle.
  • Key Item (Autograph): After talking to the Fan Club Chairman blocking the path on the Theater District a short scene will trigger involving an actor named Lowell, after Moogle Man leaves follow him back into the Studio just across the station entrance where you watched ATE 018. Now talk to Lowell for your "reward".
  • Key Item (Moogle Suit): Behind the red chair on the studio to the right of Lowell.

Festival of the Hunt
We will partake in a small minigame and get a reward depending on the winner. Make sure whoever wins does so with over 100 points for a letter later in the game, not that I think its possible to win below that though.
  • Zidane: Gil 5,000 Gil
  • Freya: Add-on Coral Ring
  • Vivi: Card Theater Ship + Steam Achievement
It is worth noting that Zidane will not get the other reward he thinks he would, so you can choose purely based on convenience, here are the conditions:
  • Zidane: Beat as many monsters as you can, make sure to have Zidane deliver the killing blow to the Zaghnol which will spawn once you enter the fountain area on the Business District with the timer below 04:30.
  • Freya: Have Zidane KO'd at any time prior to the Zaghnol fight.
  • Vivi: Have both Zidane and Freya KO'd while fighting the Zaghnol.
Qu's Marsh
Before continuing the main story we will take a small detour to recruit a new party member that is part of some ATEs moving forward.

Qu's Marsh can be found just north Lindblum's dragon gate.
  • Party (Quina): Speak to the hungry Qu thats paying close attention to the frogs in the Marsh, then solve the hardest puzzle in the game by grabbing a frog and giving it to Quina for nourishment. Finally accept to take the weirdest version of the Blue Mage in the franchise's history with you.
  • +Minigame (Frog Catching): Now that we have Quina in our party we can catch some frogs... for... fun? We can get some cool stuff from this minigame but most likely later in the game.
    Refer to the Minigames section of this guide for more info.
  • +Blu Mag (Frog Drop): Eat Gigan Toad.
  • +Blu Mag (Aqua Breath): Eat Axototl.

Quina's Blu Mag
Quina learns blu mag by eating things, this can be done through commands which will succeed when the monster's HP is below a specific percentage.
  • Eat: At 25% or less.
  • Cook: At 50% or less.
Do note you may see the trance cheat enabled on all related screenshots of this guide :)
Overworld: Blu Mag 01
Let's take Quina on a gourmet tour before advancing the story, all of these are obtained in the overworld.

Lindblum's Dragon Gate (Overworld)
The spells below can be obtained in the overworld just outside Lindblum's Dragon Gate and Qu's Marsh.
  • +Blu Mag (Mighty Guard): Eat Serpion.
  • +Blu Mag (Pumpkin Head): Eat Hedgehog Pie.

Lindblum Plateau
Now we exit Lindblum through the Business District gate to reach Lindblum Plateau, where we can eat some more.
  • +Blu Mag (Mustard Bomb): Eat Bomb.
    I could only find them in the "Forest" area of the overworld.
  • +Blu Mag (Limit Glove): Eat Axe Beak.
  • +Blu Mag (LV3 Def-less): Eat Carve Spider.
Limit Glove
If you enjoy legal cheese, this Blu Mag is it. It will do 9,999 damage while Quina has 1 HP. Pretty much destroying the early game content as much as you want it to.
Mix it with Auto-Life to cheese even setting it up.


Chocobo Forest (Overworld)
Exit through Lindblum's Dragon Gate once again and head East from Qu's Marsh, you will cross a bridge and reach the Chocobo Forest area.
  • +Blu Mag (Angel's Snack): Eat Ironite.
  • +Blu Mag (Vanish): Eat Vice.

South Gate
Head Northeast of the Chocobo Forest to find the gate entrance.
  • +Achievement (My Little Airship - Part 1): Pick the Moccha Coffee up from the tree on the right side of this area.
Garnet: South Gate
Advance the story through Gizamaluke's Grotto up until you gain control of Garnet and Steiner.
  • Mognet (Grimo to Nazna START): Make sure to get the letter from the moogle before boarding Berkmea.
Overworld: Blu Mag 02
Vube Desert
We are ready to continue our gastronomical tour once you will regain control of Zidane's party after a short section with Steiner and Garnet at the South Gate. Head West until you see the desert with a giant sandstorm, now head to the grass just north of said desert for our next dish.
  • +Blu Mag (Night): Eat Nymph.


Popo's Heights
Head back into the Grotto and reach the central room where you found the moogle, leave through the door on the right and then climb the vines to reach the forest area called Popo's Heights.
  • +Blu Mag (White Wind): Eat Garuda.

As you may have noticed enemies in this area are far too strong for you. Lucky for us we have already made preparations for such event by preparing an EXP Farm (this is the reason why we went to learn Night before White Wind even though technically you could learn WW first).

Alternatively, we can simply get this spell in Cleyra's Trunk later in the game.

EXP Farm: Grand Dragon
We need to do a little bit of setup before we begin, make sure to save once its ready:
  1. Have Quina be at 1 HP.
    You can get this done by simply letting her die and reviving her with a Phoenix Down or Auto-Life.
  2. Find a Grand Dragon.
  3. Cast Night to make it fall asleep.
  4. Spam Limit Glove for 9,999 damage every turn until the dragon is no longer alive.

Alternatively, let your fingers slip into enabling the max damage cheat and forget all of the above.
Burmecia
Now that our gastronomical tour is over we can resume the main story by heading back through the Gizamaluke's Grotto's left gate where we had a boss fight.
  • Sidequest (Stellazzio): Interact behind the cart on the left side as soon as you enter town to grab Cancer.
  • +Blu Mag (Magic Hammer): Eat Magic Vice.
    Note: Any items stolen by these ♥♥♥♥♥♥♥ is lost forever, so you may want to reload if they steal anything particularly important.
  • Chest (Germinas Boots): While exploring the Residence buildings you will find a big door with lots of green stuff and a bell on top just after the mimic chest area. Ignore the door and head to the left area, now WALK towards the chest to avoid the floor from falling.
    Note: The chest itself is whats missable, you could get the boots elsewhere if you really wanted to miss the chest for some reason.
  • ATE (Requirement): After you use the bell to open the large door you will reach the Uptown Area, enter the doorway in front of you and a short scene will trigger where you save Wei and Kal.
  • Mognet (Mogki to Atla END): Enter the right door in Burmecia's Square to reach the Vault and the moogle inside it.
  • Mognet (Atla to Money START): Atla will request you help deliver his letter once you deliver Mogki's.
  • Achievement (Driving the Hard Bargain - Part 1): Open the chest behind Atla and Stiltzkin will show up, purchase his bundle which includes Soft, Hi-Potion and Ether for 333 Gil.
    Note: If you have 99 of the items he sells you will need to get rid of some.
Garnet: Summit Station
This is a one time area.

  • Mognet (Grimo to Nazna END): Deliver the letter to the moogle before leaving the station.
  • Mognet (Nazna to Mochos START): Nazna will ask to deliver her letter after you deliver Grimo's to her.
Garnet: Dali
Take the left path at the Trail to revisit Dali before heading for Treno.
  • Chest (Elixir): Head to the pumpkin farm and grab this chest next to the old lady. This is your only chance at getting it.
Steiner: Treno
IMPORTANT: As soon as you enter Treno you are trapped in an ATE nightmare, we will follow a specific route as some of them kinda rely on the fact you were role-playing Steiner well enough to prioritize chasing the princess.

ATE
There are seven ATEs to watch before you leave this area.
  • 021 - Treno Tradition.
    Treno / Gate.
  • 022 - Pursuit.
    Treno / Walkway.
  • 023 - Confusion.
    Treno / Bishop's House.
  • 024 - Ambition.
    Treno / Card Stadium.
  • 025 - Meeting Place.
    Treno / Slums.
  • 026 - Unexpected Visitor.
    Treno / Knight's House.
  • 027 - Crime and Punishment.
    Treno / Walkway.
Exploration
  • ATE (021 - 026): Follow the exact path listed below to watch all ATEs except 027, which we will watch by the end of the story events on this area.
    1. Watch 021 then head Northwest after Garnet.
    2. Watch 022 and head downstairs North.
    3. Watch 023 and head Southeast.
    4. Watch 024 and head back to Treno's entrance where you watched the first ATE and take the stairs Northeast.
    5. Watch 025 and go North.
    6. Watch 026.
  • Sidequest (Stellazzio): Pick Taurus up behind the item shop at the Slums.
  • Sidequest (Stellazzio): You will get Gemini after throwing 10 gil into the fountain at the Gate... Thirteen times.
  • Sidequest (Stellazzio): Talk to Queen Stella (The bird woman at X) and agree to give her the coins we have collected so far, we are doing this mostly to get the Blood Sword as early as possible to cook some cheese.
    Refer to the "Sidequests" section of this guide for more details.
  • Sidequest (Knight's House Monsters): Equip that Blood Sword you got a second ago and head into the weapon shop, ask about the monster and then tell the shopkeeper you wanna fight it.
    Refer to the "Sidequests" section of this guide for more details.
  • Gear (Chain Mail): Be sure to purchase at least 1 Chain Mail while we are at the Knight's House.
  • ATE (027): Now that we have done everything we can advance the story, you will meet Doctor Tot, who will agree to open a path for you in his tower (the game labels it as "Tot Residence"), head back downstairs and into Treno instead of taking the path underground he opened for you to trigger the final ATE of this area.
    Note: You may be able to get it anyways even if you entered Gargan Roo by backtracking to Treno as soon as possible. However there's no reason to risk it.
Garnet: Gargan Roo
This is a one time area.

  • Mognet (Nazna to Mochos END): Deliver the letter to the first -and only- moogle you see once you enter this area.
Cleyra
This area will be unrevisitable afterescaping the Red Rose.

ATE
There are four ATEs to watch before you leave this area.
  • 028 - Don't Hate Me.
    Cleyra / Water Mill Area.
  • 029 - No Yummy-Yummies!
    Cleyra / Water Mill Area.
  • 030 - I-I Haven't Hurt Anyone.
    Cleyra / Windmill Area.
  • 031 - There a Mushroom!
    Cleyra / Observation Poi.

Exploration
  • Chest (Ice Staff): Behind the small tree inside of the Tree Trunk's second area.
    IMPORTANT: Make sure to get this chest BEFORE you put your hand inside the hole to fill the trunk with sand.
  • +Blue Mag (White Wind): Eat Zuu.
    Note: I could only find this enemy on the right side of the tree where its open and there are strong winds, right before the room with the hole where you put your hand in.
    This would be the spot to learn it naturally if you didn't cheese the Garudas back at Popo's Heights.
  • +Blue Mag (Matra Magic): Eat Dragonfly.
  • +Blue Mag (Auto-Life): Eat Carrion Worm.
  • Mognet (Atla to Monev END): After you fill the trunk with sand you will find the moogle on the left side on your way to the top.
  • Chest (Silk Robe): After you watch both of Quina's ATEs (029 & 031) head back to the village entrance and take a right to find Quina looking at a sand pit. Interacting will make Zidane jump after Quina to the area where the chest is.
  • Chest (Magician Shoes): Right next to the chest that had the Silk Robe.
  • Achievement (Driving the Hard Bargain - Part 2): Head to the second floor of the Inn once the sandstorm disappears while controlling Freya and purchase Stiltzkin's bundle which includes Ether, Hi-Potion and Phoenix Pinion for 444 Gil.
    Note: If you have 99 of the items he sells you will need to get rid of some.
  • Mognet (Mopli to Serino START): Talk to the moogle during the Alexandrian Invasion next to the sandpit where you fought the Antlion.
  • +Achievement (Survivors): When prompted instruct each group as follows:
    1. Let's head right!
    2. Let's go left!
    3. Cross the bridge to the right!
    Talk to the survivors in the Cathedral to receive some goodies before heading back out.
    Alternatively you can let your fingers slip into the less ideal choices to get rid of the racist ♥♥♥♥♥♥♥♥ that treated Vivi like ♥♥♥♥ when Zidane wasn't around ;)
Red Rose
This is a one time area.

  • Mognet (Mopli to Serino END): Deliver the letter to the moogle back where you spied on Beatrix and Queen Brahne.
  • Mognet (Serino to Moodon START): Serino will request for you to deliver their letter after they read the one you had for them.
Alexandria Castle
ATE
There is one ATE to watch before you leave this area.
  • M032 - Friendship.
    Alexandria Castle / Chapel.
Exploration
  • Boss (Tantarian): Once you enter the castle you will be in the Hallway, take a left to head into the Library and interact with the book on top of the shelf to the left. Try to listen and then Challenge for this optional encounter.
    Note: You may want to fight him on your next visit to the castle if you find it to be too strong right now, however, keep in mind that will be your last chance.
  • Mognet (Mosh to Monty START): Get the letter from the moogle inside the chapel, you would have to be pretty blind to walk past it during the story events.
    Extra: For some reason for this one moogle I had to hit "Cancel" on the mognet section a couple of times after advancing the story a little further and entering the Chapel again for him to want to give me the letter, mentioning it just in case he refuses to give the letter to anyone else the first time around.
Pinnacle Rocks
The deeper part of this area will be unrevisitable upon exiting, and the outer part during the endgame.

  • Mognet (Mosh to Monty END): You will see the moogle as soon as you gain control of Garnet.
  • +Extra: The order of the story is:Beginning, Cooperation, Silence, any between Human/Hero (No reward).
Lindblum: Revisit
The Industrial District will be unrevisitable afterAlexandria's attack.

ATE
There are three ATEs to watch before you leave this area.
  • 033 - The Third Jewel.
    Lindblum / Shopping Area.
    Can be seen after meeting with Cid.
  • M034 - Brahne's Fleet Arrives.
    Lindblum / Shopping Area.
    Will trigger automatically where you fought the Zaghnol during festival of the hunt once you tell the man you are ready.
  • M035 - <Gwok-gwok!> How Infuriating!
    Lindblum Castle / Dragon's Gate.
Exploration
  • Mognet (Serino to Moodon END): Head back to the Inn where you stayed during your last visit to deliver this letter.
  • Mognet (Moodon to Moonte START): As usual moogles get inspired to write a letter after getting one.
  • Mognet (Moodon to Moonte START): Deliver this letter to the moogle at the Dragon's Gate.
Qu's Marsh: Revisit
We may as well take the opportunity while we are here to search for the excavation site.
  • Party (Quina): Speak to Quina by the frog pond.
  • +Extra: This is a perfect opportunity to catch more frogs.
Fossil Roo
This is a one time area.

  • +Blu Mag (LV4 Holy): Eat Feather Circle.
  • Achievement (Driving the Hard Bargain - Part 3): Purchase Stiltzkin's bundle which includes Phoenix Pinion, Remedy and Ether for 555 Gil.
  • Mognet (Kuppo to Kupo START): Take a right from the open area with vines where Switch No.3 is, you will reach the Mining Site. Now all we need to do is dig out the moogle at the top right corner of this room and get his letter.
    Note: You will have to dig multiple times before anything happens.
  • +Achievement (The One Ring): Play the mining minigame again, we will dig out 4 items, head outside, return and dig again. Repeat this as many times as you need until you find Madain's Ring.
    Note: You will have to dig multiple times before anything happens.
Overworld: Outer Continent
Before you enter Conde Petie it's time for a small gastronomic tour. Otherwise Quina will be unavailable until the story events of that area take you to the next.

Qu's Marsh
Make your way north east once you leave Fossil Roo until you find this continent's Qu's Marsh.
  • +Extra: This is a perfect opportunity to catch more frogs.


Overworld
You can find both of these enemies walking around the "grass" and "desert" biomes between the Marsh and Conde Petie.
  • +Blu Mag (Goblin Punch): Eat Goblin Mage.
  • +Blu Mag (1,000 Needles): Eat Cactuar.
Conde Petie
IMPORTANT: Yet another ATE nightmare, navigate town in the exact order below before you are allowed to have fun again.

ATE
There are five ATEs to watch before you leave this area.
  • 036 - Vivi and the Couple.
    Conde Petie / Corridor.
  • 037 - Quina Accused.
    Conde Petie / Pathway.
  • 038 - Quina Can't Communicate.
    Conde Petie / Inn.
  • 039 - Garnet and William
    Conde Petie / Corridor.
  • 040 - Hungry Bryan.
    Conde Petie / Shrine.
Exploration
  • ATE (036 - 040):
    1. Watch 036 as soon as you enter this area.
    2. Go to the next area northwest to watch 037.
    3. Advance through the two doors to the west to watch 038.
    4. Return to the entrance and leave through the east path to watch 039.
    5. Find -and talk to- Vivi to watch 040.
  • Mognet (Mogmatt to Suzuna START): Get the letter from the moogle in the item shop.
Mage Village
IMPORTANT: The third ATE nightmare, navigate town in the exact order below cause back in the year 2000 player freedom had not been invented yet.

ATE
There are six ATEs to watch before you leave this area.
  • 041 - Everyday Life.
    Mage Village / Entrance.
  • 042 - Life On The Run
    Mage Village / Item Shop.
  • 043 - Gourmand’s Nose
    Mage Village / Pond.
  • 044 - Different Language
    Mage Village / Water Mil.
  • 045 - Visitor, Not Invader
    Mage Village / Cemetery.
  • 046 - Life Cycle
    Mage Village / Synthesis.
Exploration
  • ATE (041 - 044):
    1. Watch 041 at the Entrance.
    2. Take a couple of steps North into the wooden structure, now leave through the right side of the hut right in front of you to watch 042.
    3. Take a left before the small bridge and enter through the door to the item shop, then leave through the front door to watch 043.
    4. Head back to the Entrance and take the path all the way Northeast to watch 044.
  • Mognet (Mogryo to Mocchi START): Be sure to pick the letter up from the Moogle after you watch ATE 044.
    Note: If you advance the story even a little this letter will be lost.
  • ATE (045 - 046):
    1. Head back to the Entrance and position yourself on the same wooden structure from before, but take the path to the left of the hut this time around, now continue to the left without entering any hut and past Vivi to watch 045.
    2. Go to the previous area and enter the first hut on the left side, watch 046 after Garnet leaves.
  • Sidequest (Stellazzio): Pick Virgo up right next to the beds at the Inn.
Conde Petie: Revisit
IMPORTANT: The ATE below can be missed if we choose the wrong dialogue choice shortly after the ceremony.

ATE
There is one ATE to watch before you leave this area.
  • M047 - Nuptial Joy.
    Conde Petie / Shrine.
Exploration
  • ATE (047): Choose “Why don’t you guys get married, too?” when prompted during the story events.
Mountain Path
  • Mognet (Mogmatt to Suzuna END): Deliver the letter to the moogle while crossing this area.
  • Achievement (Driving the Hard Bargain - Part 4): Purchase Stiltzkin's bundle which includes Magic Tag, Tent and Ether for 666 Gil.
Madain Sari
IMPORTANT: Remember when life was simple and we weren't visiting random areas in a specific order to get world building that should have been unmissable? No? Good.

ATE
There are five ATEs to watch before you leave this area.
  • 048 - Vivi's Feelings.
    Madain Sari / Open Area.
  • 049 - Dagger's Feelings.
    Madain Sari / Path.
  • M050 - Eiko's Feelings.
    Madain Sari / Open Area.
  • 051 - Eiko’s Kitchen
    Madain Sari / Open Area.
  • 052 - Eiko’s Kitchen 2
    Madain Sari / Path.
Eiko's Cooking
The choices below have no reward and are only relevant for the sake of helping Eiko succeed.
  • “Who should go fishing?” Momatose.
  • “Who should go dig up potatoes?” Mocha.
  • “Um… How many people do I need to account for, Kupo?” 11 people.
  • “Should I put in that oglop I found on the Conde Petie Mountain Path?” No.
  • “Are you okay!?” Let Chimomo cook, and lend a hand.
  • “Th-This must be a helper from above!” Ask Quina for advice.
Exploration
  • ATE (048 - 052): You know what to do...
    1. Watch 048 in the fountain area when prompted.
    2. Head North to watch 049.
    3. Head back to the fountain to watch 050.
    4. Head west to try and enter Eiko's Kitchen past Vivi, then return to the fountain to watch 051.
    5. Follow the moogle to the Eidolon Wall and talk to him, then head South from the fountain to talk to Garnet and talk to the moogle at the wall once again, head back one area after a small scene with Garnet and the Moogle to watch 052.
  • Sidequest (Stellazzio): Pick Libra up behind the fountain.
  • +Achievement (My Little Airship - Part 2): Pick up the Kirman Coffee between the tables at Eiko's Kitchen.
Iifa Tree
The interior of the tree will be unrevisitable after defeating the boss.

  • Mognet (Mogryo to Mocchi END): Deliver the letter to the moogle you will find when crossing this area.
Alexandria: Revisit
IMPORTANT: Make sure to do everything you can while playing as Vivi before entering the theater to advance the story.

ATE - Vivi
There are four ATEs to watch before you leave this area.
  • 053 - It’s So Big!
    Alexandria / Main Street*.
    * Different from the Main Street for 054, to the right of Vivi's starting point.
  • 054 - Long Time No See!
    Alexandria / Main Street.
  • 055 - To Fly High.
    Alexandria / Square.
  • 056 - Artemicion.
    Alexandria / Square.
Exploration - Vivi
  • Mognet (Kuppo to Kupo END): Deliver the letter to the moogle on the small chapel you crossed to reach the roofs during the beginning of the game.
  • Achievement (Driving the Hard Bargain - Part 5): Purchase Stiltzkin's bundle which includes Phoenix Pinion, Hi-Potion and Elixir for 777 Gil.
    Note: If you have 99 of the items he sells you will need to get rid of some.
  • Minigame + Achievement (Hippaul Race): Take a right from the area where we started as Vivi and continue your path until you see a Hippolady. Accept to race her son Hippaul to raise his excercising level and get rewards for helping him grind based on his level. Head to the "Minigames" section of this guide for more details.
  • Cards (Various): Now that we irrationally hate this poor kid who tried his best to make his mom happy by running for 80 levels it's time to go steal his stash, head back to the chapel and up the ladder, then pull the rope to get Ironite, Goblin, Fang, Shiva and Ramuh cards.
ATE - Zidane | Alexandria
There's one ATE to watch before you leave this area.
  • 057 - I Forgot!
    Alexandria / Main Street.
Exploration - Zidane | Alexandria
  • Minigame + Achievement(Nero Shuffle): Head to the Weapon Shop and speak to the BDSM pigs to play their minigame, which you need to win 9 times in a row for an achievement.
    There are no tricks here aside from recording the shuffles or slowing down the game with cheat engine. There's also no worthwhile rewards as it only pays in gil so...
  • +Extra: Heading into the overworld gives you the one and only opportunity of catching a glimpse at the magnificent sight that is the kingdom of Alexandria. Truly a sight to behold.
ATE - Zidane | Alexandria Castle
There's one ATE to watch before you leave this area.
  • M058 - Clowns on a Dark Night.
    Alexandria Castle.
    Will trigger automatically during the final scenes of the story in this area.
Exploration - Zidane | Alexandria Castle
  • Head for the West Tower once you get out of the gondola and enter the door to the left. You will find the coin Northeast of the statue.
Treno: Revisit
IMPORTANT: Complete all optional items below and leave to the overworld instead of advancing the story.

ATE
There are five* ATEs to watch before you leave this area.
  • 059 - Eiko Talks Life.
    Treno / Tot Residence.
  • 060 - How He Ended Up Here.
    Treno / Tot Residence.
  • 061A - Home Sweet Home.
    Treno /
  • 061B - Hippo's Prize.
    Treno / Walkway.
  • 062 - Memories by the Water.
    Treno / Bishop's House.
  • 063 - City People.
    Treno / Card Stadium.
*ATE "How He Ended Up Here"
At the end of this ATE Vivi will have to make a choice. This guide assumes you decided to stay in Treno.
Stop by at home.
  • Allows you to watch ATE 061A - Home Sweet Home.
  • You can get a bit more lore about Vivi at Quan's Dwelling.
Stay in Treno.
  • Allows you to watch ATE 061B - Hippo's Prize.
  • You will be able to earn the Namingway Card from Mario during the second match of the Card Tournament.
    Note: This is one of the two Namingway Cards available in the game.
Exploration
  • ATE (059 - 063): Follow the path below:
    1. Watch 059 when you enter this area.
    2. Head downstairs and watch 060.
      You have two choices, read above on this guide's section for details if you haven't already.
    3. Exit Tot's Residence to watch 061B.
      Again, we are assuming you decided for Vivi to stay.
    4. Go downstairs to the north towards Bishop's House to watch 062.
    5. Exit Southeast to watch 063.
  • Sidequest (Knight's House Monsters): Head for the weapon shop and defeat the Catoblepas.
  • Extra: Last reminder to leave for the overworld now instead of advancing the story.
Overworld: Detour
Dali
Reach Dali once again through the South Gate before advancing the story in Treno.
  • Key Item (Mayor's Key): Enter the Windmill that had the secret hatch last time we were here, but leave through the door to the South this time around, choose "Check the room" when prompted, now search the desk until the dialogue "Zzz..." prompts, then search the heater.
  • Chests: Go up the ladder in the windmill to grab the two chests containing a Cachusha and an Elixir.
  • +Achievement (My Little Airship - Part 3): Open the door Northeast on the Windmill room and examine the chest behind the tree to the right twice to get 30,000 Gil and the Burman Coffee.
Mountain
Leave Dali and enter the mountain right next to it.
  • +Achievement (My Little Airship - Part 4): Talk to Morrid to receive the Prima Vista model for all three coffee's we collected during our travels.
Treno: Tournament
ATE
There are four ATEs to watch before you leave this area.
  • 064 - Good Old Days.
    Treno / Card Stadium.
  • 065 - Lessons of Life.
    Treno / Knight's House.
  • 066 - Hallucination.
    Treno / Card Stadium.
  • 067 - Premonition.
    Treno / Knight's House.
Exploration
  • Achievement (Several): Head into the auction house and get ready to spend some Gil for the items below. The first four are needed to get the achievement "Sword of Kings" while the fifth item is needed for Garnet to learn a new summon.
    • Une's Mirror.
    • Doga's Artifact.
    • Rat Tail.
    • Griffin's Heart.
    • Dark Matter.
    Make sure to win 6 more bids for a total of 10 to receive the achievement "Auctioneer".
    Note: You want to make a single bid per item and only once the NPC says "Any more?" to avoid wasting gil.
    Alternatively, you can just outbid everyone as soon as it starts if you are using the Gil cheat but I would NOT recommend using this cheat yet since we need to have less than 50 Gil for an ATE in the near future.
    Be sure to exit the auction house and enter it again every time the NPC announces a short break.
ATE Prep
As you may have read above soon we will need to have less than 50 Gil in order to watch ATE 075 so the auction house and merchants in Treno may be the optimal place to spend most of your money away.

Tetra Master Tournament
We have both ATEs and missables during the tournament.
  • After round 1: ATE 064 & 065.
    Make sure to pick "Of course I'm Interested" when prompted during ATE 064 and then move to the area with the Moogle so we can get ATE 065.
  • During round 2: Win and claim the Namingway card.
  • After round 2: ATE 066 & 067.
    Watch ATE 066 and go visit the moogle to watch ATE 067.
  • +During finals: Make sure to win to get the earliest Rebirth Ring.
Alexandria Castle: Revisit
  • +Item (Angel Earrings): Select the combinations below when asked to give orders.
    • Gathering information: Blutzen & Kohel.
    • Protect the townspeople: Weimar & Haagen.
    • Contact Lindblum to request reinforcements: Breireicht & Laudo.
    • Begin preparations to fire the cannons: Dojebon & Mullenkedheim.
  • Boss (Tantarian): Once Zidane enters the castle be sure to interact with the book on top of the shelf to the left at the Library if you hadn't before. Try to listen and then Challenge for this optional encounter.
Lindblum: 2nd Revisit
IMPORTANT: This is the last of our ATE nightmares, as usual please stop having fun immediately and follow the exact path Square wanted you to guess on your first playthrough.

ATE | Lindblum Castle
There are five ATEs to watch before you leave this area.
  • 068 - Something Washed Ashore.
    Lindblum Castle / Hallway.
    You need to have watched the ATE Hallucination for this one to pop.
  • 069 - My bad.
    Lindblum Castle / Telescope.
  • M070 - Self-Reproach.
    Lindblum Castle / Conference Room.
  • M071 - Deep Anger.
    Lindblum Castle / Conference Room.
  • 072 - My Hammer.
    Lindblum Castle / Hall.
Exploration | Lindblum Castle
  • Mognet (Mogki to Moodon START): Get the letter from the moogle after you wake up in the Guest Room.
  • ATE (068 - 072): Follow the steps below.
    • Pick "Where's Garnet?" while talking to Blank in the Guest Room.
    • Exit the Guest room and watch ATE 068.
    • Take a left and then go down to the elevator, choose to go to the Upper level and make your way to the telescope where you need to talk to Garnet to watch ATE 069.
    • Talk to Blank downstairs and head North into Cid's Throne Room to trigger 070 & 071.
    • Head back to the Guest Room to advance the story and watch 072.
    • Head to the Business District to continue.
ATE | Lindblum
There are three ATEs to watch before you leave this area.
  • M073 - The Rally.
    Lindblum / Station Area.
    You need to have saved Wei and Kai back in Burmecia.
  • 074 - No Free Lunch.
    Lindblum Castle / Hall.
  • M075 - Give Me My Money!
    Lindblum / Harbor.
    IMPORTANT: You need to have less than 50 Gil while watching ATE 074.
Exploration | Lindblum
  • Mognet (Mogki to Moodon END): Head to the second floor of the Inn to deliver this letter.
  • Sidequest (Stellazzio): Pick Sagittarius up at the left side of the screen on the Shopping Area.
  • ATE (073 - 075): Follow the steps below.
    • Head to the Theater District for ATE 073 to trigger automatically after a short scene.
    • Go waste your Gil until you have less than 50 Gil, no, I am not kidding.
    • Advance the story by finding and giving Cid the three potions to watch ATE 074.
      IMPORTANT: Make absolutely sure you are still poor before giving Cid the potions.
      • Beautiful Potion: Ask Alice about it at Lindblum / Square.
      • Strange Potion: Ask Self-proclaimed Artist Michael about it and find the potion in the left side Lindblum / Studio.
      • Unusual Potion: Head towards the Tantalus Hideout for Cinna to give it to you.
    • Meet up with Quina at the Business District.
      Board the Blue Narciss at the Serpent's Gate to watch ATE 075.
Overworld: Sidequests
Let's get a bunch of stuff before heading to the Black Mage Village to advance the story.

Chocobo Hot and Cold
Head to the "Sidequests" section of this guide and complete at least up to the section "Chocobo's Lagoon & Mountain Ability" to get the Red Chocobo.

Note: It is highly recommended you abuse the Turbo speed cheat and turn your brain off.

My Little Airship
Note: This is only needed if you were following this guide as I was making it and missed the first Coffee and therefore couldn't complete this sidequest last time we were doing stuff in the Overworld.

Head to the South Gate just Northeast of the Chocobo Forest to grab the Moccha Coffee all the way to the right of the screen.

Now use the Red Chocobo with the Mountain Ability it's finally time to head back to Observatory Mountain just outside of Dali to turn give all three coffee types to Morrid and get the model of the theater ship and achievement.

Iifa Tree
Take Quina with you and revisit this area to eat some corpses.
  • +Blu Mag (LV5 Death): Eat Dracozombie or Stroper.
  • +Blu Mag (Roulette): Eat Zombie.


Forgotten Continent's Qu's Marsh
Board the Blue Narciss and head to the islands on the Southwestern continent, you are looking for the small island with a Qu's Marsh and a beach where you can unboard.
  • +Blu Mag (Earth Shake): Eat Adamantoise.
    Can be found on the overworld around the Marsh.
  • +Blu Mag (Bad Breath): Eat Anemone.
    Can be found inside the Marsh.
  • +Minigame (Frog Catching): Be sure to play it while you are around the Marsh.
    You may wanna take this opportunity to go catch frogs in every other Marsh while you are at it.


Gizamaluke's Grotto
  • +Item (Extension): Head back to the Grotto and give the moogle a Kupo Nut.

North Gate
  • +Extra: Enter the North Gate from the side close to Gizamaluke's Grotto and Burmecia with Freya on your party to watch a rainbow.


Esto Gaza
Enter the city on the Lost Continent at the top left corner of the map in the snowy area.
  • Item (Mythril Sword): Purchase as many of this weapon as you want.
  • Item (Mythril Claws): Purchase as many of this weapon as you want.
Qu's Marsh: Forgotten Continent
Head north from where the airship lands to find this Continent's Marsh.
  • +Minigame (Frog Catching): You know what to do.
Oeilvert
IMPORTANT: Regarding Stiltzkin's bundle...
Αναρτήθηκε αρχικά από Scorp721:
If you clear the left side first he'll be gone by the time you go right. Like normally you'd either save on the world map or save at the moogle outside, then clear the entire left side, then go right to save, then fight the boss. However, you need to go right as soon as you enter so you can buy the bundle before he leaves.
  • Mognet (Mimoza to Mooel START): Get the letter from the Moogle at the entrance of this area.
  • Item (Diamond Sword): Purchase from Mimoza.
  • Item (Trident): Purchase from Mimoza.
  • Mognet (Mimoza to Mooel END): Deliver the letter to the Moogle inside the building.
  • Achievement (Driving the Hard Bargain - Part 6): Purchase Stiltzkin's bundle which includes Hi-Potion, Emerald and Elixir for 888 Gil.
Desert Palace
  • +Extra: The answer to the puzzle with Cid is Clay, Stone and Iron (Or B, C and D if you did not inspect them) and then "Climb onto the scales".
  • Mognet (Mojito to Mogsam START): Take a right once you gain control of the secondary party and get the letter from the moogle on top of the BDSM table.
  • Mognet (Mojito to Mogsam END): Light all candles in the Library and then take a left through the wall to find the hidden moogle.
  • Tetra Master Card (Namingway): Grab it from the table on the left side after Kuja leaves and you rearrange your party.
Esto Gaza
  • Items (Several): Make sure to purchase as many of the items below as you want.
    • Flame Saber.
    • Hamelin.
    • Octagon Rod.
    • Asura's Rod.
    • Black Hood.
    • Heavy Lance.
    • Scissor Fangs.
  • Mognet (Mogrika to Moolan): Mogrika will ask you to deliver her letter after she reads a letter of her own.
Mount Gulug
  • +Blu Mag (Frost): Eat the Wraith holding the blue fire.
  • Mognet (Mogrika to Moolan END): Take the path right after going down the rope and deliver this letter to the moogle.
  • Mognet (Moolan to Mogtaka START): Talk to the moogle again to get their letter.
  • +Blu Mag (Twister): Eat Red Dragon.
    This is a fixed encounter.
  • Mognet (Moolan to Mogtaka END): Deliver the letter to the moogle on the path left from the well.
Lindblum Castle
ATE
There are two ATEs to watch before you leave this area.
  • M076 - Team.
    Lindblum Castle / Conference Room.
  • M077 - Recovery.
    Lindblum Castle / Conference Room.
Exploration
  • Mognet (Mogki to Kumool START): Get the letter from the moogle at the Guest Room when you wake up.
Overworld: Sidequests
Daguerreo
Enter the cave on the largest island south of Oeilvert on the Forgotten Continent to find this location.
  • Sidequest (Stellazzio): Pick Capricorn up submerged to the east of the entrance to this area.
  • Misc (Weaponsmith): Follow the steps below to help the Weaponsmith resume business.
    1. Enter the area to the left of the entrance.
    2. Push the Left lever twice.
    3. Interact with the hole that is now visible.
    4. Grab the bar right next to the levers and stick it in the hole.
    5. Push the Right lever twice.
    6. Get on top of the right platform.
    7. Talk to the Weaponsmith.
  • Item (Rune Blade): Purchase at least one from the Weaponsmith.
  • Item (Obelisk): Purchase at least one from the Weaponsmith.

Quan's Dwelling
Head East from Treno through the forest and into the cave to find this location.
  • Sidequest (Stellazzio): Pick Scorpio up at the bottom of the screen in the first area with the hot spring.
  • Extra (Scene): Take Vivi and Quina to the second area for an extra scene.
  • Item (Running Shoes): Once the scene above ends examine the grandfather clock right next to you.


Treno
  • Sidequest (Knight's House Monsters): Head for the weapon shop and defeat the Amdusias.
  • Sidequest (Stellazzio): Talk to Queen Stella and agree to give her the coins we have collected so far, this will give us the achievement "Earning the Queen's Favor" and the Rosetta Ring.

Sidequest: Chocobo Hot and Cold
Head to the "Sidequests" section of this guide and finish this one once and for all. Rewards worth Menioning:
Genji Armor from the Chocograph "Outer Island" which we need for an achievement later.
Whale Whisker from the Chocograph "Ocean" and the achievement "The Ultimate Rod".

Sidequest: Treasure Hunter
Head back to Daguerreo and talk to the four-armed man, he will give you the Rank S Medal if you were diligent with chests (including the ones from the Chocographs) and the achievement "Another Man's Treasure" will pop.


Conde Petie Mountain Path
We need to grab colored stones from the pedestals around the area and place them together to get a Moonstone before this area becomes inaccessible in Disc 4.
  • Blue Stone: Take the roots up from the spot where you first met Eiko and go to the right area.
  • Red Stone: Go back to where you met Eiko and walk down the right path, climb the roots and exit through the left on the next area.
  • Yellow Stone: Exit to the right from the screen where you can see the Iifa Tree far away.
  • Green Stone: Exit through the bottom right twice from where we picked up the Yellow Stone.
  • Head back to the bottom right path from where the moogle Suzuna is and insert all the Stones in the pedestal to receive our Moonstone.

Ipsen's Castle
  • +Extra: It does not matter what you tell Amarant to do when prompted at the entrance.
  • +Extra: Equip your weakest weapons for this area, weapon damage is inverse here.
  • Sidequest (Stellazzio): Pick Aquarius up from the chest on the right side of the entrance behind the pillars.
  • +Blu Mag (Doom): Eat Veteran.
    Note: We are done with Quina's abilities, do with this information what you will.
  • Mognet (Mogki to Kumool END): Deliver Mogki's letter to the Moogle on the second screen.


Shrines
Locating the Shrines should be simple enough by just flying around. However I get the feeling that you don't want to do that.
  • Water Shrine: Directly South of Ipsen's Castle... in the water...
  • Fire Shrine: On the volcano atop the mountains Northeast of Esto Gaza.
  • Wind Shrine: On the giant tree roots between the mountains Southeast of Oeilvert.
  • Earth Shrine: On the tree roots South of Desert Palace.
Point of No Return: Shimmering Island
Several locations and sidequests will no longer be available once you enter the Shimmering Island and eventually reach Terra. You should be safe assuming you were following this guide.

Bran Bal
This is a one time area.

ATE
There are four ATEs to watch before you leave this area.
  • 078 - Place to Call Home.
    Bran Bal / Storage.
  • 079 - Where the Heart Is.
    Bran Bal / Pond.
  • 080 - Came into this World.
    Bran Bal / Meeting Hall.
  • 081 - The Truth.
    Bran Bal / Pond.
Exploration
  • Mognet (Moorock to Mozme START): Find the moogle trapped in a pot and agree to deliver their letter. The pot is inside the opposing room on screen to the Storage room where Garnet rests, on area to the right.
  • Achievement (Driving the Hard Bargain - Part 7): Re-enter the room where Moorock was found and purchase Stiltzkin's bundle which includes Diamond, Ether, Elixir for 2,222 Gil.
  • ATE (078 - 081): All ATEs start triggering once you gain control of Eiko.
    • 078 can be triggered as soon as this segment starts.
    • Exit the Storage room to trigger 079.
    • Enter the Meeting Hall North of the Storage room and trigger 080.
    • Leave the Meeting Hall through the right exit to trigger 081.
Pandemonium
This is a one time area.

ATE
There is one ATE to watch before you leave this area.
  • 082 - The Elevator.
    Pandemonium / Maze.
Exploration
  • ATE (082): You will find an elevator shortly after the light "puzzle" with the timer, you need to change the Standard Heading and to the room on the left to try, and fail, to use the elevator on both floors. Repeat this as many times as needed so that your party talks about it being pointless, then return to the left area one more time to trigger the final ATE.
  • Mognet (Moorock to Mozme END): You will find this moogle in the room full of teleporters.
Overworld: Sidequests Part 1
Frog Catching
You may wanna hit the Marshes every so often while doing every other sidequest listed below.

We need to catch over 99 frogs to have the chance of defeating Quale for Quina's Ultimate Weapon accompanied by the achievements Wrangler and The Ultimate Fork.


Stellazzio
  • Pick Pisces up from the chest in the second area of the Invincible airship.
  • Hand over the two coins to Queen Stella at Treno.
  • Pick Ophiuchus up at the exact same location where Scorpio was back at Quan's Dwelling.
  • Hand over the final coin to Queen Stella to receive the Hammer and have the achievement "What's Your Sign?".
    Note: Having the Hammer means we get an extra scene during the game's ending.

Knight's House Monsters
  • Achievement (Dragon Lady) Have Garnet fight the last monster in Treno.


Excalibur
  • Sell the items below which we collected earlier in the game while we are at Treno.
    • Une's Mirror: Sell to the Nobleman outside of the Synthesis Shop for 12,000 Gil.
    • Rat Tail: Sell to the Adventurer outside the Bishop's House for 20,000 Gil.
    • Griffin's Heart: Sell to the same Adventurer outside the Bishop's House for 8,000 Gil.
      You will need to reload the area.
    • Doga's Artifact: Sell to the Scholar at the Synthesis Shop for 10,000 Gil.
  • Bid over 60,000 Gil at the Auction House for the Magical Fingertip.
  • Talk to the Old Man on the third floor of the library at Daguerreo and agree to give him the Magical Fingertip to receive the Excalibur and the achievement "Sword of Kings".

Alexandria
  • Achievement (Driving the Hard Bargain - Part 8): Head to Alexandria / Steeple (Where the first moogle of the game was with the bell tower) and purchase Stiltzkin's bundle which includes Moonstone, Ruby, Elixir for 5,555 Gil.
    If you bought all bundles he will reward you with a Ribbon and the achievement.
  • Mognet (Kupo to Atla START): Grab the letter from one of the Moogles next to Stiltzkin.

Mognet
Delivering one letter will line us up for accepting the next one from the same Moogle so we will do them one after the other and complete some sidequests while we are at it.
  • Kupo to Atla: Deliver the letter at Burmecia.
  • Atla to Mogryo: Deliver the letter at Black Mage Village.
  • Mogryo to Kumool: Deliver the letter at Ipsen's Castle.
  • Kumool to Mois: Deliver the letter at the Mist Continent's Qu's Marsh.
    You will need to bring Quina to find the path on the right side of this area.
  • Mois to Noggy: Deliver this letter at Daguerreo.
  • Noggy to Kupo: Deliver the letter at Alexandria, where it all started.
Now that we delivered all the letters talk to Ruby at the Theater to receive the Superslick and the achievement "Well Lubricated".


Chocobo Dive Spots
Feed your Chocobo a Dead Pepper at the five spots marked on the map below.
  • Head North from the Iifa Tree almost reaching the edge of the map and look for bubbles.
  • Find the bubbles Southeast of the Earth Shrine just outside the edge of the Outer Continent.
  • Find the bubbles South of the Wind Shrine by hugging the shoreline, next to a forest.
    We get the Genji Gloves at this location.
  • Use a Dead Pepper at the edge of the dock in Quan's Dwelling, then another one when riding your Chocobo.
    We get the Tiger Racket and the achievement "The Ultimate Racket" at this location.
  • We need to dive... without bubbles... for this one.
    Lucky for you I came up with insane ways to consistently find the spot, let me know if this actually works lol.
    IMPORTANT: Save before starting to waste Dead Peppers on this one.
    1. First, head to the shore just outside of Esto Gaza.
    2. Notice the crappy old graphics and how its easy to see "lines" separating segments of the ground.
    3. Line yourself up on the last "square" of the beach as far way from Esto Gaza as possible (Screenshot below for visual reference) and follow the line south.
    4. Eventually you will find an Ice formation that looks like a crappy rectangle.
    5. Move the camera pressing L1 | LB and the crappy rectangle now looks more or less like a tent, with another ice structure to the left.
    6. Now we are going to use the white dots on the water like if we were studying constellations, yes really...
    We get the Ultima Weapon and the achievement "The Ultimate Dual Blade" at this location.


Chocobo Mountain Cracks
Take your Chocobo around the map to use Dead Peppers on cracks found on various mountains across the world.
  • Northeast of the Fire Shrine.
  • Southeast of Qu's Marsh.
    We get the Genji Helmet and the achievement "Path of the Samurai" at this location.
  • Northwest of Oeilvert.
  • Northeast of Madain Sari.
    This opens the path to Mognet Central.


Mognet Central
  • Give the purple moogle Artemicion the Superslick and he will reward you with the Protect Ring and the achievement "Back Online".
Overworld: Sidequests Part 2
Chocobo Beaches
Talk to the Fat Chocobo at Chocobo's Paradise after completing the Chocographs, Dive Spots and Mountain Cracks. He will suggest to try visiting all the world's beaches by yourself.

You will need to use a Dead Pepper on the unmarked island at the top left corner of the map to enter.

After visiting all 21 beaches you will be able to press O | B to restore your HP and MP at any beach and the achievement "Beach Bum" should pop.


Cracking the Code
  • Take Garnet back to Eiko's Kitchen at Madain Sari to solve a small puzzle.
  • Upon approaching the bottom of the table area you will see Lani jump away.
  • Remove Garnet and Amarant from your party and repeat the previous step to talk to Lani.
  • Talk to her again and head into the room behind her to find the caving with the puzzle hint.
  • Head back to the Eidolon Wall and now follow the hint, you will hear a chime every step done correctly.
    1. Walk to the right until you are past the entrance once.
    2. Walk to the left until you are past the entrance once.
    3. Repeat the above until you get a message saying your HP and MP restored.
  • Read all the carvings on the wall in any order
  • Now a final carving will appear in front of Ifrit's painting for you to read and get the achievement "Cracking the Code".


Friendly Monsters
Find the monsters listed below and bribe them to be your friends, just like real life.
Completing this sidequest will give us the achievement "Mister Nice Guy" and will make Ozma much less obnoxious to fight later on.
Monster
Location
Item
Mu
In the Nolrich Heights outside of Dali
Ore
Ghost
In the Bohden Heights just below the South Gate when approached from the South end
Ore
Ladybug
In the Magdalene Forest outside Black Mage Village
2 Ore
Yeti
In the forests of Lucid Plains outside of Madain Sari
2 Ore
Nymph
In the forests of Pualei Plains outside of Iifa Tree
3 Ore
Jabberwock*
In the forests of Seaways Canyon Northwest of Oeilvert
1 Emerald
Feather Circle
On the Chocobo Tracks at Mitmakis Ice Field near Esto Gaza
1 Moonstone
Garuda
In the forests of Popos Heights near Gizamaluke's Grotto
1 Lapiz Lazuli
Yan
On the forests of Vile Island Southwest of Iifa Tree
1 Diamond
*You will receive one Moonstone for this one which should pop the achievement "Over the Moon".


Ultimate Weapons
We should have most of them by now and only be missing the three we can get at Memoria, the final dungeon of the game.
  • Zidane: We got Ultima Weapon while doing the Chocobo Dive Spots sidequest.
  • Vivi: We will find Mace of Zeus in Memoria.
  • Steiner: We got Excalibur while doing its own sidequest and we may get Excalibur II in Memoria assuming we are below 12 hours of playtime by that point.
  • Garnet: We got Whale Whisker from the Chocograph "Ocean".
  • Freya: We got Dragon's Hair from the Chocobo Mountain Crack sidequest.
  • Quina: We got Gastro Fork from the Frog Catching minigame.
  • Eiko: We will find Angel Flute in Memoria.
  • Amarant: We will find Rune Claws in Memoria.

Ragtime Mouse Quiz
Head to the "Sidequests" section of this guide for all answers needed to get this annoying achievement.

Ozma
Inspect the pile of rocks at the top left corner of the Chocobo's Air Garden to initiate the fight with Ozma.

Thanks to your actions during the Friendly Monsters sidequest Ozma can be reached by Physical Attacks and is weak to Shadow.

Defeating Ozma will grant us the Ozma Card, Strategy Guide and the achievement "To Ozma and Back".
Memoria
Lost Family
Before we even set a foot in the final dungeon we need to go to Lindblum's Theater District to start this sidequest by learning that Benero's family is missing.

Now all we gotta do is come back to the Theater District after most major story moments of the final dungeon to get a crappy Protect Ring. Yes, really...

While I would 100% recommend to ignore this garbage, it is up to you. I mark all key moments on the "Exploration" section below anyways.

Exploration
You may wanna pay attention to the name of each screen for our convenience, some rooms have repeated names too so context is key.
  • Sidequest (Lost Family): Defeating Nova Dragon.
  • Weapon (Kain's Legacy): Investigate the right side of Entrance where the large colored orb is.
  • Extra (Master Phantom): Talk to the invisible NPC at the left side of Stairs of Time.
  • Weapon (The Tower): Interact with theedge of the platform extending outwards by the end of Recollection.
  • Sidequest (Lost Family): Defeating Maliris.
  • Sidequest (Lost Family): Watching a flashback about Alexandria.
  • Weapon (Angel Flute): Investigate the left side of the platform in The Past.
    Note: There is a hidden save spot on the right side.
  • Sidequest (Lost Family): Watching a scene of Zidane talking to himself in the rain.
  • Extra (Defense Phantom): Talk to the invisible NPC on the left side atop the stairs in Recollection.
  • Sidequest (Lost Family): Watching a flashback about Dagger on a boat.
  • Sidequest (Lost Family): Watching a scene of the giant eye.
  • Weapon (The Ultimate Claws): Search the left side of Time Interval.
  • Sidequest (Lost Family): Defeating Tiamat.
  • Extra (Strong Phantom): Talk to the invisible NPC on the bottom right corner of Lost Memory.
  • Sidequest (Lost Family): Watching a scene of two planets colliding.
  • Sidequest (Lost Family): Watching a scene of Quina swimming.
  • Sidequest (Lost Family): Watching a scene about Zidane's memories.
  • Optional Boss (Hades): Search behind the rock on the right side of Birth and choose "Don't leave" when prompted.
  • Extra (Master Synthesist): Search on the same spot where you fought Hades again to access it.
  • Sidequest (Lost Family): Defeating Kraken.
  • Extra (Rare Phantom): Talk to the invisible NPC on the top right side of Time Warp.
    Note: There is a hidden save spot on the bottom right side.
  • Sidequest (Lost Family): Watching a scene about Gaia's birth.
  • Sidequest (Lost Family): Entering Stairs after climing the ladder in Gaia's Birth.
  • Weapon (Mace of Zeus): Search the left corner in Stairs.
  • Extra (Dark Phantom): Talk to the invisible NPC on the right corner of Stairs.
  • Sidequest (Lost Family): Defeating Lich.
  • Weapon (Excalibur II): Examine the right pillar in Gate to Space if you reached this point in less than 12 hours.
    Note: There is a hidden save spot on the left side.
  • Sidequest (Lost Family): Watching a scene about the Crystal.
  • Sidequest (Lost Family): Entering the Crystal World.
  • Sidequest (Lost Family): Defeating Deathguise.
    IMPORTANT: Do not approach Kuja yet unless you are ready to end the game. More info on that below.
Point of No Return: Crystal World
Advancing past Deathguise will trigger the final boss fight. This is the last chance to do anything you have left.


Achievements
Finish up any achievements remaining that you may have yet to receive, things like "Let the Bodies Hit the Floor III" which requires to beat 10,000 enemies. Reading their descriptions should be simple enough but there are a couple worth mentioning:
  • A Clean Bill of Health: Have a single character be hit by every single status, both positive and negative. This can be done by either an enemy or friendly fire but gaining them from abilities does not count.
    Negative: Heat, Mini, Slow, Stop, Sleep, Virus, Venom, Freeze, Poison, Zombie, Berserk, Confuse, Petrify, Silence, Trouble, Darkness, Doom, Gradual Petrify.
    Positive: Haste, Regen, Float, Shell, Vanish, Protect, Reflect, Auto-Life.
  • It's All in the Cards III: Needs 100 different opponents.
  • One Nag Too Many: Call Moguo (the save moogle) 17 consecutive times.
  • Your Lucky Day: Get your fortune read at Dali's Inn for 10 Gil, repeat this until you get the Very Good omen.
Sidequests
Stellazzio Coins
We will collect most of the coins through our Journey and must give them to Queen Stella at Treno for various rewards based on the number of coins we have given her so far:
  1. 1,000 Gil.
  2. Phoenix Pinion.
  3. 02,000 Gil.
  4. Blood Sword.
  5. 5,000 Gil.
  6. Elixir.
  7. 10,000 Gil.
  8. Black Belt.
  9. 20,000 Gil.
  10. Rosetta Ring.
  11. 30,000 Gil.
  12. Robe of Lords.
  13. Hammer.
The Hammer will be useful to craft Save the Queen which comes with an extra ending scene, or boring armor with no movie attached.

Knight's House Monsters
We can fight four monsters at the Knight's House weapon shop in Treno during specific points of the game, defeating them gives us the following:
  • Griffin - Tonberry Card.
    During your first visit to Treno as Steiner & Dagger.
  • Catoblepass - 15,000 Gil.
    During the card tournament revisit to Treno.
  • Amdusias - Running Shoes.
    After obtaining Hilda Garde III.
  • Behemoth - Circlet.
    After obtaining the Invincible.
Chocobo Hot and Cold
Head into the Chocobo forest to get Gysahl Greens from Mene the moogle. Then return to Mene after your first ride on a Chocobo and ask "What's the big secret?" to be able to play this minigame.

Long story short, we want to dig for a "Stone with Patterns" which Mene soon renames to Chocograph, each Chocograph can be viewed while riding your Chocobo and hints at the location of treasure. Unless you are some sort of RNG god it's safe to say you unlocked the achievement "Follow Your Nose" by leveling your Chocobo's Beak to 99 while you are following the steps below.

Chocobo Forest & Reef Ability
  • Play Chocobo Hot and Cold until you find all 9 Chocographs and 1 Chocograph Piece, at this point Mene will notify you there are no more to find.
  • Take the Blue Narciss to the coast Northwest of Cleyra, summon your Chocobo, set the Chocograph "Healing Shore" and dig up the treasure to learn the Reef Ability.

Chocobo's Lagoon & Mountain Ability
  • Take the Blue Narciss to the small island with Chocobo tracks where you can land, all the way South on the Southwest continent.
    Summon your Chocobo and head North until you see the Rocky part of the continent, take a turn right and then South to reach the islands to the right of where you landed your ship and enter the giant hole to find Chocobo's Lagoon.
  • Play Chocobo Hot and Cold until you find all 4 Chocographs and 1 Chocograph Piece, at this point Mene will notify you there are no more to find.
  • Take the Blue Narciss to the small island all the way Southeast on the Mist Continent, land nearby to summon your Chocobo and set the Chocograph "Dawn Lagoon" and dig the treasure just below the small island.

Chocobo Forest Revisit & Sea Ability
  • Head back to the Chocobo Forest and Play Chocobo Hot and Cold until you find all 4 Chocographs and 2 Chocograph Pieces, at this point Mene will notify you there are no more to find.
  • Summon your Chocobo and set your Chocograph "Green Plains", then head for the "U" shaped portion on the North of the Mist continent, you will notice another "U" shaped shore where your ship would be able to land, from there head south into the mountain until you see a small forest area with another forest area climing to the left, we will climb to the right instead and dig the treasure.

Chocobo's Lagoon & Sky Ability
  • Play Chocobo Hot and Cold until you find all 3 Chocographs and 2 Chocograph Pieces, at this point Mene will notify you there are no more to find.
    Note: You will only find the Chocograph Pieces if you have the Hilda Garde III.
  • Summon your Chocobo and set your Chocograph "Mist Ocean", head North of Alexandria Harbor and position yourself between the two small islands to dig for the treasure.

Chocobo's Air Garden
  • Head to one of the possible five locations where this island can be floating above of and use a Dead Pepper to make your Golden Chocobo reach it. The island will be tracked on the map afterwards.
  • Now that we are here its time to grind the minigame until we get all remaining Chocographs.

Chocographs
Now that we obtained all Chocographs we can go flying around until we get all treasure and the achievement "Diggin' It".

Use this link[finalfantasy.fandom.com] for each location since I am not taking 20 screenshots for the time being.

Ragtime Mouse Quiz
Answer correctly all questions which are asked at random except the final question to get the achievement "Beating the Ragtime Blues".
TRUE (O):
  • Berkmea cable cars have been running for eight years.
  • Chocobo Forest is located between Lindblum and South Gate.
  • Lindblum Castle is larger than Alexandria Castle.
  • Lindblum's air cabs operate around the clock.
  • Some Mus are friendly and don't attack.
  • Treno's cafe, Card Carta, is members only.
  • Theater Ship Prima Vista uses Mist as its source of energy.
FALSE (X):
  • Bobo bird is a bird that brings you fortune.
  • Conde Petie is a village of Goblins.
  • Fossil Roo is a tunnel that connects Treno and Alexandria.
  • The Theater Ship Prima Vista was built in Artania Shipyards.
  • The 15th Lindblum War started in 1600.
  • Only one desert exists in the entire world.
  • Prima Vista means love at first sight.
  • "I Want To Be Your Canary" was written by Lord Afon.
FINAL QUESTION | TRUE (O):
  • You can defeat Ragtime Mouse.
Minigames
Frog Catching
You can play this minigame by going to any of the four Marshes across the world.

How to play
Just catch frogs, that's it, that's the game you are voluntarily playing.

Tips
Couple of things to keep in mind to avoid headaches.
  • Play this minigame whenever you have the chance while going through the story.
  • Do not spam it though as the frogs have a whole mechanic dedicated to their growth.
  • Do not catch all frogs either. Leave at least 1 male, 1 female and 1 golden (if present).
    Female frogs have a black stripe through their bodies, red feet and are slightly lighter shade.
  • Save before catching frog 99.
  • Reload the game after catching a gold frog for the first time, if you care about achievements.

Rewards
Your goodies depend on the number of frogs captured:
  • 02 - Ore
  • 05 - Ether
  • 09 - Silk Robe
  • 15 - Elixir
  • 23 - Silver Fork
  • 33 - Bistro Fork
  • 45 - Battle Boots
  • 99 - Boss Fight against Quale for Quina's Ultimate Weapon: Gastro Fork.
Plus you get to power up Quina's Blu Mag's Frog Drop for each one captured, which uses the formula below. Go nuts.
Quina's Level * Number of frogs caught.

Hippaul Race
His mom will reward you based on Hippaul's level, which you can check by talking to him:
  • Lv 10 | Wyvern Card.
  • Lv 20 | Carrion Worm Card.
  • Lv 30 | Tantarian Card.
  • Lv 40 | Armstrong Card.
  • Lv 50 | Ribbon Card.
  • Lv 60 | Nova Dragon Card.
  • Lv 70 | Genji Card.
  • Lv 80 | Athlete Queen + Achievement "Track Star".
You may get 1 to 5 levels depending on how well you did at the minigame, there are no real tricks other than changing the keybinds to something you are more comfortable with... Well, that or an autohotkey... or a macro...
Thank You
Hope this guide helped, now go play Final Fantasy X.
43 σχόλια
Abyss  [Δημιουργός] 19 Μαϊ, 13:57 
@ted the achievement should be 9 times in a row. But considering you have had achievements not pop before I wonder if you are bugged somehow.
ted 17 Μαϊ, 6:10 
About shuffle mini game? Do I need to win 9 times in a row in once? Or I need to win 9 in a row 9 times? Because I already win 9 times in a row once but didn't get the achievement. I wonder if I need to do the minigame 8 more times or it is bug.. its also the same for making moguo tantrum achievement. I already call him more than 17 times, he's already mad, but the achievement didn't trigger
Crab Hammer 10 Μαϊ, 19:54 
So I don't understand the EXP farm steps with the grand dragon.
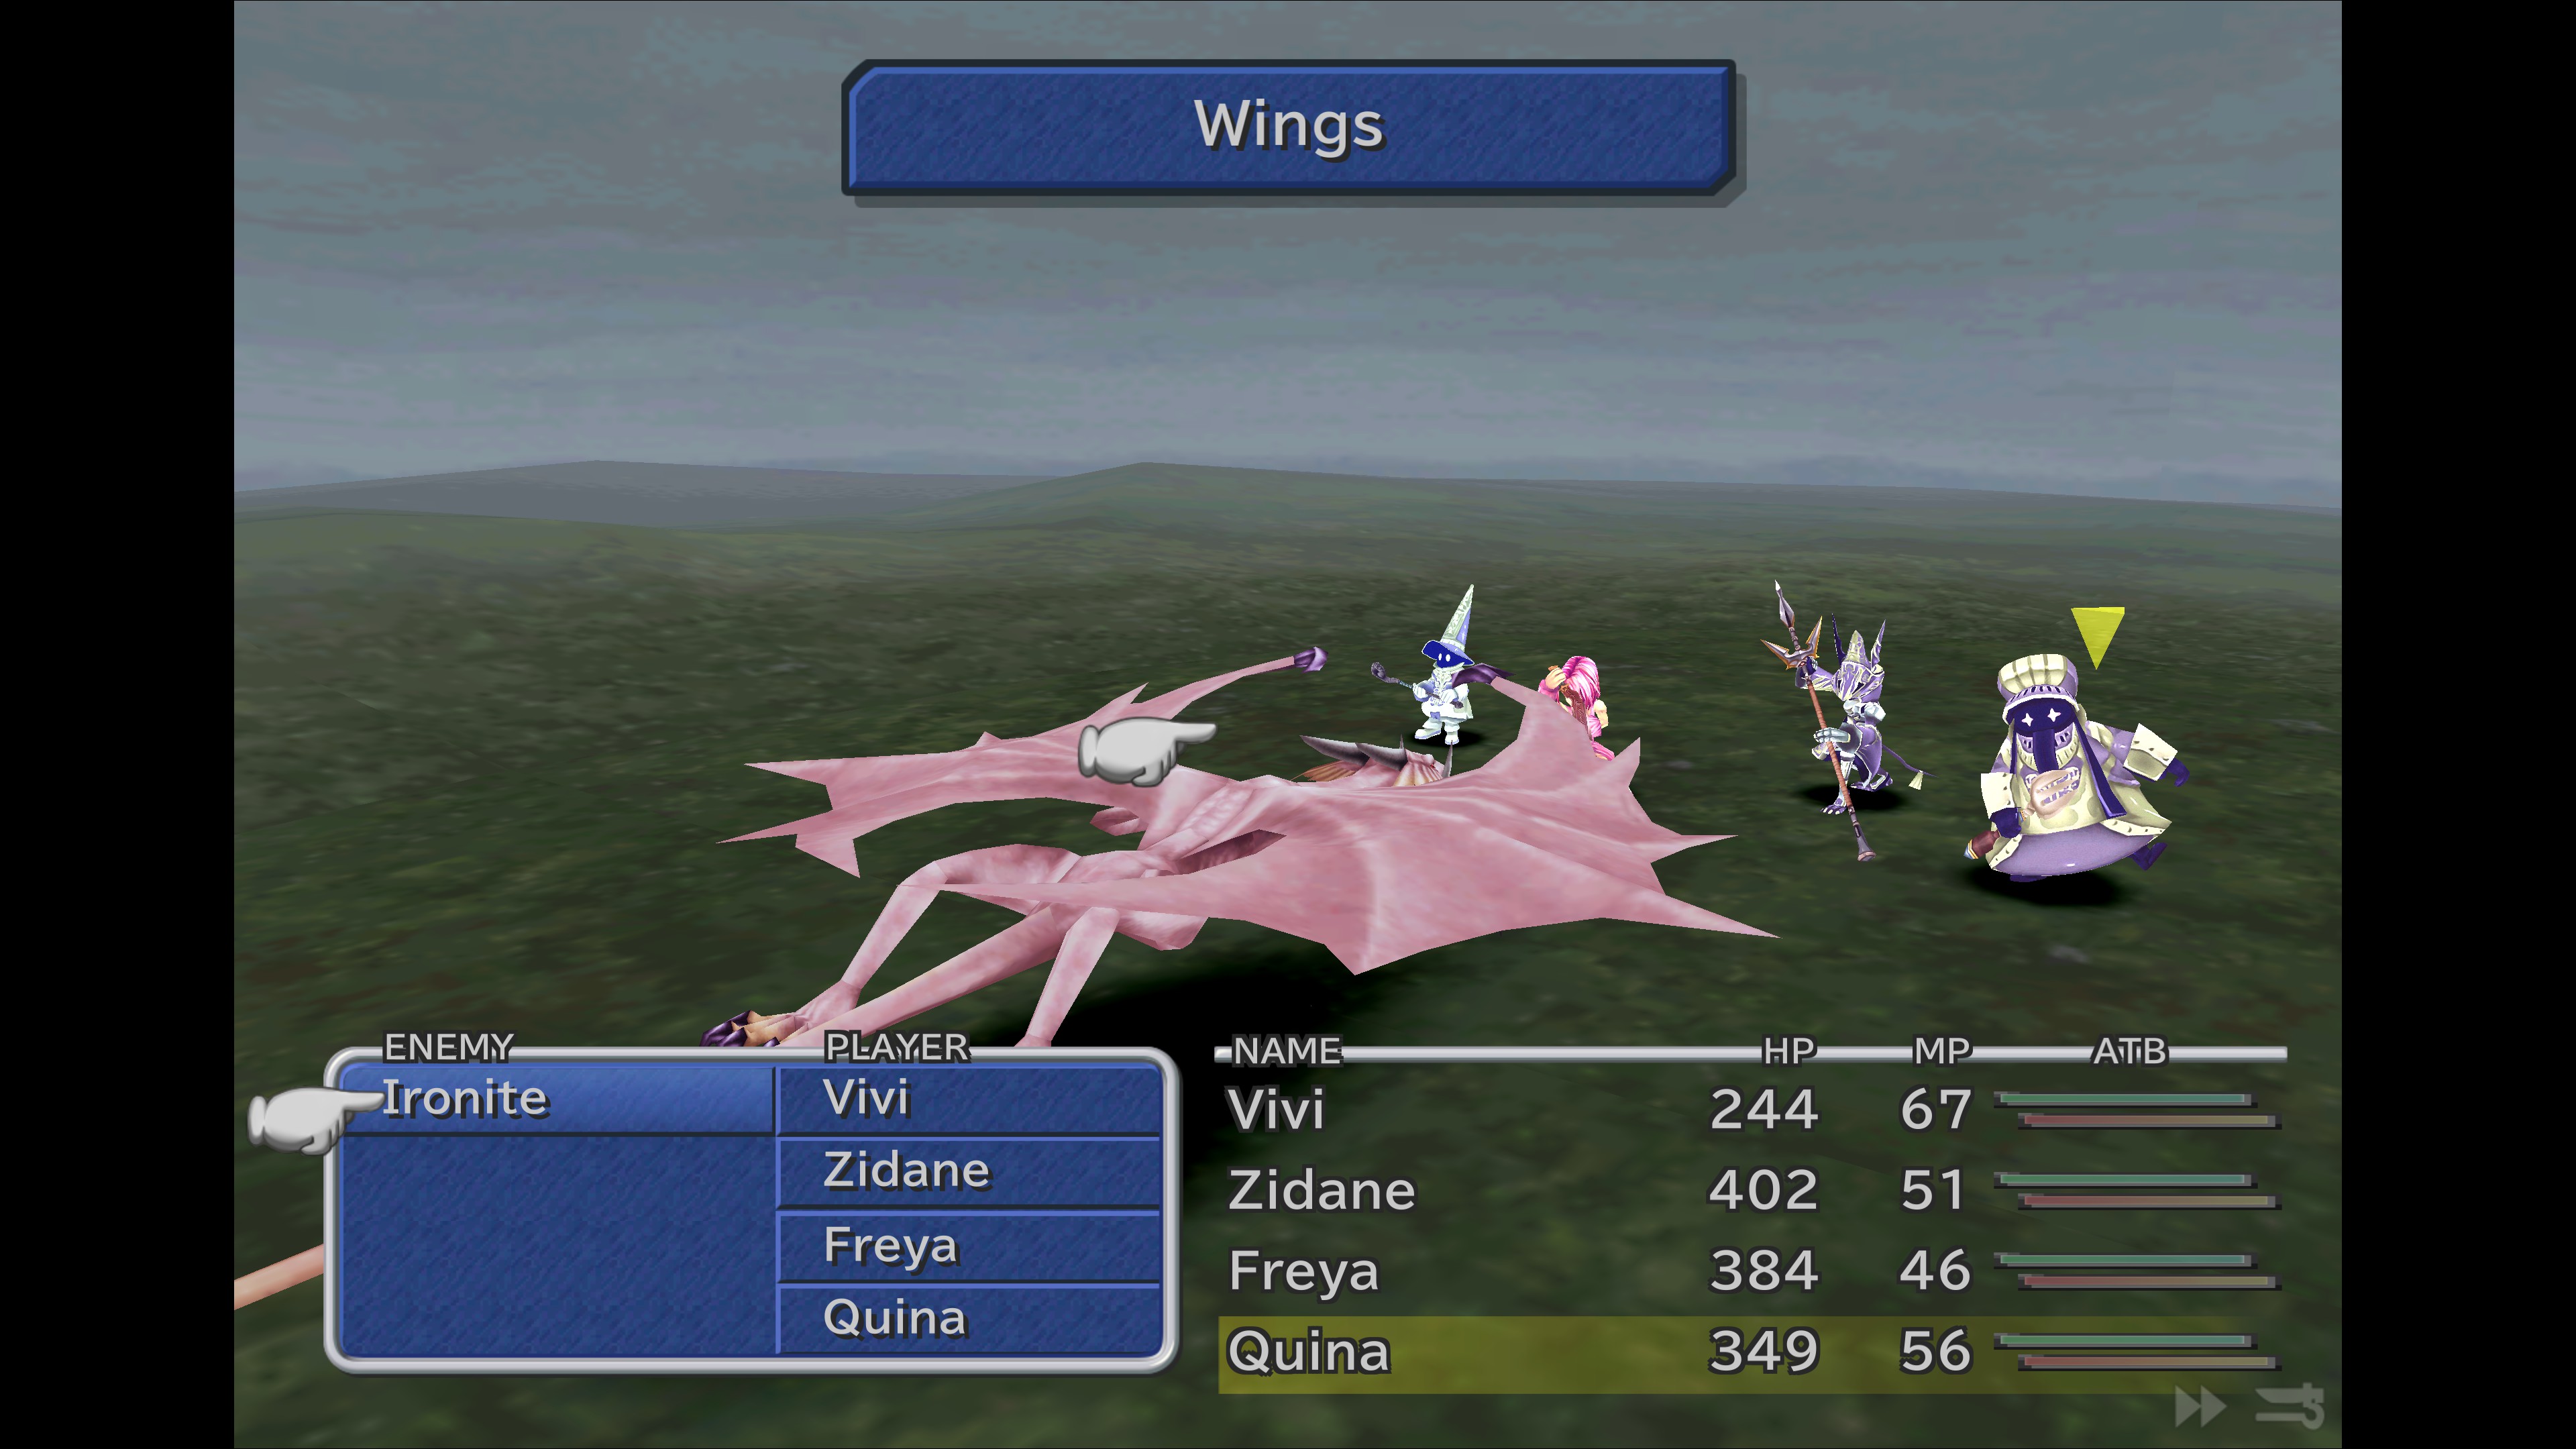
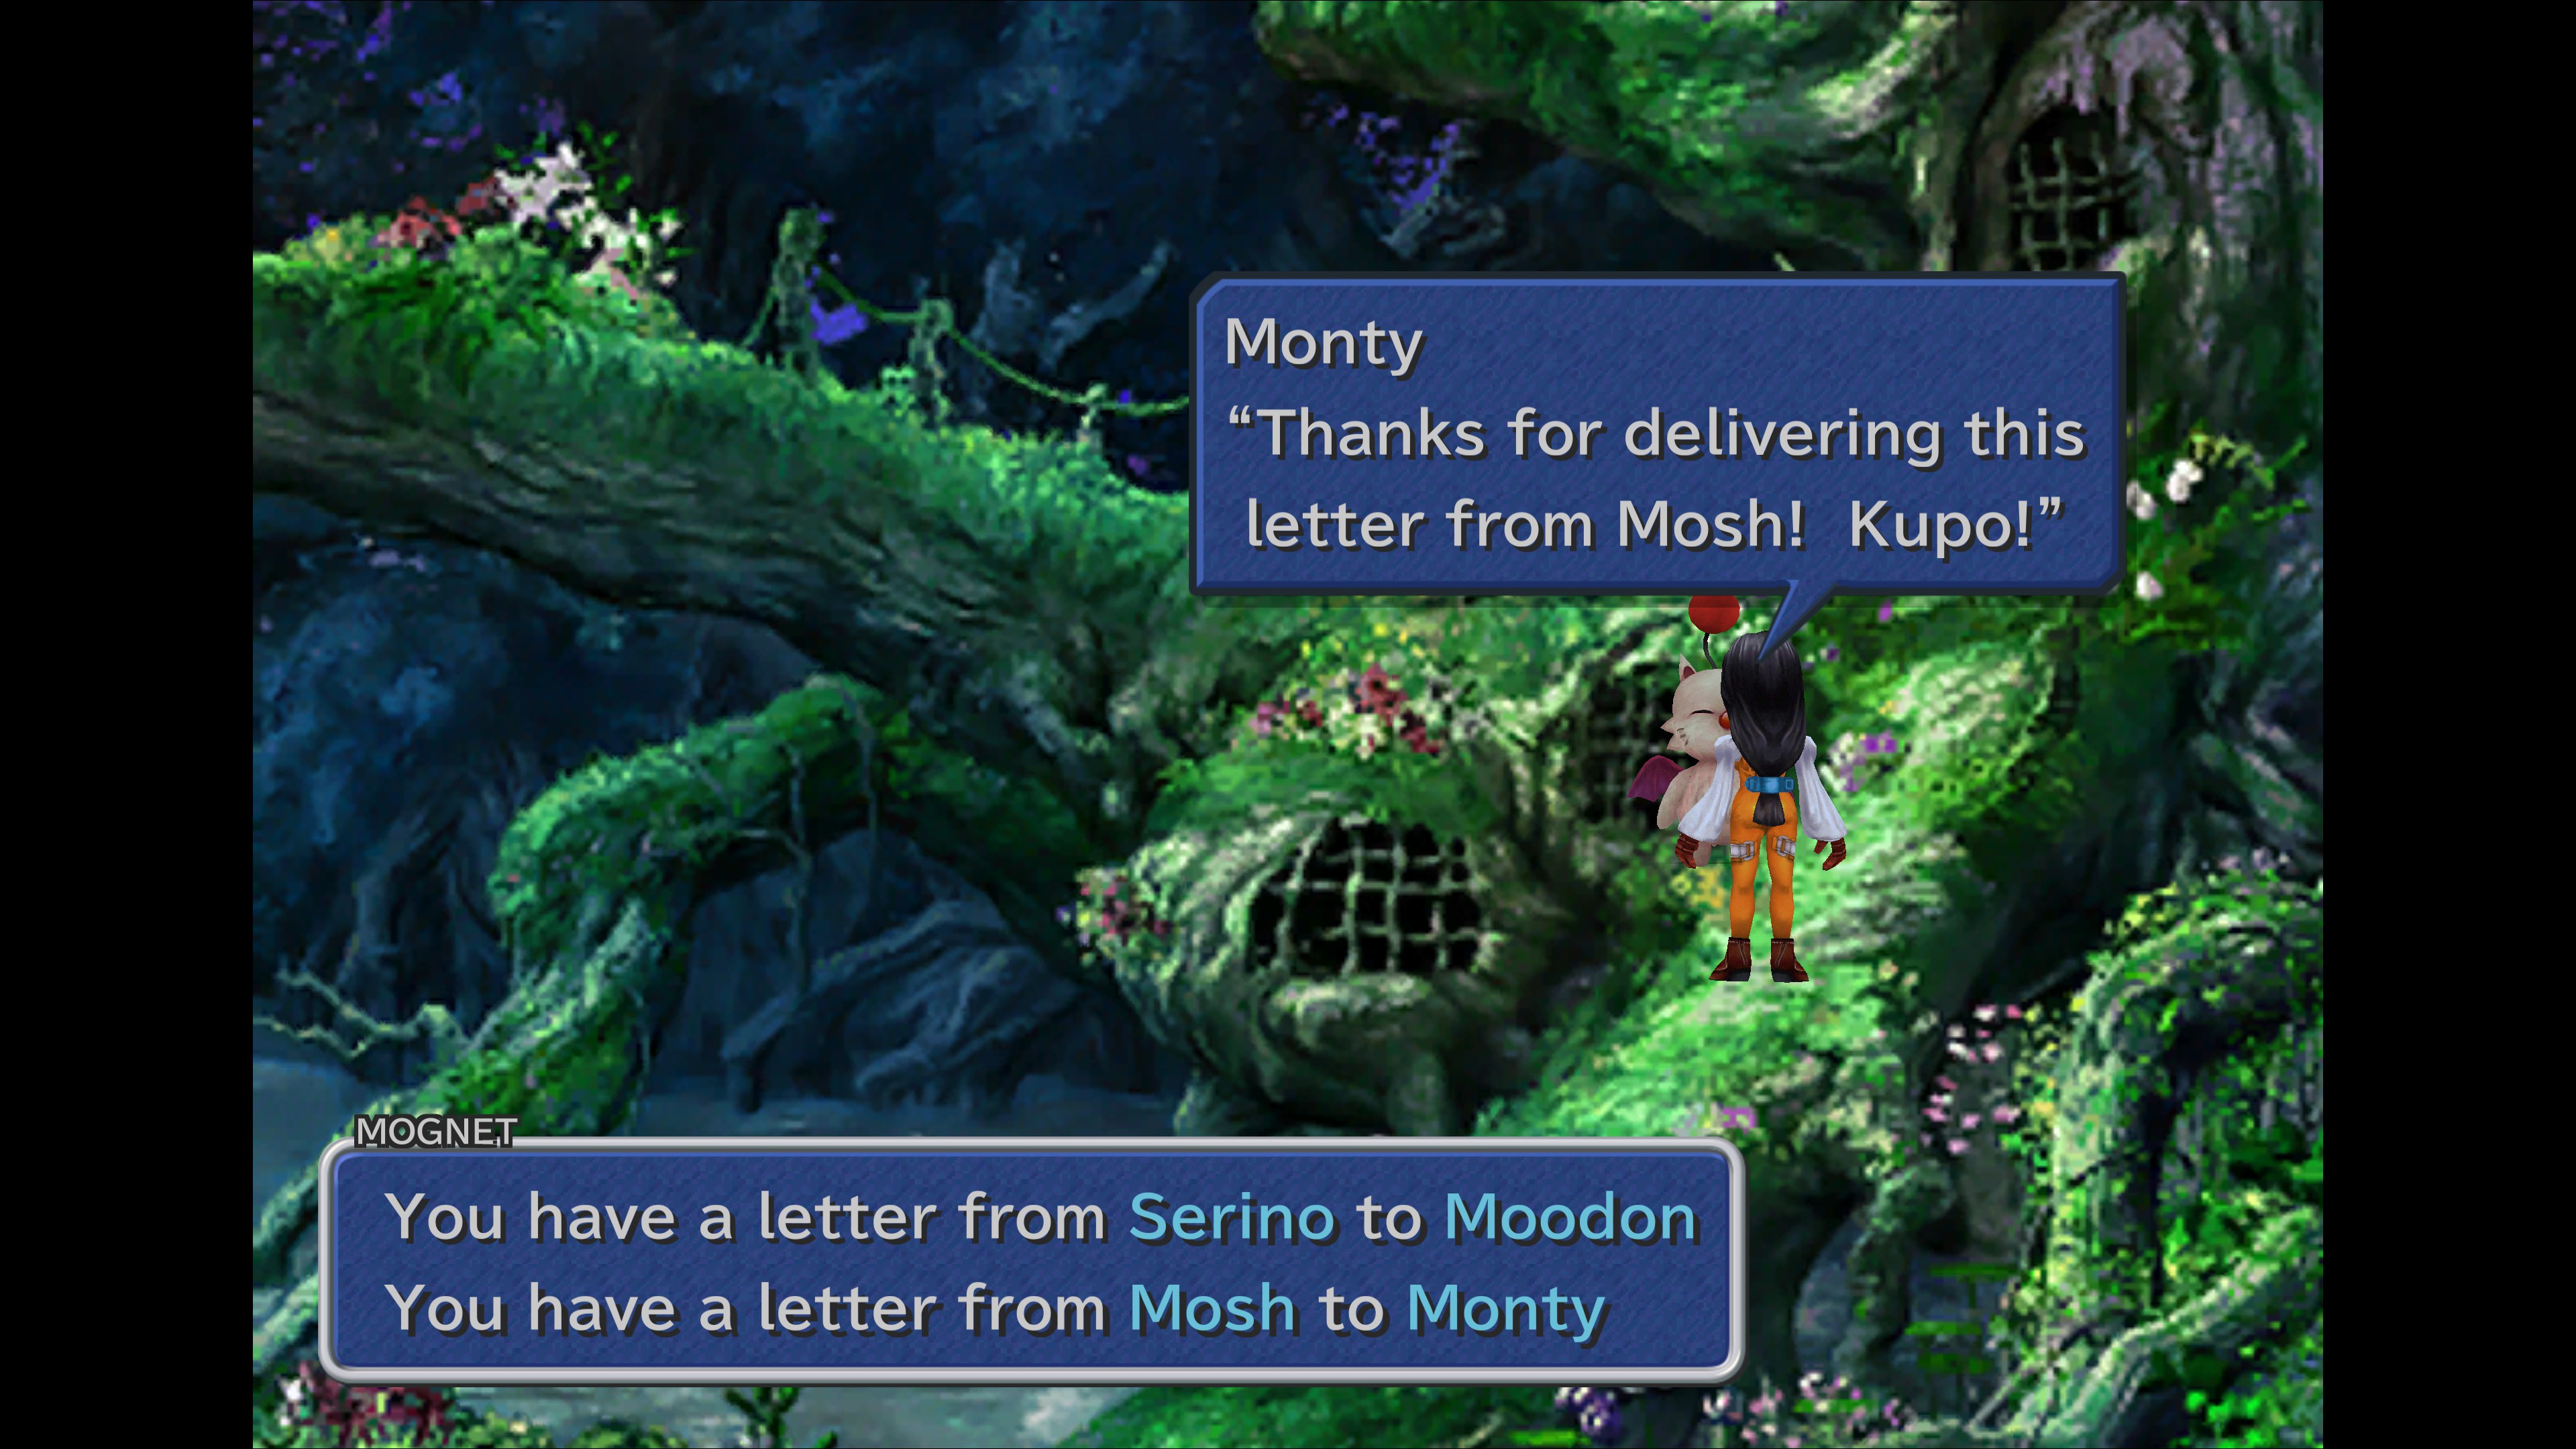
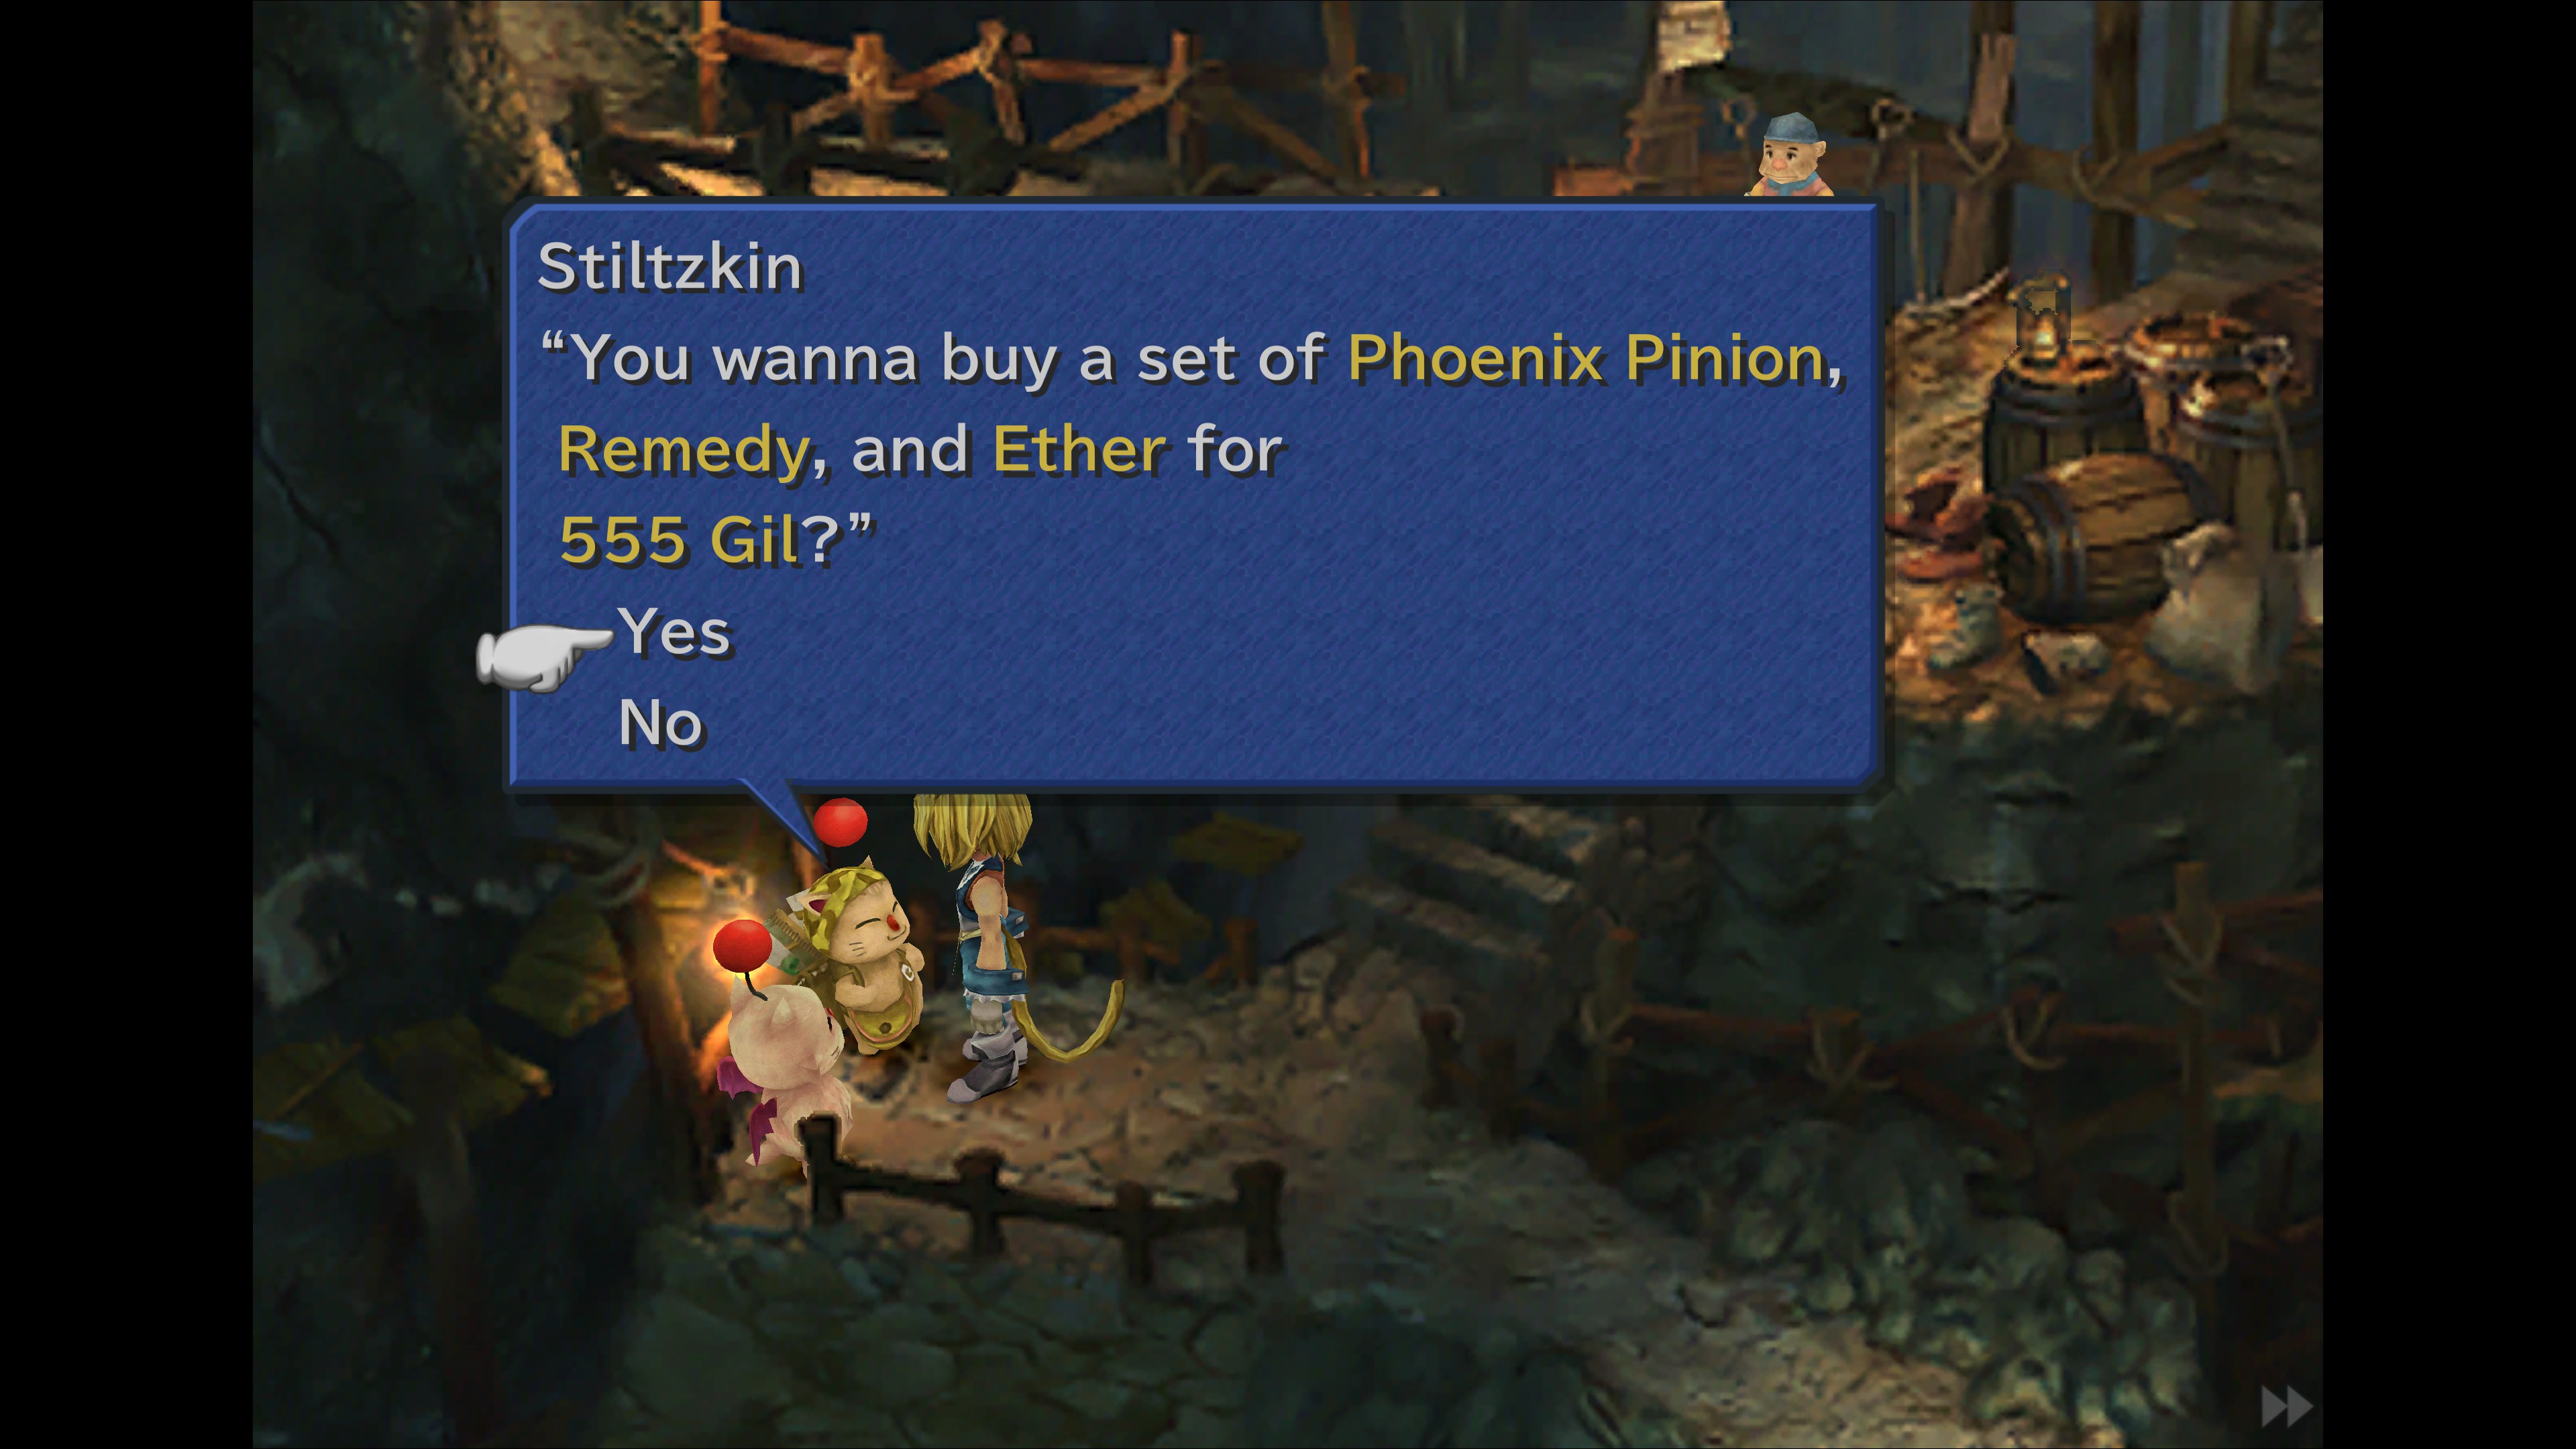
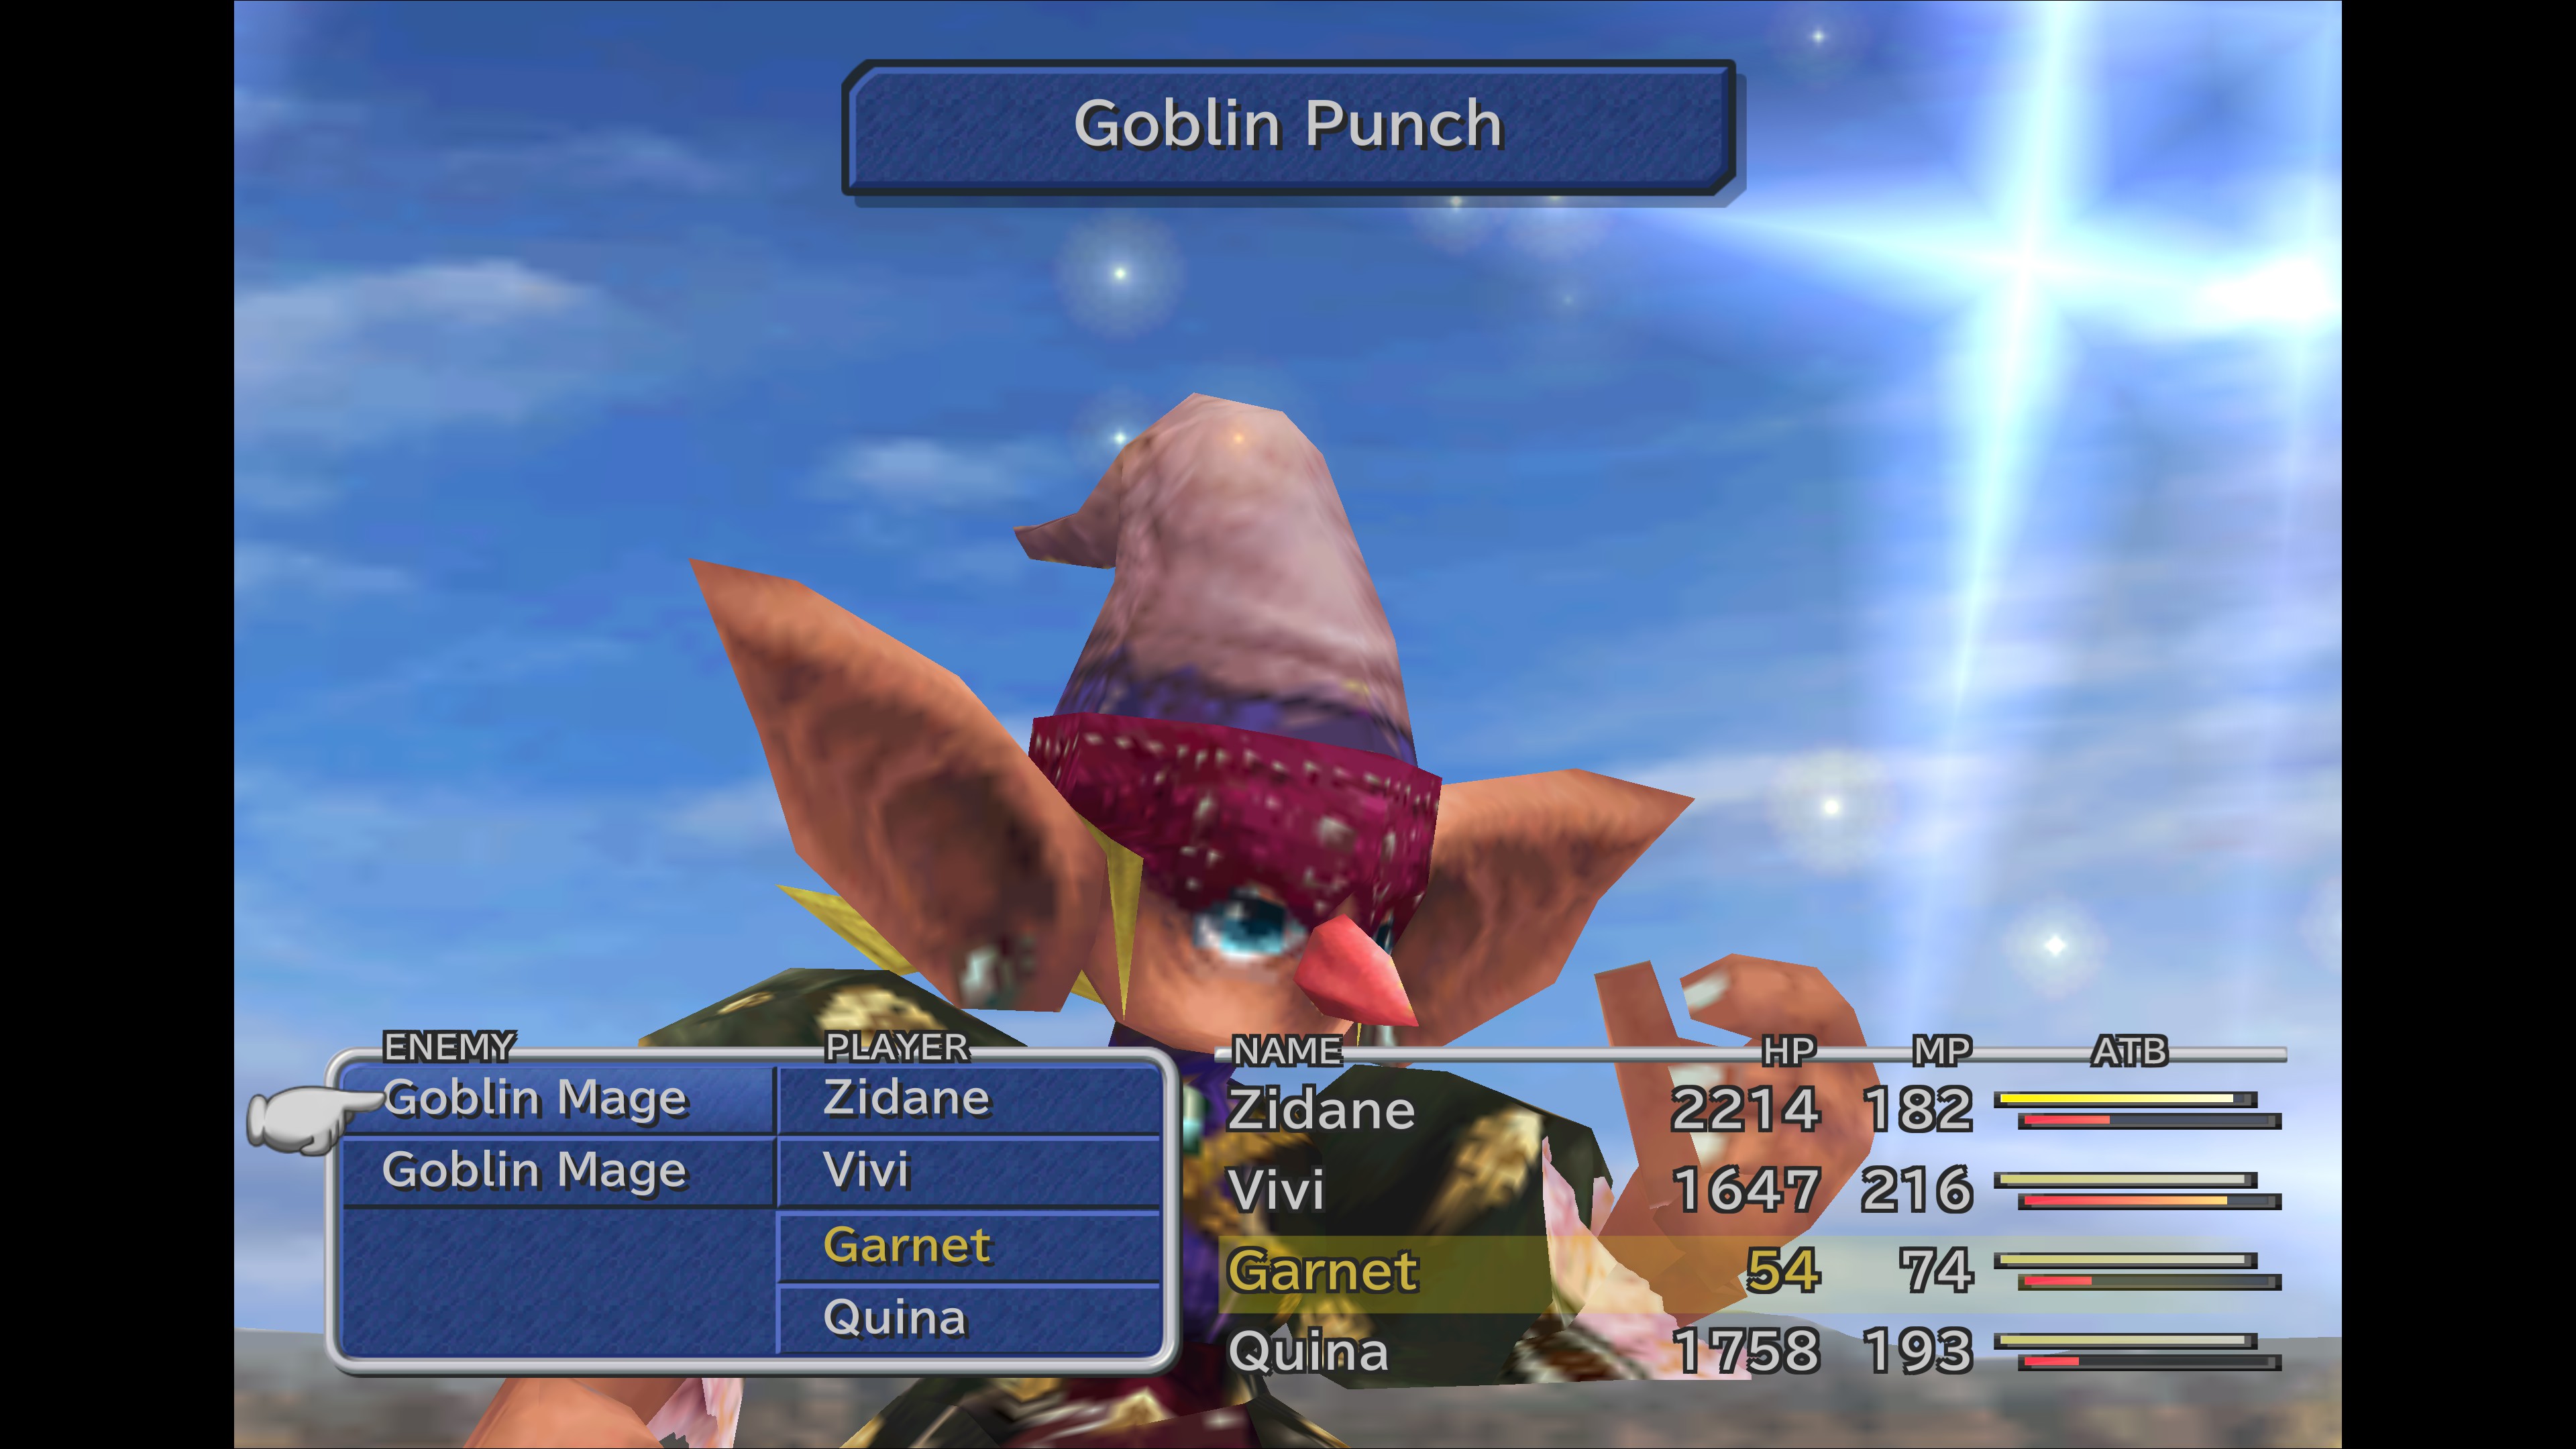
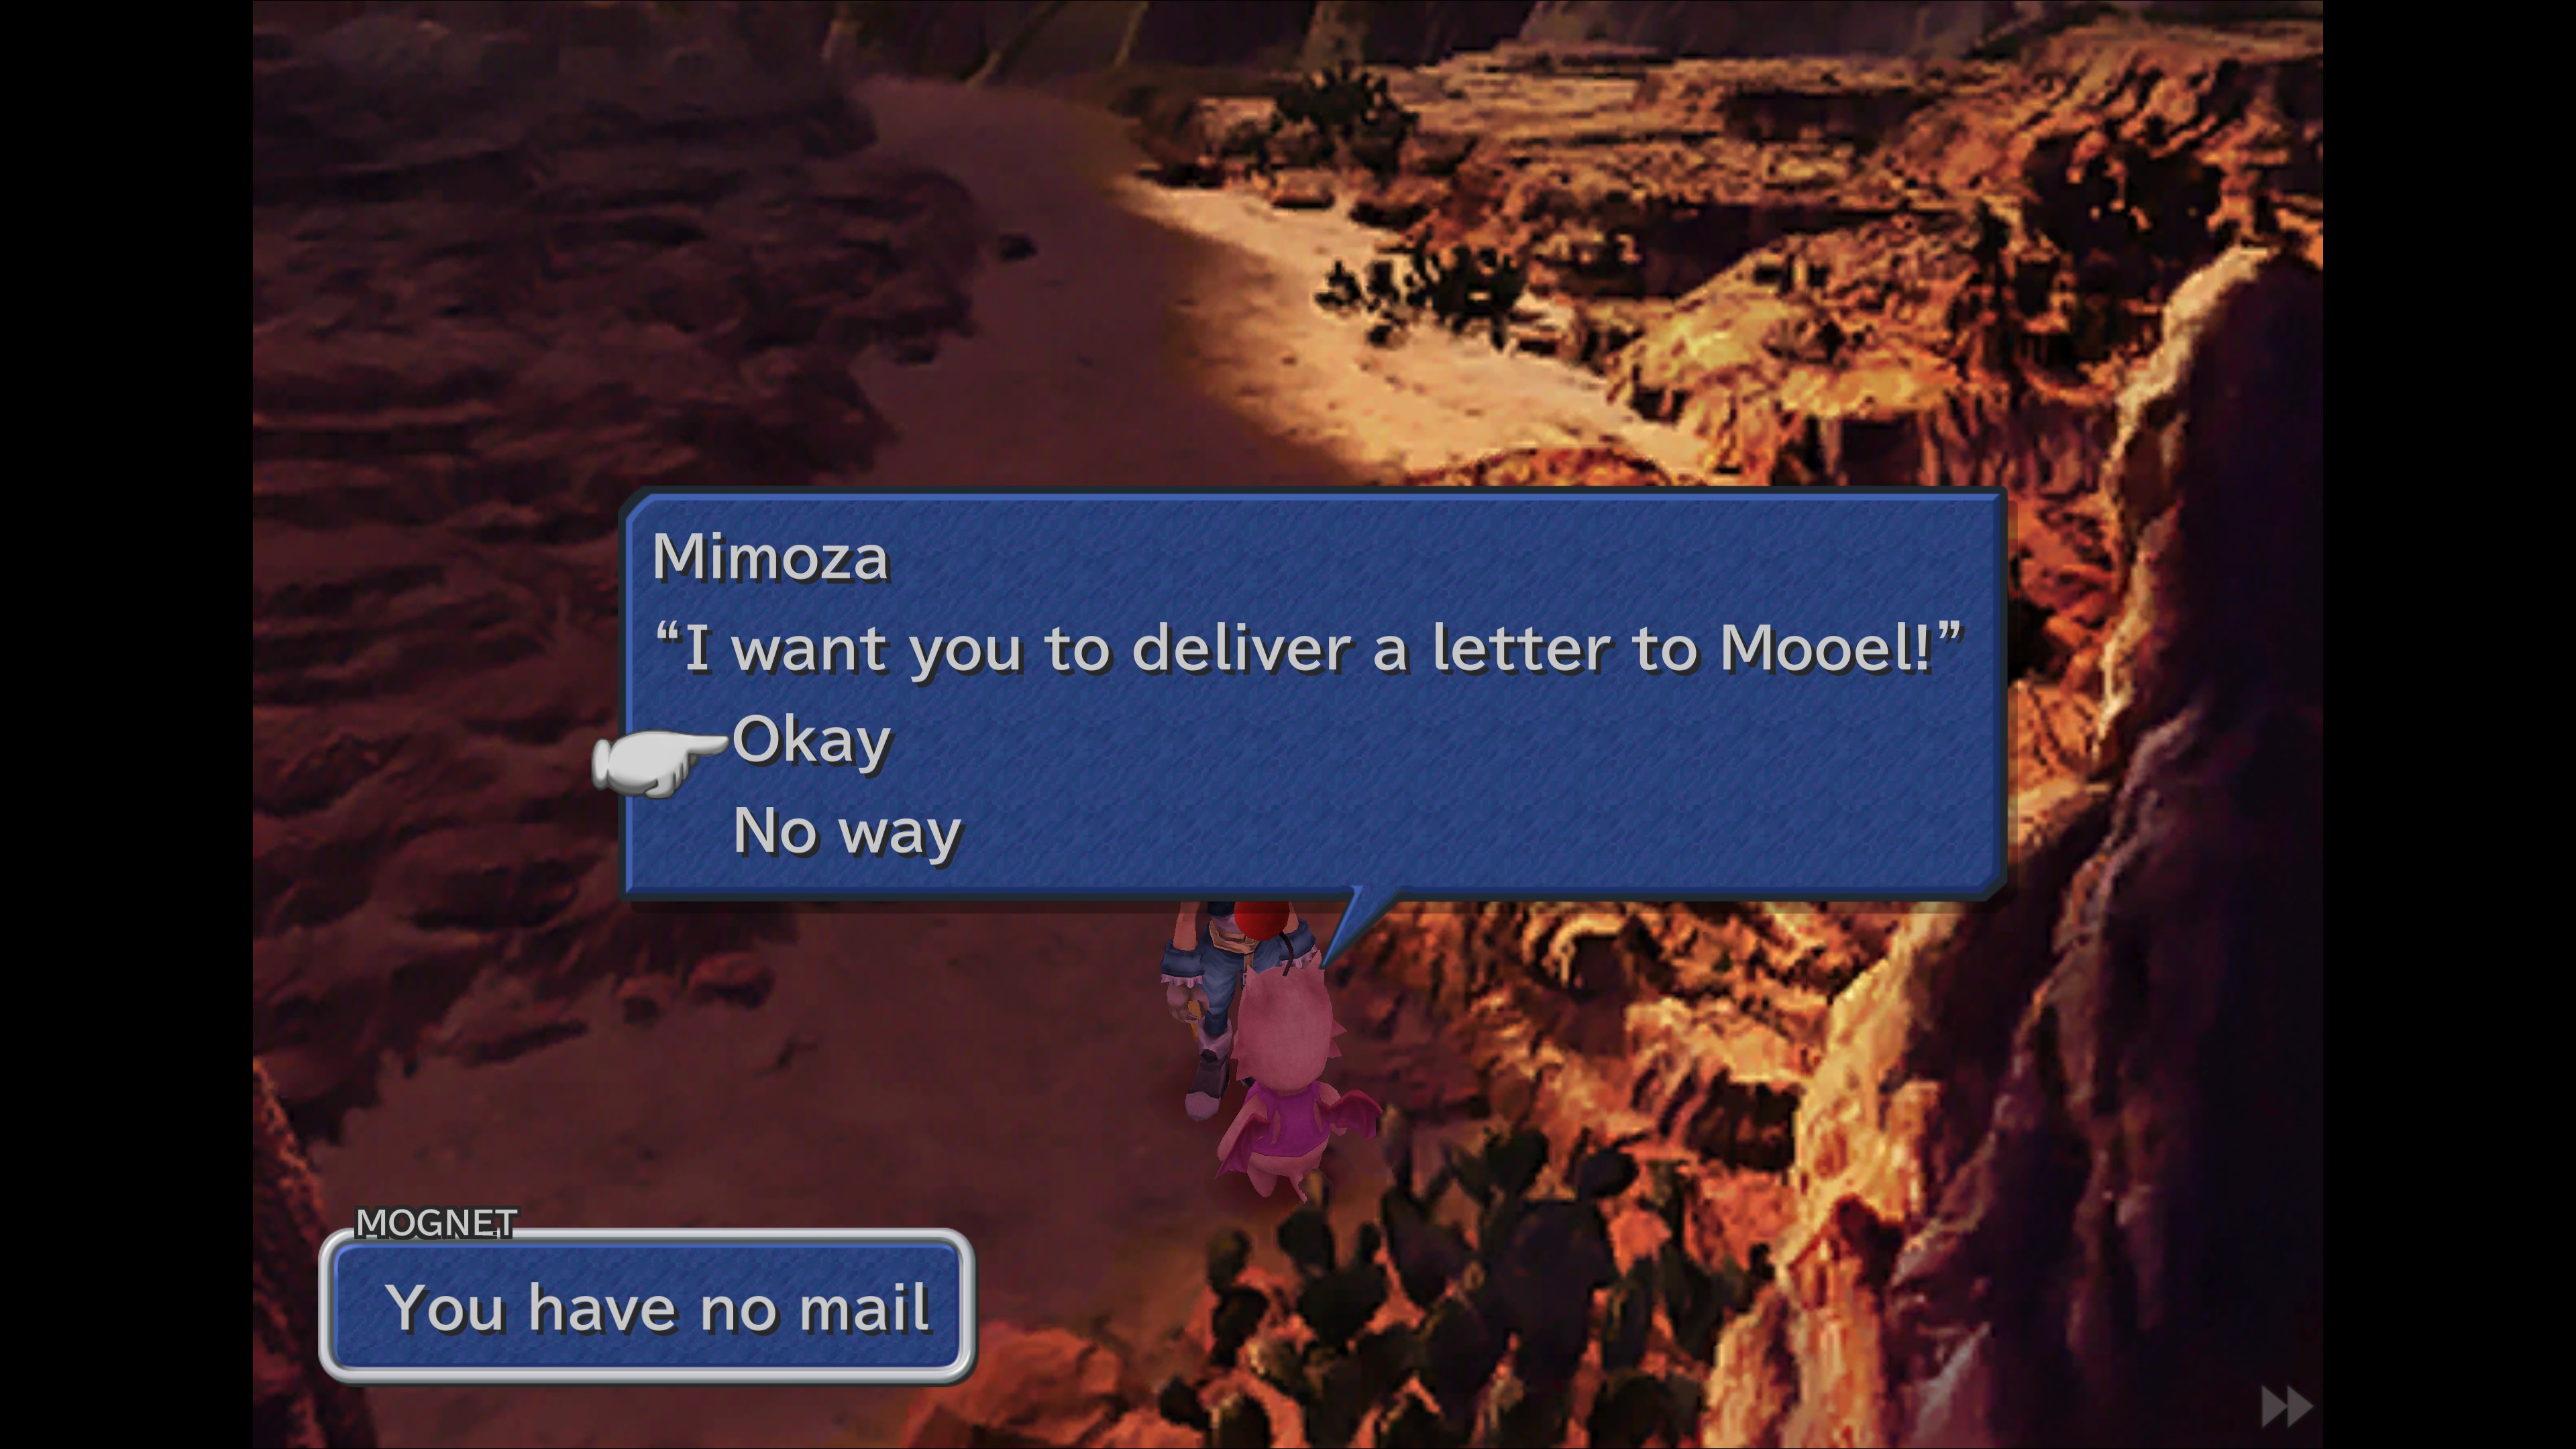
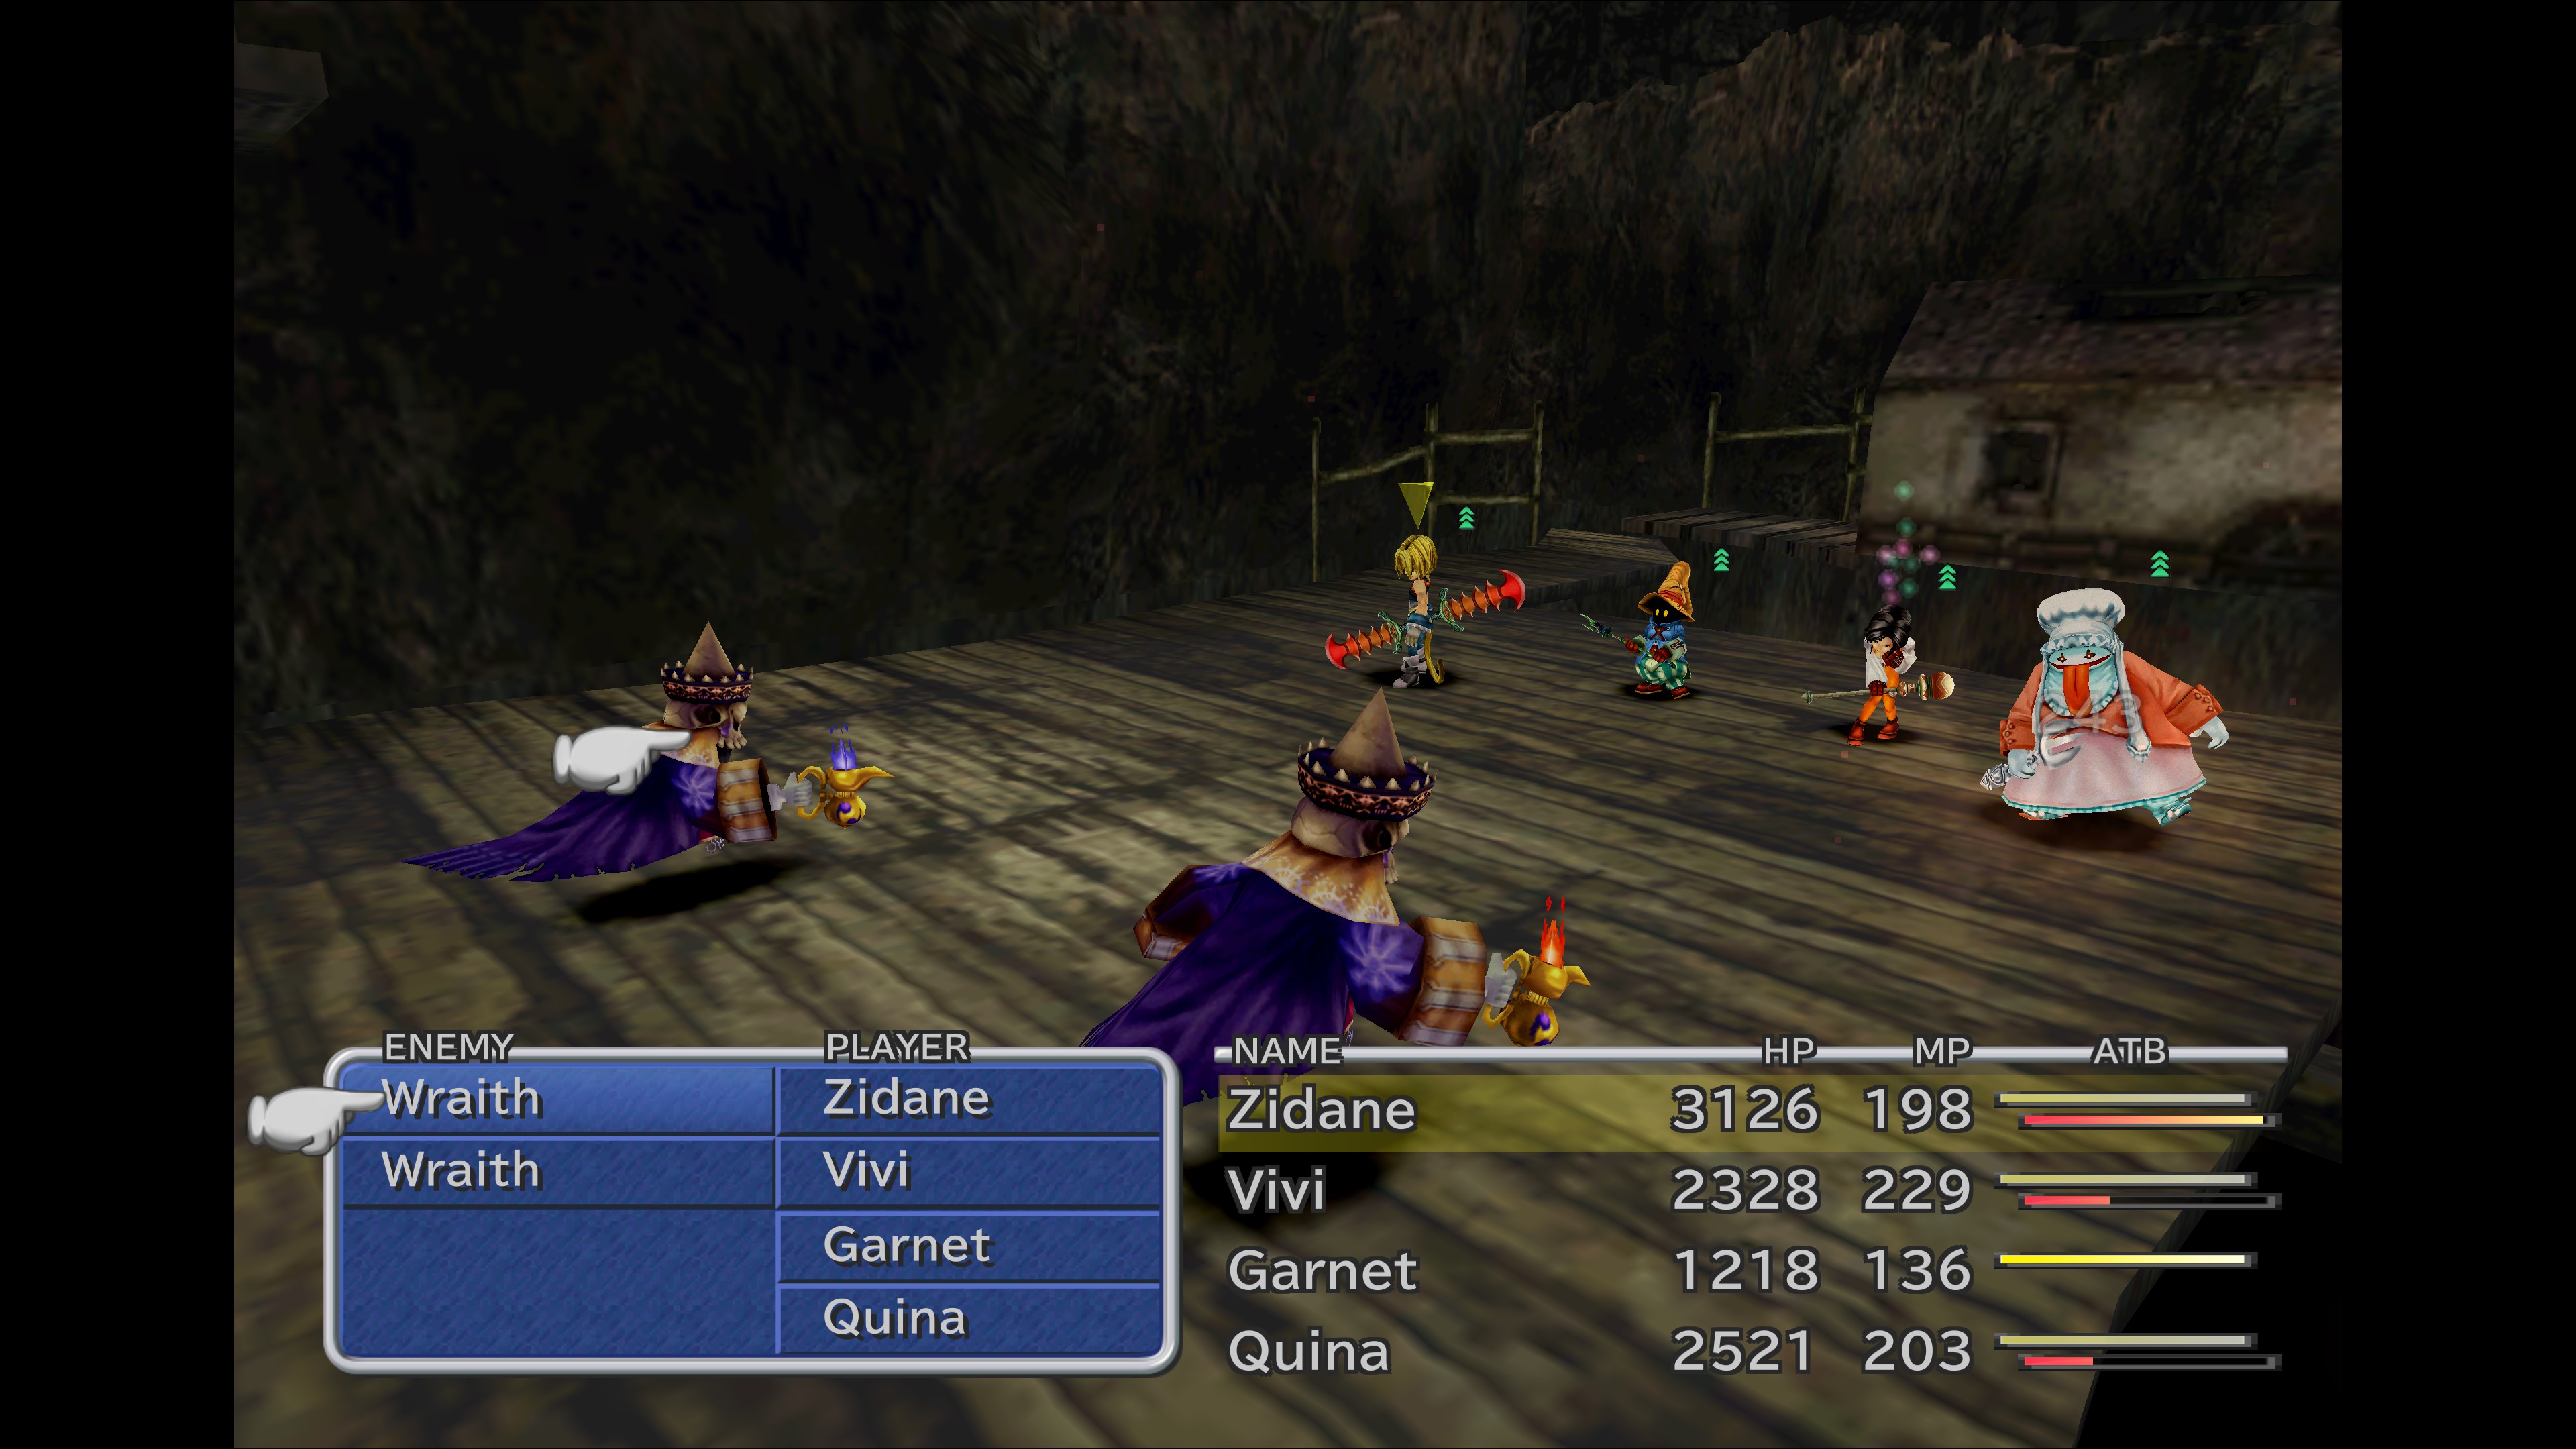
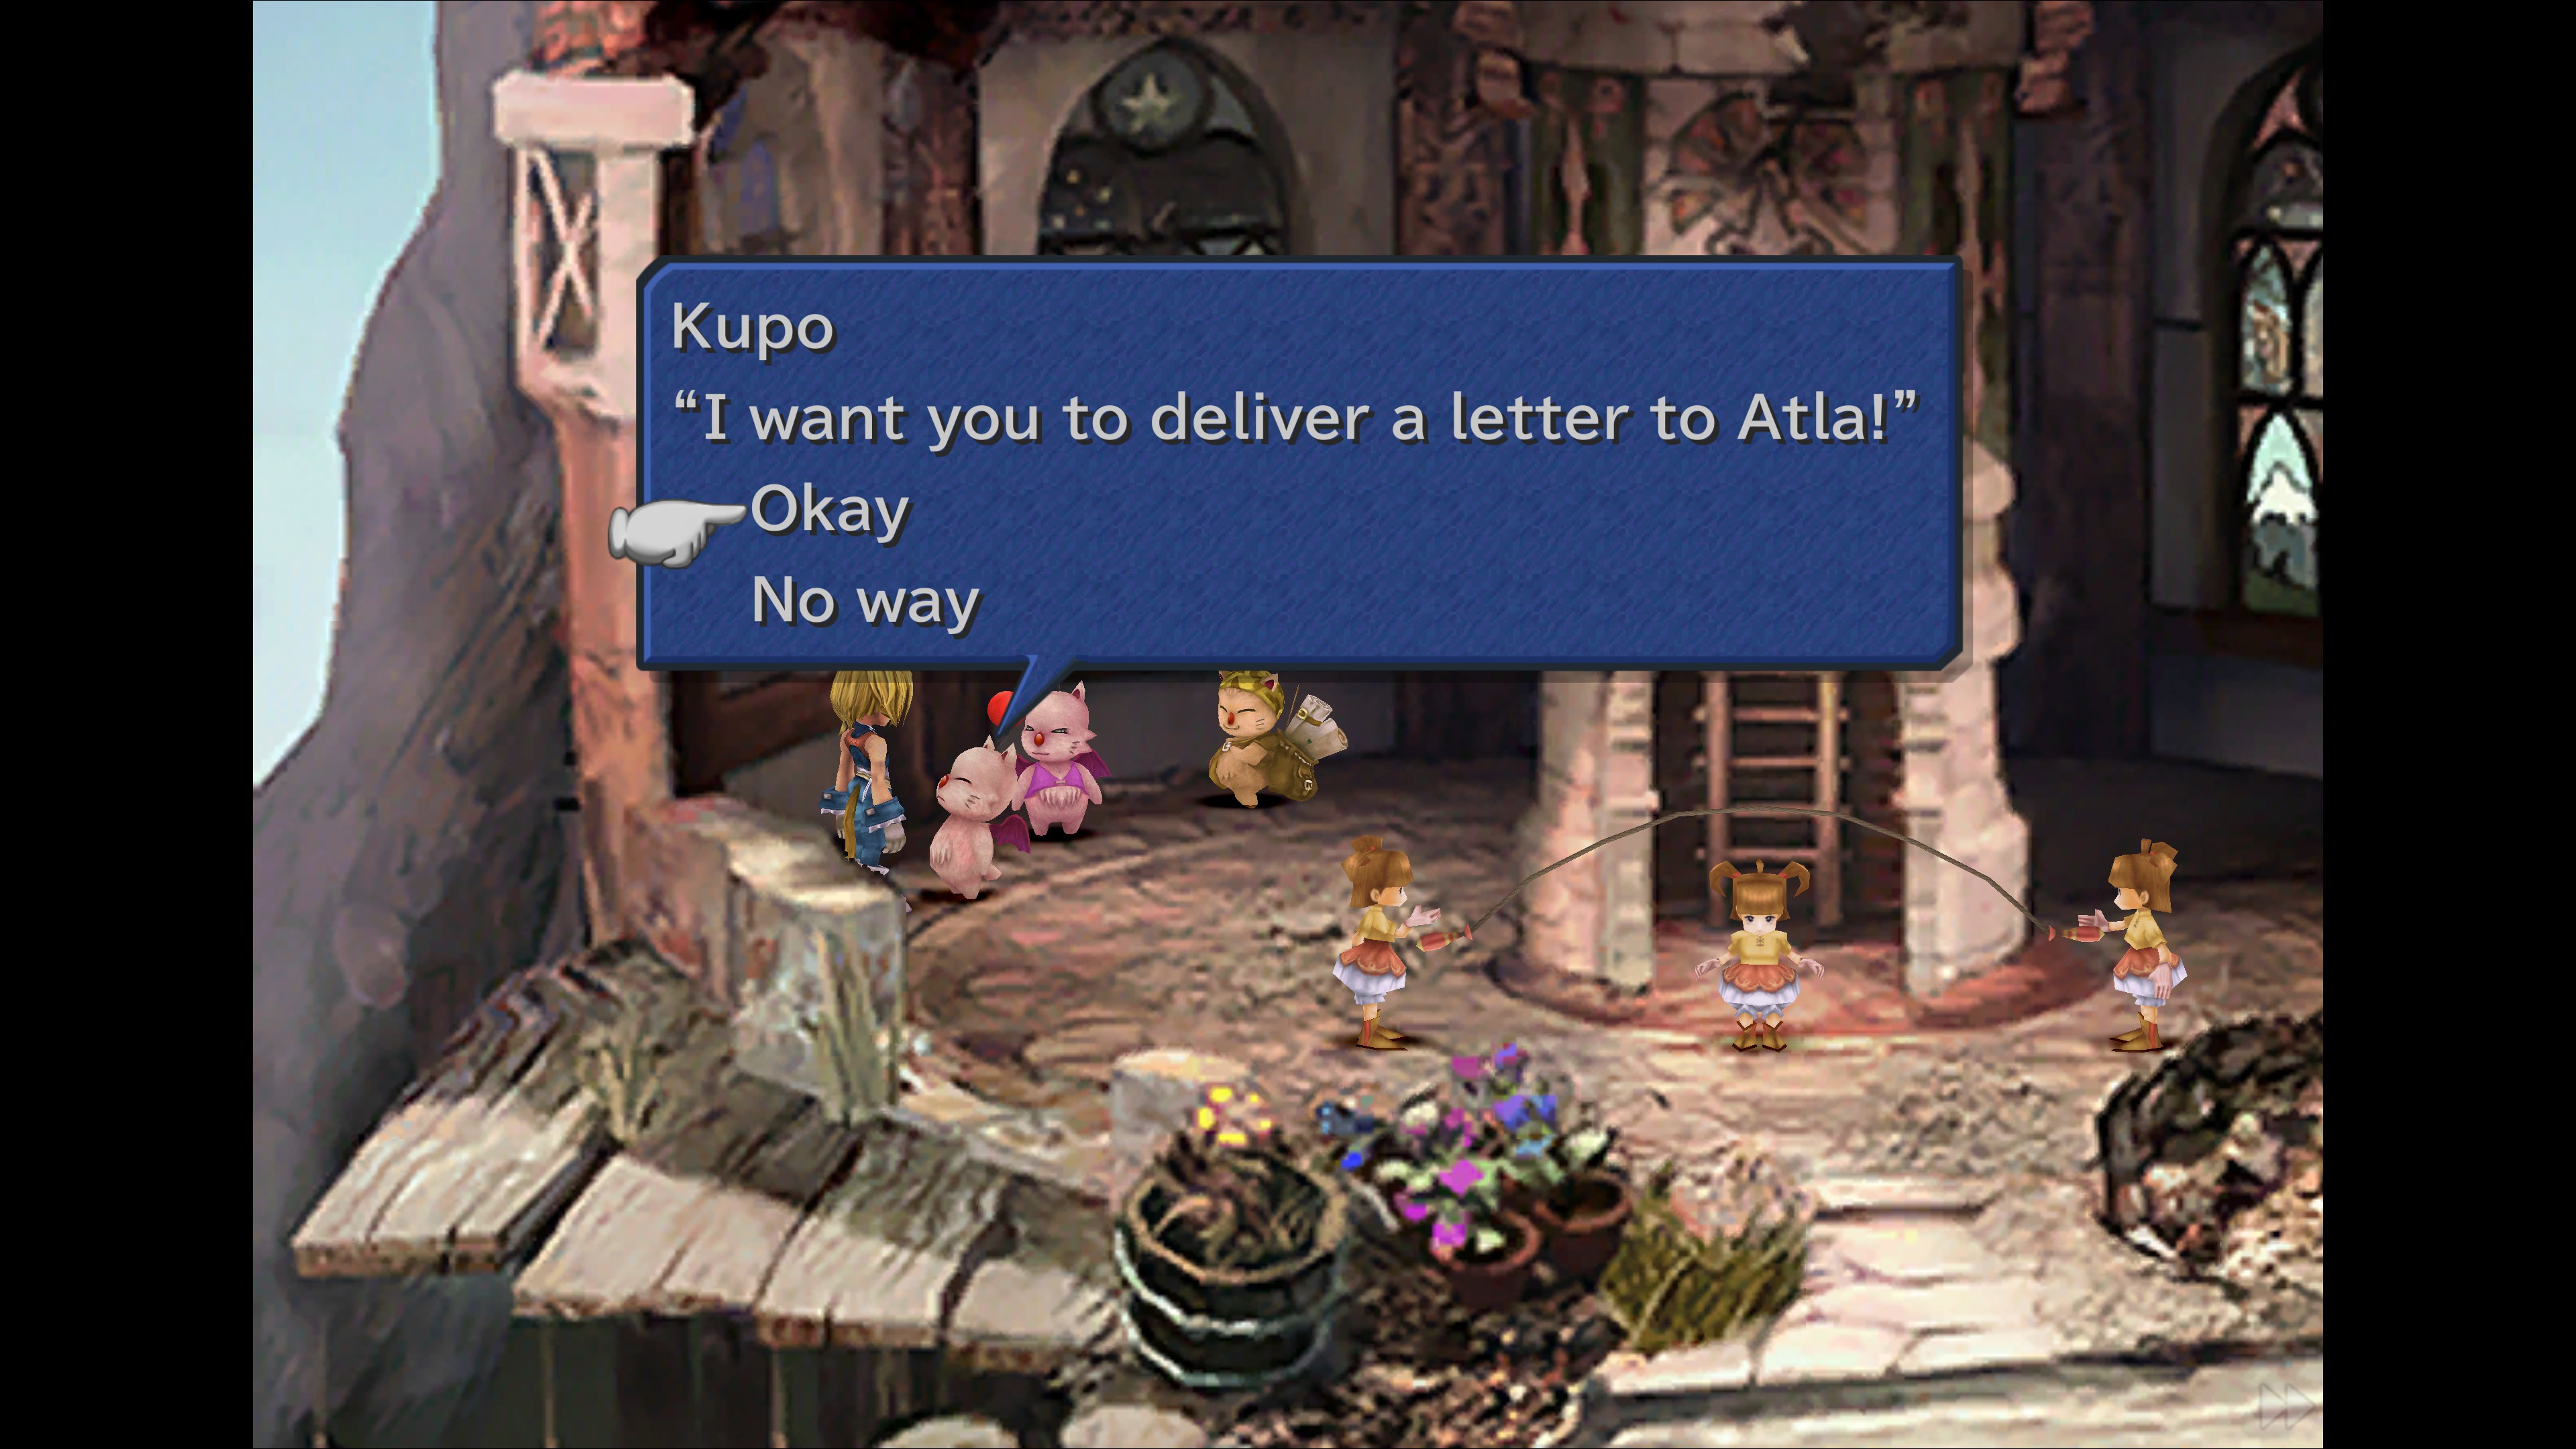
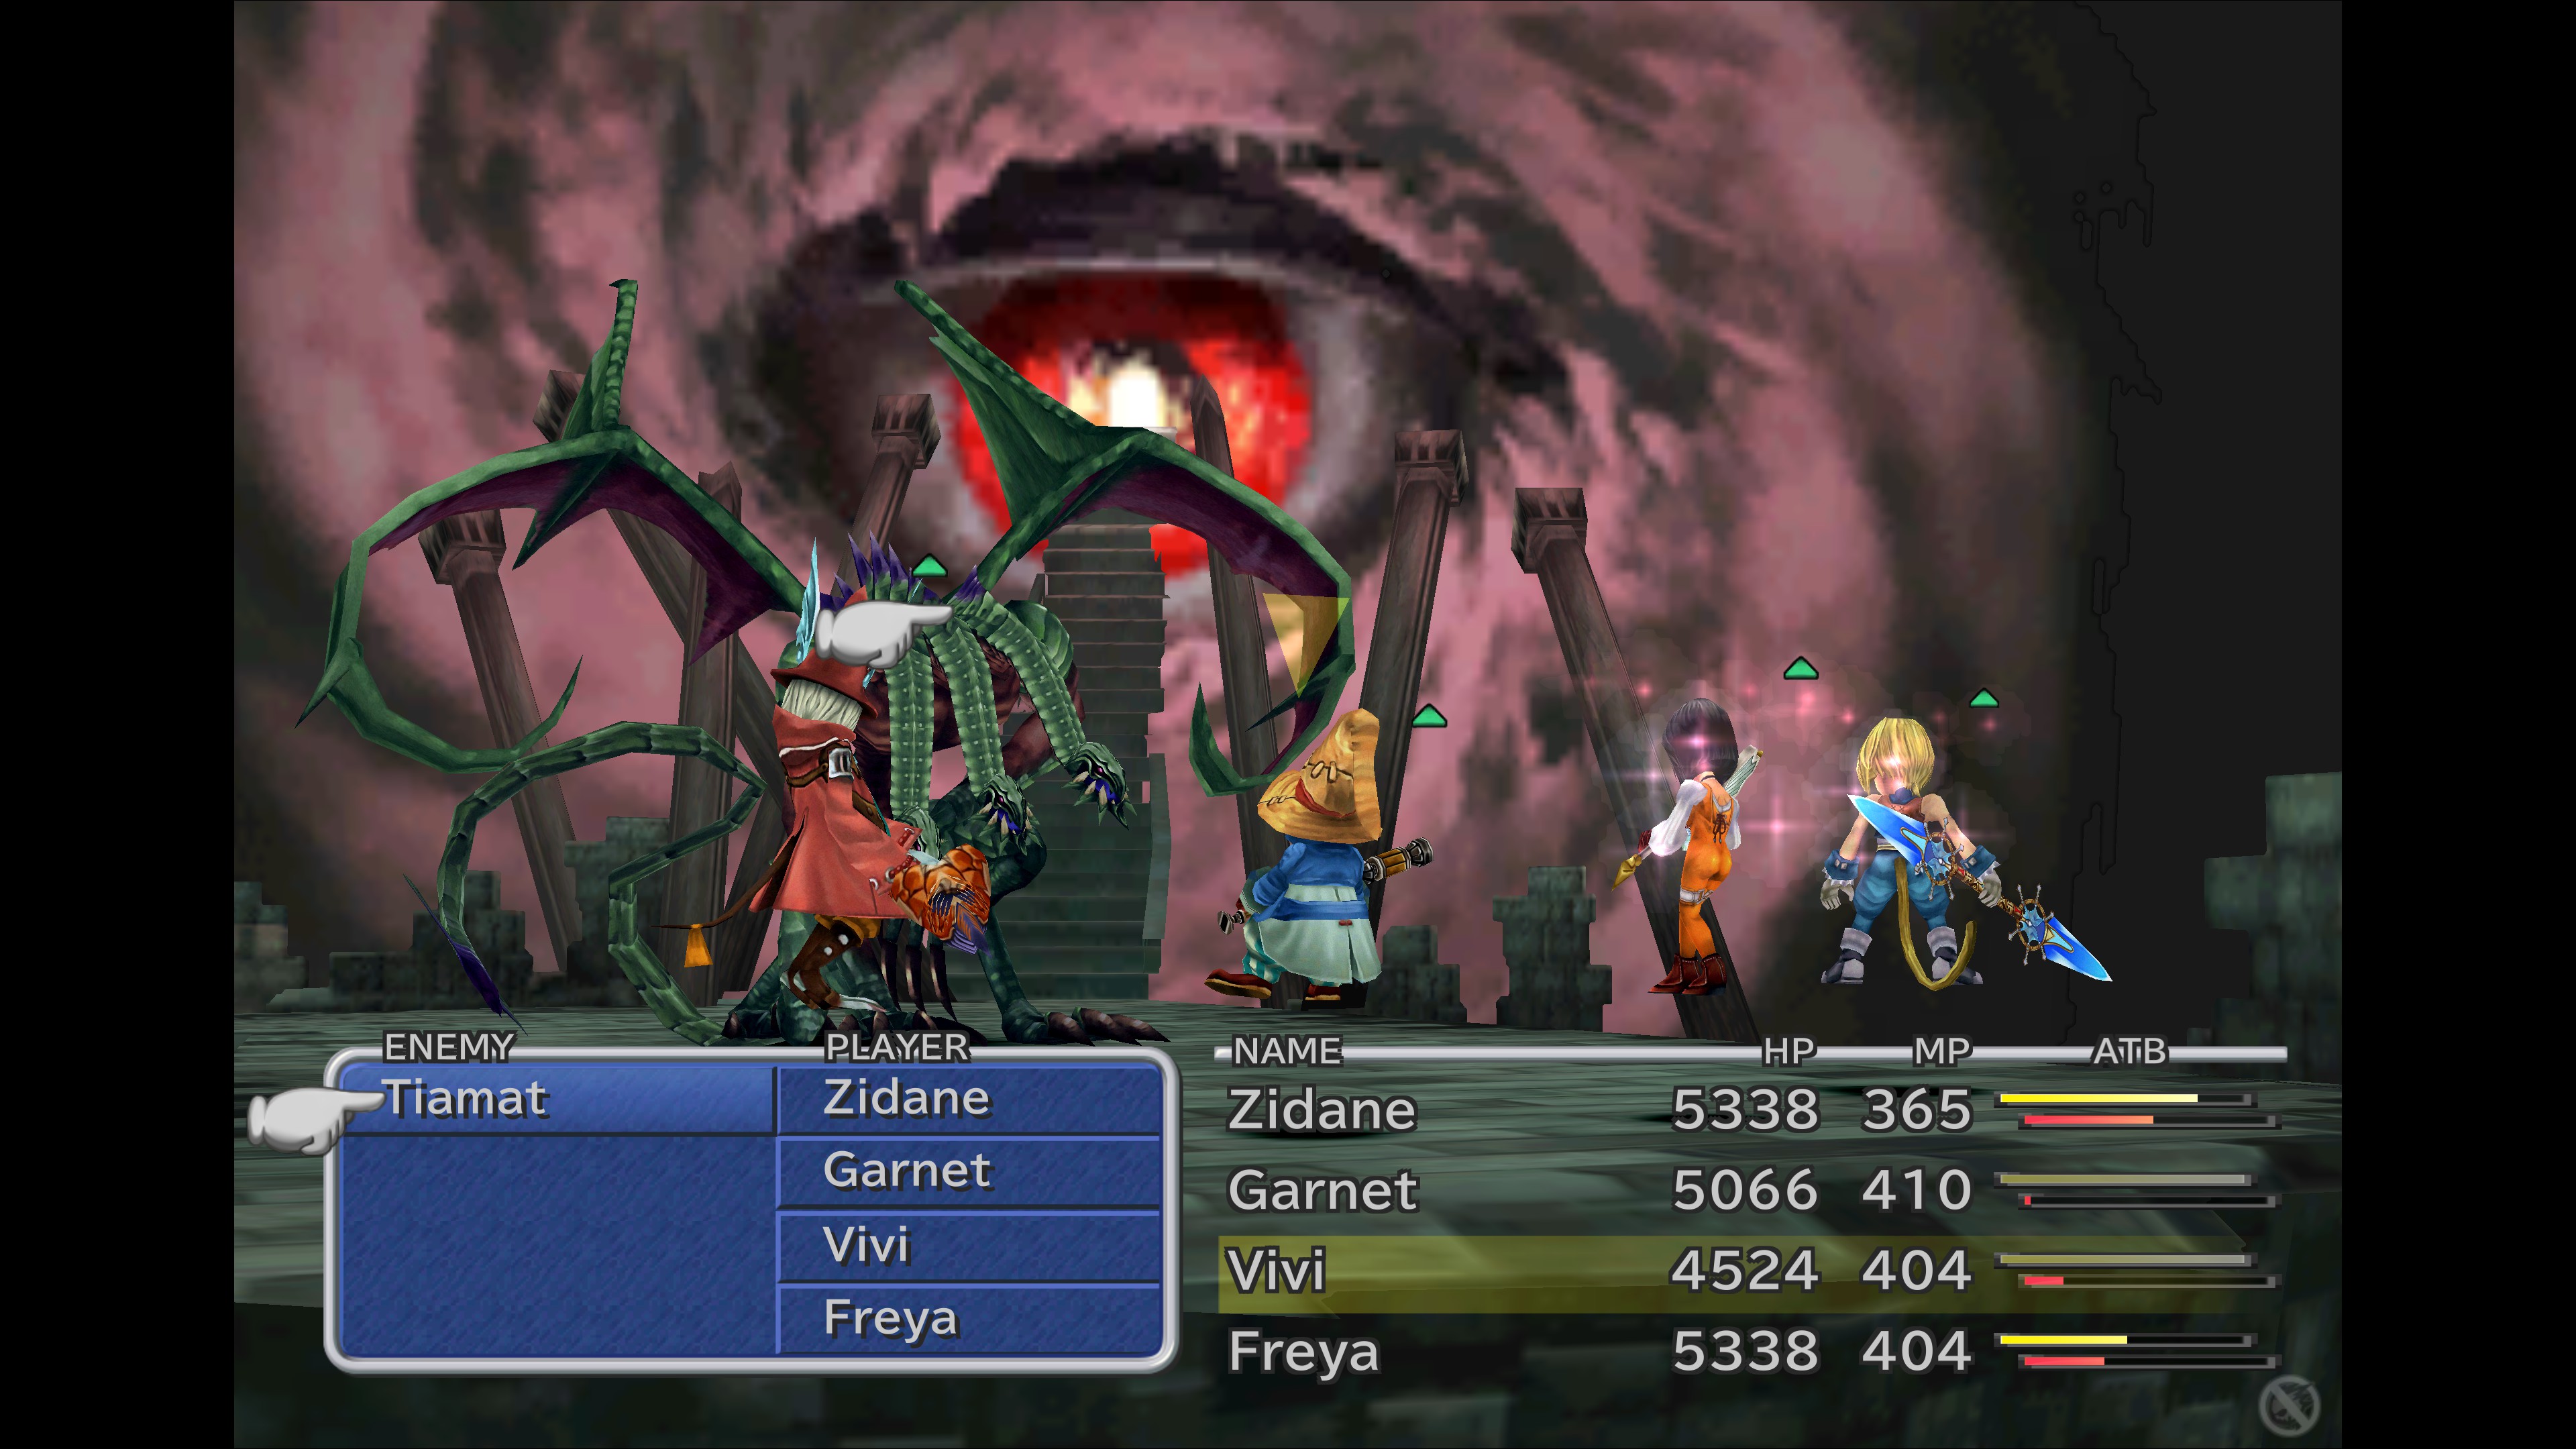
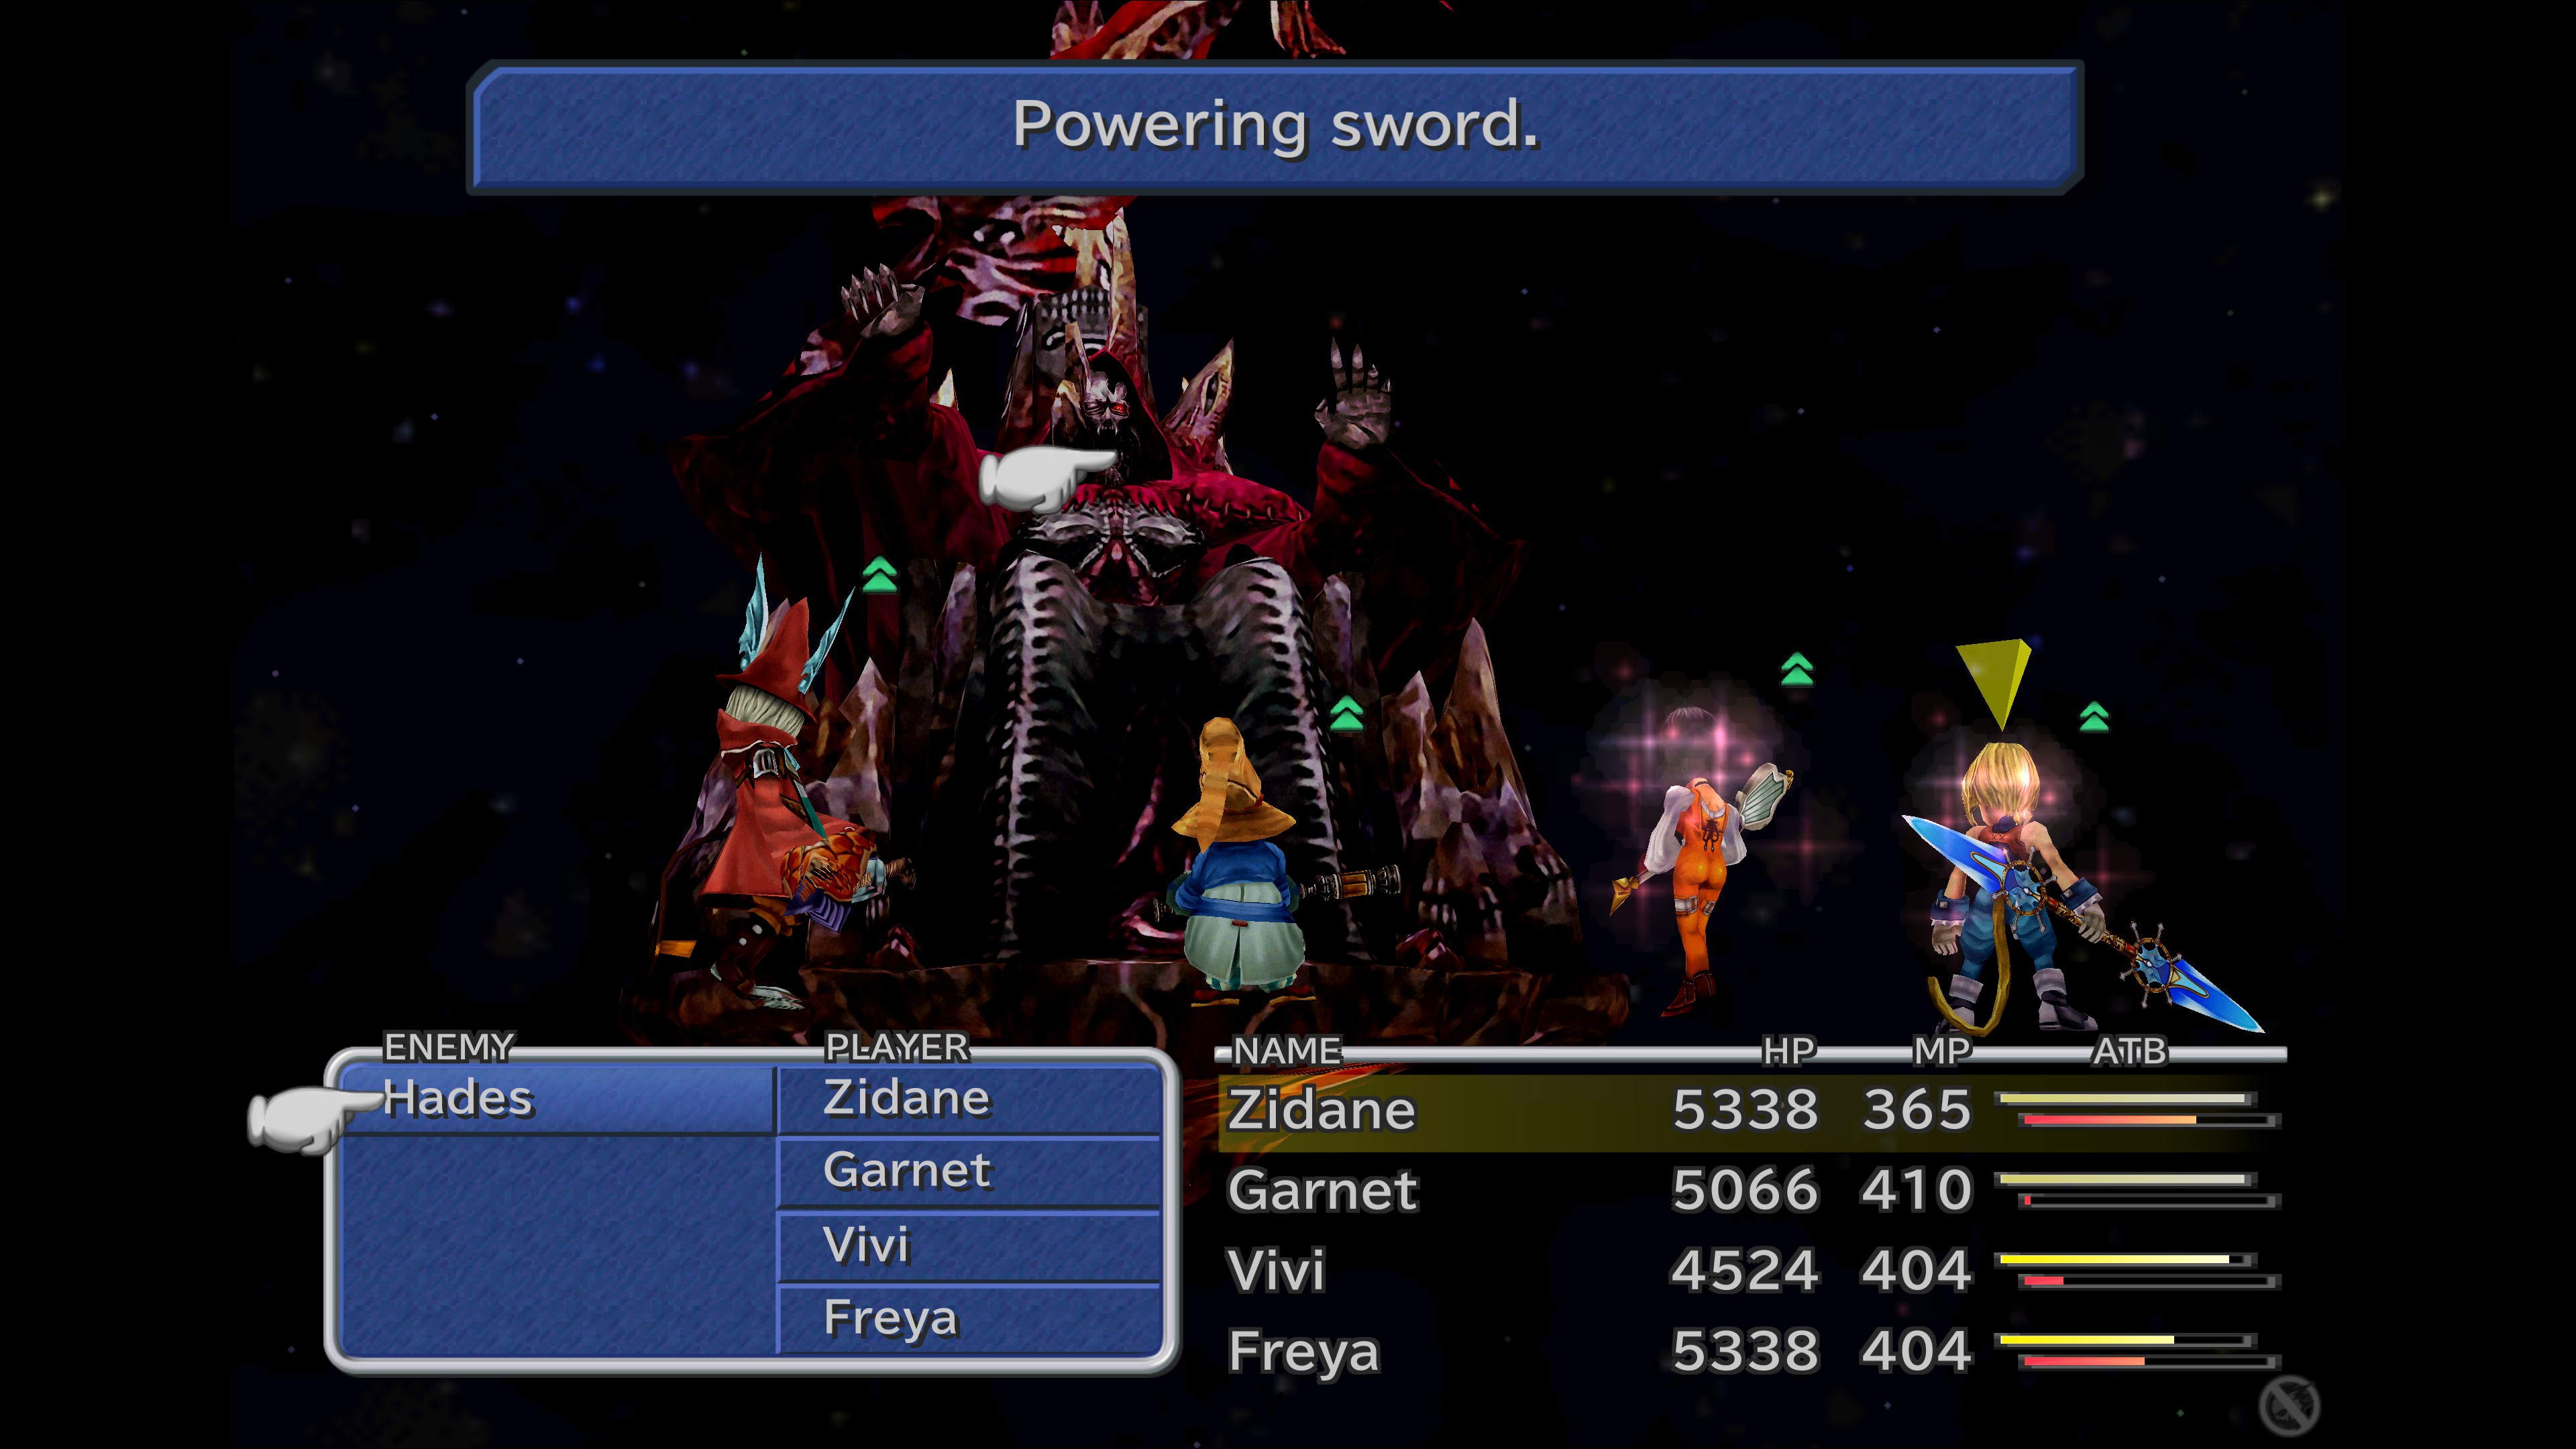
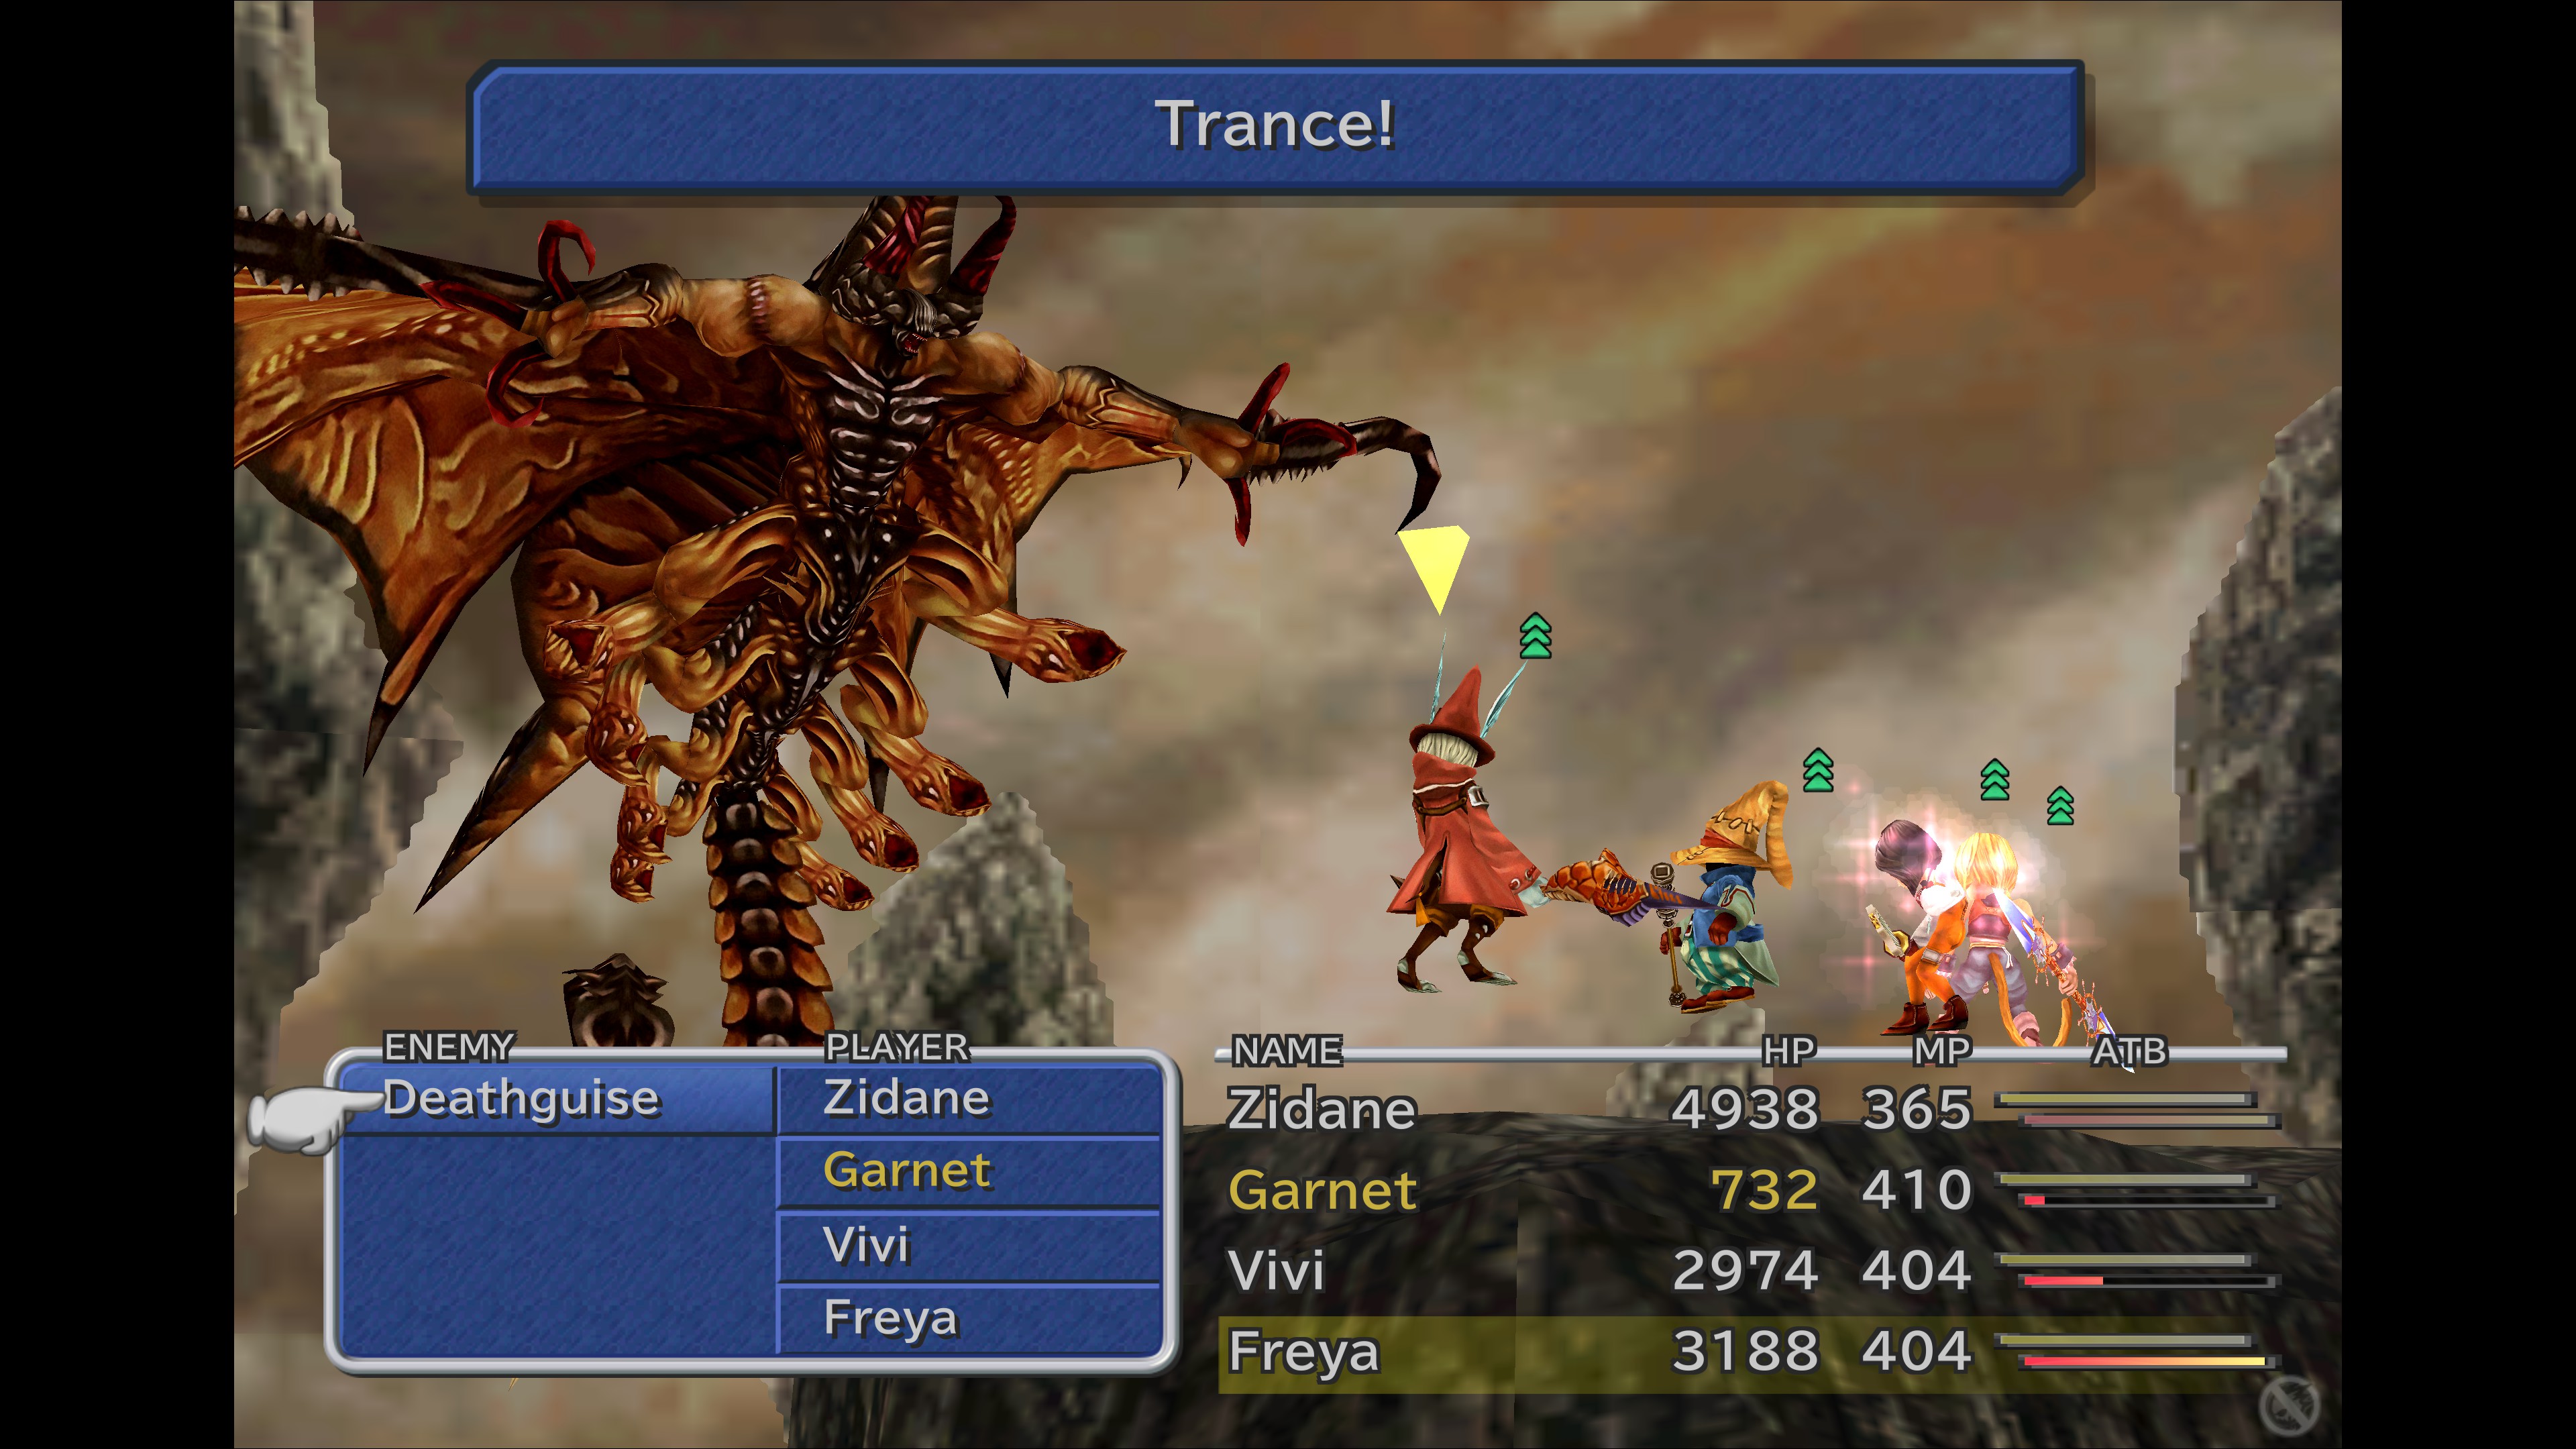
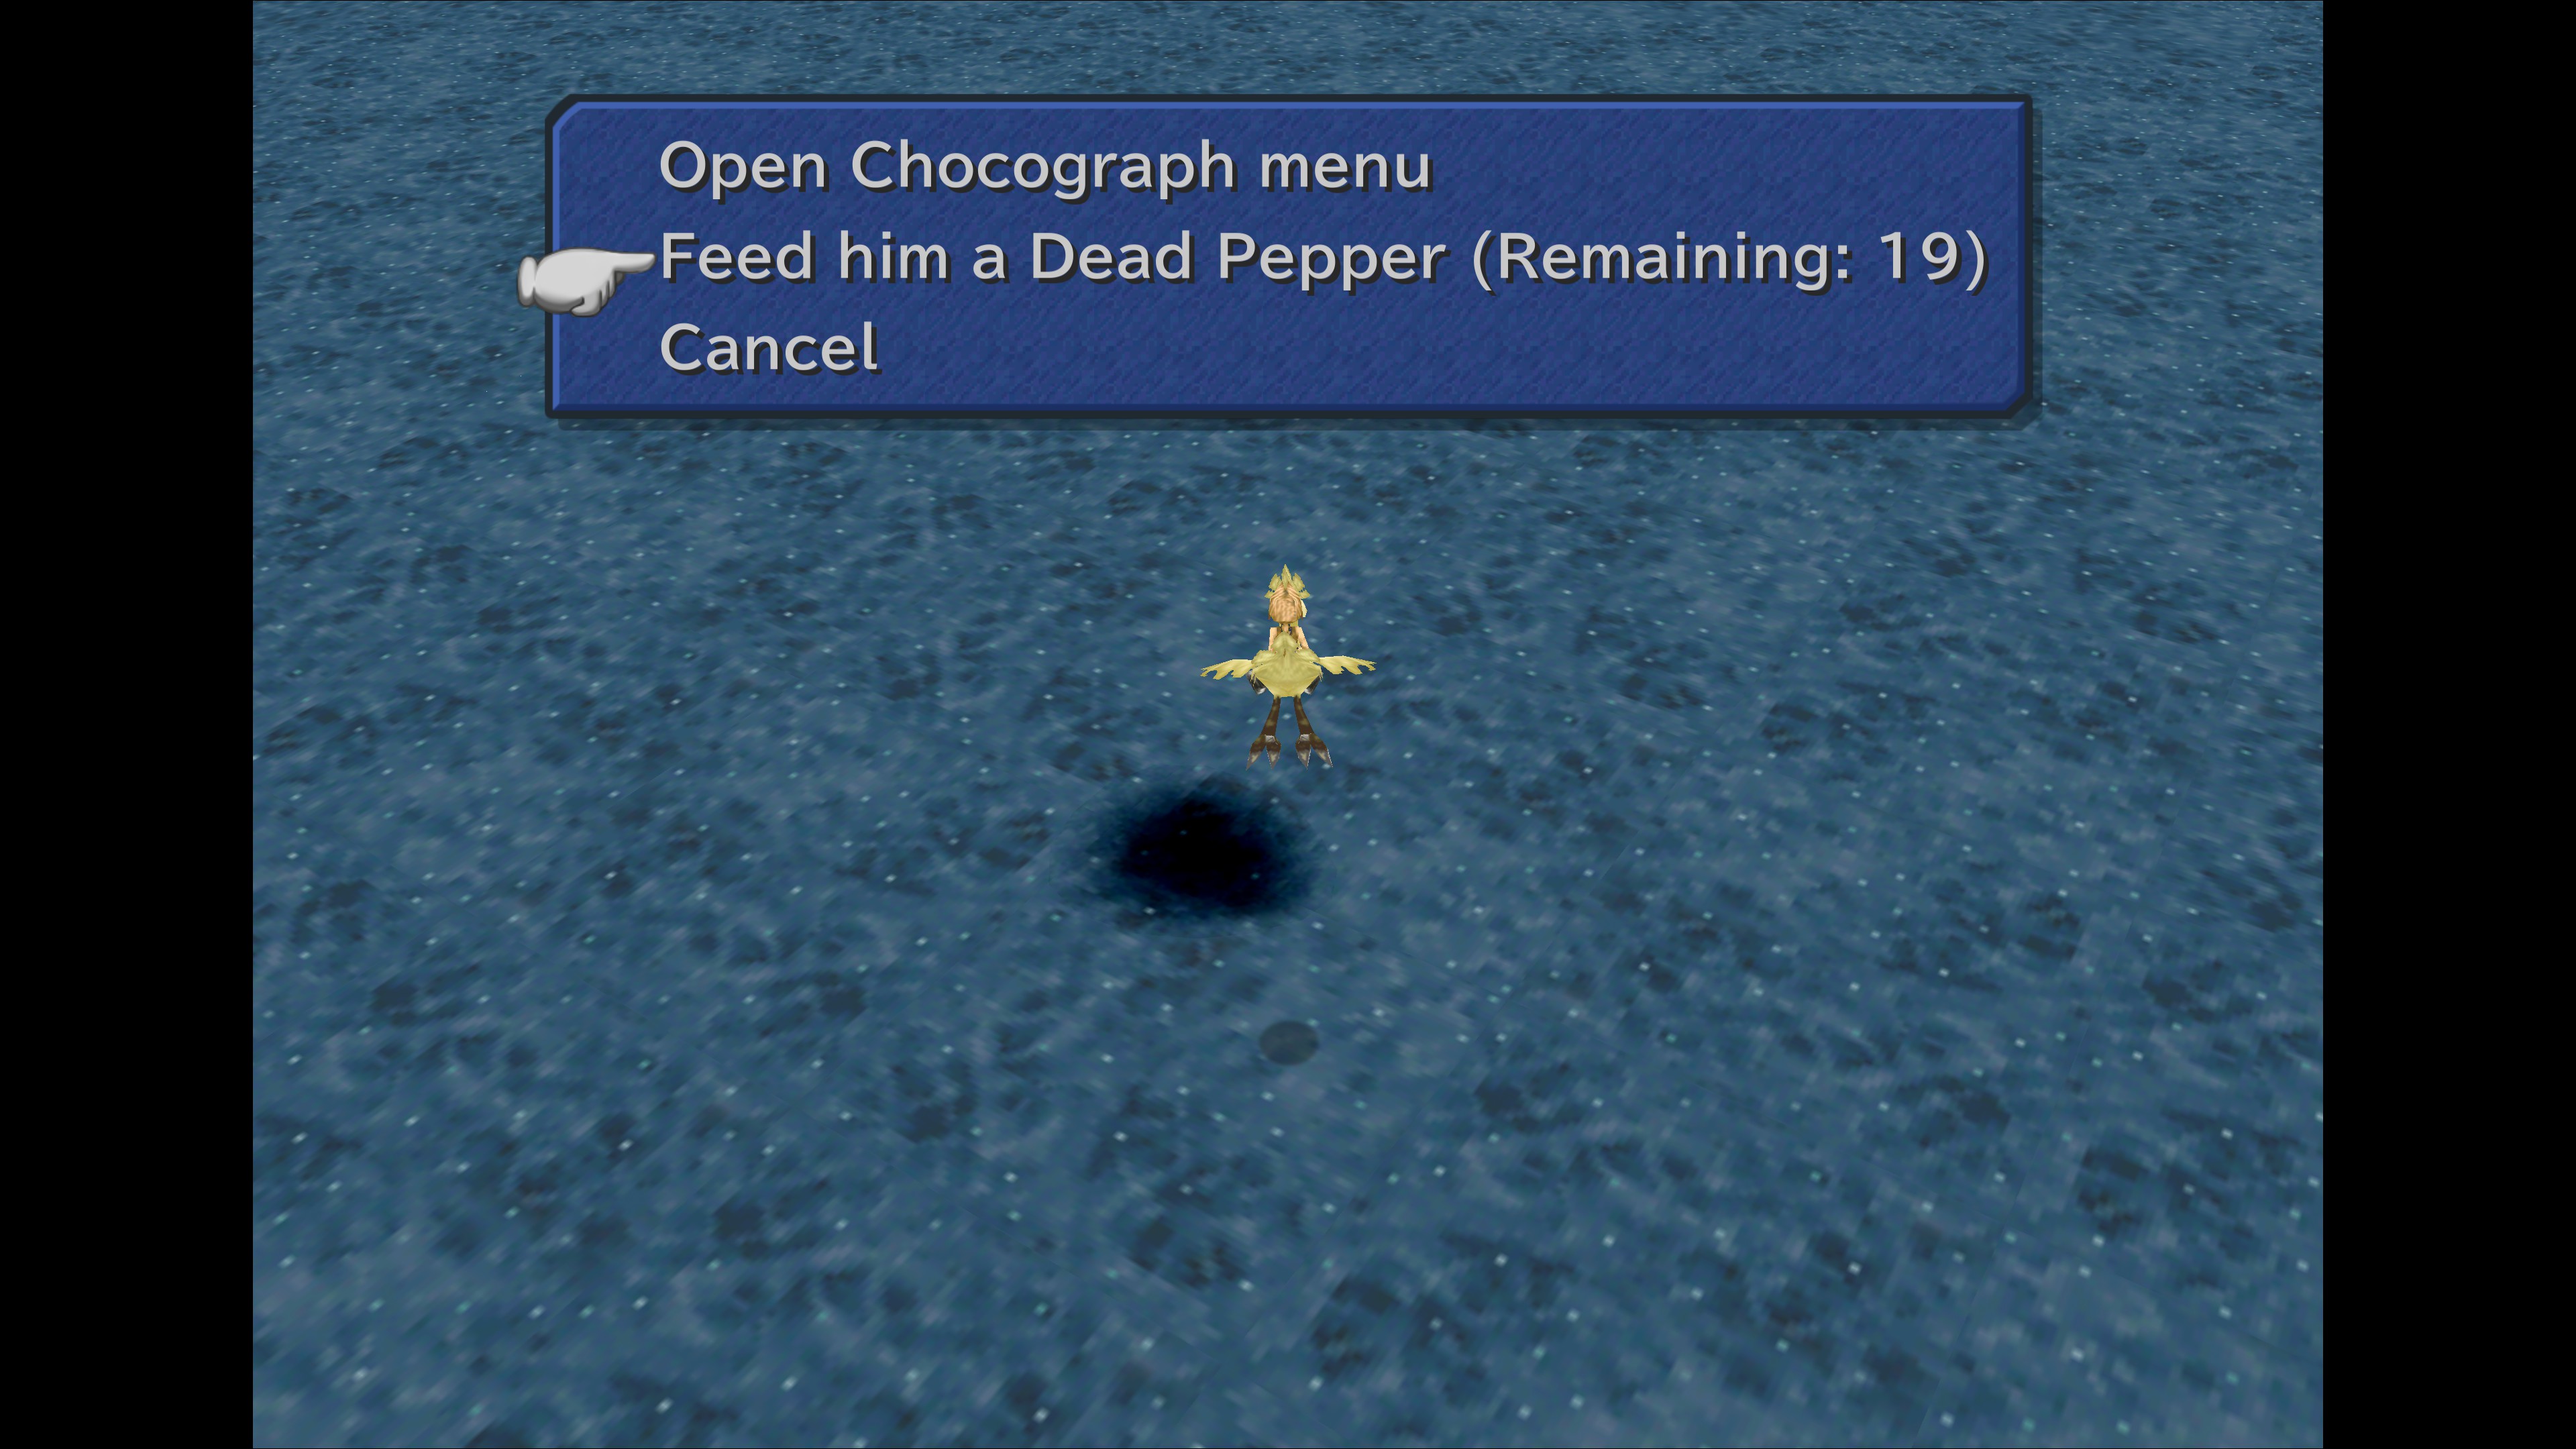
Did I miss something in the setup? Casting Night just puts everyone to sleep and the dragon wakes up before I can even cast any limit gloves.
Yes, I could just cheat, but I like trying in-game cheese mechanics.
Abyss  [Δημιουργός] 18 Μαρ, 10:05 
@javario I dont mind and actually thank you for it, updated.

@eddiemon see you on both games some day then :)
eddiedemon 18 Μαρ, 3:49 
TY so much for the guide man, FFIX was my first back in my teen years.
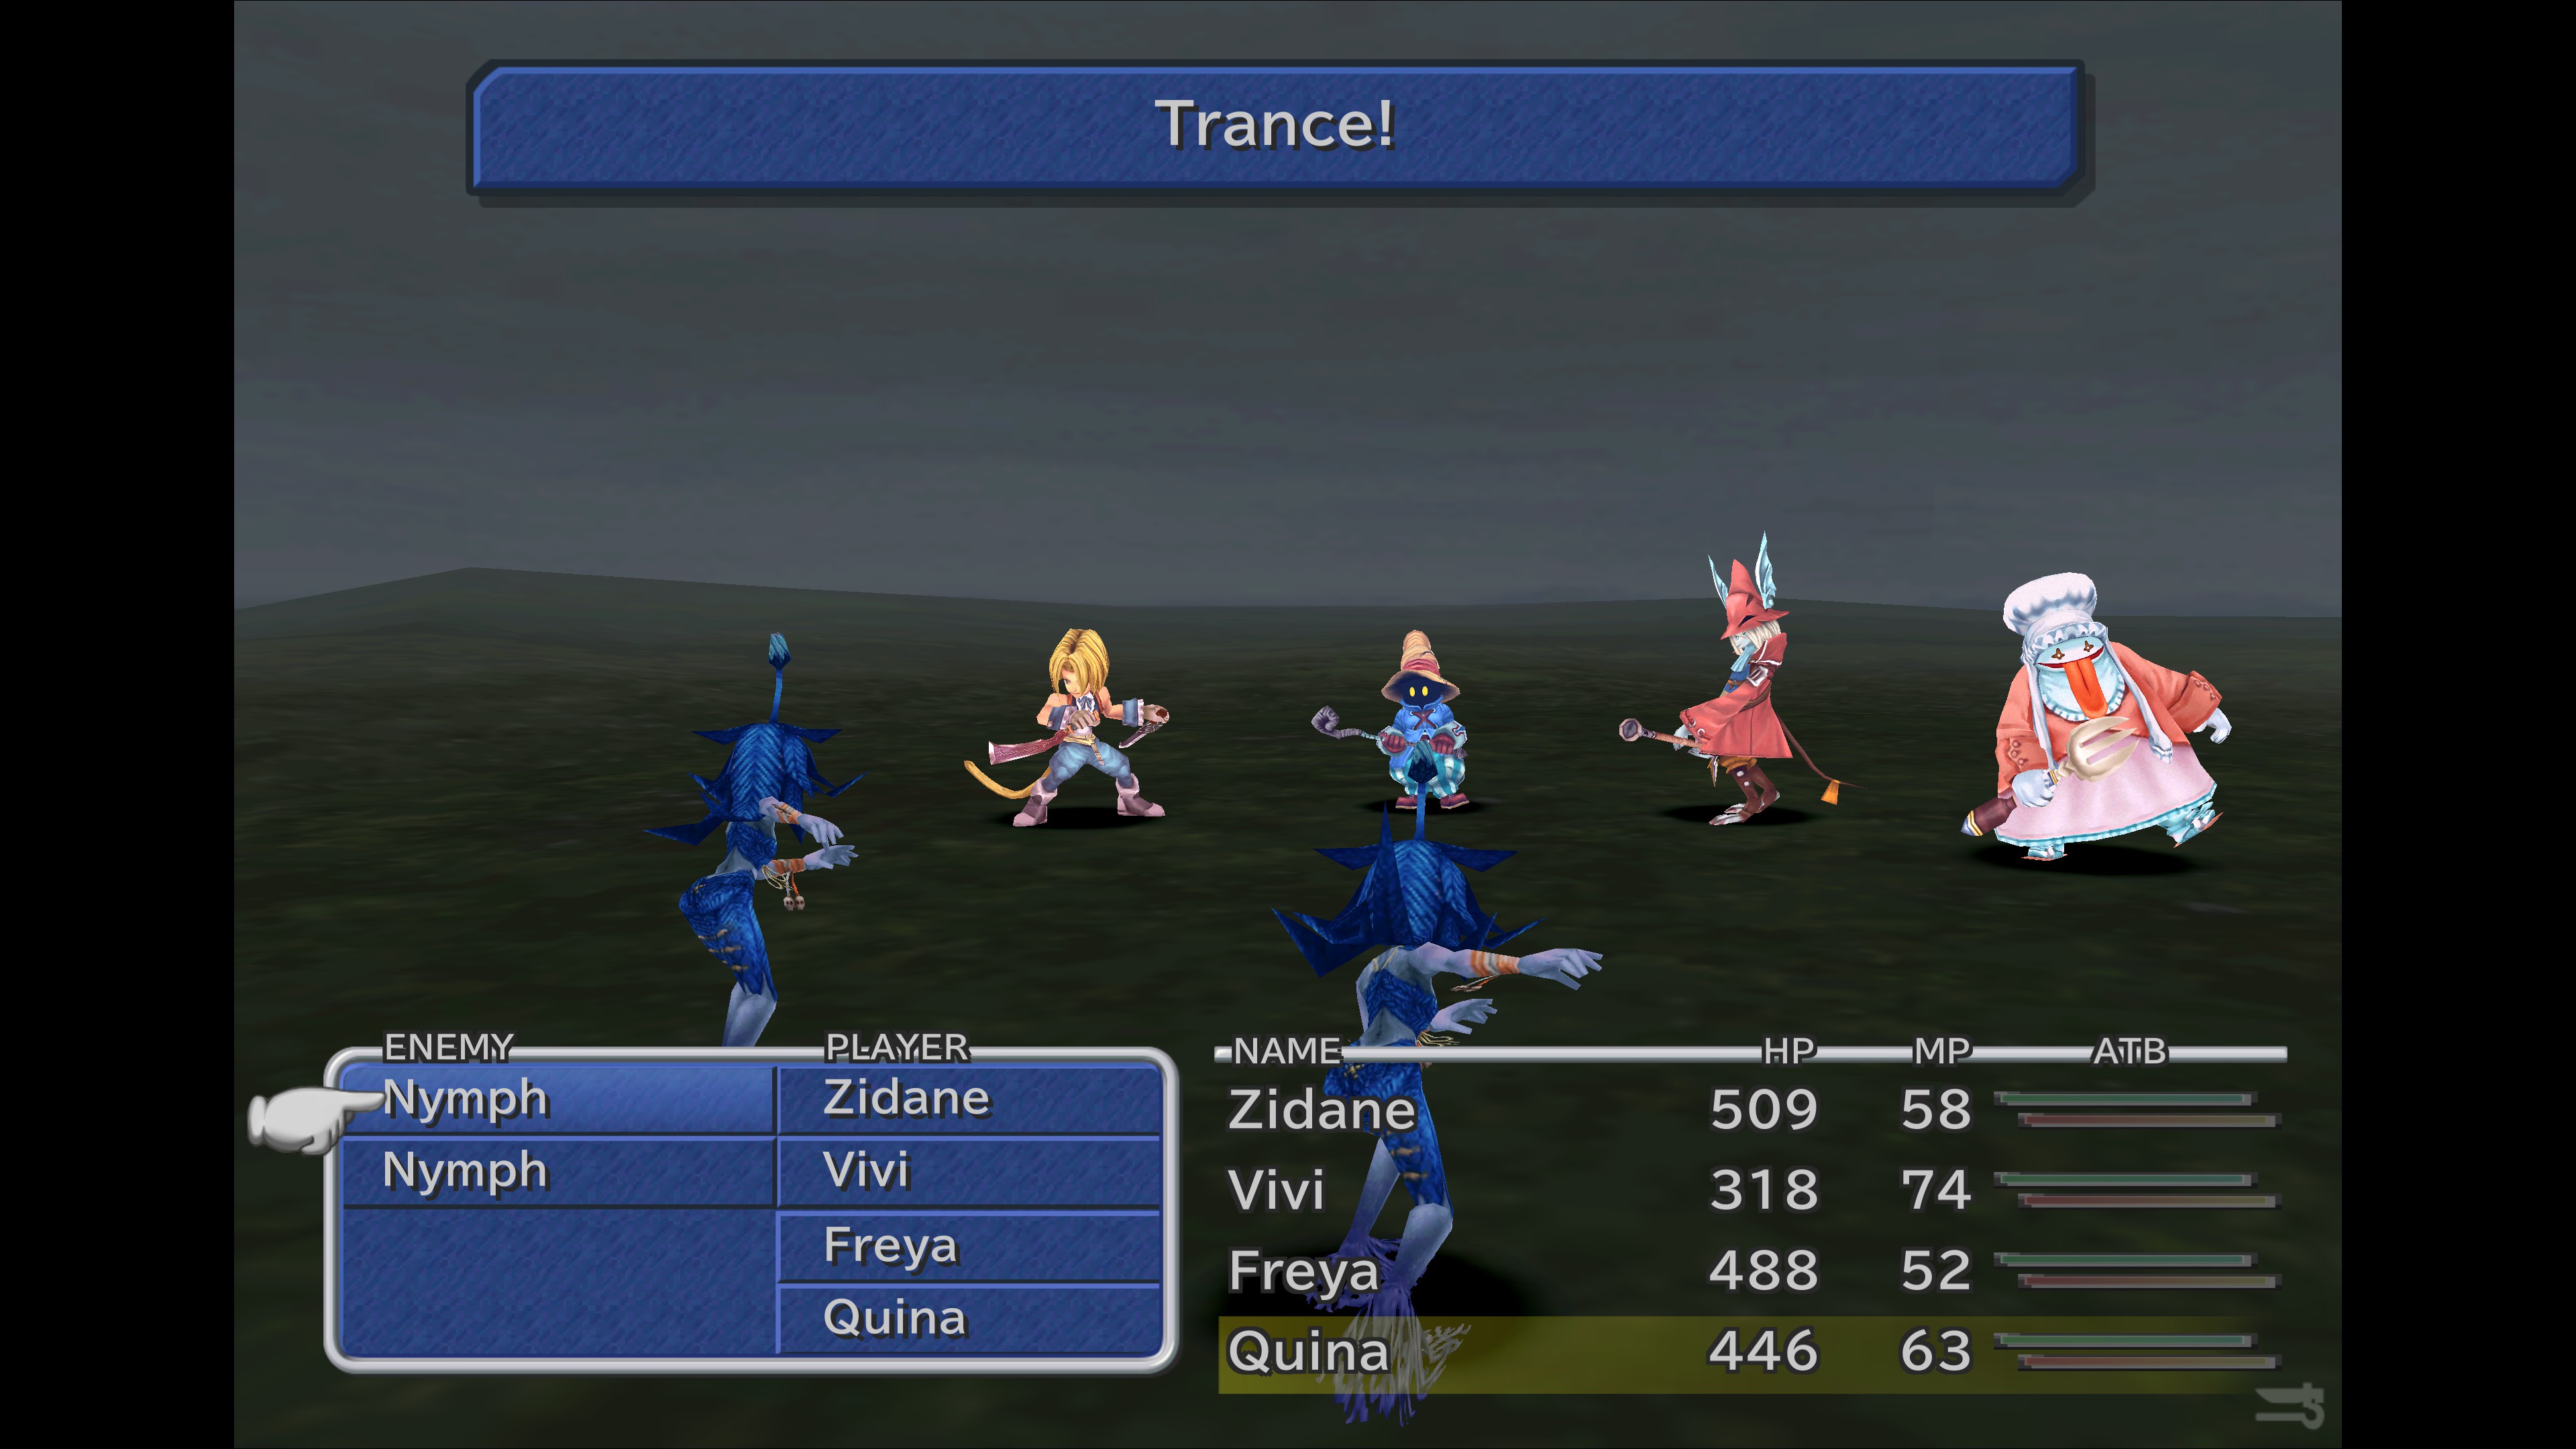
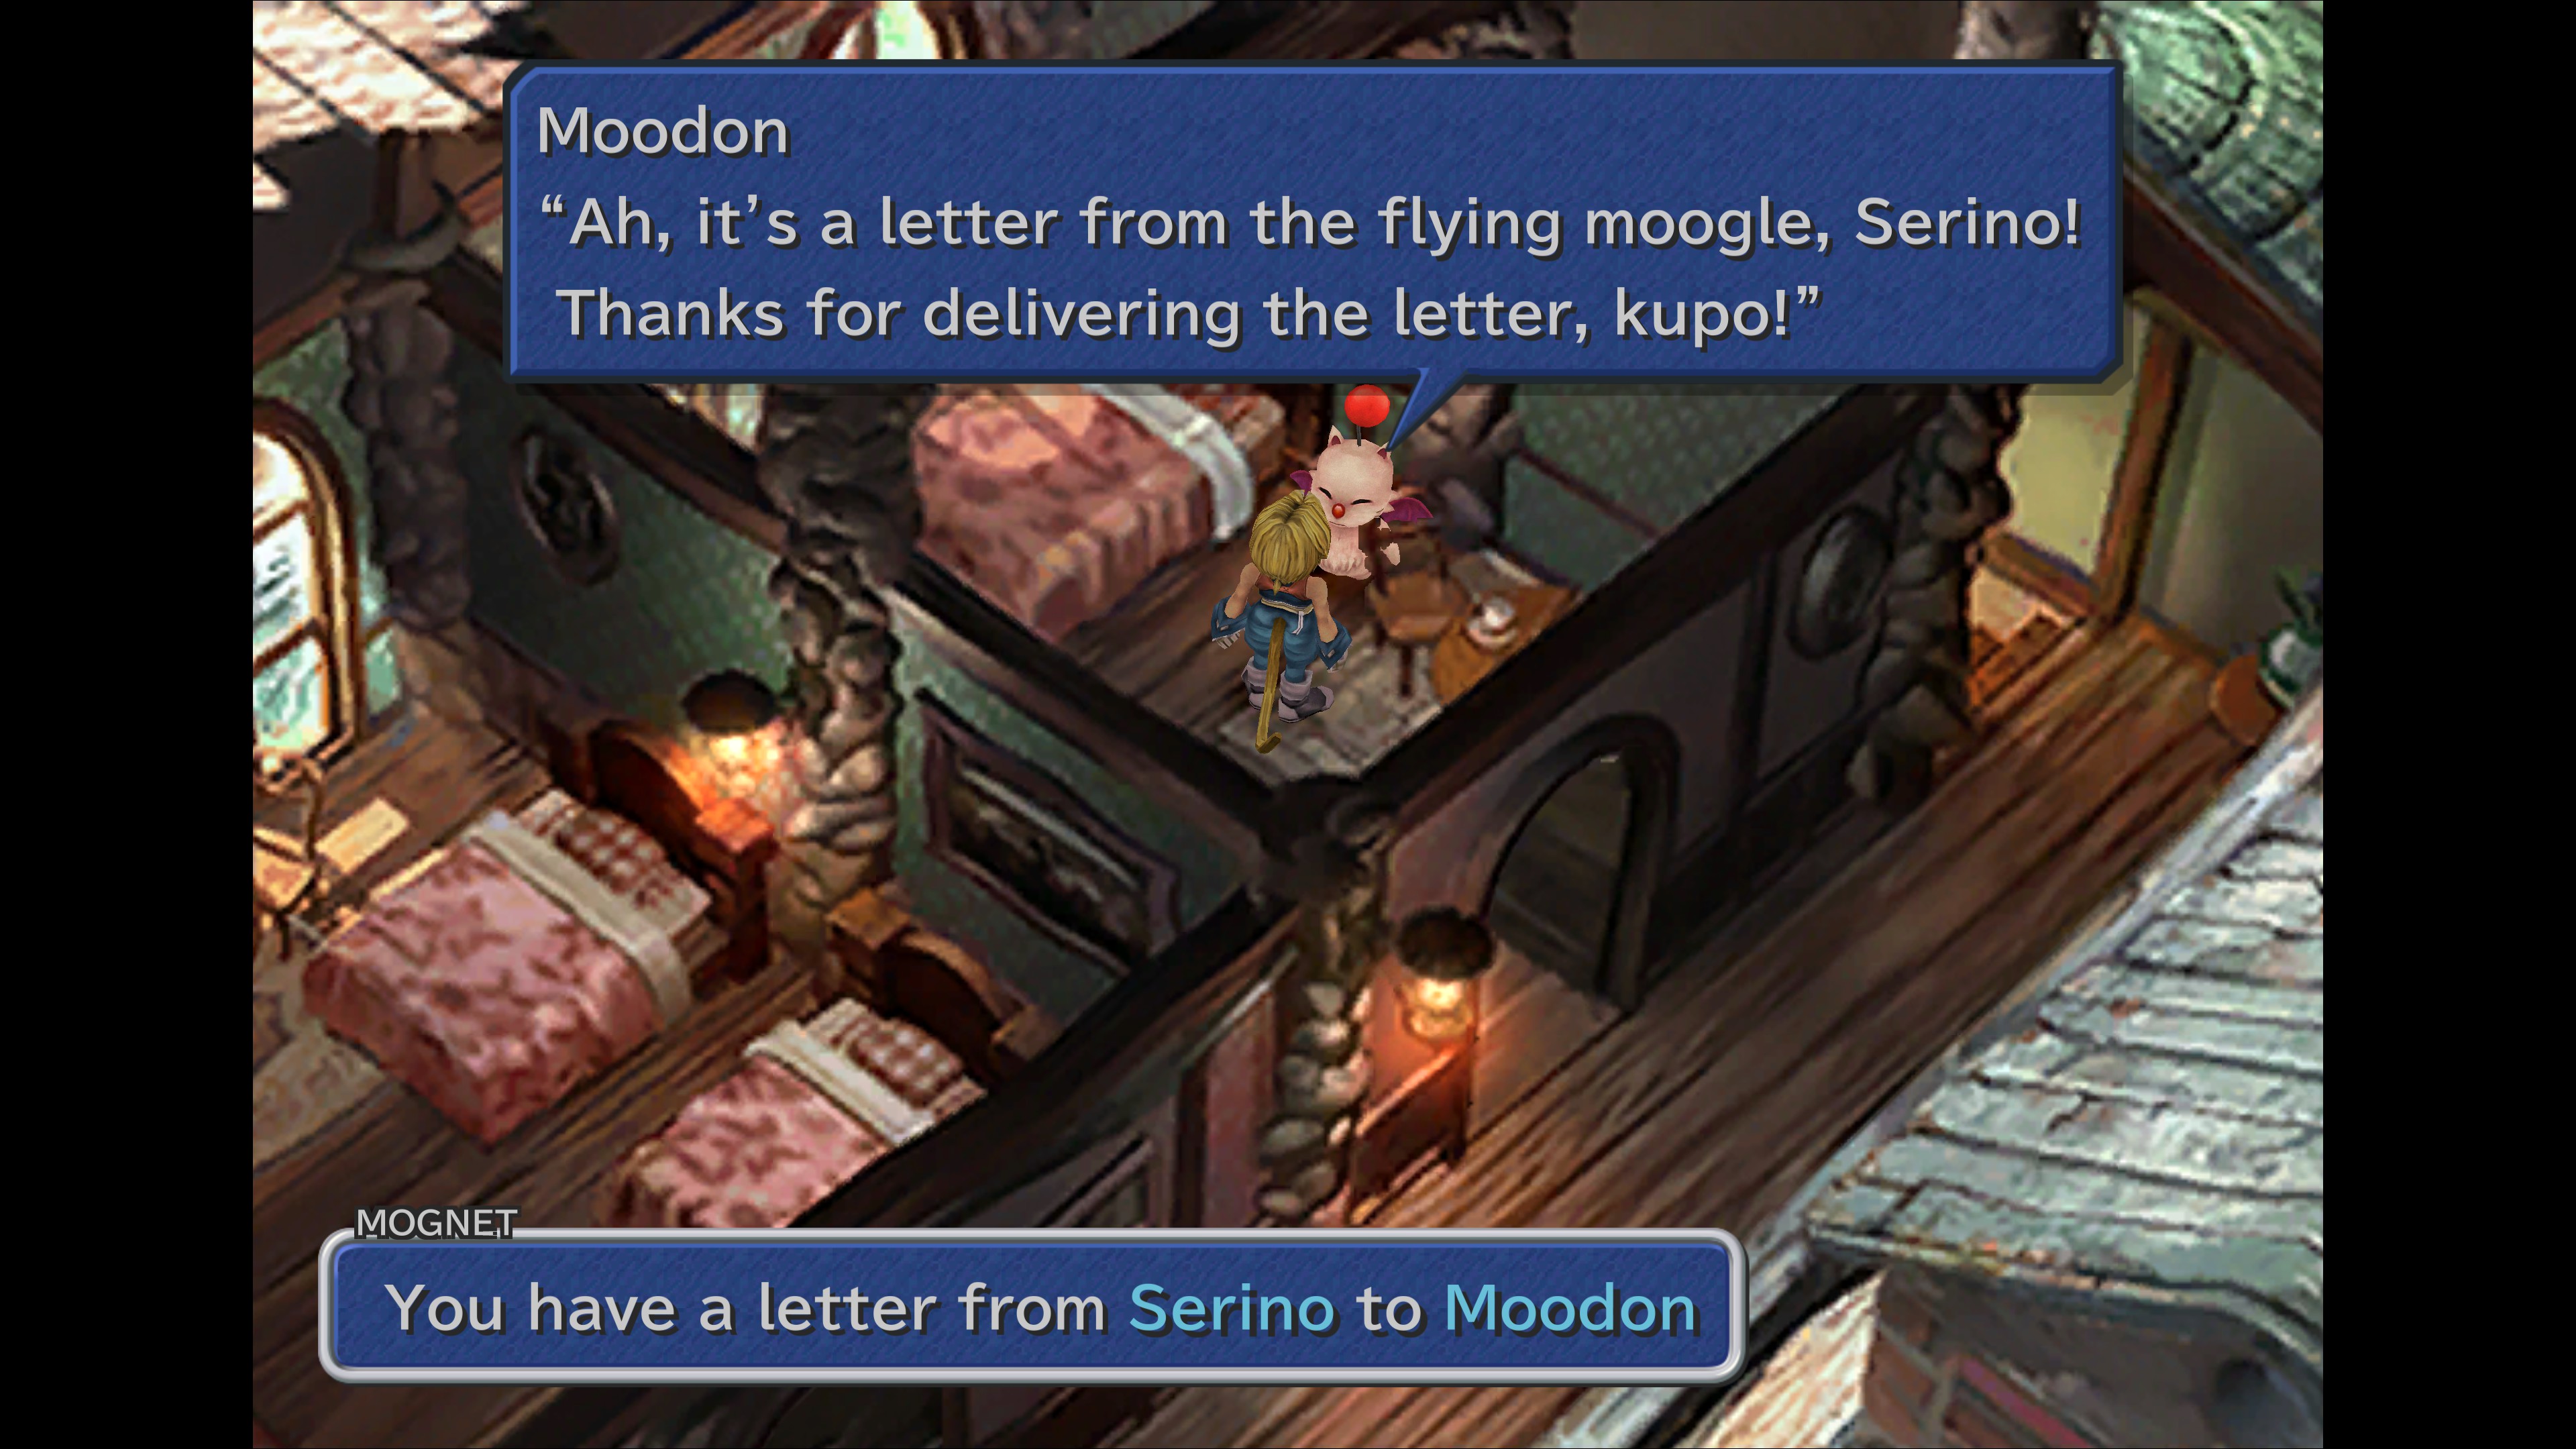
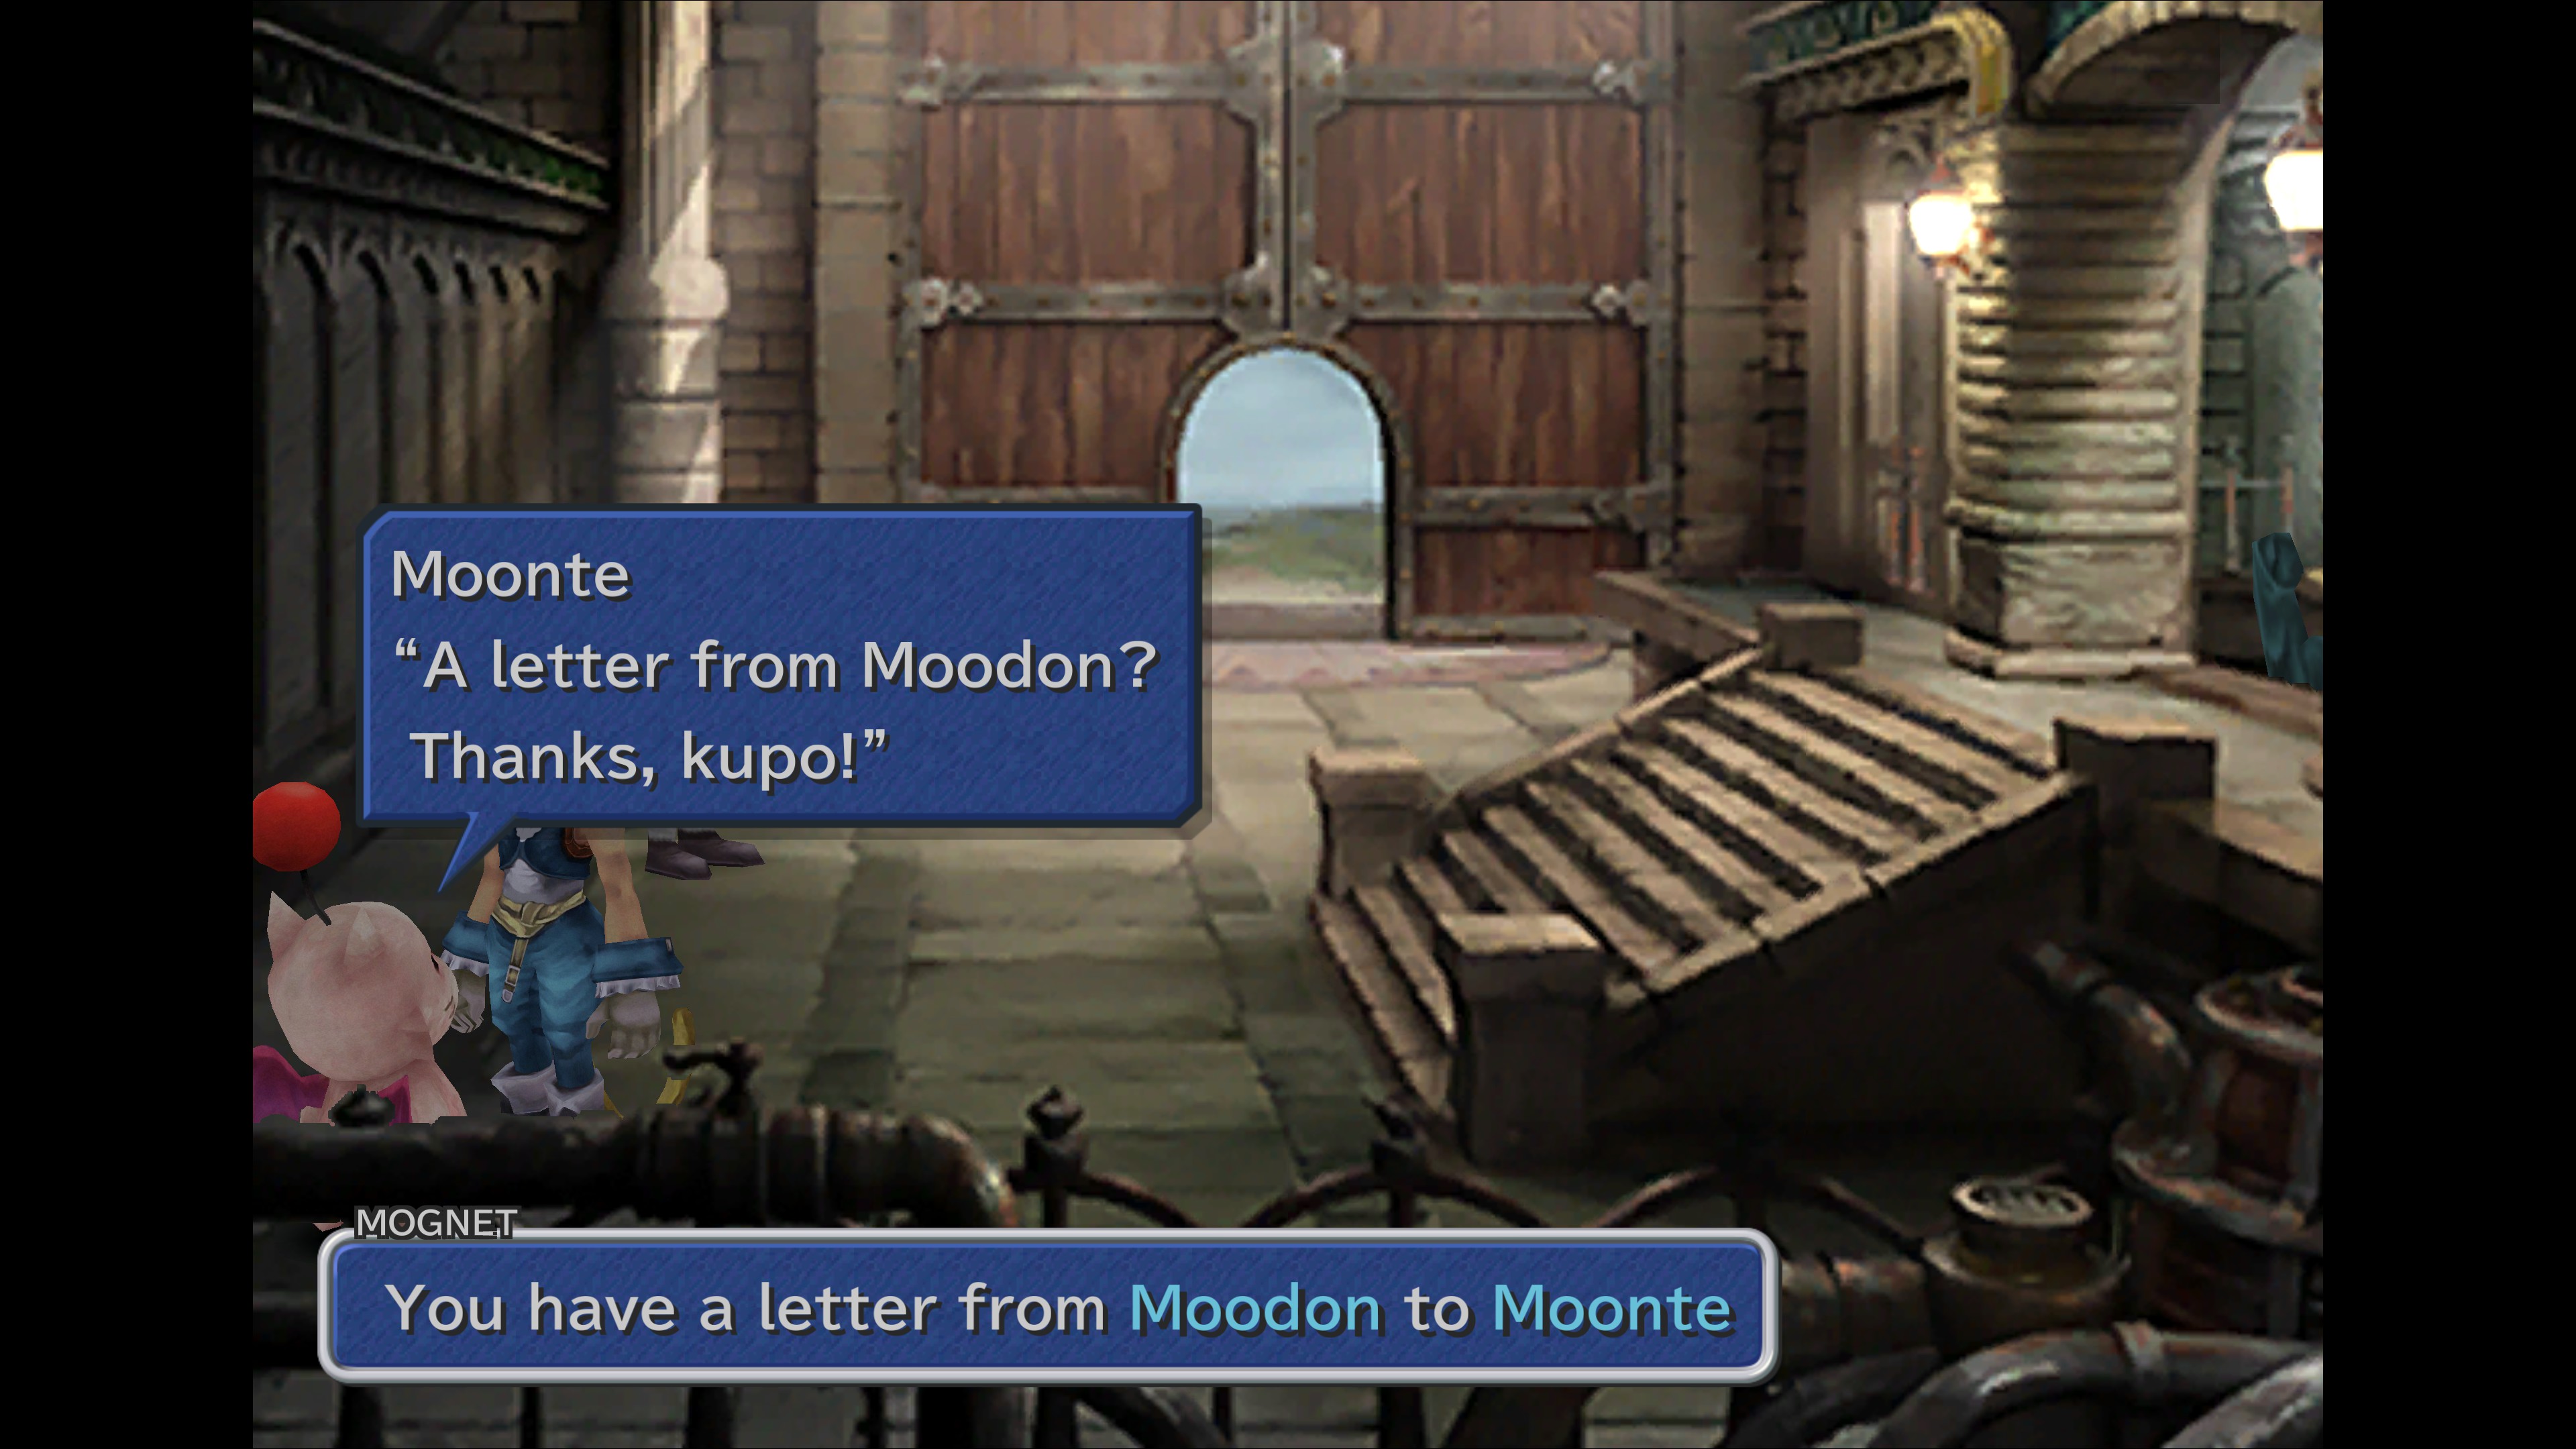
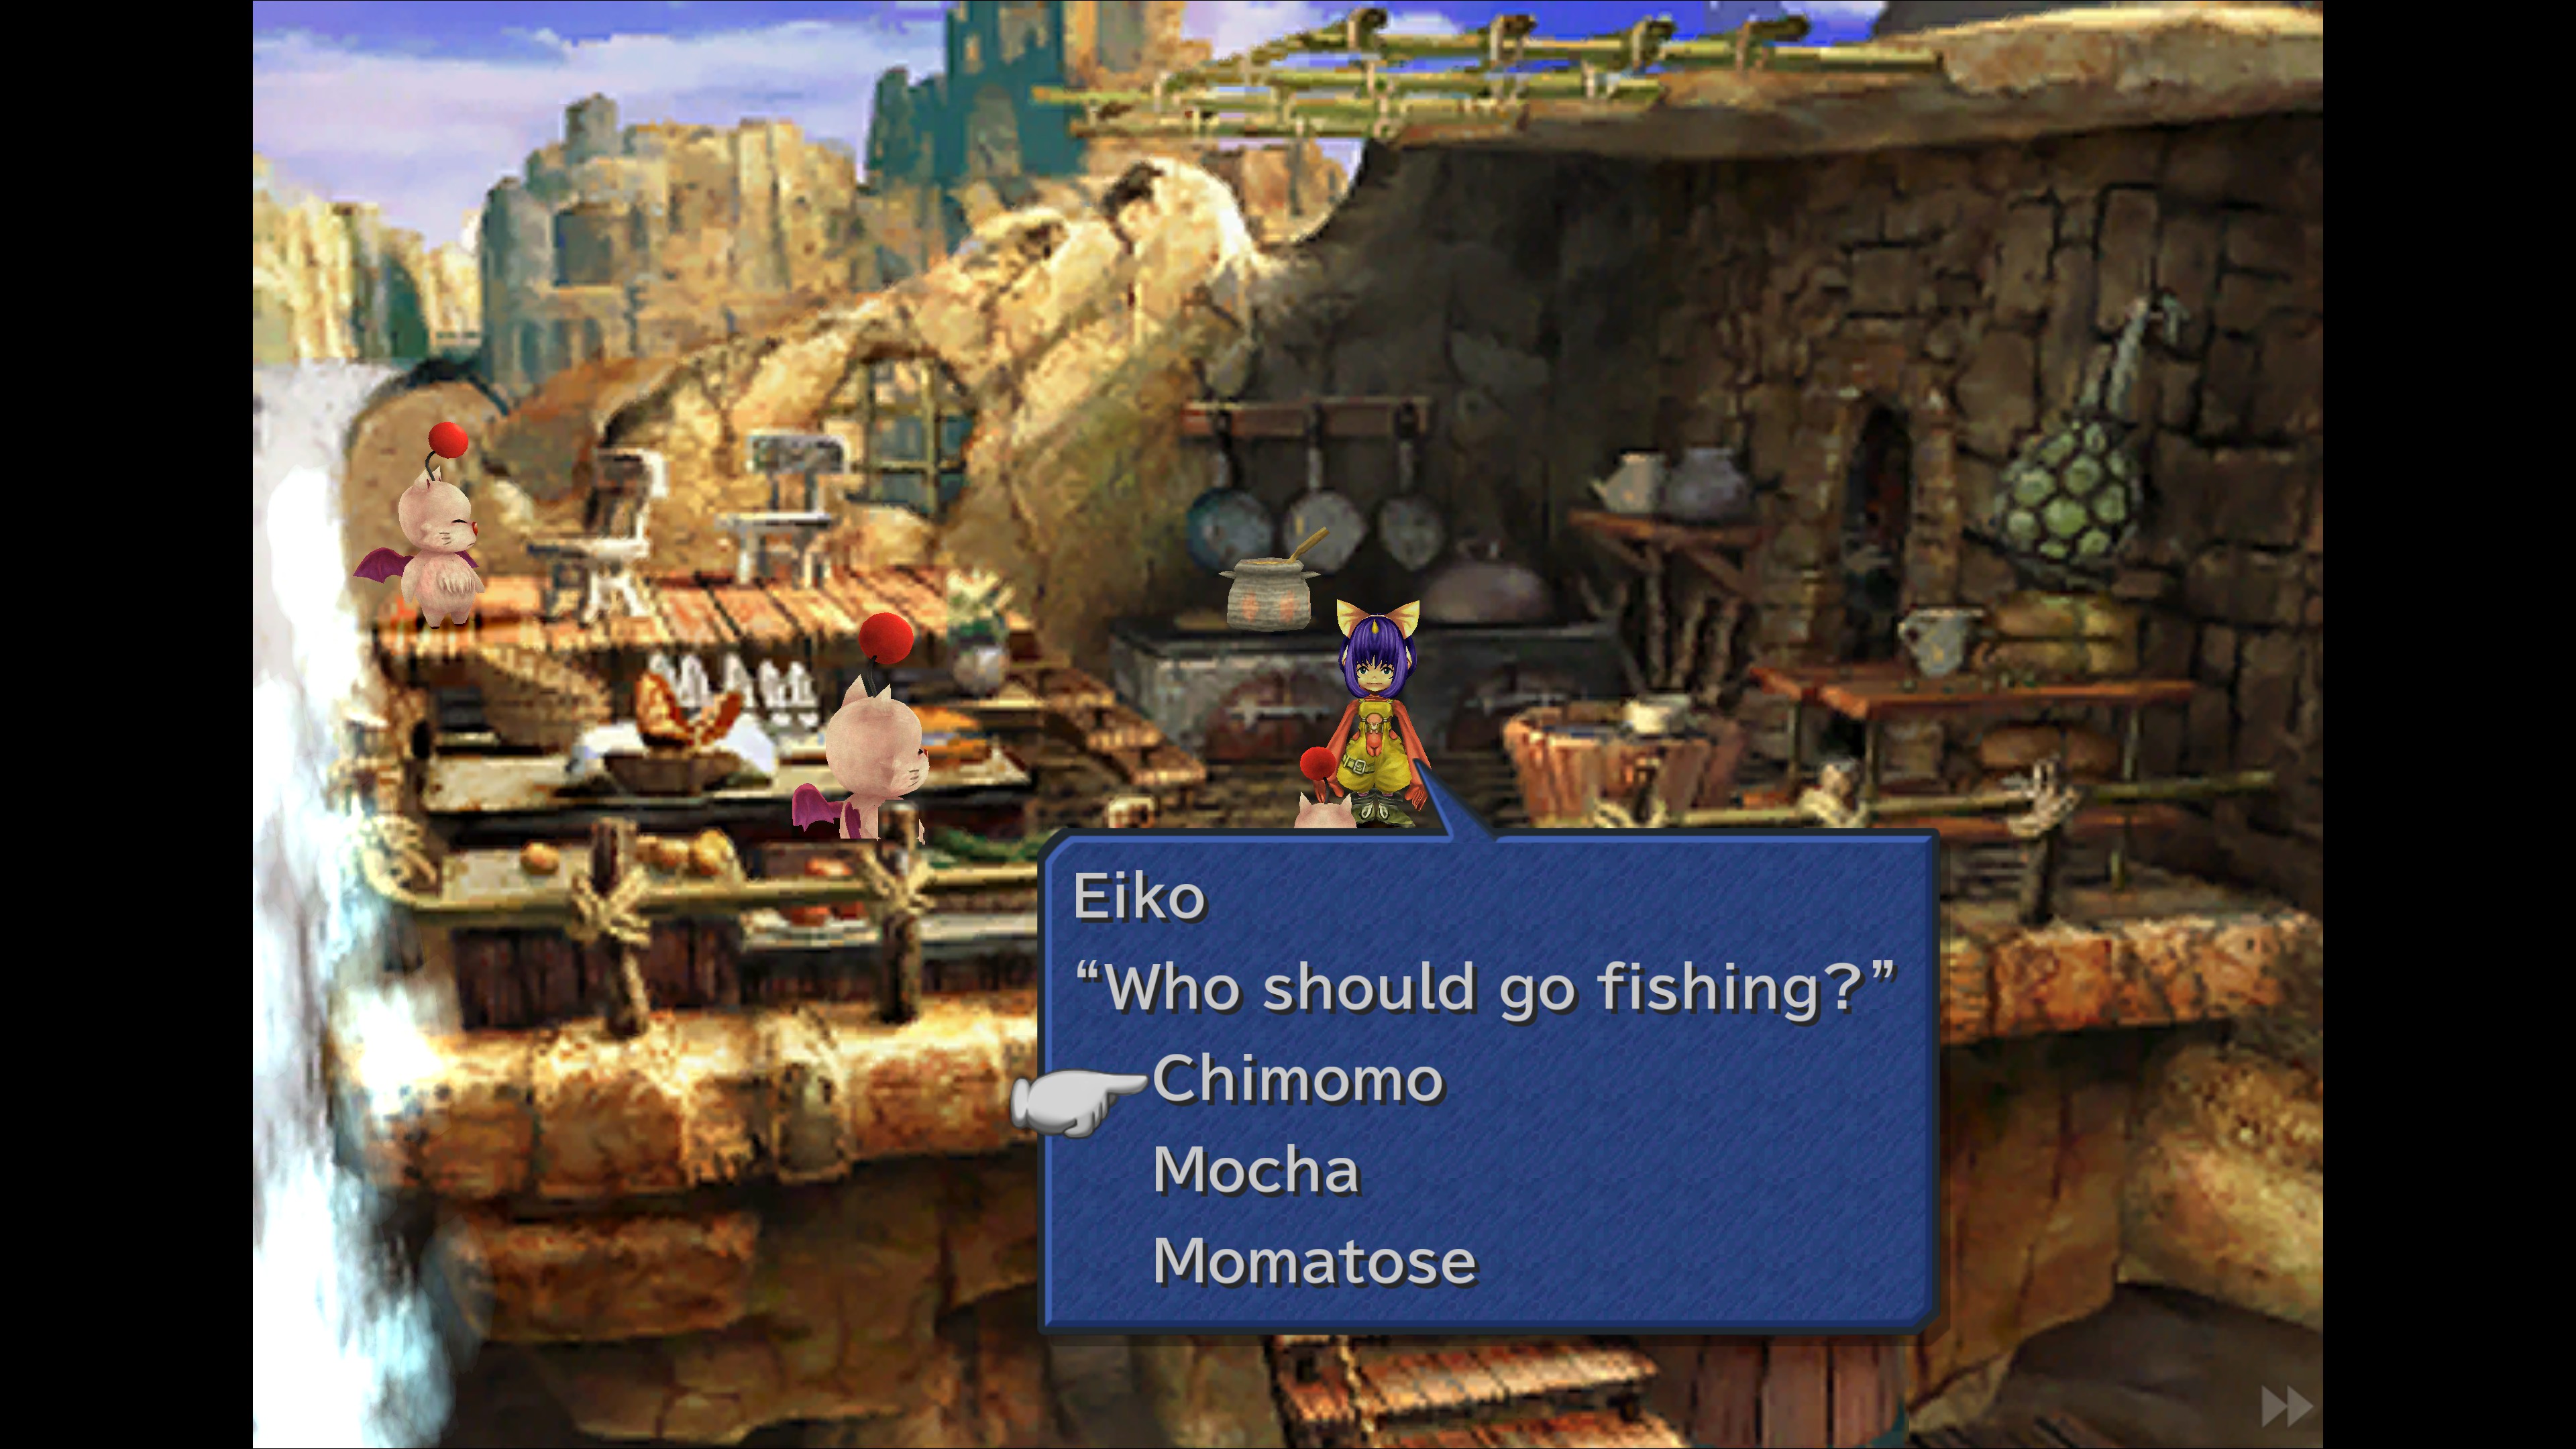
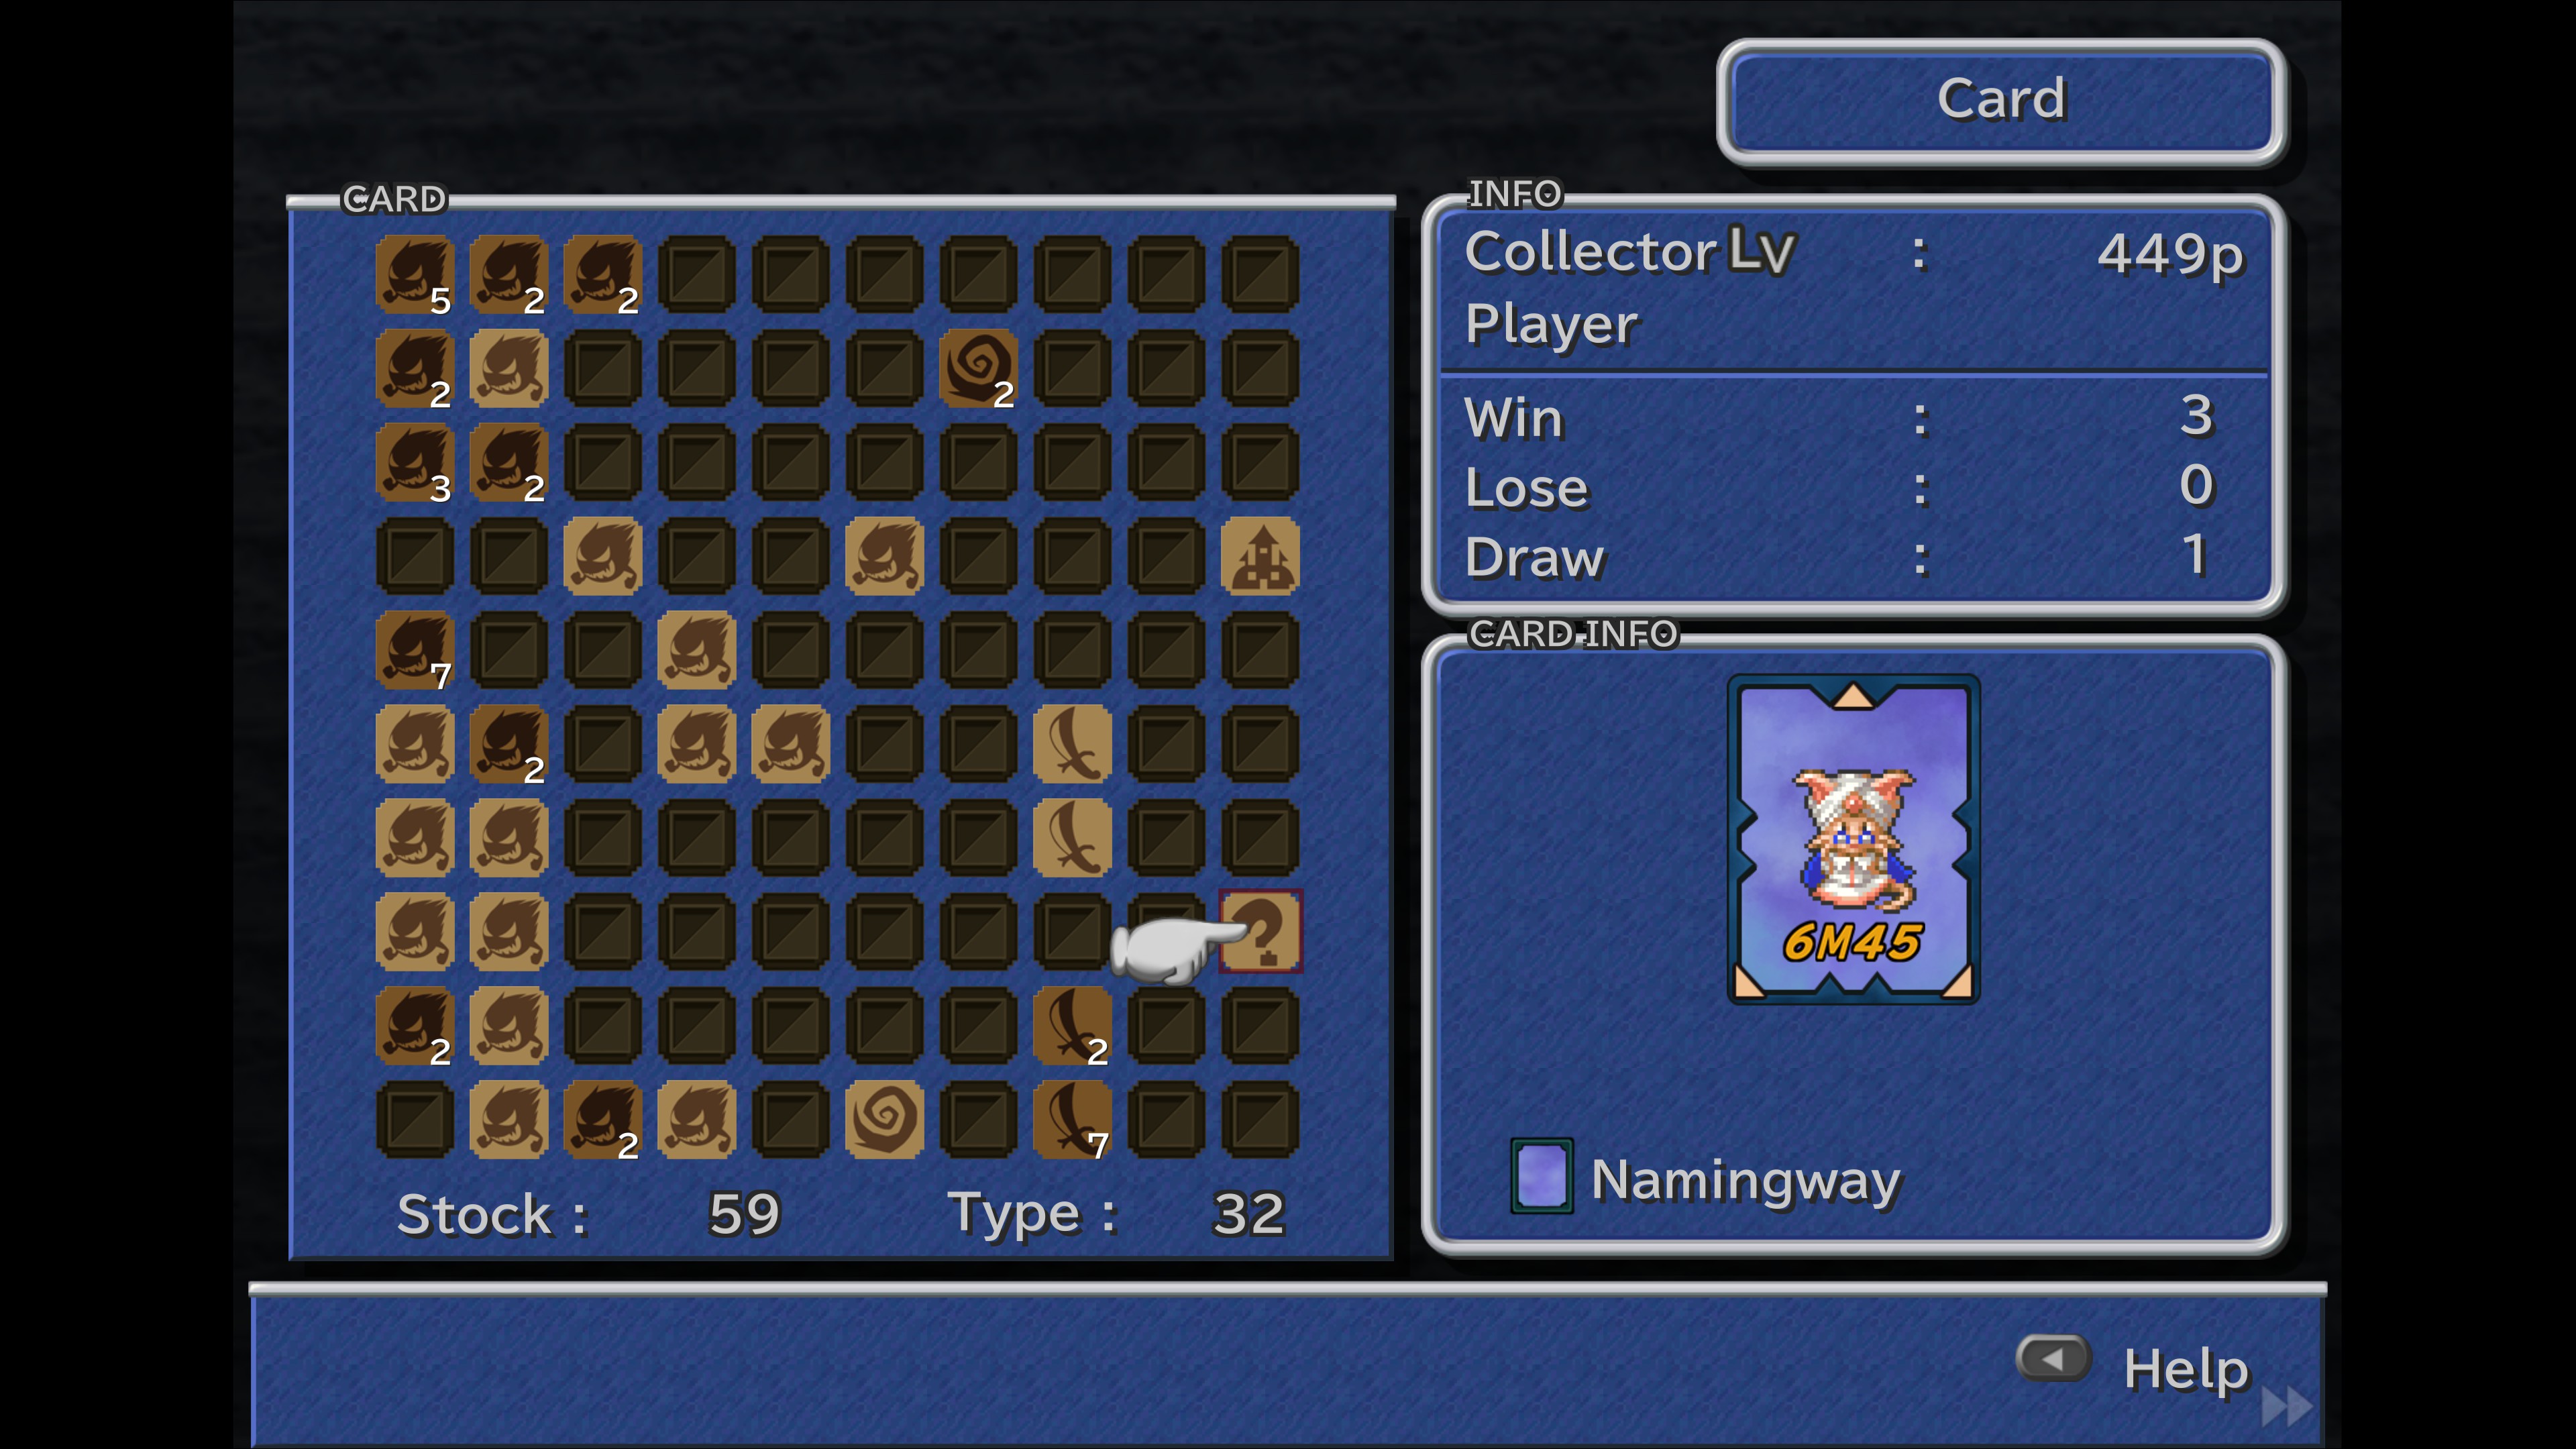
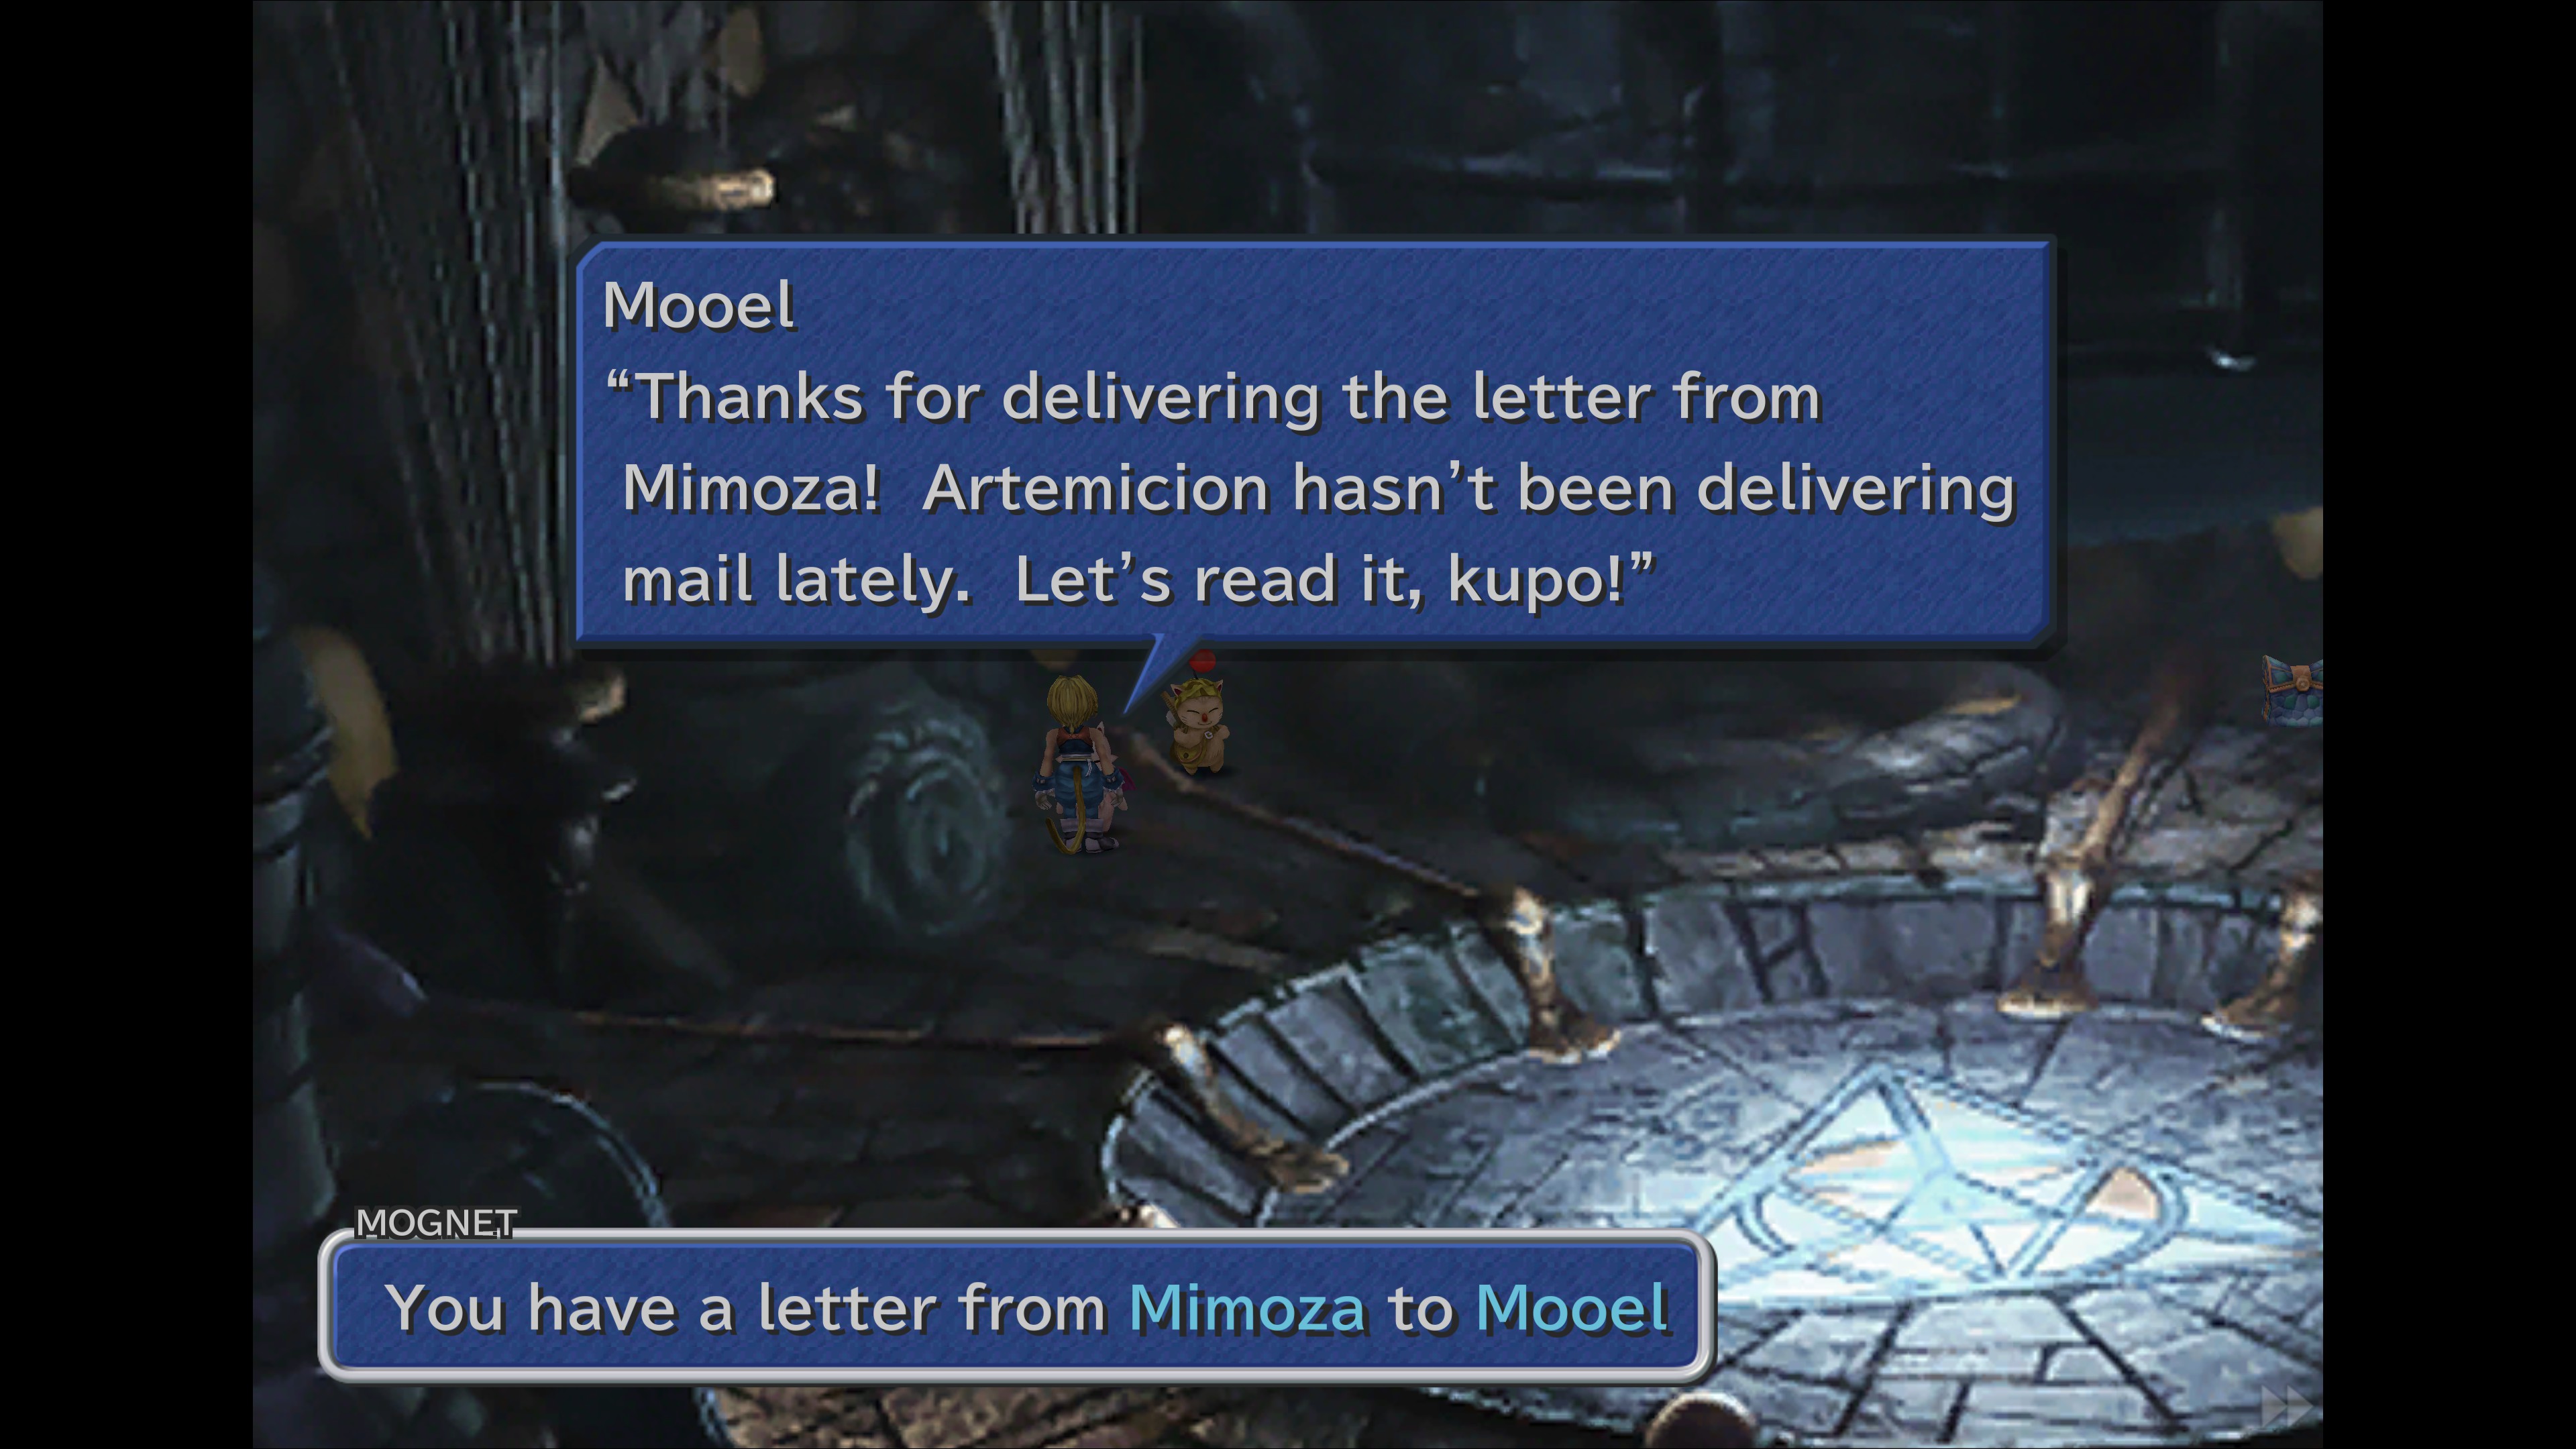
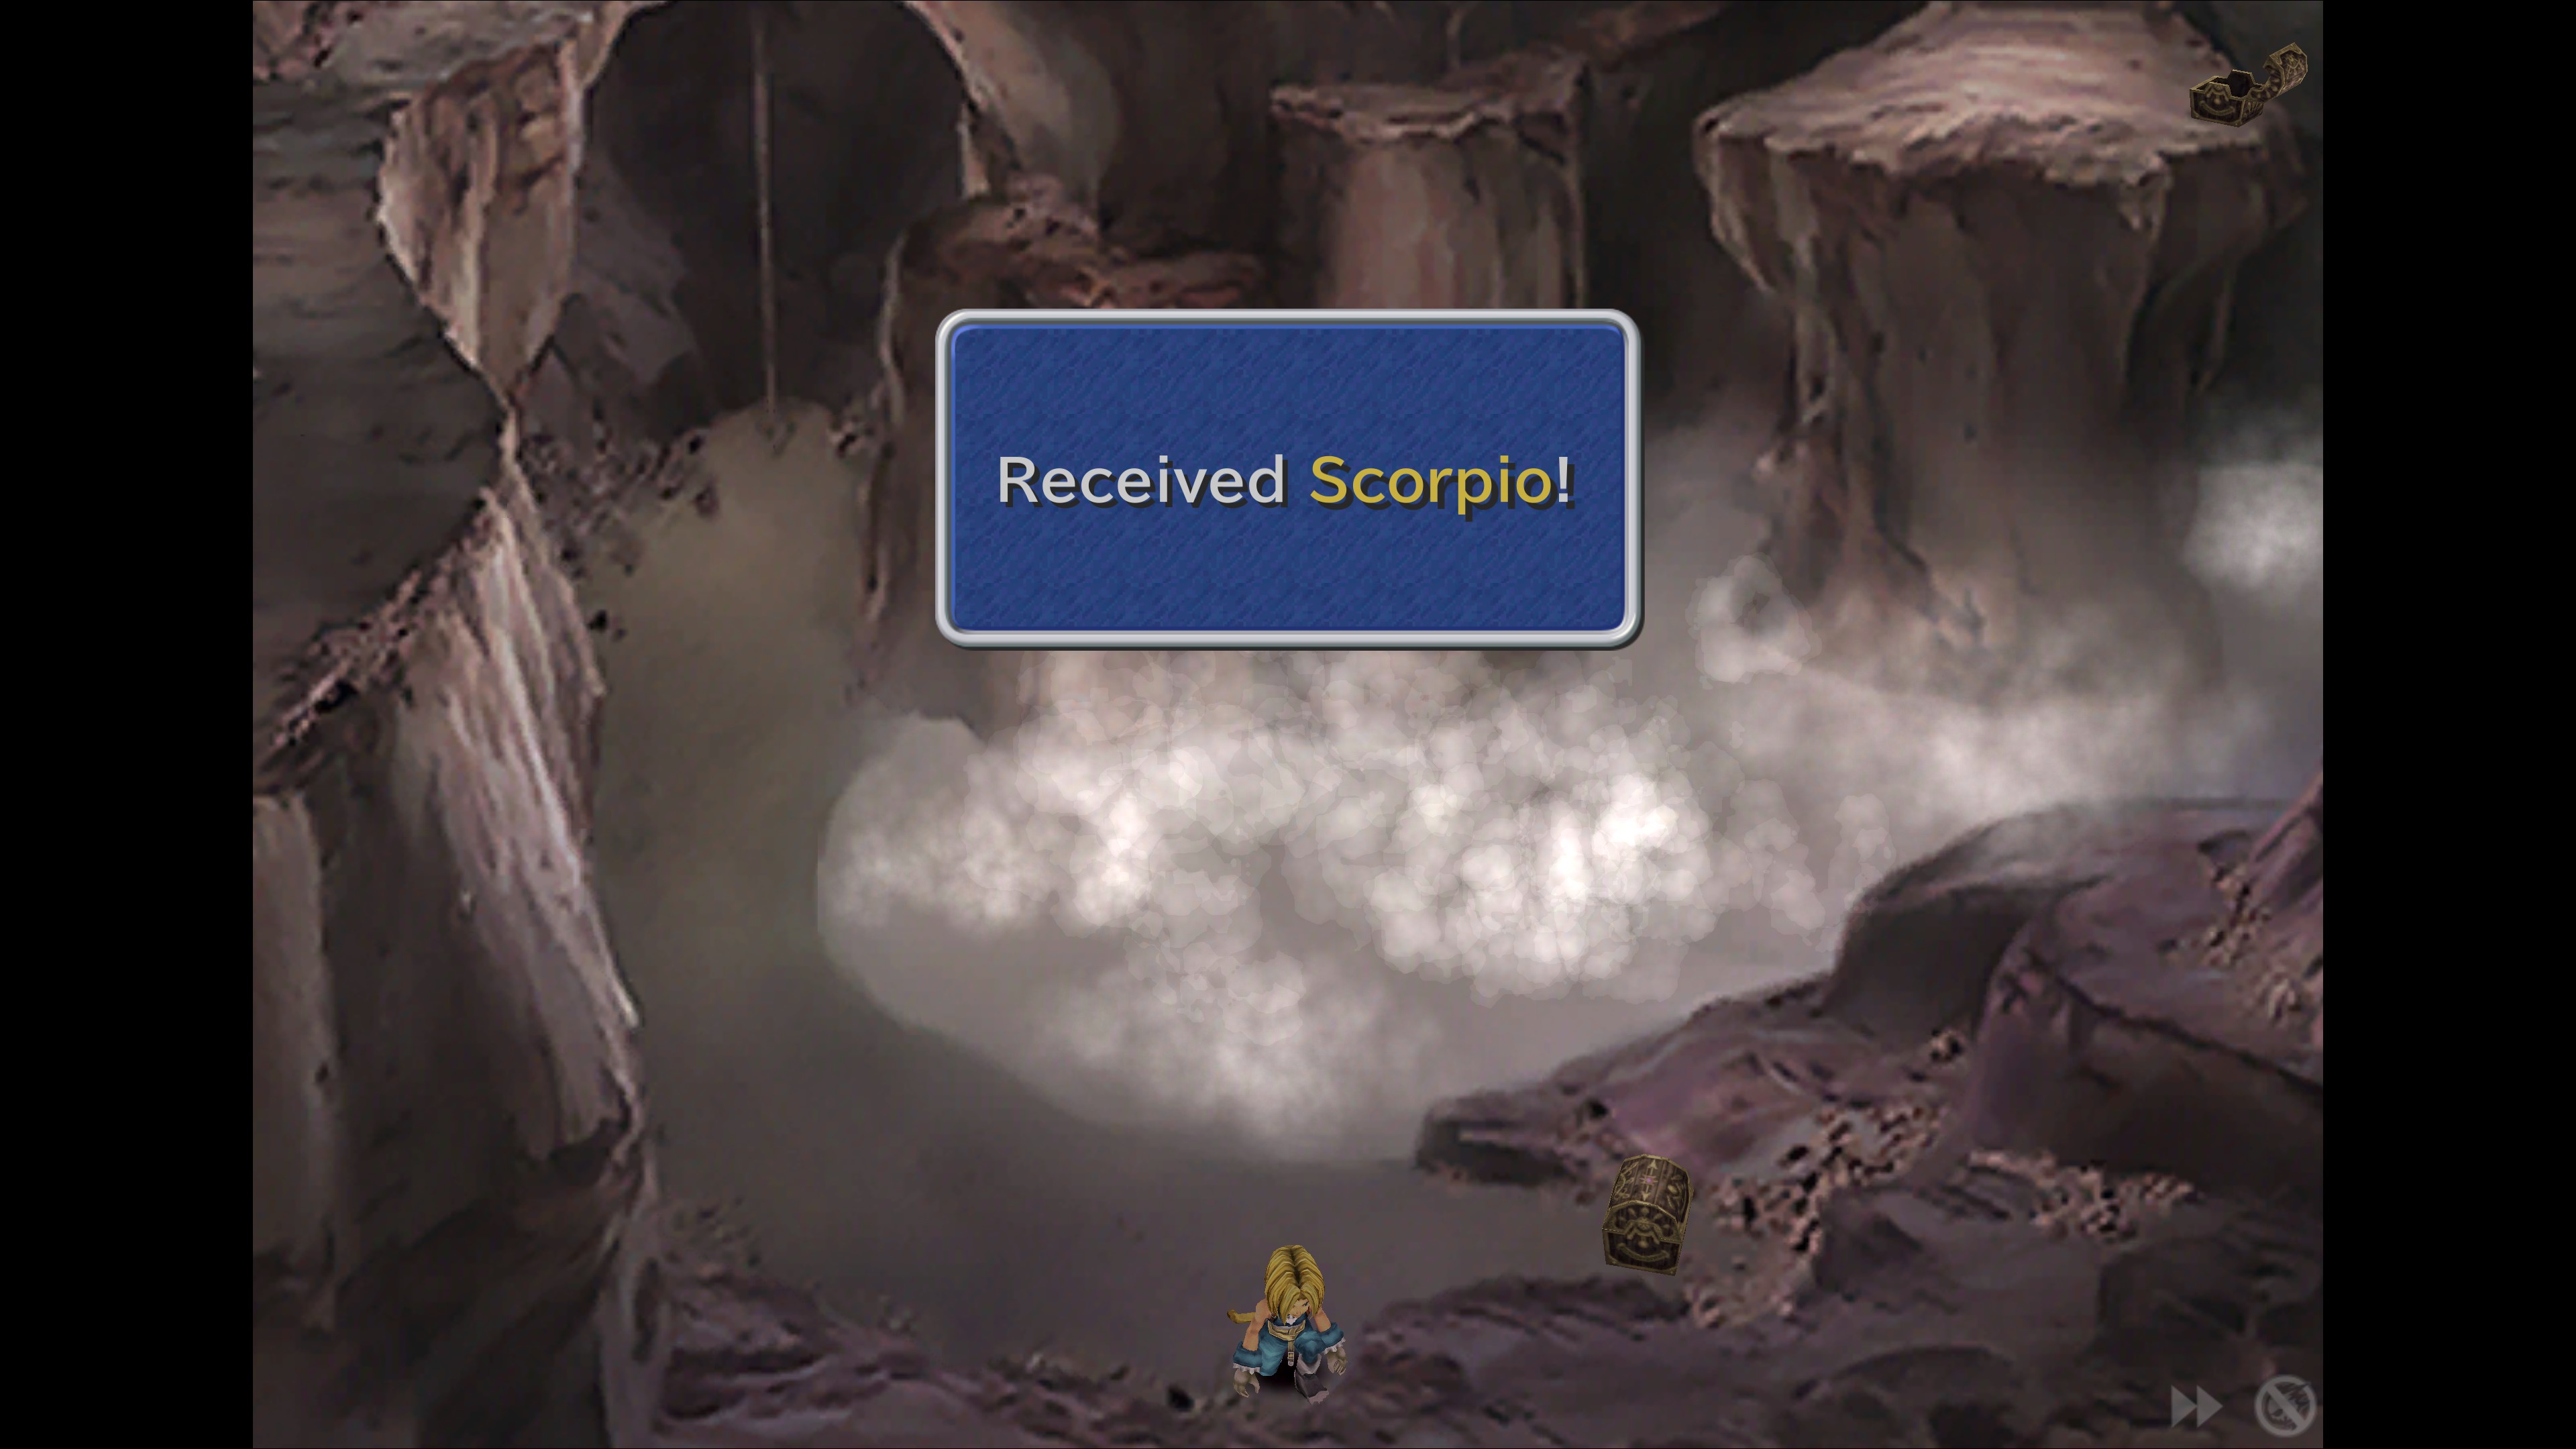
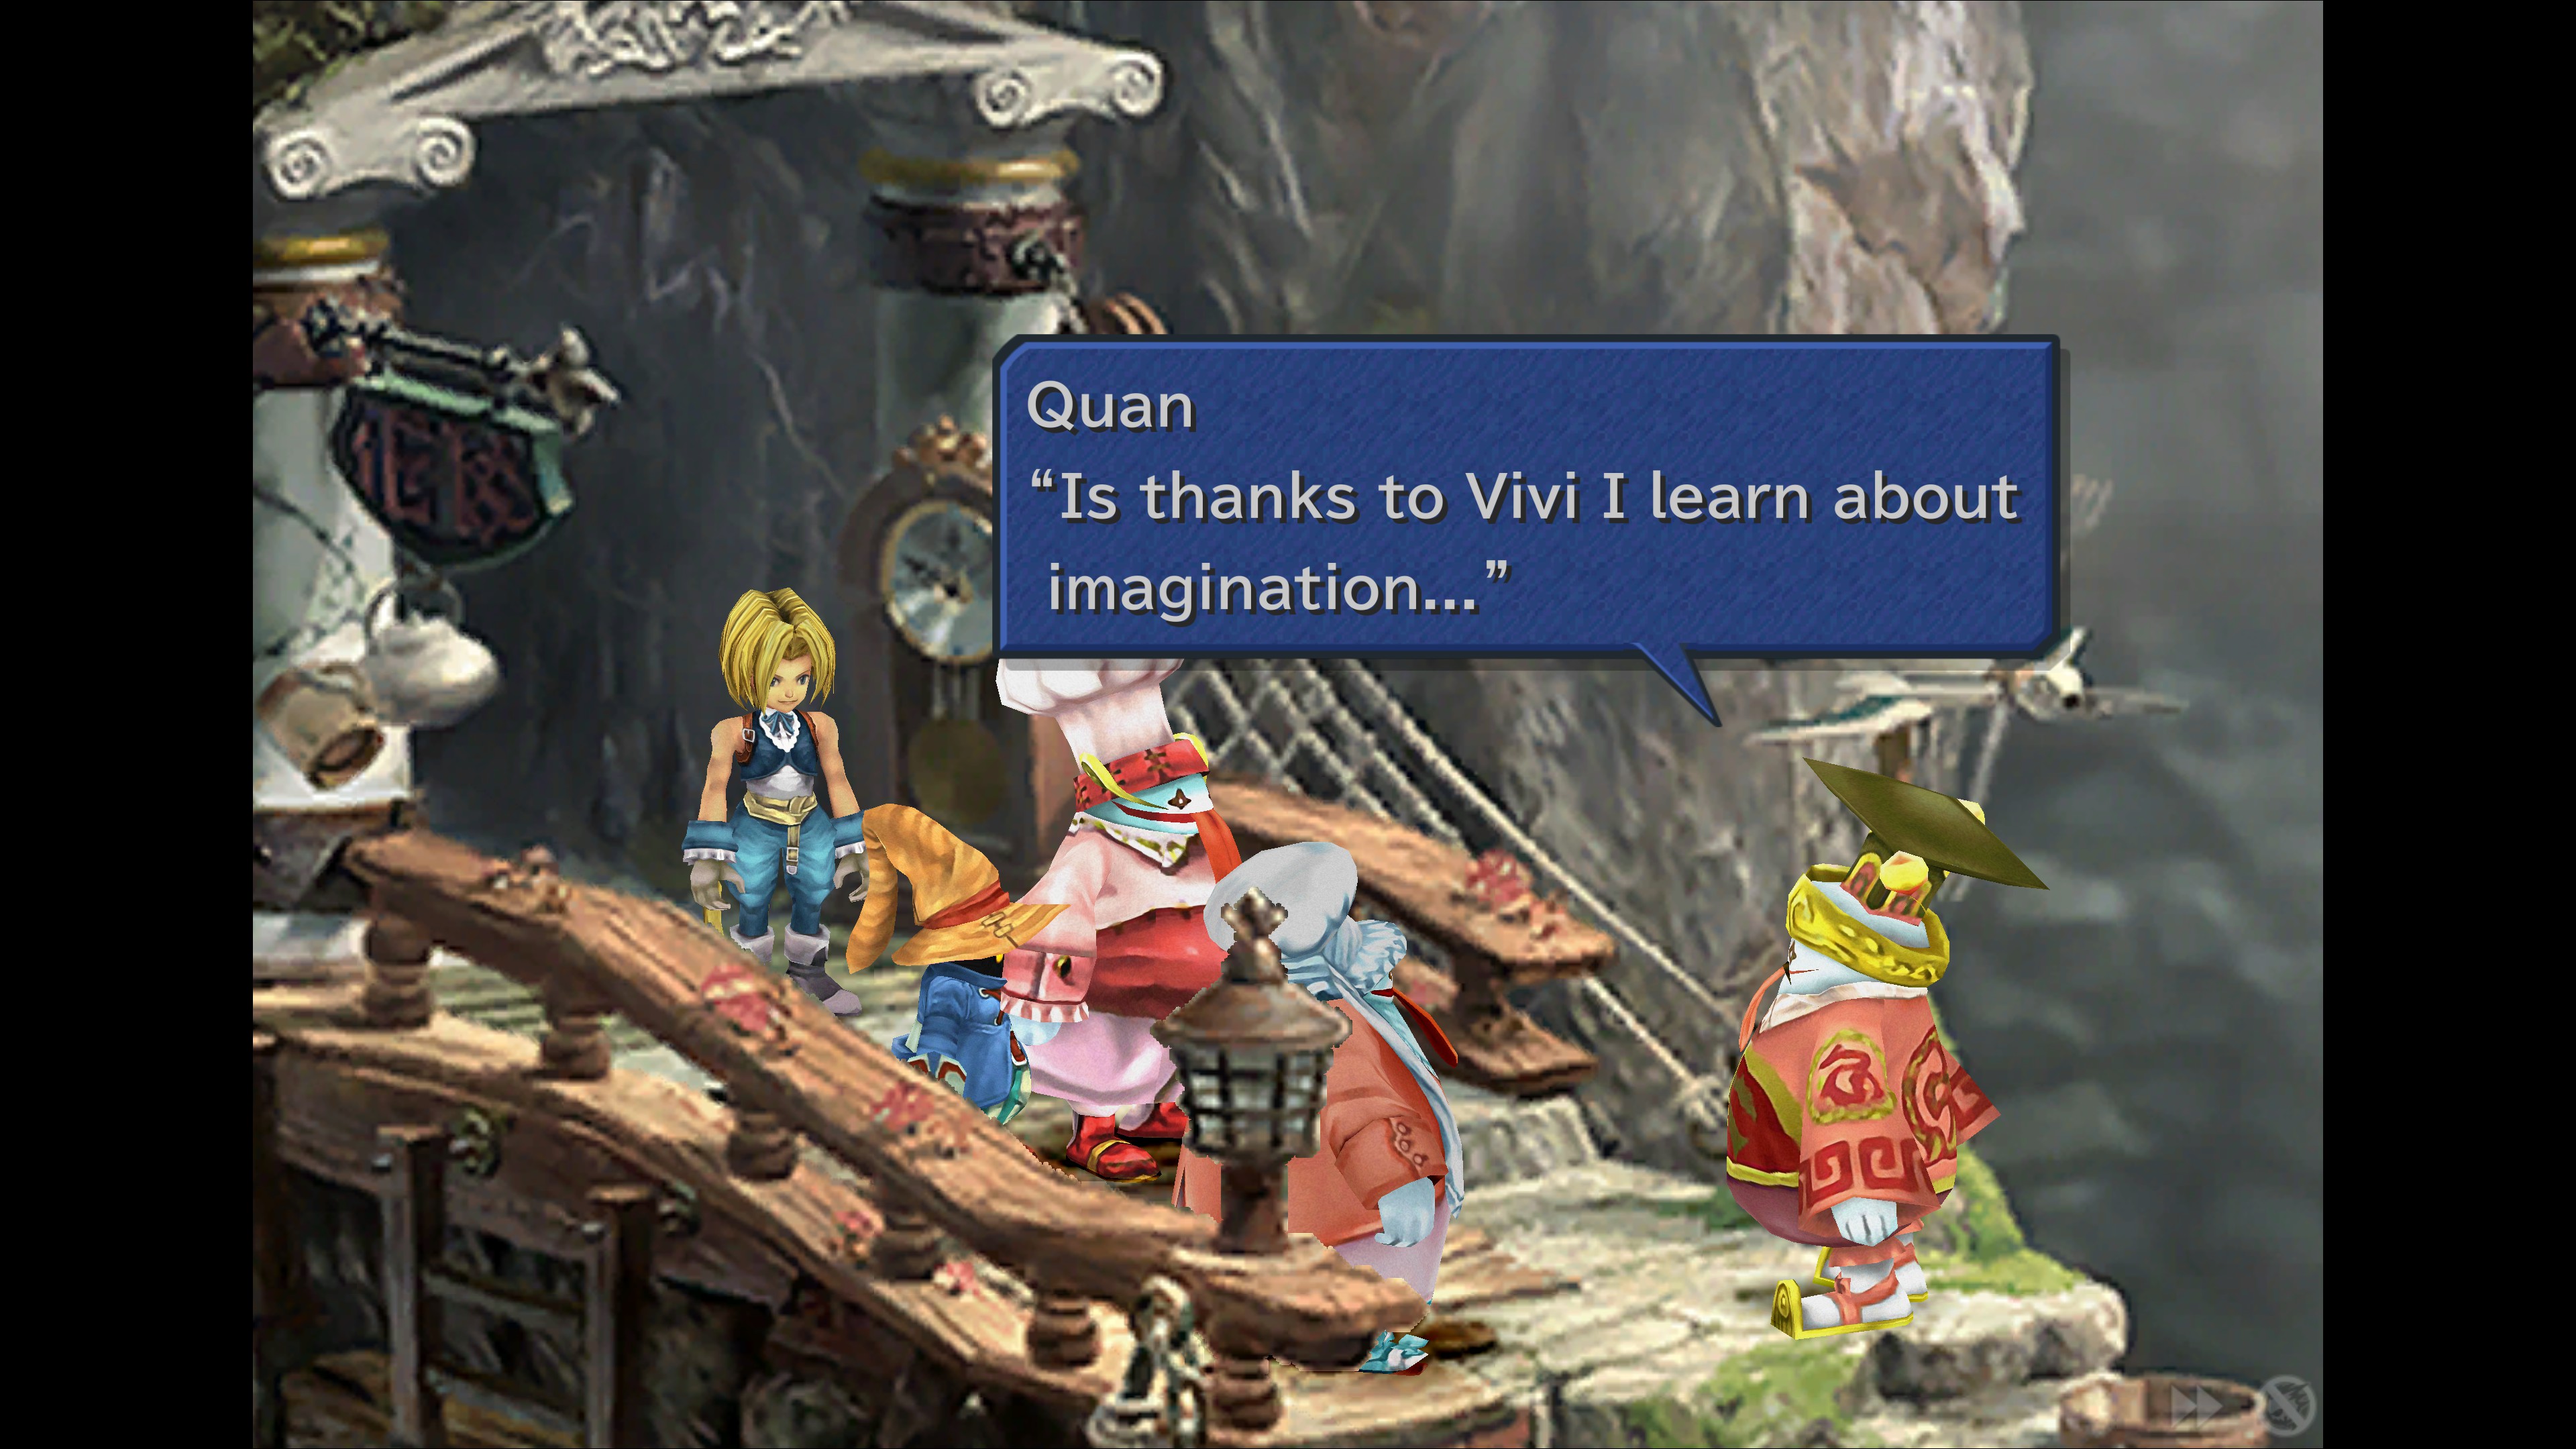
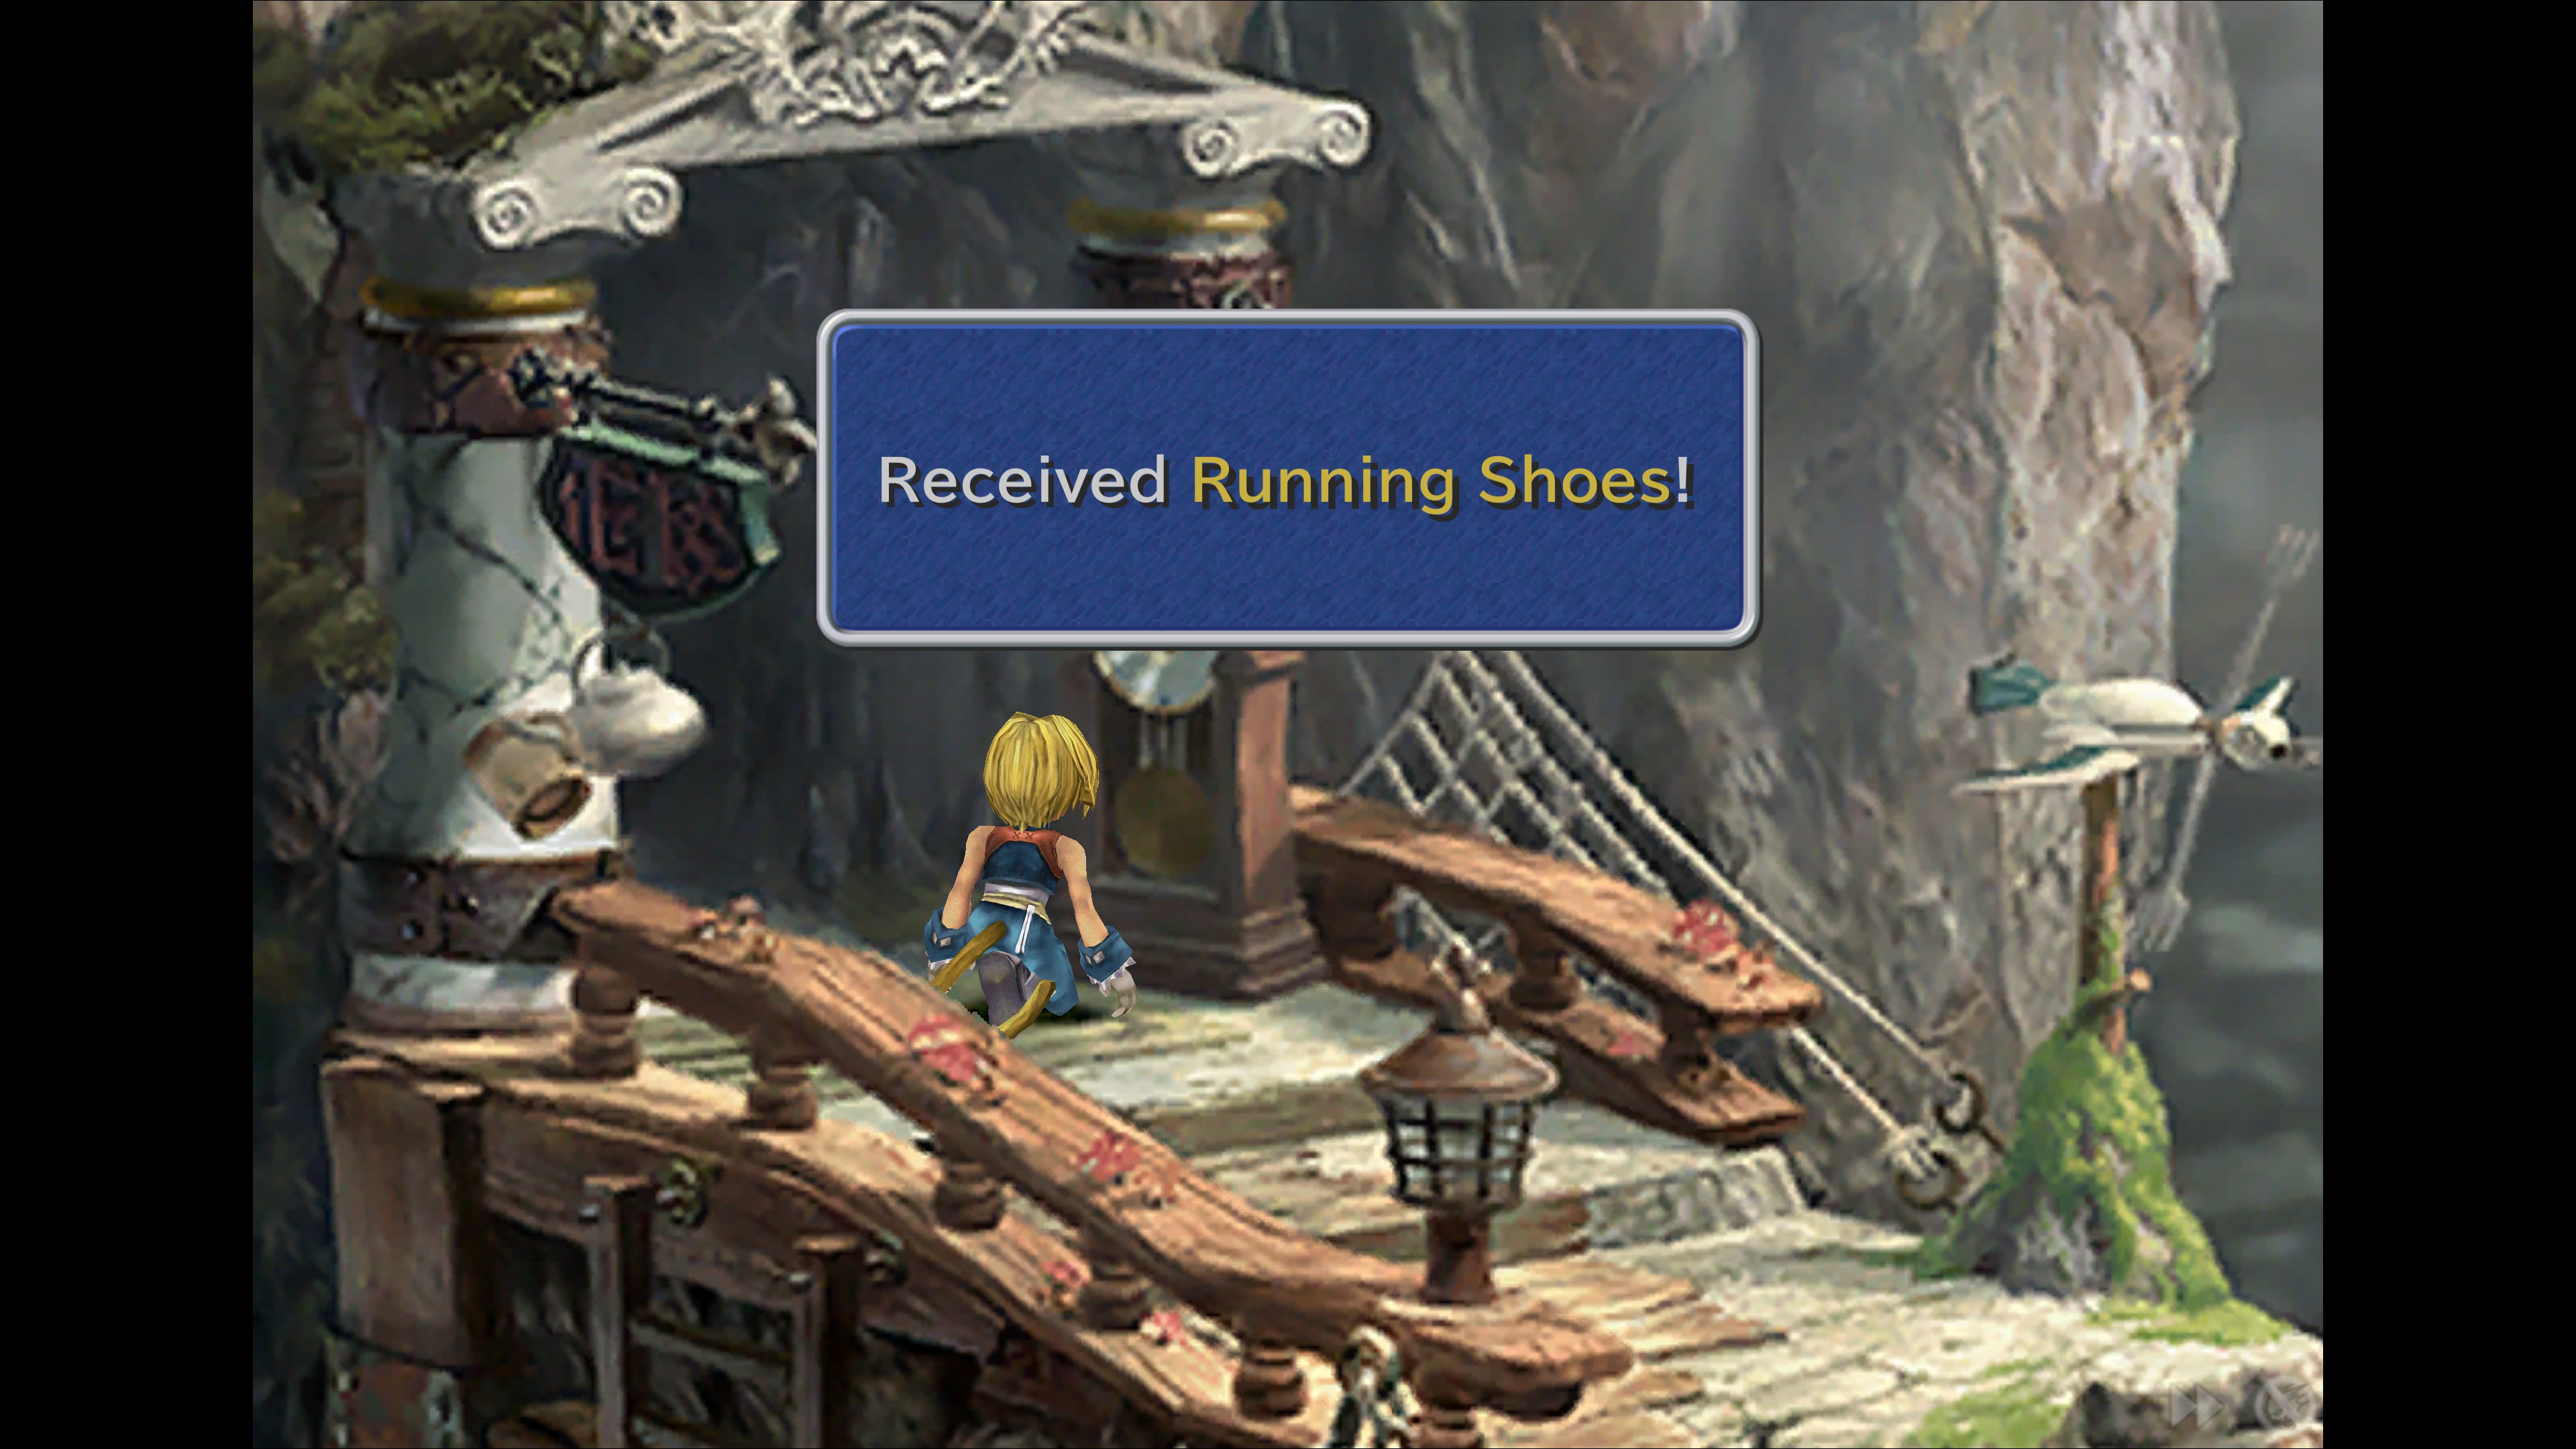
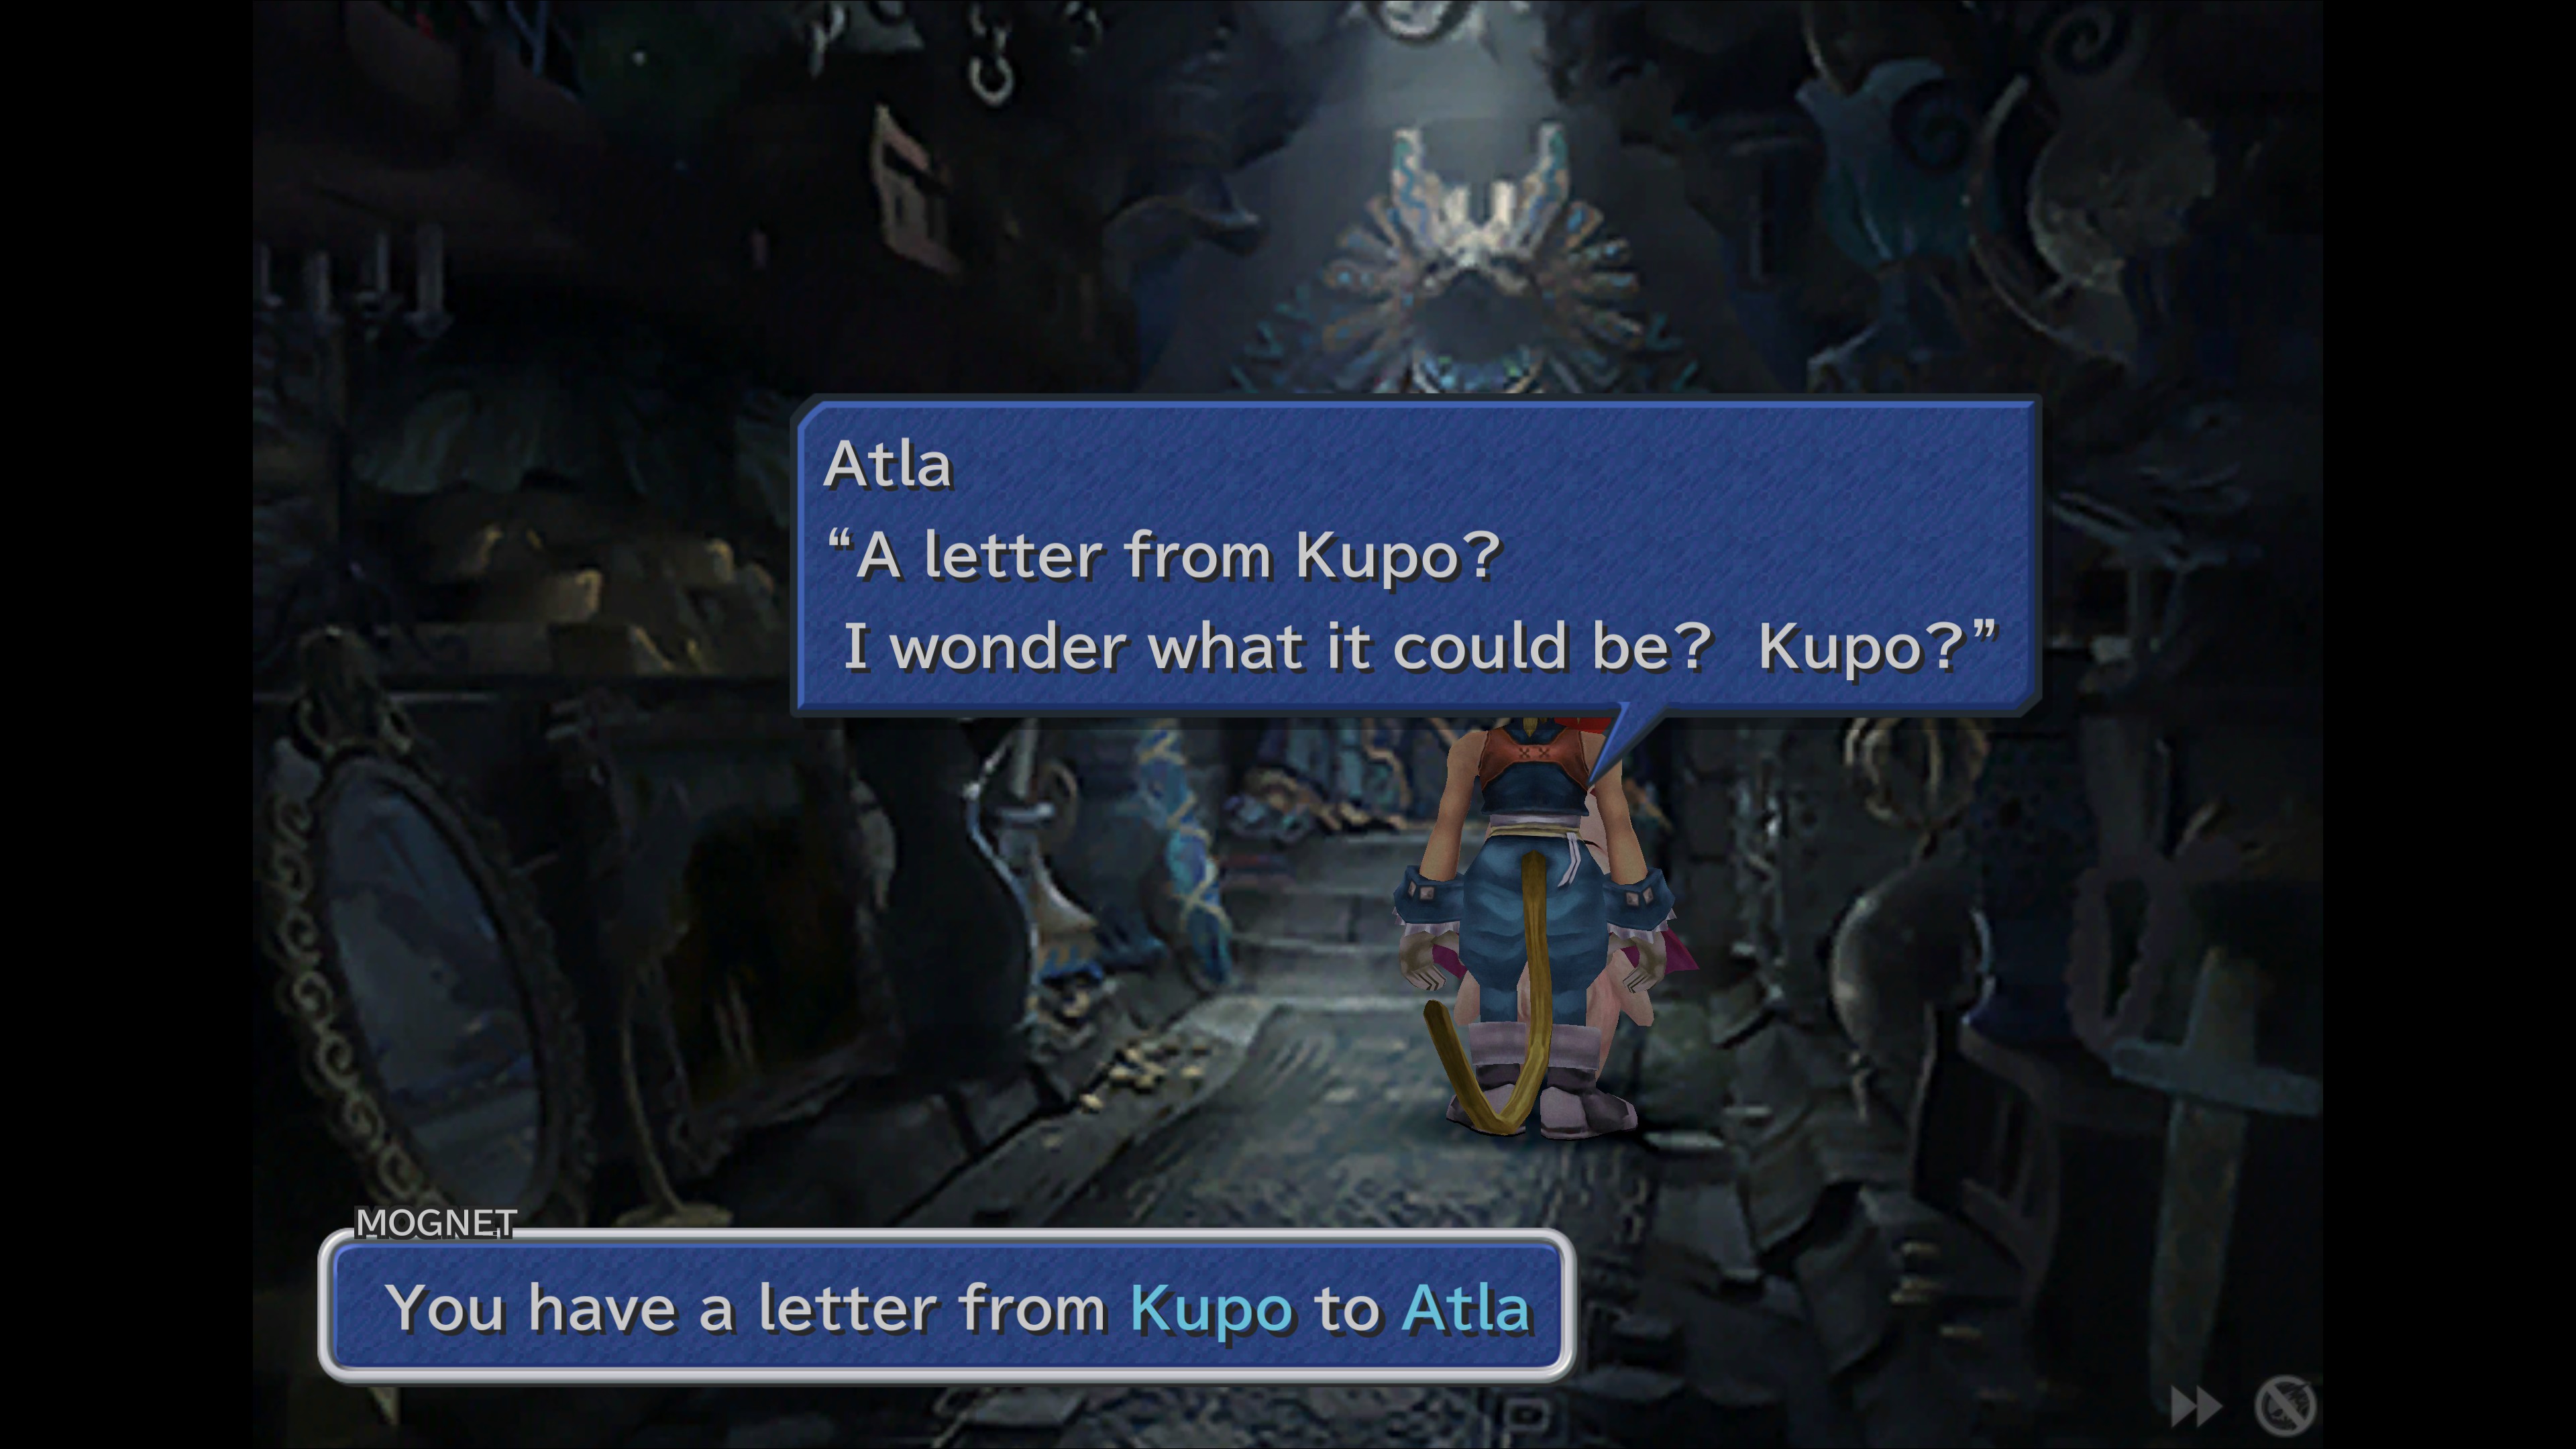
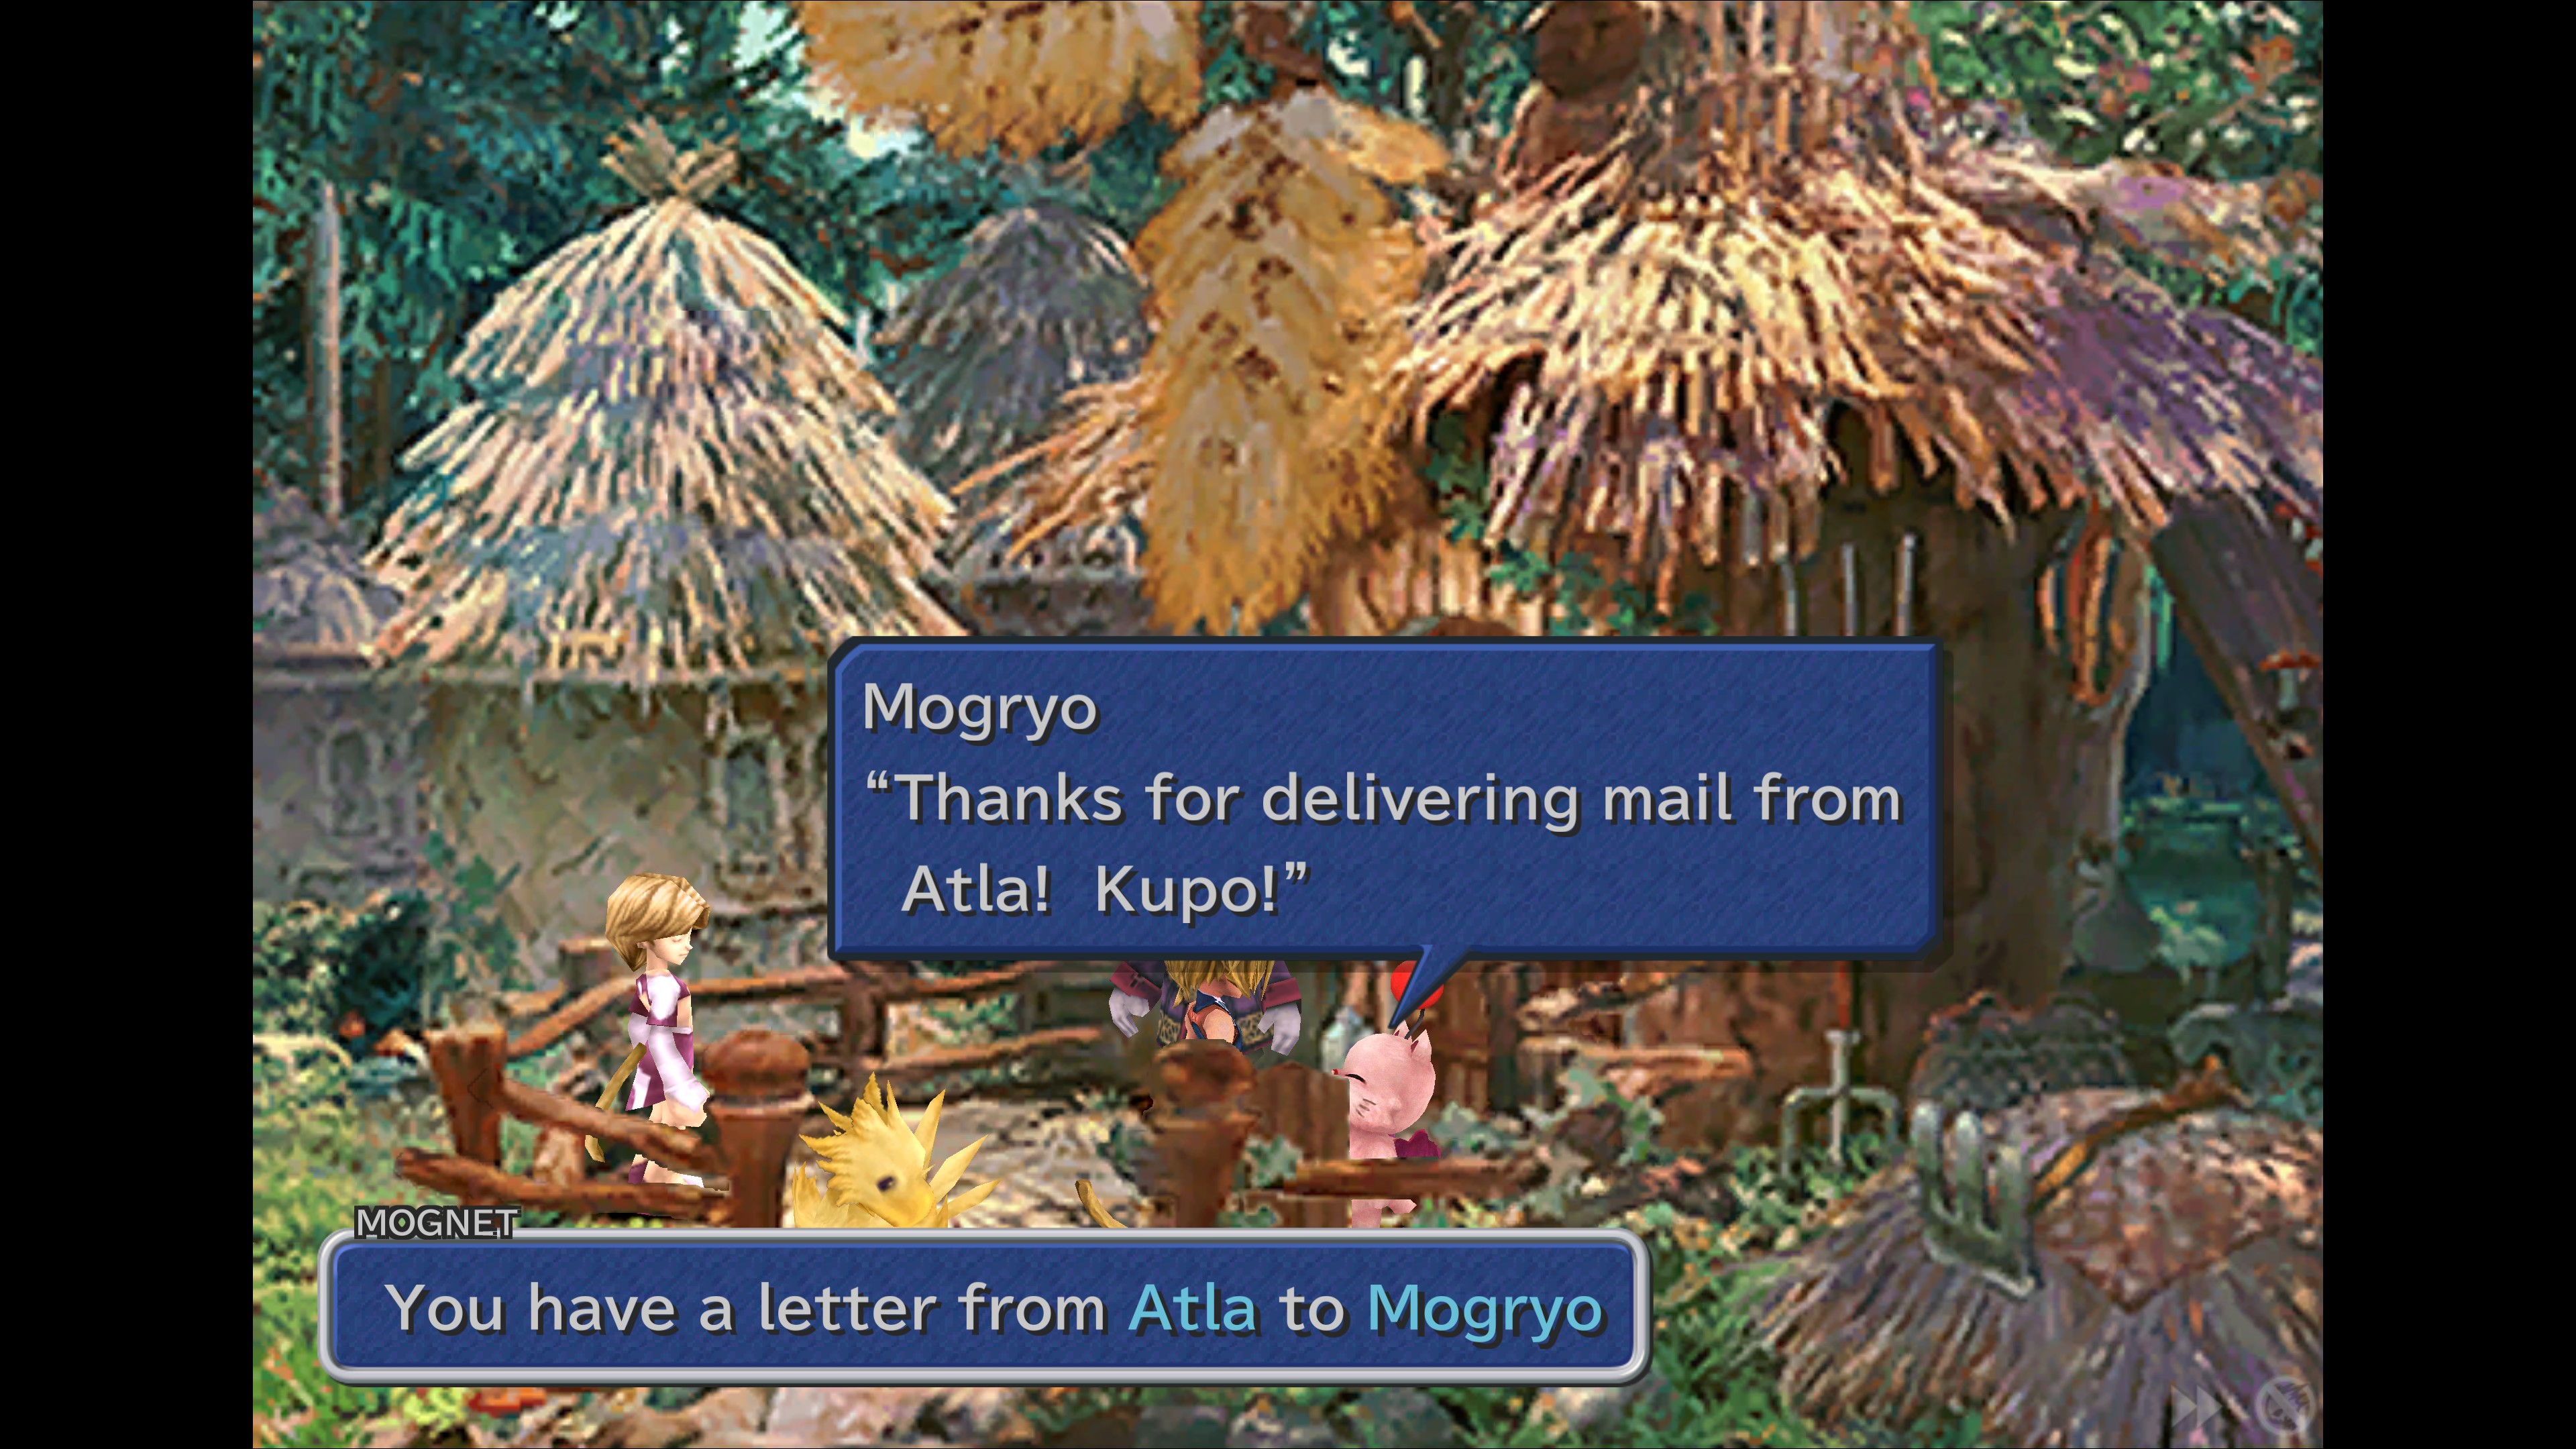
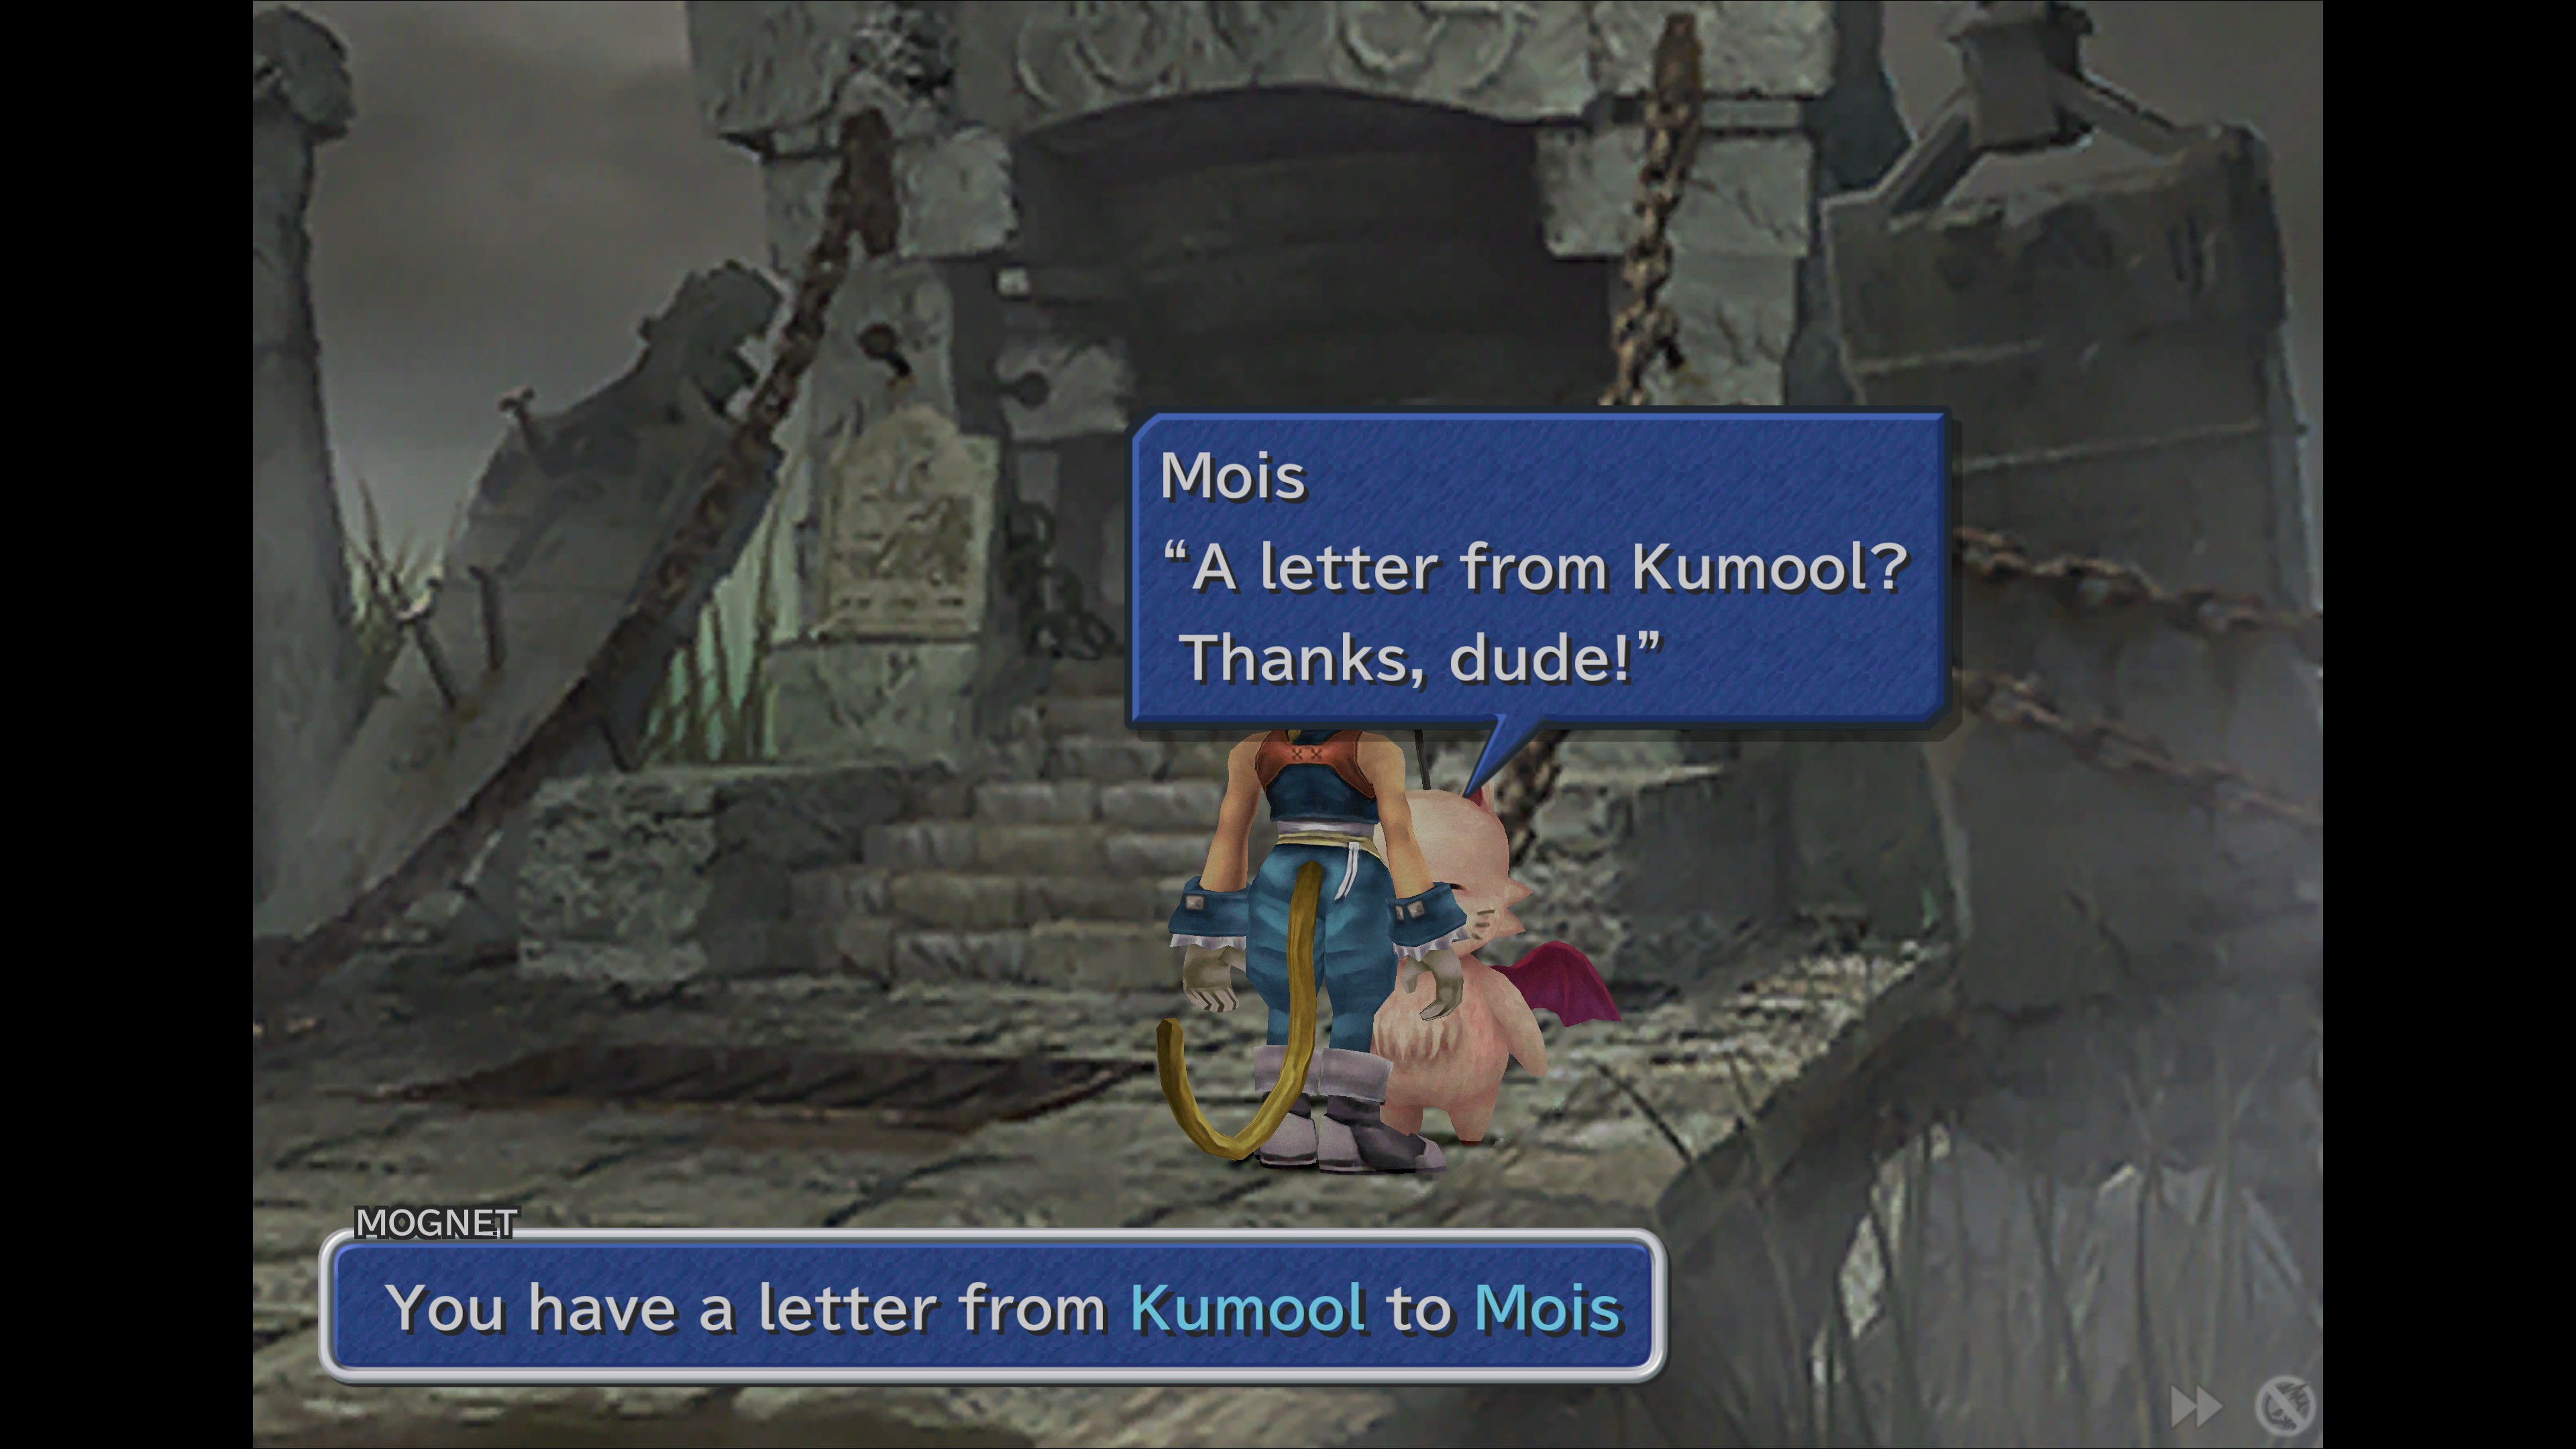
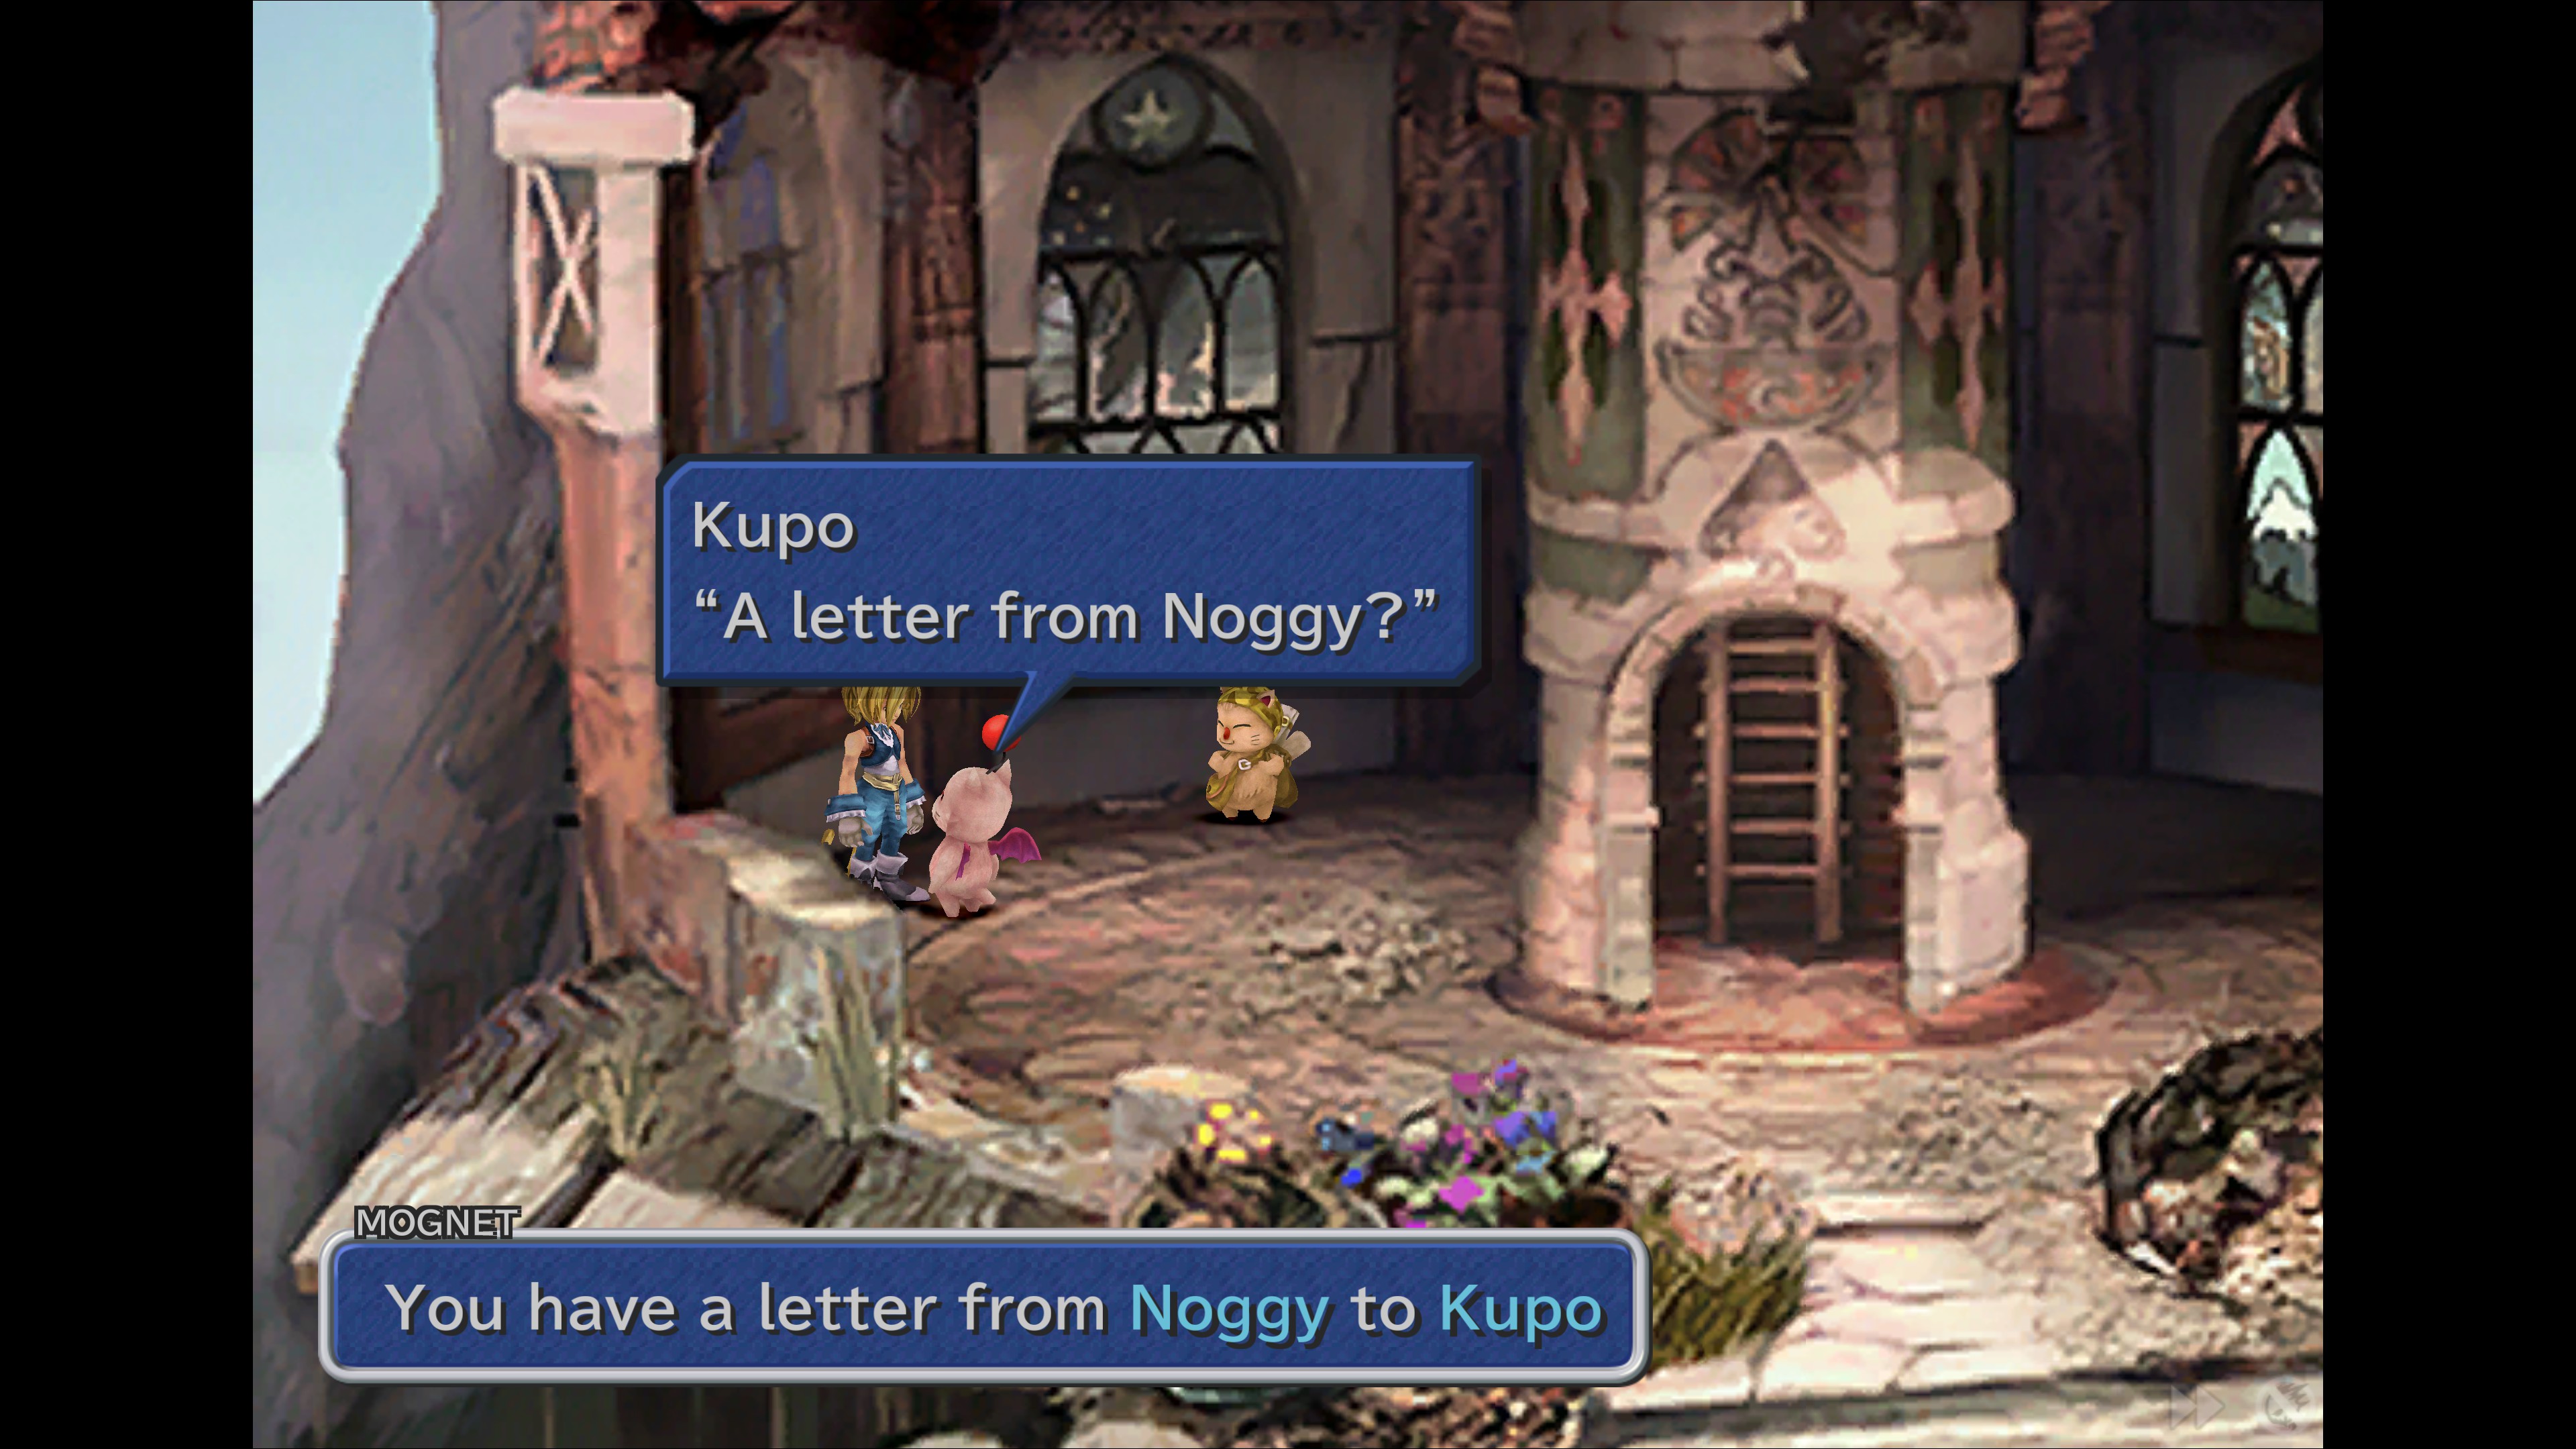
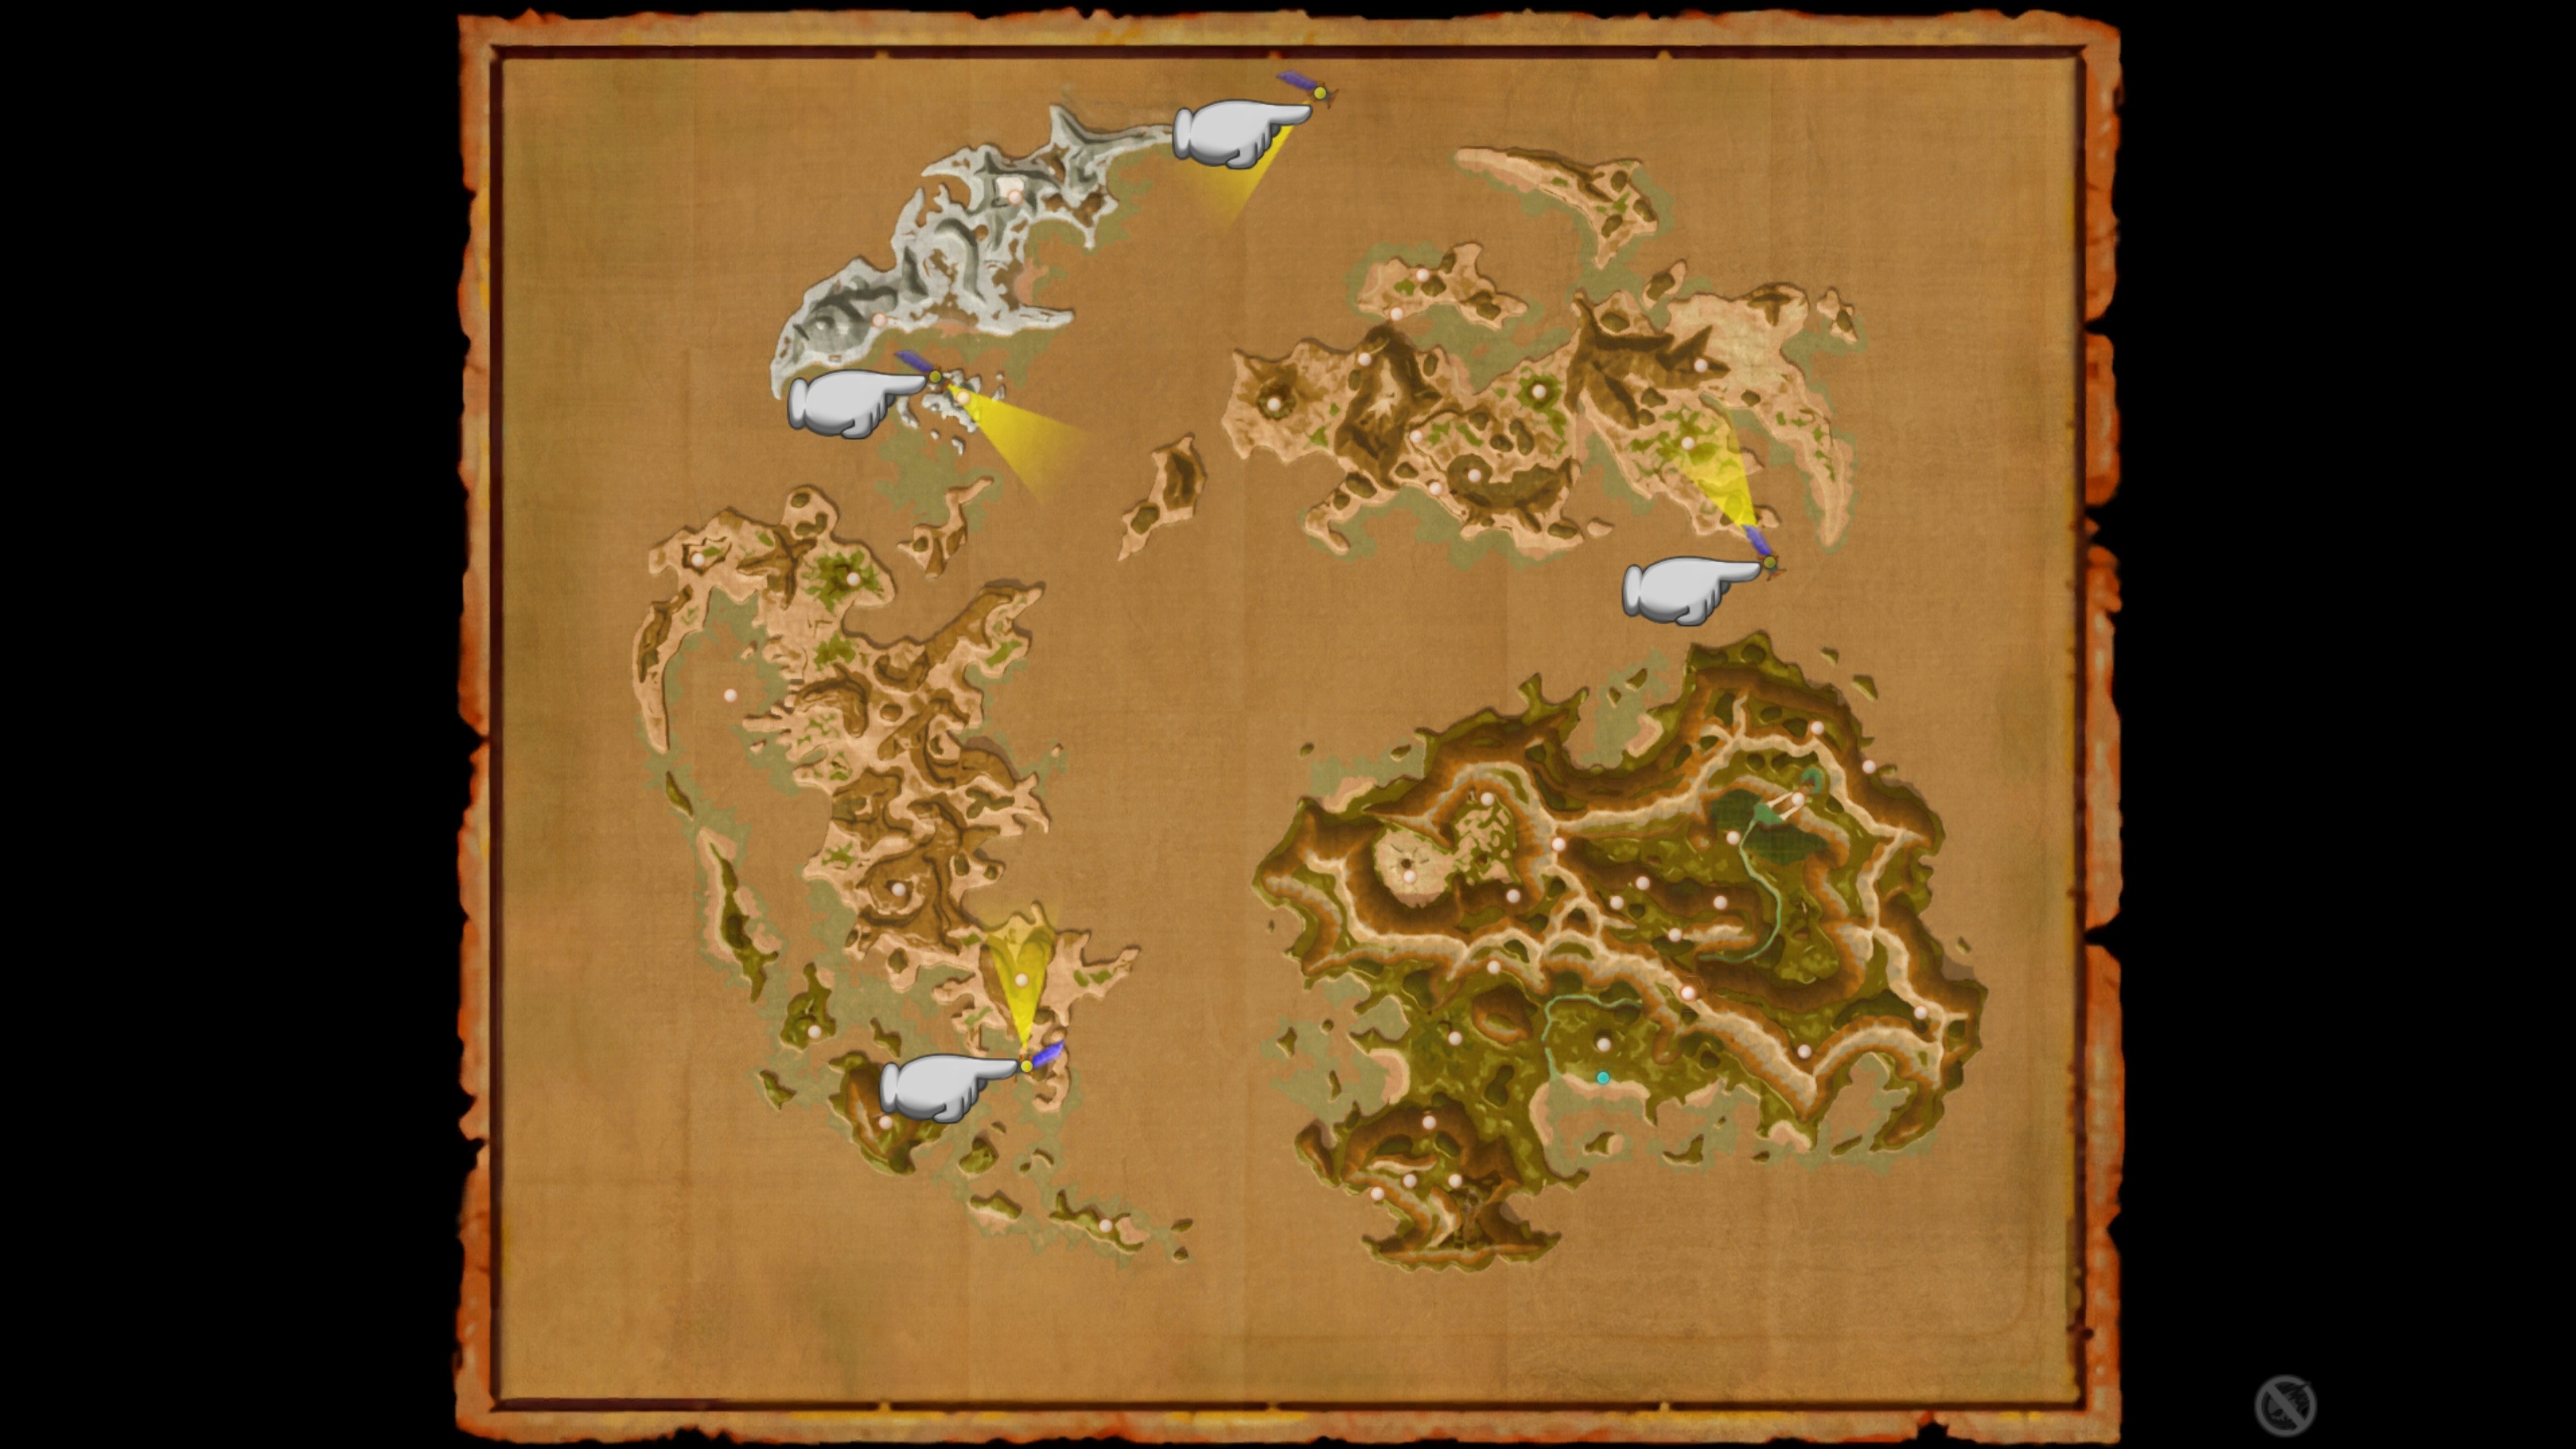
I played a lot and now I can finally get all the secret secrets I missed XD, and damn there's a lot of them!
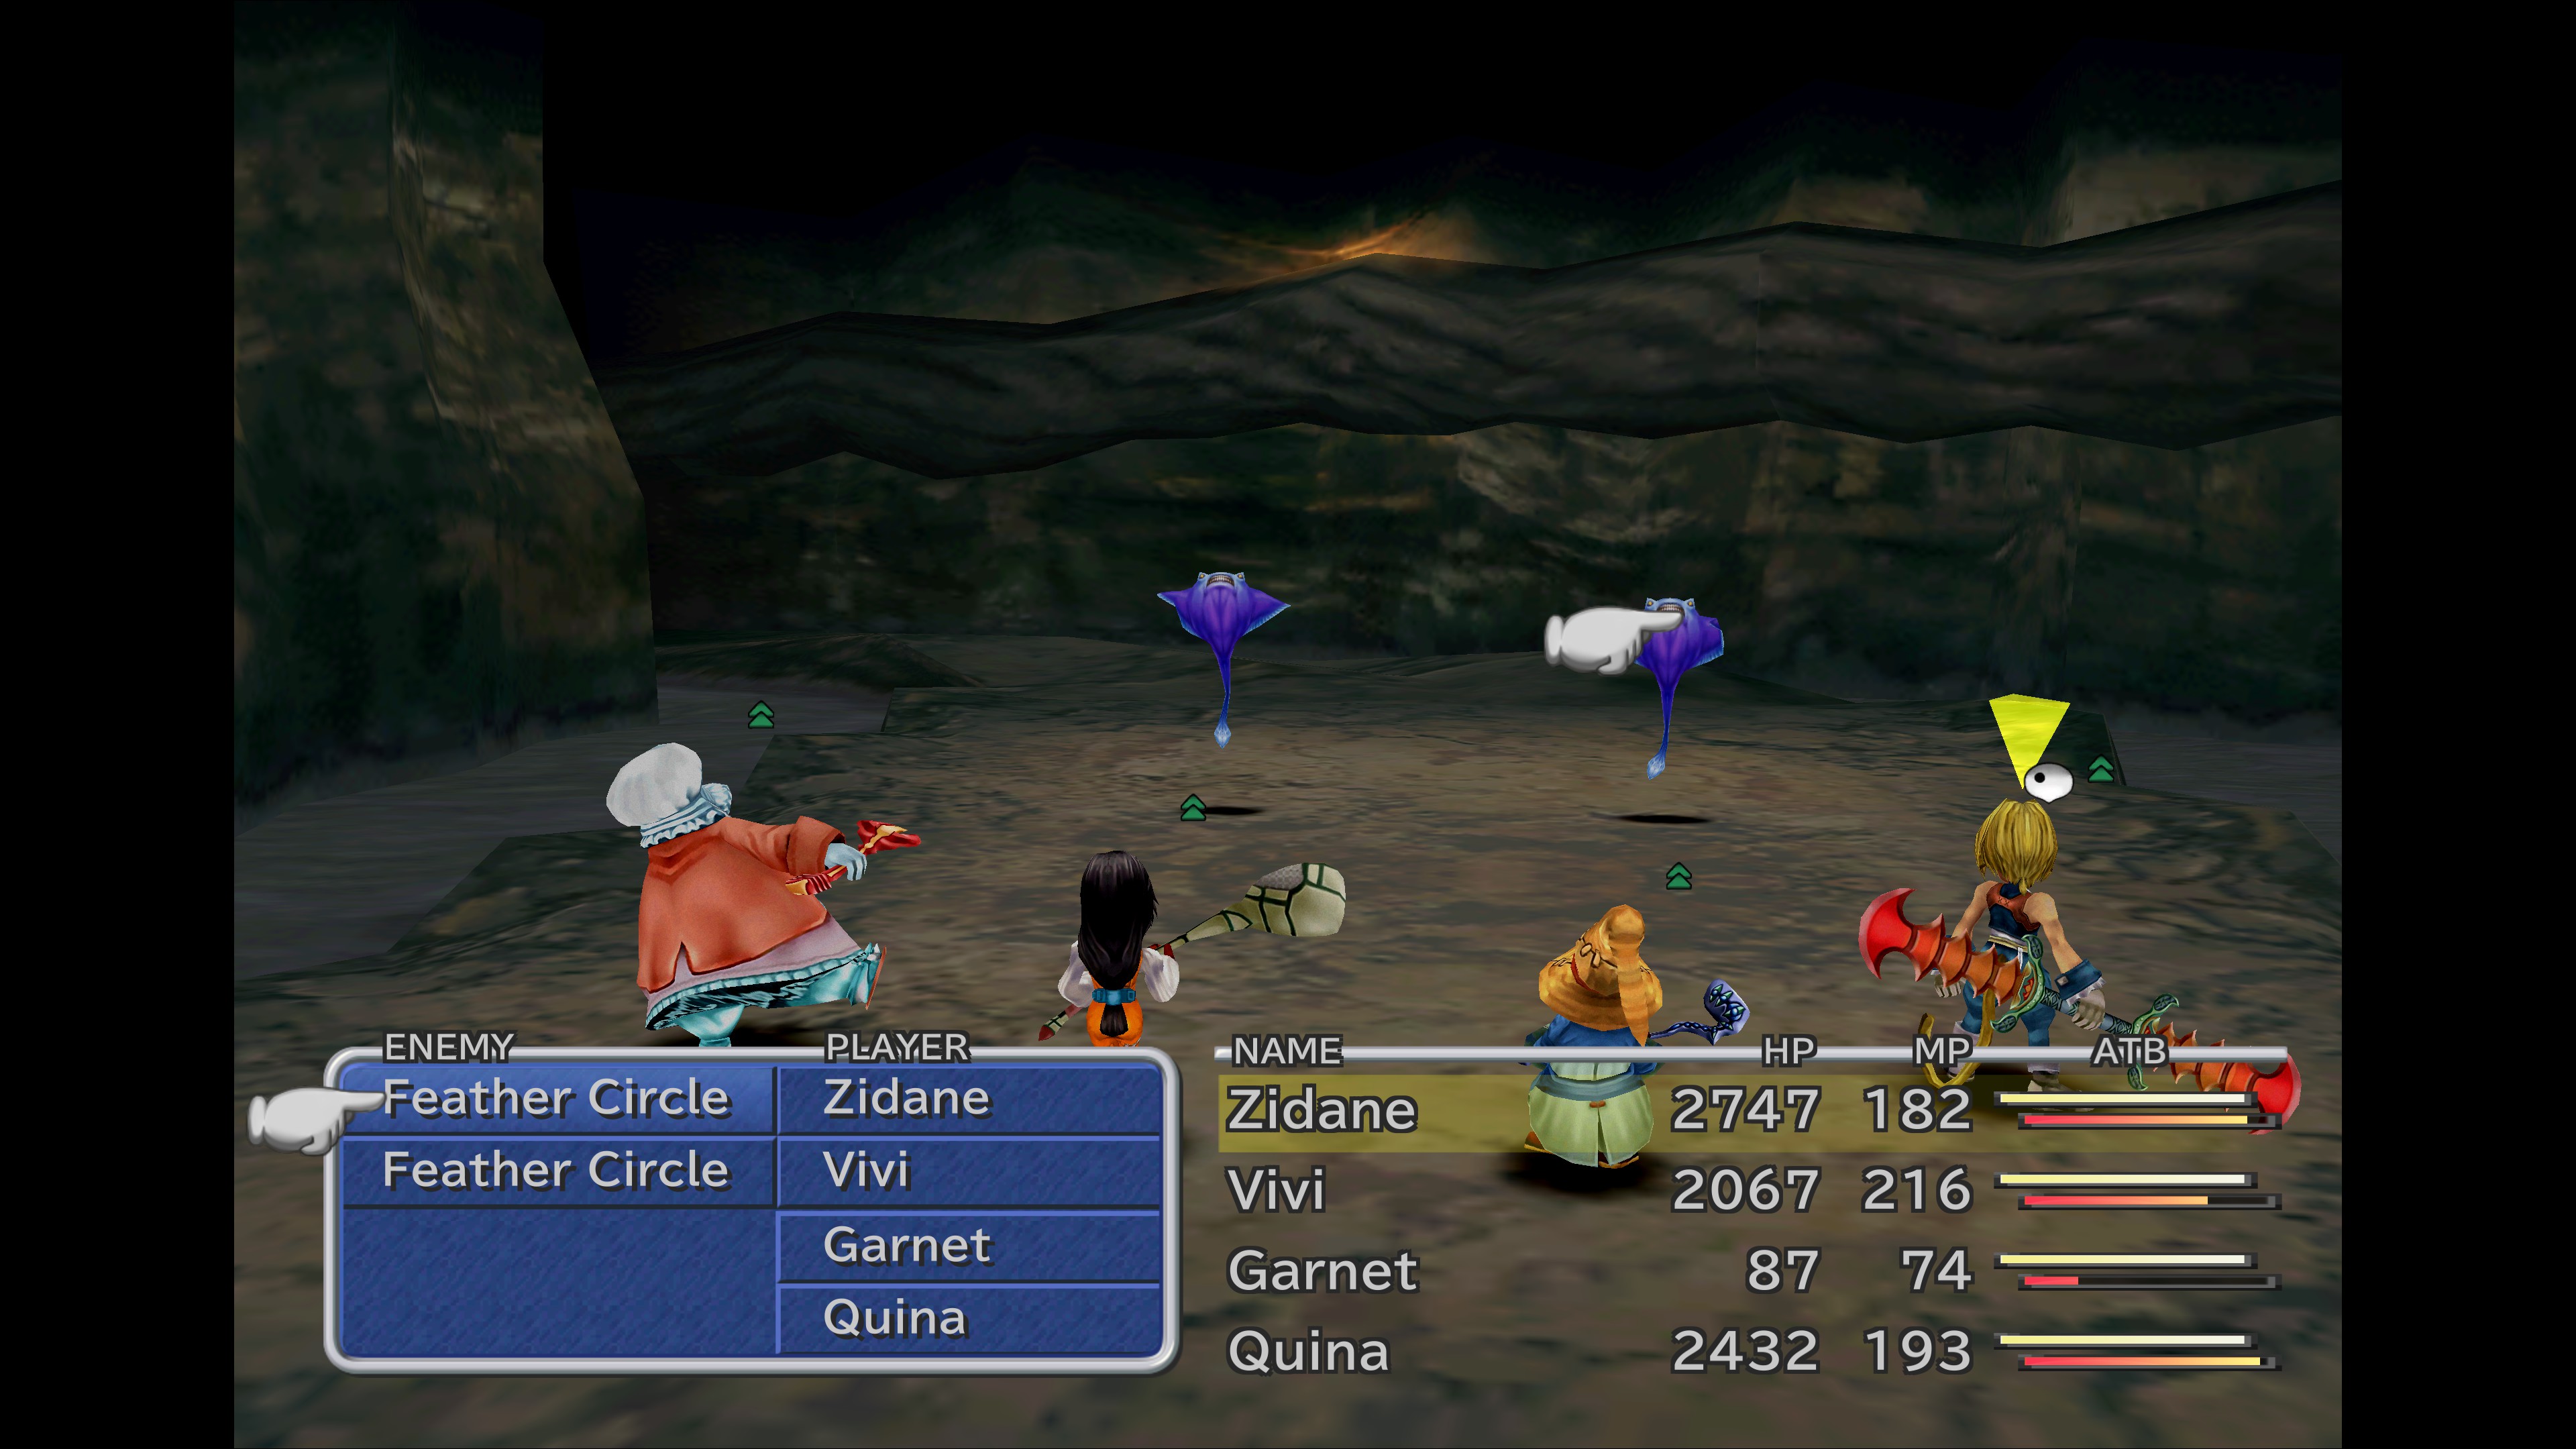
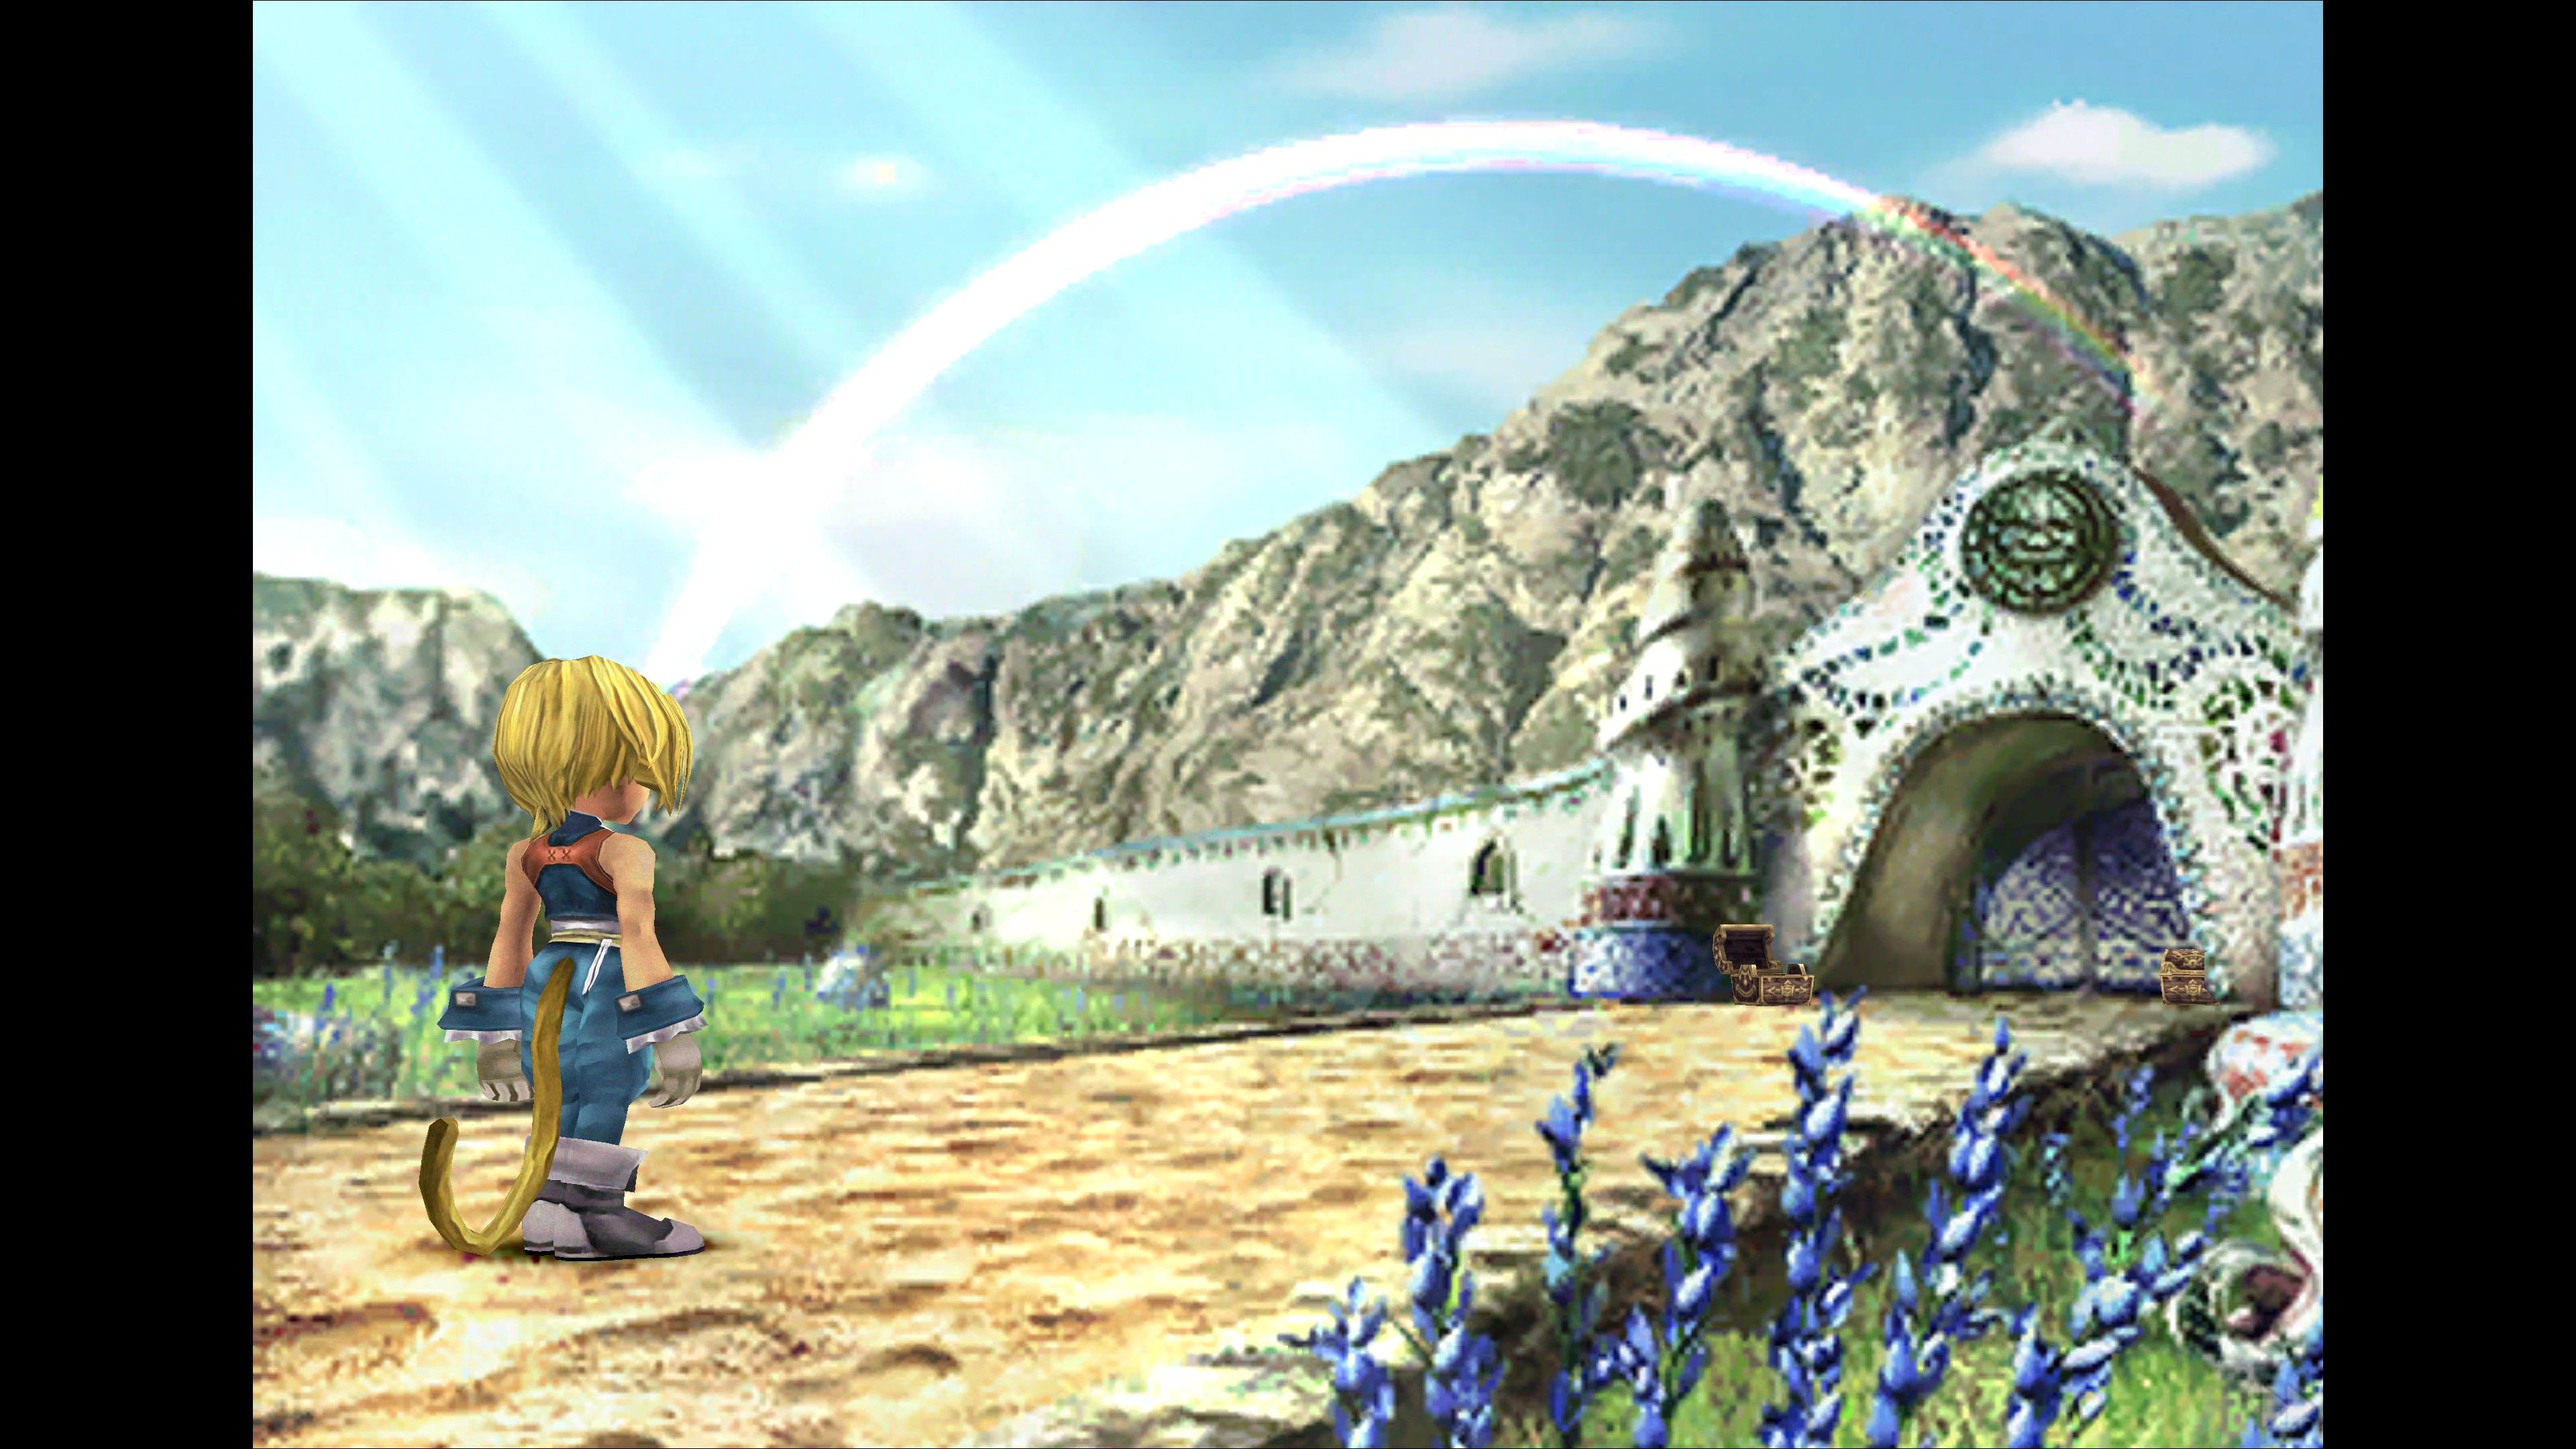
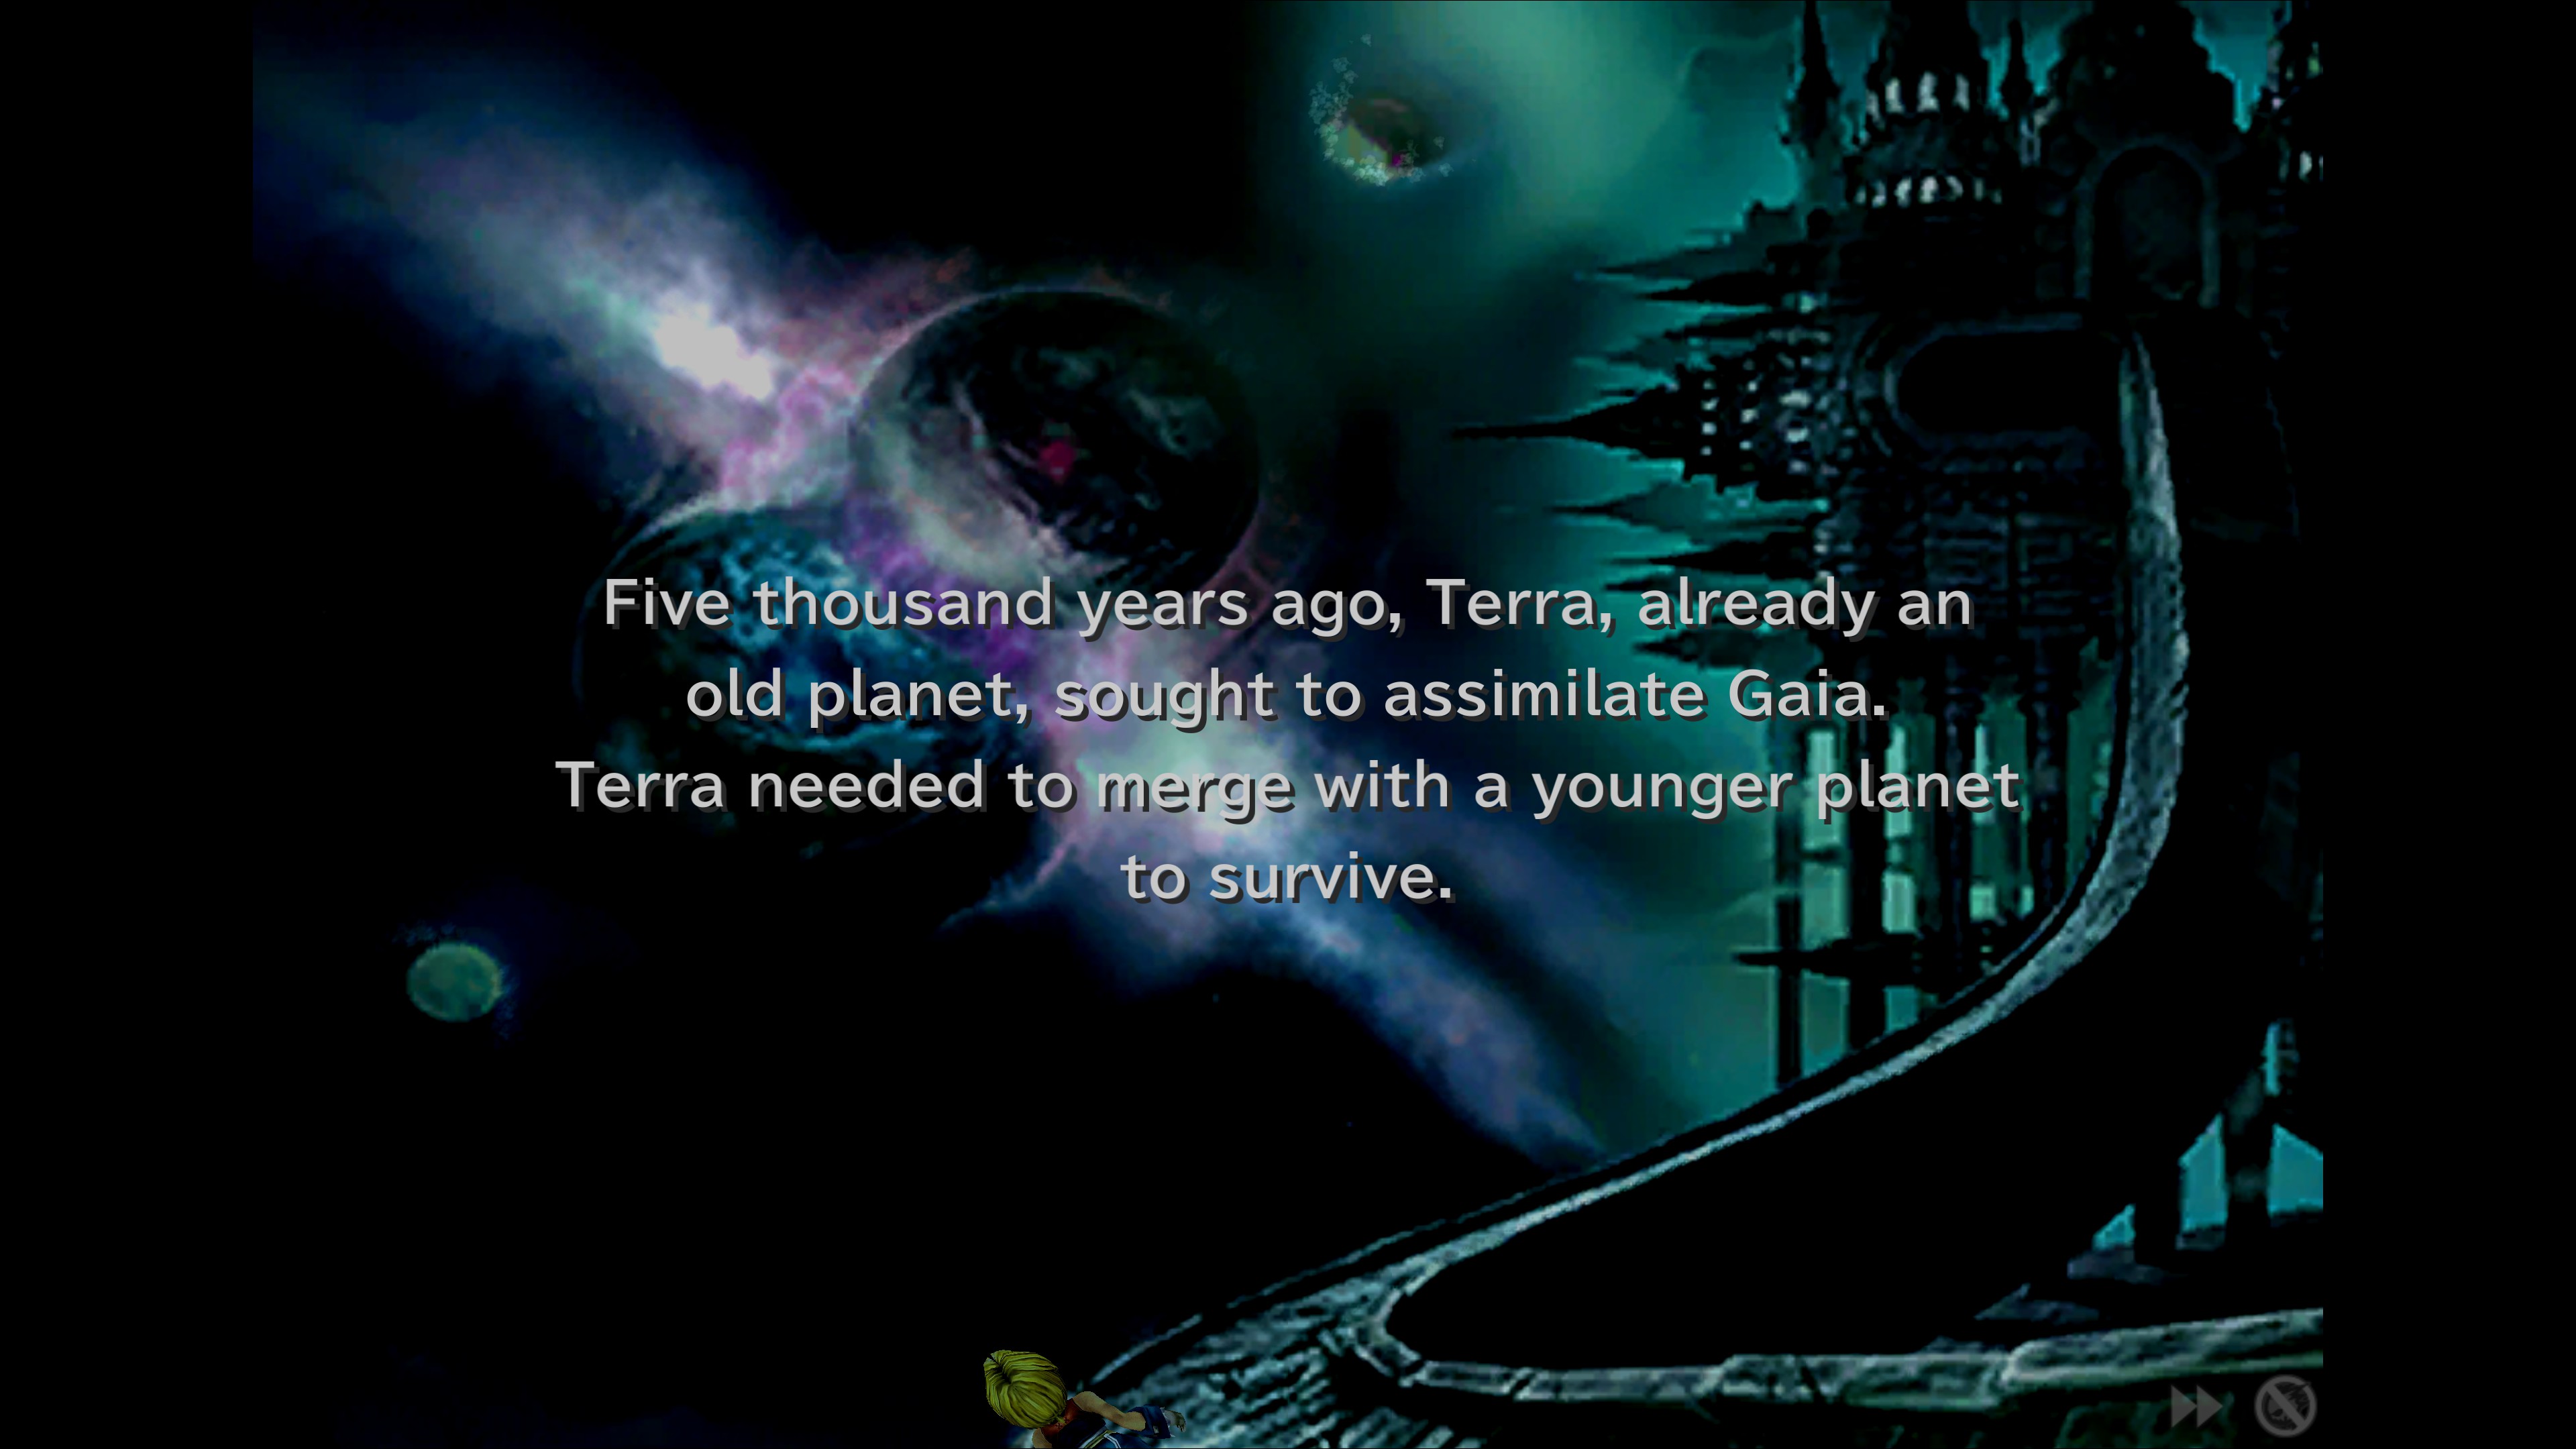
VII and X are my fav, but this one holds a very, very special place in my heart !!
cya
javario 22 Φεβ, 20:38 
Thanks for making this guide. I'd like to suggest a small clarification, if you don't mind: to make Quina learn Frost in Mount Gulug, Quina specifically has to eat the wraith holding the blue fire. The one with the red fire teaches mustard bomb (which a completionist Quina already has by then), so if players use the same strategy I do of killing all but one of an enemy before whittling its health down to eat, they might kill the one they needed to eat, first.
Abyss  [Δημιουργός] 27 Δεκ 2024, 19:24 
@adamTDA added the clarification, thanks!
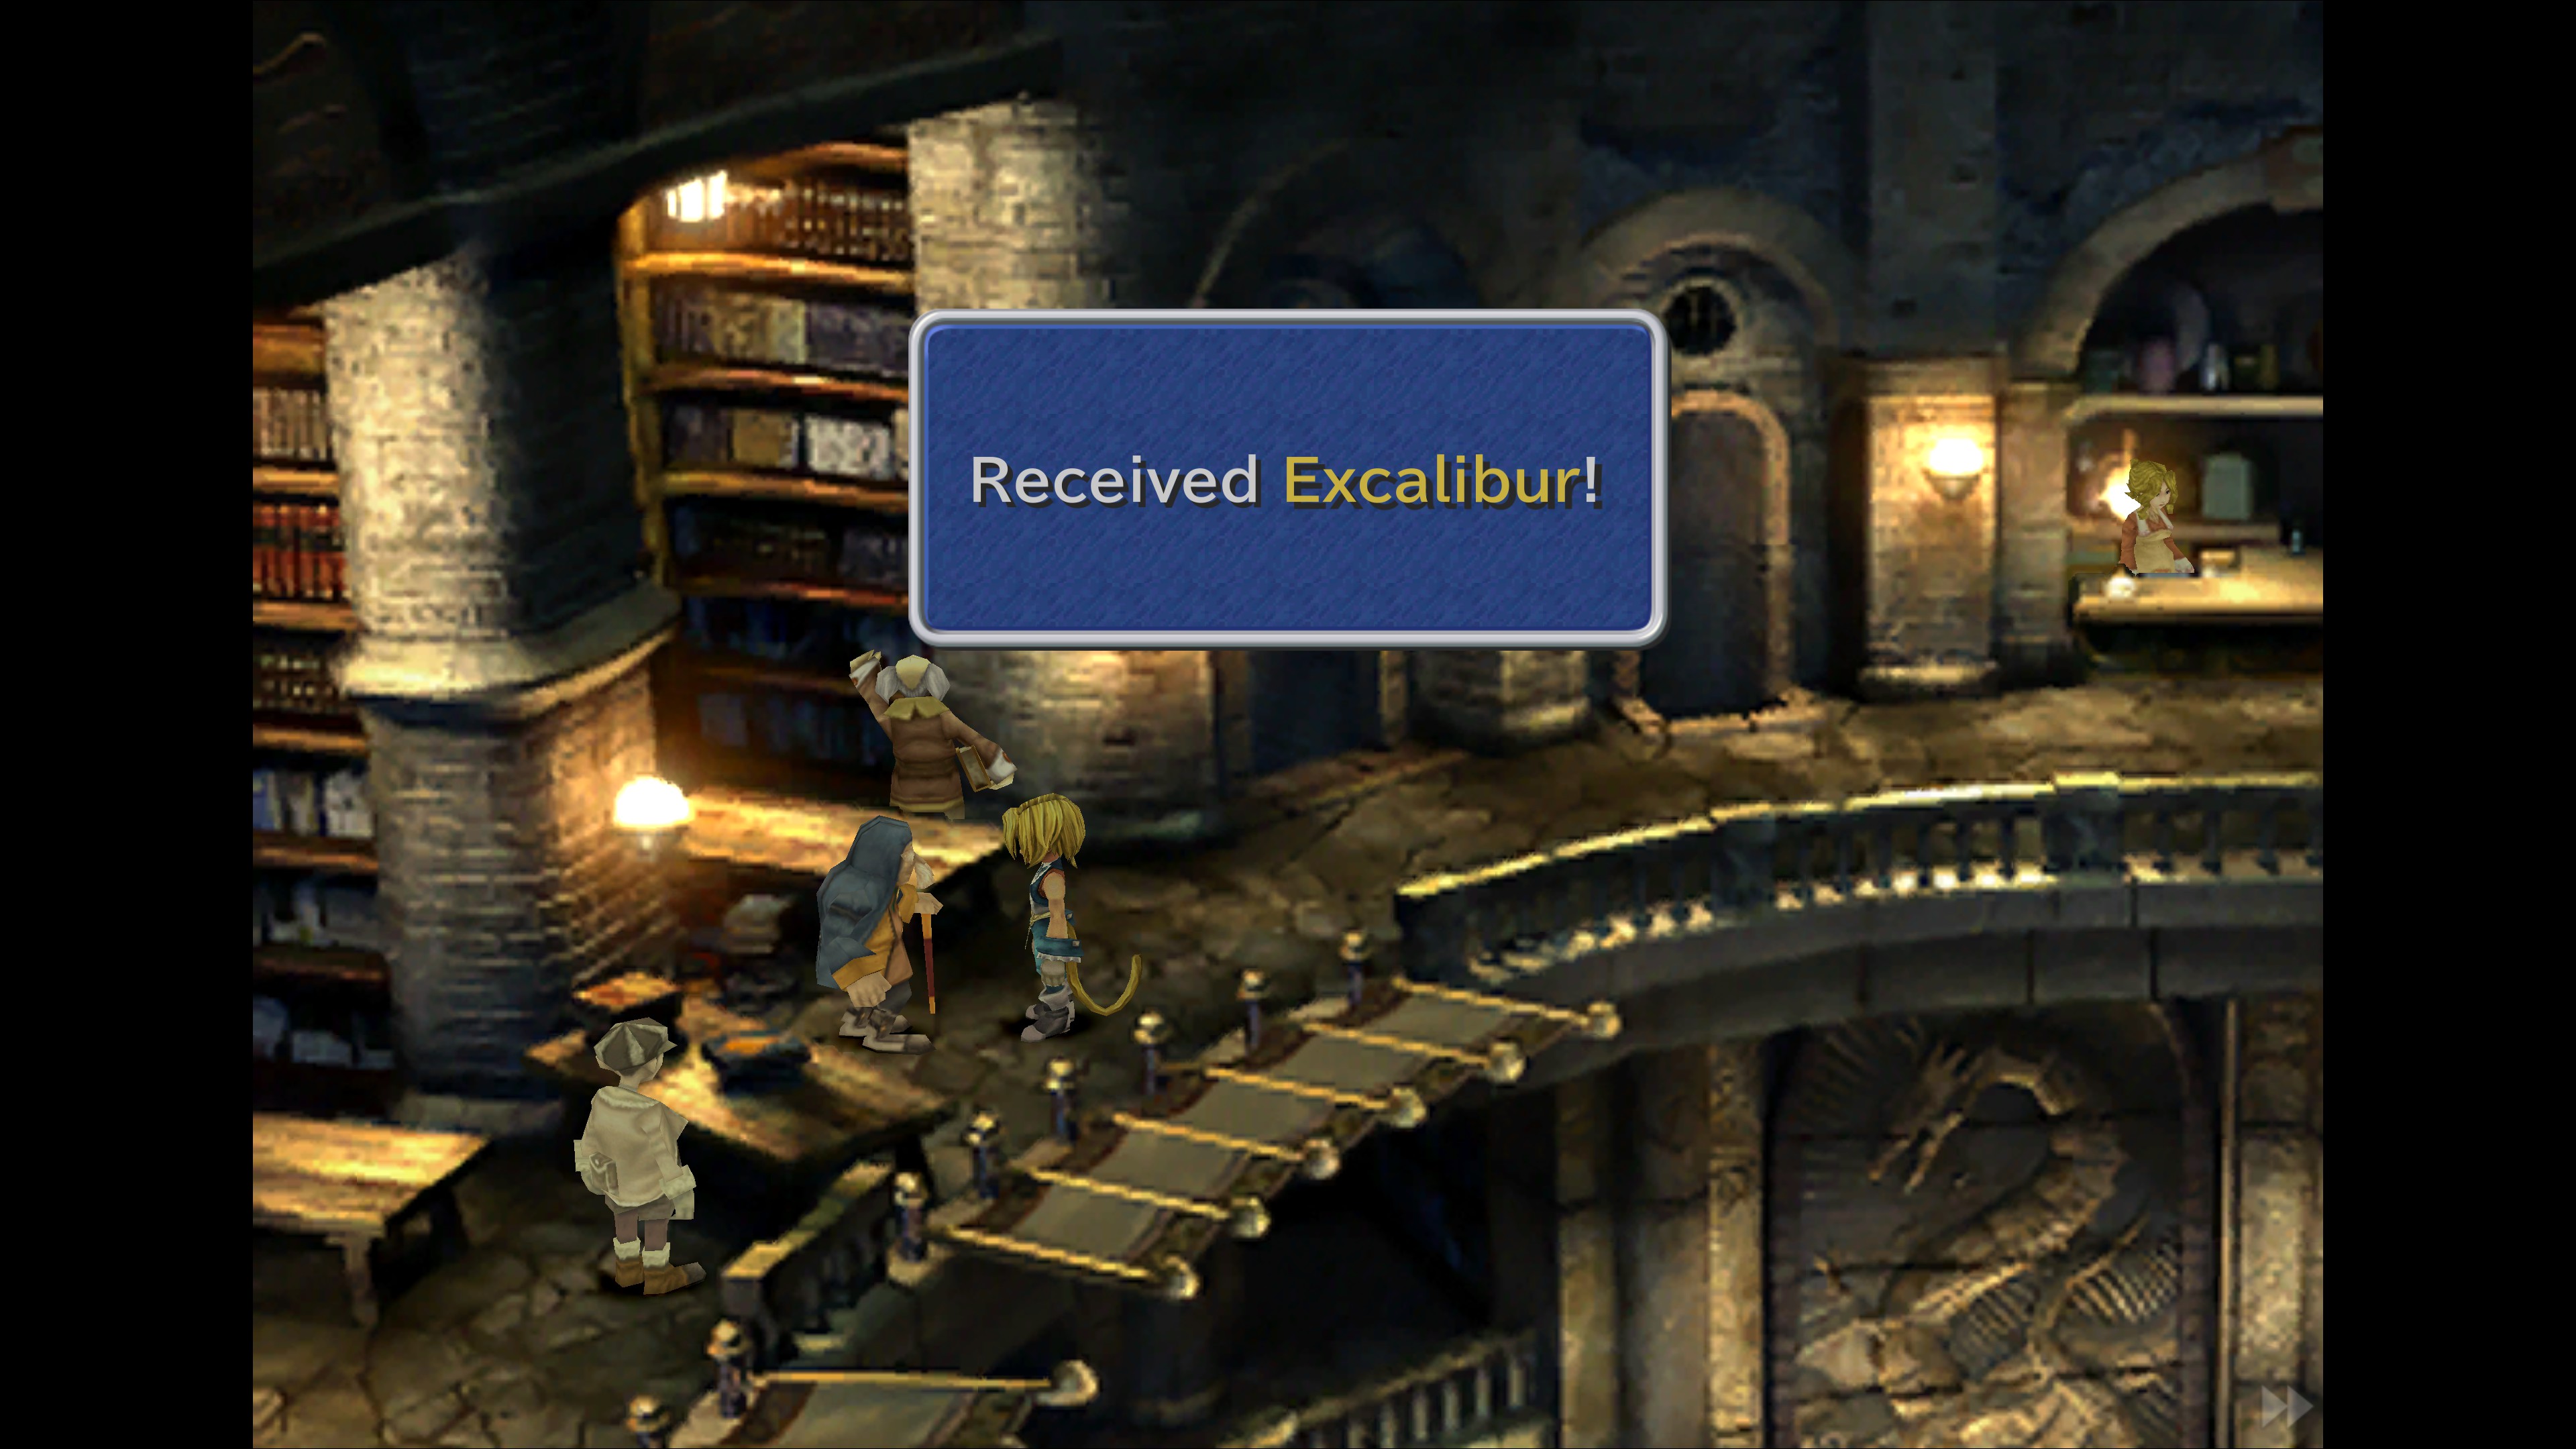
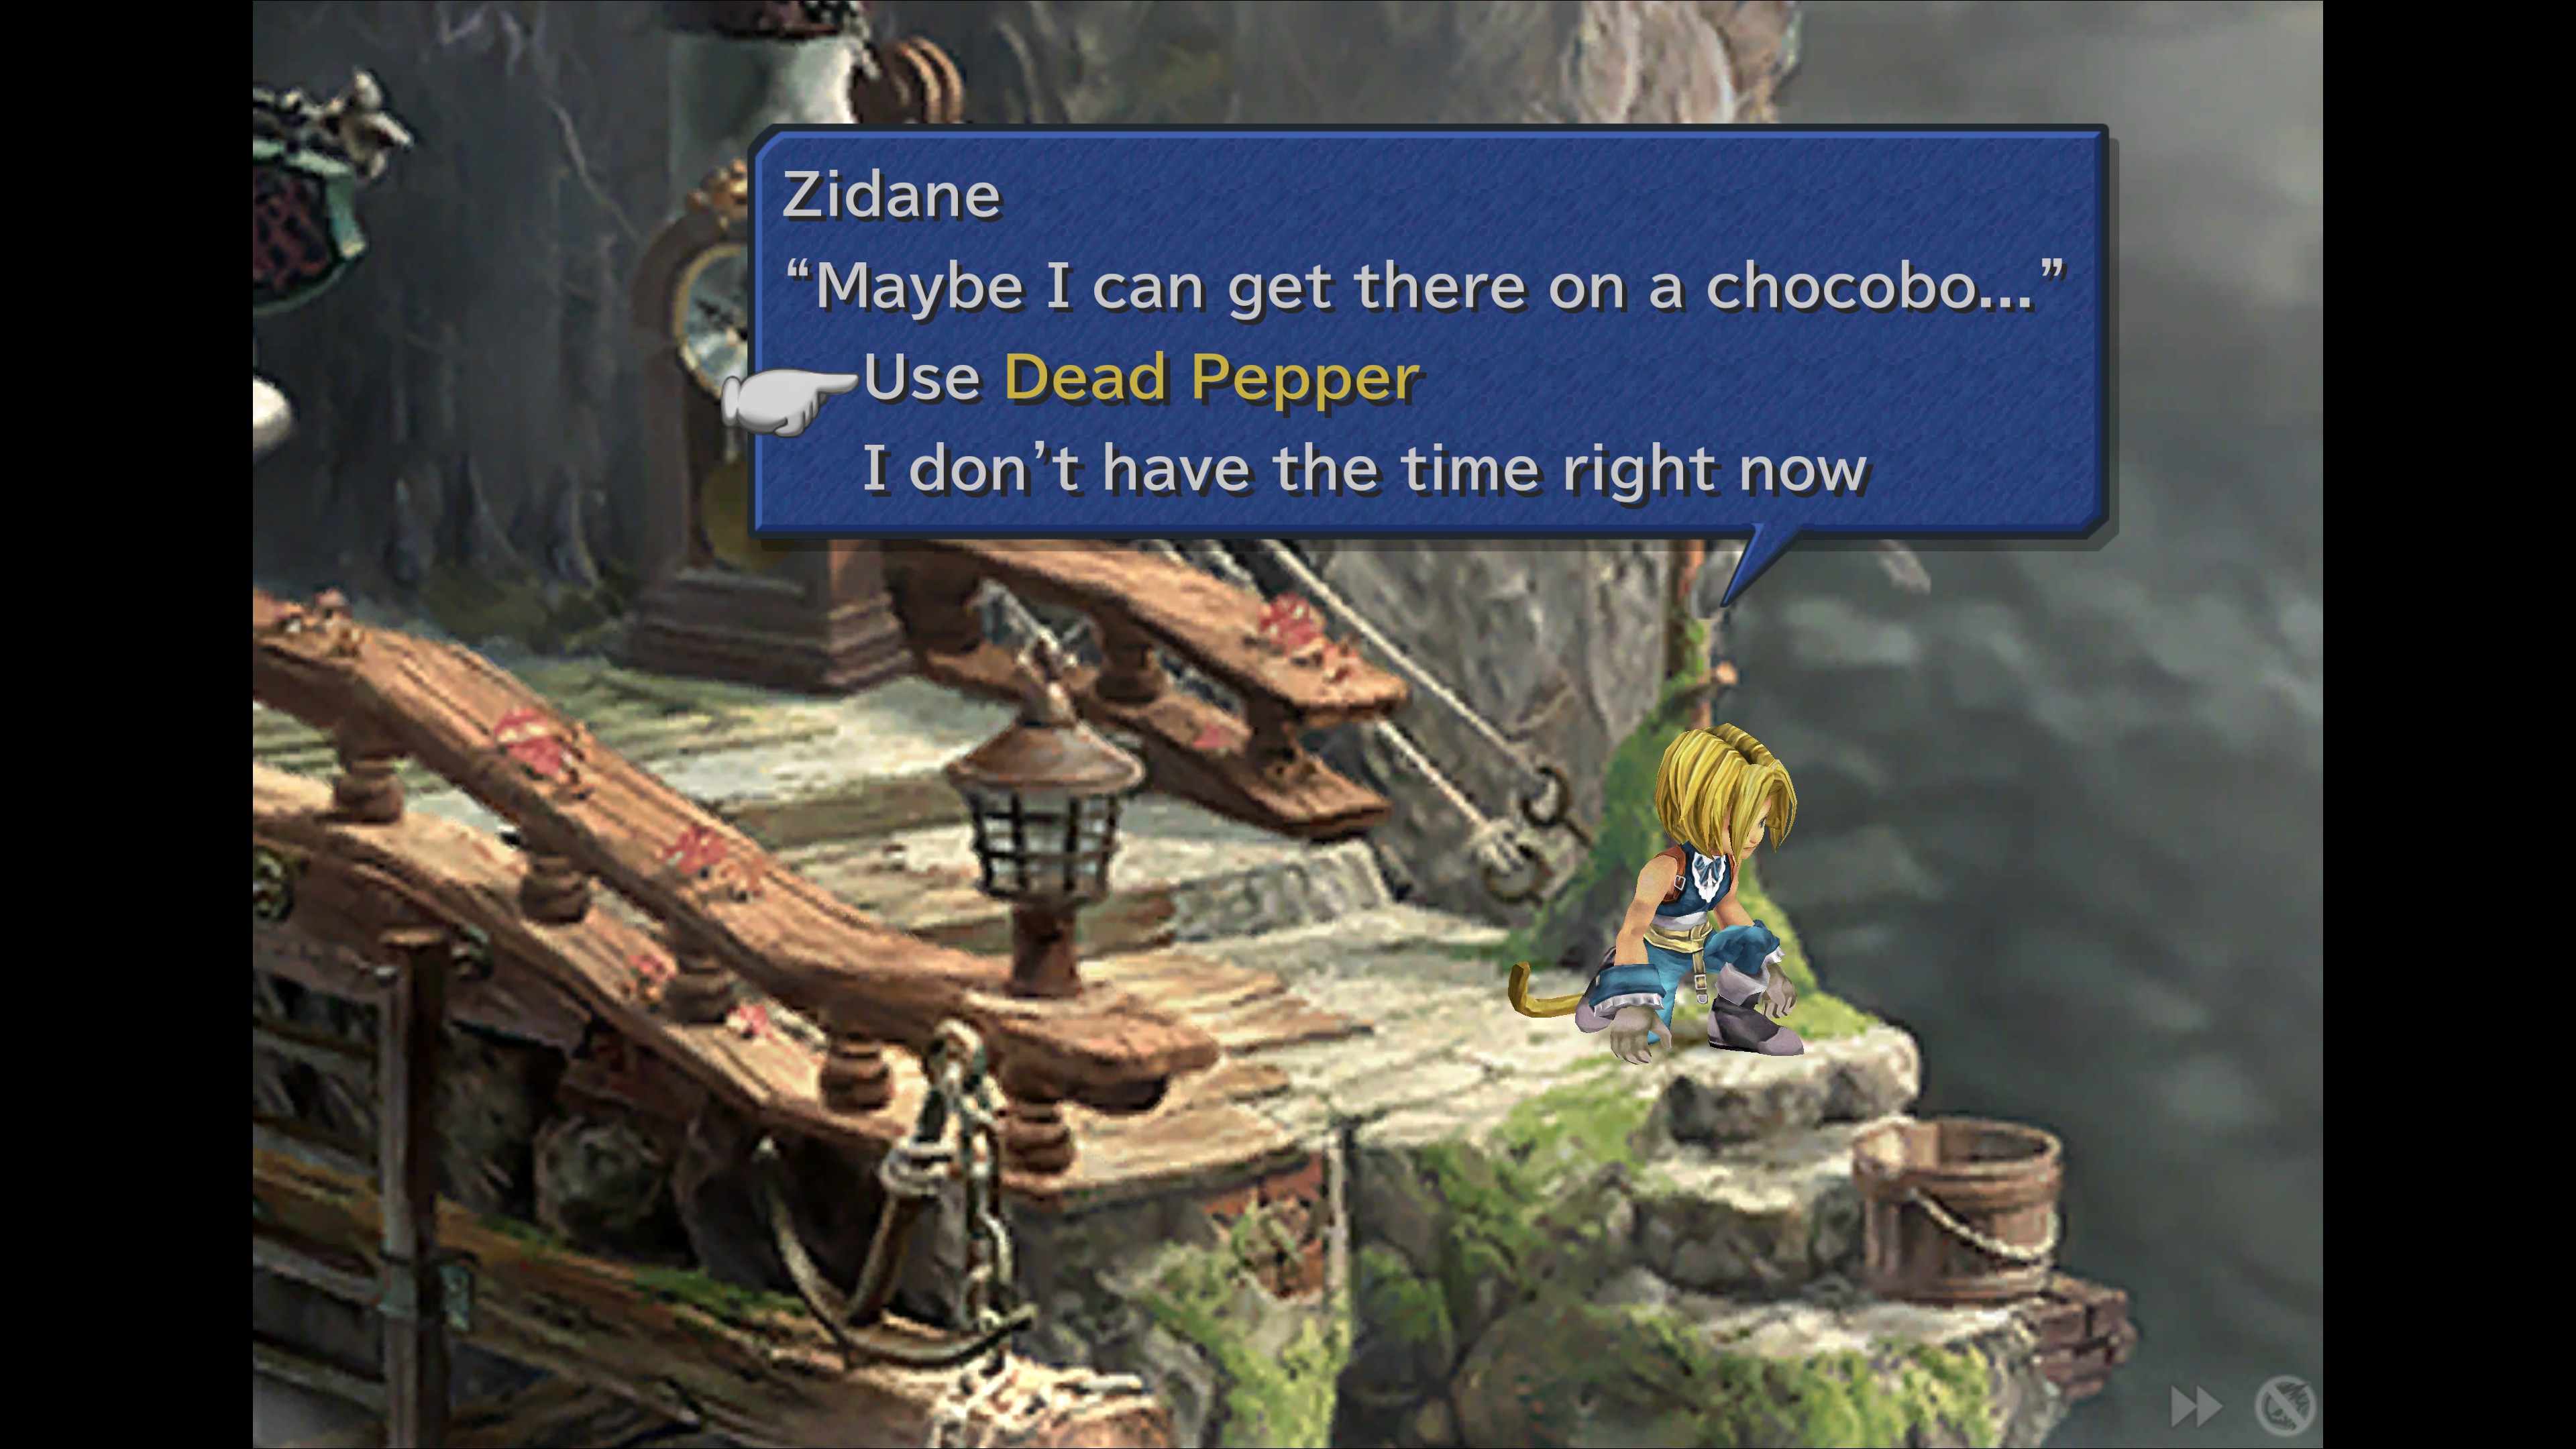
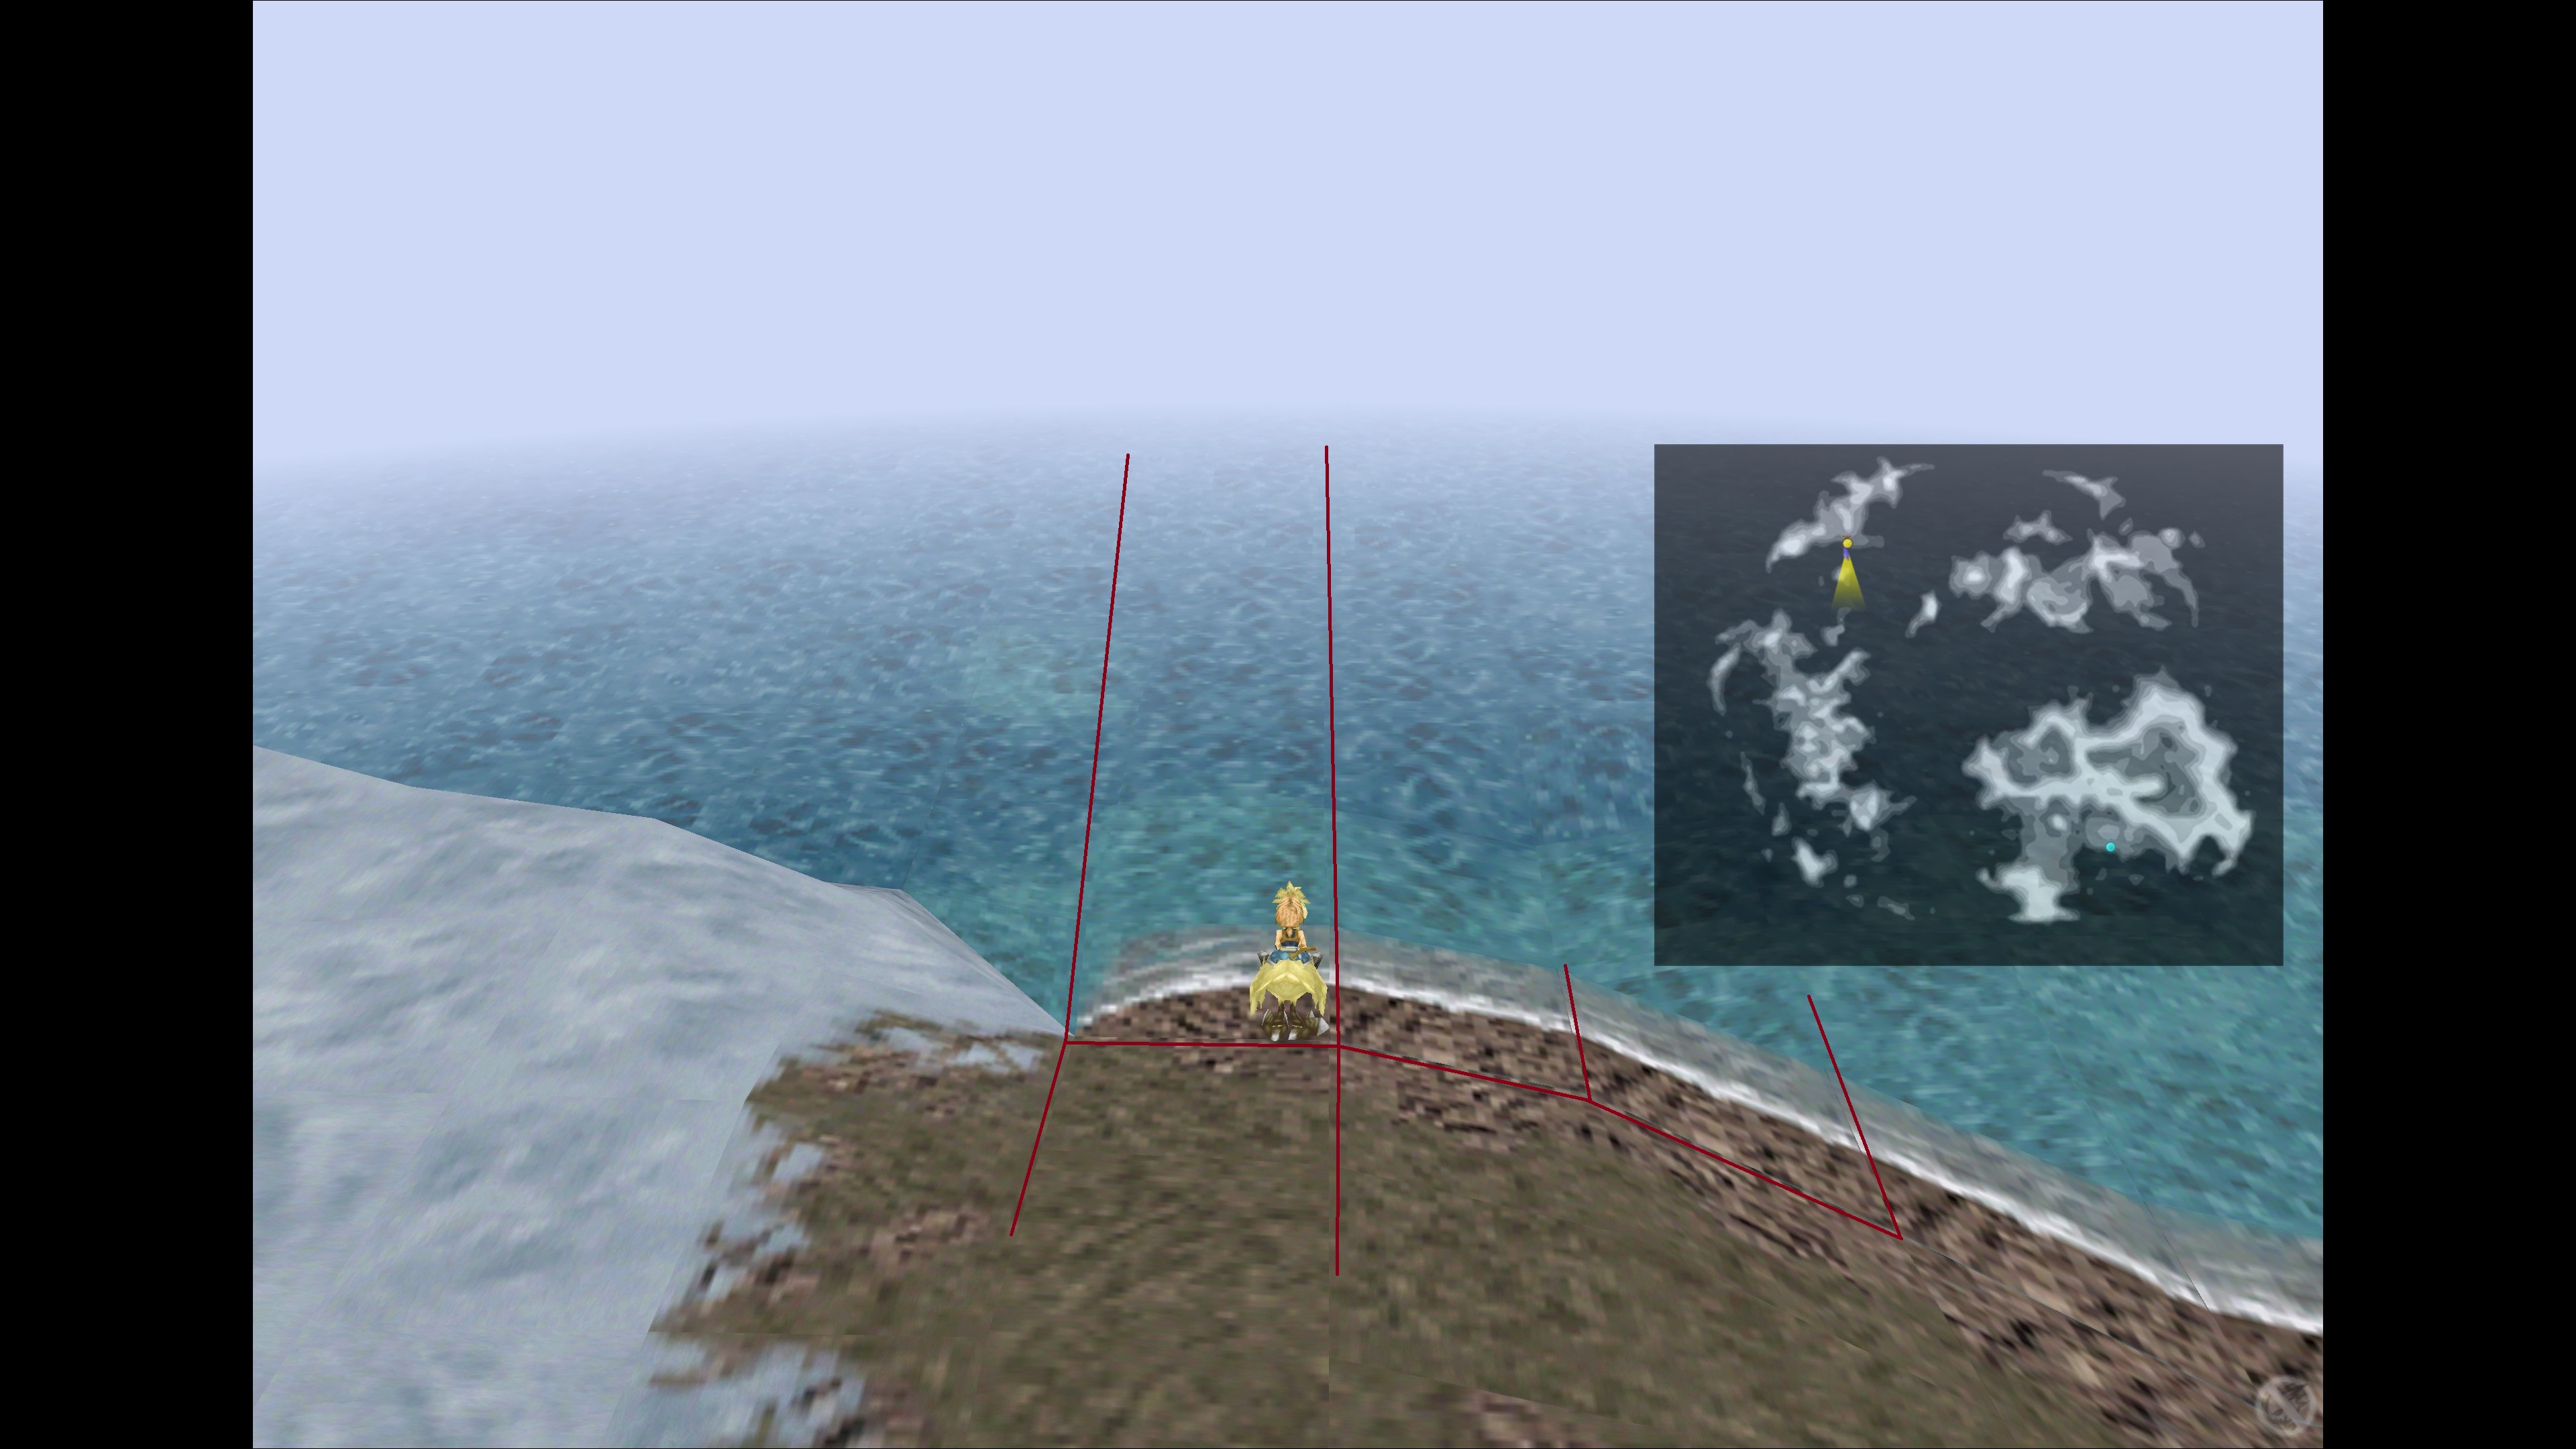
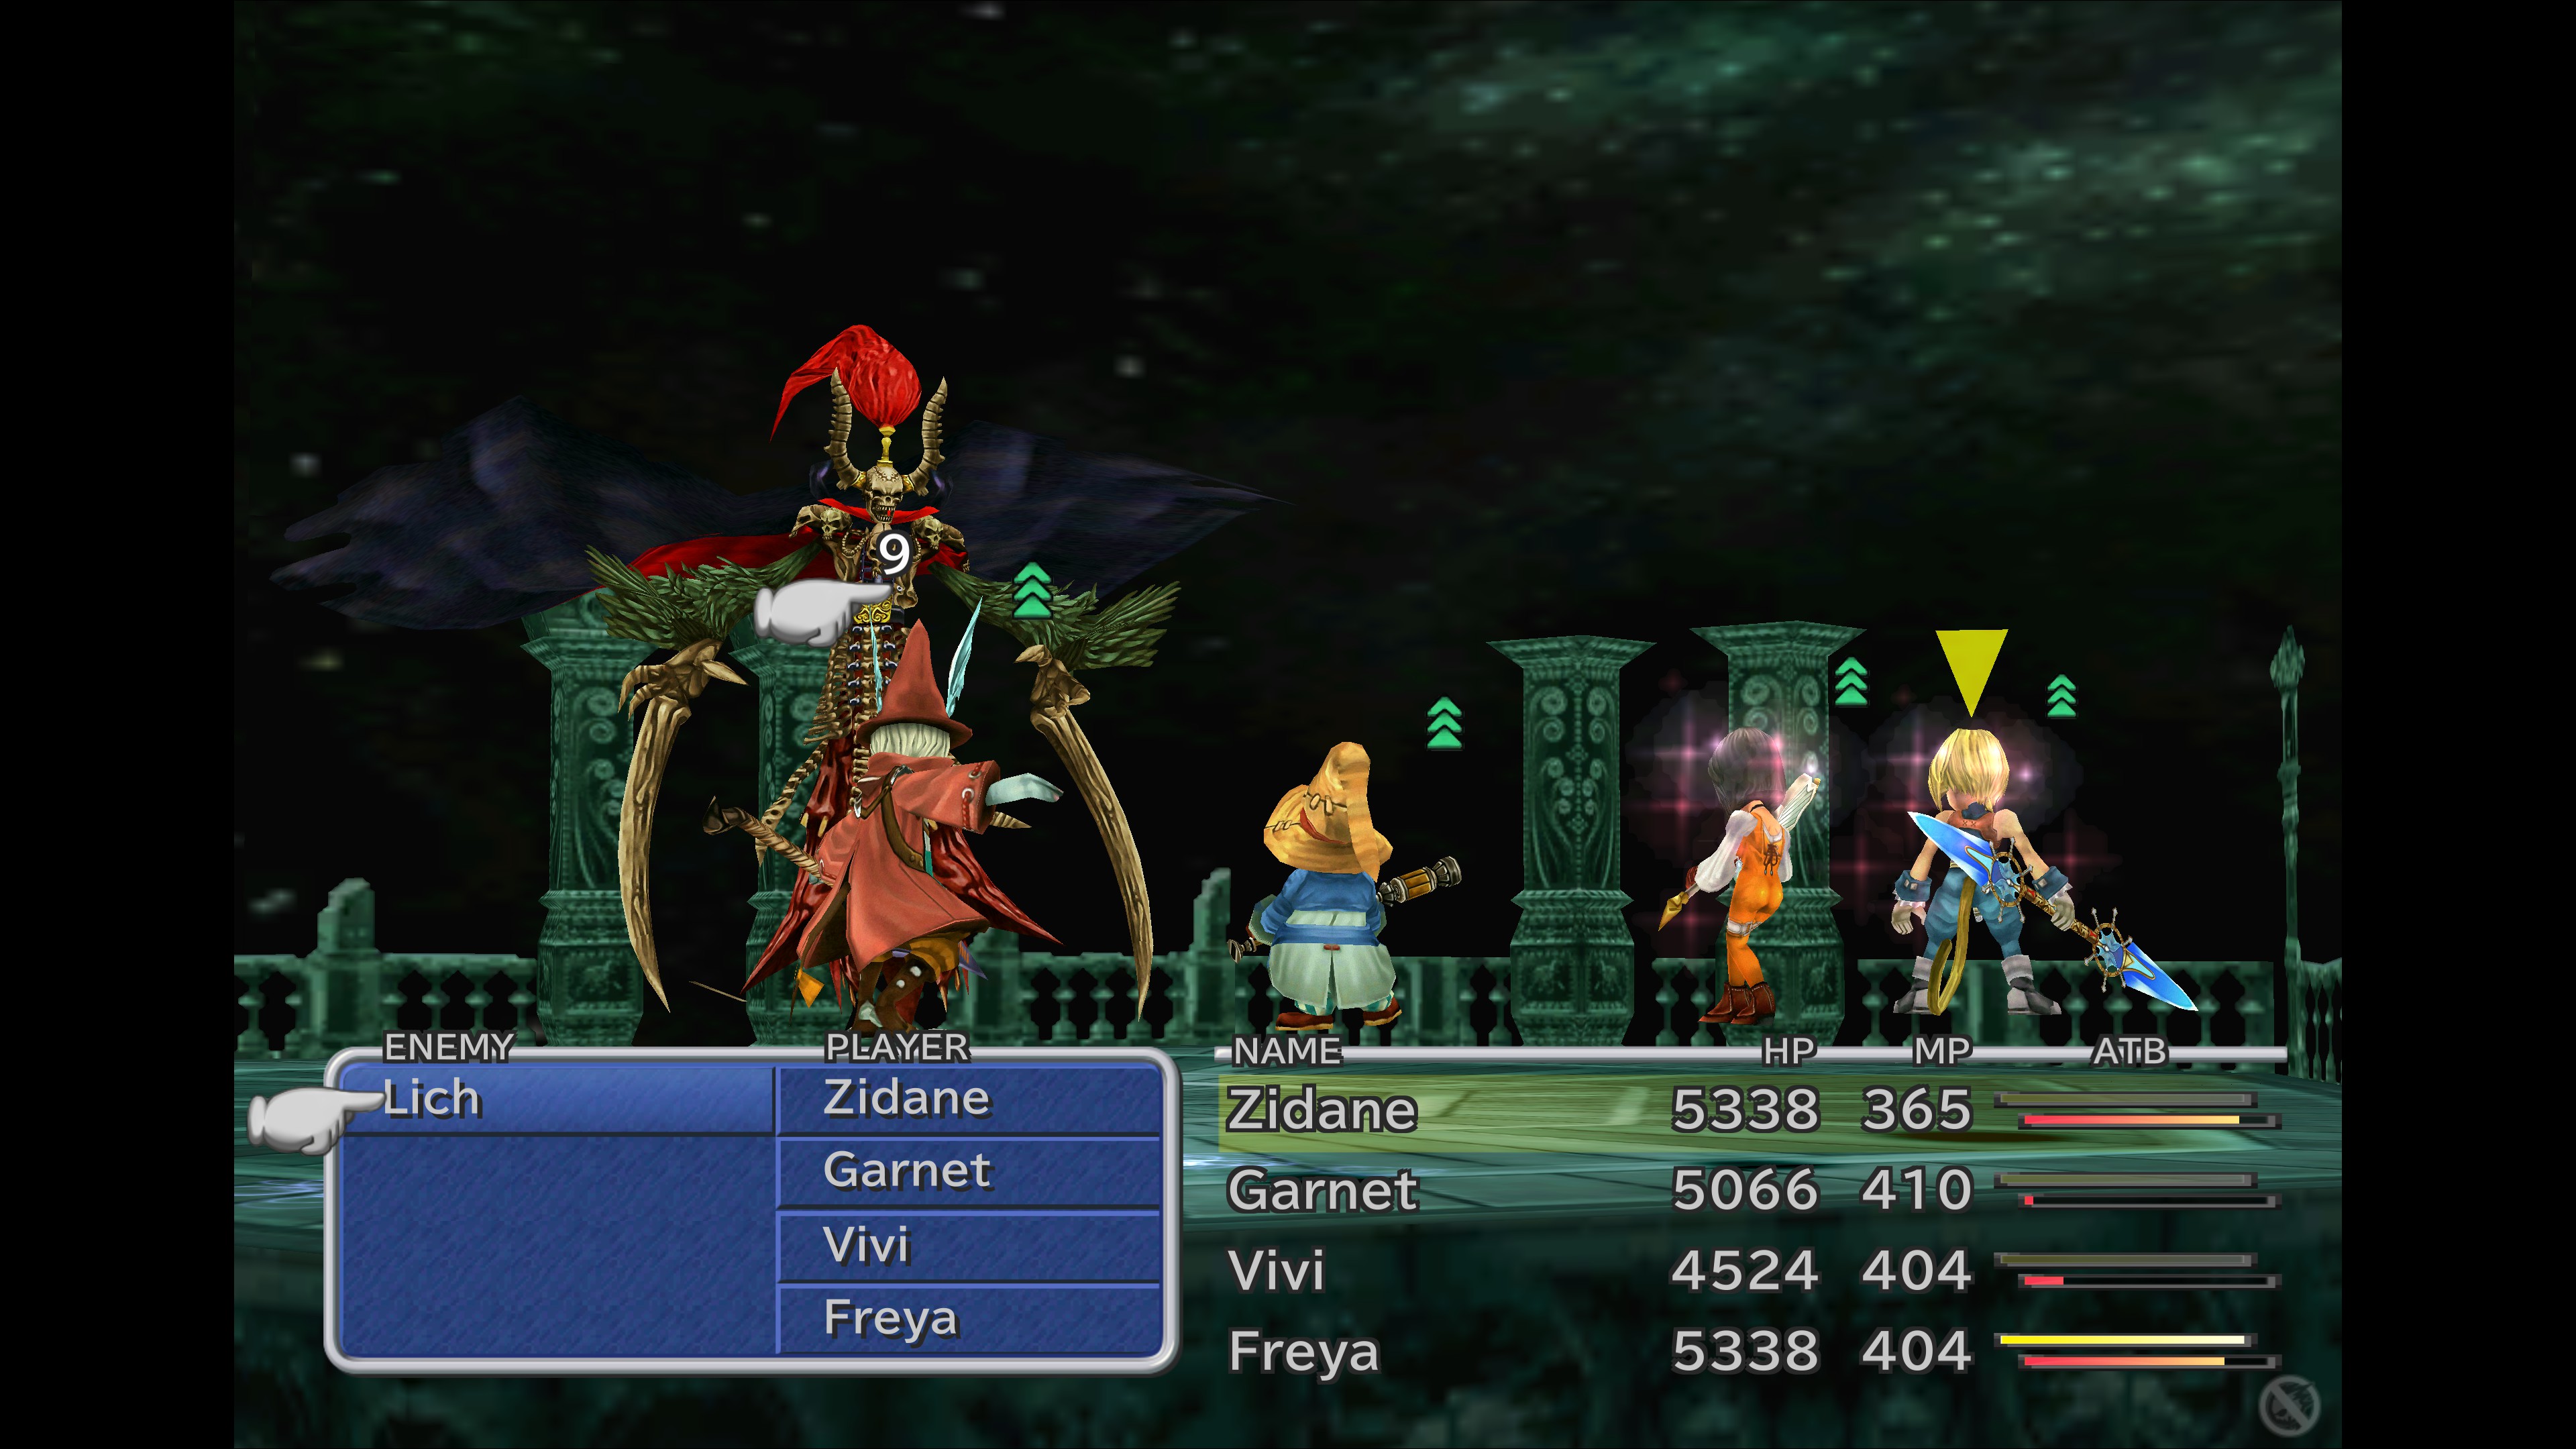
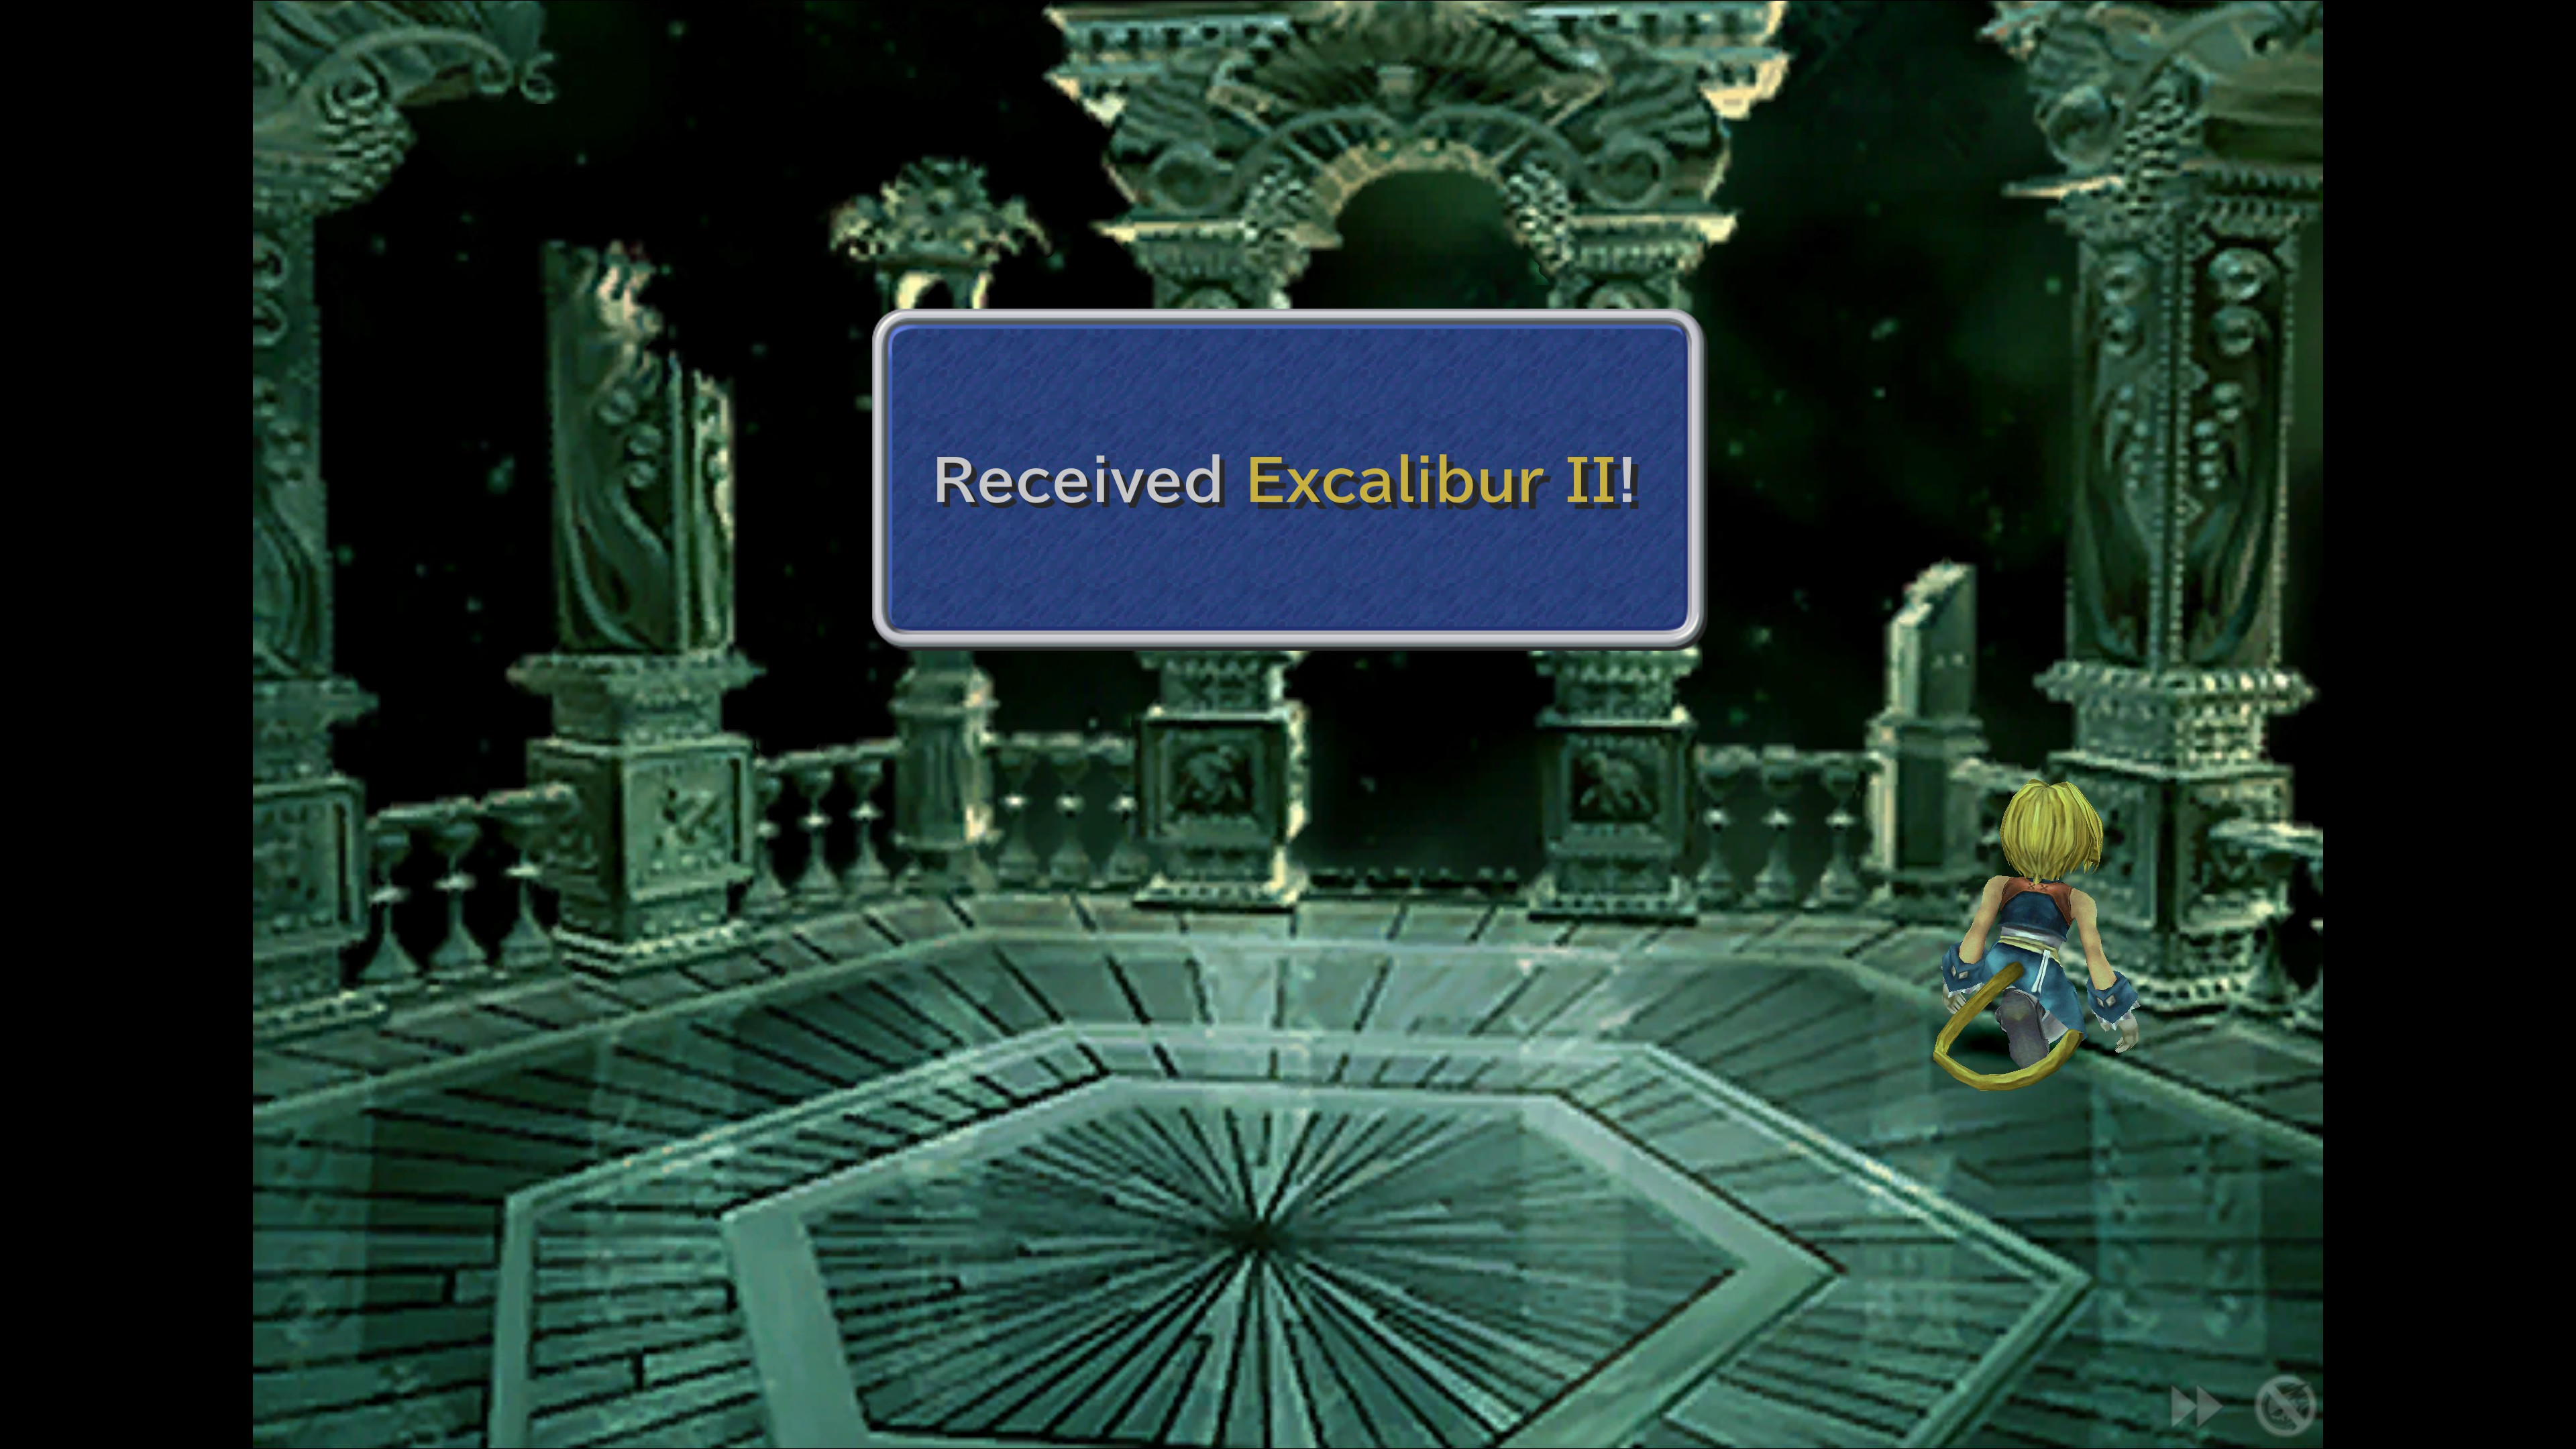
@SpacewardTrout glad it helps :) Excalibur 2 needs its own playthrough basically so it can be boring lol
SpacewardTrout 27 Δεκ 2024, 13:18 
Thanks for the guide. It was my first time playing FF9 after missing a ton of stuff in 8, I didn't want to do that again. Only 5 of the grind achievements left and Excalibur 2...not sure yet if I'll do those.

I also appreciate that it was largely spoiler free, so thanks for that too :)
adamTDA 20 Δεκ 2024, 15:39 
ATE 53 is mentioned to be on main Street and I donno if technically that area is still called main Street but it's a bit confusing since it's a different area from 54 which is also said to be on main Street. I was going in and out of that area in every way trying to get 53 to trigger before just starting all the other missable stuff and stumbling onto 53 on the area to the right of where you start as vivi.
Abyss  [Δημιουργός] 26 Αυγ 2024, 12:43 
@Scorp721 glad you have liked it so far. quoted you directly for Oeilvert.