Northgard

Northgard

Not enough ratings
Cross of Vidar - How to beat chapter #10 Nermoster on EXTREME
By HeXor
This guide provides tips and tricks on how to beat chapter #10 Nermoster of the Cross of Vidar story on difficulty setting EXTREME.
2
2
   
Award
Favorite
Favorited
Unfavorite
Introduction
Many people in steam discussions claim, that chapter #10 Nermoster of the Cross of Vidar story is bugged (since ~02/2023). Actually it is not bugged, it is just difficult, extremely difficult (as the difficulty setting states).

On normal setting the chapter is rather easy.

On EXTREME setting, phase 2 after liberating all shores spawns 2 Draconic Jötuns with a small fellowship for each of the 4 gates of muspell located on the map. Thes waves walk towards your liberated shores and those cannot stand the attack at all. If one wave reaches on of your shores unharmed, you have lost. And on top these waves spawn VERY frequently.

Here are some tips on how to beat it on EXTREME.

It is a lot of fun challenging this chapter and finding a way to beat it. So I recommend to first try on your on and be creative. Once you don't make any progress any more and only want to smash your computer into pieces and never play Northgard again due to this damn chapter 10 - take a look at this guide. Hope it helps ;-)
Phase 1 - Liberating shores
In the first phase you need to liberate 3 shores from occupying enemy troops.
You will receive reinforcements regularly to grow your army.

Other enemy zones spawn waves regulary to attack your liberated shores.
  1. Use your troops with micromanagement, retreat wounded units and heal them regularly in your liberated shores. (Healing is super fast in this chapter)
  2. Make sure to avoid loosing any troops - you will desperately need them later on.
  3. Spam the hero abilites (Light of Idavoll / Ice Sword) during fights and REMEMBER to upgrade the skills once enough experience is available (I only noticed this has to be done manually at the end of the chapter...)
  4. Take out one enemy zone at a time, liberate the shore last.
  5. Liberate the shore only after all other enemy zones have been cleared - otherwise you will end up with too many enemy zones when liberating the next shore.
  6. When liberating a shore, clear all troops and damage the tower to be burning, but retreat before it is finished and the zone is captured. Send your troops back to an already liberated shore, heal them, position them at the front to the next story section and use one unit to finally liberate the cleared shore. This way you start into the battle for the next shore with fully healed units.
Especially when liberating the 3rd (last) shore, make sure you HEAL your units (see hint 6.). Also make sure to upgrade all hero skills if enough experience is available. Especiall Wrath of Vali (Blood sword) should be available now and at least on level 2 (one star).

Finally liberate the last shore and move on to phase 2 with a fully healed army.
Phase 2 - Gates of Muspell
This is the hardest phase of all 4 phases - and seen as bugged / unbeatable in some discussions on steam.

TL;DR - Summary phase 2
  1. Wrath of Vali (Blood sword) is key, just ignore Light of Idavoll (Frost Sword)
  2. Cluster waves together with micromanagement move
  3. Take out clustered waves with AOE damage
  4. Approach and take out each gate one by one
  5. Heal between waves

The situation
New areas are revealed after liberating the 3rd shore with 4 Gates of Muspell zones and one final shore to be liberated. Each zone will send 2 Draconic Jötuns and a small fellowship towards your liberated shores. The shores cannot defend themselves and will be conquered by one wave only, so we need to support them / stop the waves before.

Normal vs EXTREME difficulty
On normal difficulty you can directly rush the shore and enter phase 3. On EXTREME difficulty you will have to clear each and every single gate (see quick and lucky way for an alternative) to reach the shore zone and you will be busy for the next ~5 minutes every single second with alot of micromanagement.

How to start phase 2
You will start phase 2 with a fully healed army (if not re-check the hints to phase 1).

Make sure to send Hildegard to support Liv and her shore directly. Wait until all units of the wave approaching from the western gate reached the shore and use Wrath of Vali (Blood sword) to kill it quickly using the heavy area of effect (AOE) damage. Meanwhile (yes in parallel to the fight in Liv's shore) move a part of your army (at least one unit) two zones east of Liv's shore (south-east of the western gate, at the entry of the "mountain valley"). All waves from the other gates will pass through this zone on their way to the other shores.

How to cluster waves
You will use the following micromanagement move to stop them in this zone and cluster them together.

Micromanagement
Once a wave of enemy units enters a zone with one of your units present, they will attack it. If you move your unit out of the zone before it is killed, the enemies will "celebrate" their "victory" with a short animation (~1.5sec). Make abundant use of it by moving in - out - in - out - ... - out of the zone until all incoming waves reached the zone and are ideally clustered all together. Now send the rest of your army in, especially with Hildegard and use Wrath of Vali (Blood sword). You will kill the wave rather quickly with the AOE damage, hence key is to have all waves clustered together.
Enemy units celebration
Enemy units clustering
(Note: Some units escaped to next zone already in this screenshot, try to avoid this ;-) )
Enemy units killed with AOE
(Note the green upfacing arrows on the hero spells in this screenshot? You need to click them to manually upgrade your skills. As mentioned I only realized that at the end of the chapter and fought with level 1 skills...

After the first wave - quick and lucky
You can try this quick and lucky way - after killing the first wave you can try to rush the south-eastern gate and then immediately move on to the final shore. This worked for me like with a bit of luck, since you have to take the last shore before any of your shore defending heroes dies. Once the final shore is captured, a cutscene immediately ends phase 2, you don't have to defend the shores anymore. Worth a try!

After the first wave - the long way - close first gate
You will lose some units to the first wave, but you will be fine, only important unit is Hildegard anyway (AOE damage), the others mainly tank. After finishing the first wave, quickly move to the first gate north of Liv's shore and take it out, again using Wrath of Vali (Blood sword) with AOE damage.

You will receive reinforcements for closing the first gate, especially a Gayant Champion (nice tank, but slow) and a few other troops for closing each gate.

After closing the first gate
No you don't get a break. As I mentioned you will be busy every single second and a new wave will spawn rather quickly (2-5 seconds).
Move your (wounded) army back to Liv's shore and heal. Meanwhile / in parallel again use the micromanagement move by moving at least one unit to the mountain valley zone north-east of the zone used as main battleground in the last move. Again all waves will pass through here. Move in - out - in ... to stop and cluster the waves. The rest of your army will heal quickly, order them to the zone next to the clustered waves. Once all clustered, move your army in (make use of the new tank units) and kill them all with Hildegard's AOE.

Closing the other gates
Repeat this procedure (army back to heal, one unit stopping the waves) advance zone by zone until you are just one zone away from the next gate. Kill the current wave (with AOE) and immediately clear the next gate. Move your army back to heal again and block the next waves again approaching the next gate. Sometimes it even makes sense to cluster two waves together in order to have maximum time to close a gate after finishing the clustered waves.

This move will get easier and easier since the waves will be smaller (fewer open gates remaining). You will always lose troops (unnless you are a micromanagement uber-god) - I ended up with just 4 giants and Hildegard taking the last shore, which is sufficient (tanks and an AOE damage dealer).

Finalize phase 2
Finally clear the last shore. Remember hint 6 of phase 1 to make sure your heros are healed for phase 3.
Phase 3 - Stream of wolves
The worst part is done.

Phase 3 is rather easy - even on EXTREME.

A constant stream of wolves will spawn and move against you.
Move your heros towards the final zone. Kill the wolves to be able to move to the next zones by spamming the hero spells. Avoid being struck by lightning. Keep on moving.

You will manage this.
Phase 4 - Fenrir
Phase 4 is a 1:1 of Hildegard and Fenrir. But you can use the spells of the other heros.

The fight might take a while, but is rather straight forward.

Use Wrath of Vali (Blood sword) frequently to attack Fenrir. Use shield if a huge wave of lightning approaches. Use Light of Idavoll (Frost sword) against the wolves, since they lose health rather quickly even without attacking them. If low health, retreat to outer areas and use healing spell.

You will manage this.
DONE
Congrats, you now have beaten chapter #10 Nermoster of Cross of Vidar on EXTREME difficulty.

Version
Chapter beaten and guide created for Northgard version v3.1.7.32611 (2023-05-24)
7 Comments
SotiCoto Jan 6 @ 5:13am 
Yeah.... you're right. I did kinda manage that way just now.
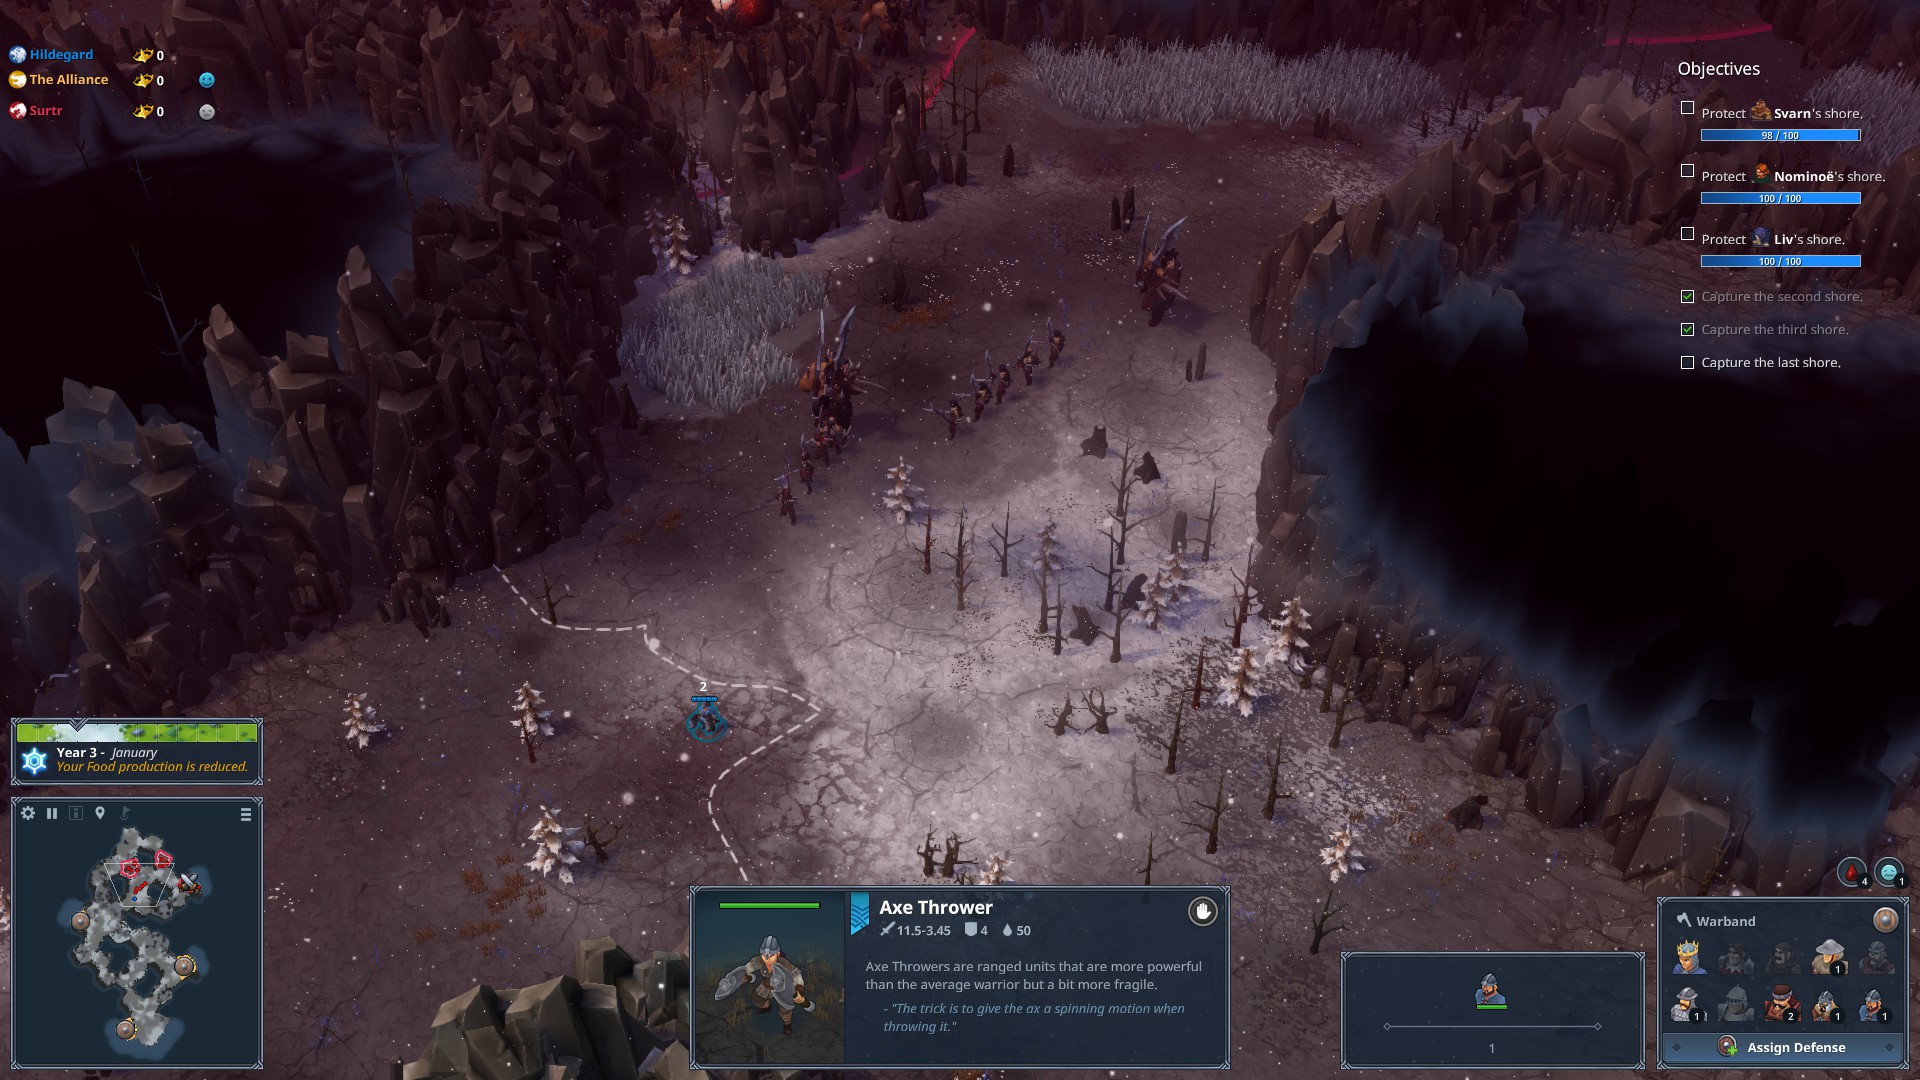
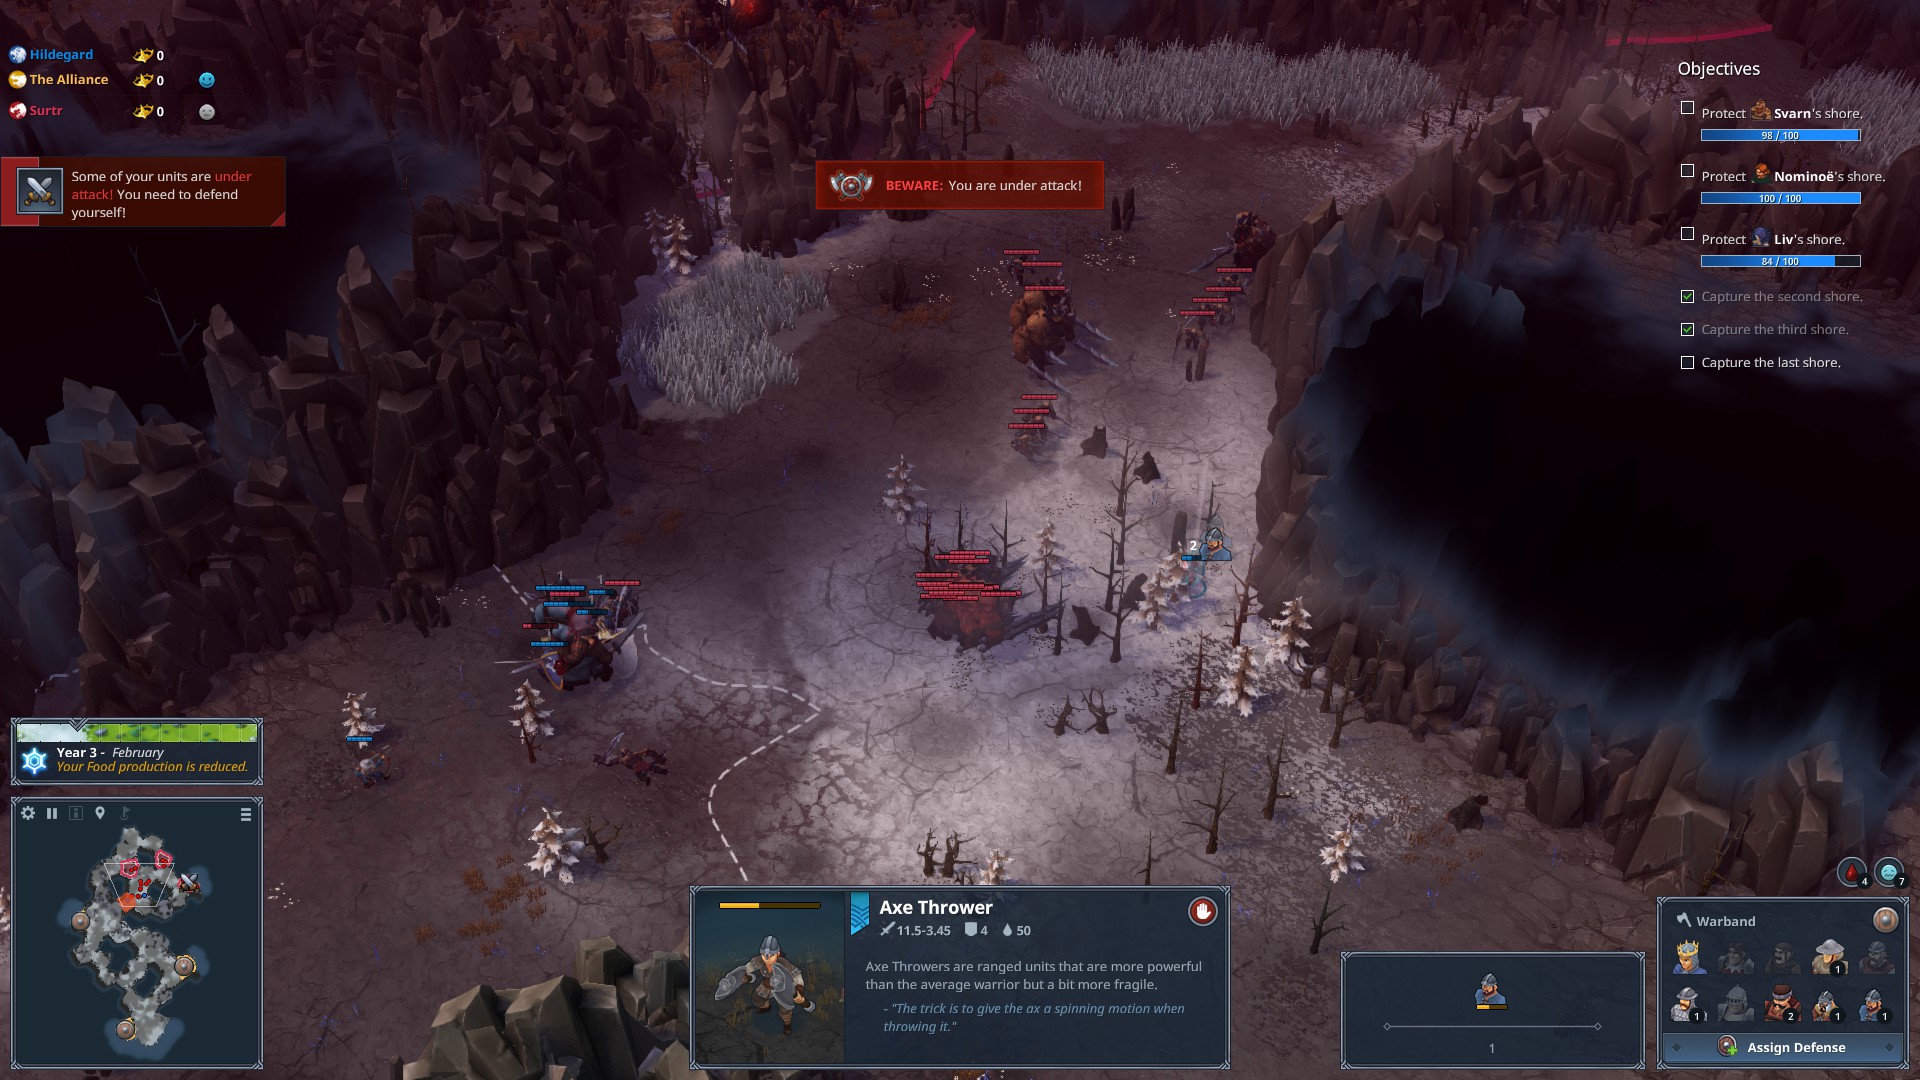
After about 20 or so failures, I just bullrushed the last coast target, ignoring all the gates and any invaders not directly in my path.... and I managed to grab the coast literally while the enemy were decolonising Liv's coast.
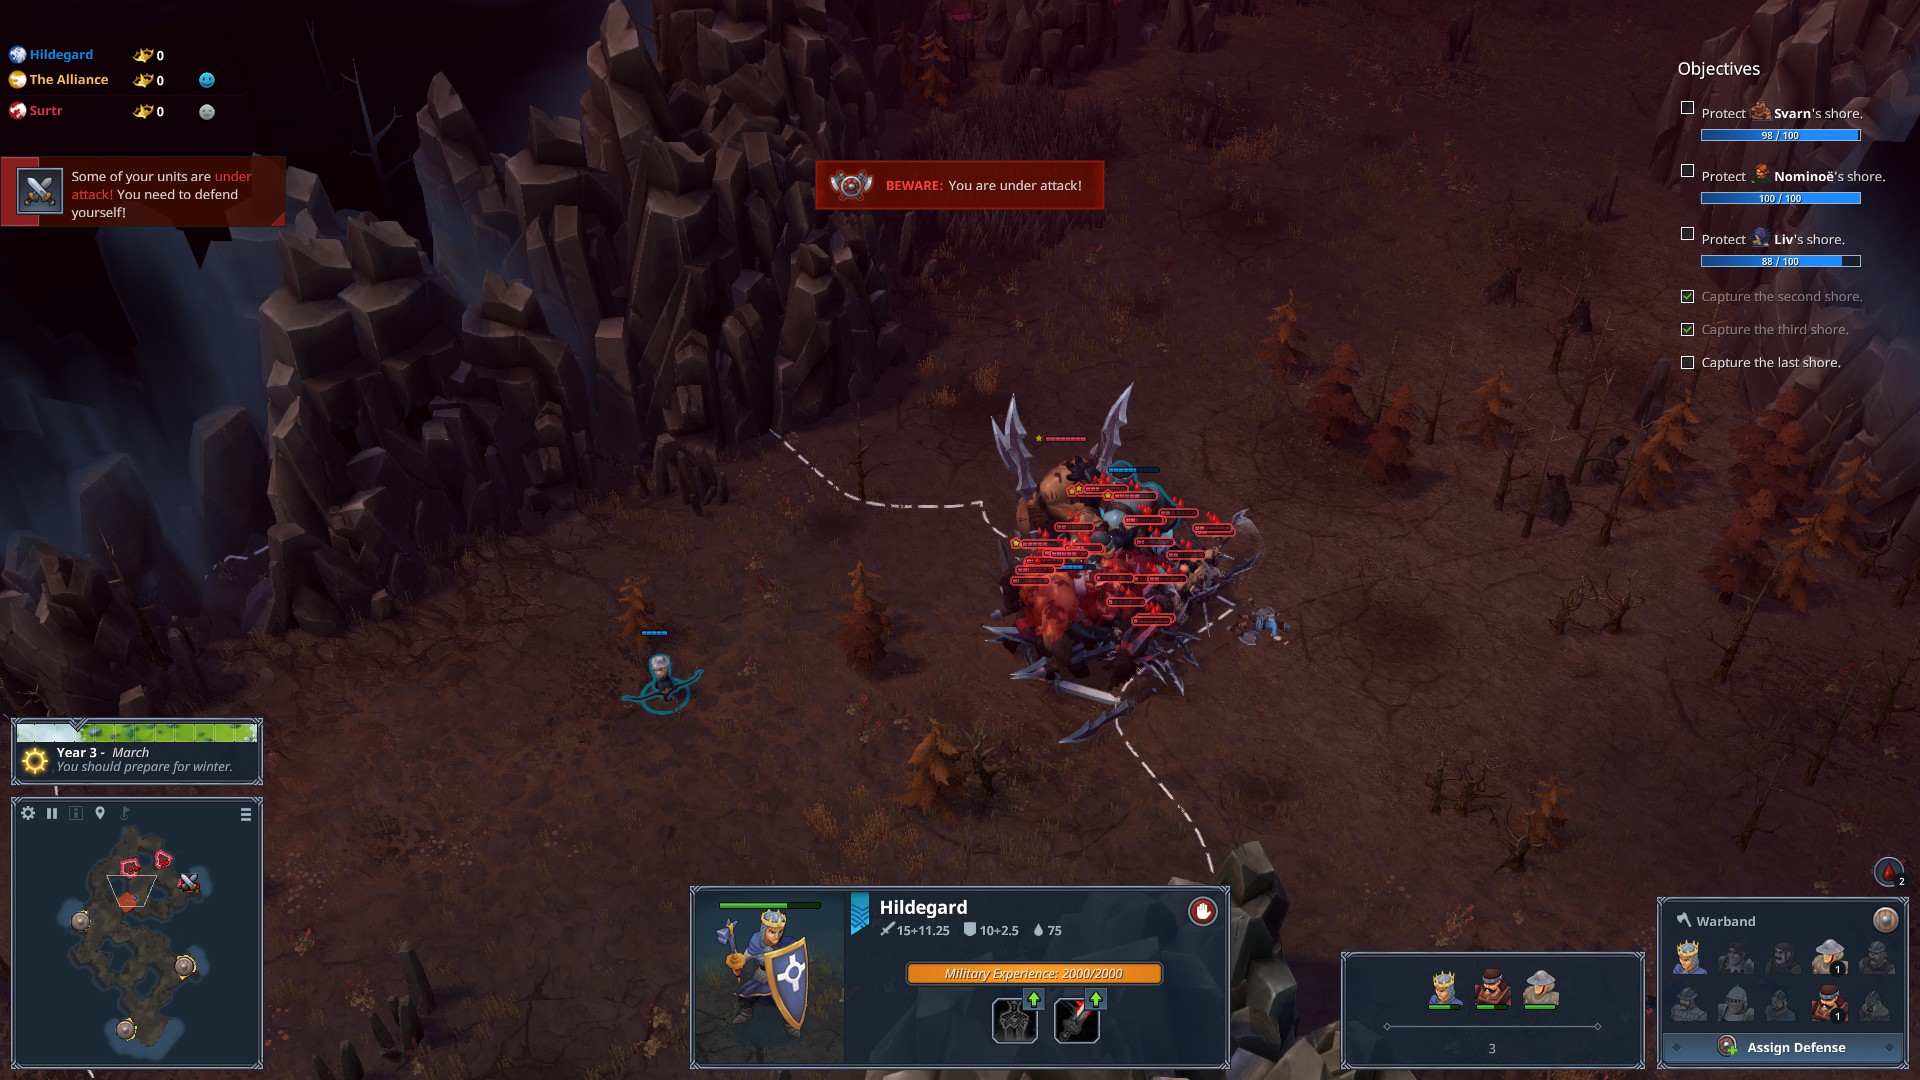
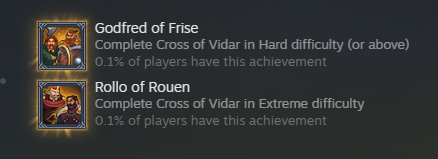
I've got the cheevos... and now hopefully I never have to go through that horsesh!t again. I feel like I just crawled through a burning building and everything hurts. I have nothing but utter contempt for this DLC now for inflicting this suffering on me.

Not sure what to make of your comment about Bifrost though. I'm a 100% Completionist, so I HAVE to do Bifrost. It had better not be more non-strategy horsesh!t or I'll curse the devs with my last dying breath.
HeXor  [author] Jan 6 @ 5:02am 
SotiCoto, I don't say my tactic is the only way, only one way - which helped me - to do it. You have a fair chance to do the quick run to avoid the micromanagement (check subsection "After the first wave - quick and lucky").

On normal difficulty this mission is much easier. Here you are playing an extreme difficutly, so expect some extremely difficult mission ;-)

I liked the DLC since it was different from others. If you want the basic strategy game, go for the online community. Other people - inlcluding me - like the variety in the solo game missions. And if you didn't like cross of vidar, better don't try Bifröst ;-)
SotiCoto Jan 5 @ 10:15am 
Is there any way to do this without micromanaging? We don't have tactical pause. I can't simultaneously control two parties. It is utterly impossible. Trying to advance the main party to clear gates while one idiot prances back and forth over a border to keep everyone else locked in a holding pattern is completely unmanageable.
SotiCoto Jan 5 @ 9:51am 
Cross of Vidar can absolutely die in a fire.
Northgard is supposed to be a strategy game. After the assorted nonsense of the previous chapters, having to basically play some Diablo / Touhou Project nonsense in the last bug-riddled mess of a mission was absolutely the last straw. I HATE this mission and this DLC.
Kekzje Aug 3, 2024 @ 11:27am 
You're my personal hero. It was a struggle and I was about to give up with this mission, when I found your post. Still needed a few round to get used to it, but made it in no time. Thanks so much!
Currann Mar 14, 2024 @ 3:05pm 
I’ll add a strategy i used to get through this on extreme just today. Its quite similar, using the zone hopping idea. Except instead of fighting the doomstacked army, i sent my whole warband up to clear the zones via minimap, and left 1 guy to do the kite strategy. After clearing 3 of the spawn zones, i came back, healed, and killed off the massive group. Then just pushed and won
阳山 May 25, 2023 @ 12:15am