Night of the Dead
424 คะแนน
Night of the Dead🏆The Ultimate Guide
โดย Shadowrun
✔️UPDATED
58
28
14
6
27
12
6
6
7
7
4
2
3
3
3
2
   
รางวัล
ชื่นชอบ
ชื่นชอบแล้ว
เลิกชื่นชอบ
▤ Table of Contents

  • 👀Overview
  • ▤ Table of Contents
  • 📌Pinned
  • 🌎Maps
  • 👷Mine Locations
  • 💻Kiosks 1
  • 💻Kiosks 2
  • 🏠Survivor Shelters
  • 💪Difficulty Settings: Basic
  • 💪Difficulty Settings: Advanced
  • 💪Difficulty Comparison
  • ⛱️Sandbox Mode
  • ❓Questions & Answers
  • 🏕️Good Build Sites
  • ▶️Starting A New Game
  • 🌊Surviving the Waves
  • 🔎Research 1
  • 🔎Research 2
  • 🔎Research 3
  • 📚BOOKS [1]: Old Town
  • 📚BOOKS [2]: Eastern Grassland
  • 📚BOOKS [3]: Desert
  • 📚BOOKS [4-5]: West Grassland & Snowfield
  • 📚BOOKS: Shelved & Carried
  • 🤸‍♀️Stats & Skills
  • 🏹Gear
  • 📀 Coils 1
  • 📀 Coils 2
  • 🔦Weapon Mods
  • 👤Character Builds
  • 🏅Combat
  • ☣️Surviving the World
  • 📦Looting Containers
  • 🧙‍♀️Questing & NPC's
  • 🔫Dungeon 1: Victor
  • 👹Dungeon 2: Francis
  • 🤖Dungeon 3: David
  • 🧛‍♀️Dungeon 4: Gregory
  • 👽Dungeon 5: Nora
  • 🔨Building Stuff
  • ⛓️Stacking Modules
  • 🐾Critter Dimensions
  • ⚡Electric Circuits 1
  • ⚡Electric Circuits 2
  • ⚡Electric Circuits 3
  • 💣Traps & Mods
  • 🚗Vehicles
  • 🚗Vehicles - Truck Build 1
  • ⚓Boats
  • ⛵Boats: Ferry Transport
  • 🚢Boats: Battleship
  • 🌳Resources 1: Raw Materials
  • 🌳Resources 2: Raw Materials
  • 👨‍🌾Resources 3: Raw Materials & Farming
  • 🚕Resources 4: Farming & Car Parts
  • 🔆Resources 5: Electronics & Specials
  • 💊Resources 6: Foods & Medicines
  • 🍗Resources 7: Foods & Ammo
  • 🌐Multiplayer Games
  • 💻Dedicated Servers List
  • 📄ServerSettings.ini
  • 📂Handling Save Data
  • 📑Troubleshooting
  • 🥂Many Thanks
  • 🗯️Comments

📌Pinned


FUTURE GAME UPDATES:
Right now it seems that the developer is finished with this game and no longer making releases or updates to it. It still needs improvement and has a couple bugs still so it's not a perfect game. Since the developer is no longer working on the game, we have to take into account a few problems and work around them. This guide will address some of those issues as they come up.


MY YOUTUBE CHANNEL
You can follow my YouTube channel, I am always posting Night of the Dead videos that I recorded there. Sometimes I'm posting some cool build I did and other times it's just a bug to show the devs. Lately it's just been DNB mixes. I deleted all the old vids for the devs.

🎥 https://www.youtube.com/@shadowrun94

If you just want to get at my NOTD videos (I do a lot of DNB mixing), check this playlist:
https://www.youtube.com/playlist?list=PLfeGc3duDpRBKYlk9EsgSmaLeLWNKzg3z


➜ How to trigger each quest ▢▣
This forum topic will show you how to trigger each quest in case you want to do them all and are having problems getting some of them unlocked.

https://steamcommunity.com/app/1377380/discussions/0/4355618325409710532/

THIS LIST HAS BEEN UPDATED! PLEASE SEE THE FOLLOWING POST FOR ALL THE UPDATED INFO.

https://steamcommunity.com/app/1377380/discussions/0/4355618325409710532/?ctp=10#c783166243925458068

Thanks to AK615 for compiling all of the data!


RECENT GUIDE CHANGES / UPDATES:

I've been here recently updating some info. and removing some sections.
- I updated the vehicles section with how to start a good truck build now.
- I removed a few sections that aren't really needed (unique items list, critter dimensions, bug reporting).

🚧 I am still hoping to update the following sections (stuff I can't seem to get around to doing):
- the electric circuits 3 section needs updated with tier 3 trap power consumption info.
- traps & mods section too, with updated trap info
- need to explain farming setup a little again


HELP US BUILD A WIKI
A good wiki finally exists for this game:

https://night-of-the-dead.fandom.com/wiki/Night_of_the_Dead_Wiki

Thanks to AK615 for working so hard on the wiki!

➜ Be sure to check out this guide on item affixes from CheckYourSix:
https://steamcommunity.com/sharedfiles/filedetails/?id=3314371567


🌎Maps


🌎Here's the current map:


Currently this map shows:
- all main story quest locations (in green)
- all book locations (in blue, does not include shelved books)
- mine locations (white, or black in the snowfield)
- all kiosk locations (red mostly but also uses white, dk. blue and yellow)
- survivor shelter locations (pink)
- high yield areas (orange circles, approximate areas)
- spawn points (brown)

Here is a map of sewer locations. The guy found 20 of them marked as white biohazard flags

https://shadow-run.com/game/notd/ss/maps/sewers.jpg

Thanks to Awydon for that map.

Here is an interactive map on the wiki (thanks to AK615):
https://night-of-the-dead.fandom.com/wiki/Map:Map


👷Mine Locations
v.2 of the game development introduced vehicles and minerals that you'll need in order to craft and upgrade these vehicles. Certain minerals can only be found in mines. Things like aluminum, magnesium, titanium and gold. Here are the locations of each mine as well as what you can expect to find inside.

* NOTE: mines are filled with toxic fumes. In order to enter and not die, you need to be wearing a gas mask or have a high chemical resistance. You can craft a gas mask or you can scavenge one. Crafting one can be done from the Mechanical Equipment Workbench on the second page.

#
Mineral(s) Mined
Location
Coordinates
1
Aluminum
Eastern Grassland
45.4 N, 169.75 E
2
Magnesium & Aluminum
Desert
40.4 N, 168.45 E
3
Magnesium & Aluminum
Desert
38.2 N, 164.16 E
4
Titanium
Western Grassland
39.7 N, 160.6 E
5
Gold & Titanium
Snowfield
49.8 N, 159.36 E
6
Gold & Titanium
Snowfield
50.44 N, 163.85 E


These mines were hard for me to find the first time because the entrances are so small and hidden. I included some screenshots of the mine entrances to help you find them easier.

Here is the entrance to Mine 1:


Mine 2:


Mine 3:


Mine 4:


Mine 5:


Mine 6:
💻Kiosks 1

If you don't like gathering books or hunting specific animals, you can now buy these items from kiosks using the copper coins you find throughout the game. Another thing you can do is sell off some excess stuff that you produce.


If you're wondering if there's kind of a central area where you can find all of the kiosks, there is! Not all of them are in there (like the bank), but most of them are, and there are even a couple which are unique to the mall. It's called the Panorama Mall and it is located downtown in the Western Grassland (the toxic zone).


Here's a list of the shops you can find at the mall: 43N, 159.69E
  • Transhuman store
  • Gun store
  • Fishing
  • Pharmacy
  • Supermarket
  • Hunter
  • Melee Weapon store
  • Clothing store
  • Shield store
  • Armor store
  • Jewelry store
  • Book store
  • Hardware store
  • Convenience store
  • Electronics store

These are the copper coins you will need for the kiosks.


Selling
First let's look at selling things to a kiosk. Almost every kiosk has the same sell interface. If you want to sell anything you will need to make it into a "basket" first. You can create the baskets from a tier 3 crafting workbench.

This is the selling interface from a kiosk:


This is the crafting interface from a crafting workbench.


You can craft 8 different types of baskets (or items) and one gold bar to sell. This is a great way to sell stuff that you often have in excess, especially later in the game, like research data. They all sell for only one coin each basket / item.


Study Paper
Costs 250 research data to make one Study Paper. Sells for 1 coin.


Toy Robot
Costs 250 pieces of iron to make one Toy Robot. Sells for 1 coin.


Stone Statue
Costs 250 small stones to make one Stone Statue. Sells for 1 coin.


DIY Cosmetics
Costs 100 charcoal to make one. Sells for 1 coin.


Leather Wallet


Meat Basket


Sandwich Basket


Salad Basket


Gold Bar
Costs 3 gold ingots to make 1 gold bar. Sells for whatever the current going rate is at the bank kiosk.


You can make gold bars using 3 gold ingots.

You can make gold ingots from the gold ore you can mine from the snowfield.


Buying
Here's a list of all the different types of kiosk you will find in the game, along with a screenshot of what that kiosk currently looks like (it might change later) and a screenshot of what you might expect to find inside. Kiosks found in harder regions can sell you better stuff.


Bank
This might be the most important kiosk if you like using kiosks. From this kiosk you can buy and sell gold bars using coins. The price of the gold bar changes twice a day, so you can buy low and sell high to turn a profit, kind of like a stock market. This is great for investment-driven people. There are only 4 banks in the game.


Known Locations:
  • 45.8N, 170.9E
  • 40.3N, 168.96E
  • 42.8N, 160.13E
  • 48.93N, 162.08E

This is what the bank kiosk looks like.


Here is what the transaction interface looks like.


This is the gold bar you can buy and sell at the Bank kiosk.


Access Cards
This kiosk only exists in the mall. You can only buy electronic key cards at this kiosk, used for entering the dungeons.

Known Locations:
  • 43N, 159.69E

This is what the Access Cards kiosk looks like.


Here is what the transaction interface looks like.


💻Kiosks 2

Book Store
Book stores can usually be found at schools or churches. It doesn't matter which book store you use, they all have the same books for sale (all of them).


Transhuman Store
With the neural network chip, you can do more research to make your character even stronger. There are only two of these, one is inside the mall on the 3rd floor. The other is just north-east of the mall.


Hardware Store
Hardware stores are plentiful around the map and it's a good thing too because their goods are useful. You will typically find them at industrial sites.


You will find different inventory for sale depending which kiosk you visit. From the central grassland through the eastern grassland you will find this for sale:


But actually at the last 2 hardware kiosks in the eastern grassland and beyond, you will find this for sale at hardware kiosks:


Convenience Store
No town is complete without a convenience store, or two. All the convenience stores on the map have the same inventory.


Auto Parts
If you're trying to make vehicles but you can't seem to scavenge the needed parts, then visit a parts kiosk. These are typically found at gas stations. All auto parts kiosks have the same inventory.


Pharmacy
Pharmacy stores can be found at hospitals. All pharmacies around the map carry the same inventory.


Supermarket
Food, glorious food. These stores are abundant throughout the map. Sometimes they are a stand-alone store and other times used like a convenience store as part of a gas station. Supermarkets all carry the same inventory.


Gun Store
The gun store you find in the snowfield absolutely does sell better guns than the one you find in the starting town. The one in the mall has an excellent selection as well.


Gun kiosks in the early part of the game (central grassland, eastern grassland), carry a limited inventory.


Gun kiosks later in the game (desert +) carry a much larger selection.


Clothing Store
It seems like all the clothing stores across the map carry the same inventory.


Melee Weapon Store
I've only found this kiosk in the mall.


Shield Store
I've only found this kiosk in the mall.


Armor Store
I've only found this kiosk in the mall.


Jewelry Store
I've only found this kiosk in the mall.


Hunter
Hunter kiosks sell different items now depending on what region they are in. Below are images from 3 different hunter kiosks in 3 different map regions.


Here's what's for sale in the central grassland (where you start) as well as the eastern grassland and the western grassland also.


Here's what's for sale in the desert (and the snowfield too I think, not verified).


Here's the hunter kiosk at the mall.


Fishing
Fishing kiosks now sell different fish stock depending on what region they are in. Below I show 3 images from 3 different world regions.


This is what you can buy from fishing kiosks found in any green area; central grassland, eastern grassland, western grassland.


This is what you can buy in the desert fishing kiosks


This is the inventory of the snowfield fishing kiosk.


In this image, I show where the fishing kiosks are located. They are the pink fish flags.


FISH 1 means it's the default fish you can find in any waters and buy at the mall kiosk; angelfish, goldfish, zacco platypus and golden koi.

FISH 2 means you can buy or fish; pirarucu, arowana and betta

FISH 3 means you can buy or fish; koi, salmon and ayu.


Mines
At each mine you can buy ingots of the minerals found in the mines at a kiosk located right outside the mine (usually on a small red building). On my map above the mines are all marked with a white pickaxe flag. Each mine kiosk has the same inventory.


Toll Gate
The tollgate allows you to buy trophies. Located at each area crossing.


Here's what's for sale at the tollgate which separates the central grassland from the eastern grassland.


Here's the trophies you can buy at the tollgate on the way to the desert.


Here's the trophies you can buy in the desert.


Here's what's for sale at the tollgate to the snowfield.
🏠Survivor Shelters

There are 5 "survivor shelters" that you can find in the game. These are places where NPC's that you met go, after you're done dealing with them. You can talk to the NPC's here and take side quests from them. You can also fast travel from one shelter to another, and find new followers to hire.

Here is a map where the shelters are located. The shelters are in PINK:


Walter Wagoner
The first Survivor Shelter that you come to is the one manned by Walter Wagoner, the guy you met in the research lab.


Emma Thompson
The second shelter is operated by Emma Thompson, the girl you saved in the pool.


Jasmine Taylor
The third shelter occupied by Jasmine Taylor, the one who provided us the silicone in the desert.


Tyler Bennett
The fourth shelter is protected by Tyler Bennett, the helicopter pilot.


Harold White
The fifth shelter is manned by Harold White, the guy you met in the marketplace.


💪Difficulty Settings: Basic

This game is great now because you can customize the difficulty settings. Not only can you set them from the start but you can also tweak them as you play. When you create a new game, it will automatically open the difficulty screen.

- Generally when you adjust a setting and the percentage goes up, you are making the game more difficult. If the percentage goes down, you are making the game easier.


If you are loading back a saved game then look for the button at the bottom that says CHANGE DIFFICULTY. It will let you adjust the difficulty before loading back the file. If you would like to customize the difficulty setting then click CUSTOM. If you click HARD then click CUSTOM then you can adjust the settings based on a HARD template.


* You can't do this from inside of a game. In order to change game settings you must first exit your game to the main menu then load the game from there. Then it will give you the option to change the settings.

Now let's look at the game's difficulty settings.

BASIC:

No Wave:
If you check this box then the nightly wave will be disabled. This will also disable the day-time spawns that are sent at you. Checking this box will decrease the visible difficulty setting.

Activate Building Forbidden Area:
This will activate areas that can not be built at. This feature is mostly for multiplayer games when you don't want players building at spawn points and book locations. It prevents people from being unfair to new people joining who then can't progress in the game due to some building in their way. Checking this box will prevent players from building their structures too near to important areas.

No Zombie Respawn:
Checking this box will prevent the world zombies from respawning after you've killed them. This setting has no effect on the difficulty that is displayed.

Natural Objects Respawn:
Checking this box will cause all trees, bushes, boulders, stones and mushrooms to respawn once harvested from the game world. Leaving this box unchecked will prevent natural objects from respawning in the world.

Synthetic Objects Respawn:
Checking this box will cause everything except natural objects to respawn once harvested from the game world. Leaving this box unchecked will prevent synthetic objects from respawning in the world. Synthetic objects includes almost everything like; searchable container objects and breakable objects in the world space.

No Generator Breakdown:
Checking this box will prevent solar panels and wind turbines from frequently needing repairs. Using this feature has no effect on the difficulty rating.

No Research Lost Upon Dying:
Checking this box will prevent you from losing a researched skill when you die.

Drop Items on Exit:
Checking this box will cause everyone in the game to have their entire inventory dumped onto the ground when they exit the game.

No Team Kill:
Checking this box will prevent your fired shots from damaging your team mates.

Building Decay after 5 Days of Inactivity:
If no member of the team logs in for 5 days in-game time, the HP of the built building decreases every day.

Limit Wave Zombie Amount:
This will let you limit how many zombies are sent to you during the wave.


GENERAL:
Light Zombie HP:
This is how much health the light zombies have. This setting only effects the zombies in the world, not the wave zombies.

Heavy Zombie HP:
This is how much health the heavy zombies have. This setting only effects the zombies in the world, not the wave zombies.

Giant Zombie HP:
This is how much health the giant zombies have. This setting only effects the zombies in the world, not the wave zombies.

Unique Zombie HP:
This is how much health the unique "boss" zombies have in the dungeons.

Zombie Attack Damage:
This is how much damage the zombies should deal. This setting is applied as a multiplier to light, heavy and giant zombies, so it affects all types. This setting will affect the zombies in the world as well as the zombies that come in the waves.

Zombie Movement Speed:
This is how fast the zombies can run. At zero the zombies are like The Walking Dead speed. At 100 they are like World War Z speed.

World Zombie Spawn Amount:
This specifies how dense the zombies will be in the world. Zero and you will hardly see zombies. 100 and you will have to fight off swarms just to move a couple city blocks.

Light Zombie Respawn Time:
When you kill a zombie in the world, it has a respawn timer. Disabling zombie respawning will disable this setting as well.

Heavy Zombie Respawn Time:
When you kill a zombie in the world, it has a respawn timer. Disabling zombie respawning will disable this setting as well.

Giant Zombie Respawn Time:
When you kill a zombie in the world, it has a respawn timer. Disabling zombie respawning will disable this setting as well.

Wave Zombie HP:
The health of wave zombies. This is for both the big night time hoard as well as the small day-time waves that attack you. This is a multiplier again, it will affect all types of wave zombies.

Light Zombie Amount:
This specifies how many light zombies should be sent in the wave. This will affect both the nightly wave as well as all of the small daily waves.

Heavy Zombie Amount:
This specifies how many heavy zombies should be sent in the wave. This will affect both the nightly wave as well as all of the small daily waves.

Giant Zombie Amount:
This specifies how many giant zombies should be sent in the wave. This will affect both the nightly wave as well as all of the small daily waves. If you don't want any giants then set this to zero. Note that even at a zero setting, by day 3

Animal HP:
This is how much health the world animals have. A higher number makes them harder to kill.

Animal Attack Damage:
This is how much damage animals do when they attack. Higher number means more damage.

💪Difficulty Settings: Advanced


No EXP Lost Upon Dying:
Check this box and you won't lose experience points when you die.

No Items Drop Upon Dying:
Check this box and you don't drop what you're carrying when you die.

No Equipment Drop Upon Dying:
Check this box and you keep what you were holding when you die.

Research Data Consumption:
Specifies the amount of research data that is consumed each time you do a research.

Fish Speed:
Specifies the speed of fish while fishing.

Fish Power:
Specifies the power of fish while fishing.

Equipment Drop Rate:
It affects the drop rate of rare items when you kill zombies.

Gain EXP Amount:
Allows you to gain more than the standard 1x EXP.

Item Obtained Amount:
Allows you to obtain more than the standard 1x loot / harvest amount. This setting will affect loot found in the game world as well as loot gathered from farming objects. This doesn't just give you 2x the items (like getting 2 feathers from one bird kill), but it also increases your chances to get rare items inside containers such as gold bars, coins, dungeon access cards and car parts.

Initial Food Amount:
Specifies how many energy bars players will start with when they first join the game.

Natural Objects Respawn Time:
This specifies how long we should wait before respawning natural objects. It uses the same type of setting as the "times per day" setting, in that, if you set times per day to 240 and set objects to respawn to 240 as well, then your objects will respawn in exactly one day after harvest.

Synthetic Objects Respawn Time:
This specifies how long we should wait before respawning synthetic objects. It uses the same type of setting as the "times per day" setting, in that, if you set times per day to 240 and set objects to respawn to 240 as well, then your objects will respawn in exactly one day after harvest.

Building HP:
This specifies the health bonus to be given to player-built objects in the game world.

Trap Attack Damage:
This specifies how much damage all the traps do. It affects all the regular traps like spikes and cutters and also ranged traps as well such as the MRL and minigun.

Materials Return Rate After Building Destruction:
This is not how much materials you get back when you deconstruct something, handle that in your research. This is how much do you get back when your building is destroyed by zombies or players. When something is destroyed in the world and it wasn't deconstructed, it was damaged then destroyed, how much do you want to get back?

Farm Resource Production Amount:
This lets you specify how much resources you want the farms to produce.

Machine Resource Production Amount:
This lets you specify how much resources you want the machines to produce.

Animal Trap Time:
This is how long is will take for the animal traps to catch an animal.

Farm Resource Production Time:
This is how long it will take for your crops to grow. This affects food crops as well as tree, bush and cactus planters.

Machine Resource Production Time:
This is how long it will take for your machines to be ready to harvest. This affects stone miners, ore miners and oil rigs.

Power Generated:
This affects how much power is generated by solar panels, wind turbines and gas generators.

Power Consumption:
This affects how much power is consumed by everything that consumes power. At 1 everything is normal. A light normal uses 10 power per second. If you change the setting to be 0.5 then you would use half power, so a light would only use 5 then. A setting of 2 would be double the power, so a light would then use 20 pps.

Power Limit:
This will allow you to change the power limit. So, most devices have a power limit of 2,500. If you set this to 2 it would double, so 5,000 would be your new in-line limit.

Standby Power:
How much of the standby power is used. 1 is normal, 0.5 would be half. So the standby power on a plasma shocker is 500 power per second. At 0.5 the shocker would then use half the power, so 250 power per second.

Difficulty Settings: Details

Hardcore:
Checking this box will cause your game to end when you die. You will then have to start over.

Unlock all buildings:
Checking this box will unlock all your buildings without having them locked behind quests.

Times Per Day:
The default is now 240 minutes. This will give you more time to prepare for each wave before it comes each night than the previous setting of 120. If however you want the waves to come more quickly, try setting it back to 120 to make the days happen twice as fast.


Settings with custom difficulty effects
  • No Wave (difficulty effect depends on wave settings)
  • Natural Objects Respawn (depends on respawn rate settings)
  • Synthetic Objects Respawn (depends on respawn rate settings)


Settings with no effect on the difficulty
  • Activate Building Forbidden Area
  • No Zombie Respawn
  • No Generator Breakdown
  • No Research Lost Upon Dying
  • Drop Items on Exit
  • No Team Kill
  • Building Decay after 5 Days of Inactivity
  • Limit Wave Zombie Amount
  • Hardcore
  • Unlock All Buildings
  • Times Per Day

💪Difficulty Comparison

Let's compare the differences between the difficulties.

* The setting "Limit Wave Zombie Amount" is always defaulted to 200.

Modifying the settings below will impact the difficulty percentage, but you do not need to play a custom game in order to alter these settings. These settings are all deactivated by default on every difficulty except for "No Research Lost Upon Dying" which is enabled for Peaceful, Easy and Normal difficulties.

Setting
Peaceful
Easy
Normal
Hard
Survival
Challenge
Legend
MAX
Difficulty Percentage
666%
1,151%
1,604%
2,107%
2,300%
2,462%
2,768%
3,900%
Light Zombie HP
0%
6%
17%
27%
37%
48%
65%
100%
Heavy Zombie HP
0%
6%
17%
27%
37%
48%
65%
100%
Giant Zombie HP
0%
6%
17%
27%
37%
48%
65%
100%
Zombie Attack Damage
0%
6%
18%
27%
37%
48%
65%
100%
Zombie Movement Speed
10%
20%
35%
45%
55%
65%
80%
100%
World Zombie Spawn Amount
0%
7%
21%
34%
47%
60%
73%
100%
Light Zombie Respawn Time
240
180
120
120
120
120
120
30
Heavy Zombie Respawn Time
1,200
900
600
600
600
600
600
120
Giant Zombie Respawn Time
1,200
900
600
600
600
600
600
120
Wave Zombie HP
0%
8%
25%
41%
58%
66%
83%
100%
Light Zombie Amount
0%
22%
44%
66%
77%
88%
100%
100%
Heavy Zombie Amount
0%
5%
17%
29%
47%
64%
82%
100%
Giant Zombie Amount
0%
10%
21%
47%
52%
63%
73%
100%
Animal HP
0%
6%
17%
27%
37%
48%
65%
100%
Animal Attack Damage
0%
12%
18%
28%
37%
49%
70%
100%
No EXP Lost Upon Dying
true
true
false
false
false
false
false
false
No Items Drop Upon Dying
true
true
true
false
false
false
false
false
No Equipment Drop Upon Dying
true
true
true
false
false
false
false
false
Research Data Consumption
30%
40%
50%
50%
50%
50%
50%
100%
Fish Speed
66%
66%
66%
66%
66%
66%
66%
100%
Fish Power
0%
20%
40%
60%
80%
80%
100%
100%
Equipment Drop Rate
100%
80%
60%
50%
50%
50%
50%
0%
Gain EXP Amount
x3
x2
x1
x1
x1
x1
x1
x1
Item Obtained Amount
x2
x1
x1
x1
x1
x1
x1
x1
Initial Food Amount
15
12
10
5
2
1
0
0
Natural Objects Respawn Time
360
480
720
720
720
720
720
1200
Synthetic Objects Respawn Time
360
480
720
720
720
720
720
1200
Building HP
50%
25%
10%
0%
0%
0%
0%
0%
Trap Attack Damage
40%
34%
34%
34%
34%
34%
34%
0%
Materials Return Rate
100%
90%
70%
50%
30%
10%
0%
0%
Farm Resource Production Amount
x1.5
x1.25
x1.25
x1
x1
x1
x1
x1
Machine Resource Production Amount
x1.5
x1.25
x1.25
x1
x1
x1
x1
x1
Animal Trap Time
x0.5
x1
x1
x1
x1
x1
x1.5
x2.5
Farm Resource Production Time
x0.5
x1
x1
x1
x1
x1
x1.5
x2.5
Machine Resource Production Time
x0.5
x1
x1
x1
x1
x1
x1.5
x2.5
Power Generated
x1
x1
x1
x1
x1
x1
x1
x0.5
Power Consumption
x1
x1
x1
x1
x1
x1
x1
x1.5
Power Limit
x1
x1
x1
x1
x1
x1
x1
x0.5
Standby Power
x1
x1
x1
x1
x1
x1
x1
x1.5
Times Per Day
240
240
240
240
240
240
240
60
Unlock all buildings
no
no
no
no
no
no
no
no


It is possible to set a custom game harder than Legend difficulty. I have listed it as MAX in the table. In order to maximize the difficulty, you should also choose the following basic settings:

No Wave: false
Activate Building Forbidden Area: false
No Zombie Respawn: false
Natural Objects Respawn: true
Synthetic Objects Respawn: true
No Generator Breakdown: false
No Research Lost Upon Dying: false
Drop Items On Exit: true
Hardcore: true
No Team Kill: false
Building Decays: true


⛱️Sandbox Mode
* Sandbox can only be used by players with server admin privileges.
* If the sandbox function is enabled, all players joining the game will be affected.
* Once enabled on a game, you will no longer be able to get Steam achievements in that game.
* If the sandbox is left enabled, it will be disabled when you exit the game. On multiplayer games using dedicated servers, the sandbox will remain enabled until the admin turns it off or until the game is restarted.

First, open the console and type "sandbox". The default key is ` (the ~ key) but you can change what key opens the console in your control settings. You will see the text input box open at the bottom of the screen.


Once you've done that, you should see a very small SANDBOX button in your main menu now, at the bottom. Press it to enable the sandbox mode.


Once you've done that an image will appear on your screen informing you that you can press the zero 0 key to open the options.

Here is a list of the settings you will find in the sandbox control panel.


FREE BUILD
Selecting this option will allow you to build anything off the build menus without having the resources for it. If the build button is grey like you can't build it, just press the button anyways. It will still let you build it.

UNLOCK ALL BUILDINGS
This will let you build anything without having to first unlock buildings by doing the main quest.

FREE CRAFT
This option will let you craft anything for free, from your inventory or from any crafting table. The only downside to this right now is that there is no stacking. You have to craft everything one at a time.

FREE RESEARCH
This will let you do research without having any papers or books on you.

FREE DRIVING
This will let you drive vehicles without fuel.

INVINCIBLE
This will prevent you from dying.

GHOST
This will let you fly through the air. Just point to where you want to go. This will also let you clip through walls.

TIME PASS: 1 HOUR
This will advance the time clock by one hour.
* NOTE: this function can be BUGGY and at times will skip ahead much more than 1 hour. Always SAVE before using this function!

TIME PASS: 1 DAY
This will advance the time clock by one day.
* NOTE: this function can be BUGGY and at times will skip ahead much more than 1 day. At times, the clock may even move BACKWARDS! This can bug your save file and cause you to have to roll BACK. Always SAVE before using this function! Watch the game clock CLOSELY. If you notice the time went BACKWARDS then you should RELOAD your last SAVE and try again!

START WAVE
This will advance the time clock to zero and start the wave. This does advance the day number also when you use this feature. It doesn't just spawn a wave at you, it advances the game clock so that the wave will start. Be careful with this setting because it might be buggy too, just save first.

CHARGE BATTERY
This will fill the charge on every battery built in the game world.

Here is the auto-clicker that I use to cheat myself numerous materials at crafting benches. It's simple to use, run from anywhere. Hover your mouse where you want to click (craft button) and press F6 (by default) to start / stop the clicking. This is because you can't cheat more than 1 item at a time, even with the sandbox.
https://www.opautoclicker.com/
❓Questions & Answers
Q.) Where do I find a wrench?
A.) To obtain a wrench though the natural progression of the game, you follow Veronica Grimes' main quest. Take the quest all the way up to the point where you kill the first boss, Victor, in the first dungeon located at the military base. After you've done that, it will unlock the bench that you need to build in order to craft a wrench.

The game doesn't want you to have a wrench right away, so you can't find or buy one in the central grassland area. Don't worry though, you won't have to wait long before getting on as long as you're following the main quest.

You also need to research ENGINEER in order to build a wrench. The book, polymer chemistry, required to do this research, is found just as you exit central grassland to enter eastern grassland. 46.73 N, 166.18 E, at the Checkpoint on a table inside the small building.

The nearest 2 kiosk that should sell wrench are right before you enter the desert, in the Eastern Grassland area, should you decide to run there and buy one instead. 46N, 170.33E and 45.08N, 170.71E

Q.) Where do I find a drill?
A.) To obtain a drill you will need to do a couple of steps.

1.) You need the Machine Component Design book located here: 40.2 N, 162.26 E. After that do the research for doctor of engineering.

2.) In order to unlock the workbench you need to kill David at the 3rd dungeon in the radar site. It's located in the desert biome, here: 41.16 N, 169.33 E. Or you can enable all the building modules in the difficulty settings.

Now you can make a drill at the Electronic Equipment Workbench.

Q.) My dungeon access card was consumed. How can I obtain another one?
A.) You can find dungeon access cards in random zombie drops now. You can also find them in reward boxes, in air drops, or you can buy them from a kiosk at the Panorama mall located here: 43N, 159.69E.

Q.) How long do items last on the ground before they disappear?
A.) Most crafting and building items will only last on the ground for 30 real-time minutes. Same for the box of materials that will drop when something is destroyed and materials are to be returned. Items dropped by zombies such as gear items (any color) and bag drops will stay on the ground for 1 real-time hour before disappearing.

Q.) How do I craft a weapon, tool or arrows?
A.) From your HANDMADE screen. Press TAB to open the master menu then click HANDMADE. If TAB doesn't work then press ESC and click SETTINGS then choose CONTROLS. Find the one that says INTERFACE -> INVENTORY and set your desired key. You can also set a "handmade" key in the options menu.
Q.) How do I make repairs to my equipment?
A.) From your HANDMADE screen again. Use the buttons down the middle. The 2nd button (wrench icon) is the one for repairing gear. Make sure you have the appropriate repair kit in your inventory.
Q.) How do I mod a weapon?
A.) From your HANDMADE screen. Use the buttons down the middle. The 3rd icon (bolt & gear) is for modifying weapons only.
Q.) How do I make leather?
Q.) How do I scale a fish?
Q.) How do I trim meats?
Q.) How do I make processed feathers?
A.) All these questions have the same answer. From your HANDMADE screen again. Use the buttons down the center. The 4th icon (red knives) is for trimming meats and making leather / feathers.
Q.) I built containers or doors that lock but I didn't set any password. Now for some reason I can't access these objects from this or another character. It asks me to input a password but there shouldn't be one.
A.) The default password on a door or container is zero. Sometimes you need to enter is as four zero's: 0000. If a container or door was built and no code was set, this should be the default access code. This can happen by corrupt save file where the game loses and therefore resets some or all door passcodes.

Q.) Why are my life and stamina bars getting partially blocked? And it decreases over time..


A.) This is your satiety level (white bar). As your satiety decreases, it lowers your maximum available health (red) and stamina (yellow). Don't worry though, it won't kill you. It will drop to a certain threshold then stop dropping (1 bar).

In order to increase it back to normal, you simply need to eat foods that give + calories (kcal), like the cans of beans or energy bars that you can scavenge, or there's foods you can cook as well that give +kcal and also reduce the satiety drain time.

So think of it like this, in order to have maximum health and stamina, you need to have maximum satiety first. Sleeping only restores lost health, you need to eat +kcal foods to restore lost satiety.

If you would like to increase your maximum satiety (which will increase the size of the bar and your health and stamina as well), then you need to eat foods that give +max satiety, such as pig's feet that you can craft at the cooking table. Check the cooking table for more +max satiety foods.


Default Keys
Here is a keyboard map of the default key settings:


* This is a high res image (1881x1209).
* I updated this for v.3.3.0.4.alpha changes but might not be 100% accurate since final release.


BEDS
This game lets you build a bed to set a new spawn point. It is advisable to build a bed any time you are at the place where you want to spawn if you die. This game is clever about bed building. You can build a bed at your home base, then build a bed at a remote base. When you die, you will now be presented with an option on where you would like to respawn.


You can also make 2 beds, say one at your farm and one at your maze location. When you go to the maze, click the bed there to set that as the respawn point, in case you die there you will respawn there. Then, when you return to the farm, click the bed there to respawn at the farm in case of a death.

Multiple team mates may also use the same bed in a multiplayer game. Treat a bed as a simple spawn point. Plop one down and all your team mates can click on it to respawn there.


GAME MENU
Of course you can press the Escape key to access the games main menu, but there is another menu, the "game menu" which is a shortcut to everything you can do in the game. Press the TAB key to access this menu (by default).


You can visit the following screens from the Game Menu:
  • - Character Information
  • - Inventory
  • - Handmade
  • - Skin
  • - Journal
  • - Survivor Quests
  • - Map
  • - Research
  • - Build
  • - System Menu
  • - Team Info.
  • - Server Info.

* If you don't like the Game Menu on the TAB key you can change it in the Controls configuration.

🏕️Good Build Sites

I've been around the map a lot already so I'm going to point you to some of my favorite sites to build on that I've found so far. I look for large, mostly flat areas to build on. Places where I can lay out a foundation for a structure and still have room around it for farms. It's also nice if the site has street access now that there's vehicles and even nicer if the flat grass area is level with the street at least for a large enough area to build a garage on. A place not in the desert or cold biomes because I don't want to have to be drinking something all the time to live there.

First, rooftops:

Rooftops are in fact, great places to build because zombies can't get to you there unless you build them a stairs too. The drawback of rooftops is their limited size but with beams you can easily extend them.

Building a stairs up to the roof is simple. If you want the zombies to be able to follow you then build the stairs all the way to the ground like the image on the left. If you don't want them to follow you then build it up a little like the image on the right. The stairs on the right require you to parkour jump up onto them and the zombies can't follow you because most of them can't jump.


A lot of people build with the bridge module because they attach to each other without needing to use beams. You can extend the bridges out a long way and use them to connect rooftops. Remember that if the path is broken enough (you have to jump down or climb up) then zombies won't generally be able to follow you.

Site #1: 44.45N, 165E

This is my favorite old site in the old city. It was the first flat space I discovered that was almost dead-center of the map (old map). It's a good place for beginners because it has fences on both sides so you can build safely in between them. This site is pretty much history with the new map though so let's look at some other sites.

Site #2: 46.84N, 165.28E

This site was a lot larger on the old map. I used to build here a lot but now that it's smaller it's time to move on. This is still a good site to build a boat though.

Site #3: 47.9N, 166.9E

This was the first site I landed at when I discovered the new world for the first time. Built a massive base here and it was awesome. Good site. Off the main road and a bit hidden behind the buildings so it's not so noticeable (good for PvP) but still near the main road for easy access. It's a large site, you could access it from 2 different streets. Big enough for a base plus farm.

Site #4: 46.6N, 168.58E

This is another site that's so large it kind of wraps around and you can access it from 2 different streets. This site is before the bridge that you cross to enter the mining town.

Site #5: 46.06N, 169.14E

Right on the other side of the bridge, another nice site.

Site #6: 45.81N, 169.58E

This is a small park in the mining town just outside the aluminum mine.

Site #7: 45.16N, 170.81E

It's got this cute little cul-de-sac just off the main road into the desert biome. That grassy area back there is quite large and quite flat.

Site #8: 45.12N, 170.57E

Right across the street is another nice, flat site. It's just not as large. Good for maybe a garage or something.

Site #9: 42.72N, 160.62E

This is the first site I spotted in the Western Grassland.

Site #10: 42.77N, 159.20E

The airfield in this area could be a decent place for certain builders. The area is fenced in which would help for critter control but the structures there might hinder building.

Site #11: 47.8N, 160.22E

This seems to be the last site before entering the snowfield, but this site is on a slope. You would need to level it off to build there but it could be done.

Site #12: 43.3N, 163E

The whole area around the factory is large and flat. Just clear away the rocks and trees and you could build a whole town back there. Plus it's got water access for your boats.

There are other sites, not as large, if you pay attention. So don't get me started on the desert biome, I mean, there's lots of flat areas in there if you're down for drinking cold drink every day.
▶️Starting A New Game

Hiding Is Not An Option
On a normal game, the zombies that come for you at midnight always know where you are. You can't hide from them and they may never go away. (Un-killed zombies might disappear now at hour 6).

You have to face them each night. Unless you are very mighty, I would suggest putting your melee weapon away and building a base with some traps to deal with them. Use their instinct to their disadvantage. Read on to learn how.

When you start a new game your character will start in a capsule. Watch this video to see what to expect now when starting a new game.

https://www.youtube.com/watch?v=VYz6mWjjgGE

Upon exiting the bunker you are tasked with building your character a little. Feel free to follow along with the quests as they pop up but you will want to keep an eye on your Journal and try to stay focused on the main quest line given to you by Veronica Grimes.

By default your buildings are locked behind quests. Build your character far enough (just level up) and you can unlock the first set of buildings on your own. The rest of your buildings are locked up behind Veronica Grimes main quests of defeating each Dungeon Boss. Each time you defeat a boss, you unlock more modules that you can build.

When you start a new game, you only start with the ability to build the following modules:
  • - foundation
  • - stairs
  • - equipment workbench
  • - skin workbench
  • - material production workbench
  • - crafting workbench
  • - cooking table
  • - research table
  • - storage box
  • - sleeping bag
  • - chair
  • - barbed fence (trap)
  • - cutter (trap)
  • - shredder (trap)
  • - pendulum (trap)

If you simply continue to follow the quests that popup you will be able to unlock the next set of buildings before even leaving the area in front of the bunker. Simply follow what Sierra Wilder has you do then follow Jamal Price. By the time you are deconstructing the workbench, Veronica Grimes will chime back in reminding you to check your map and get moving. This is when more buildings should have been unlocked for you.

The following modules are unlocked for building:
  • - foundation open type
  • - floor
  • - half floor
  • - column
  • - beam
  • - wall
  • - window
  • - door
  • - triangle stairs
  • - bridge
  • - protective wall
  • - fence
  • - stair fence
  • - coil workbench
  • - crusher
  • - farm
  • - bush farm
  • - tree farm
  • - fishing place
  • - flag
  • - floor sign
  • - wall sign
  • - lamp
  • - wall lamp
  • - ceiling lamp
  • - bed
  • - black chair
  • - leather chair
  • - shelf
  • - iron table
  • - table
  • - closet
  • - carpet
  • - pot of basil
  • - potted cactus
  • - pot of canna
  • - pot of heart leaf
  • - large pot of heart leaf
  • - small zombie head stand
  • - medium zombie head stand
  • - meat mallet (trap)
  • - grinder (trap)
  • - spiked floor (trap)
  • - pusher (trap)
  • - compressor (trap)
  • - guillotine (trap)
  • - spike launcher
  • - trebuchet
  • - ankle trap
  • - trap door (floor)
  • - barrel bomb
  • - land mine
  • - small animal trap
  • - mid-sized animal trap
  • - bird house

https://www.youtube.com/watch?v=qMsWAKxo6gc

In order to unlock more buildings, follow the main quest line given to you by Veronica Grimes. She will lead you through several dungeons and you will have to kill several boss zombies. Each boss that you kill will unlock more buildings, until all of the buildings have been unlocked.

* If you don't like buildings being locked behind quests, you can change it in the difficulty settings. Simply make sure you're set to a CUSTOM game then look to the DETAILS tab. You can check the box there that says Unlock All Buildings.


Getting Started
There are a couple ways to play this game but none of them involve avoiding the hoard. The hoard always knows where you are. You can't hide from them. They will just continue to pile up, night after night and fight to get to you no matter what. This means that we're going to want a base of sorts, with traps, to deal with the wave.

First, wherever I spawn, I just start following that tutorial. Those NPC's talking to me. It's going to unlock my buildings and my abilities to do things like the main quest objectives. Then I try to get to my base location and start building it. Sometimes my base location is out of the starting area. In this case I build a temporary base in the starting area that I'll later deconstruct and relocate to the permanent location.

You can hunker down in an emergency the first few nights, inside a house or something with only 1 entrance (2 is preferable, to have an escape route in emergency). All you need to do is leave the front door wide open and build like 2 or 3 (if you can) guillotine traps in front of the doorway. Now mobs will have a much harder time making it in to you.

So that's what I do, I head for my build site, scavenge along the way and take what I can with me. If night falls before I reach the site then I'm building a temporary "pop-up" base to survive the night in, and once the wave is over, that base gets deconstructed and carried onwards.

I'm not really trying to build anything permanent until I get to where I'm going. If I find that I'm carrying too much stuff I build some containers that are easy to find from the street (like alongside the street), and dump the least important stuff in there and move on. I intend to come back for that stuff someday in the truck which can haul it all.

You can really only get away with the pop-up base tactic for the first couple of days. Once the waves start to get heavy you really have to have a bigger and more stable base, and breaking it down to move it becomes too much of a chore. I do sometimes spend awhile at a base then decide to move later in the game when I have the materials and the means. I'll deconstruct the base and move it to a new location.

You can survive by living on rooftops of indestructible buildings, but you'll still need a maze of traps on the ground to take care of the zombie spawns. Otherwise you're going to be spending the whole day mopping up the hoard once the wave is over. With my strategy, you can have the entire hoard dead by hour 2 or 3 and have the rest of the day to do whatever you want. If you'd like to know how to do that, then keep reading. I'm going to go into more detail.

Using existing structures is smart too because you can build a setup that requires less materials to build. I personally like the idea of building my own "tower" and defending it, so the guide will largely follow that routine. Besides, relying on structures means you have to be in the city or town. With my strategy you can survive in the woods or anywhere, including the city.


🌊Surviving the Waves

SURVIVING NIGHT 1:

Be able to build a few traps on a foundation to survive the first night. I made like 4 or 5 traps my first night. You will have to scavenge the copper to make the other trap machines. On normal difficulty, the wave is so easy that I was able to survive it with only 2 traps. They only send light zombies at you the first night, and one heavy zombie at the end.

Traps all have "charges" that can run out. Normal traps can be reloaded using branches. Upgraded traps can be reloaded using cells. Traps that are connected to power will run on power and will not use cell charges.

Make sure that the zombies always have a clear, unobstructed (tall enough to fit under) path to you and that you don't lock yourself behind a door. Otherwise instead of pathing to you they will destroy whatever object you built that they come in contact with first. If you leave an open path to you, the zombies will foolishly kill themselves running through traps to try and get to you. With a clear path through sufficient traps they will all self-terminate by hour 3, leaving you to enjoy the rest of your day.

Simply set up an area that you can control. I like to build foundations because you can build them anywhere and because it creates a flat building surface that I can measure. You can build them high enough that they can't climb or jump up onto. Once you start building traps on foundations you realize that most traps are the size of foundations anyways and will snap to them as well. A lot of people like to use the indestructible buildings as a way to create choke points. I've played in buildings too, it's fun, but I still like the ability to completely control my environment.

I lay out a line of foundations maybe like 10 long. Build them high enough that a zombie can't walk onto it. I stand at one end, put stars leading up to it at the other end and fill the space between with traps. The zombies will walk to you no matter what, even if it means killing themselves on the traps to get to you. Just use yourself as the bait. You can survive until night 4 like this.

Some people like to use the wave as a way to level up. So, you could design a trap maze where only 1 or 2 traps damage zombies then there's a clearing where you stand and finish them off. You can put more traps behind you in case things get hairy you can dive backwards and be behind more traps. If you have the ammo to spare, you can use a machine gun to mow down critters as they approach the maze and score your kills even before they climb up the stairs. You do not get experience points for critters that your traps kill, so it isn't a bad idea to use waves as a way to level up.

Here are a few screenshots of my base as it starts out for the first night and progresses through the next few nights.
* If you're busy building a wooden base and it catches fire, the best way to deal with it is to upgrade the base to stone if you can, ahead of the fire, so that the fire can't spread that way. Once you have the fire boxed in like this, then you can go and put it out using branches.


NIGHT 4:

On night 4 they send the first exploding zombies at you so upgrade your base to stone before day 4 wave so the exploding zombie doesn't cause a fire to burn down your wooden base. You don't have to upgrade the whole thing but at least make the blast zone area stone.

Now, when we say "night 4" we kinda mean night 3 actually. It's night 3 that you'll want to start worrying about this. We call it night 4 because as soon as your clock says DAY 4 on it that's when the wave is heading your way.

Here are a couple example screenshots of a small base I was able to come up with by night 4.

The thing worth talking about here is the use of a pusher trap or trap floor. The pendulum and springboard are not reliable enough to use for this trick. What we're trying to do is create a loop. Basically the zombies enter the maze of traps, take a beating then get pushed off to have to run it again if they managed to survive the first pass through the maze. You can deal more damage with less materials this way because you can use the same traps repeatedly to damage the same zombies again and again. If you're planning to loop the giant zombies, remember that traps with a height limit won't work. You'll want to stuck to open height traps like spike floors.

Then you just create an area at the end where you stand and fight any critters tough and lucky enough to make it past all the traps. Later on you can put a bait trap there instead of having to always stand there so that you can putter around and do more important things than be the bait.

NIGHT 6:
Build an MRL or another heavy turret (mortar or minigun) before the night 6 wave to be able to defeat the giant zombie who's coming. This is mostly going to help on harder difficulties. If you didn't make it that's OK, you can take down the first one you encounter with a lot of bullets. Be prepared though, you will now have to defeat at least 1 giant every-other night from now on.


If you're looping the giant, try putting some ballista or something inside some walls so that it only shoots the giant while it's inside that zone. Also, you'll want to know that you can't loop a giant using a trap floor, because he will just walk across it. You also can't use the pusher trap because it doesn't push with enough force to shove a giant over the edge.

The only way I have found so far to dump a giant off of a platform has been the treadmill trap. Just put a bait and a treadmill right next to each other. Use walls on 3 sides to enclose the bait and keep it open only on one side. That's where you want the treadmill. The giant will stand on the treadmill attacking the bait and you can just dump him right over the edge back down to the maze again.


* Giants might drop a chip. These special chips are used to craft things such as plasma swords.


You will notice as the nights go by that the game sends more and more zombies to you. Not only that but they send more and more heavy zombies. This increase in strength will continue to test your base design. The devs have said that the waves continue to get harder until day 300 at which point you have reached the hardest available strength and it will then repeat the strength 300 wave.
🔎Research 1


Doing research is critical to having a good character. I'm going to list the research you can do, what's required to do it and what you get when it's complete.

First, let's have a look at the current research tree. It's broken down into 5 categories: Survival, Skill, Combat, Utility and Cell. The amount of research data to learn a skill depends on your game diffculty, so I will not list absolute numbers here. The tables will simply say "data".


This icon represents that a planted book and data is required. Planted books are found at specific locations on the map. See the BOOKS sections for details.

This icon represents that a shelved book and data is required. Shelved books can be found throughout the map on bookshelves but certain books can only be found in certain areas. See the BOOKS sections for details.

This icon represents the books you only get from graduate zombies. See the BOOKS sections for details.

This icon represents the need for a muscle neural network chip. These can only be obtained by purchasing them from a biology kiosk. See the kiosk sections for more details.


Survival
Skill
Cost
Benefit
Forest Worker
data
5% damage to trees
Quarry Worker
data
5% damage to boulders
Mine Worker
data
5% damage to ore
Master Worker
5% damage to trees, boulders and ore
Logging Expert
+5% woodcutter's axe attack speed
Mining Expert
data
+5% pickaxe attack speed

Skill
Cost
Benefit
Novice Porter
data
+12 inventory slots
Porter
+12 inventory slots
Veteran Porter
+12 inventory slots
Master Porter
+12 inventory slots
Legendary Porter
+12 inventory slots
Novice Scavenger
data
+30% completion speed
Scavenger
+30% completion speed
Veteran Scavenger
data
+40% completion speed
Petty Thief
data
prevents door alarms
Car Thief
prevents car alarms and enables steal vehicle

Skill
Cost
Benefit
Novice Angler
data
+5% fishing bar size
Angler
+5% fishing bar size
Pro Angler
data
+10% fishing bar size
Champion Angler
data
+10% fishing bar size
Ecologist
-10% fishing time
Marine Ecologist
data
-10% fishing time

Skill
Cost
Benefit
Junior Builder
data
+20% build speed & +20% upgrade speed
Builder
data
+20% build speed & +20% upgrade speed
Senior Builder
data
+30% build speed & +30% upgrade speed
Master Builder
+30% build speed & +30% upgrade speed
Novice Demolitionist
data
+20% demolish speed & +10% materials returned
Demolitionist
+20% demolish speed & +10% materials returned
Senior Demolitionist
data
+30% demolish speed & +15% materials returned
Veteran Demolitionist
data
+30% demolish speed & +15% materials returned


Skill
Skill
Cost
Benefit
Engineering Graduate
data
Enable crafting of: tape, gear, trap machine
Engineer
Enable crafting of: battery, motor, wrench and wire connector
Researcher
data
Enable crafting of: transistor, varistor, pulse transformer
Senior Researcher
Enable crafting of: quantum circuit
Doctor of Engineering
Enable crafting of: power drill
Master Mechanic
Enable crafting of: engine
Senior Technician
data
Enable crafting of: electric plate, electronic circuit, switch
Master Technician
Enable crafting of: solenoid

Skill
Cost
Benefit
Vehicle Engineer
Enable crafting of: V12 engine
Veteran Vehicle Engineer
Enable crafting of: turbo charger
Master Vehicle Engineer
Enable crafting of: thruster
🔎Research 2

Skill
Cost
Benefit
Junior Chemist
data
Enable crafting of: upgraded ballista bolt, minigun ammo, trap mod: armor and trap mod: plate
Chemist
data
Enable crafting of: trebuchet bomb, mortar ammo, trap mod: blade and trap mod: sting
Senior Chemist
Enable crafting of: MRL ammo & trap mod: core
Master Chemist
data
Enable crafting of: railgun ammo

Skill
Cost
Benefit
Junior Blacksmith
data
Enables crafting of: Machete, Spear, Handmade Machine Gun & Re-forge equipment to level 4
Blacksmith
Enables crafting of: Handmade Shotgun, Throwing Axe, Gas Mask & Re-forge equipment to level 6
Senior Blacksmith
Enables crafting of: Handmade Sniper Rifle, Dynamyte & Re-forge equipment to level 8
Master Blacksmith
Re-forge equipment to level 10
Futuristic Weapon Researcher
Enables crafting of: Plasma Sword, Plasma Longsword and Plasma Shield

Skill
Cost
Benefit
Natural Human
data
Enables crafting of: Manure & +30% sow speed
Farmer
data
Enables crafting of: Fertilizer & +30% sow speed
Botanist
Enables crafting of: Natural Pesticide & +40% sow speed

Skill
Cost
Benefit
Gourmet
data
Enables crafting of: cooking oil, sausage, dough
Food Researcher
Enables crafting of: high-calorie cookie, donut, sandwich, meat stew
Cook
data
Enables crafting of: spicy fish stew, pizza, pasta, ramen
Chef
data
Enables crafting of: birthday party set, burger set, steak platter


Combat
Skill
Cost
Benefit
Assault Soldier
data
+2 damage, +2 attack speed
Recruit
+3 ranged weapon damage
Private
data
+4 ranged weapon damage
Corporal
data
+5 ranged weapon damage
Sergeant
+6 ranged weapon damage
Lieutenant
+10% aim speed & +10% reload speed
Captain
data
+15% aim speed & +15% reload speed
General
data
+25% aim speed & +25% reload speed
Marshal
+30% aim speed & +30% reload speed
Tactician
+2 damage, +2 attack speed
Special Forces
data
+2 damage, +2% attack speed
Novice Warrior
+5 melee weapon damage
Warrior
data
+6 melee weapon damage
Senior Warrior
data
+7 melee weapon damage
Master Warrior
+8 melee weapon damage
Young Blade
+2% melee weapon attack speed
Quick Blade
data
+2% melee weapon attack speed
Phantom Blade
data
+2% melee weapon attack speed
Master Blade
+4% melee weapon attack speed

Skill
Cost
Benefit
Philosophy Graduate
data &
x1
+5% damage
Junior Philosopher
data &
x1
+5% damage
Philosopher
data &
x1
+5% damage
Senior Philosopher
data &
x2
+5% damage
Veteran Philosopher
data &
x2
+5% damage
Doctor of Philosophy
data &
x5
+10% damage
Mathematics Graduate
data &
x1
+5% ranged weapon damage
Junior Mathematician
data &
x1
+5% ranged weapon damage
Mathematician
data &
x1
+5% ranged weapon damage
Senior Mathematician
data &
x2
+5% ranged weapon damage
Doctor of Mathematics
data &
x2
+5% ranged weapon damage
Physics Graduate
data &
x1
+15% melee weapon damage
Junior Physicist
data &
x1
+15% melee weapon damage
Physicist
data &
x1
+15% melee weapon damage
Senior Physicist
data &
x2
+15% melee weapon damage
Doctor of Physics
data &
x2
+15% melee weapon damage
🔎Research 3

Skill
Cost
Benefit
Novice Guard
data
+20 protection
Guard
data
+20 protection
Senior Guard
data
+20 protection
Veteran Guard
+20 protection
Medic
data
+20% HP recovery from items, -25% crash damage
Doctor
+30% HP recovery from items, -25% crash damage
Novice Martial Artist
data
+5 HP
Martial Artist
data
+5 HP
Senior Martial Artist
data
+10 HP
Veteran Martial Artist
data
+10 HP
Young Spartan
data
+10 kick damage, -5% kick stamina usage
Spartan
+10 kick damage, -5% kick stamina usage
Veteran Spartan
data
+15 kick damage, -10% kick stamina usage
Spartan Supreme
data
+15 kick damage, -10% kick stamina usage

Skill
Cost
Benefit
Novice Riot Police
data
+40% guard point regeneration, -5% guard point loss
Riot Police
data
+40% guard point regeneration, -10% guard point loss
Senior Riot Police
data
+50% guard point regeneration, -15% guard point loss
Veteran Riot Police
+70% guard point regeneration, -20% guard point loss
Novice Bodyguard
+5% parry rate, +5% parry range
Bodyguard
data
+5% parry rate, +5% parry range
Senior Bodyguard
data
+5% parry rate, +10% parry range
Master Bodyguard
data
+5% parry rate, +10% parry range


Utility
Skill
Cost
Benefit
Novice Diver
data
+5% stamina regeneration
Junior Diver
data
+10% stamina regeneration
Diver
+15% stamina regeneration
Senior Diver
data
+20% stamina regeneration
Novice Fighter
data
-6% attack stamina usage
Fighter
data
-8% attack stamina usage
Senior Fighter
data
-10% attack stamina usage
Master Fighter
-12% attack stamina usage
Novice Acrobat
data
-6% dodge stamina usage
Junior Acrobat
data
-8% dodge stamina usage
Acrobat
data
-10% dodge stamina usage
Senior Acrobat
data
-12% dodge stamina usage

Skill
Cost
Benefit
Jogger
data
+7% movement speed
Runner
+7% movement speed
Marathoner
data
+7% movement speed
Jumper
data
+5% jump power & -20% jump stamina usage
Long Jumper
data
+5% jump power & -20% jump stamina usage
High Jumper
data
+5% jump power & -20% jump stamina usage
Champion Jumper
+5% jump power & -20% jump stamina usage
Junior Secret Agent
data
-5% noise
Secret Agent
-5% noise
Veteran Secret Agent
data
-10% noise

Skill
Cost
Benefit
Novice Boxer
data
+5% evasion rate
Boxer
data
+5% evasion rate
Pro Boxer
+10% evasion rate
Champion Boxer
data
+10% evasion rate

Skill
Cost
Benefit
Novice Dieter
data
-5% satiety reduction
Dieter
data
-5% satiety reduction
Veteran Dieter
data
-10% satiety reduction
Master Dieter
data
-10% satiety reduction

Skill
Cost
Benefit
Animal Hunter
data
+10% damage to animals
Zombie Hunter
+10% damage to zombies
Human Hunter
data
+10% damage to humans


Cell
Skill
Cost
Benefit
Herbalist
+50% poison resistance
Electrician
+50% lightning resistance
Firefighter
+50% fire resistance
Snowboarder
+50% cold resistance
Demolition Expert
+50% explosion resistance
Hazardous Materials Specialist
+50% chemical gas resistance
Hematologist
0.5% damage leeched as HP
Golfer
+5% chance to smash
Stuntman
5% chance of invincibility for 3 seconds when damage taken
📚BOOKS [1]: Central Grassland


BOOKS PLANTED AT SPECIFIC LOCATIONS:
Here's a nice timestamped video of me collecting all the books if you'd rather watch that:

I'm going to break down book hunting into areas. I've marked 5 distinct areas to collect books from. I've numbered the books in the order you should collect them in, in a normal game. You should naturally encounter the books more or less in this order anyways.


First let's look at area 1. It's generally the area where you spawn.
There are 5 books you should collect from this area before moving on to the next area.
#
Book Name
Research
Location
Coordinates
Notes
1
Animalpedia: Beaver
Logging Expert
Church
45.18 N, 164.98 E
2
Jiang Ziya's Fishing Secret
Angler
Supermarket
45.37 N, 165.12 E
3
Calisthenics
Porter
Factory
45.84 N, 165.17 E
inside a train container
4
Survival Food Recipes
Food Researcher
Military Base
46.25 N, 165.77 E
upstairs
5
Polymer Chemistry
Engineer
Checkpoint
46.73 N, 166.18 E


Church
Animalpedia: Beaver


Supermarket
Jiang Ziya's Fishing Secret


Factory
Calisthenics


Military Base
Survival Food Recipes


Checkpoint
Polymer Chemistry

📚BOOKS [2]: Eastern Grassland
Area 2 is a bit larger, more spread out area. It's the new city, and it's called the Eastern Grassland. There are 6 books located here.
#
Book Name
Research
Location
Coordinates
Notes
6
Internal Combustion Engines
Master Mechanic
Parking Garage
47.38 N, 167.36 E
ground floor just inside main vehicle door in a small room behind a closed door
7
Recycle Method
Demolitionist
Swimming Pool
47.75 N, 168.03 E
8
24 Volumes on Military Strategy
Blacksmith
Mine
45.38 N, 169.58 E
on a crate at the mine entrance
9
Weight Training Guide
Veteran Porter
Fire Station
46.07 N, 170.36 E
10
The Boy Scout Rule
Scavenger
Bank
45.87 N, 171.02 E
in an office room
11
Economics of Nature
Ecologist
Fishing Lodge
43.77 N, 171.39 E
first bungalow on the left


Parking Garage
Internal Combustion Engines


Swimming Pool
Recycle Method


Mine
24 Volumes on Military Strategy


Fire Station
Weight Training Guide


Bank
The Boy Scout Rule


Fishing Lodge
Economics of Nature
📚BOOKS [3]: Desert
Area 3 is the largest area to cover and the first special "biome" that you should encounter in a normal game. Welcome to the desert.
#
Book Name
Research
Location
Coordinates
Notes
12
Quantum Physics for Materials
Senior Researcher
Checkpoint
43.49 N, 170.04 E
13
The Old Man and the Sea
Vehicle Engineer
Shipyard
42.27 N, 171.01 E
14
Encyclopedia of Ammunition
Senior Chemist
Military Base
41.18 N, 169.4 E
15
Free Weight Exercise
Master Porter
Factory
40 N, 168.56 E
16
Jack and the Beanstalk
Botanist
Oil Refinery
38.74 N, 165.27 E
17
Nobel Peace
Senior Blacksmith
School
40.46 N, 166.32 E
upstairs in the library


Checkpoint
Quantum Physics for Materials


Shipyard
The Old Man and the Sea


Military Base
Encyclopedia of Ammunition


Factory
Free Weight Exercise


Oil Refinery
Jack and the Beanstalk


School
Nobel Peace
📚BOOKS [4-5]: West Grassland & Snowfield
Area 4 is in what I call the toxic biome because everything there wants to poison you. The game calls this area "Western Grassland". A new book was added to this region so let's look at that first.

#
Book Name
Research
Location
Coordinates
Notes
A
Machine Component Design
Doctor of Engineering
Paradise Motel
40.22 N, 162.32 E
main office on the counter

Now let's take a look at the rest of the area.


#
Book Name
Research
Location
Coordinates
Notes
18
Great Thief Motor
Car Thief
Car Showroom
42.57 N, 160.18 E
in one of the small office rooms
19
Architecture
Master Builder
Airport
42.56 N, 159.03 E
ground floor lobby to the left on the table
20
Powerlifting Program
Legendary Porter
Factory
42.22 N, 159.13 E
21
Nanjung Ilgi: War Diary of Admiral Yi Sun-sin
Veteran Vehicle Engineer
Harbor
41.33 N, 159 E
in a trailer
22
Muscle Memory Training
Master Worker
Fire Station
43.83 N, 159.57 E
23
Organic Electronic Materials
Master Technician
Psychiatric Hospital
44.06 N, 160.07 E
ground floor in a restroom
24
Hephaestus Mythology
Master Blacksmith
Military Base
45.27 N, 155.89 E
might be floating in the air in front of a desk


Car Showroom
Great Thief Motor


Airport
Architecture


Factory
Powerlifting Program


Harbor
Nanjung Ilgi: War Diary of Admiral Yi Sun-sin


Fire Station
Muscle Memory Training


Psychiatric Hospital
Organic Electronic Materials


Military Base
Hephaestus Mythology


BOOKS [area 5]: Snowfield
The final area only has 2 books but they're both way underground and stupid hard to get to without dying, so build a bed, like, at the entrance. You know, just in case.
#
Book Name
Research
Location
Coordinates
Notes
25
Cold War and Technology
Master Vehicle Engineer
Underground Tunnel
49.82 N, 164.07 E
26
Battle of the Space
Futuristic Weapon Researcher
Research Facility
51.67 N, 165.64 E


Underground Tunnel
Cold War and Technology


Research Facility
Battle of the Space

📚BOOKS: Shelved & Carried
BOOKS FOUND ON BOOKSHELVES:
You are looking for this type of shelf. No other type of container has books in it.
Book Name
Research
Location
Coordinates
Weapon Training
Marshal
Bookshelf
Snowfield
Fencing Manual
Master Blade
Bookshelf
Snowfield
Thor's Lightning
Master Fighter
Bookshelf
Snowfield
Shortest Dunkers in the World
Champion Jumper
Bookshelf
Snowfield
Medieval Martial Arts
Master Warrior
Bookshelf
Snowfield, Western Grassland
Dongui Bogam: Eastern Medicine
Doctor
Bookshelf
Snowfield, Western Grassland
How to Become a Better Lineman
Veteran Guard
Bookshelf
Snowfield, Western Grassland
Defense is the Best Attack
Veteran Riot Police
Bookshelf
Snowfield, Western Grassland, Desert
Arsene Lupin Gentleman Cambrioleur
Secret Agent
Bookshelf
Snowfield, Western Grassland, Desert
Cat Physics
Pro Boxer
Bookshelf
Snowfield, Western Grassland, Desert
Time Flow
Diver
Bookshelf
Snowfield, Western Grassland, Desert
The Analects of Confucius
Zombie Hunter
Bookshelf
Snowfield, Western Grassland, Desert, Eastern Grassland
Poetics
Spartan
Bookshelf
Snowfield, Western Grassland, Desert, Eastern Grassland
Close-order Drill
Lieutenant
Bookshelf
Snowfield, Western Grassland, Desert, Eastern Grassland
Billy the Kid
Sergeant
Bookshelf
Snowfield, Western Grassland
King Arthur
Young Blade
Bookshelf
Snowfield, Western Grassland, Desert, Eastern Grassland
Life is a Marathon
Runner
Bookshelf
Snowfield, Western Grassland, Desert, Eastern Grassland
The Art of War
Tactician
Bookshelf
islandwide
Robin Hood
Recruit
Bookshelf
islandwide
Baseball Science
Novice Warrior
Bookshelf
islandwide
Battle of Thermopylae
Novice Bodyguard
Bookshelf
islandwide

BOOKS FOUND ON ZOMBIES:
Book Name
Research
Location
Notes
Graduation Thesis
Philosophy Graduate
anywhere islandwide
Running Backpack Student commonly found near schools or high rise buildings.🎓

You're looking for the zombie that looks like this:👨‍🎓


It will spawn near to you while you're in the world and start running.
It's up to you to notice it before it gets away.

- Note: Graduate Zombie will try to stay 200 units away from the player.
- After running awhile the graduate zombie will stop and take a short breath.

* Good places to hunt this zombie:
- Near schools, research centers, or areas of education or high knowledge.
- Near ports of transit; harbors, airports, bus stations.
- Near high-rise apartment buildings.
- On or near roads, these zombies don't usually spawn in remote areas.
🤸‍♀️Stats & Skills

Notes:
- "Upon Zombie Kill" is only affected to drop-rates for zombie kills and the "Item Obtained Amount" in server settings is for all item drop-rate (looting, breaking, zombie kill, etc.)


When you create a new character you will first be brought to the character customization screen. From here you can make your character look how you want, within the game's current limitations.


Once you click NEXT you are brought to the employment screen where you pick what type of stats your character starts with. By default you will be unemployed (if you choose nothing) and your available trait points will be 20. All of your stats will start at 1. This means that you have 20 points to spend on positive traits, and if you're willing to take on some negative traits, then you can gain even more points to spend.


First let's have a peek at the jobs you can take and the differences between them. Don't ask how much of an effect each trait gives, we don't know. The developers don't release the numbers to us and they likely change from one update to another.

Unemployed
Chosen Trait: Common Person (no trait) -0
Available Points: 20

Starting Stats: (6)
Strength: 1
Vitality: 1
Endurance: 1
Judgment: 1
Memory: 1
Attention: 1

Civil Servant
Chosen Trait: Diligent (+Completion Speed +Equip. Drop Rate) -5
Available Points: 15

Starting Stats: (10)
Strength: 1
Vitality: 1
Endurance: 1
Judgment: 4
Memory: 1
Attention: 2

Angler
Chosen Trait: Fine Sense (-Fishing Time +Fishing Bar Size) -5
Available Points: 15

Starting Stats: (10)
Strength: 2
Vitality: 1
Endurance: 2
Judgment: 1
Memory: 2
Attention: 2

Researcher
Chosen Trait: Creative (+Experience Gain +Critical Chance) -6
Available Points: 14

Starting Stats: (12)
Strength: 1
Vitality: 1
Endurance: 1
Judgment: 2
Memory: 5
Attention: 2

Marathon Runner
Chosen Trait: Great Willpower (+Stamina Regeneration +Movement Speed) -6
Available Points: 14

Starting Stats: (12)
Strength: 2
Vitality: 2
Endurance: 5
Judgment: 1
Memory: 1
Attention: 1

( SCROLL DOWN IN-GAME IF YOU DON'T SEE THE REST )

Forwarder
Chosen Trait: Organized (+Inventory Slots) -6
Available Points: 14

Starting Stats: (12)
Strength: 4
Vitality: 2
Endurance: 2
Judgment: 1
Memory: 2
Attention: 1

Soldier
Chosen Trait: Marksmanship (+Ranged Weapon Damage -Ranged Weapon Recoil) -7
Available Points: 13

Starting Stats: (14)
Strength: 3
Vitality: 3
Endurance: 3
Judgment: 2
Memory: 1
Attention: 2

Hunter
Chosen Trait: Hunting Knowledge (+Damage to Animals +Damage to Humans) -7
Available Points: 13

Starting Stats: (14)
Strength: 2
Vitality: 2
Endurance: 2
Judgment: 1
Memory: 3
Attention: 4


Now let's have a look at those traits you can choose:

Positive Traits
- Steel Stomach -2 (+HP recovery from items)
- Two Hearts -2 (+Stamina regeneration)
- Creative -2 (+Demolish speed)
- Left-Handed -2 (+Parry range)
- Low Voice -3 (-Noise)
- Low Weight -3 (+Jump Power)
- City Friendly -3 (+Damage to trees, boulders & ore)
- Hyperopia -3 (+Ranged weapon damage)
- Thick Skin -3 (-Damage taken)
- Good Posture -3 (-Attack / Dodge stamina usage)
- Good Wits -3 (+Parry rate)
- From the Alley -3 (+Completion speed)
- Evil Nature Principal -4 (+Damage to zombies)
- Speedster -4 (+Movement speed)
- Big Bones -4 (+Damage)
- Fast Hands -4 (+Attack Speed)
- Quick Movement -4 (+Evasion rate)
- Environmental Protection -4 (+Materials returned after demolishing)
- Sharp Nails -5 (+Critical chance)
- IQ 150 -5 (+Experience gain)
- Kleptomania -5 (+Equip drop rate)

Negative Traits
- Indigestion +1 (-HP recovery from items)
- Asthma +1 (-Stamina regeneration)
- Loud Voice +2 (+Noise)
- Obesity +2 (-Jump power)
- Eco Friendly +2 (-Damage to trees, boulders & ore)
- Myopia +2 (-Ranged weapon damage)
- Thin Skin +2 (+Damage taken)
- Bad Posture +2 (+Attack / Dodge stamina usage)
- Good Nature Principal +3 (-Damage to zombies)
- Flat Feet +3 (-Movement speed)
- Weakling +3 (-Damage)
- Slow Hand +3 (-Attack Speed)
- Clumsy Movement +3 (-Evasion rate)
- IQ 50 +4 (-Experience gain)
- Forgetfulness +4 (-Equip drop rate)


Let's have a look at the stats screen now. You can open this screen by pressing your "Character Information" button. If you're not sure which button this is, check the game settings.


Each time you gain a level, you will gain a stat point. Each stat point can be used to increase a stat by one level. Each stat has traits that change based on the stat level. Currently, the maximum obtainable level is 99.

Strength
+ Damage
+ Jump Power

Vitality
- Attack / Dodge stamina usage

Endurance
- Damage taken
+ Stamina regeneration

Judgment
+ HP recovery from items
+ Evasion rate

Memory
+ Damage to trees, boulders & ore
+ Damage to zombies

Attention
- Noise
+ Movement speed

* If you want to reset your stat point distribution later, you can do so by crafting a "Golden Koi Soup"

If you press the green COILS button it will let you access the coils screen where you can configure coils and enable special skills.


See the COILS section for more details.

🏹Gear


UPGRADING GEAR:

Ammo Bag / Food Bag / Material Bag:

Q.) How do I upgrade my gear and storage packs?

A.) Your carry bags can be upgraded along with basic gear at the Equipment Workbench.
All mechanical weapons such as guns and heavy armors can be upgraded at the Mechanical Equipment Workbench.

If you want to upgrade all 3 of your bags to the maximum level, you will need to amass the following materials:

  • 3 fox skin
  • 3 rabbit skin
  • 3 boar skin
  • 3 pig skin
  • 3 stag skin
  • 3 deer skin
  • 3 bear skin
  • 3 crocodile skin
  • 3 lion skin
  • 3 goat skin
  • 3 rhino skin
  • 3 wolf skin
  • 3 elephant skin
  • 3 sheep skin
  • 36 pieces of iron
  • 9 leather
  • 51 bone
  • 165 tape
  • 36 copper wire
  • 12 aluminum ingot
  • 6 duralumin ingot
  • 6 titanium alloy ingot
  • 3 titanium gold ingot
  • 9 titanium ingot


Here it is broken down, level by level.

Level 1:
  • 1 tape
  • 2 pieces of iron

Level 2:
  • 1 bone
  • 1 leather
  • 2 tape
  • 4 pieces of iron

Level 3:
  • 2 bone
  • 2 leather
  • 3 tape
  • 6 pieces of iron

Level 4:
  • 1 fox skin
  • 1 rabbit skin
  • 2 bone
  • 4 tape
  • 1 copper wire
  • 1 aluminum ingot

Level 5:
  • 1 boar skin
  • 1 pig skin
  • 2 bone
  • 5 tape
  • 1 copper wire
  • 1 aluminum ingot

Level 6:
  • 1 stag skin
  • 1 deer skin
  • 2 bone
  • 6 tape
  • 1 copper wire
  • 1 duralumin ingot
  • 1 aluminum ingot

Level 7:
  • 1 bear skin
  • 1 crocodile skin
  • 2 bone
  • 7 tape
  • 2 copper wire
  • 1 duralumin ingot
  • 1 aluminum ingot

Level 8:
  • 1 lion skin
  • 1 goat skin
  • 2 bone
  • 8 tape
  • 2 copper wire
  • 1 titanium alloy ingot
  • 1 titanium ingot

Level 9:
  • 1 rhino skin
  • 1 wolf skin
  • 2 bone
  • 9 tape
  • 2 copper wire
  • 1 titanium alloy ingot
  • 1 titanium ingot

Level 10:
  • 1 elephant skin
  • 1 sheep skin
  • 2 bone
  • 10 tape
  • 3 copper wire
  • 1 titanium gold ingot
  • 1 titanium ingot

Disassembly
I want to mention two methods of recycling gear that you don't need. Disassembling and Reassembly.

First, disassembling can be done from almost any workbench that you can handle equipment on (just not the one that's used for reassembly). Simply look for the red recycle icon at the top on the right. It's usually the last tab on the screen.


From that screen, you can select the piece of equipment that you want to break down. Doing so will destroy the item but give you a crafting material in return. It depends what the item is. Sometimes you get back an aluminum ingot, sometimes a magnesium one. Sometimes just a piece of rubber. It depends what you're disassembling.


Reassembly
The next thing to look at is reassembly. This takes place specifically on the Coil Workbench.


Again it is the last tab on the screen to recycle items. Reassembly requires 5 items be recycled into 1 item. Therefore pick 5 items you don't need and re-roll them to see if you have any luck getting something useful out of the process.

Look at the TIER number of each item. Putting 5 blue, tier 3 items into the slot will reroll them into one blue or yellow, tier 4 item. Using all grey and yellow items will produce the same results. Using mis-matched items will produce mixed results. Using low items will produce low items and vise-versa.


You can use this handy guide provided by RChang:
The equipment synthesis of the coil workbench depends on the score to determine the equipment tier. Generally speaking, items of the same level (4 blue + 1 white) (2 yellow + 3 white) (1 yellow + 2 blue + 2 white) can be synthesized to upgrade items to one level. The synthesized T6 equipment is 100% yellow.
T2: 29~46
T3: 47~64
T4: 65~82
T5: 83~99
T6: 100


Here is a list of all the unique (red) items you can find in the game. This only lists the names of the items.


Tier 2 items
Victor's Formal Hat
Victor's Formal Gloves
Vital Stinger
Mutated Rabbit Foot
Nutcracker
Devastation
Depletion
Holed Canteed
Walter's Tactical Baton


Tier 3 items
Rage Remover
Desert Strider
Desert Pathfinder
Desert Guardian
Desert Explorer
Gut Massager
Olivaire Church Catacomb's Cross
Victor's Handgun


Tier 4 items
Safety
Mutated Lion Head
Doberman
Berserker's Fury
David's Handgun
Bradley's Shovel


Tier 5 items
Bulldog
Distorted Space
General Gregory's Gauntlet
Torture Knife
General Gregory's Bow
General Gregory's Formal Shoes


Tier 6 items
David's Artificial Hand
Victor's Formal Uniform
Victor's Formal Shoes
Mutated White Bear Cloak
Francis's Bible
Bradley's Hammer
The Order of the Paladin's Pride
Nora's Pendant


📀 Coils 1


Your armor can also be equipped with coils. Having certain coils equipped will enable certain skills.

* When you find or create gear, it has a chance to come with coils already in it. You can not remove or modify these coils in any way. You can only add coils to empty slots.

Q.) How do I mod an armor with coils?
A.) From the Coil Workbench

SKILLS:

Cold
Level
Requirements
Gives Effects
1
+5 Memory & +5 Chilling coils
+5% chance of cold attack +1 Judgment
2
+20 Memory & +15 Chilling coils
+20% chance of cold attack +2 Judgment
3
+50 Memory & +30 Chilling coils
+50% chance of cold attack +5 Judgment

Pierce
Level
Requirements
Gives Effects
1
+5 Attention +5 Endurance & +5 Lightning coils +5 Fortress coils
+25% Headshot damage +1 Strength
2
+15 Attention +10 Endurance & +10 Lightning coils +10 Fortress coils
+50% Headshot damage +2 Strength
3
+30 Attention +30 Endurance & +20 Lightning coils +15 Fortress coils
+100% Headshot damage +5 Strength

Poison
Level
Requirements
Gives Effects
1
+5 Toxic coils & +5 Vitality
+5% Chance to poison when attacking +1 Judgment
2
+15 Toxic coils & +20 Vitality
+20% Chance to poison when attacking +2 Judgment
3
+30 Toxic coils & +50 Vitality
+50% Chance to poison when attacking +5 Judgment

Fire
Level
Requirements
Gives Effects
1
+5 Ignition coils +5 Strength
5% chance of fire attack +1 Judgment
2
+15 Ignition coils +20 Strength
20% chance of fire attack +2 Judgment
3
+30 Ignition coils +50 Strength
50% chance of fire attack +5 Judgment

Vital Attack
Level
Requirements
Gives Effects
1
+5 Ignition coils +5 Lightning coils +5 Strength +5 Attention
2% chance of critical +1 Endurance
2
+10 Ignition coils +10 Lightning coils +15 Strength +10 Attention
5% chance of critical +2 Endurance
3
+20 Ignition coils +15 Lightning coils +30 Strength +30 Attention
15% chance of critical +5 Endurance

Lightning
Level
Requirements
Gives Effects
1
+5 Lightning coils +5 Attention
5% chance for lightning attack +1 Judgment
2
+15 Lightning coils +20 Attention
20% chance for lightning attack +2 Judgment
3
+30 Lightning coils +50 Attention
50% chance for lightning attack +5 Judgment

Fire Resistance
Level
Requirements
Gives Effects
1
+5 Strength +5 Judgment & +10 Ignition coils +5 Resistance coils
-20% fire damage taken +1 Strength
2
+15 Strength +15 Judgment & +15 Ignition coils +10 Resistance coils
-50% fire damage taken +2 Strength
3
+30 Strength +30 Judgment & +20 Ignition coils +15 Resistance coils
immune to fire damage +5 Strength

Cold Resistance
Level
Requirements
Gives Effects
1
+5 Memory +5 Judgment & +10 Chilling coils +5 Resistance coils
-20% cold damage taken +1 Memory
2
+15 Memory +15 Judgment & +15 Chilling coils +10 Resistance coils
-50% cold damage taken +2 Memory
3
+30 Memory +30 Judgment & +20 Chilling coils +15 Resistance coils
immune to cold damage +5 Memory

Lightning Resistance
Level
Requirements
Gives Effects
1
+5 Attention +5 Judgment & +10 Lightning coils +5 Resistance coils
-20% lightning damage taken +1 Attention
2
+15 Attention +15 Judgment & +15 Lightning coils +10 Resistance coils
-50% lightning damage taken +2 Attention
3
+30 Attention +30 Judgment & +20 Lightning coils +15 Resistance coils
immune to lightning damage +5 Attention

Explosion Resistance
Level
Requirements
Gives Effects
1
+5 Strength +5 Endurance & +10 Ignition coils +5 Fortress coils
-20% explosion damage taken +1 Attention
2
+15 Strength +15 Endurance & +15 Ignition coils +10 Fortress coils
-50% explosion damage taken +2 Attention
3
+30 Strength +30 Endurance & +20 Ignition coils +15 Fortress coils
immune to explosion damage +5 Attention

Poison Resistance
Level
Requirements
Gives Effects
1
+5 Vitality+5 Judgment & +10 Toxic +5 Resistance coils
+20% poison resistance +1 Vitality
2
+15 Vitality+15 Judgment & +15 Toxic +10 Resistance coils
+50% poison resistance +2 Vitality
3
+30 Vitality+30 Judgment & +20 Toxic +15 Resistance coils
+100% poison resistance +5 Vitality
📀 Coils 2


Parrying Upgrade
Level
Requirements
Gives Effects
1
+5 Memory +5 Endurance & +10 Fortress coils +5 Chilling coils
+25% Parry range +1 Vitality
2
+15 Memory +15 Endurance & +15 Fortress coils +10 Chilling coils
+100% Parry range +2 Vitality
3
+30 Memory +30 Endurance & +20 Fortress coils +15 Chilling coils
+250% Parry range +5 Vitality

Invincibility
Level
Requirements
Gives Effects
1
+5 Fortress coils & +5 Endurance
1% chance of invincibility for 3 sec. when damaged +1 Memory
2
+15 Fortress coils & +20 Endurance
3% chance of invincibility for 3 sec. when damaged +2 Memory
3
+30 Fortress coils & +50 Endurance
10% chance of invincibility for 3 sec. when damaged +5 Memory

Super Armor
Level
Requirements
Gives Effects
1
+5 Judgment & +5 Resist coils
+5% chance of stagger immune +1 Strength
2
+20 Judgment & +15 Resist coils
+20% chance of stagger immune +2 Strength
3
+50 Judgment & +30 Resist coils
+50% chance of stagger immune +5 Strength

Self-Healing
Level
Requirements
Gives Effects
1
+5 Memory +5 Vitality & +10 Chilling coils +5 Toxic coils
+1 HP/sec. +1 Endurance
2
+15 Memory +15 Vitality & +15 Chilling coils +10 Toxic coils
+3 HP/sec. +2 Endurance
3
+30 Memory +30 Vitality & +20 Chilling coils +15 Toxic coils
+10 HP/sec. +5 Endurance

Life Leech
Level
Requirements
Gives Effects
1
+5 Vitality +5 Endurance & +10 Toxic +5 Fortress coils
2% damage leeched +1 Judgment
2
+15 Vitality +15 Endurance & +15 Toxic +10 Fortress coils
4% damage leeched +2 Judgment
3
+30 Vitality +30 Endurance & +20 Toxic +15 Fortress coils
10% damage leeched +5 Judgment

Opportunity
Level
Requirements
Gives Effects
1
+10 Fortress coils +5 Resist coils +5 Endurance +5 Judgment
+10% Drop Rate +1 Vitality
2
+15 Fortress coils +10 Resist coils +15 Endurance +15 Judgment
+25% Drop Rate +2 Vitality
3
+20 Fortress coils +15 Resist coils +30 Endurance +30 Judgment
+75% Drop Rate +5 Vitality


I want to mention clay. Clay can be found fishing, or from breaking boulders, or from your stone mining machines. Clay can be used to craft a coil from scratch in case you're having trouble scavenging them in the world.
🔦Weapon Mods


WEAPON MODS
There are currently 22 different weapon mods in this game. There are mods for pistols, rifles, melee weapons and shields. Below is a table listing each mod and what it does along with which types of weapons it can be attached to, and where you might expect to find it.

In order to find weapon mods, look for this type of container only:


In order to attach mods to weapons, open your inventory screen, make sure to select HANDMADE and look for PARTS (the gear and screw icon).


MODS

MOD
BENEFITS
VALID WEAPONS
OBTAINABLE AREAS
Bolt Handle

Tier 2
-25% Durability Decrement
Shields only
Central and Eastern Grasslands
Thorn

Tier 4
+50% Parry Damage
Shields only
Desert and Western Grassland
Thorn Handle

Tier 2
+50% Stability
Most melee weapons
Central and Eastern Grasslands
Knuckle Handle

Tier 3
+5% Critical Rate
Most melee weapons
Eastern Grassland, Desert
Chain Handle

Tier 1
+5% Attack speed
Most melee weapons
Central Grassland
Clamp

Tier 2
-50% Durability Decrement
Most melee weapons
Central and Eastern Grasslands
Air Booster

Tier 3
+25% Knockback chance when attacking
Most melee weapons
Eastern Grassland, Desert
Electricity Generator

Tier 4
25% Shock chance when attacking
Most melee weapons
Desert, Western Grassland
Saw

Tier 1
40% Bleeding chance when attacking
Larger melee weapons only
Central Grassland
Poison Gas Emitter

Tier 4
25% chance to emit gas when attacking
Larger melee weapons only
Desert, Western Grassland
Electric Shocker

Tier 5
30% chance of electric explosion when attacking
Larger melee weapons only
Western Grassland, Snowfield
Dot Sight

Tier 2
+20% Ranged weapon aim speed +20% Aim stability
Most guns
Central and Eastern Grasslands
Hologram Sight

Tier 2
+20% Ranged weapon aim speed +20% Aim stability
Most guns
Central and Eastern Grasslands
x2 scope

Tier 3
x2 zoom
Most rifles, SMG's and pistols, no shotguns
Eastern Grassland, Desert
x4 scope

Tier 4
x4 zoom
Most rifles and pistols, no SMG's or shotguns
Desert, Western Grassland
x8 scope

Tier 5
x8 zoom
Rifles only (assault and sniper)
Western Grassland, Snowfield
x16 scope

Tier 6
x16 zoom
Rifles only (assault and sniper)
Snowfield only
Laser Sight

Tier 3
+25% Hip-fire stability
Most guns
Eastern Grassland, Desert
Tactical Light

Tier 2
Provides very bright, directional light.
Most guns
Central and Eastern Grasslands
Silencer

Tier 3
-15% Gunfire noise
Most guns, no shotguns
Desert, Eastern Grassland
Muzzle Brake

Tier 4
+25% Stability
Most guns, no shotguns
Desert, Western Grassland
Muzzle Booster

Tier 5
+25% Rate of fire
Most guns, no shotguns
Western Grassland, Snowfield


👤Character Builds


I want to show how you can build a gear set for a character. I'll only demonstrate with one outfit.


DROP RATE BUILD
First I was to take a look at the most important build because it will help you find more gear, the "drop rate" or DR build. Having an outfit that you can put on with high drop rate will help you to find more useful gear.

1.) In order to get a high drop rate, let's start with the armor itself. We're going to use the Desert Set because it was designed to boost your DR and it's also relatively easy to get compared to the other unique items. The desert set consists of an armor, helmet, gloves and boots. Each piece of the set boosts your DR by a random amount.

2.) The next thing you will want is a ring or bracelet. You can get 25% DR on a ring / bracelet.

3.) The next step is to find a mutated zombie rabbit and obtain the lucky knife it drops. Use that weapon to make your kills when you want a higher drop rate. You can get over 100% DR on a rabbit knife.

* UPDATE: Use the torture sword instead of the rabbit knife. You find this sword near the titanium mine during questing. It has the same or better DR but much higher damage.

4.) Try to get a canteen. This is what you wear on the belt slot. It's another unique item which can have up to 10% DR on it.

5.) Go hunting for mutated zombie bears some time in the snowfield. They can drop a pauldron with up to 25% DR on it.

6.) Put fortress and resist coils in your armor to get the skill Opportunity, level 3. You will get an additional 75% DR from this. You need 30 endurance and 30 judgement. You need 20 fortress and 15 resist coils in your gear.

7.) Cook and eat "ramen" at your cooking station. It's not that hard to make if you farm crops. It will add 20% to your DR for 12 hours.

8.) Cook and eat Japanese Food Set. It will add another 20% to your DR. It is easy to make if you enjoy fishing or if you're willing to buy the fish at a kiosk.

* Using this setup, my friend was able to obtain as much as 625% DR on his character. He wanted me to note however that the drop rate doesn't work entirely the way you'd think. Higher DR makes more items drop, but it doesn't necessarily make better items drop, if that makes sense.


If you're looking to build a very tough character that deals a lot of damage, you need to look for items with "wound reinforcement" on them. this single attribute can raise your damage levels to all time highs. If you need proof, simply build a punch machine.


🏅Combat

Welcome to the combat page. In this lesson I'm going to teach you a little bit about how the combat system works now.

Combo Attacks
Doing a combo attack isn't that hard but until you understand how it works, it could be confusing. When you're attacking a zombie, you will occasionally notice a red dot appear in its abdomen.


When this dot appears, kick or aim your weapon and stab it. Doing so will charge up a bonus point. As long as you keep fighting like that you can continue to charge up bonus points as long as they don't expire.

Once you're charged up some points, use your aim and stab attack or do another kick while they have no dot on them to unleash the combo attack.

If you special attack them with a kick or stab while the red dot is present, it will charge a bonus point.
If you special attack with a kick or stab when there's no dot, it will unleash your stacked combo attack.

The red dot only appears for a second so you have to have quick reflexes in order to hit it. When you see and hit a red dot, don't get greedy and try to stack 2 bonus points off 1 dot because the dot will vanish and your 2nd attack will unleash the combo.


☣️Surviving the World

The game world is dangerous but that mostly depends on your game settings. As you explore you will find harder and harder zombies. You will also run into problem like car and door alarms and other sounds that attract more zombies. There are also certain biomes that will damage you in different ways and require you to adapt a bit to the surroundings.

The map is laid out so that you have to travel around it in a spiral if you want to travel from spawn point all the way to the snowfield by land, following the roads (good for trucks). I've devised what I refer to as HIGHWAY 187. It is a path that I've calculated around the map, using the roads and it's the path that I clear when I'm planning to run a truck through for scavenging. The highway route looks like this:


If you want to run on foot or use a dirt bike, you can actually cross into the snowfield pretty easily by just crossing through the mountain range to the west of where you spawn. Later in the game you can build bridges where you need them or have a little more fun using the water craft that you can build.


Once you reach the desert biome you will notice that you're dying from the heat. In order to survive there you need to drink a fresh cola or a rotten cola that you found while scavenging or cook up a cold beverage on the crafting table. Another way to avoid this all-together is to get your fire resistance up to 100%. Then you won't take heat debuff nor will you have to drink a cold beverage.

Rotten Cola: 1 hour,
Fresh Cola: 6 hours,
Cold Drink: 12 hours.


Once you reach the toxic biome (the western grassland, between the desert and frozen biomes) you will notice that everything there is purple and can poison you. In order to survive this toxic area you need to drink an anti-toxin. Well you don't need to but it will certainly help.

Now, the rotten healthy juice that you find deals quite a bit of damage when you drink it (-75 HP) so it's best to brew the one you can craft at the cooking station instead. It will give you 100% poison resist for 1 hour though.

Detox Drink. It's not quite as yucky and won't deal any damage at all. It only last for 1 hour so make sure you bring a steady supply for long stays inside the toxic zone.

Fresh healthy juice, only purchasable through a kiosk. This one will give you 6 hours though and has no ill side-effects.

Another way to avoid all of this is to get your poison resistance up to 100%. Then you won't take poison damage nor will you have to drink a juice.


Once you reach the frozen biome you will notice that you are dying from the cold. In order to survive there you need to drink a fresh coffee, rotten coffee or brew a hot beverage on the crafting table. You could also get your cold resistance up to 100% and not need a hot drink anymore to survive in the cold.

Rotten Coffee: 1 hour
Fresh Coffee: 6 hours
Hot Drink: 12 hours


- If you're looking for low level gear to get started then go into the subway tunnels in old town. There's a lot of equipment lockers down there.
📦Looting Containers

There used to be only 1 type of container in this game but now you've got all kinds to choose from. What's inside this one? Who knows. Total mystery. Well I'm going to shed a little light on this subject.

Reward Boxes
First let's talk about what the game calls "Reward boxes" because these usually contain the best loot. A Reward box comes in many different flavors. They can look different but hold the same things inside. The Reward boxes you find in the snowfield have higher tier auto parts than boxes found in the eastern grassland.

Here are some screenshots I've collected of Reward boxes. This is what they look like although I may not have a picture of all of them.
If you're looking for cooling water to build your first vehicle then you need to look for reward boxes. There are 3 reward boxes in the research lab where the the first quest takes you. Reward boxes can contain access cards.


Coins
Copper coins have become a new currency in the game now that kiosks are here. I might as well point you to some good places to find them. Some of these containers can't simply be looted, they have to be broken down using a wrench.


Gear (Weapons & Armor)
Gear containers all look the same, until you get up close. If you look close, armor containers will have clothes hangars inside while weapons lockers will display a couple of guns inside.

Gear that you get from zombie drops looks like this:

Common or Costume Item (Grey Box / Grey Item or Costume):


Superior Item (Blue Box / Blue Item):


Rare Item (Yellow Box / Yellow Item):


Unique Item (Red Box / Red Item):


Special Dungeon Box
This special box only exists inside dungeons and contains unique crafting items.


Food
Other containers of importance are ones which contain food. Food containers come in a few shapes and sizes, from normal refrigerators to large commercial sized coolers to just a simple milk crate.


Ammo
Ammo is something you'll probably need. Here's a few container types known to contain ammo., at least at certain locations.


Building Materials
There are a lot of containers which simply have building materials in them. Prize boxes will have some. Here are some other containers that typically just have building materials in them.


Weapon Mods
This is the only box type known to contain weapon mods.


Coils
This is the only container type known to contain coils.


Books
This is the only container type known to contain books. This container does not always contain books, sometimes it may contain building materials.


Medicine
There are only a couple types of containers which contain medicine. So far I've only captured one image.


Fuel
Cars of course, but you can also hit up some oil barrels.


Car Parts
In order to scavenge car parts from cars, you need to have a wrench. First you scavenge the car and grab all the contents, then you break the car down with the wrench for a chance to find some car parts.

When you scavenge a car, you can get frames, tires, steering wheels, springs, exhausters and cylenders. If you want all the other stuff, you will have to look for Reward boxes. These are things like air cleaner, brake fluid, engine oil, cooling water, fuel additive.


Trash Cans
No images but don't overlook trash cans. They exist in all shapes and sizes. You can find all kinds of useful crafting materials in there from copper to gears to electronic device, you can find almost anything crafting related!
🧙‍♀️Questing & NPC's


Questing is part of the story update v.2.2 (alpha development version). It's a great way to get beginners playing the game and understanding how to survive in Night of the Dead.

If however, you are not a beginner and would like to disable the questing, this can be done. The first thing you will want to do is enable all the buildings in your difficulty settings. Before loading back your saved game, click the CHANGE DIFFICULTY button. Then make sure you selected CUSTOM game and check under the DETAILS TAB for the option that says ENABLE ALL BUILDINGS.

Next, in the audio settings, you can adjust the RADIO volume. This is the NPC voice that you hear from the radio. You don't have to listen to them to follow their quests but it helps.

In the GAMEPLAY settings you can use the SKIP RADIO option to completely disable the radio chatter. You will still get and complete quests as you perform actions. It is handy to use this feature along with the next option.

The SUBTITLES option: Enabling this will print what the NPC's are saying on your screen so you can read it and don't have to listen to it. It's another useful way to follow the progression of the game.


We awaken on Andorna island where apparently the outbreak began. We were in a cryostasis for numerous years before awakening. The world has already been falling apart for some time.


There are 5 main NPC's who will give you quests and walk you through surviving in this world.

Veronica Grimes:
The research doctor trying to find a cure. Head of the NPC team. She leads you on the main quest to help her find a cure. If you succeed then she will send a helicopter for your escape off the island. Follow her main questline to unlock new building modules.

Sierra Wilder:
A survivor like yourself, but grew up in this world and learned how to survive from her father. She will teach you how to survive in the wild.

Jamal Price:
The mechanic. He specializes in helping you build a stronger character. He's interested in teaching you how to craft and use weapons and gear. When you get near to a book he will notify you about it.

Gilbert Foster:
The engineer, Gilbert will teach you how to build things. Unlocking the buildings are no longer tied to his quests though.

Axton Hawkins:
The soldier. He will help you survive increasingly difficult situations. He will advise you on tactics and provide quests that will help you prepare your defense.


If you're following quests then you should familiarize yourself with the Journal. The default key to open it is J. The journal will list all of your completed and incomplete quests. It will contain detailed information on how to complete the quest, such as coordinates.


If you're doing a multiplayer game then perhaps disable as much as you can of the tutorial and follow the known steps to activate building modules. Usually building modules are locked behind doing a quest. Once you do the quest or perform the required action, the new building modules will be unlocked. You don't need to have the radio or subtitles enabled, but it helps.

* In multiplayer games, each person must progress on their own. There is no shared progression on the quests.

* There are 5 more NPC's that you will meet. See the section called "Survivor Shelters".

Meet Walter, he's the first NPC that you will meet in-game (in person).


He's not one of the main NPC's in your Journal but you can take quests from him later.


I've made some new videos showing me playing through the game. This one will show you how easy it is to unlock the next set of buildings, simply by following the quests as they pop up.

https://www.youtube.com/watch?v=qMsWAKxo6gc


If you're looking for how to trigger quests, check out these brilliant wiki pages created by AK615:

https://night-of-the-dead.fandom.com/wiki/Survival_Quest
https://night-of-the-dead.fandom.com/wiki/Craft_Quest
https://night-of-the-dead.fandom.com/wiki/Combat_Quest
https://night-of-the-dead.fandom.com/wiki/Build_Quest


* While you're running around out there, a quest might pop up that says "hunt a small rabbit". These little side-quests will pop up periodically. You don't have to do them now, you can stay focused on the main quest and come back and do them later.

* If you happen to kill and skin a rabbit even if this quest didn't pop up, it will still complete this quest for you at any time.

* Don't sell yourself short questing. Remember that you need to have a survival shelter set up before the wave comes at midnight. If you need help setting this up then follow Gilbert Foster's quests or check out the Surviving sections in this guide.


🔫Dungeon 1: Victor

To follow the main quest you will want to follow Veronica Grimes in the journal. She is the one who will send a helicopter for your rescue. Following her quests will get you in to the main dungeons to face the main bosses.

When you emerge from the vault, your first quest is to Learn Basic Survival Methods. This is a series of quests done by following Sierra Wilder's quests. Follow Sierra's instructions until you reach 10/10 on Veronica's quest then you can move on.

The next thing Veronica wants us to do is find a research center. You can always find the coordinates in your journal. (44.56 N, 165.92 E) She wants us to go there and also to open the map once you're there. So once you're there, open your map to complete this quest step.

Start out by heading to the green flag on my map named LAB. The white houses are the spawn points where you would have emerged from a vault. The triangles are book locations.


First, we're supposed to stop at the main desk and check the records, so go ahead and click on the book you find on the desk there by the front door.


After that she wants us to go collect the mutant substance upstairs, so let's go take a look.


Of course it's not there, so now she wants us to go talk to Walter who is hiding in the server room upstairs.


Walter suggests that we go to the hospital where Dr. David used to work.

At the hospital we're first supposed to check the Doctor's Diary. It's the green HOSPITAL flag on my map. 44.88 N, 165.36 E. The journal says it's on the 4th floor lab.

When you take the main staircase it is the first door you come to at the top. That main office room there. The book you want is on the desk. Look for the little blue icon.


Now we're supposed to confront Walter about his lie. He's hiding in the first floor restroom. When you're going down the stairs and reach the bottom, turn left. It's the last door on the right.


Walter admits to selling the mutant substance for money. We will need to access the military base to continue our search for it. Walter says he has an access card at his house.

It's the green flag on my map named HOUSE. 44.58 N, 164.69 E. It's the red brick house in front of the school. It looks like this:


Once you get to the house you will find Walter upstairs in the first room you come to straight ahead.


Talk to him then grab the access card out of that trunk on the floor beside the door.


The first dungeon is located at the military camp at the small airport on the way out of town. On my map it's the green flag called BASE. 46.25 N, 165.78. I would advise taking care of all business in central grassland before moving on. This is the point where I pack up my base and relocate to Eastern Grassland. If I even had a base at this point. Be sure to grab all those books along the way.


The entrance to the dungeon is just inside, you'll see a door on the wall that has an electronic lock.

* My advise is to build a bed right here outside the dungeon in case you die. The bosses are hard, especially for a new character which hasn't been developed. If you can't beat him now, go build your character some more and try again later.


It's a torture chamber and we're looking for Victor who must be killed.


Once Victor is killed you will have unlocked new buildings. Click on his dead body to complete the quest and unlock your buildings. Clicking his body will also collect any quest items that he may be holding.


This video shows me unlocking the first set of buildings, then following the quest up to getting the access card to confront Victor.

https://www.youtube.com/watch?v=qMsWAKxo6gc

This video will show me killing Victor and then moving on to do the next quest, to locate Francis.

https://www.youtube.com/watch?v=q6JxghK0uPs

Once you kill Victor you will unlock the following buildings:
  • - triangular foundation
  • - triangular foundation (open type)
  • - triangular floor
  • - half column
  • - half beam
  • - half wall
  • - triangular wall
  • - roof wall
  • - security door
  • - L-shaped stairs
  • - L-shaped stairs reversed
  • - gate
  • - roof
  • - roof ridge
  • - roof corner
  • - watch tower
  • - mechanical equipment workbench
  • - electronics workbench
  • - quarrying machine
  • - mining machine
  • - security storage box
  • - sign
  • - electric lamp
  • - electric wall lamp
  • - electric ceiling lamp
  • - console
  • - small console
  • - pot of lilies
  • - pot of philodendron
  • - large zombie head stand
  • - small zombie stand
  • - medium zombie stand
  • - small animal stand
  • - medium animal stand
  • - bicycle generator
  • - wind power generator
  • - solar panel
  • - battery
  • - battery eliminator circuit (BEC)
  • - wall extension socket
  • - floor extension socket
  • - switch
  • - minigun
  • - mortar
  • - leg-hold trap
  • - off-road motorcycle
  • - cruiser motorcycle


This concludes the first dungeon as the quest now moves on to locating the second dungeon.


👹Dungeon 2: Francis


The first step to getting in to the next dungeon is to go to the theatre. It's the green house flag named THEATRE on my map. 47.44 N, 167.15 E.


Don't waste your time running all over the place, what you're looking for is on the ground level, through a door just behind the stairs, straight ahead when you enter through the main doors.


In the room, go to the desk at the back, there's a little slip of paper we're looking for. Look for the blue icon. Don't forget to grab the gun on the table too even though it's not in my outdated screenshot.


The clue leads us to the public swimming pool. It's labeled POOL on my map. 47.66 N, 167.94 E.


Be sure to bring a wrench to this location or you won't be able to open the locker. It has to be a wrench, the drill or hammer won't work (in v.2.2.0.67 - can anyone confirm for v.3.x?).

There is a door in the wall that you should enter and you will find Emma Thompson.


She will instruct you on which locker to open.


The clue will lead us to the aluminum mine. The coordinates are always in your journal. On my map it's the white pickaxe flag named ALUMINUM. 45.42 N, 169.75 E.

Make sure you have a gas mask. Once inside the mine, get to the first large area and look for the green crate to click for the next clue.


This clue leads us to the access card which we will find at the Paradise Motel. On my map it's the green flag named MOTEL. 45.43, 170.5 E.


They want us to find room # 211 but the rooms aren't numbered here so I can tell you that it's the room upstairs to the right -> of the complex. It's the 2 doors in the corner.


Inside the room you will find the access card in a briefcase on the floor.


Finally we get to travel to the Church where the second dungeon can be found, and confront Francis, who hopefully has our mutant substance. It's called CHURCH on my map: 46.25 N, 168.5 E.

Don't bother looking all over the place for the dungeon entrance inside the church. The entrance is in the tall bell tower beside the church itself (on the ground floor).


Again I will warn you to make a bed at the entrance just in case you die, you can respawn here and try again.


You're looking for the door that looks like this:


Once you kill him, click the body to get the mutant substance. This will unlock your next set of buildings.


This concludes this section of the guide. You can now access a more direct door to Francis in case you want a fast exit or a faster way to farm him for unique gear drops.

This video will show me killing Victor and then moving on to do the next quest, to locate Francis.

https://www.youtube.com/watch?v=q6JxghK0uPs


The following buildings are unlocked when you kill Francis:
  • - cactus farm
  • - oil pumping machine
  • - spotlight
  • - pot of sansevieria
  • - potted succulent
  • - large zombie stand
  • - small weapon stand
  • - large weapon stand
  • - square weapon stand
  • - large animal stand
  • - small square fish tank
  • - medium square fish tank
  • - fuel generator
  • - pressure switch
  • - AND-gate
  • - OR-gate
  • - XOR-gate
  • - punch machine
  • - trap controller
  • - drone station
  • - plasma shocker
  • - flamethrower
  • - multiple rocket launcher (MRL)
  • - treadmill
  • - springboard
  • - bait trap
  • - armored car
  • - jet ski

🤖Dungeon 3: David


This quest leads us into the desert, so make sure you're prepared to survive in the heat. You'll need some cold drinks. We need to repair a radar dish so that our location can be found. Our first destination is a radar site. Just look for the big radar tower, it's easy to see in the distance. On my map it's named DISH. 41.15 N, 169.35 E.


Once inside, you're simply looking for the large terminal in the center that looks like this:


Click on it and confirm that it's busted then click the notes right beside the console on a small table. You should also grab Bradley's Shovel right there.


Next we're headed to an oil refinery to get some silicone. It's the green flag on my map named SILICONE. 38.91 N, 165.56 E. You're looking for a door that looks like this:


Inside you will find Jasmine Taylor:


After talking to her you can grab the silicone from the container beside her before moving on.


After we have our silicone we need to head to a nearby school for a diode. 40.42 N, 166.27. It's upstairs on the 3rd floor in the science lab room, a tiny little thing on a table, very easy to miss. Inspect the tabletops closely. Look for the blue icon that is displayed above the quest object.


After that we are on our way to a magnesium mine (there are two, make sure you're going to the correct one, the one furthest from the SHIPYARD; location is 38.24 N, 164.11 E). All the way to the bottom (many levels down), the large chamber where the blacksmith forge is, there is a special crafting table along the other wall. Use it to craft a new transmitter.


After that we get a message about how we're going to need an access card to enter the facility. We're headed to a shipyard now to collect that card. It's marked as SHIPYARD on my map. ALL the way back across the desert.

When you arrive at the shipyard, use the second entrance and look for the building that says OFFICES on it. The corpse is at approximately 42.27 N, 171.04 E.


Run into that building then out the other door across the room. Once back outside take a right and go in the next door that you find. Up the stairs you will find the corpse. Look for the blue icon again.


Once we have our access card it's time to head back to the radar site and access the bunker.


Once Dr. David is dead, click his body to retrieve notes.


Now we can repair the transmitter and complete Veronica Grimes' quests for now. The transmitter console that you want to repair is right here next to Dr. David's dead body so don't go running back up to the top yet.


Once you repair the transmitter, the rest of your buildings will be unlocked. Make sure you have a wrench equipped to repair the transmitter.

This is a video walk-through of me doing the whole quest line to kill David.
https://www.youtube.com/watch?v=a5LNYy7tAFc

When you kill David, it unlocks the following buildings:
  • - electronic equipment workbench
  • - male armor stand
  • - female armor stand
  • - large square fish tank
  • - circle fish tank
  • - railgun
  • - boat

🧛‍♀️Dungeon 4: Gregory

Our first objective is to head to the town in front of the nearby mine, we're told. They are referring to the titanium mine. 39.78N, 160.41E


When you arrive, go around the corner to the right and go inside. Inspect the massacre that you find in there by clicking the center hanging corpse. Then take the torture knife from the table beside it.


Next, Veronica asks us to investigate a residential area. Follow the blue book icon on your map. The coords are also listed in your journal.


You're looking for this house:


Inside you will find another massacre and an important clue.


Now we get to go to the large airport in the Western Grassland to meet Veronica Grimes in person. Just look for the helicopter on the building.


After talking with her, talk with the pilot, Tyler Bennett. Next we will head off to the port. Follow the blue icon on your map and compass. You're looking for a trailer.


Once inside, click the paper on the table (blue icon).


Then talk to Veronica.


She sends us to the mental hospital. 44N, 160E.


Go to the second floor and talk to Veronica. Follow the blue book icon and click on those clues before talking to Veronica.


She wants us to head to the Special Operations Command (SOC) base in the Western Grassland (45.30N, 156E). She gives us the access card so getting in will be easy.


When you arrive, head toward the buildings to the left. Go in to this one:


From the front door, take a right and go through that door. Inside is a staircase. The door you want is behind that staircase.


Once inside you will find Veronica again. Talk to her.


Explore the dungeon until you locate Gregory in the final chamber. Enjoy exploring the dungeon. It has a lot of nice details.


Be prepared for a pretty tough fight. It took me forever to take him down on easy using the sandbox for invincibility. I was using an AR, a plasma sword, an RPG...

Once you kill him and search his body you find a photo of his daughter.


Then they want you to search the area. The blue icon appears over his desk. Upon clicking the book, you are taken to a cut-scene where you are lectured by someone who believes to be your peer.


Your helicopter is destroyed at the airport.

After the conversation with the stranger, talk to Veronica again.


This is a video walk-through of me doing the whole quest to kill Gregory.
https://www.youtube.com/watch?v=Oi5GGjJPJuA


Here are the buildings that you unlock when you kill Gregory:
  • - seed incubator
  • - coin minting machine

* Now you should be able to build everything that's available to unlock at this time.


👽Dungeon 5: Nora

Veronica tells us we need formaldehyde first and asks us to head to the nearby Mart. So head to this marketplace in the snowfield: 48.68N, 161.58E.


Once there, go inside and find a way up to the 2nd floor on the South-East side. Then you will find another set of stairs that leads up to the 3rd floor market. Inside a little room with a glass door you will find Harold.


Take the formaldehyde off the top shelf.


Now we're headed to an underground lab so the doctor can process the material. Make sure you bring the mutant substance with you. You only need 1 canister of it. Head to coords: 49.63N, 164.06E.


Once you begin to descend you will get a message from Veronica. Go to the bottom and locate Harold and her in a processing room.


1.) Talk to Harold
2.) Process the material
3.) Take the item from Harold's box
4.) Talk to Veronica

Trying to do this out of order won't work. Once you have the processed material it's time to head to our final destination. 51.51N, 165.81E


Once you get there, locate Veronica. She's not buried deep inside the place yet so don't go digging too deep for her. She is on the 2nd floor not in the basement at all yet.

Locate her and place the mutant substance in the container on the counter next to her.


Next she wants you to go find some research materials in the basement levels while she begins working on the substance you brought. Look for the little blue icons to know where to look.


Once you collected both the notes move back to Veronica on the 2nd floor. She will give you the access card to get in to Nora's dungeon.


Locate the door and go inside.


Keep searching until you find the room that looks like this:


Then go down the other side and go inside of a big pipe that's got an open hatch. Go inside that pipe and follow it through.


Now just finish digging your way in and finish her!


Once she's defeated search her body and search the room for any clues.

If you'd like to watch a video of me doing all these quests and killing Nora, check here:

https://www.youtube.com/watch?v=kuuYuoUotZ8

💀Dungeon 6: Cleon


Tower Cleon, the final main story quest.


Getting to Cleon is easy in this dungeon, but fighting him is not. You can control his health in the difficulty settings but you can't control how hard he hits. Cleon hits like a freight train with his special attacks. One or two of those hits and your dead. He will teleport right on top of you and ace you in one hit. You will want the best defense gear you have, and you will want to lean heavy on your dodge skill.


In order to get to Cleon you first have to kill Nora. Having done that, the next step is simply to go to the tower and acquire all the pieces of the card to get to him. The tower itself is very near to where Nora is.


Check your map and compass for the red skull icon that indicates where Cleon tower is located. There is no access road to the tower so don't bother looking for one. You will need to go off-roading in the mountain to reach the tower.

In order to get in to him you need to obtain 5 pieces of card and create the whole card to gain access. Don't worry though, the 5 card pieces are scattered throughout the tower and you can collect them on your way in to Cleon. If you need more card pieces, they can be obtained by defeating the 5 other bosses. Each boss holds a different card fragment. There is a small % chance the fragment will drop when you kill that boss.


Once you have collected all 5 pieces, there is a crafting table inside Cleon tower that you use to assemble the 5 pieces into 1 whole card that you can use to open the door.


Once you reach Cleon, all you have to do is defeat him. If you have enabled the ending then you will get to see the ending of the game when he dies. All I got to see was the death screen a lot.


In the end it was my friend, MASTER (Velheart), who beat him for me and got the kill. We deployed a strategy where the targeted person would run around dodging while the other person would open fire on him. It worked for us but it won't work for you in a single-player game. :p

Good luck!


🔨Building Stuff

- To toggle snapping, the default key is left ALT. You can change the key assignment in the control settings from the Main Menu.
- Another key to know about is called "change rotation angle" in your control settings. I believe the default key for this is the spacebar.

The "change rotation angle" setting will define how far to turn a piece when you spin it. It has 3 settings, the default is setting 2, normal. Setting 1 is ultra-fine and setting 3 is the most extreme rotation. So if you find that things aren't spinning at the correct speed then check this setting. If you find that you are pressing this key by accident then change the key assignment in the Control Settings.

- It's a good idea to draft your build design on paper first before building it to see how it looks and flows. It is also easier to make adjustments to the design on paper rather than to have to rebuild it. For this, I recommend graph paper. I found this great web site that has virtual graph paper online that you can use to draw and sketch before diving in and building.

https://virtual-graph-paper.com/

- The game now has a "favorites" feature. This adds a star next to quests and next to items that you can build. By enabling the yellow star, it will put the item on your screen all the time. This is handy when you want to follow a particular quest or when you're trying to gather the materials for a build. To take the item off your screen, simply navigate to it again and disable the yellow start on the item description screen.

- It is worth noting that right now real world physics don't perfectly apply to buildings. You can extend a beam outward forever and it will never collapse under any weight. People have been using this exploit to build "sky bridges" which extend vast distances through the air.

- It is also worth noting that the devs have changed how pieces interact with each other. For example, floor pieces now stick to each other (they didn't when I wrote this), so you don't need beams for support of upper floor / roof pieces anymore, but using them will still help hold your building together when some part gets damaged.


Building with Stability:
When you build a structure in this game you should start with a foundation. The game then offers columns you can use as supports for upper parts of the building, and beams that you can use to spread out over an expanse of space. The more columns you use, especially at lower levels, the more stable your structure. In this game, if your foundation is blown out from under the building, the entire upper portion of the building will collapse.

It is for this reason, and for the reason of cost to build and upgrade foundations, that a lot of people prefer to simply build on the ground. It is perfectly fine to build on the ground because you can design a maze just the same. However, in order to utilize traps like the pusher, trap floor and pendulum, you will need to bring your critters to a higher level to push them off from. Such a design is known as "looping" and it allows you to deal more damage in a smaller space. In order to loop critters you will need to build a multi-story building, especially if you intend to loop giants.

I'm going to upgrade every other one to show a checker pattern that will help you identify the spacing I use. The first thing worth pointing out in building something is working with columns. When I build columns, I don't put them at every foundation seam, but rather, every other foundation seam. So, start your column on the corner then count out 2 foundations of space and do another column. This means that when I lay foundations, I make sure to always use an even number of foundations in width and length.

The reason for this is because the columns can hold up wall sections by themselves. In order to have good stability without over-spending on resources is to use this spacing.


The other reason of course is to be able to support the roof, or, the floor above. Once you have your walls built in-between the columns, you can use beams to extend the columns out over the ceiling until they connect with the columns that should exist on the other side. Once you've done that you'll notice that the spacing is perfect for supporting the floor tiles that we'll need to continue moving upward.


Building like this gives you the ability to create wide-open spaces.


- It's important to note that right now the build order matters. Things you build first will become the base for what you attach next. If you delete the thing you built first, anything that depended on it will collapse. It doesn't matter if you built more support structure in before removing something. The game currently doesn't take into account your upgrades. Only your original build order. So build smart, right from the start!

- Successful build order will be:
  • Foundations
  • Columns
  • Beams
  • Walls
  • Floors
  • Repeat from columns for upper floors


Scaffolding
Sometimes when designing a base, you can reach a module up real high to place it but then you can't reach it to upgrade it. This is where scaffolding comes into play. All you need to do is build a stairs and a bridge to access all the hard to reach places. When you're done, delete the temporary wooden platforms.


Building a Bird Catcher:

If you're trying to farm birds then try building a bird catcher box or something similar. Here's my design that seems to work well. Birds spawn on the nest but can't fly out due to the barricades which kill them when they touch it.

Click the small image and take a close look at the simple design. Also make sure to leave the roof open (no roof) or the birds won't spawn in the nests.

⛓️ Stacking Modules
Stacking Containers:
One problem we all face at some point is, how can I stash more stuff in less space? The answer is container stacking. You've got to build some shelves for the next layer to sit on. Here, I'll show you how I do it. Build a wall down a length where you want a shelf. I'll add a roof on top to force the height constraint. You no longer need to worry about building any column for support. The half floors that we will use for shelves will now connect to the wall we just built.


Next, don't place the container facing you, place it so that the side of the container faces out. Placing the containers sideways will fit perfect with the width of the half floor piece that we're going to use as the shelf. Place them all the way down the line like that. You can use the snapping to make them line up nice, or you can manually position them to squeeze them in even tighter. You can also press the Q button to sink them into the floor and make room for a third layer on top. Then build a half floor on top of the containers. Make sure you disable snapping so that it will lie flat on top of the containers. In order to make it go blue so you can build it, you only need to touch it to your wall.


Now you can snap the additional half floors to each other, all the way down the line. Next build the second layer of boxes on top. Again using the snap feature is up to you.


Your row will look nice once it's all upgraded. I've added some signs to show how you can label what's inside instead of playing the guessing game.
Stacking Batteries:
I've had this problem where I need like a hundred batteries to store enough power to last me through the night. Problem is, it takes up so much space. The devs have added a solution. Batteries will now snap into the floor, sunken down a bit so that another layer of batteries can be stacked on top. The two images below demonstrate a battery being placed manually versus a battery being snapped into the floor. If the battery isn't snapping properly then manually set the first one then snap the rest onto that one.


Snap them in place all the way down the line. You should be able to snap 5 batteries into one floor tile. Then build the shelf the same way as before and snap your batteries in place on the top row.


Doing this can create rows of batteries and the end result ends up looking like a data server room.

You can also snap batteries to beams. Try building a scaffold of beams and see that you can create racks of batteries all snapped to a simple beam rack.


Here's an example that was shown to me on how you can stack crop farms. You can still harvest them very easily and drones as well. You simply need to attach them to a column.


Another fun thing you can stack are mortar turrets. OMG! Just build a column at the back foot (don't touch the gun with it), then attach turret(s) to the column. Simple!


The fun doesn't stop there. You can also stack wind turbines on top of solar panels to save some space. Start by building a support structure with columns and beams. Then lay the solar panels in beside it. Then build the turbines on top. Everything works like it should.


Another way to save space is to snap the solar panels in together like this. It works!


⚡Electric Circuits 1
Working with circuits is easy. First, you're going to want to make two things to be able to connect your devices with wires. You can make both of these things at the mechanical equipment workbench.


Power-per-second (pps)
Everything electronic is limited by how much power it can transfer per second. I refer to this a lot as PPS. The power limits of each device vary so read the descriptions in-game to know what the limits are.

Short-circuit
When more power is passed along than the line can handle, devices along the path of the line may explode and require repairs to resume normal operation. The explosion can damage nearby objects and players and can set them on fire.

In order to prevent short-circuits, upgrade all the equipment that explodes, and be sure to stay within the limit of the device(s). For example, most upgraded devices have a maximum power capacity of 2,500. This means that once you try to send 2,501 power through that device, it explodes. Read the descriptions on the devices as you build them to know what their limits are.

The wires themselves can handle any amount of power. It's the devices that have the limits.

Gate Switches
First I want to talk about the gates. There are currently 3 gates, AND, OR and XOR. Each gate has 2 inputs and 1 output. Basically the gate will only allow power to transmit through if its' criteria are met.

1.) The first switch in your list is the AND-gate. This switch will only transmit power if it is actively receiving power from BOTH inputs. This means that if both of the blue inputs are lit up then the green one will send power out of the gate. If only one or none of the blue inputs are lit up then the green will stay off and no power will be sent.

2.) The second switch in the list is the OR-gate. This is the most useful gate to me because it will transmit power if either of its inputs are lit up. It's useful because it will take both inputs and combine them into 1 output. So let's say you pass in one line of 1,000 power per second (pps) to one side then 500 pps to the other side, it doesn't pick which side to transmit power from, it combines them both into one line so that the output will be 1,500 pps. The OR-gate will transmit power if either input has power or combine them and sends if both blue are lit up.

3.) The last gate is the XOR-gate. This is the most complicated gate to understand but it can be described in a simple way. This is called the EXCLUSIVE OR-gate and what it means is that it will only transmit power when exactly ONE of its inputs has power. If both inputs have power then this gate shuts down.

* Here is an example of how you can hook lights up to only come on at night. This simple circuit uses the XOR-gate which only transmits power exclusively when only one input has power. During the day, both inputs will have power so the lights (or whatever you connect to the output) will go off. At night the solar panel stops sending power so the XOR-gate will transmit power from the battery or power source connected to it.


If you wanted to reverse the effect and have power transmitted only during the day, simply switch out the XOR-gate with an AND-gate, which only sends power when both sources have power.

Batteries
I use batteries for 2 purposes; mass storage and buffering. Mass storage is easy, you just daisy-chain the batteries (run them in parallel) and they will pass along your charge while storing what they can for themselves.


Buffering is a process where we use a battery or series of batteries as a buffer in order to prevent a short-circuit. Take this setup for example:

Let's say you have more than enough power for all of this but the problem is that when everything is on and active the circuit blows. Normally the solution would be to create a whole new circuit to power things but there is a way you can continue to build on the existing circuit and still be able to keep things running. Instead of using your main BEC output to power everything, use it to power a series of batteries that I call buffers. This will buffer power for use when you need it and takes your master branch and turns it into up to 10 slave branches. Then you can divide each branch by what is connected to it, and add a switch to control everything.


Now your master circuit is safe. If one of the sub-circuits blows, it should only affect that sub-circuit. It won't cause any short-circuits in the other sub-circuits or the master circuit itself. A short-circuit now will be contained to the sub-circuit it occurred in.

If the branch runs out of power, it simply goes dead and everything connected to it shuts off until it has power again. So if you have lights on this branch when it happens you would see the lights coming on and off repeatedly once the battery dies.

Trap Controllers

Trap Controllers (TC) are useful only for when you want to alter the default behavior of trap targeting rules. By default your traps and turrets will target all zombies, be them light, heavy or giant. For this reason, if you're playing a single-player PvE game, then you won't need the TC a lot.

Example usage of a TC:

- If you want to instruct traps to target animals and birds then you will need a TC, since no trap targets animals by default.

- If you want to create a defense system in a PvP game where the traps will kill anyone who tries to enter (booby-trap), then you need a TC to instruct the traps to target non-hostile players.

I use TCs to instruct MRL's to only attack giants that way the MRL don't blow through expensive ammo on twerps.

Battery Eliminator Circuit (BEC)

Batteries have 10 inputs but only one output. Why is that? That's because you're supposed to run that 1 output into a BEC. The BEC has 10 outputs. BEC's can be used in a couple of complicated ways. Suffice it to say that if you want more than 1 output from your battery then that's what the BEC was created for.

Wind & Solar Problems
Sometimes it might happen that your turbine will stop spinning. If this happens it usually means that you built something too close in front of the turbine. In order to operate, the turbine wants about 1 tile of space in front of it to remain empty. The only thing I've found to be able to put in front of a turbine that won't affect it is another turbine.

The same thing with solar panels, they need access to the sunshine in order to work. So if you try building them indoors or building a roof over top of them then they will stop producing power.

Tape Measure
Sometimes you're trying to measure a distance, like how far is 25 meters when you're programming a drone. Well, in order to measure this, just connect a wire to the drone machine. Then run with it. You will see how it measures your distance from the connection point. The maximum length of a wire is 25 meters so as far as you can run with a wire, that is how far the drone can reach.
⚡Electric Circuits 2
The Master Circuit
Building a Large Grid
When I build a base, I build big so I also need to have a massive power grid. Generally, if you're planning to use more than just a couple plasma shockers then you're going to have a pretty big need for power.


Master Circuit Phase 1: Input Cluster


Phase 1 is the creation of your solar panels and wind turbines to create energy. Now that there are 10 inputs on a battery, and it now also costs an electronic circuit to build, using batteries as inputs is the best practice. An upgraded battery now supports up to 5,000 power per second.

You don't have to make the whole cluster right away. Just start making and add more to it as you develop a need for more power. I call them clusters. They look like this in diagram form:


Master Circuit Phase 2: Gas Generator Configuration


Phase 2 of the master circuit. In this config I use gas gennys to create a backup power system in case the main power system struggles too hard. This is the basic configuration. It's quite simple. I duplicate it and use it two times on the grid.

The batteries can be used to monitor how much power has been generated and is awaiting shipment out to the main grid. So they are the buffers. If these batteries fill up then shut off the gennys until they can send the power out.


Master Circuit Phase 3 - Storage Method


Phase 3 is storage. We're producing power, now let's store it. This circuit allows for a maximum of 10 power input Clusters. I use two of them for gas gennys. You send each cluster to a BEC then 10 lines out from each BEC to an array of batteries.

This array consists of 10 chains, each of mine are usually 10 batteries in each chain (line) now that the batteries themselves consume power. This would be 100 batteries in the storage array. Make sure they're all upgraded. The BEC's too.

On the output end of the storage array you can see that we combine the chains again back down into 5 lines. Now each of those 5 lines again connects to a BEC which again output to 10 more chains of batteries.

These batteries will serve as buffers for when emergencies happen and power loss is great, the buffers can keep some important systems going through the rough time. For me I always build dozens of shockers so the power drain is great. I don't want those to cause my MRL's to stop firing or the maze traps to stop working.

Now you have 10 lines of 5,000 P.P.S. going out and in Phase 4 I will show you how I spend all this power we've amassed.

Be ready because the batteries DO drain auxiliary power, so don't go building a mass of batteries until you have a mass of wind turbines first to cover the auxiliary power loss.


Master Circuit Phase 4 - Distribution Hub


This is the end of the line. This is where power gets spent.

* NOTE: This diagram includes running 10 shockers on 1 switch. Please note that the switch will operate backwards, to turn the shockers on, the switch needs to be flipped off and vise-versa.

The XOR gate requires power from both sources in order to shut a shocker off (the main battery which powers it and the power from the master switch BEC).

If a battery loses power then the shocker will come online drawing power from whichever source still has power. This is not good as it will continually drain power and prevent the battery you need to recharge from charging up. This is why I put the extra 10 switches in (one for each shocker). This was initially installed as fail-safe in case I needed to flip a shocker off in this kind of situation. It ended up becoming pattern control for me because I like to build 4 lines of these 10x shockers.


I've had a lot of good fortune working with this master circuit design and I hope that you will too. Enjoy! :)


Here is the entire circuit in one image:


* Update 3.0 (alpha) brought us the ability to upgrade electronics one more tier, so you may be able to get away with a much smaller circuit now. Use a lot less batteries than I mentioned because they store a lot more power when upgraded. If you find the above circuit to be too much, try this circuit I made for my ship build.

A ship circuit needs to be smaller and compact to fit better on a ship with limited space. This forced me to design a tighter circuit.

⚡Electric Circuits 3
I've made a 3rd electronics section to talk about trap limits. Say you build a maze with 50 spike traps and you want to power it all using the same line. As soon as your wave gets heavy enough to be running more than half of those traps at full power, your circuit will blow. The solution is to limit how many traps you chain up in a line, or in general how many you power through one BEC. The BEC will handle up to 10,000 power but it can not receive that much so the limit is still 2,500 or 5,000 power per second before a line will blow out. These are the battery limits, which is what's feeding your BEC. The tier 3 battery can output 10,000 power but it can only recharge at 5,000 so once the battery is drained the circuit will fail if it's designed to use 9,000 power.

To alleviate the problem you should use batteries as buffers like I described earlier to split your one power line down into say 4 or 8 lines to prevent the circuit from blowing. We need the extra lines because we're going to limit how many traps we chain up per line based on the actual power consumption.

I tested this by building a Trap Controller and setting it to target me (non-hostiles) then used invincibility mode in the sandbox so I could stand there and take hits while monitoring the power usage as reported by the TC. Bearing in mind that my PC is kind of a potato and my framerates are low, my test results might not be as accurate as someone with a faster machine. I encourage you to do the same tests to find out for sure but so far my findings have kept my circuits from blowing so I'm posting them.

Now, when you build a cutter, it says, standby power: 5, power consumption: 50 and power limit: 5,000. So this leads us to believe that when the trap is spinning, it's using 50 power. However, my tests with the TC showed numbers as high as 160 power being used by 1 cutter. If this is correct then you could only use 15 cutters on one line before it would blow once all the cutters were spinning at max power.

I don't know why the numbers don't line up. I suspect it's because the 50 power they say it consumes is per cycle, and depending on your framerate, the cutter could complete several cycles in a second. This is why I say to check the test results on your own framerate too and see if it lines up with mine.

Here are the rest of the results I found doing these tests, and if you've ever tried to run 3 miniguns on the same line then you know as soon as they all start blowing off so does your circuit. These findings will not show the bottom or middle readings that I got, I am only listing the highest reading I was able to consistently obtain from each trap in operation. After that I will list the number of traps you can use on one line as a limit before the line will blow. I'll list a number for a 5,000 line (T1/T2) and for a 5,000 line (T2/T3) limit.

TRAP
PPS (T2)
PPS (T3)
MAX 5,000 (T1)
MAX 5,000 (T2)
Plasma Shocker
2,025
x
1
2
Minigun
1,050+
x
1
2
MRL
470
x
4
8
Meat Mallet
125+
225+
40-
22-
Flamer
210
x
6
12
Shredder
115
205
43
24
Treadmill
85
145
58
34
Grinder
125
225
40
22
Cutter
115
160
43
31
Guillotine
85
145
58
34
Compressor
75
125
66
40
Pendulum
75
125
66
40
Spiked Floor
75
125
66
40
Ballista
75
x
66
36
Drone
100
x
24
49
Trebuchet
100
x
50
x
Mortar
80
x
28
56
Leg Hold Trap
85
145
58
34
Pusher
60?
x
38?
76?
Springboard
85
145
58
34
Trap Floor
85
145
58
34

* NOTE: I am still working on getting accurate readings for this chart. Sometimes I estimate too high and the circuit will blow. Keep an eye for updates to this section as I make new discoveries. If you found that having this many traps on a line blows the line, then reduce the # of traps on that line.

* NOTE: I left a little power in case you use an extension socket in the line or something. For example, you could have 25 drones on a line before the line will pop, but technically they 25th drone will pop the line if other elements are also present in the line like a BEC or some switches.
💣Traps & Mods

Little section here on trap mods because I'm always wondering which ones to use.

Armor

tier 2
+5% poison gas chance when attacking
Plate

tier 2
-15% damage taken from zombies
Blade

tier 3
+50% damage to zombies
Sting

tier 3
+5% smash chance when attacking
Core

tier 4
+5% electric explosion chance when attacking

Let's take a look at trap damages. It is worth noting that these numbers will be affected by the game's difficulty settings, particularly the one called "trap damage". These numbers were taken on 50% trap damage modifier in the game's difficulty settings. This would be relative to easy difficulty settings. On harder difficulties these numbers will be even smaller.

I figured out these numbers using a punch machine dummy. I got the trap to trigger and fire at a dummy to record the damages.

TRAP DAMAGES
MELEE TRAPS
TIER 2
TIER 3
Cutter
37
56
Meat Mallet
56
93
Grinder
29
50
Shredder
75
124
Spike Floor
?
?
Pusher
?
?
Compressor
168
248
Pendulum
75
124
Guillotine
745
1,242
Plasma Shocker
1,242
x

TURRETS
Regular
Enhanced / Upgraded
Ballista
65 (regular bolt)
109 (upgraded bolt)
Trebuchet
248 (stone ball)
248 + 100 burn damage (bomb)
Minigun
43
x
Mortar
621 + 100 burn damage
x
Flamethrower
50 + 100 burn damage
x
MRL
4,347 + 100 burn damage
x
RailGun
31,049
x


🚗Vehicles
Building vehicles is some of the most fun you can have in the game if you enjoy building things because now our building is on wheels. I love building a big garage to work in and spend hours in there tinkering around on trucks. Here's a few things you should know about vehicles:

- In order to obtain vehicle parts, you need a wrench to break down cars. Other parts can be found inside Reward boxes which I talked about in the Looting Containers section. You can also purchase vehicle parts from kiosks using copper coins that you find in game, which I talk about in the kiosks section.

- Trucks can be upgraded to tier 3, motorbikes can not be upgraded.

- A tier 1 truck can only hold 50 modules. A tier 2 truck can hold up to 250. A tier 3 truck supports a whopping 5,000 modules. Good luck building a truck that big that you can actually still drive around. :D

- Motorbikes and jet-ski can only seat one person.

- You can transport bikes on trucks and even trucks on boats, or you could just carry the parts to create the bikes and trucks.

- Whatever you build on a truck or a boat has no collision detection, so it will not collide with world objects. The vehicle itself will still have collision detection so make sure you can see what you're doing when you're driving.

- The objects you build on a truck or boat have weight, meaning that they will impact the performance of the vehicle. Vehicles with a lot on them will accelerate more slowly and will topple over or get stuck when attempting to climb a stairs or steep incline.

- If you build electronics on the truck like a battery, you can not connect it to a land-built power grid to charge it. Vehicle-built electronics can not be connected to land-build electronics.

- If you are having a hard time building on your truck once you drove it because things won't line up now, then build a floor, upgrade it to stone so you get lines on it then park the truck on the floor and line up the truck with lines on the floor. The only struggle now is getting the truck to level out. Try using the hand brake. You can also try reloading your game (save and exit and rejoin). Sometimes the trucks load back already level. I would suggest trying to build your truck to 100% completion before driving it just to avoid trying to level it back out to modify later.

- Don't build anything into the truck base or it will start flopping around like a fish. No "Q sinking" objects into the truck!

- If a bike or truck disappears in a multiplayer game, re-log. It may have simply gone invisible to you and unable to see or interact with. When you log back in it's there again like magic. If it's not, then it "rubber-banded" back tot he last place you hopped off of it (when you were at a full stop). Just trace your steps and run back to the last place you left it, it should be there. To avoid rubber-banding, come to a full stop for 1 second before exiting the vehicle.


🚗Vehicles - Truck Build 1
Since the last update to the game, they changed how you can and can't build on an armored car. I'll call it a truck from now on because that's what I want to demonstrate how to build. Since containers are now sharable, it's nice to be able to build a truck that can act as a useful base by itself.

I want to make this a truck-shaped truck and it needs to have a lot of containers to store our build materials and also whatever we manage to scavenge. This truck also needs to have one of each crafting table on board so that it acts as a mobile workshop and not just a portable storage. It acts as both.

With a truck like this you can park it somewhere and use the stored materials to set up a whole new base or camp or mining operation anywhere. The reach of the shared containers is pretty far and you can move the truck around as you build. Let's dive in to the build steps.

First thing worth talking about is how to get started. You used to be able to build beams directly to the truck but not anymore.


The technique used now is to start the build with 2 floor pieces. If you try to place them too low, they will be red. In order to place them, you need to get them to pop up about 1 unit of height. Then it should turn blue and let you build it, once at the correct height.


It wants to be above the little rings on the truck corners.


Once you have those 2 floor pieces down you can then attach beams all the way around it.


After that, I've done the bottom layer of beams to support the floor level (and ultimately the upper floors too). Do the beams out like this then fill in the spaces with floor pieces. We're aiming to have a surface which is 2 tiles wide by 6 tiles long.


The next step is to build the columns which will hold up the next floor. Make 2 columns on each corner and stack them on top of one another to set up to build 2 stories. Then you can fill in the space with walls until you've enclosed the truck.


Then, inside, let's create a floor between the stories and add some stairs to access all the way to the roof.


Once you've got all that together let's finish up the front end, put our back door on it and work on the roof top.


Then you can add torch lights to the top and bottom of it to provide light. On top, attach the ground lamps to the column tops. They should snap right in. On the bottom, use the ceiling lamps and snap them in to the floor pieces. This should provide enough light to see inside the whole truck.


Inside, we're going to build a mass of storage boxes and layer them on top of each other, as I demonstrated in my STACKING section.


You could also add text labels on a wall to use as a NOTES section to leave notes for yourself, like a TO-DO list.


You can also add in a wall behind those stairs up there.


Now, make sure you upgrade it to tier 3 and remove the stairs from the back of it leading up tothe truck from the ground. you don't want stairs back there. This is so that we can build a base with a docking door on it.

In order to make this work, you must build your base up on top of foundations so that the ground level of your base will line up with the ground level of your truck. Then all you need to do is back the truck up into the docking bay and BAM! Now you can access the inside of your truck, even during a wave, and not be disturbed by the passing critters.


This is more or less the truck I build each game I play in order to be my mobile workshop. I use it to build my farms after I've got my base setup and you can even use it to build your base or a remote site. It's also not that hard to drive.


⚓Boats
I spent countless hours on a pirate game years ago so I am very much a pirate at heart. Being on an obscenely large vessel at sea is my cup of tea, or rum rather. So doing boat builds has been super fun for me. Here's some things to know about boats:


- Where the tier 1 truck has a module limit of 50 objects that may be built on it, a tier 1 boat has a limit of 250 modules that can be built on it before requiring you to upgrade the boat. So you see, you are being encouraged to build insanely large vessels and it makes sense. You are no longer driving a truck through a forest or a city. You are now on the open sea. The tier 2 boat has a 1,000 module limit and the tier 3 boat has a limit of 5,000.

- When building your boat, be sure not to cover up the hatch door. Doing so may prevent you from entering your boat. Instead of saying GET IN the command prompt will say PICK UP and sometimes picking up your boat is not the best idea.


Check out what I do now with the hatch. If you cover the hatch then it makes it harder to get in to the boat. Instead of saying GET IN it will say PICK UP. By doing the hatch like this, you can still walk / drive over it and also still get in and drive the boat.


The only real main concern when dealing with boats is the docking situation. Where are you going to dock? Well if you're just zipping around on jet-skis or small boats then you could take a look at actual docks in the game. They exist all over and can be used as main ports of entry into the areas they serve. The docks are handy because they already connect you to the road network.


But you know me, I like to build my own docks. I found a way to make a pier level with my boat and it works every time. It's such a smooth transition between boat and pier that trucks driving over it barely notice the transition.

I do it by using a half column. You want to go right up to the edge of the water where you want to build your pier. When you try to build the column in the water, it's red and you can't build it there, but if you move it up to where the water meets the land, as you slowly move it over land, you can build it.

Build the half column where the bottom of it is exactly in line with the water level. This is the correct height to meet with the boat. Check out the step-by-step screenshots.


Now you can get your trucks in and out. Those puny docks I circled in green on the big map aren't big enough to drive a truck out so if you want to do stuff like that you'll need to build your own pier anyways. This way you can make it as wide as you want.
⛵Boats: Ferry Transport
Just like the pack mule truck on the land, it's a good idea to have a pack mule boat at sea as well. I designed this ship to meet the 250 piece limit but if you're finding it to be a tough build then you can stop working on it as soon as you feel it's ready. This boat does not use any electricity so you don't have to worry about that.

Start this boat off like any boat, with the frame.


Next I'm going to build up some walls. This is because the trucks are a bit jumpy and when I'm parking it on the boat I don't want it to fall into the water. If a truck falls into the water it is a loss. It will take damage until it explodes. There is no way to get it out or prevent this.


Now I'm going to build some containers inside and some ballista on the corners. I'm also putting some crafting tables in there because it helps to be able to craft on the road or at sea. You can craft your ballista bolts, your firearm ammo, you can combine coils to tier 3, you can recycle gear. Doing these last two things helps save storage space.


Just keep adding to it, bit by bit. More containers, labels, more ballista, a little roof, an extension on top at the back ...


At the end you have a finished product. These screenshots show you what a tier 1 boat built to the limit would look like. You don't have to build your boat exactly like this but at least you know how big you can expect to build a tier 1 boat.

🚢Boats: Battleship
Well I finally built and documented the build for this boat. This thing is a beast. You can find a forum post of it here:

Battleship Save File for Download v.2
https://steamcommunity.com/app/1377380/discussions/0/4033599096394689045/

A couple screenshots:
https://steamcommunity.com/sharedfiles/filedetails/?id=3095873076
https://steamcommunity.com/sharedfiles/filedetails/?id=3095820711

SAVE FILE:
https://shadow-run.com/game/notd/save/Ship.v.2.7z

Video walk-through:
https://youtu.be/uWn3URW_YJY?t=2345

Some notes:
- It's at least day 5, hour 10 on this save.
- I used about 700 wires in this build.
- There are about 3,800 modules attached to this boat meaning you could still add about 1,200 more to the build before reaching the 5k limit.
- There is an "arena" at the rear of the ship on the ground level where you can stand and fight zombies that are entering the maze, for EXP. There is also a safe viewing area for this arena.
- The ship is only 6 stories tall. The footprint size is 28 x 6 tiles.
- I put the actual boat part toward the front of the ship to keep it away from the maze and safe from danger. It makes the ship very hard to drive (you can't see where you're going).
- After the v.3.0 update, I did not upgrade anything to aluminum, but I did re-save the file to make it v.3.0 compatible.


Ship is parked at a good spot. I tested this one. The zombies successfully board the ship :D

Here's the schematics I drew in case you wanna build it in your own game without cheating:

https://steamcommunity.com/sharedfiles/filedetails/?id=3099102296
https://steamcommunity.com/sharedfiles/filedetails/?id=3099103003

and the wiring circuit:
https://steamcommunity.com/sharedfiles/filedetails/?id=3099414913

* I want to thank Rob_boozecruise for helping me out on the circuit. Thanks buddy. :D

* When making a base on a boat, the bags of a wave will drop into the water. They will float, just go swimming and collect them or use drones.
🌳Resources 1: Raw Materials

Here's a wiki-like section on all the resources you can find in the game, how to obtain them and what they're used for.

I'm sorry for breaking this up into so many sections, but the Steam guides have a word limit per section.
RAW MATERIALS
RESOURCE
OBTAIN
USES
Research Data

tier 1
zombie drops, looting, crafting at the crafting workbench.
doing research, breaking down into leaves.
Cloth

tier 1
zombie drops. looting. crafting on the crafting workbench.
Crafting rope, maintenance kit, equipment repair kit, molotov cocktail, mechanical equipment repair kit.
Building flag, signs, beds.
Leaf

tier 1
bush, tree, breaking down research data, breaking down cloth.
Crafting cloth, research data, maintenance kits, manure.
Building cooking table, farms, lamps, beds, potted plants, zombie and animal stands, fish tanks, animal traps and bird houses.
Branch

tier 1
bush, tree, bush and tree farms or crafted on the material production workbench
Converting stones to bricks and ores to ingots.
Building barbed fence, small fences, animal traps, crafting workbenches, flags, bird houses, charcoal.
Upgrading farms.
Reloading the charges on tier 1 traps.
Putting out fires.
Repairing wooden structures.
Crafting fishing poles, arrows, javelins, torches, axes and hammers, bow, pipe, ballista bolt, stones and ores.
Vine

tier 1
bush, tree, bush farms
Crafting branches, rope, fertilizer, hammers, bow, pipe, brass knuckles.
Building foundations, stairs.
Log

tier 1
trees, tree farms, breaking down lumber or planks.
Crafting lumber, planks, charcoal. Breaking down into branches.
Building material production workbench, foundations.
Lumber

tier 1
crafted from logs on the material production workbench. looting.
Building wall and floor modules, beams and columns, doors, stairs, bridges, walls, gates, roofs, crafting workbench, research table, sign, lamps, black chair, zombie, animal and armor stands, traps, ballista, trebuchet, trap door, fishing place.
Upgrading cooking table.
Crafting machete.
Plank

tier 1
crafted from logs on the material production workbench. looting.
Building floors, walls, doors, stairs, bridge, gate, crafting workbench, research table, farms, fishing place, storage box, signs, furniture, zombie, animal and armor stands, traps, ballista, trebuchet, trap door, bird house.
Crafting wooden shield.
Rope

tier 1
Craft on the crafting workbench with 1 cloth and 1 vine. Looting
Crafting bone armors, dynamite, fishing rod.
Building walls, floors, doors, beams, columns, stairs, bridge, wall, gate, fence, roof, research table, display stands, batteries, traps, turrets, bird house.
Upgrading cooking table (tier 3), storage box (tier 3), traps (tier 2).
Small Stone

tier 1
picking them up off the ground, breaking stone boulders, quarrying machine, breaking down limestone or stones.
Repairing stone modules.
Crafting stones, limestone, stone knife, axes, hammer.
Building equipment workbench, cooking table, farms, flags, zombie and animal stands, fish tanks.
Limestone

tier 1
stone boulders, quarrying machine or crafting on the material production workbench.
Converting to cement on the material production workbench
Cement

tier 1
crafting from limestone on the material production workbench
Upgrading wood modules to stone.
Stone

tier 1
stone boulders, quarrying machine or crafting on the material production workbench
Building lamp, small animal trap.
Crafting bricks, trebuchet stone ball.
Brick

tier 1
crafted from stones and branches at the material production workbench. looting.
Upgrading wood modules to stone.
Building fishing place, potted plants, fish tanks.
Clay

tier 2
Fishing. Breaking stone boulders. quarrying machine.
Crafting coils.
Charcoal

tier 1
Crafted on the material production workbench
Crafting sulfur, gas mask.
Sulfur

tier 2
quarrying machine, mining machine, breaking stone and ore boulders
Crafting gunpowder.
Gunpowder

tier 2
looting, zombie drops, crafting it from sulfur and charcoal.
crafting all types of ammunition and dynamite. Building land mines.
Piece of iron

tier 1
breaking ore boulders. mining machine. zombie drops. looting. breaking down iron ore.
Repairing iron structures, electronic devices and motor bikes.
Building equipment workbench, material production workbench, crafting workbench, cooking table, lamps.
Crafting fishing rod, arrows, throwing knives, wooden shield, brass knuckle, pipe, ballista bolt, iron ore, nails, gears, cells, varistor, maintenance kit, switch, electronic circuit.
Upgrading gear.
Nail

tier 1
crafting from piece of iron. looting.
Crafting brass knuckles.
Building doors, gates, mechanical equipment workbench, electronic equipment workbench, coil workbench, electronics workbench, crusher, research table, farms, mining and oil machines, fishing place, storage box, secure storage box, sign, all 4 electric lamps, bed, all furniture, weapon stands, fish tanks, everything electronic, all traps and turrets, bird house.
Upgrading most workbenches, some wood modules to stone, some stone modules to iron, traps, most electronics.
Gear

tier 2
Made on the crafting workbench. lootable.
Building secure door, crusher, secure storage box, mid-sized animal trap, both motorbikes, armored car, jet-ski and armored boat.
Crafting V12 engine, turbo charger, thruster, trap machine, handmade sniper rifle, handmade submachine gun, handmade shotgun, iron armors.
Iron Ore

tier 1
breaking ore boulders, mining machine, breaking down iron ingots.
crafting iron ingots. breaking down into pieces of iron.

🌳Resources 2: Raw Materials


RAW MATERIALS (continued)
RESOURCE
OBTAIN
USES
Iron ingot

tier 1
made from iron ore on the material production workbench. lootable. breaking down tier 2 equipment.
converts into rebar and iron plate on the material production workbench.
Building mining machine, quarrying machine, oil pumping machine, security storage box, potted plants, traps, trap door, barrel bomb, land mines, bait trap, off-road motorcycle.
Crafting wrench, handmade submachine gun, iron armors, all types of ammo, machete, throwing axe, spear, trap mods, trap machine, gear, electronic device, fuse, battery, motor, pulse transformer, engine, electric plate, quantum circuit, solenoid.
Upgrading crafting workbench (both times), cooking table (both times), protective wall (tier 3), storage box (tier 2).
Iron plate

tier 1
Made from iron ingots at the material production workbench. lootable.
Used for upgrading stone modules to iron.
Building door, security door, coil workbench, electronic equipment workbench, coil workbench, electronics workbench, crusher, quarrying machine, mining machine, oil pumping machine, secure storage box, electric lamps, bed, furniture, weapon stands, wind turbine, solar panel, fuel generator, battery, BEC, switches, punch dummy, TC, drone, plasma shocker, all turrets, ankle trap, leg hold trap, treadmill, springboard, cruiser motorcycle, armored car, jet-ski.
Crafting electronic device, fuse.
Upgrading electronics workbench (both times), crafting workbench (tier 3), battery (tier 2 and 3), BEC (tier 2 and 3), switch (tier 2), TC, traps, ballista, trebuchet.
Rebar

tier 1
Made from iron ingots at the material production workbench. lootable.
Used for upgrading stone modules to iron.
Building coil workbench, electronic equipment workbench, coil workbench, electronics workbench, crusher, quarrying machine, mining machine, oil pumping machine, secure storage box, weapon stands, bicycle generator, solar panel, BEC, punch machine, TC, drone, plasma shocker, most turrets, leg hold trap, treadmill, springboard, bait trap.
Upgrading electronics workbench (both times), wind turbine, solar panel, TC, most traps, trebuchet, ballista.
Copper ore

tier 2
breaking ore boulders. mining machine
Crafting copper ingot
Copper ingot

tier 2
created at the material production workbench. lootable.
Crafting copper wire, battery, motor, electric plate, pulse transformer, engine, quantum circuit, solenoid, V12 engine, thruster, turbo charger, bone armors, handmade submachine gun, handmade shotgun, most projectile type ammo.
Building ankle trap
Copper wire

tier 2
made from copper ingot at the material production workbench. lootable.
Building secure door, electronics workbench, secure storage box, fuel generator, gate switches, mortar, MRL, land mine, mid-size animal trap.
Upgrading crafting workbench (tier 3), secure door (tier 2 and 3), battery (tier 2), BEC (tier 2).
Rubber resin

tier 2
trees, bushes, tree and bush farms.
can be crafted into rubber or plastic at the crafting workbench.
Rubber

tier 2
can be crafted from rubber resin at the crafting workbench. lootable. zombie drops.
Building crusher, quarrying machine, mining machine, oil pumping machine, secure storage box, bicycle generator, wind turbine, fuel generator, BEC, switch, ankle trap, barrel bomb, land mine, both motor bikes, the armored car and the jet-ski.
Upgrading traps (tier 3), storage box (tier 2), door (tier 2), secure door (tier 2), cooking table (tier 3), battery (tier 2), BEC (tier 3), extension socket, ballista, trebuchet.
Crafting trap machine, tape, maintenance kit, battery, motor, pulse transformer, engine, quantum circuit, solenoid, V12 engine, turbo charger, thruster, trap mods, spear, machete, wooden shield, wire connector, electric wire, wrench, handmade submachine gun, handmade shotgun, handmade sniper rifle, gas mask, power drill.
Plastic

tier 2
can be crafted at the crafting workbench from rubber resin and fuel. lootable. zombie drops.
Building bicycle generator, wind turbine, fuel generator, BEC, extension sockets, pressure switch, punch machine, drone station, railgun, barrel bomb, land mine, cruiser motorcycle, jet-ski.
Upgrading gate (tier 3 & 4), door (tier 3 & 4), secure door (tier 3 & 4), walls and floors (tier 4), storage box (tier 3), cooking table (both times), crafting workbench (tier 2), solar panel, wind turbine, battery (tier 2 & 3), BEC (tier 2 & 3), switch (tier 3), gate switch, TC.
Tape

tier 2
crafted from rubber at the crafting workbench. lootable.
Building electronics workbench, signs, electric lights, switch, leg hold trap, treadmill, springboard, bait trap.
Crafting iron armors.
Upgrading cooking table (tier 2).
Leather

tier 1
looting, processing animal skins
Building carpet, leather chair, ballista, trebuchet.
Upgrading storage container (tier 3), crafting workbench (tier 3).
Trap machine

tier 2
made on the crafting workbench with 1 gear, 1 iron ingot, 1 rubber and 2 copper wire. purchasable at kiosk.
required for building traps and turrets
Fuel

tier 2
crafted at the crafting workbench from oil. looted.
Building barrel bomb, lamps. Crafting MRL ammo, grenade, plastic.
Maintenance kit

tier 2
Crafted at the electronics workbench using leaves, rubber, pieces of iron and cloth. can be bought at hardware kiosk.
used for reloading quarrying machine, mining machine and oil pumping machine.
Aluminum ore

tier 3
mined from the aluminum or magnesium mines.
Crafting aluminum ingots at the material production workbench.
Aluminum ingot

tier 3
crafted from aluminum ore at the material production workbench. breaking down tier 3 weapons and armors.
Building punch machine, trap controller, plasma shocker, cruiser motorcycle, armored car, jet-ski armored boat.
Crafting engine, bone armors, handmade sniper rifle, handmade shotgun, iron armors, gas mask, railgun ammo.
Upgrading carry packs, walls, floors and doors (tier 4), armored car (tier 2).

👨‍🌾Resources 3: Raw Materials & Farming


RAW MATERIALS (continued)
RESOURCE
OBTAIN
USES
Duralumin ingot

tier 4
crafted at the material production workbench using a branch, aluminum ore and magnesium ore.
Building electronic equipment workbench, fuel generator, drone station, MRL, armored boat.
Crafting quantum circuit, V12 engine, handmade sniper rifle, iron armors, power drill.
Upgrading carry packs, gate door (tier 4), armored car (tier 2).
Magnesium ore

tier 4
mined from the 2 magnesium mines found in the desert. breaking down magnesium ingot.
Crafting magnesium ingot, duralumin ingot.
Magnesium ingot

tier 4
crafted at the material production workbench. can obtain from breaking down tier 4 weapons and armors on a workbench.
Building plasma shocker.
Titanium ore

tier 5
mined at the titanium mine in the western grassland and from the gold mines in the snowfield. ore mining machine will produce this when built in snowfield.
Crafting titanium ingot at the material production workbench.
Titanium ingot

tier 5
crafted at the material production workbench from titanium ore and branch. can be obtained from breaking down tier 5 weapons and armors.
Crafting plasma swords and shield.
Upgrading armored car (tier 3), wind turbines, extension sockets, switch (tier 3), gate switch, tier 3 traps.
Titanium alloy ingot

tier 5
crafted at the material production workbench using titanium ore, aluminum ore and a branch
Building railgun.
Crafting solenoid, turbo charger.
Upgrading carry packs, trap controller, BEC (tier 3), battery (tier 3), solar panel, armored car (tier 3).
Titanium gold ingot

tier 6
crafted at the material production workbench using gold ore, titanium ore, magnesium ore and a branch.
Crafting thruster, plasma swords and shield.
Gold ore

tier 6
mined from the gold mines in snowfield.
Crafting gold ingots, titanium gold ingots.
Gold ingot

tier 6
produced using gold ore at the material production workbench. obtained when breaking down tier 6 weapons and armor.
converting to gold bars using the crafting workbench (tier 3)


FARMING
RESOURCE
OBTAIN
USES
Manure

tier 2
Crafted at the crafting workbench. lootable
Building crop, tree, bush and cactus farms.
Reloading tree, bush and cactus farms (tier 1).
Crafting fertilizer
Fertilizer

tier 3
Crafted at the crafting workbench. lootable
Reloading crop, tree, bush and cactus farms (tier 2).
Crafting pesticide
Pesticide

tier 4
Crafted at the crafting workbench. lootable
Reloading crop, tree, bush and cactus farms (tier 3)
Seed

tier 1
trees, bushes, tree and bush farms. seed incubator
Reloading animal traps, tree and bush farms
Cactus seed

tier 1
cactus plants in the desert
Reloading cactus farm
Animal skins

varies
skinning animals
Upgrading carry packs, gear.
Crafting leather
Small meat

tier 1
small animals such as rabbit or fox. trimming regular meat
Crafting manure, sausage, roasted small meat, meat stew.
Building mid-size animal trap, bird house
Meat

tier 1
obtained by skinning large animals.
Crafting roasted meat.
Trimming down into small meat in the handmade tab.
Building bait trap
Pigs feet

tier 2
obtained by skinning a pig or boar
Crafting roasted pigs feet
Good meat

tier 2
obtained from skinning larger animals like bears, also boars and pigs
Crafting roasted good meat, steak
Intestines

tier 1
skinning animals
Crafting manure, fertilizer.
Building bait trap
Fats

tier 1
skinning animals
Crafting cooking oil, meat stew, fertilizer.
Building bait trap
Animal bones

tier 1
skinning animals
Upgrading carry packs, gear
Bird bones

tier 1
skinning birds
Upgrading gear
Fish bones

tier 1
trimming fish
Upgrading gear
Bird meat

tier 1
trimming birds
Crafting roasted bird, cooking oil
Feathers

varies
trimming birds
Upgrading gear
Scales

varies
trimming fish
Upgrading gear
Small fish meat

tier 1
trimming fish (angelfish, arowana, ayu, betta, goldfish, zacco platypus)
Crafting roasted fish, sashimi, spicy fish stew
Large fish meat

tier 2
trimming fish (koi, salmon, pirarucu)
Crafting sashimi, spicy fish stew
Cactus fruit

tier 3
cactus, cactus farm. kiosk
Crafting detox drink
Blueberry

tier 2
bush, bush farm. kiosk
Crafting cookie, cake
Cherry

tier 2
bush, bush farm. kiosk
Crafting cookie, donut, muffin, cake

🚕Resources 4: Farming & Car Parts


FARMING
RESOURCE
OBTAIN
USES
Apple

tier 1
tree, tree farm. kiosk
Crafting roasted mushrooms & fruits, dough.
Orange

tier 2
tree in the desert, tree farm (tier 2). kiosk
Crafting cold drink
Pear

tier 3
tree in the snowfield, tree farm (tier 3). kiosk
Crafting hot drink, cake
Brown mushroom

tier 1
picked from the ground where grass grows. kiosk. tree farms
Crafting roasted mushrooms & fruits, meat stew
Red mushroom

tier 1
picked from the ground where grass grows. kiosk. tree farms.
Crafting roasted mushrooms & fruits, meat stew
Egg

tier 1
bushes, bird houses.
Crafting dough, boiled egg, muffin, cake
Herb

tier 1
bushes, bush farms. kiosk
Crafting cooking oil, sausage, roasted mushrooms & fruits, pesticide, golden koi soup
Cabbage

tier 1
crop farm (tier 1, 2 & 3). kiosk
Crafting sandwich, stir-fried vegetables
Potato

tier 1
crop farm (tier 1, 2 & 3). kiosk
Crafting dough, french fries
Onion

tier 1
crop farm (tier 1, 2 & 3). kiosk
Crafting french fries, stir-fried vegetables, spicy fish stew, pizza, steak
Ginger

tier 2
crop farm (tier 2 & 3). kiosk
Crafting cookie, sashimi, spicy fish stew, hot drink, golden koi soup
Garlic

tier 2
crop farm (tier 2 & 3). kiosk
Crafting french fries, sashimi, pasta, ramen, steak, detox drink, golden koi soup
Red cabbage

tier 2
crop farm (tier 2 & 3). kiosk
Crafting donut, sandwich, stir-fried vegetables, cold drink
Carrot

tier 3
crop farm (tier 2 & 3). kiosk
Crafting carrot cookie, stir-fried vegetables
Tomato

tier 3
crop farm (tier 2 & 3). kiosk
Crafting pizza, pasta
Pumpkin

tier 3
crop farm (tier 2 & 3). kiosk
Crafting muffin, spicy fish stew, ramen
Pineapple

tier 4
crop farm (tier 3). kiosk
Crafting steak
Strawberry

tier 4
crop farm (tier 3). kiosk
Crafting cake
Turmeric

tier 4
crop farm (tier 3). kiosk
Crafting steak
CAR PARTS
RESOURCE
OBTAIN
USES
Tire

tier 1
cars, kiosk
Building both motorbikes and the armored car.
Frame

tier 2
cars, kiosk
Building cruiser bike, armored car, jet-ski, armored boat.
Steering wheel

tier 3
cars, kiosk
Building armored car, armored boat, jet-ski.
Exhaust

tier 4
cars, kiosk
Upgrading armored car (tier 2).
Spring

tier 5
cars, kiosk
Upgrading armored car (tier 3), armored boat (tier 2).
Cylinder

tier 6
cars, kiosk
Upgrading armored boat (tier 3).
Cooling water

tier 1
reward boxes, kiosk
Building off-road motorcycle, cruiser motorcycle, armored car, armored boat, jet-ski.
Engine oil

tier 2
reward boxes, kiosk
Building cruiser motorcycle, armored car, armored boat, jet-ski.
Air cleaners

tier 3
reward boxes, kiosk
Building armored boat. Upgrading armored car (tier 2 & 3), armored boat (tier 2 & 3).
Brake fluid

tier 4
reward boxes, kiosk
Upgrading armored boat (tier 2 & 3), armored car (tier 3).
Fuel additive

tier 5
reward boxes, kiosk
Upgrading armored boat (tier 3).

🔆Resources 5: Electronics & Specials


ELECTRONICS
RESOURCE
OBTAIN
USES
Electric wire

tier 2
crafted on the mechanical equipment workbench
used for connecting electronic devices together
Cell

tier 2
crafted at the electronics workbench with a fuel and a piece of iron. lootable. purchasable at kiosk.
used to reload the charges on an upgraded trap. used for making railgun ammo
Fuse

tier 2
crafted at the electronics workbench. lootable. purchasable at kiosk.
Building quarry machine, mining machine, oil pumping machine. Crafting iron armors. Upgrading crafting workbench (tier 3), electronics workbench (tier 2), secure door (tier 3).
Varistor

tier 3
crafted at the electronics workbench. purchasable at kiosk.
Building solar panel. Upgrading wind turbine, traps (tier 3).
Transistor

tier 3
crafted at the electronics workbench. purchasable at kiosk.
Building punch machine, minigun, mortar, flamethrower, MRL. Upgrading electronics workbench (tier 3), solar panel, ballista, trebuchet.
Switch

tier 3
crafted at the electronics workbench. purchasable at kiosk.
Building all switches, punch machine, drone station, trap controller.
Motor

tier 2
crafted at the electronics workbench. purchasable at kiosk.
Building off-road motorcycle, minigun, mortar, flamethrower, leg-hold trap, springboard, treadmill, bicycle generator, wind turbine, mining machine, oil pumping machine. Upgrading electronics workbench (tier 2), traps (tier 2), trebuchet, ballista.
Plug

tier 2
crafted at the electronics workbench. purchasable at kiosk. lootable.
Building electric lamps, bicycle generator, solar panel, wind turbine, fuel generator, battery, BEC, extension sockets, punch machine, trap controller, drone station, plasma shocker, minigun, mortar, flamethrower, MRL, railgun, leg-hold trap, treadmill, springboard. Crafting wire connector. Upgrading traps (tier 2), trebuchet, ballista.
Electronic device

tier 2
crafted at the electronics workbench. purchasable at kiosk. lootable.
Building electronic equipment workbench, coil workbench, mining machine, oil pumping machine. Crafting power drill. Upgrading crafting workbench (tier 3), electronics workbench (tier 2 & 3).
Battery

tier 2
crafted at the electronics workbench. purchasable at kiosk.
Building battery, quarrying machine, mining machine, oil pumping machine.
Electric plate

tier 3
crafted at the electronics workbench. purchasable at kiosk.
Building solar panel. Upgrading battery (tier 2).
Electric circuit

tier 3
crafted at the electronics workbench. purchasable at kiosk. lootable.
Building pressure switch, gate switches, drone station. Upgrading electronics workbench (tier 3), secure door (tier 4), wind turbine, BEC (tier 2 & 3), switch (tier 2).
Engine

tier 3
crafted at the electronics workbench. purchasable at kiosk.
Building pumping machine, fuel generator, punch machine, plasma shocker, cruiser motorcycle, jet-ski, armored car. Crafting V12 engine, thruster, turbo charger.
Pulse transformer

tier 3
crafted at the electronics workbench
Building pressure switch. Upgrading solar panel, battery (tier 2), traps (tier 3).
Quantum circuit

tier 4
crafted at the electronics workbench
Building trap controller, drone station, plasma shocker. Upgrading switch (tier 3), gate switches. Crafting plasma swords and shield.
Solenoid

tier 5
crafted at the electronics workbench
Upgrading battery (tier 3)
V12 engine

tier 4
crafted at the electronics workbench
Building armored boat. Upgrading armored car (tier 2).
Turbo charger

tier 5
crafted at the electronics workbench
Upgrading armored car (tier 3).
Thruster

tier 6
crafted at the electronics workbench
Upgrading armored boat (tier 3).
SPECIAL ITEMS
RESOURCE
OBTAIN
USES
Coin Die

tier 5
Special Operations Command, underground prison - western grassland
building coin minting machine
Infrared Sensor

tier 4
Radar site communications room & Hardware Kiosks starting in the Desert biome.
building drone station
One Won

tier 2
vending machines, reward boxes, air drops, dungeon containers, coin minting machine
purchasing items at the kiosks
Five Won

tier 3
vending machines, reward boxes, air drops, dungeon containers, coin minting machine
purchasing items at the kiosks
Gold Bar

tier 6
reward boxes, air drops, dungeon containers, bank kiosk, crafting table
gold trade market / converting into coins at bank kiosk. Also used to harden equipment at a forge.
Gold Tooth

tier 6
looting graves
turn in for a survivor quest or turn into a gold ingot

💊Resources 6: Foods & Medicines


FOODS
RESOURCE
OBTAIN
USES
Bandages

tier 1
crafted from HANDMADE tab
+20 HP (regen)
Herbal Medicine

tier 1
crafted from HANDMADE tab
+30 HP (instant)
Energy bar

tier 1
looted. kiosk
+124 kcal
Can of beans

tier 1
looted. kiosk
+181 kcal
Painkillers

tier 1
looted. kiosk
+40 HP (regen)
Antibiotic

tier 2
kiosk only
+100 HP ?
Chemical detox pill

tier 3
kiosk only
+100% chemical gas resistance (6 hours)
Hamburger

tier 4
kiosk only
+50% experience gain (6 hours)
Rotten cola

tier 1
looted
+168 kcal +100% fire resistance (1 hour) +75% chance of mild indigestion
Rotten coffee

tier 1
looted
+100% cold resistance (1 hour) -10 energy
Rotten healthy juice

tier 1
looted
+100% poison resistance (1 hour) -75 health
Fresh cola

tier 3
kiosk
+100% fire resistance (6 hours)
Crafting burger set
Fresh coffee

tier 3
kiosk
+100% cold resistance (6 hours)
Fresh healthy juice

tier 3
kiosk
+100% poison resistance (6 hours)
Crafting steak platter
Cold drink

tier 3
crafted on the cooking table
+26 kcal, +100% fire resistance (12 hours)
Hot drink

tier 3
crafted on the cooking table
+22 kcal, +100% cold resistance (12 hours)
Detox drink

tier 3
crafted on the cooking table
+19 kcal, +100% poison resist (1 hour)
Boiled egg

tier 2
crafted on the cooking table
+68 kcal
Crafting ramen
Dough

tier 2
crafted on the cooking table
+68 kcal, +50% chance of mild indigestion
Crafting cookie, donut, sandwich, muffin, pasta, ramen, pizza, cake
Meat stew

tier 2
crafted on the cooking table
+205 kcal, +50 protection (12 hours)
Roasted bird

tier 2
crafted on the cooking table
+182 kcal
Roasted fish

tier 2
crafted on the cooking table
+106 kcal
Roasted good meat

tier 2
crafted on the cooking table
+92 kcal, +20 max satiety (12 hours)
Crafting steak
Roasted meat

tier 2
crafted on the cooking table
+165 kcal
Roasted mushrooms & fruits

tier 2
crafted on the cooking table
+48 kcal, +10% movement speed (12 hours)
Crafting steak platter
Roasted pigs feet

tier 2
crafted on the cooking table
+102 kcal, +40 max satiety (12 hours)
Roasted small meat

tier 2
crafted on the cooking table
+142 kcal
Crafting ramen
Cooking oil

tier 2
crafted on the cooking table
+85 kcal, +75% mild indigestion
Crafting french fries, donut, pasta, stir-fried vegetables, pizza, steak
Sausage

tier 2
crafted on the cooking table
+132 kcal
Crafting pizza
High-calorie Cookie

tier 2
crafted on the cooking table
+357 kcal
Crafting carrot cookie
Muffin

tier 3
crafted on the cooking table
+135 kcal, -20% noise (12 hours)
Crafting burger set
Sandwich

tier 2
crafted on the cooking table
+190 kcal, +10% evasion rate (12 hours)
Crafting fast food set
Stir-fried vegetables

tier 3
crafted on the cooking table
+158 kcal, +10% parry rate (12 hours)
Crafting steak platter
Carrot cookie

tier 3
crafted on the cooking table
+502 kcal, -25% satiety reduction (12 hours)
Donut

tier 2
crafted on the cooking table
+162 kcal, +20% stamina restore rate (12 hours)
Crafting birthday party set
French fries

tier 2
crafted on the cooking table
+112 kcal, +10 damage (12 hours)
Crafting burger set
Pasta

tier 3
crafted on the cooking table
+264 kcal, +20% fishing bar size (12 hours)
Crafting birthday party set
Pizza

tier 3
crafted on the cooking table
+304 kcal, +10% damage (12 hours)
Crafting fast food set
Ramen

tier 3
crafted on the cooking table
+233 kcal, +20% equipment drop rate (12 hours)
Crafting japanese food set
Cake

tier 4
crafted on the cooking table
+316 kcal, +50% completion speed (12 hours)
Crafting birthday party set

🍗Resources 7: Foods & Ammo


FOODS (continued)
RESOURCE
OBTAIN
USES
Sashimi

tier 2
crafted on the cooking table
+176 kcal, -10% fishing time (12 hours)
Crafting japanese food set
Spicy fish stew

tier 3
crafted on the cooking table
+186 kcal, +40 max satiety (12 hours)
Steak

tier 4
crafted on the cooking table
+165 kcal, +60 max satiety (12 hours)
Crafting steak platter
Japanese food set

tier 4
crafted on the cooking table
+409 kcal, +20% equipment drop rate (12 hours), -10% fishing time (12 hours)
Steak platter

tier 5
crafted on the cooking table
+414 kcal, 60 max satiety (12 hours), +10% movement speed (12 hours), +10% parry rate (12 hours), 100% poison resistance (12 hours)
Slow food set

tier 4
crafted on the cooking table
+391 kcal, +40 max satiety (12 hours), +50 protection (12 hours)
Fast food set

tier 4
crafted on the cooking table
+494 kcal, +10% damage (12 hours), +10% evasion rate (12 hours)
Burger set

tier 5
crafted on the cooking table
+701 kcal, +10 damage (12 hours), +50% experience gain (12 hours), -20% noise (12 hours), +100% fire resistance (12 hours)
Birthday party set

tier 5
crafted on the cooking table
+828 kcal, +50% completion speed (12 hours), +20% fishing bar size (12 hours), +20% stamina restore (12 hours), +100% cold resistance (12 hours)
Golden koi soup

tier 6
crafted on the cooking table
+221 kcal, reset all stats points


AMMO
RESOURCE
OBTAIN
USES
Arrows

tier 1
crafted in the handmade tab
used as arrows for bows and used as bolts for crossbows
Ballista bolt

tier 1
crafted on the equipment workbench
weak ammo for the spike launcher
Upgraded ballista bolt
crafted on the equipment workbench
strong ammo for the spike launcher
Stone ball
crafted on the equipment workbench
weak ammo for the trebuchet
Trebuchet bomb
crafted on the equipment workbench
strong ammo for the trebuchet
Pistol ammo
crafted on the mechanical equipment workbench. can be bought at kiosk. looted
Pistol ammo
SMG ammo
crafted on the mechanical equipment workbench. can be bought at kiosk. looted
SMG ammo
Shotgun ammo
crafted on the mechanical equipment workbench. can be bought at kiosk. looted
Shotgun ammo
Sniper ammo
crafted on the mechanical equipment workbench. can be bought at kiosk. looted
Sniper rifle ammo
AR ammo
crafted on the mechanical equipment workbench. can be bought at kiosk. looted
Assault rifle ammo
Equipment repair kit
crafted on the equipment workbench. looted. kiosk.
repairing simple, low-level equipment which has no moving parts
Mechanical equipment repair kit
crafted on the mechanical equipment workbench. can be bought at kiosk. looted
repairing guns and mechanical equipment, some armors.
RPG
crafted on the mechanical equipment workbench. can be bought at kiosk. looted
RPG launcher ammo
Minigun ammo
crafted on the mechanical equipment workbench
Minigun ammo
Mortar ammo
crafted on the mechanical equipment workbench
Mortar ammo
MRL ammo
crafted on the mechanical equipment workbench
Multi-Rocket Launcher ammo
Railgun ammo
crafted on the electronic equipment workbench
Railgun ammo
Paste bait
crafted in the handmade tab
used for fishing


TRAP MODS
RESOURCE
OBTAIN
USES
Lubricant

tier 2
looted
used to create and to upgrade trap mods
Armor mod

tier 2
crafted on the coil workbench
+5% poison gas chance when attacking
Plate mod

tier 2
crafted on the coil workbench
-15% damage taken from zombies
Sting mod

tier 3
crafted on the coil workbench
+5% smash chance when attacking
Blade mod

tier 3
crafted on the ciul workbench
+50% damage to zombies
Core mod

tier 4
crafted on the coil workbench
+5% electric explosion chance when attacking

🌐Multiplayer Games

Multiplayer games are super fun compared to single player because you get to share in the experience together. You can form a team and compete against, or work with other teams. You can share resources and buildings. You can share vehicles and boats. There's a private team chat for secret communications. It's all ready to go.

Teaming Up:
There are two ways to form a team in this game. You can either press the P key (by default) or you can press ESC to the main menu and select TEAM INFO.


If you want to know who's online on that server at the same time then ESC to the main menu and select SERVER INFO. It will show you the message of the day, who is online and let you log on as the admin to manage the ban list.


Wave Time:
So it's wave time and you guys decided you don't want to survive it in the same shelter. Cool! I should probably tell you what to expect then. The common misconception is that the zombies will attack a location. The zombies aren't interested in a location, they are only interested in YOU, the players. So wherever you go, they will follow YOU.

When you split up, it doesn't happen like you hoped. You hoped that both locations would be attacked equally but instead what happens is the zombies tend to pick on one location only. This is because they have a player in mind and are going after just that one player. Now, they do sometimes break off and will attack multiple locations, but it's rare and very unbalanced when it happens. One location gets a lot of zombies, the other location barely any.

You can change who the targeted player is in a couple of different ways. The most sure way, in an emergency, is to simply log off if you are the targeted one and don't want to be. By logging off the game will automatically switch to another online player and target them. All the zombies on the world will change course and target the new player when you do this.

Another way is to manipulate the pathing. This usually only works when you're near to each other or at the same location but you can try it split up. If you're being targeted then try making yourself un-targetable. Lock yourself up behind some doors, and make sure your friend is easily targetable. The zombies will often switch who they're targeting when you do this.

Now, when you split up, how does it choose who is targeted? Usually it will default to targeting whoever is closest to the center of the map. Therefore, if you are far away from the map center then you probably won't get waves at your base too often.


Known Bugs:
There are currently some known vehicle bugs that happen mostly in server games. The first is rubber-banding, where you vehicle warps back to where it last was when you get off of it.

The other effect is when you get off a vehicle and it turns invisible. It is still there, you just can't see it or interact with it. Other players on the server can though, and if another player interacts with the vehicle (get in then out), then it will become visible again to the player who couldn't see it.

Either of these effects can happen with a bike, APC, jet-ski or boat.

If your vehicle vanishes when you exit it, the first thing to try is to log off of the server then log back in again. Or, if someone is online nearby, ask them if they can see your vehicle. The first thing to assume is that it has simply gone dark. It's still there you just can't see it. Have another player interact with it or re-log to be able to see it again yourself.

If that didn't work then your vehicle probably rubber-banded. This is when it teleports back to a previous saved location. This is most common in laggy situations with a server, if your connection is great then the problem won't happen too much.

The problem here is that the vehicle is saved when stopped but you have to come to a complete stop. If you exit the vehicle while it's still rolling that's when this happens. So where did the vehicle go? It goes back to the last place that its' location was saved. Back to where it was resting safely at a complete stop.

So re-trace your steps. Where were you with the vehicle. Did you leave the headlights on? It's easier to find a warped vehicle in the dark if the headlights were on. If you simply return to where the vehicle was last stopped you will usually find it there.
💻Dedicated Servers
Enabling the Sandbox on a Dedicated Server

You know how to open the console right? It's the tilde key ~ by default but you can change it in your key settings. In the settings it will be marked as ` apostrophe. It's actually ` but we call it tilde ~ because it's easy to confuse with ' single quote.

1st edit the admin pass into serversettings.ini file on your server
2nd open the main menu in-game and choose Server Info
3rd enter the password that you set. and submit it to enter admin mode
4th press ~ in-game (or your console key) and type SANDBOX
5th go back to main menu and click sandbox button now appears at bottom.
6th press zero to edit sandbox options.

Rental Servers:
I'm going to post this list because the official servers are still plagued with cheaters and people are still looking for solutions to play this game with their buddies online. I had to go search all this up and it was kind of a pain so I've recreated my browser bookmarks for your convenience.
Pro's of having a Dedicated Server:
  • Your buddies can play even when you're not there to host the game. Game is 24/7 live if you want it to be.
  • Your PC doesn't have to carry the load of processing everything so the game should run faster / better / more stable, especially when multiple other clients are connecting.
  • You can control who gets to play there by using a password and / or the ban filter. No more WeMOD cheaters. You can also flip it off if you don't want it used when you're not there.
  • If the game gets messed up you can simply restore a backup (similar to loading a save game).
  • The official servers can reset at any time to day zero and force you to start over. With your own server you start over when you want to (or when an update forces us all to).
  • You don't have to worry about saving the game all the time, the server is constantly saving automatically for you.
  • When my game crashes I worry that I lost progress but I swear each time I log back in and pick right back up where I left off, it's craaaazy good. Not that the game crashes a lot but at least when it happens I don't roll back progress.
  • If the game gets updated you can continue playing your save in a single-player game as long as you made a backup copy of that game version.


* All these hosting companies have integrated with Night of the Dead already so it's easy to setup and use. I already checked over each web site to make sure it looks solid. Each link will take you to the hosting companies NOTD page directly.

And of course if you know how to do it, you COULD use the Google cloud or amazon AWS. They have a free 30 day trial but after that it could run you up to like $300 a month :p

Or you could also run your own dedicated server if you've got the hardware yourself. Follow the guide in the pinned topic about dedicated servers for configuration details:
https://steamcommunity.com/app/1377380/discussions/0/2975149180209636621/

If you were OK with setting it up yourself, perhaps look into a VPS from Hostinger. It's pretty cheap too but super complicated to get it all sorted and running (I tried it out, wasn't for me, lol).
https://www.hostinger.com

Here are a couple more links that are useful in setting up a server for the game.
https://www.inmotionhosting.com/blog/dedicated-gaming-servers/
https://www.hostinger.com/tutorials/how-to-make-a-gaming-website


Some notes on using a dedicated server...

* I've found that having the autosave feature enabled can cause a big lag spike. Also, your game is being saved automatically every second anyways so you really don't need this. To disable the auto save, find this line and set it to zero:

SaveIntervalHour=0
📄ServerSettings.ini

I'm going to keep a copy of the ServerSettings.ini file here for people who need a copy of the default file. I will try to keep this file updated with game changes.

Last updated for version 3.3.0.4.alpha (added Limit Wave Zombie Amount).

Below is a complete file with descriptions of how to use each setting.


//- - - - - - - - - - - - - - - - - - - - - - - -
//- Night of the Dead
//- ServerSettings.ini
//- Default settings:


//- - - - - - - - - - - - - - - - - - - - - - - -
//- SERVER SETTINGS
[ServerSettings]

//- The name of your server as seen on the listing
ServerName=My Host Name

//- The password required to enter the server. Leave blank for no password
Password=

//- Limit the number of players in the game at one time
MaxPlayers=10


//- - - - - - - - - - - - - - - - - - - - - - - -
//- SYSTEM SETTINGS
[SystemSettings]

//- The name of the save game file
SaveName=worldsave

//- Password to the admin tools in-game. (Server Info button)
IngameAdminPassword=123

//- Auto-save feature. It's advised to leave this set to zero on a dedicated server
SaveIntervalHour=0

//- MOTD popup when you enter the game. Can also be left blank and set in-game instead
DefaultMessageOfTheDay=Welcome!


//- - - - - - - - - - - - - - - - - - - - - - - -
//- GAME SETTINGS
[GameSettings]

//- The game difficulty. Must be set to Custom in order to change a lot of settings below.
//- Peaceful / Easy / Normal / Hard / Survival / Challenge / Legend / Custom
Difficulty=Normal


//- - - - - - - - - - - - - - - - - - - - - - - -
//- GAME SETTINGS / GENERAL
[GameSettings/General]

//- These settings are binary. 0 for off and 1 for on:

//- The game mode: PvE or PvP. 0=PvP, 1=PvE
MODSelect=1

//- 1 will disable the waves. 0 to turn them back on. This applies to day waves as well
NoWave=0

//- Activate Building Forbidden Area. Prevents people from building near important sites.
NoSpawnBuildingBlocker=0

//- 1 stops zombies from respawning. 0 to respawn them
NoZombieRespawn=0

//- Should trees, rocks, mushrooms respawn? 1 to respawn
NaturalObjectRespawn=1

//- Should cars, loot boxes, etc. respawn? 1 to respawn
SyntheticObjectRespawn=1

//- Generators don't break when set to 1
NoGeneratorTrouble=1

//- No Research Lost Upon Dying when set to 1
NoDeathResearchDrop=1

//- Drop what you're carrying when you exit when you set this to 1
DropItemsOnExit=0

//- Can't injure a team mate
NoTeamKill=1

//- Disables the ending so that people can't do the escape quest using this game
NoEnding=1

//- Building decays after 5 days of inactivity
UsePlayerBuildingCorrode=0

//- Limits number of zombies that a wave will produce at one time.
//- valid values: 50 / 100 / 200 / 400 / 800 / 2000. default = 200
Limit Wave Zombie Amount=200


//- - - - - - - - - - - - - - - - - - - - - - - -
//- GAME SETTINGS / BASIC
[GameSettings/Basic]

//- * THE SETTINGS BELOW ONLY WORK WHEN DIFFICULTY IS SET TO CUSTOM *
//- These settings are in a range from 0 - 100:

//- Light Zombie HP
NormalZombieHealth=17

//- Heavy Zombie HP
SpecialZombieHealth=17

//- Giant Zombie HP
GiantZombieHealth=17

//- Zombie Damage
ZombieDamage=18

//- Zombie Movement Speed
ZombieMovementSpeed=35

//- World Zombie Spawn Amount
WorldZombieSpawn=17

//- Wave Zombie HP
WaveZombieHealth=25

//- Light Zombie Amount
WaveNormalZombieAmount=44

//- Heavy Zombie Amount
WaveSpecialZombieAmount=17

//- Giant Zombie Amount
WaveGiantZombieAmount=21

//- Animal HP
AnimalHealth=17

//- Animal Attack Damage
AnimalDamage=18

//- These settings are in minutes (times per day). 60 = 1 hour:

//- Light Zombie Respawn Time; valid settings: 30 / 60 / 120 / 180 / 240
WorldNormalZombieRespawnTime=120

//- Heavy Zombie Respawn Time; valid settings: 120 / 300 / 600 / 900 / 1200
WorldSpecialZombieRespawnTime=600

//- Giant Zombie Respawn Time; valid settings: 120 / 300 / 600 / 900 / 1200
WorldGiantZombieRespawnTime=600


//- - - - - - - - - - - - - - - - - - - - - - - -
//- GAME SETTINGS / ADVANCED
[GameSettings/Advanced]

//- * THE SETTINGS BELOW ONLY WORK WHEN DIFFICULTY IS SET TO CUSTOM *

//- No EXP Lost Upon Dying ; 0 = disable, 1 = enable
NoExperienceLoss=0

//- No Items Drop Upon Dying ; 0 = disable, 1 = enable
NoDeathItemDrop=0

//- Dont drop what you have equipped when you die ; 0 = disable, 1 = enable
NoDeathEquipmentItemDrop=1

//- Research Data Consumption ; value = 0 - 100
ResearchDataConsumption=50

//- Fish Speed ; value = 0 - 100
FishSpeed=66

//- Building HP ; value = 0 - 100
BuildingHit=90

//- Trap Attack Damage ; value = 0 - 100
TrapDamage=66

//- Materials Return Rate After Building Destruction ; value = 0 - 100
ResourcesReturnedAfterBuildingDestroyed=30

//- Fish Power ; value = 0 - 100
FishingGaugeDecrease=40

//- High-Grade Equipment Drop Rate ; value = 0 - 100
SuperiorOrHigherEquipmentGainMultiplier=40

//- Gain EXP Amount; 1 / 2 / 3 / 4 / 5
AmountOfExperienceGained=1

//- Item Obtained Amount; 1 / 2 / 3
ResourceAcquisition=1

//- Initial Food Amount; 0 / 1 / 2 / 5 / 10 / 12 / 15
InitialFoodAmount=5

//- Natural Objects Respawn Time; 240 / 360 / 480 / 720 / 840 / 960
NaturalObjectRespawnTime=480

//- Synthetic Objects Respawn Time; 240 / 360 / 480 / 720 / 840 / 960
SyntheticObjectRespawnTime=480

//- Farm Resource Production Amount; 1 / 1.25 / 1.5 / 1.75 / 2
FarmResourceOutput=1

//- Machine Resource Production Amount; 0.5 / 1 / 1.5 / 2
MachineResourceOutput=1

//- Animal Trap Time; 0.5 / 1 / 1.5 / 2 / 2.5
AnimalTrapTime=1

//- Farm Resource Production Time; 0.5 / 1 / 1.5
FarmResourceProductionTime=1

//- Machine Resource Production Time; 0.5 / 1 / 1.5
MachineResourceProductionTime=1

//- Power Generated; 0.5 / 1 / 1.5 / 2 / 2.5
ElectricGeneration=1

//- Power Consumption; 0.5 / 1 / 1.5
ElectricConsumption=1

//- Power Limit; 0.5 / 1 / 1.5 / 2 / 2.5
ElectricOvercurrentLimit=1

//- Standby Power; 0.5 / 1 / 1.5
ElectricStandbyPower=1


//- - - - - - - - - - - - - - - - - - - - - - - -
//- GAME SETTINGS / DETAILS
[GameSettings/Detail]

//- * THE SETTINGS BELOW ONLY WORK WHEN DIFFICULTY IS SET TO CUSTOM *

//- In minutes, how long do you want 1 game day to be? ; 60 / 120 / 180 / 240 / 300 / 360 / 420
OneDayTime=120

//- unlocks all building modules in this game without having to do quests, for all players
UnlockAllBuilding=0

//- Death is permanent if you set this to 1
Hardcore=0

📂Handling Save Data
When I first started playing this game I had no idea where the save files were stored. I looked in all the common places, My Documents / Games, the Night of the Dead install folder, nothing. If you're looking for the save files look here. Keep in mind that my PC name is Shadowrun. Switch that with your PC name.

C:\Users\Shadowrun\AppData\Local\LF\Saved

Now that we've found that let's have a little peek at what you can find inside. What you find here changes sometimes with the updates. So what I've listed here now might not be exactly what you find when you look. Also, I tend to modify my folders a bit with stuff from my dedicated server so I can play my backups from there in a Single-player game.

  • Avatars - Organized by slot number, this is who you have in each character selection slot.
  • CharacterData - When you create a character and save the custom characters, they are stored here.
  • Config - The game's configuration files.
  • Crashes - Each crash report.
  • Logs - Log files.
  • PersistentDownloadDir - Epic game services download folder.
  • SaveGames - Your save games (world data).

Save games in Night of the Dead are quite interchangeable. You can start playing a game in single-player mode, to day 10 for example, then take and host your game in the player servers and play it with friends, until day 50 or something, then take it back to single-player until like day 80, then upload it to a dedicated server and play it online until about day 140, then take it back to single-player and play it forever or until you're done with it. Very interchangeable.

An idea that I had was to build up bases and save games that people could download and play on. I've done this already and although not a big success, there have been a couple people who enjoyed playing on a base that I built for them. I have server space, if you'd like to host your save games for people to play then let me know.


Reviving Old Save Games
The devs have provided us with a roadmap to reviving old save games. They have laid it out in this topic which is pinned in the General Discussion forum:

Night of the Dead 3.0.0 Version Update and Save File Compatibility
https://steamcommunity.com/app/1377380/discussions/0/4033598370574171076/

Another topic you will need to know in order to complete this process is this one, also pinned in the General Discussion forum:

How to change the game version
https://steamcommunity.com/app/1377380/discussions/0/3719440678466596487/

Don't worry about reading those topics if you don't want to, I am about to lay out the procedure for you.

* This procedure is supposed to work for games saved in the 2.x branch but may also work for games saved in the v.1.x branch.

1.) First, you are going to want to roll back your game version to v.2.4.1. In order to do this, simply go into Steam and click on NOTD to open the page and click the Settings icon then select PROPERTIES, or, right-click on NOTD in your games library list and select PROPERTIES.


2.) Once the page is open, click BETAS from the menu on the left, then select v.2.4.1 from the drop-down menu under BETA PARTICIPATION.


* I know it may seem strange to be selecting an OLDER game version under the BETAS section but these devs used the BETAS section to archive older versions of their game. If you have an old save that you would like to play on the old version, this is how you could do it.

Once you selected the version, close the window and allow your game to update itself to the new version.

3.) Once v.2.4.1 is installed, launch the game. From the main menu, select your save file and load it. Once loaded, immediately save over the top of it. This will turn it into a v.2.4.1 save file.

4.) Exit the game and go back into the BETAS screen and select NONE from the drop-down menu in order to get your game to update back to the latest version. Allow your game time to update back to the latest version.

5.) Once installed, run the game from the latest version and load your save file. Once loaded, immediately save over the top of the file again. Now exit back to the main menu and re-load the file to now have a current version file running.

You can continue to save over the top of that file or start creating new files now.


I wanted to talk for a minute about handling save data. First let's talk about compressing a save file for transfer.

You should have 7zip installed (or another compression program is fine if you're familiar with them). 7zip tends to come with a Windows installation so you might already have it installed. If not you can find it here:

https://www.7-zip.org/

Now when you look at your save game files (C:\Users\Shadowrun\AppData\Local\LF\Saved\SaveGames), they are folders. Each folder contains 4 files which is your world data. Right-click on a folder (let's say it's called: SaveName) and select 7zip -> Add to "SaveName.7z". Now it's going to compress all 4 of those files into one file, a package called SaveName.7z. You can now email this simple file or store it on a server for people to grab. For a note on the compression ratio, one of my save games is 12.6 MB. Once I 7zip it, it's 10.8 MB. Not a huge difference but having only 1 file to handle is the key.

Now if you were to download and install one of these save files you would need to extract the files from the 7z package. To do so, right-click on it and select 7zip -> Extract to "SaveName\". This will put your 4 files back into the folder taht you can now drop into your (C:\Users\Shadowrun\AppData\Local\LF\Saved\SaveGames) folder and load the save file up Single-player or as a player-hosted game. You can also upload it to a dedicated server and play it there.

* Before playing a save file from a dedicated server, be sure to also download the file "ServerSettings.ini" and put it here: (C:\Users\Shadowrun\AppData\Local\LF\Saved\Config\ServerSettings.ini). If you are packing a dedicated server file for download, please include that file.

📑Troubleshooting
This is not a good troubleshooting guide. If you're having trouble getting the game to run, I'm really not the person to ask. Try reading the pinned topics in the Steam NOTD forum or posting a topic there requesting help.
https://steamcommunity.com/app/1377380/discussions/0/


There is one helpful thing I can tell you and it is that if you ever accidentally delete your character and want to get it back, simply re-create the character in the same slot and give it the same name. Presto!


In this game, you can opt in to the beta testing even though beta testing is over. However, during the v.2.0 test period the game was pre-released on beta test only. A lot of people opted in to play the new version but have forgotten to opt back out to continue getting the updates now that the beta test has ended.

Here's how to opt in or out of the beta test version(s). Please also note that old version of the game may also be archived there. This is for people who wanted to continue playing their old save data, they have access to old versions of the game.

In your Steam library, right-click on Night of the Dead and choose PROPERTIES.


Click BETAS from the menu on the left, in the window that pops up. In Beta Participation, choose NONE to be automatically updated with the latest release.


Alternatively you may choose an older archived version to play with. When doing so, your game will no longer get automatic updates. This is useful for people who don't like to be constantly updated or want to play the old version in peace.


If your game is crashing I suggest reading this pinned topic:
https://steamcommunity.com/app/1377380/discussions/0/3061869473048903178/

โพสต์ดั้งเดิมโดย Jackto:
1. When encountering a problem, it generally can be solved by doing the verification of game file integrity. Please follow the following instructions. https://support.steampowered.com/kb/2037-QEUH-3335/verify-integrity-of-game-cache

2. If you can’t solve this problem with Verify Integrity, please remove the game and reinstall it.
In addition, delete the 'LF' folder in "%LocalAppData%".
To preserve, please back up saved files and avatars before removing the folder.
The save files are in "%LocalAppData%\LF\Saved\SaveGames".
The avatars files are in "%LocalAppData%\LF\Saved\Avatars".

2-1. Please reset the graphic settings to default.
If you are unable to reset the settings for any reason, please delete the 'Settings' folder from the path below.
"%LocalAppData%\LF\Saved\SaveGames"

2-2. Please change your graphic settings to lower.

3. Free up space on the drive where the game is installed.
*If your game is taking a long time to download from Steam, please secure more free space than required. (or please uninstall the game and then reinstall it.)

4. Please update your graphics driver to the latest version.

5. Please check the system requirements.
(GPU, Memory, Etc.)

6. Change the paging file size for virtual memory.

7. If you are using an antivirus program, please register it on the whitelist before the game is installed and run.

8. Please check the anti-cheat solution guide.
https://www.easy.ac/en-us/support/game/issues/guide/
The re-install the anti-cheat method for our game.
'Manage' - 'Browse local files' - run the 'UninstallAntiCheat' - run the 'InstallAntiCheat'

9. Please re-install the Steam. And run the Steam as administrator.

10. Please run the game as administrator.
(Please check the rights of the user regarding the game file inside steamapps folder.)

11. Please re-install the OS(e.g. Windows).

12. "Unreal Engine is exiting due to D3D device being lost." or " "GameThread timed out waiting for RenderThread after xx secs" occurs.

12-1. Please change the 'Display Mode' setting. (Fullscreen, Windowed)

12-2. Please change the 'V-Sync' setting.

12-3. Please change the 'Preloading Level' setting.

12-4. Please reinstall your sound driver.

12-5. Refer to the case of 'GROUND BRANCH'. (https://steamcommunity.com/app/16900/discussions/1/1640917832748442812/)

Fix from Ed Burgess (Epic Staff)
(https://answers.unrealengine.com/questions/545292/unreal-engine-is-exiting-due-to-d3d-device-being-l-3.html)

Method 1)
Go to the this link: https://msdn.microsoft.com/en-us/library/windows/hardware/ff569918(v=vs.85).aspx
There you will find a section called TdrDelay it gives you all the information you need to create a registry key that will change the delay time
To open your registry open your start menu and type "run" once the window is open type "regedit" and hit OK
Now you should have Registry Editor open this is where you will use the info at the website I just linked.
First navigate the key path HKEY_LOCAL_MACHINE\System\CurrentControlSet\Control\GraphicsDrivers
Right click on GraphicsDrivers and go to new> DWORD (32 bit) value
You will see a new key appear make sure to name it "TdrDelay"
Right click it and select "modify"
Under Value data enter 10 (this is the number of seconds to delay) make sure you have Decimal selected as the base
Hit okay and restart your system

Method 2)
Download the program (TDR Manipulator) and change the value of TdrDelay.
Please refer to the link on the Ground Branch.

There are a couple more things that you can try.

1.) Make sure you do not have a lot of saves (50+). Having too many saves can cause the game to hang on loading screen, or freeze, or even crash. So empty that save folder sometimes to a backup location.

2.) Do not use Direct-X 12. DX-12 is experimental like it says and prone to crash on certain systems.

The developer (Jackto Studios) no longer takes crash reports sent to their email or tries to assist users with resolving them. Please use the forum to seek help from the community instead.


Often times Jackto releases an update with special instructions to reset your game settings. People who do not do this can experience problems such as the game losing focus, and your mouse clicks are going to your desktop in the background. Many other strange problems can be attributed to this.

In order to correct these issues, you need to load the game, click SETTINGS then click each of CONTROLS, GRAPHICS, AUDIO and GAMEPLAY. For each section click on DEFAULT (ALL SETTINGS) and then click the SAVE button. Do this for each of the 4 settings pages. Then go back over the settings and set the game up the way you like.

Doing this is recommended by Jackto whenever they release an update which modified the settings actions. If you're experiencing strange behavior in the game that could be attributed to your controls, the gameplay, the graphics or audio settings then try this solution.


Sometimes the game won't launch. It will crash during the easy-anti cheat. You can try to launch the game with EAC disabled.

To try it locate this folder:
C:\Program Files (x86)\Steam\steamapps\common\Night of the Dead
* or wherever you installed the game to

There's a batch file there called "StartGame (No Anti Cheat).bat". Double-click that and see if that works. For me it says Steam must be running but Steam is already running so I can't confirm if that works (it doesn't work for me).

Find and execute the file named LF.EXE directly. See if that works.

There's also batch files there you can use to uninstall anti-cheat and see if that helps. There's also one to reinstall in case you wanted it back. For me, if I uninstall it, the game will halt saying that it needs to be installed.

As far as I can tell, double-clicking a batch file will execute it on Windows.

Always make sure to keep your GPU drivers updated!

- For nVidia users: https://www.nvidia.com/download/index.aspx

- For AMD users: https://www.amd.com/en/support

🐞 Known Bugs
[ new section coming soon ]
🥂Many Thanks
First, I'd like to thank Jackto Studios for developing the game. It's been a lot of fun to play over the years and each major update they release is astounding. Special thanks to Indoe Lee for being my liaison there, always listening to my complaints and raising the concerns I've had with the rest of the team. I appreciate you buddy.

I'd like to extend thanks to the Steam community in the Night of the Dead forum for all their informative discussions over the years. Several people brought information to light for me that helped me become a better player at this game. I always enjoyed reading the posts in the forum and learning things about the game from them.

Special thanks to Velheart for the cover image and for outbuilding the builder. Your creative designs astound me. Also for being a great friend and teammate for many months. In-game, Velheart serves as a noble hero.

Special thanks to Drchrisms, SleepyEyez, SubConscious and The White Whale for teaching me how to play over the years. Things these players brought to light would shape how I would play this game. Also, that information is very much reflected in this guide.

Thanks to Rob_Boozecruise for showing me another way to wire up multiple shockers to one switch. This configuration also worked during a buggy v.2.4 era so thank you Rob. I will probably be using this method in the future. :D

Super big thanks to AK615 for doing nearly ALL the work on the fandom wiki. He took it up so well I made him admin of the site and backed away from it myself.

I'd also like to thank everyone who's given this guide a thumbs up or even an award! Thank you so much! I don't need the points but the guide looks so nice all decorated like that. I'll award the points to other people. I've already given a lot of awards to community members for their NOTD material and will continue doing that.


Here's a short video showing the truck build that's pictured as the guide logo image right now in case you would like to have a closer look at it.
https://www.youtube.com/watch?v=5out-G4Z3ik

Hope you all have fun and thanks for reading. Please keep in mind that is is still a work in progress until it isn't. If you have any questions, comments, suggestions or found errors in this guide then please feel free to use the comment section below, or you can email me if you want some privacy. I never expose, trade, sell, make public, use or give away people's email addresses.

📧 Email me: shadowruns@yahoo.com

You are all free to copy / paste / reproduce portions of this guide elsewhere. None of this is copywritten and I'm not bothered by it. I appreciate when you can credit me or link back to the original guide but you don't legally have to. Every image is my own though, I did take each screenshot and create each title image. So don't worry, none of this was stolen material. Everything here is original content except where noted.

HELLO

Hello, I am Shadowrun. I made this guide to fill in a gap. In most games you have a user manual or there is already an "ultimate guide" in the Steam guides list. This game lacked said documentation, so the need for this was already there.

Unlike some guides, I didn't just toss this together in a day then leave it alone forever. I continue to update this regularly as the game gets updated. I plan to continue this work so if you want updated Night of the Dead related information then stick with me.

I've been one of the most active beta testers since the release of this game. I used to be in regular contact with the developer (they don't respond to emails anymore). They put up with my suggestions and bug reports since the beginning.. They're a good developer, very friendly and most importantly, they listened to us.

I earned an honorary mention in the game credits recently for all the time I've spent helping these devs put together an awesome game. Thank you again devs.

242 ความเห็น
Shadowrun  [ผู้สร้าง] 27 เม.ย. @ 10: 57am 
it's ok, if you don't have a lot of hours in the game yet it's easy to overlook that detail. pleasant surprise for you :D
Schaschlik 27 เม.ย. @ 10: 46am 
ohh embarrassing for me :))
Shadowrun  [ผู้สร้าง] 27 เม.ย. @ 10: 36am 
Schaschlik all you need to do is upgrade your truck.
Schaschlik 27 เม.ย. @ 6: 47am 
The achievement: NOTD's moving castle: Build 100 buildings on a vehicle, can be achieved if you a. build and then dismantle parts b. build 100 but cannot drive.
Schaschlik 27 เม.ย. @ 6: 37am 
For all those who want to recreate the ATV truck shown above: At least in single player there is a limit of 50 structures. If you build more, the game automatically blocks you from driving.
Shadowrun  [ผู้สร้าง] 16 เม.ย. @ 9: 58am 
it might, but i'm not really sure. i never really paid attention to that aspect very closely.
xxx78 16 เม.ย. @ 9: 54am 
Thanks for replying, sorry for being unclear, I meant for my armor and weapons, I guess it's just part of going higher difficulty that things degrade faster, or at least I think it does.
Shadowrun  [ผู้สร้าง] 8 เม.ย. @ 3: 52pm 
Building HP:
This specifies the health bonus to be given to player-built objects in the game world.

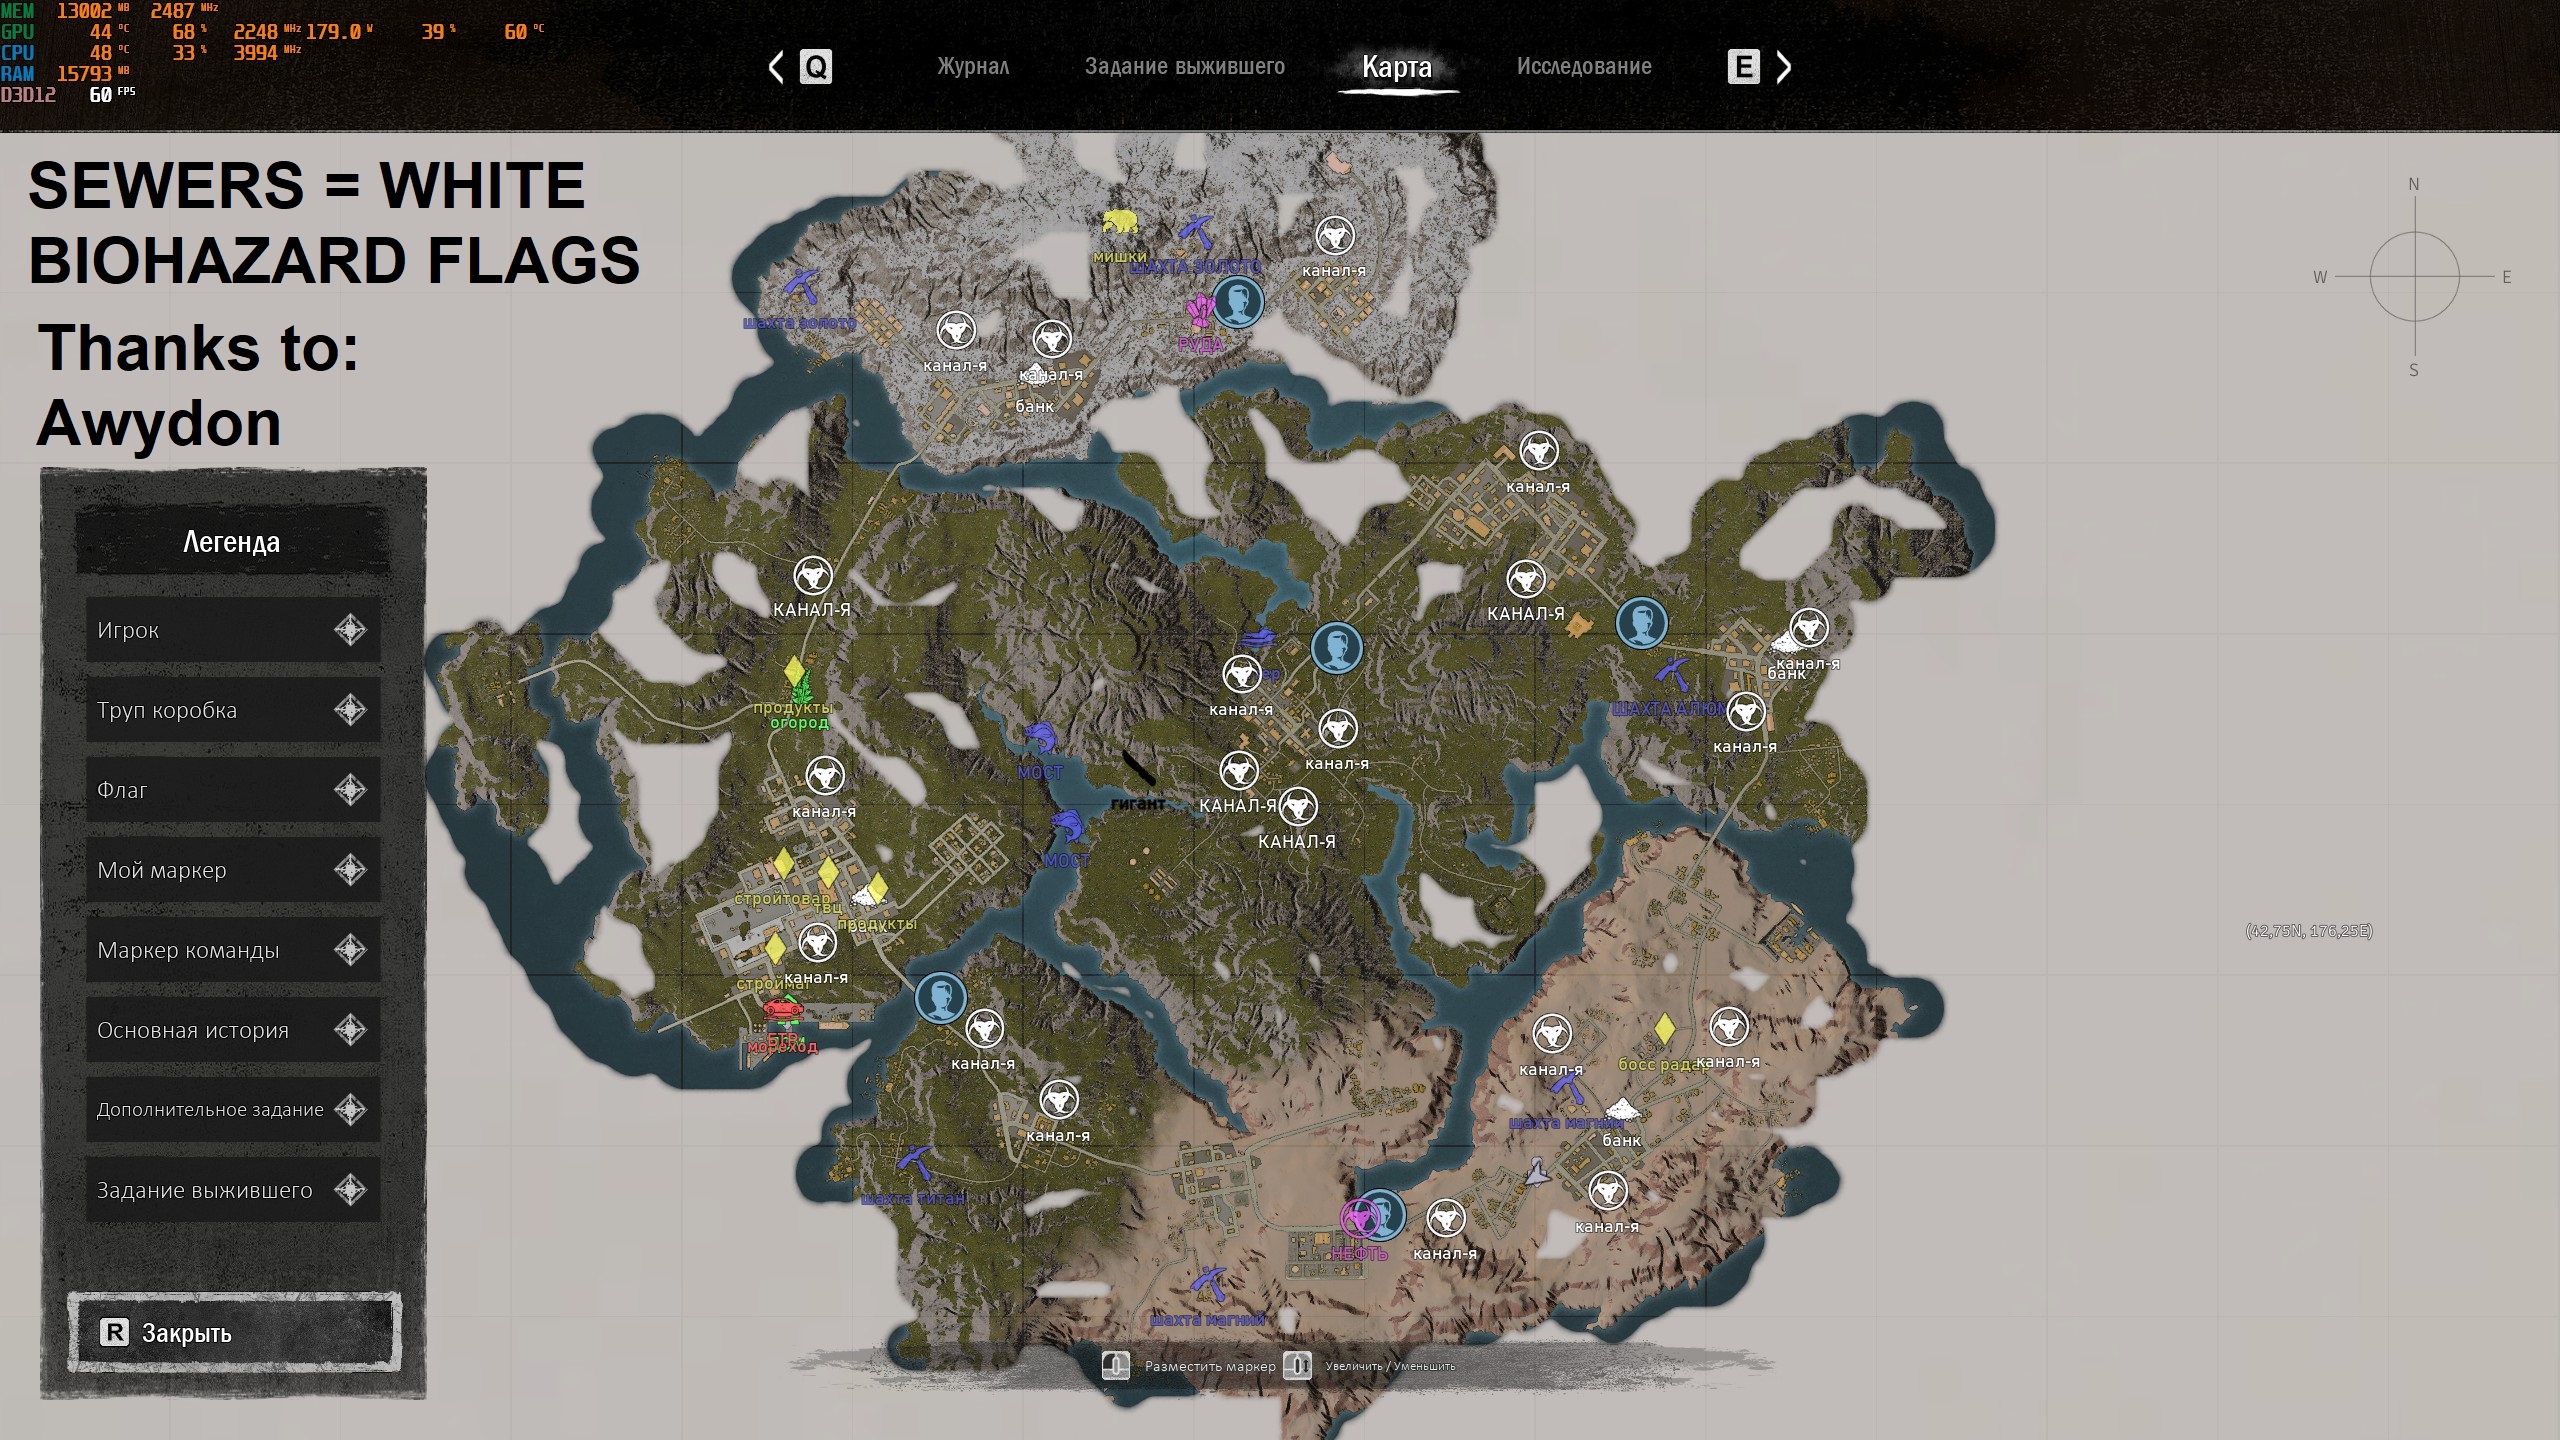
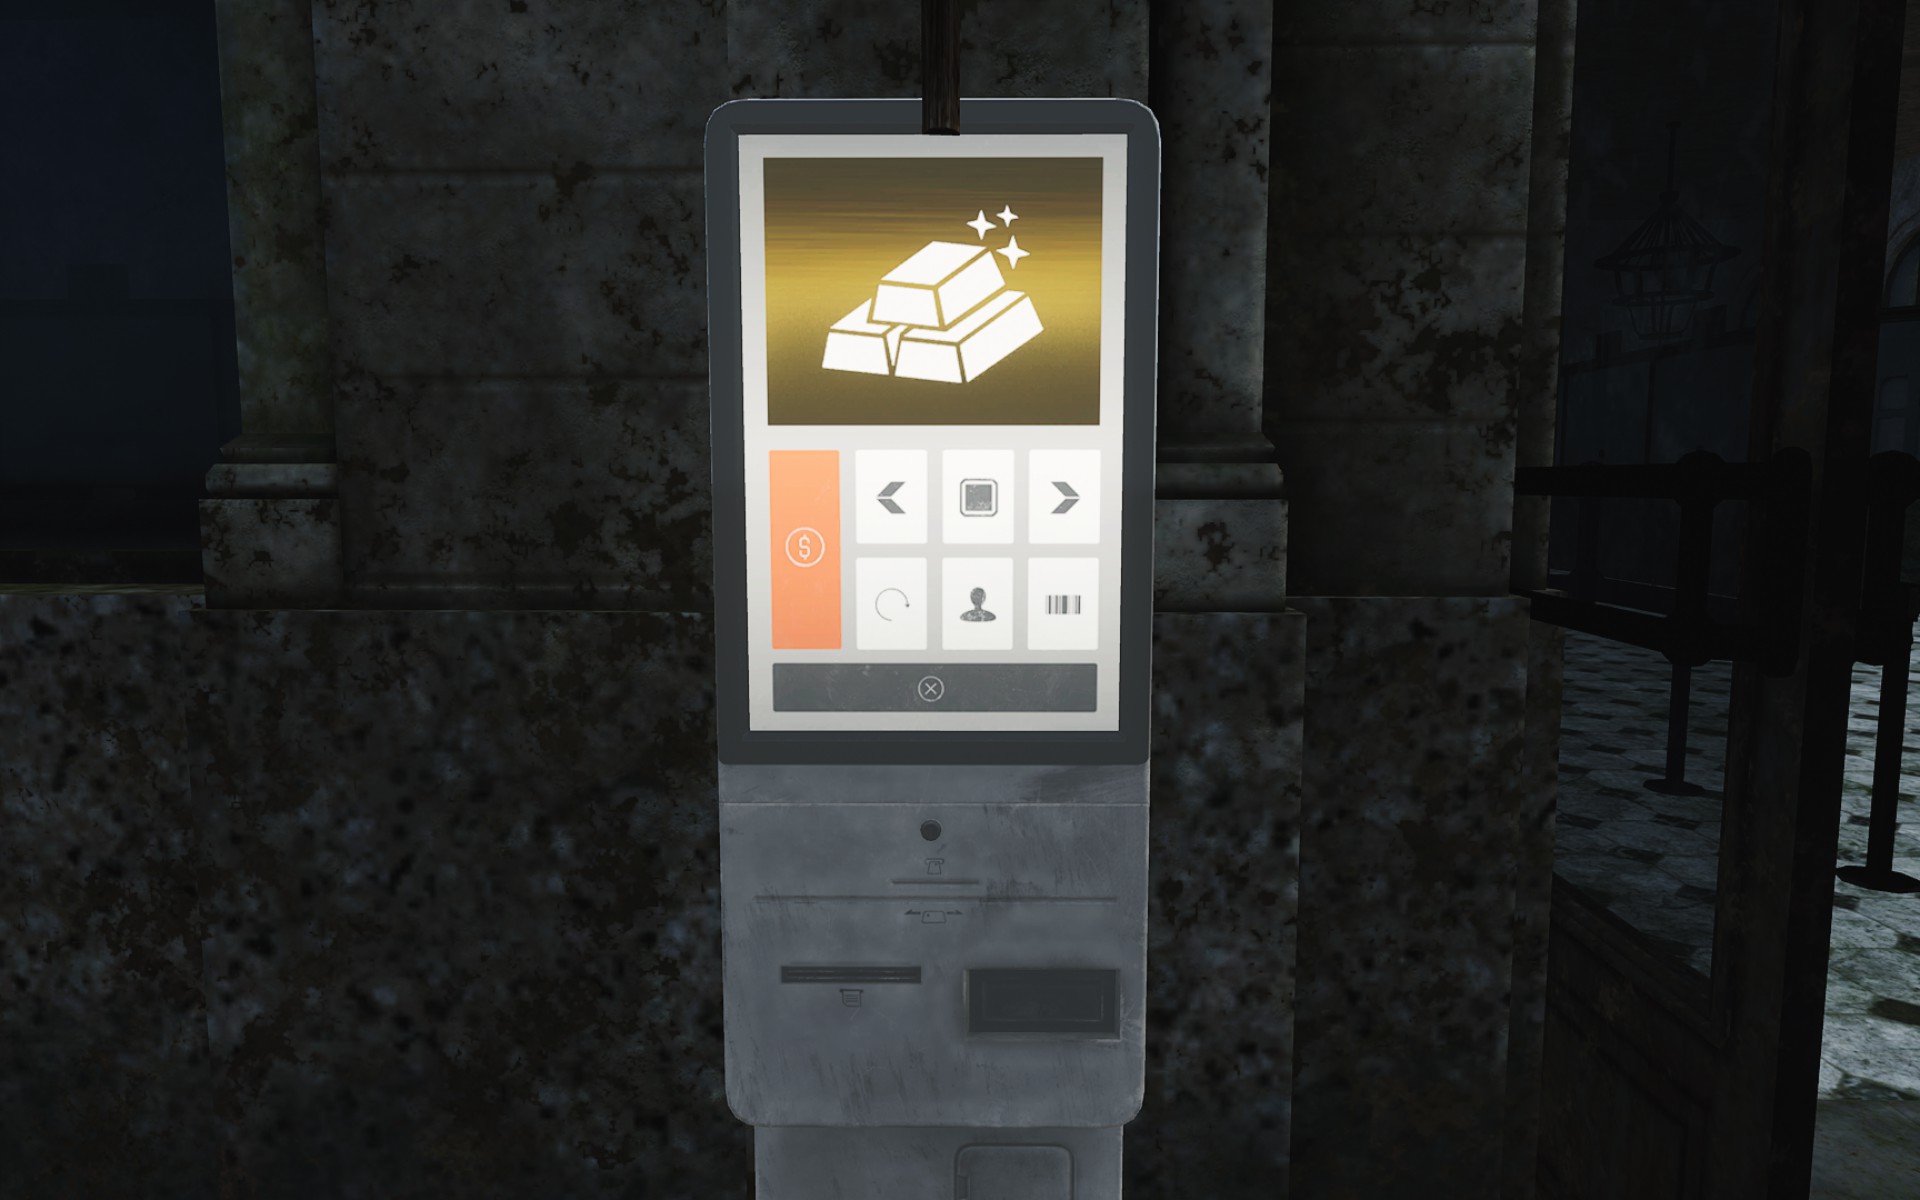
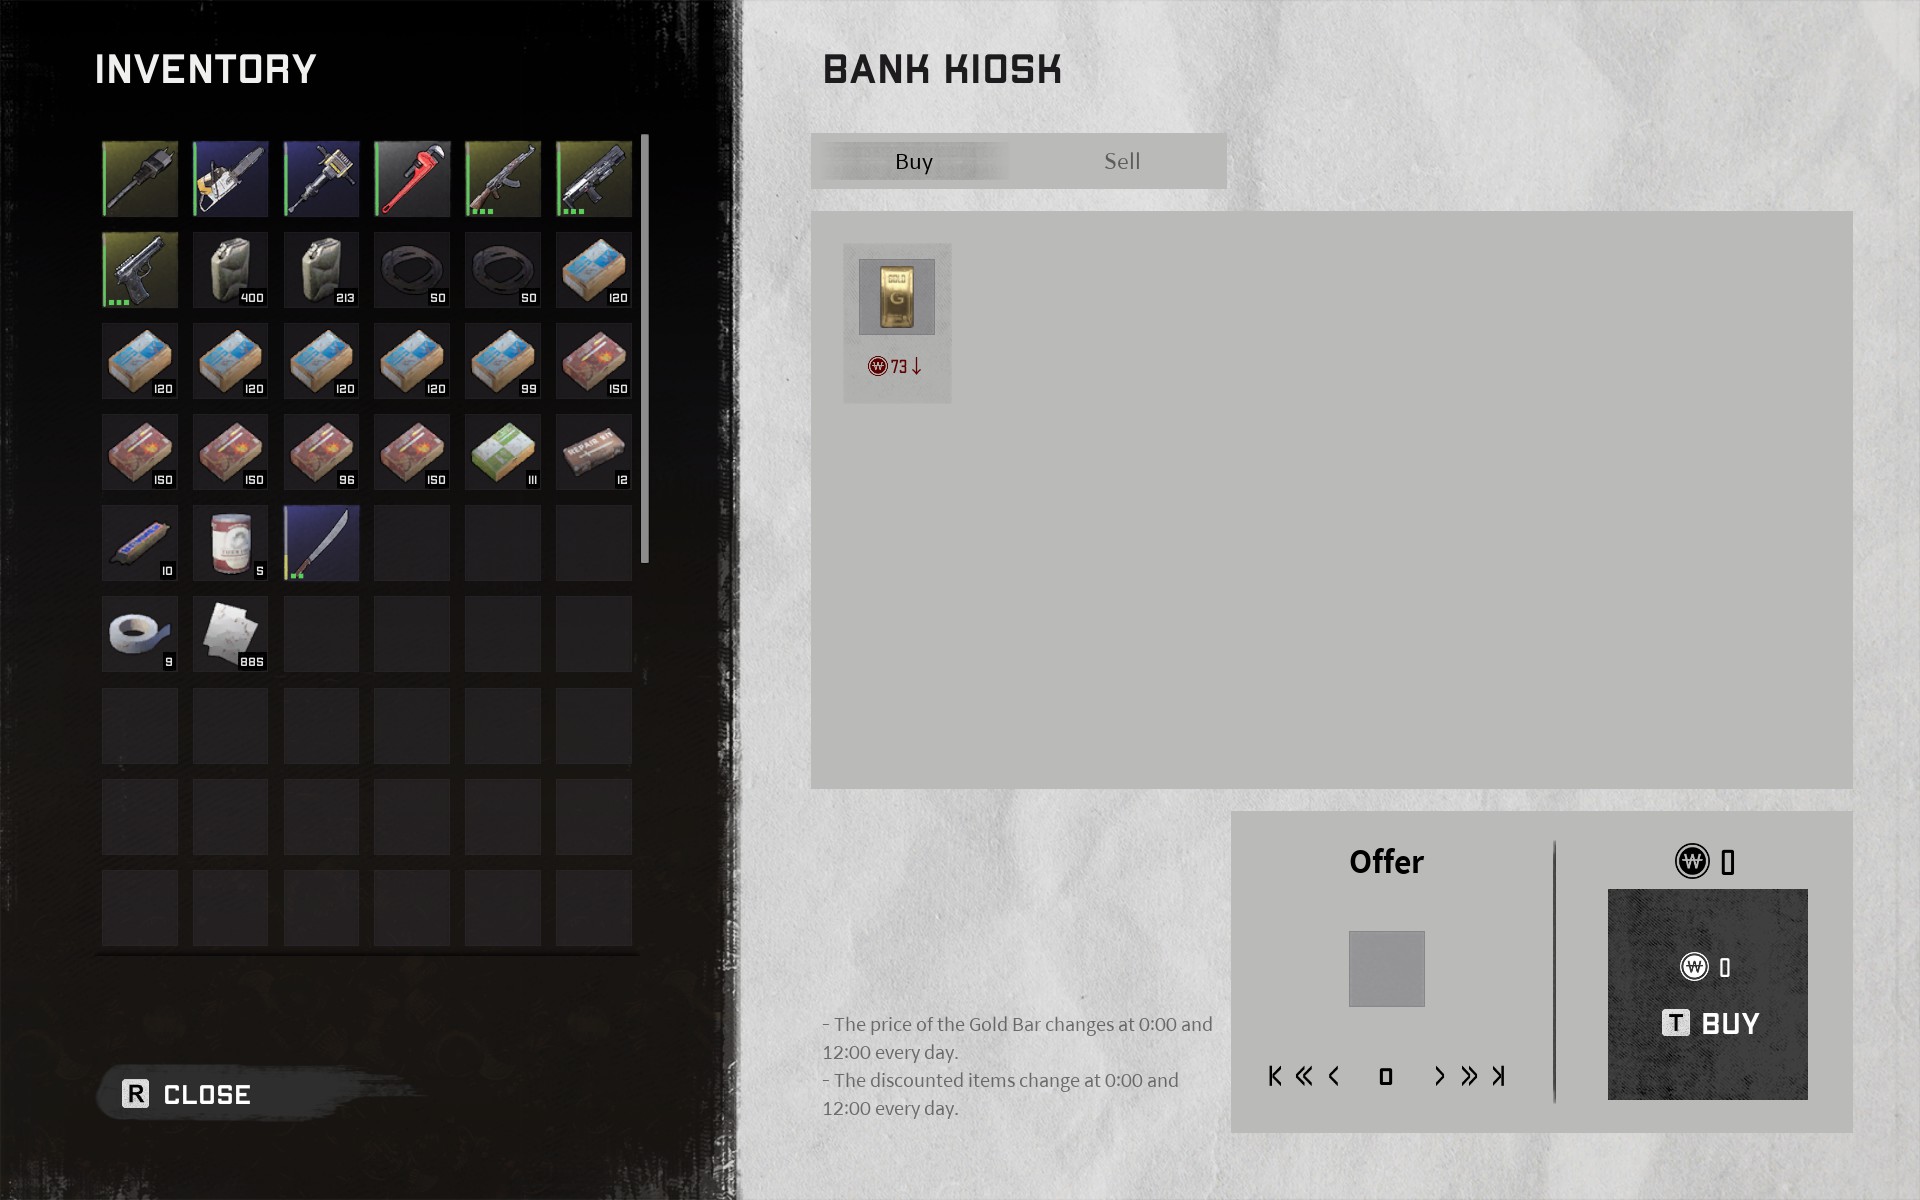
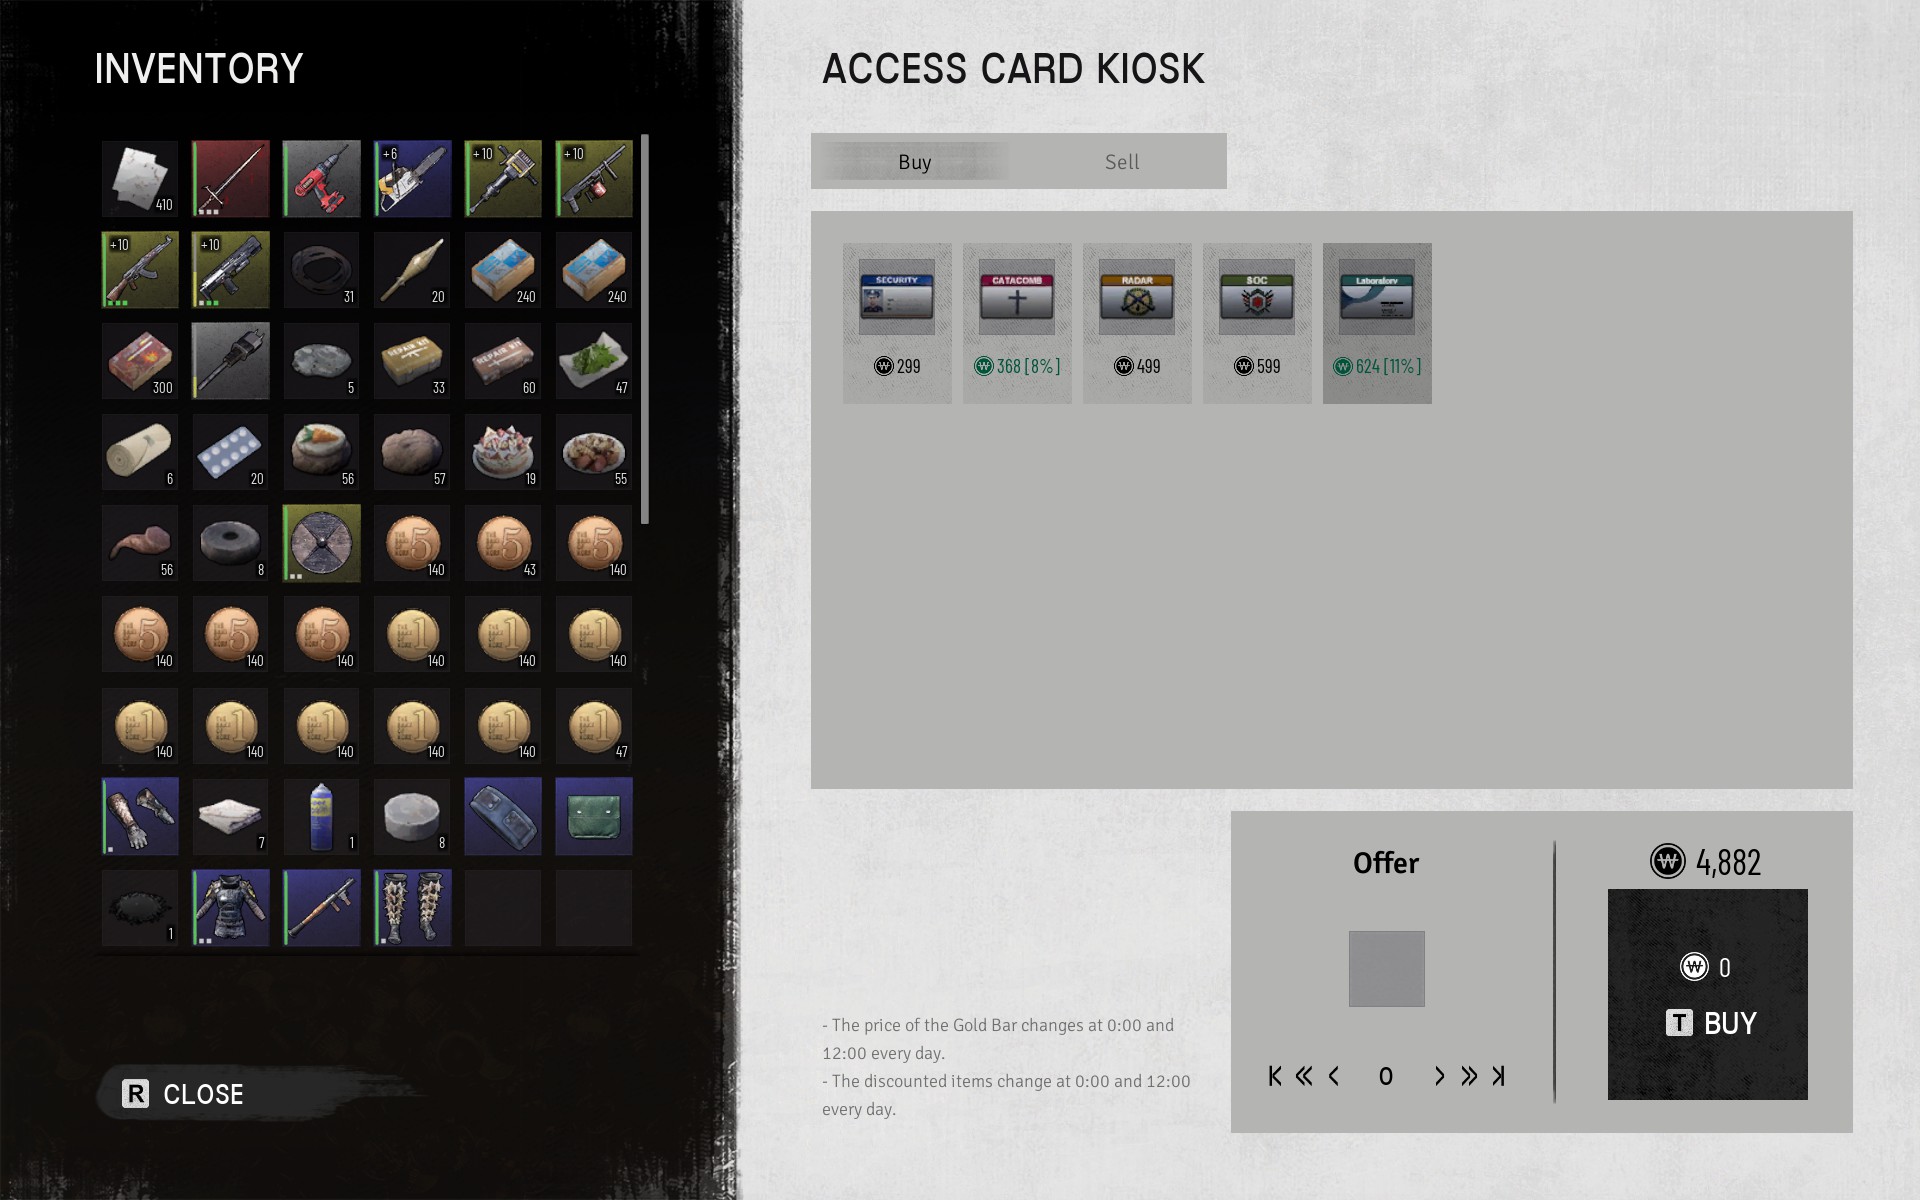
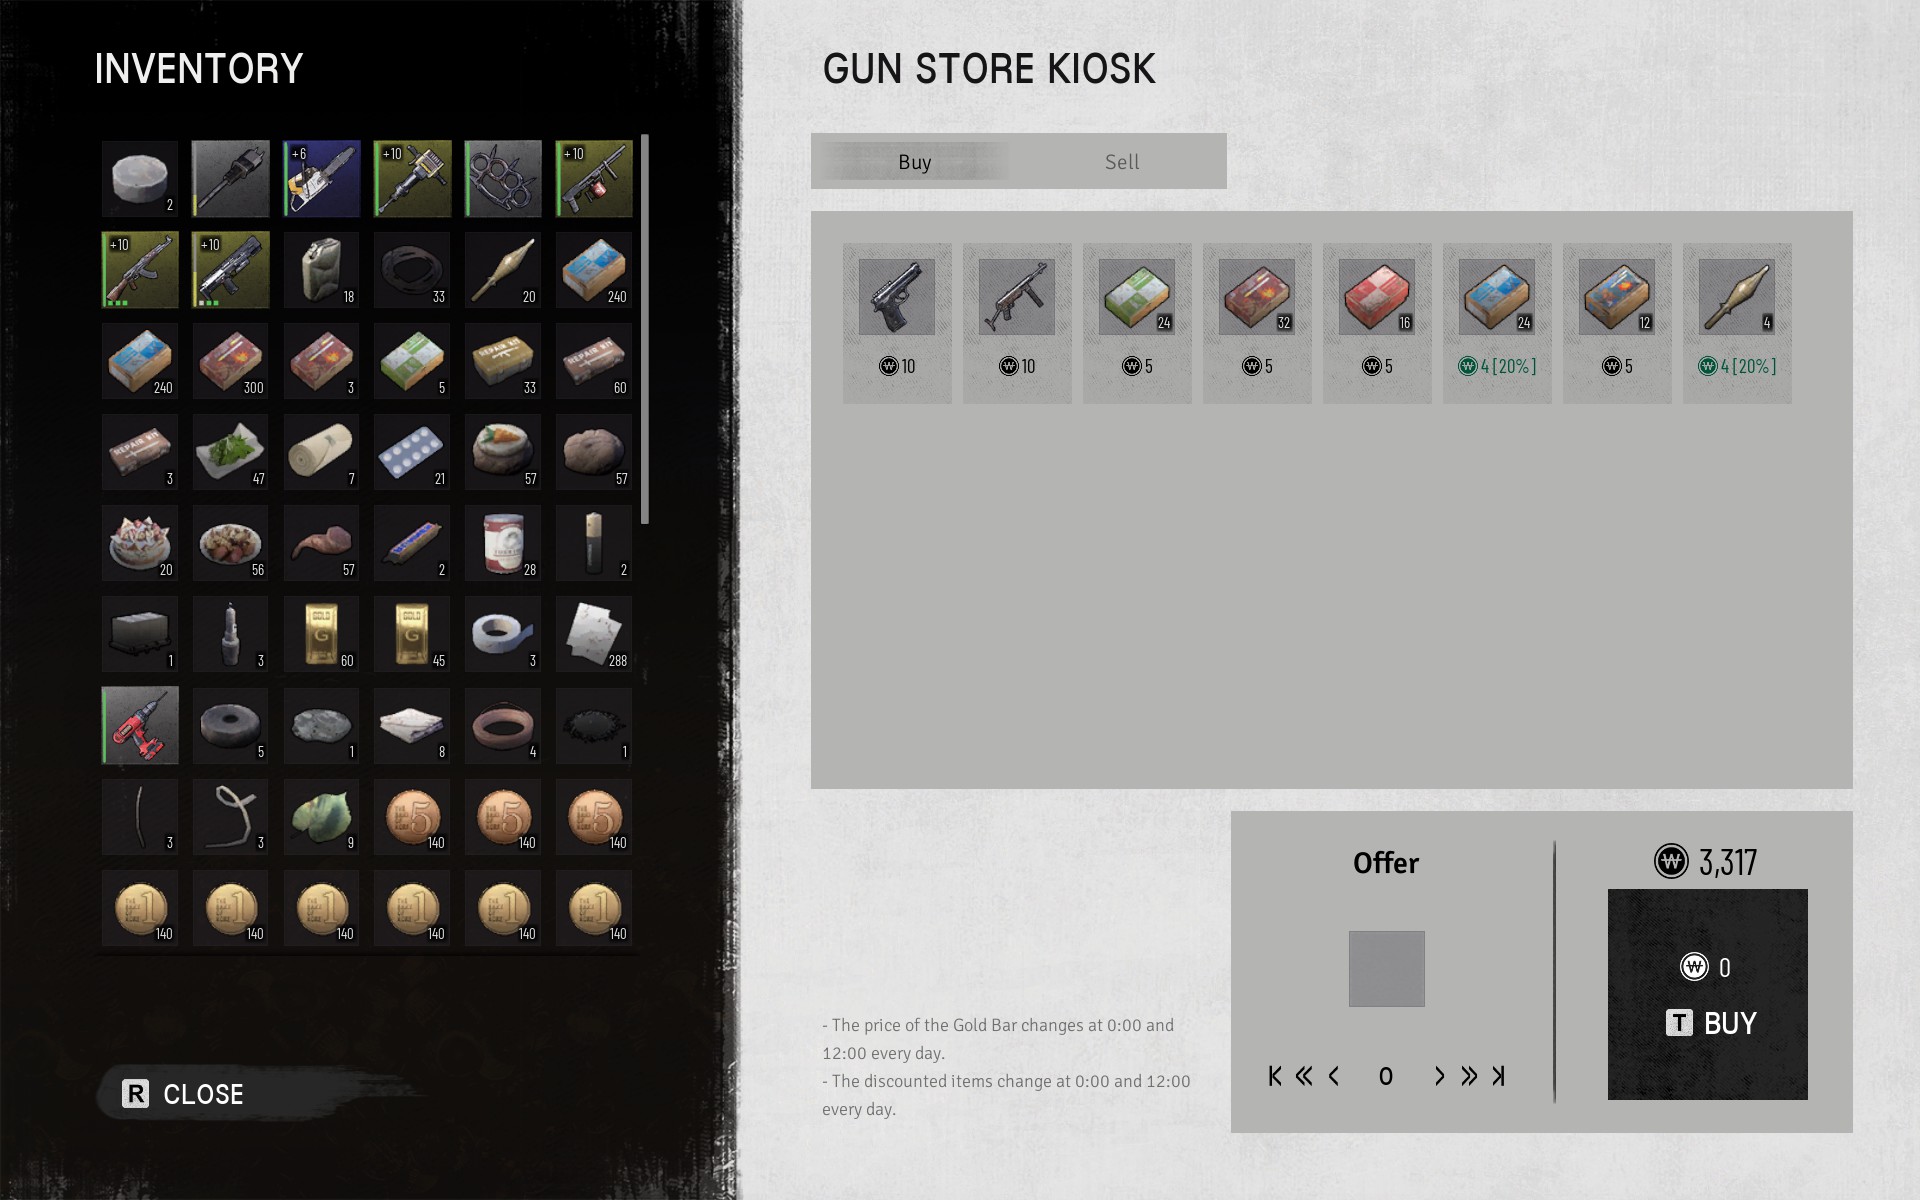
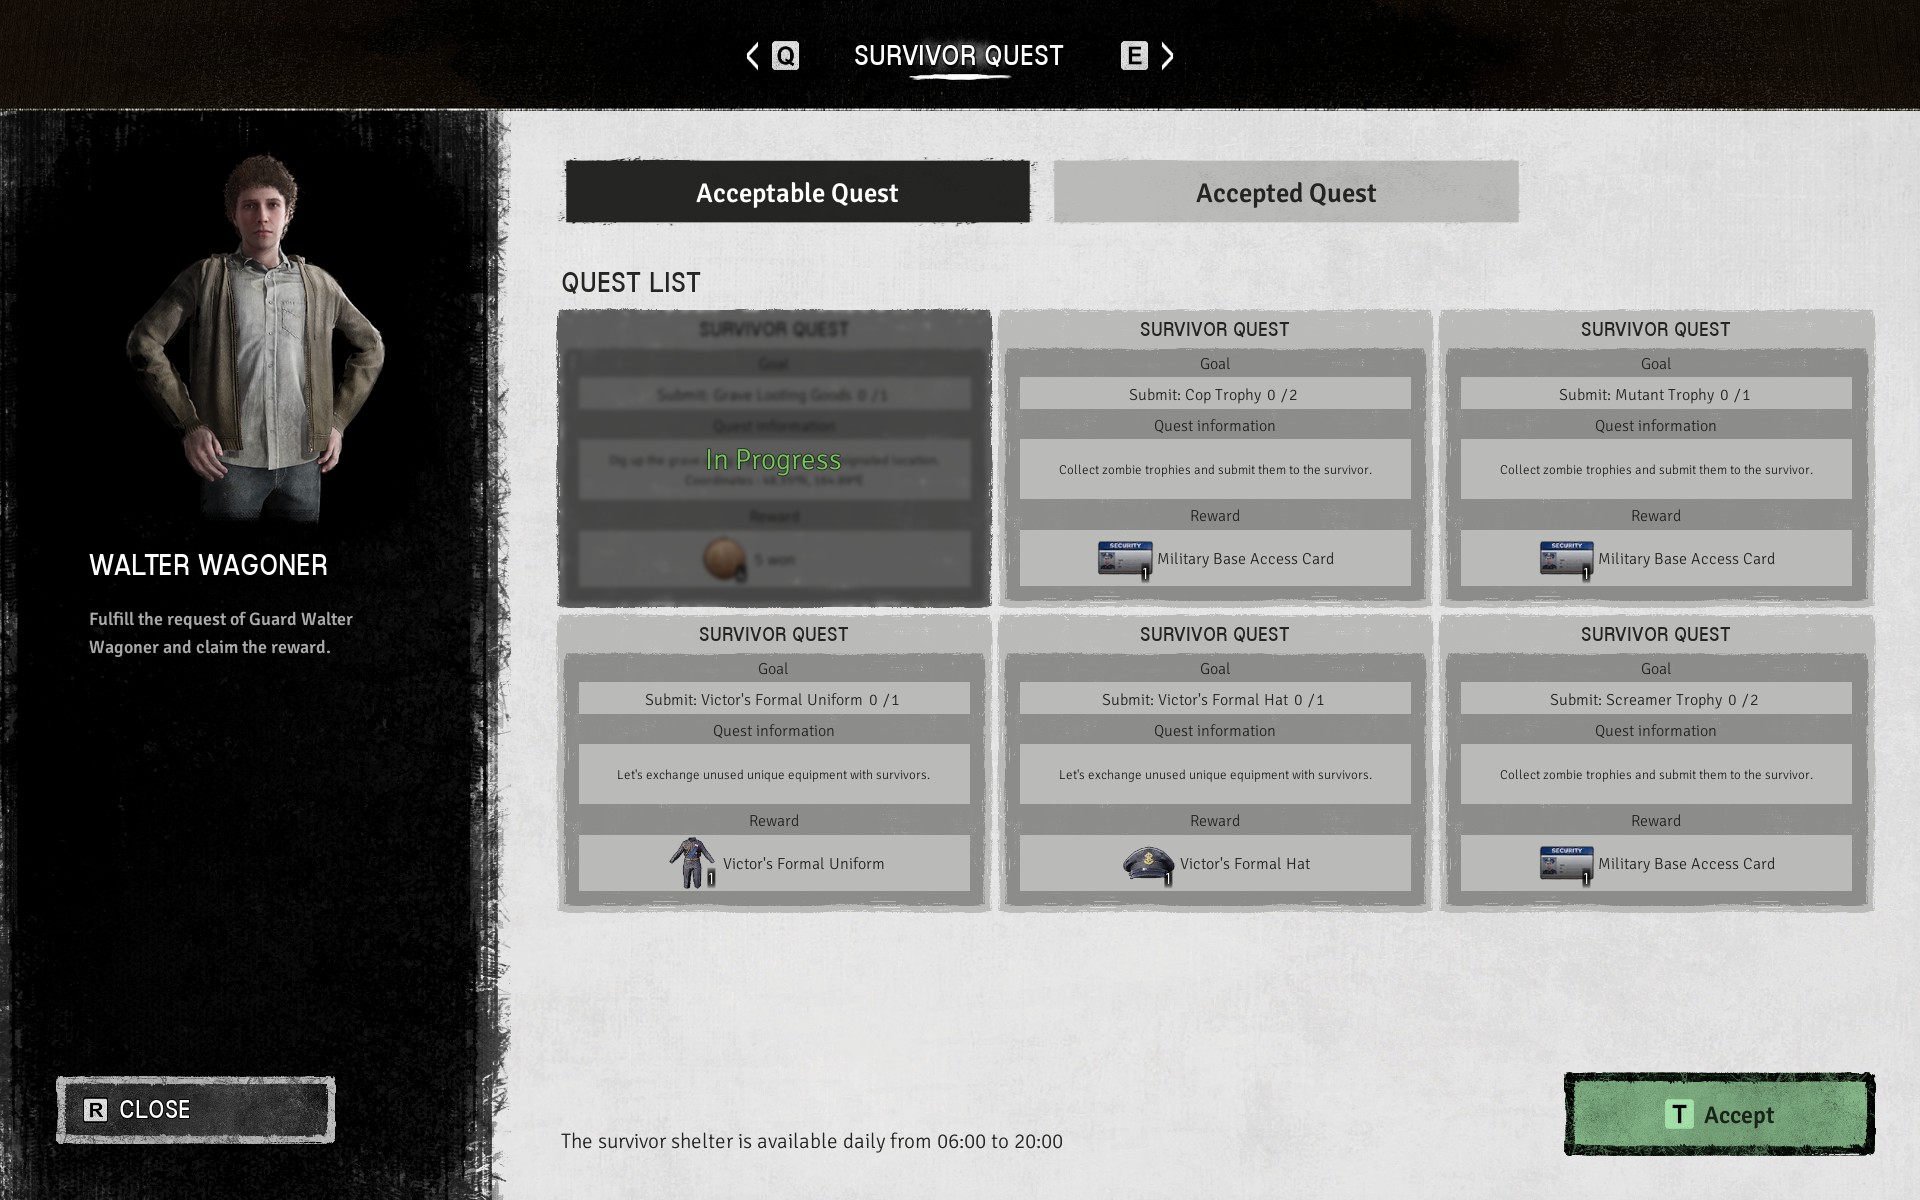
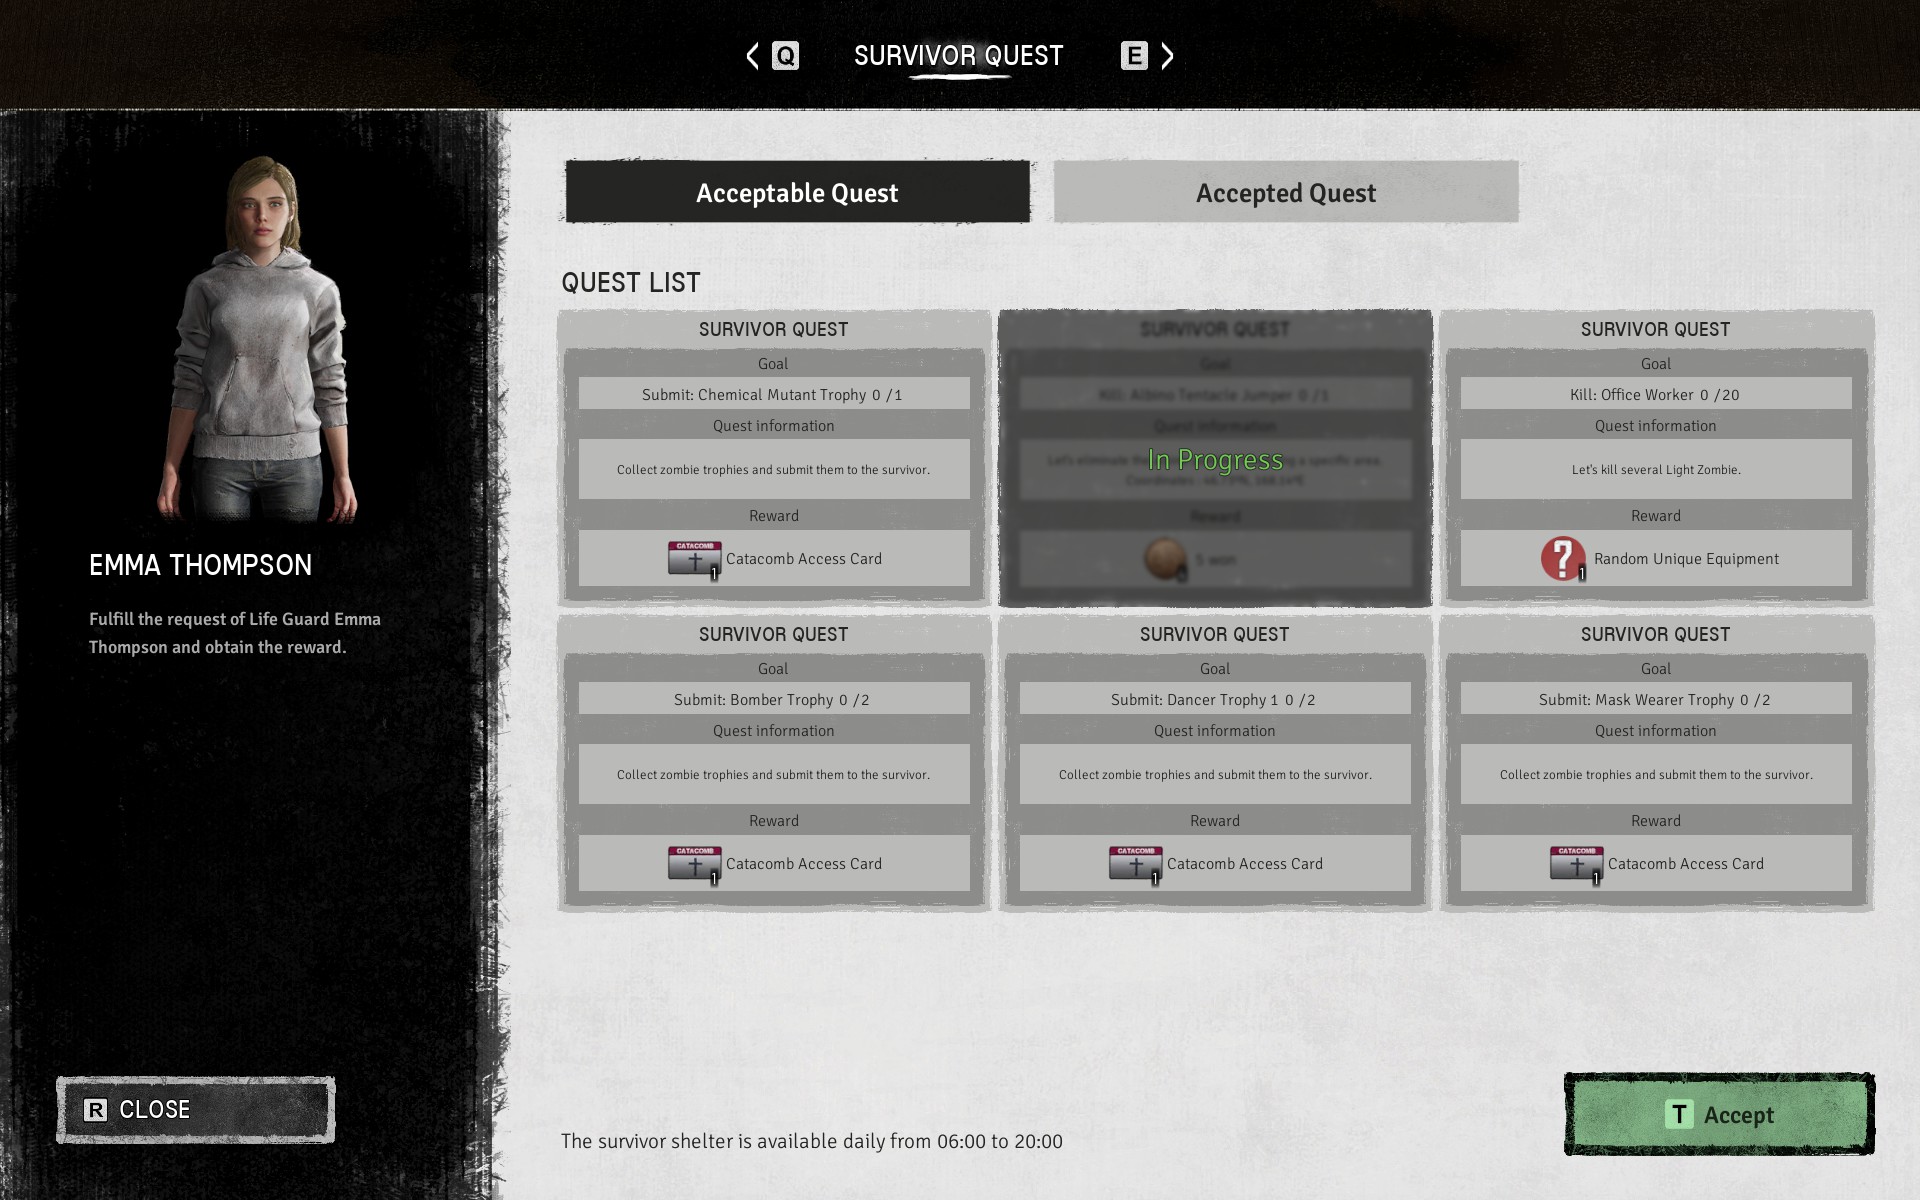
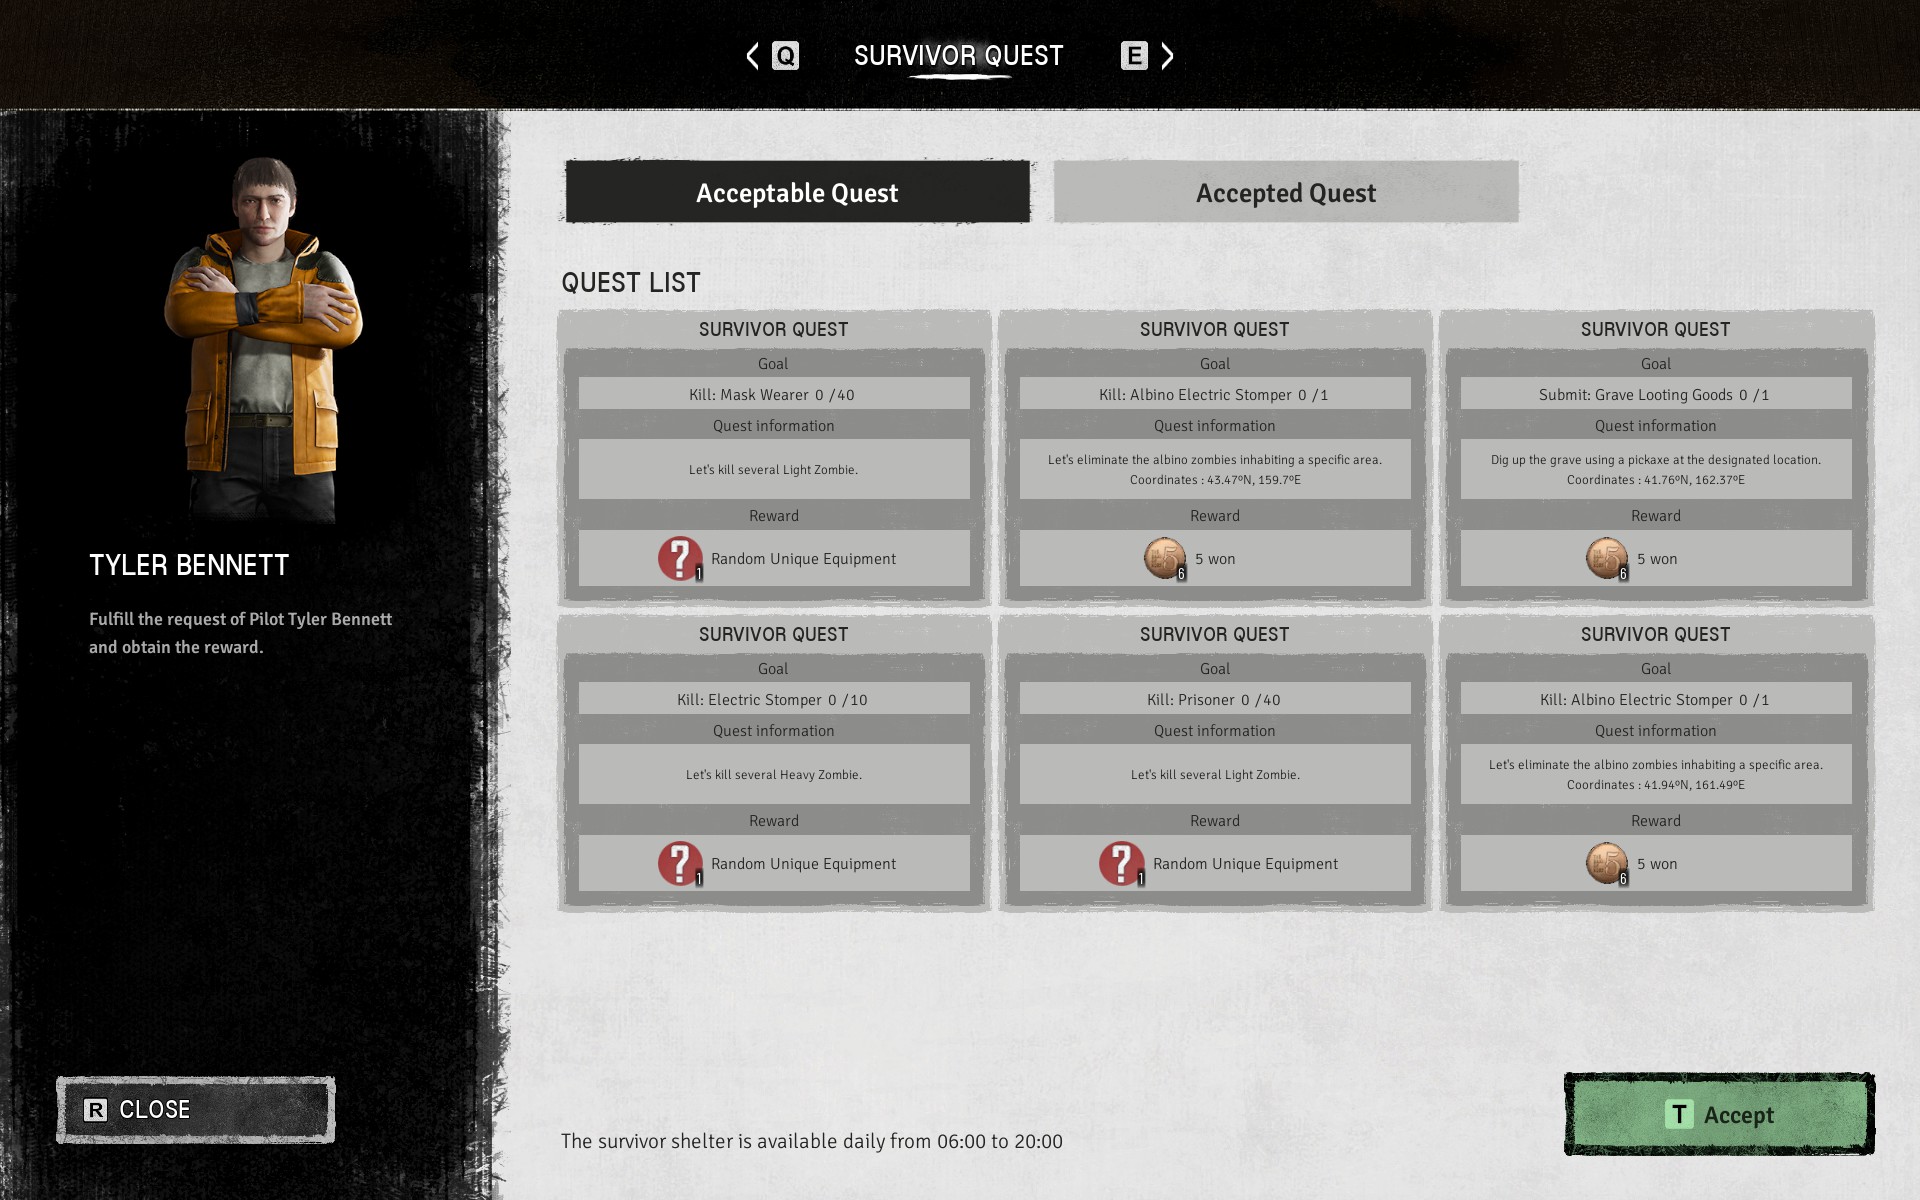
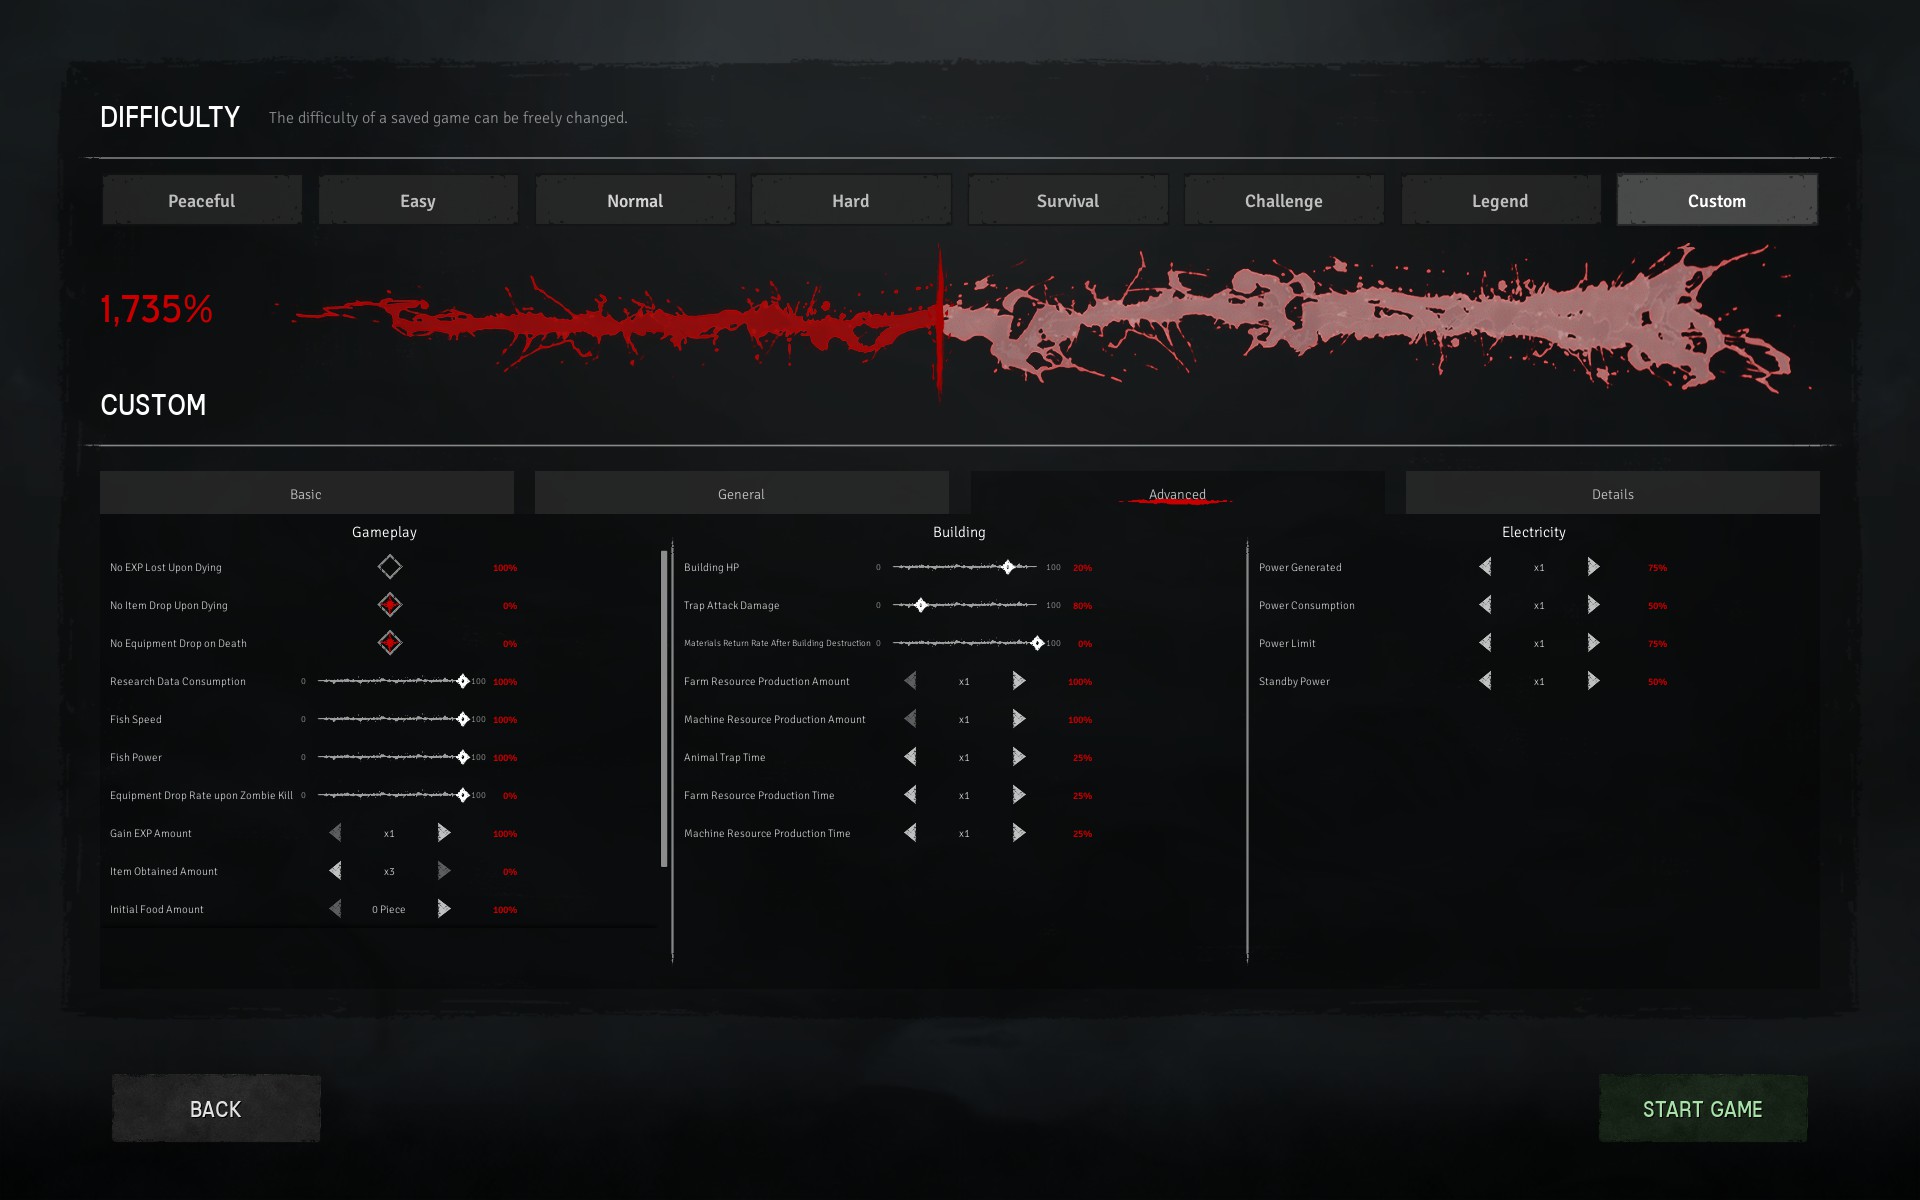
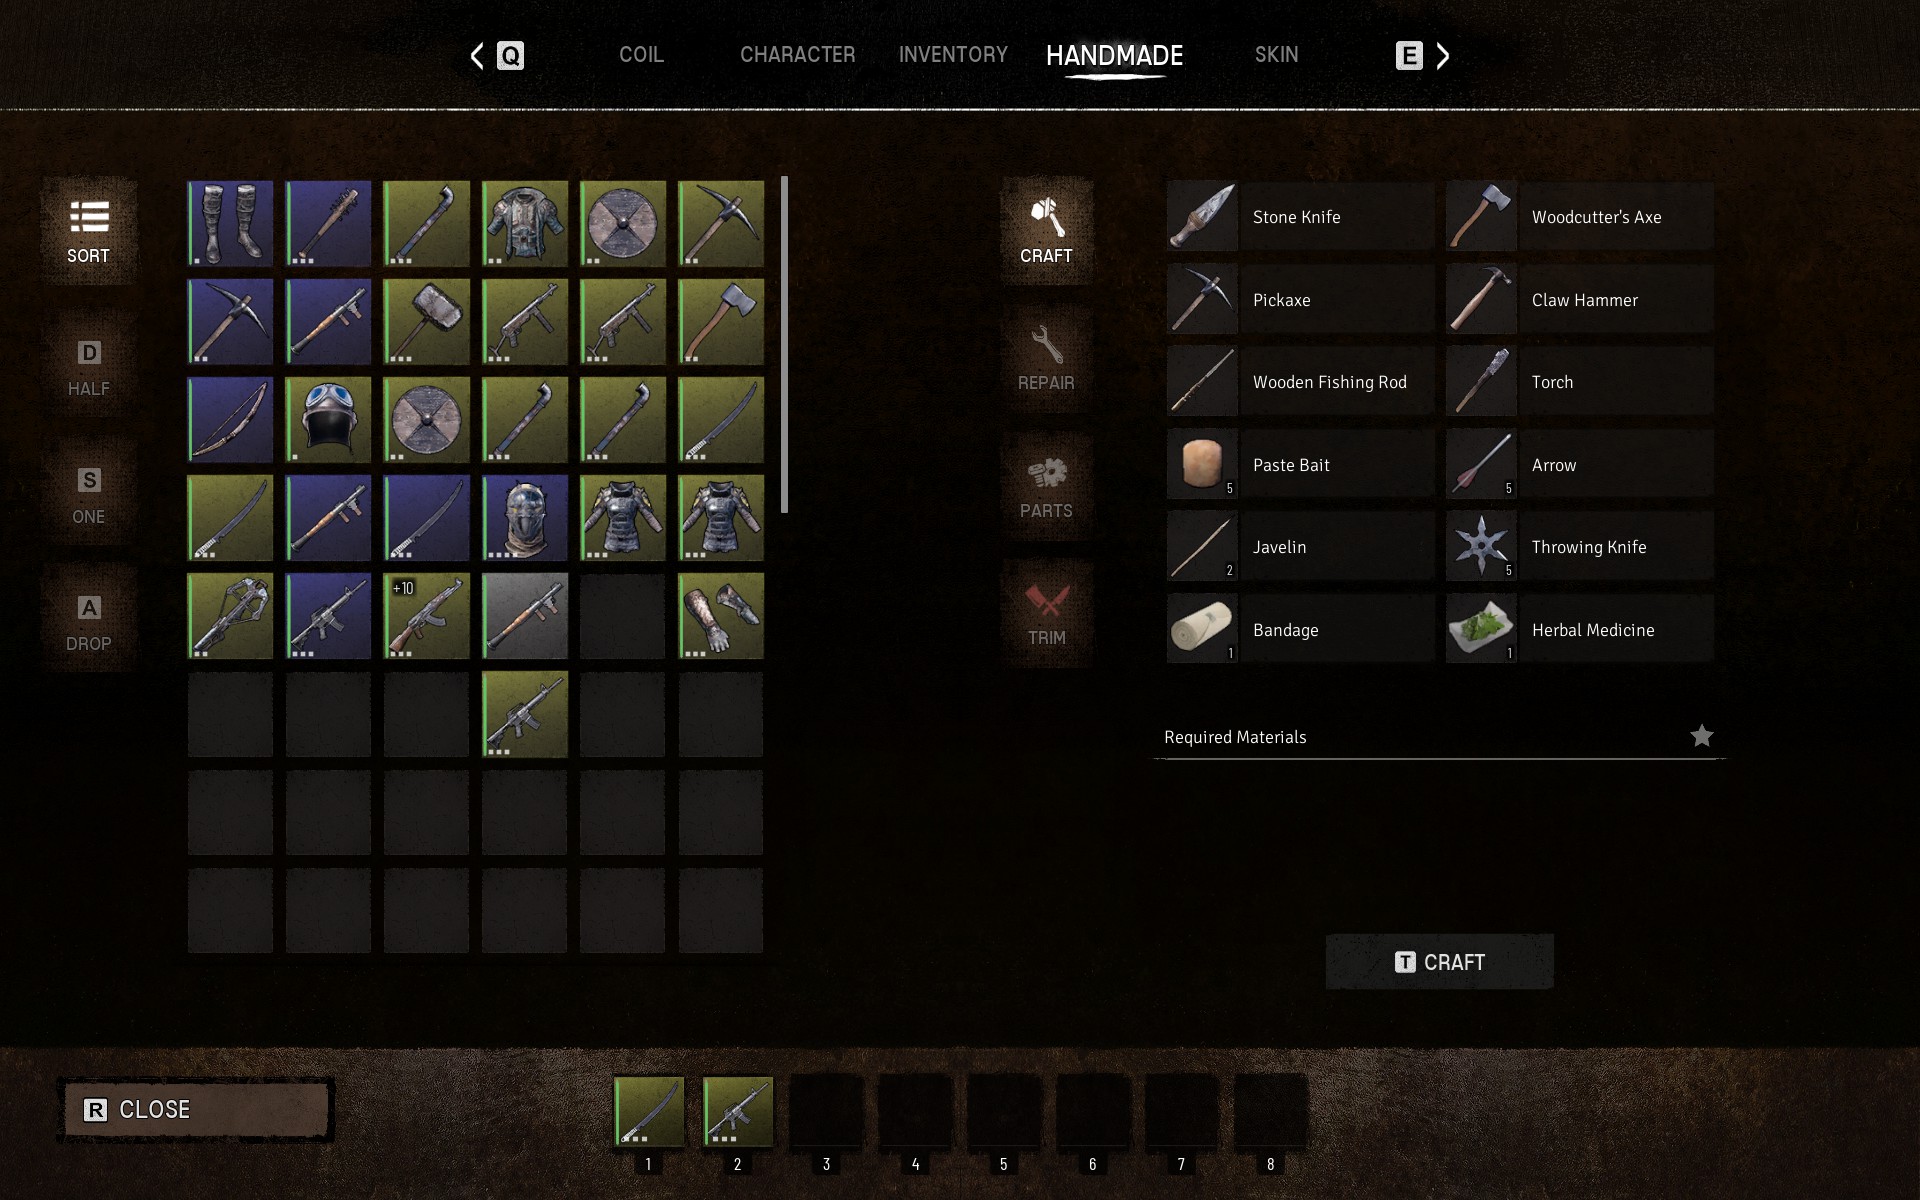
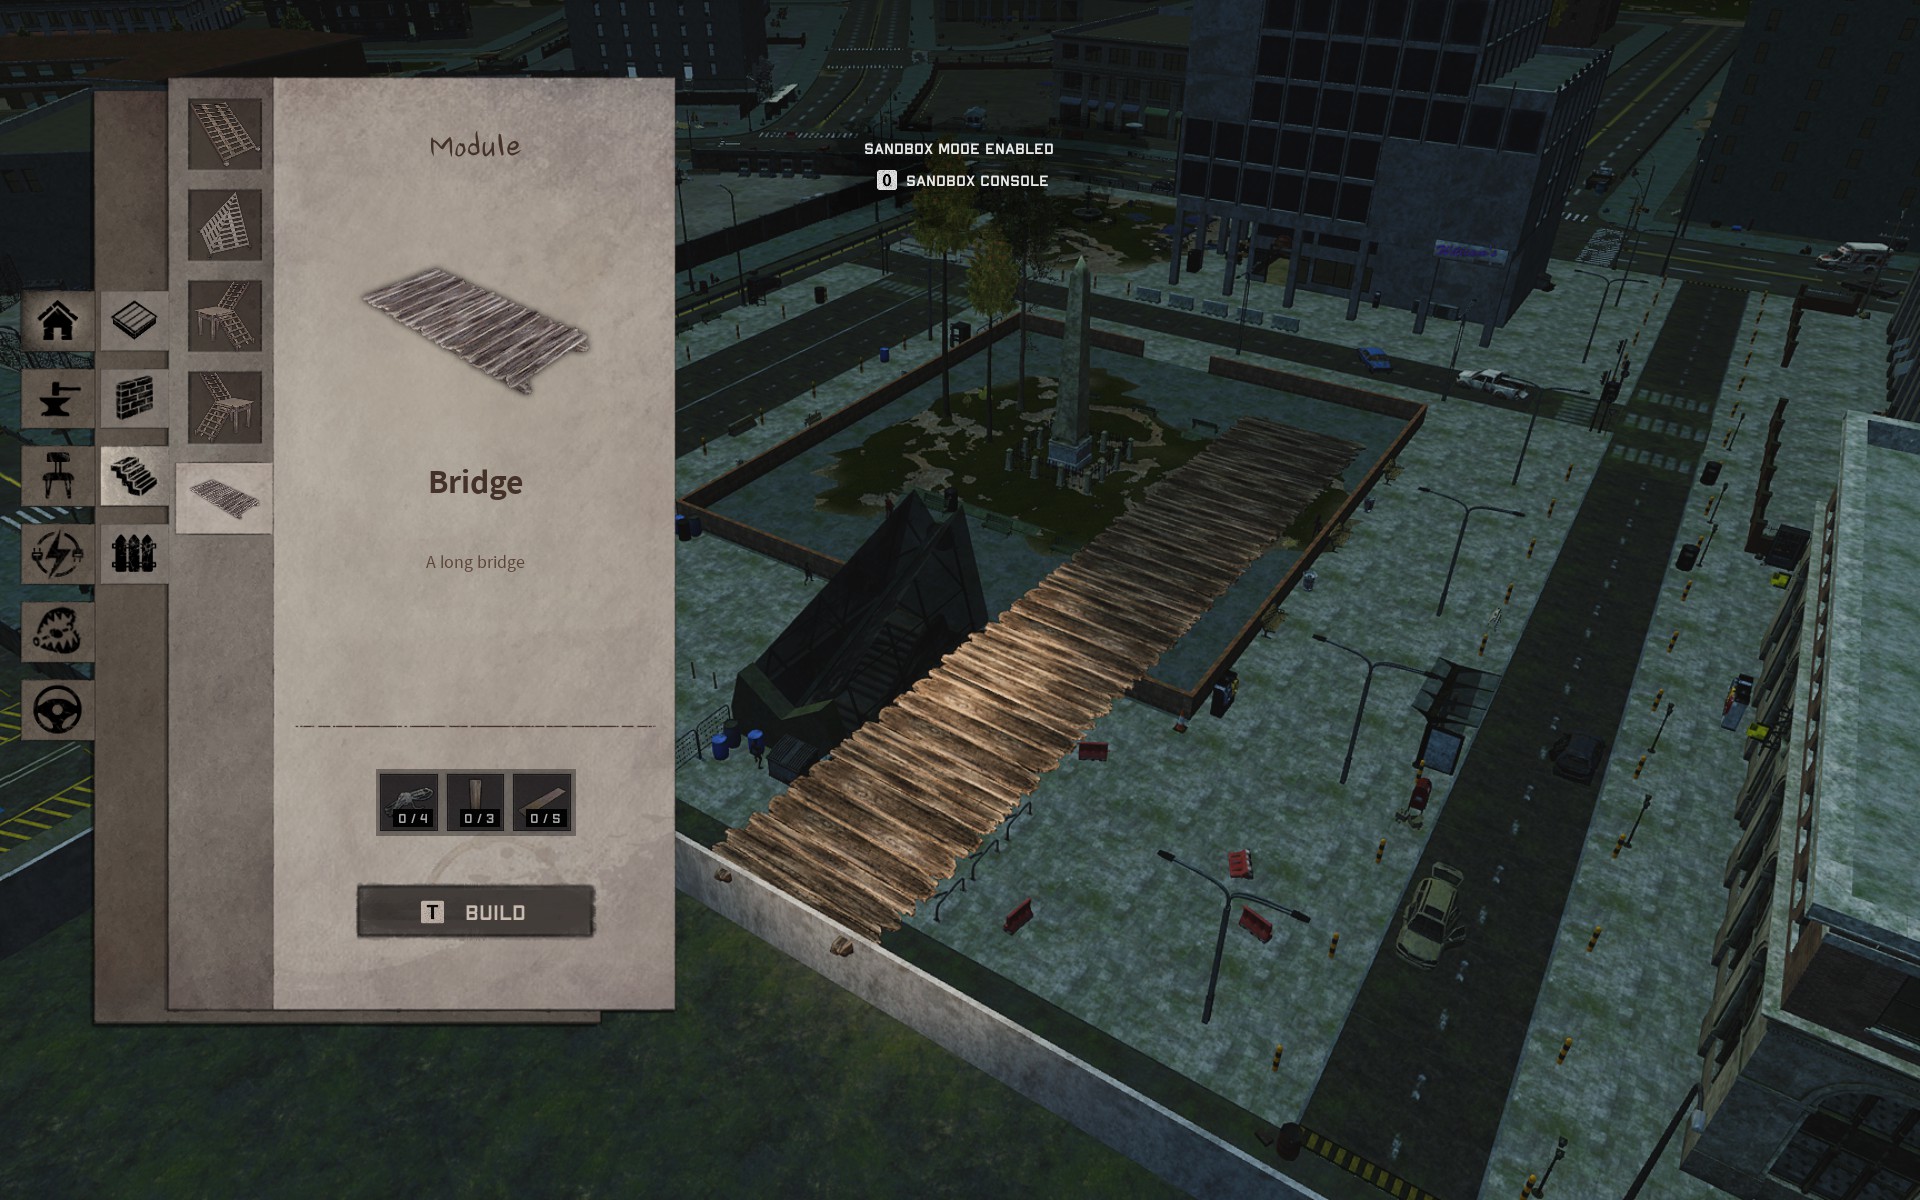
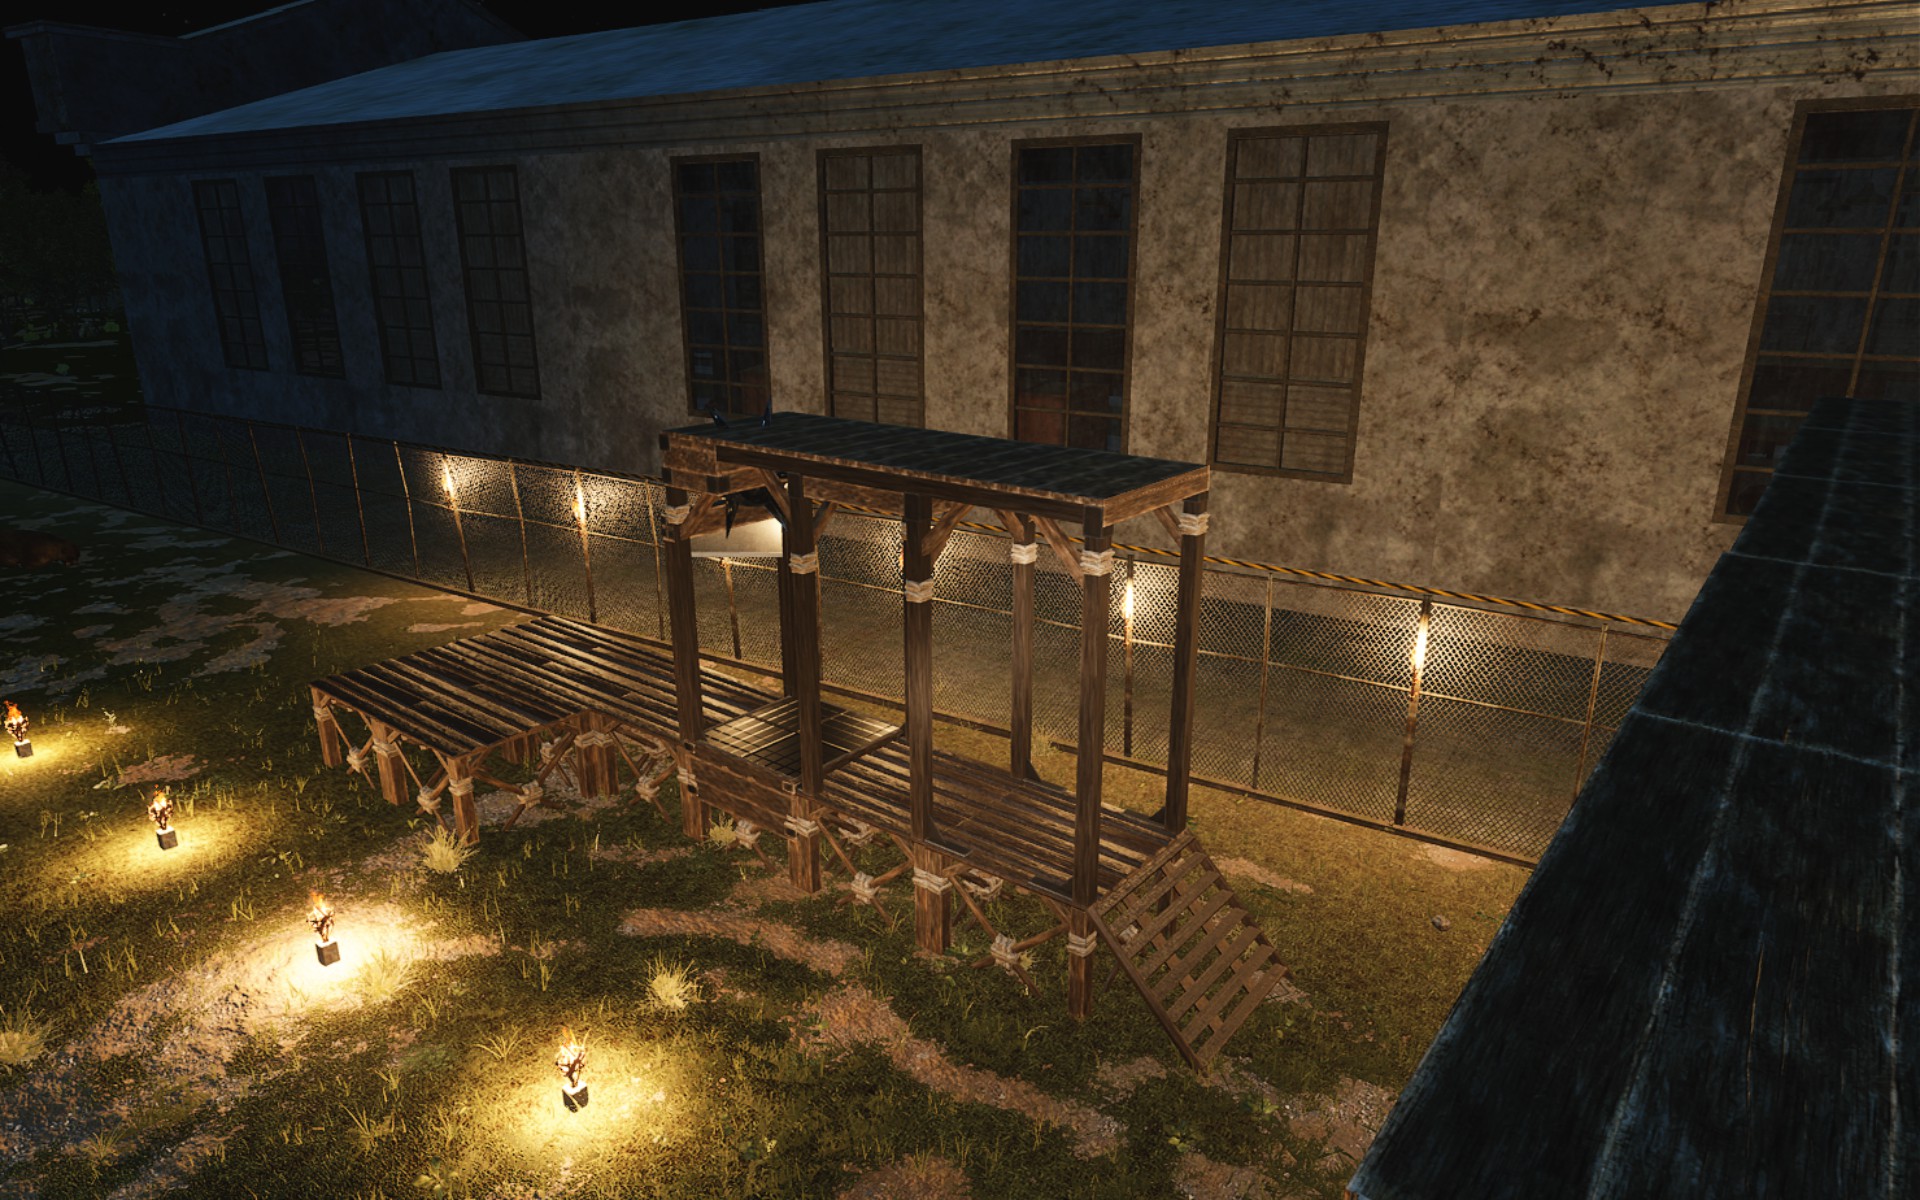
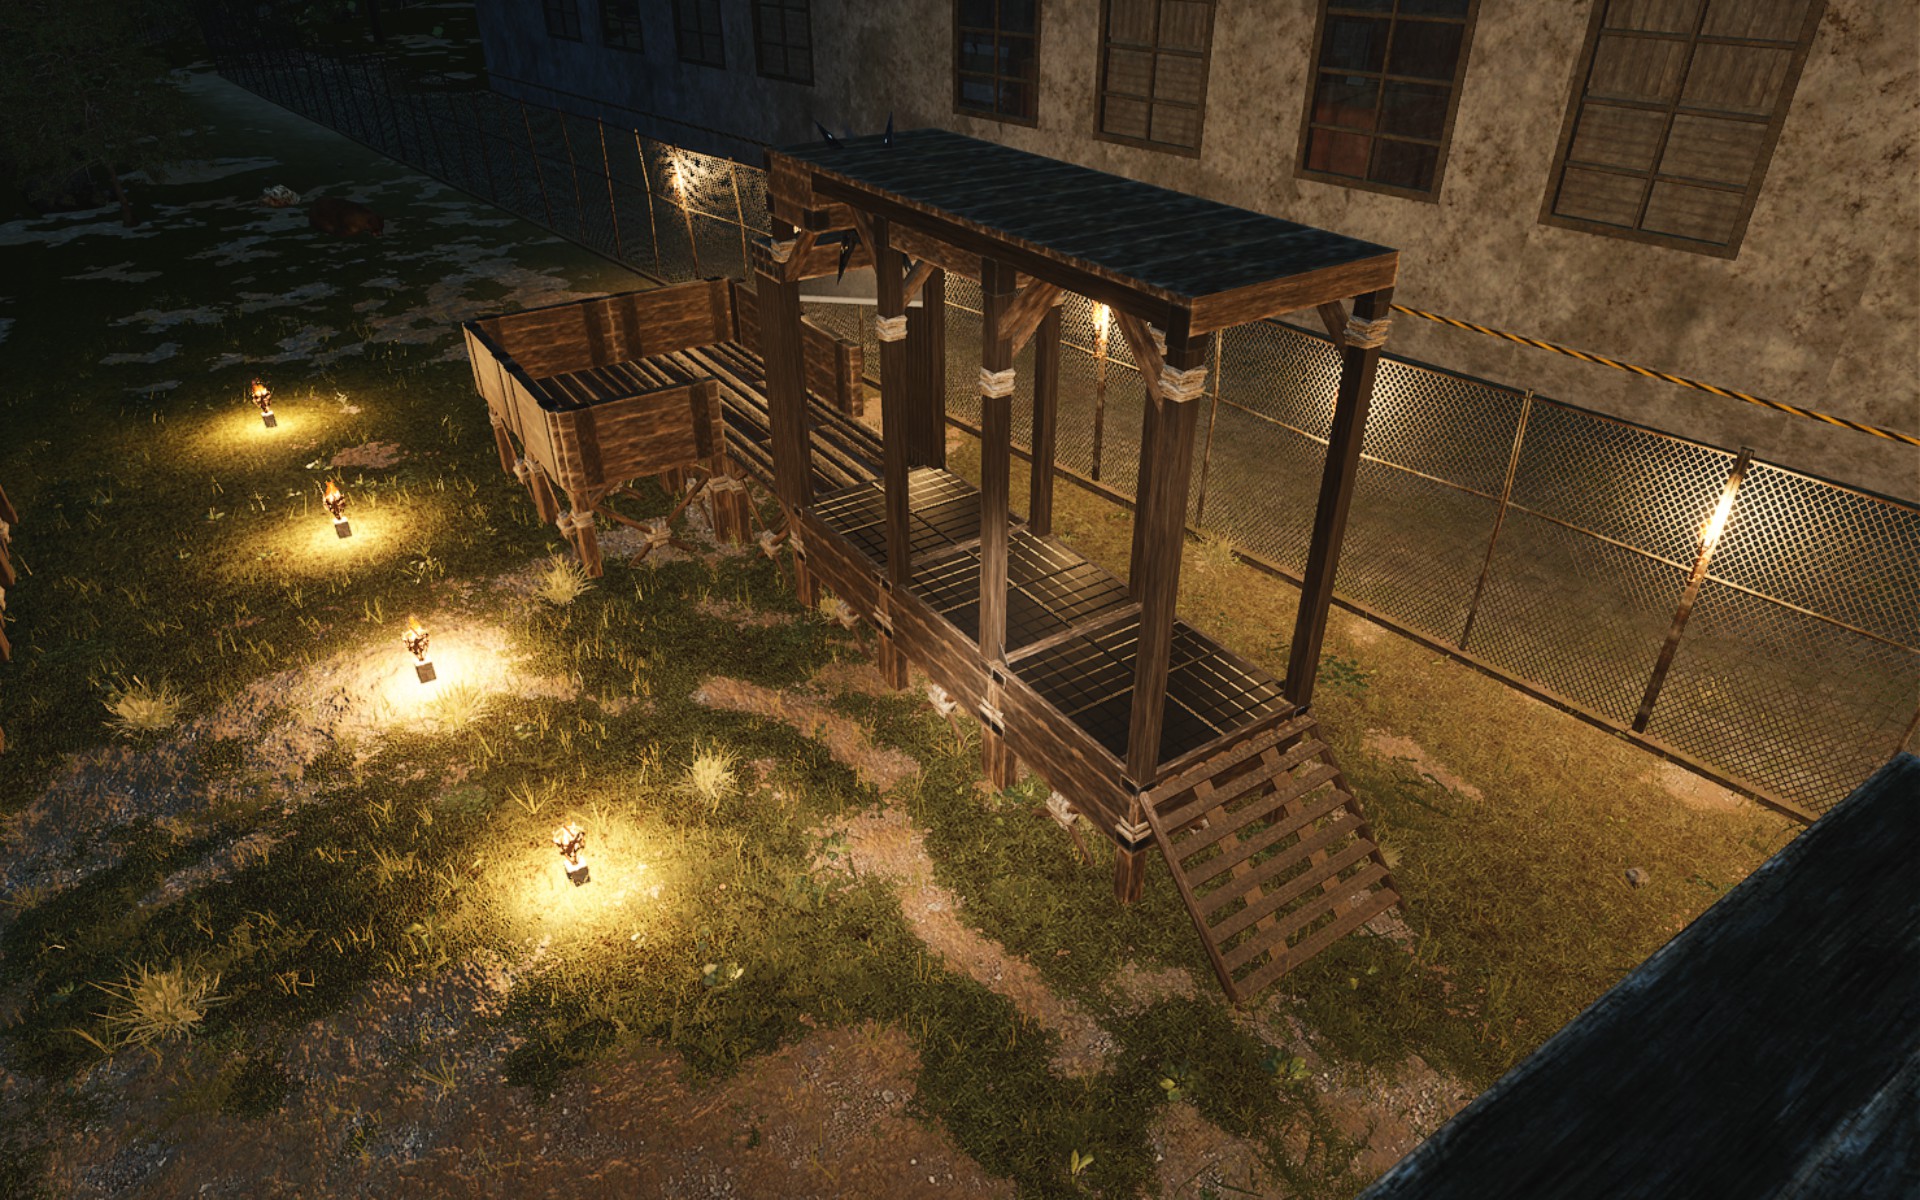
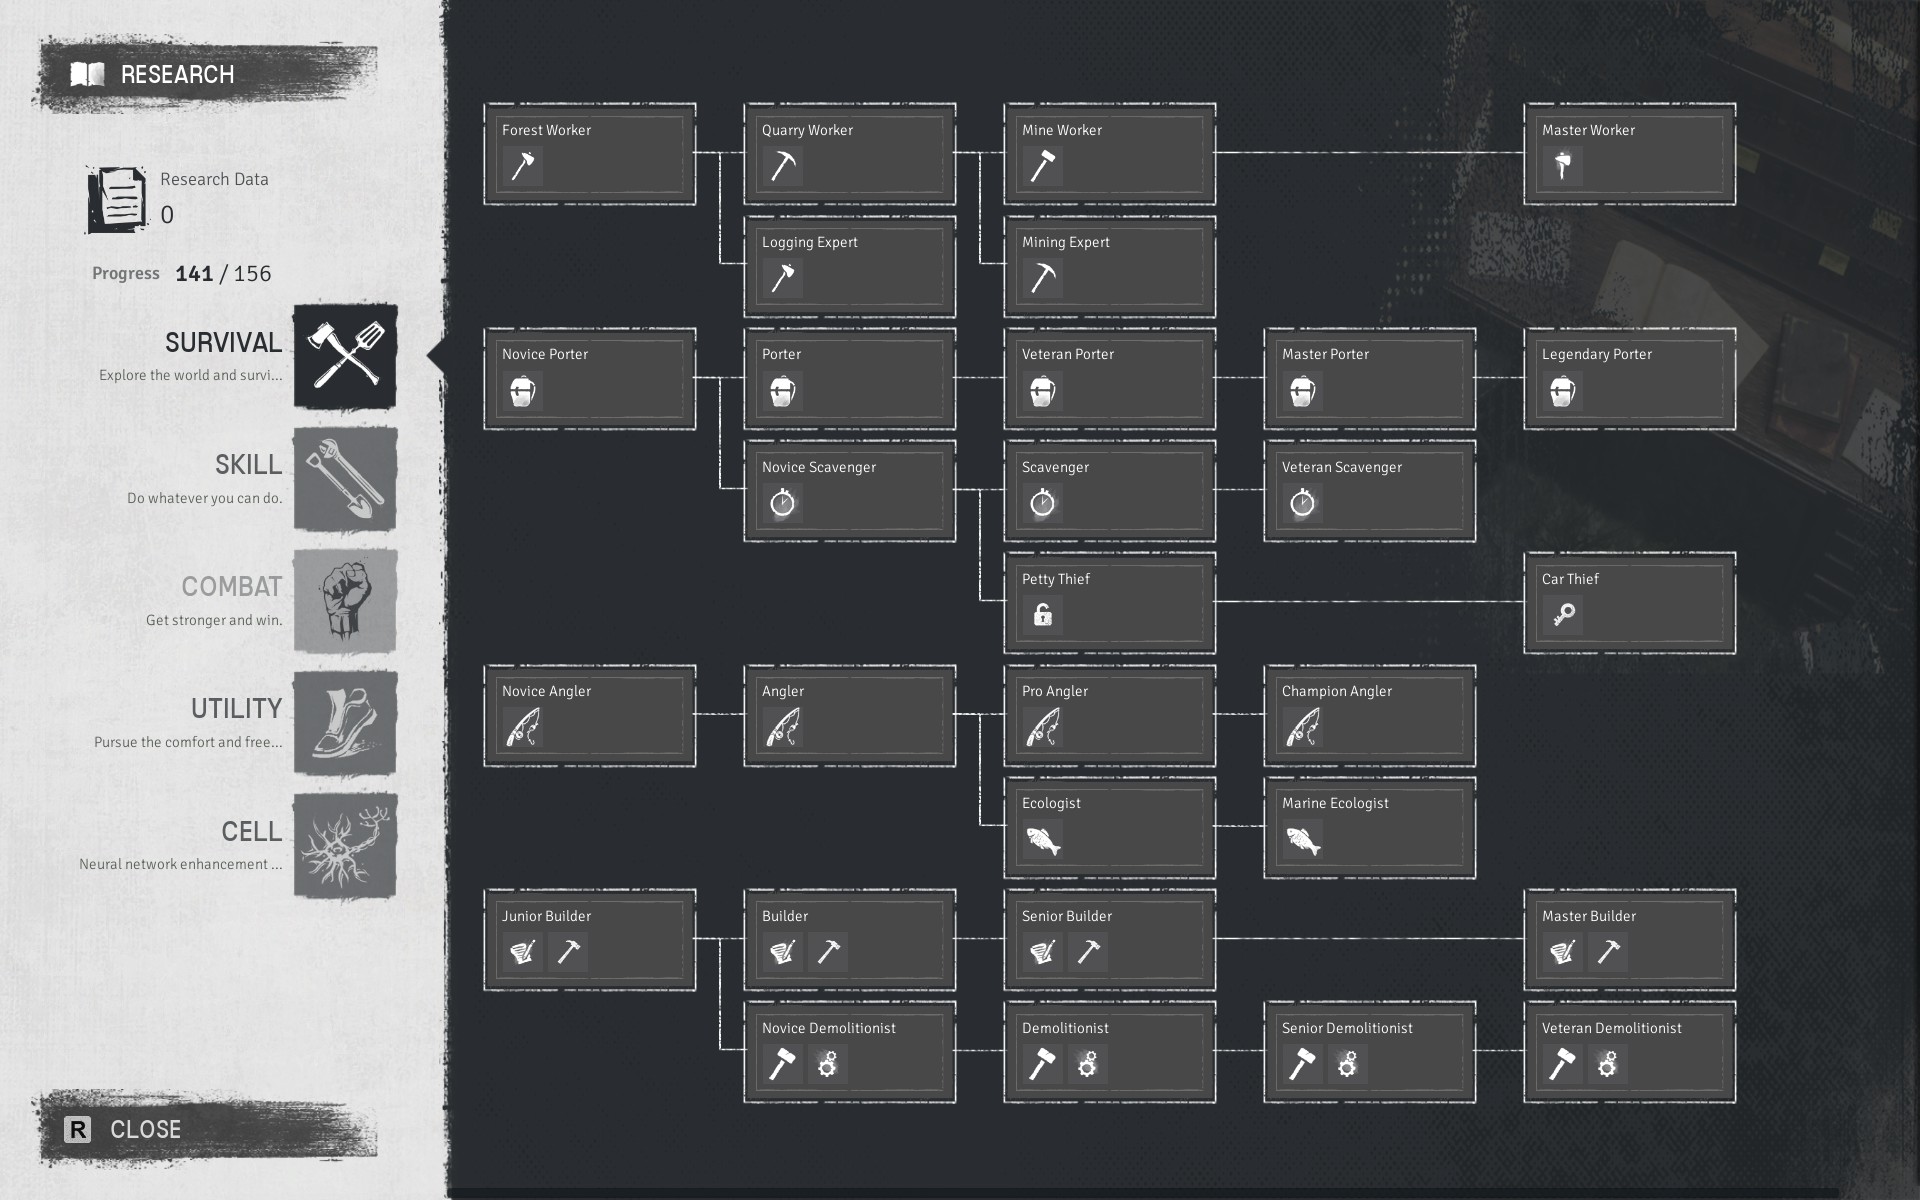
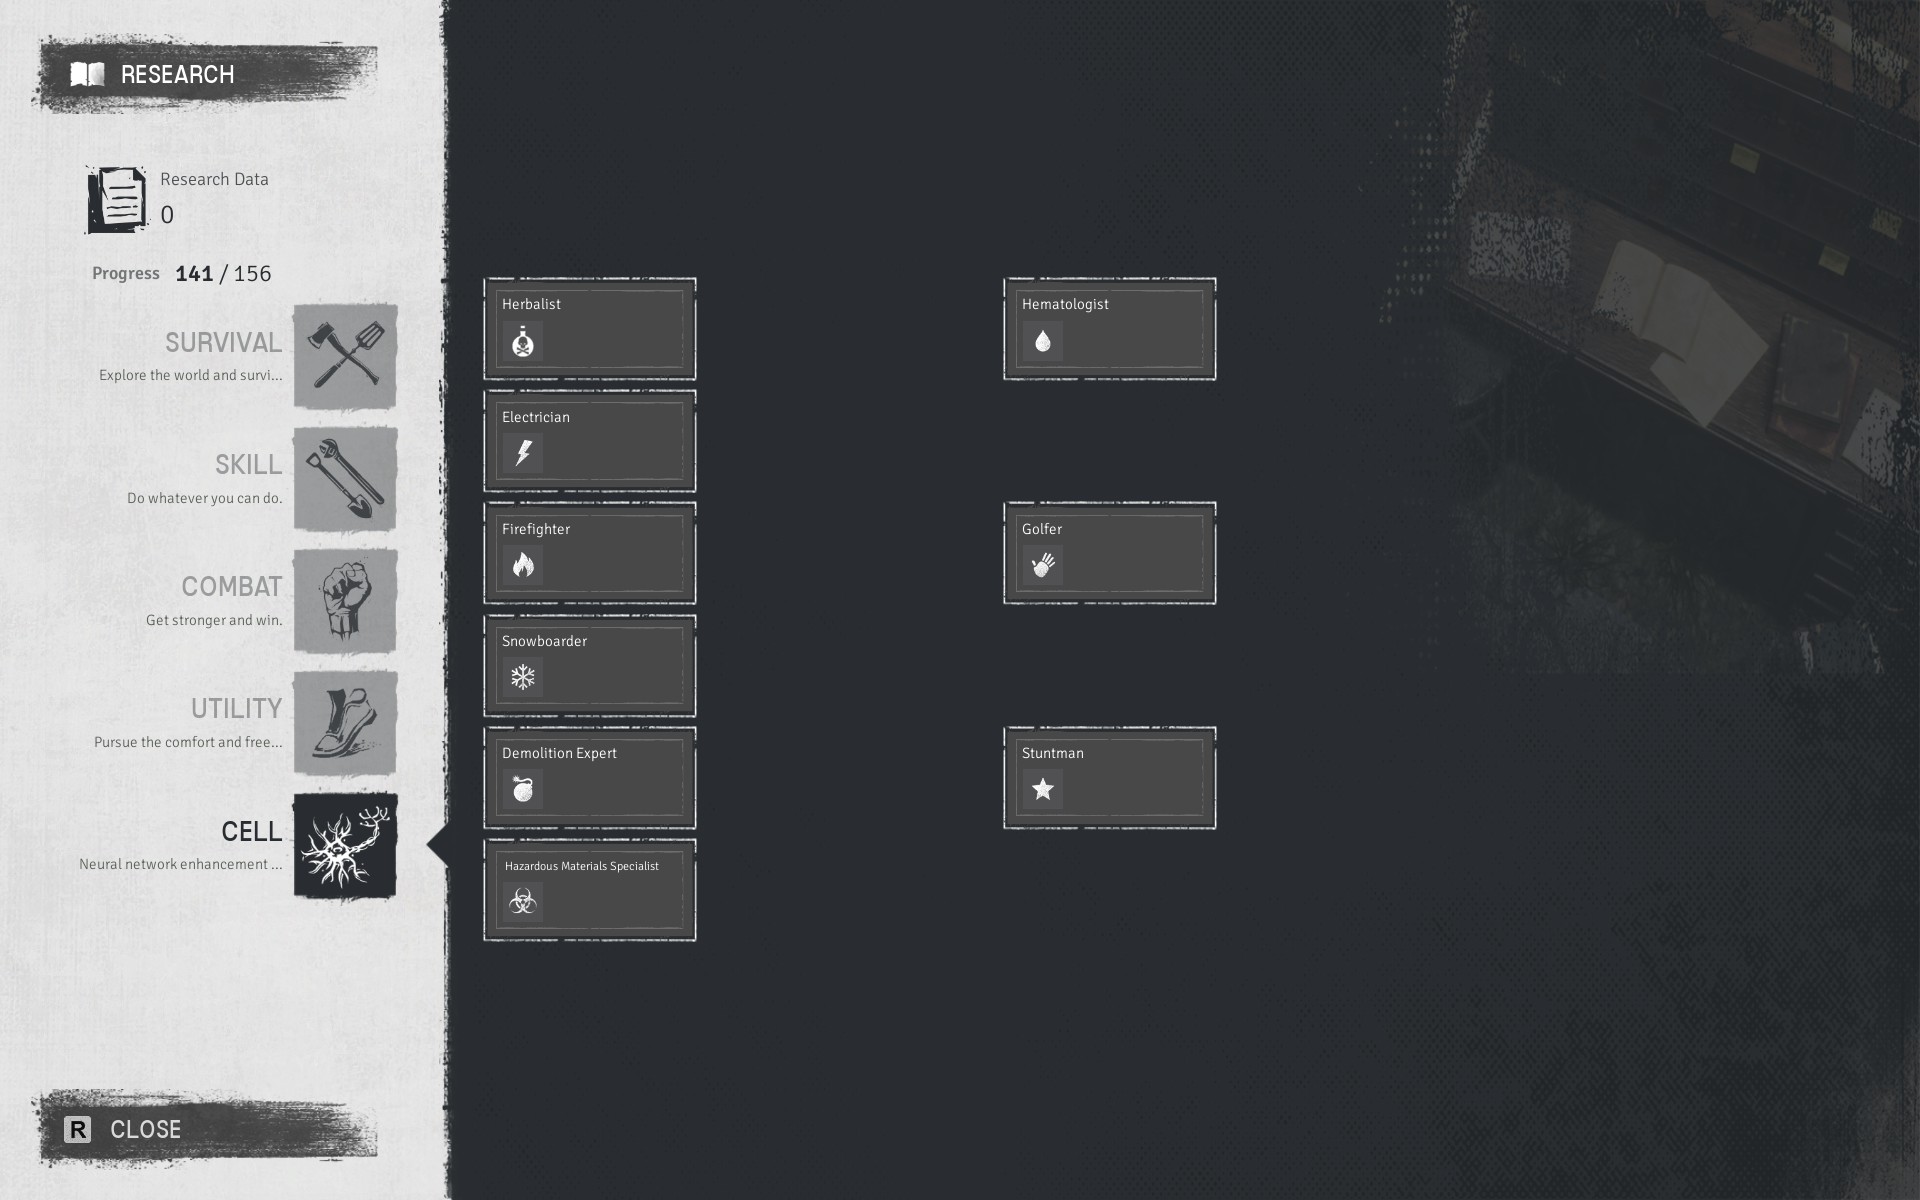
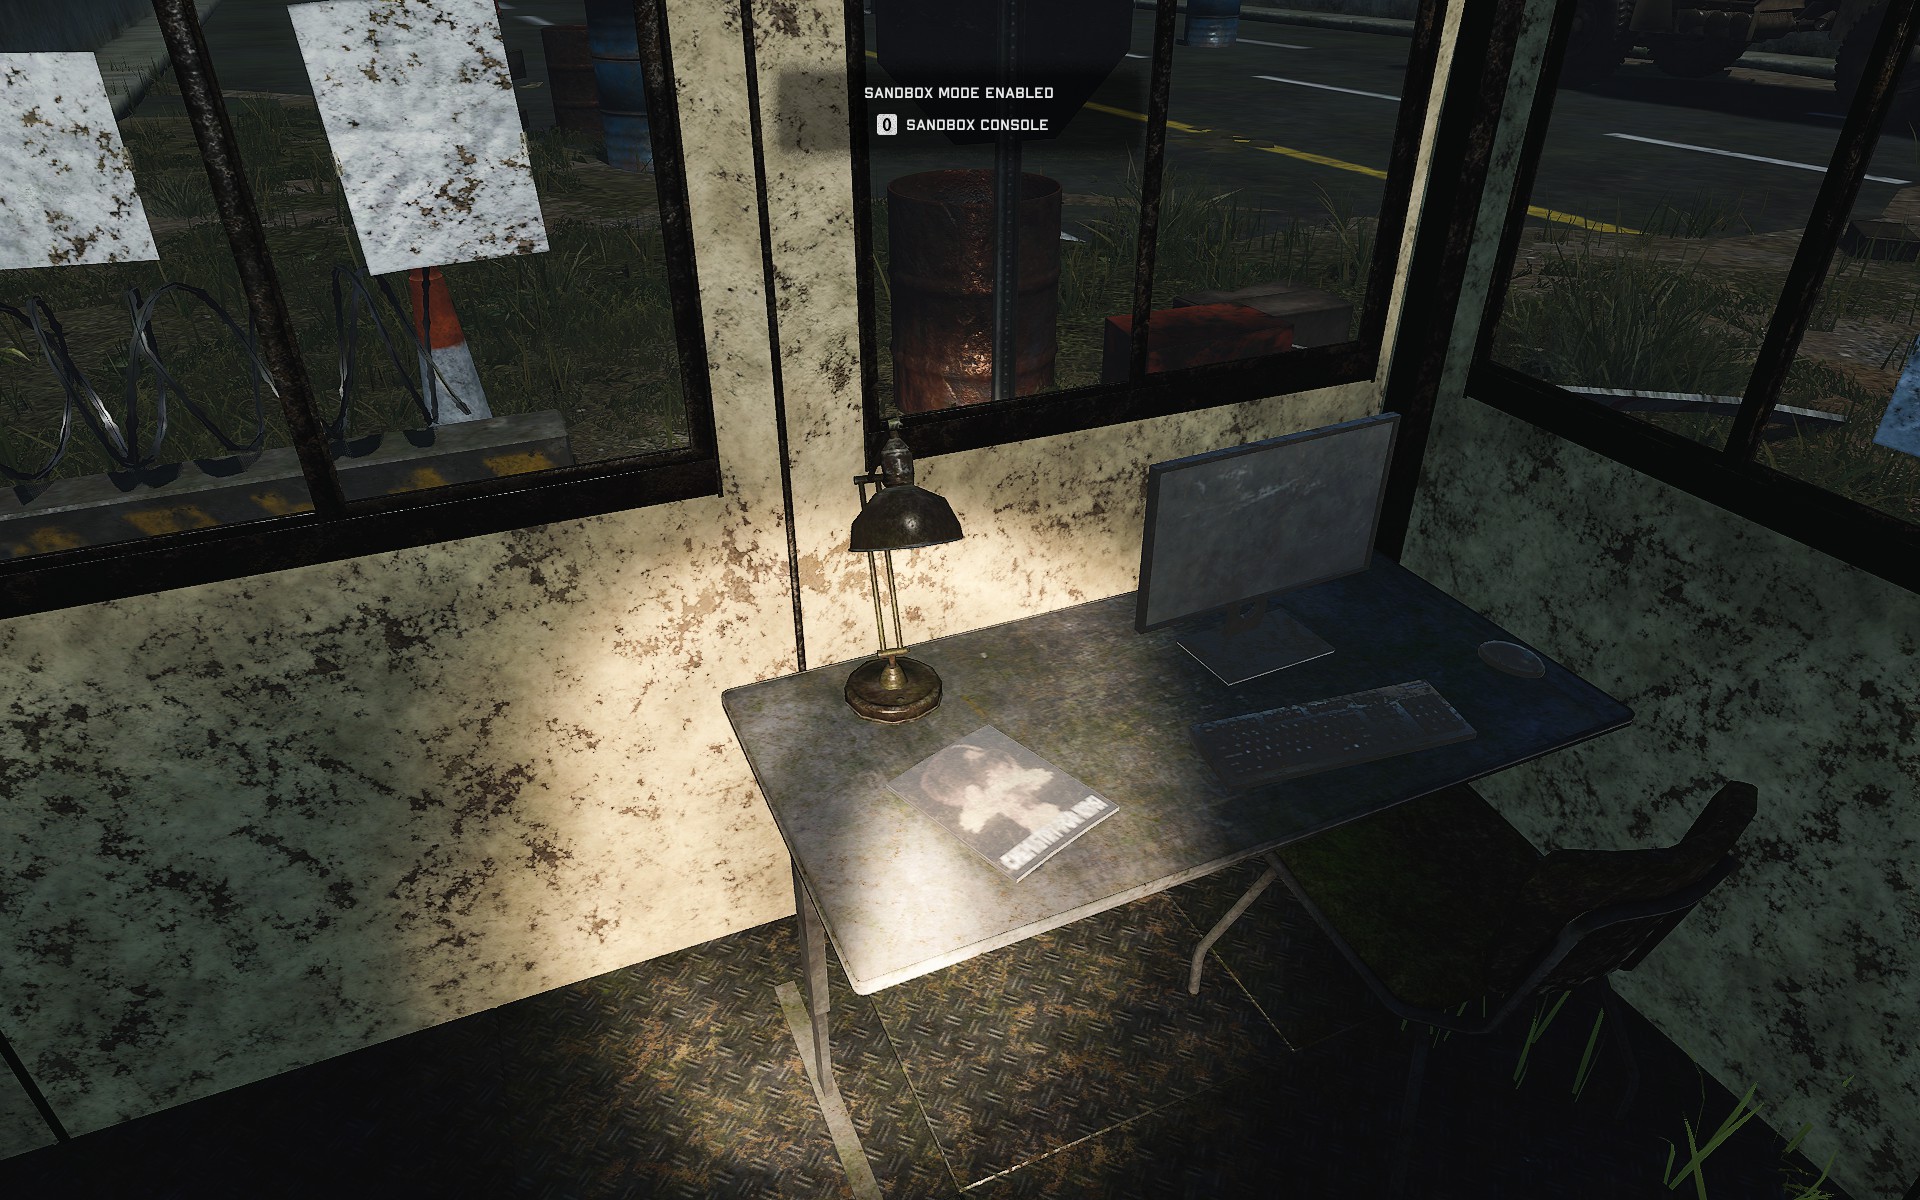
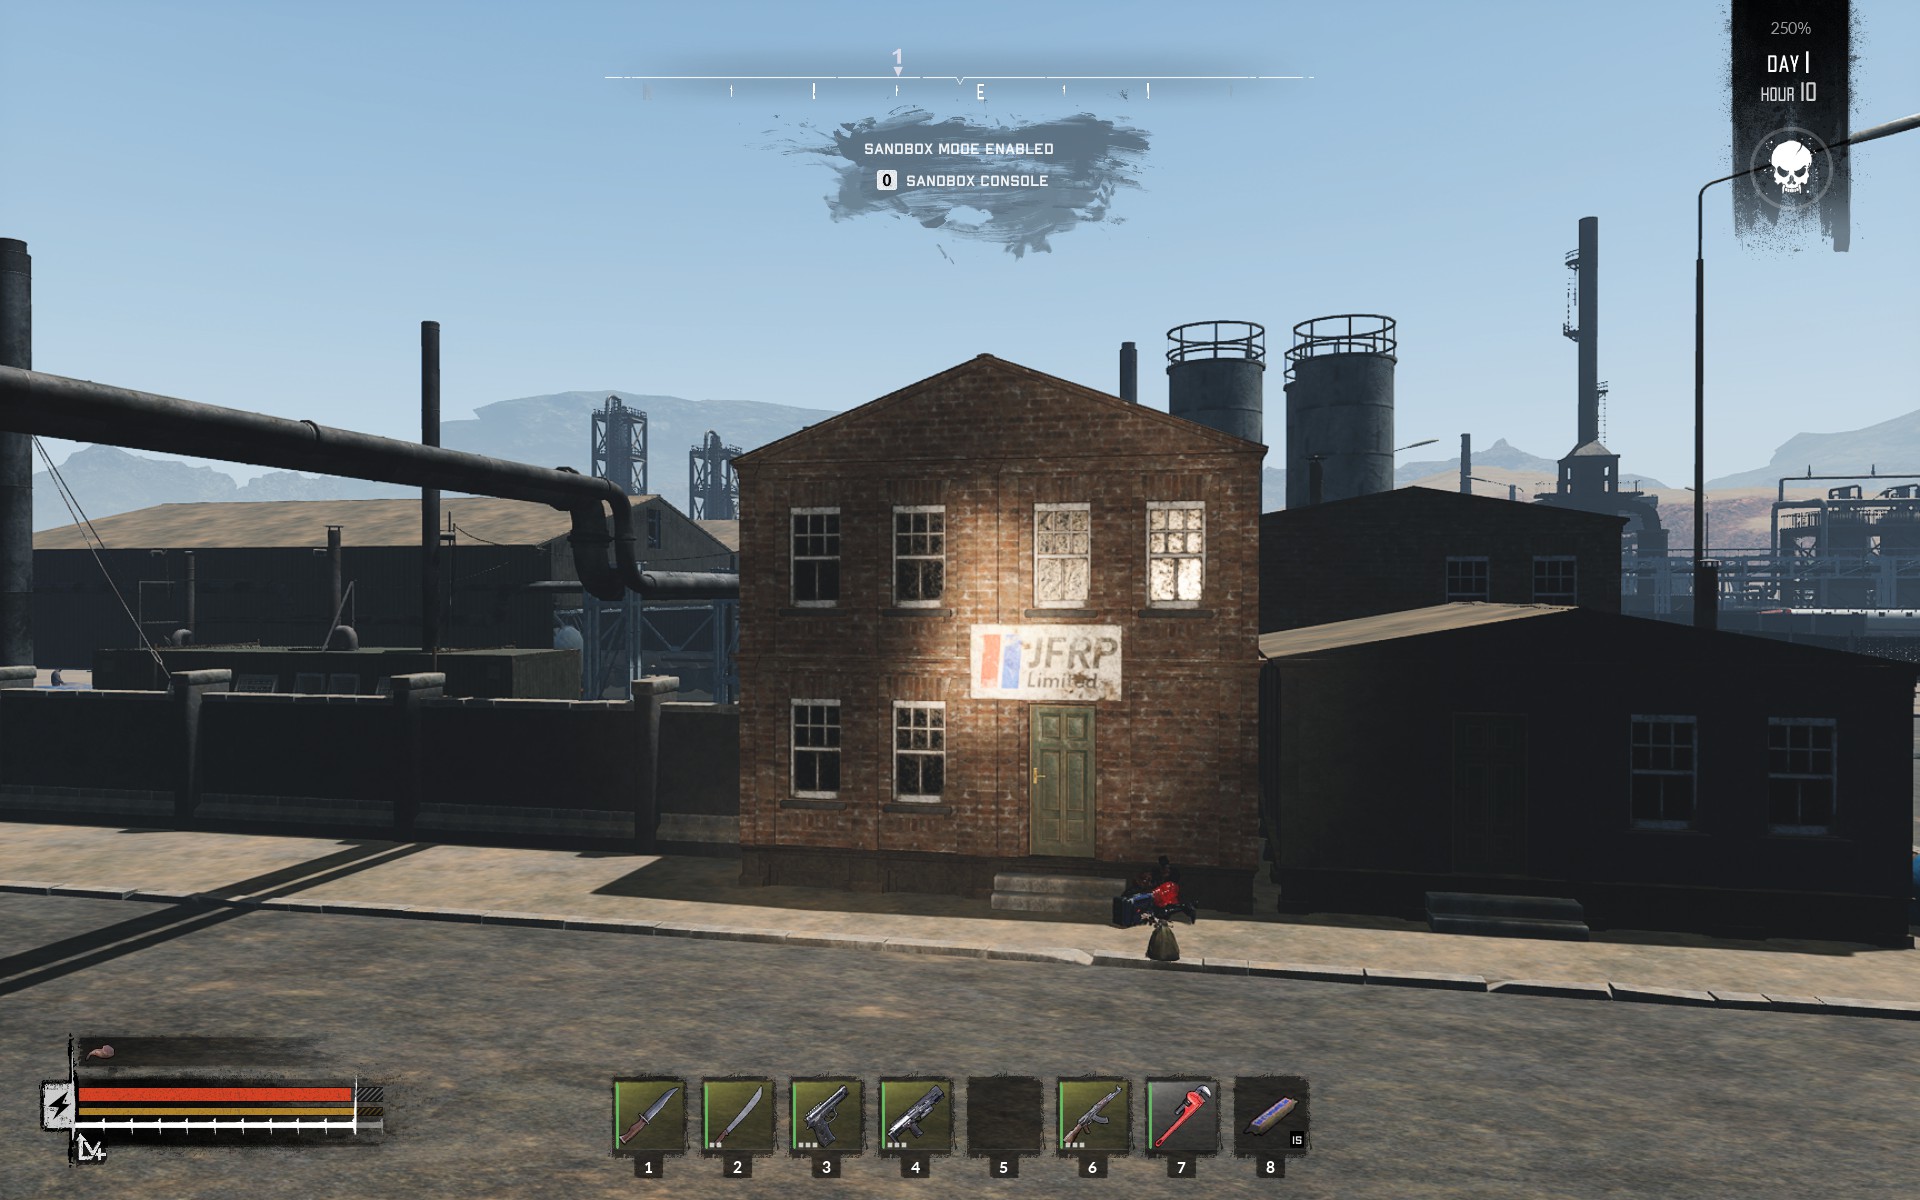
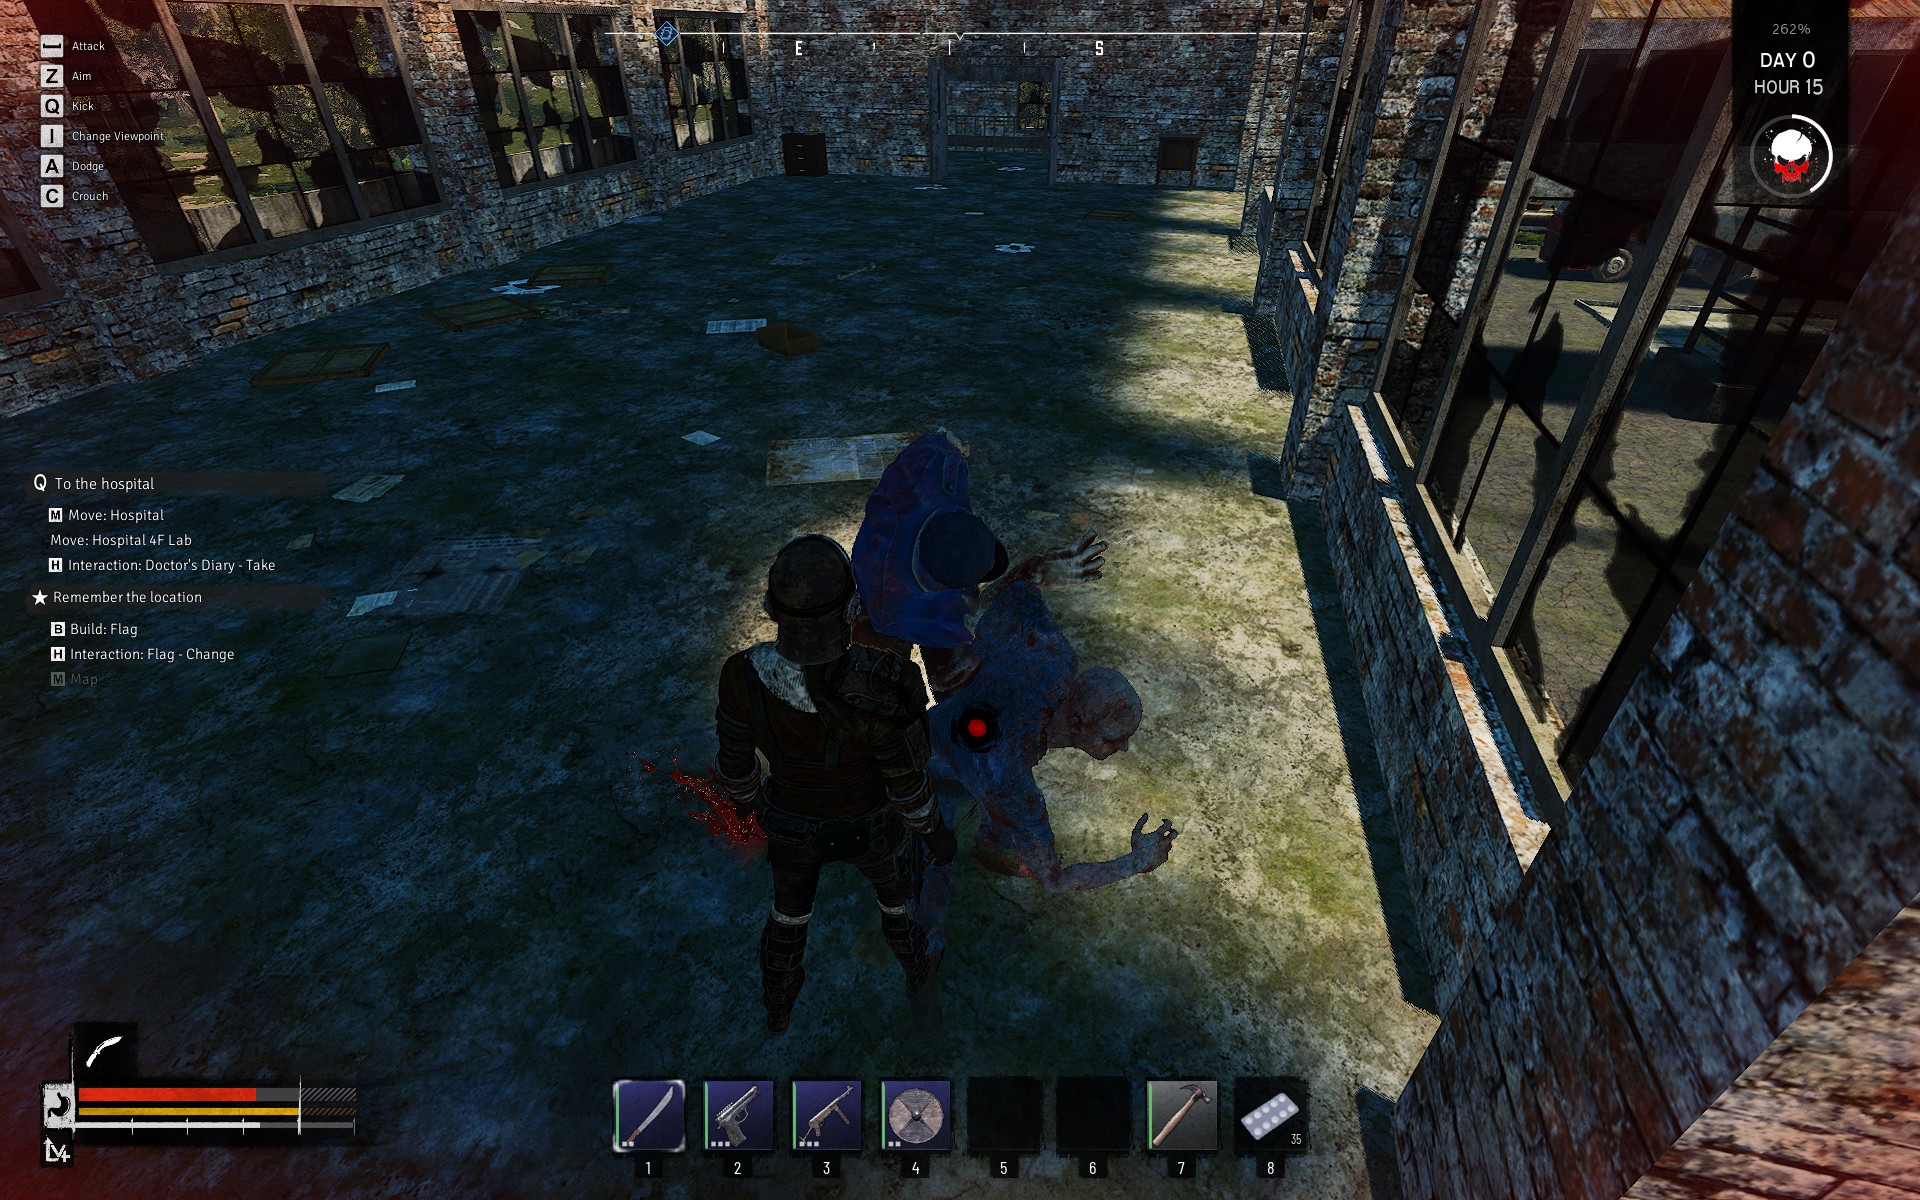
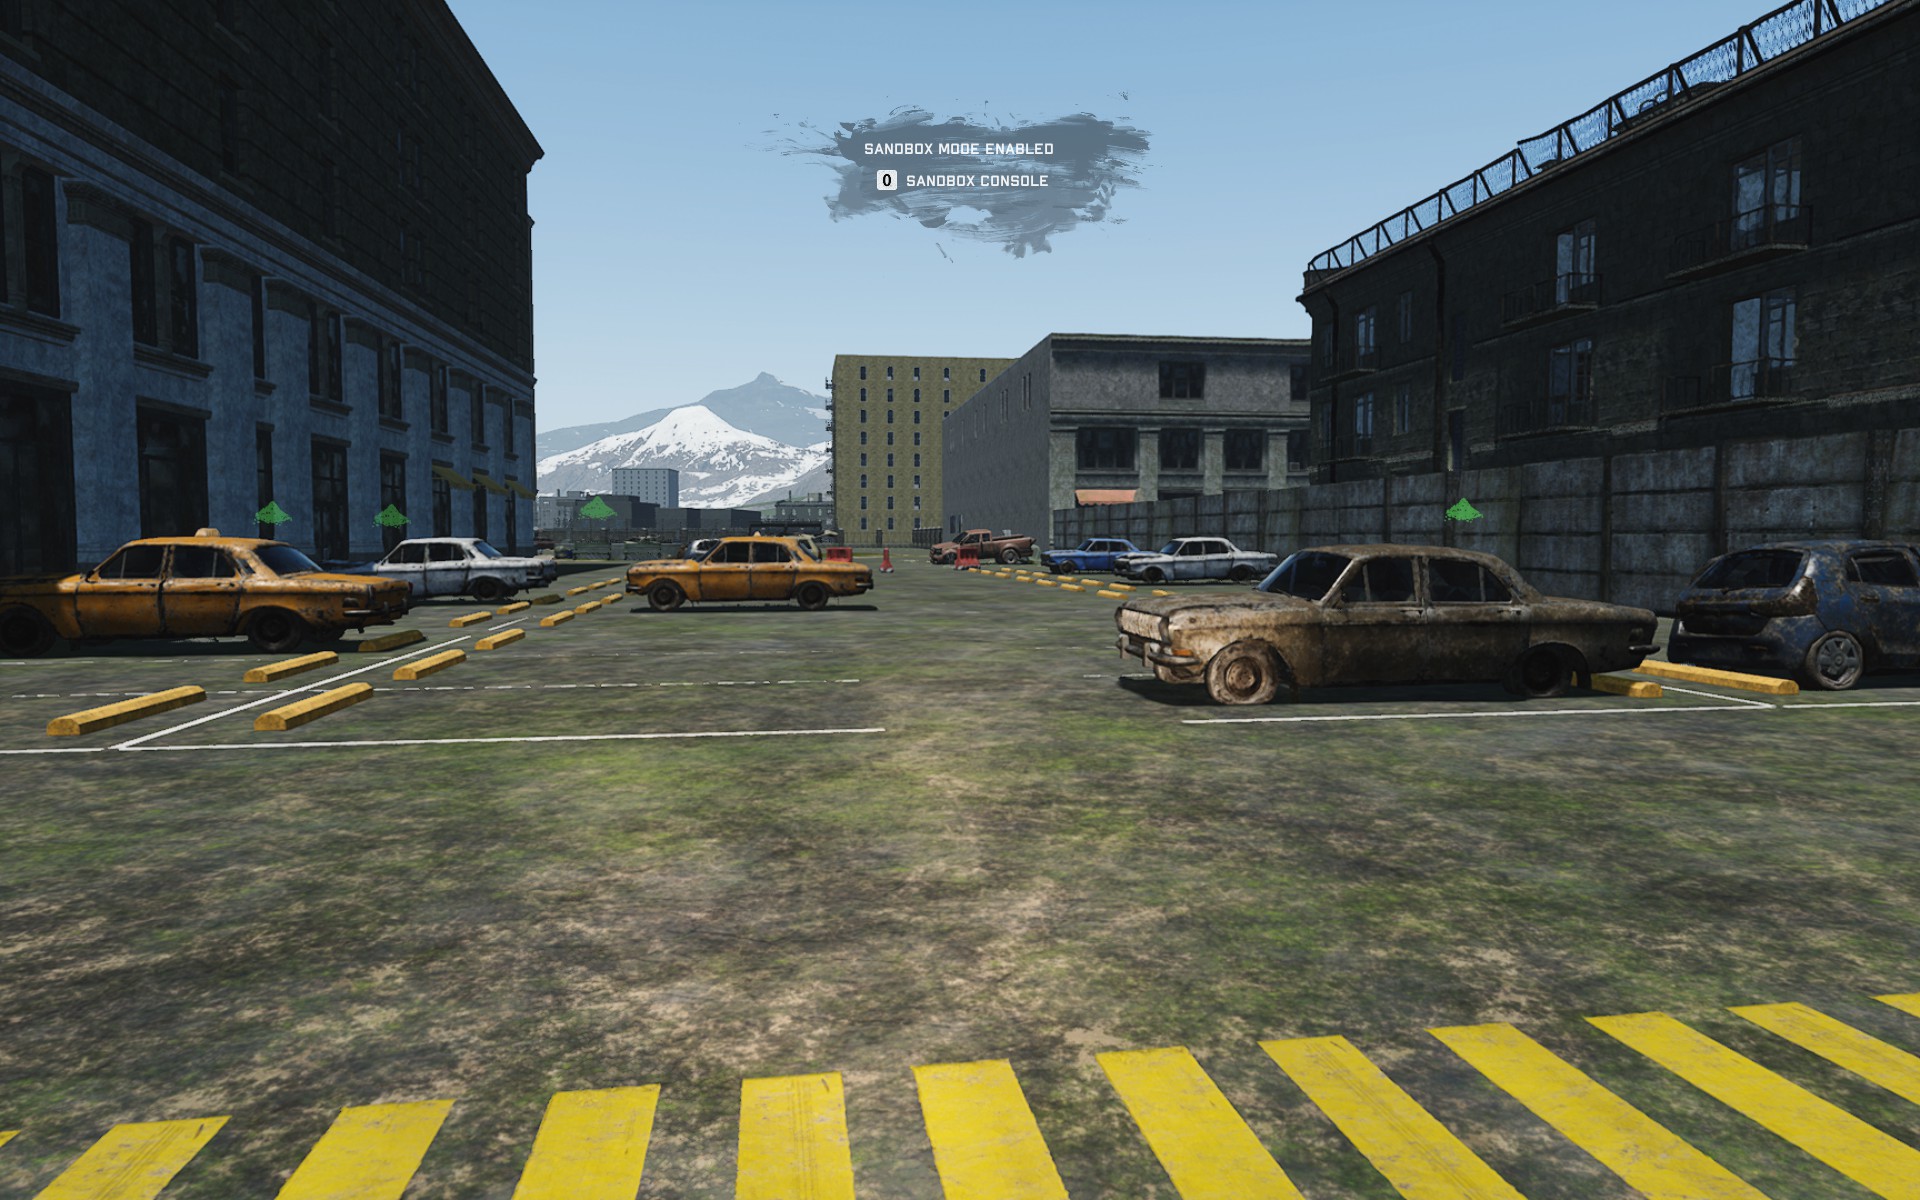
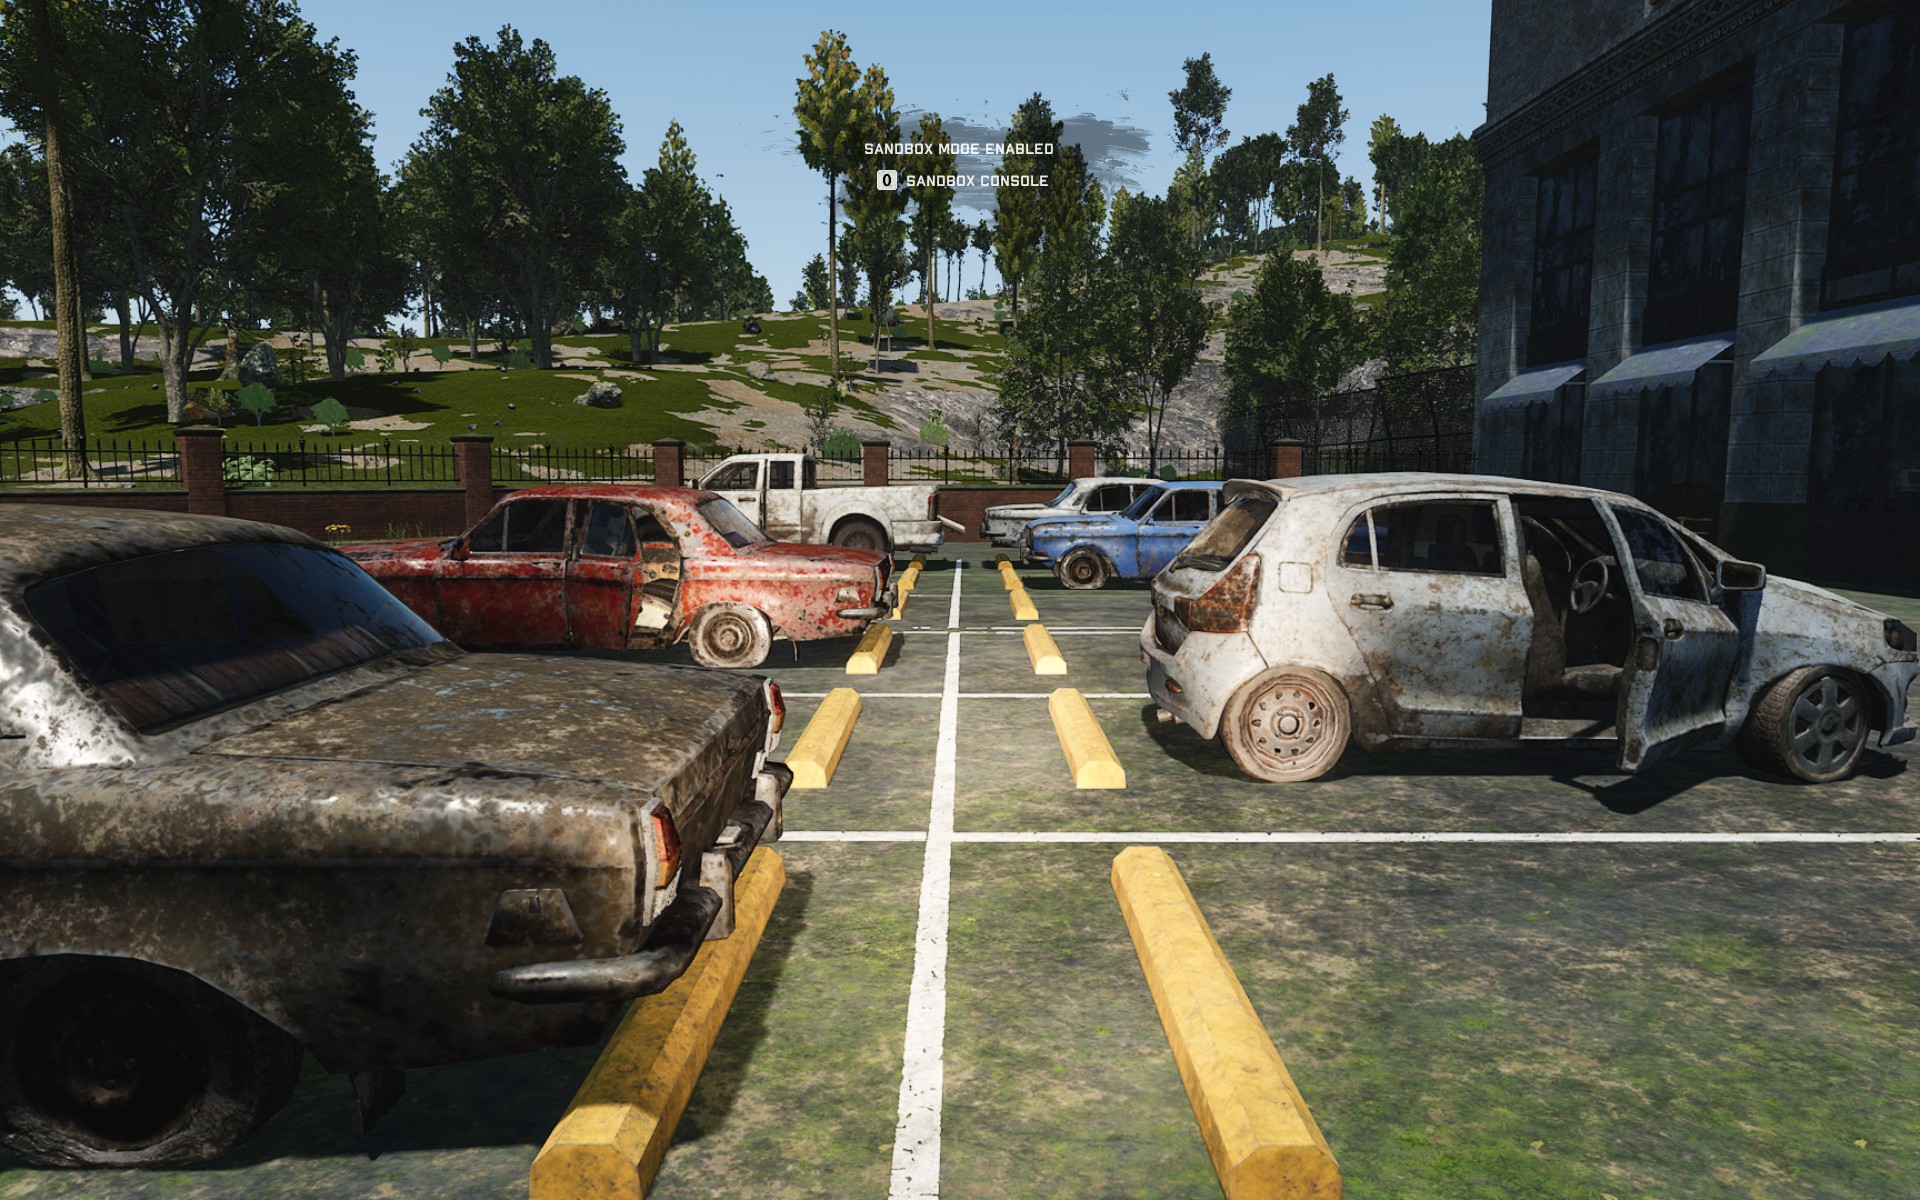
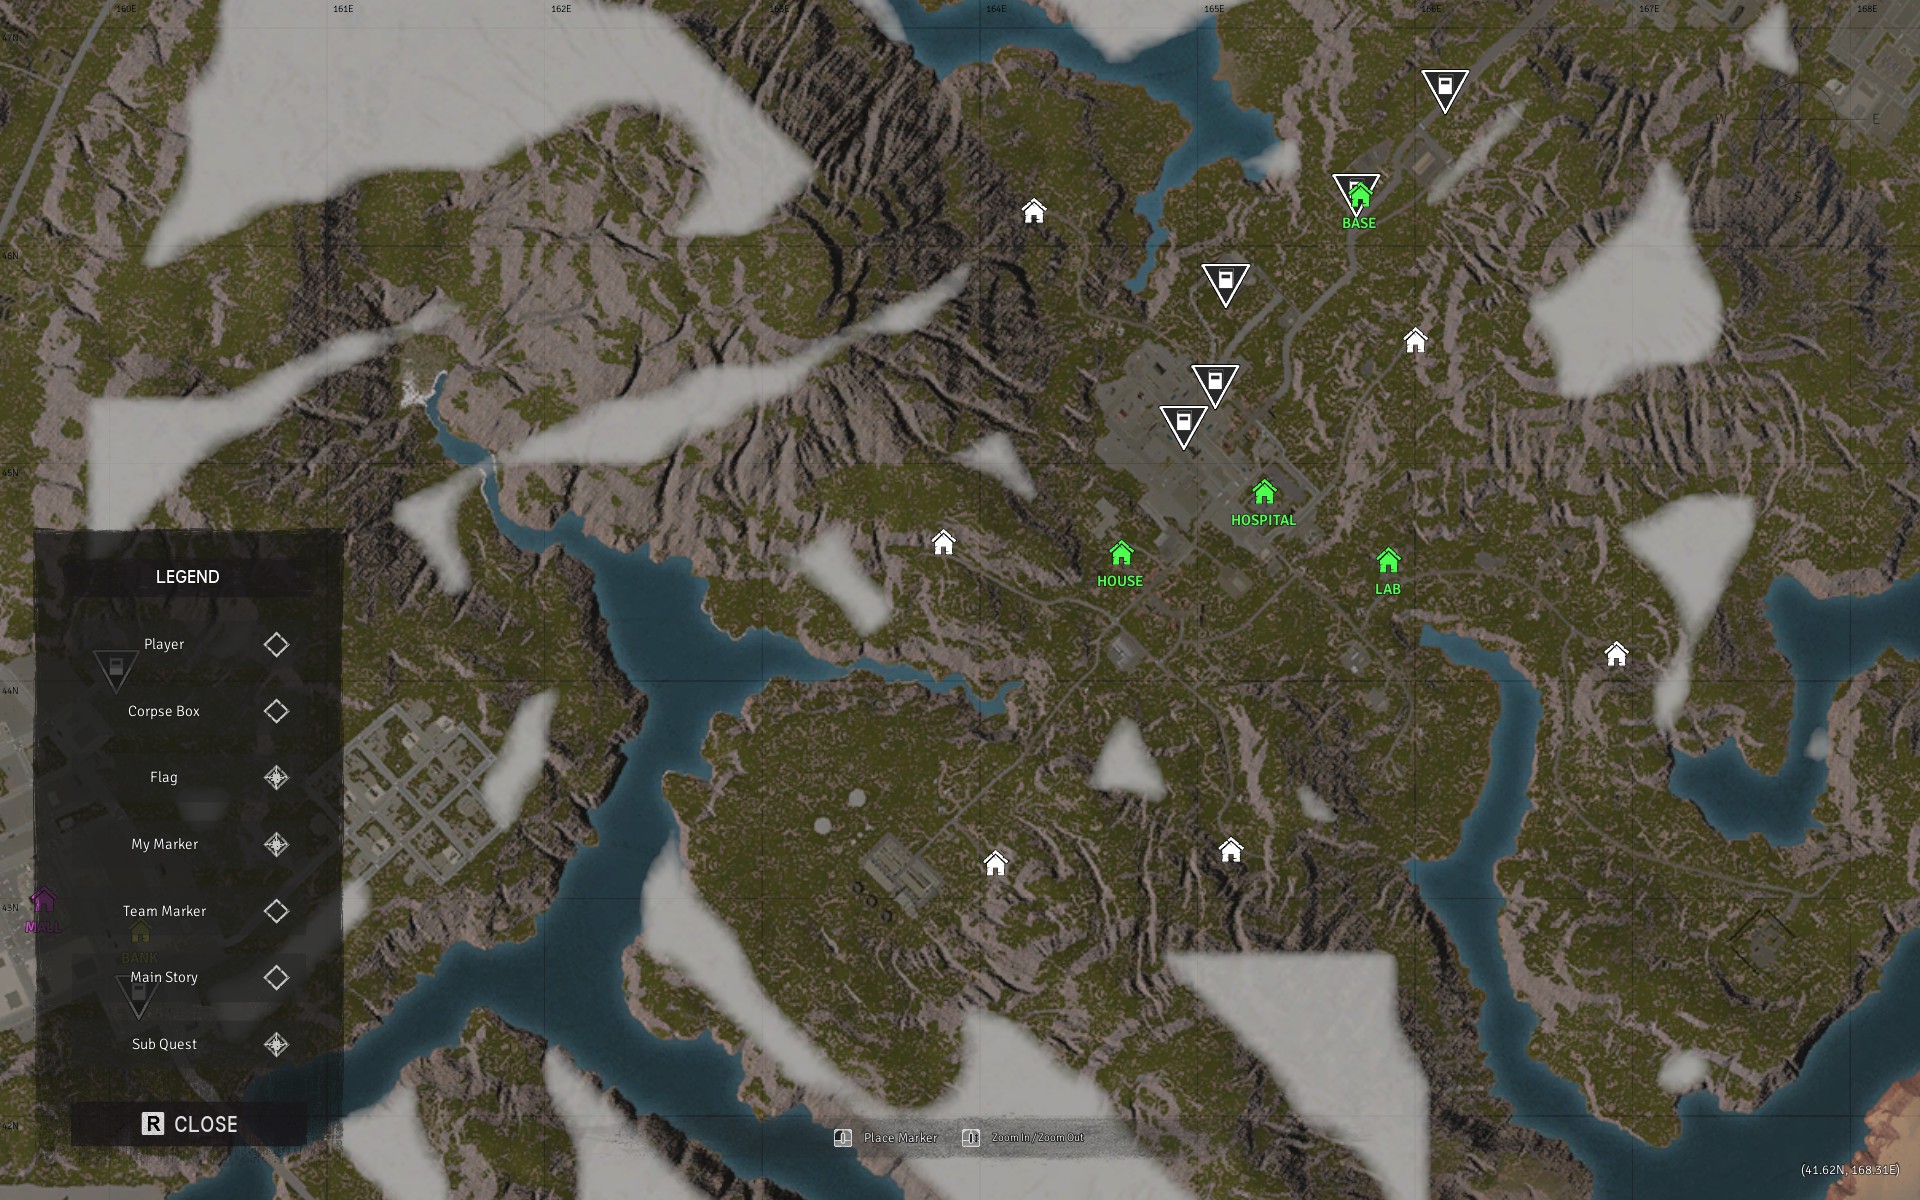
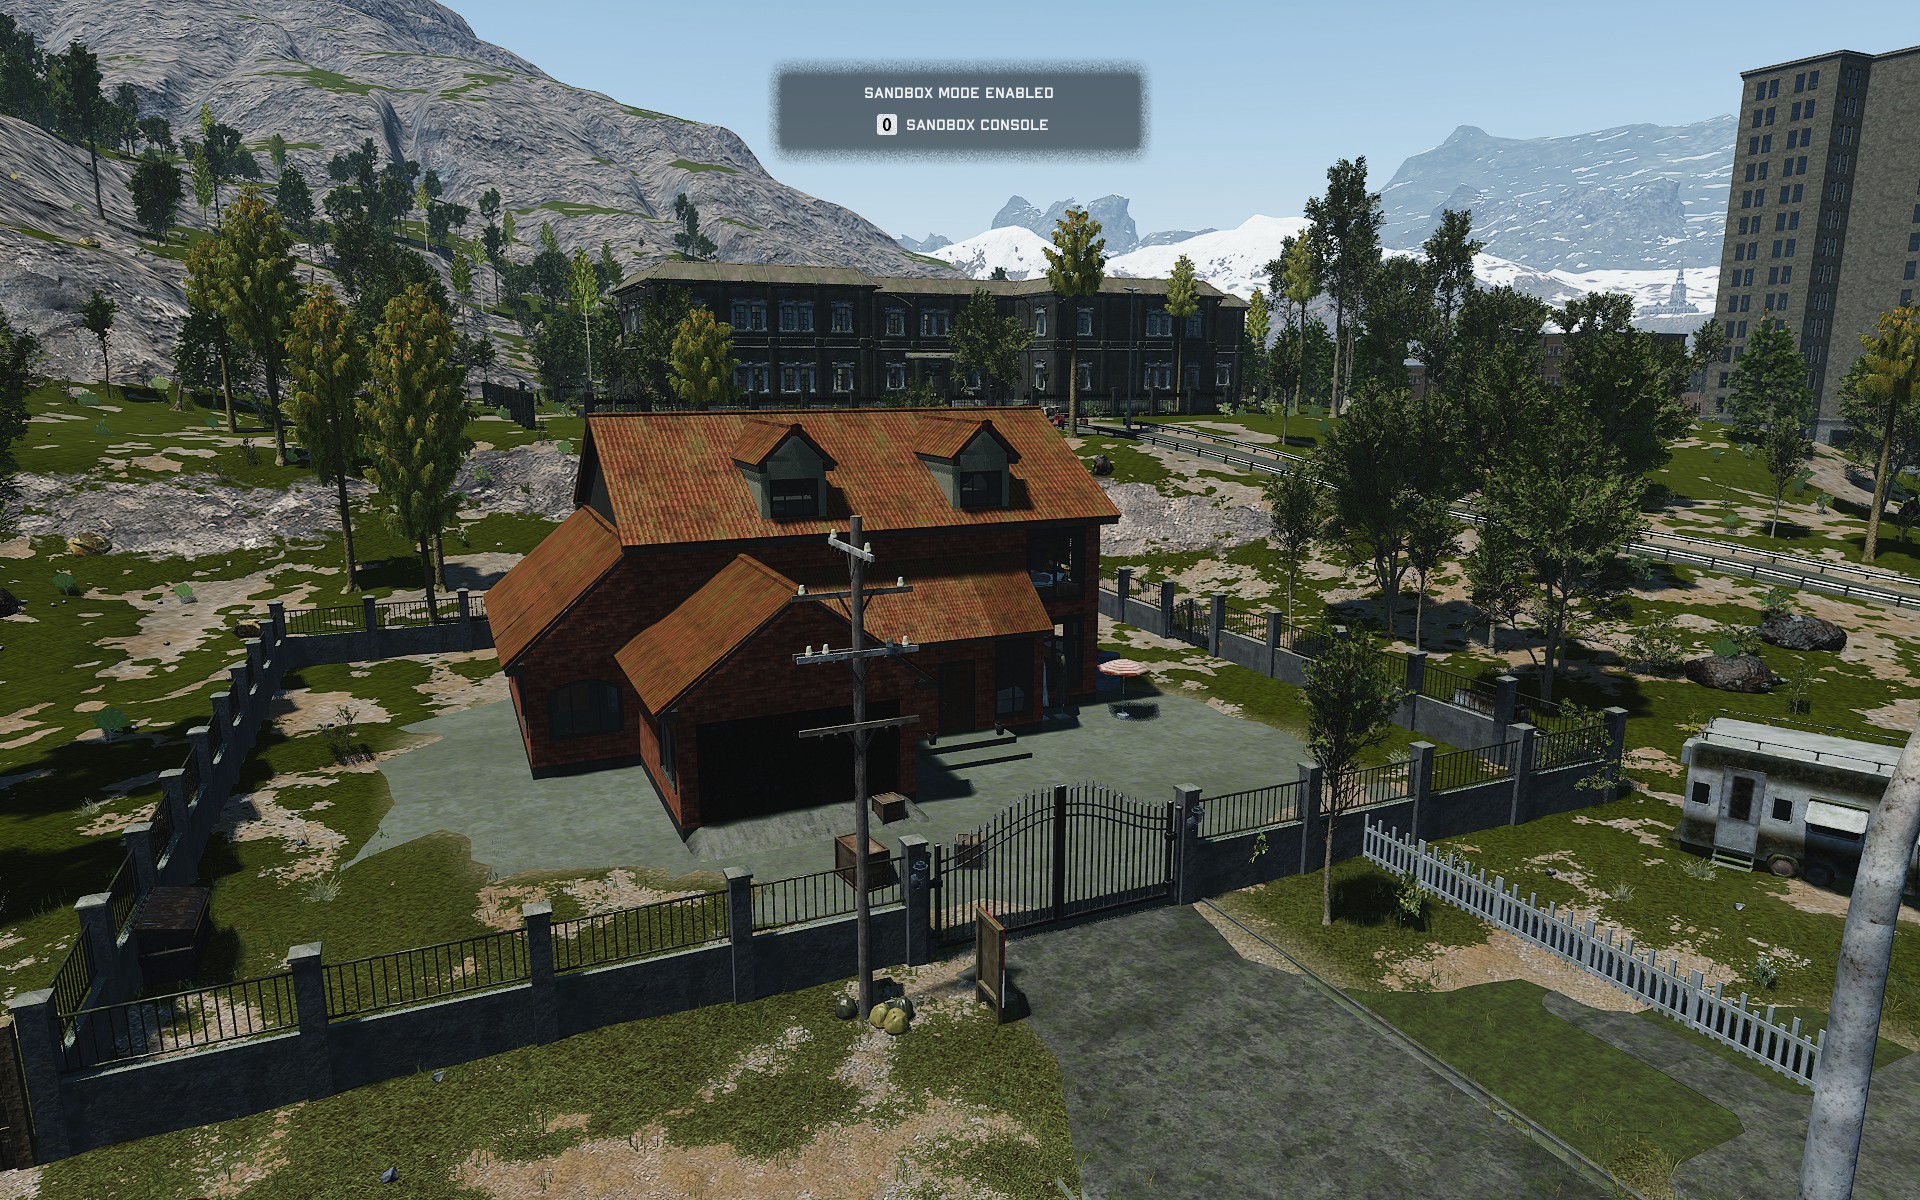
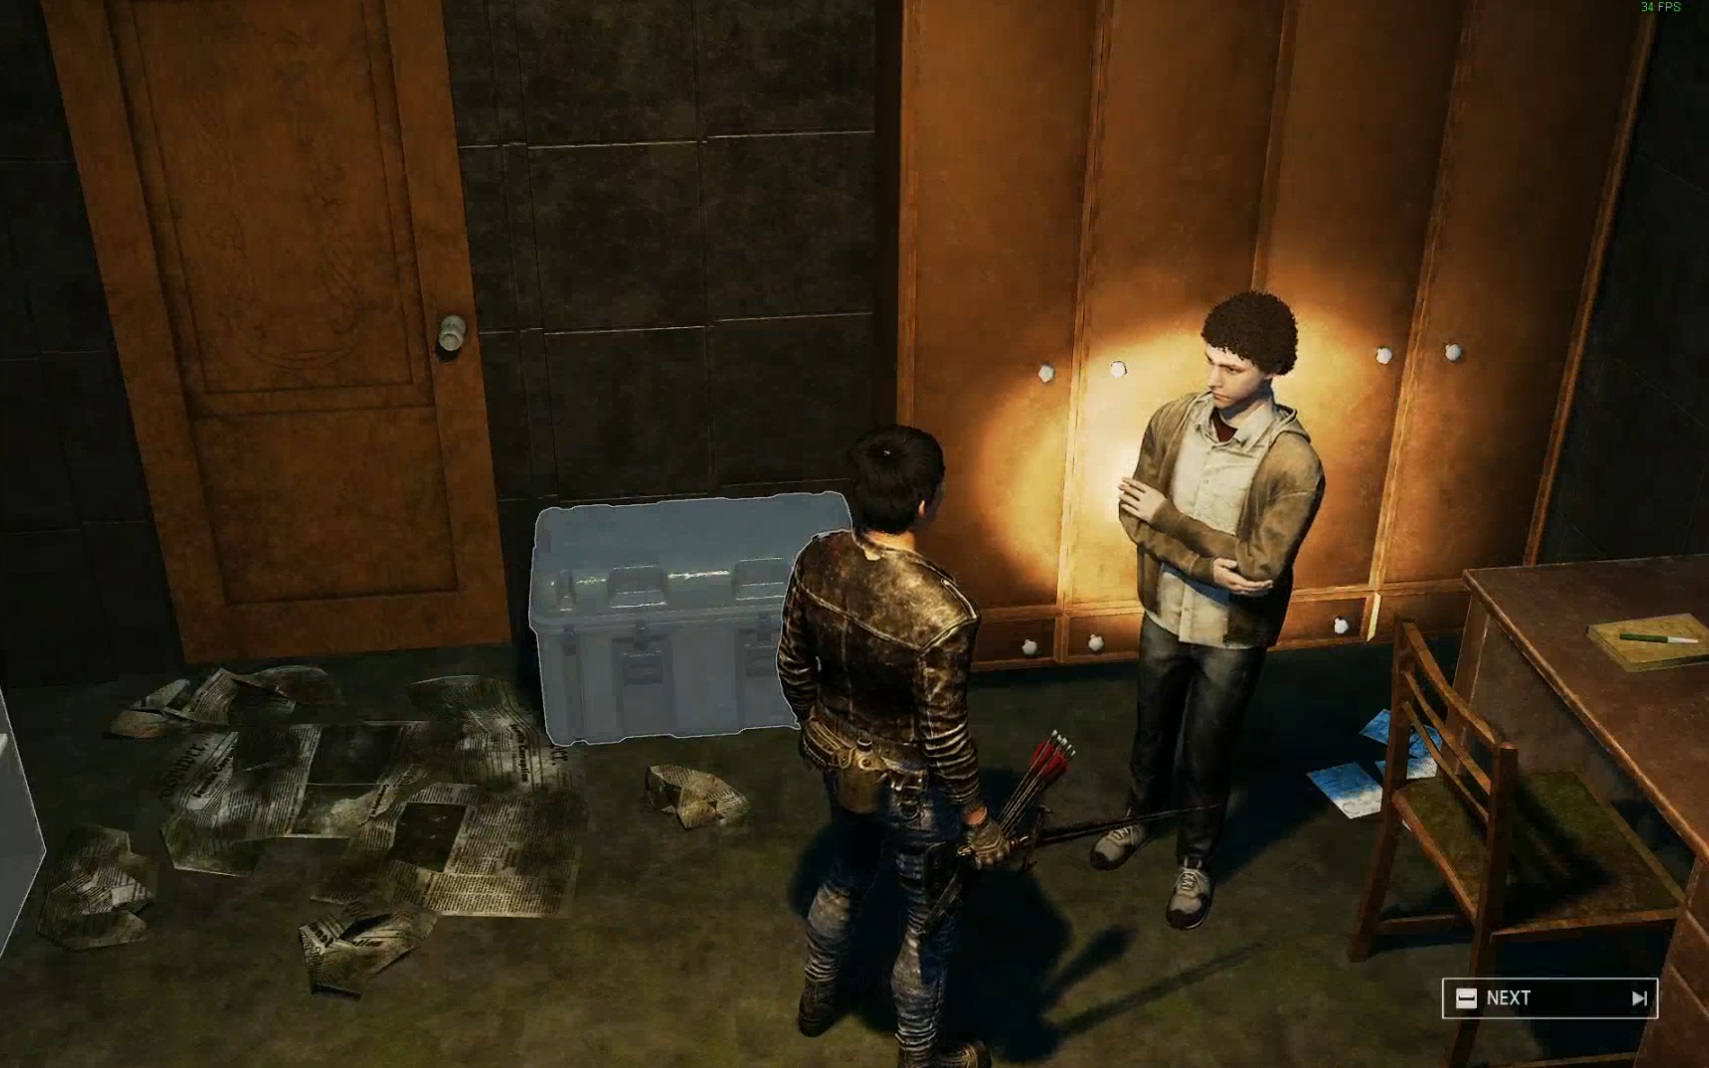
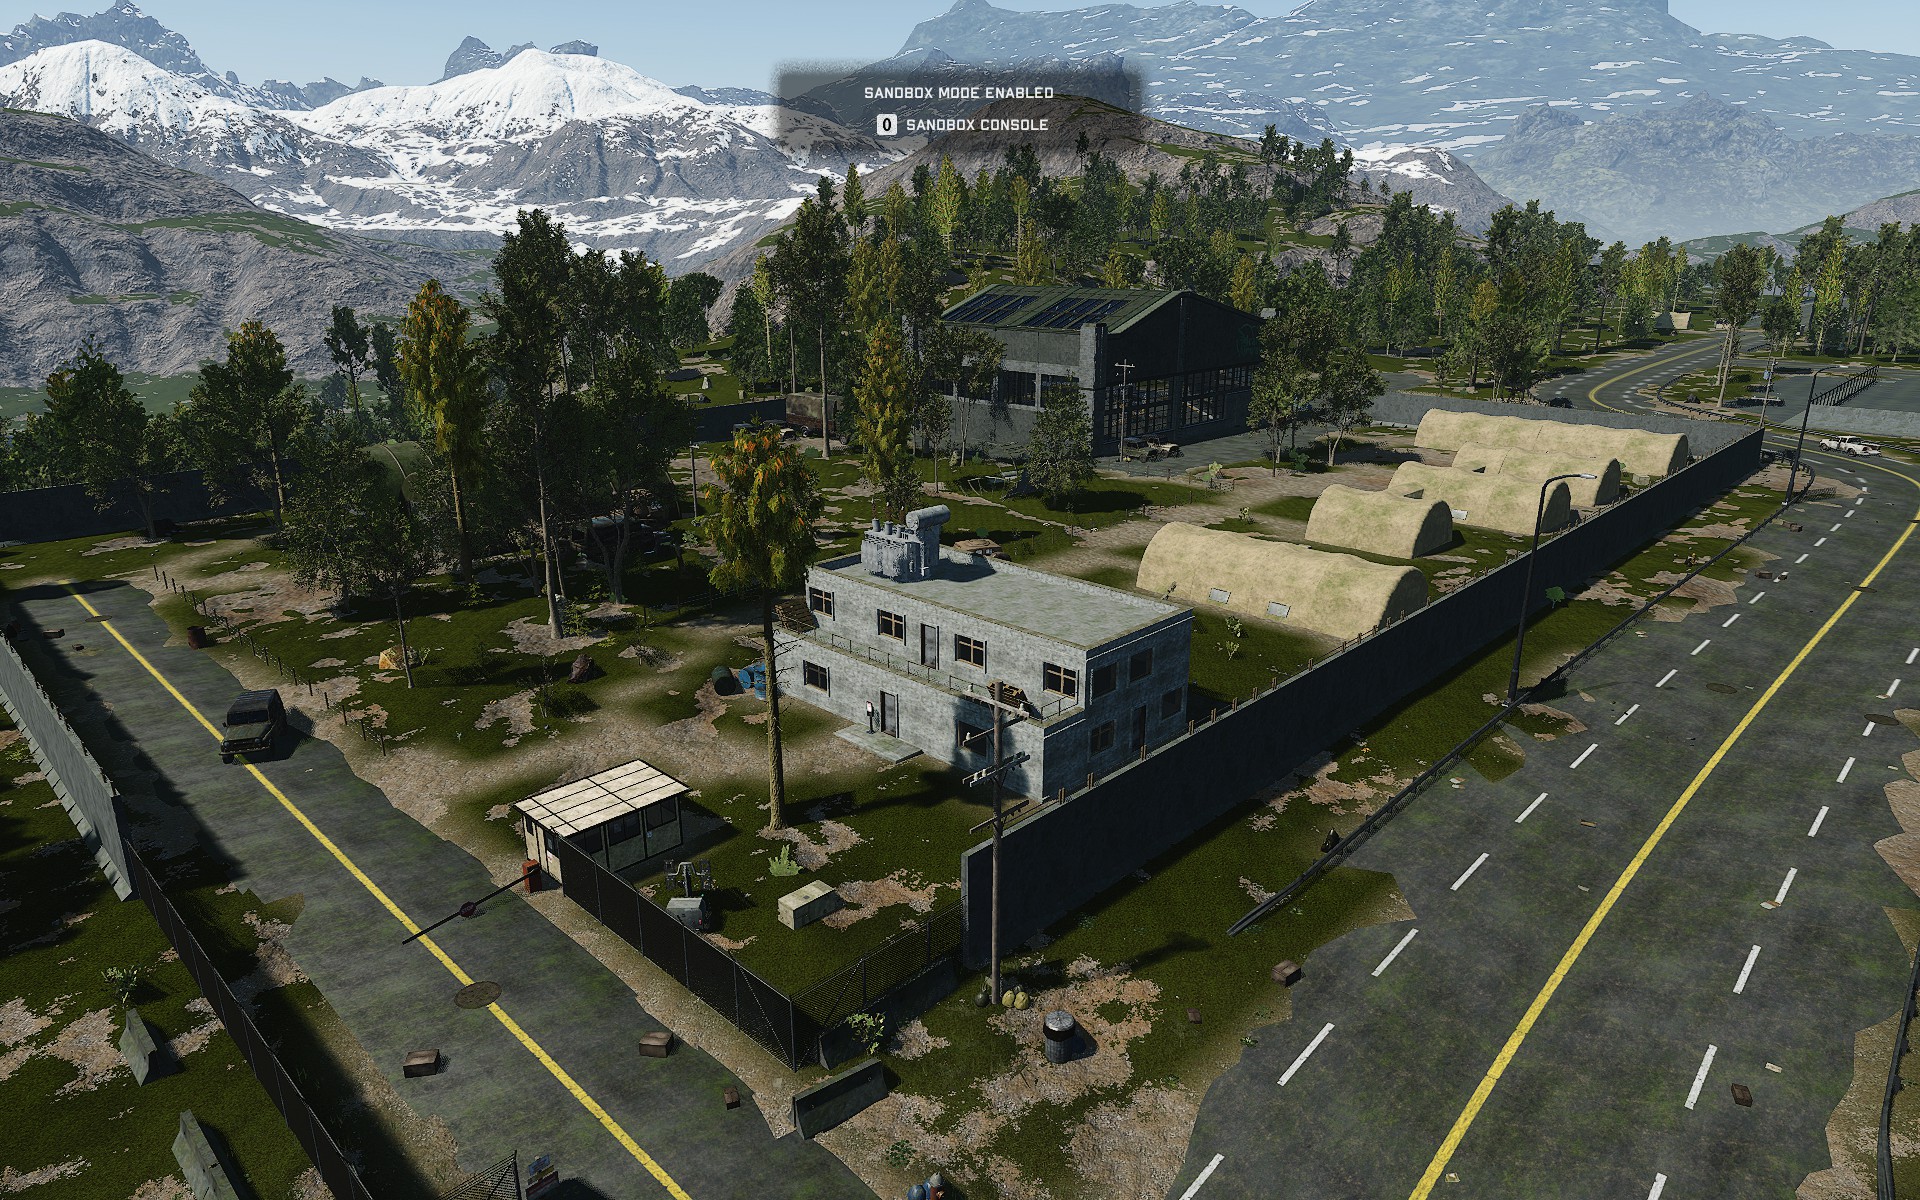
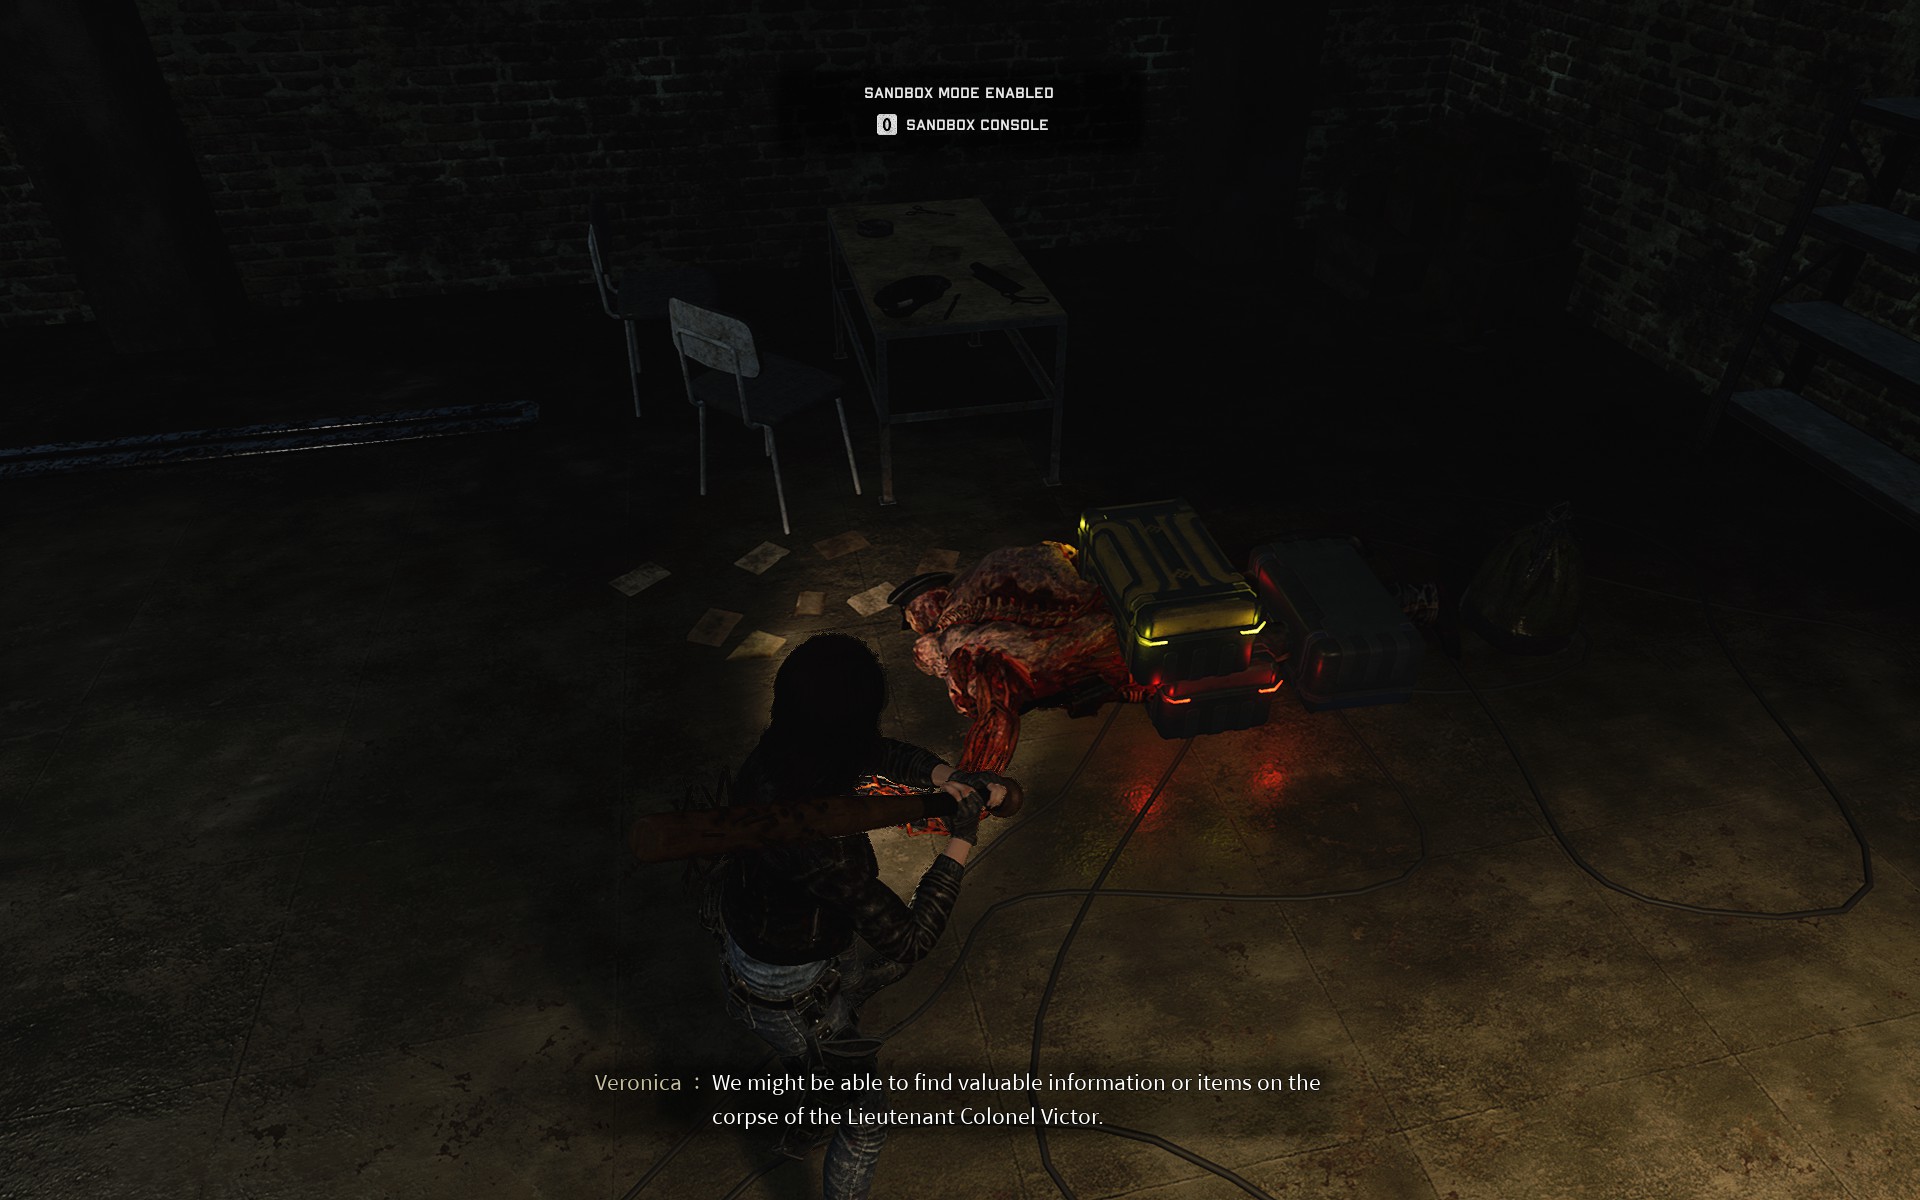
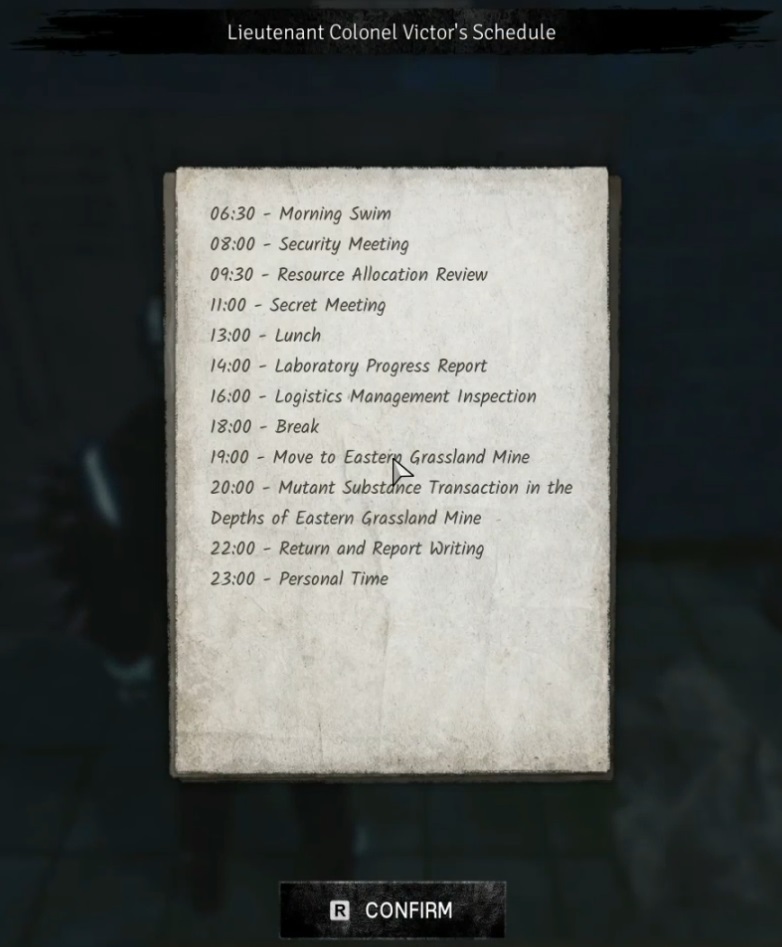
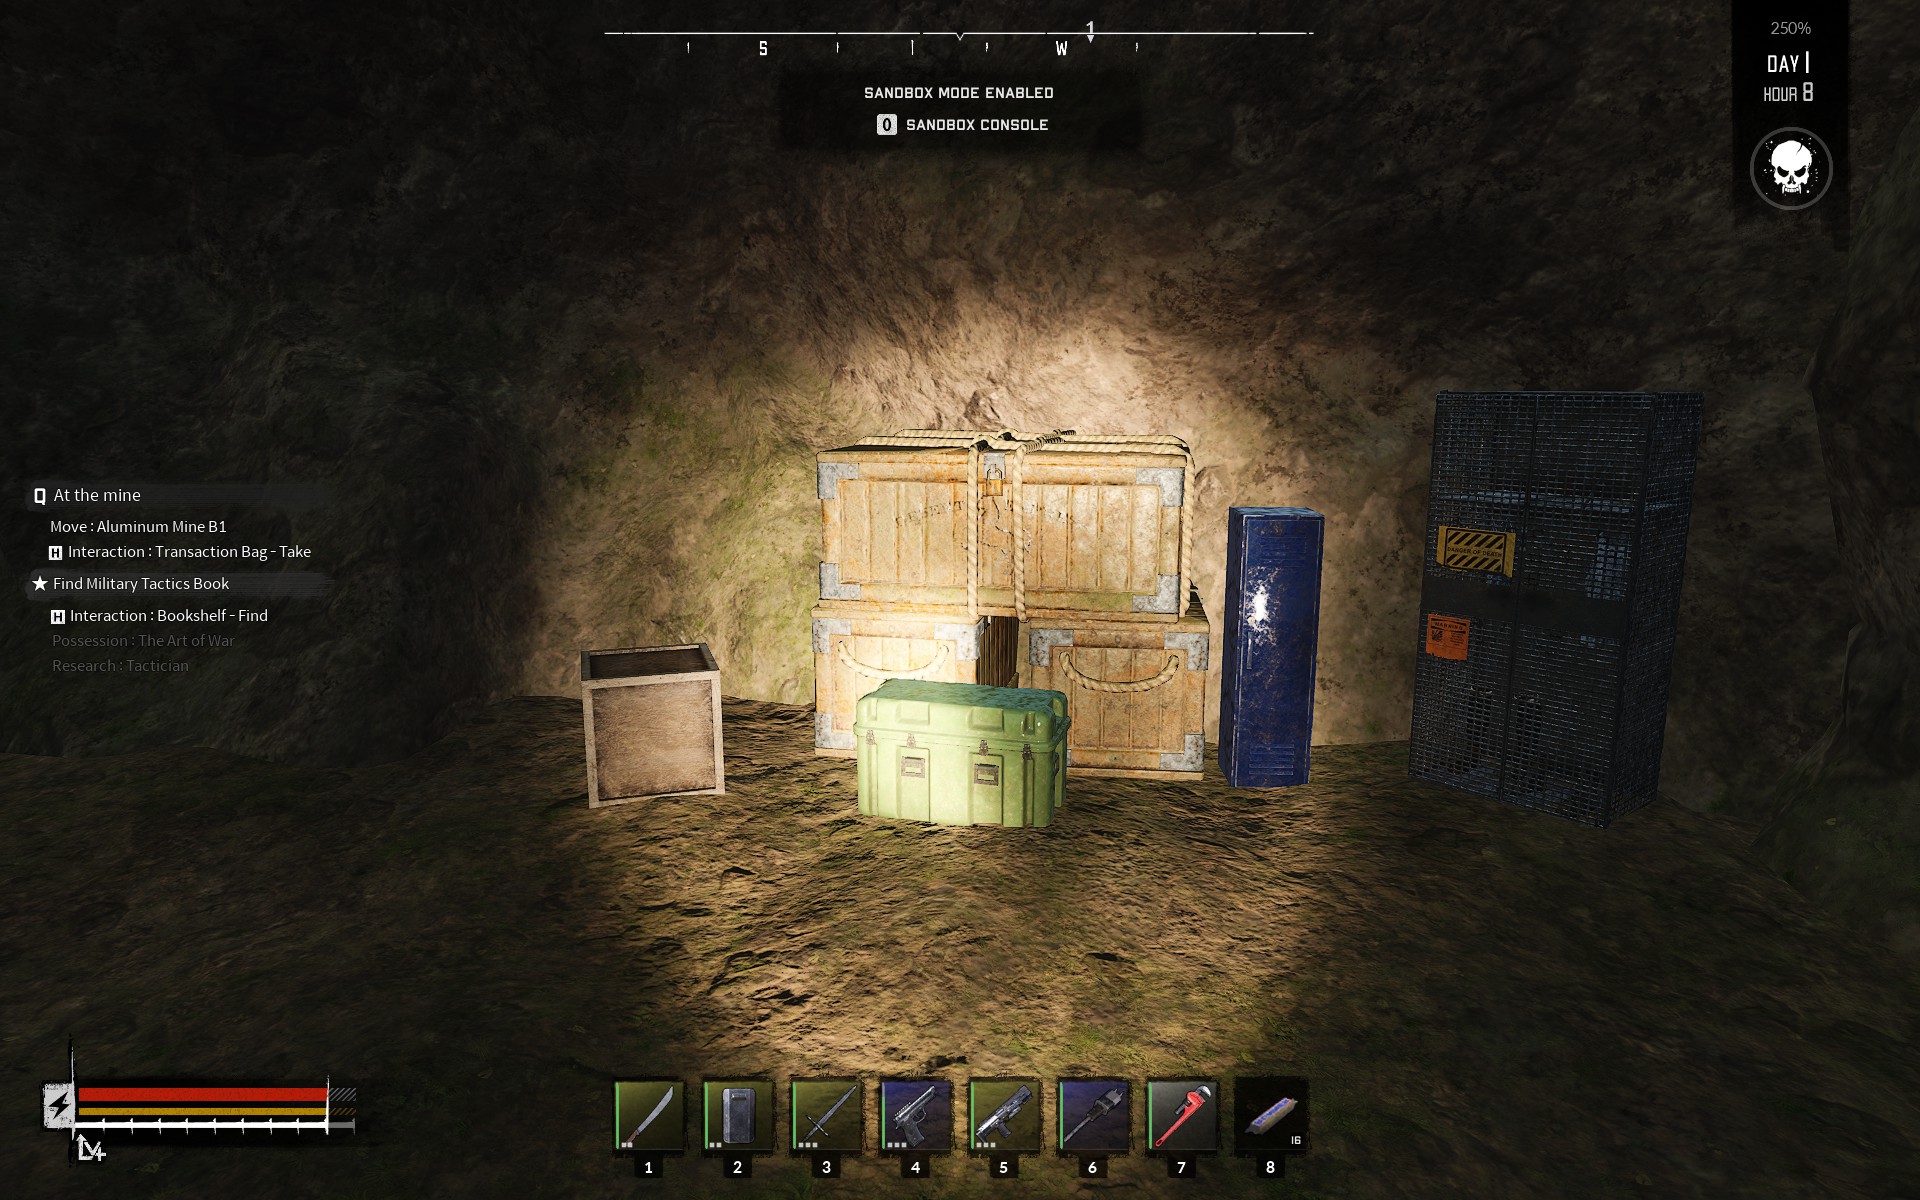
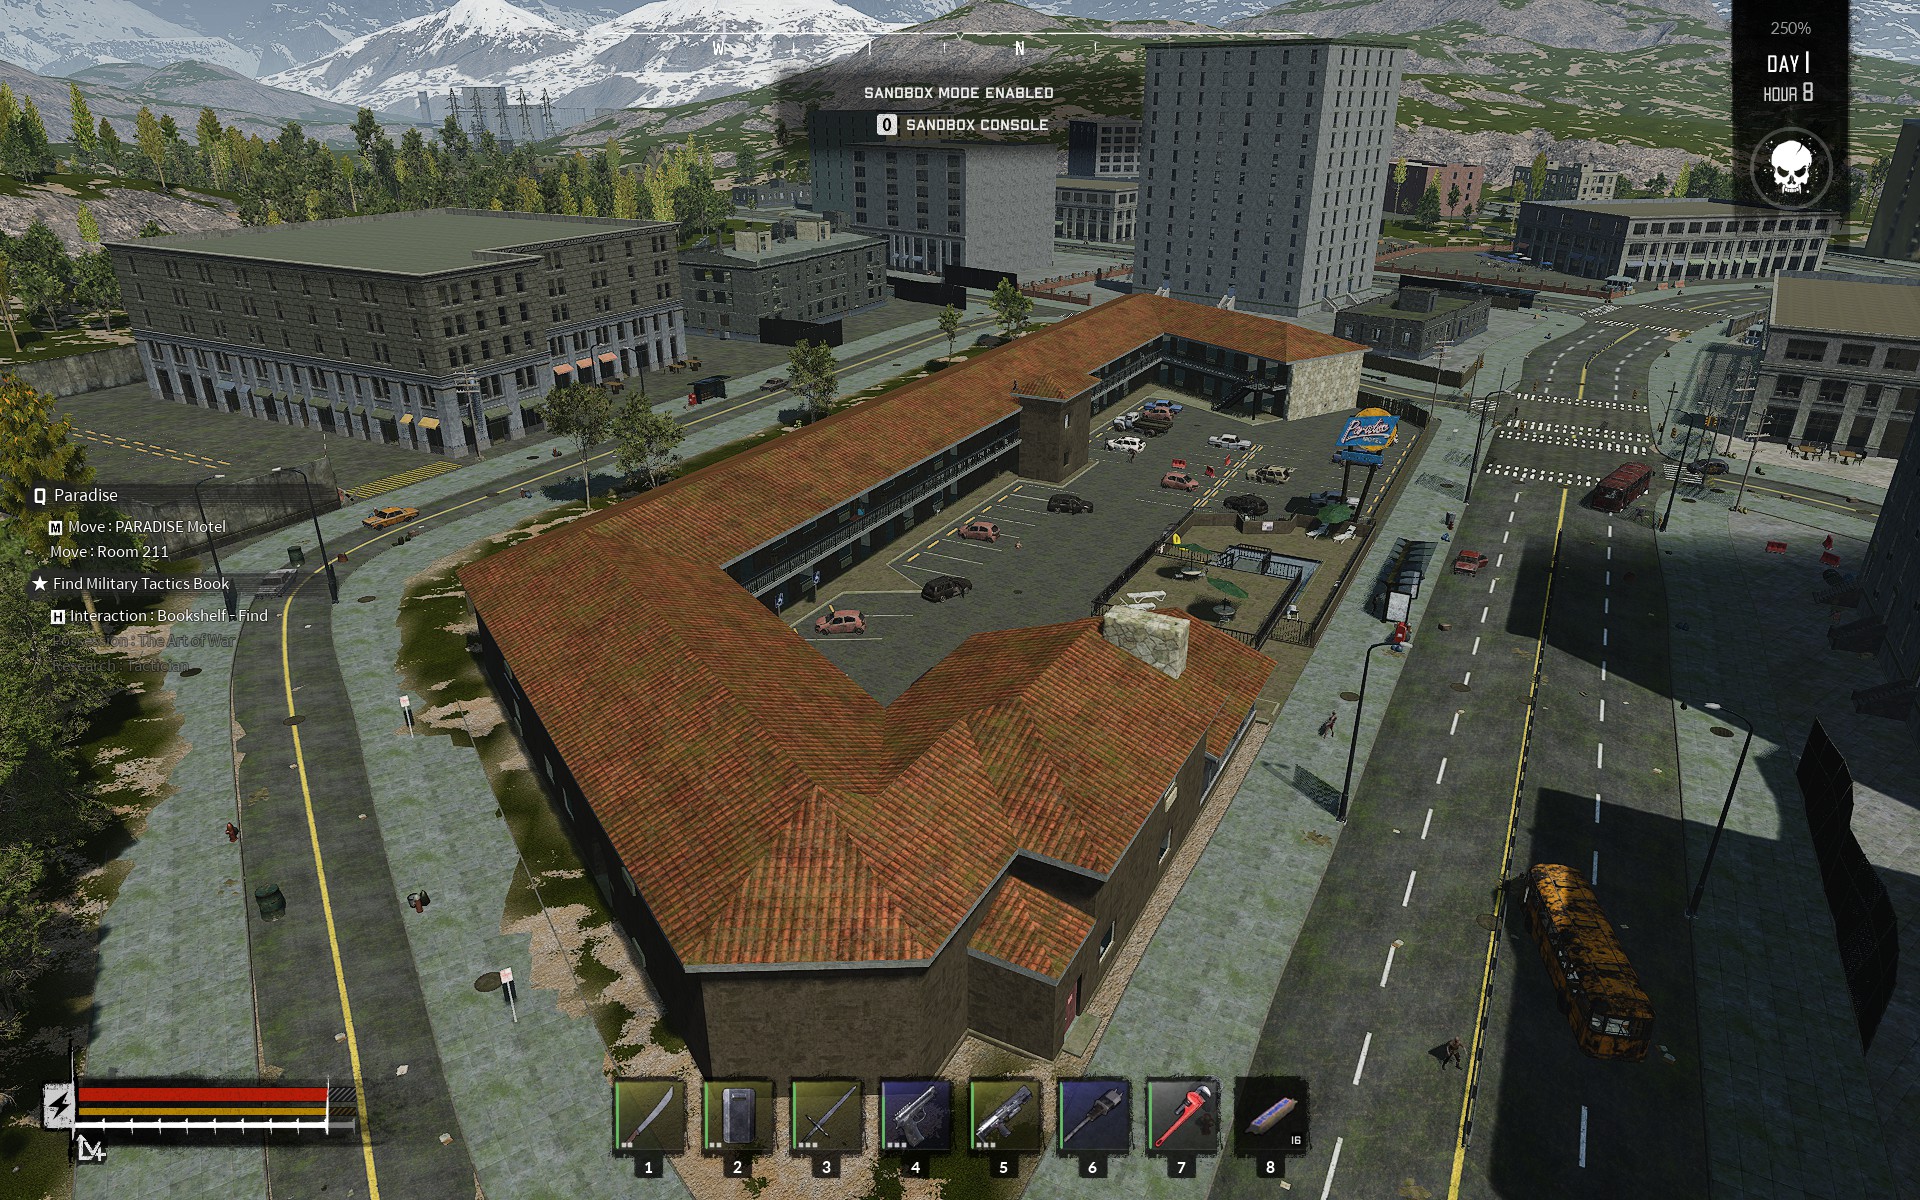
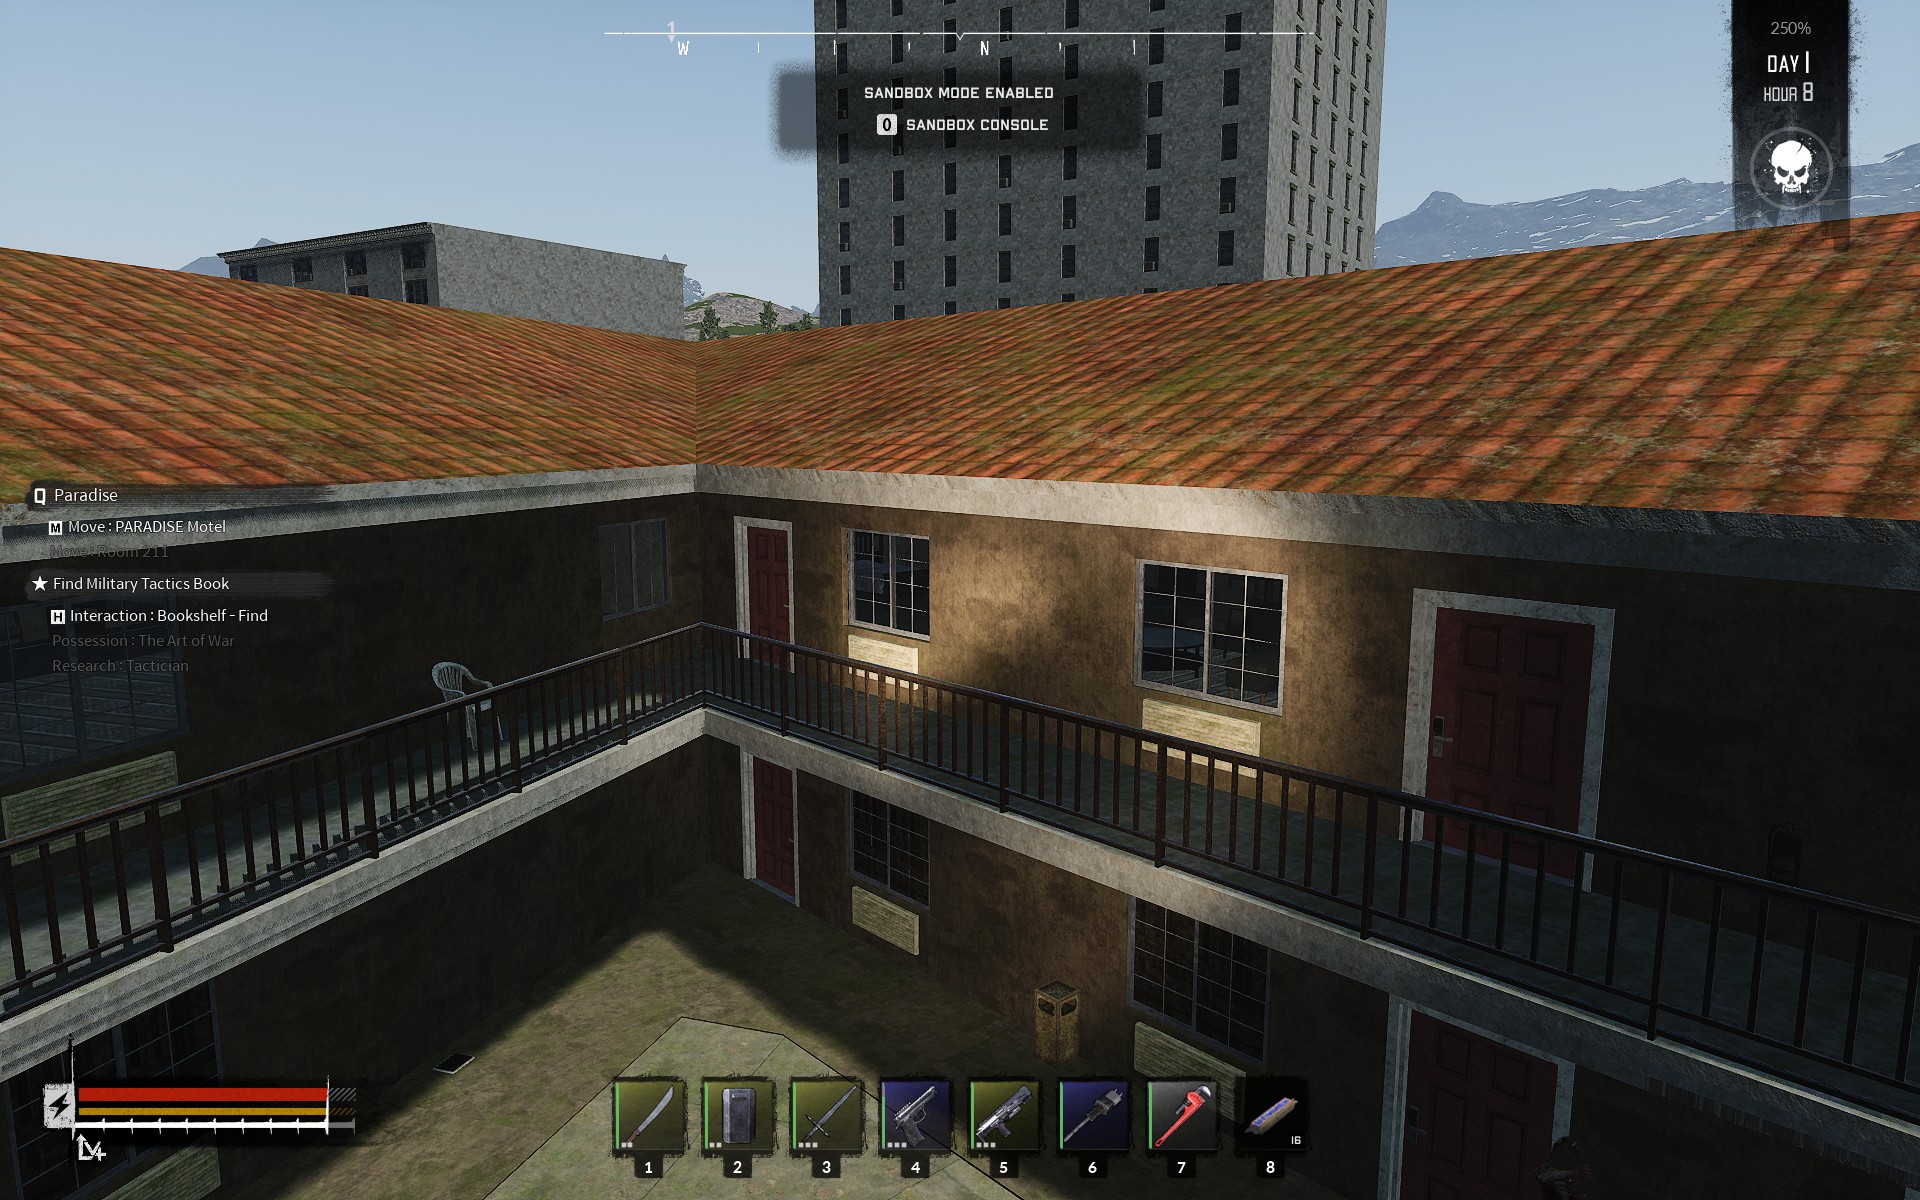
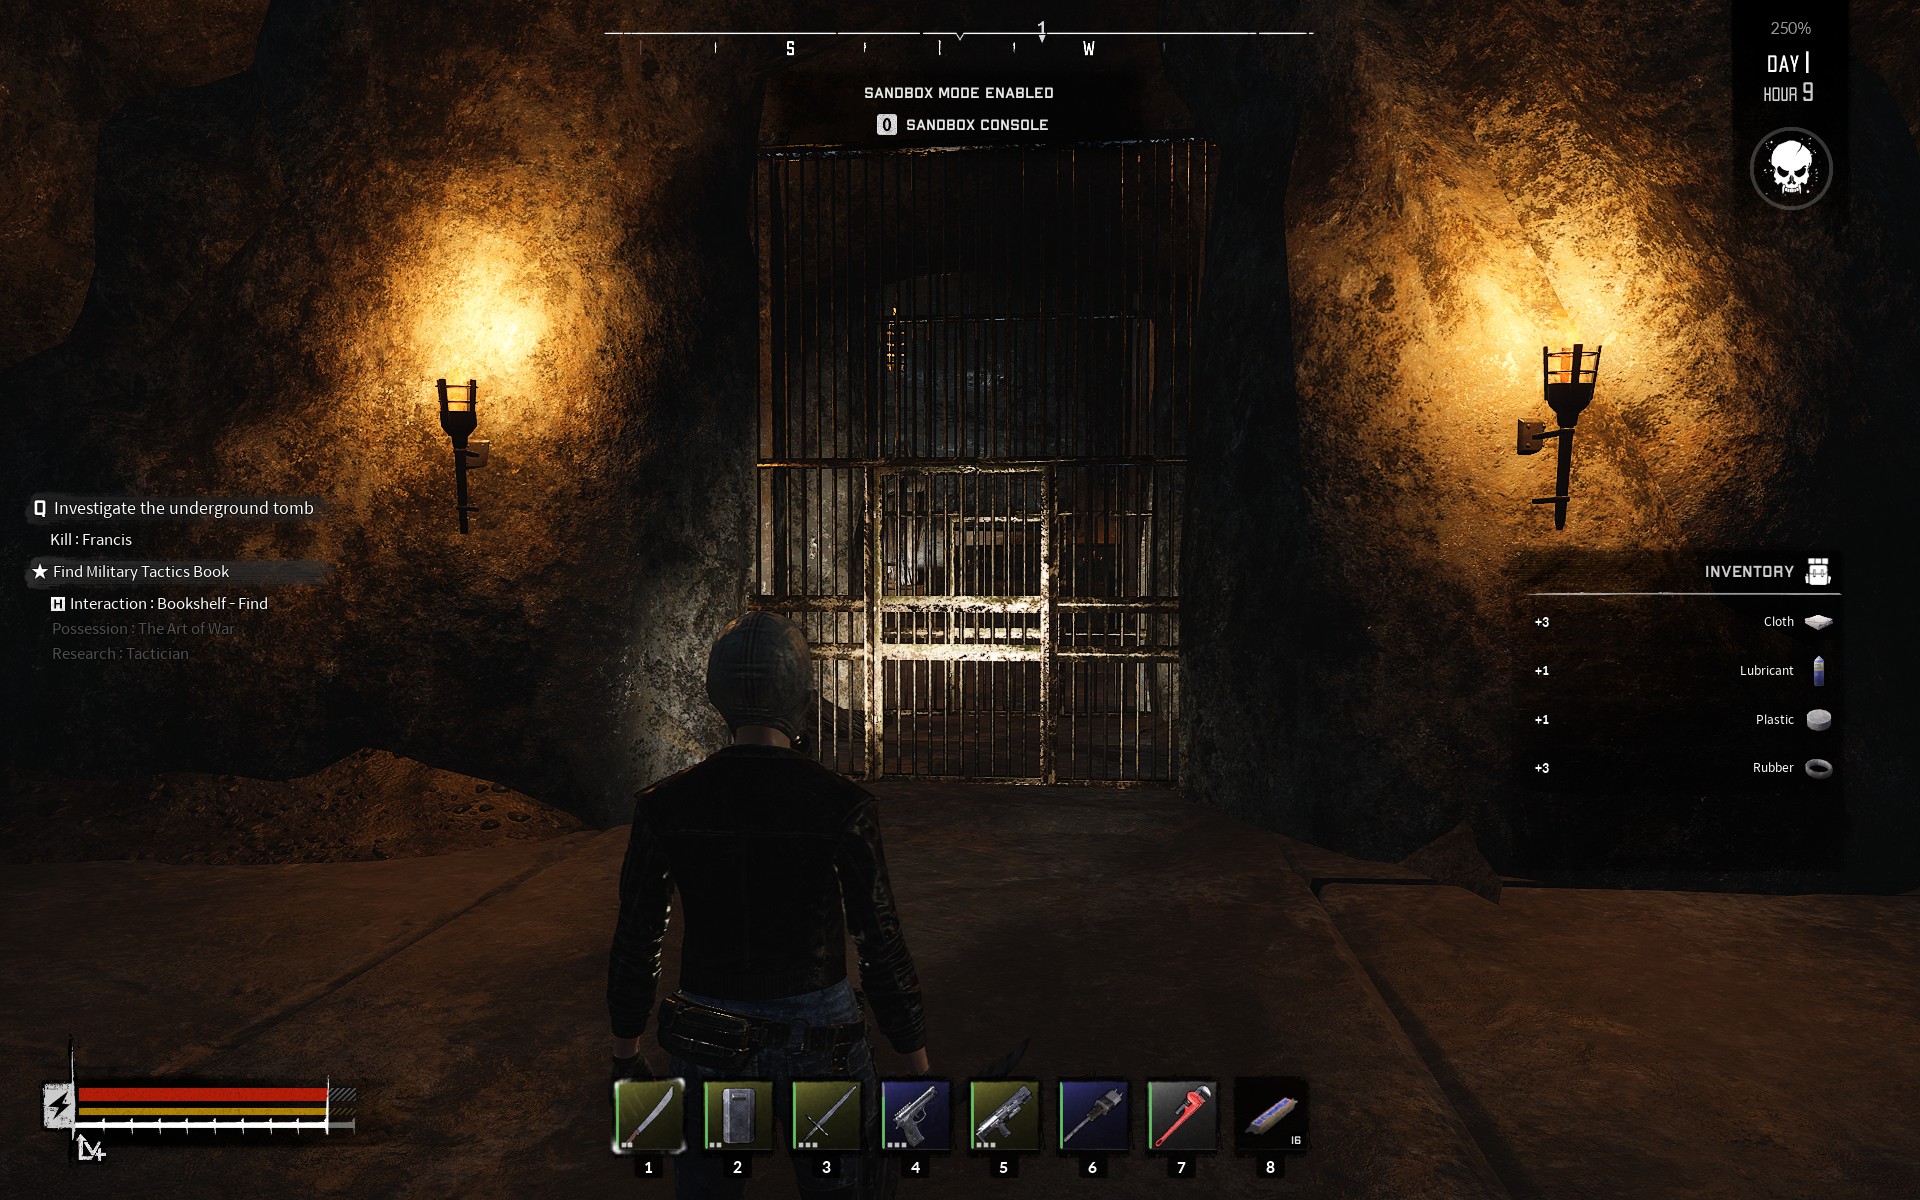
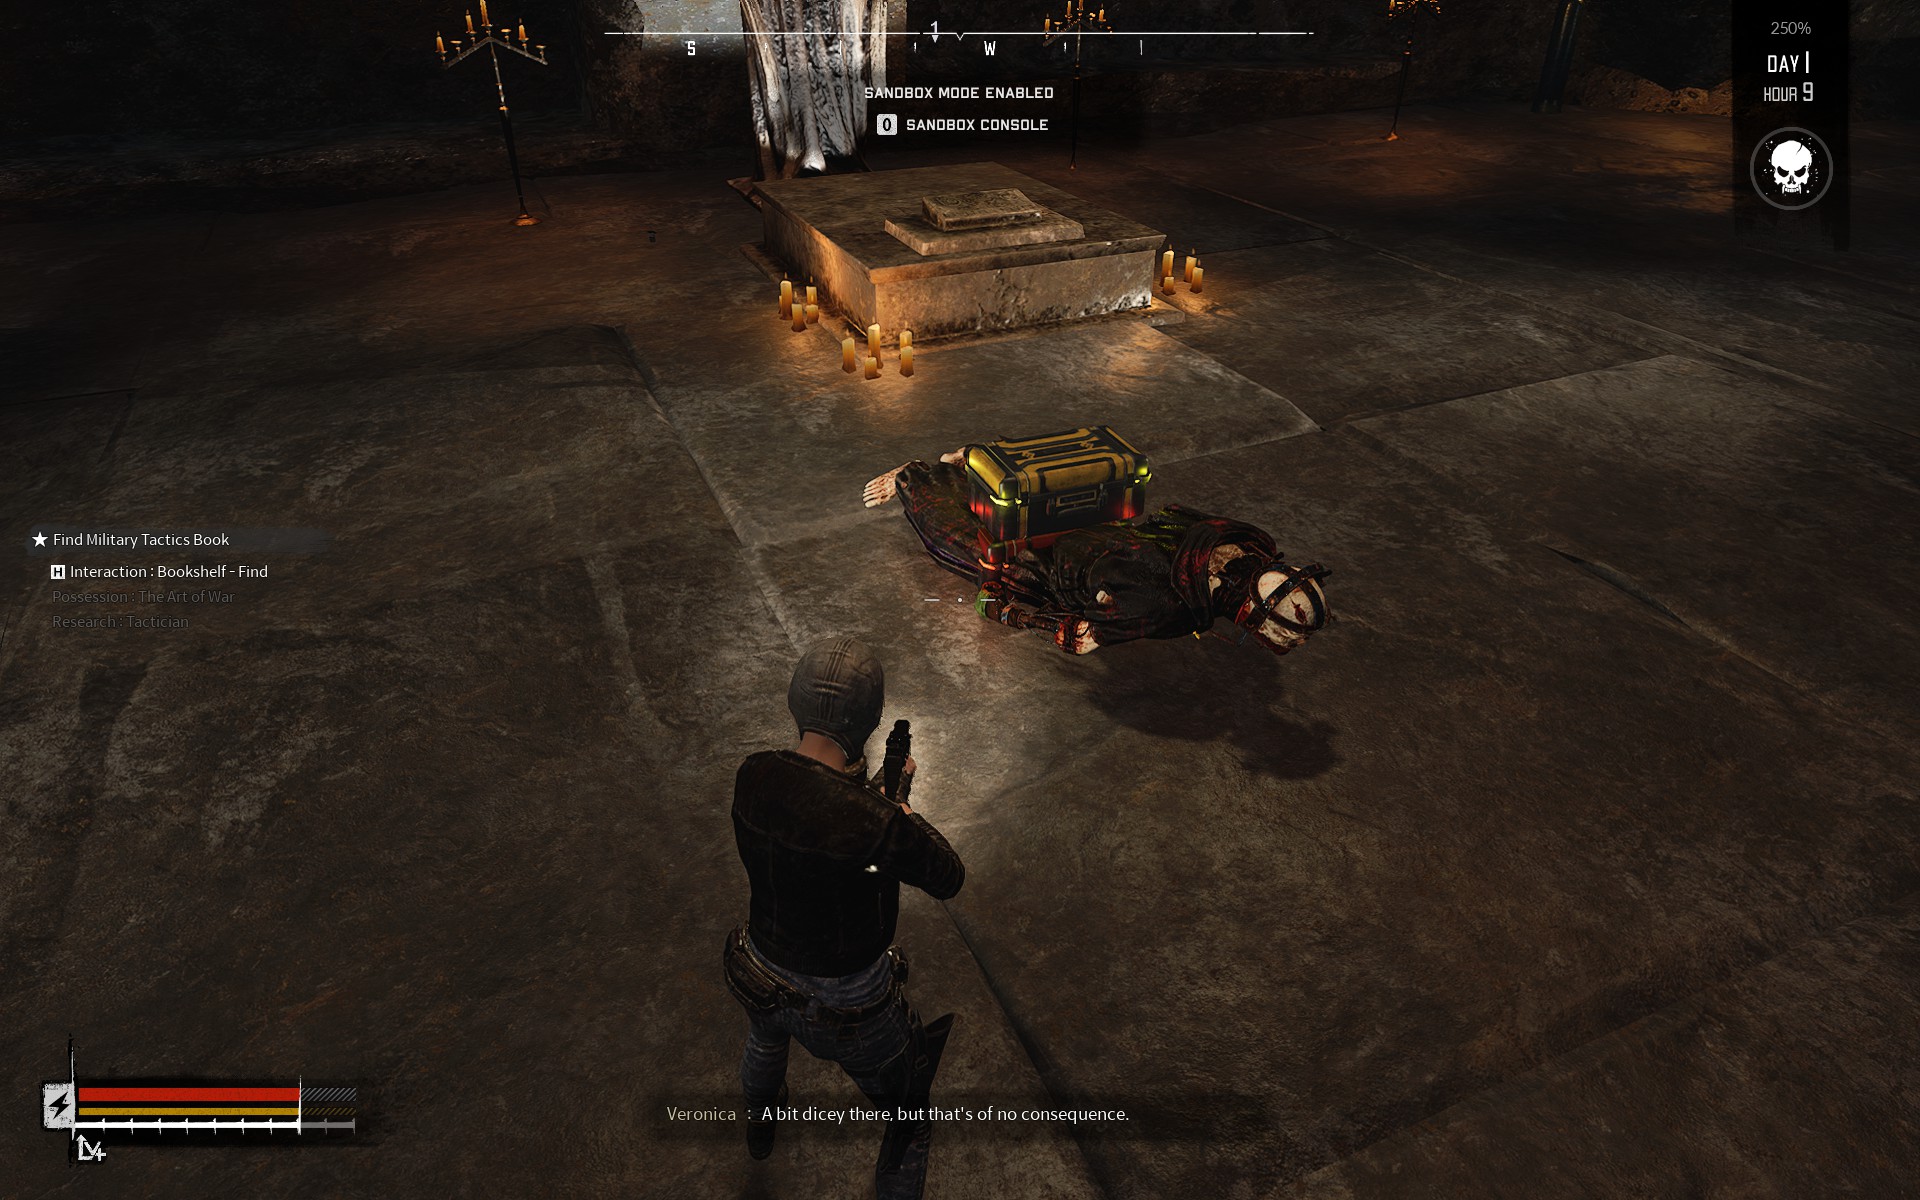
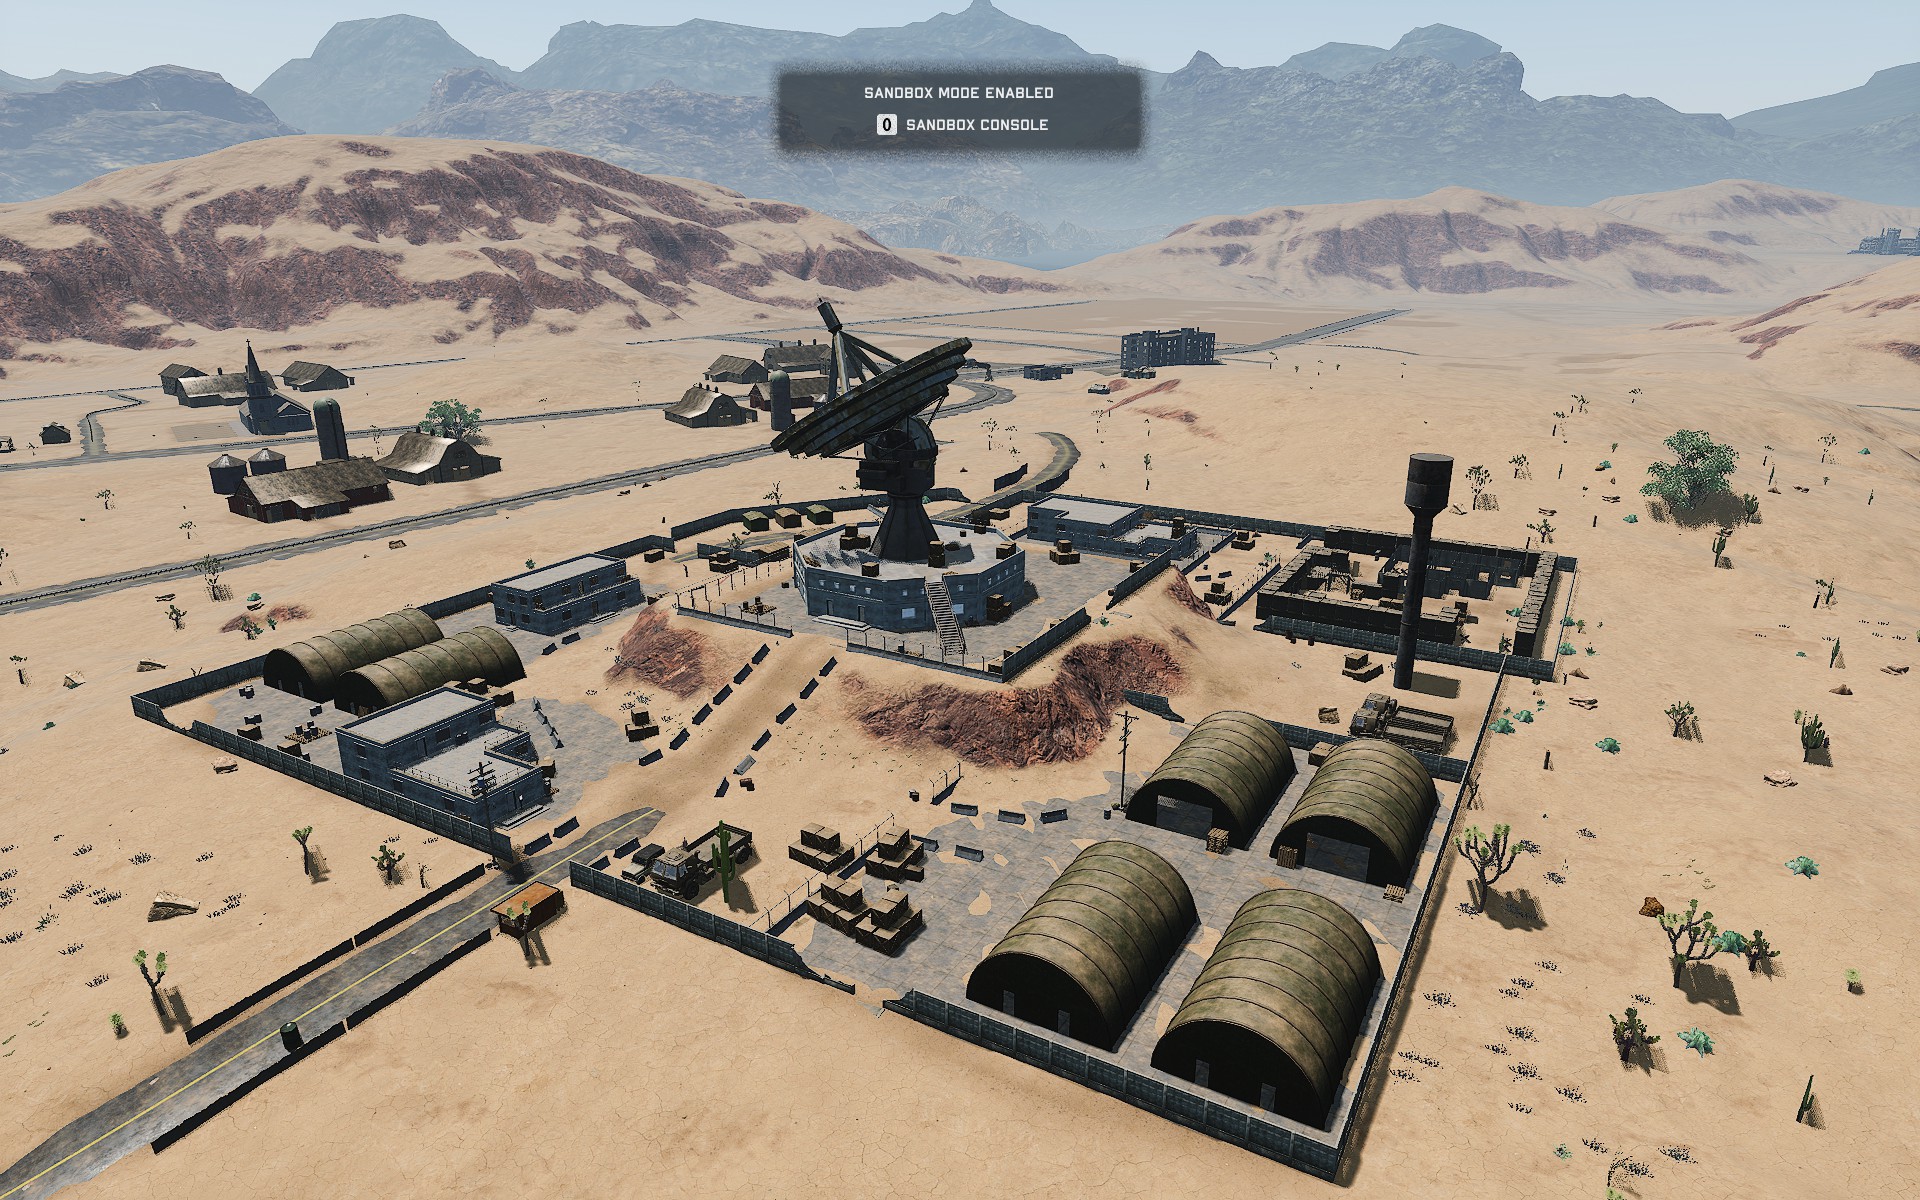
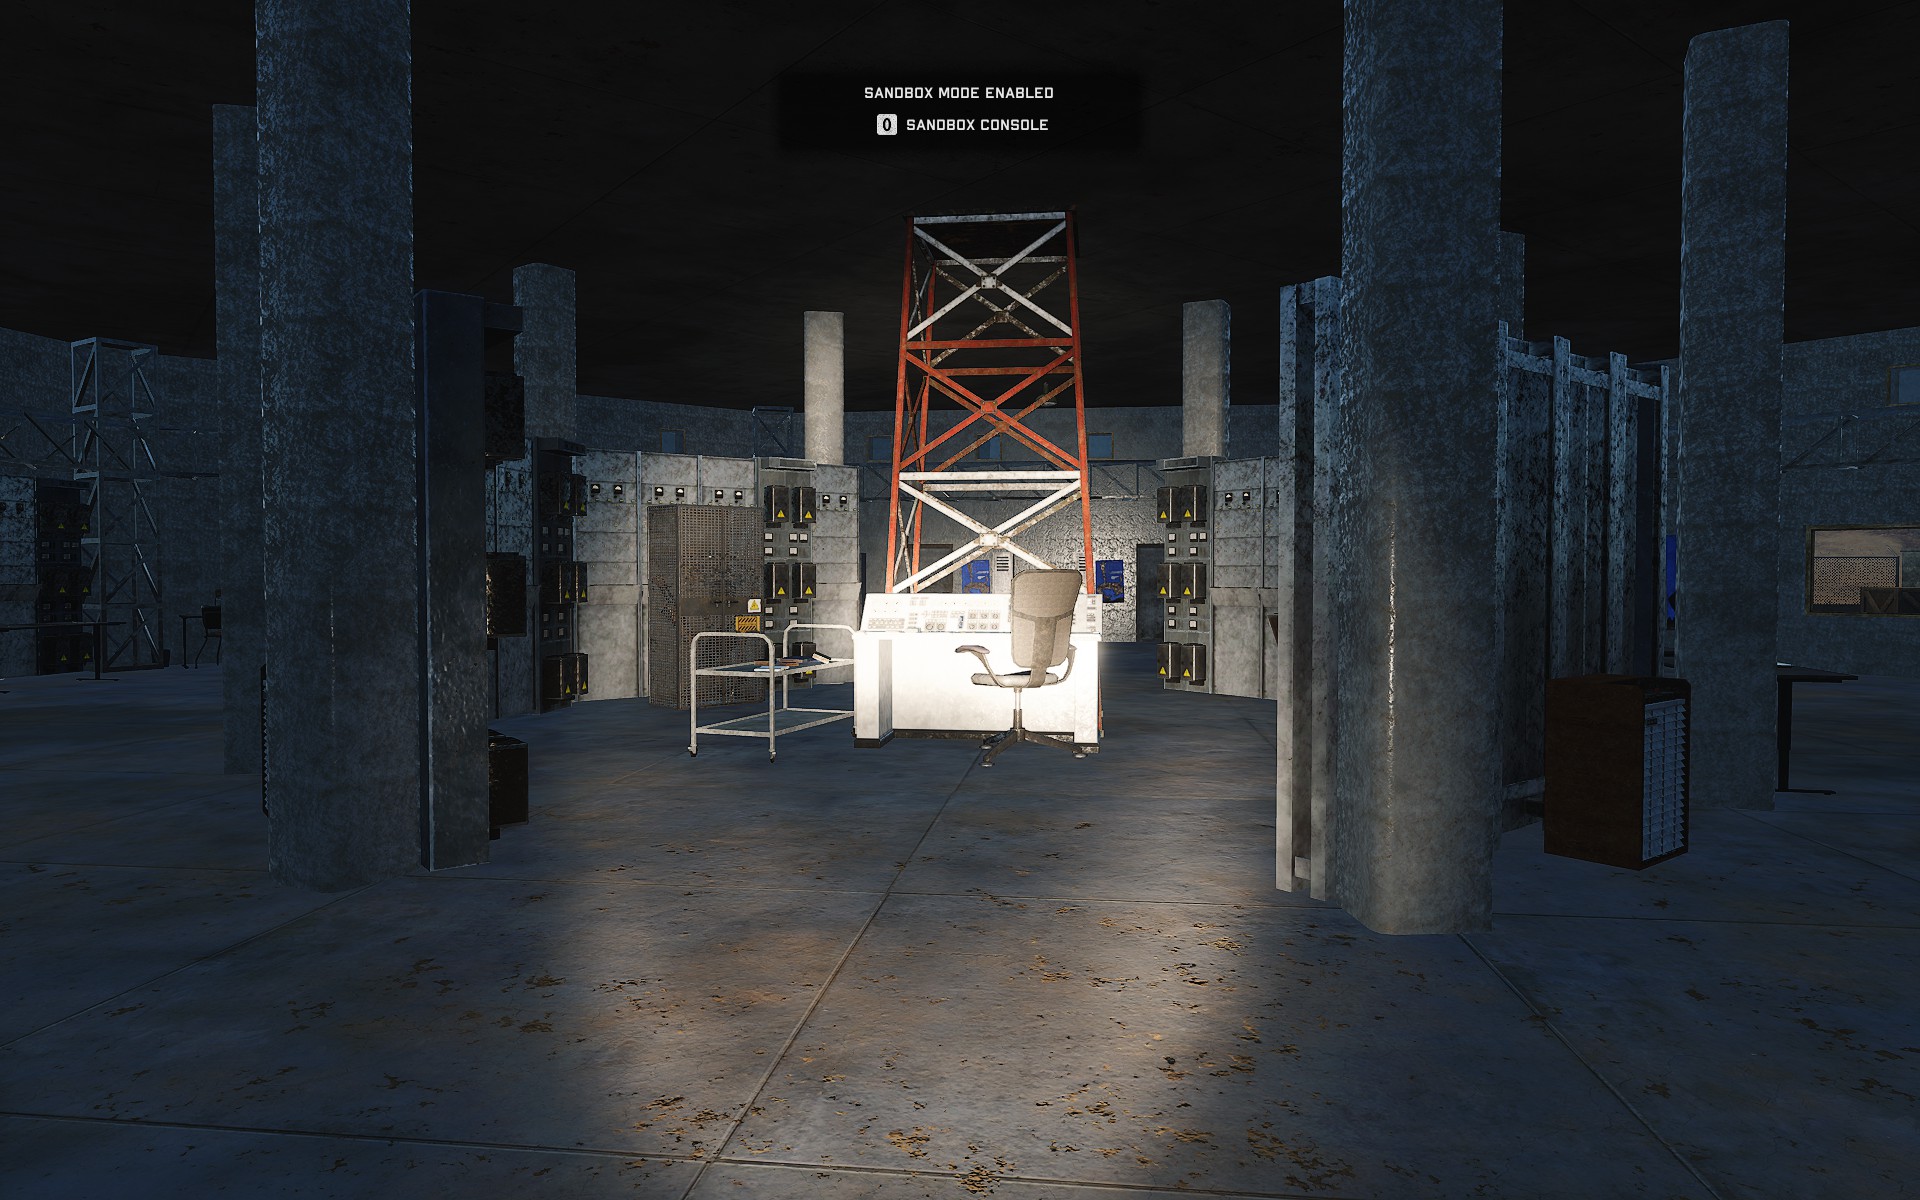
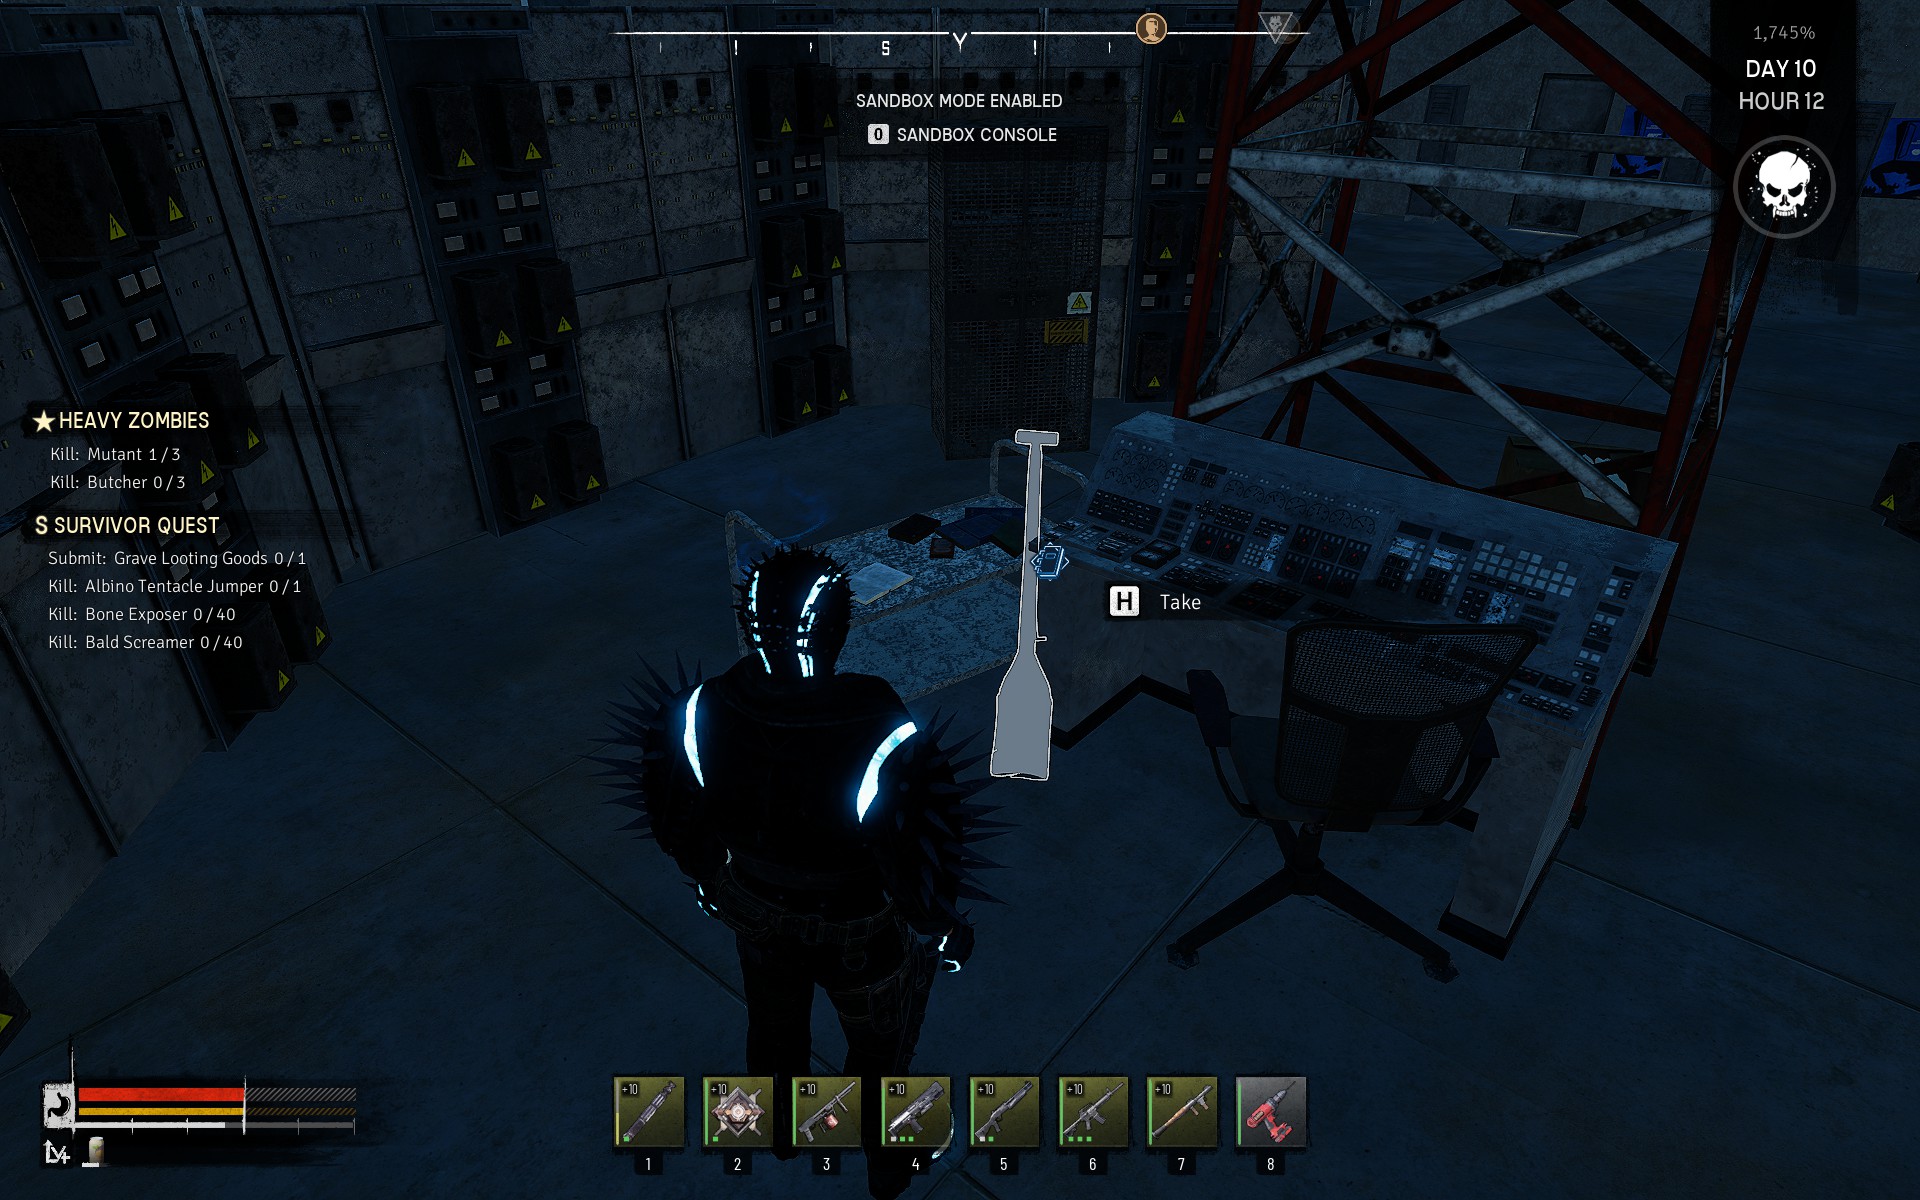
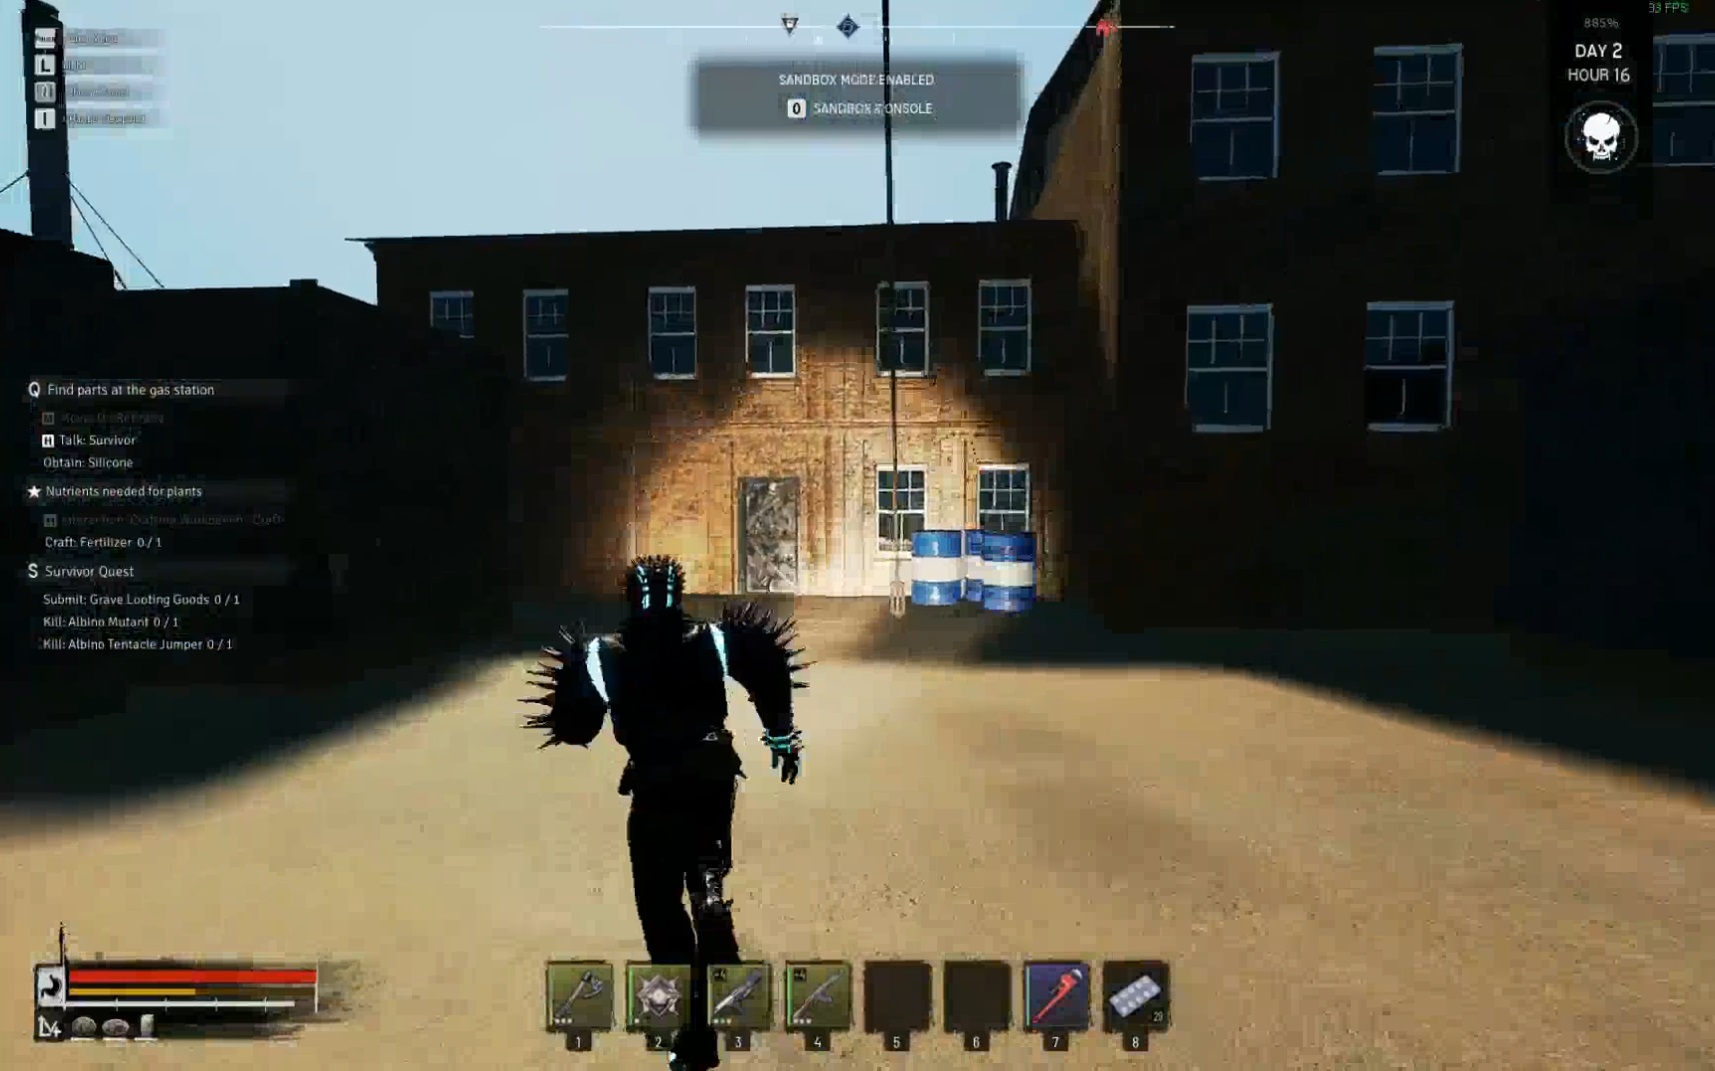
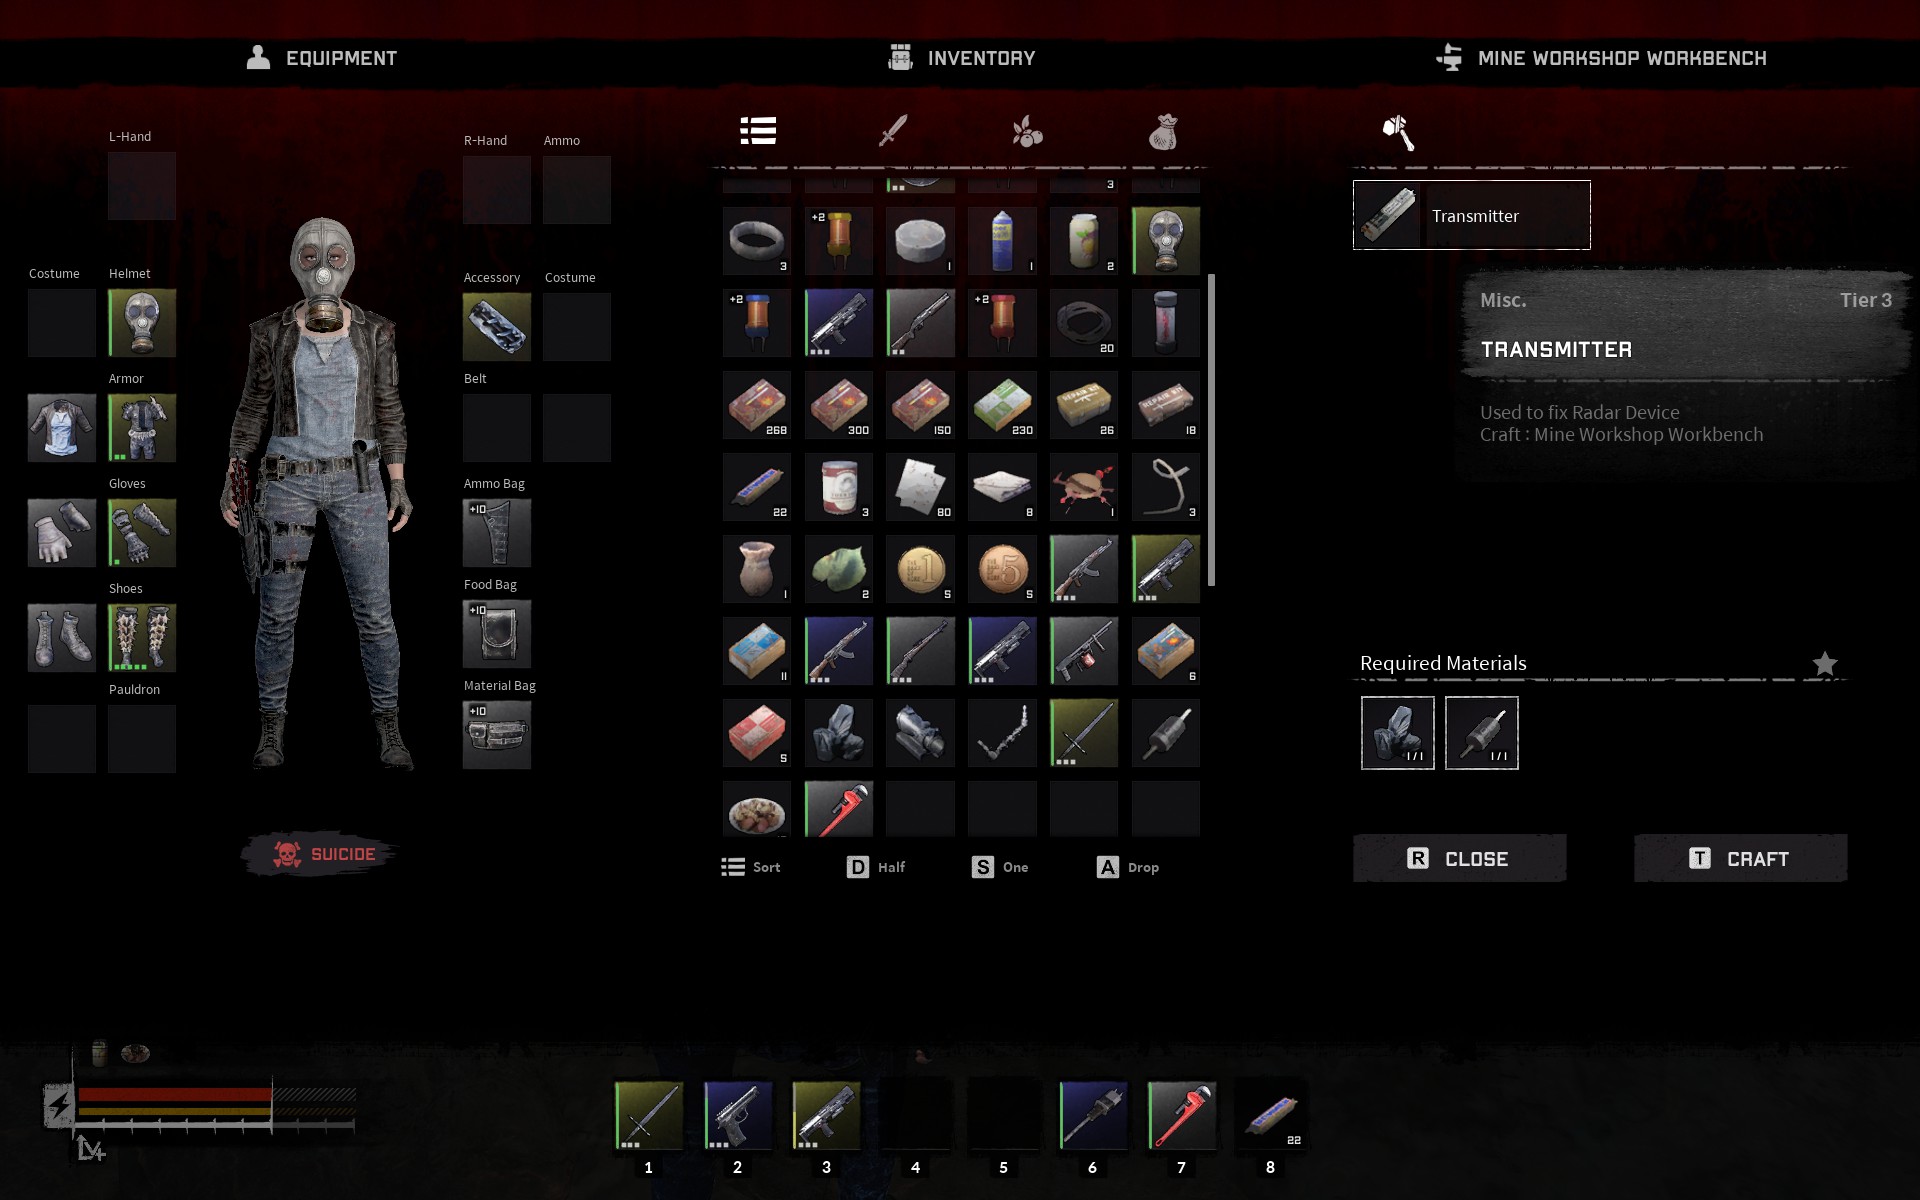
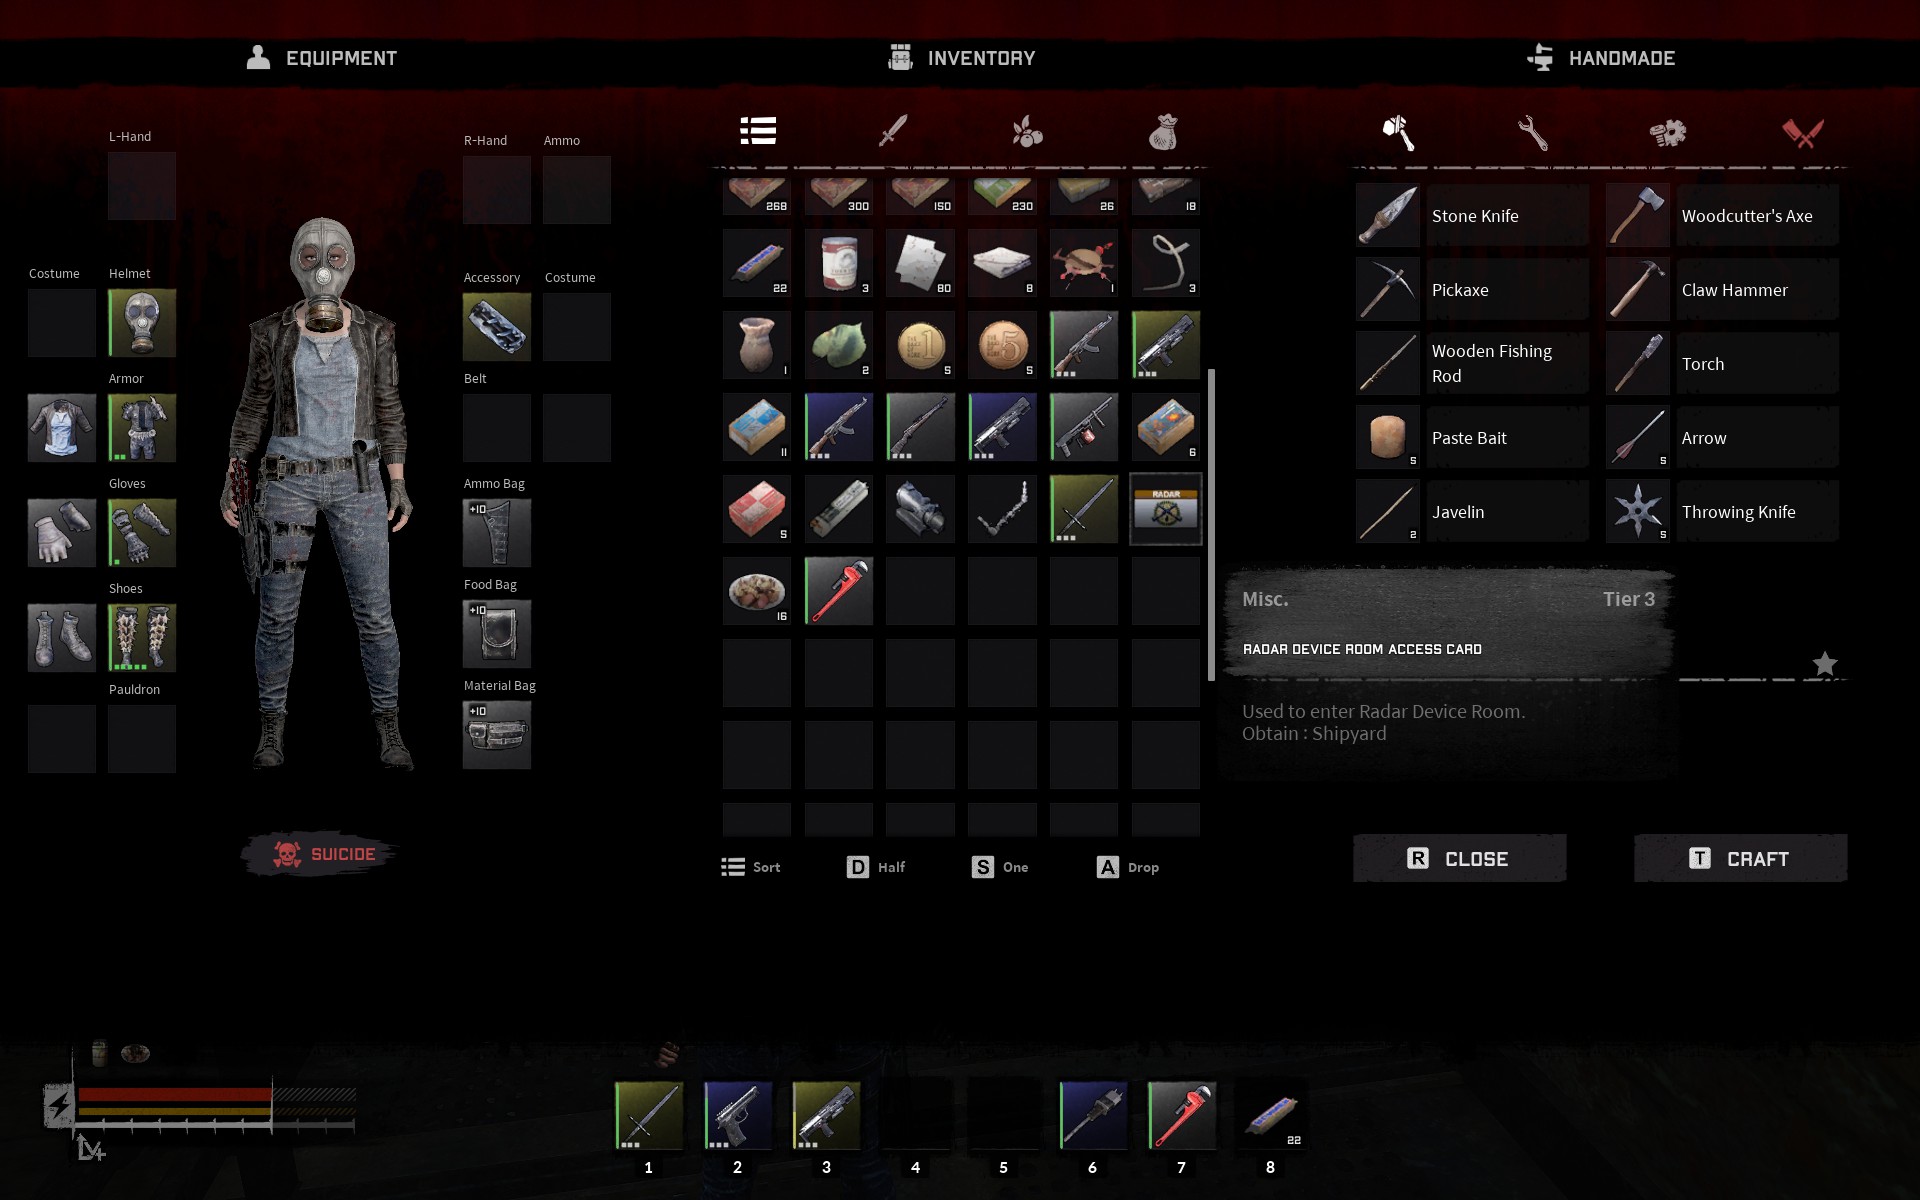
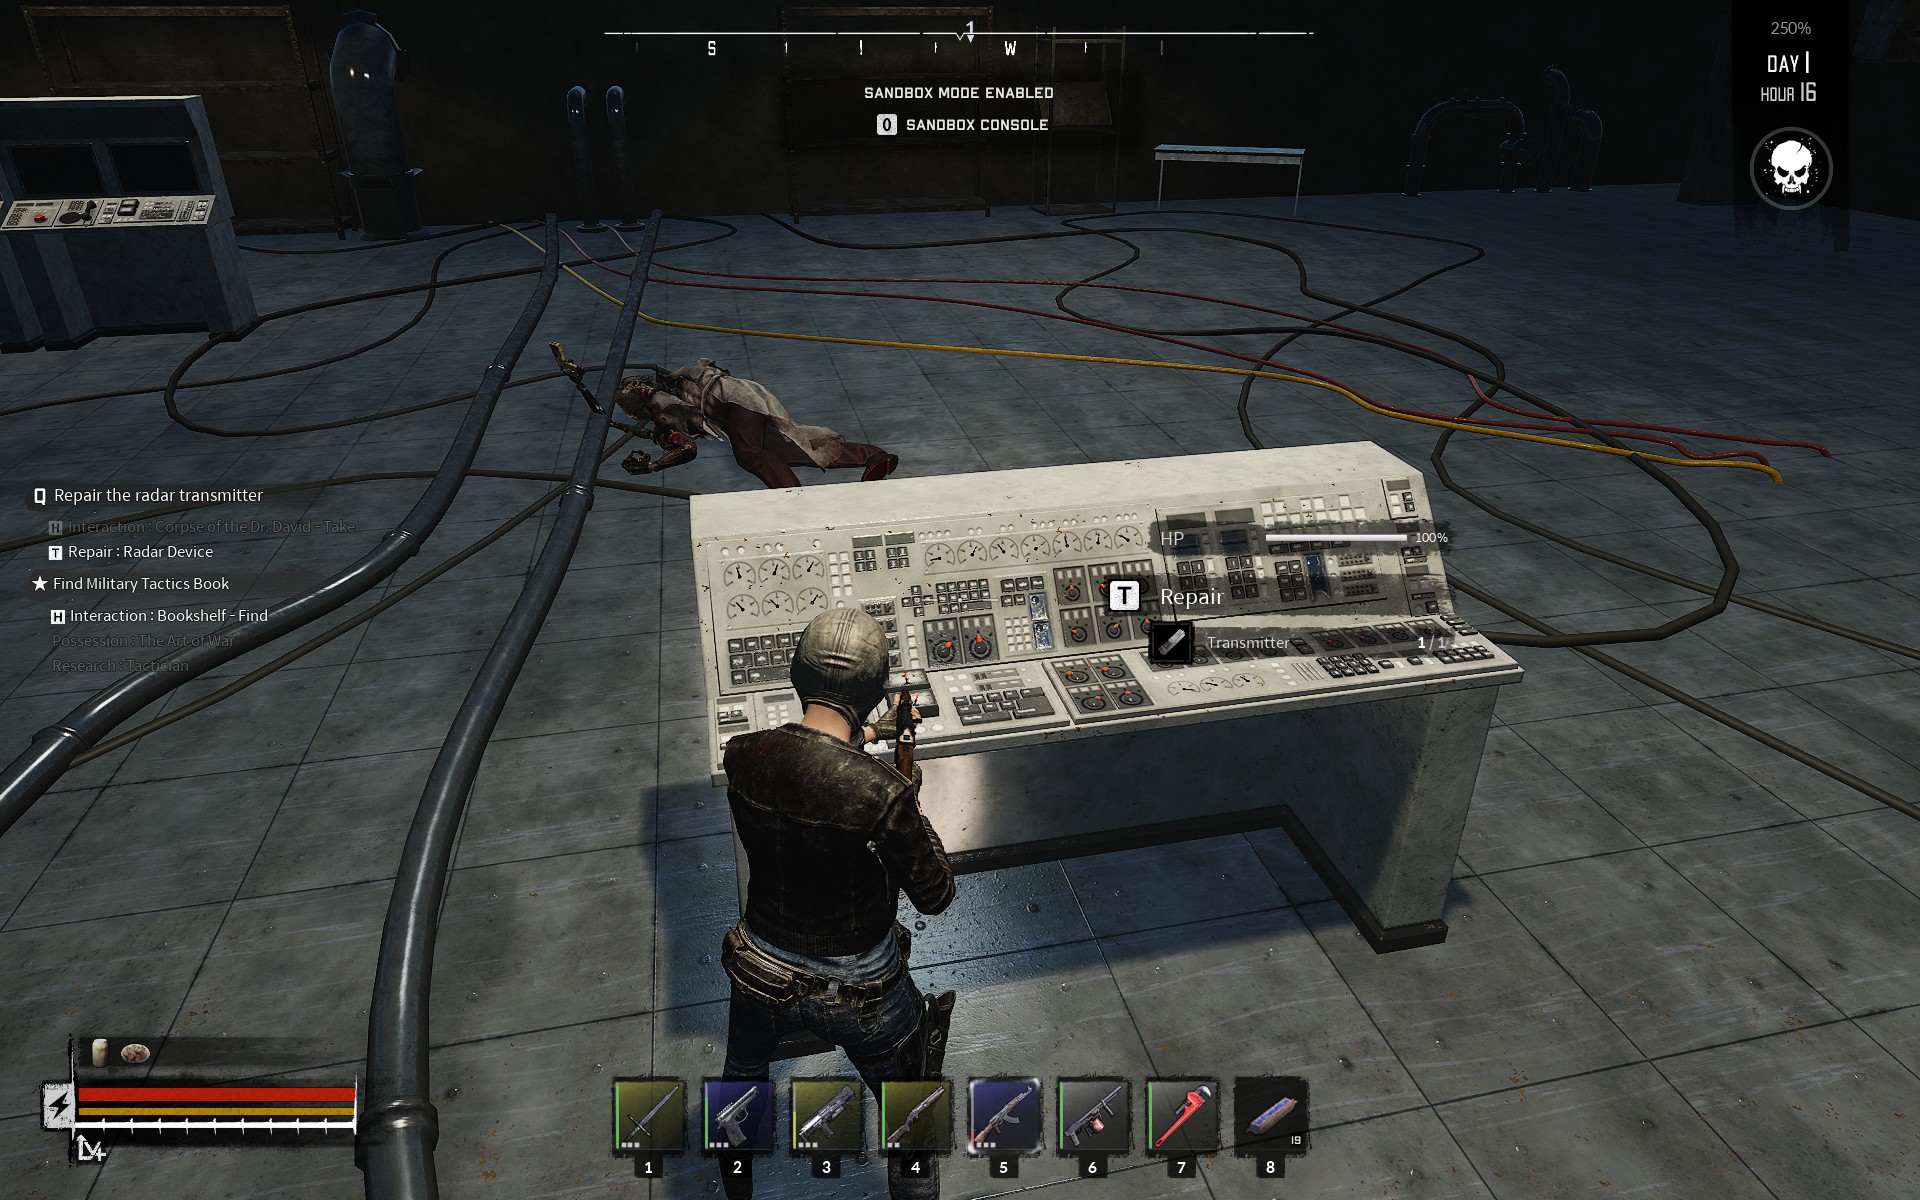
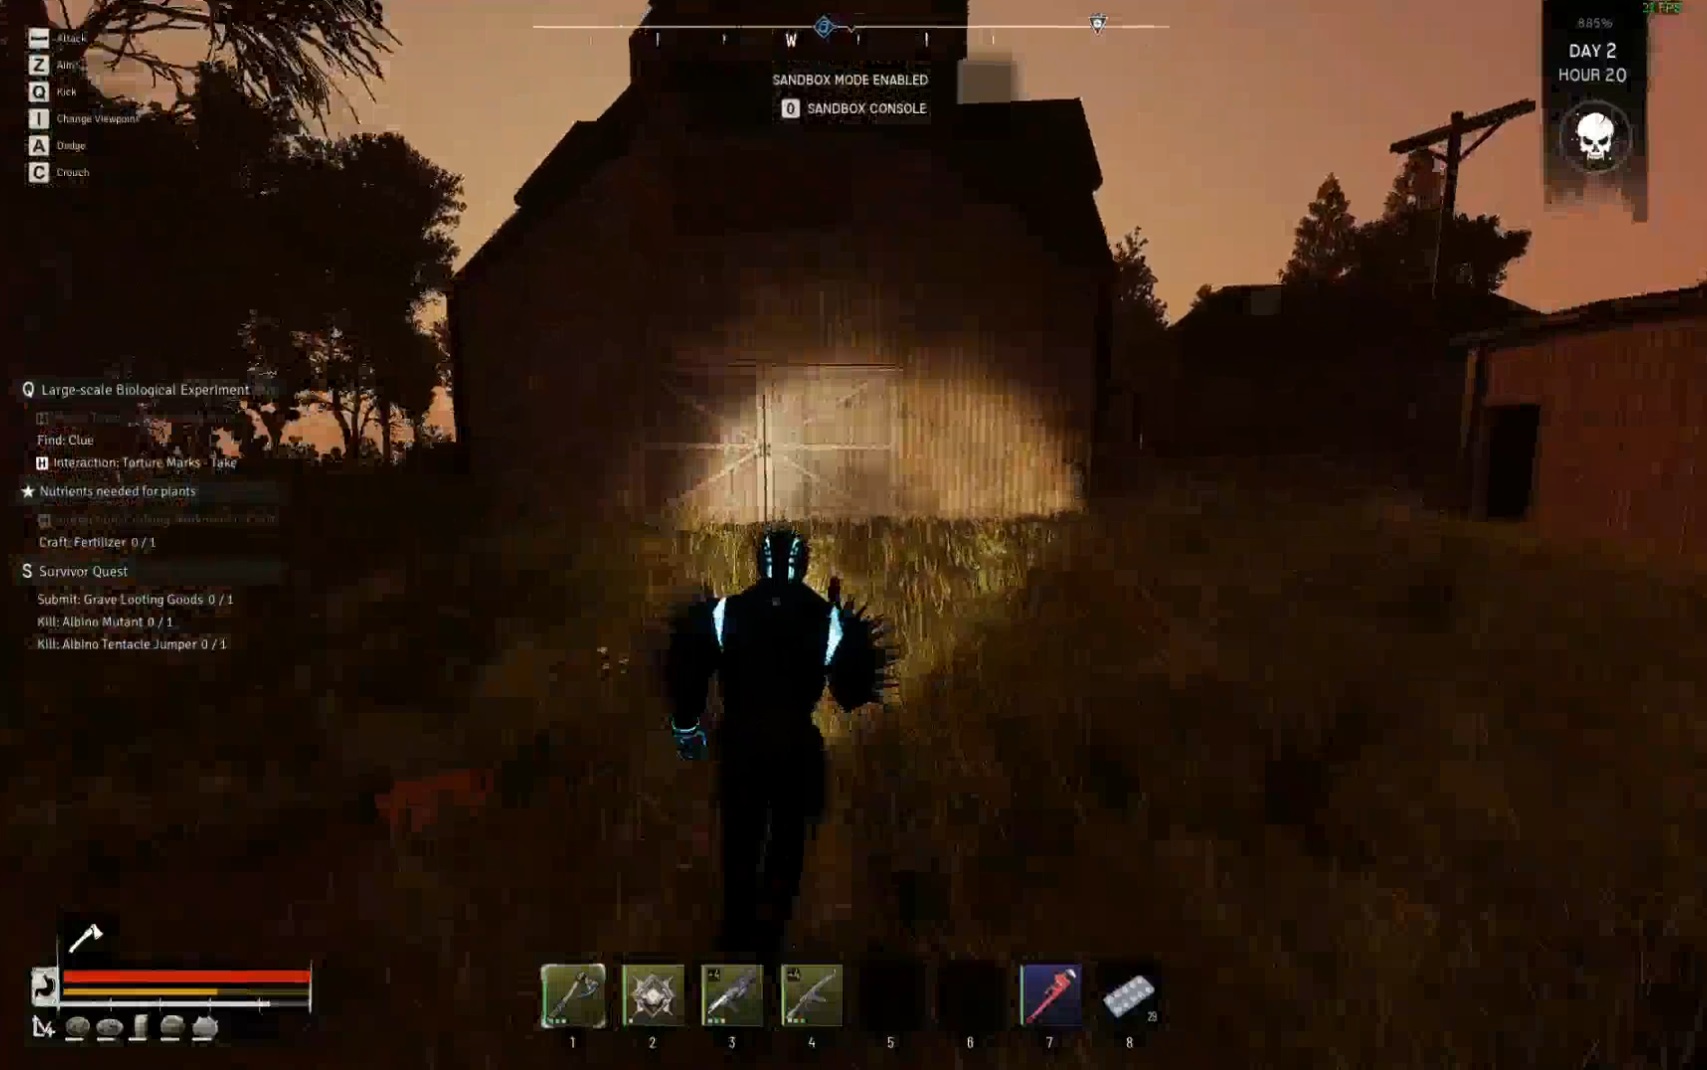
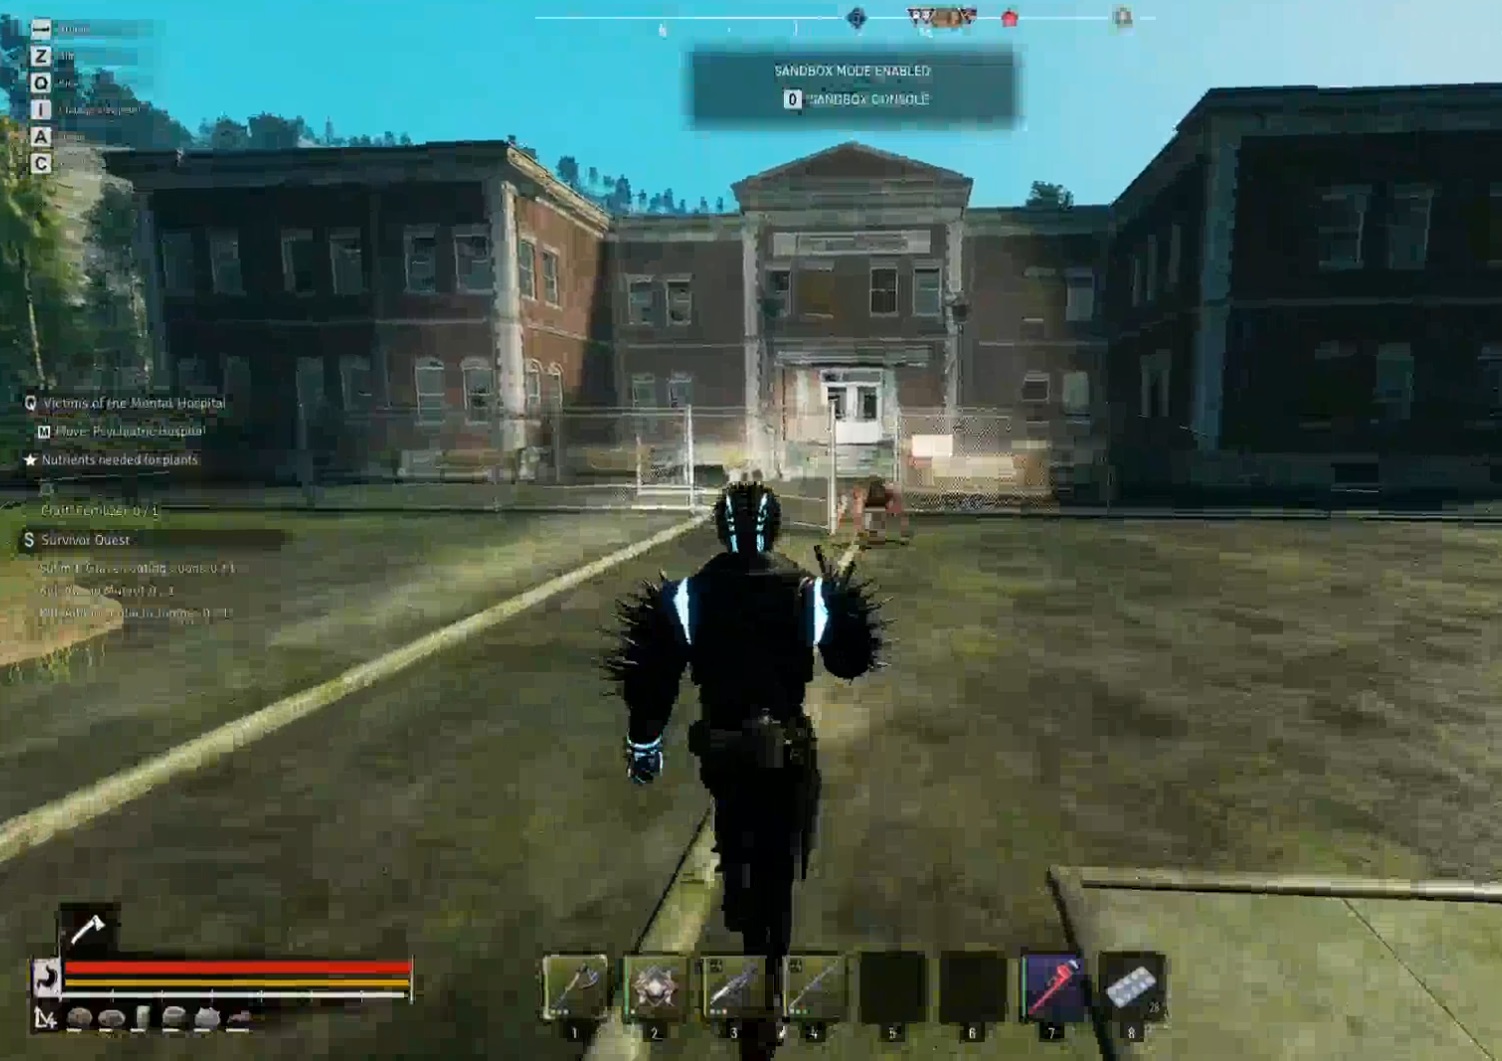
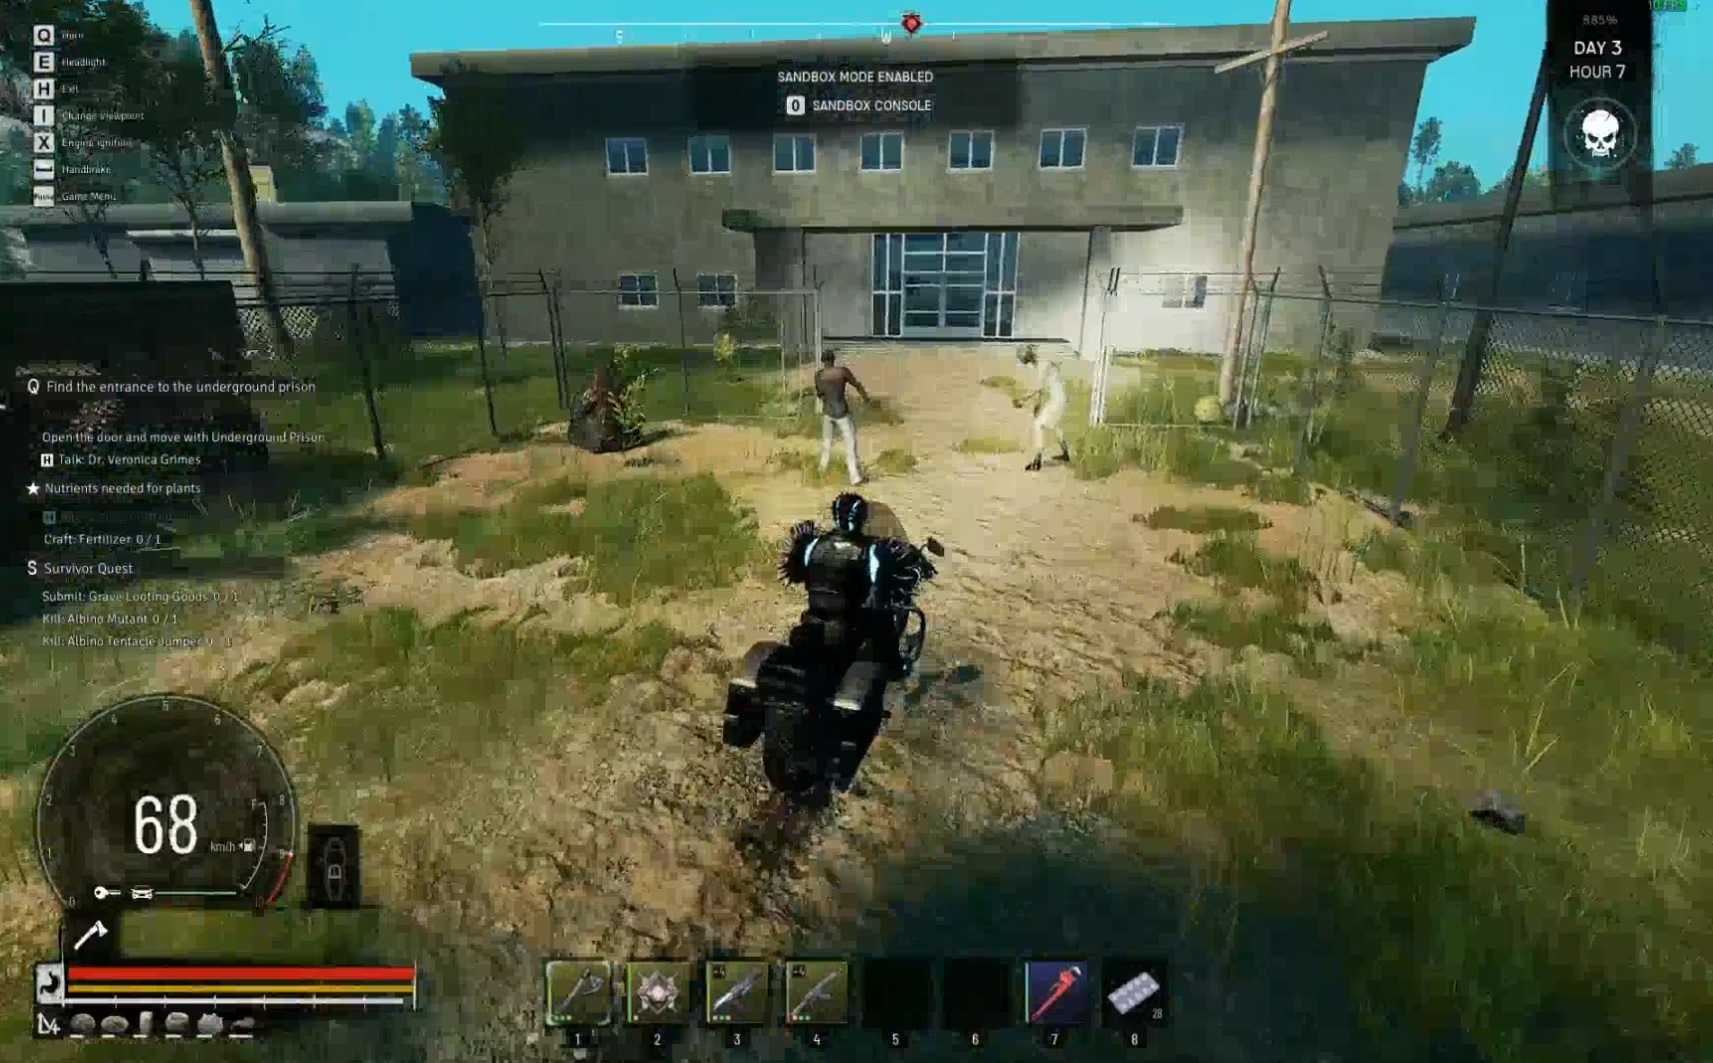
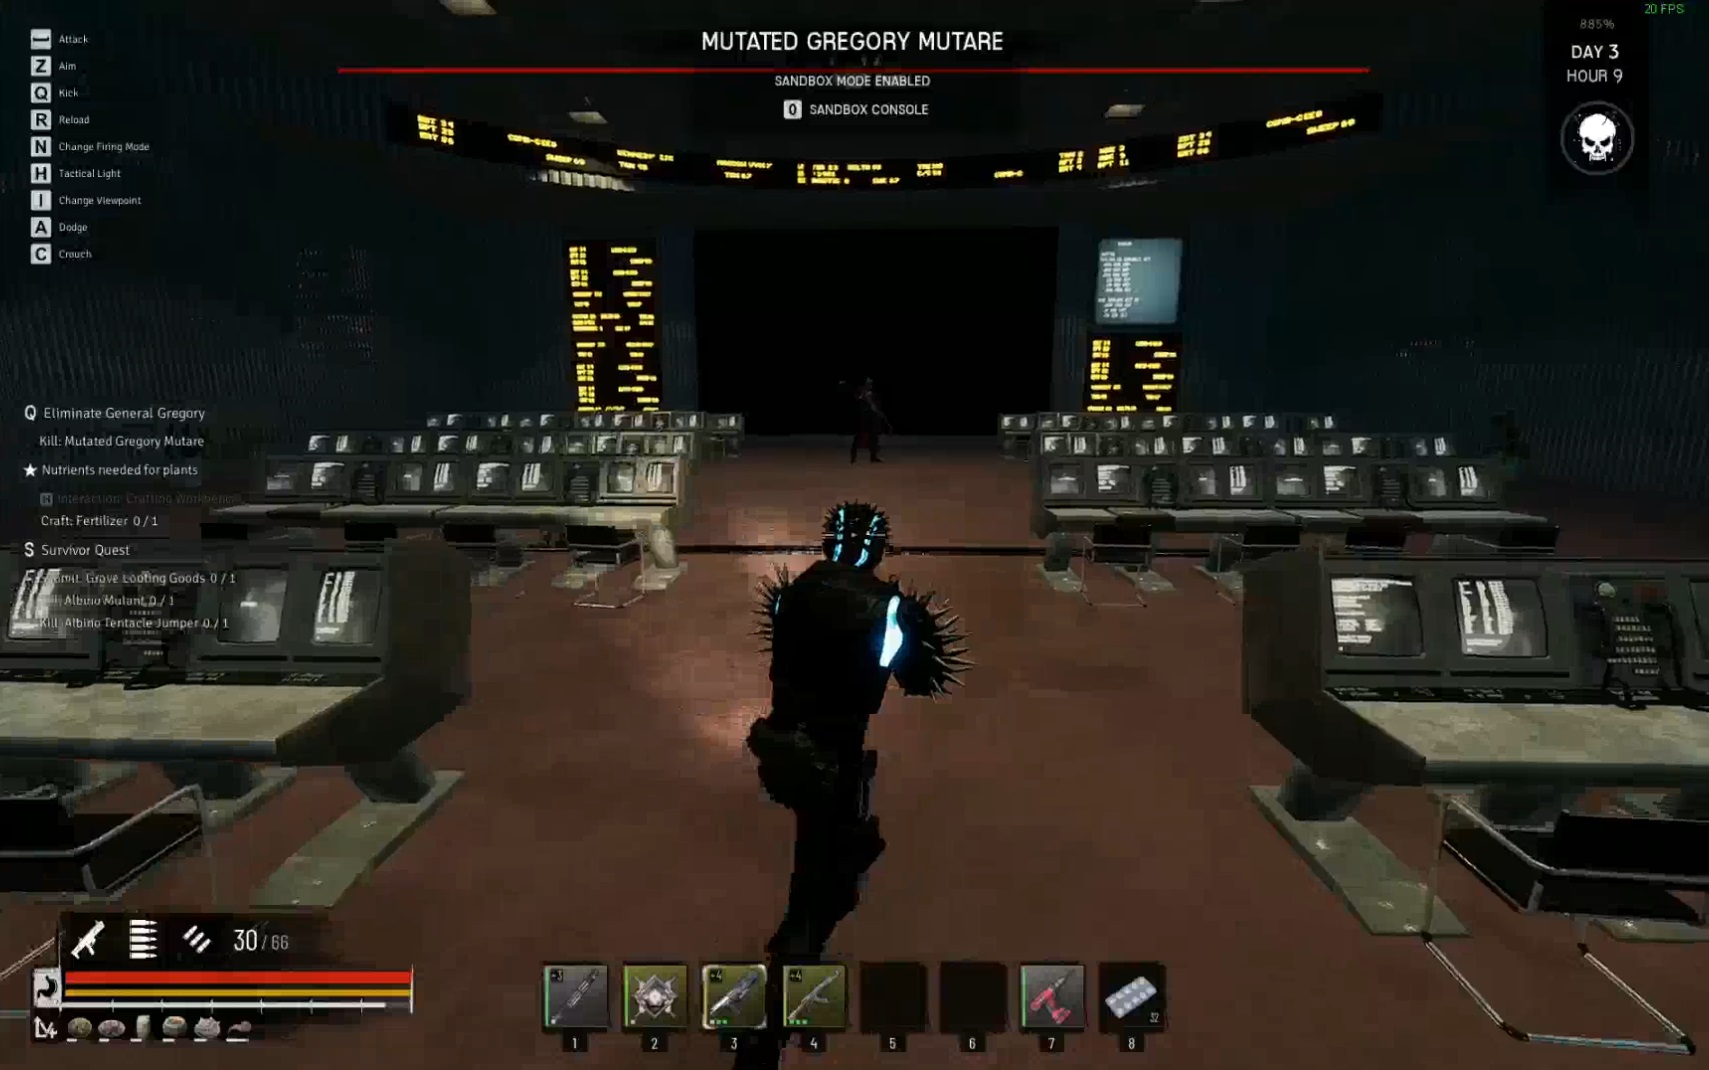
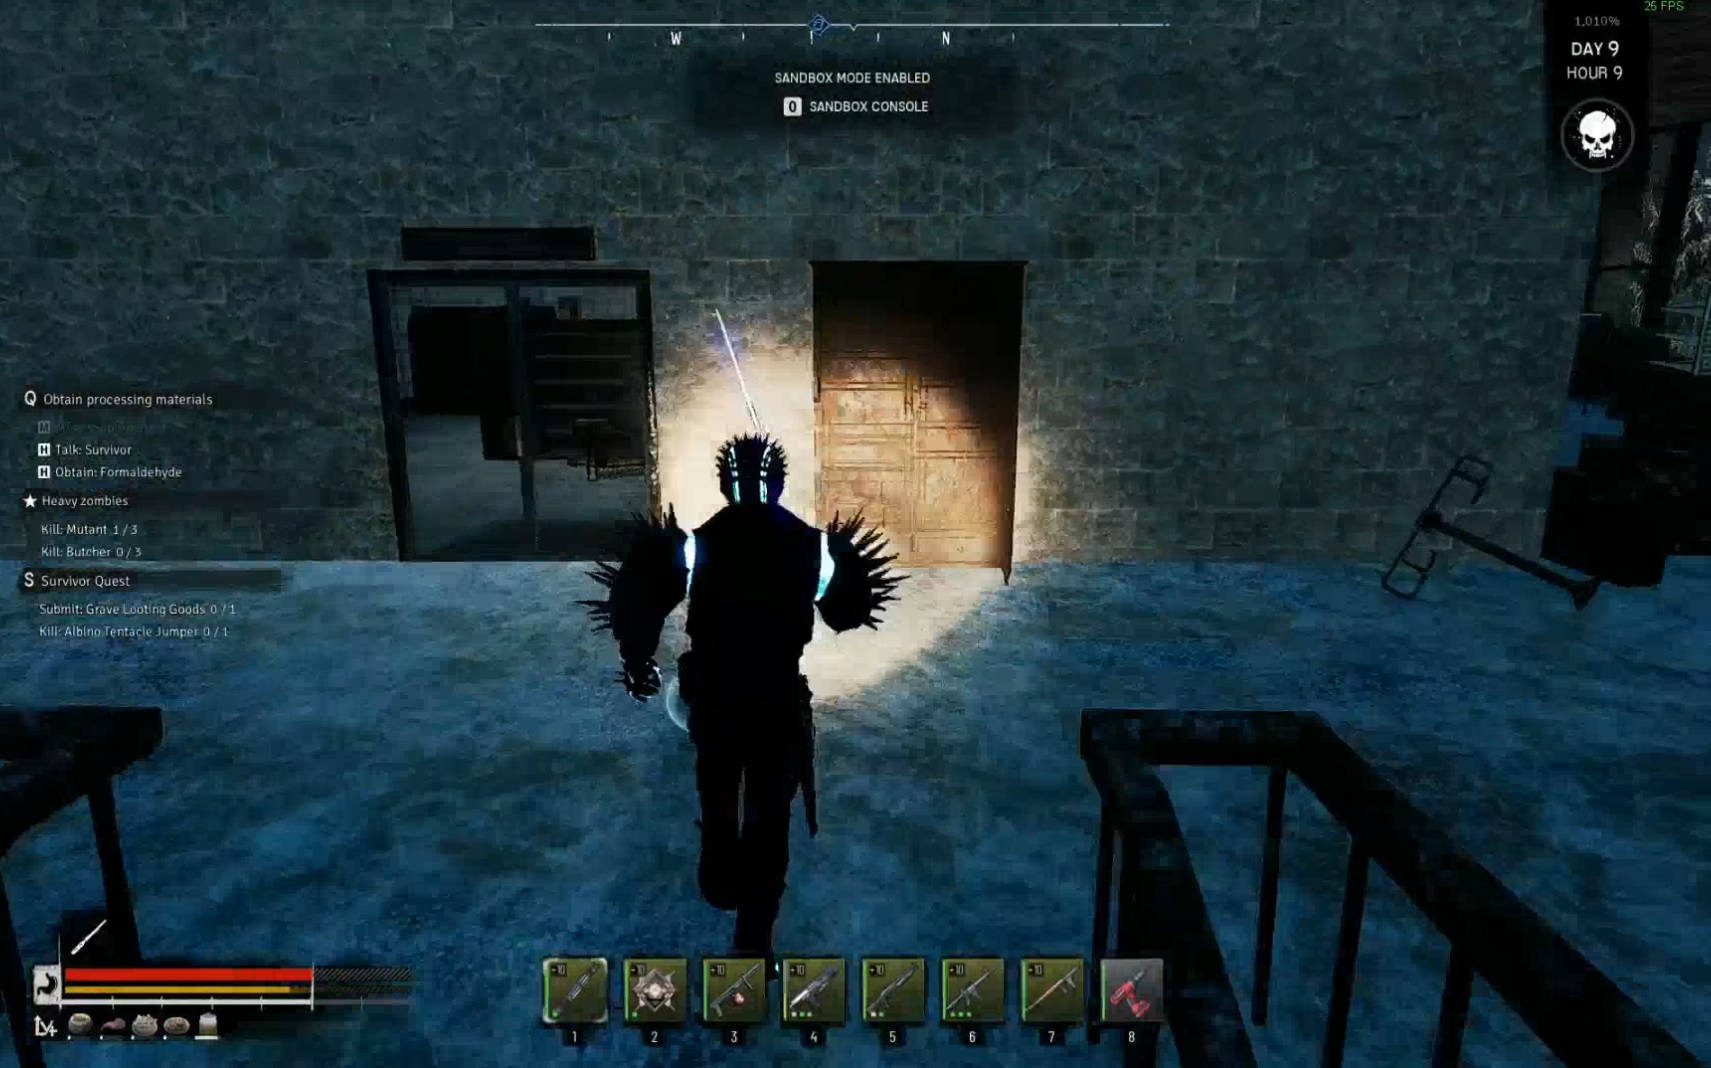
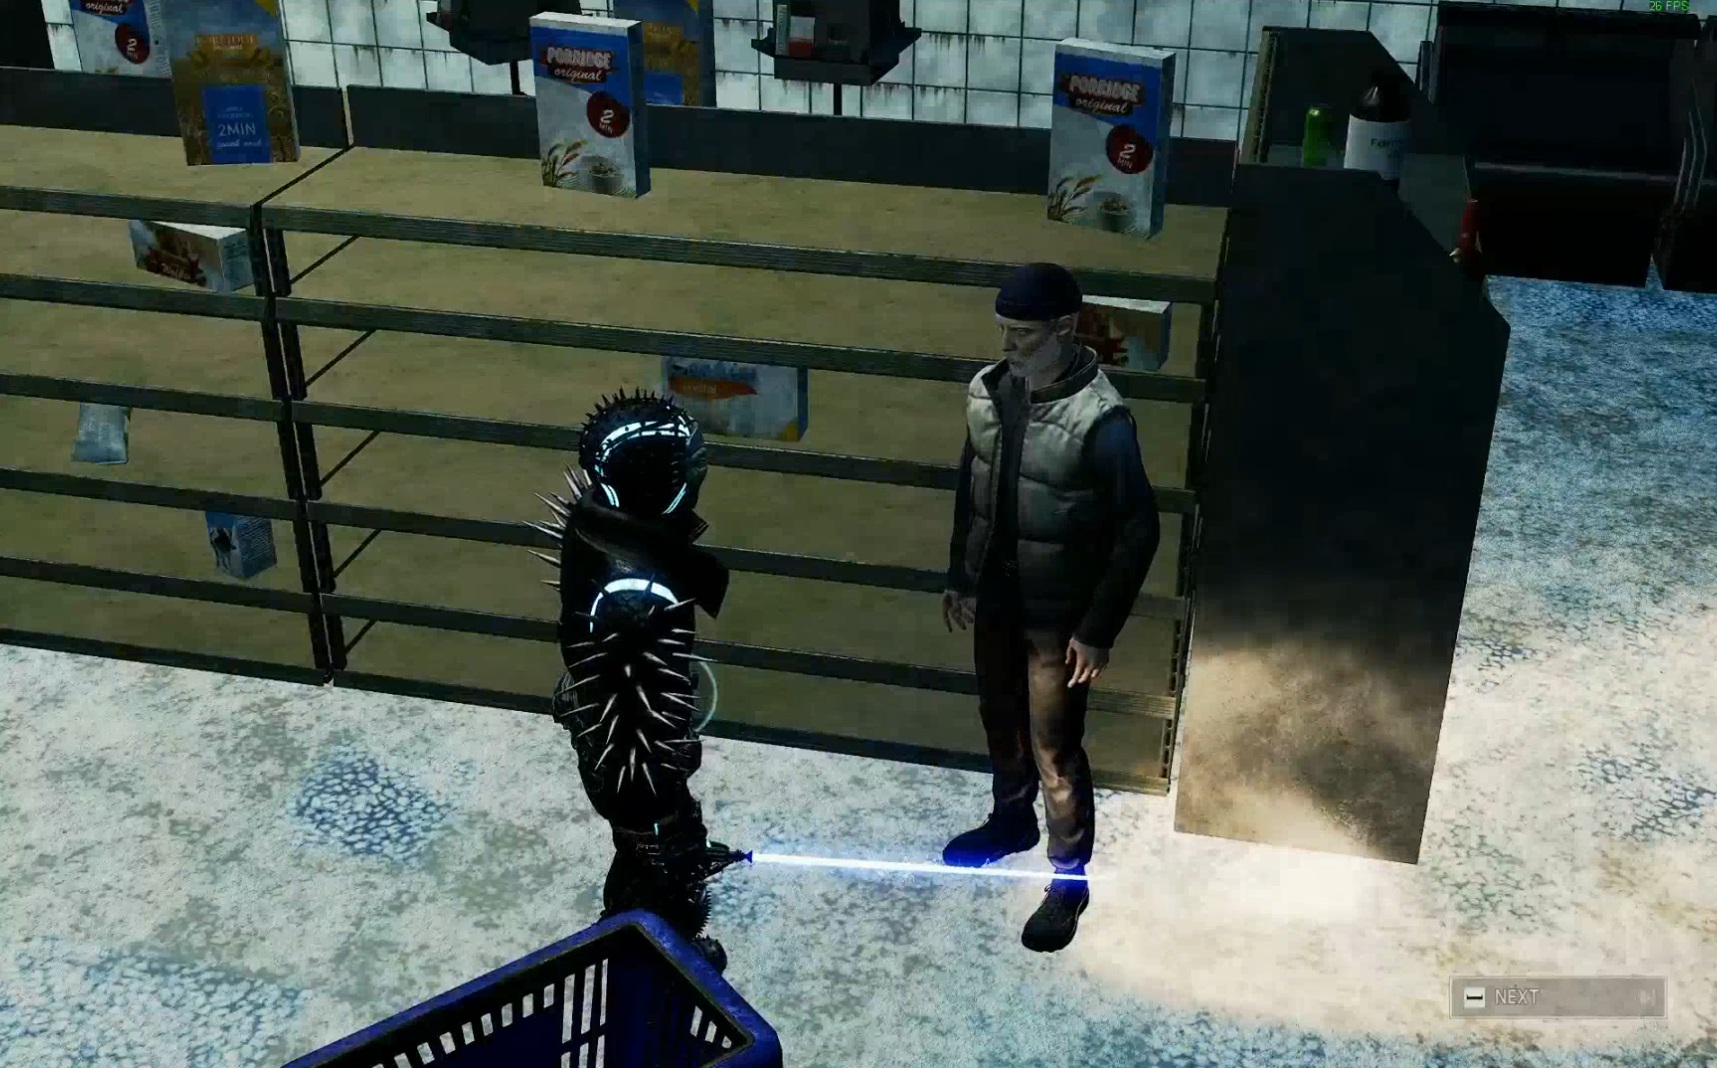
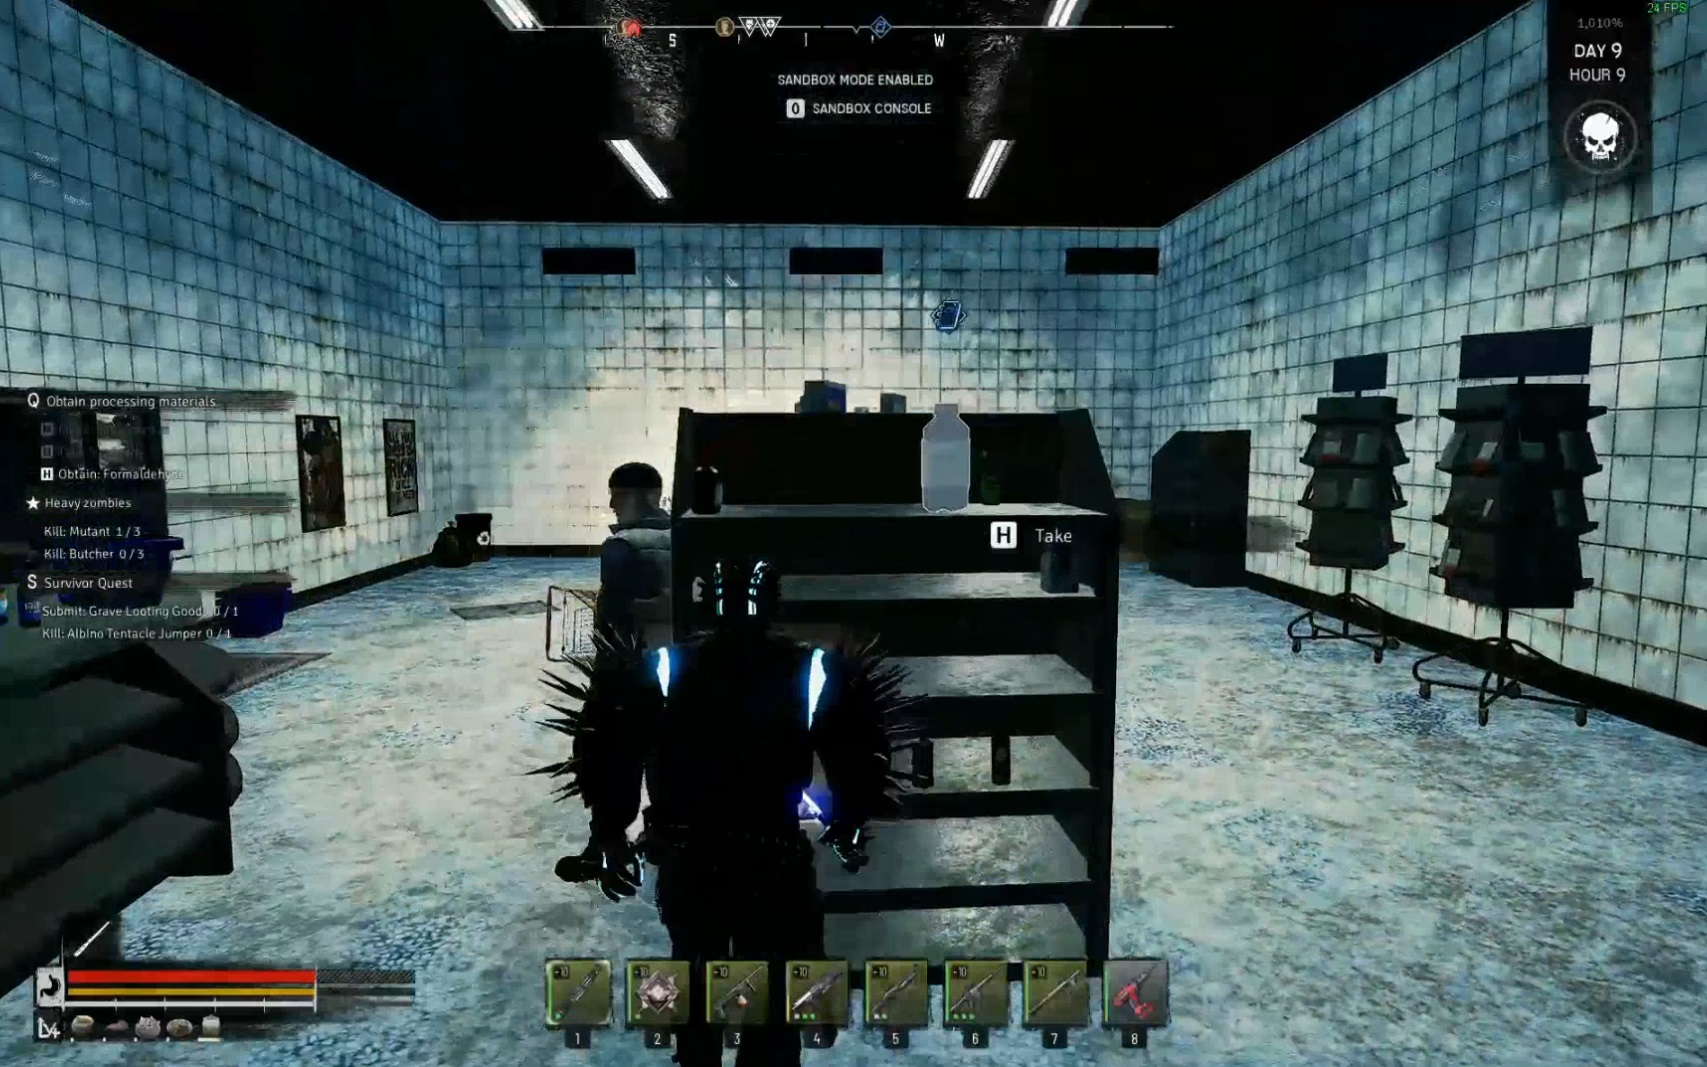
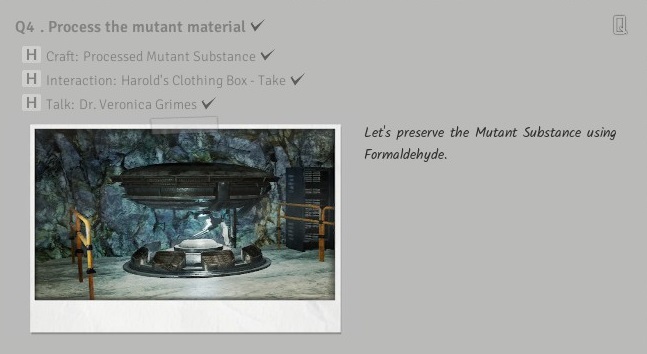
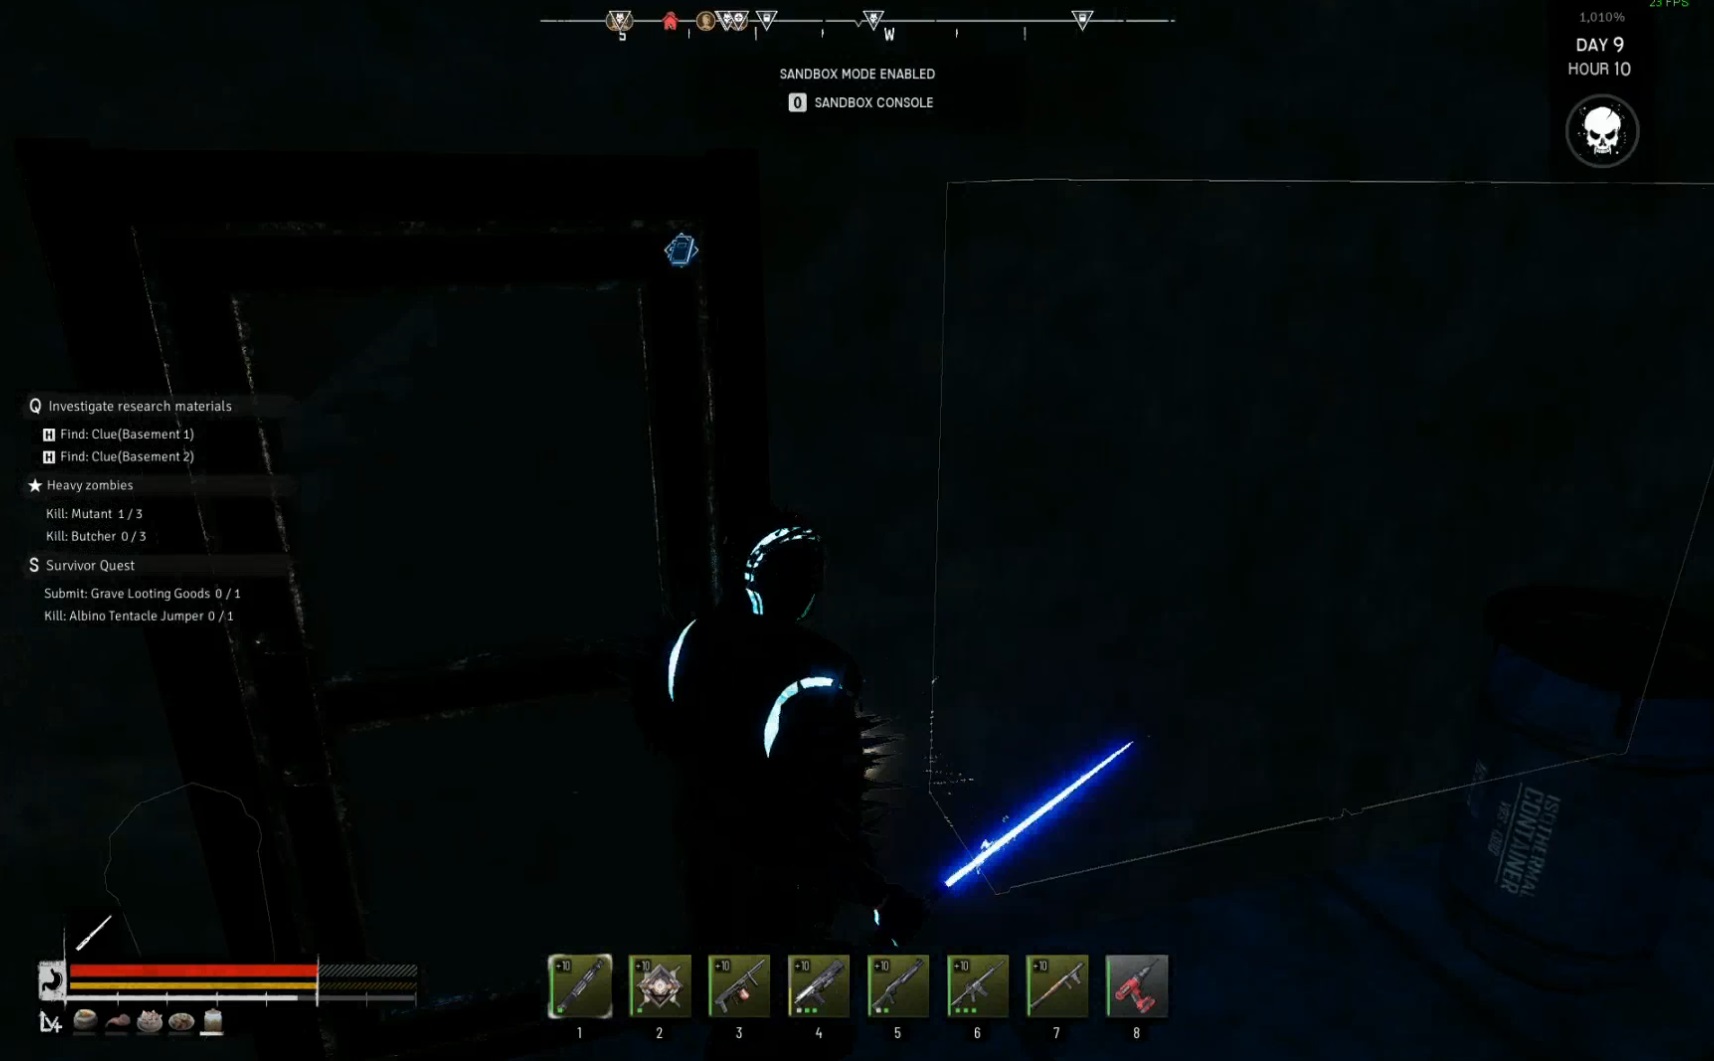
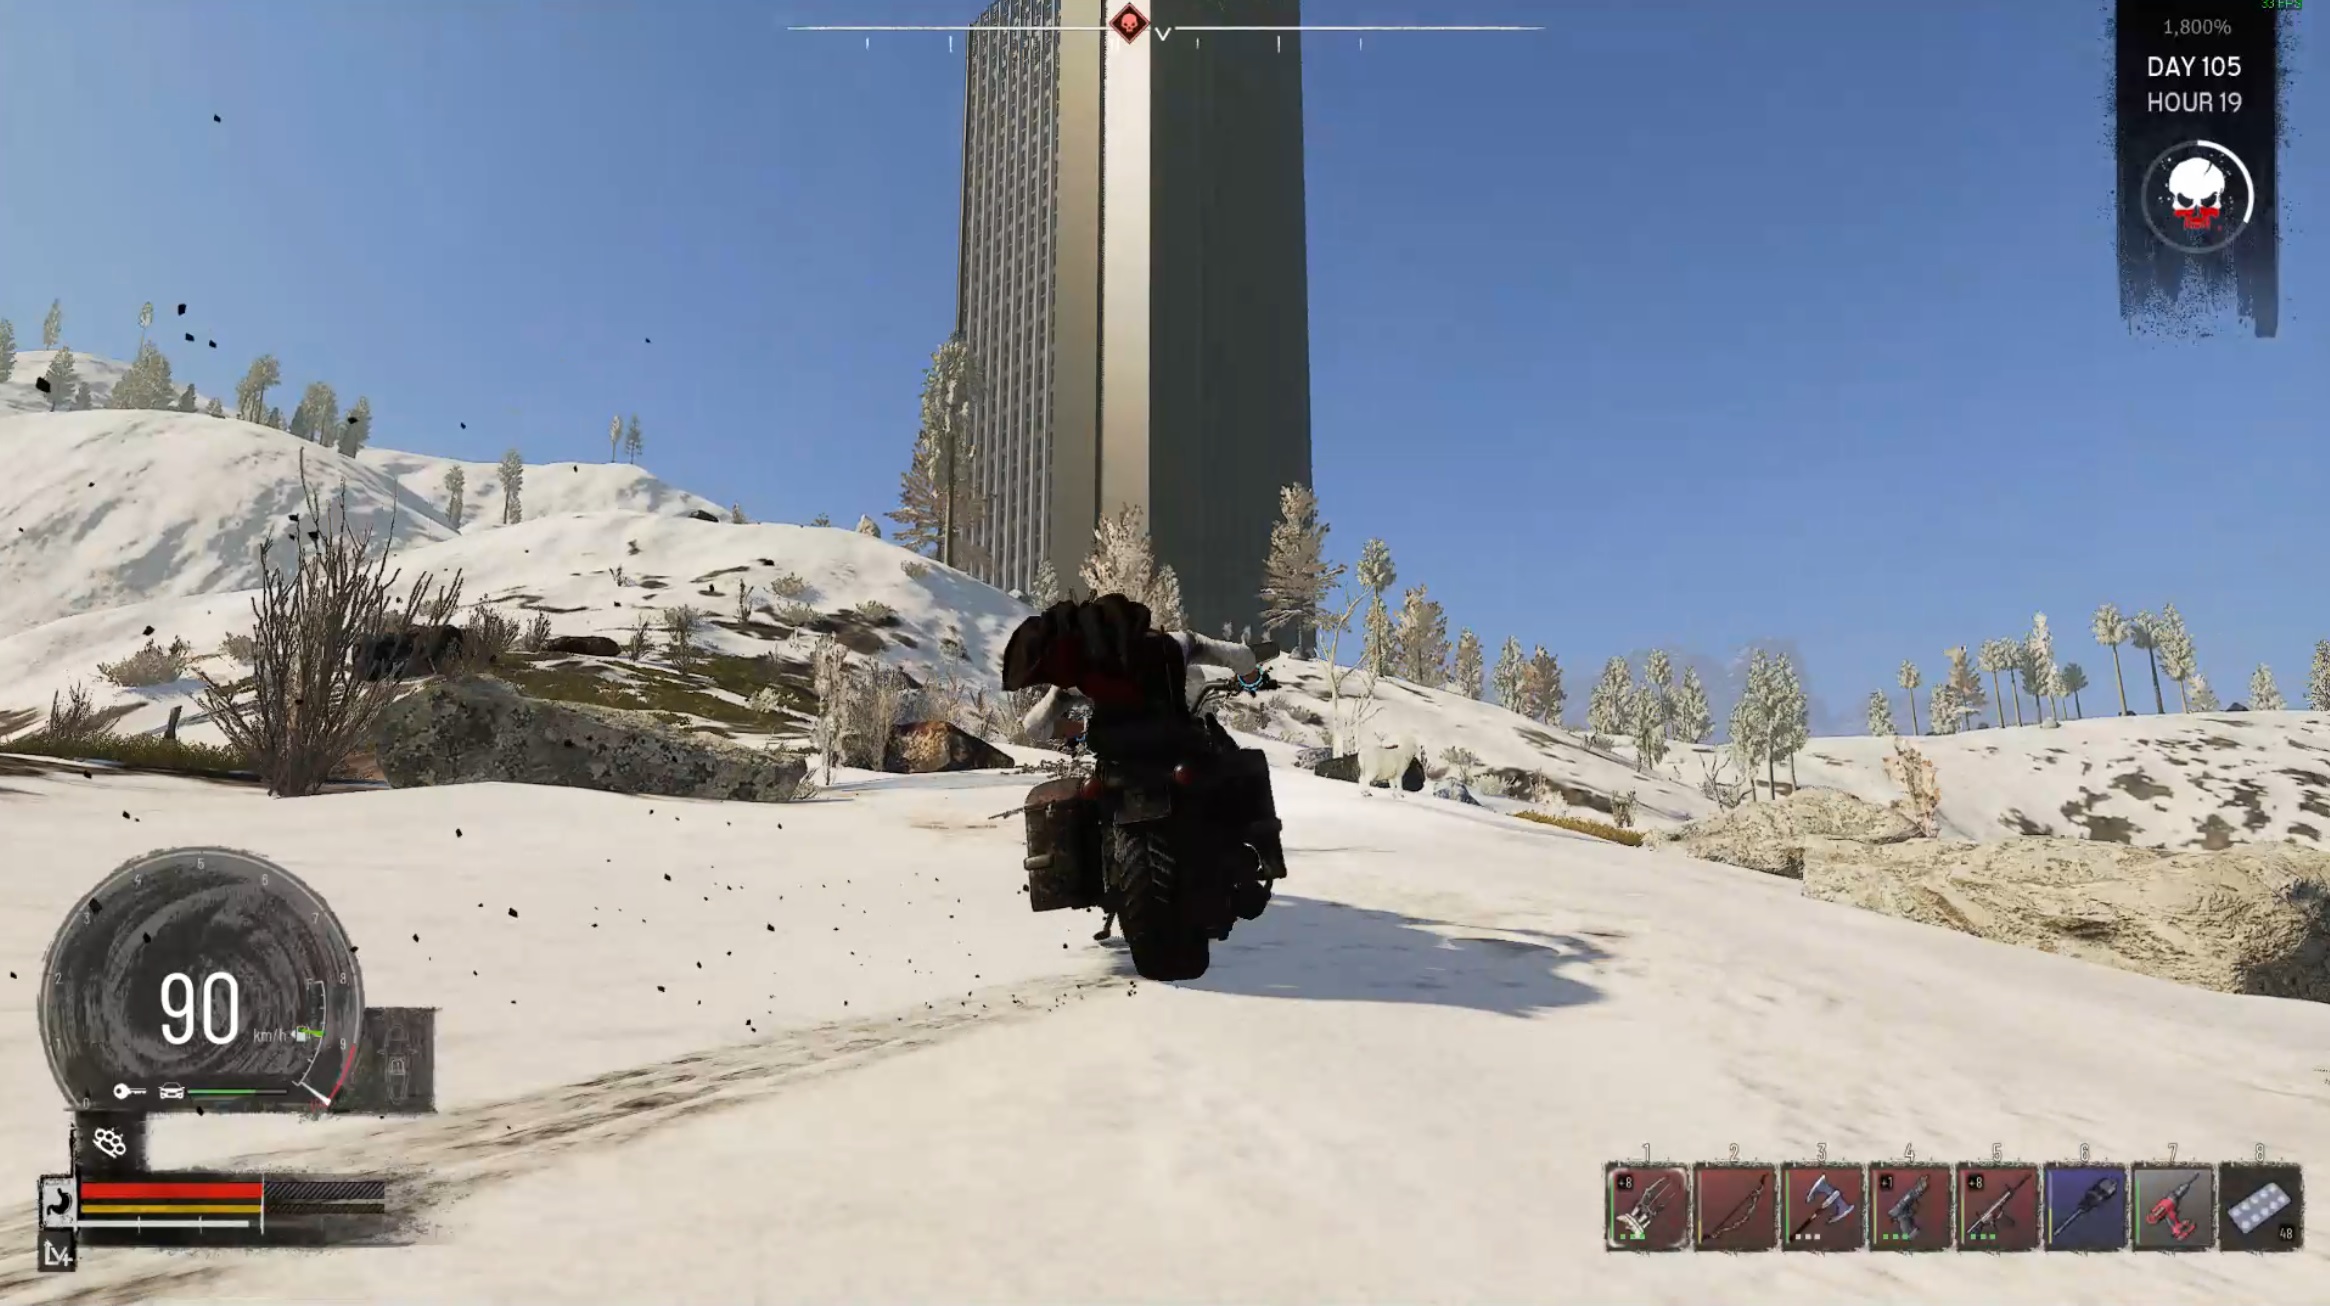
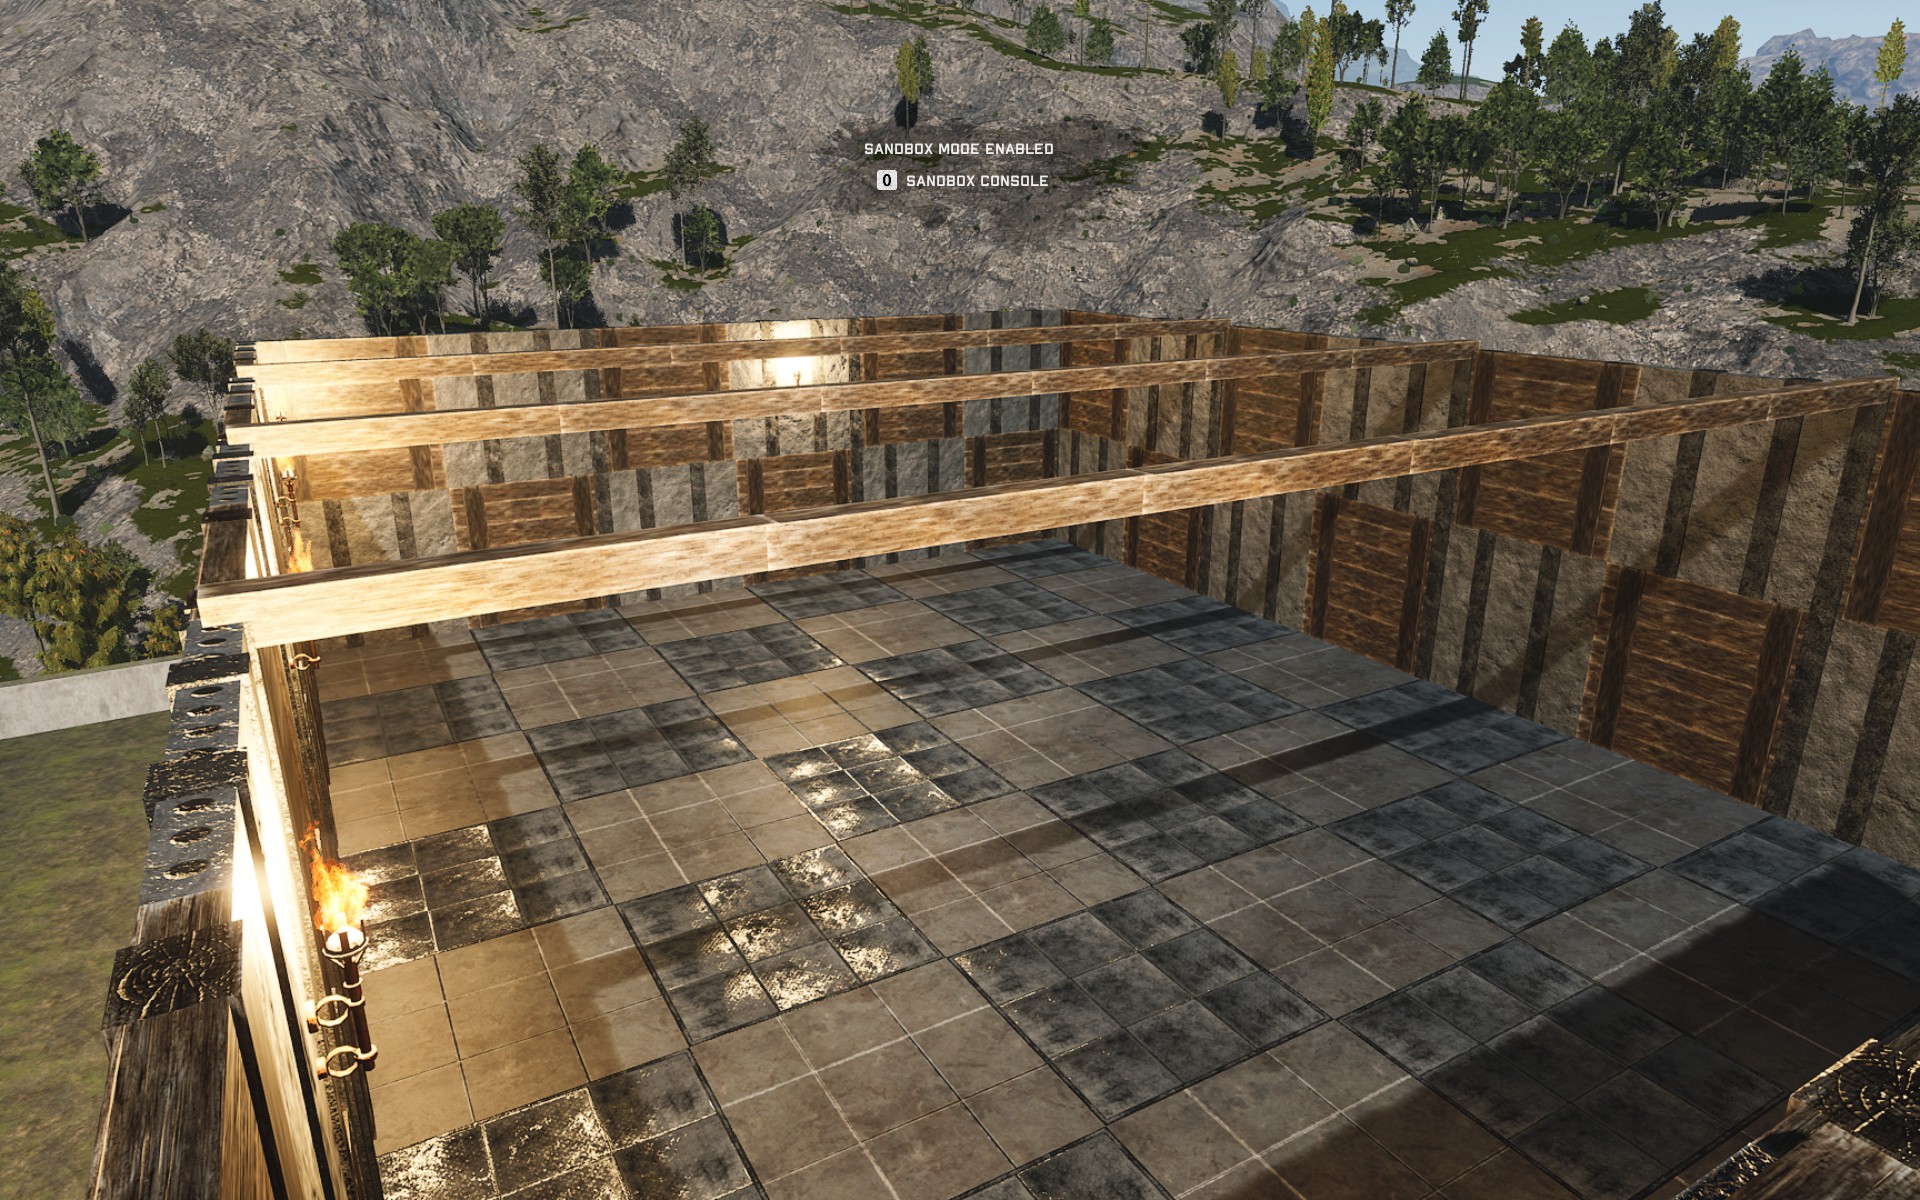
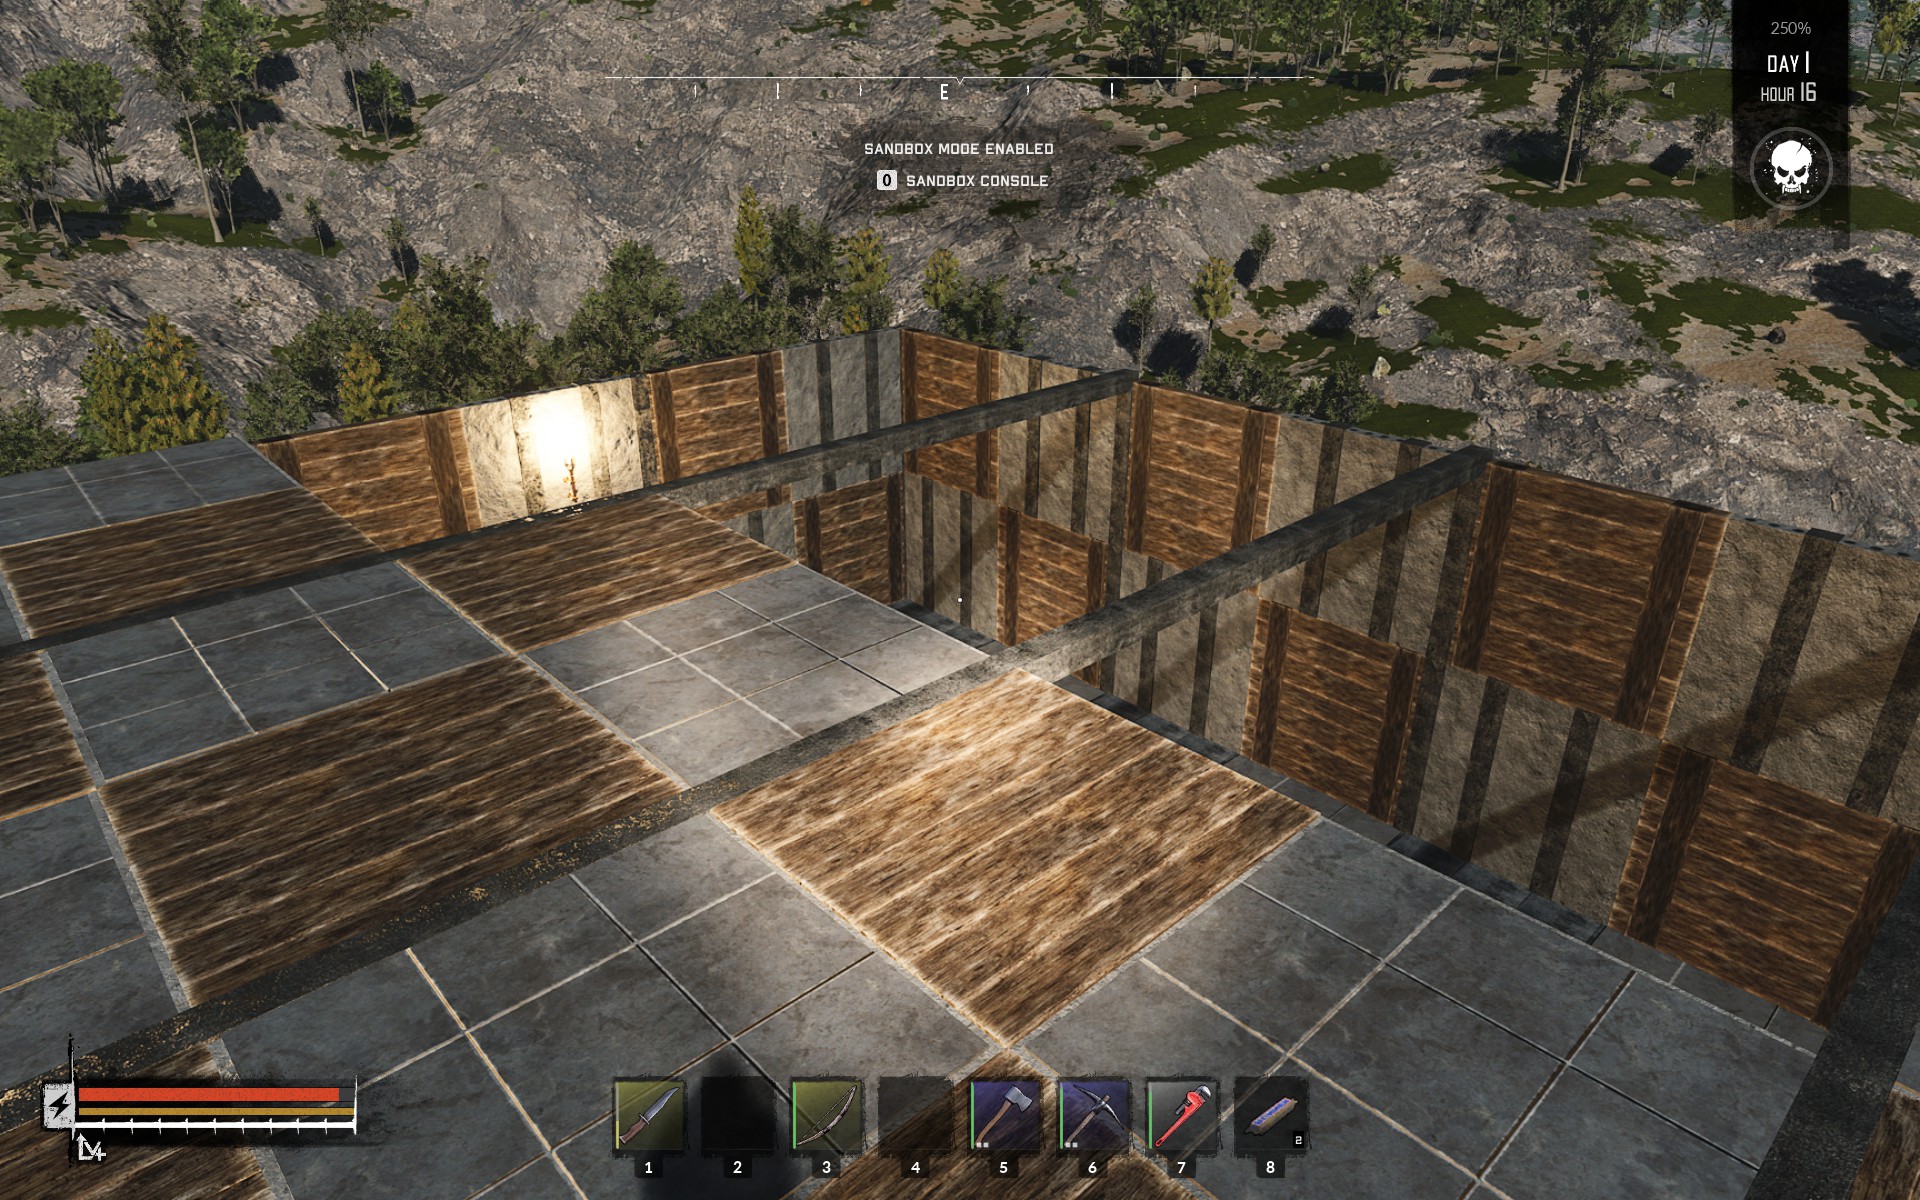
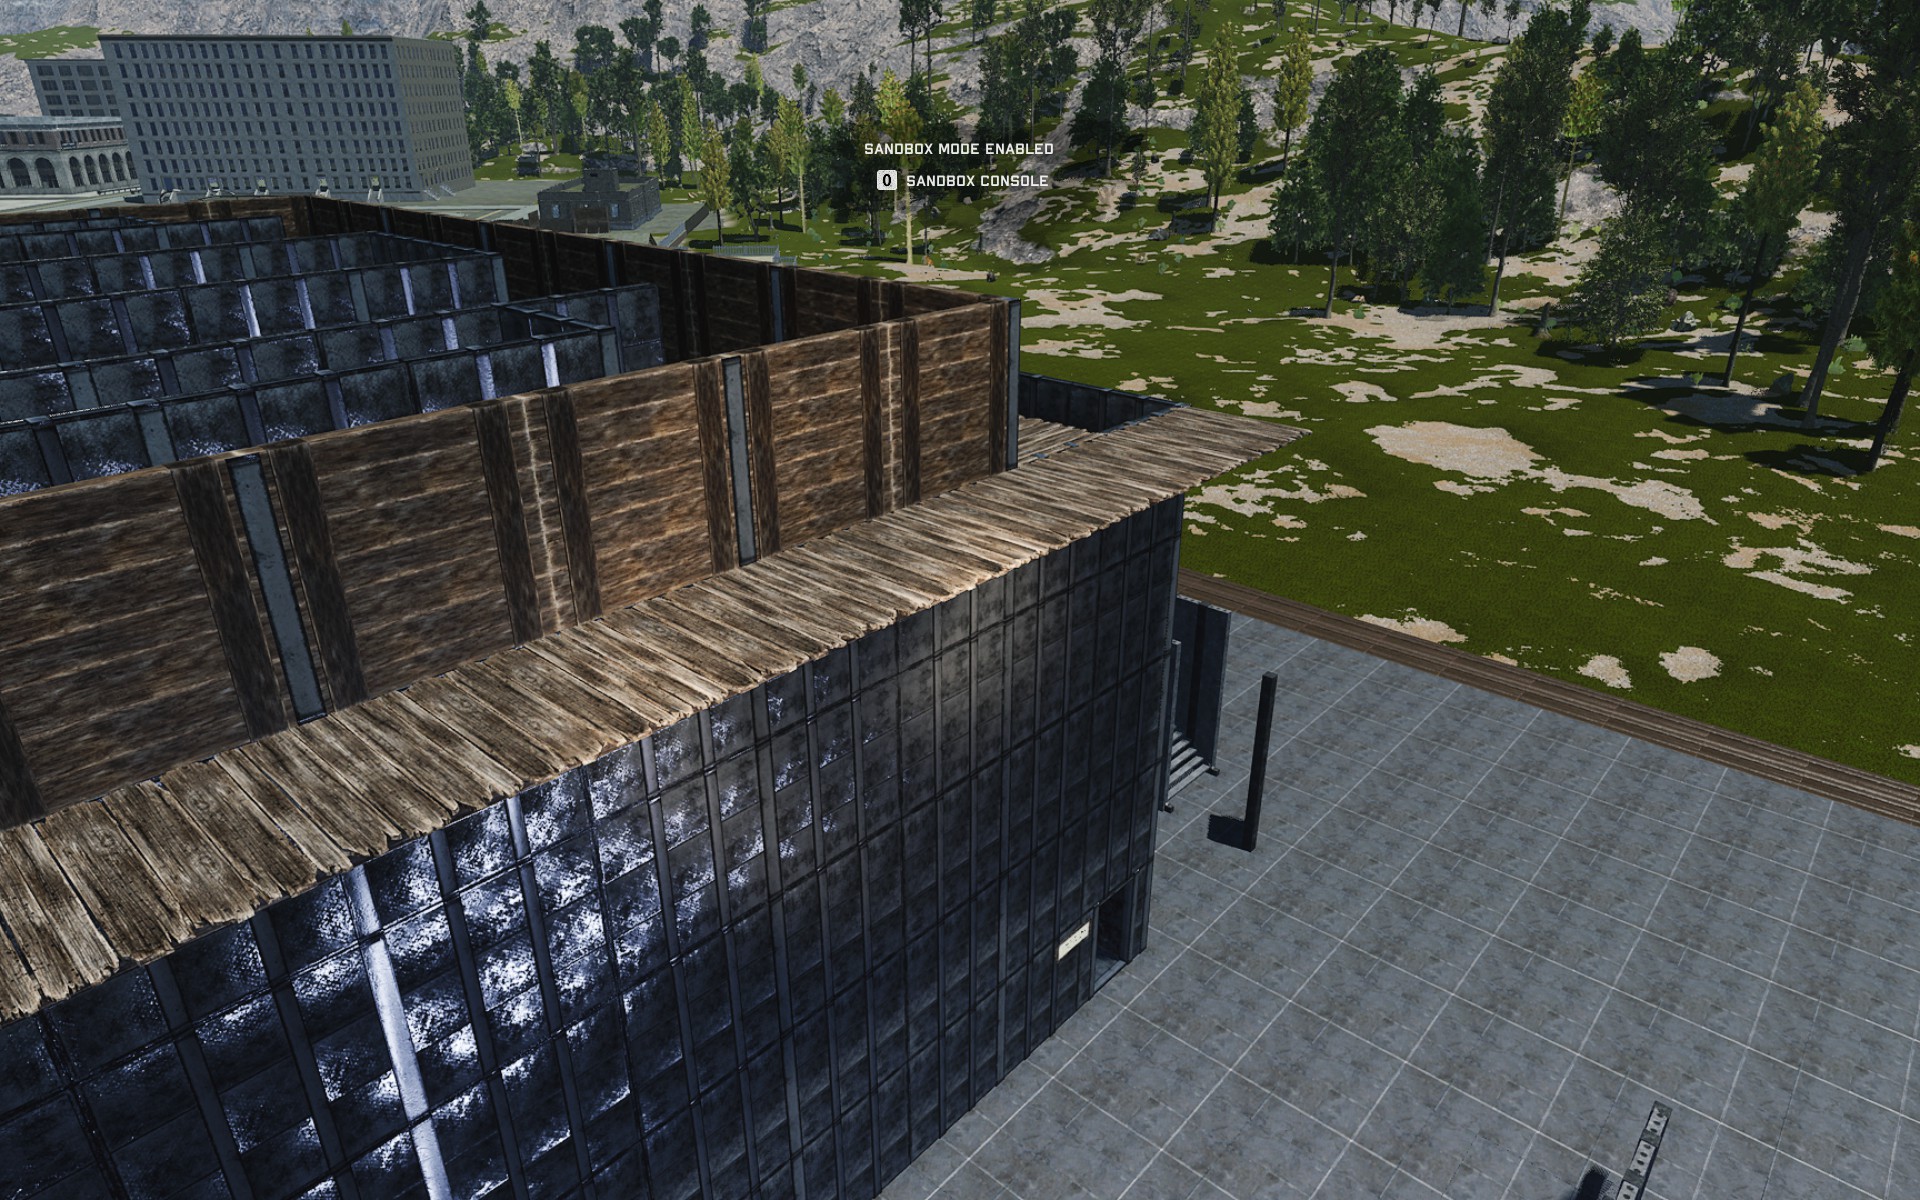
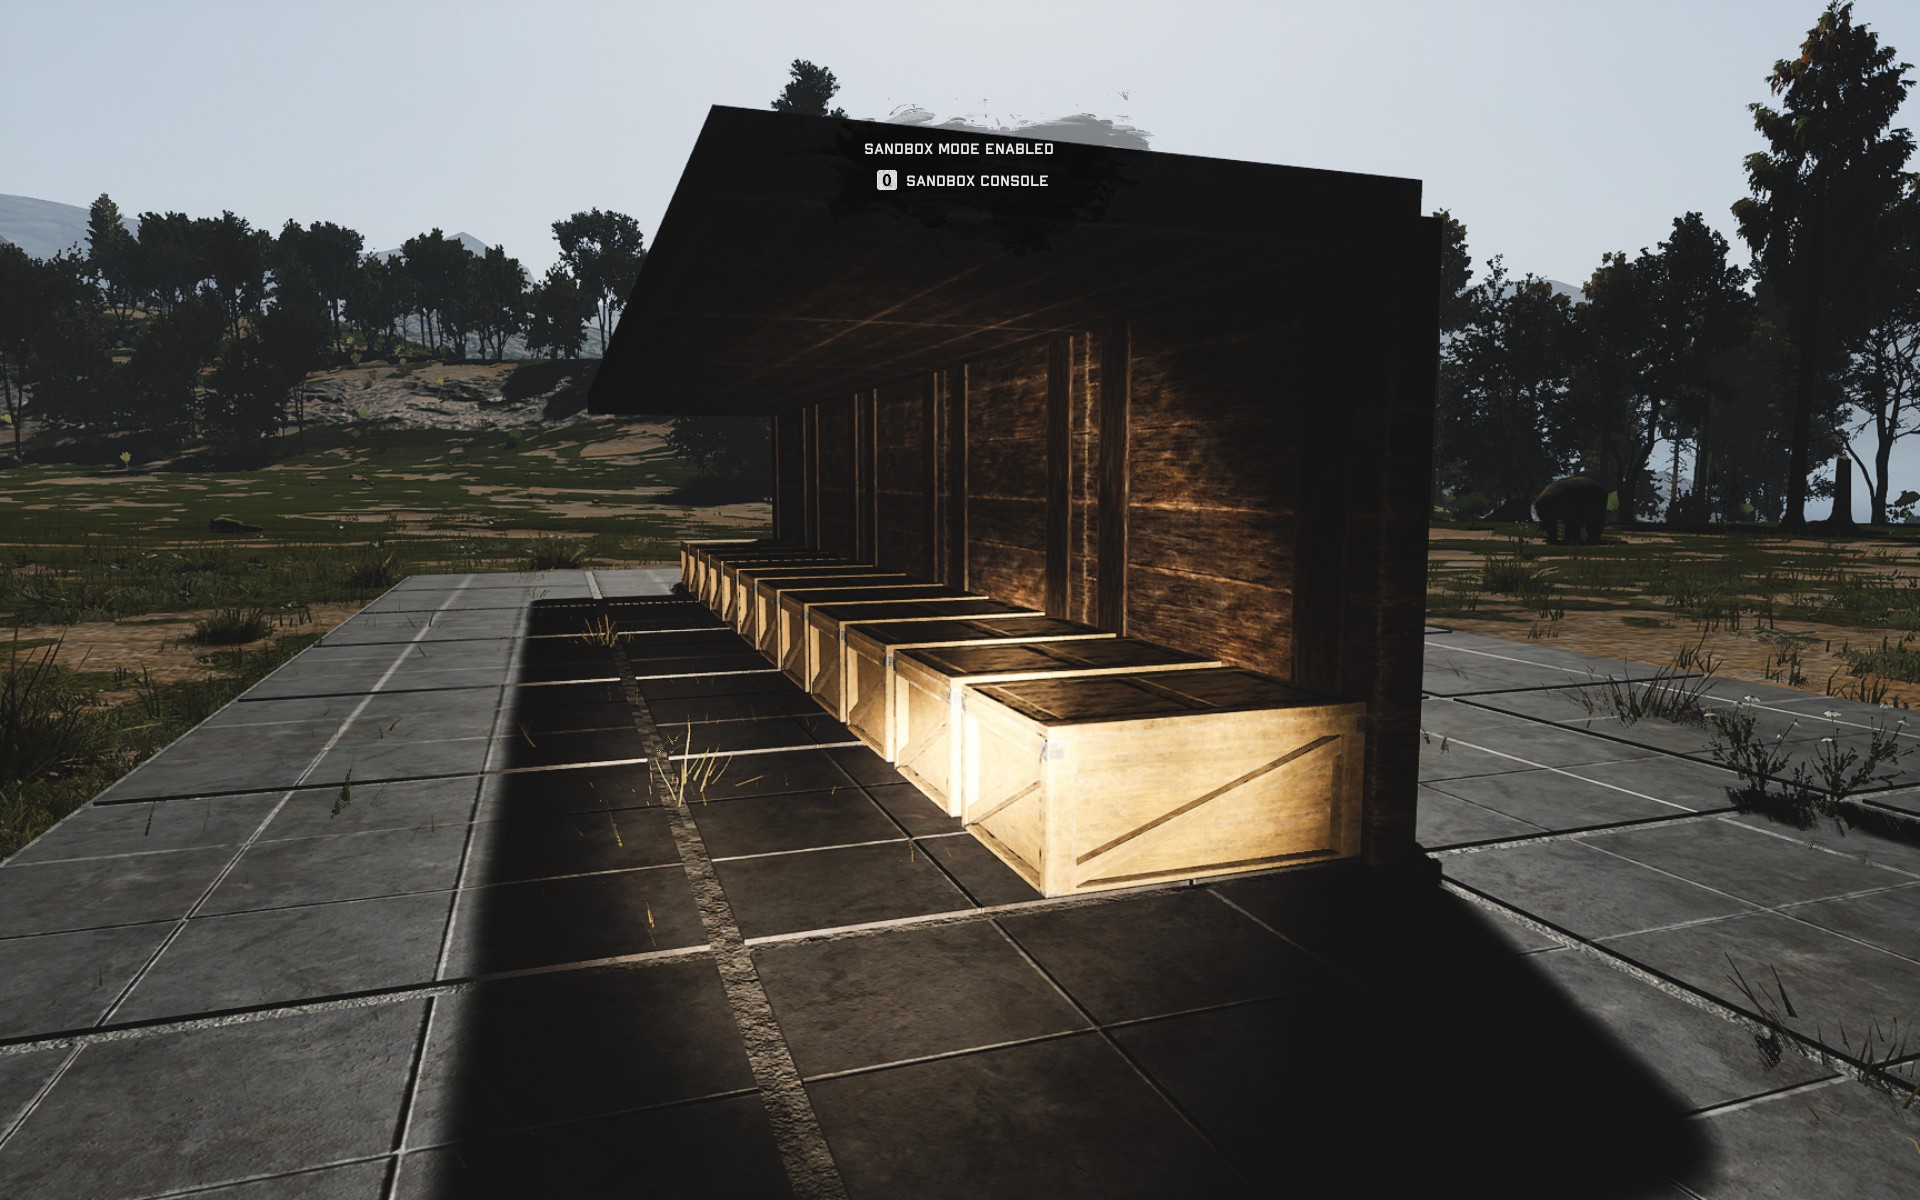
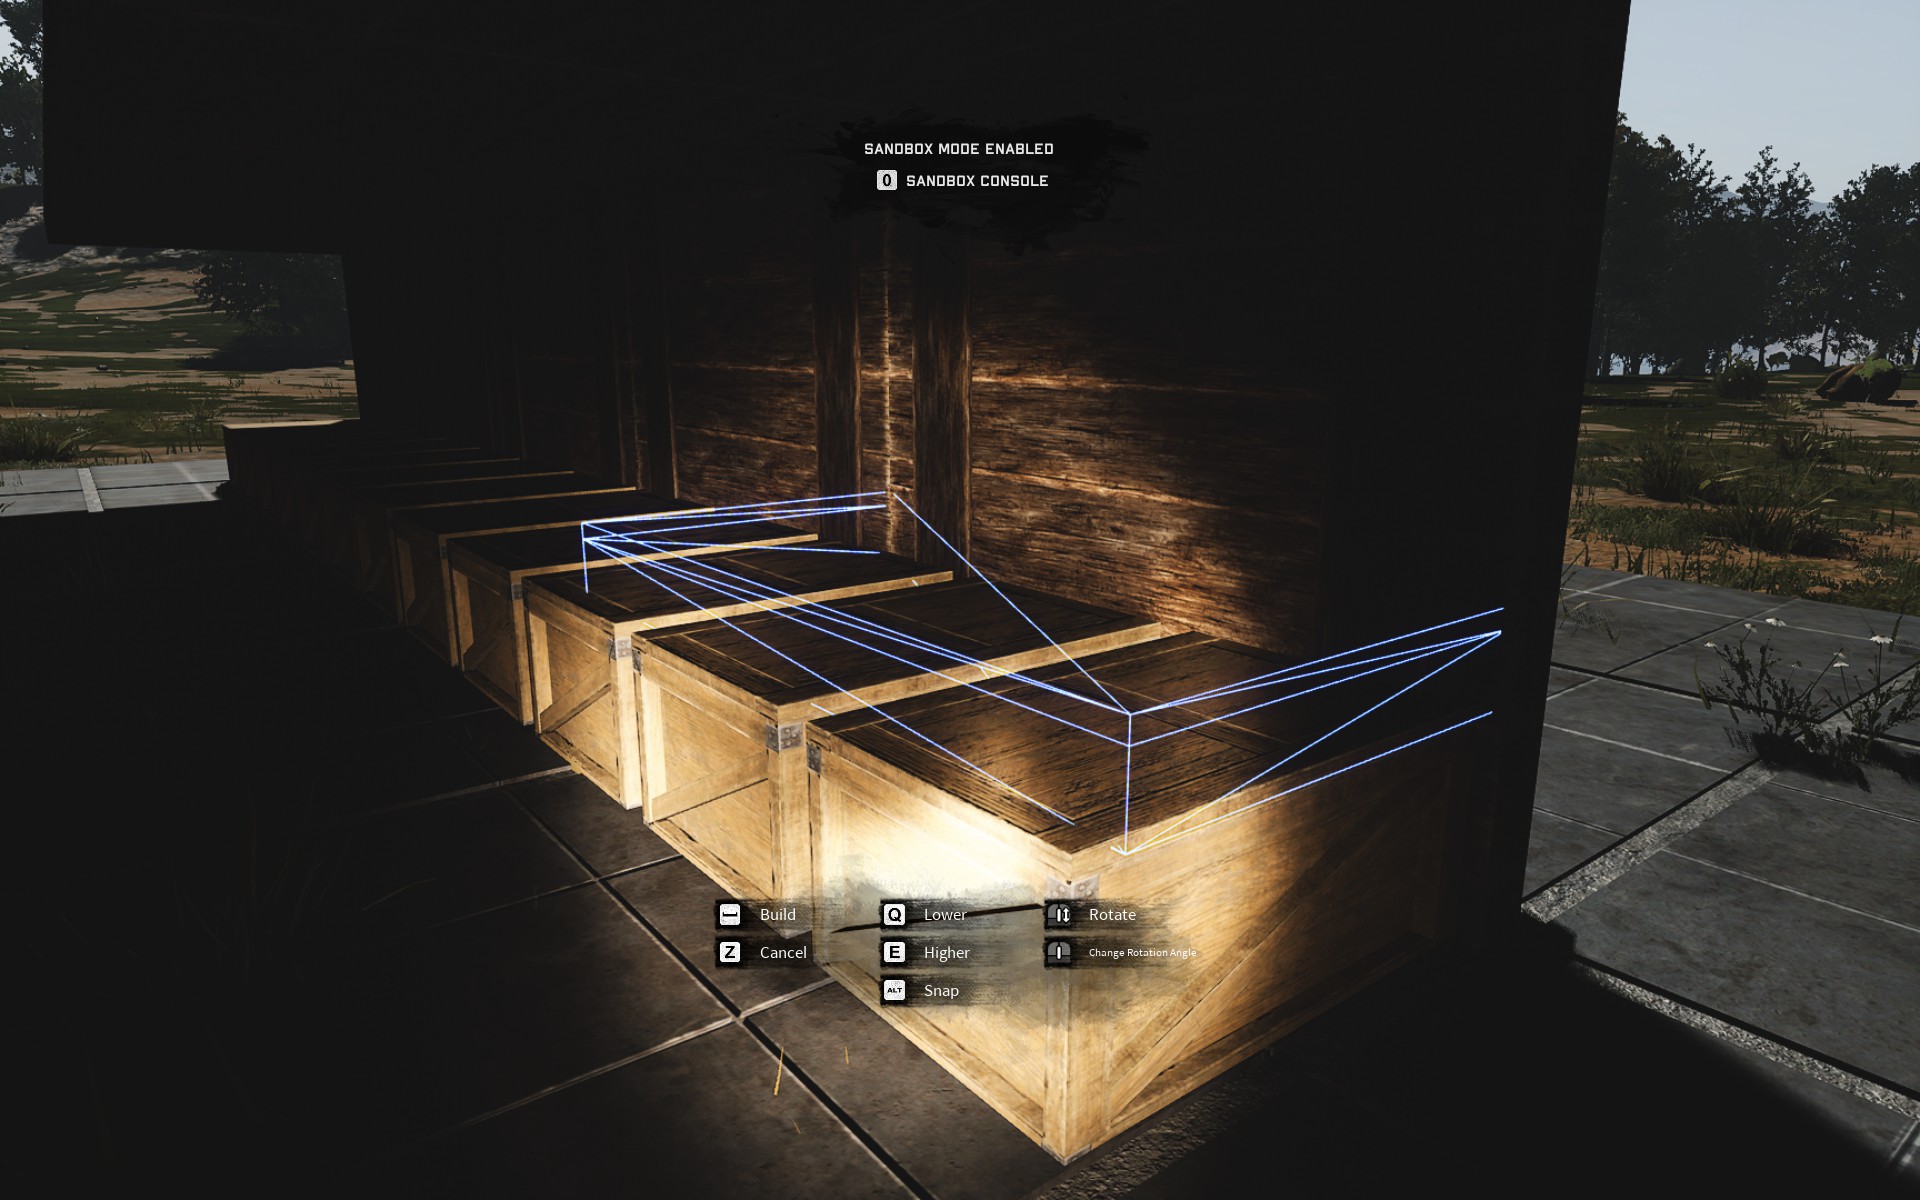
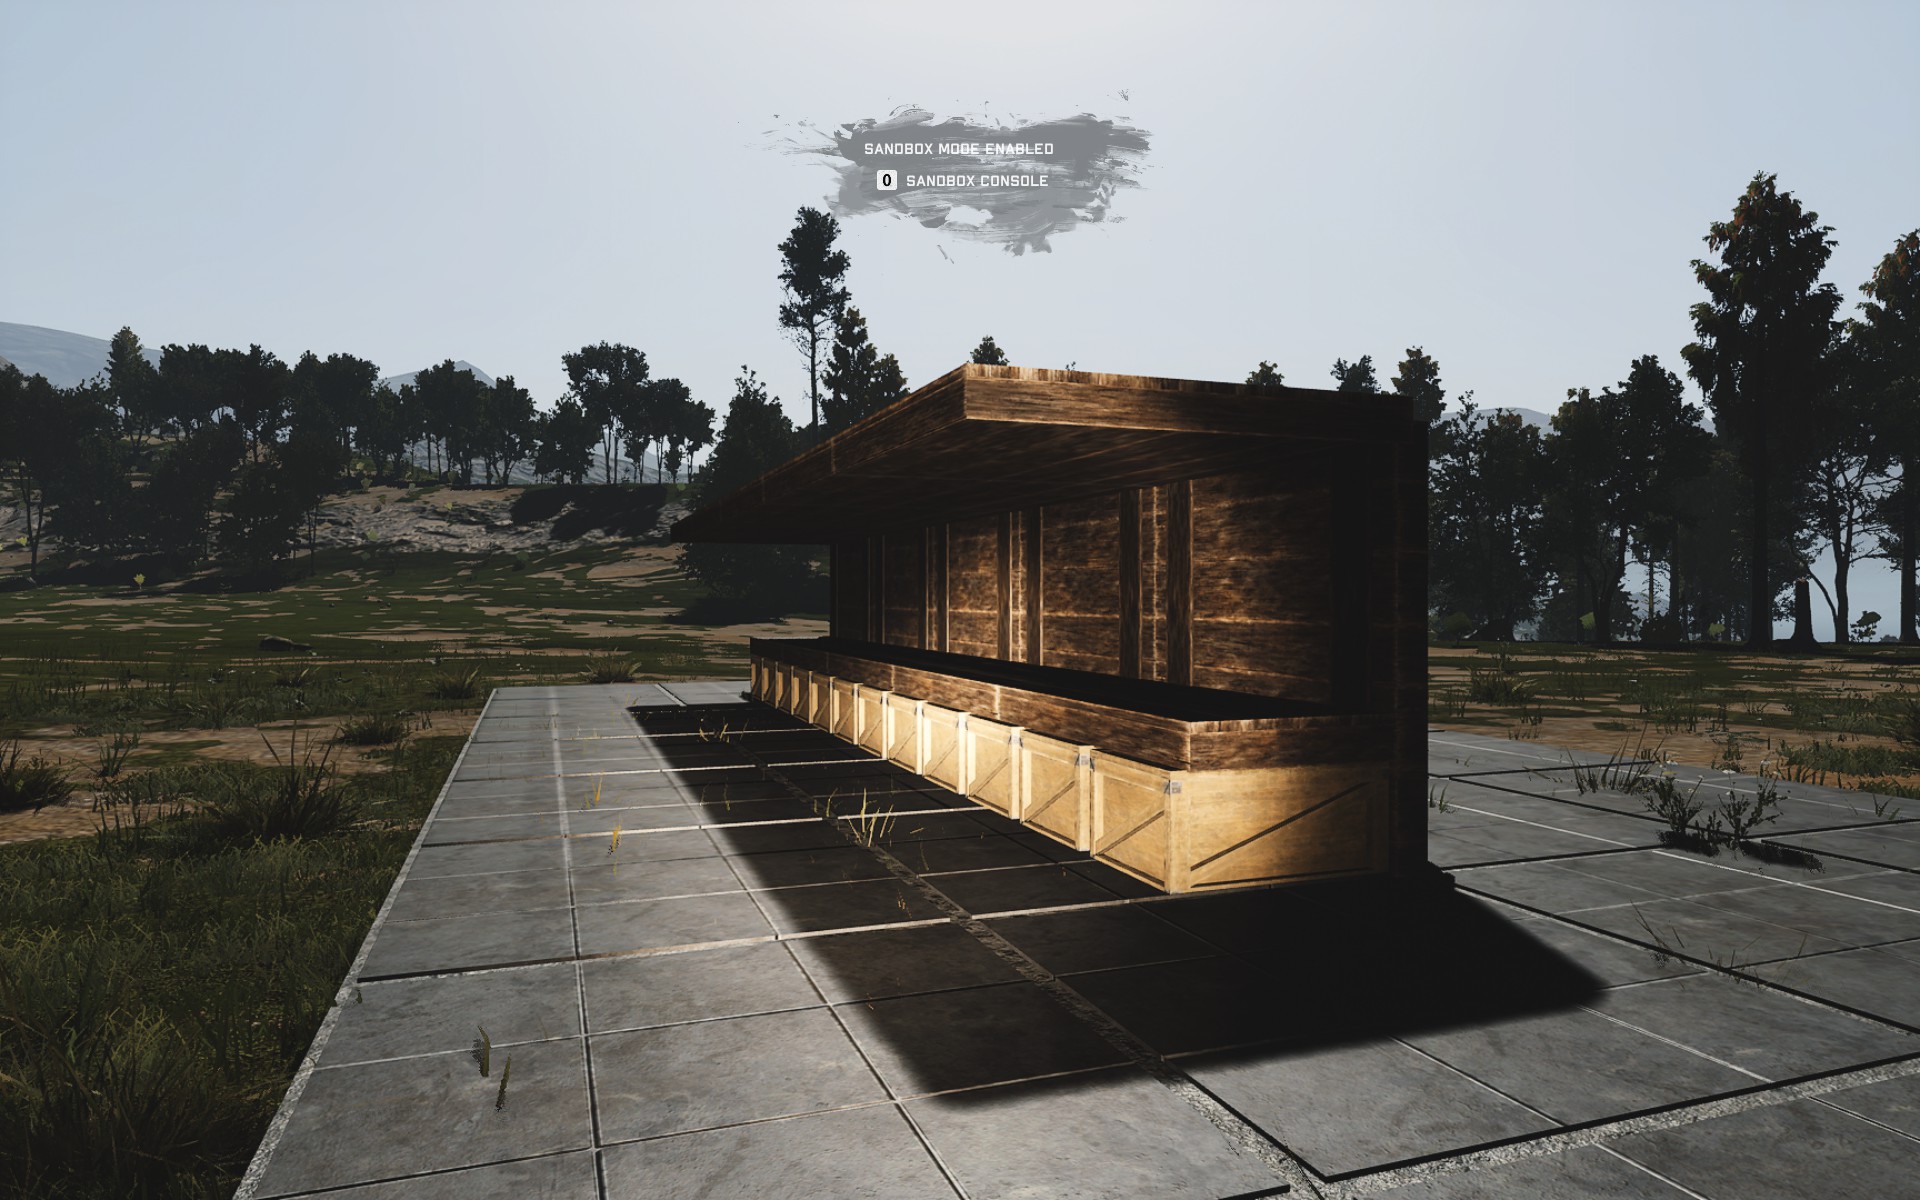
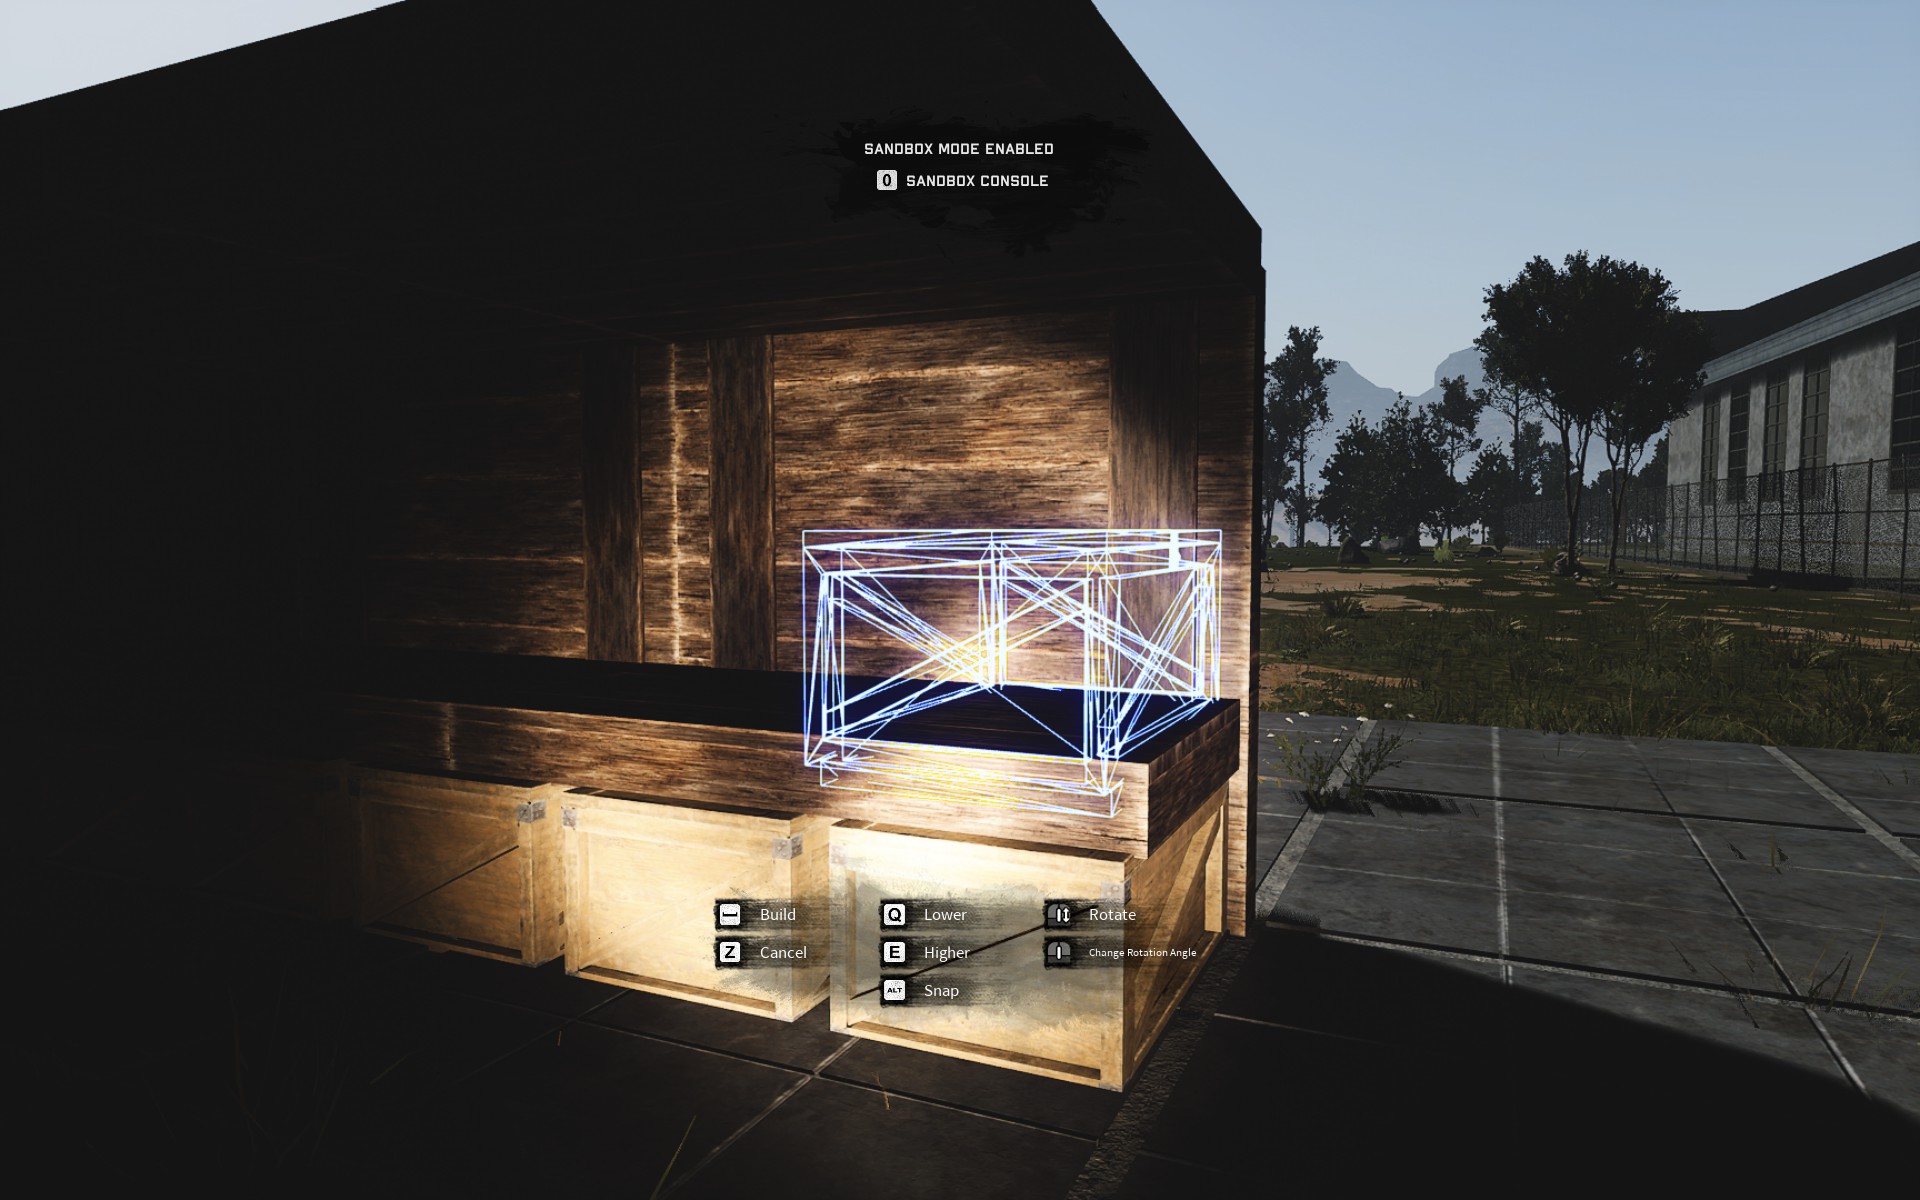
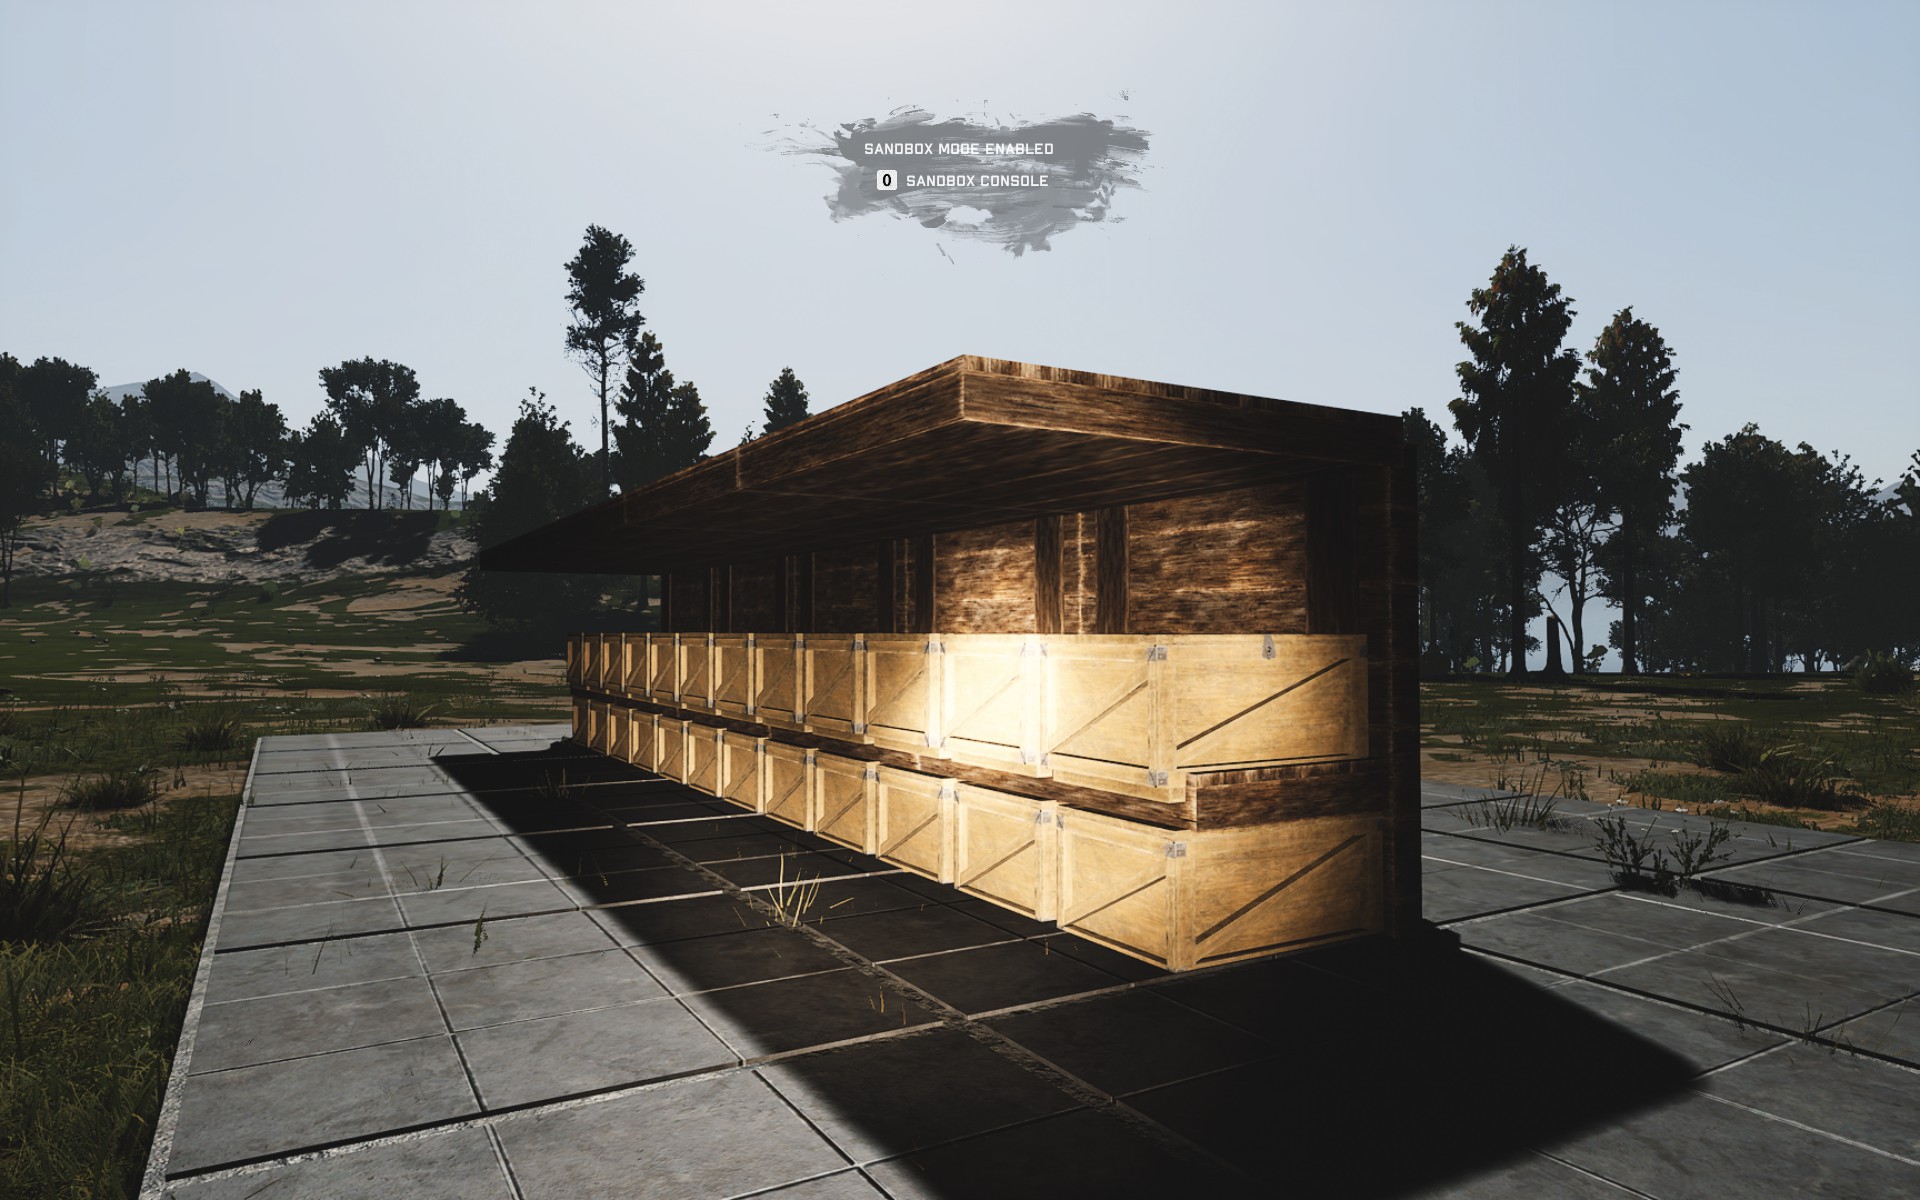
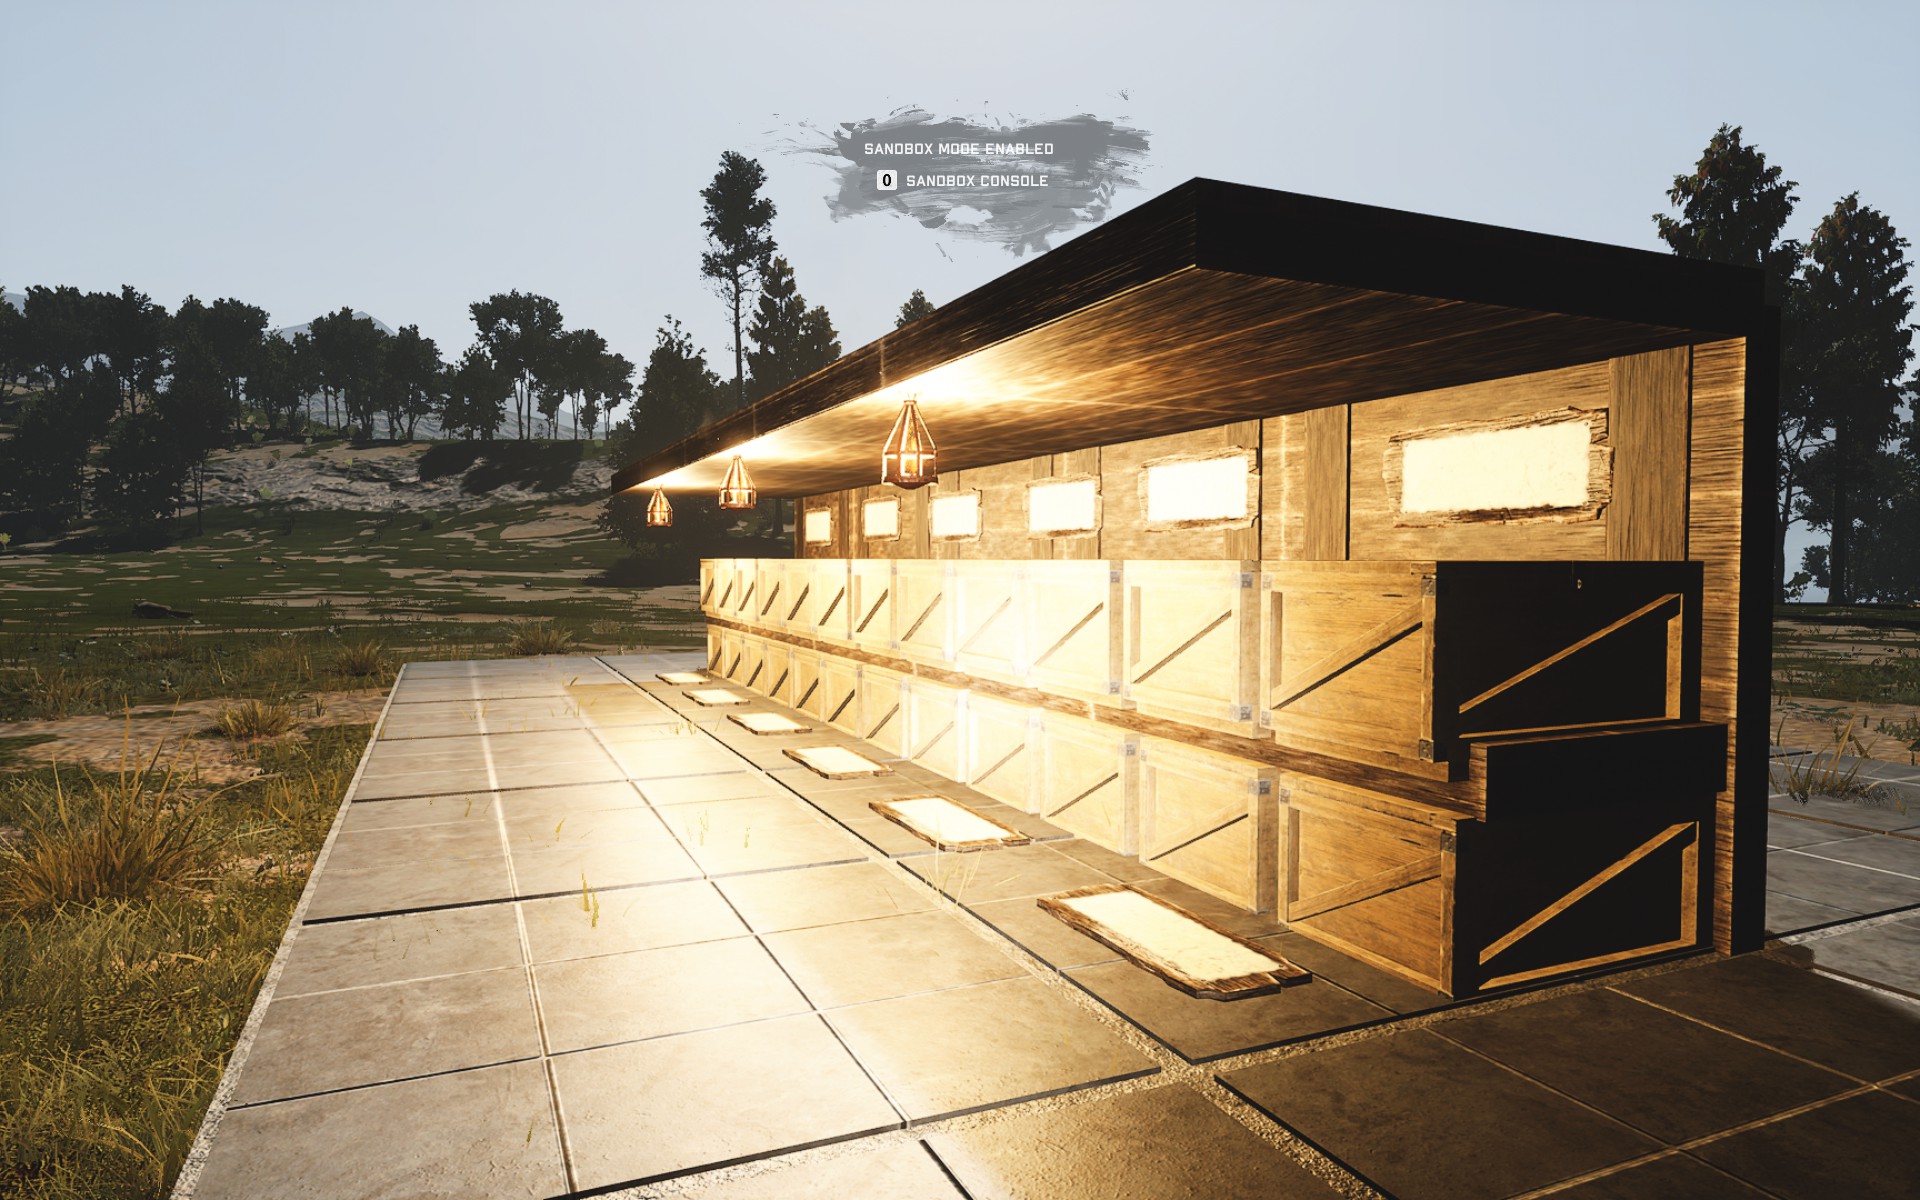
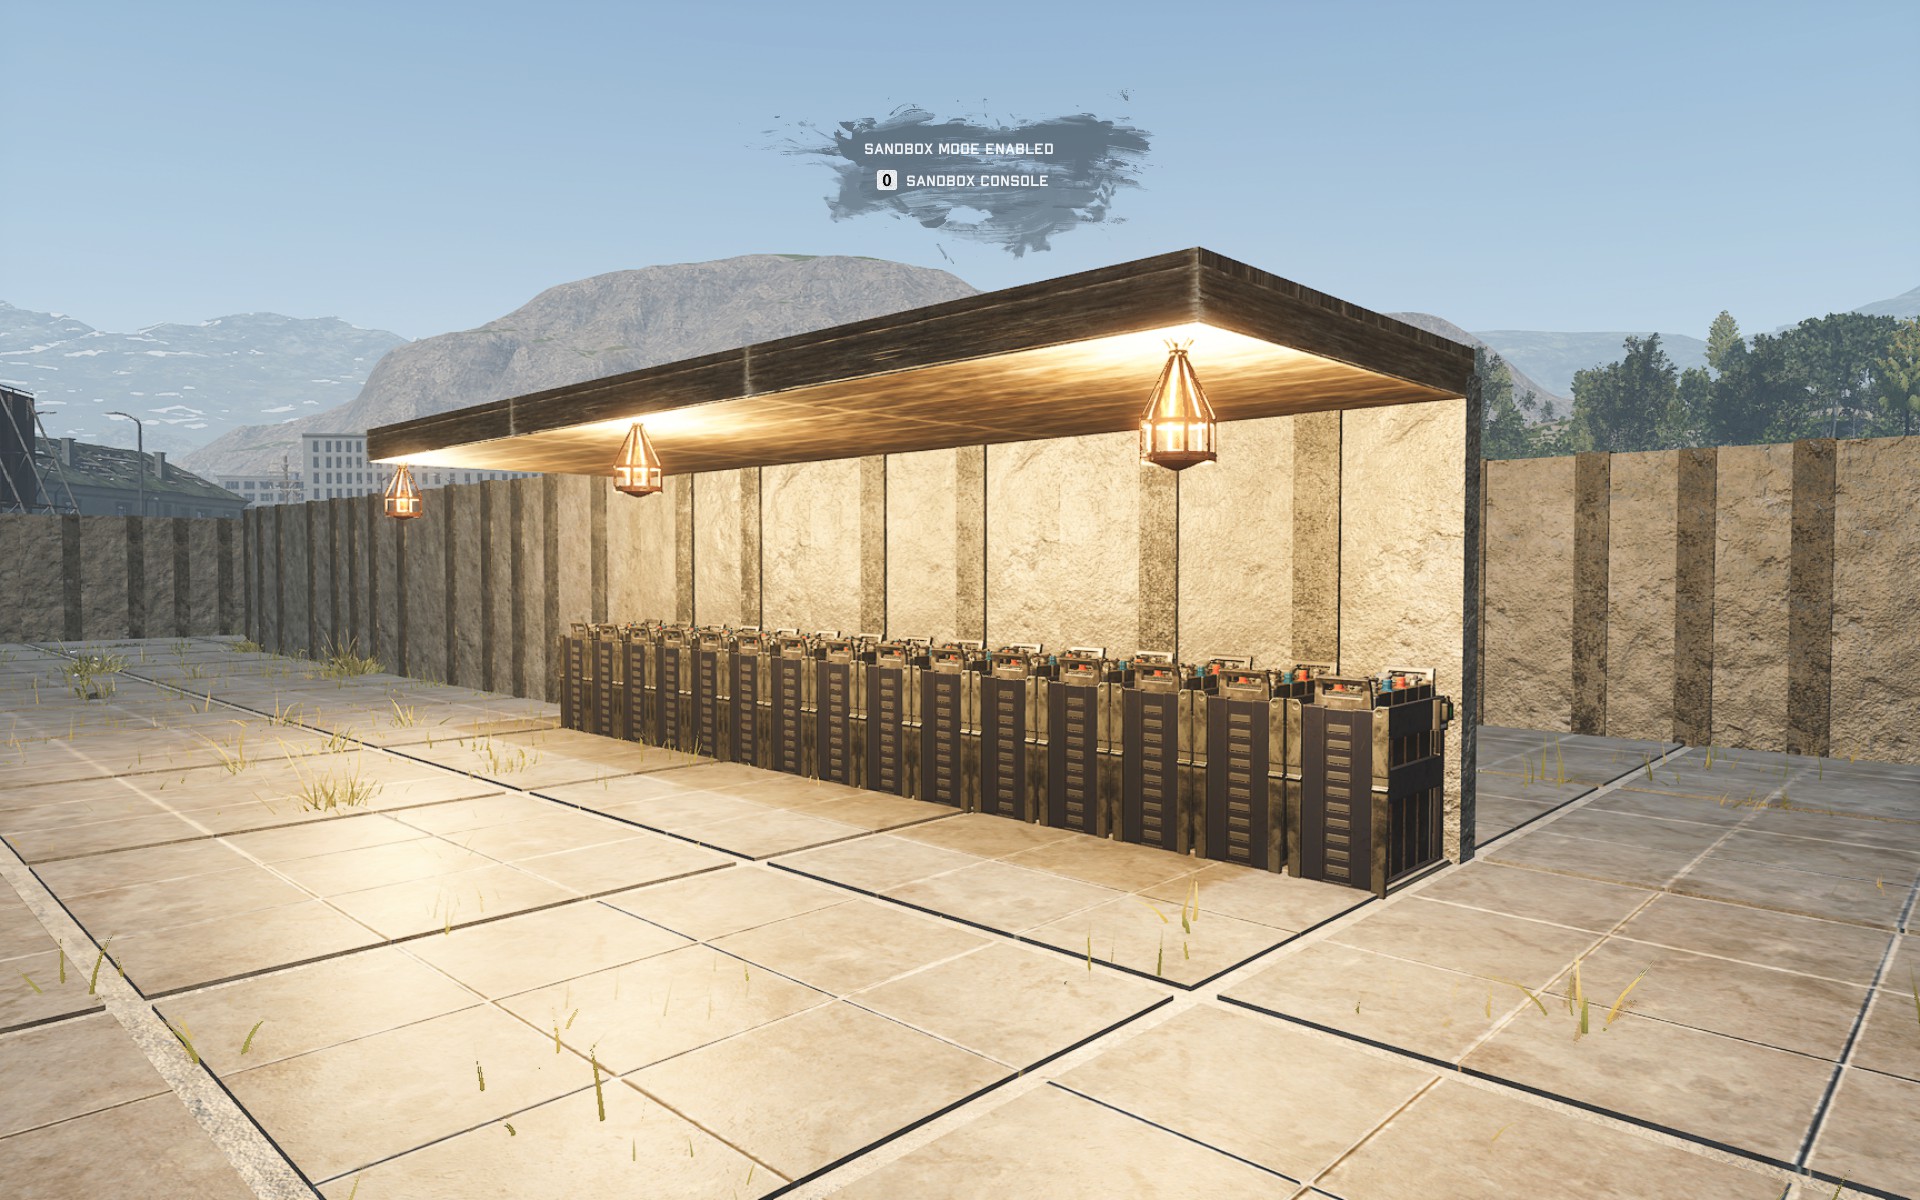
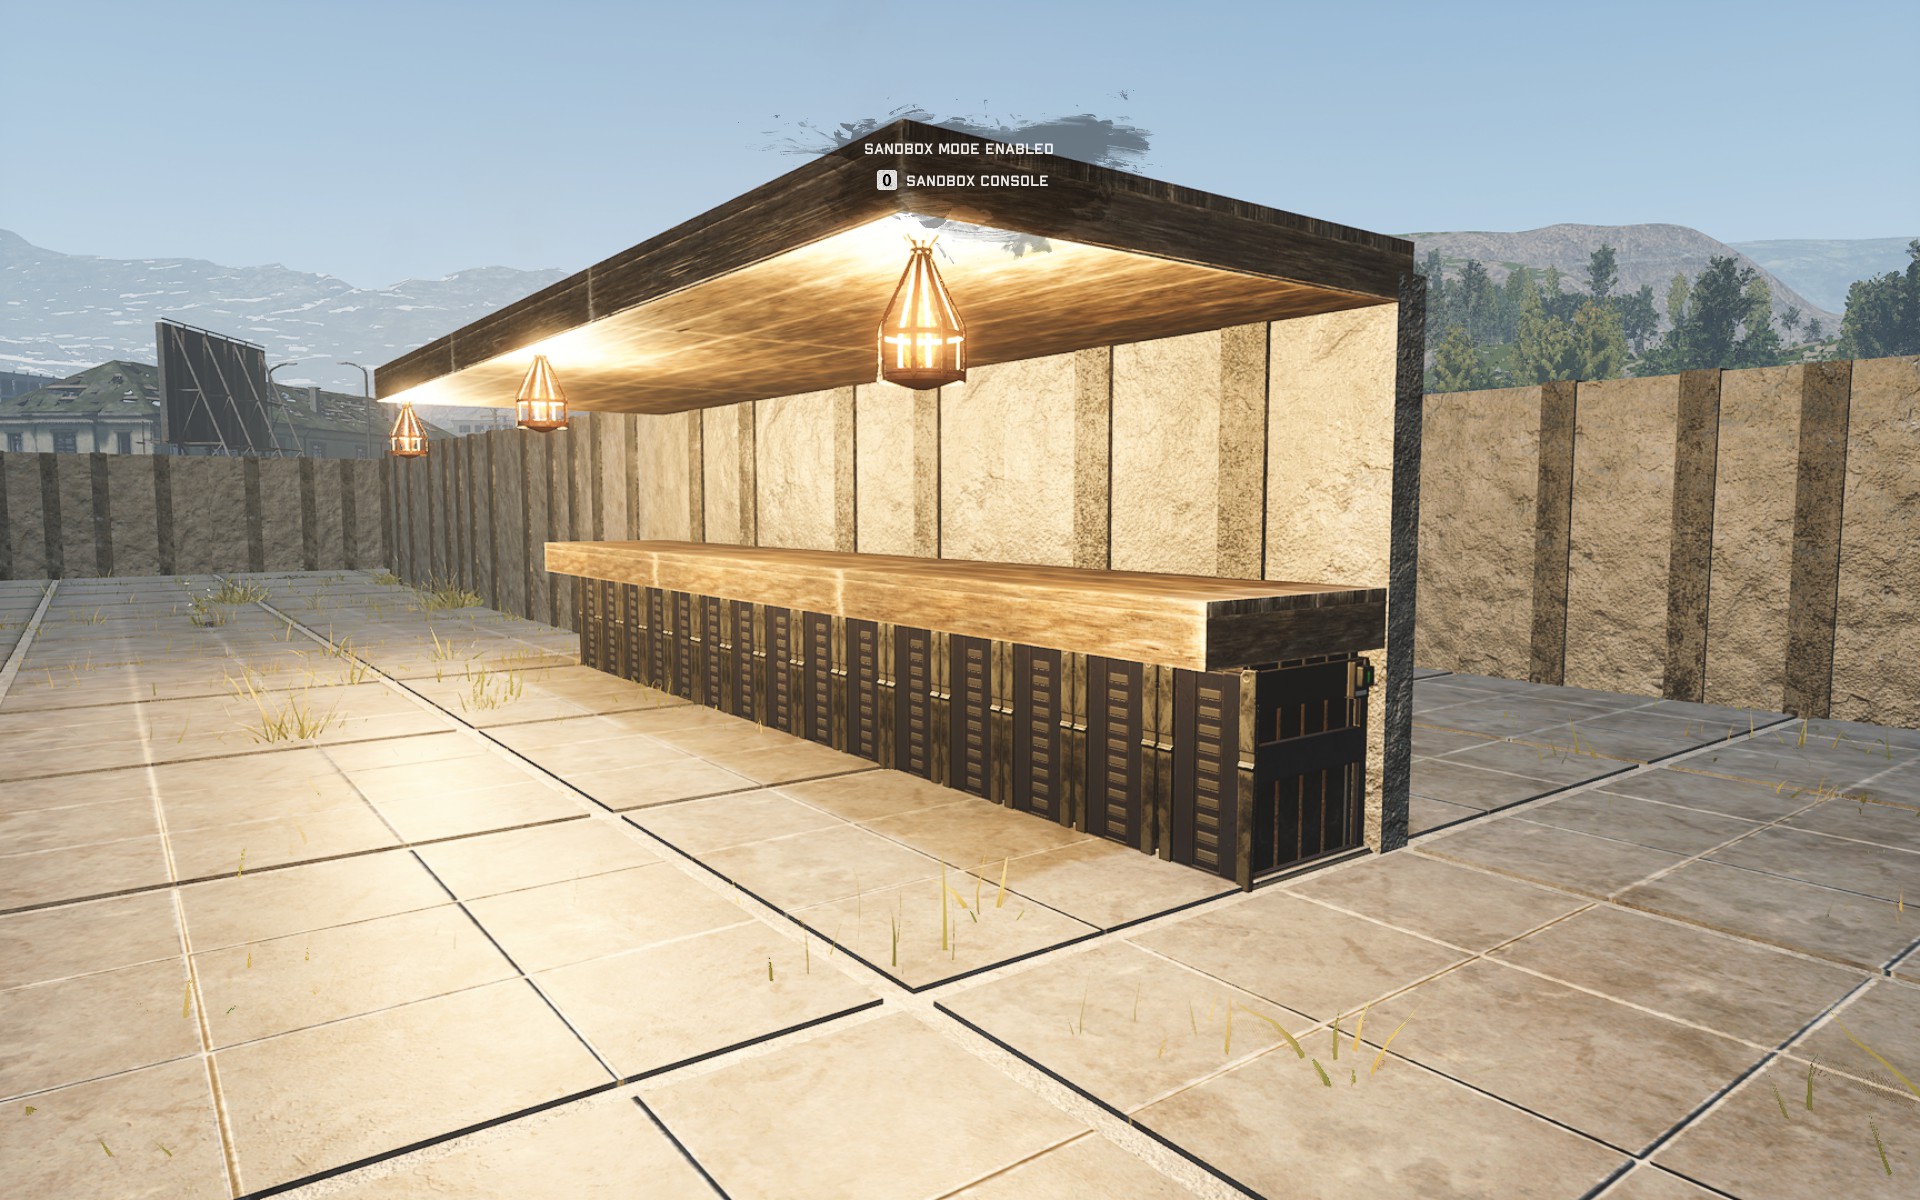
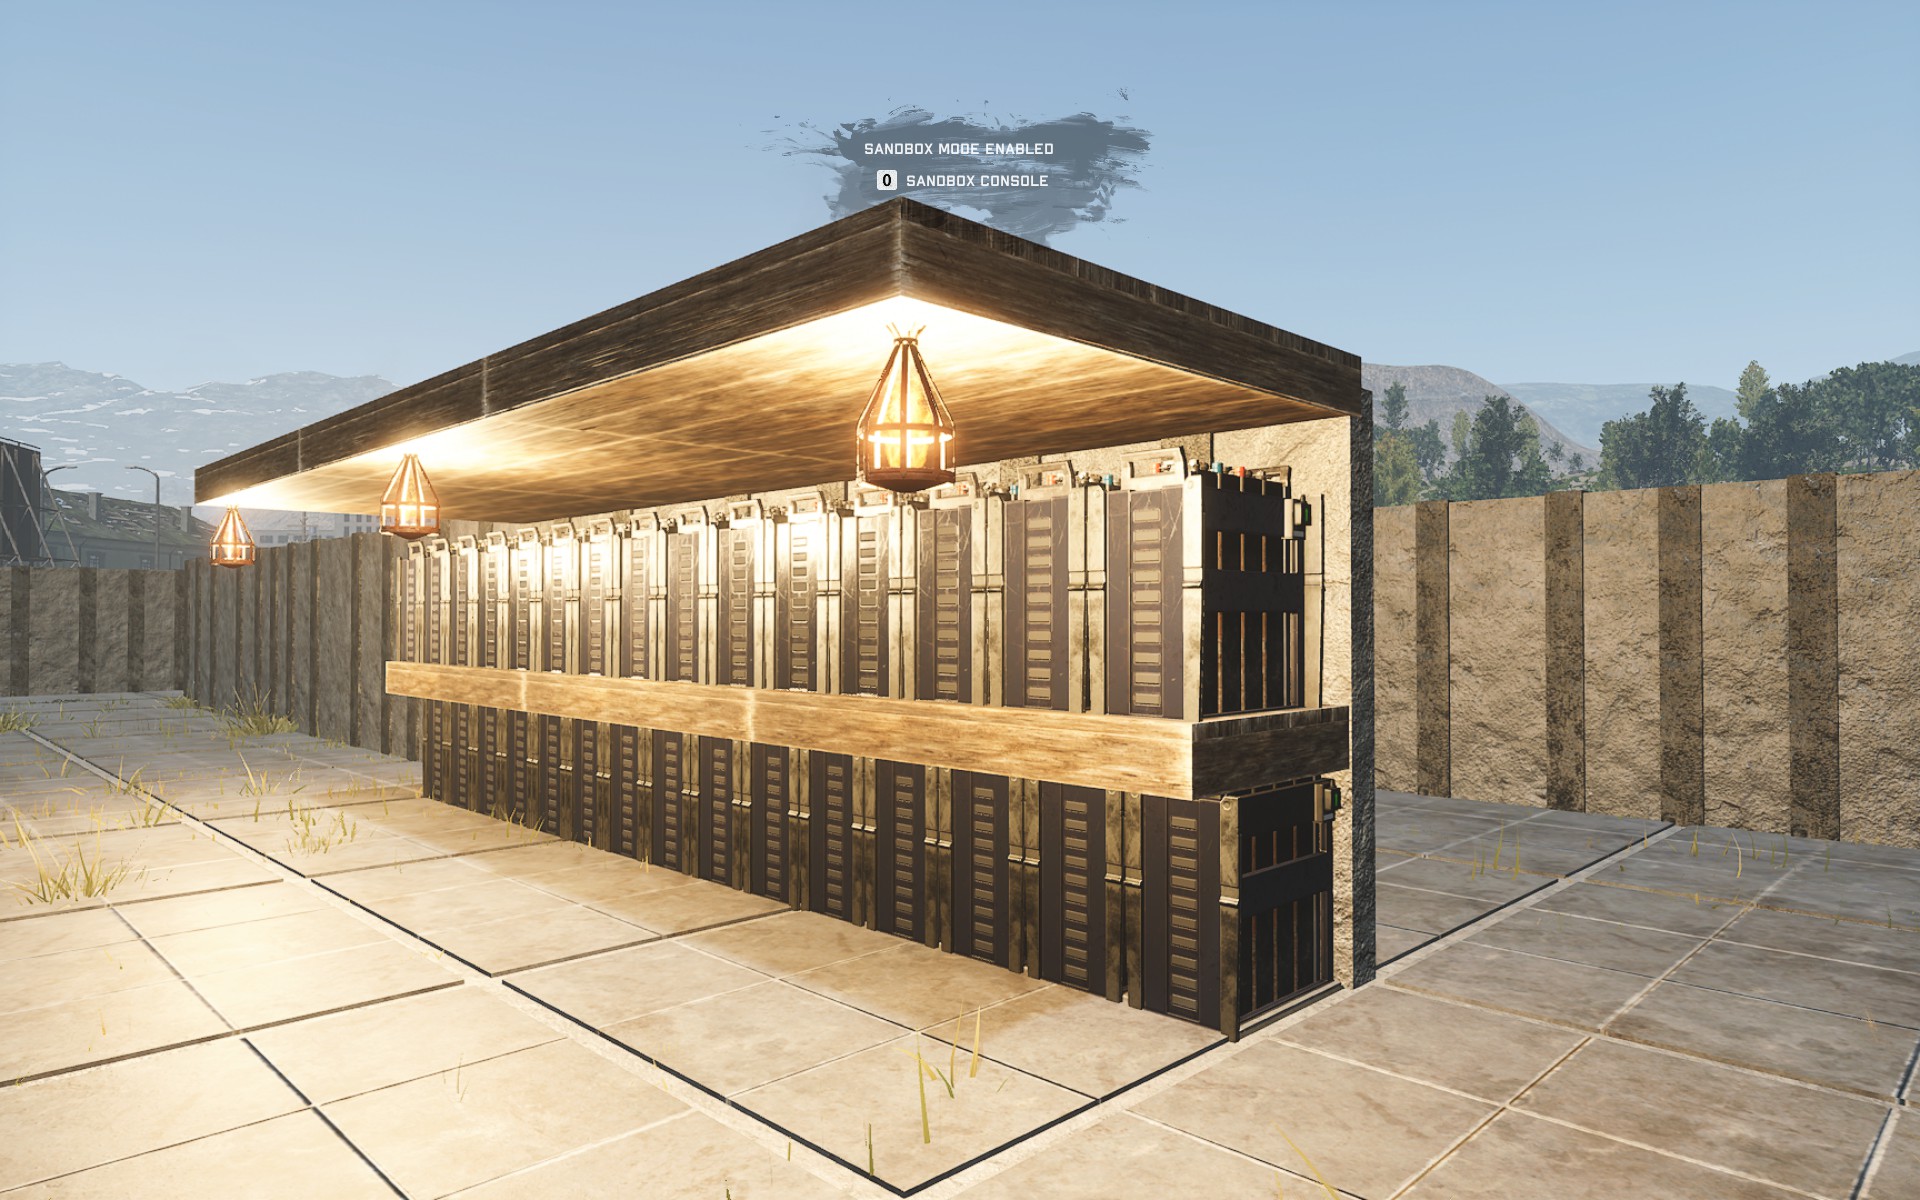
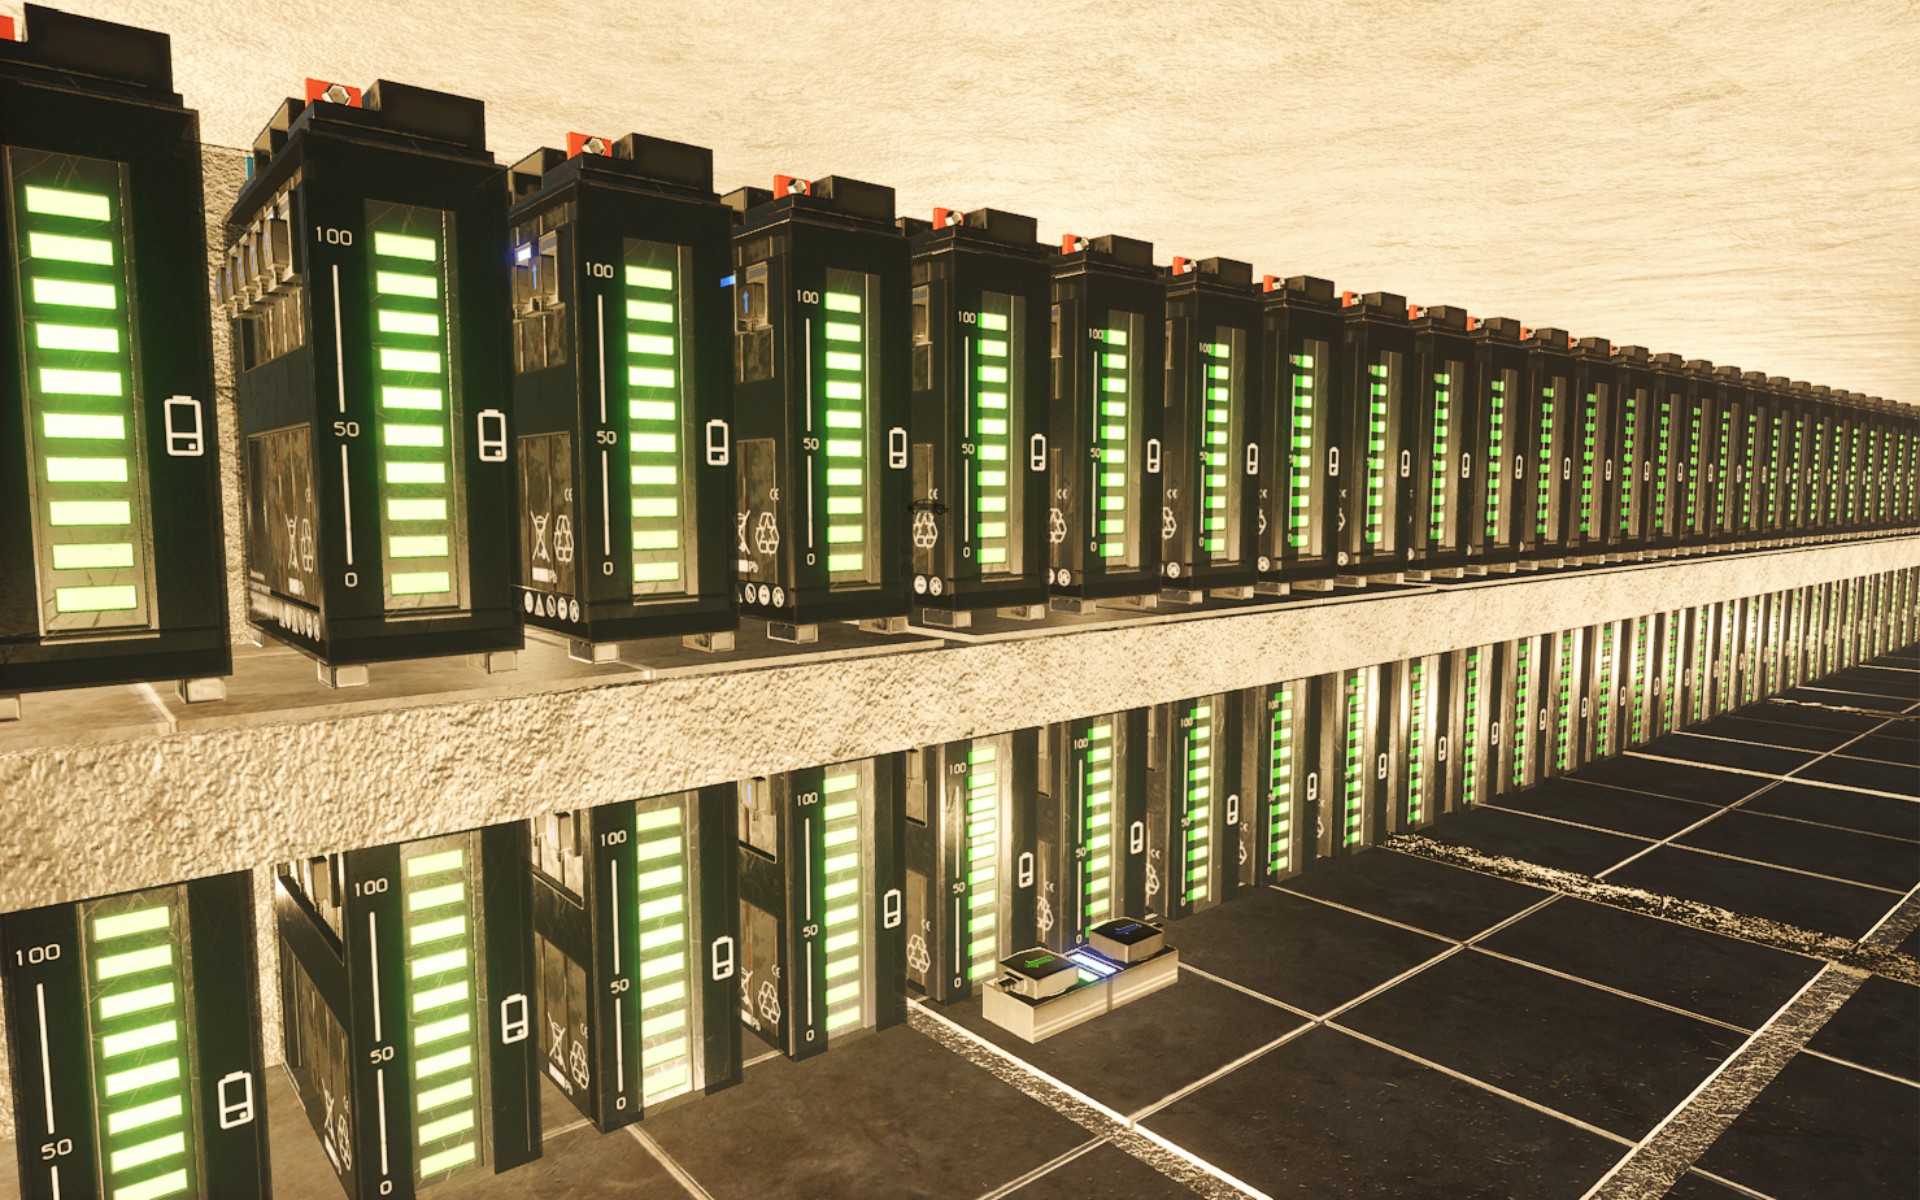
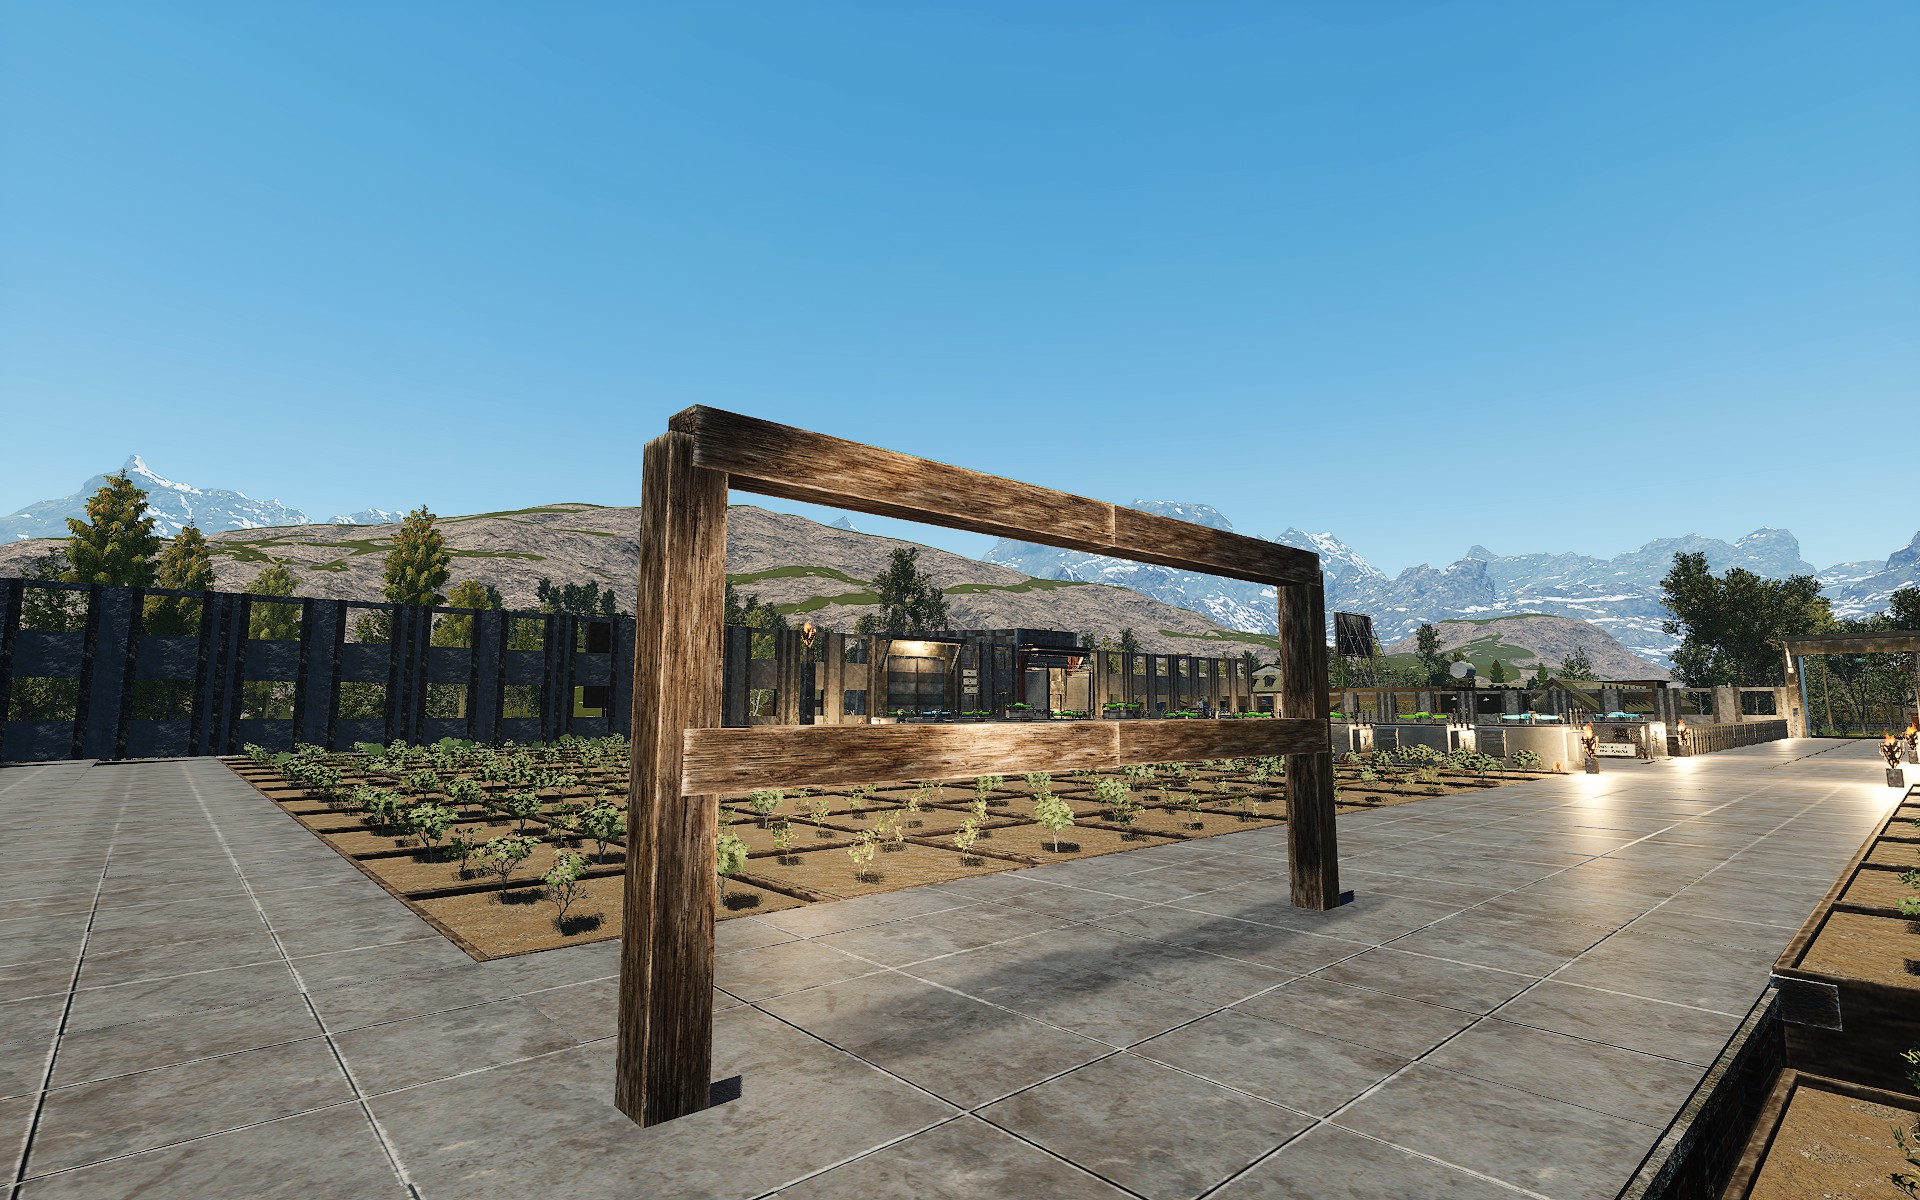
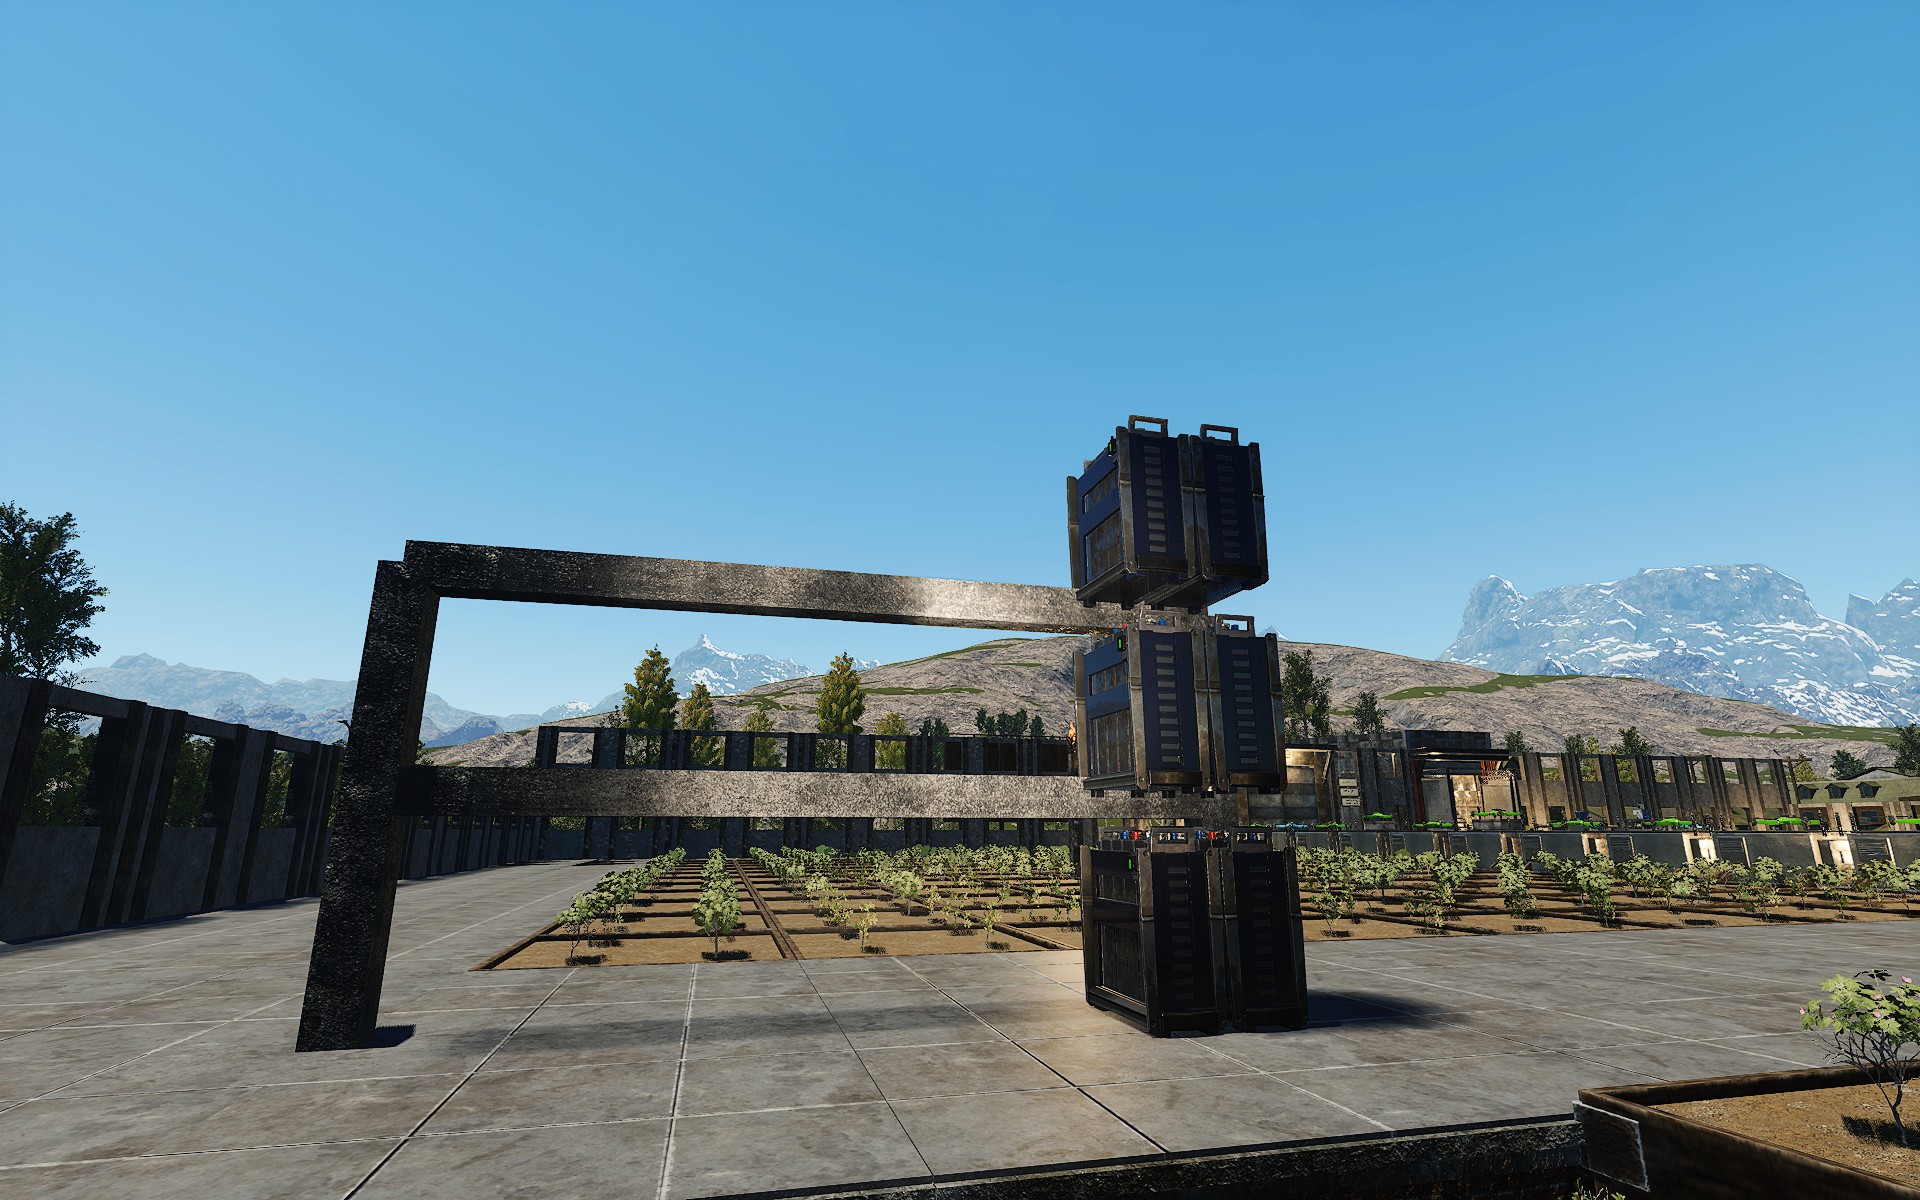
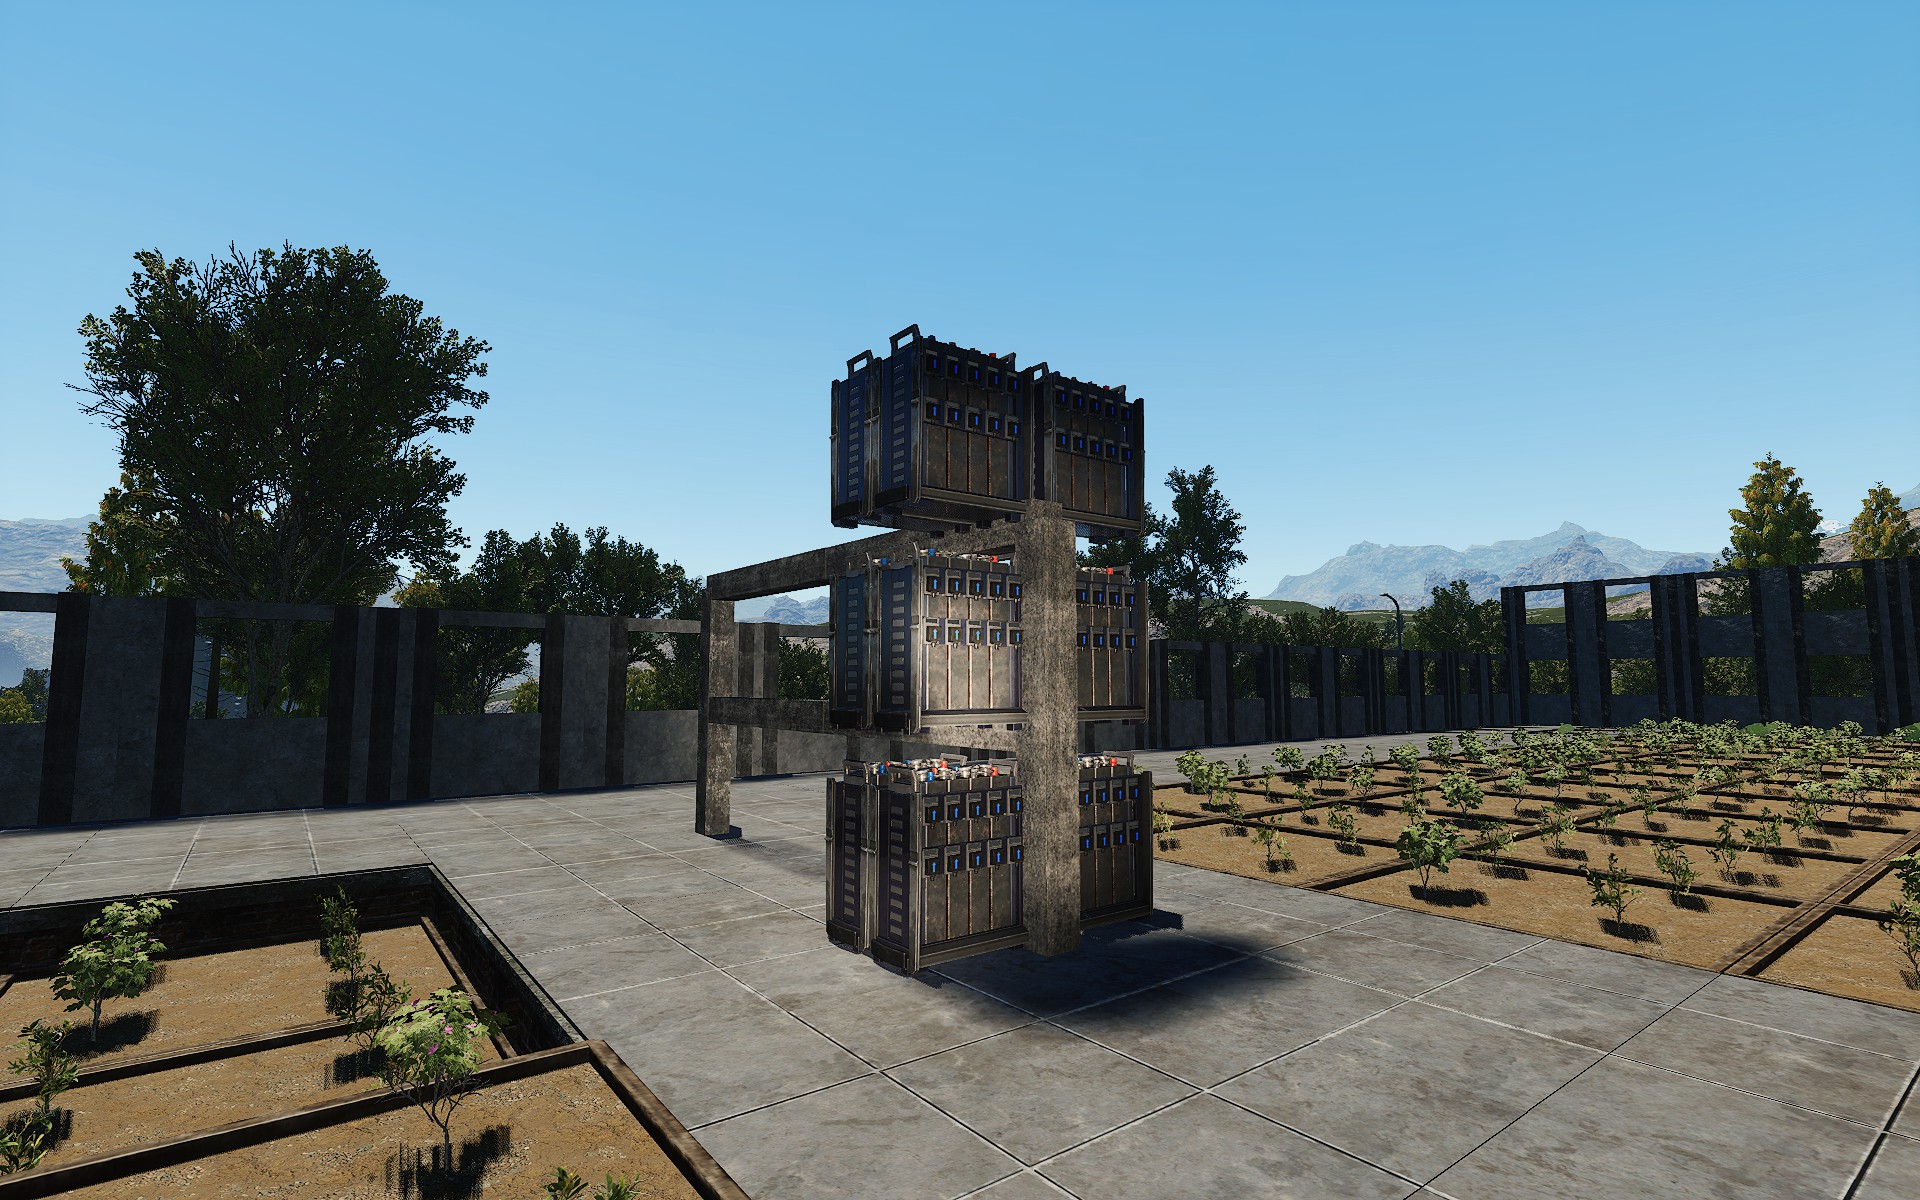
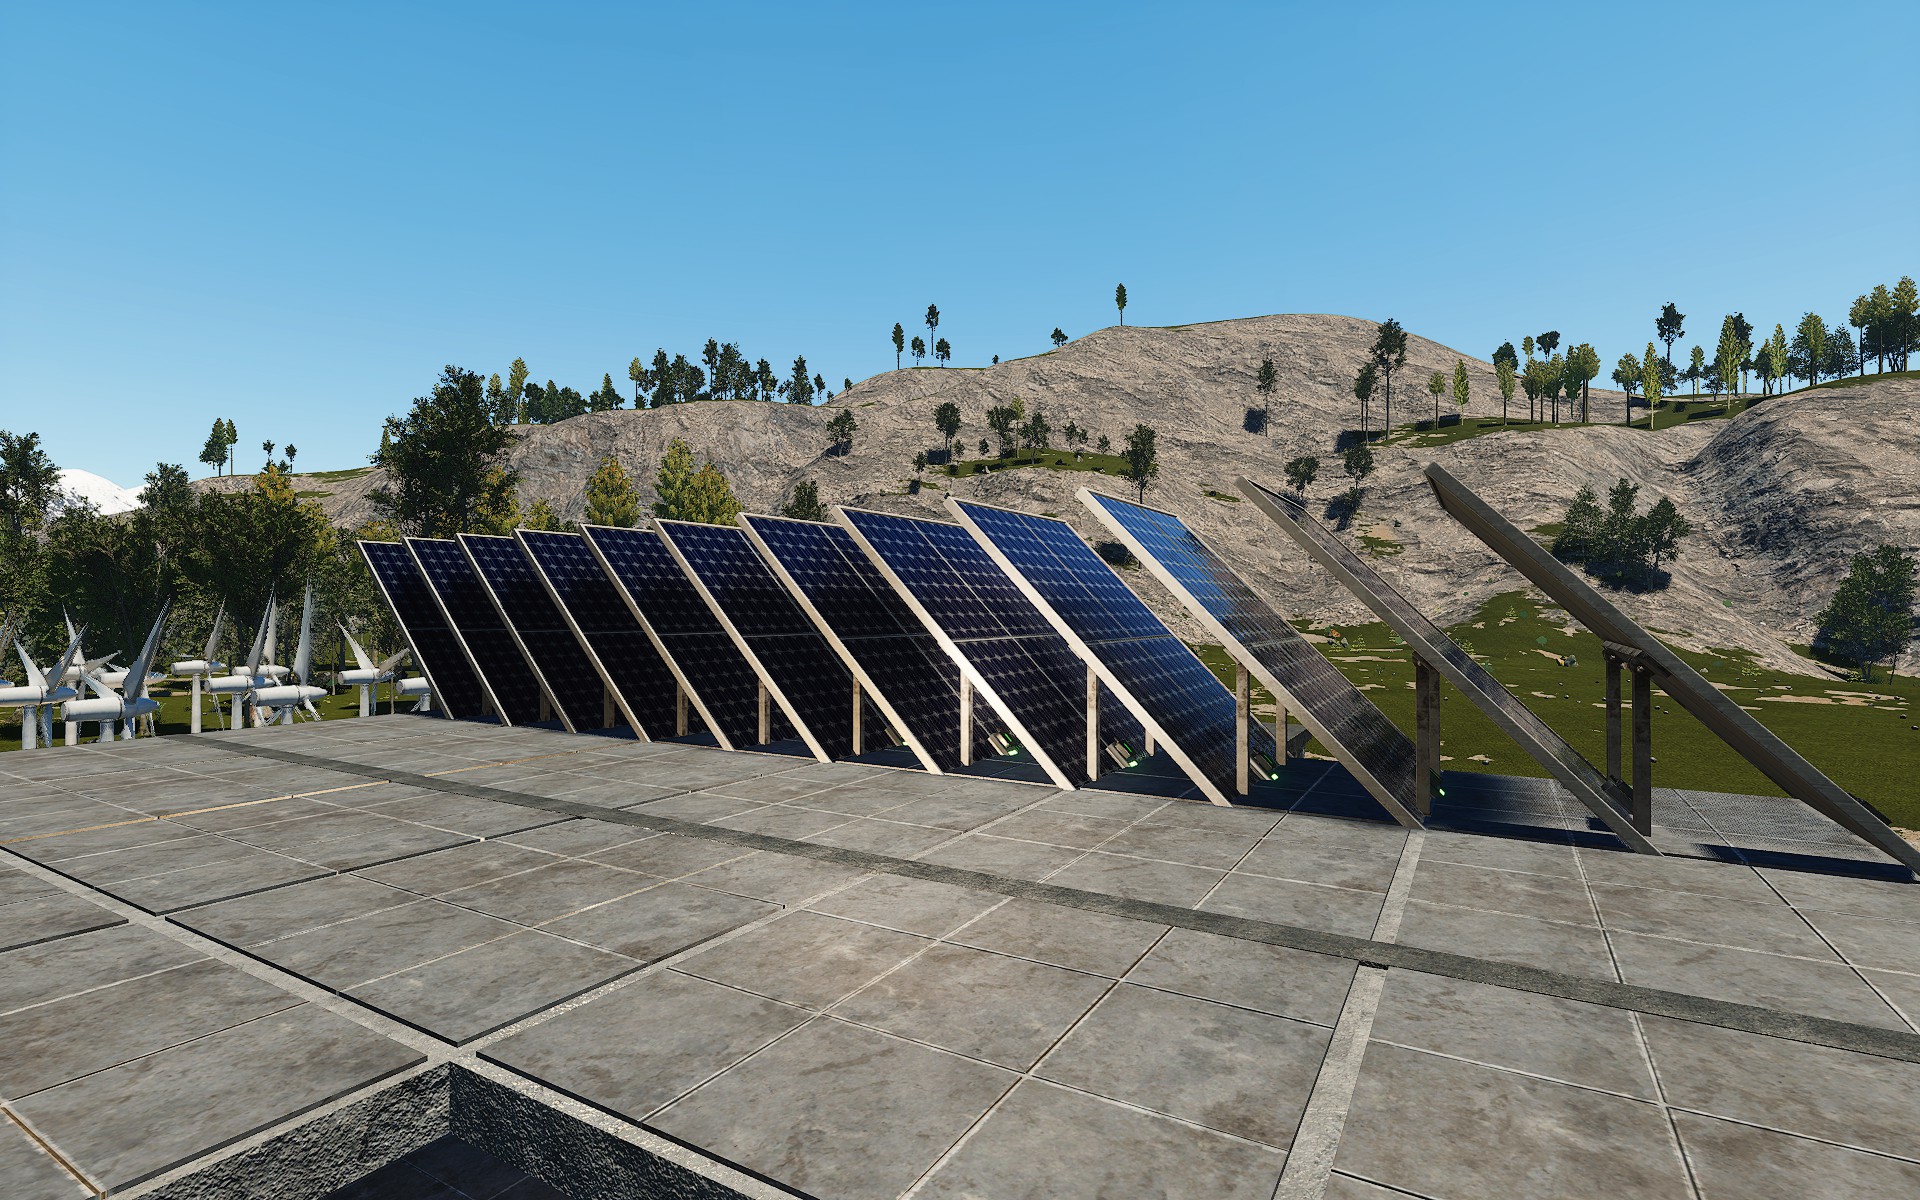
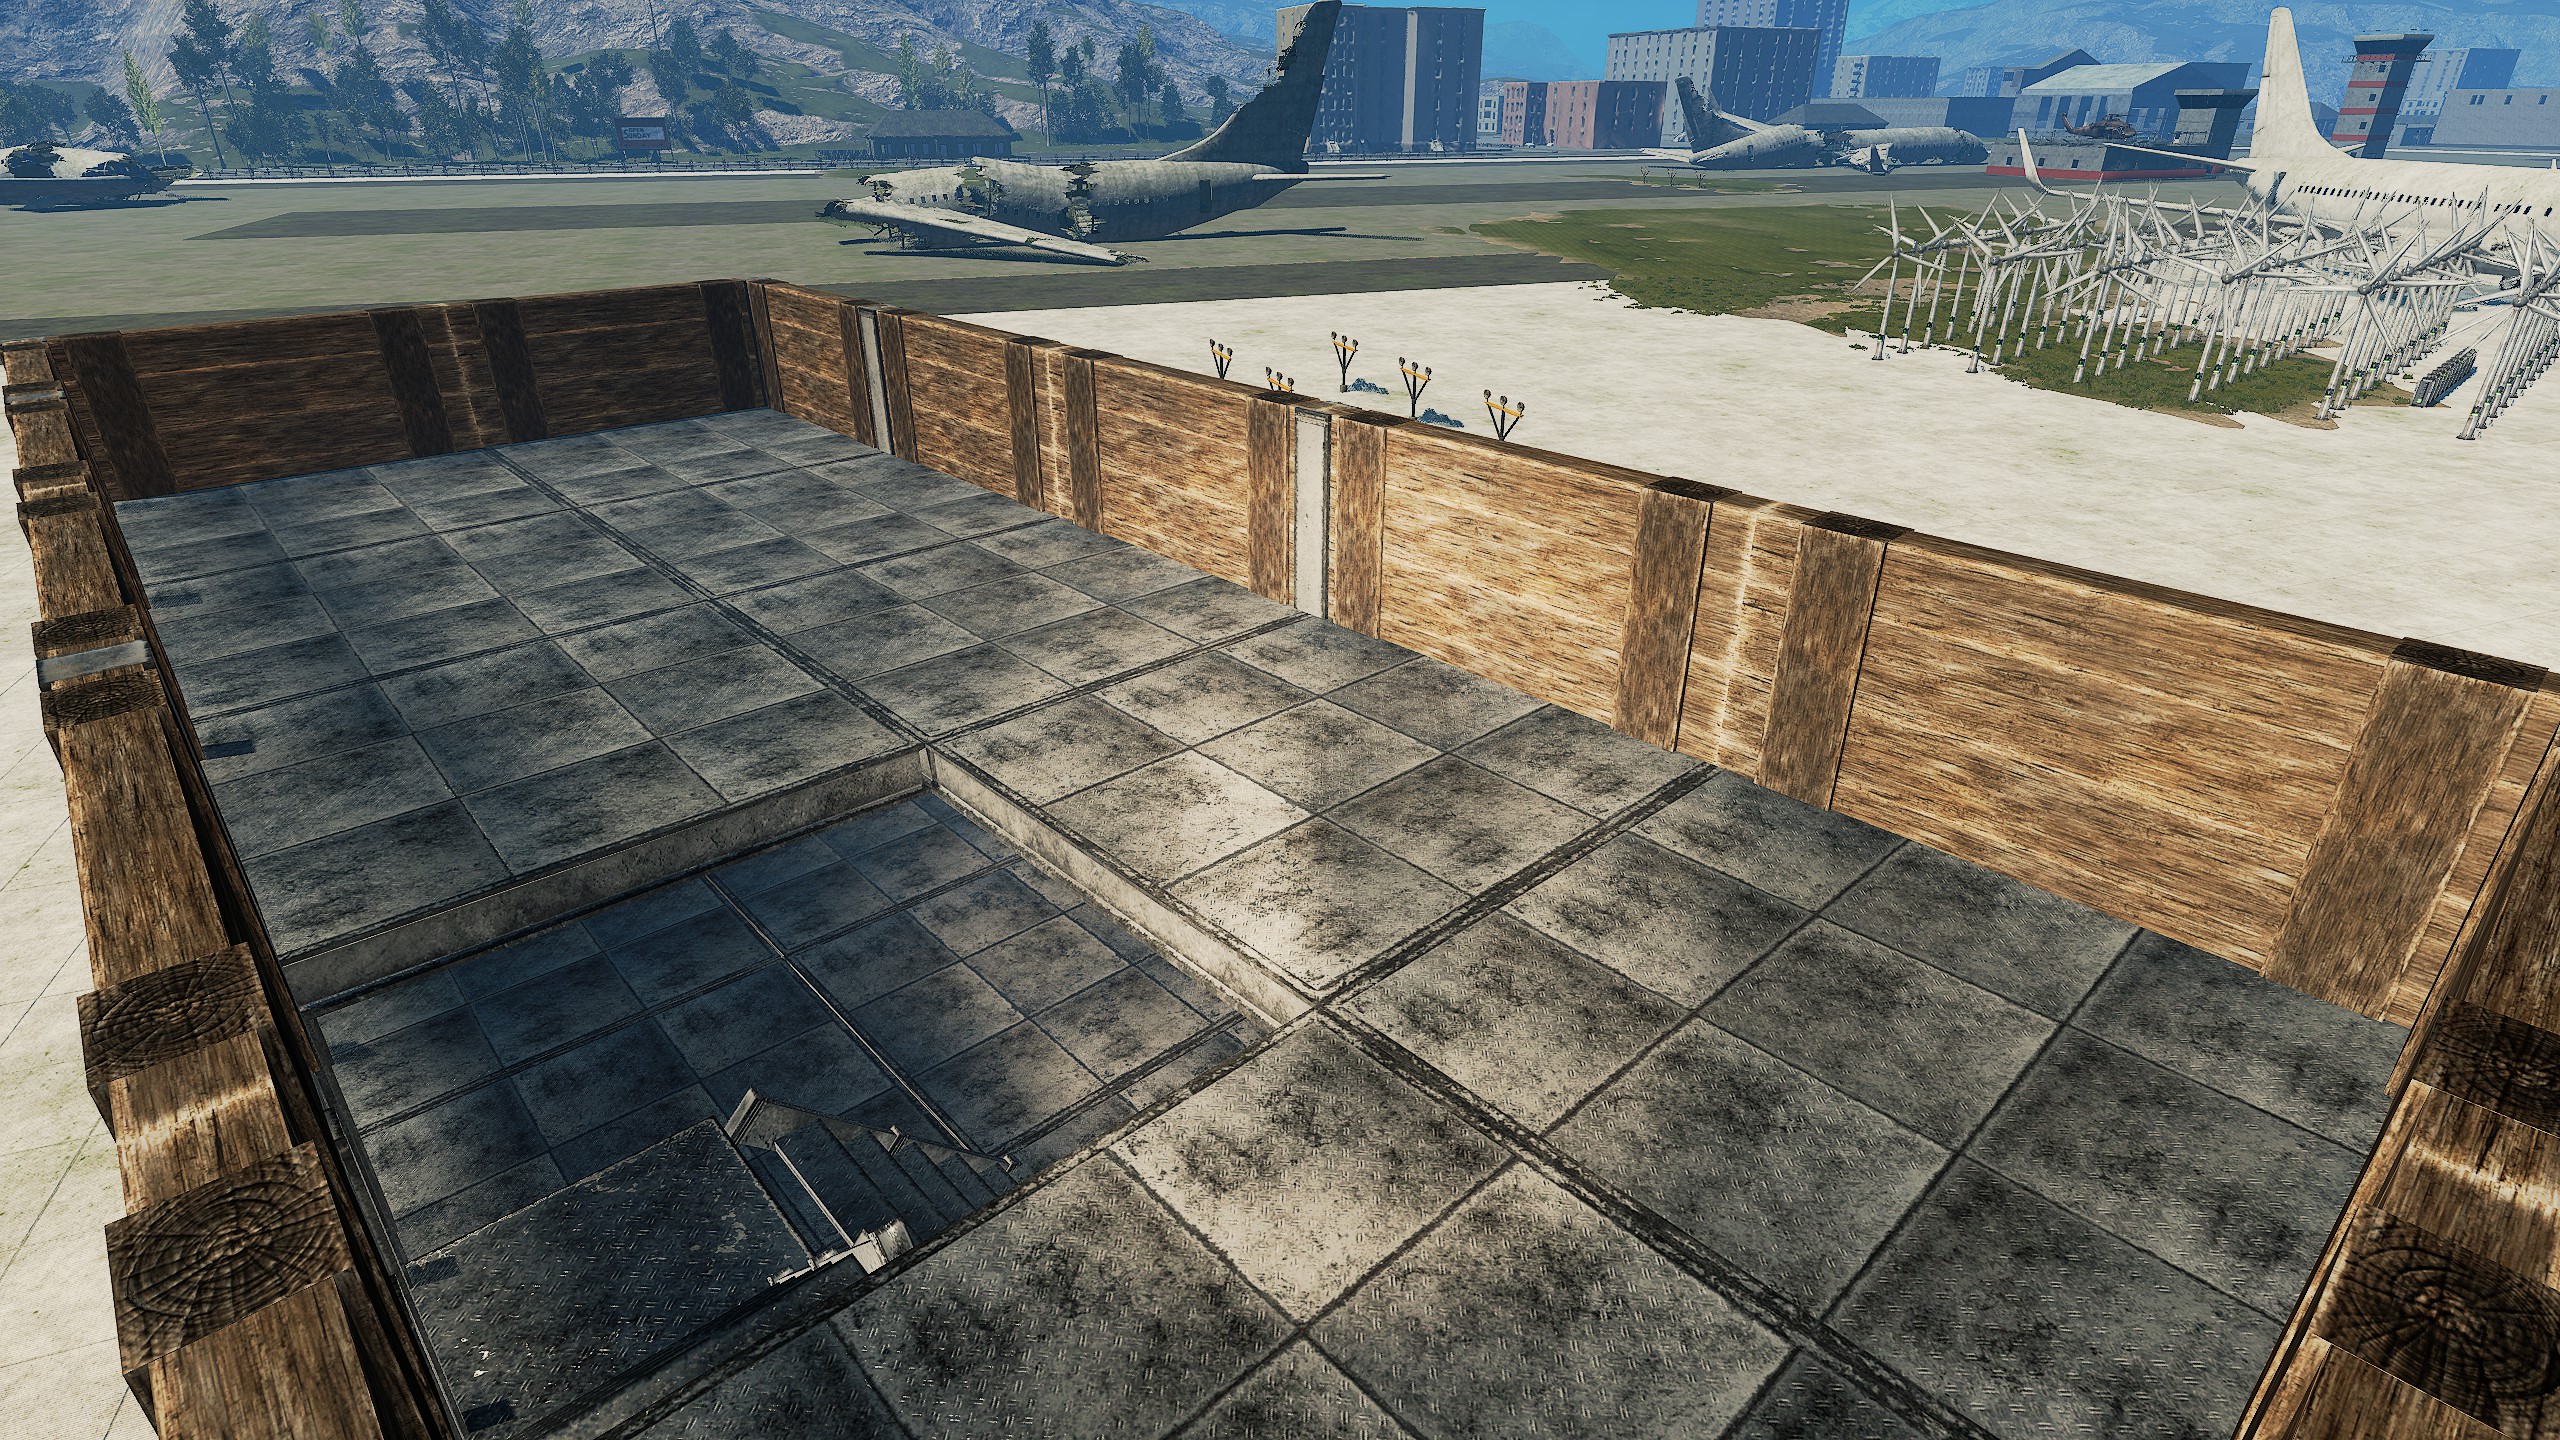
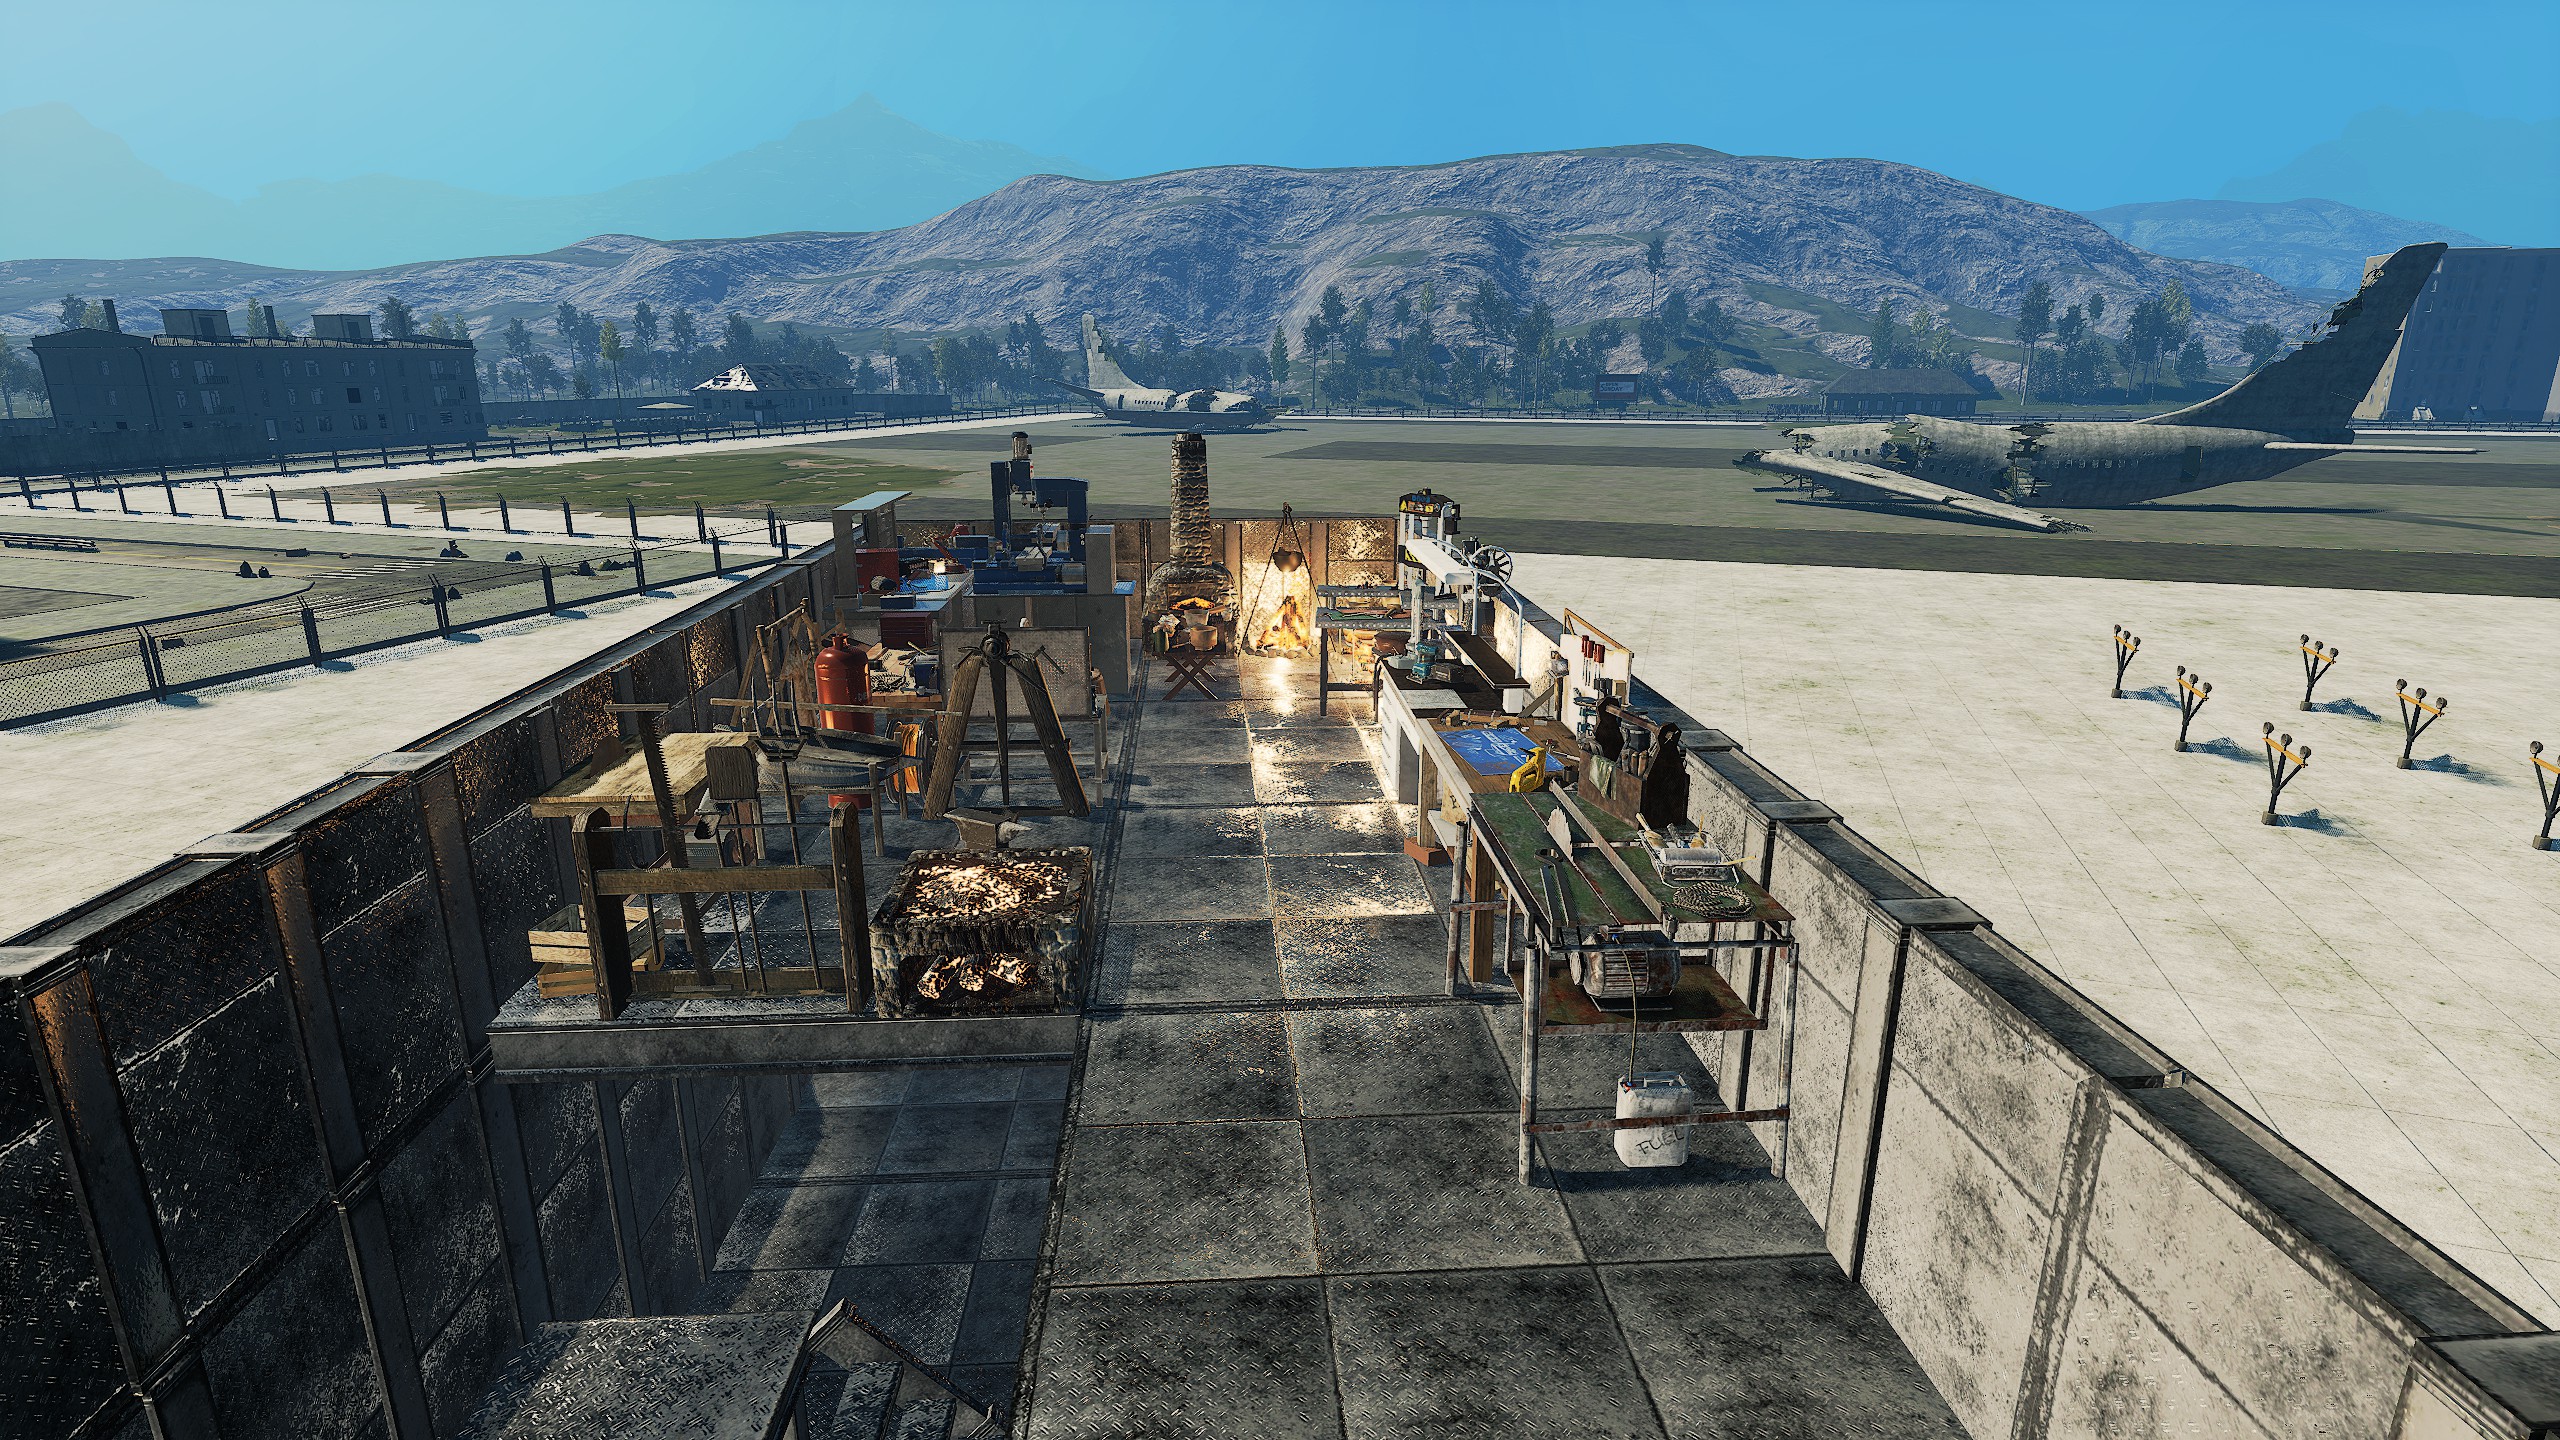
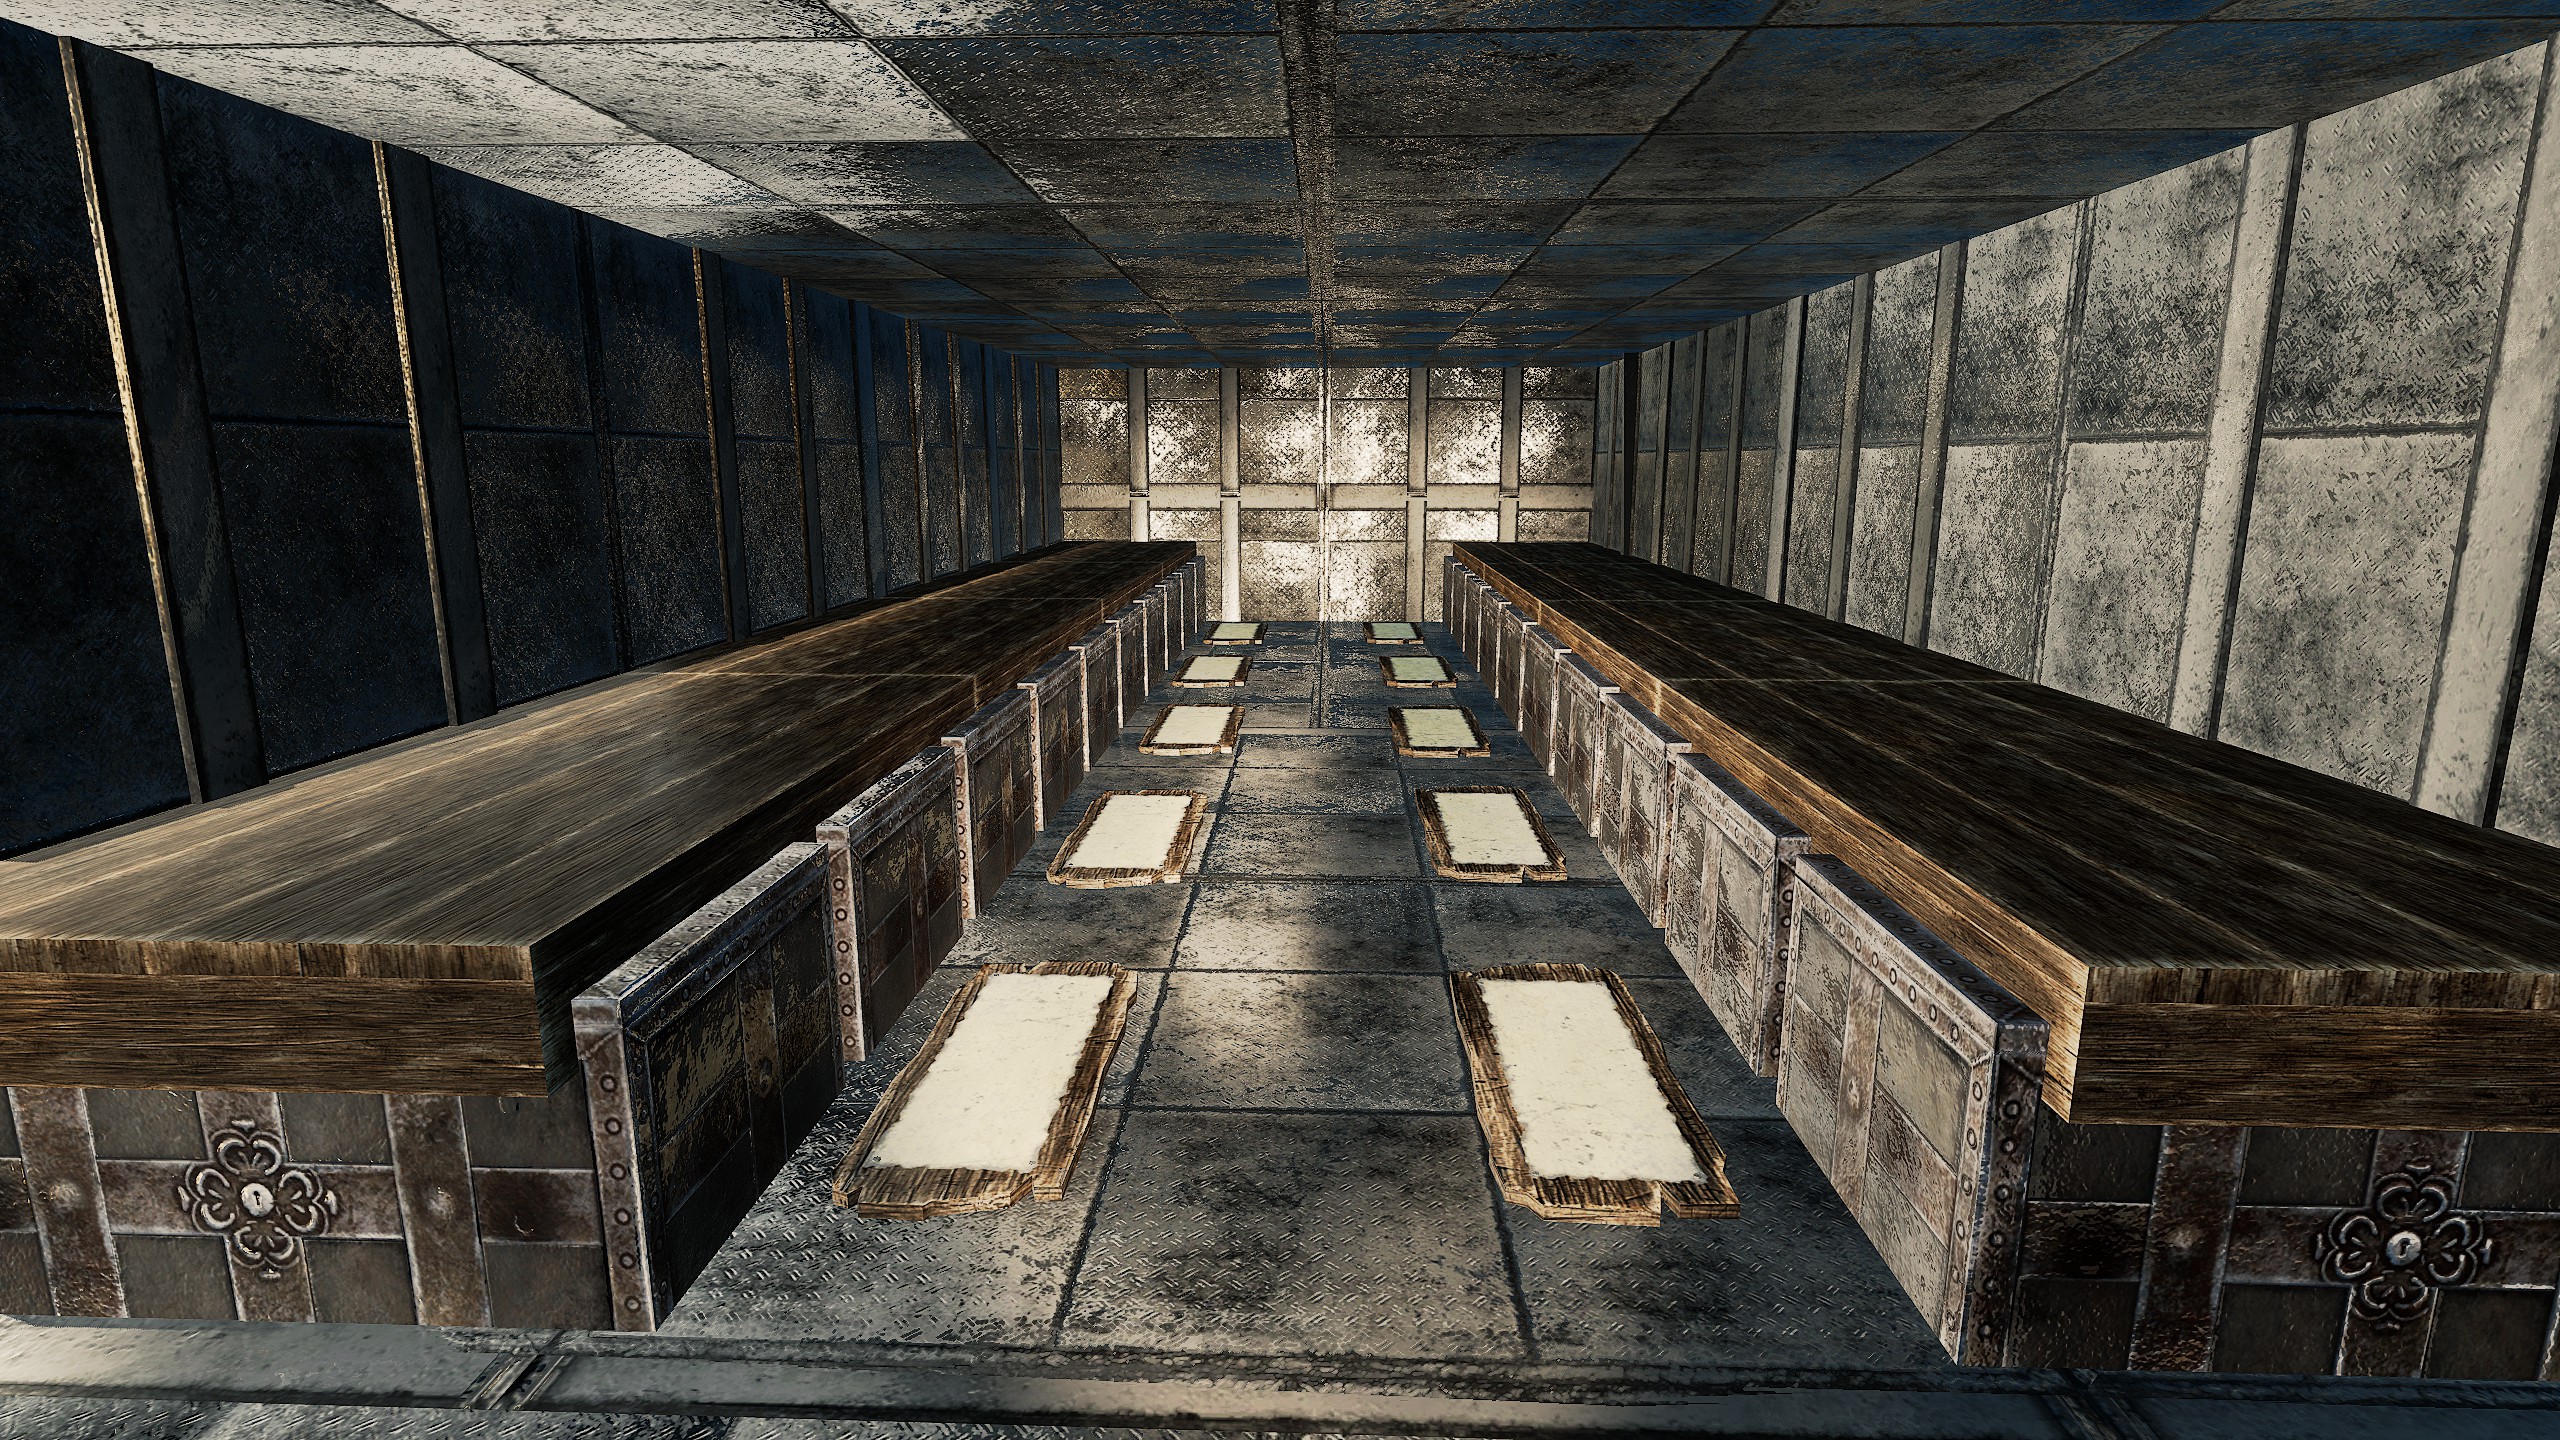
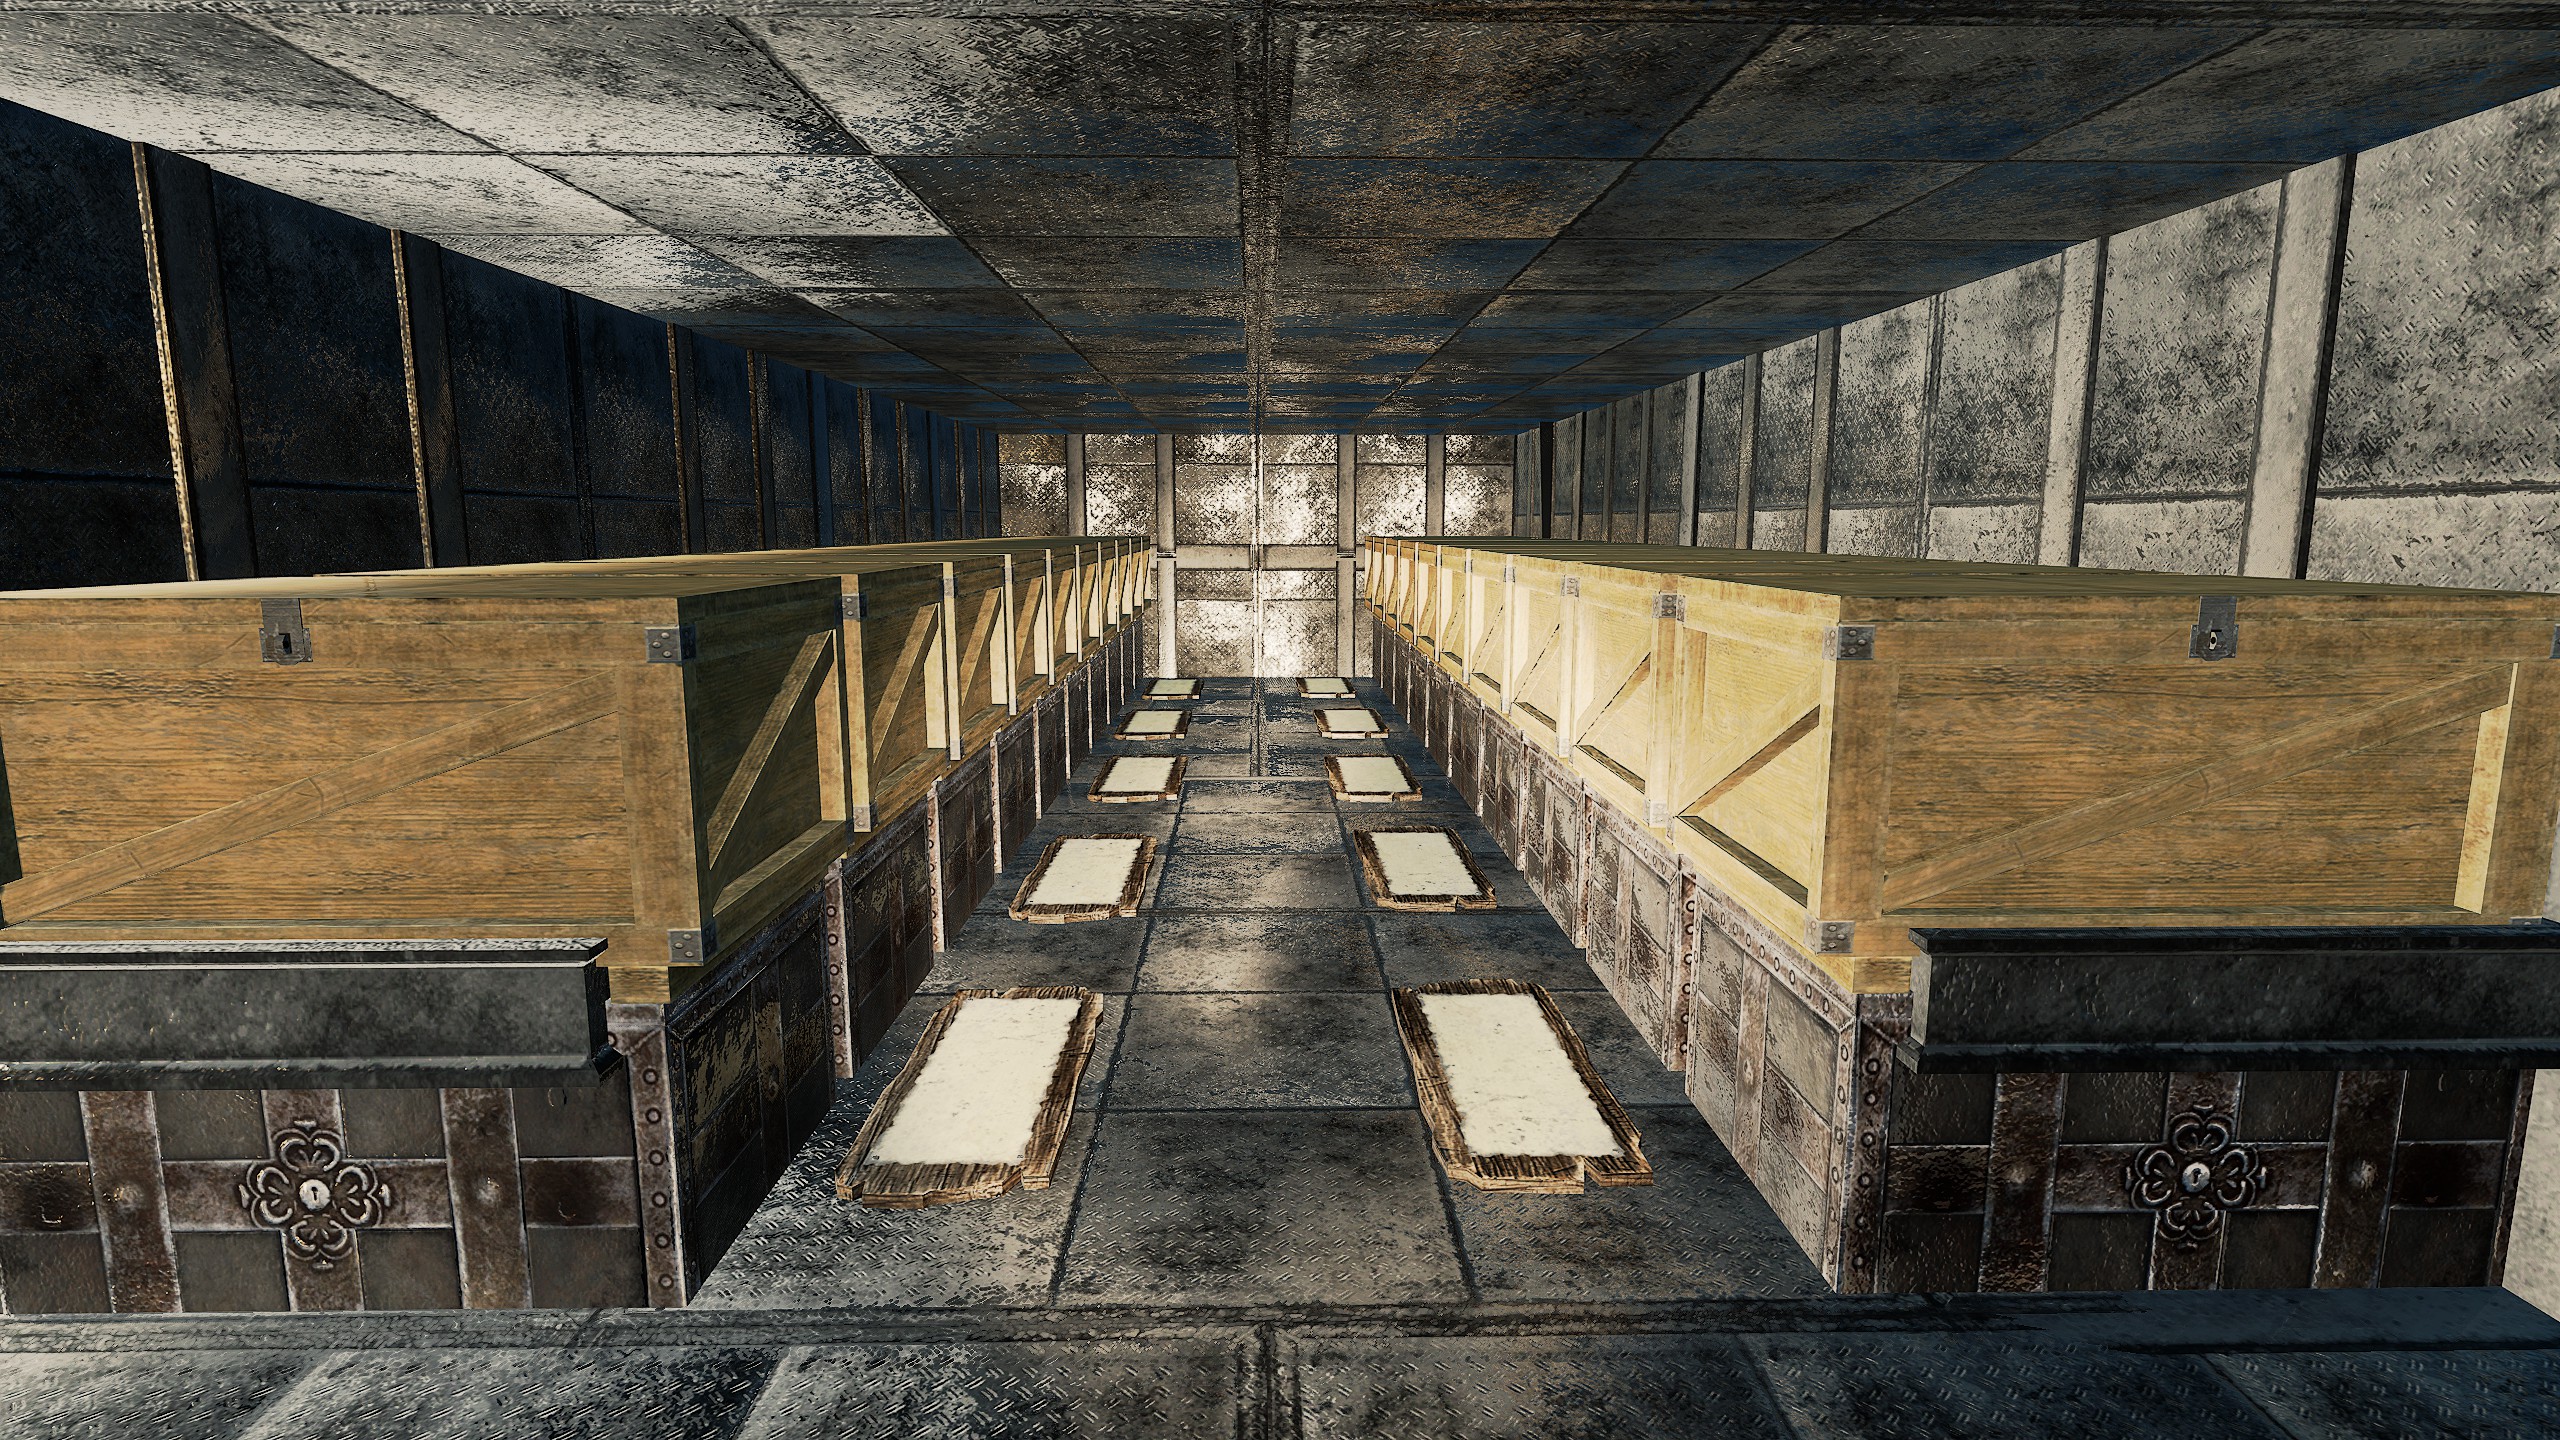
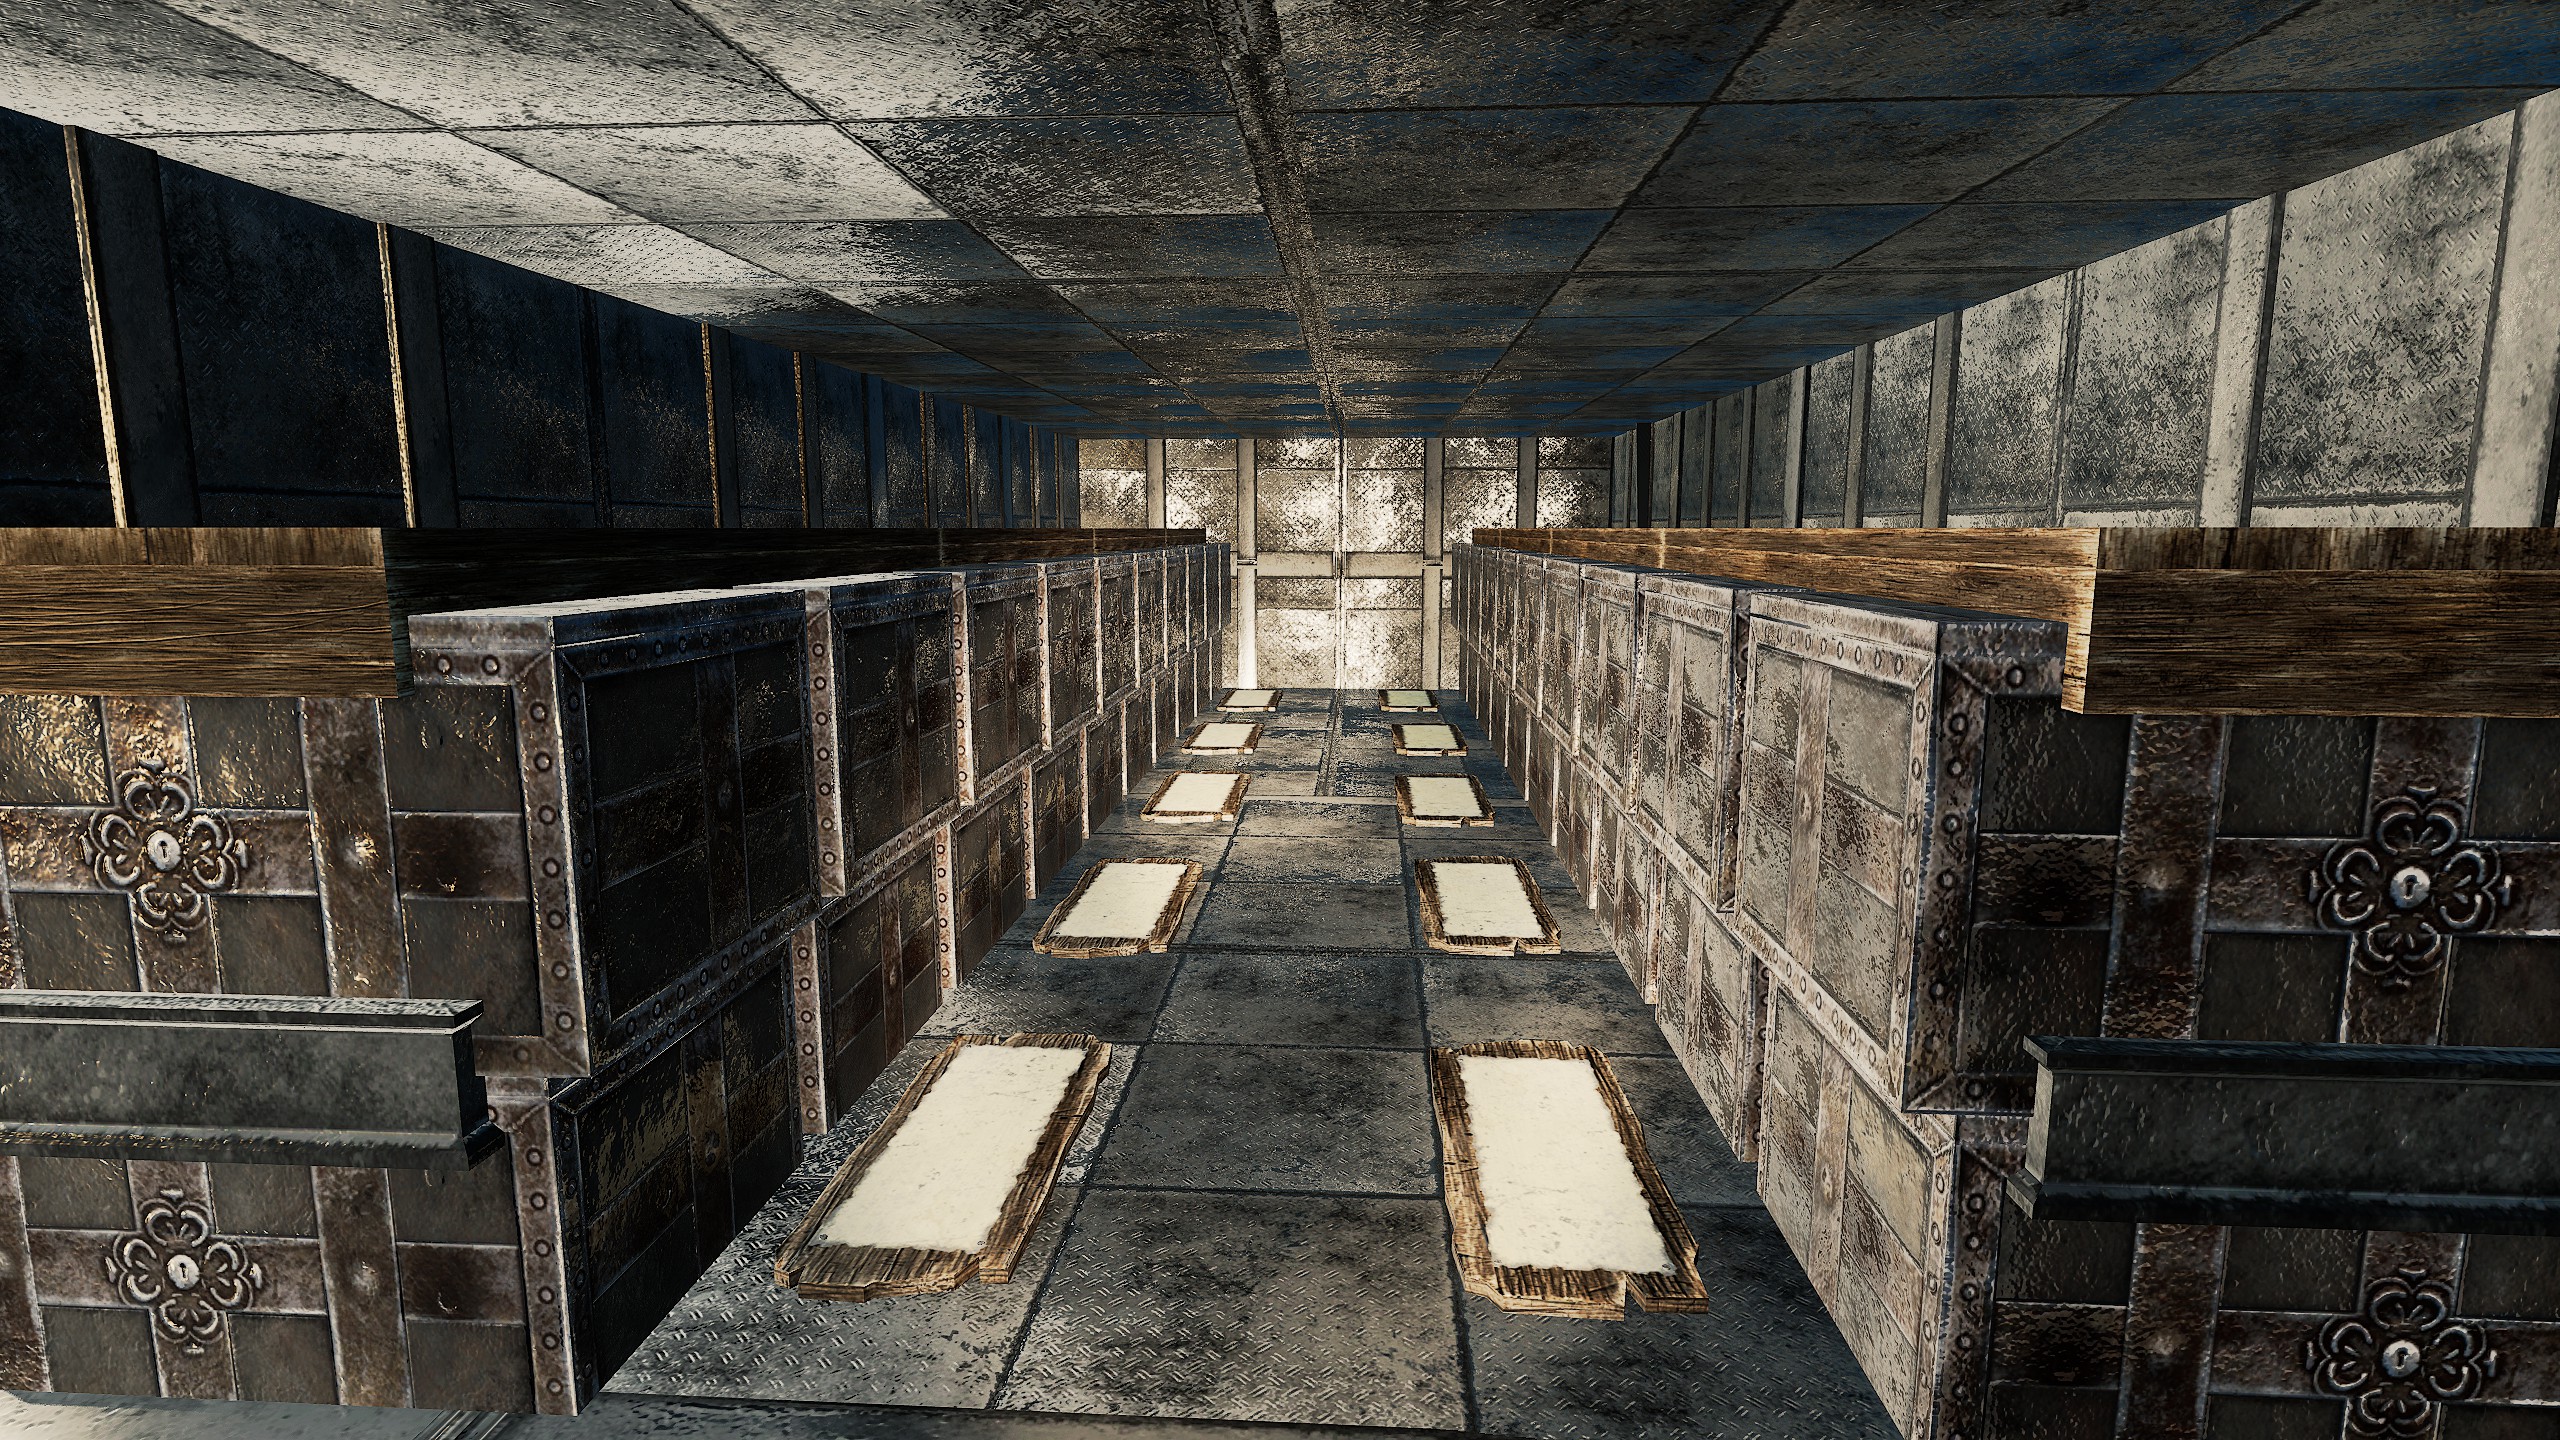
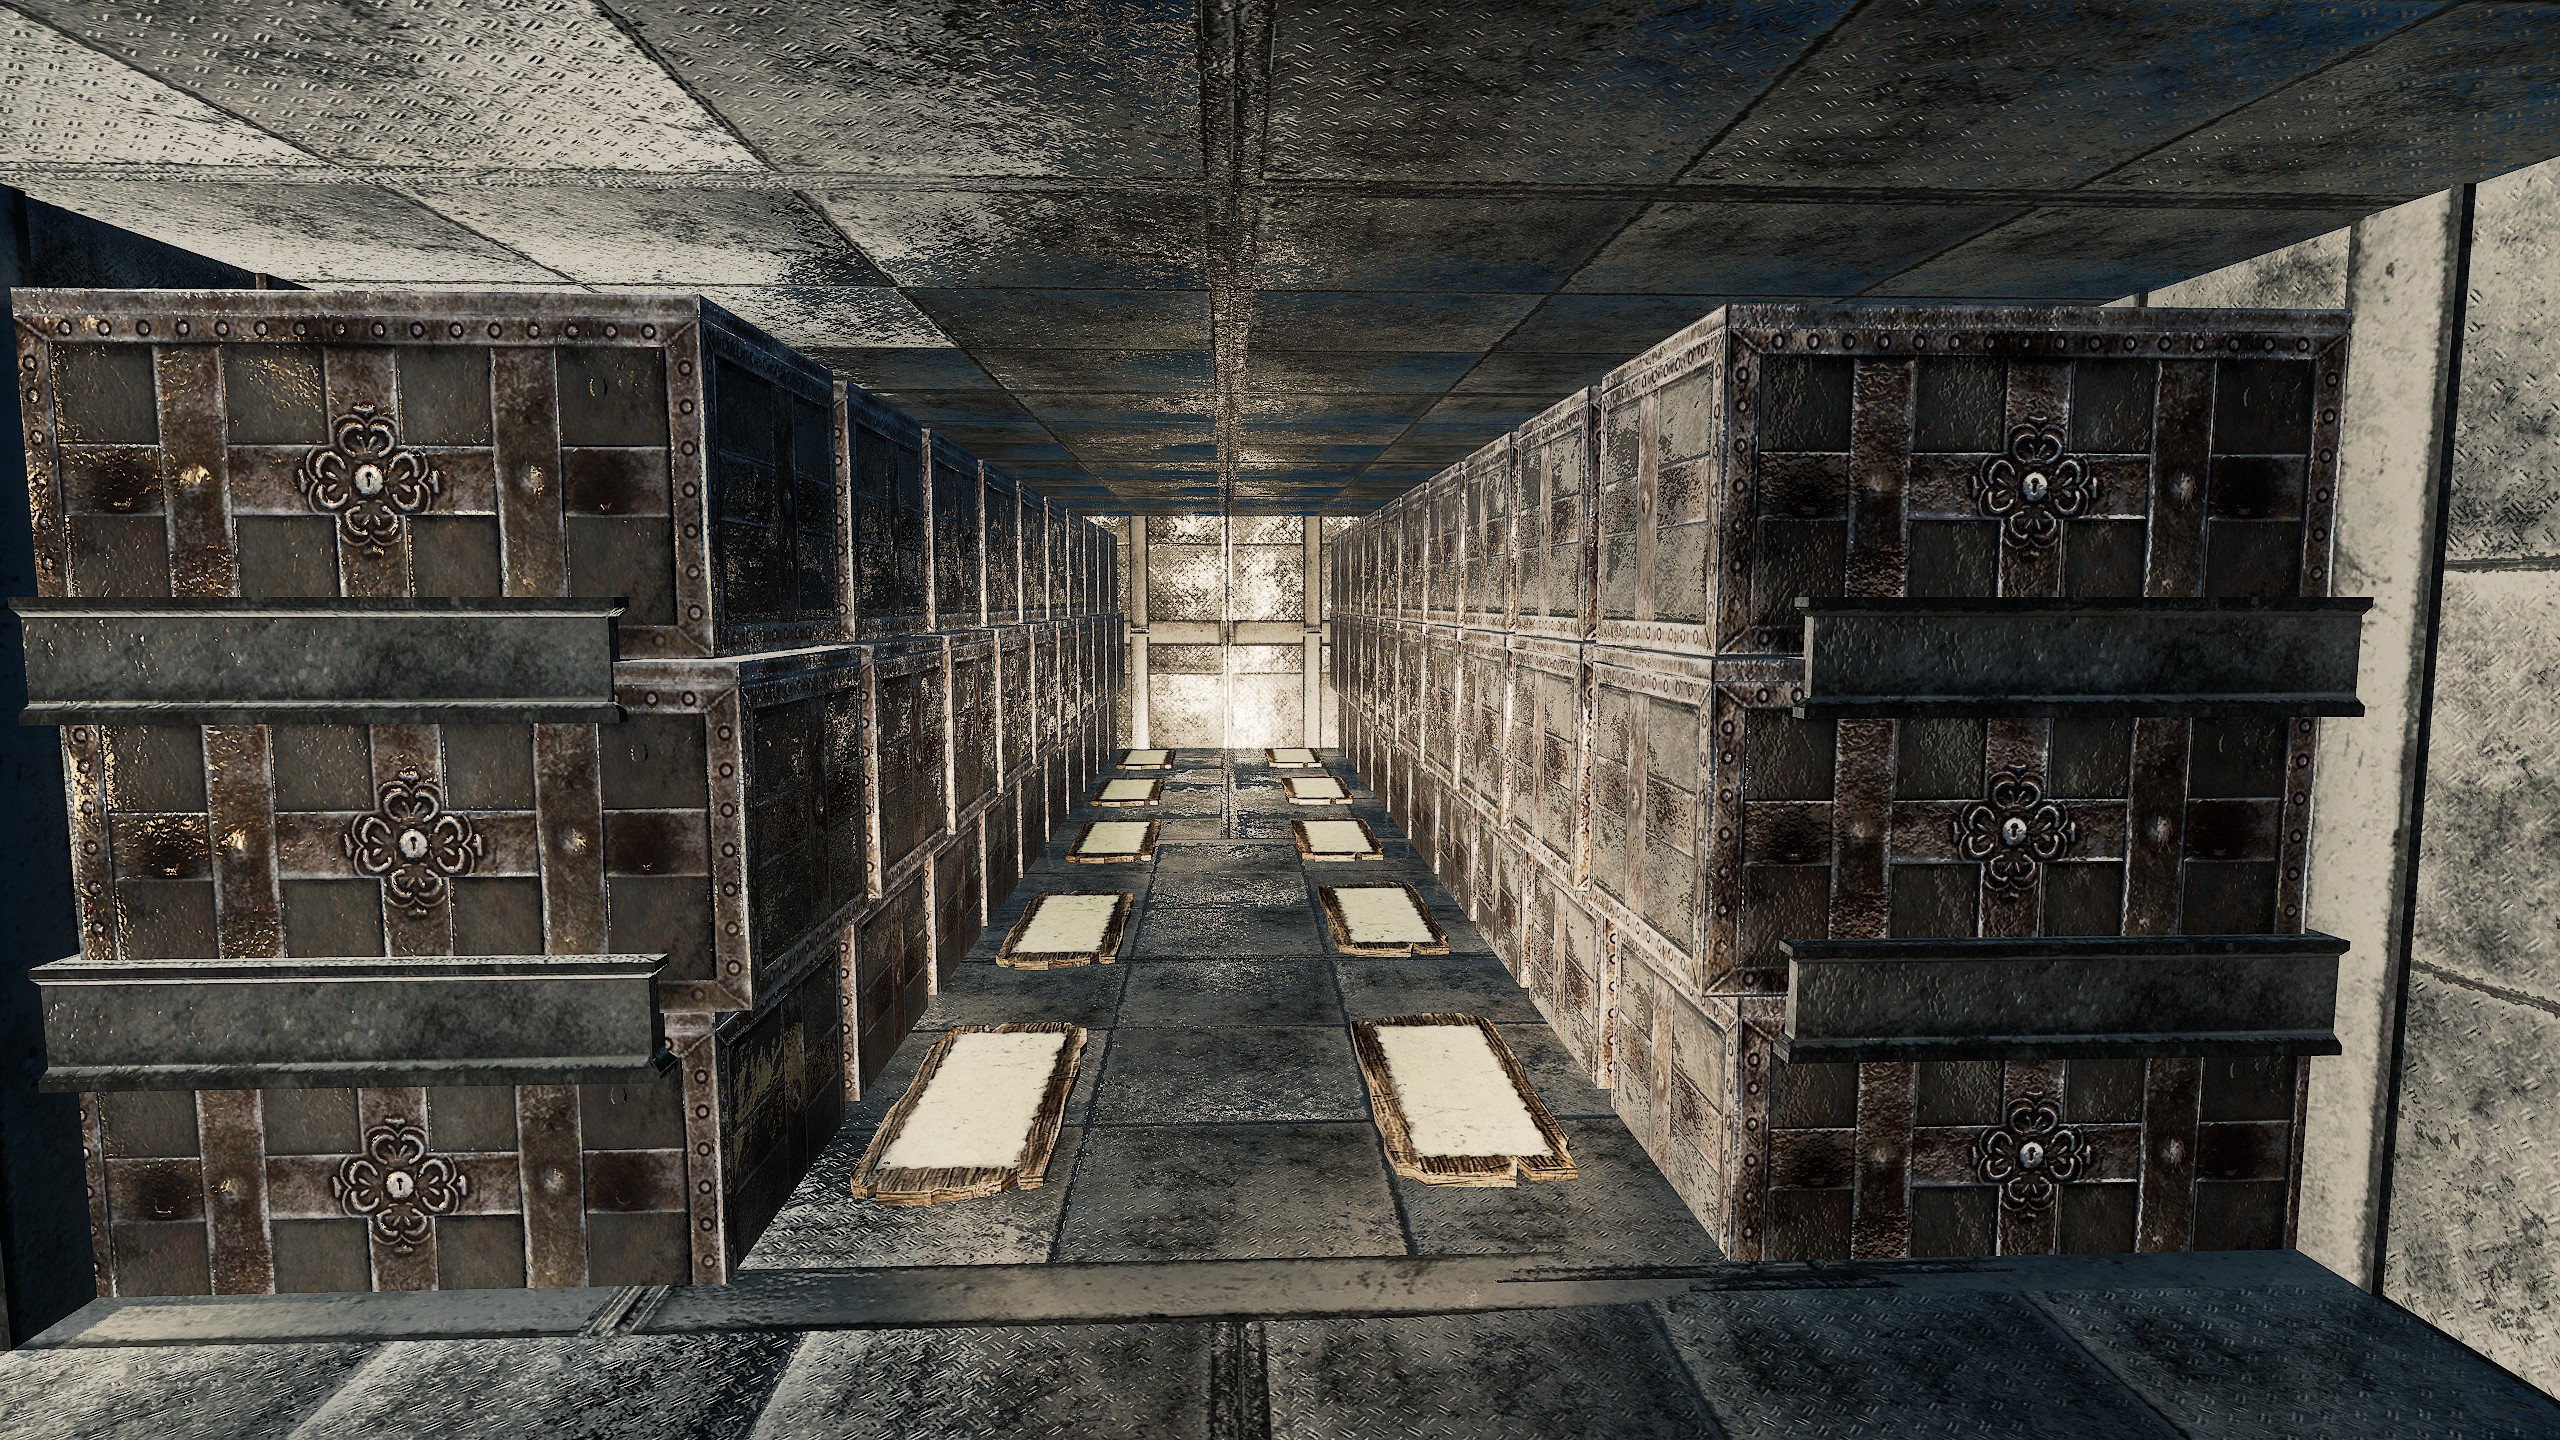
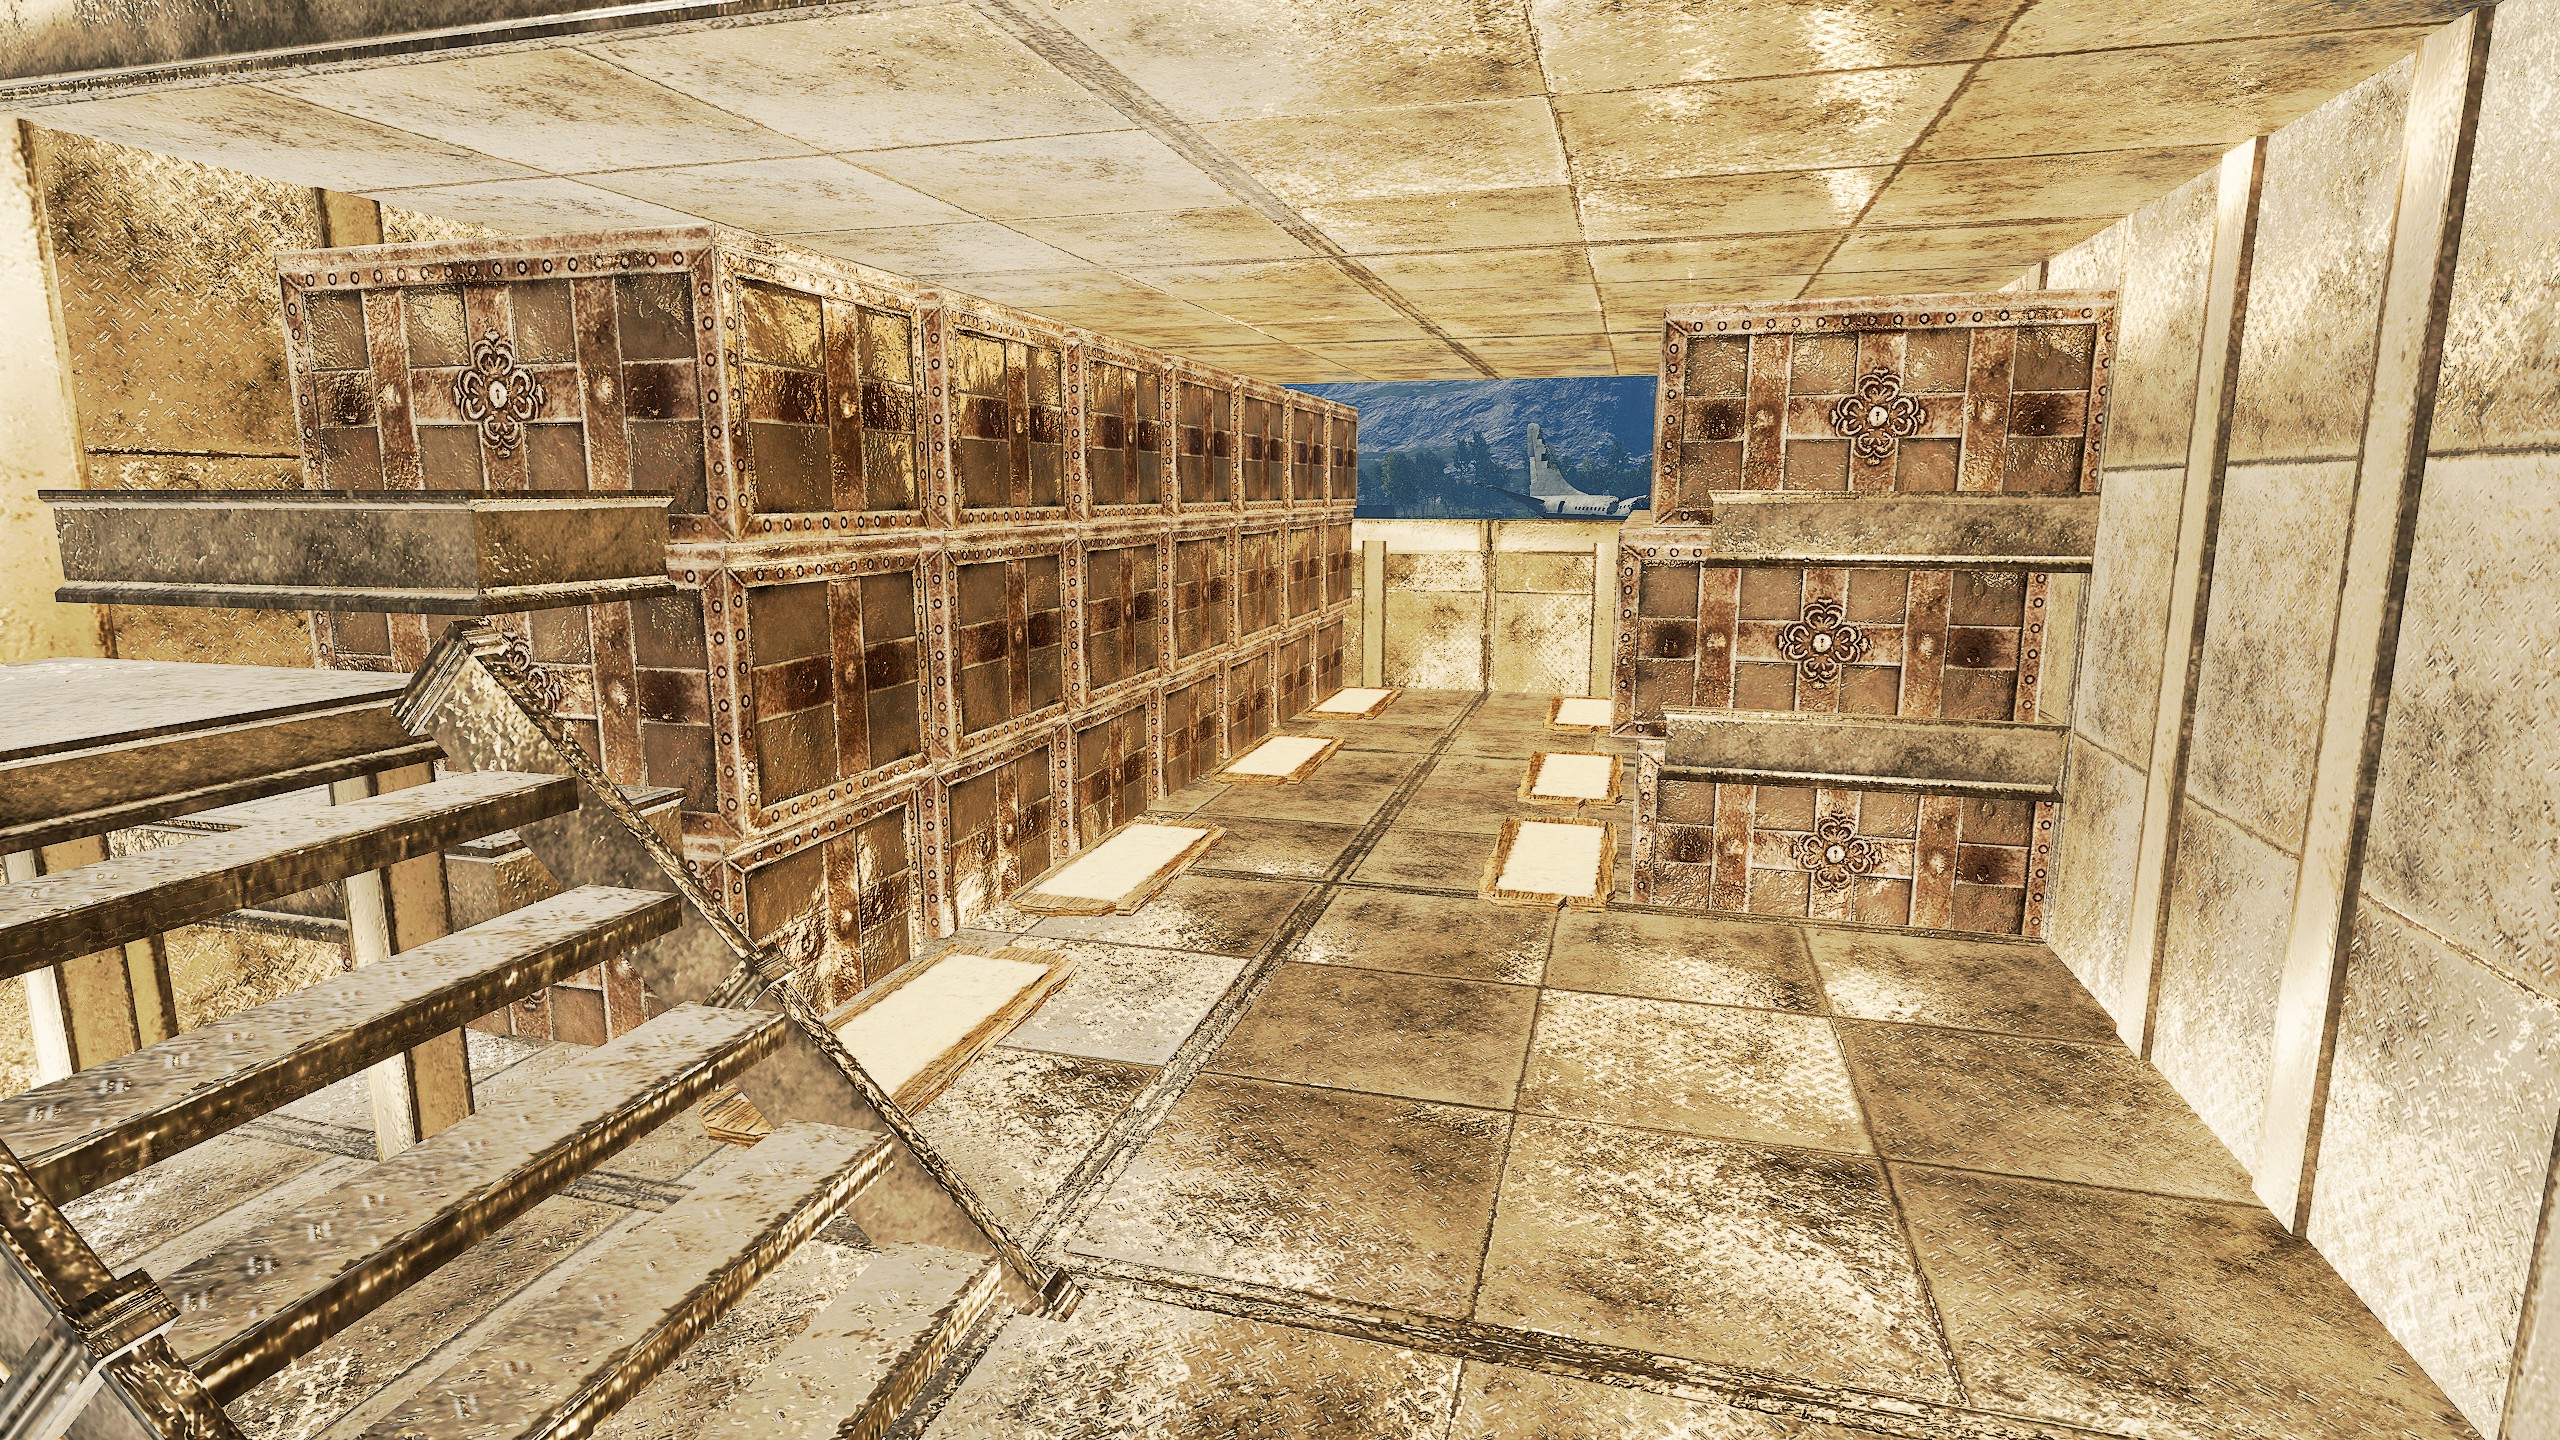
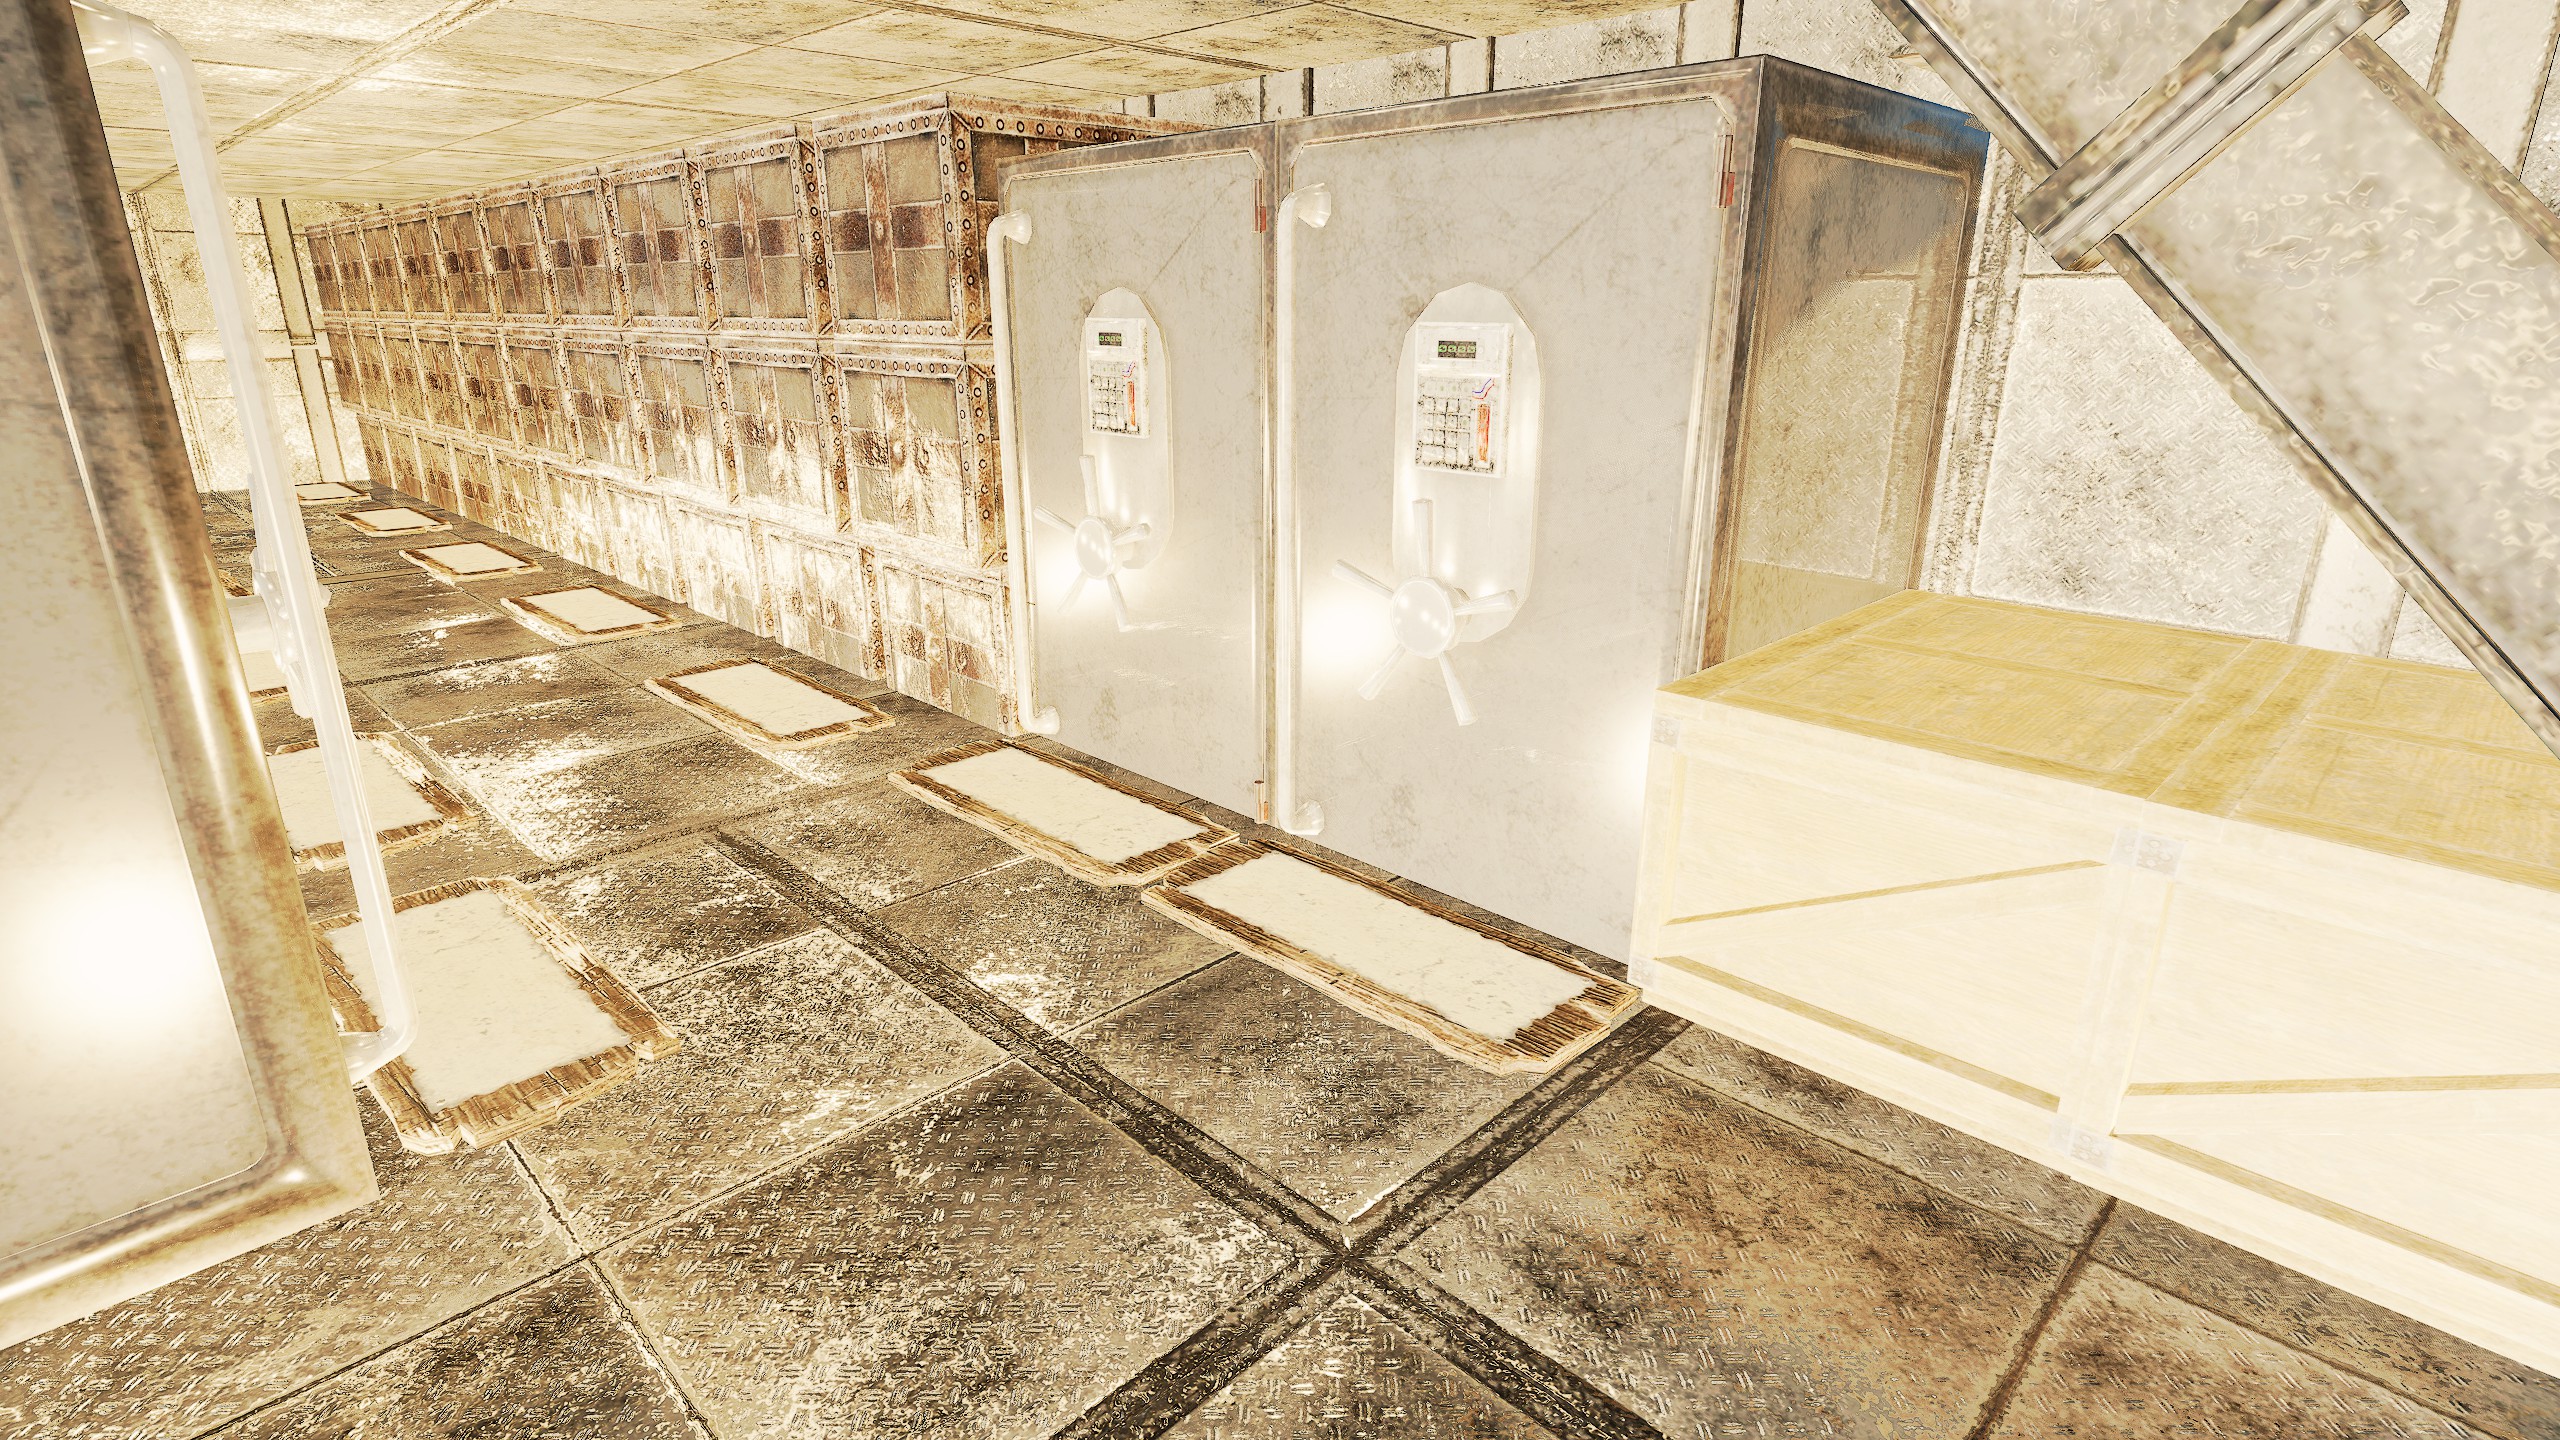
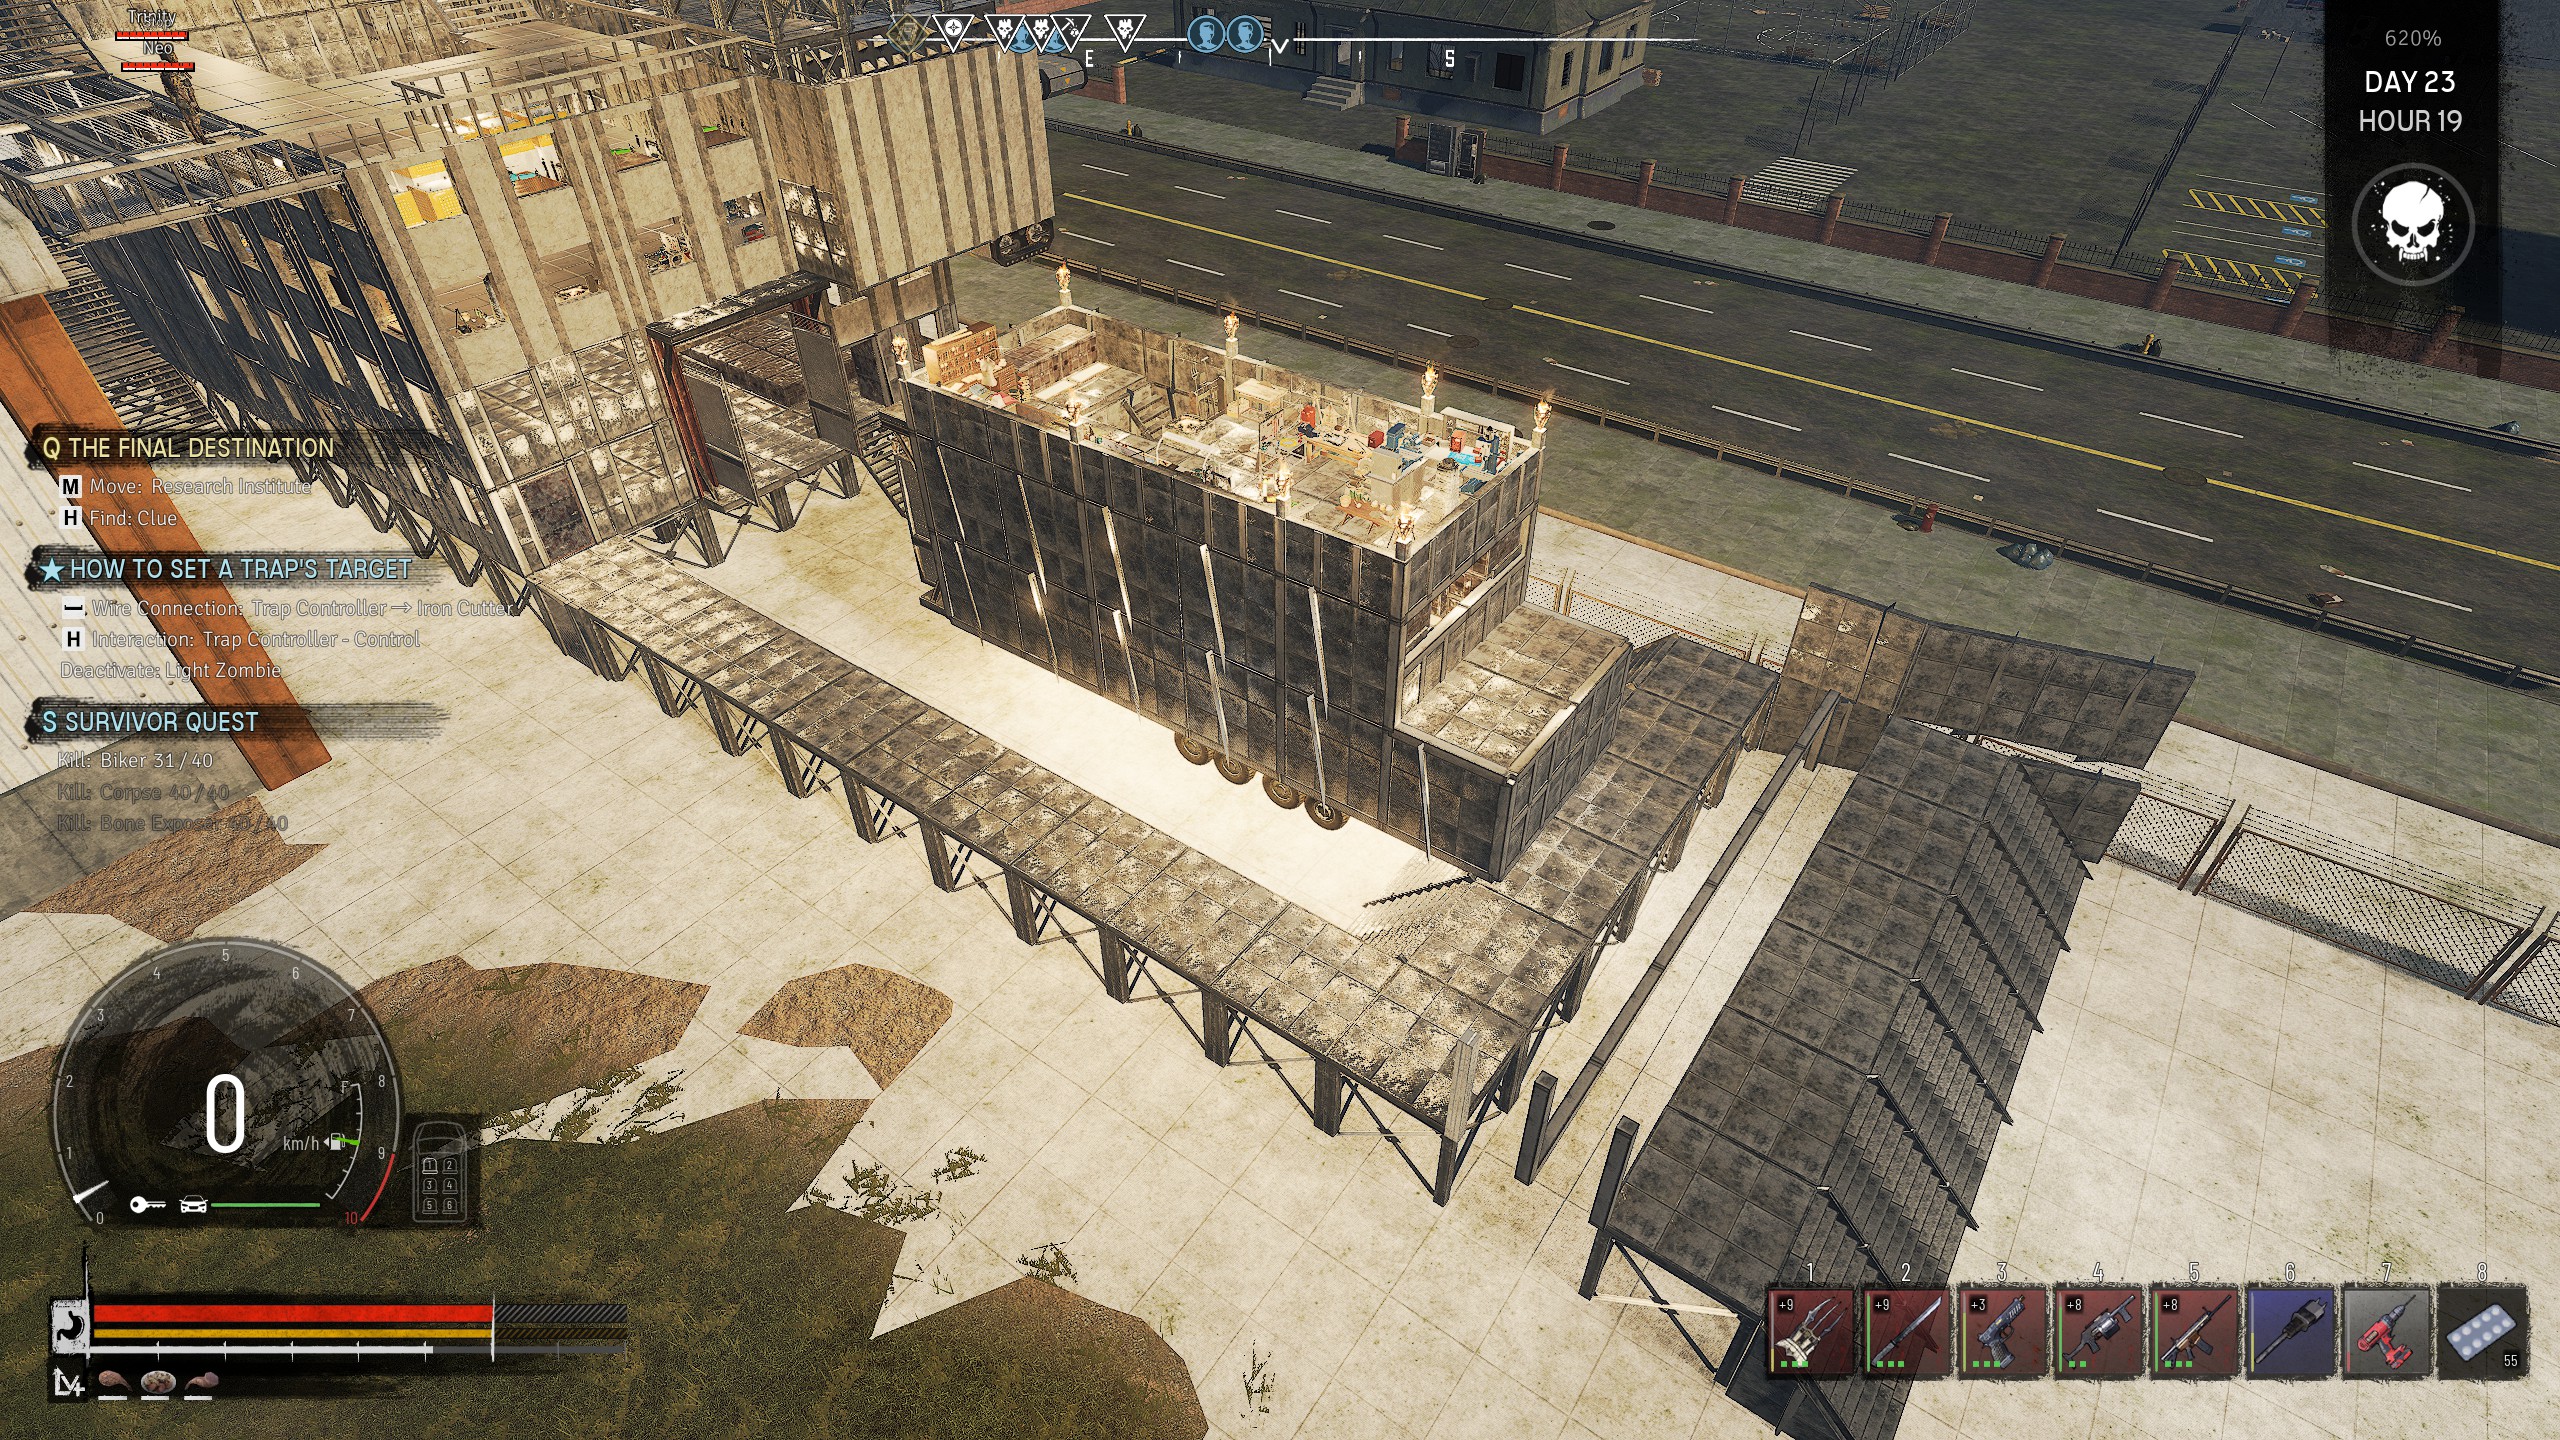
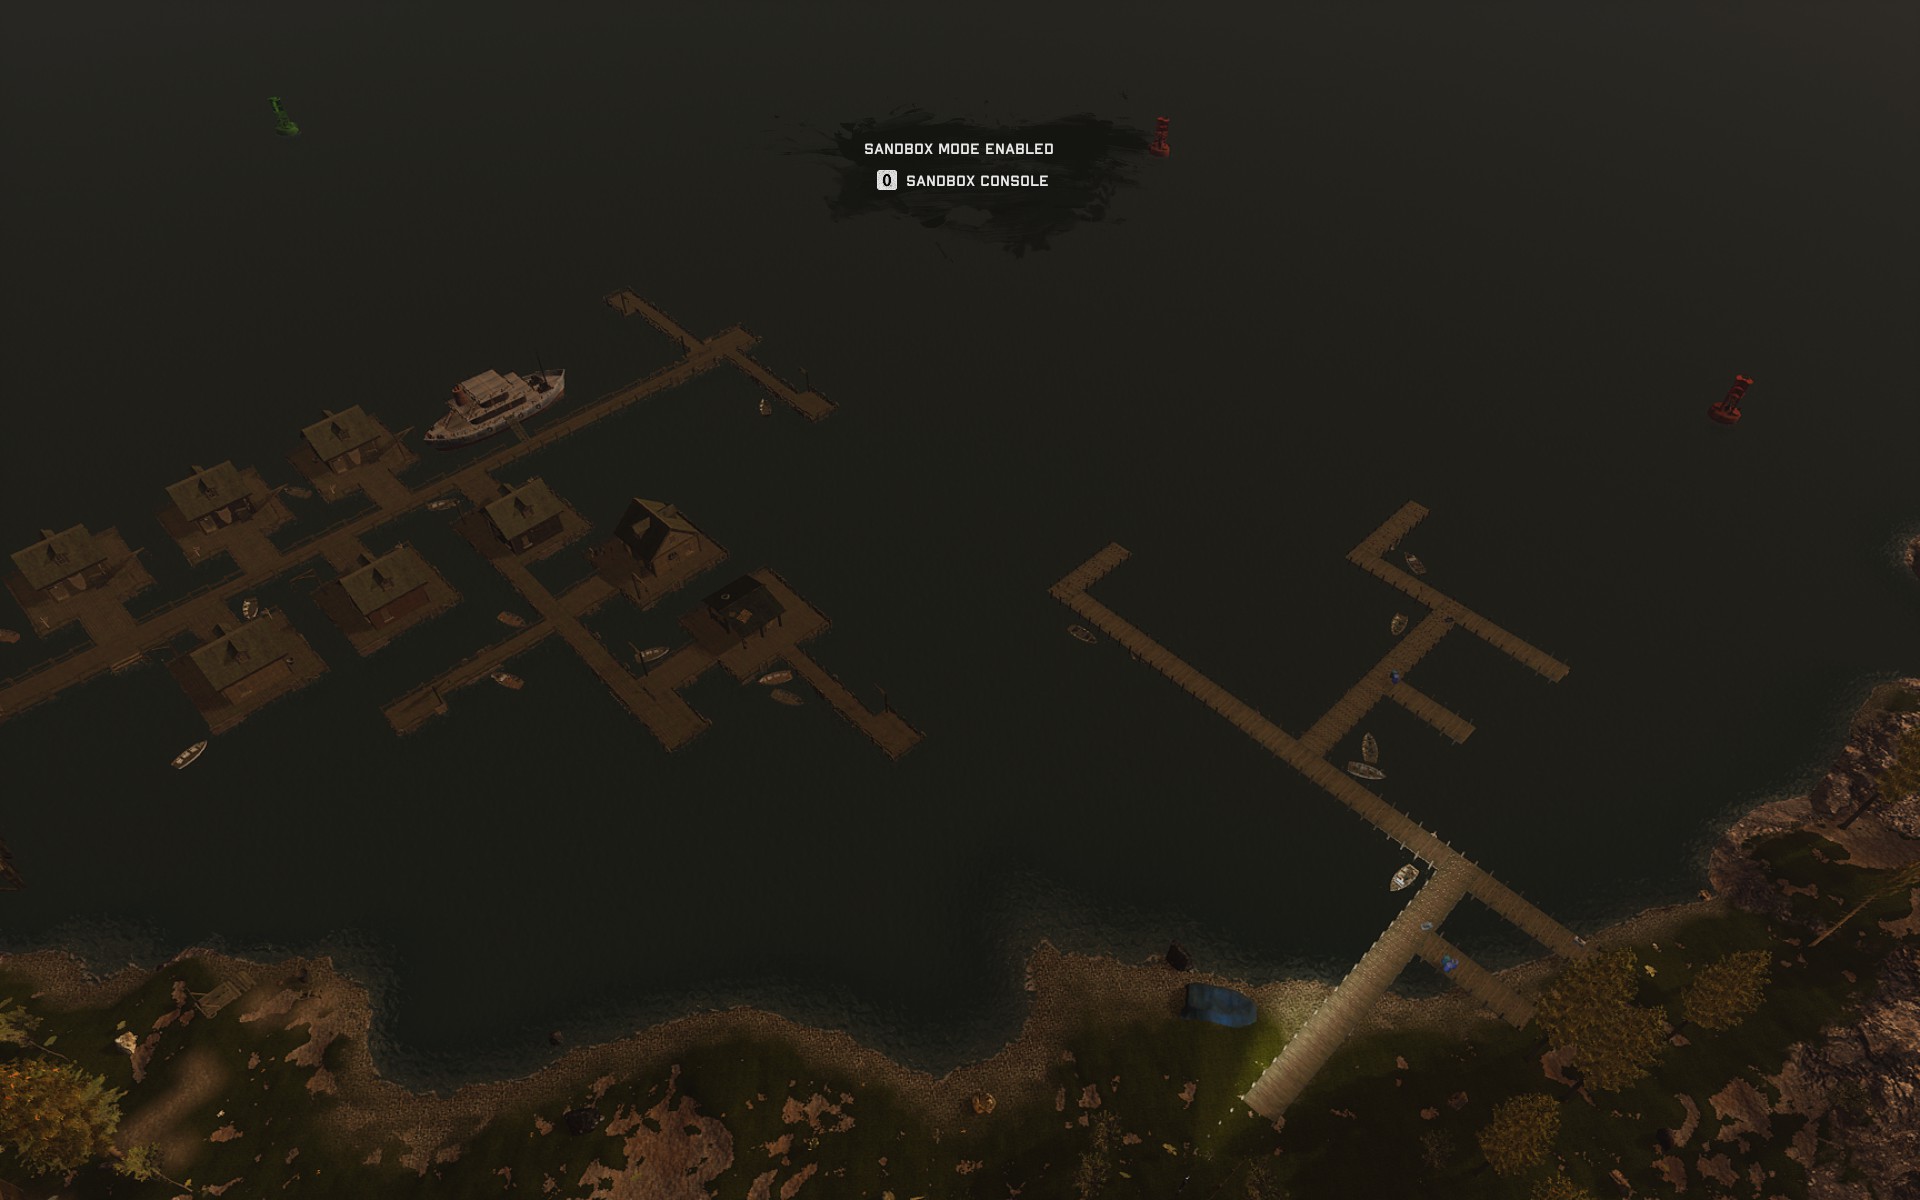
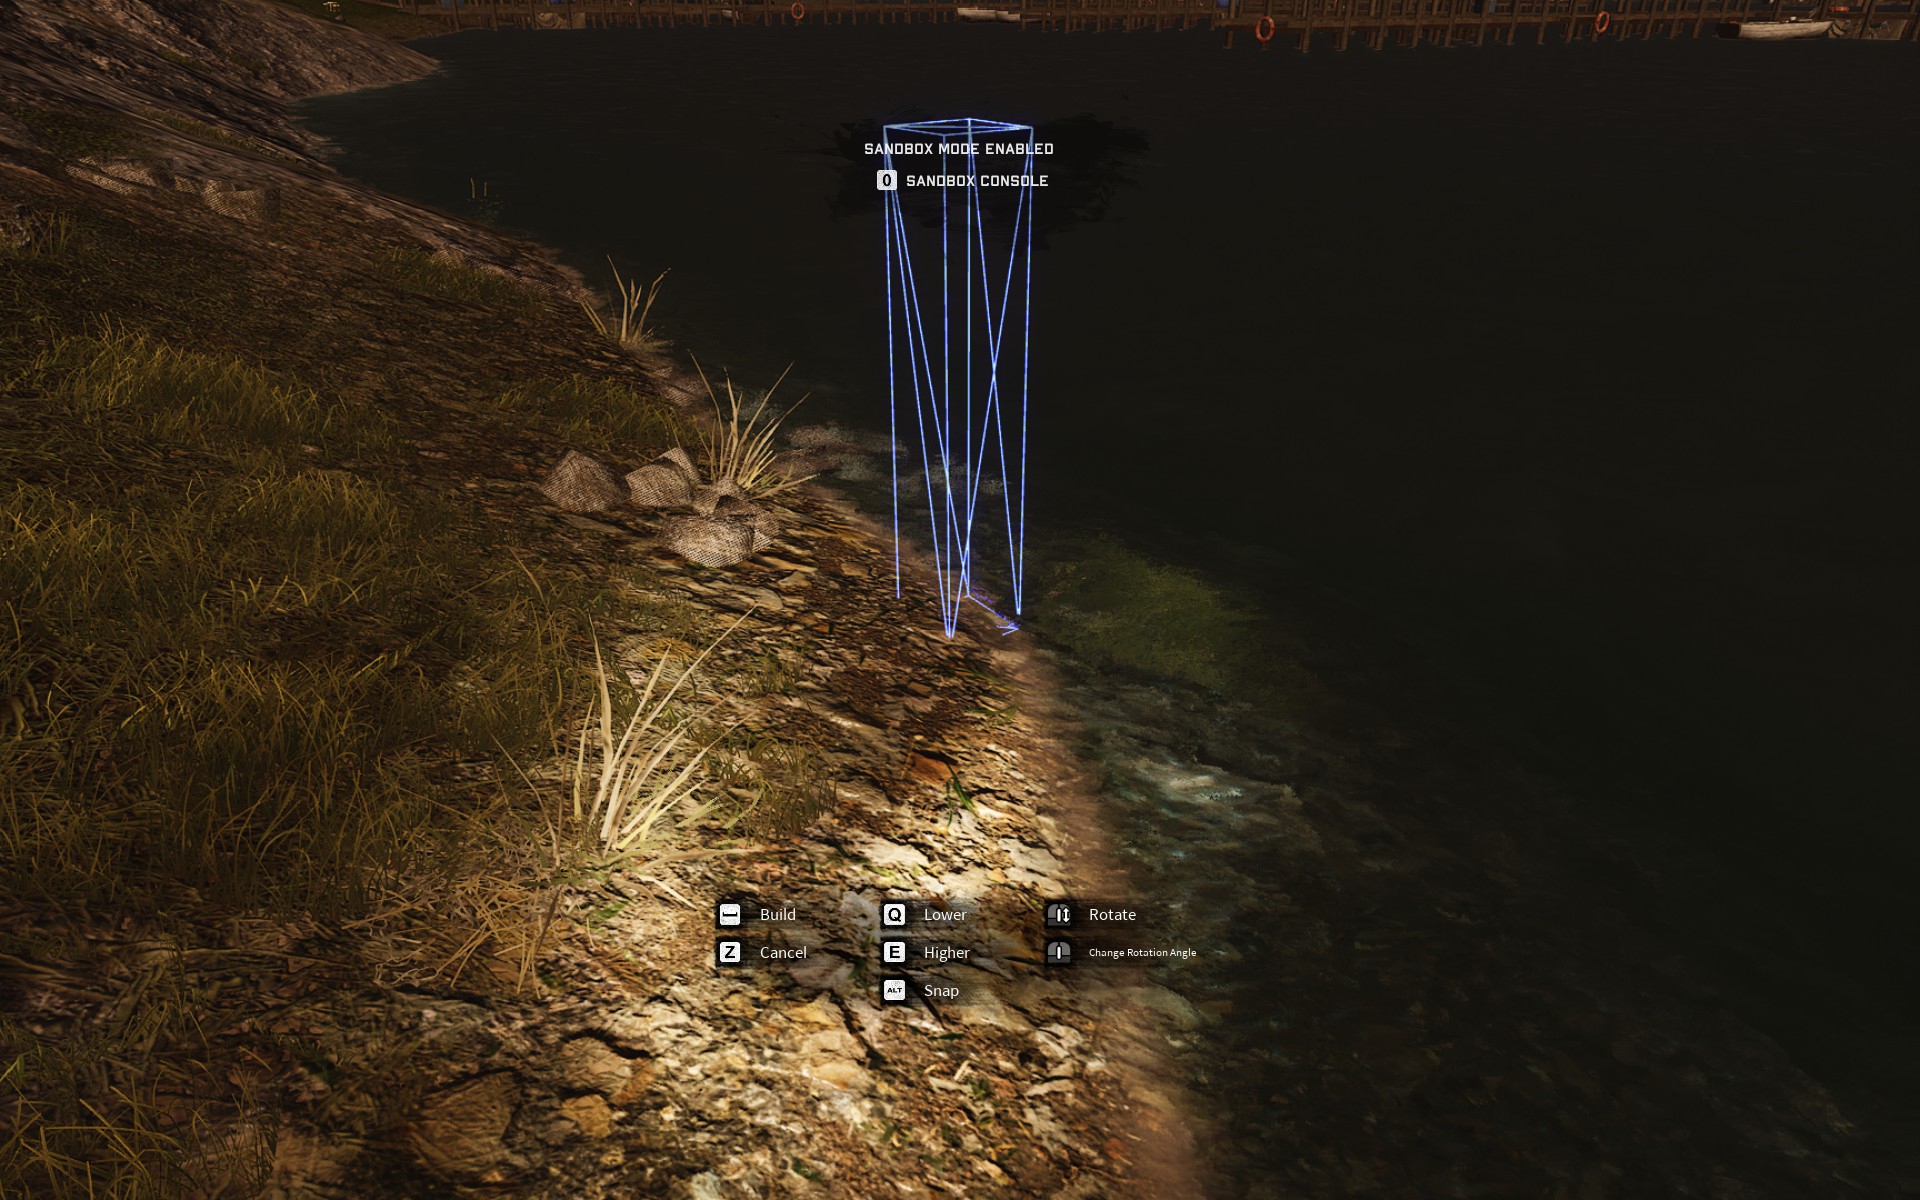
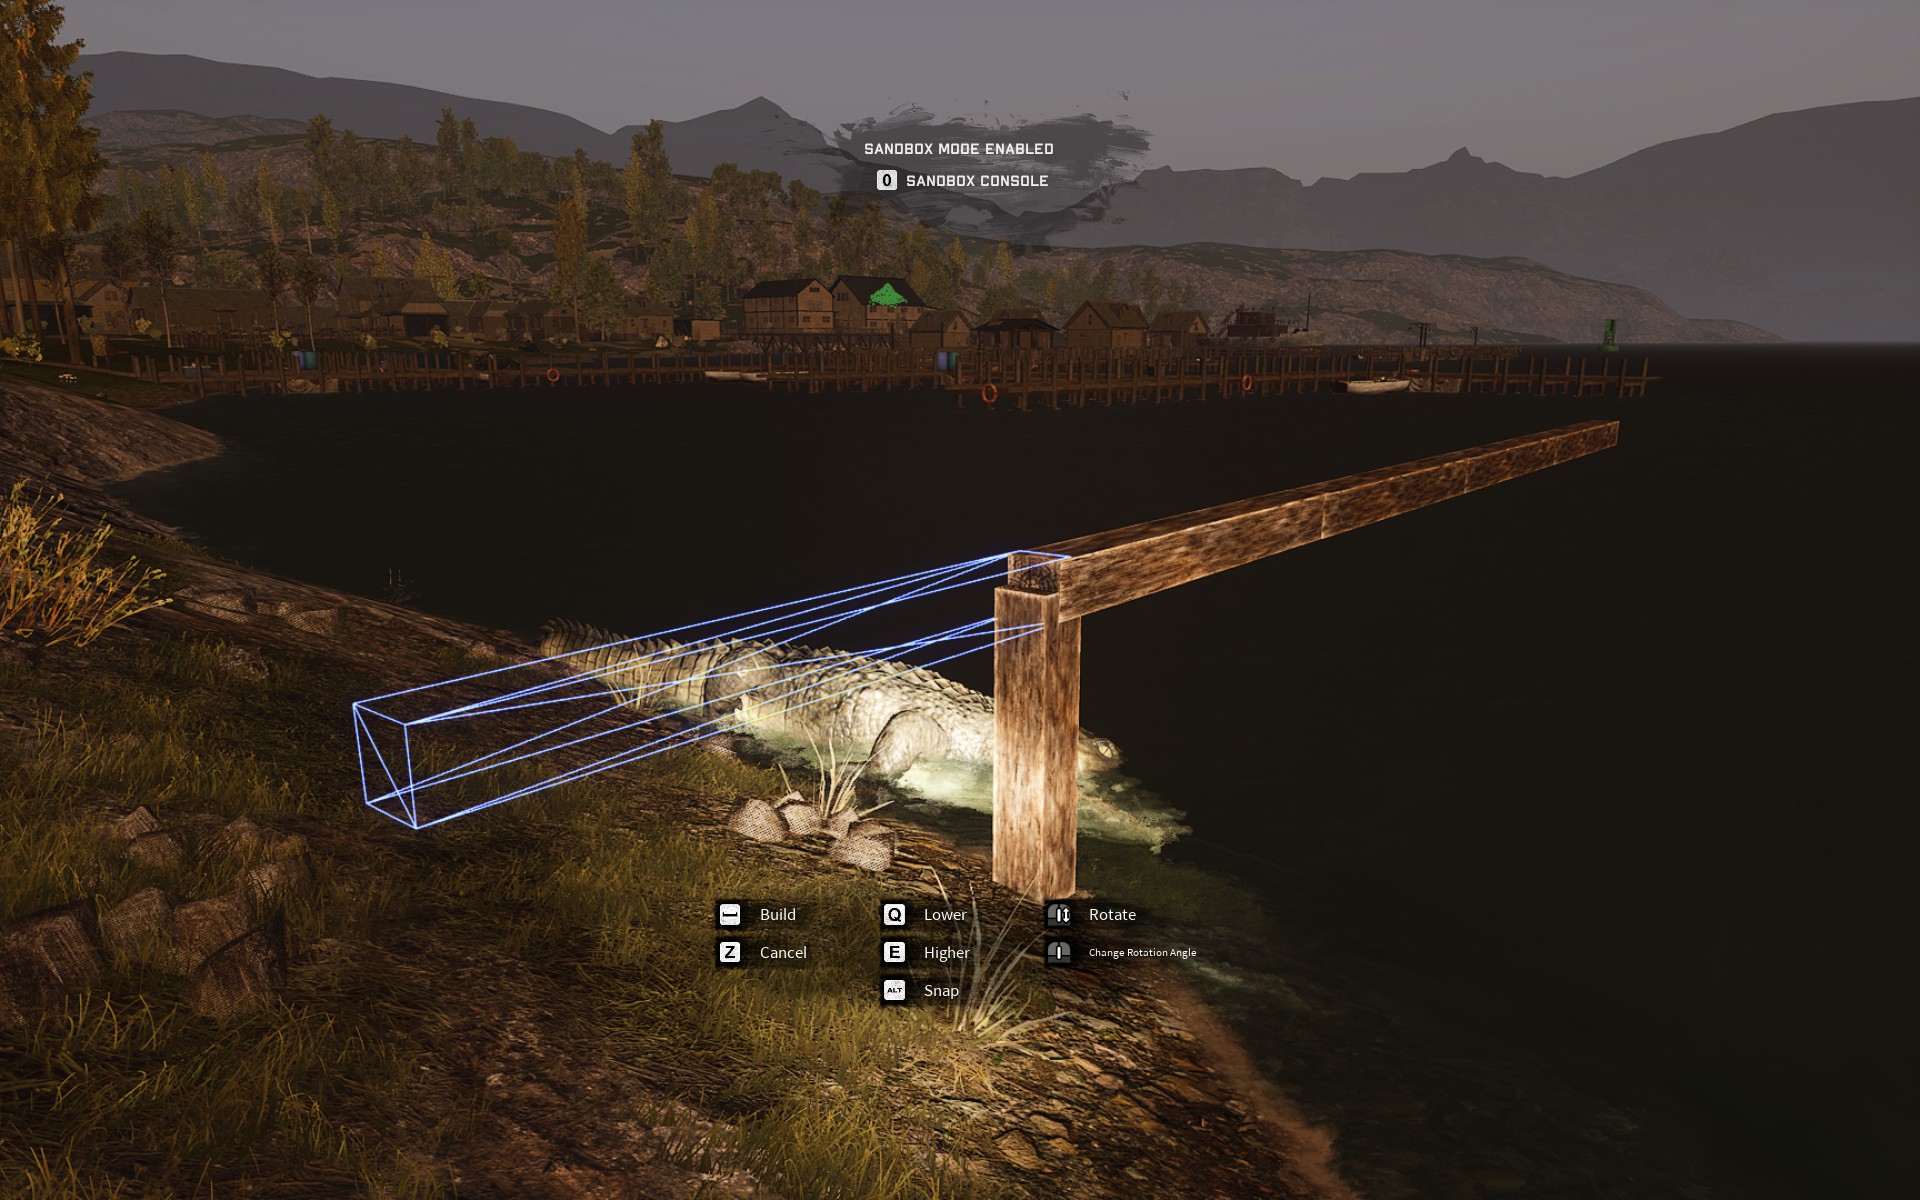
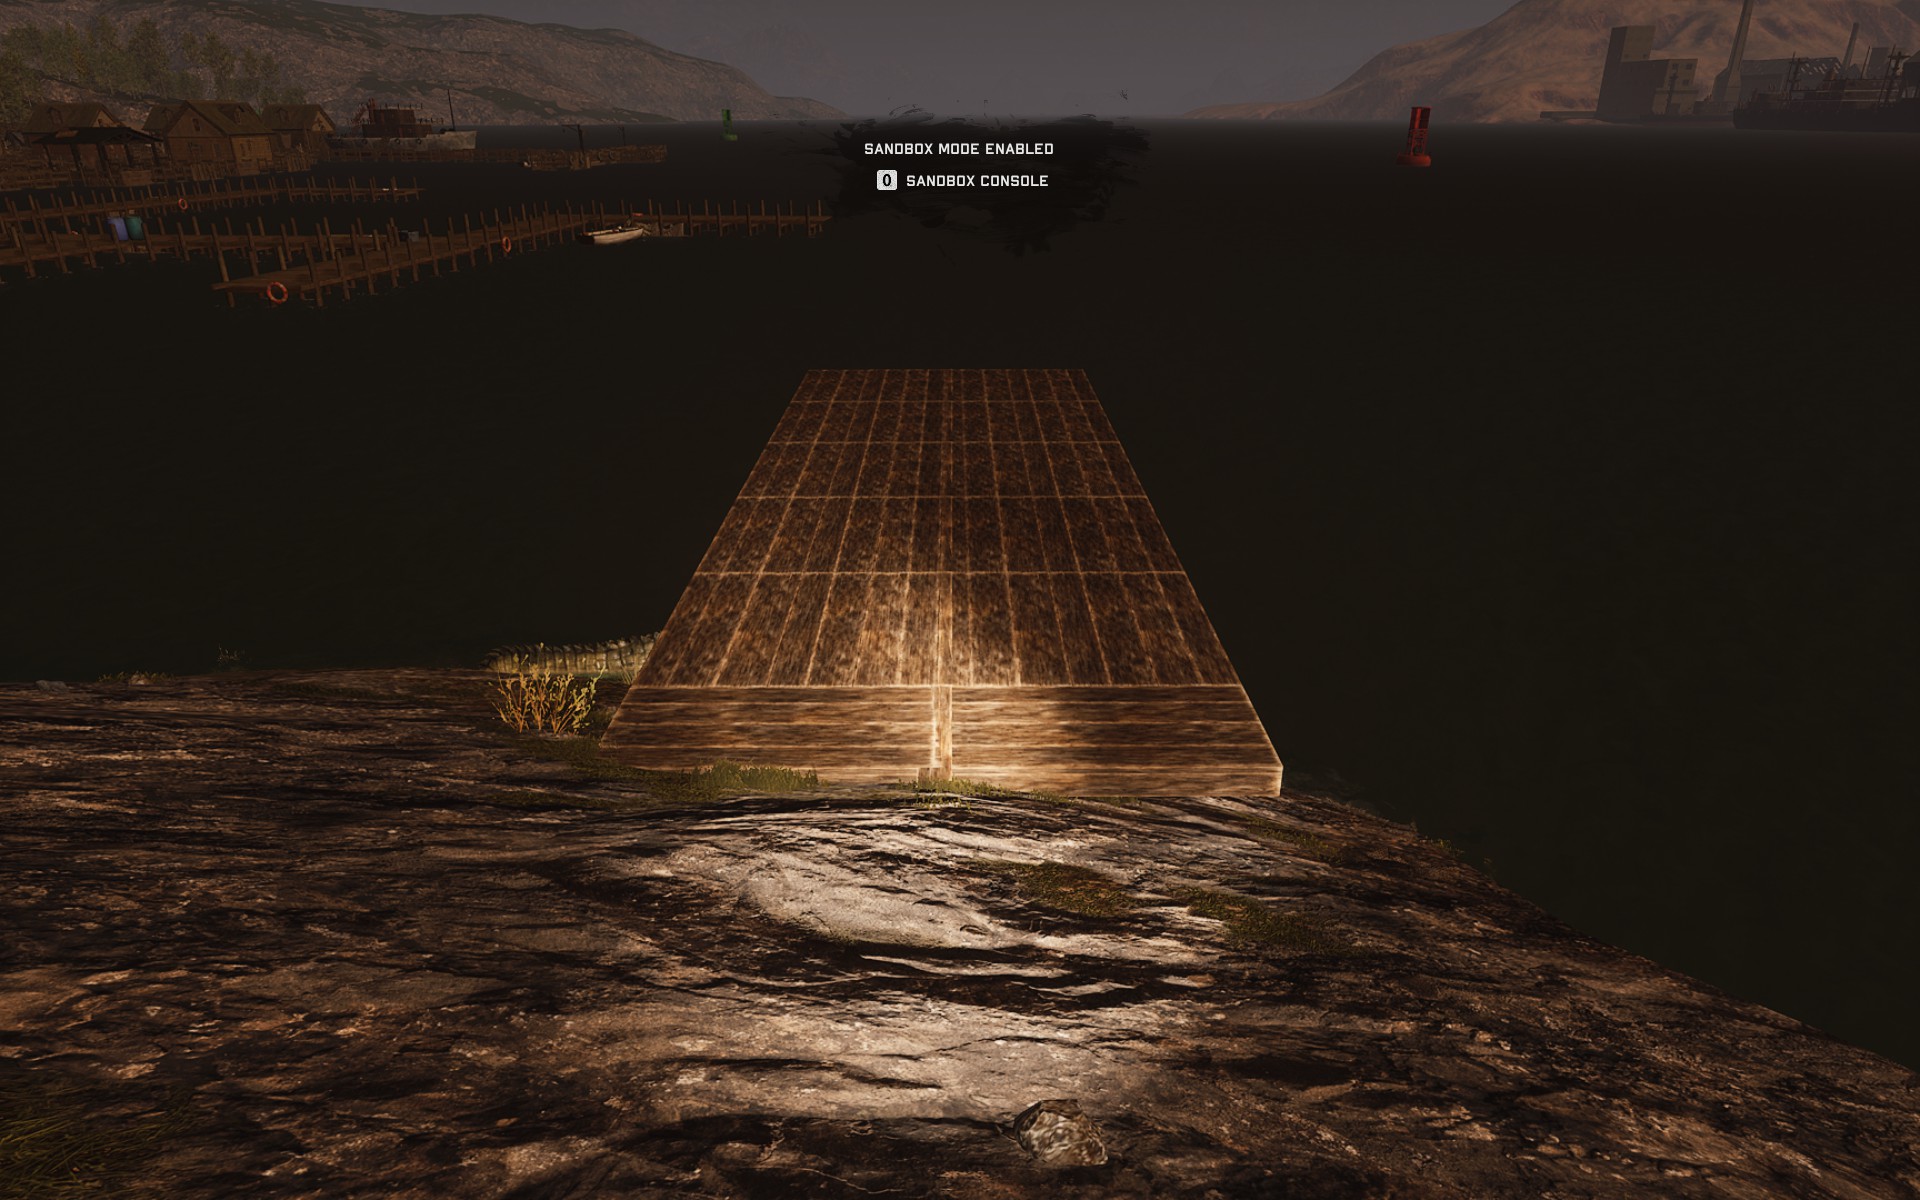
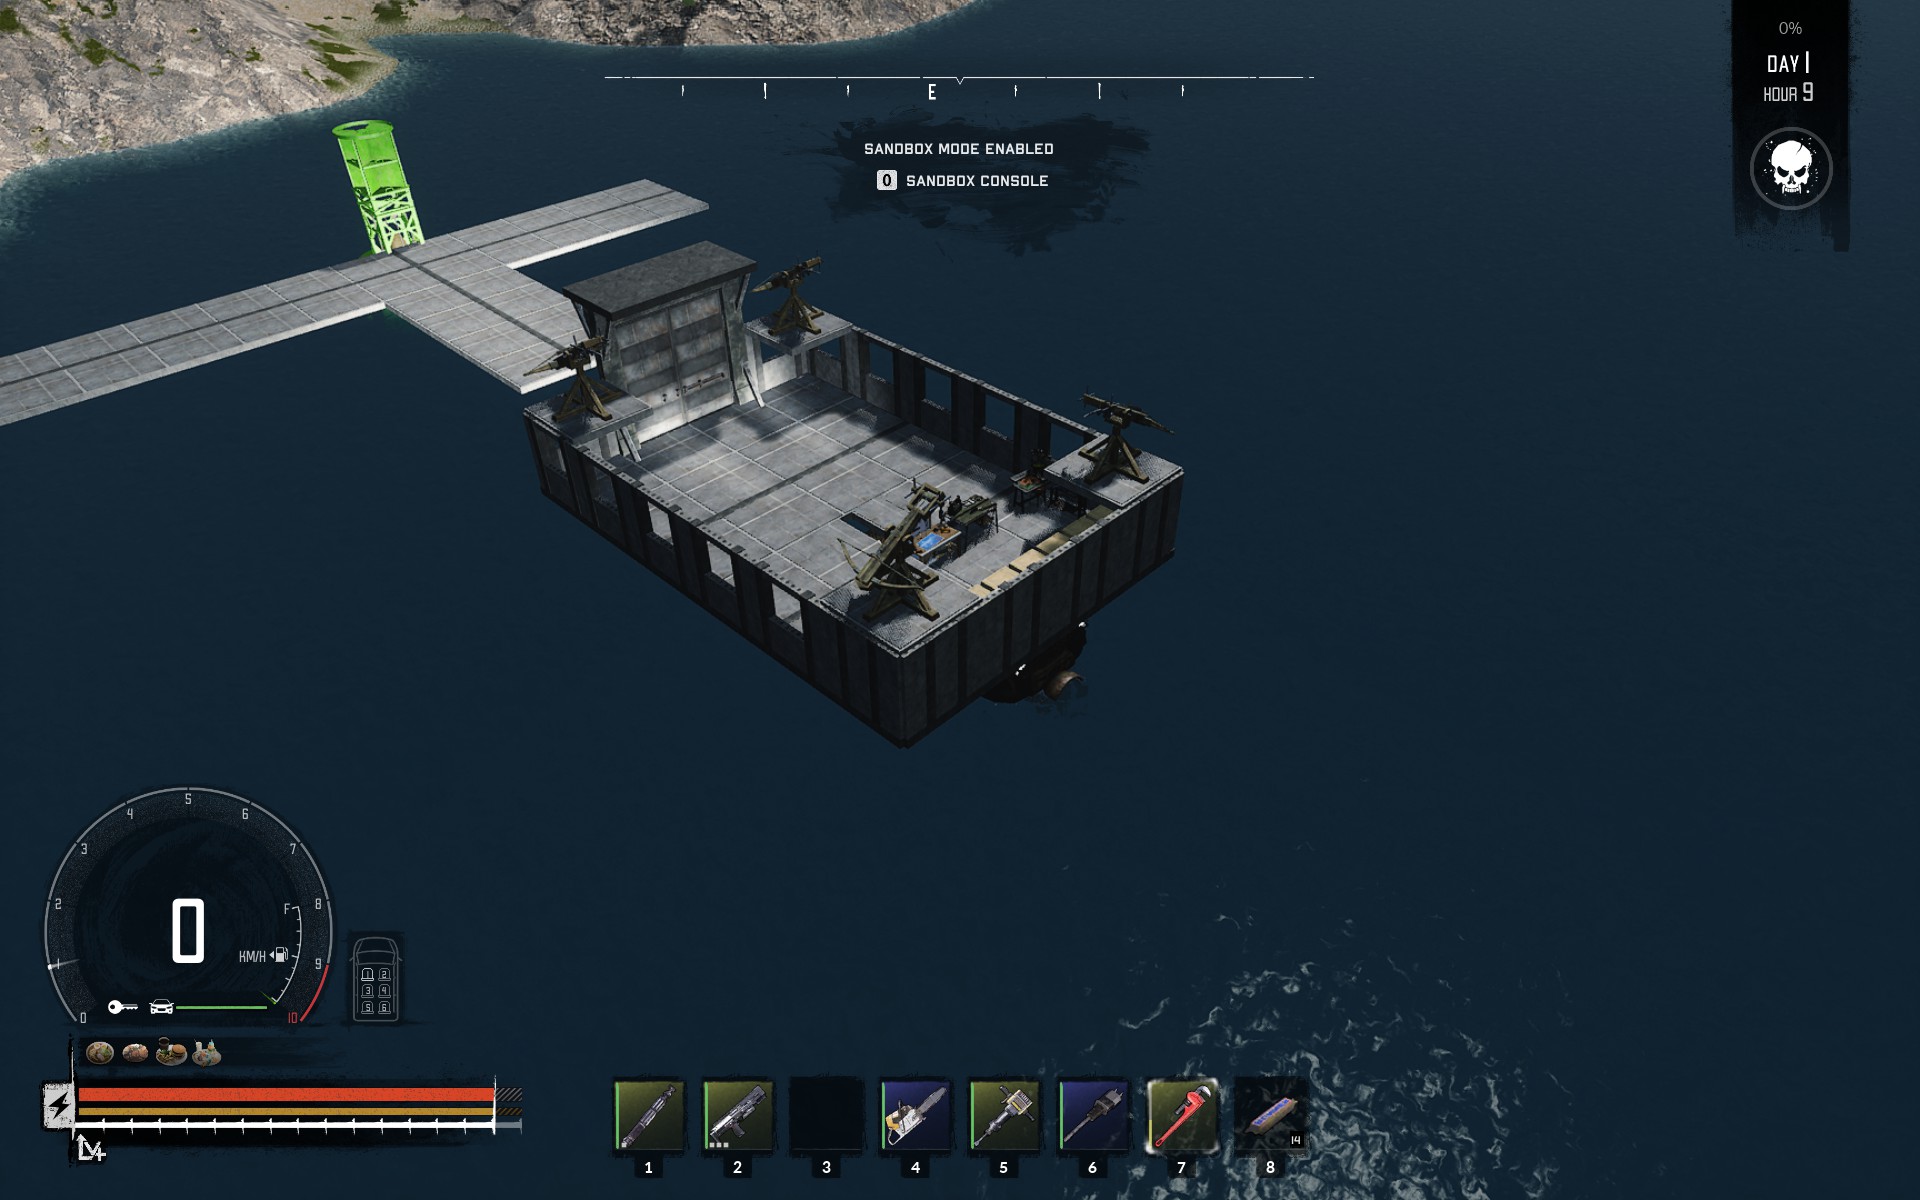
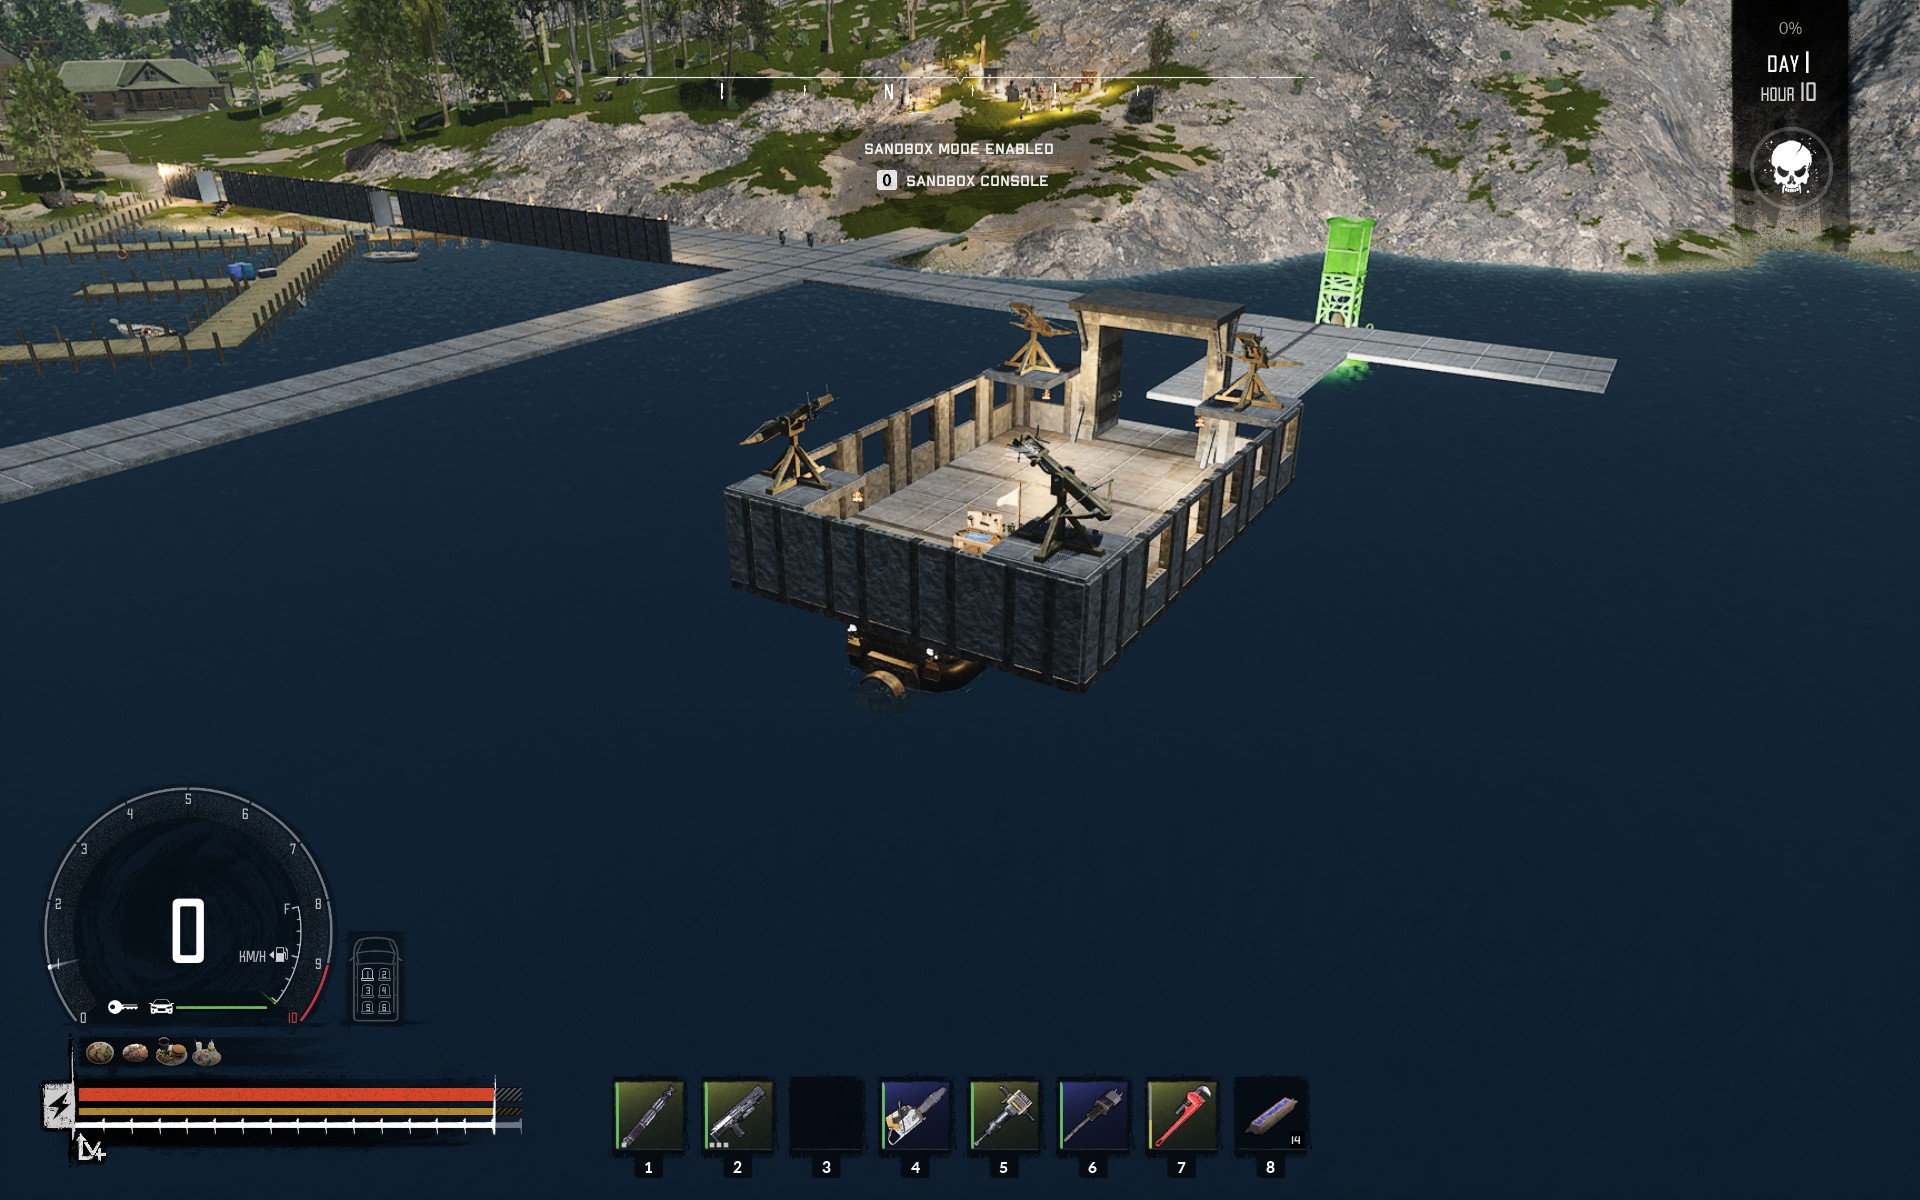
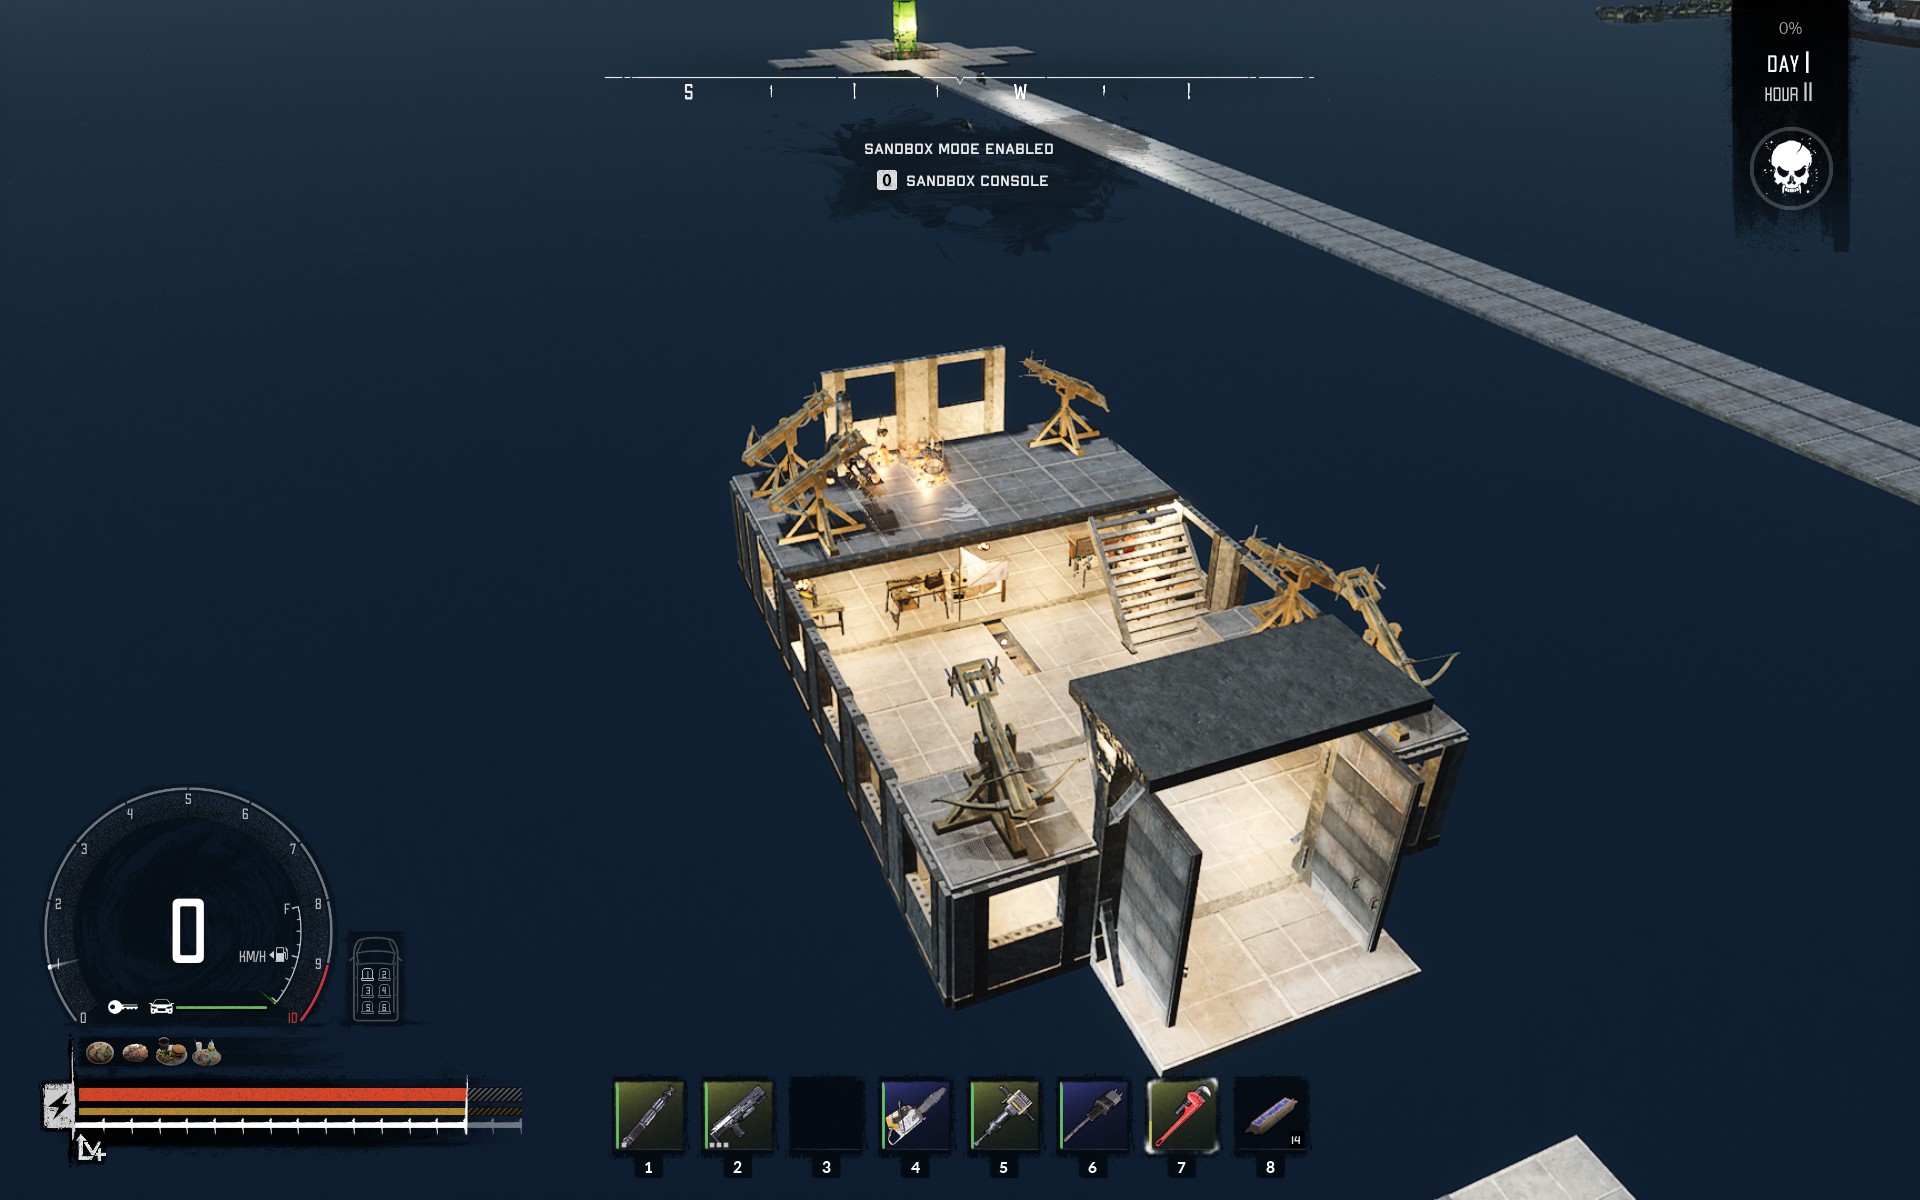
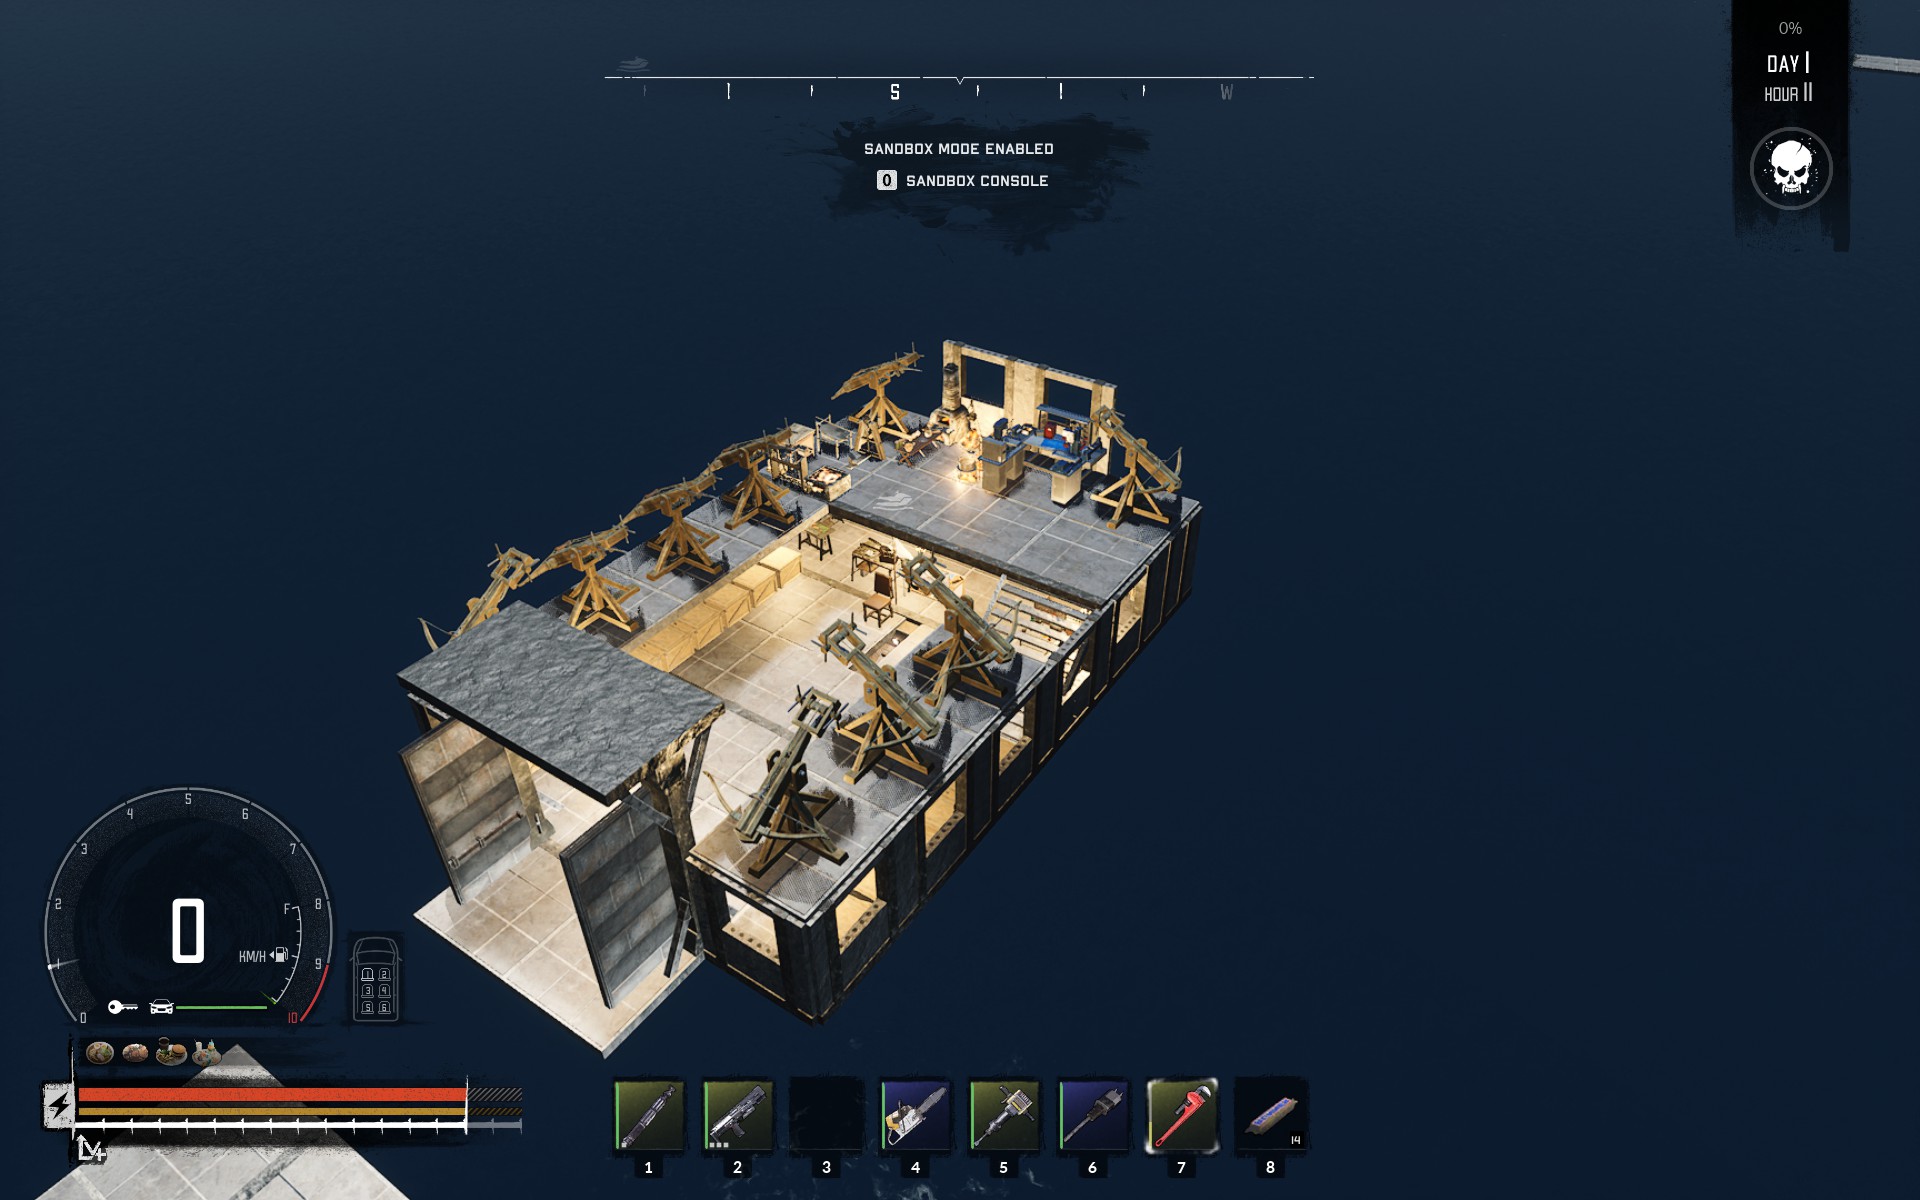
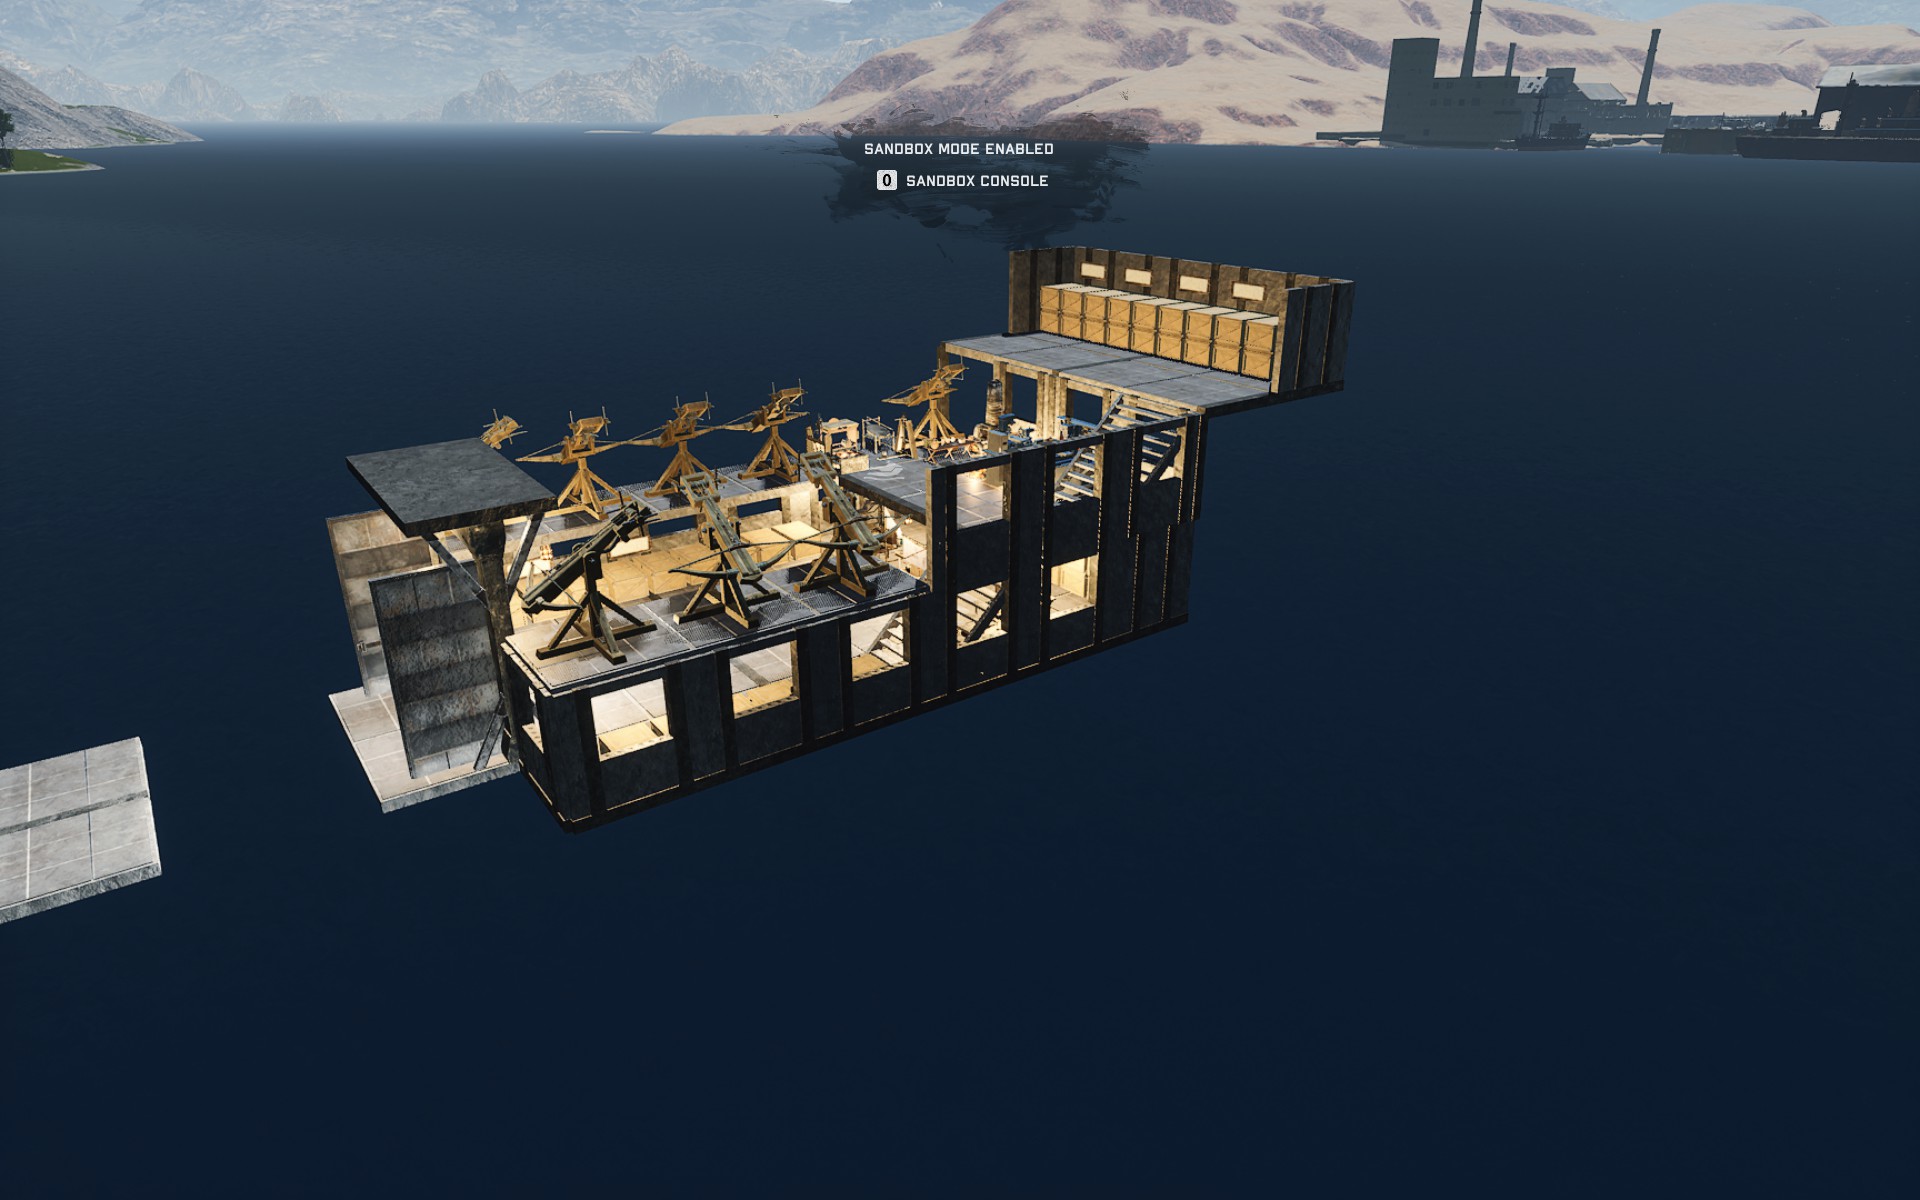
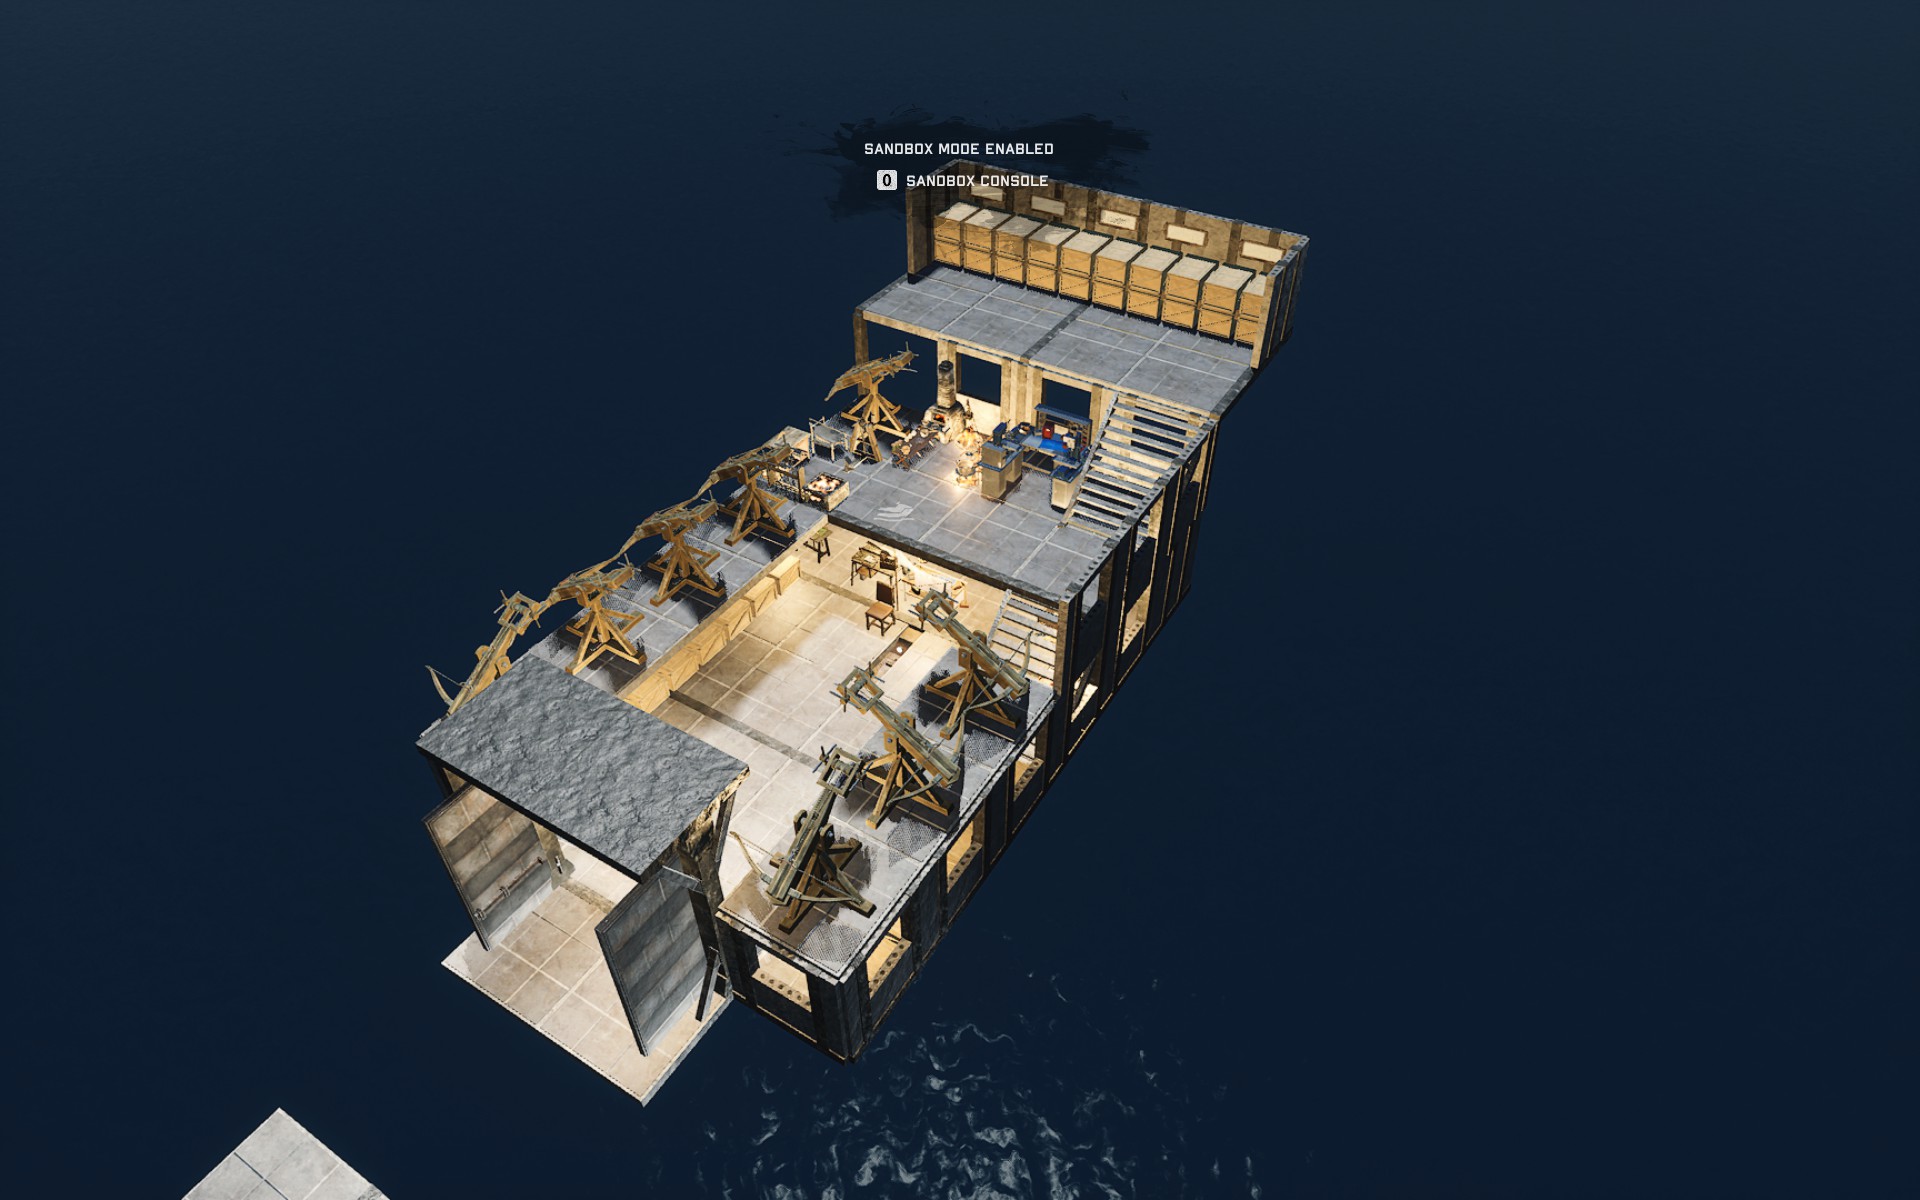
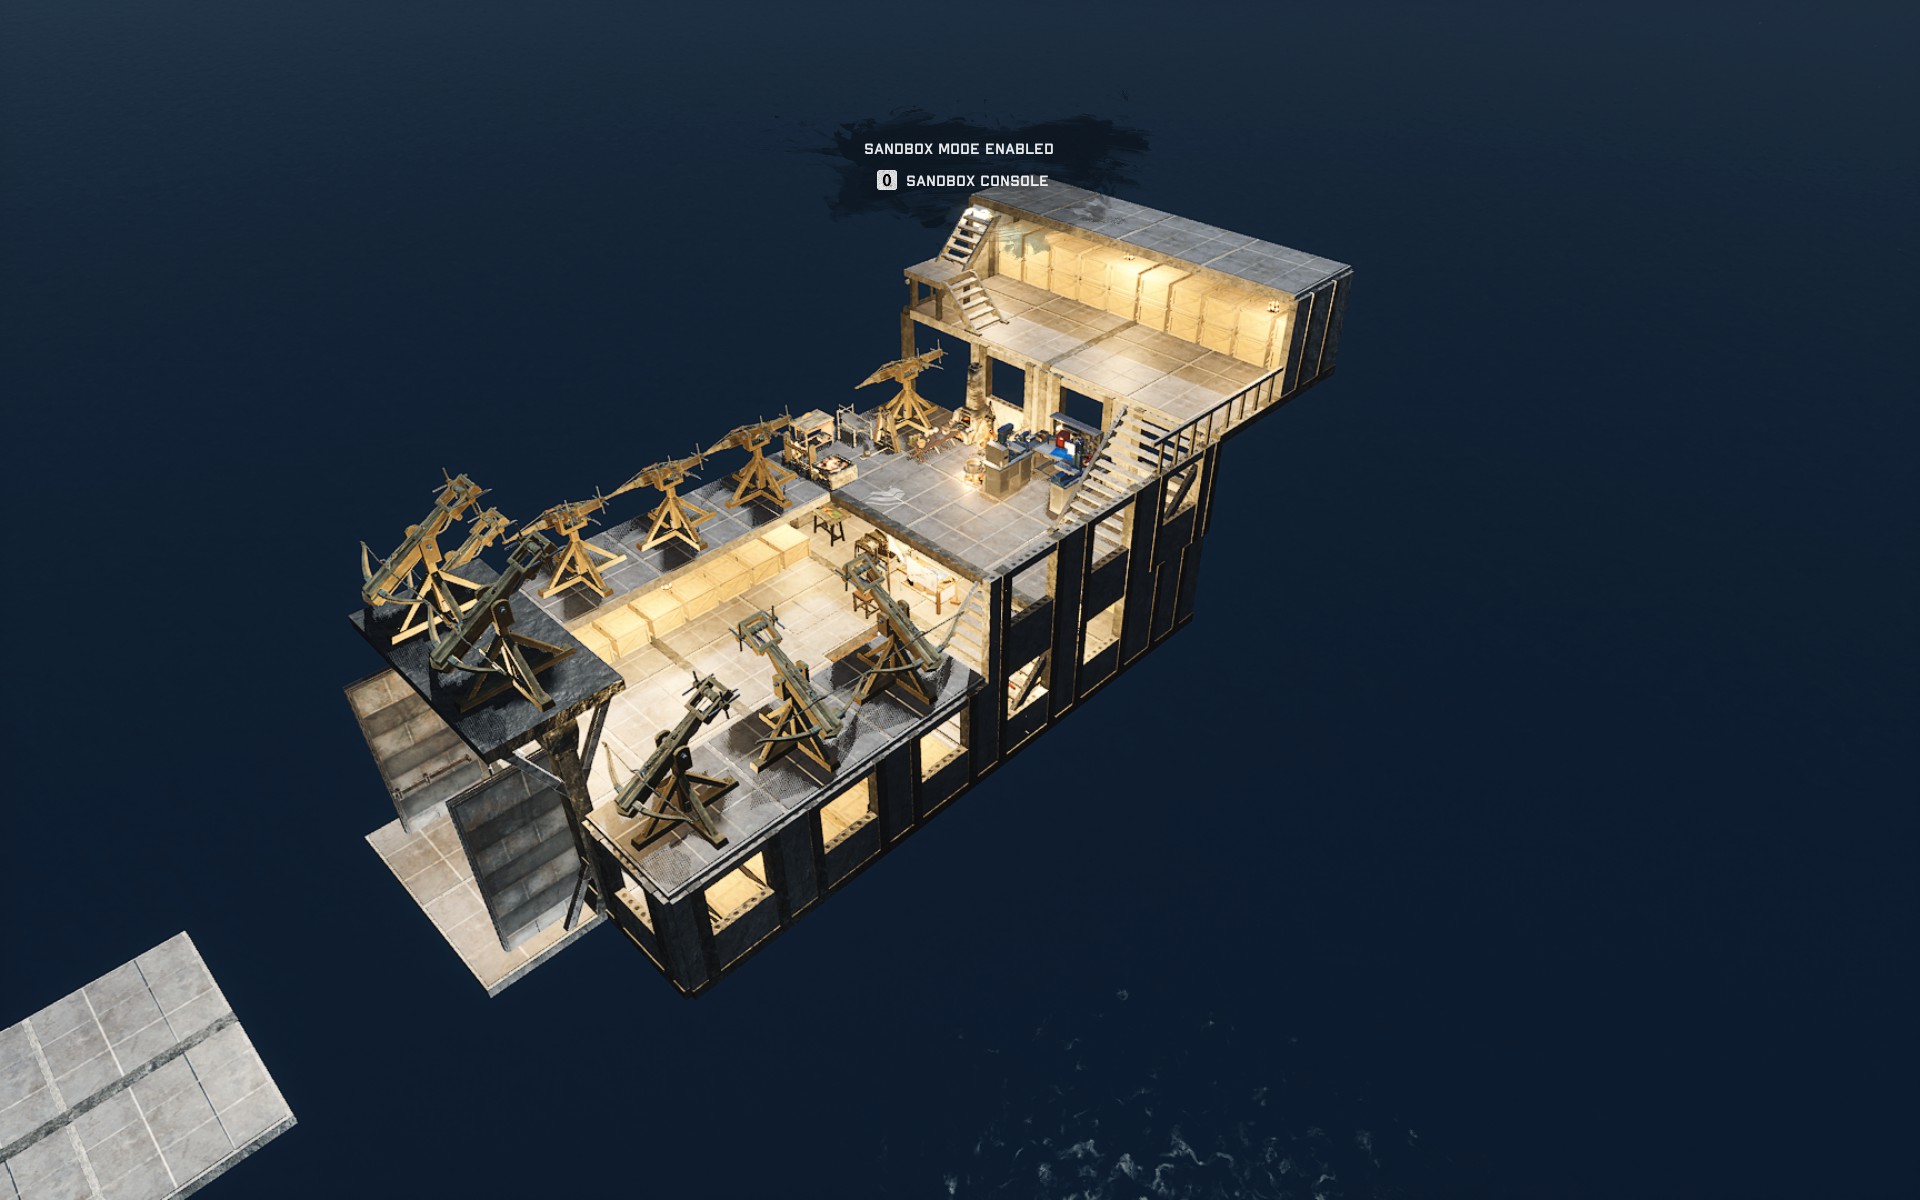
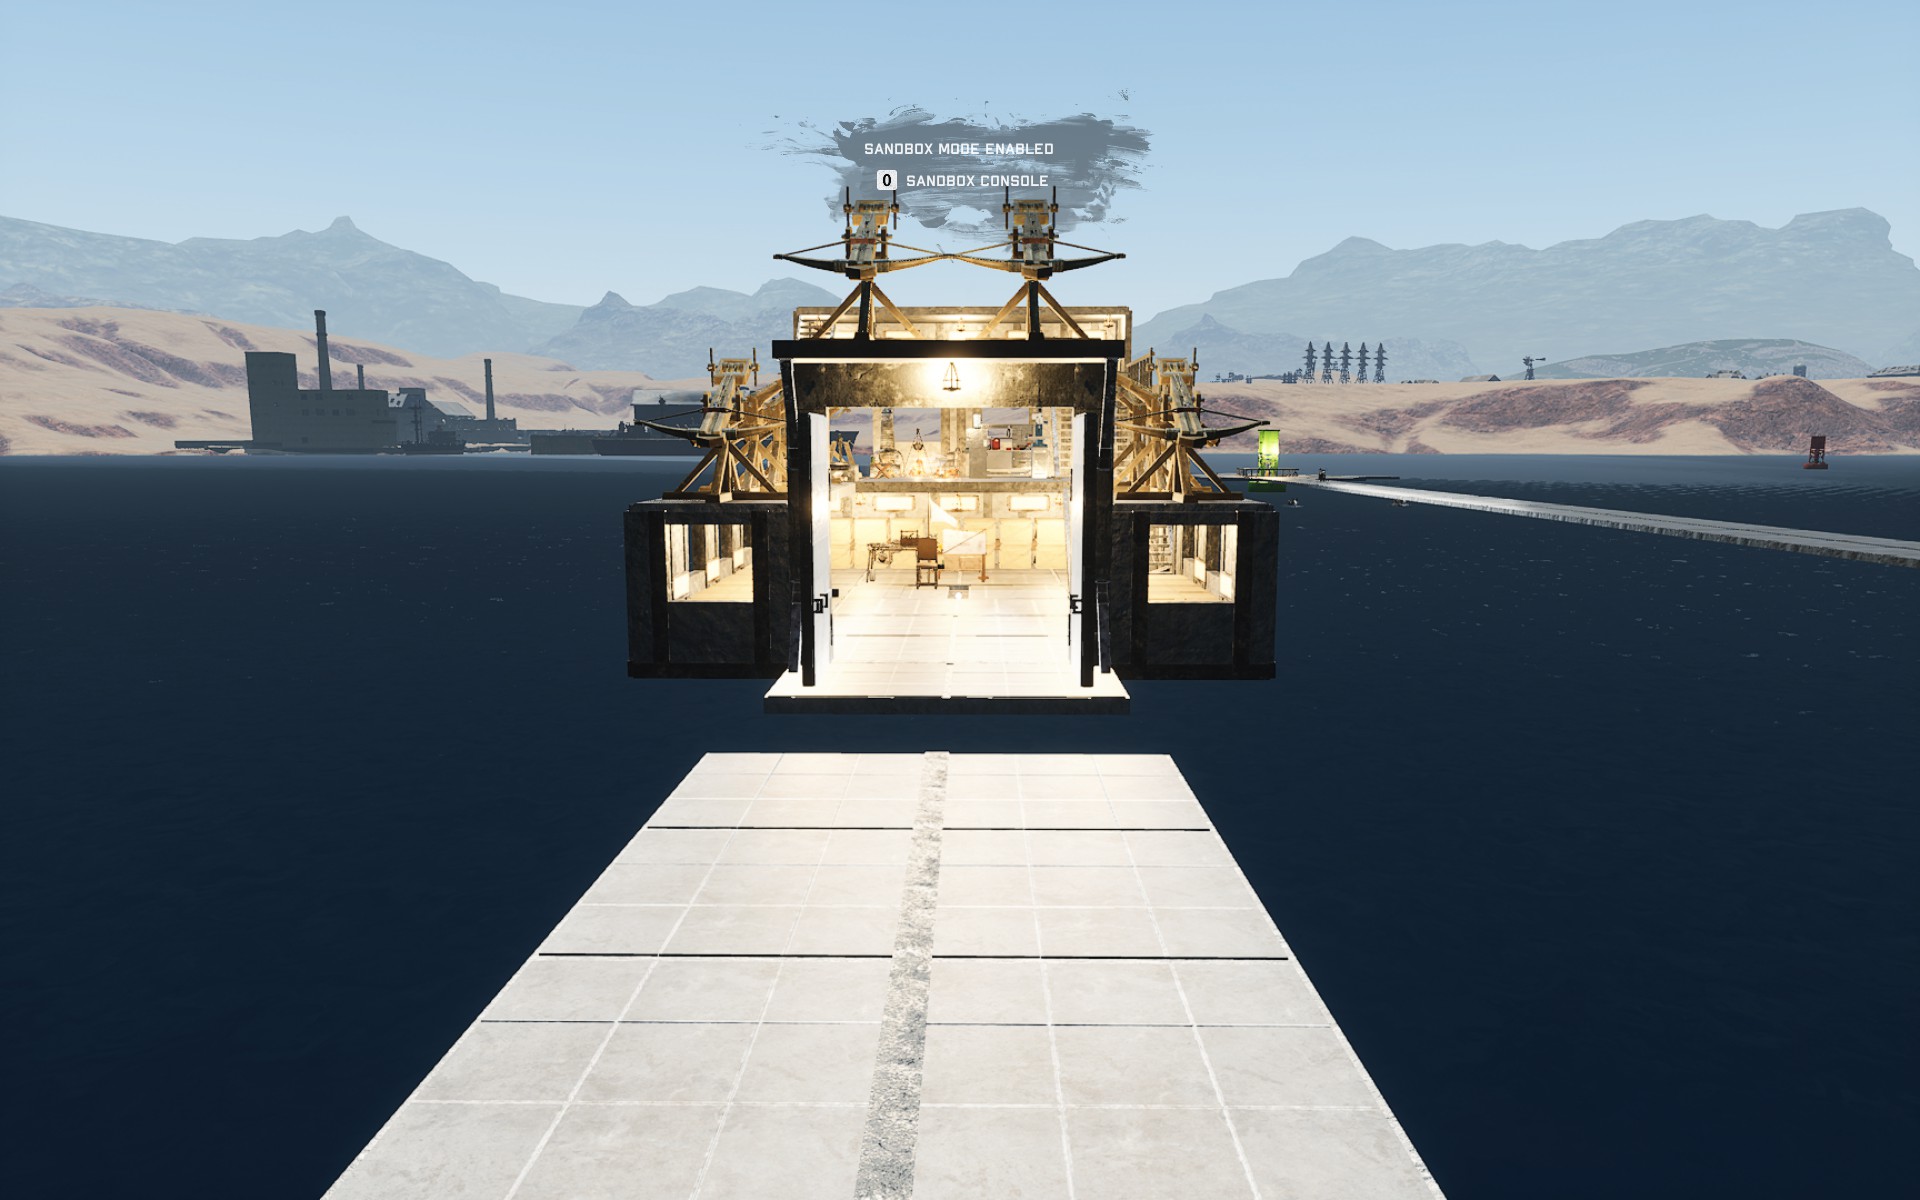
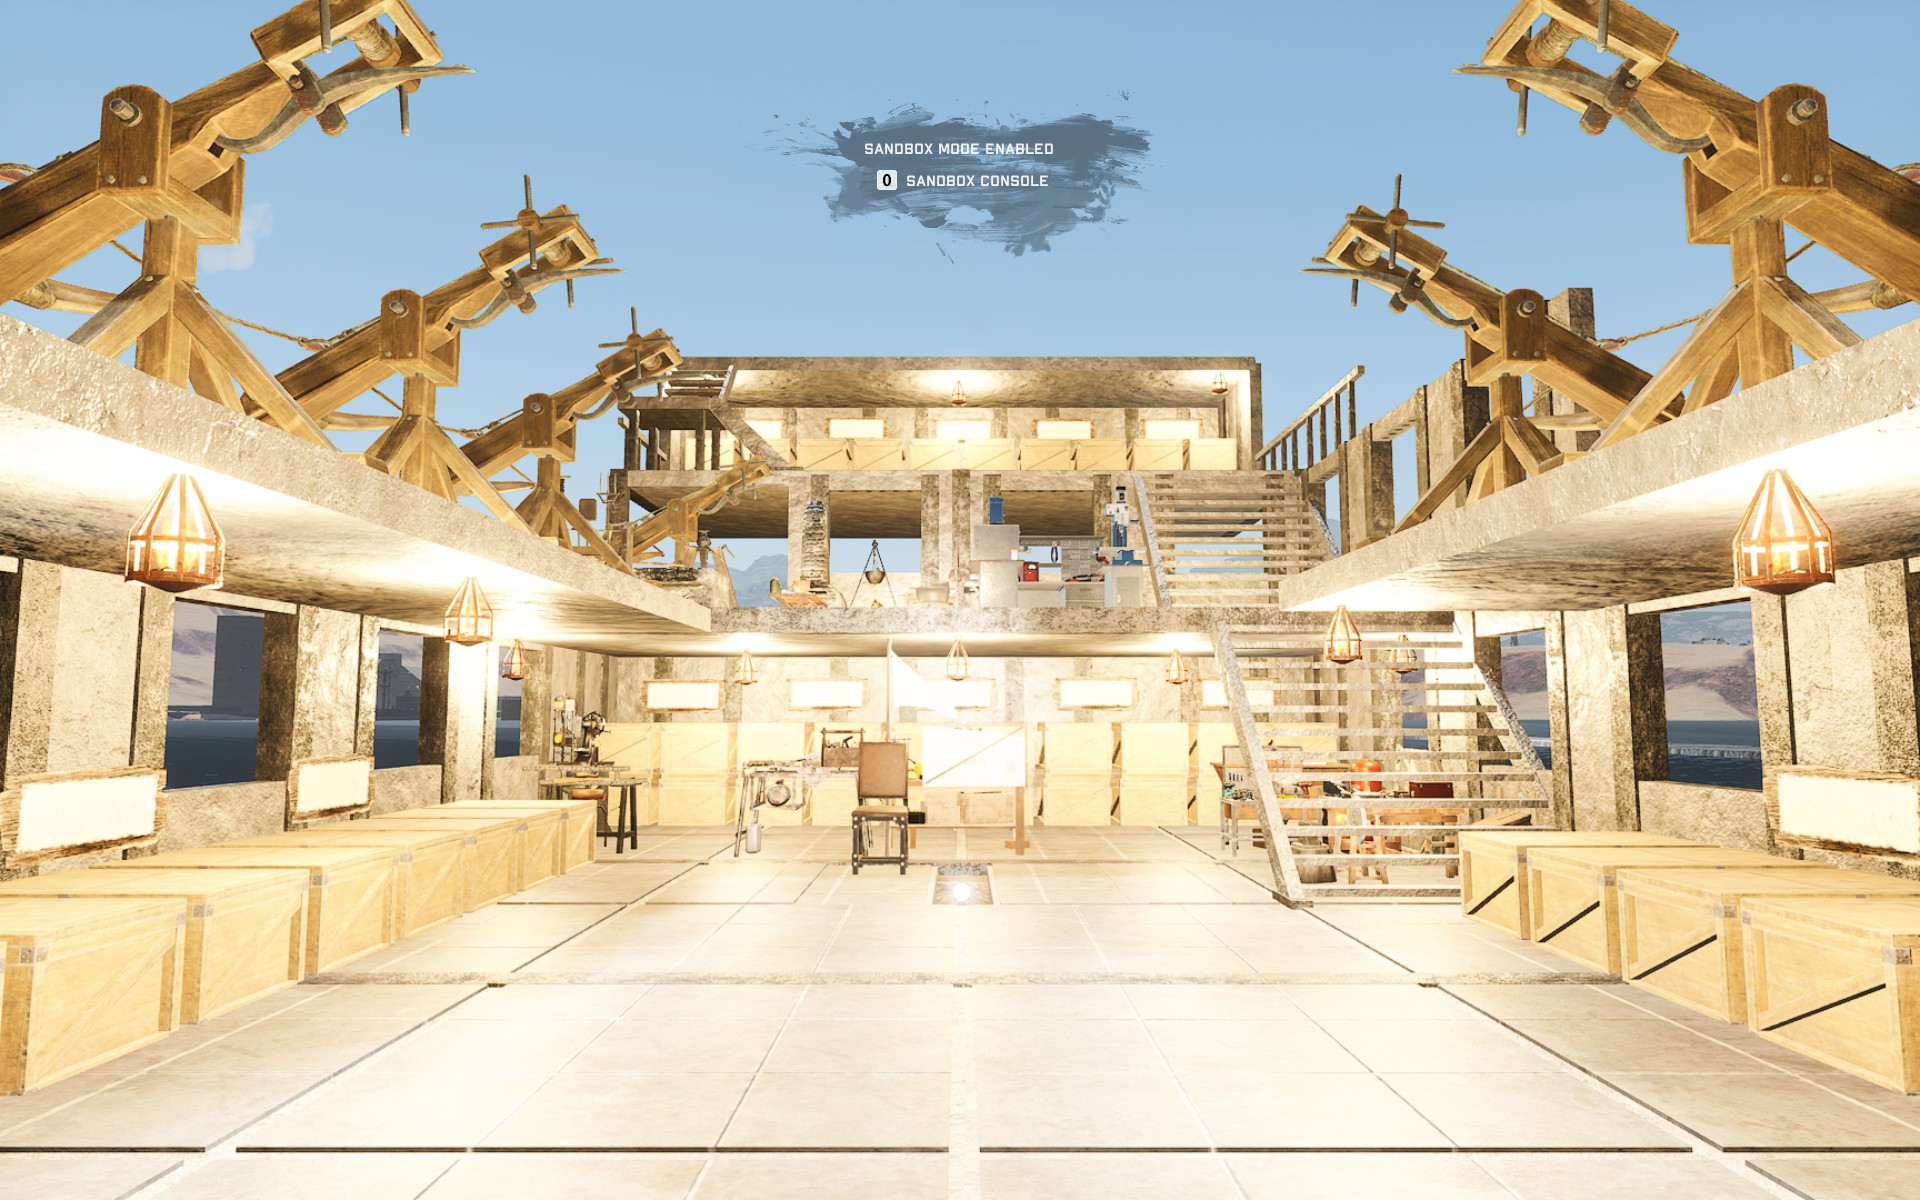
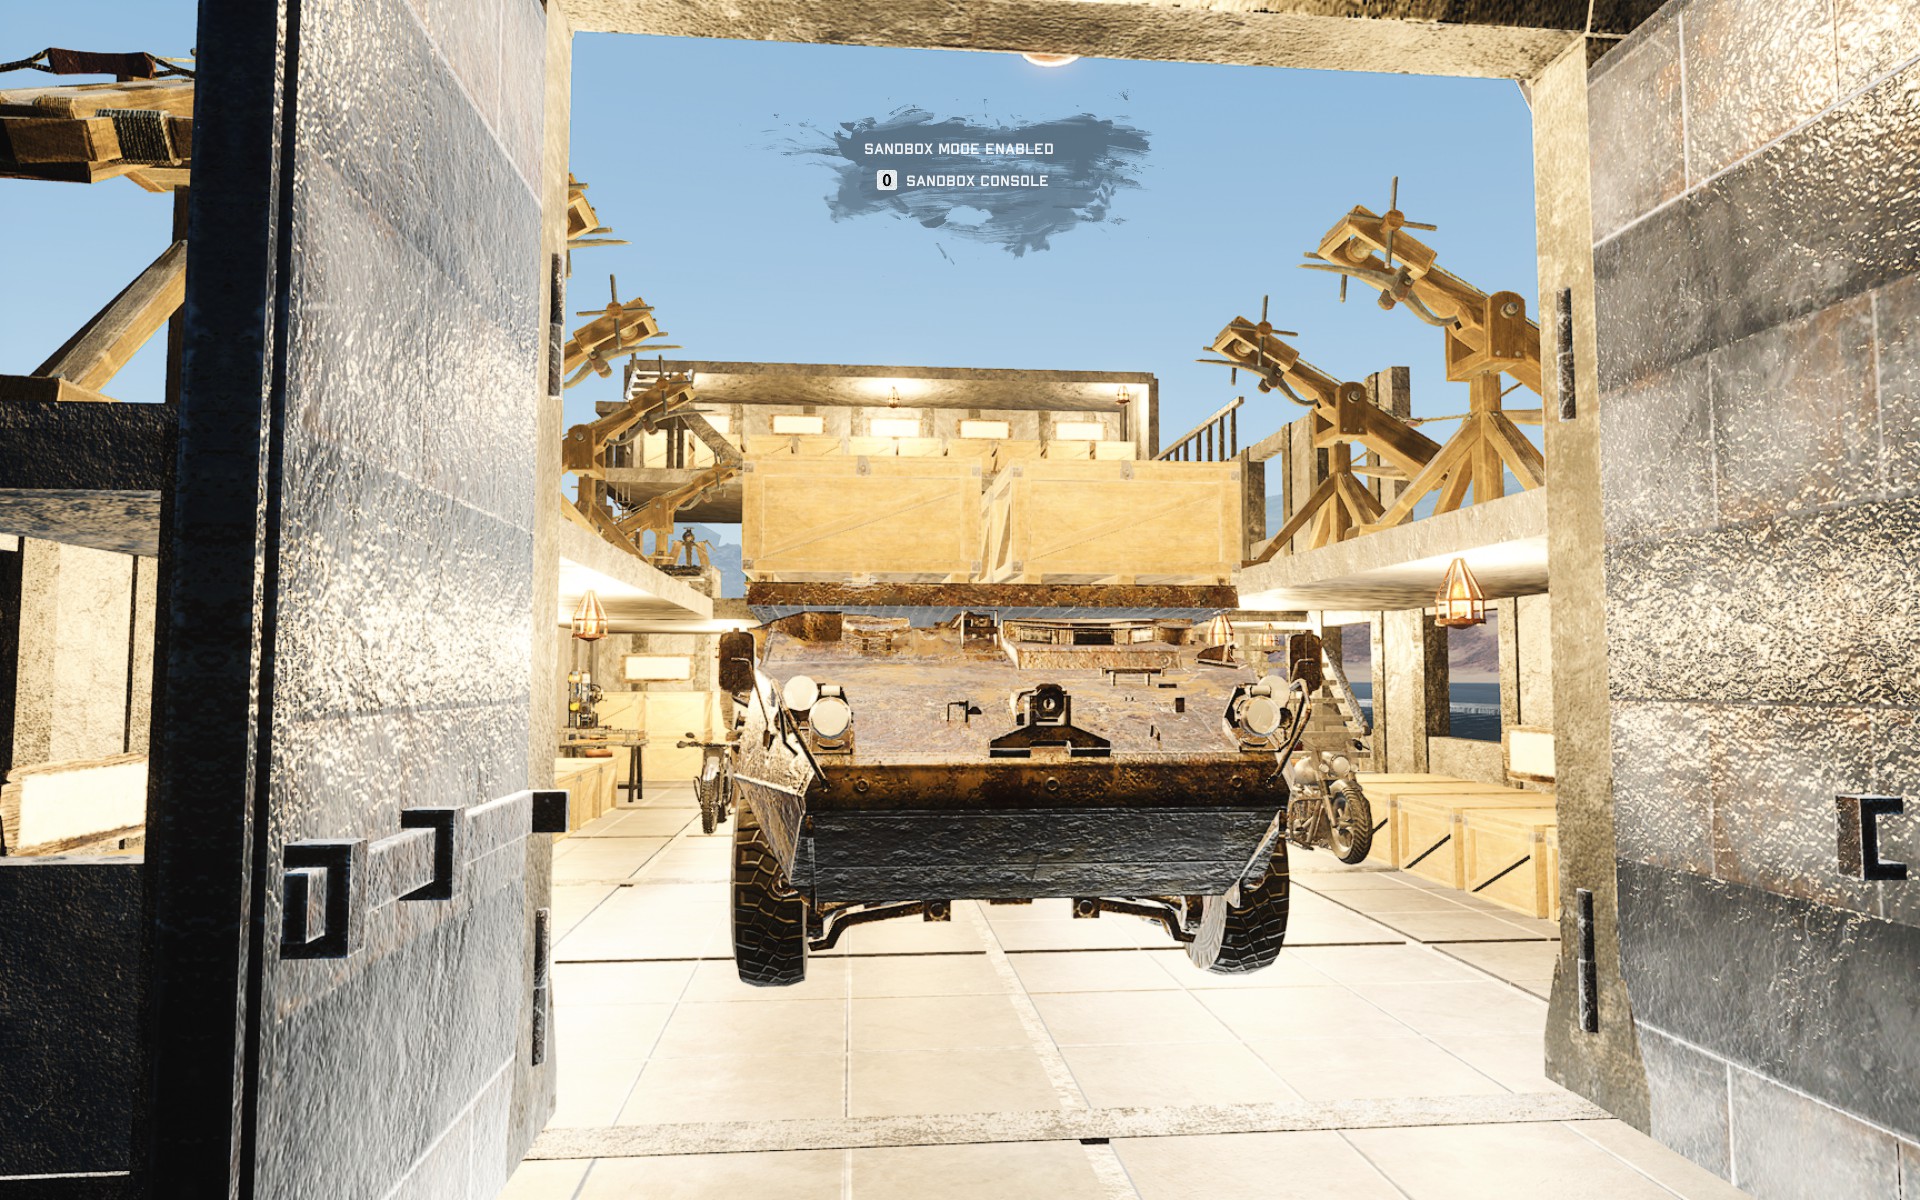
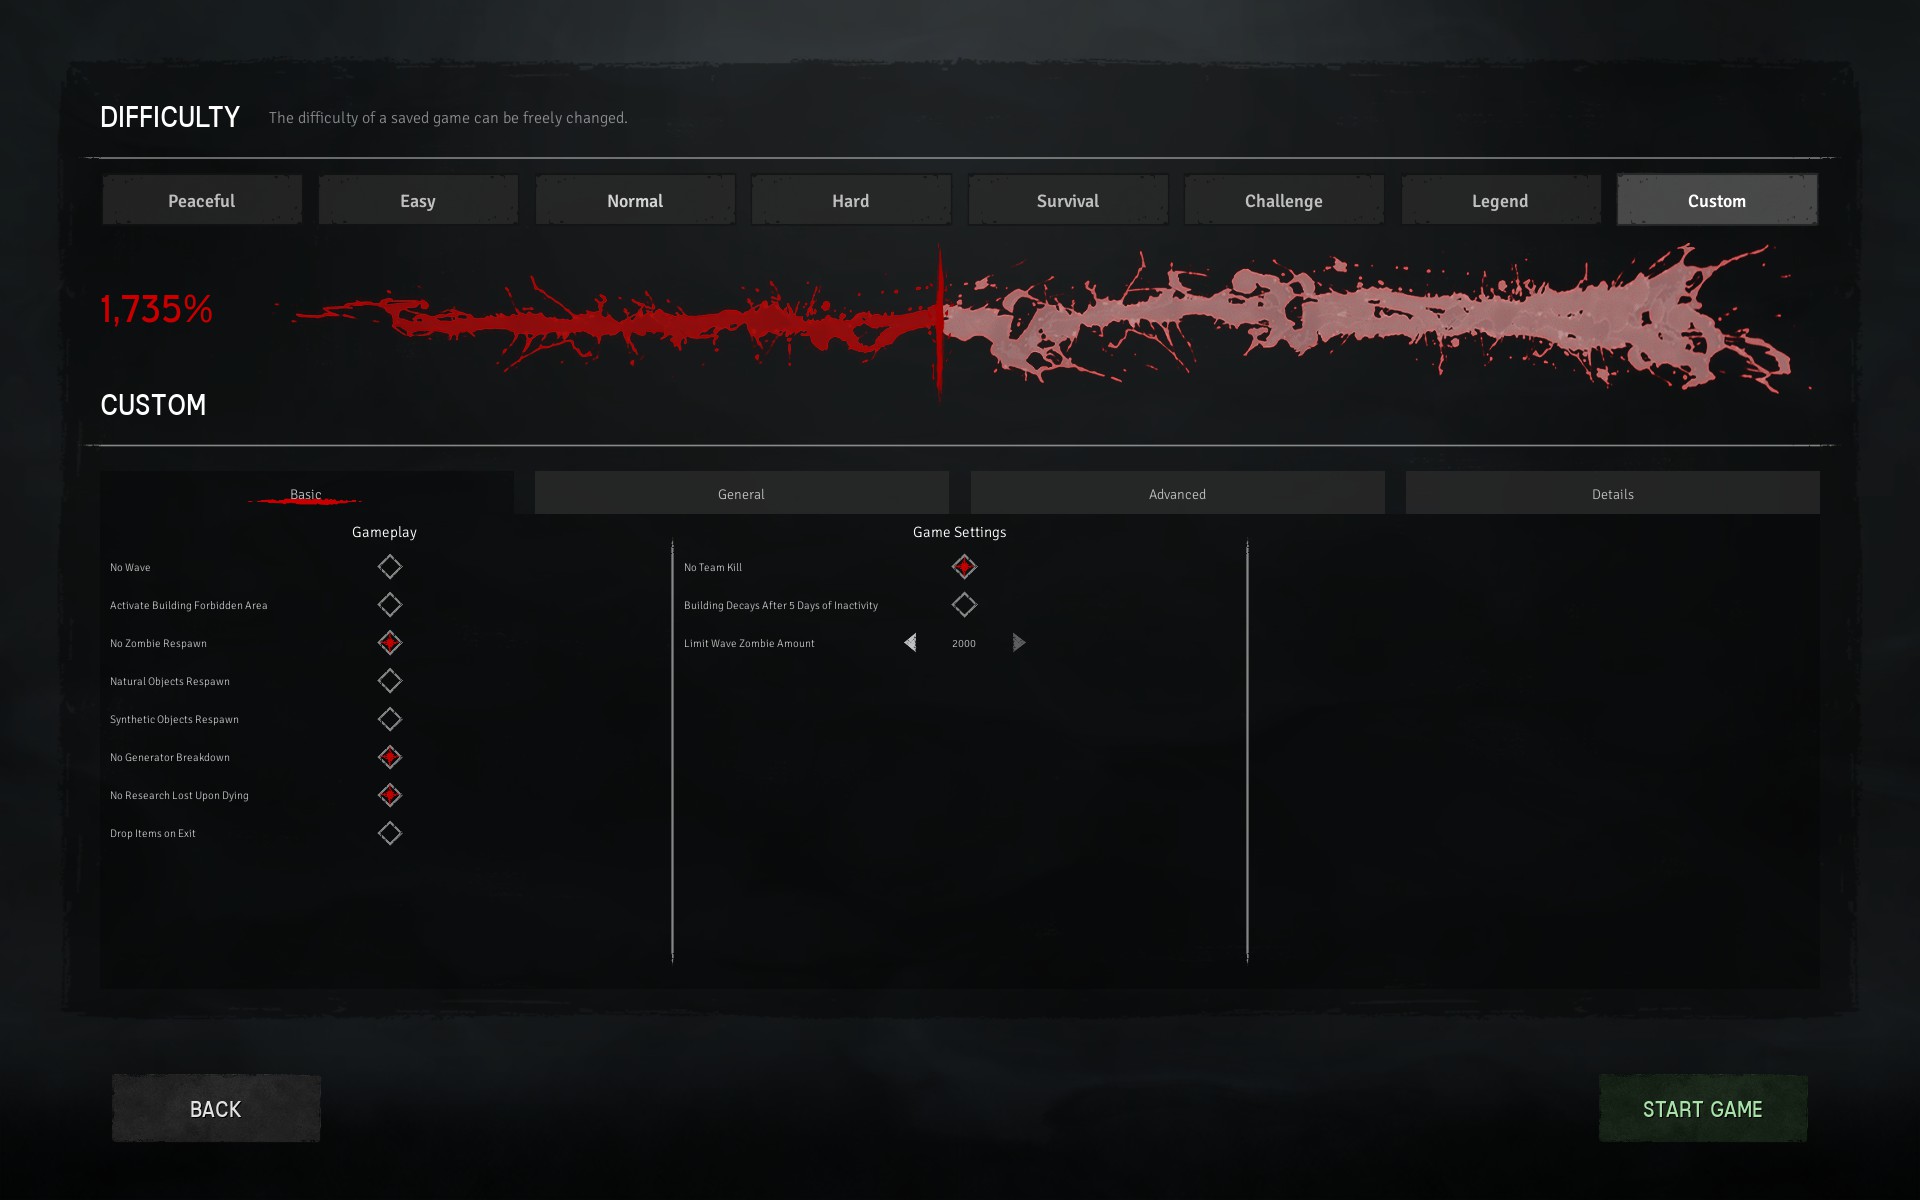
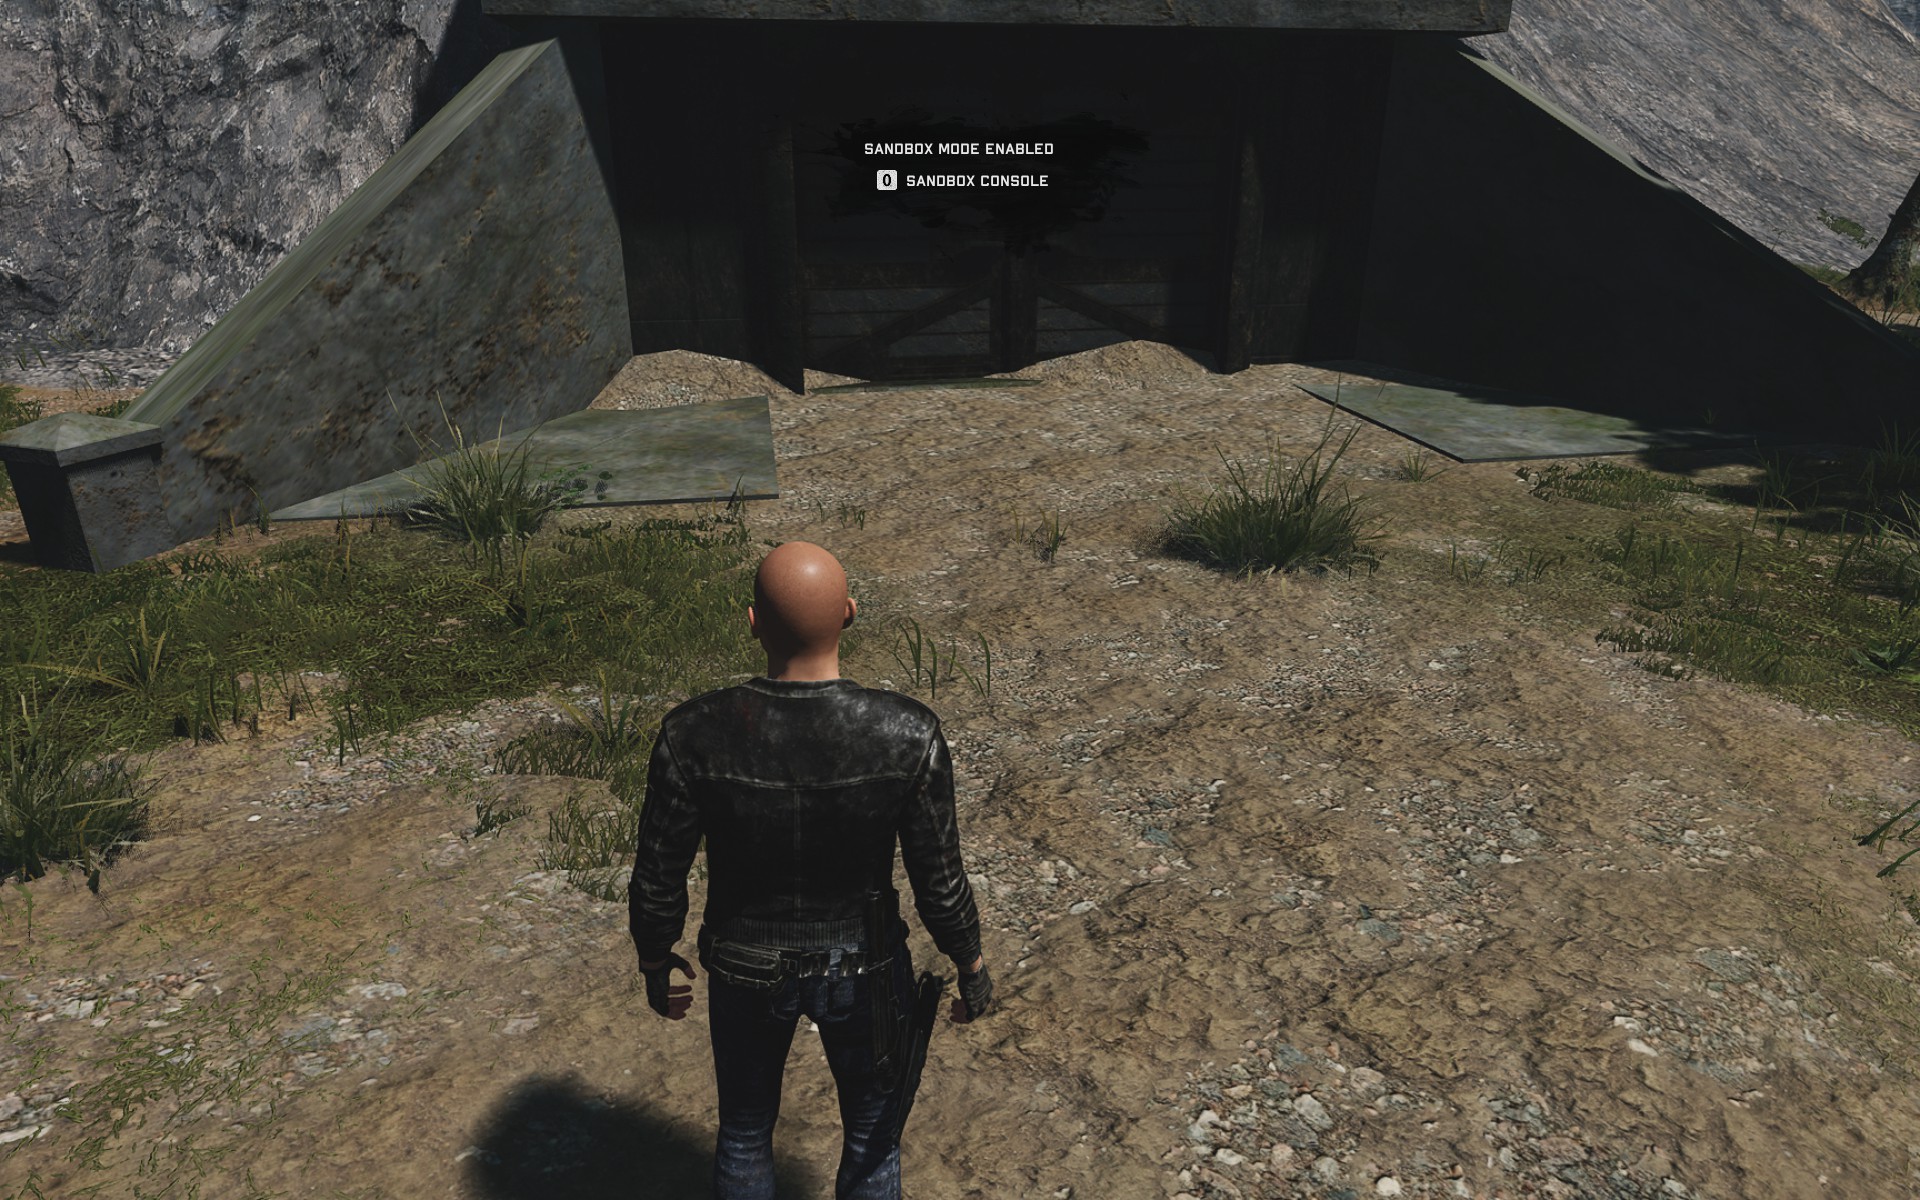
but if you're going for legend achievement or something then you can't customize the settings.
Shadowrun  [ผู้สร้าง] 8 เม.ย. @ 1: 36pm 
durability of what? your gear? or the buildings?

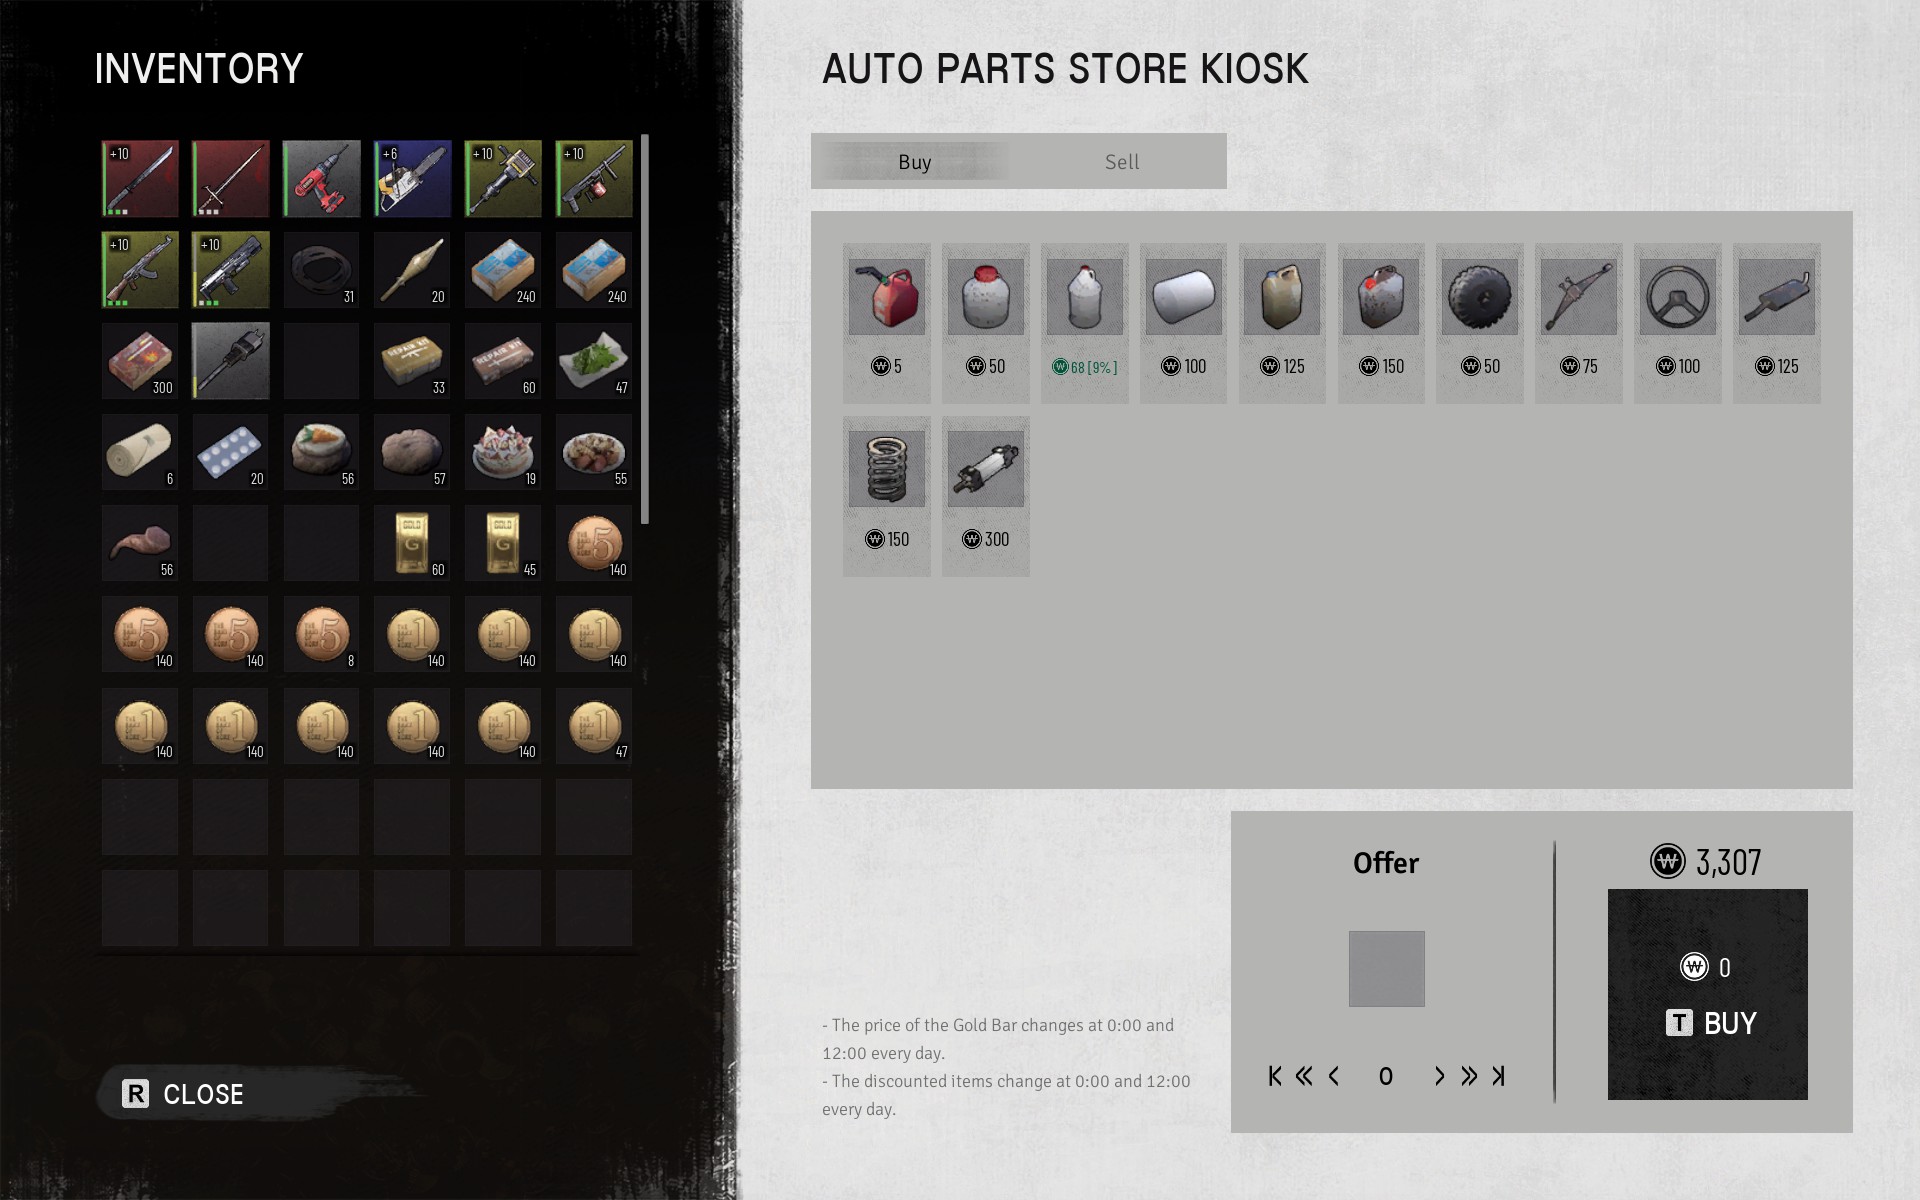
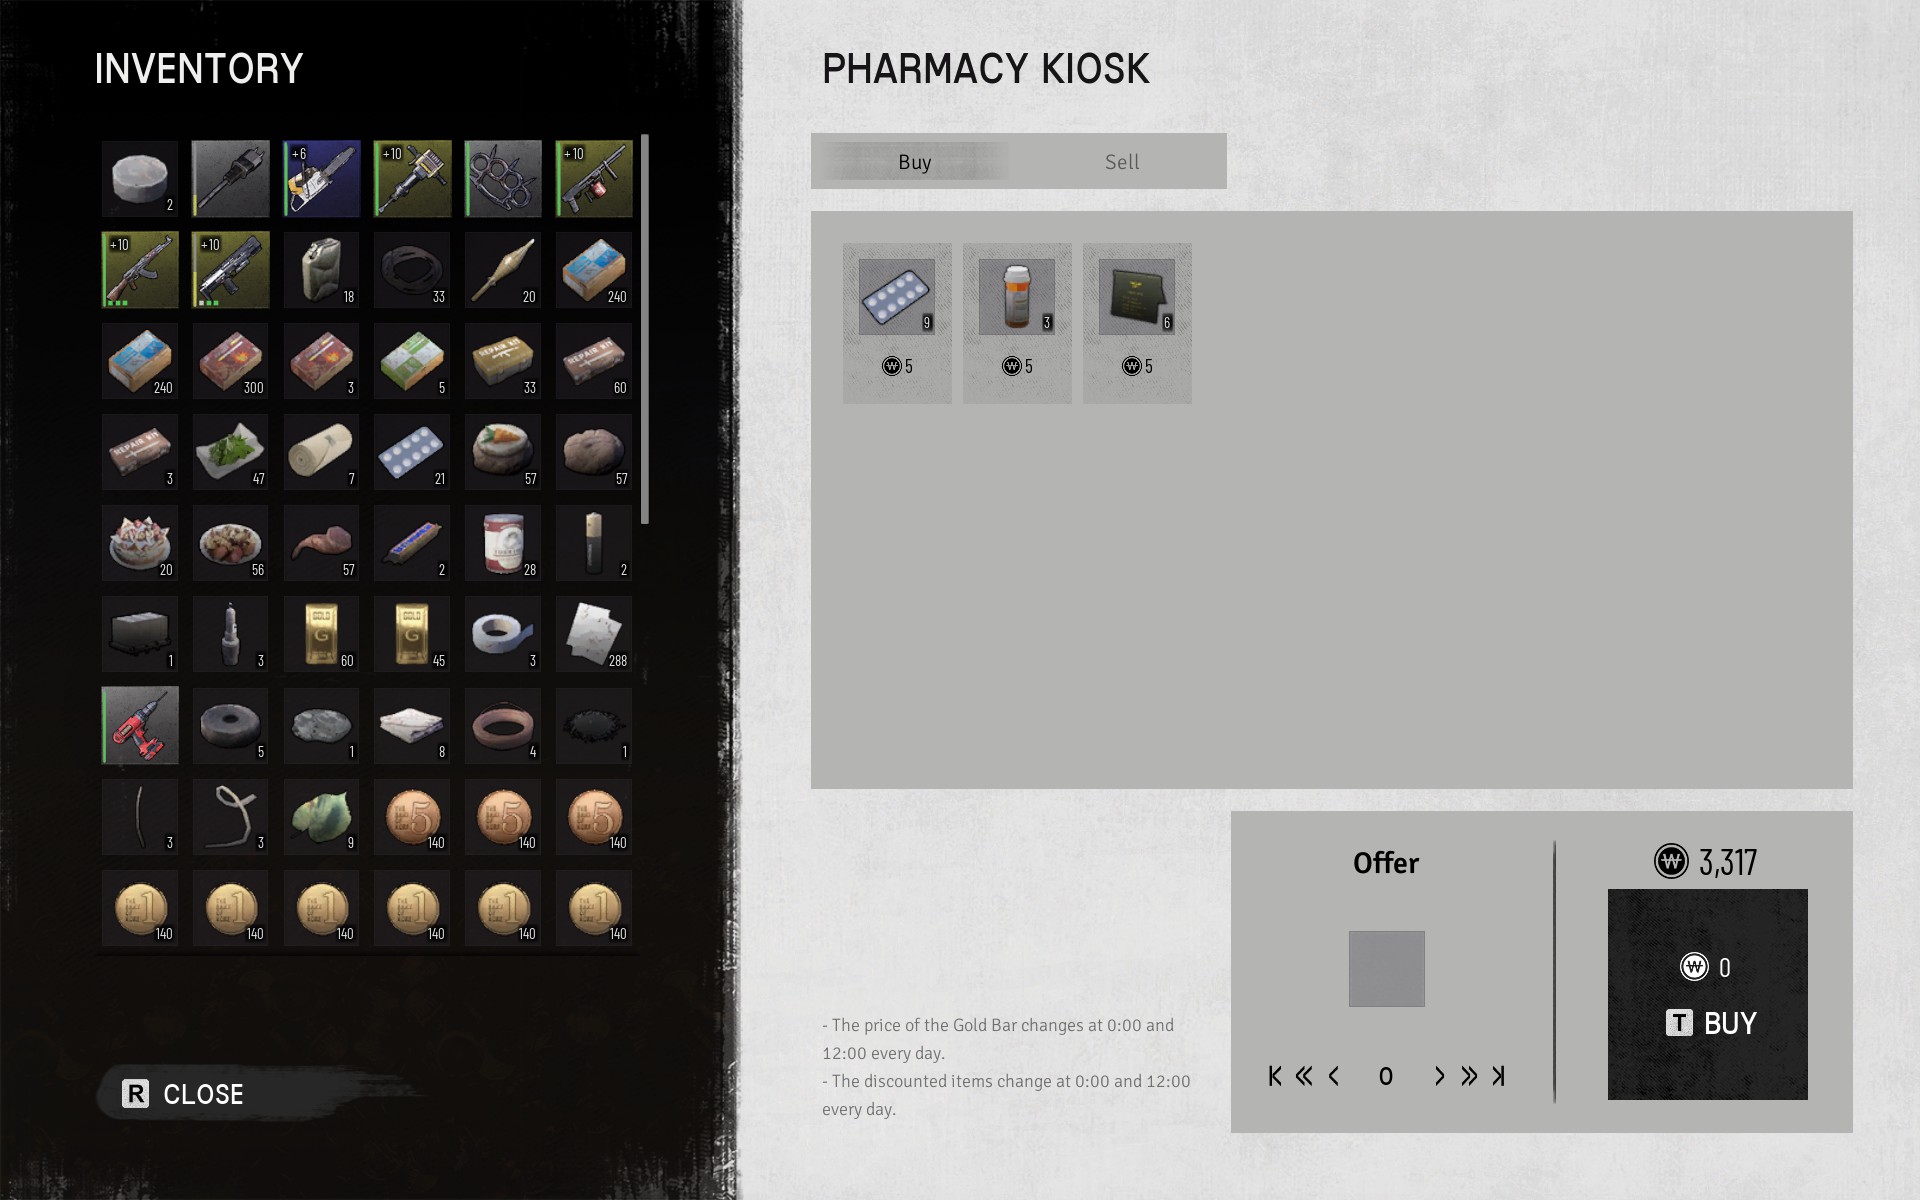
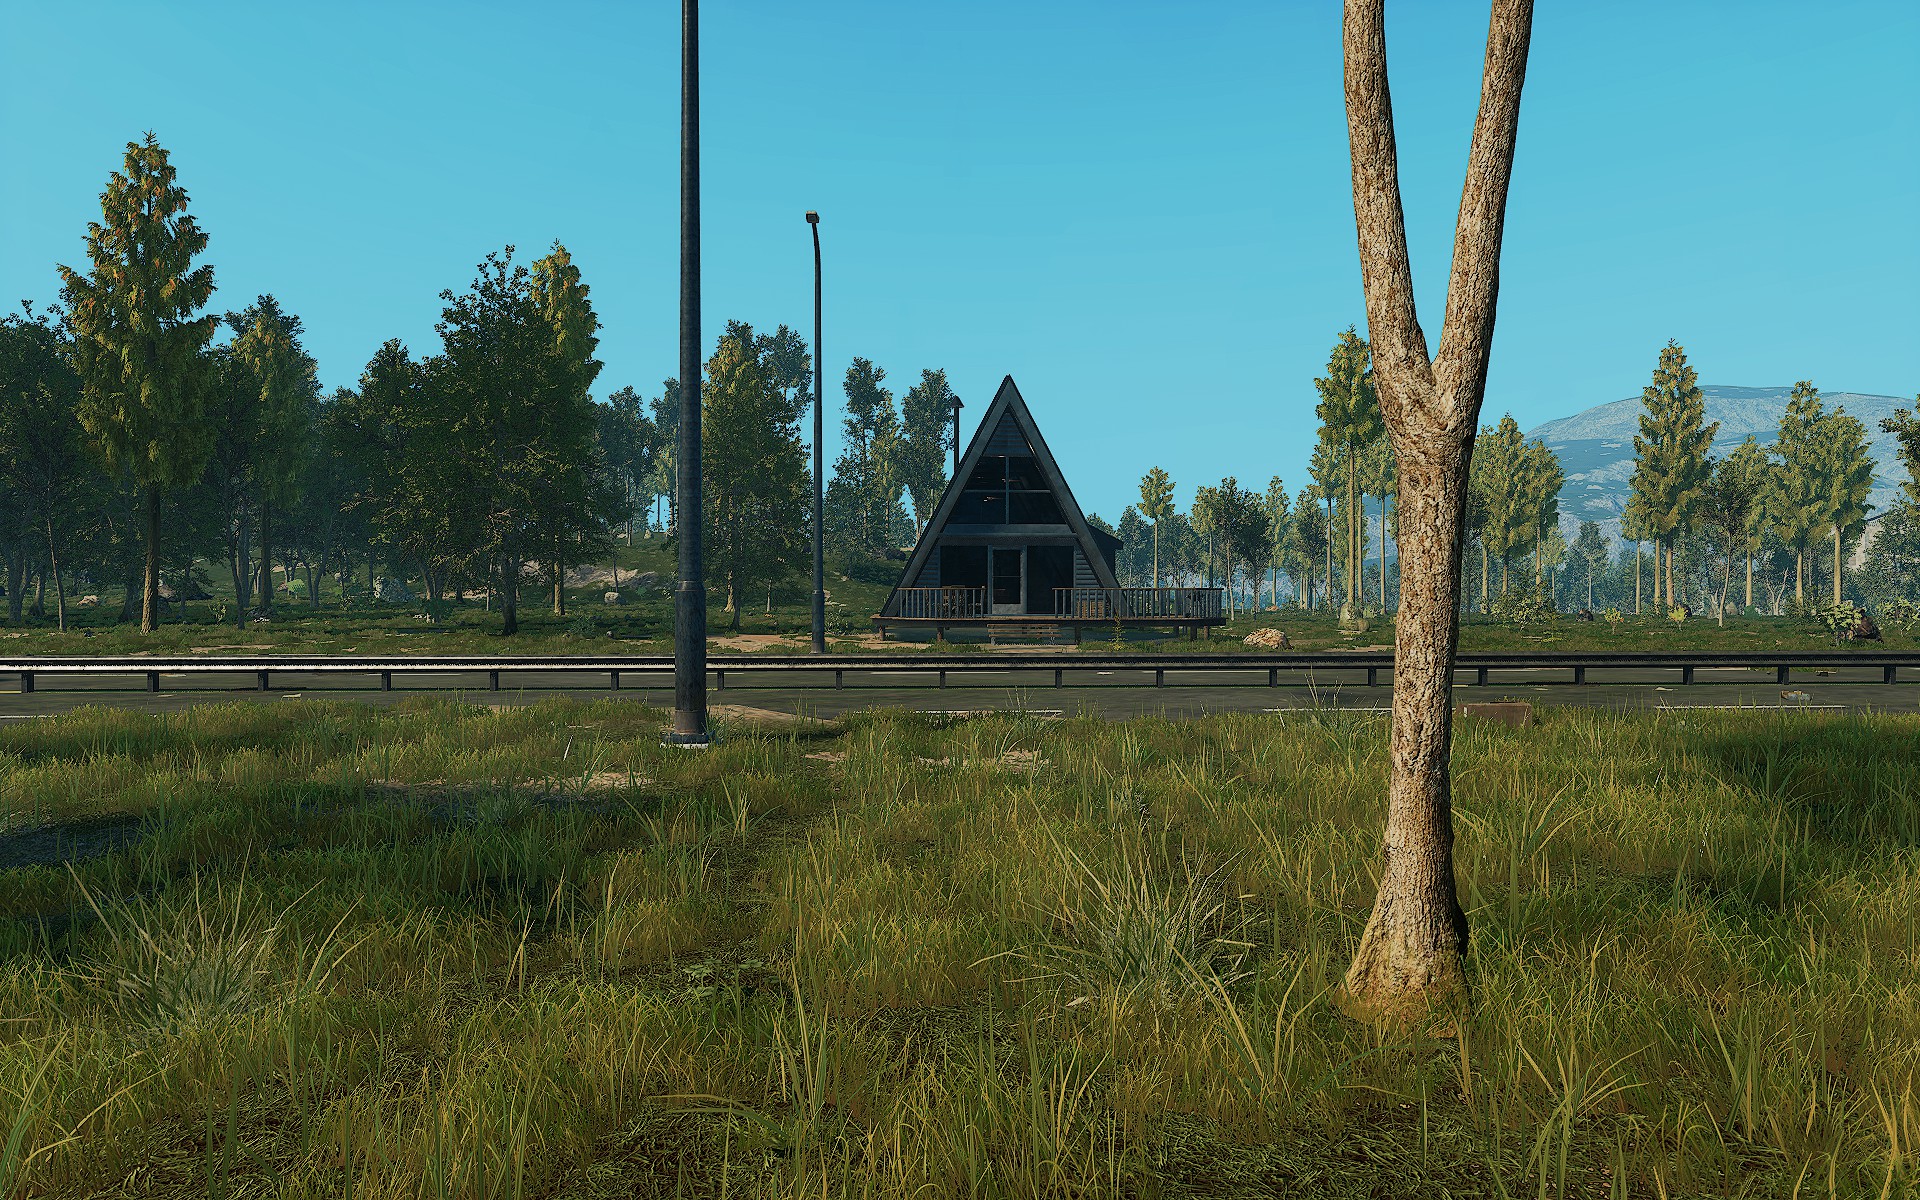
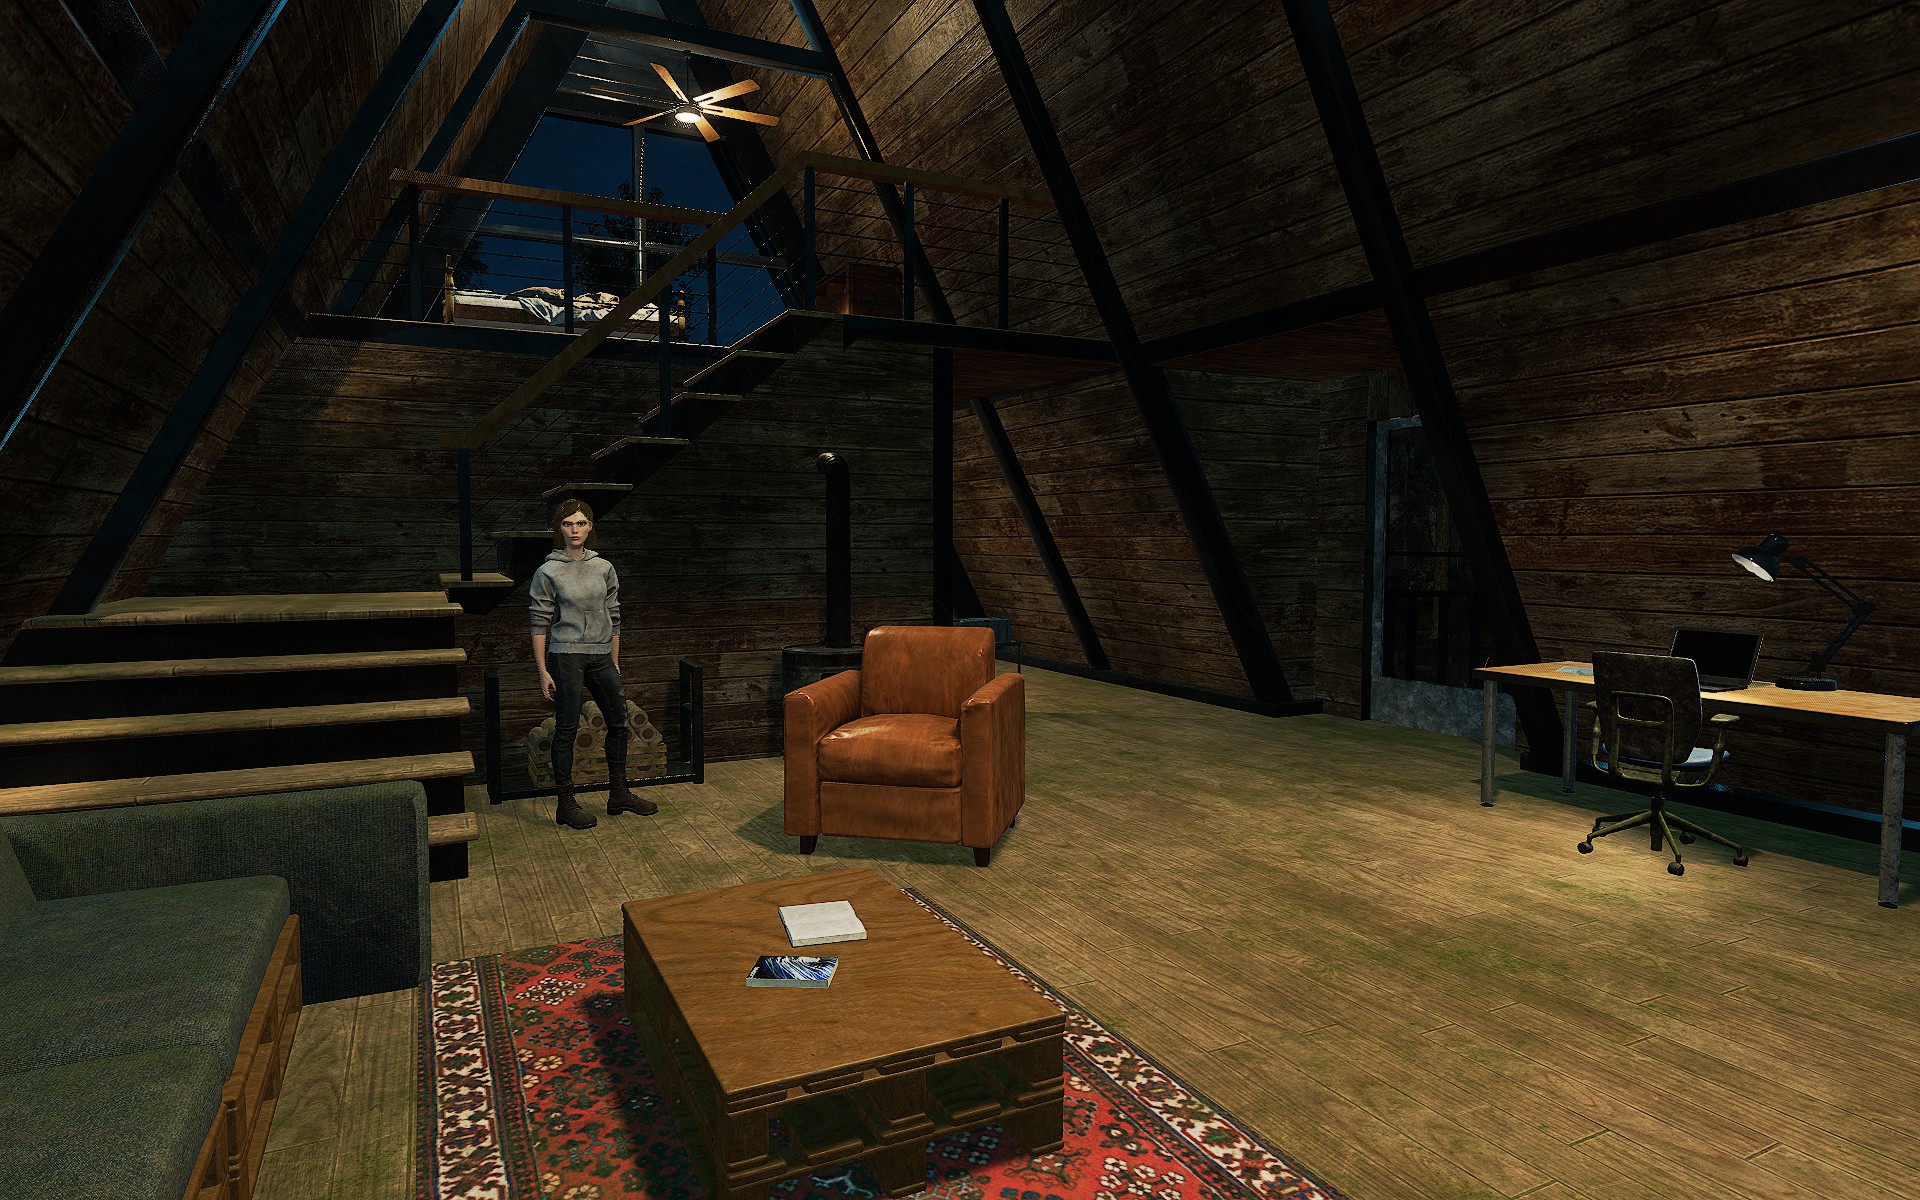
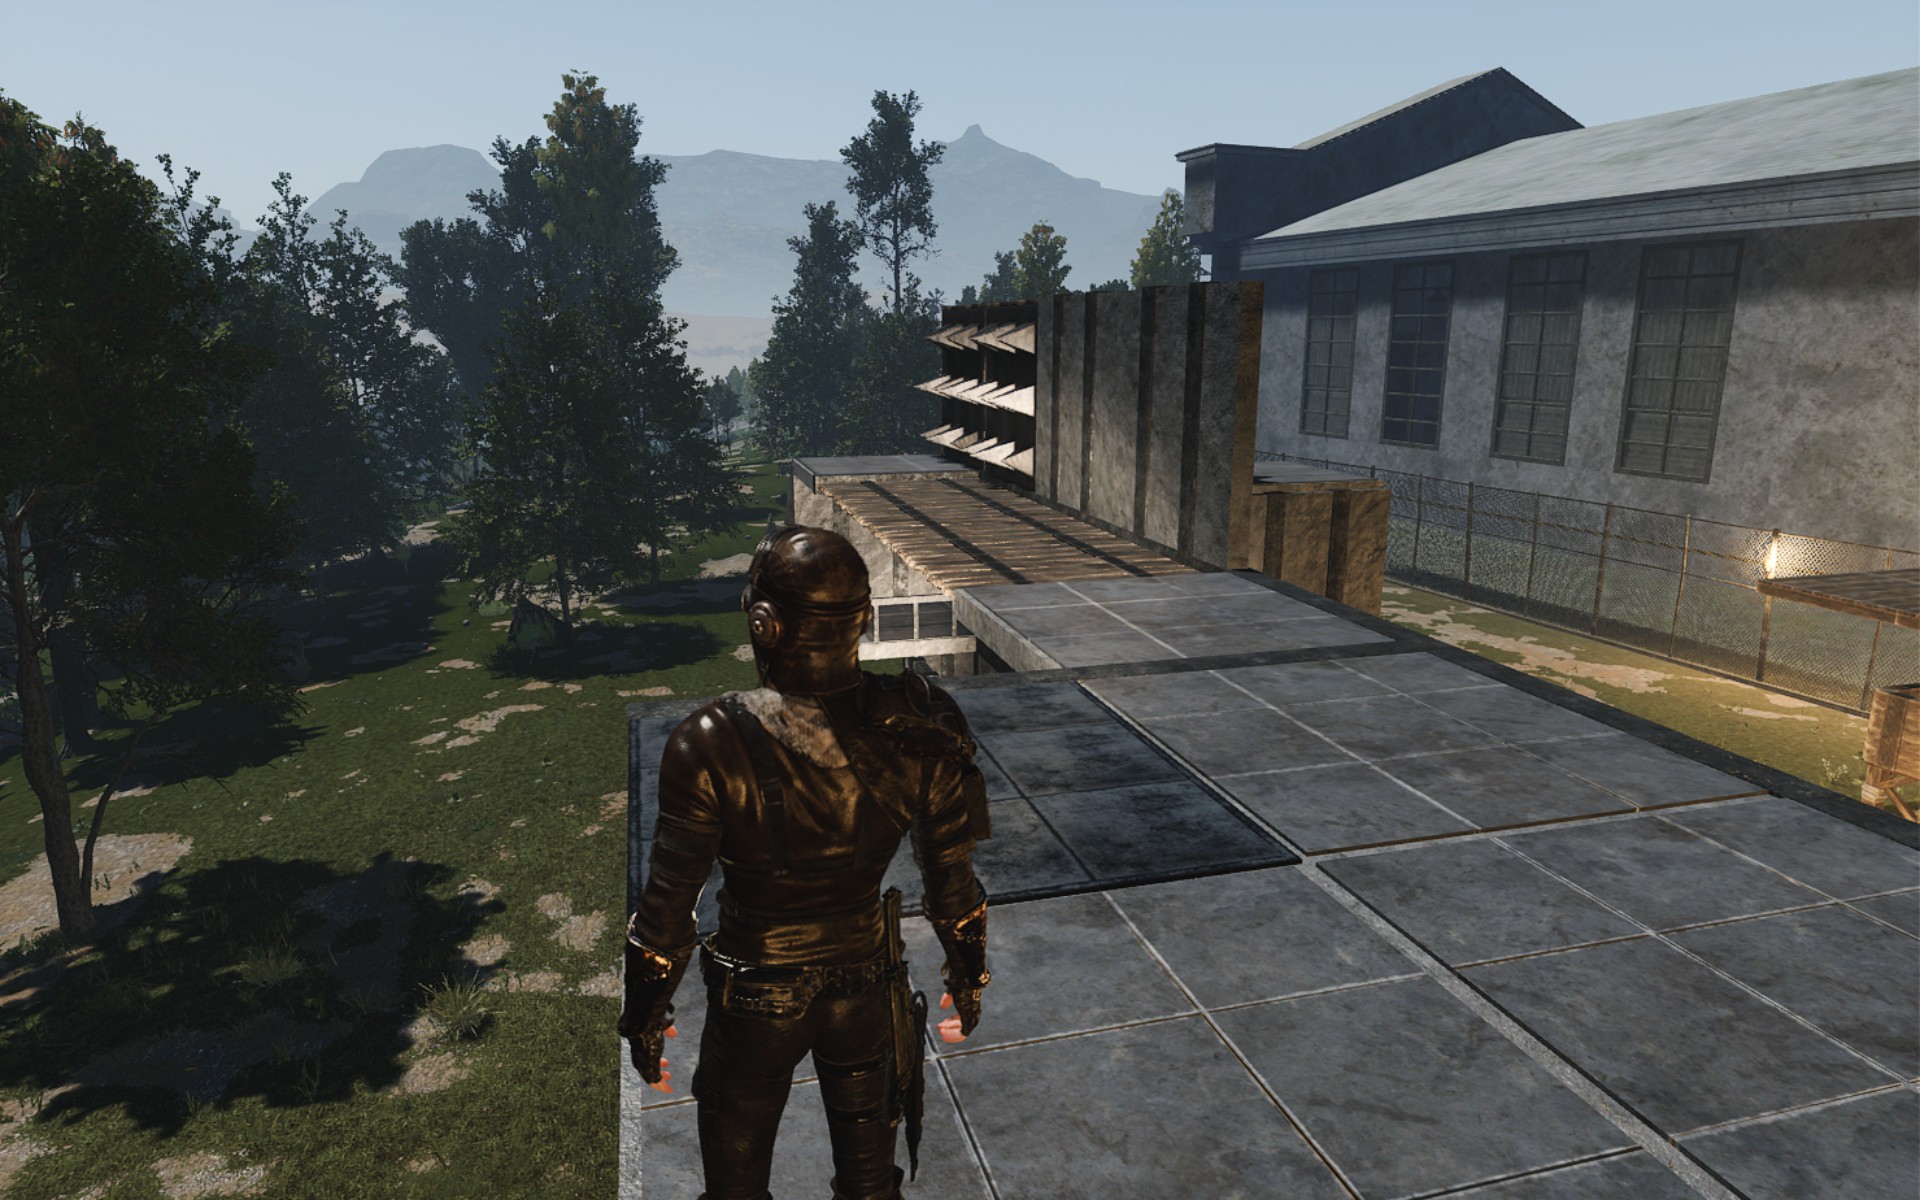
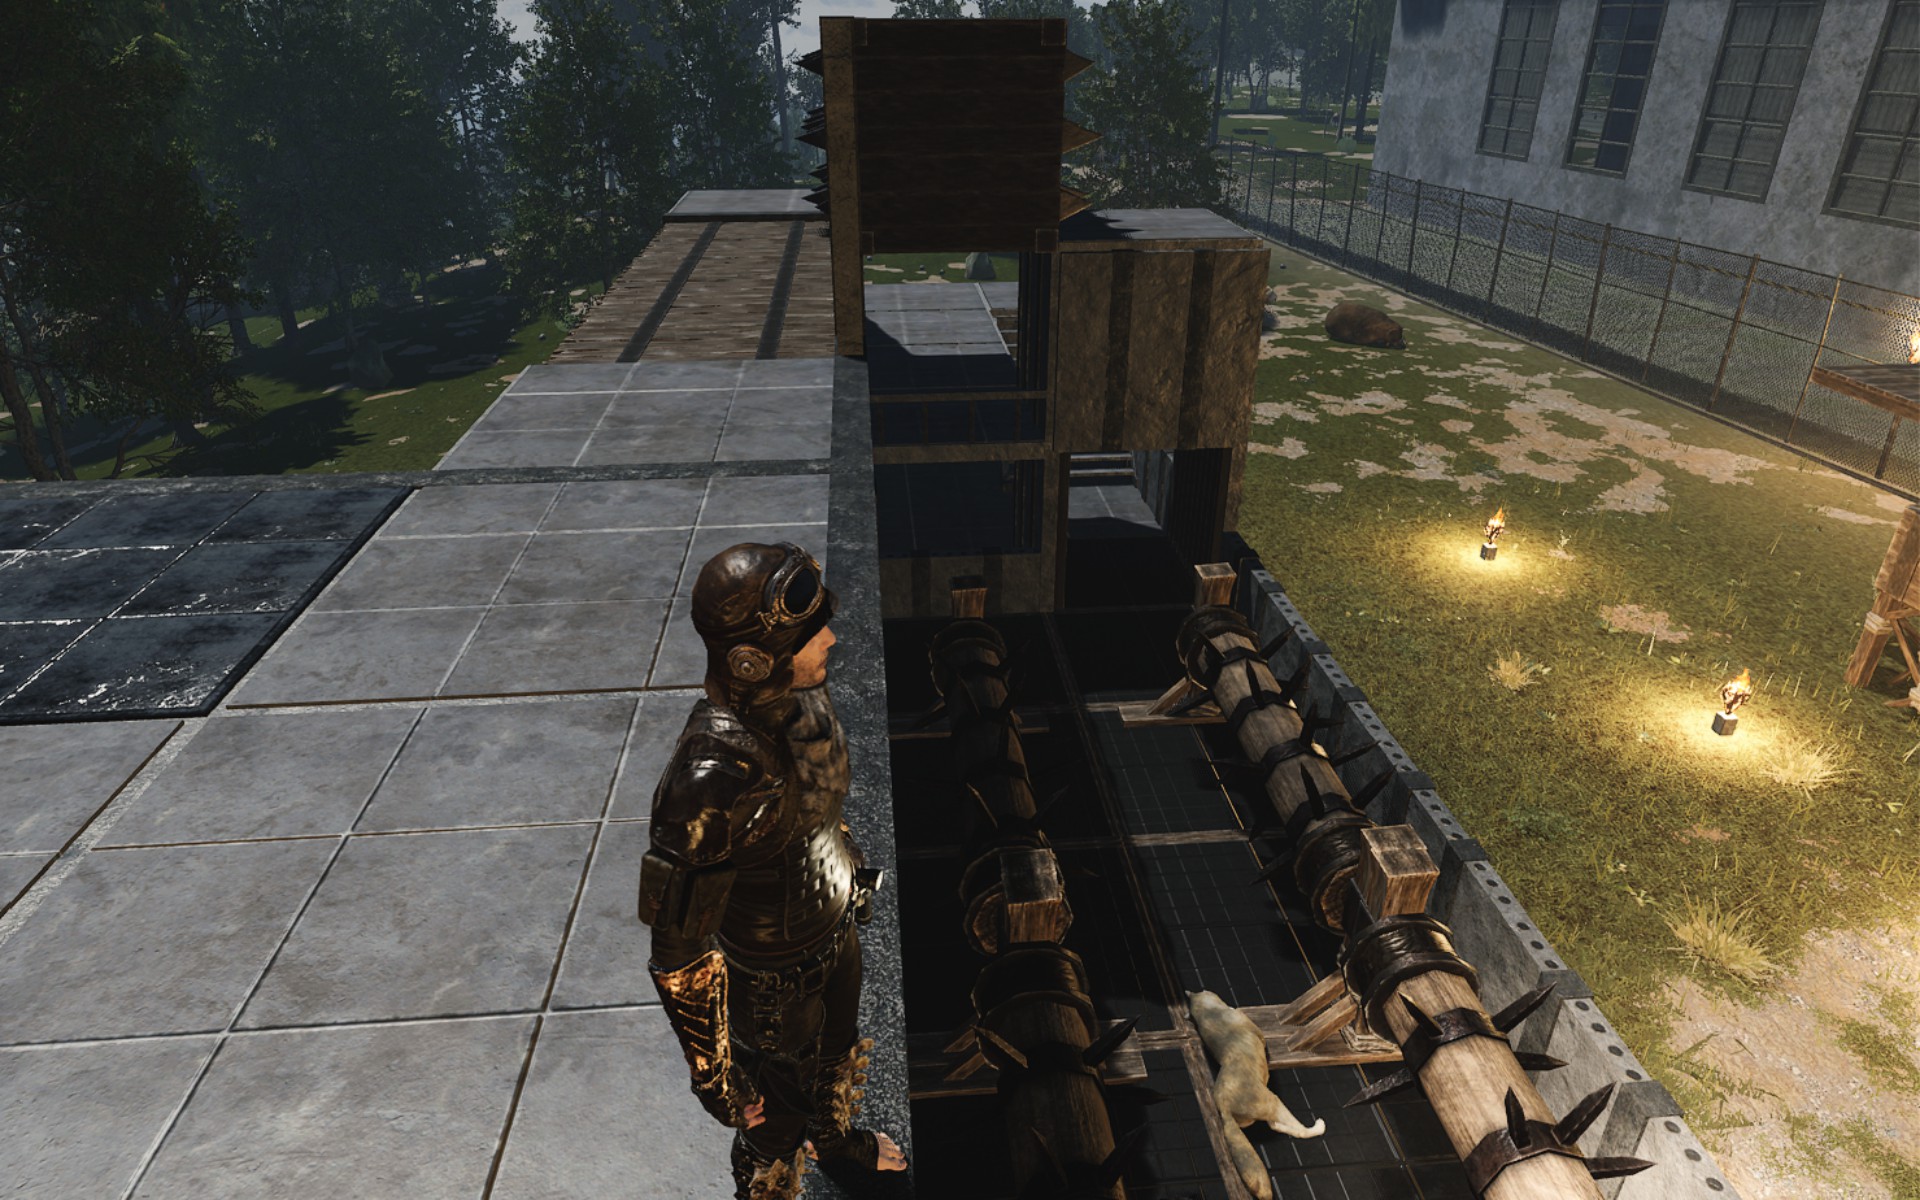
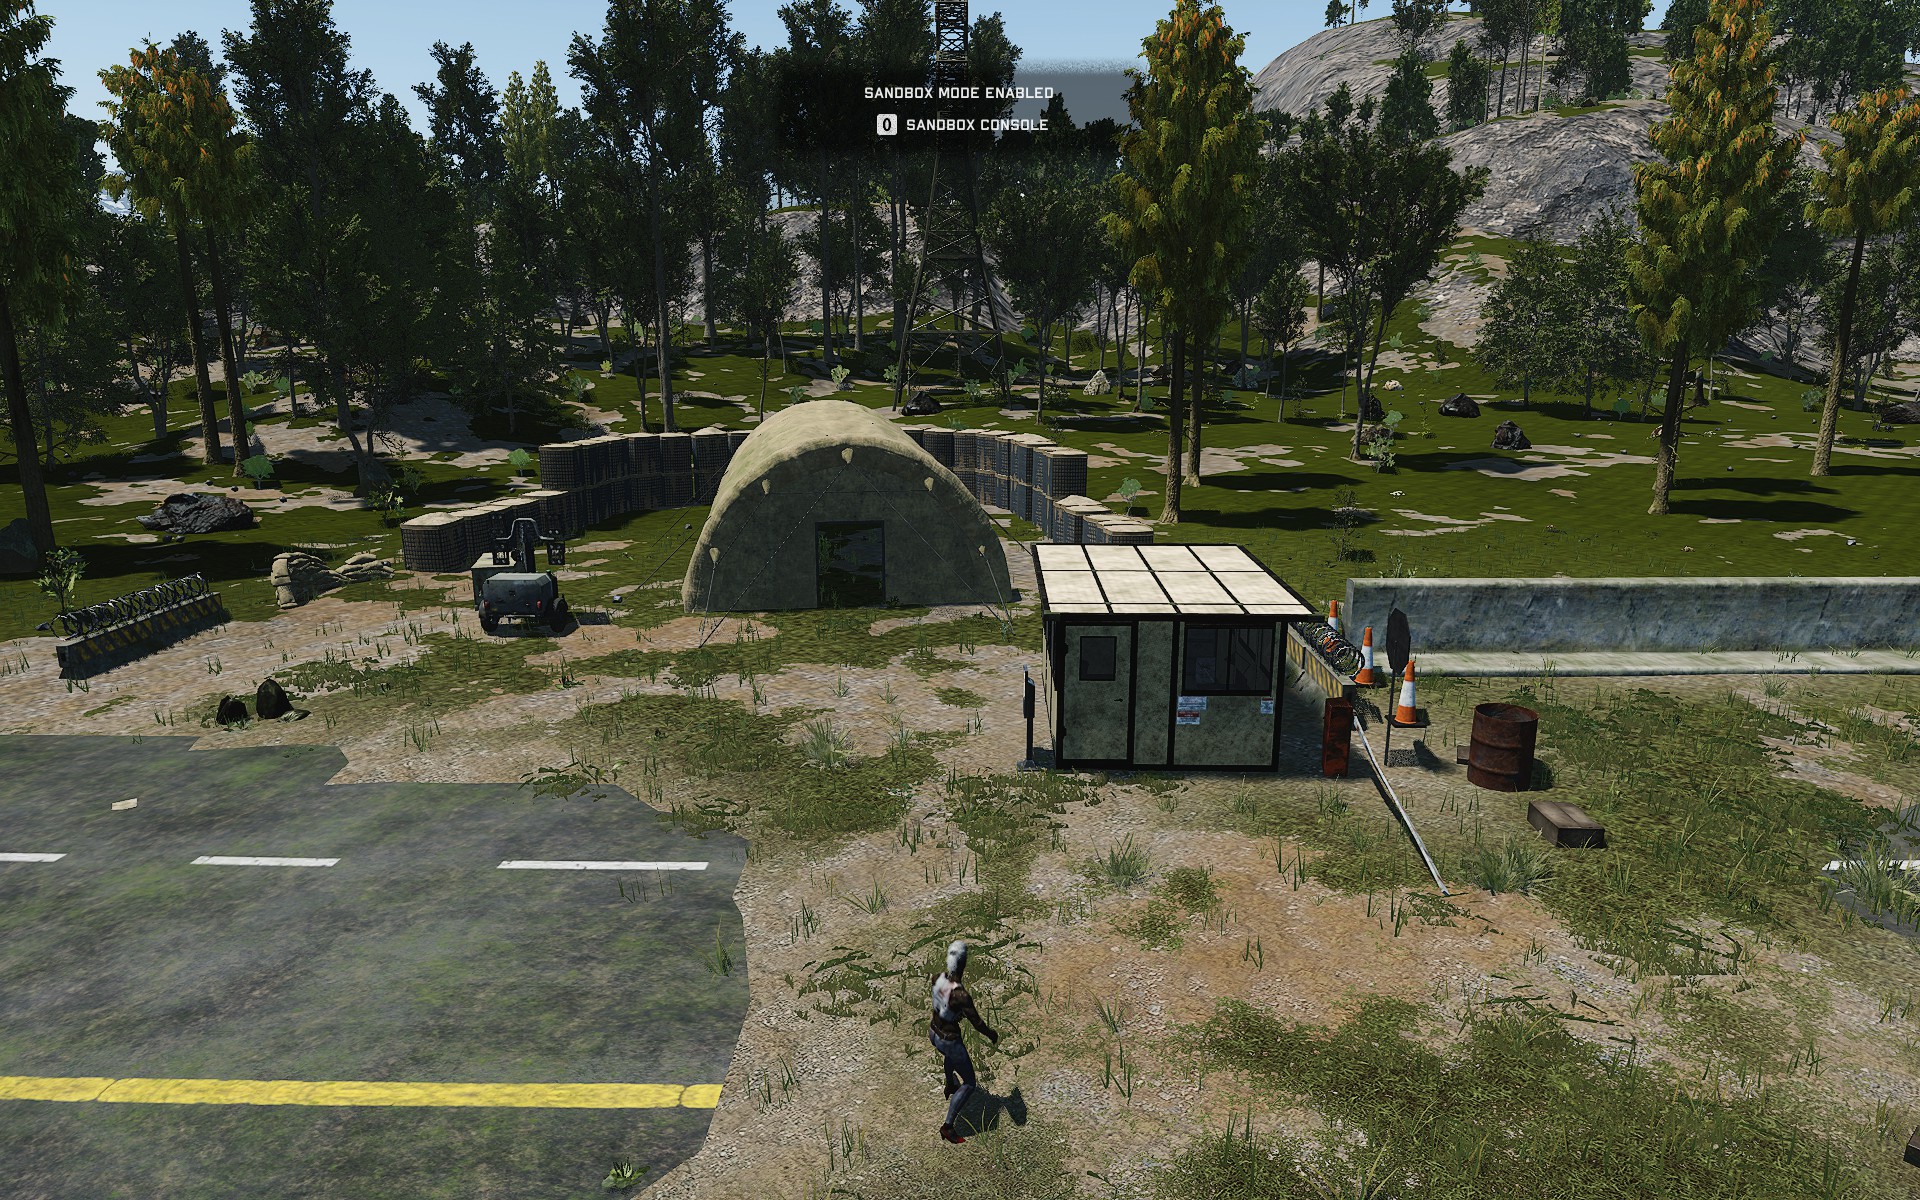
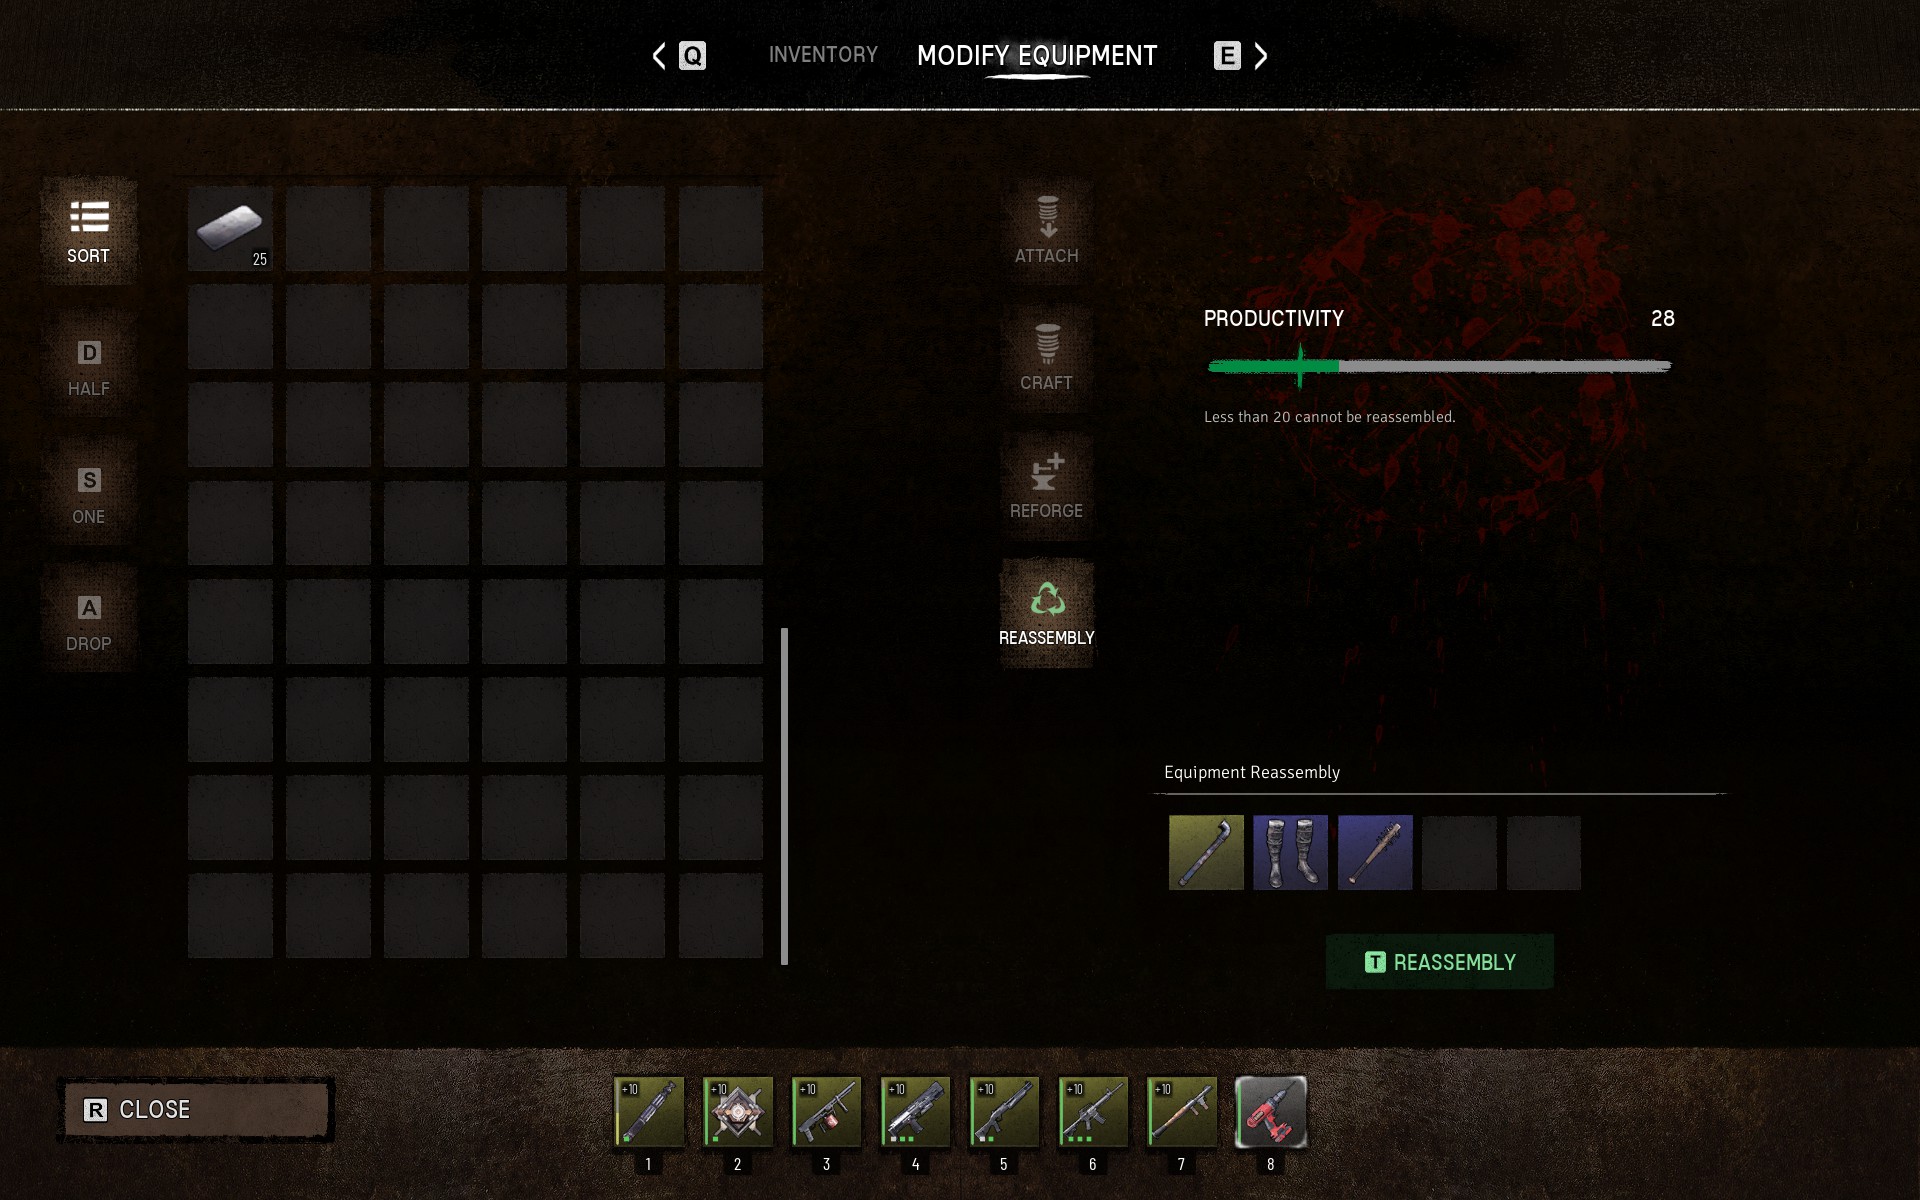
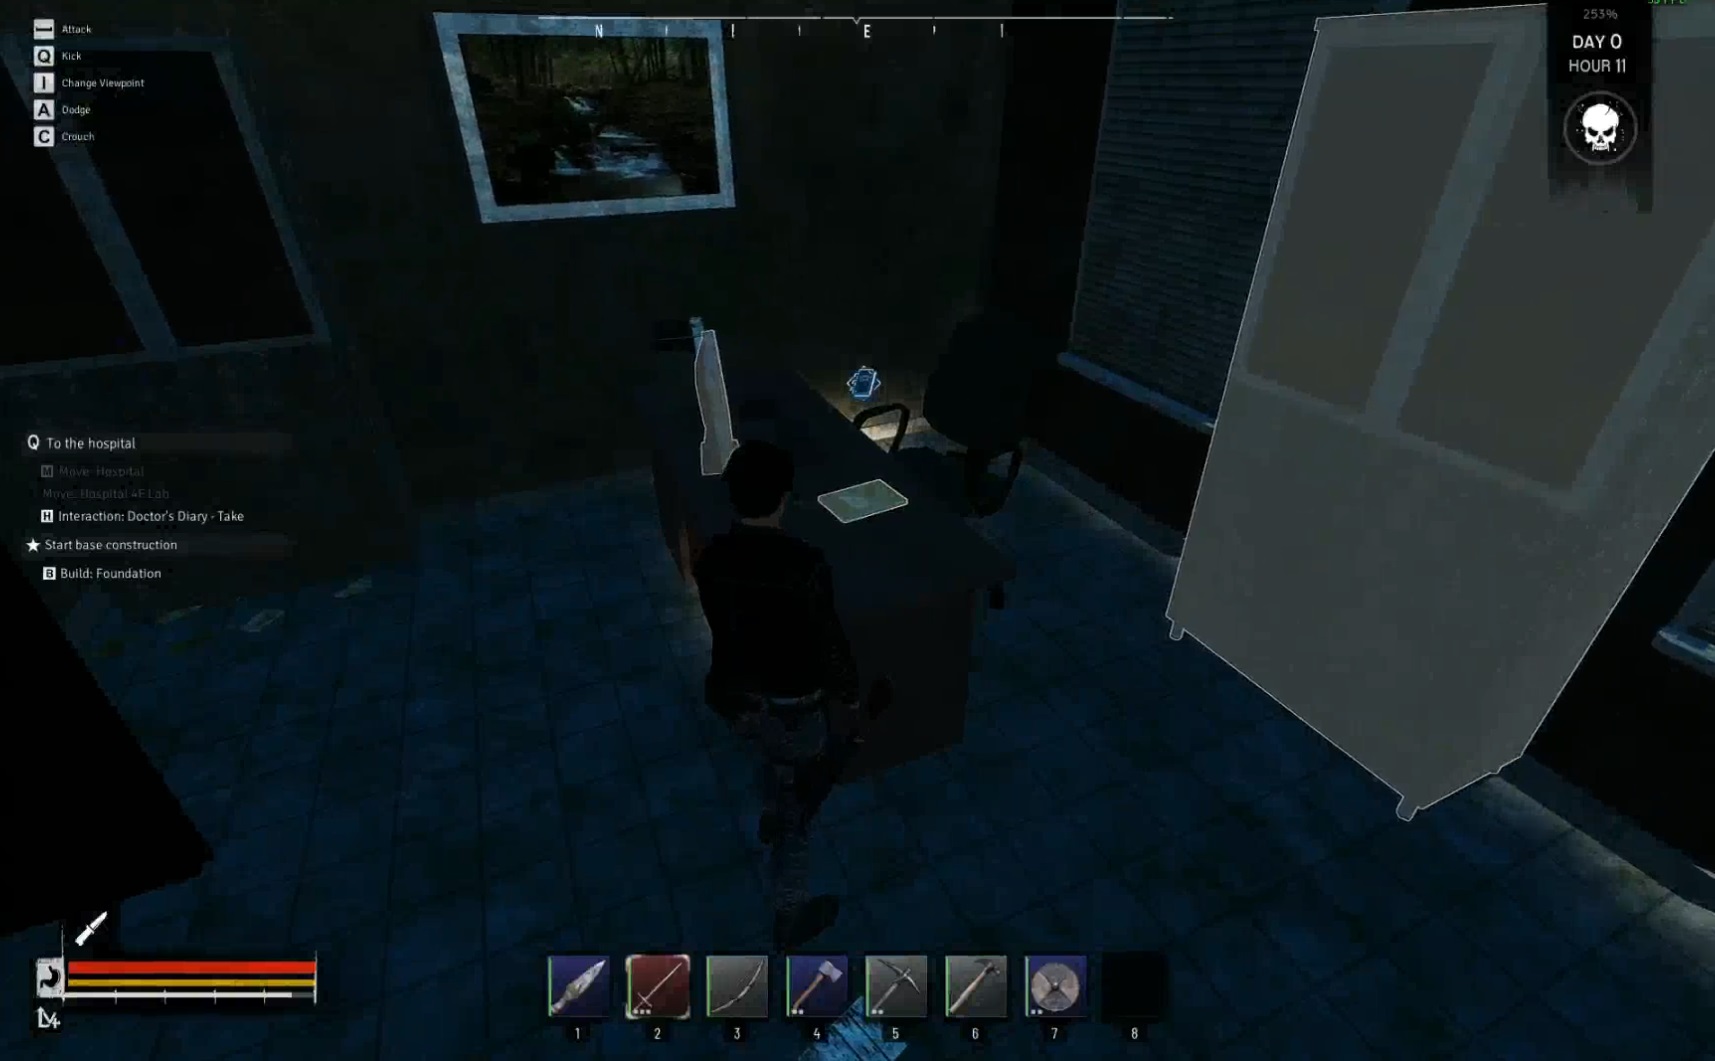
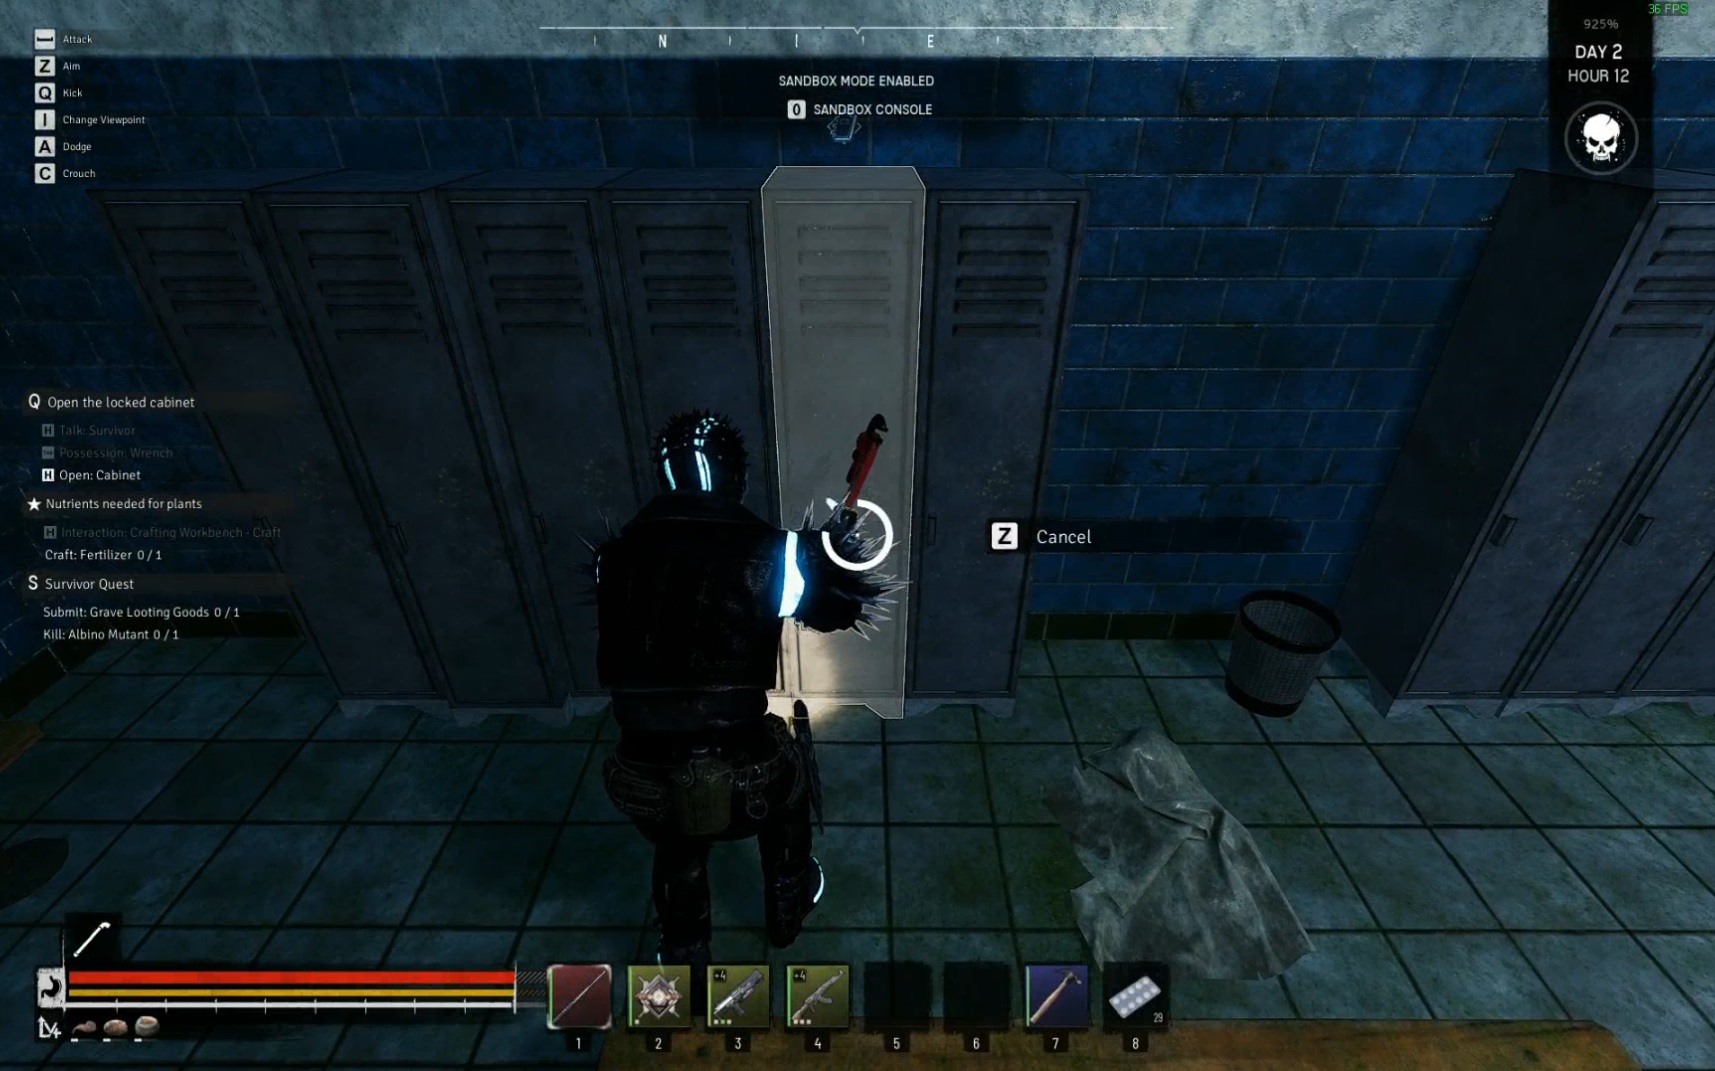
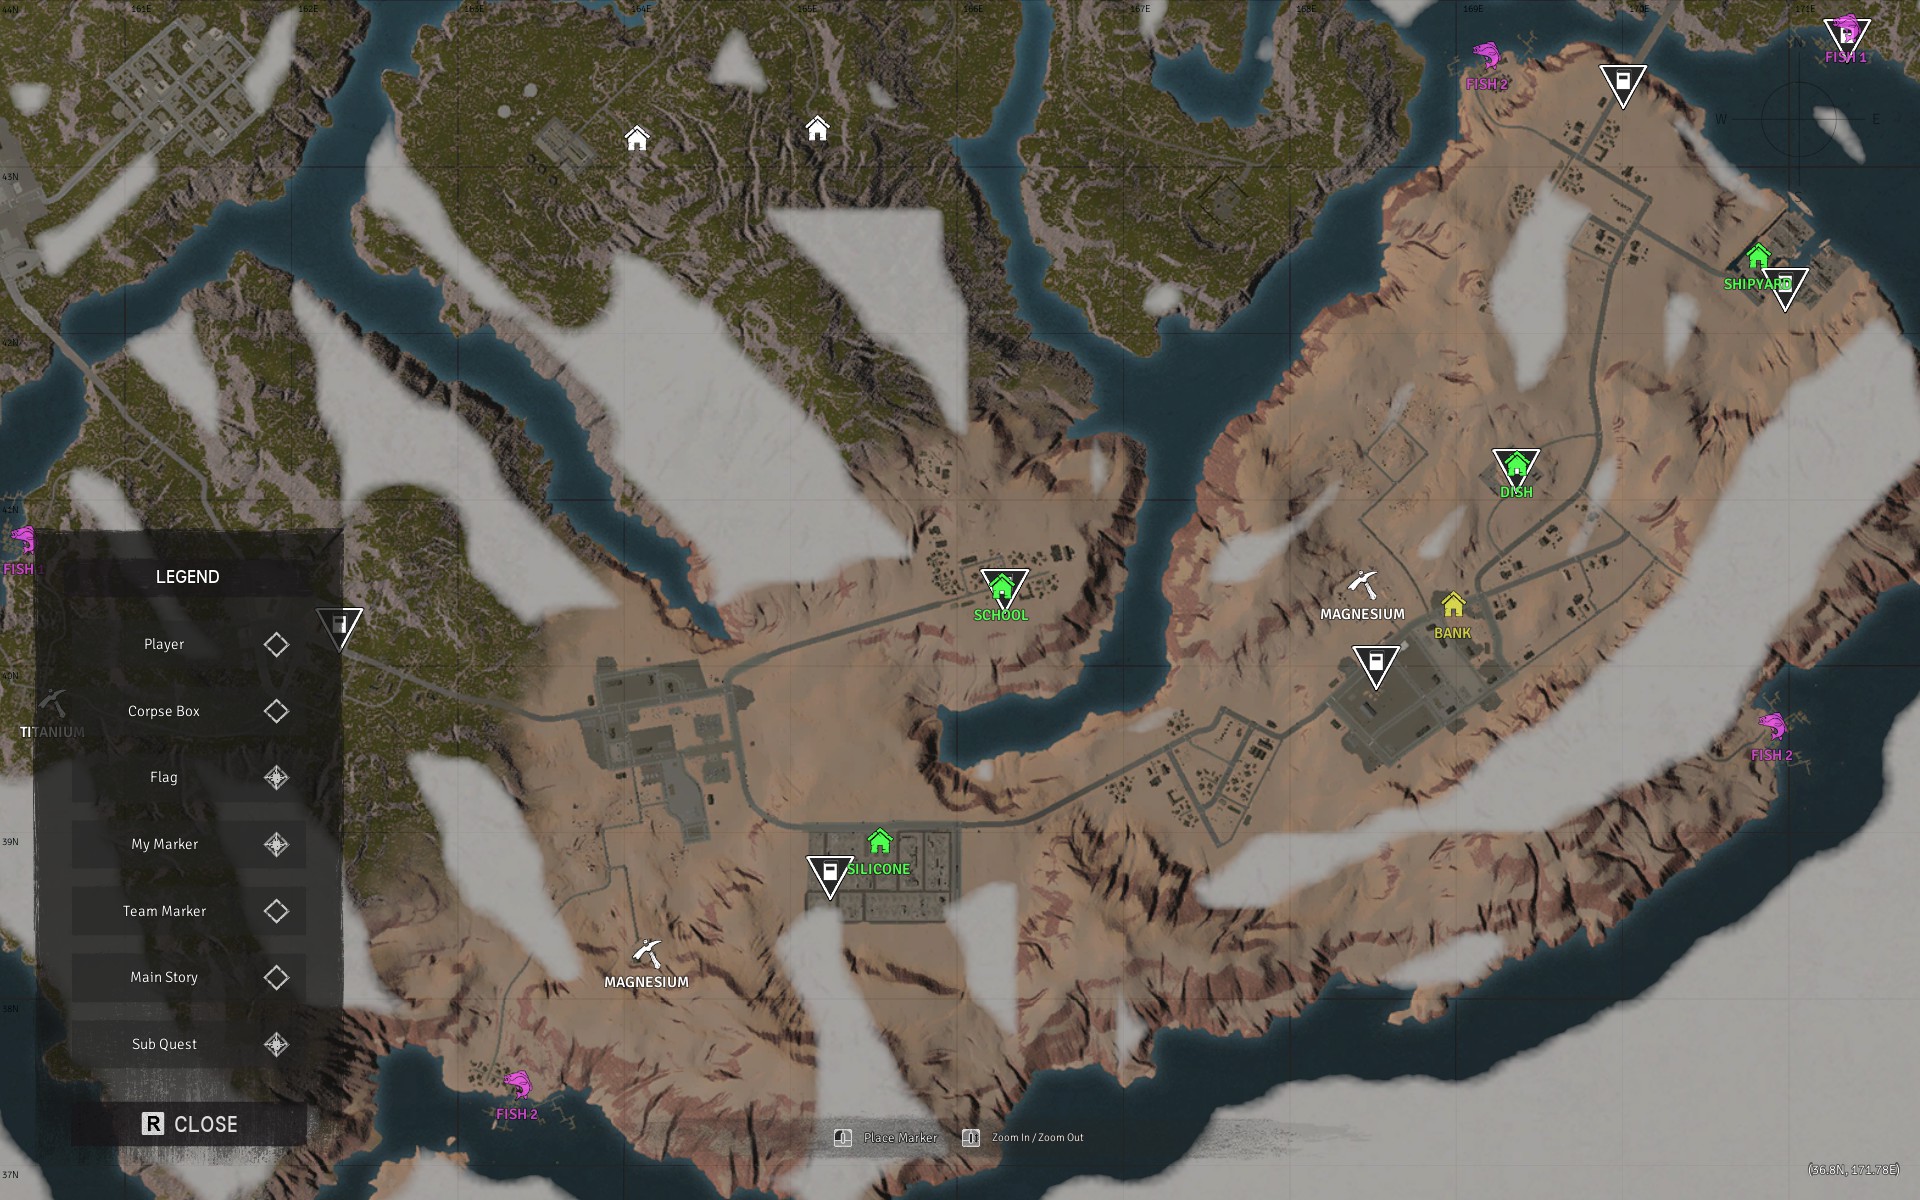
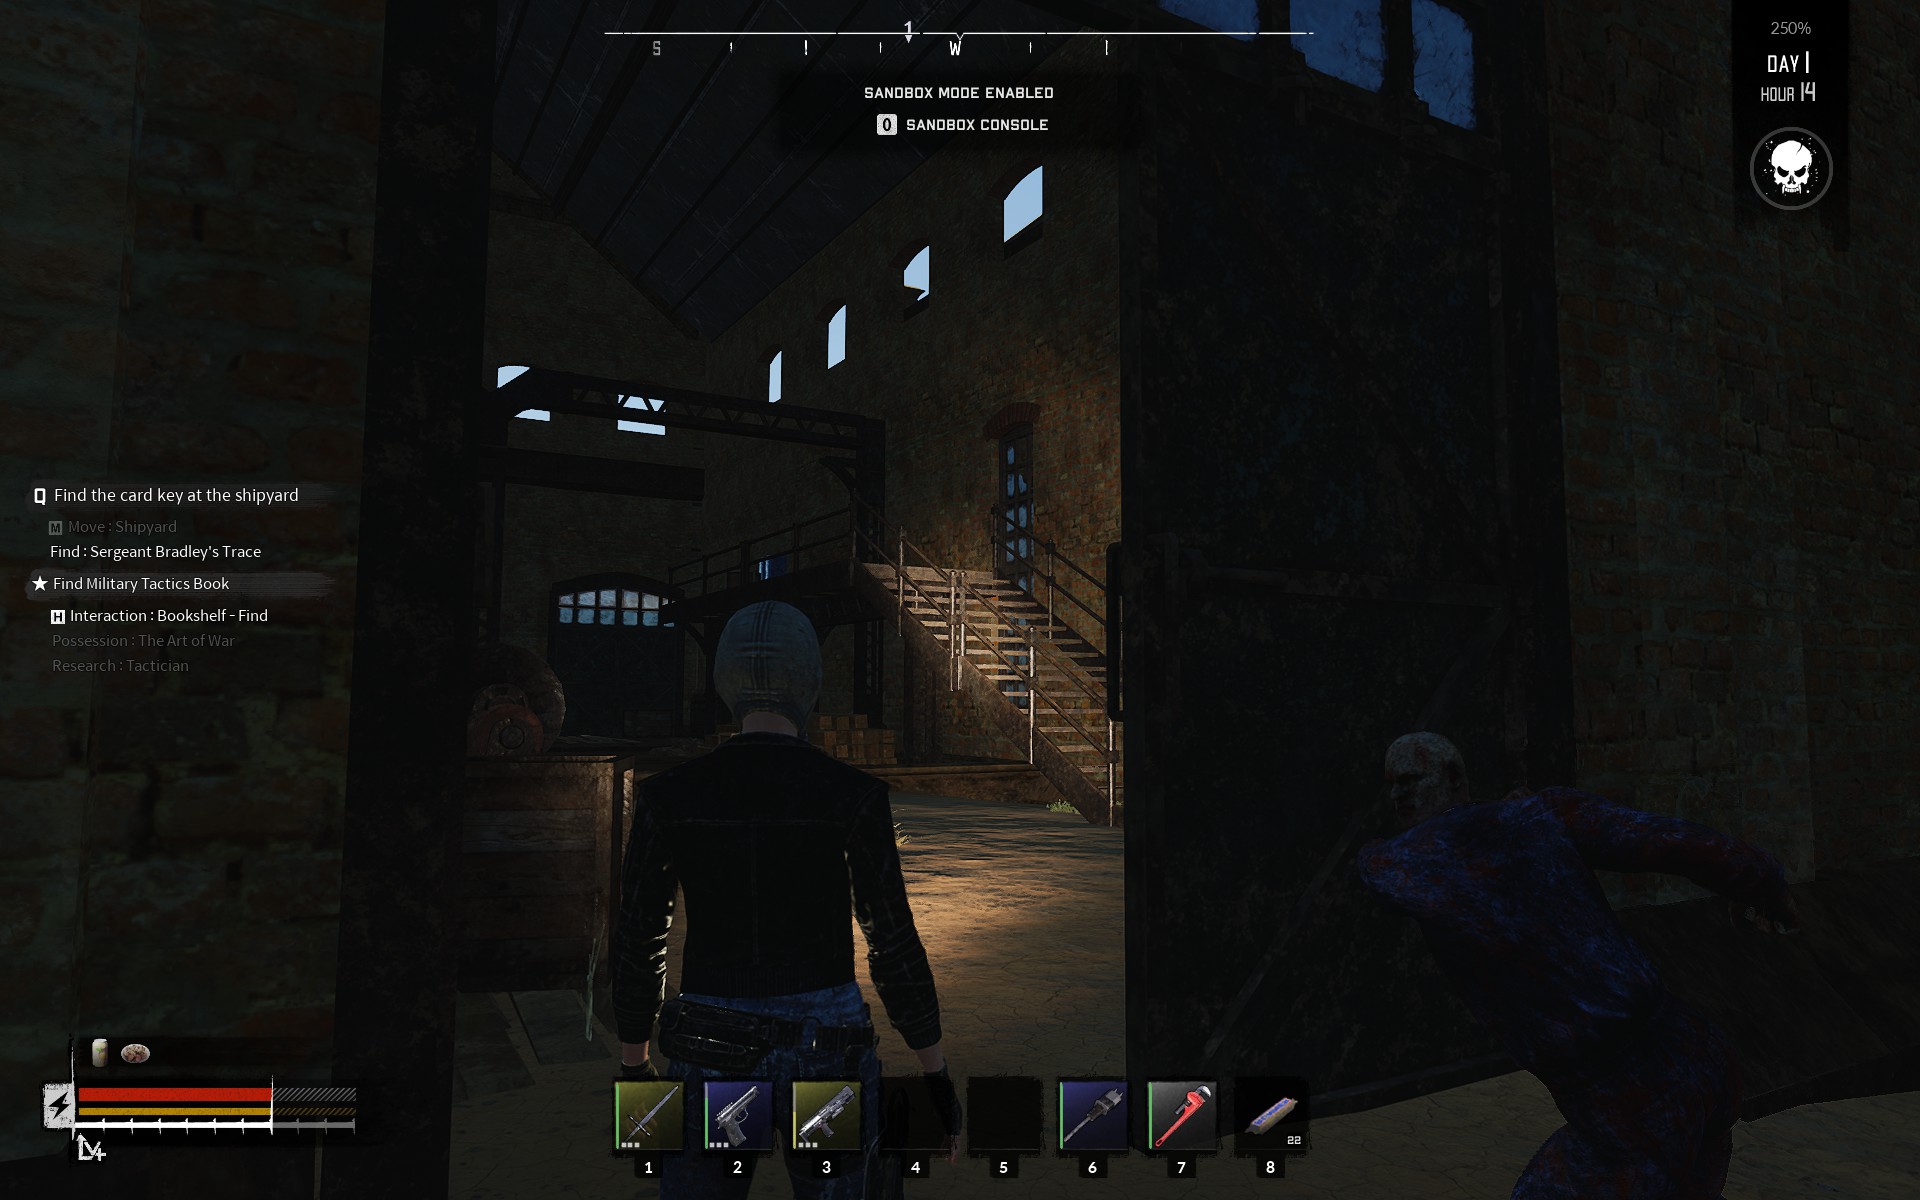
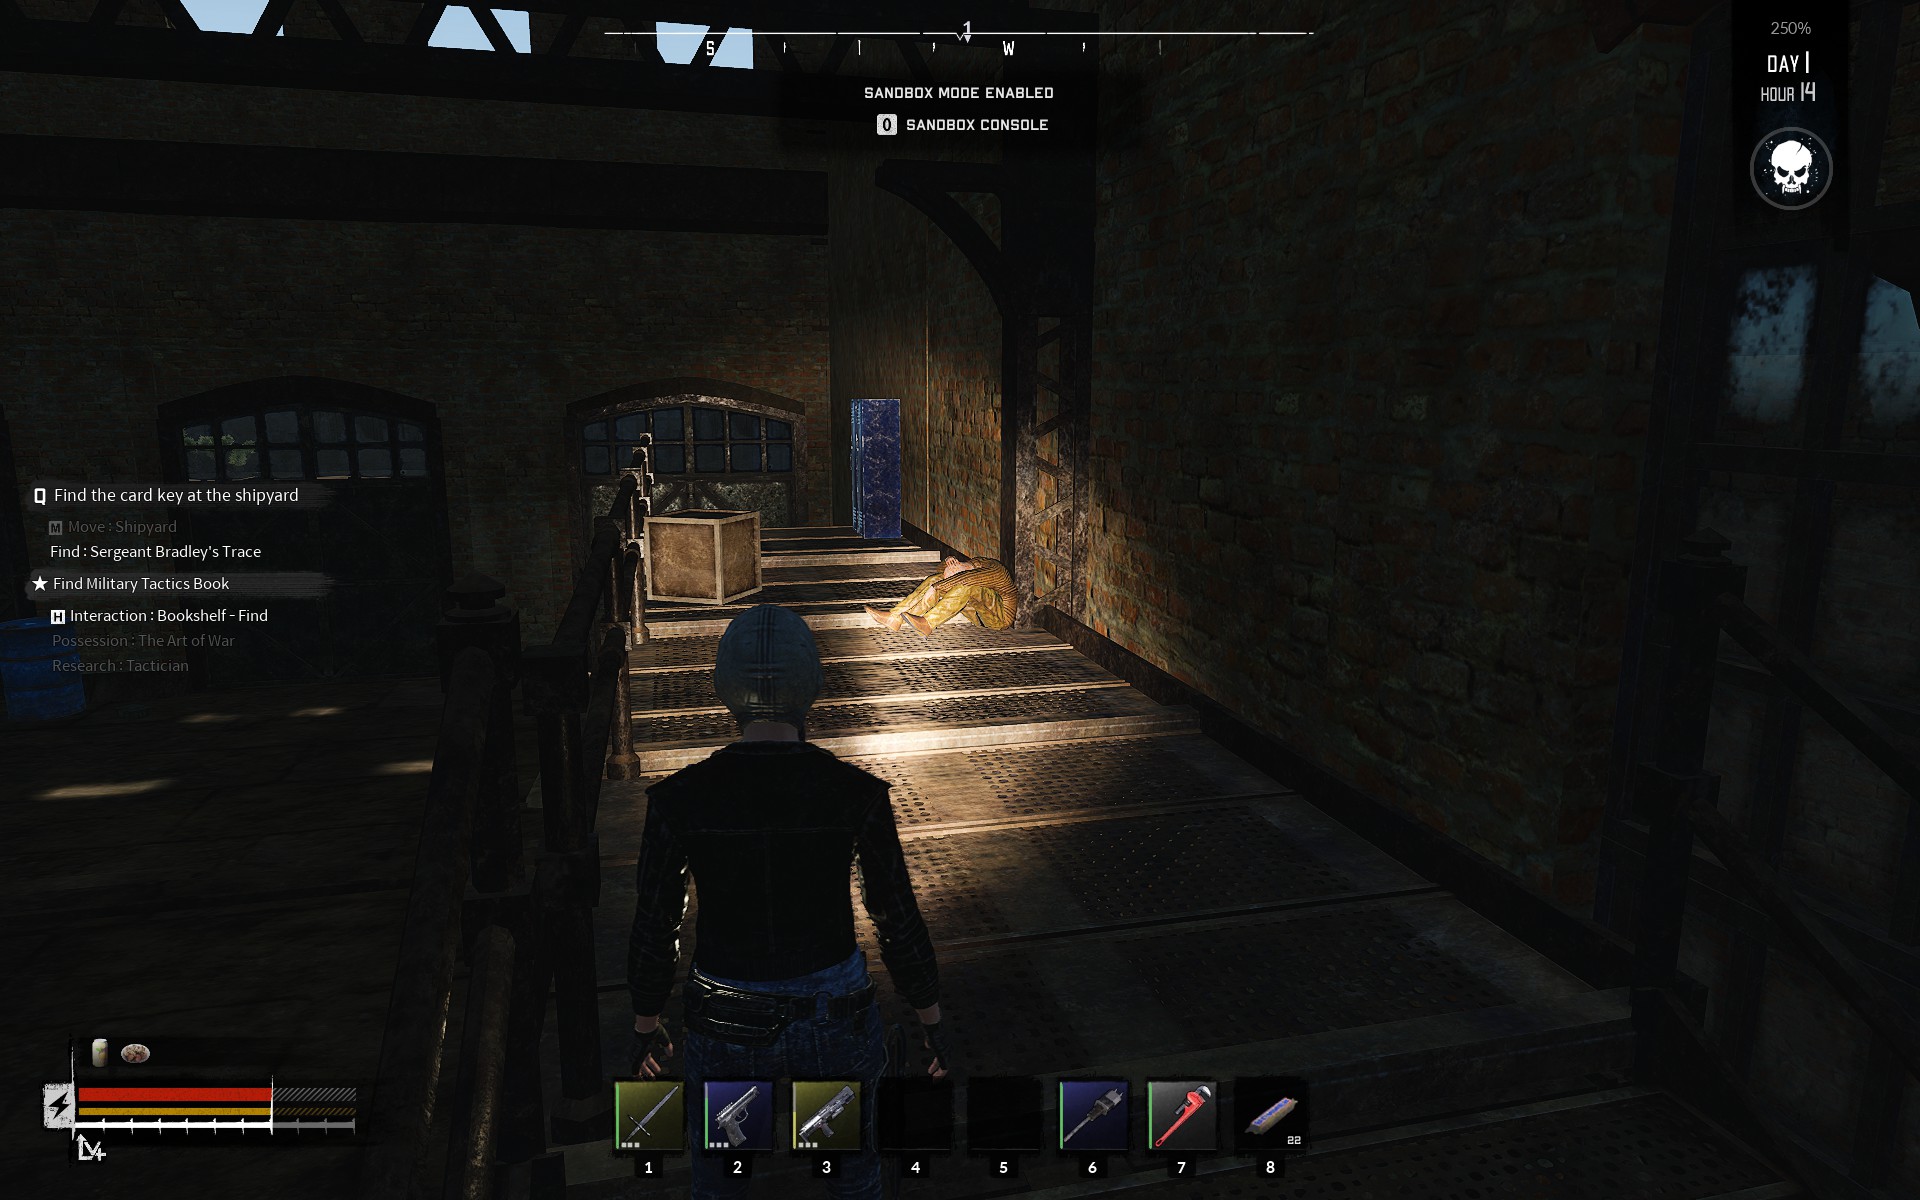
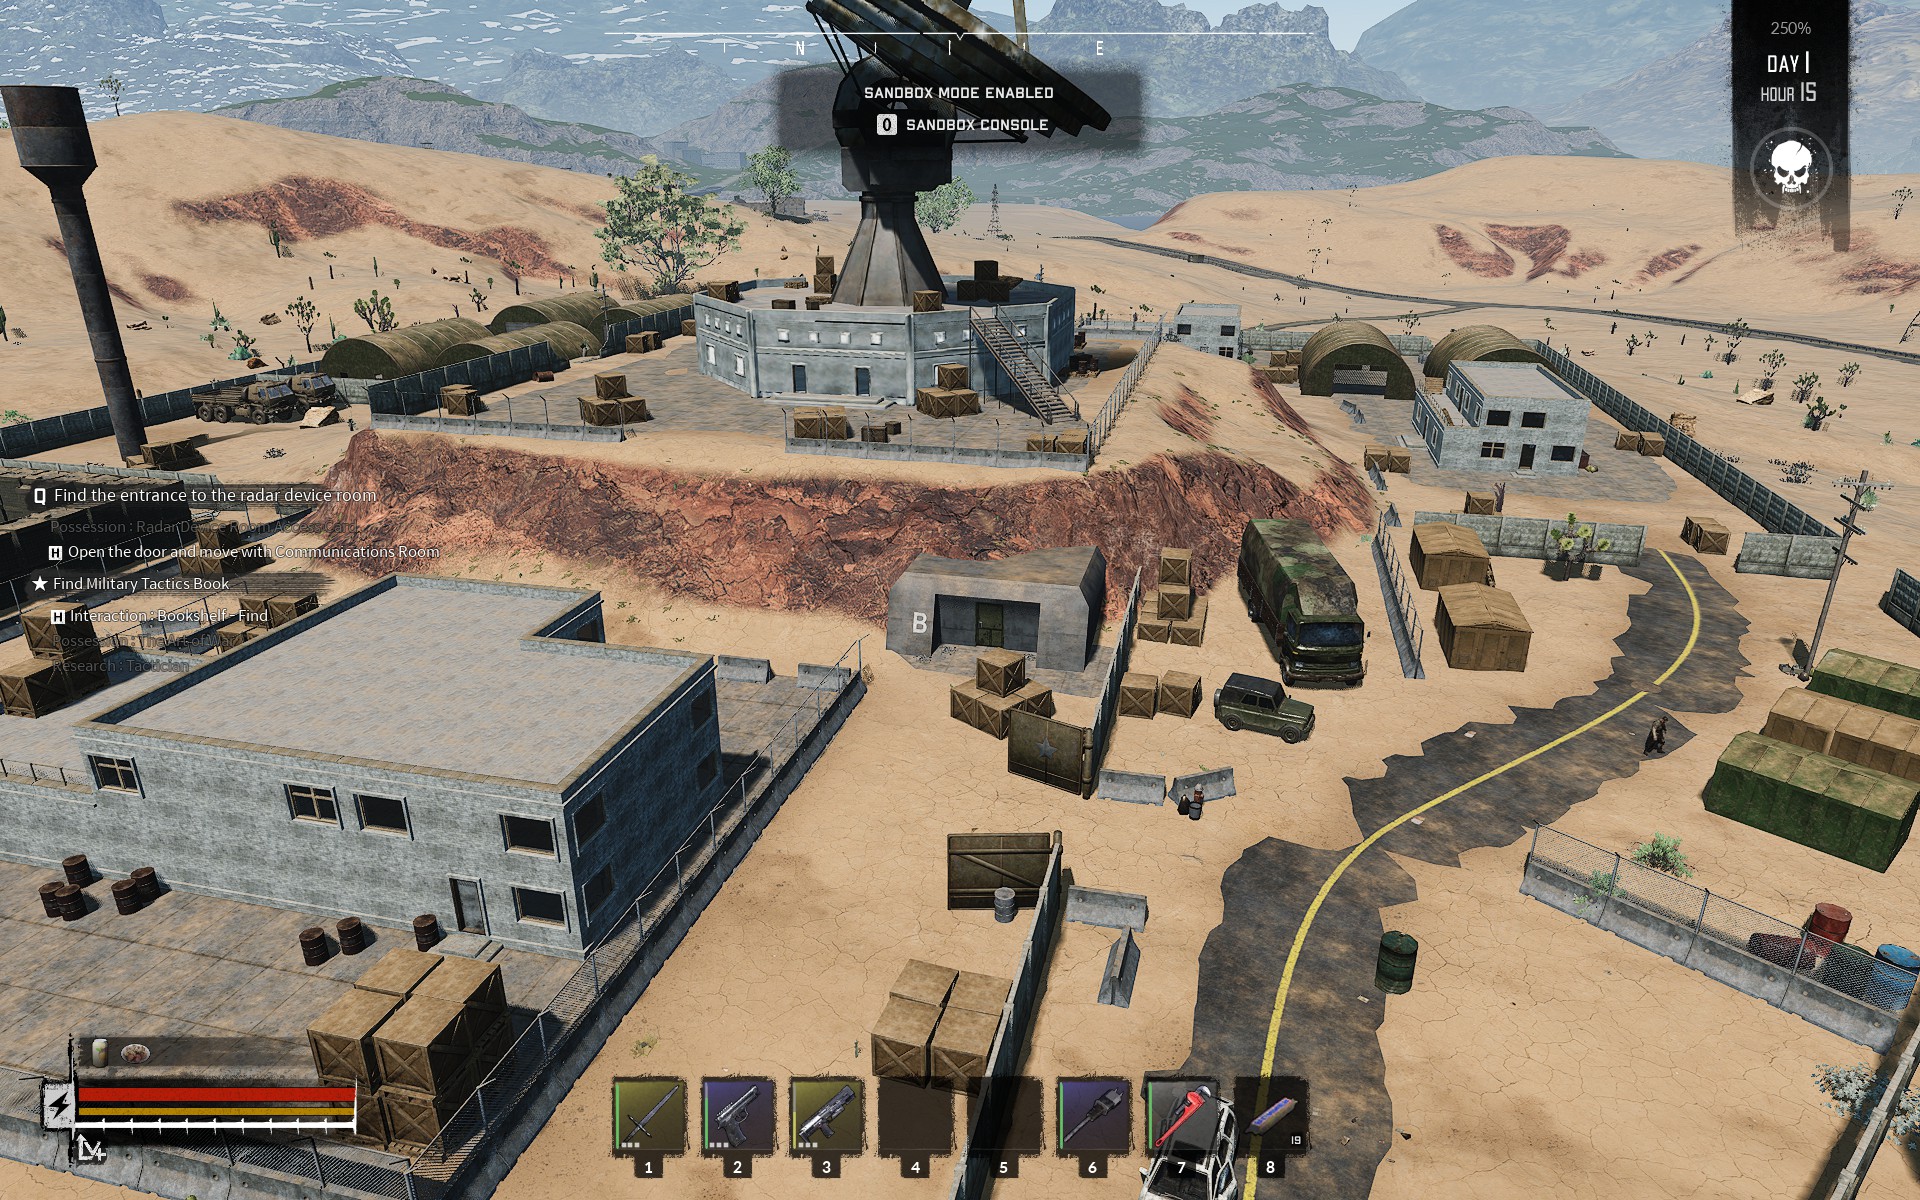
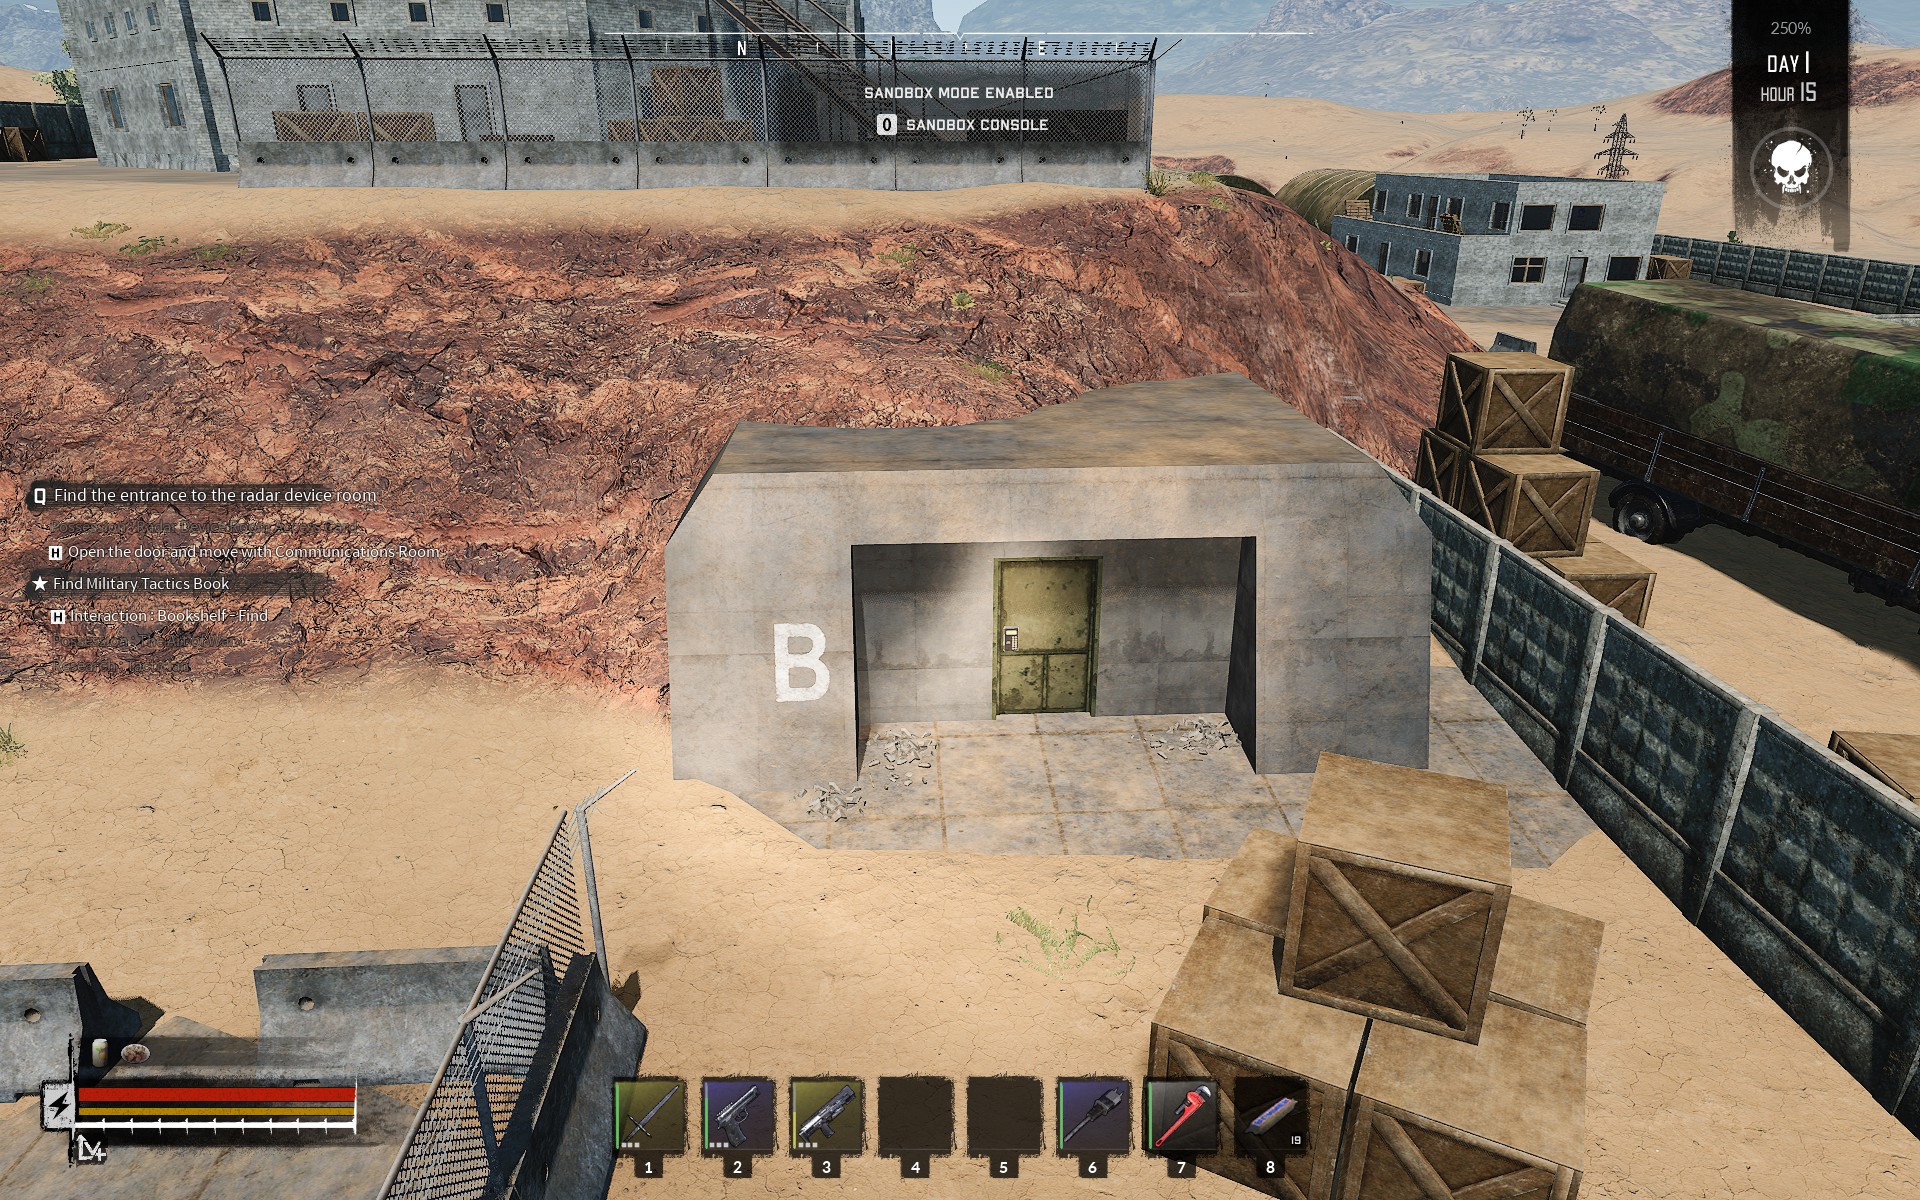
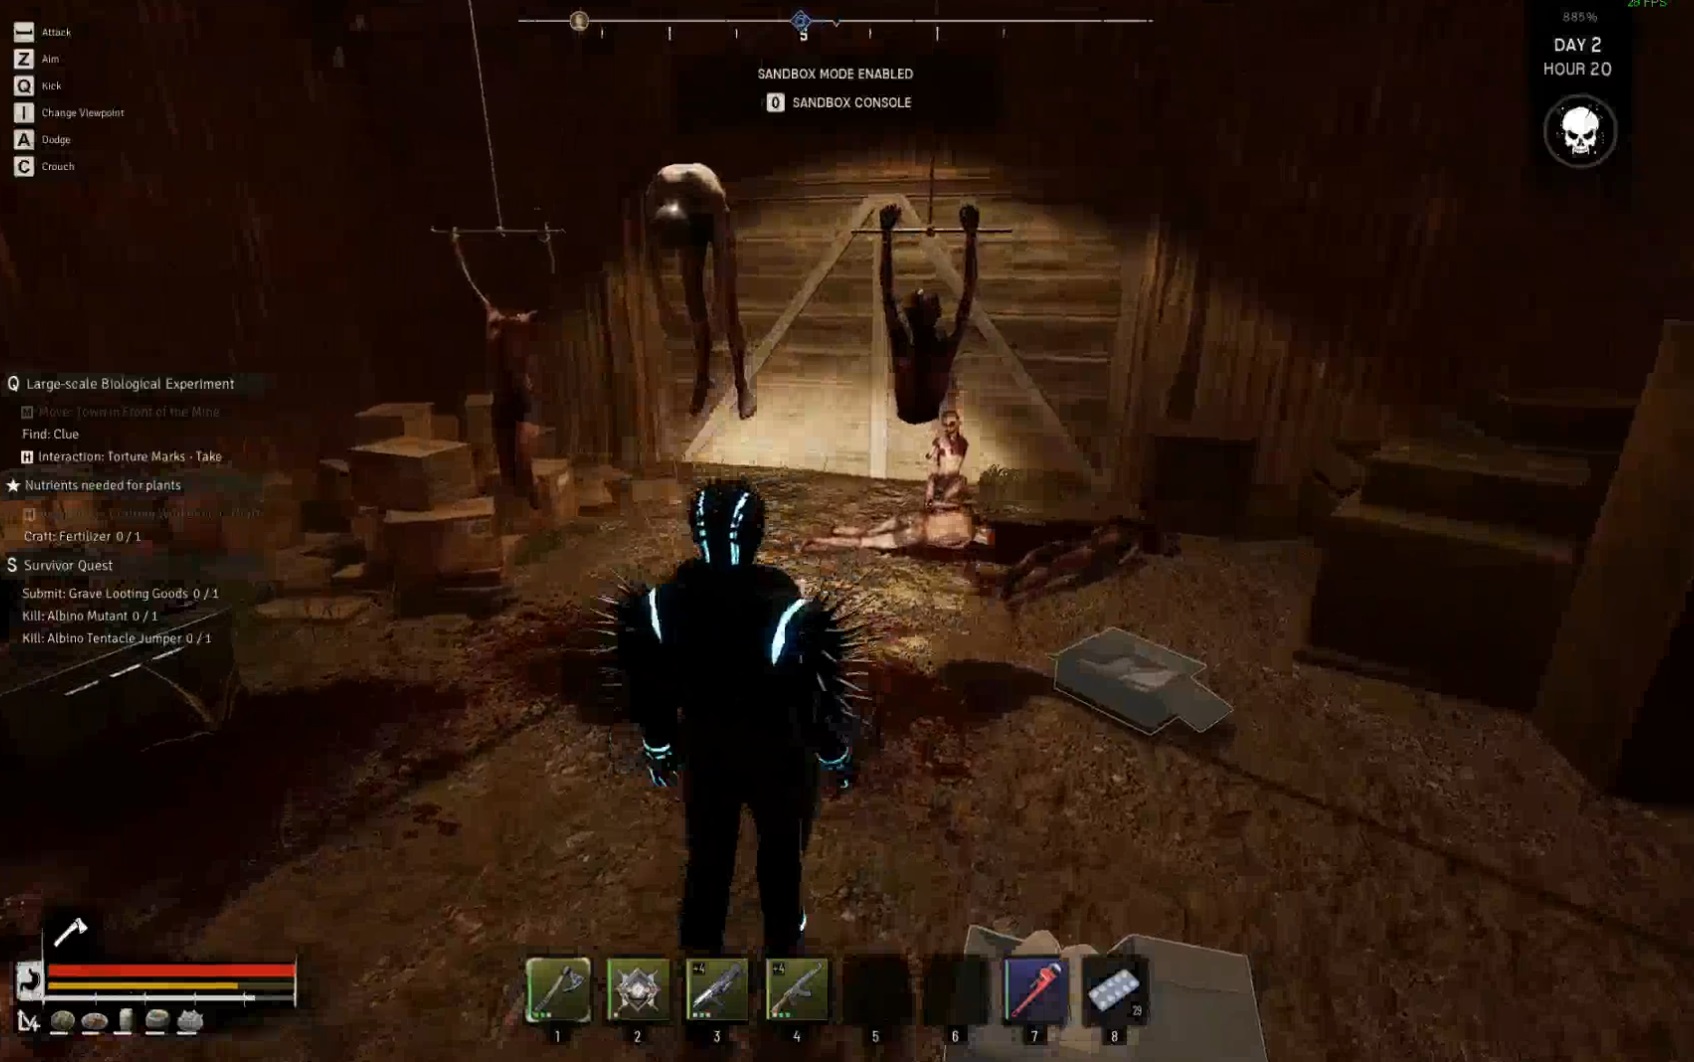
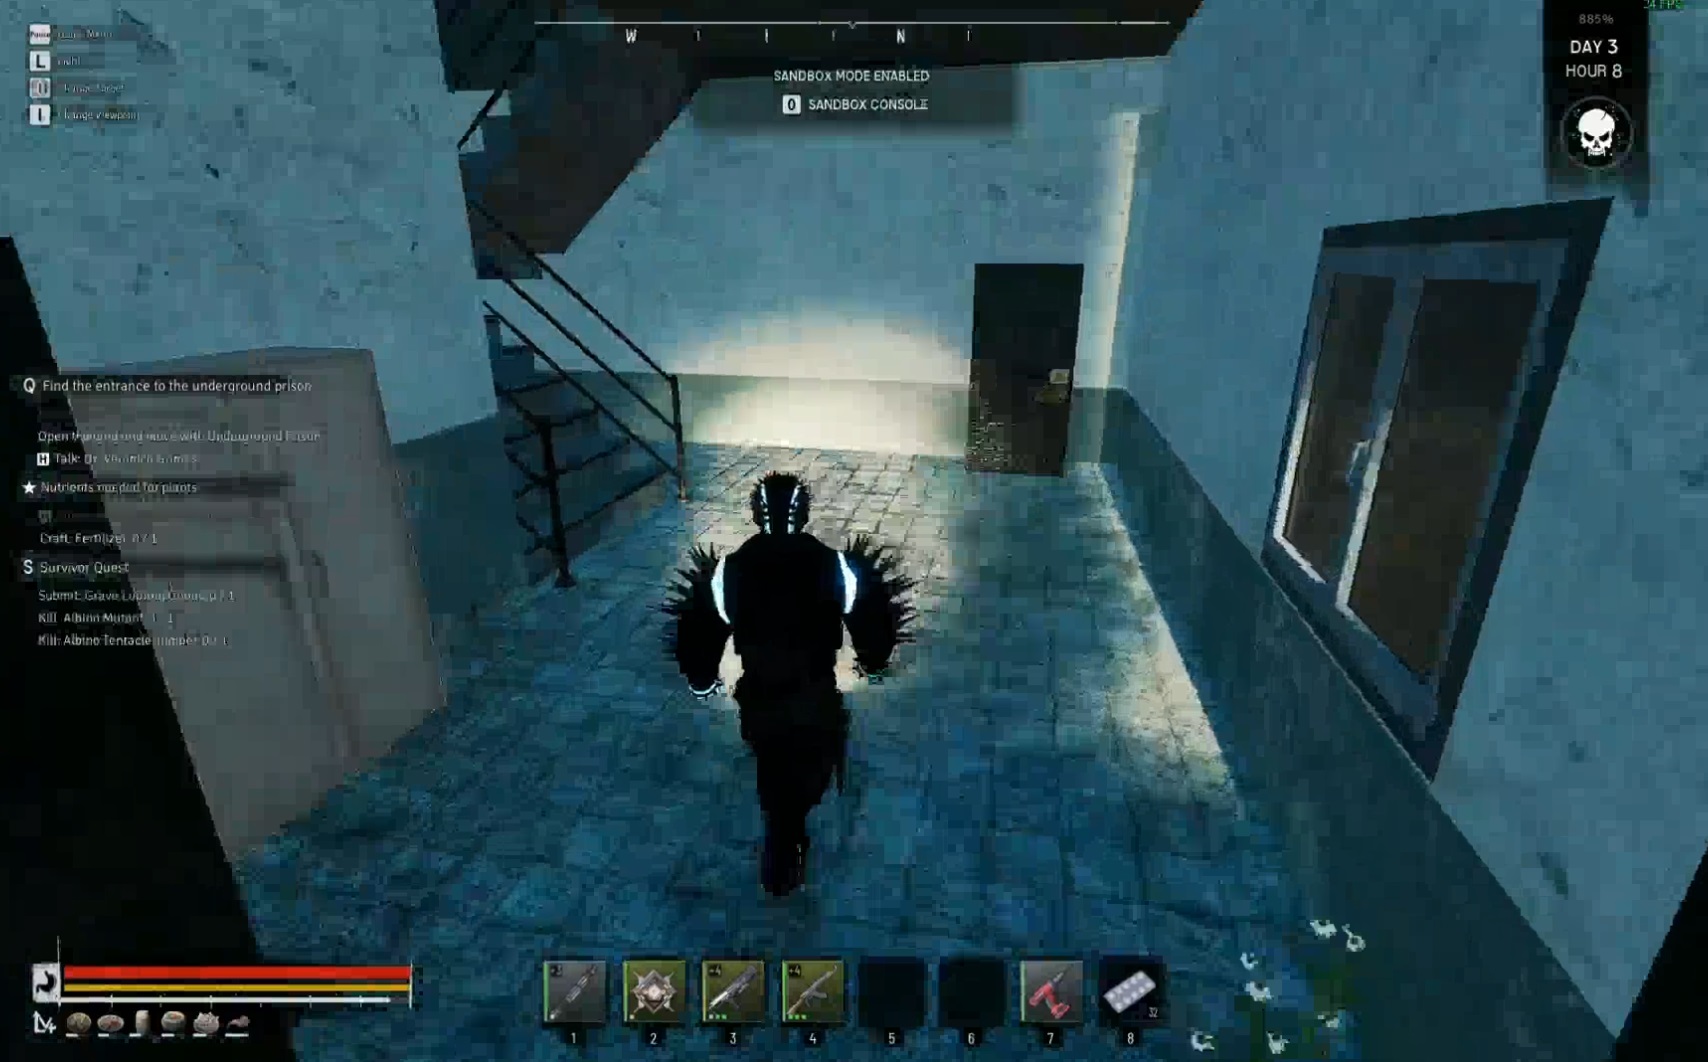
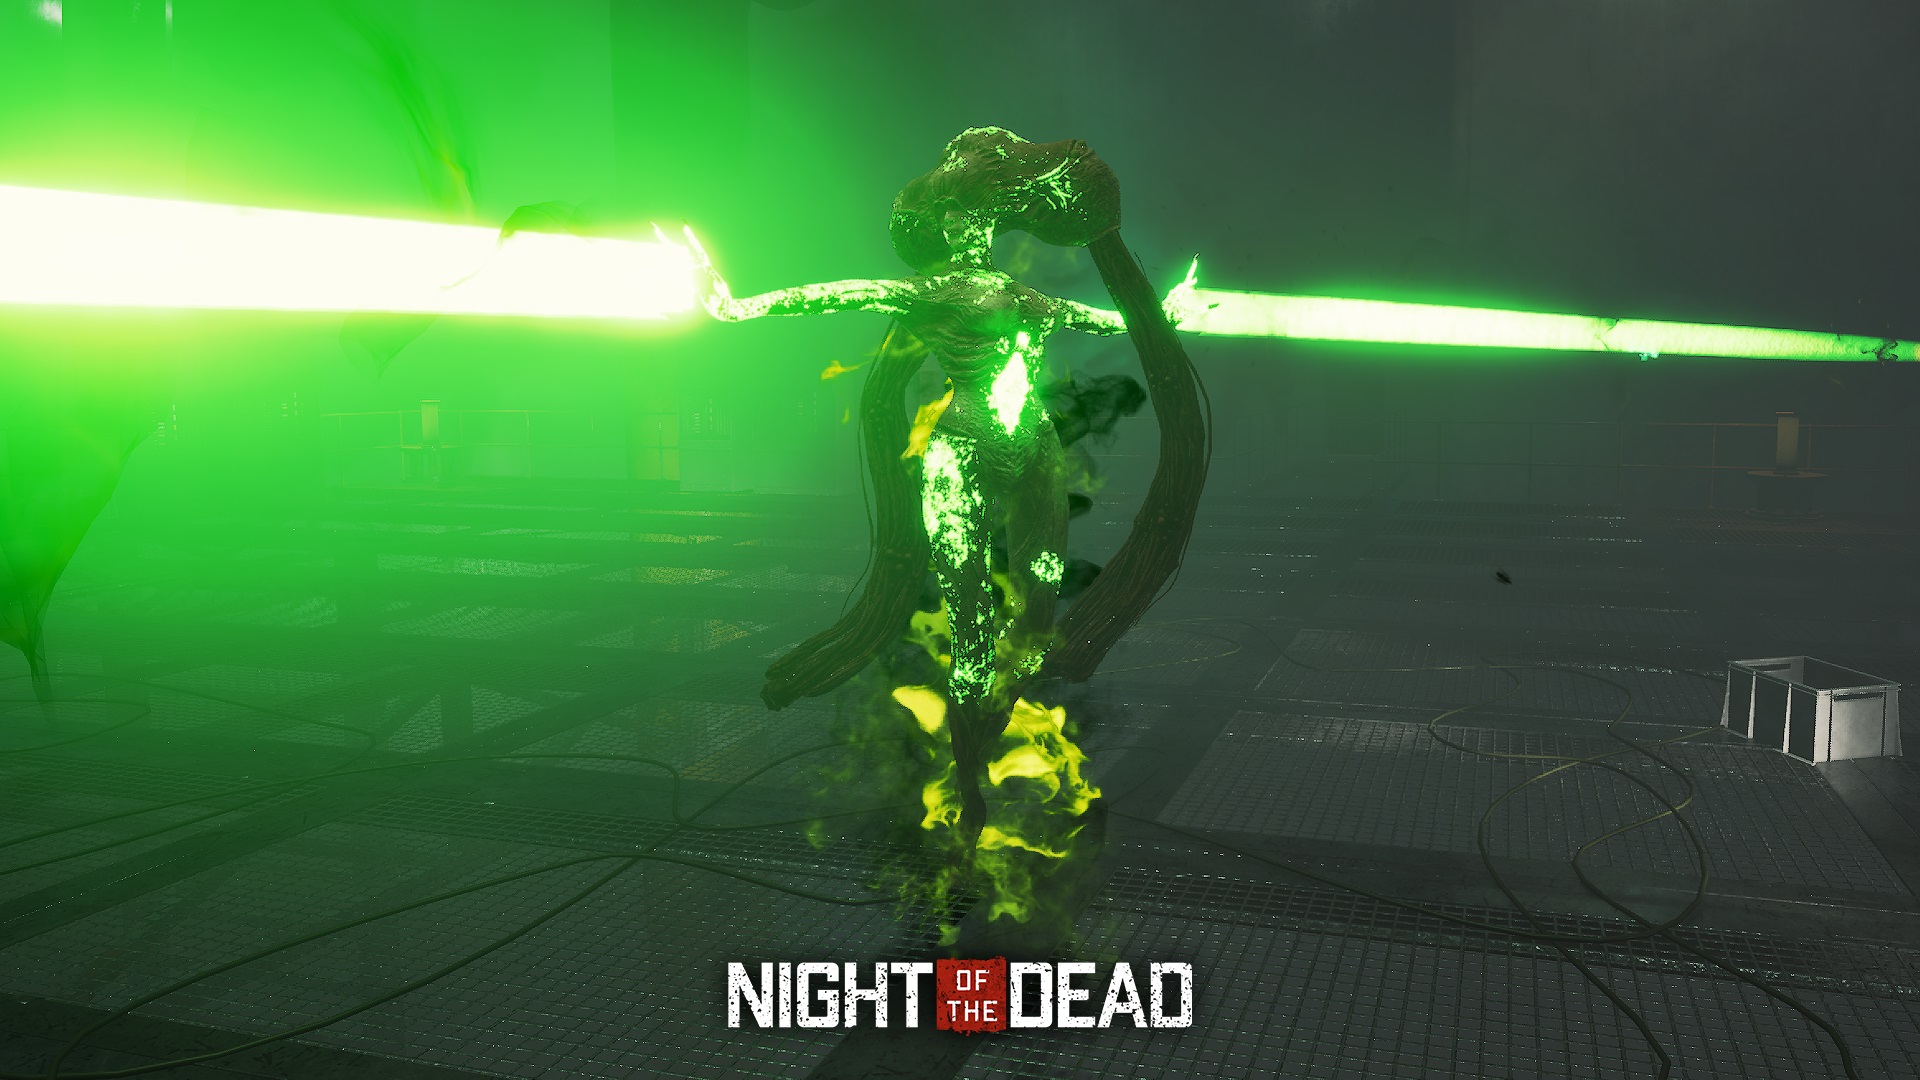
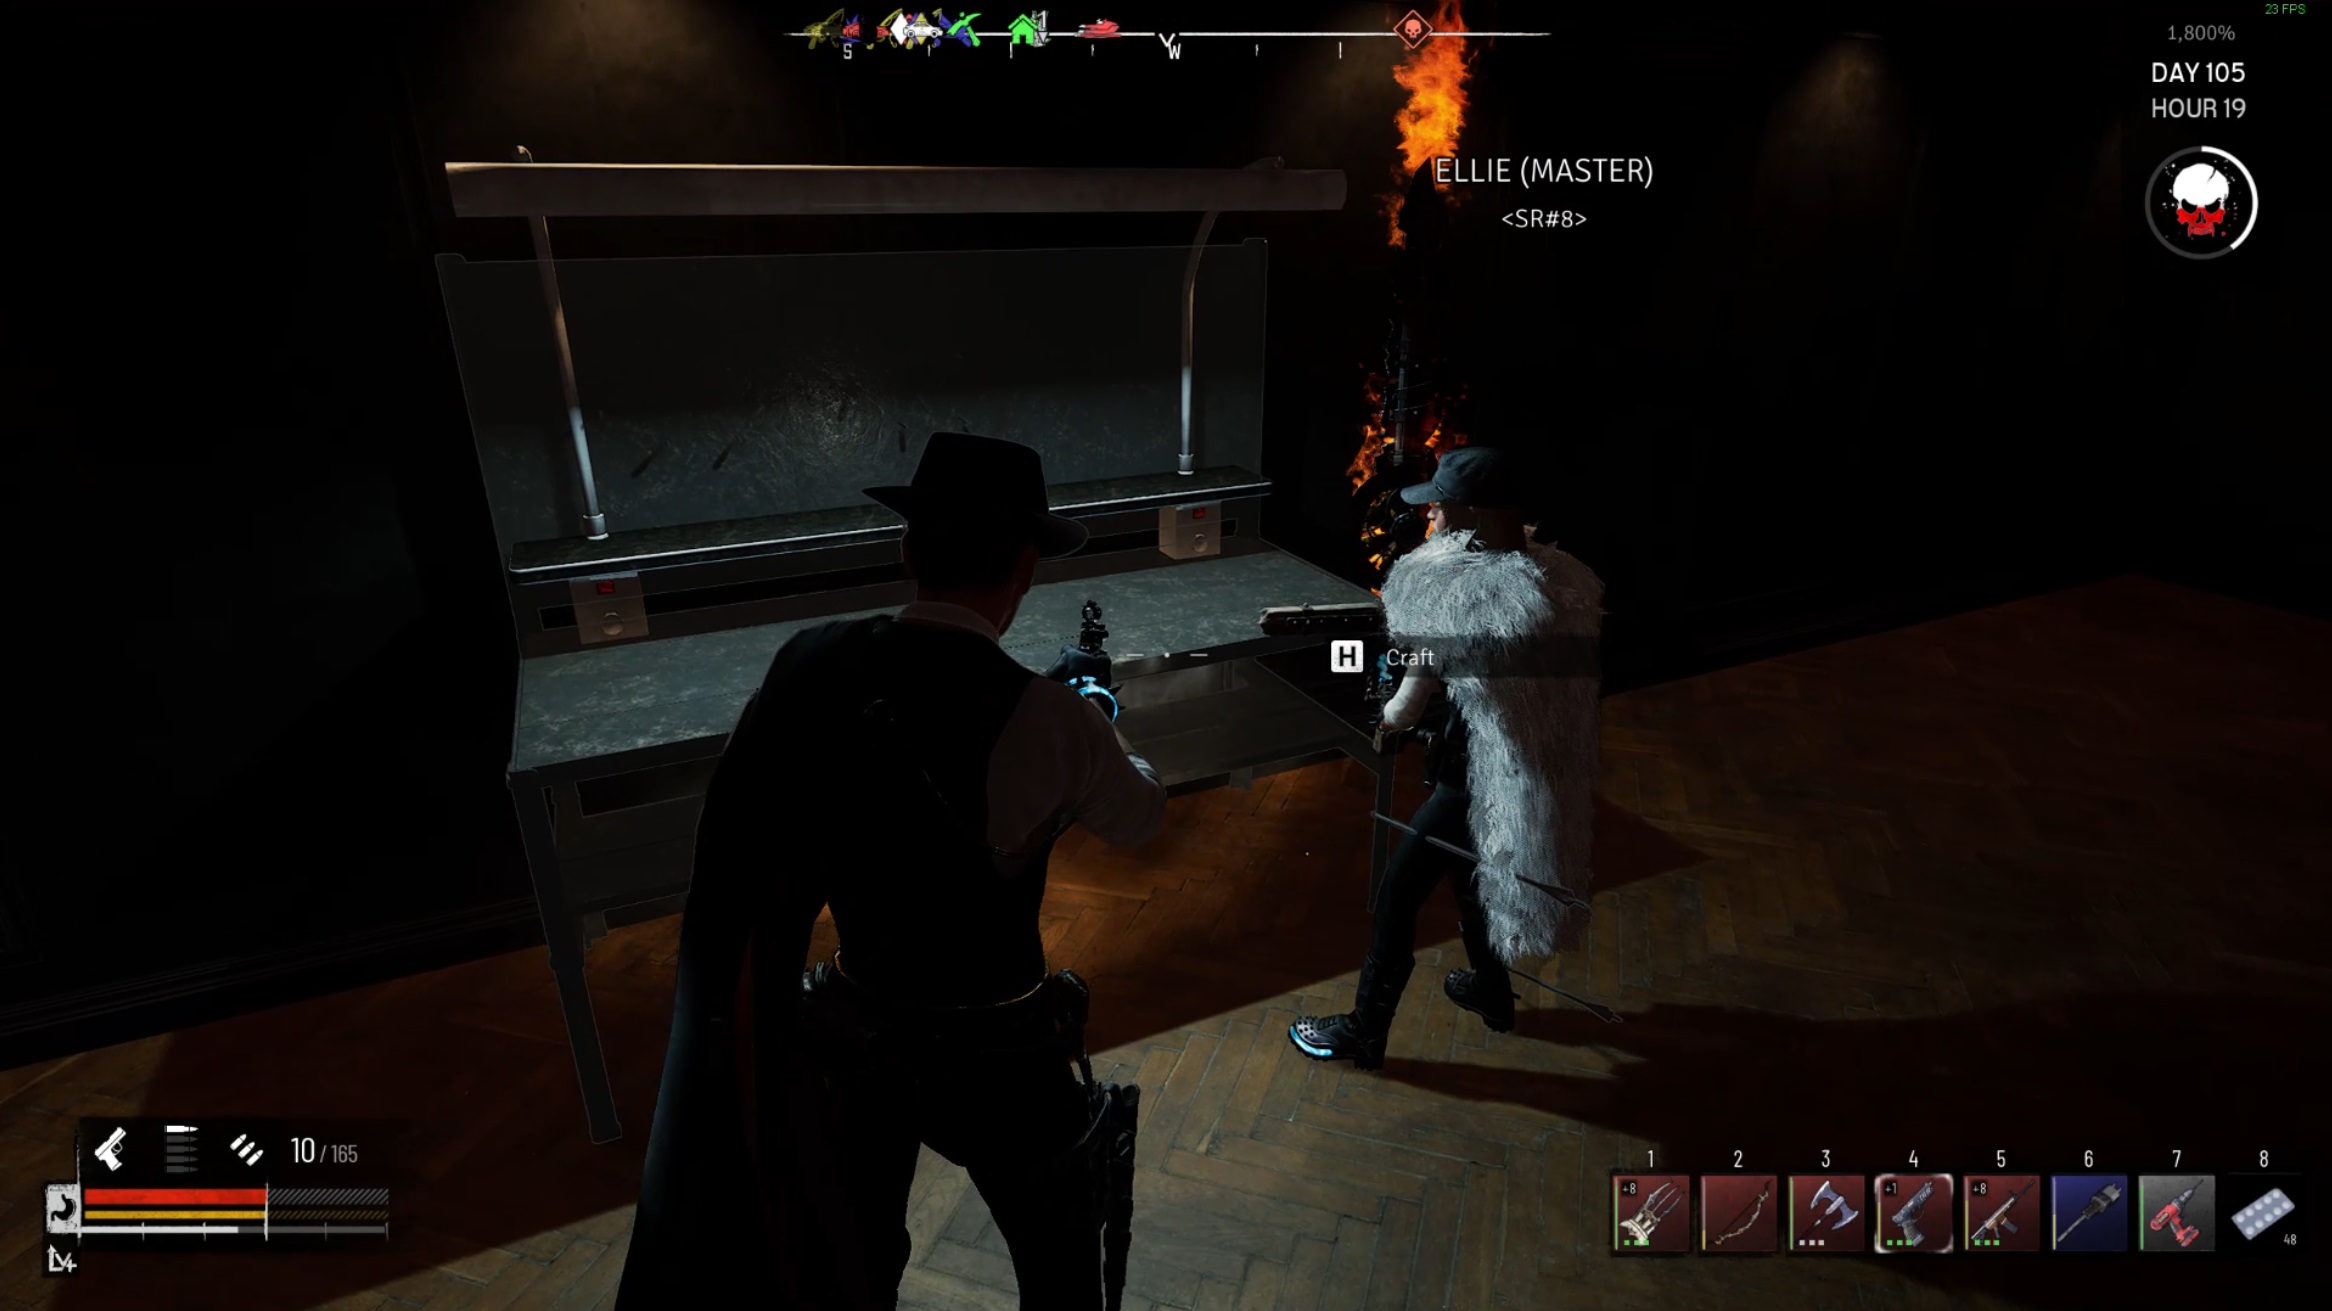
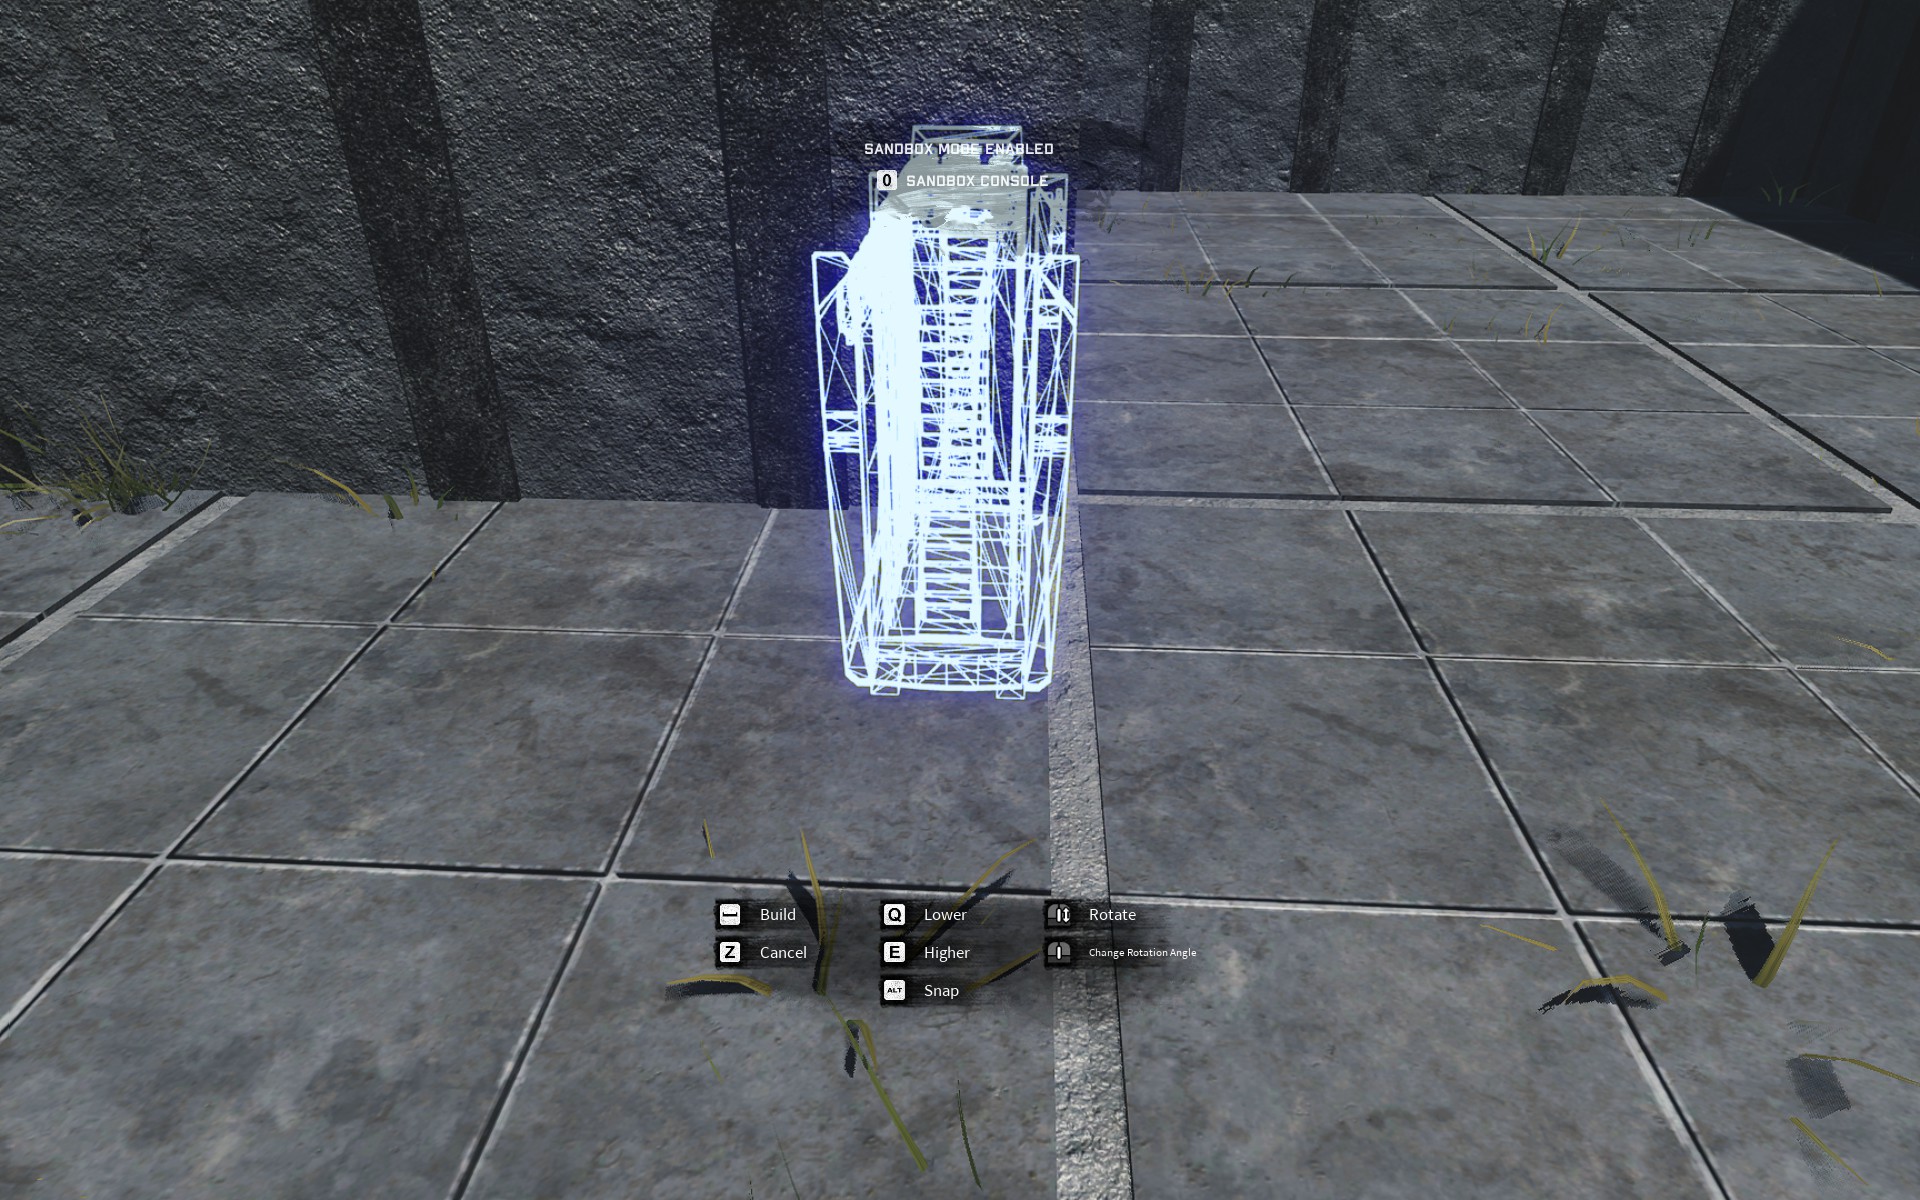
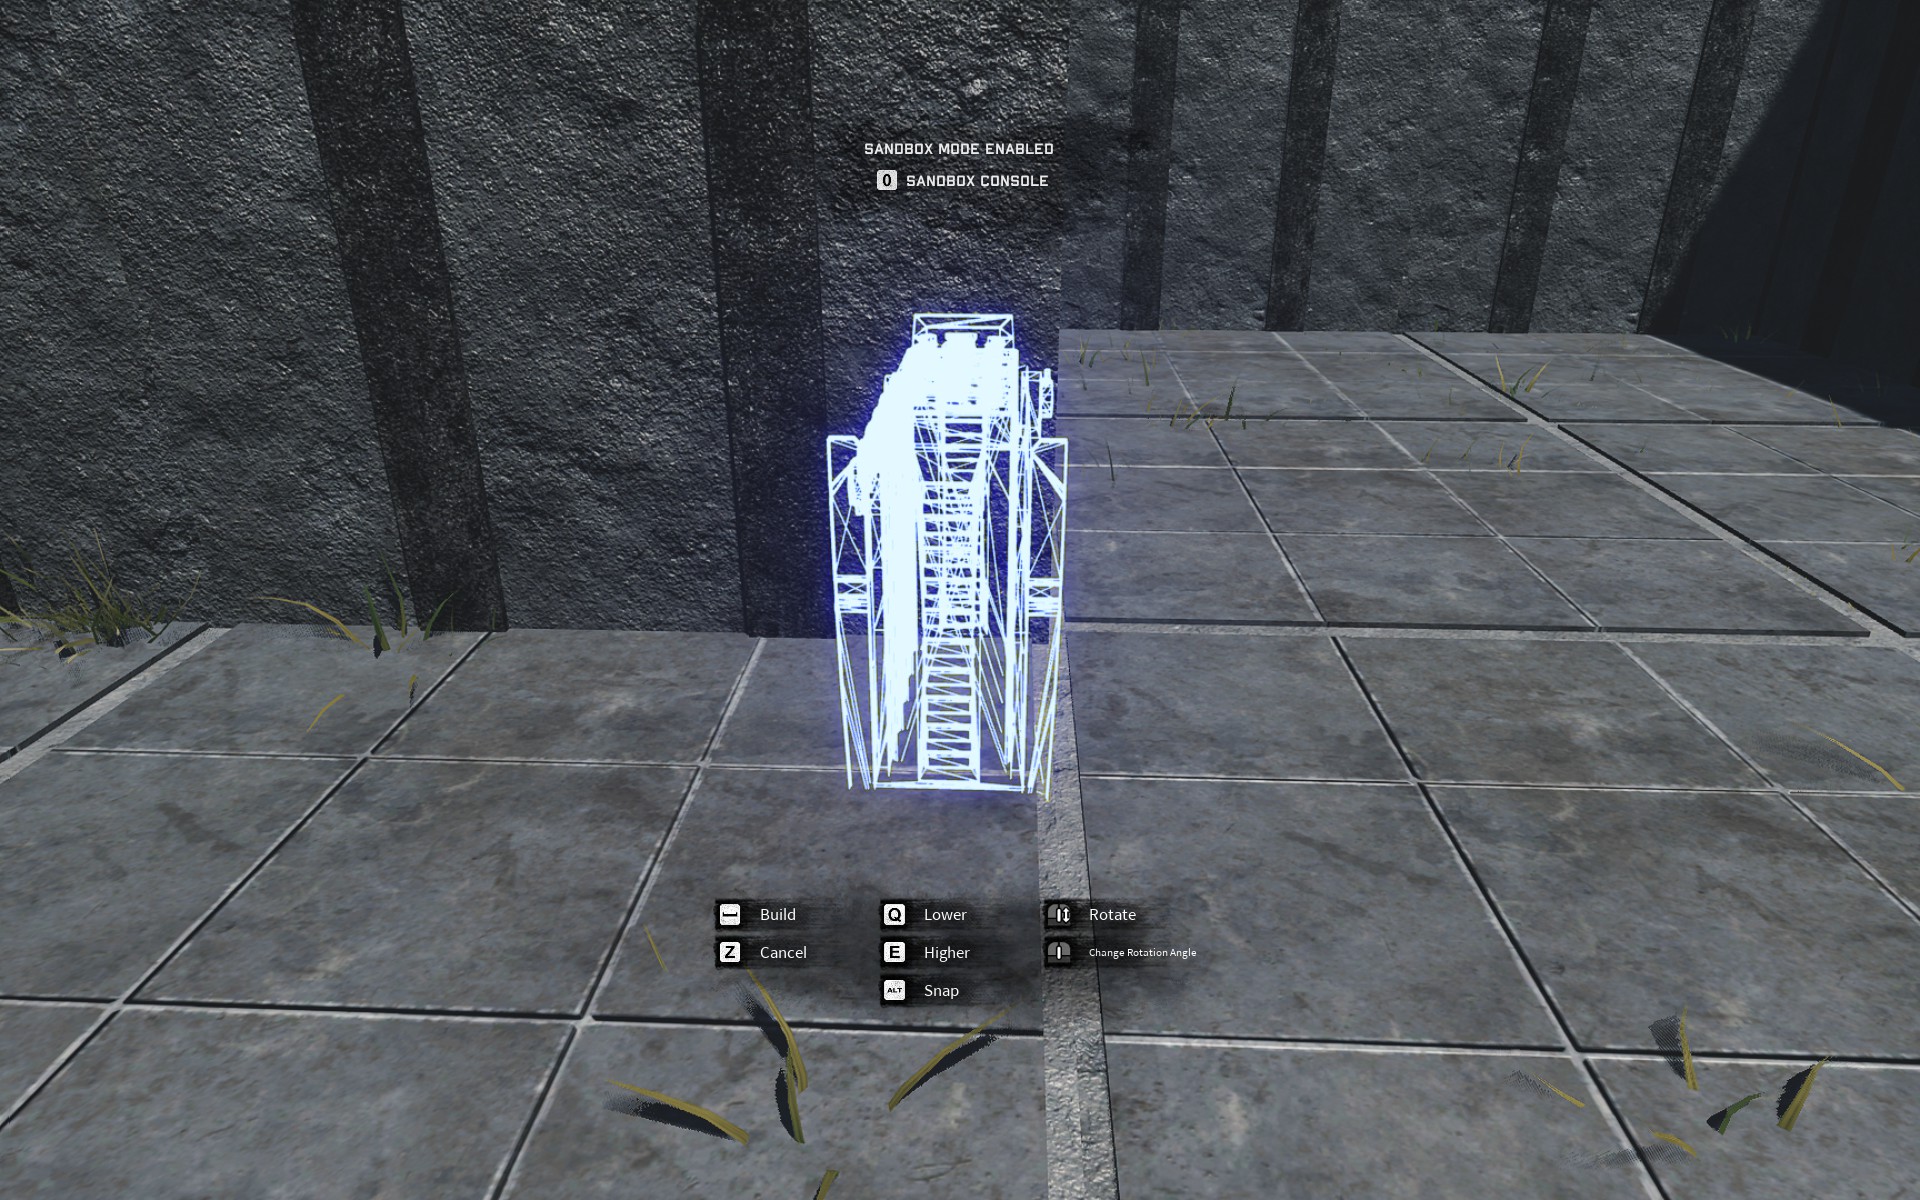
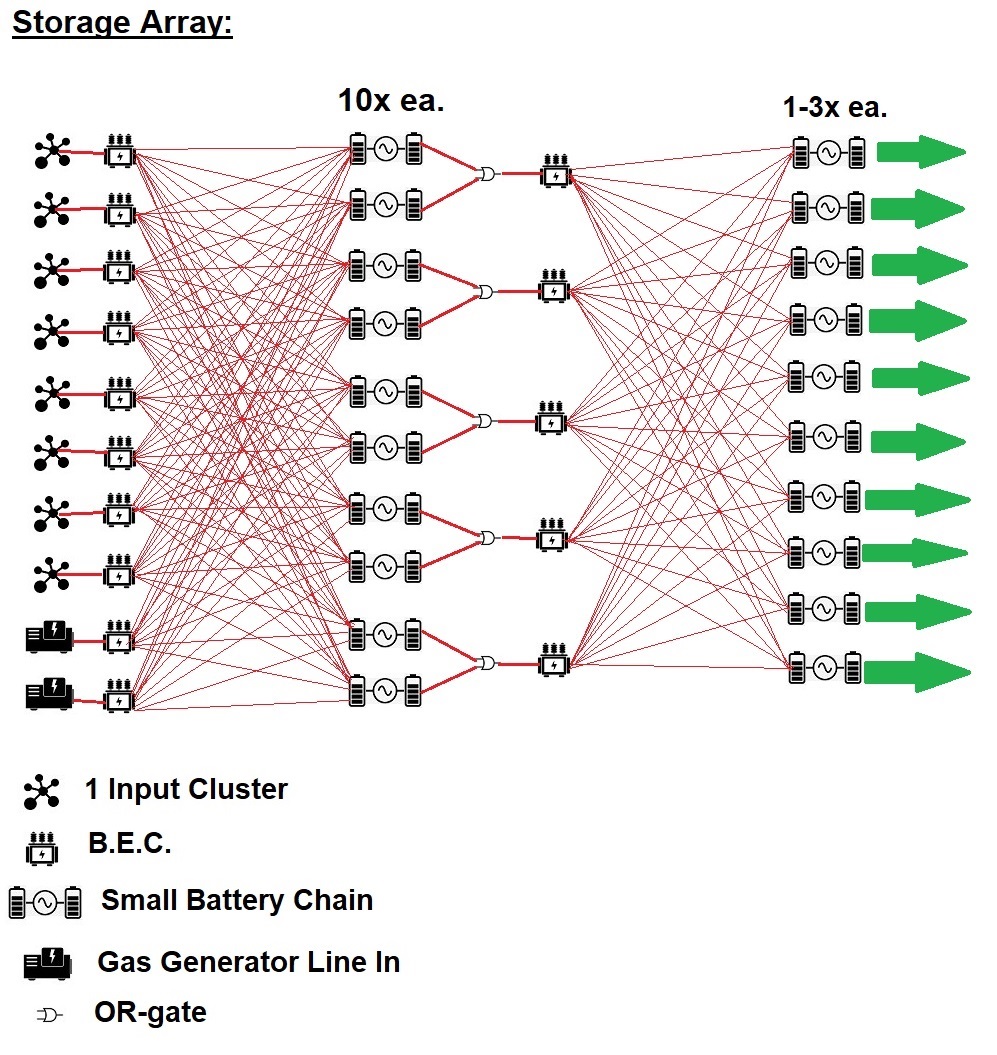
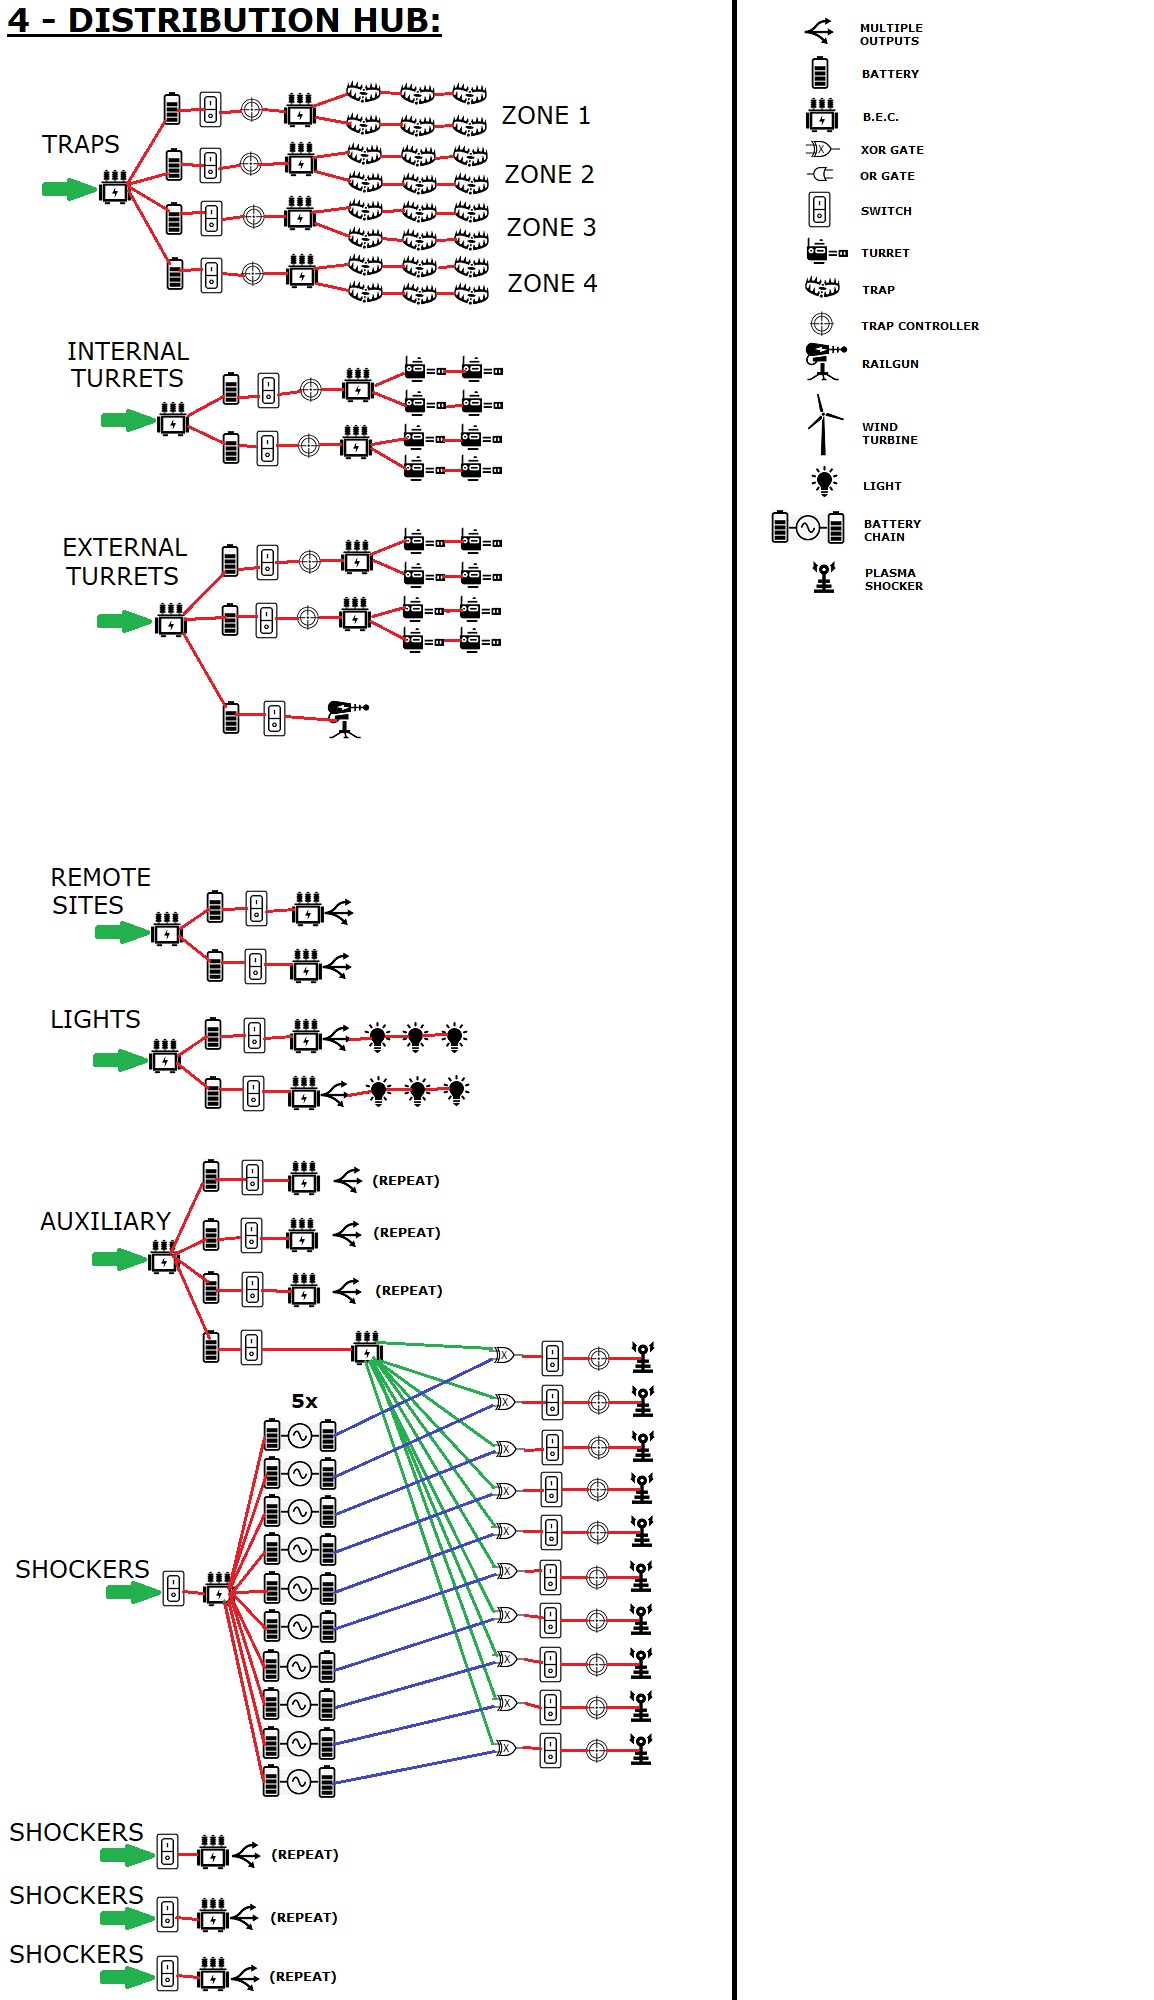
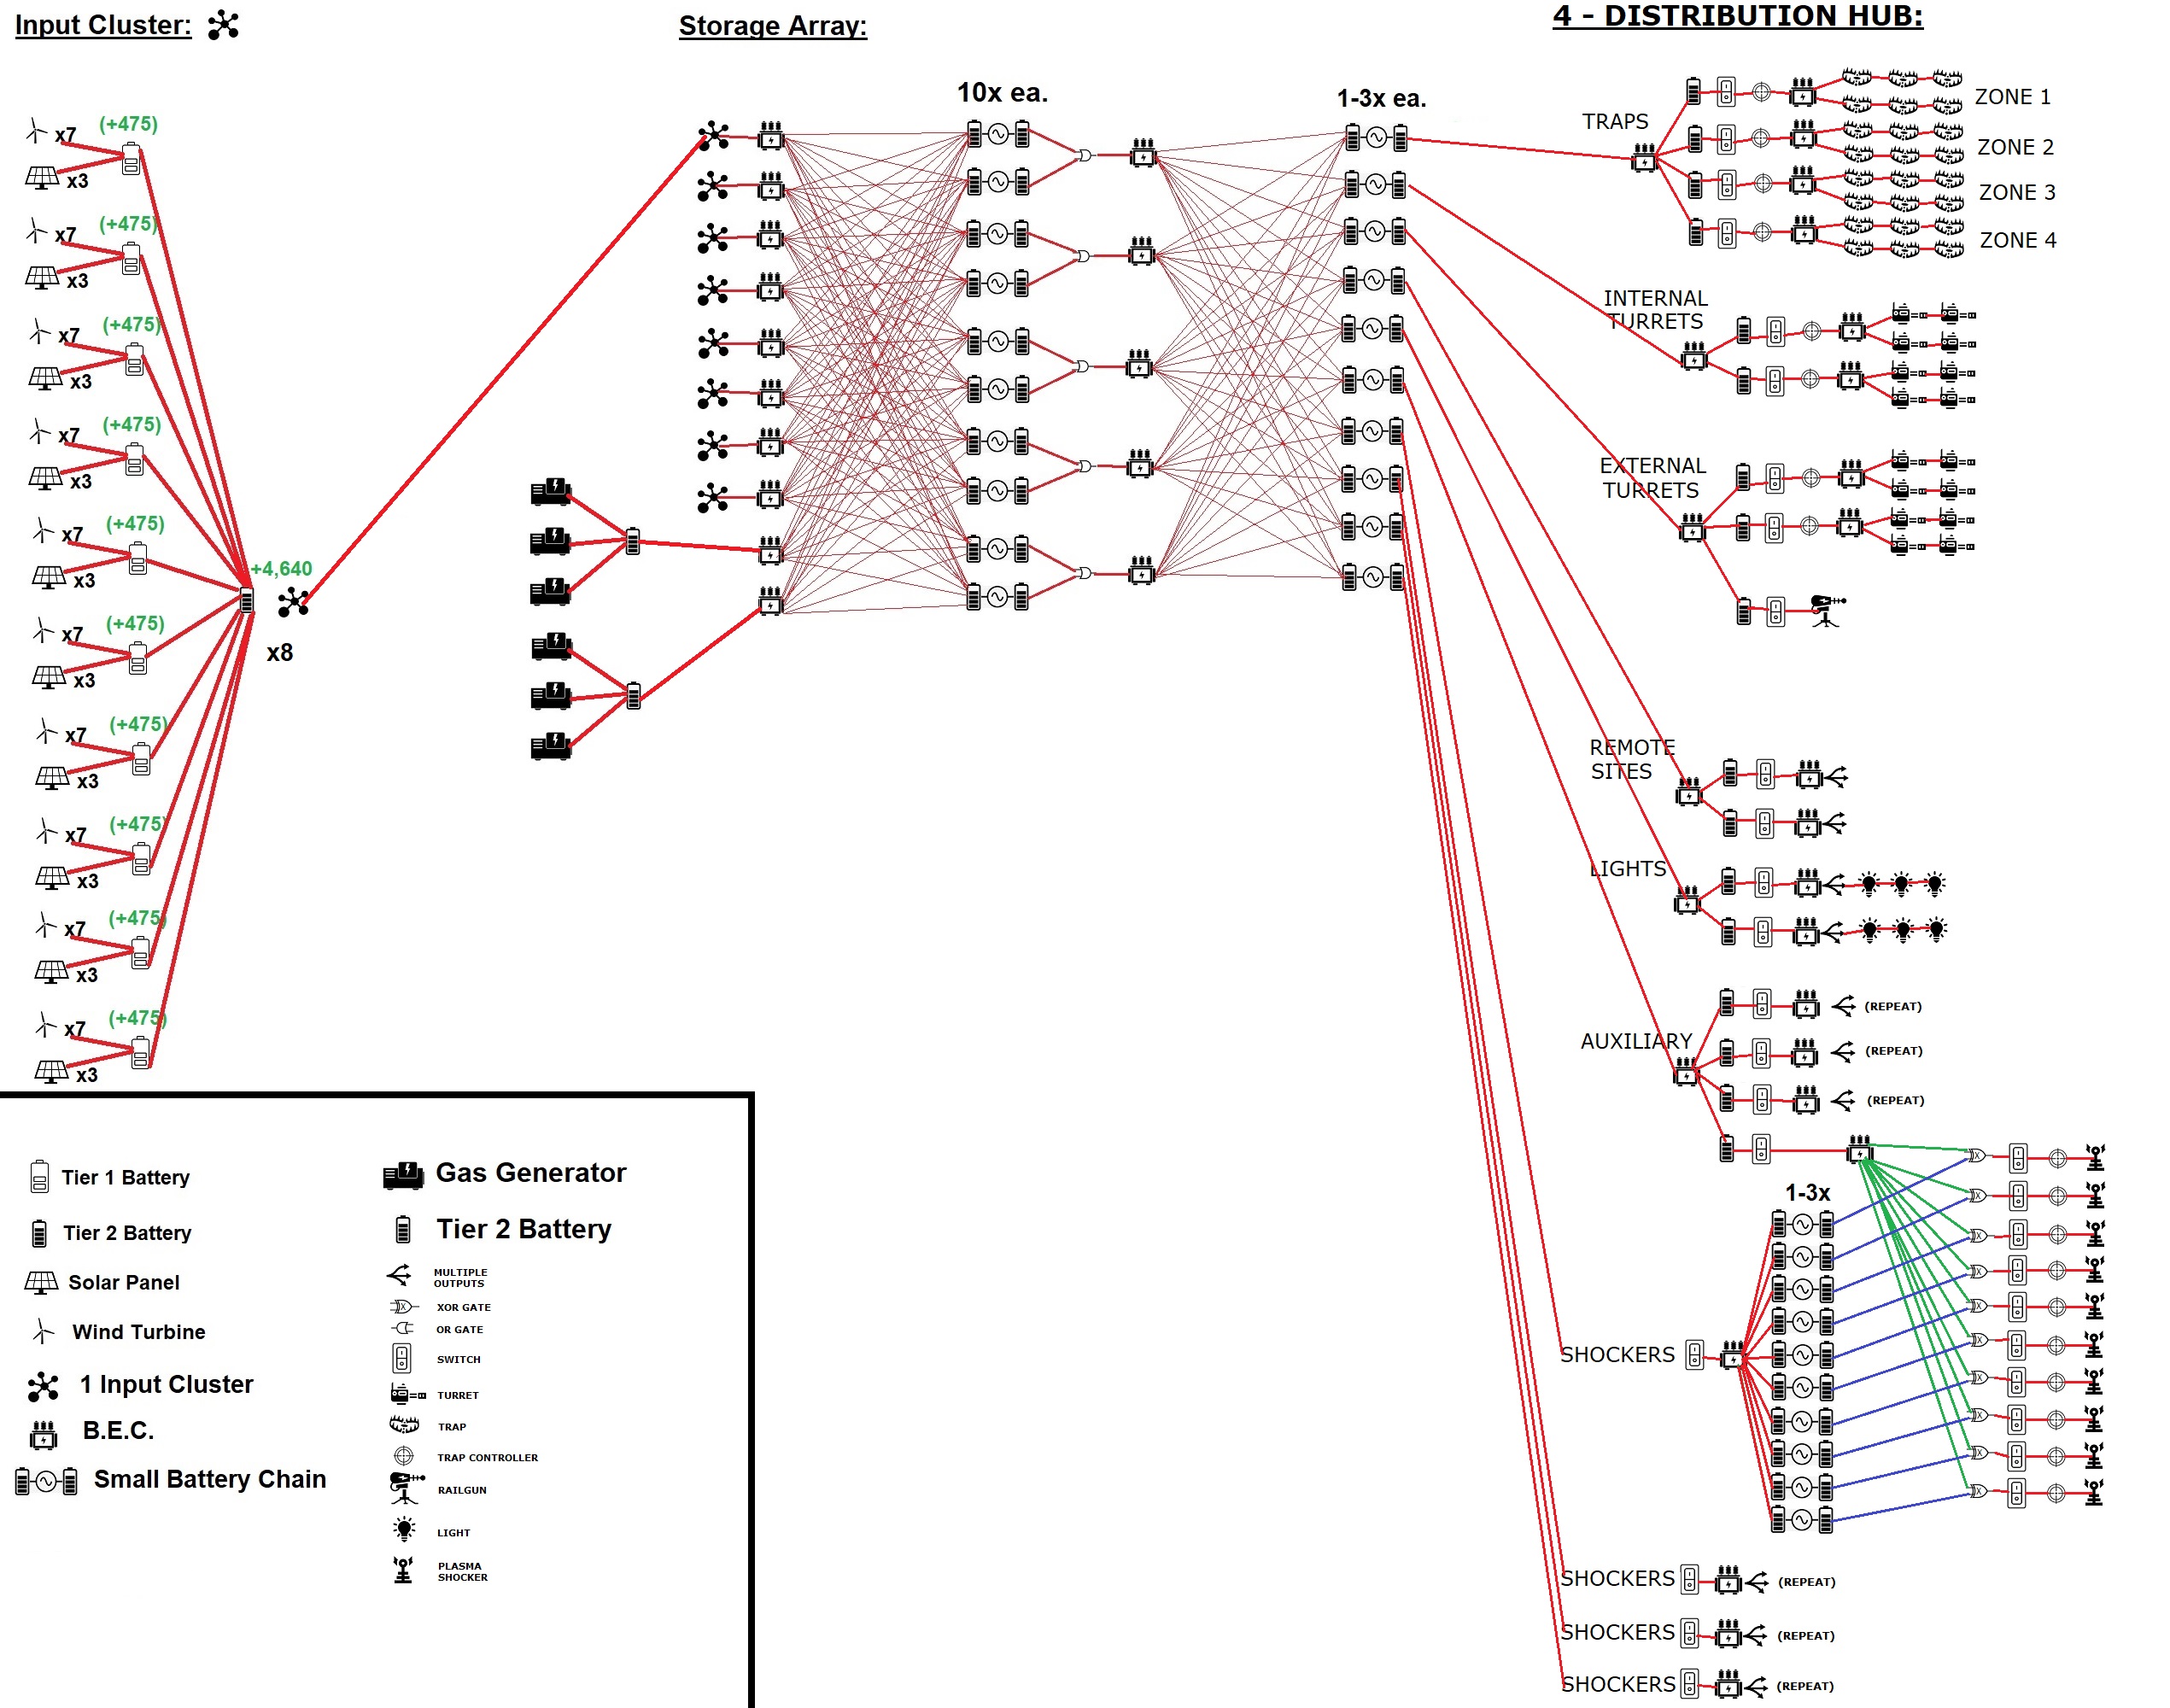
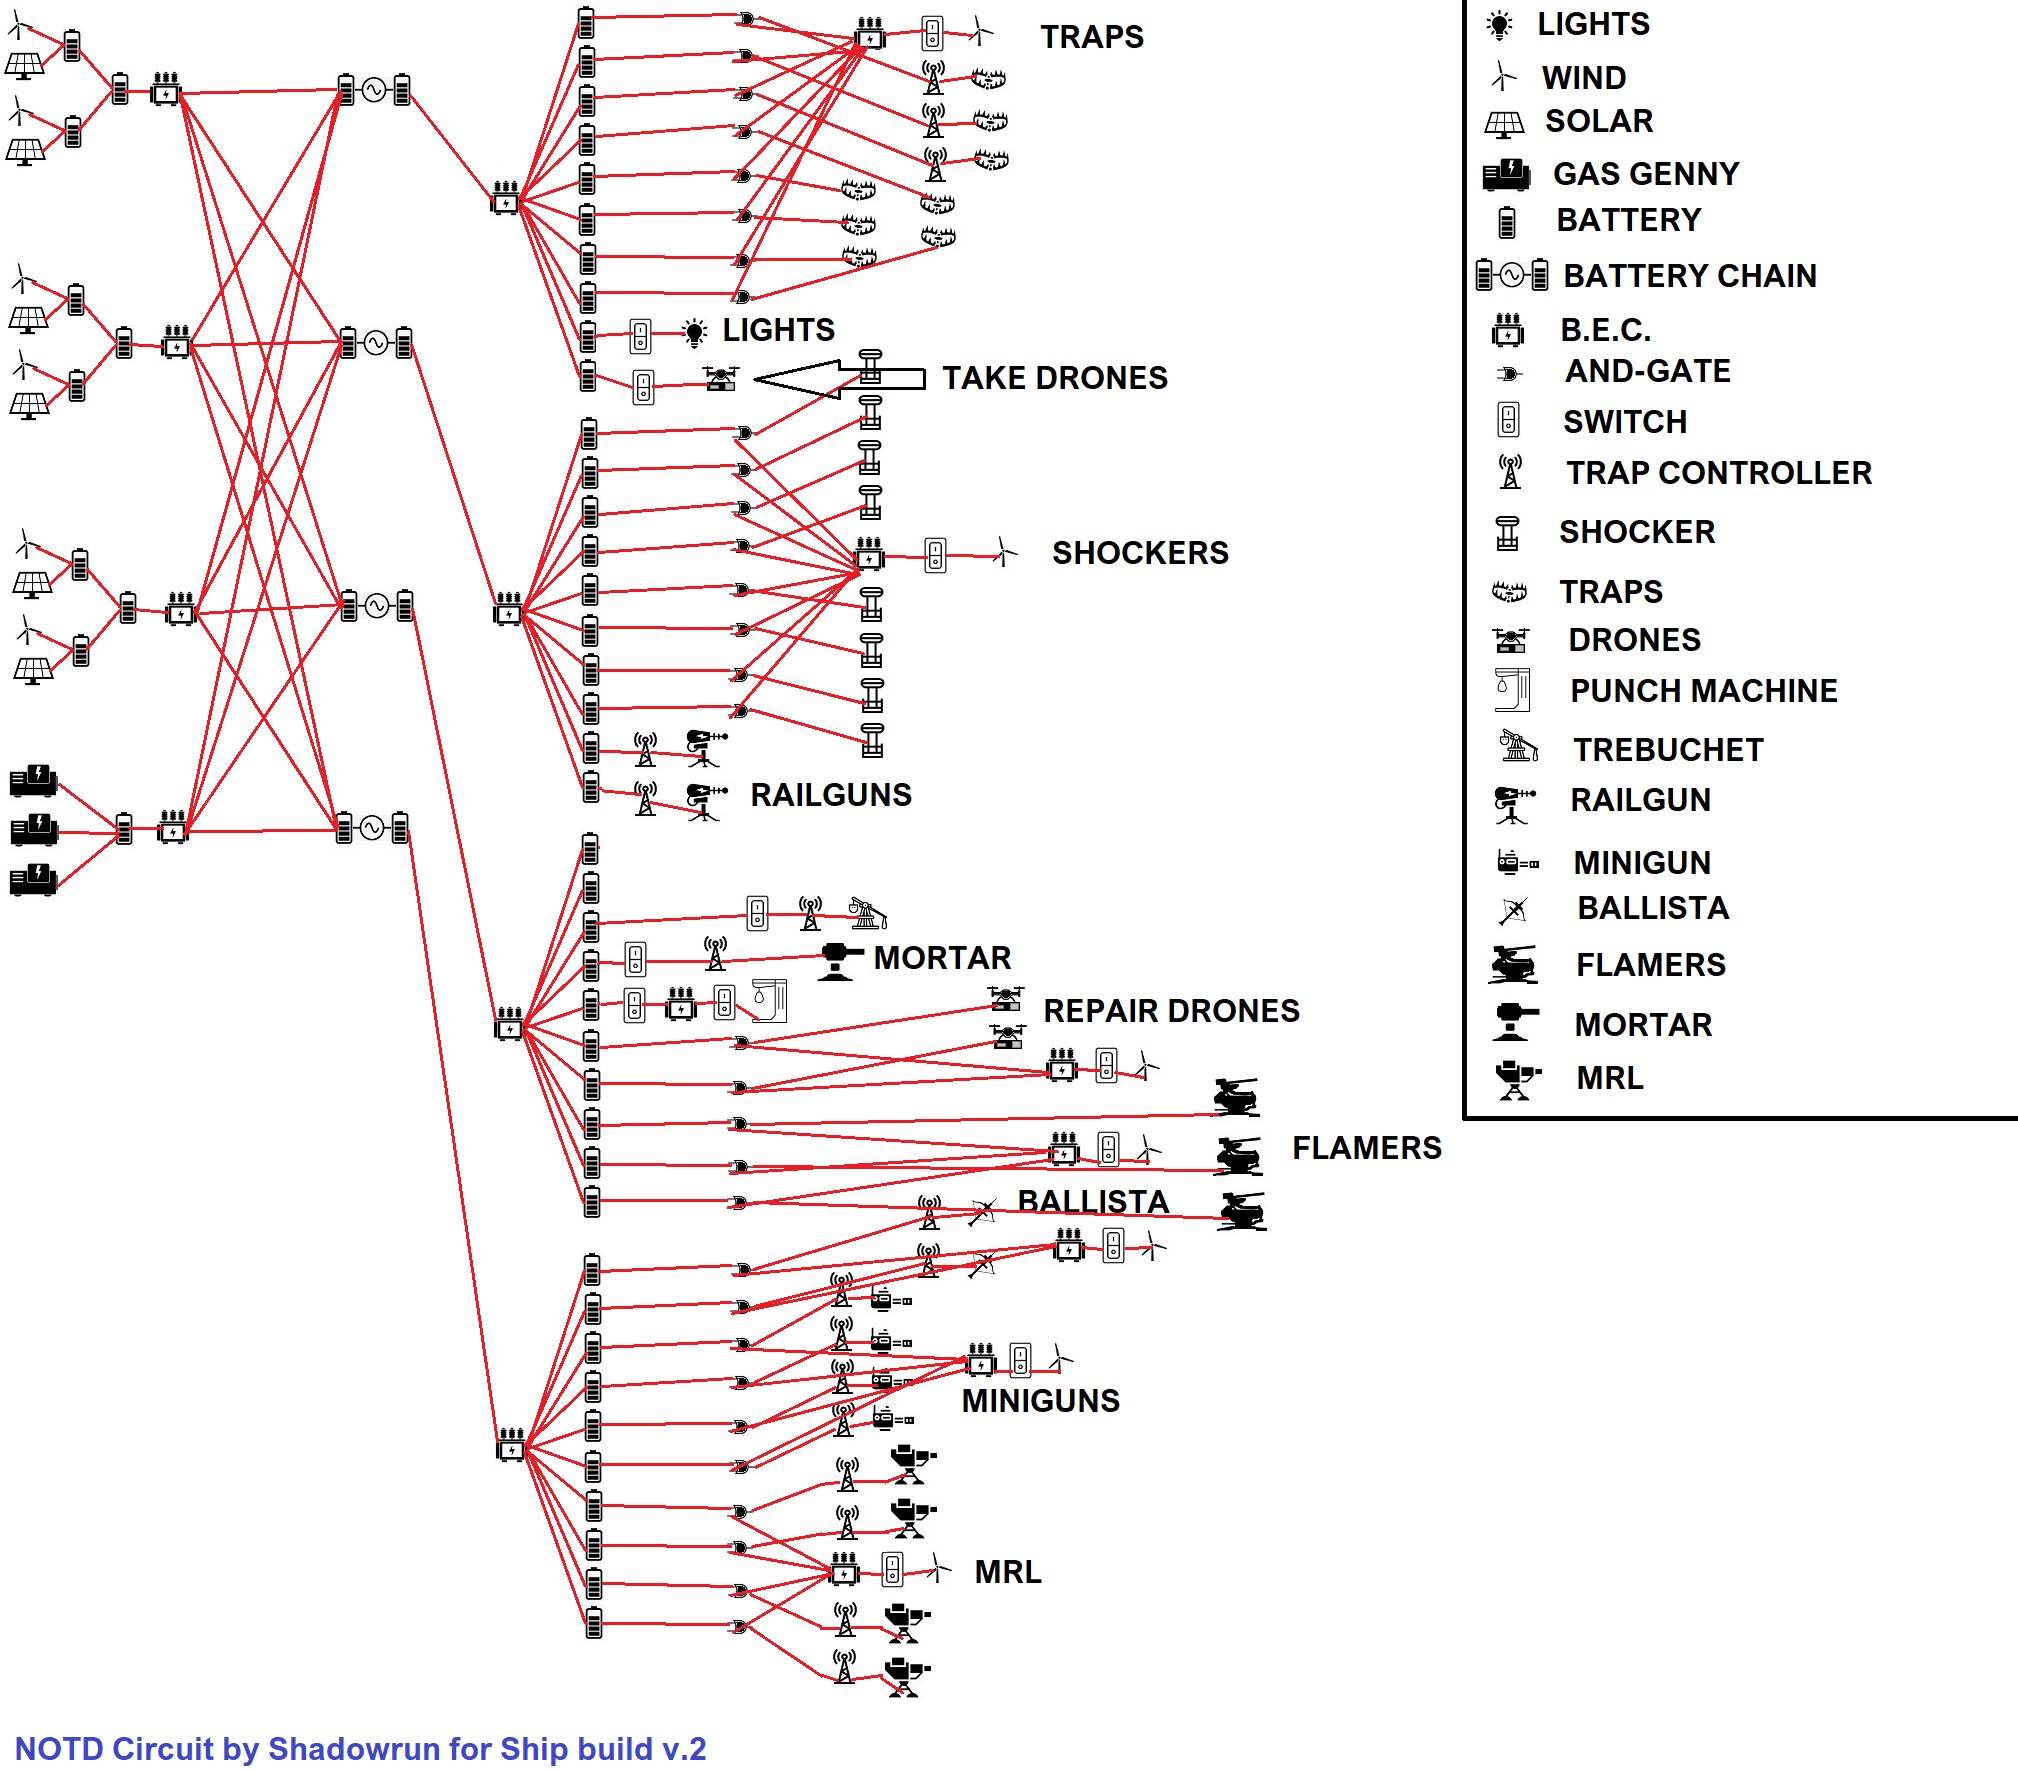
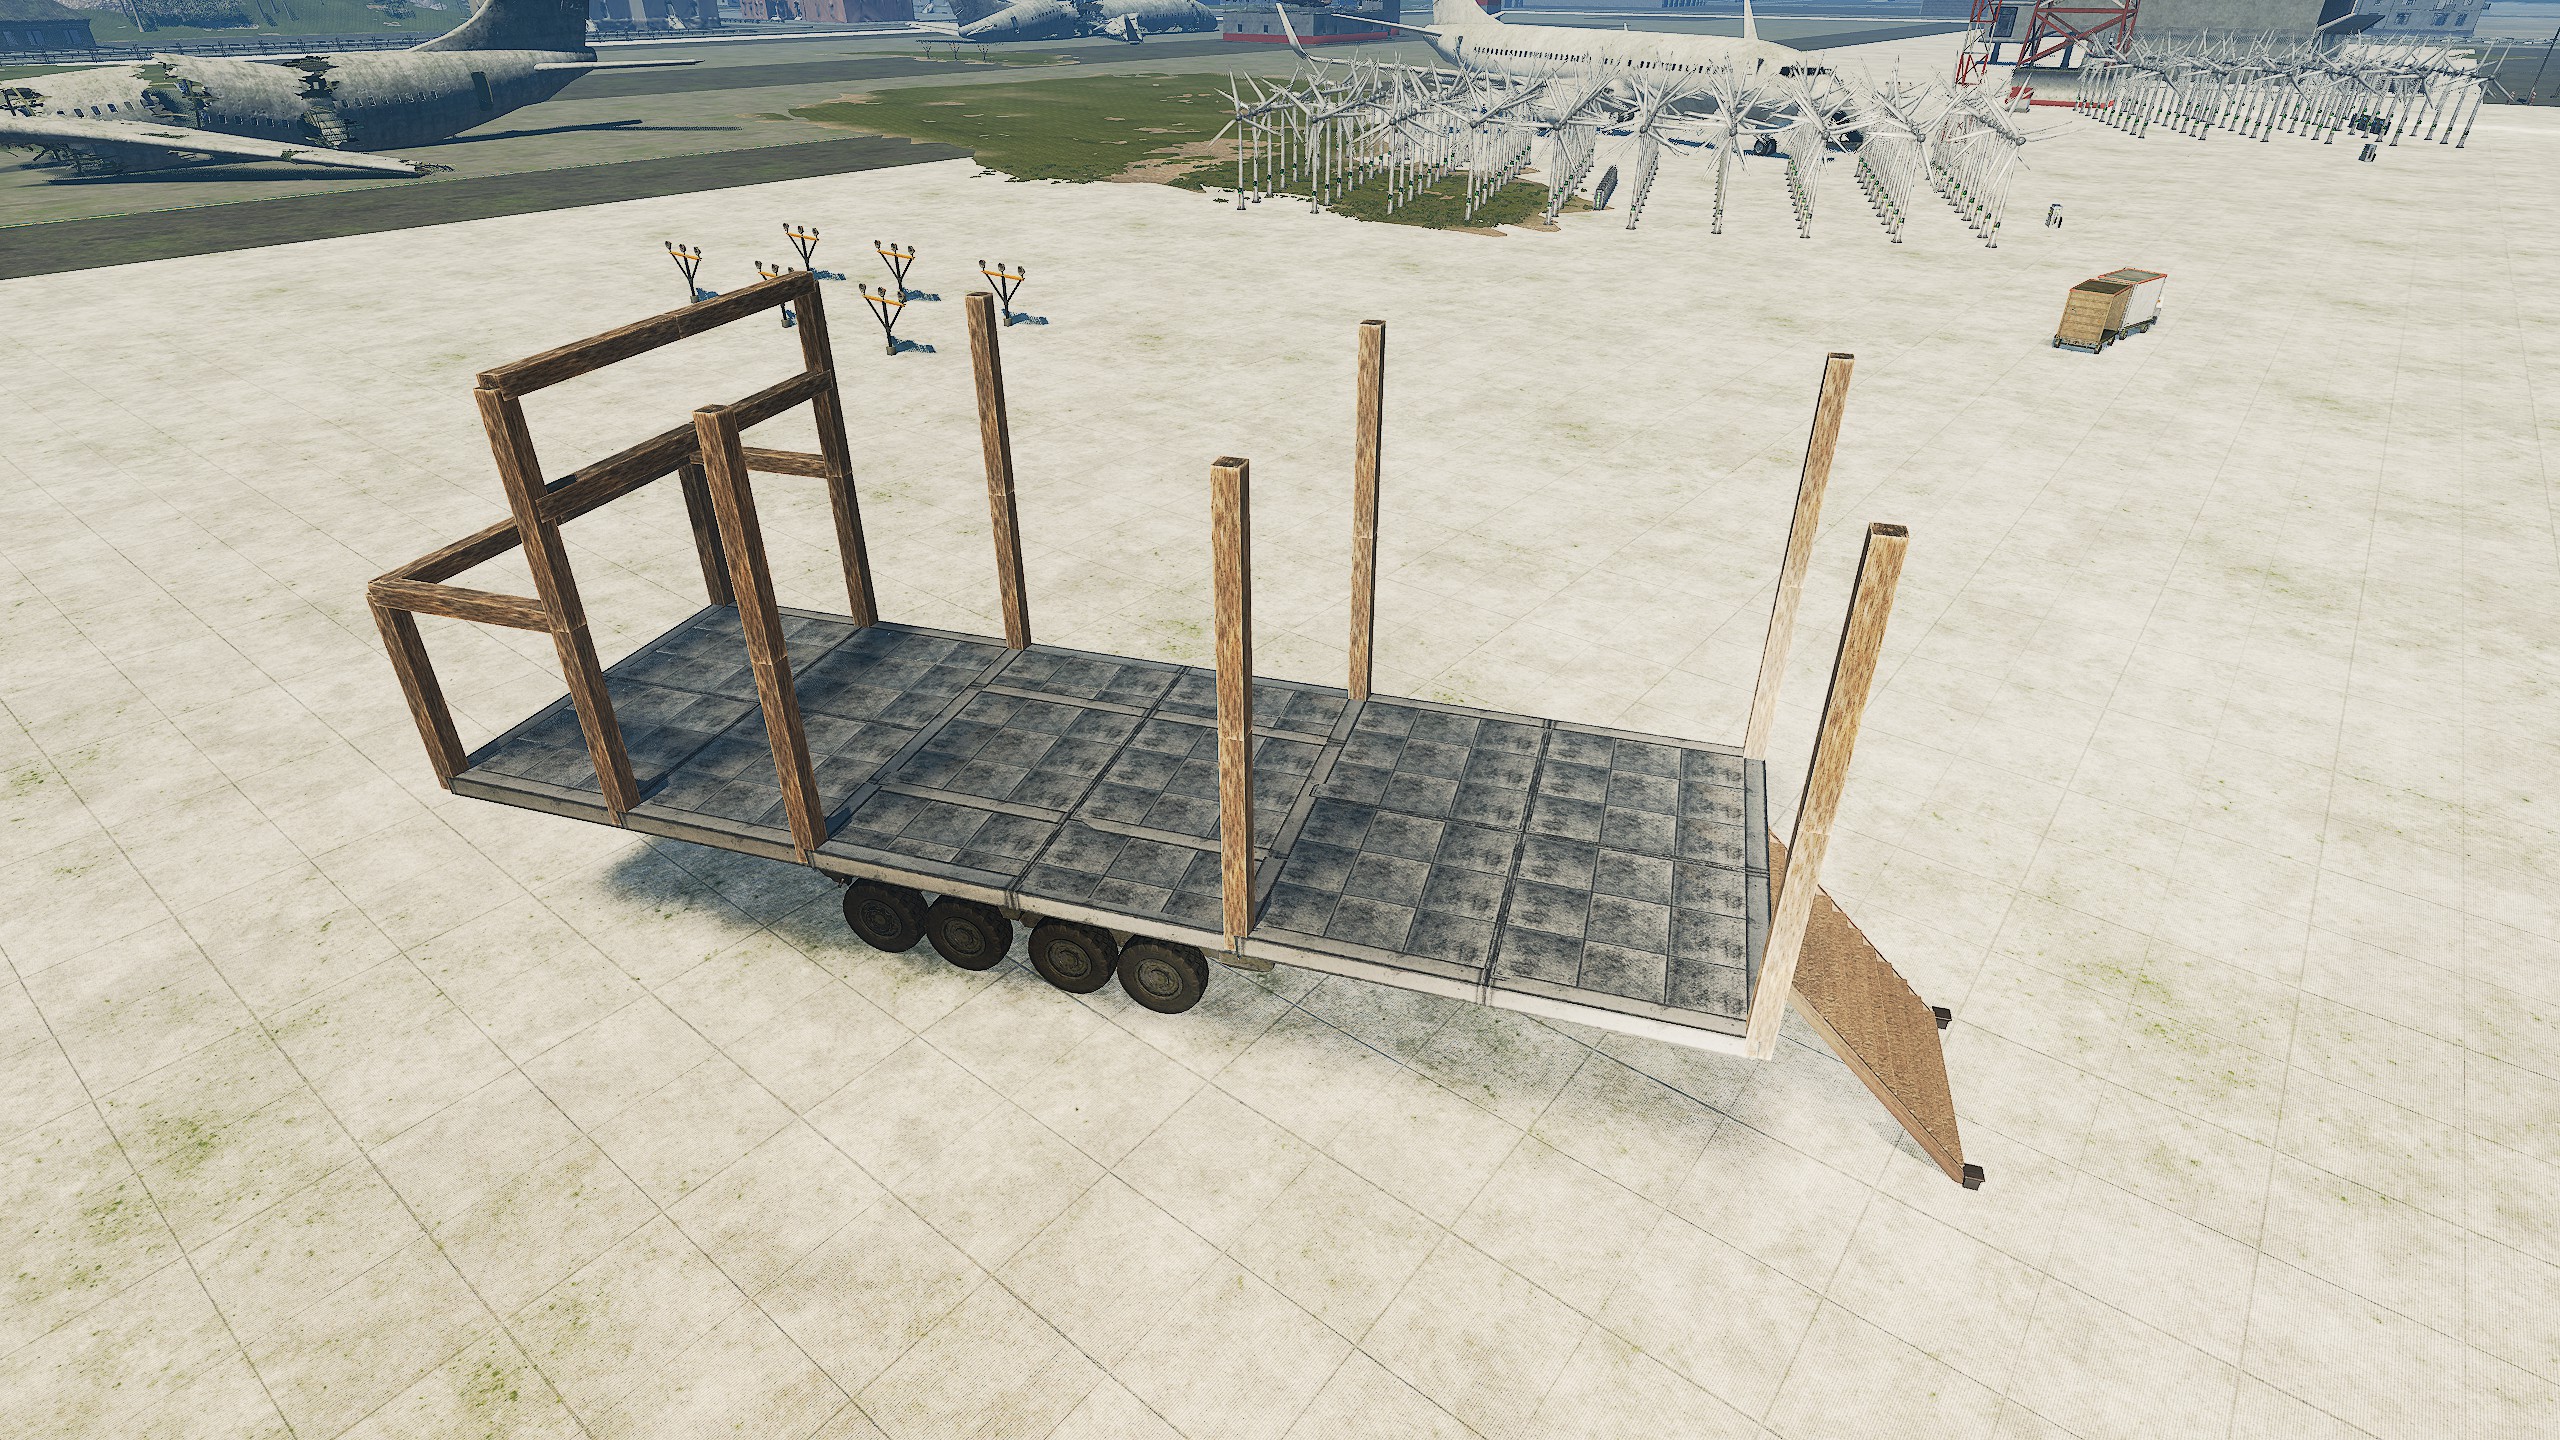
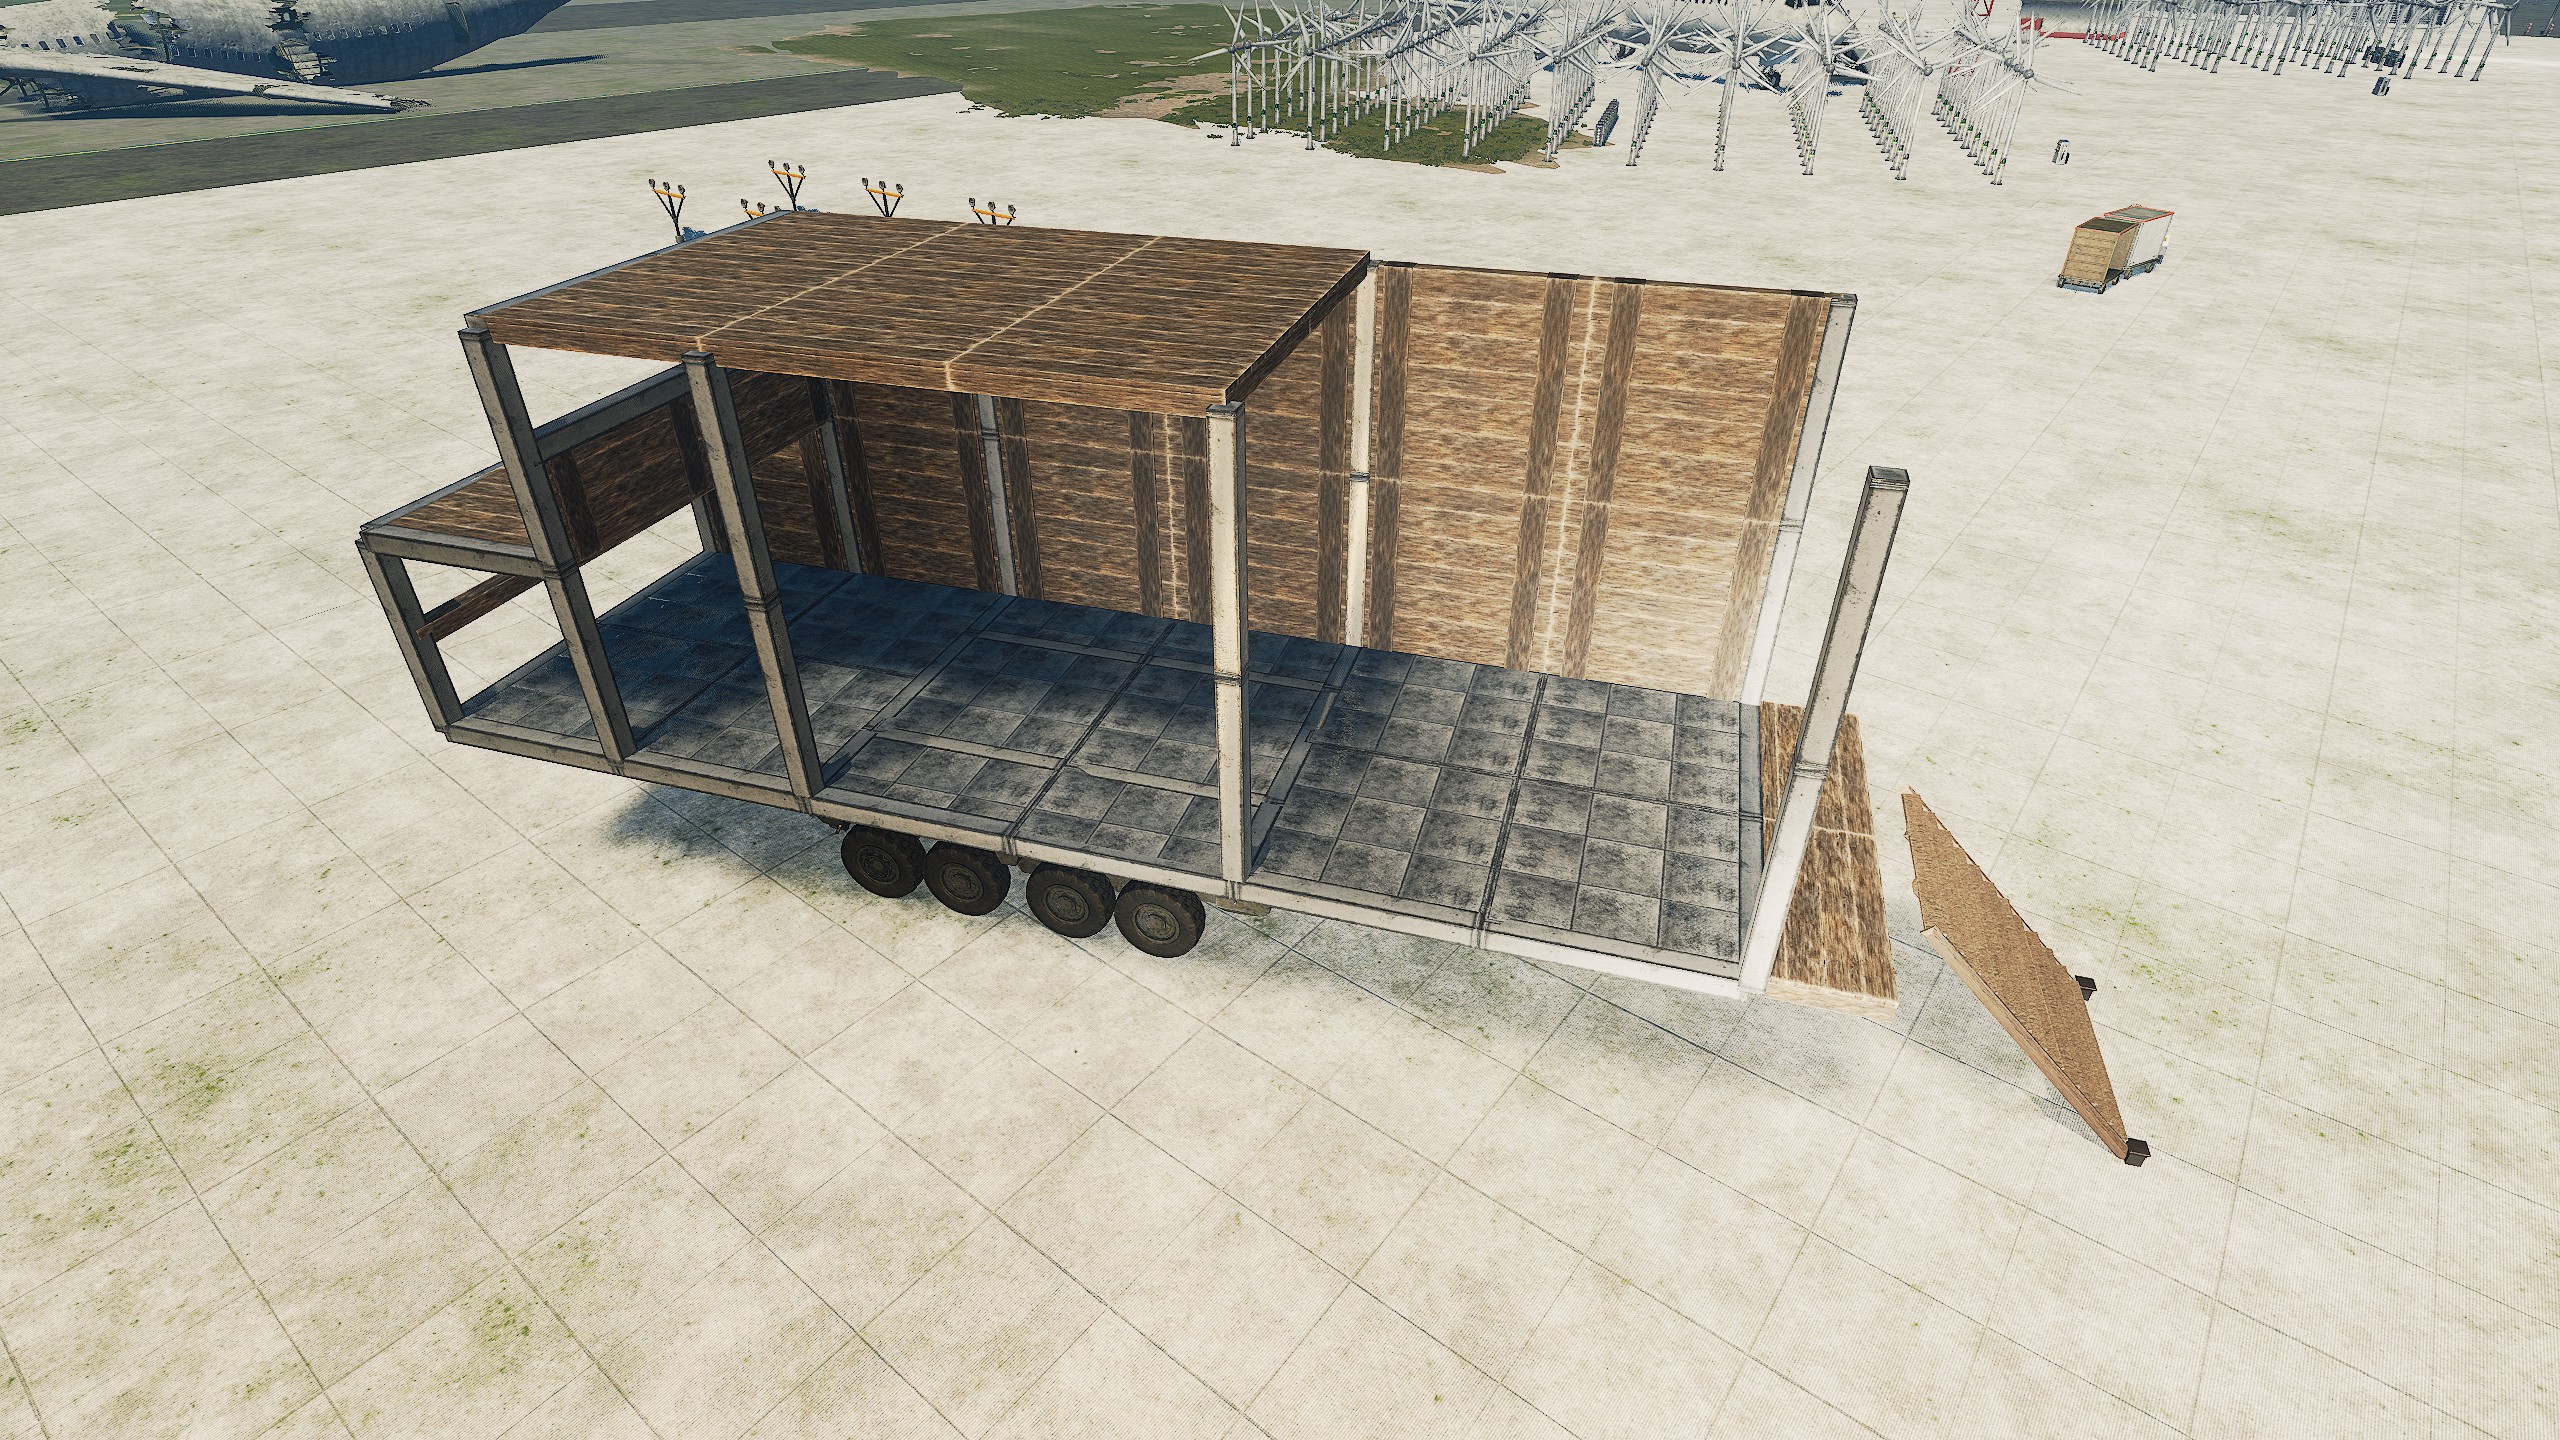
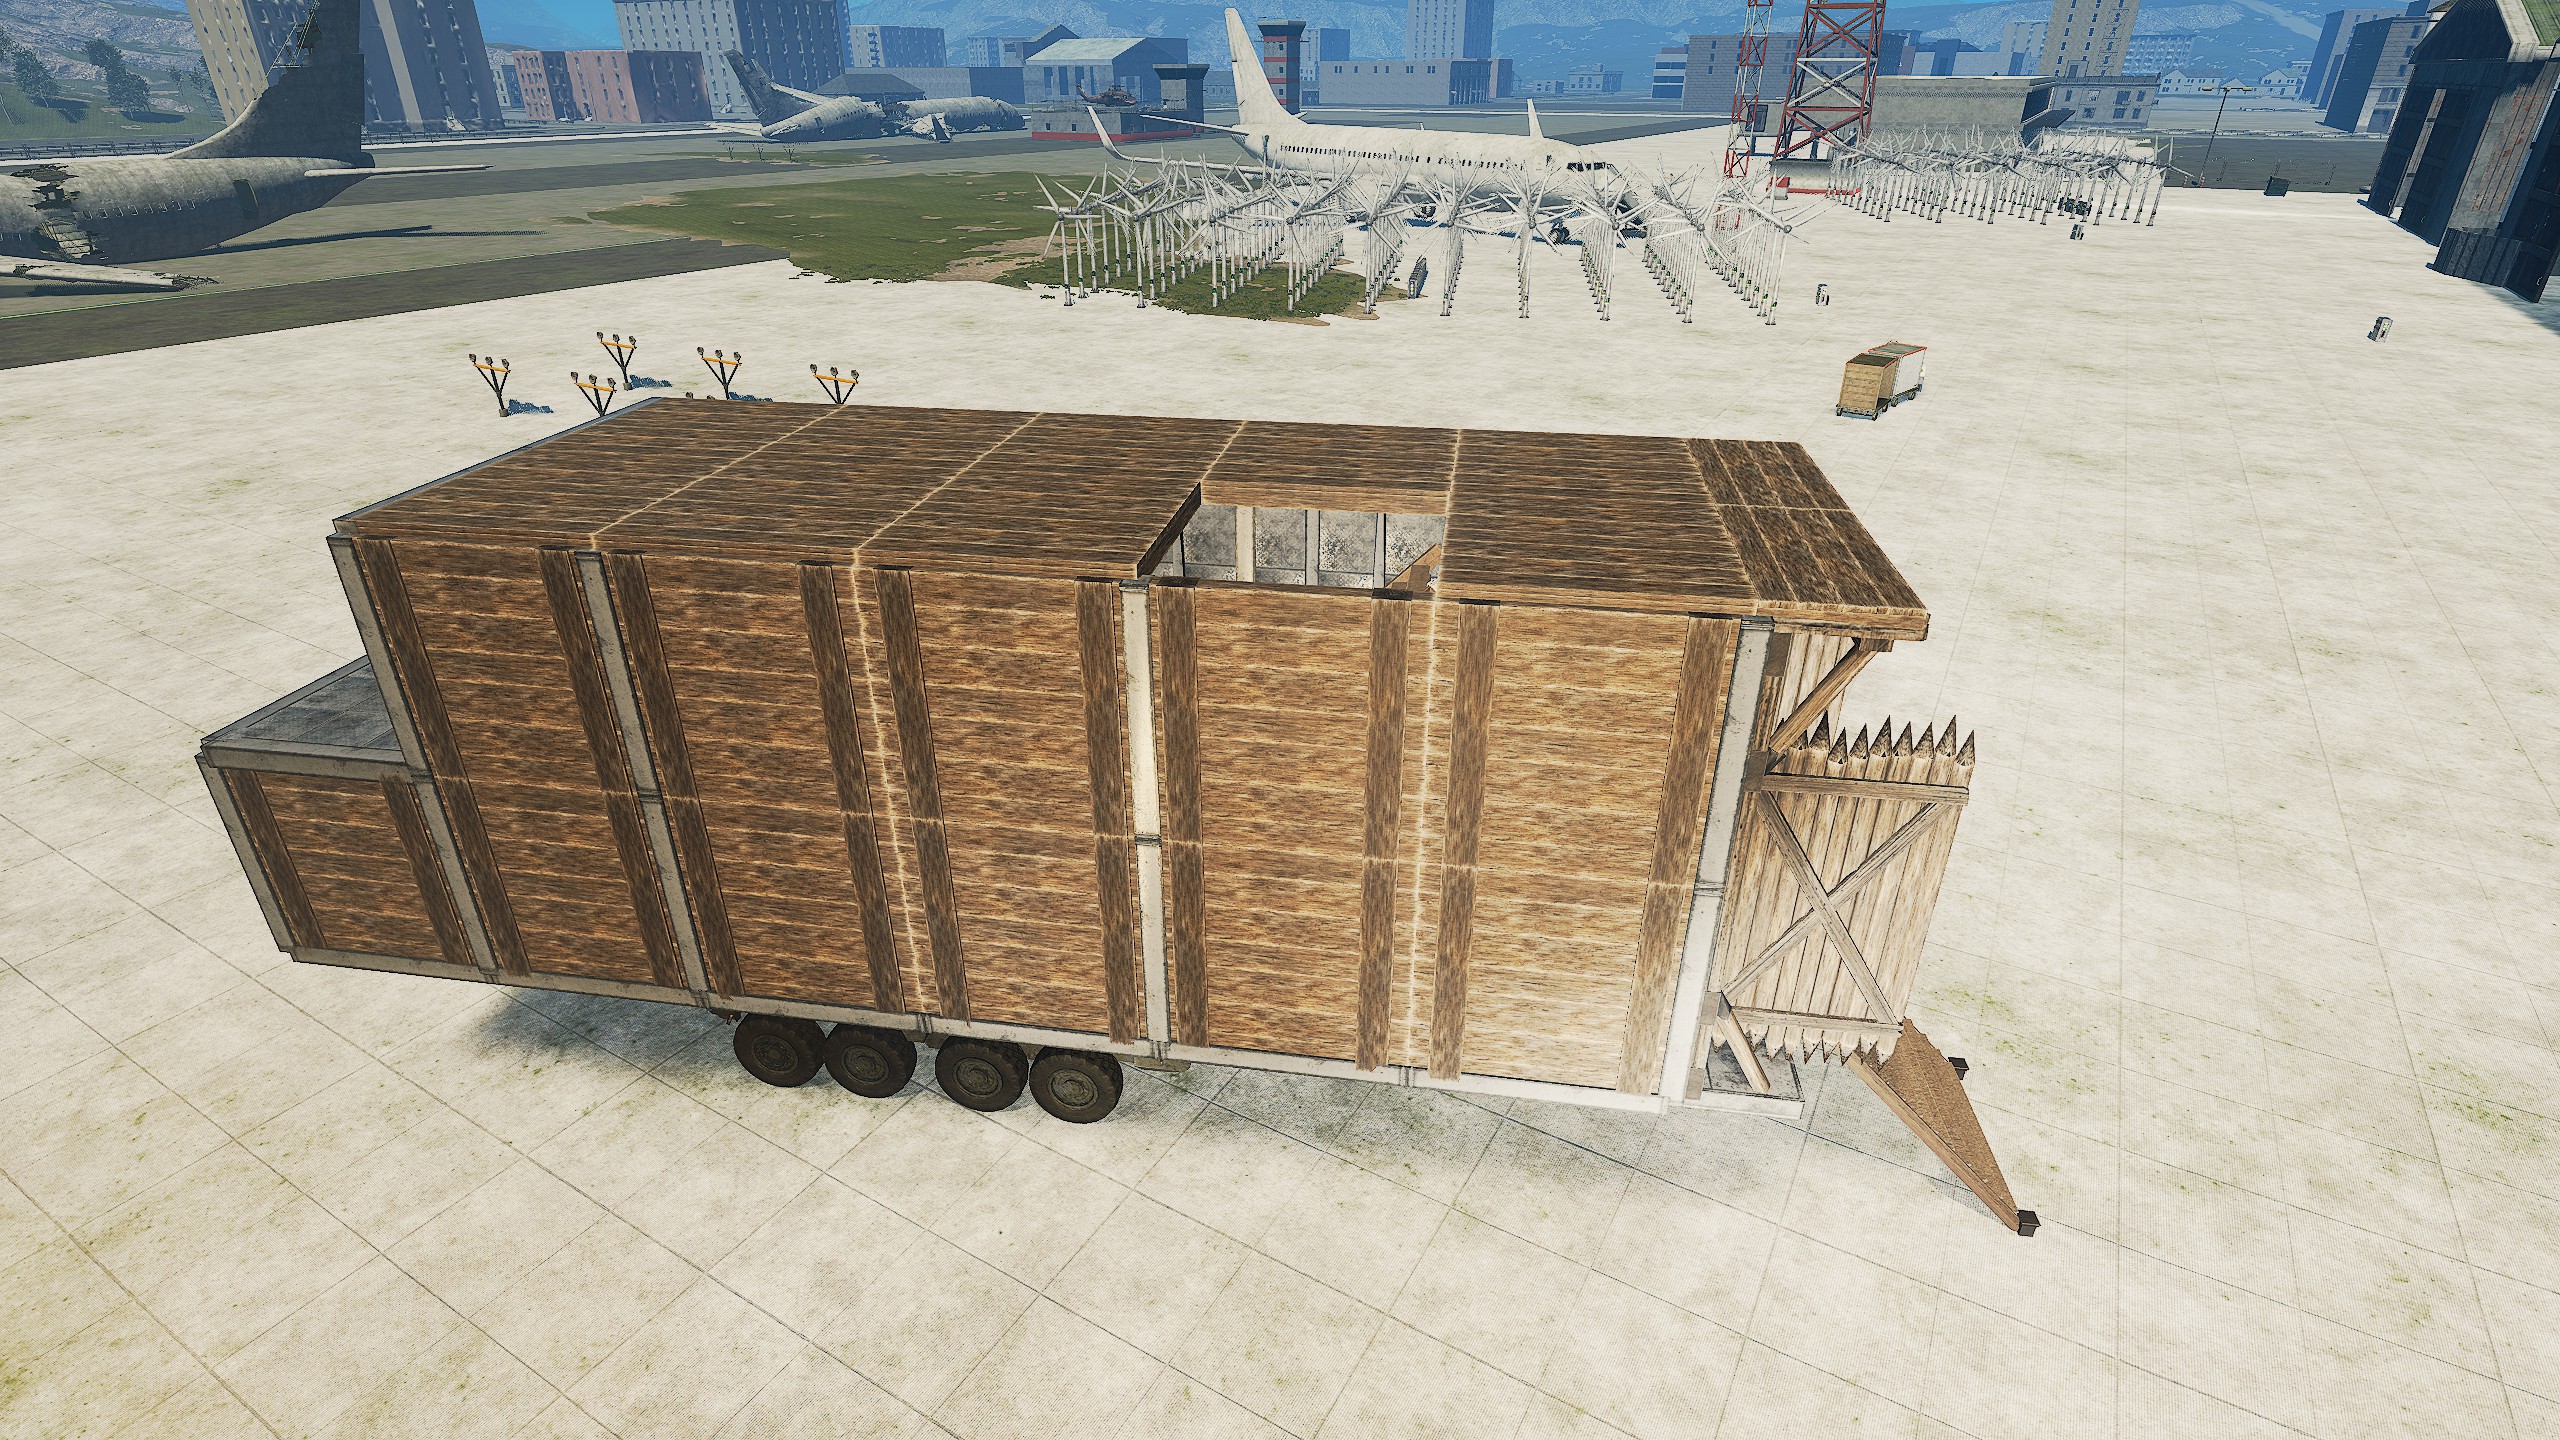
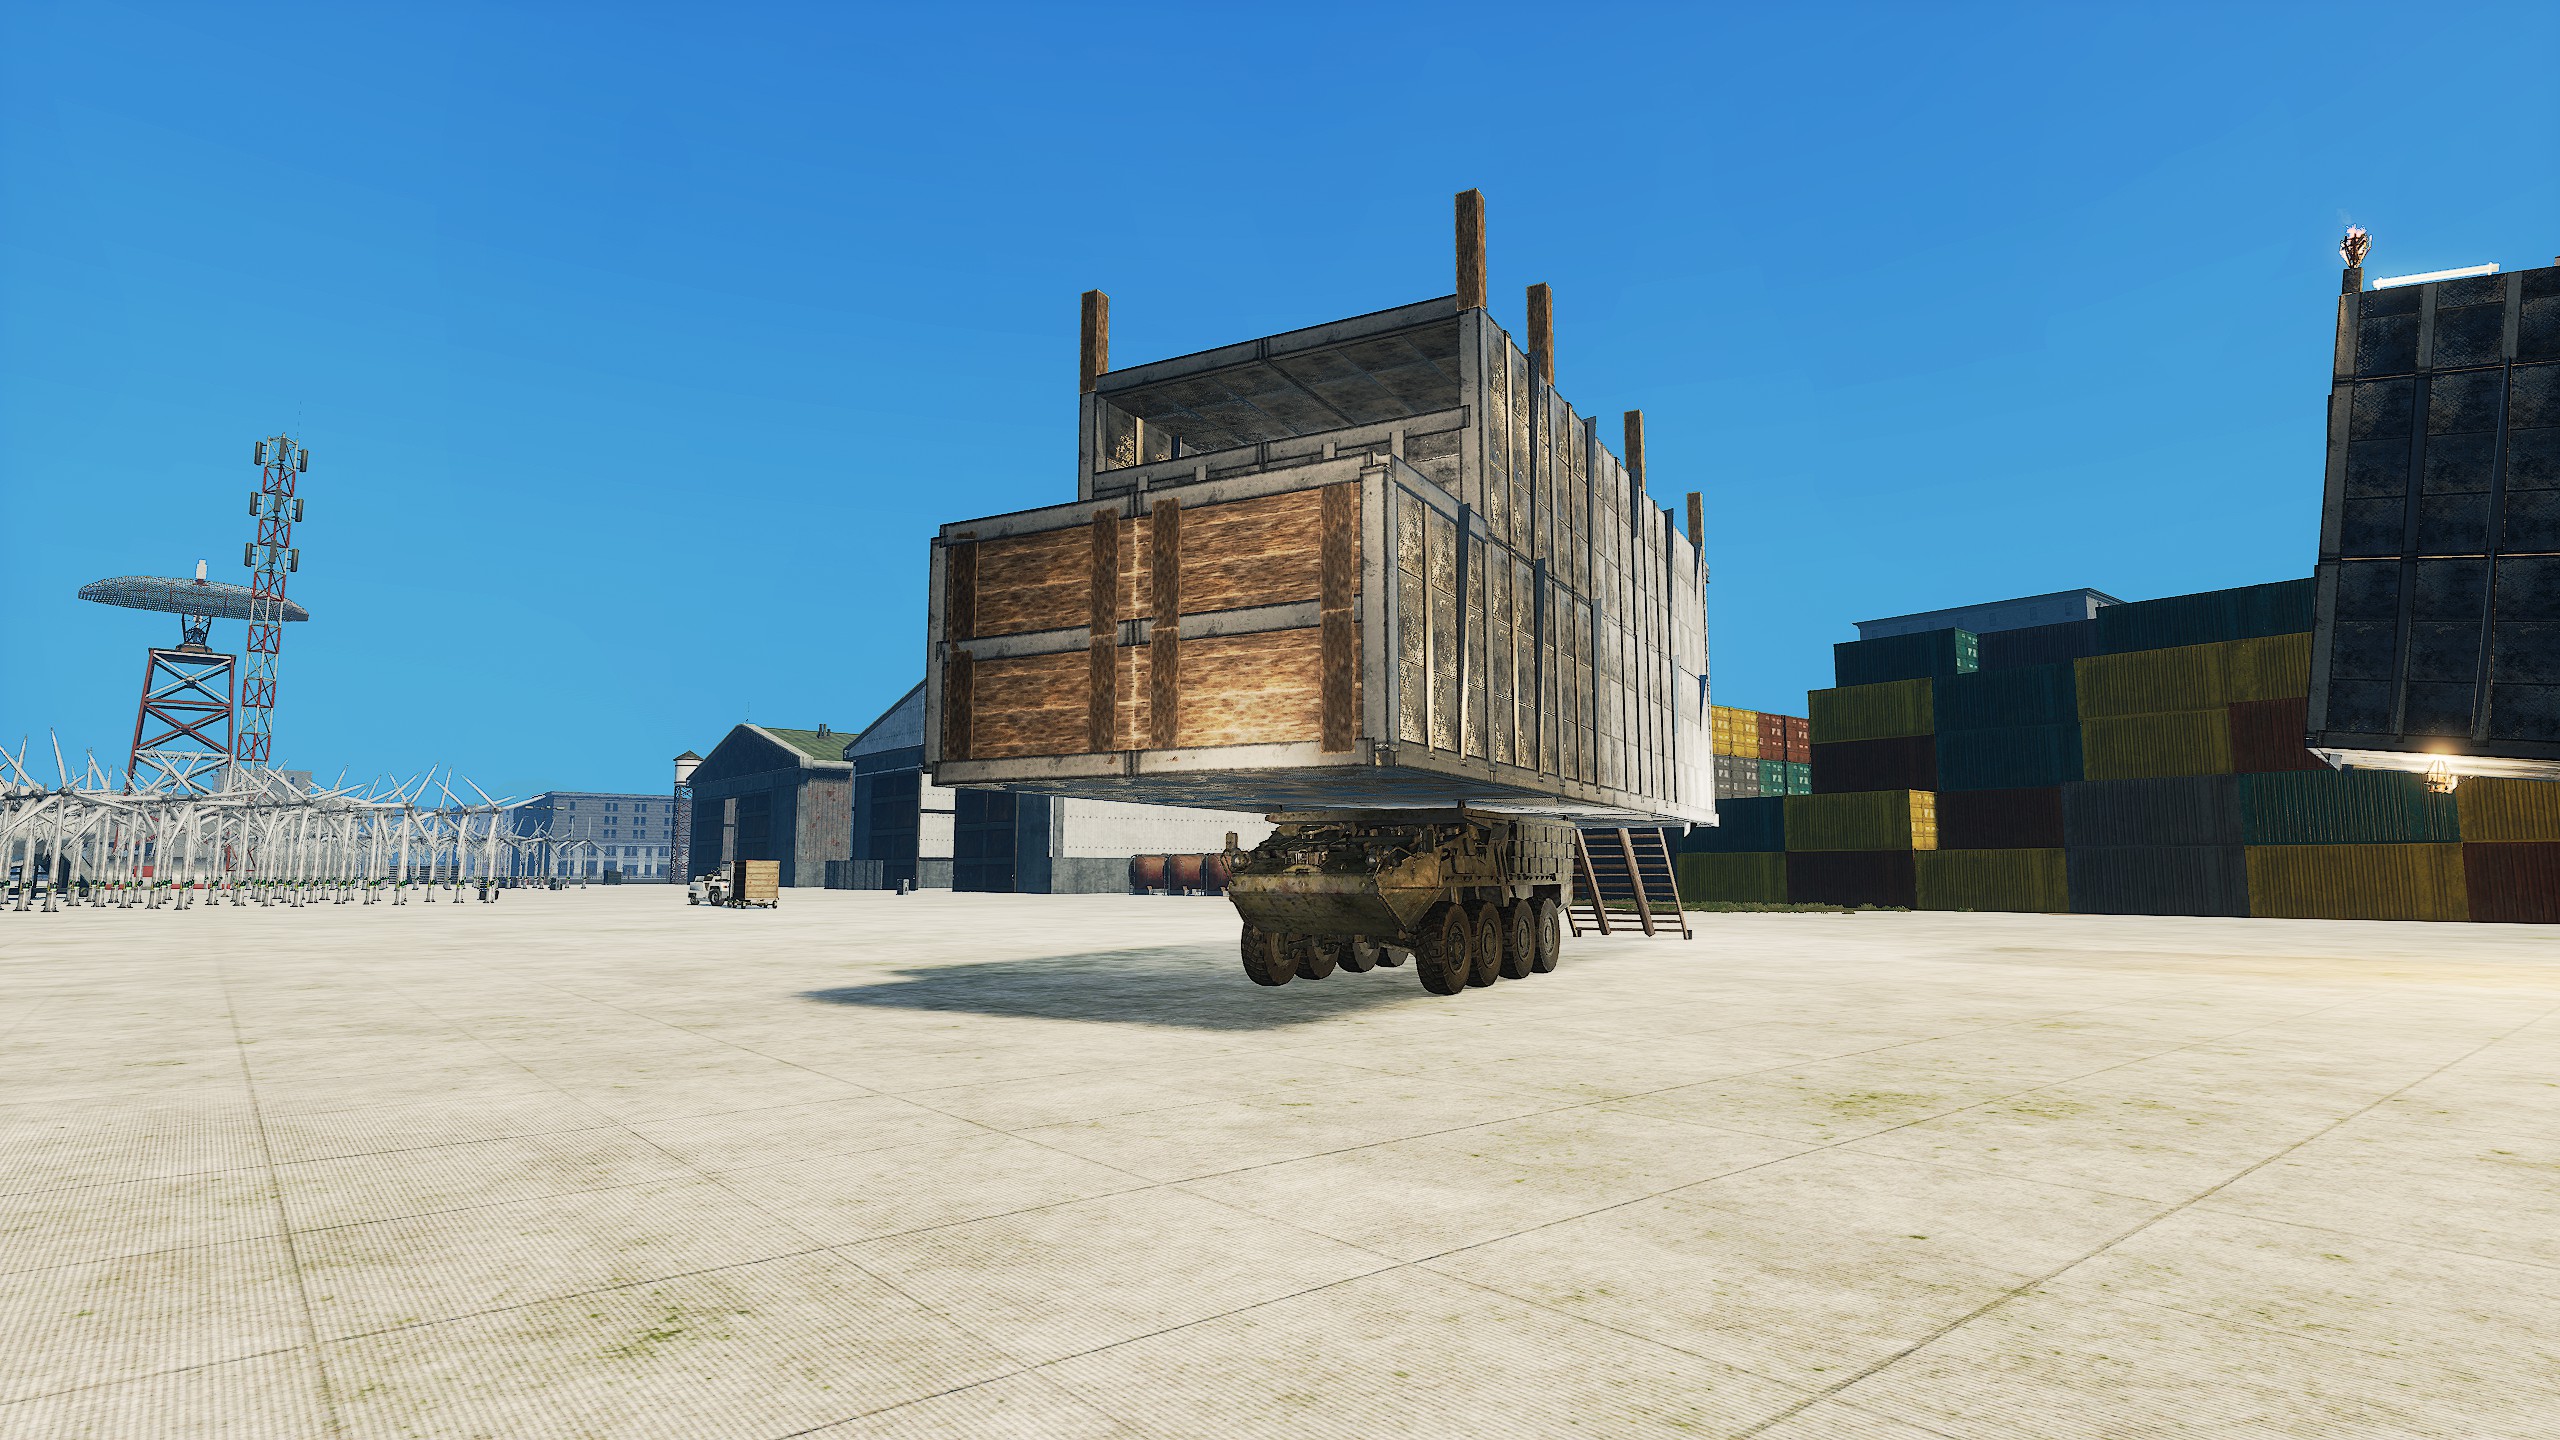
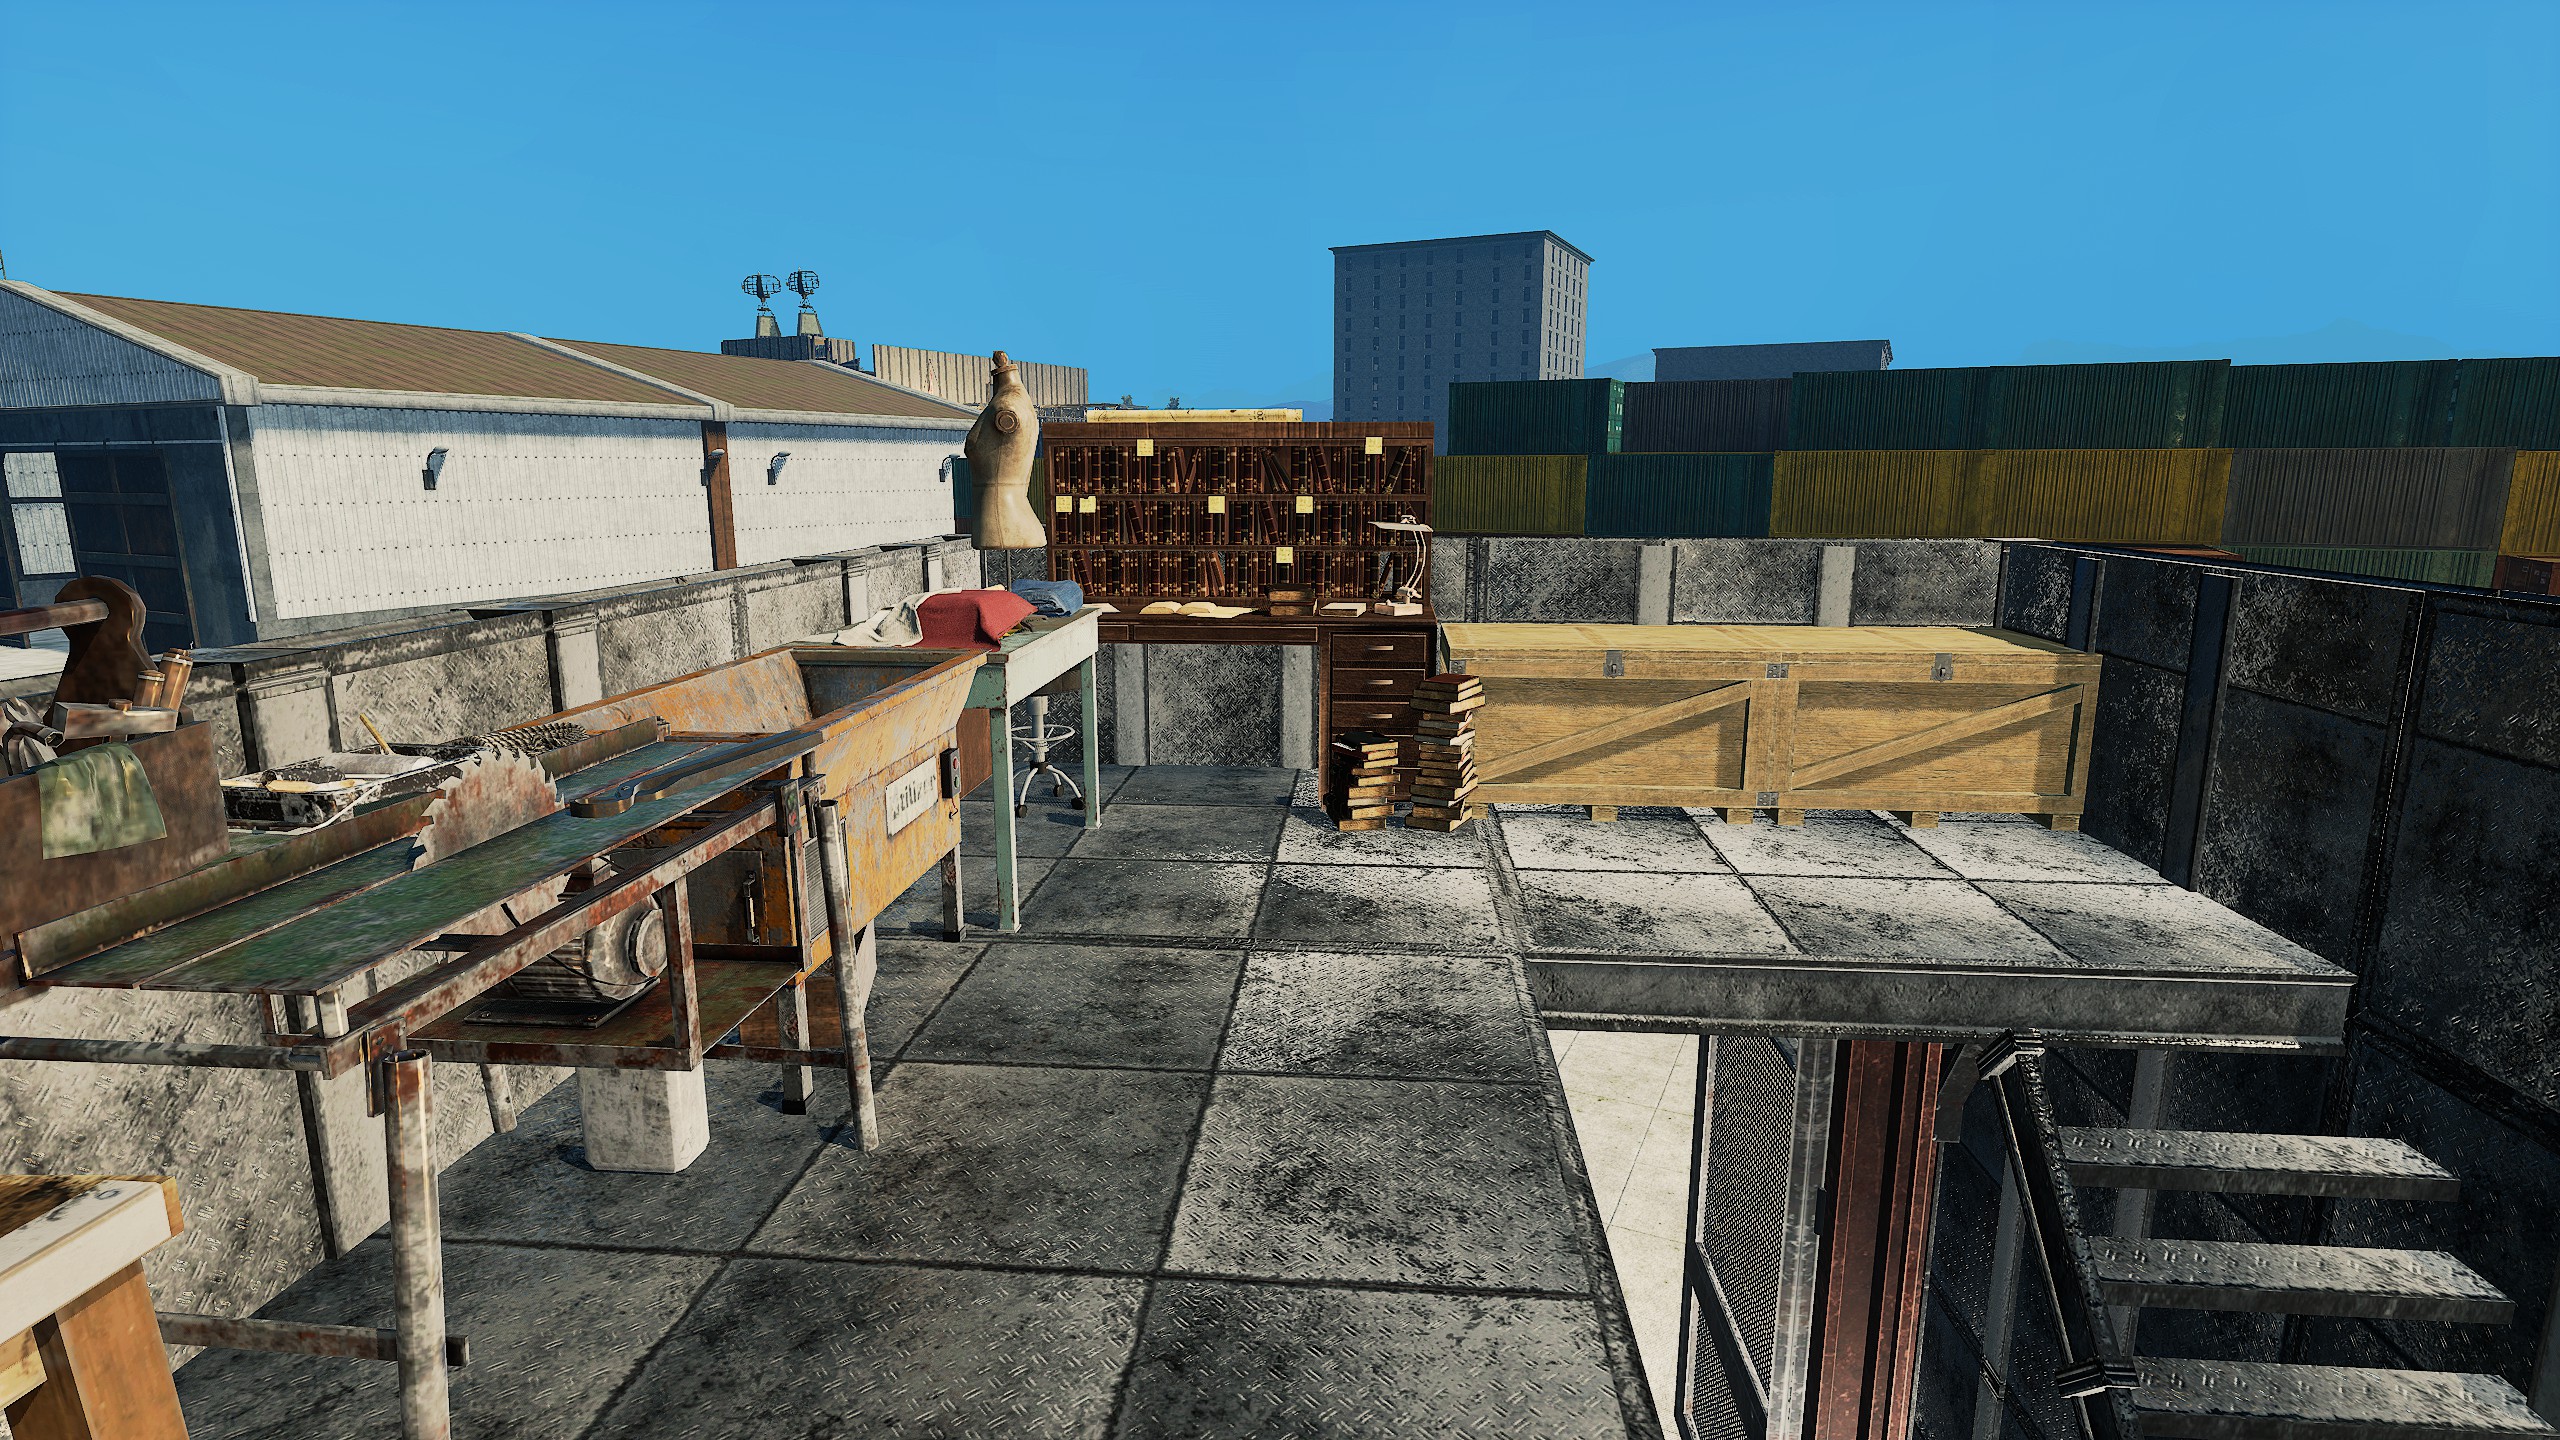
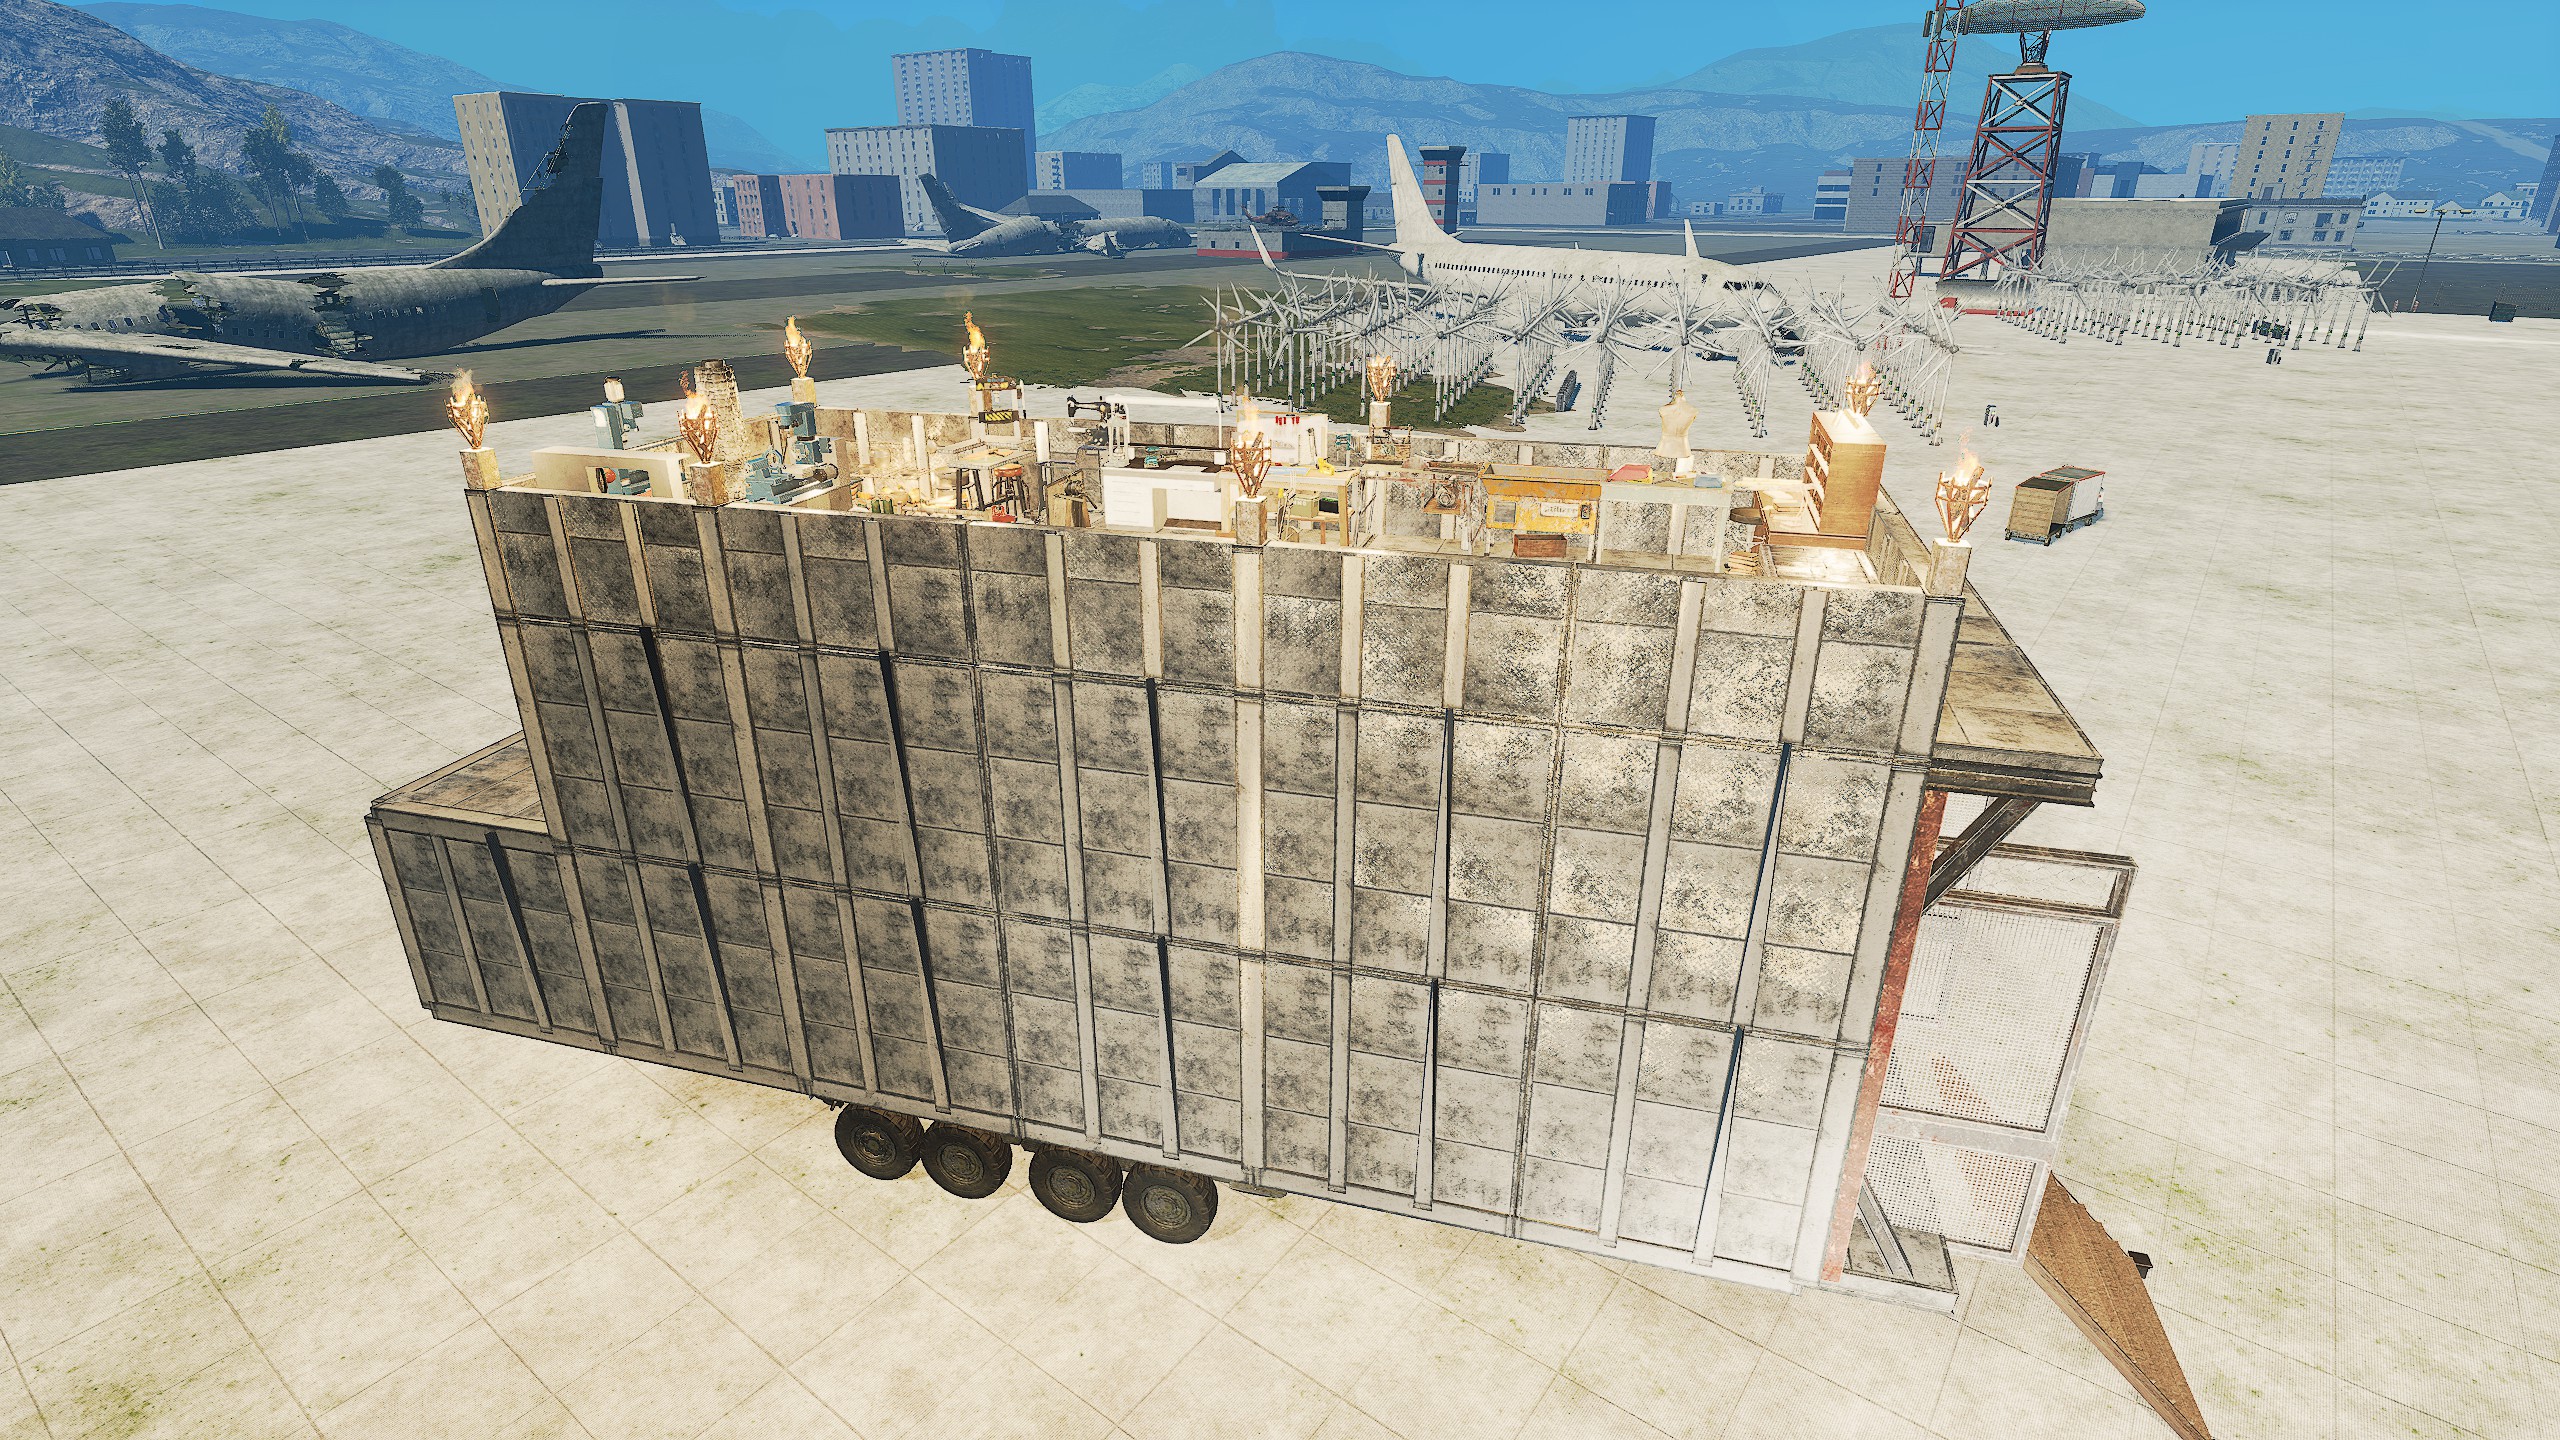
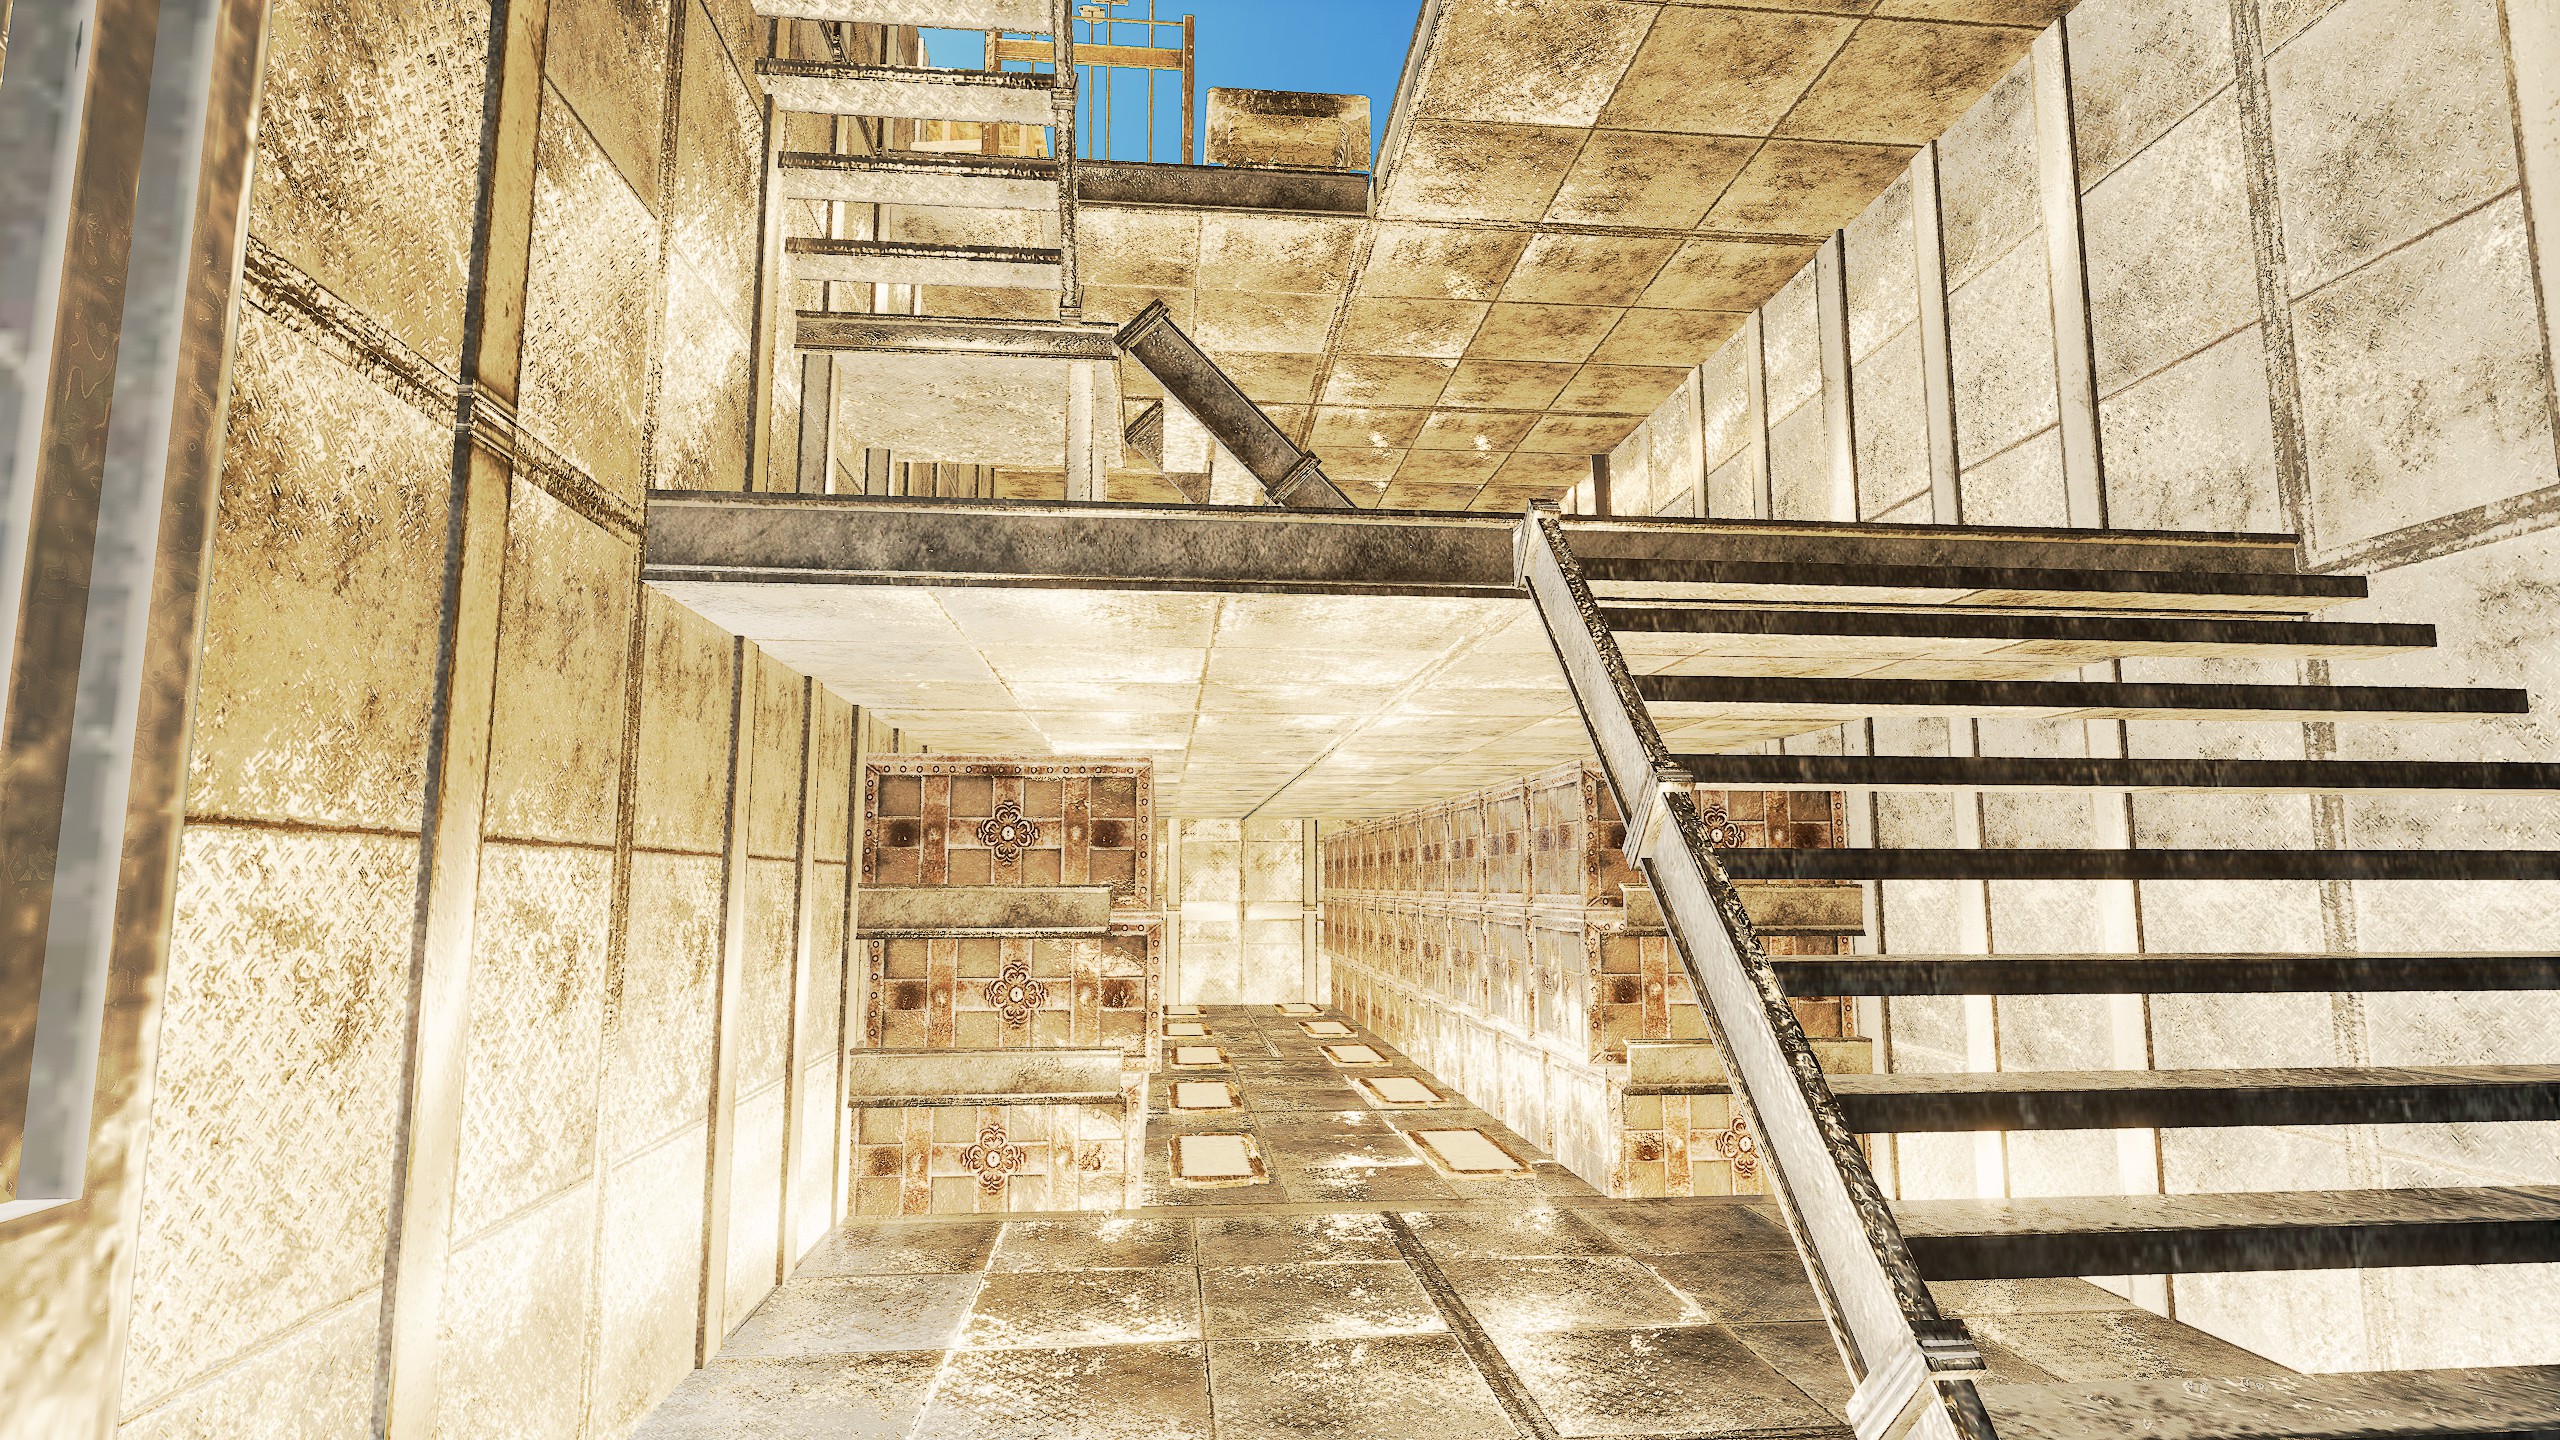
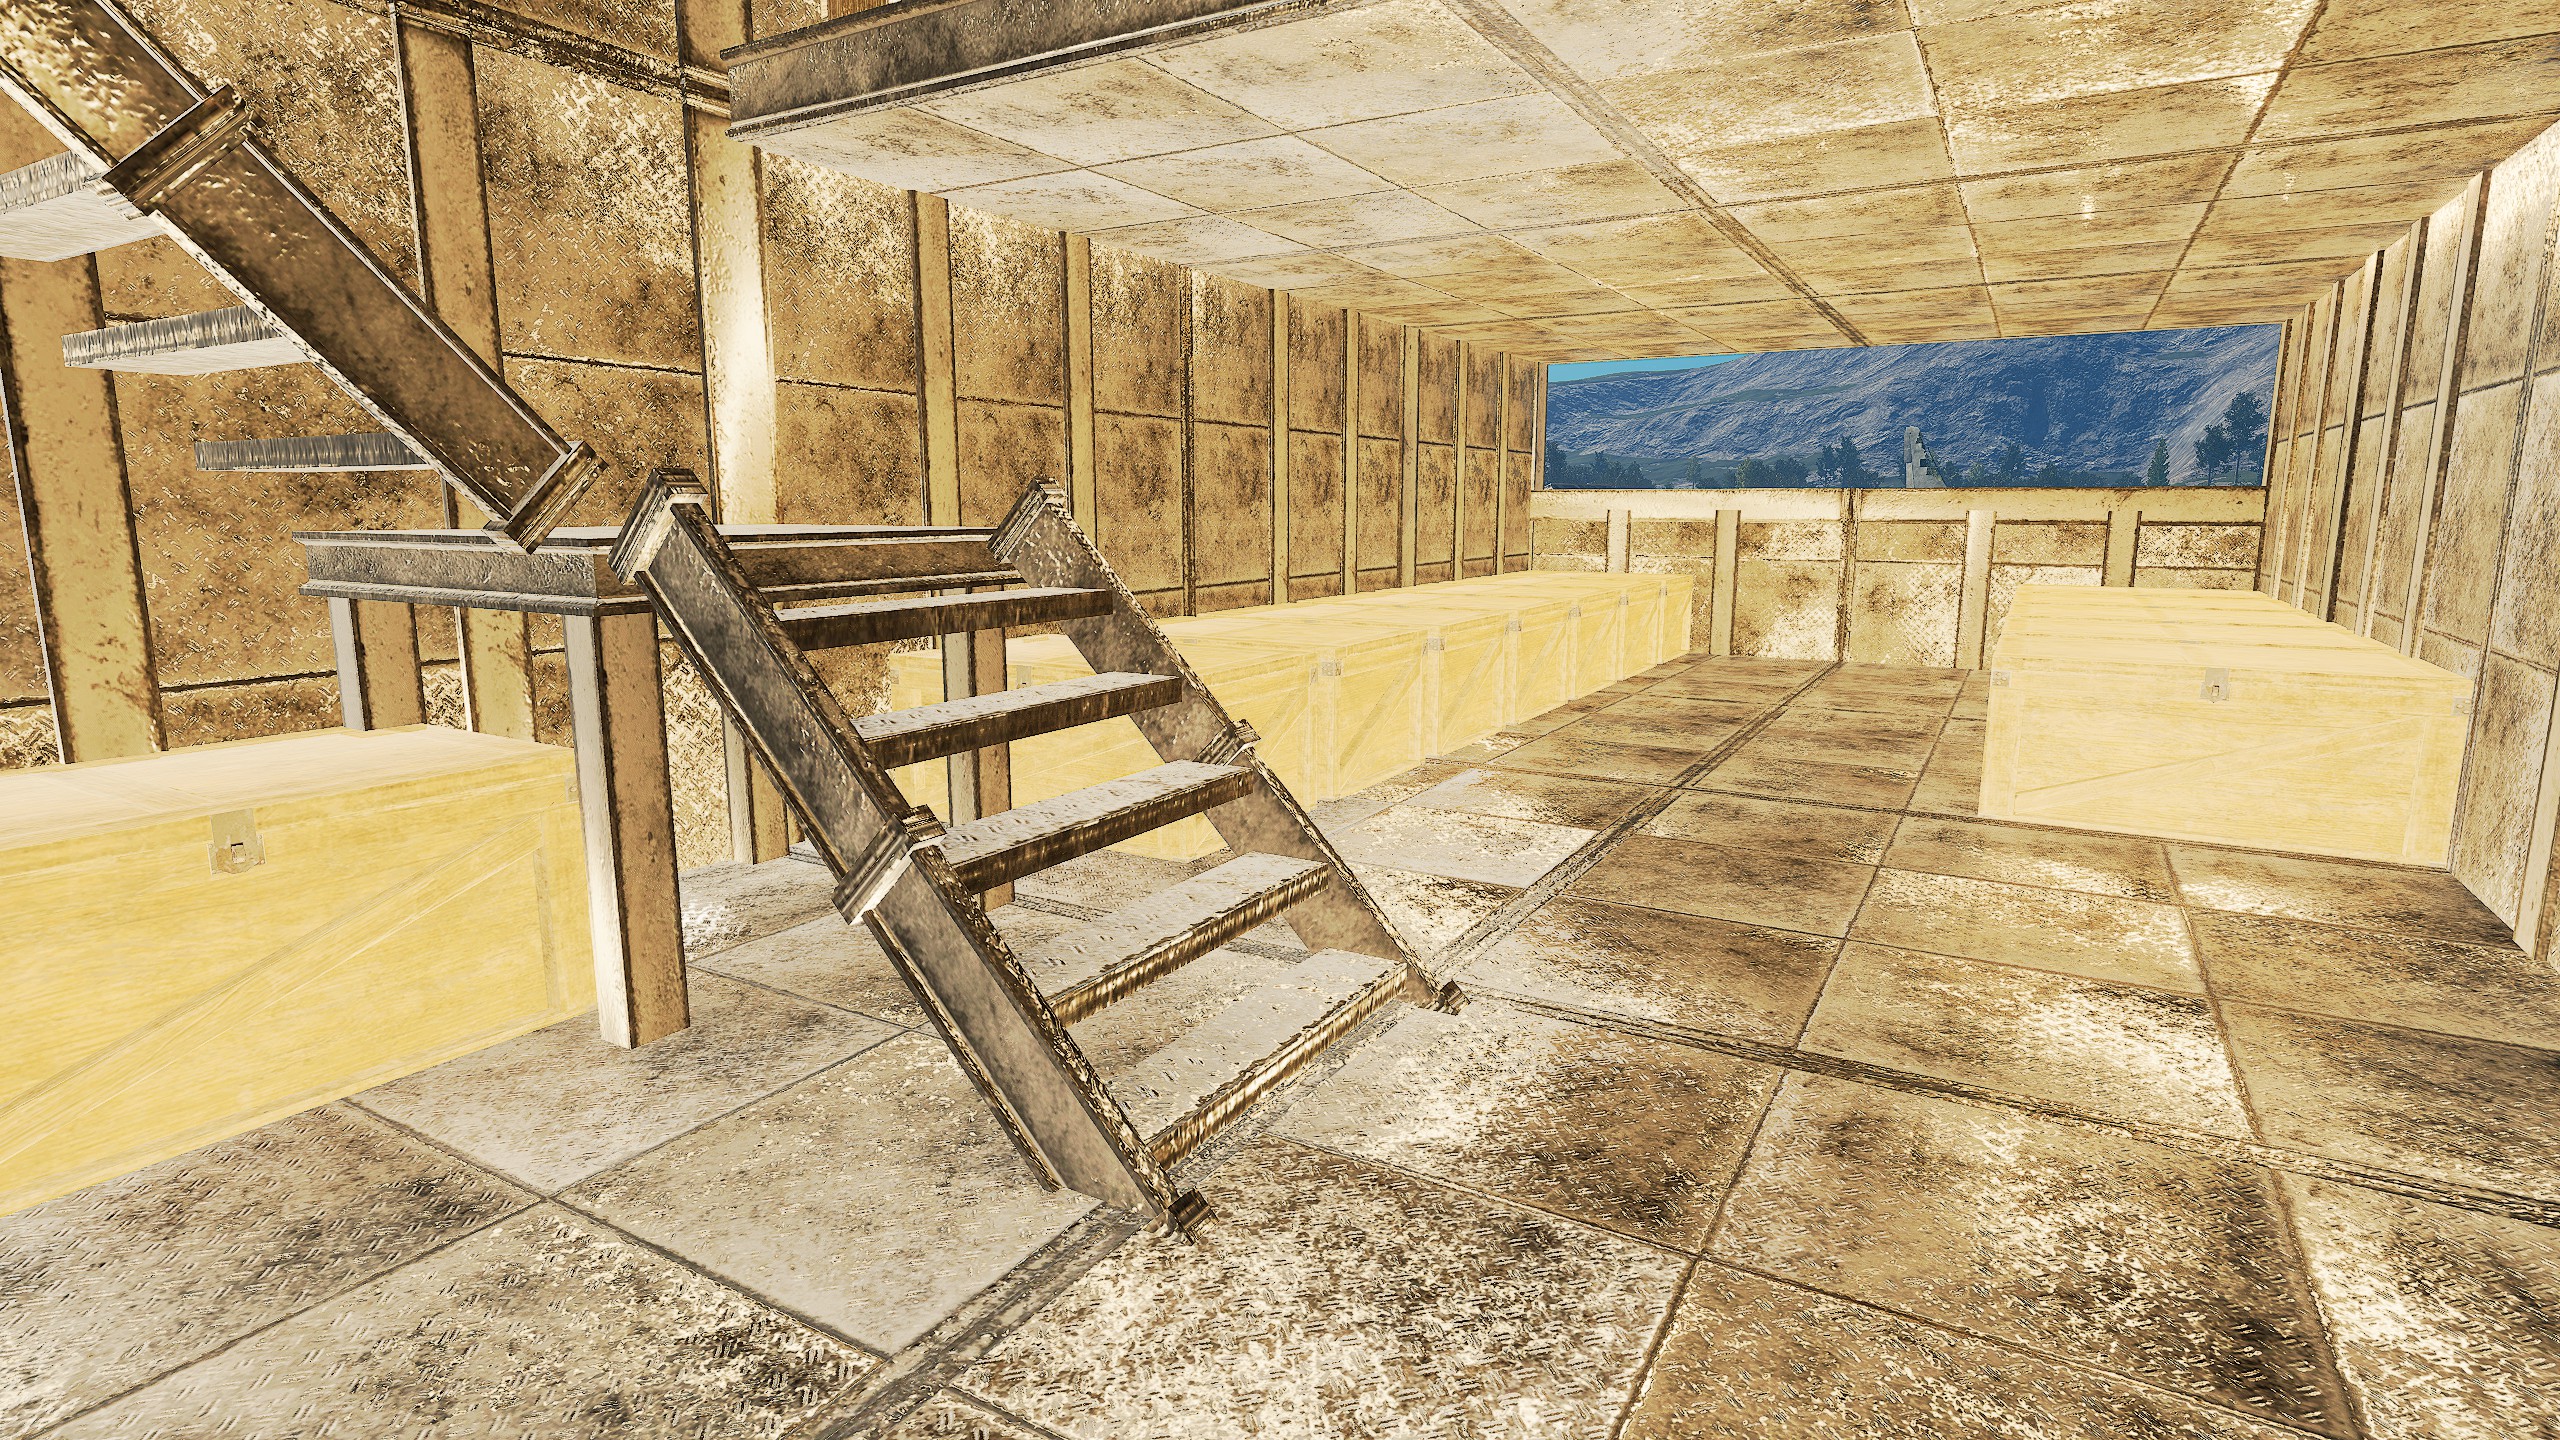
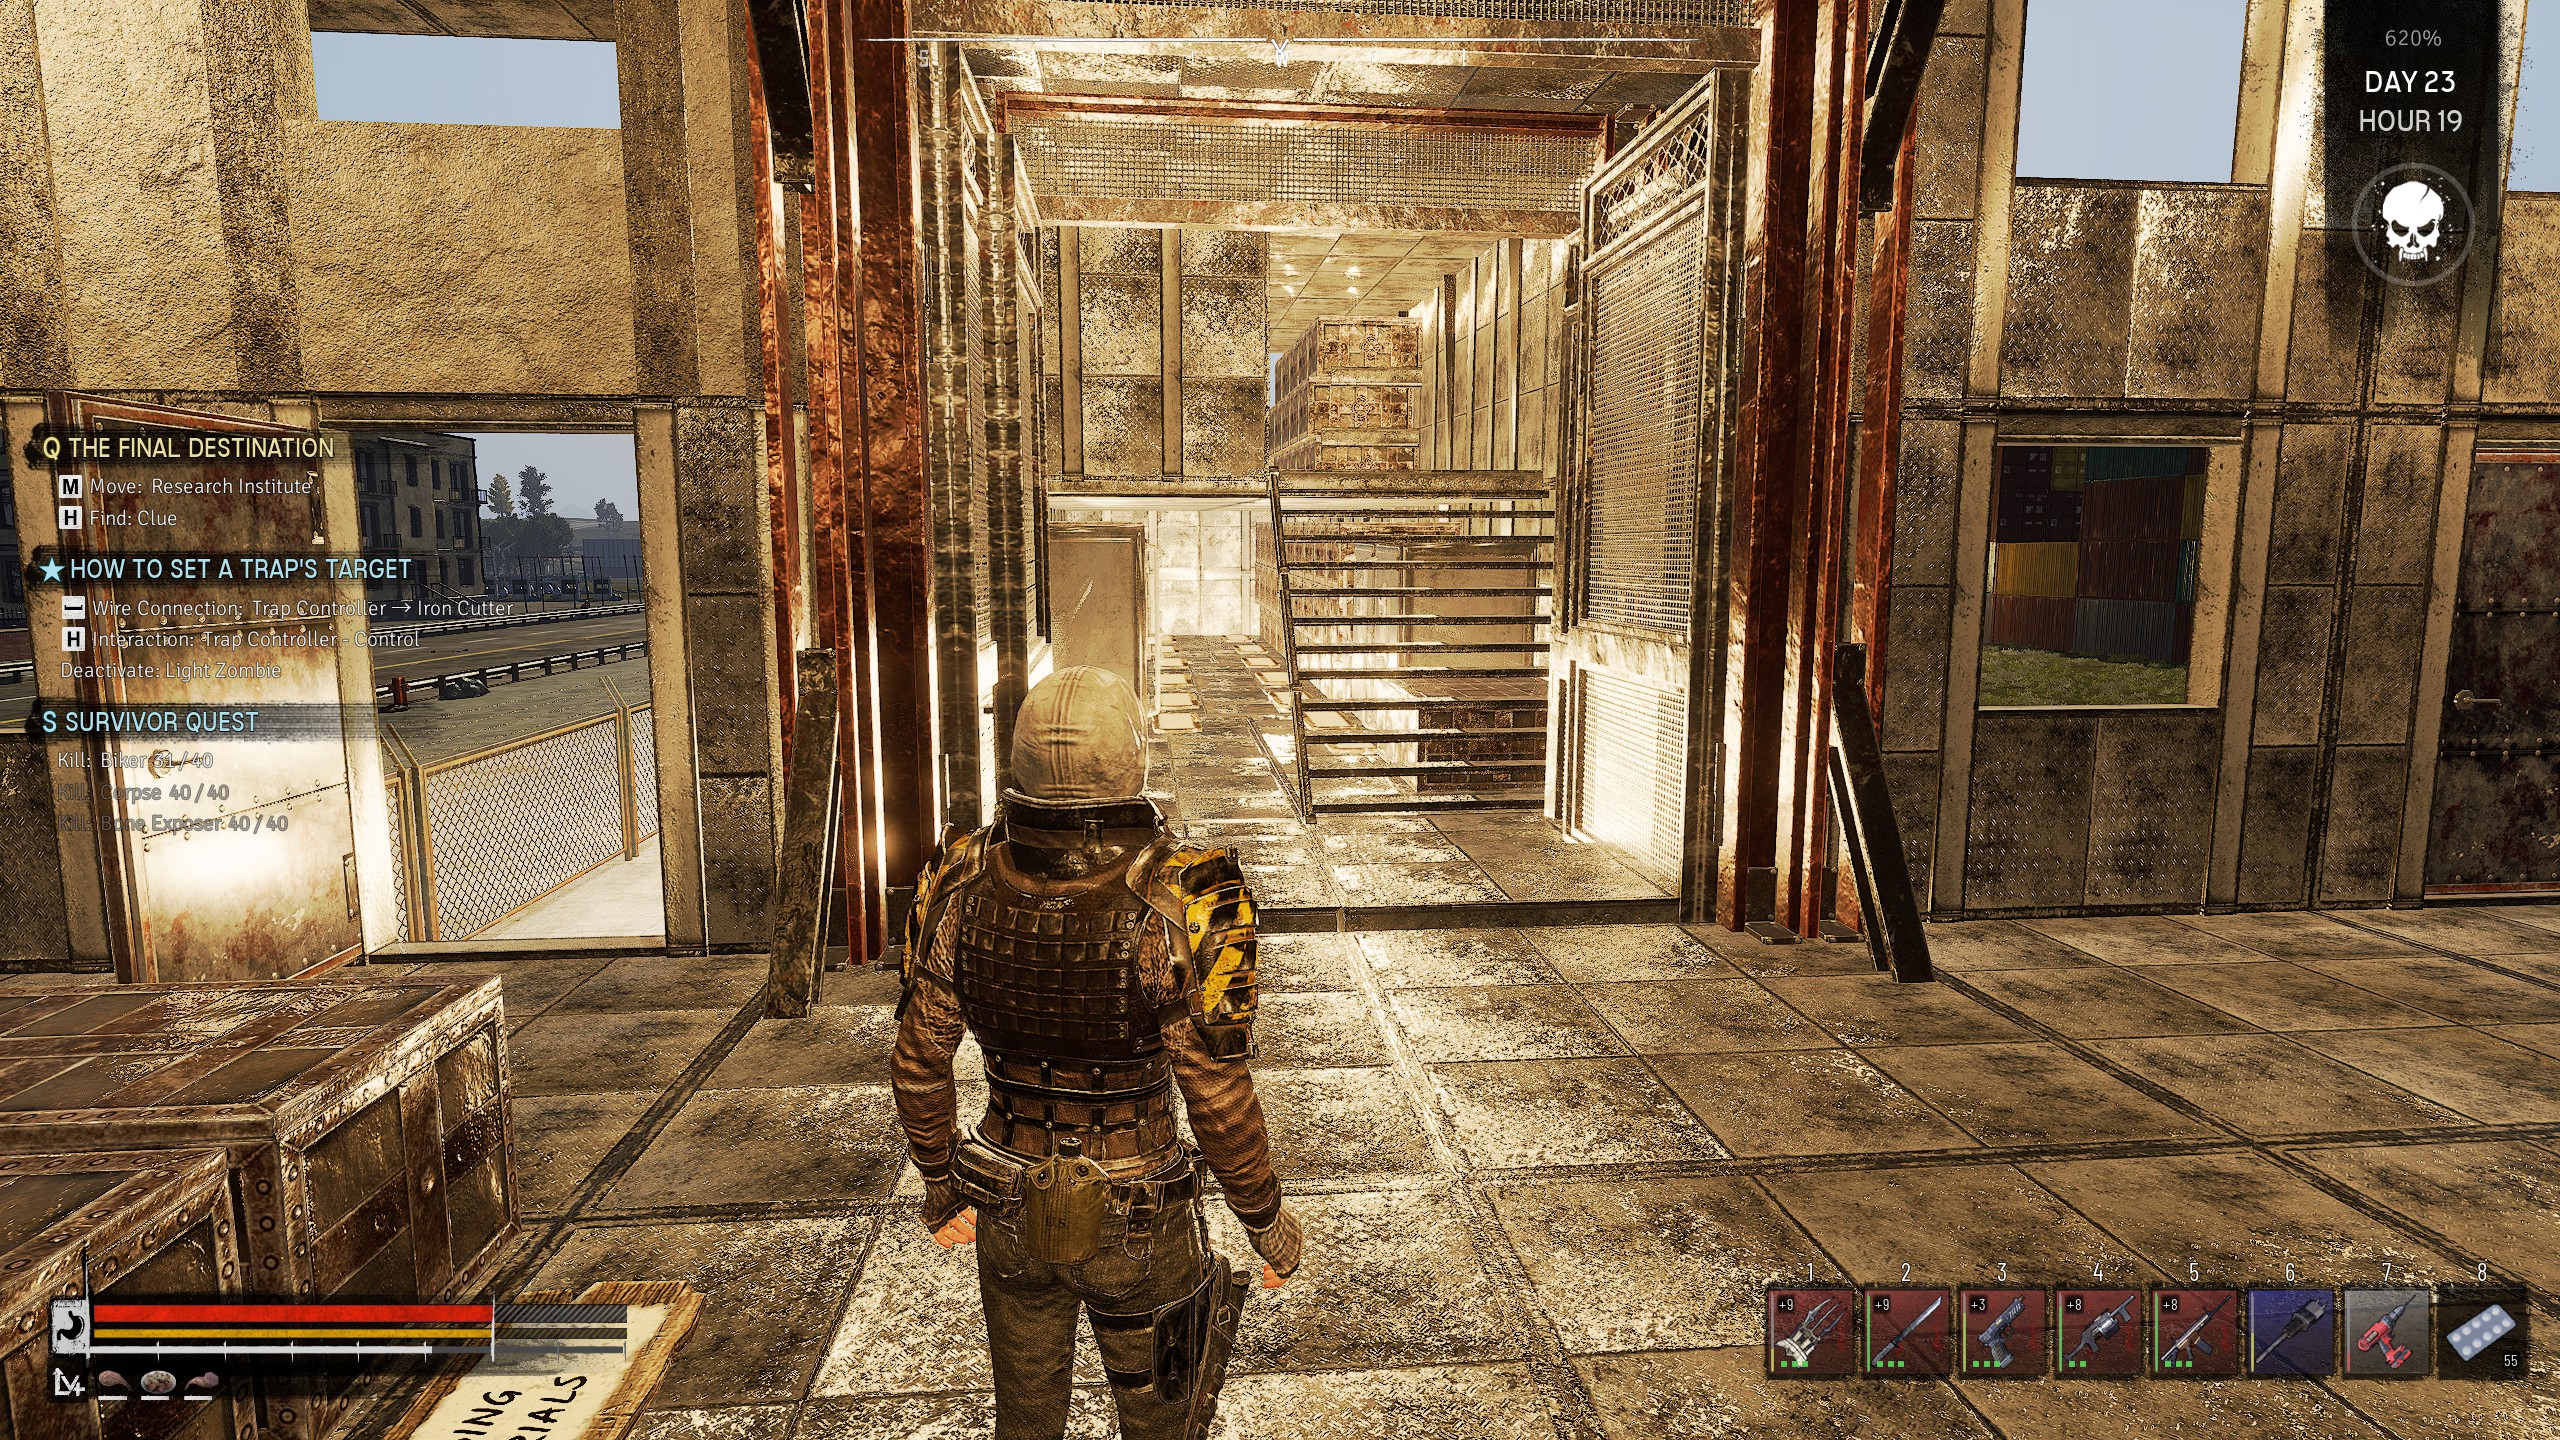
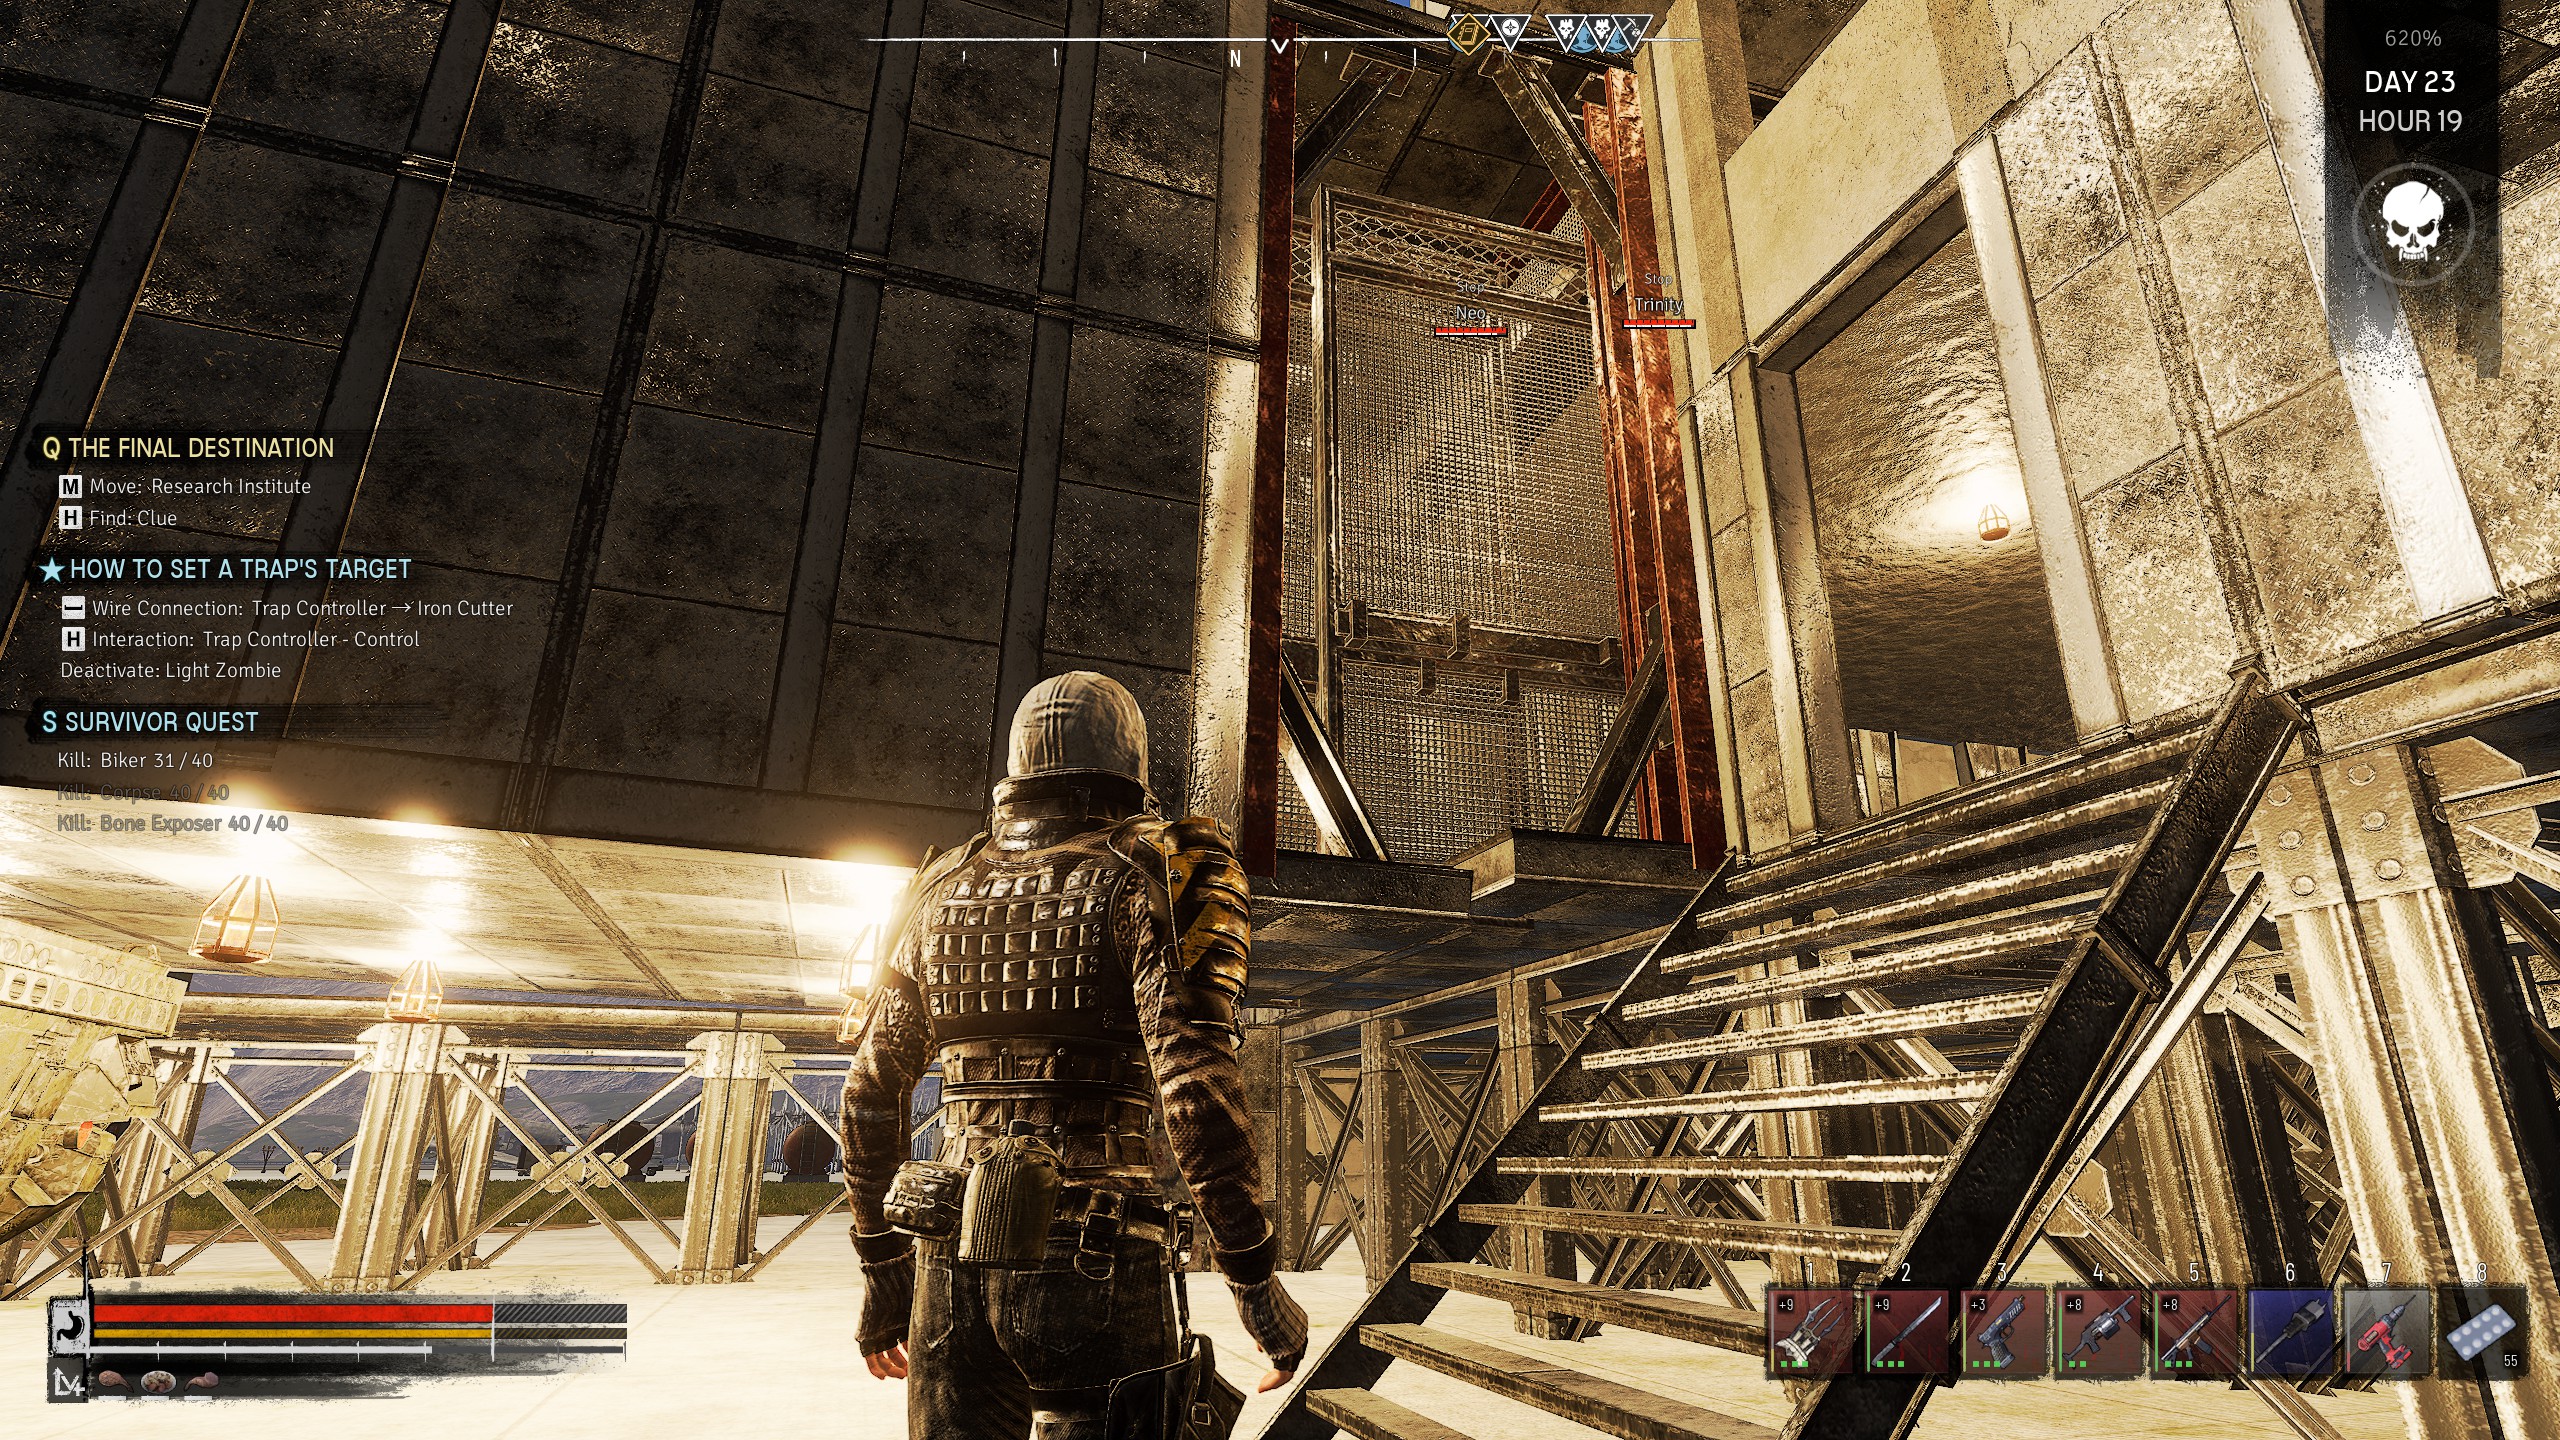
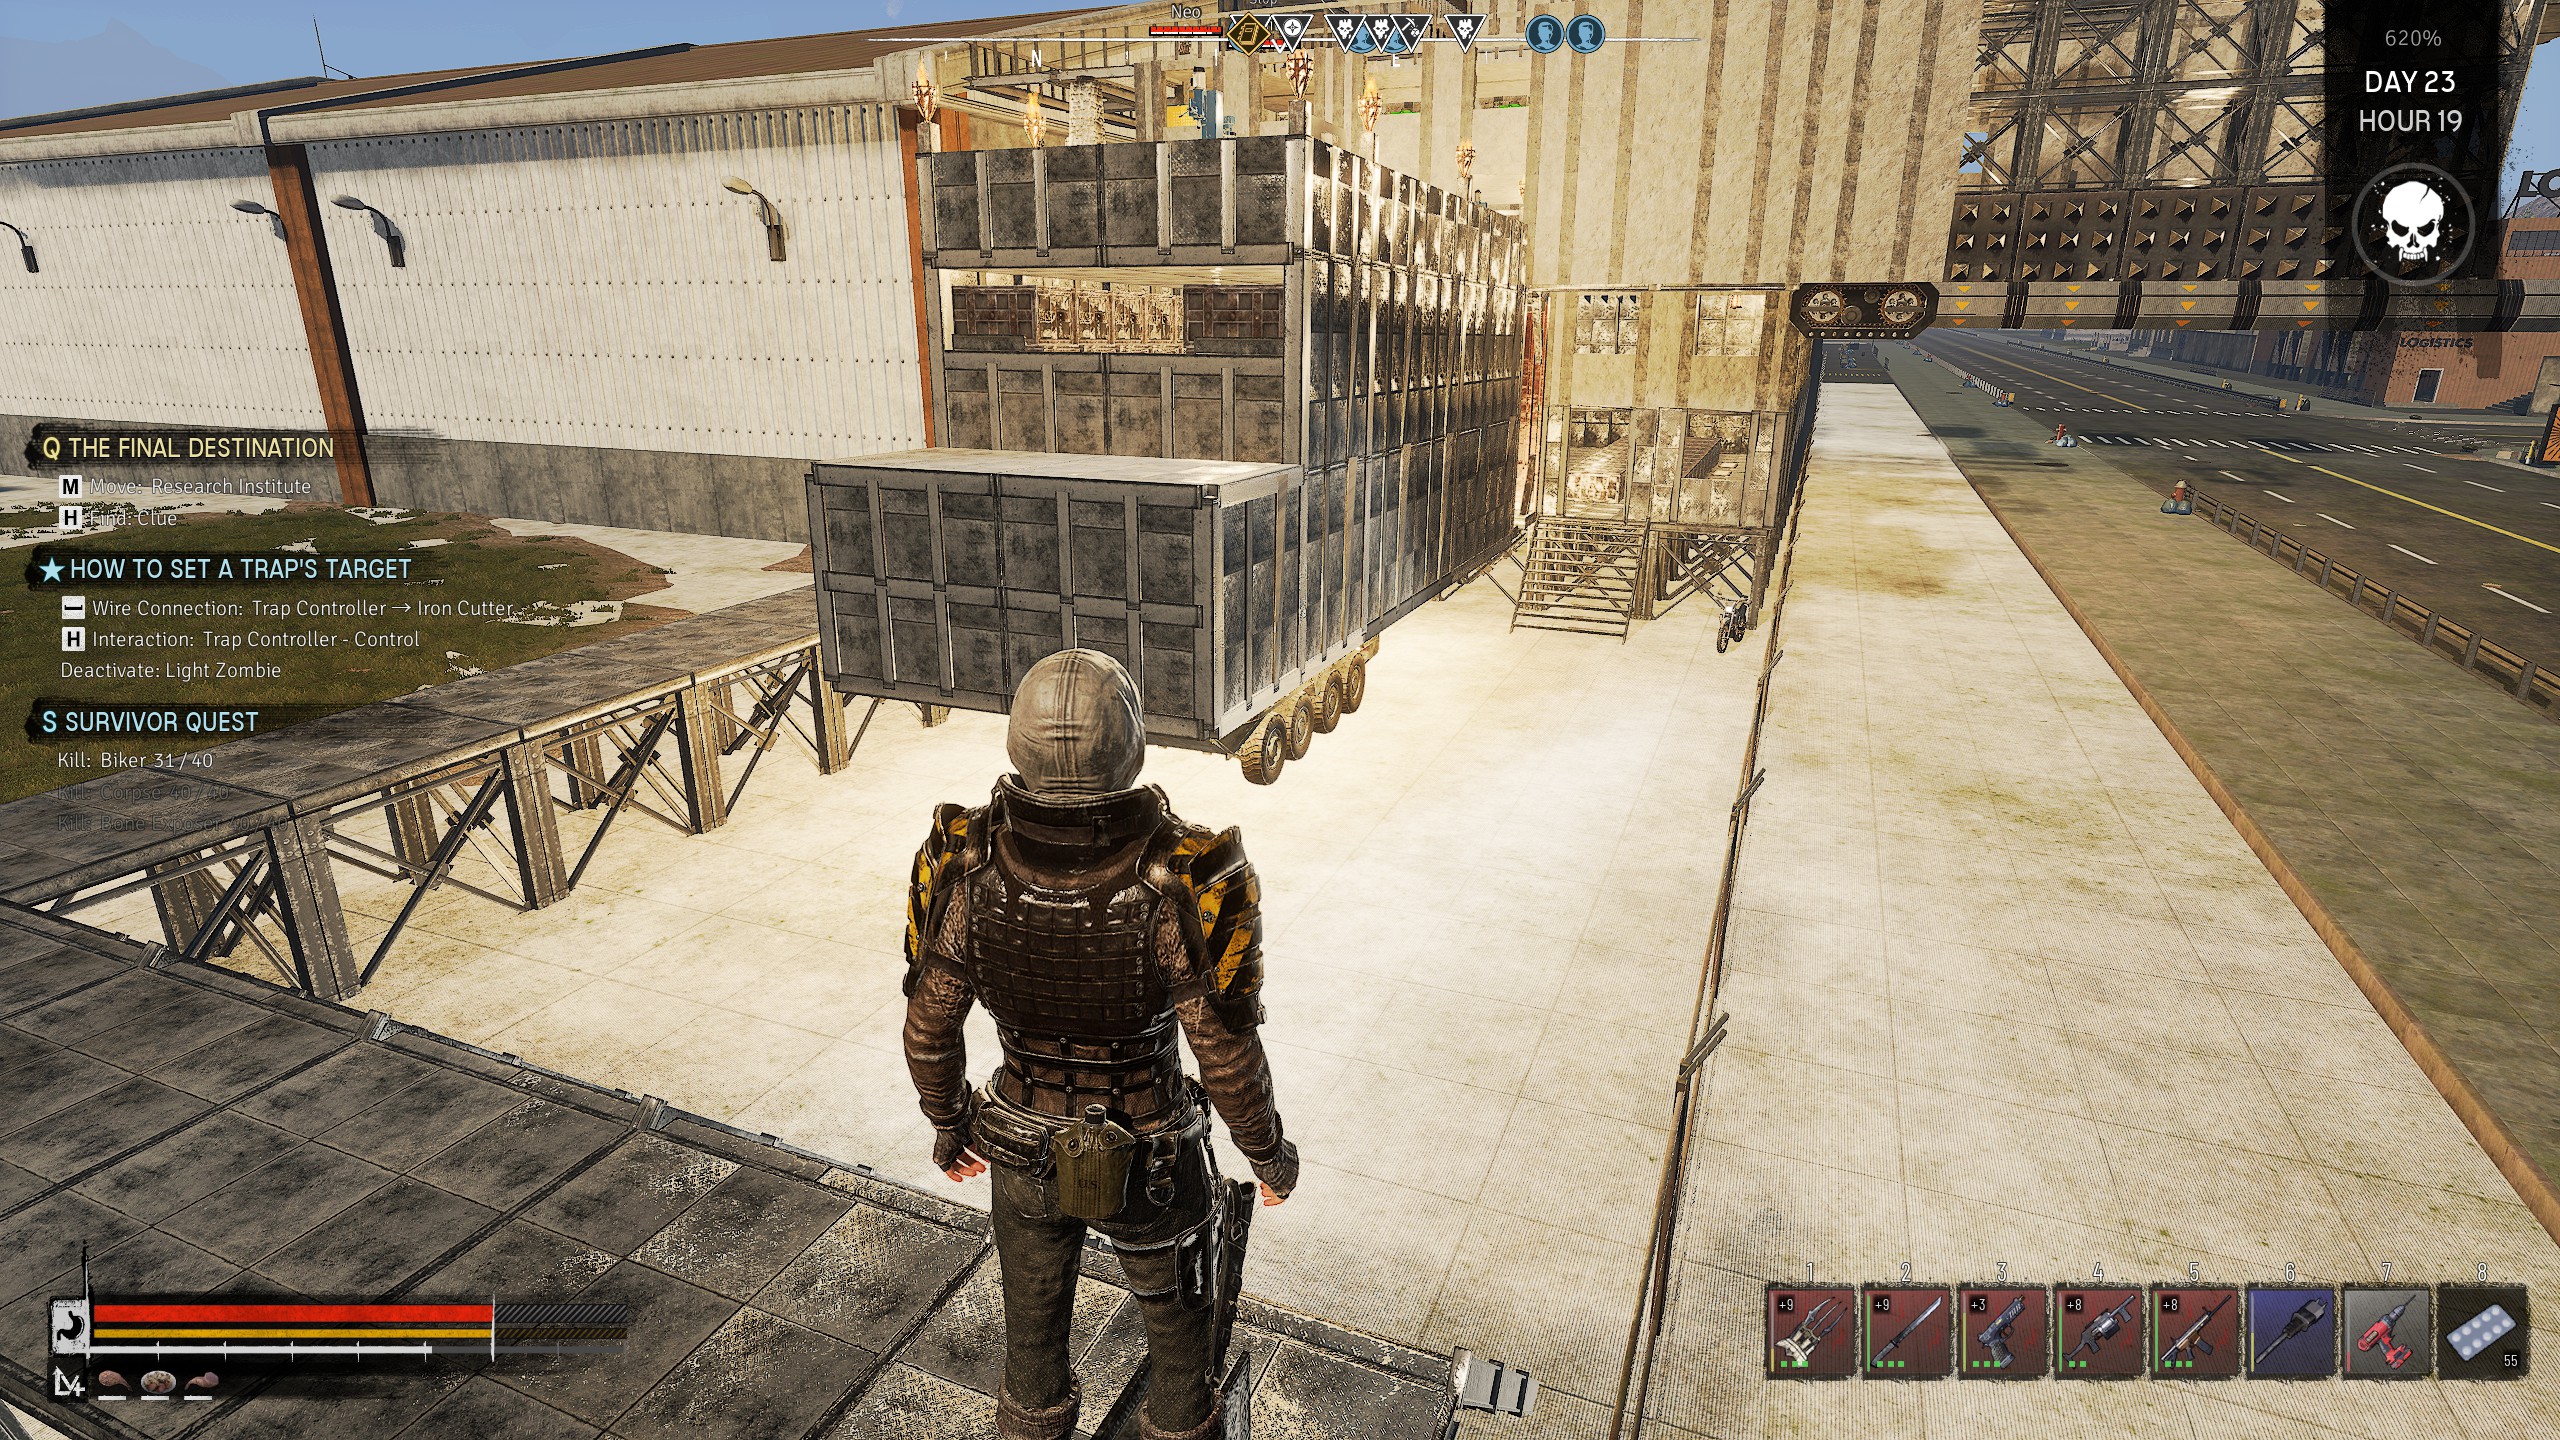
gear you can't change in the difficulty settings but buildings you can. read the difficulty sections to see what setting you want to use to change it. you can make the structures almost invincible or flimsy as paper. i forget what the setting is called you'll have to read up on it.

yes your standard difficulty settings increase it as part of the difficulty. you set legend, you get flimsy buildings. you don't want flimsy buildings? then you select CUSTOM and go change that setting.
xxx78 8 เม.ย. @ 12: 12pm 
Hi again, I wonder about durability, I have increased difficulty of the game and suddenly everything is loosing durability much faster and need repair more often. I can't find a setting for this, do you know if it is linked to a specific setting or just when overall difficulty is increased?