

Install Steam
login
|
language
简体中文 (Simplified Chinese)
繁體中文 (Traditional Chinese)
日本語 (Japanese)
한국어 (Korean)
ไทย (Thai)
Български (Bulgarian)
Čeština (Czech)
Dansk (Danish)
Deutsch (German)
Español - España (Spanish - Spain)
Español - Latinoamérica (Spanish - Latin America)
Ελληνικά (Greek)
Français (French)
Italiano (Italian)
Bahasa Indonesia (Indonesian)
Magyar (Hungarian)
Nederlands (Dutch)
Norsk (Norwegian)
Polski (Polish)
Português (Portuguese - Portugal)
Português - Brasil (Portuguese - Brazil)
Română (Romanian)
Русский (Russian)
Suomi (Finnish)
Svenska (Swedish)
Türkçe (Turkish)
Tiếng Việt (Vietnamese)
Українська (Ukrainian)
Report a translation problem


Also amazing job on this guide i cant imagine how long it took you, your work is very much appreciated
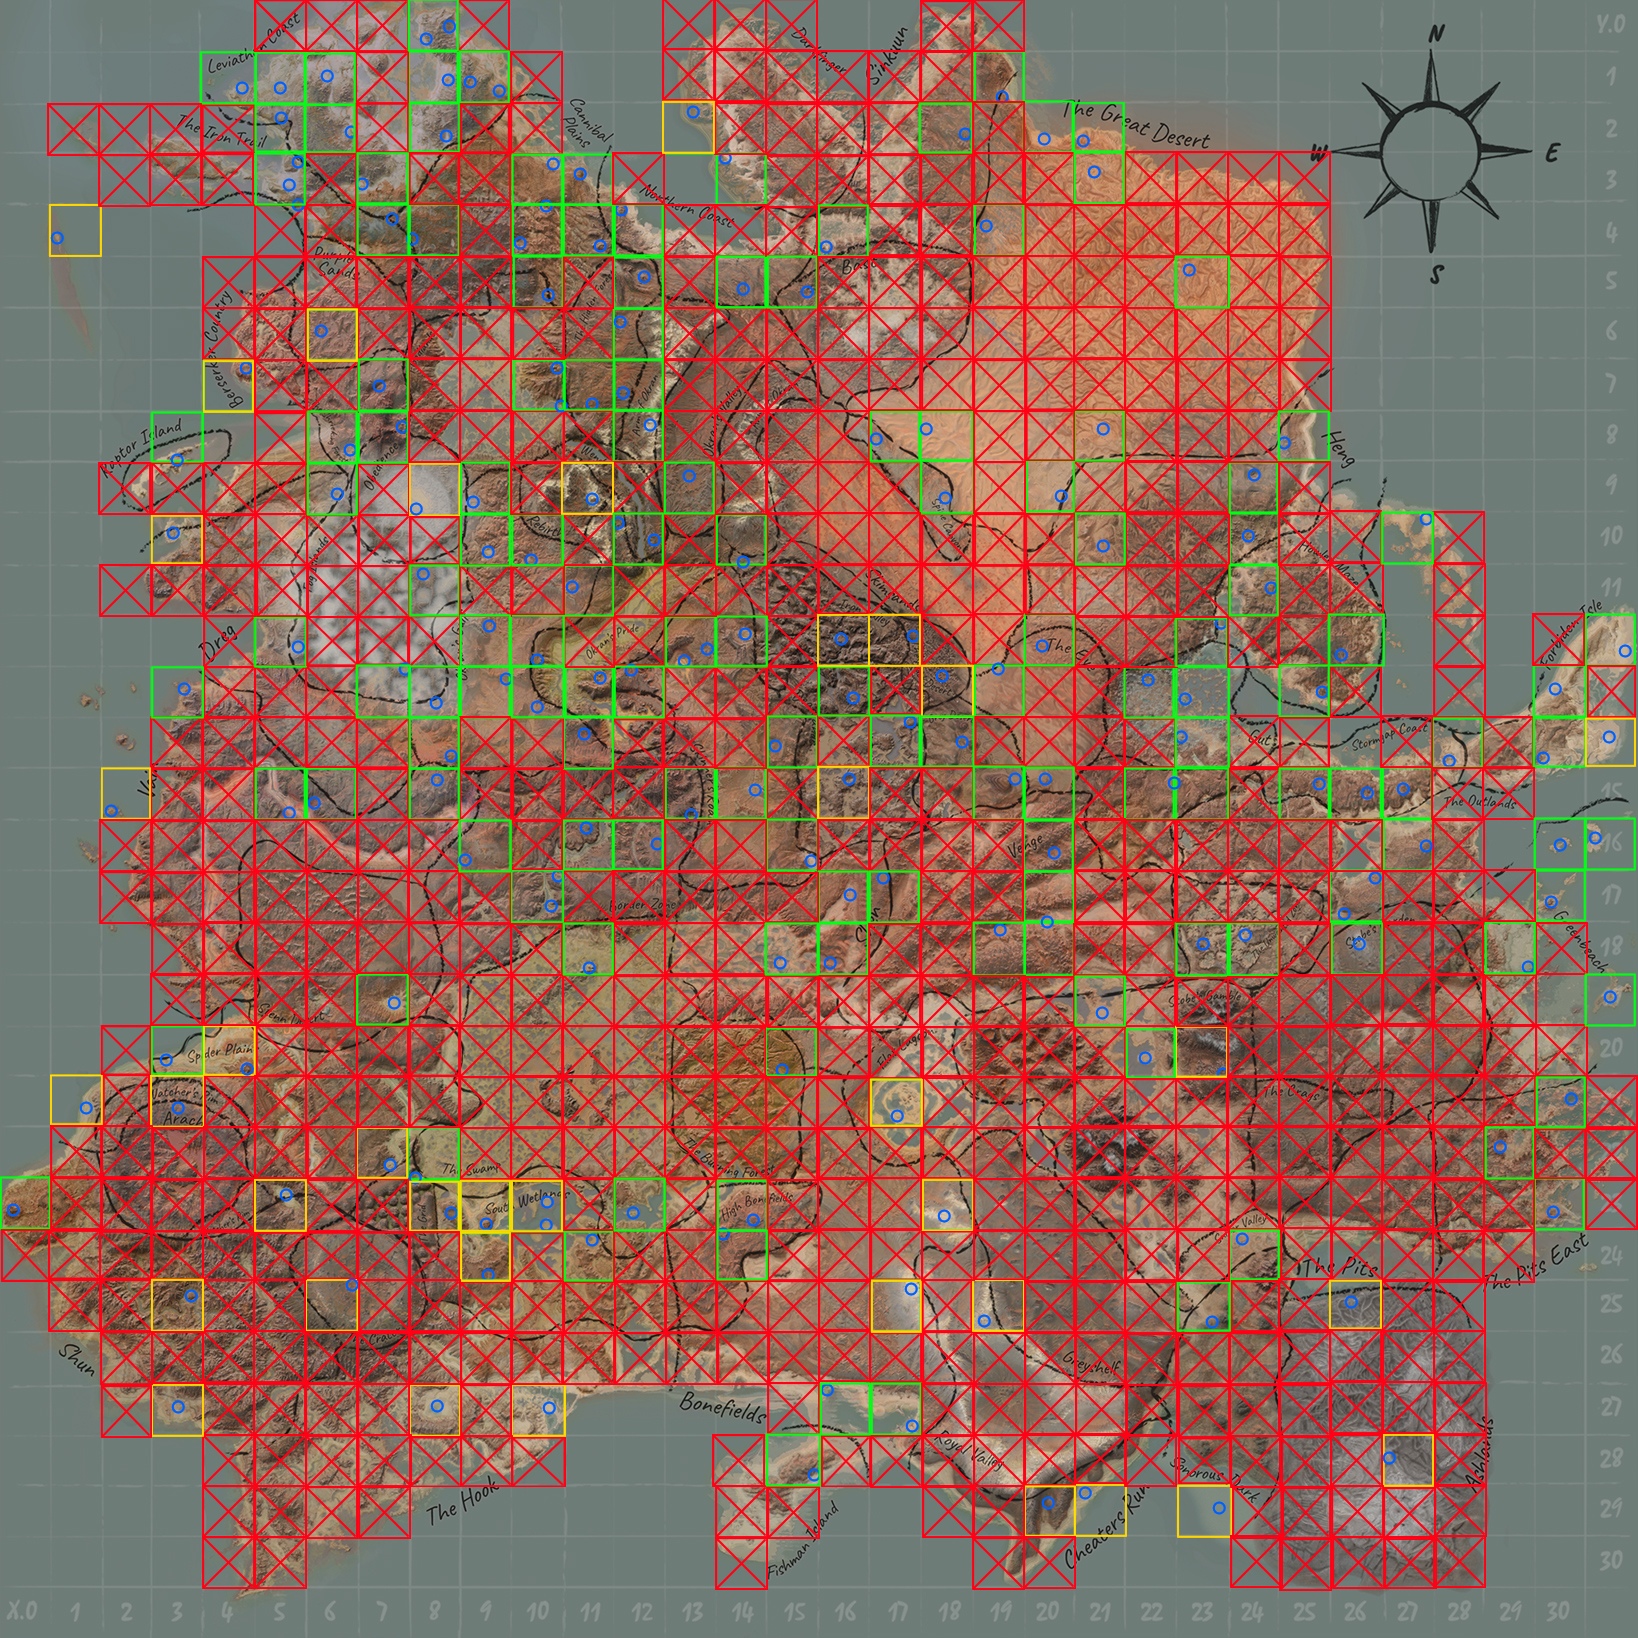
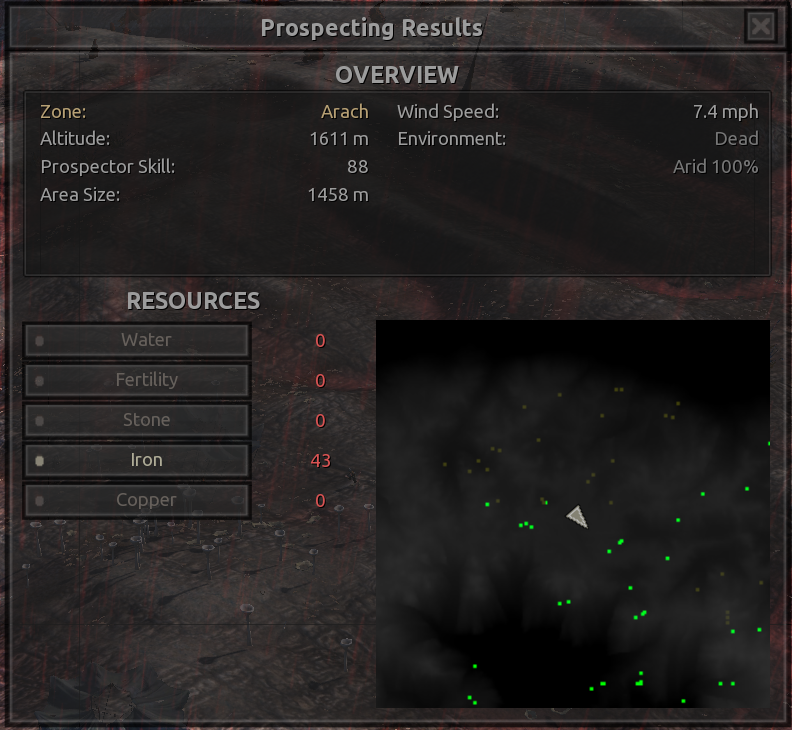
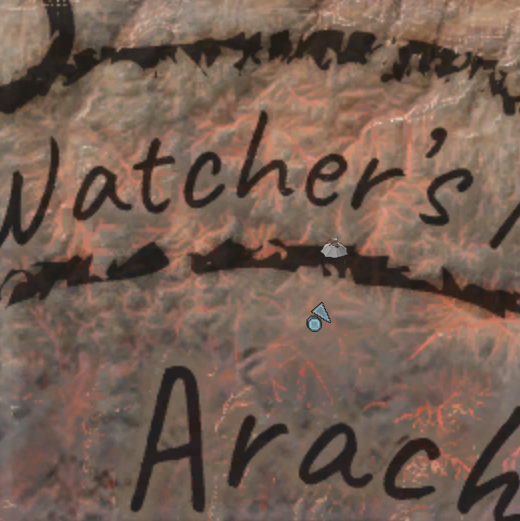
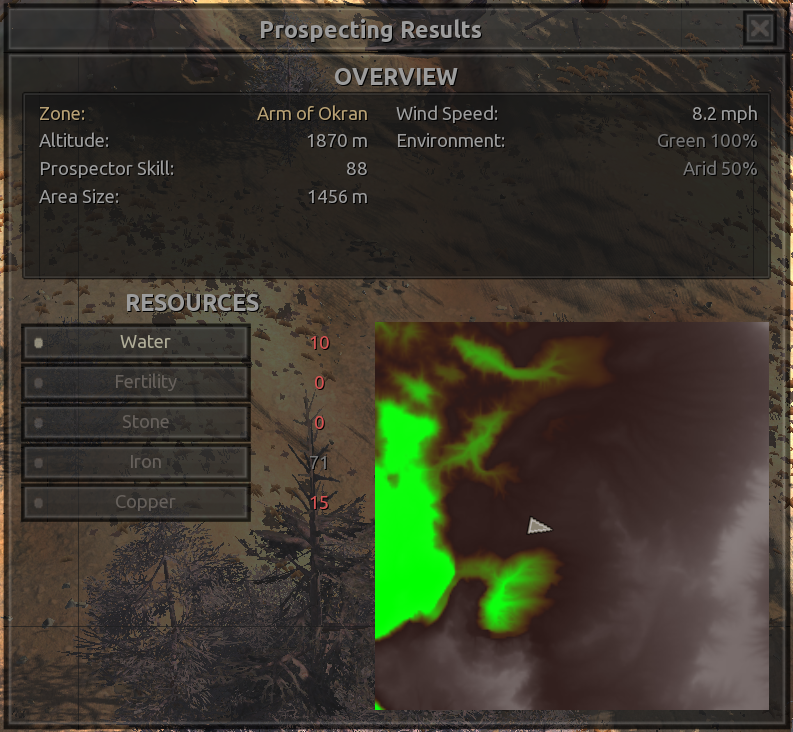
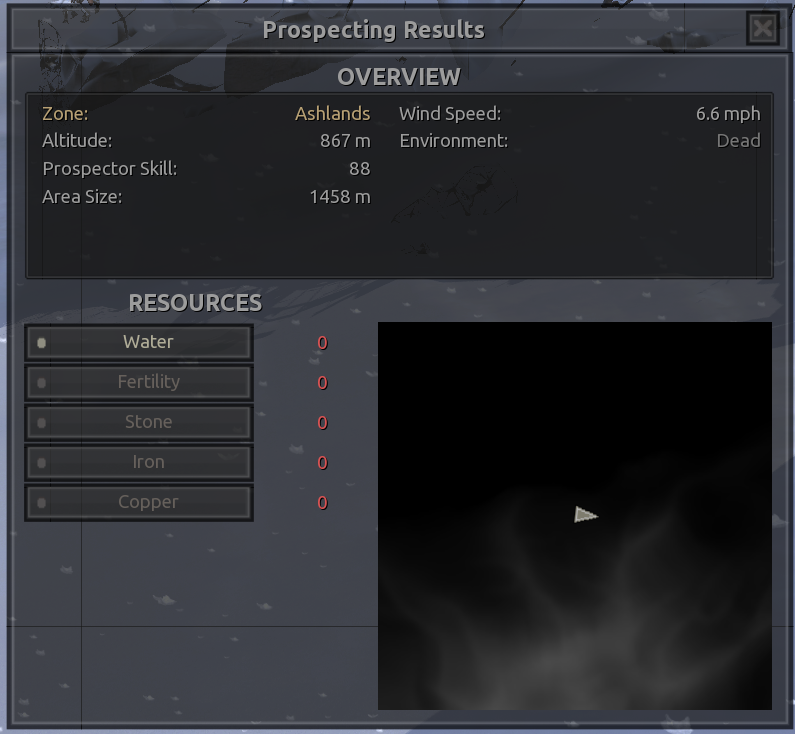
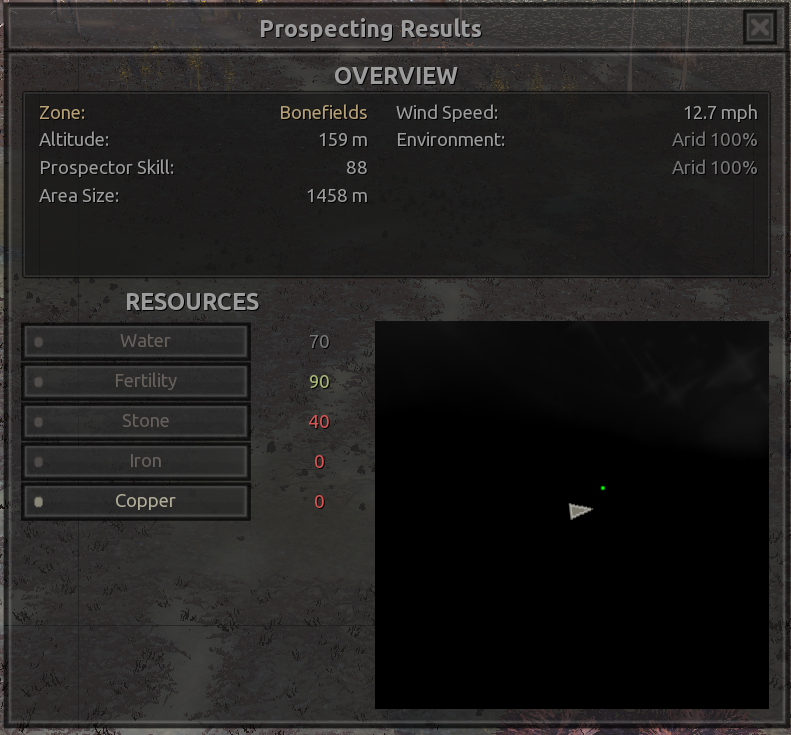
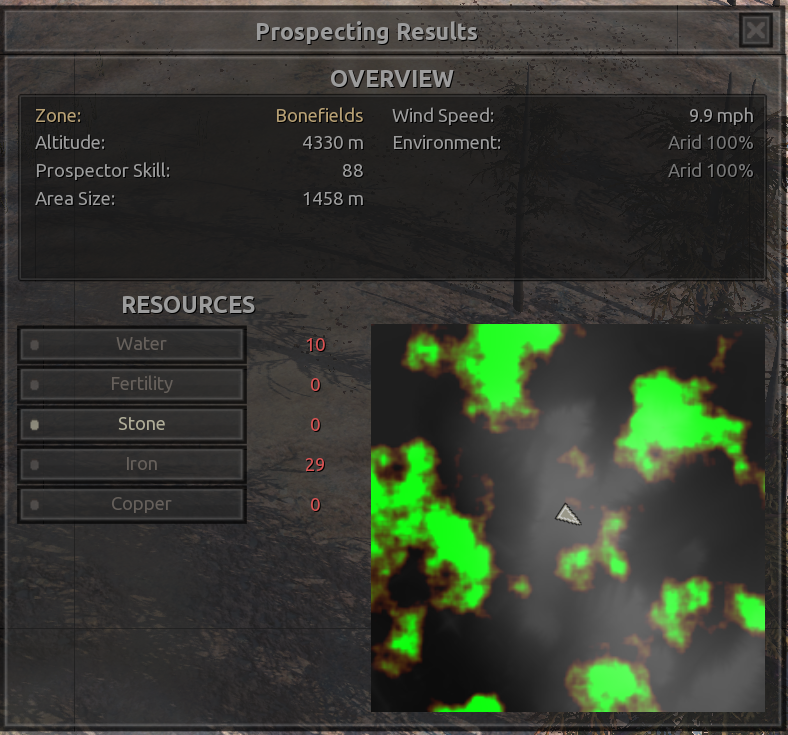
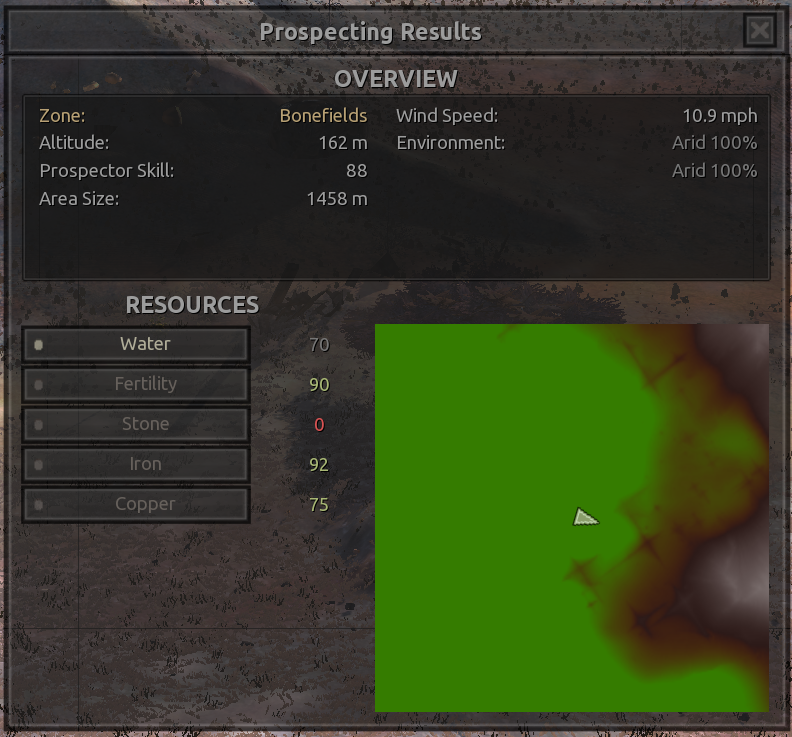
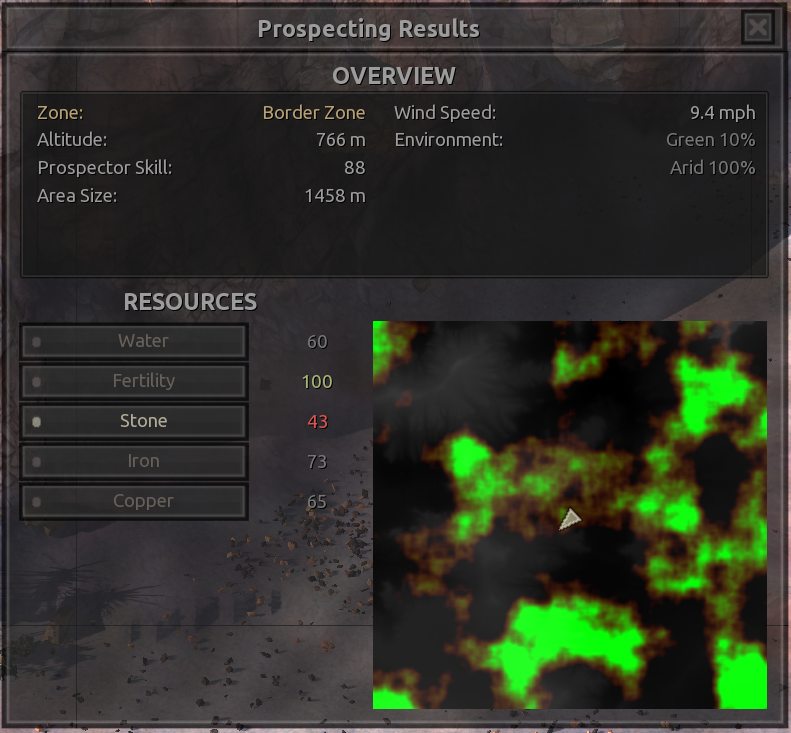
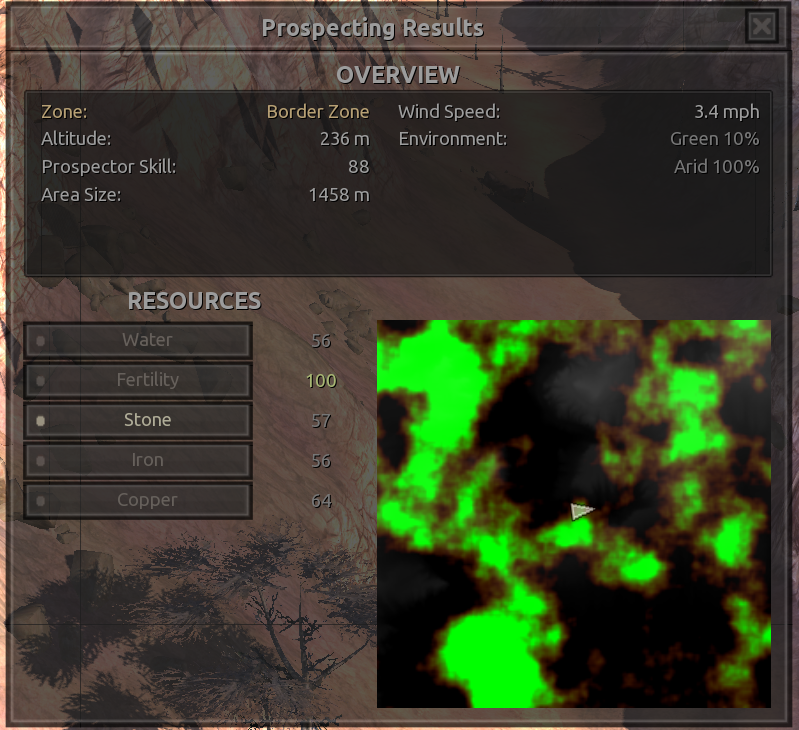
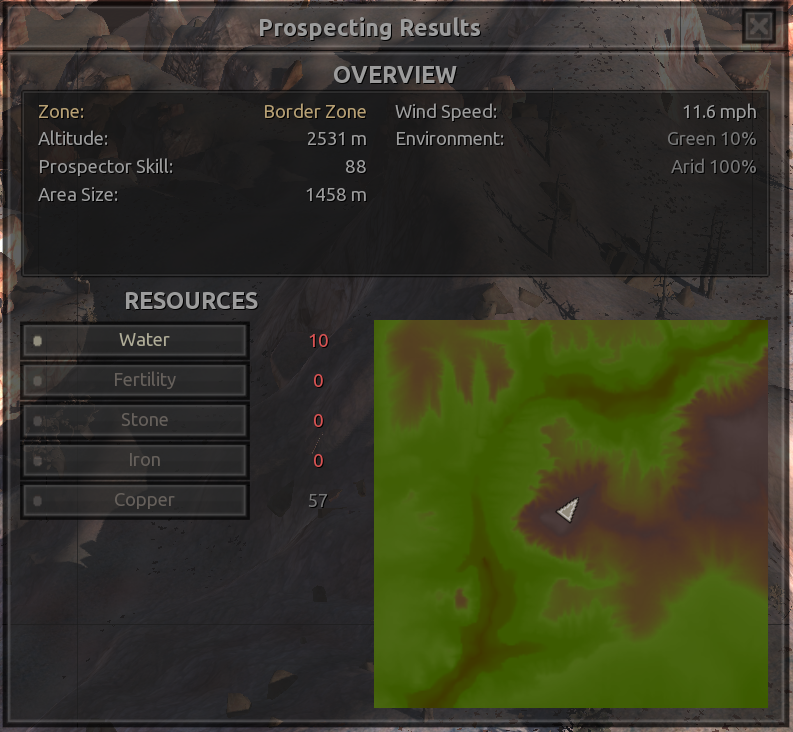
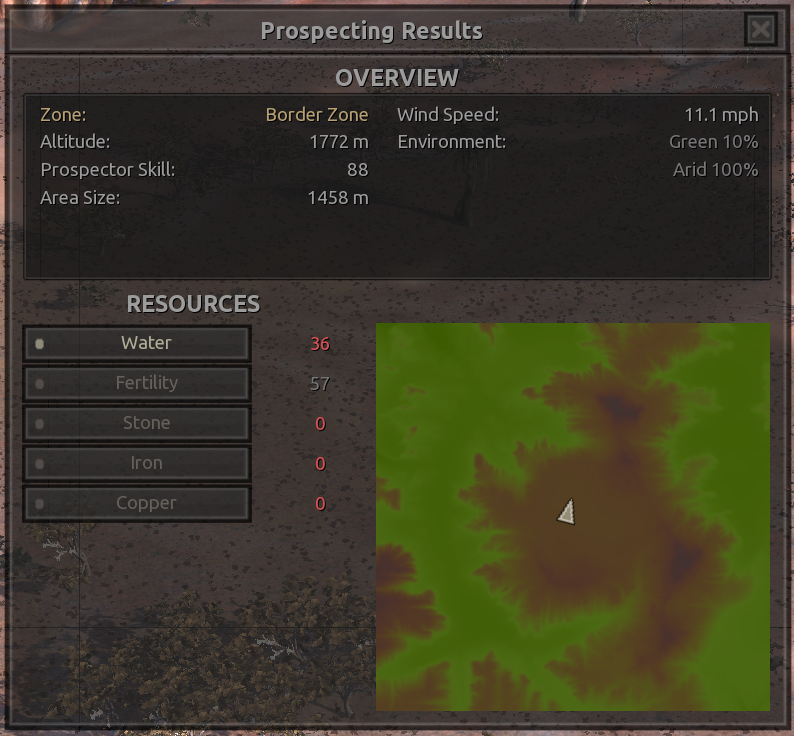
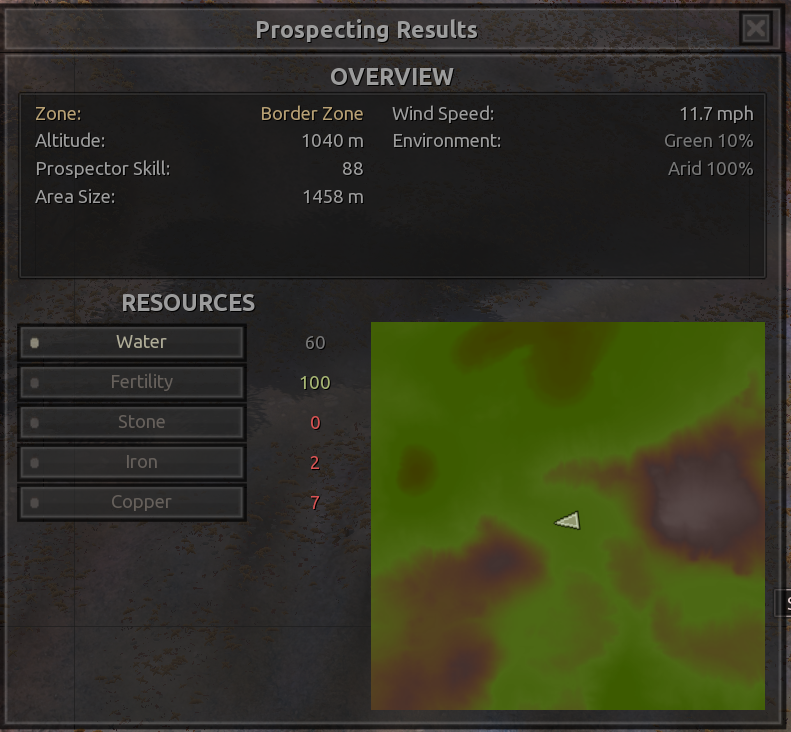
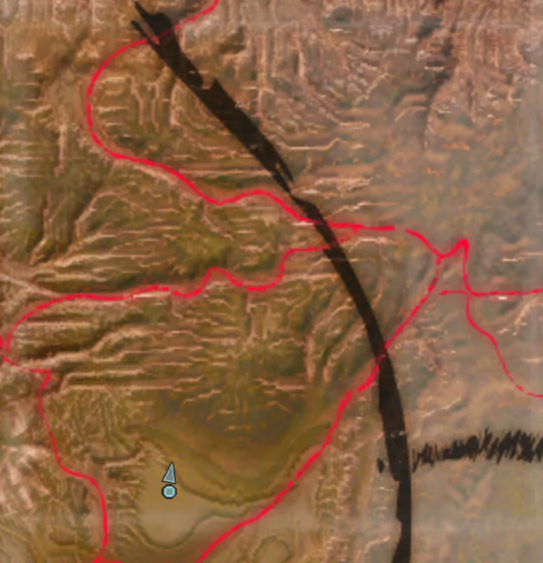
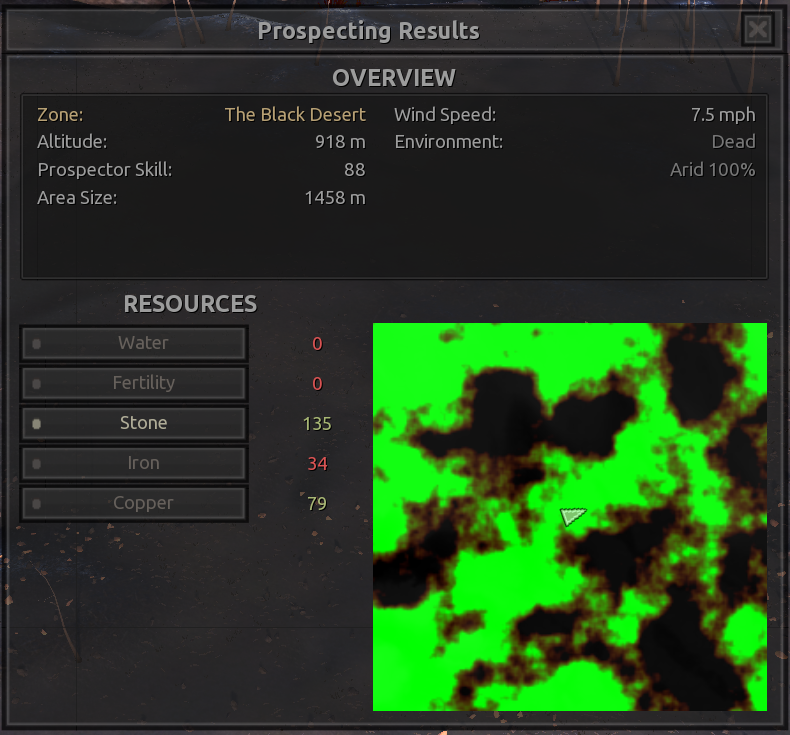
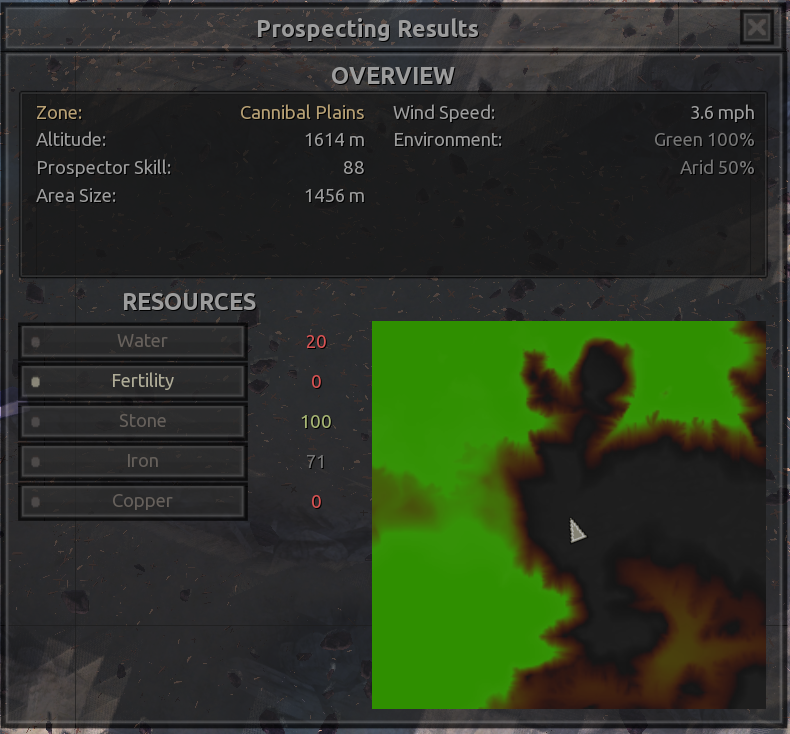
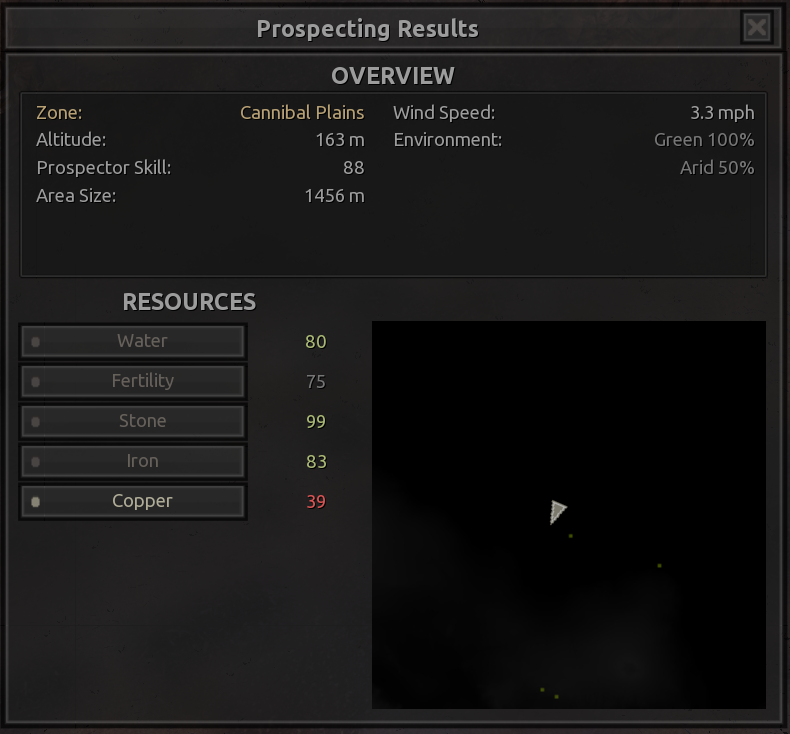
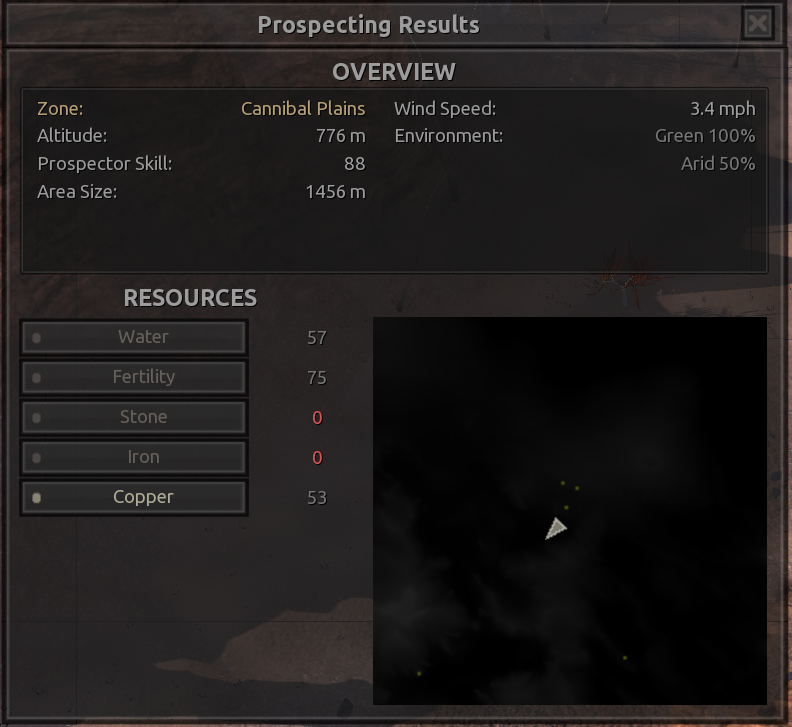
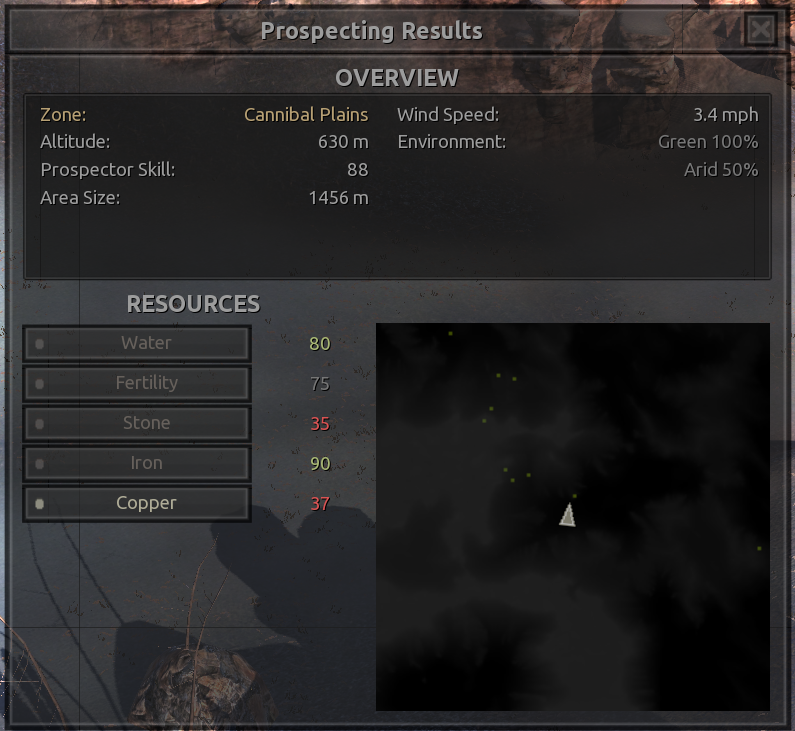
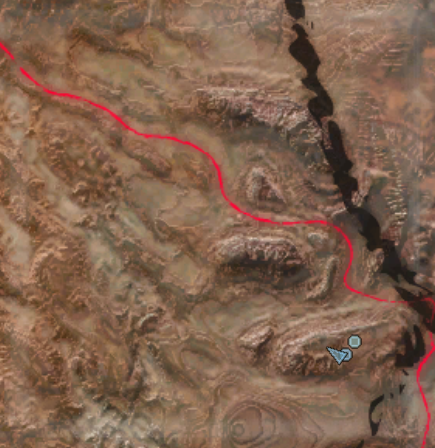
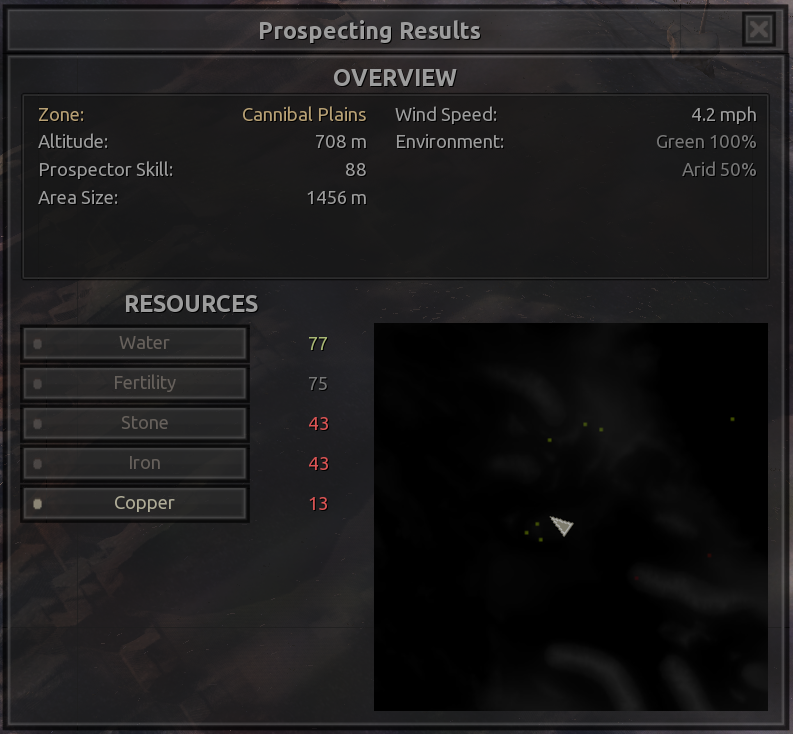
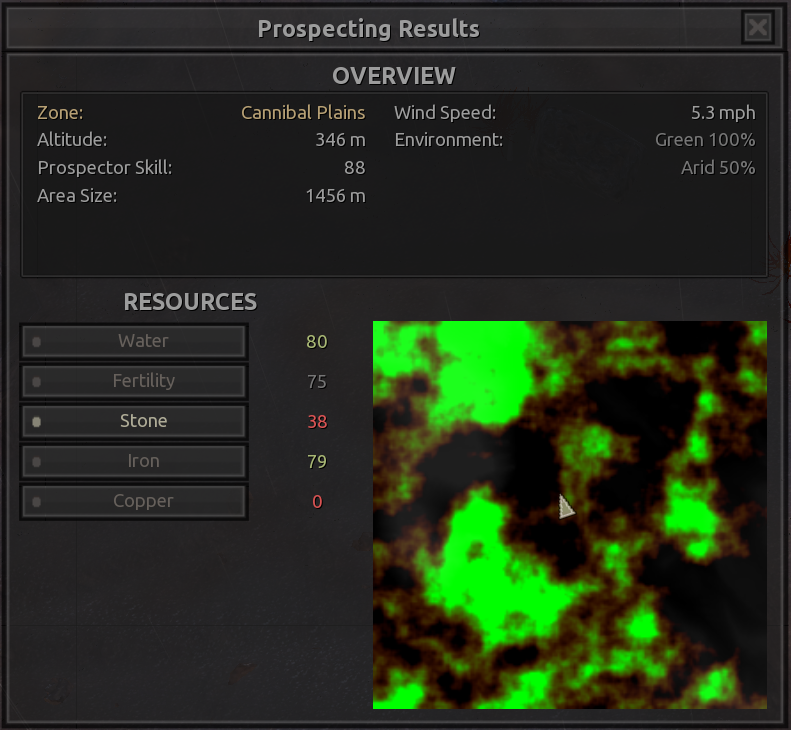
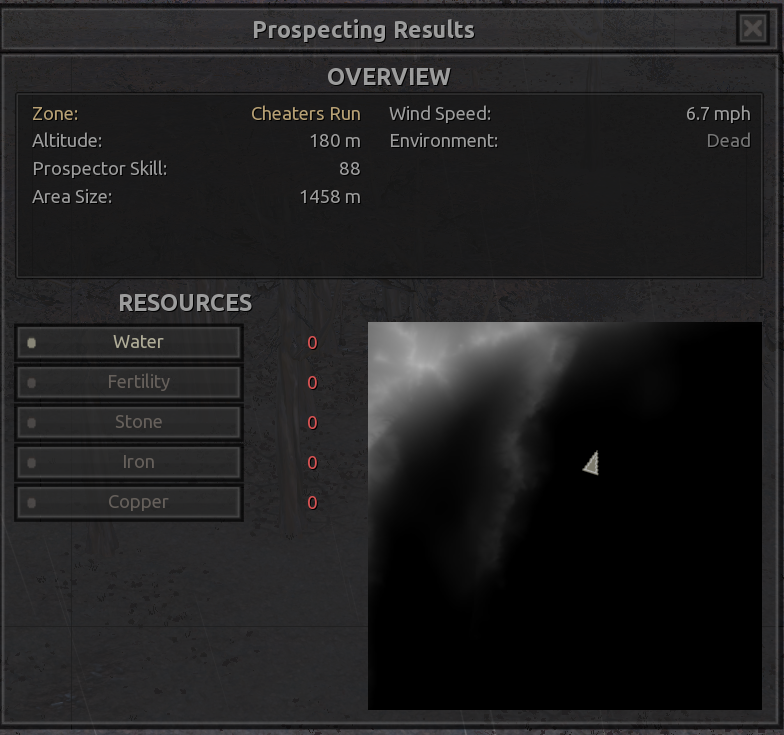
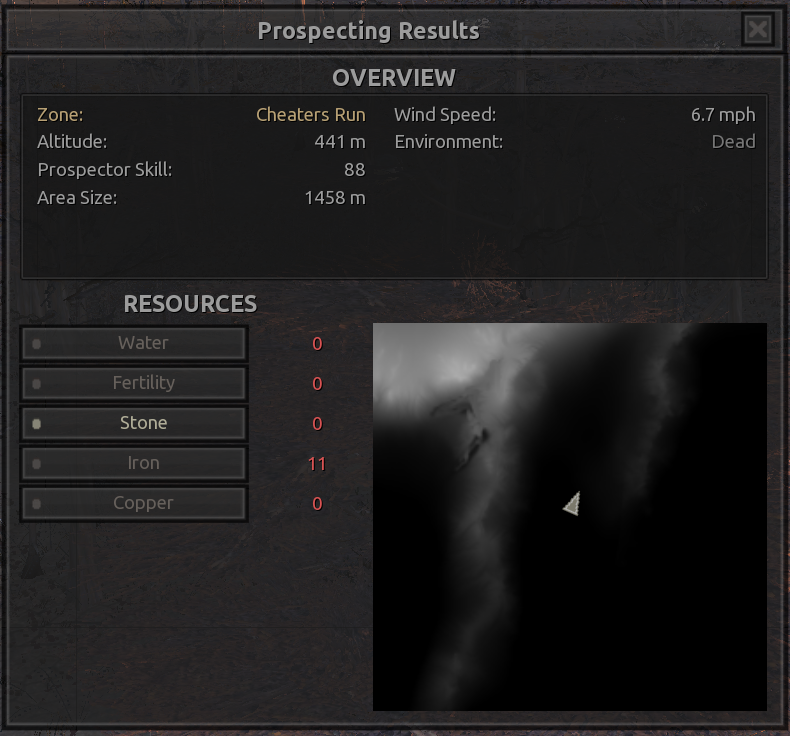
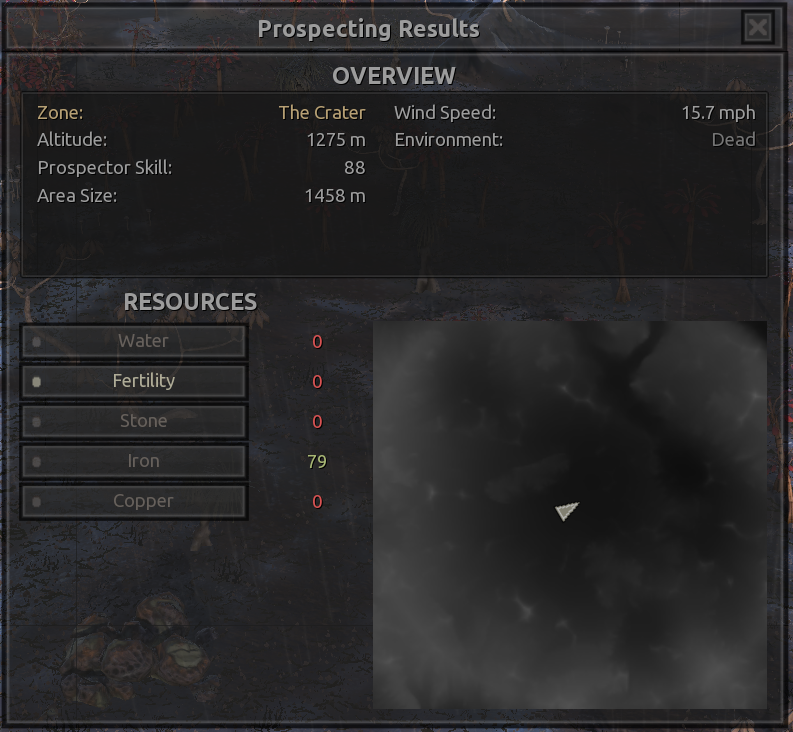
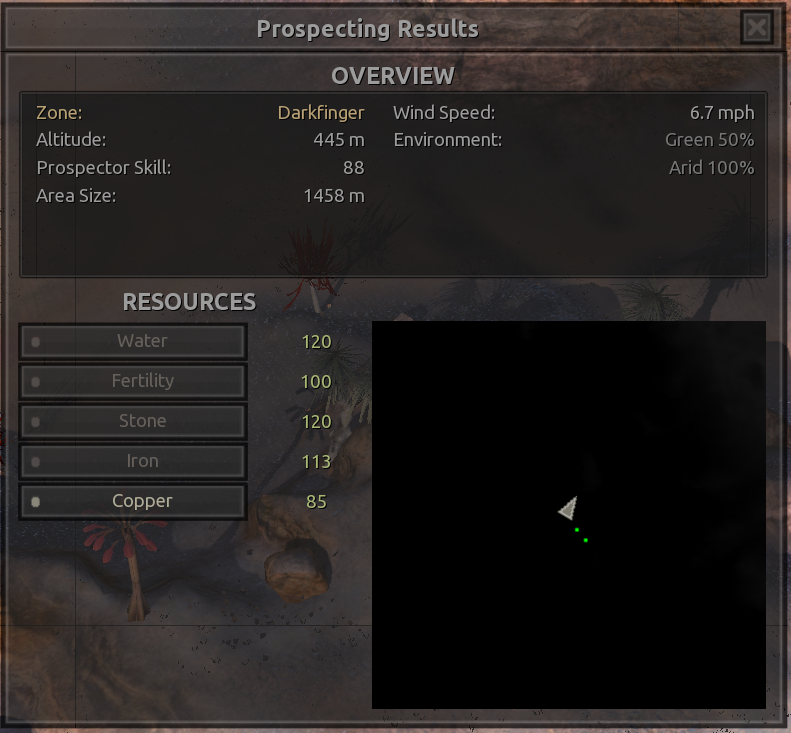
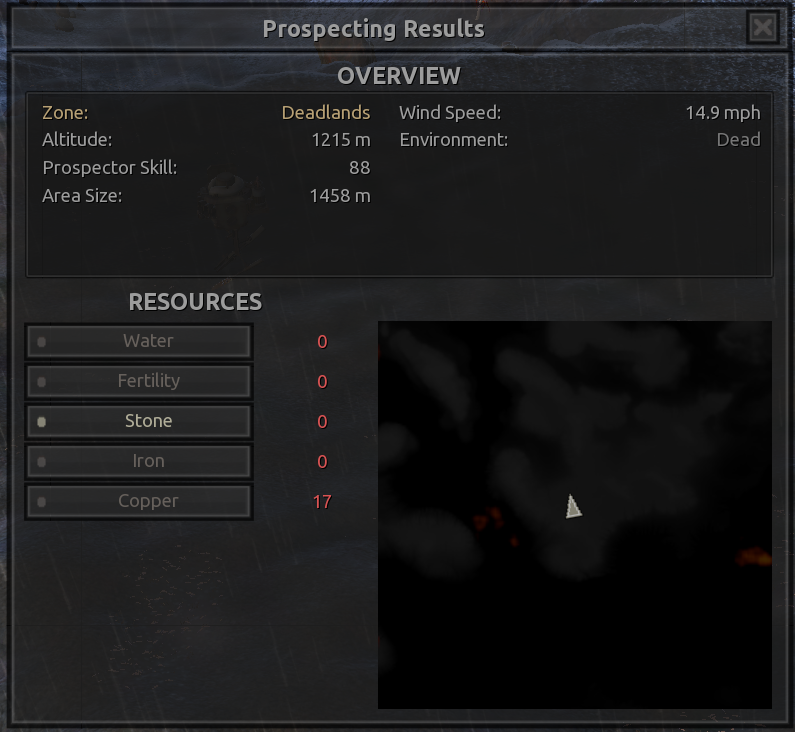
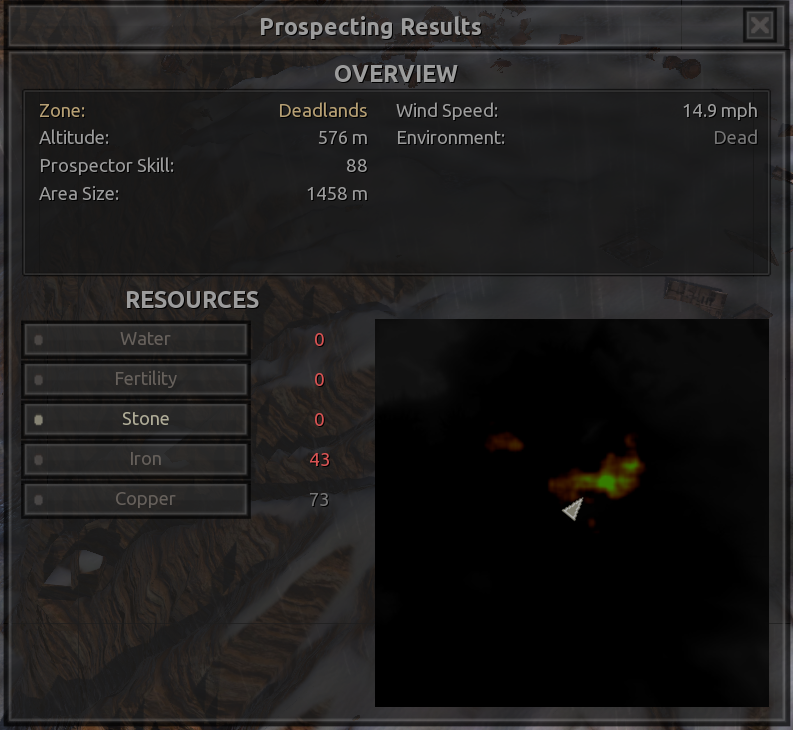
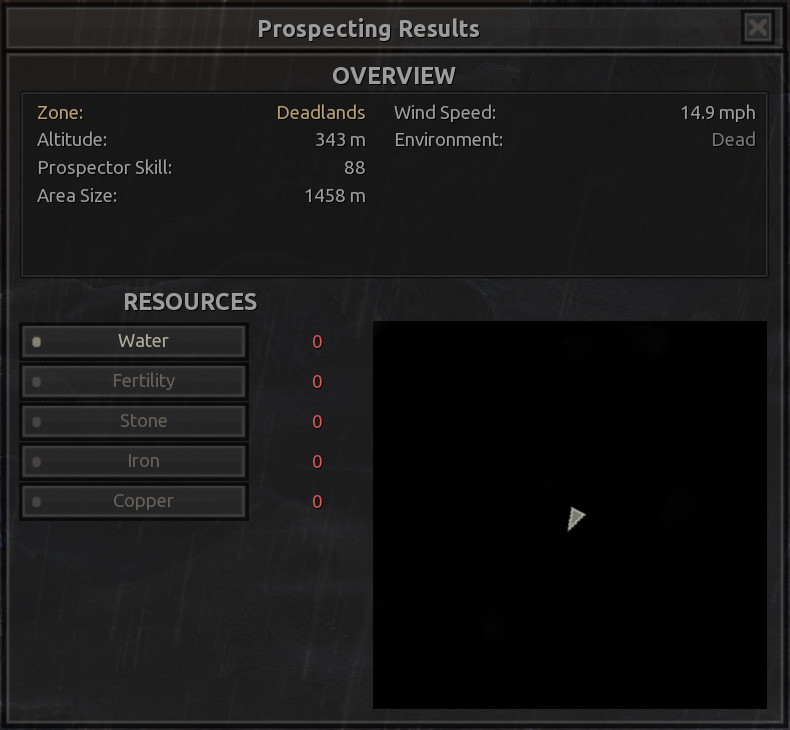
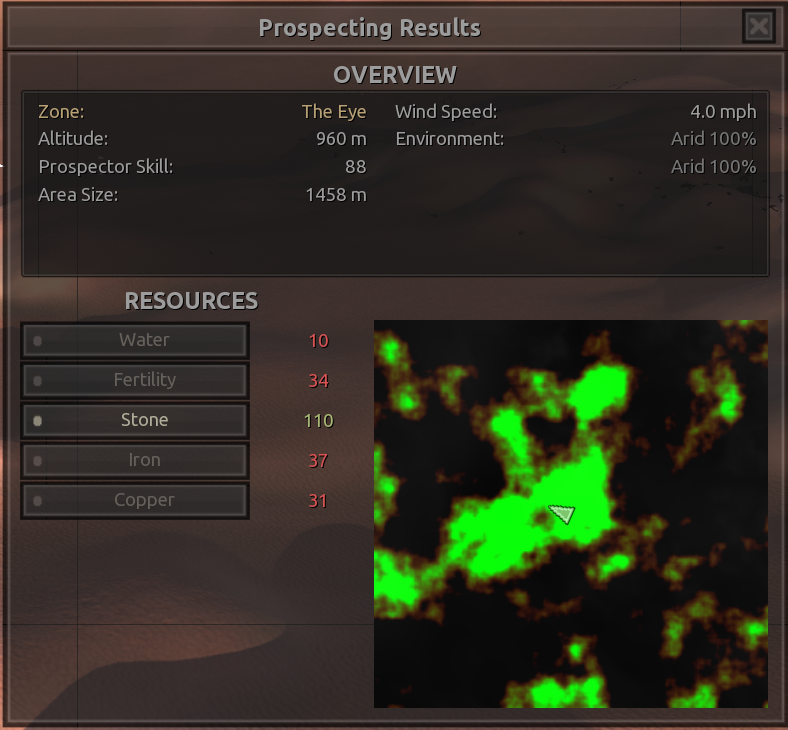
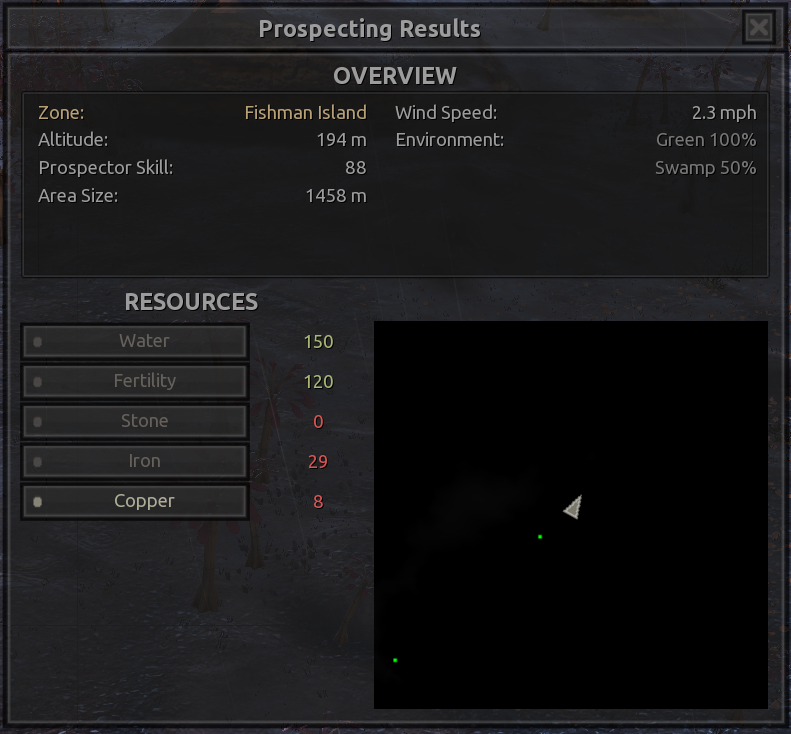
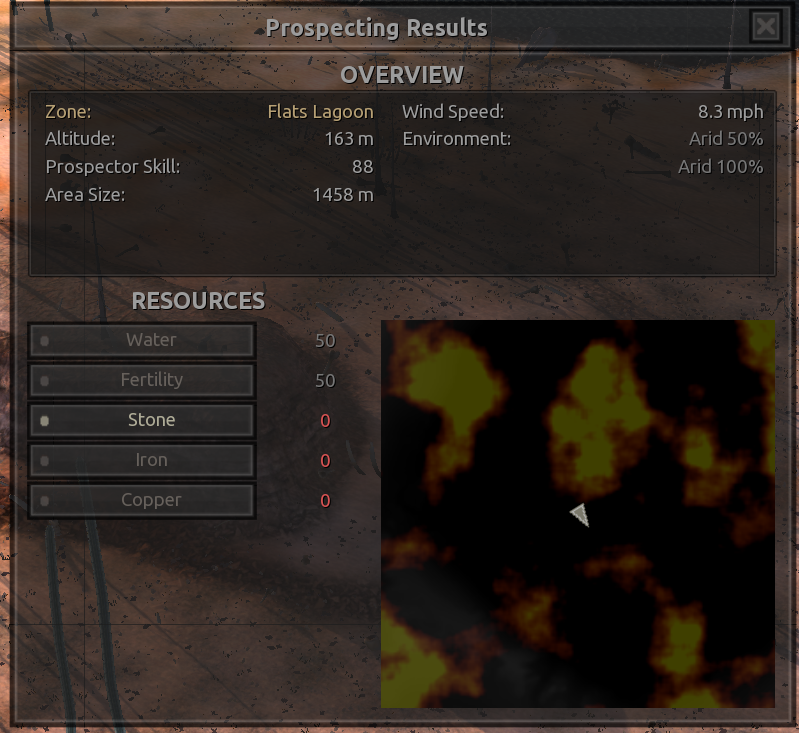
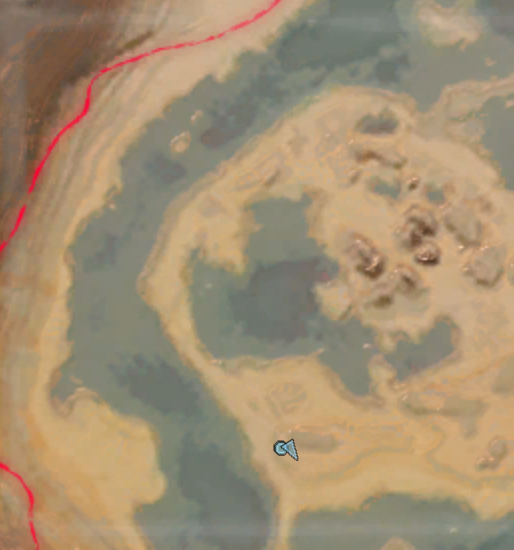
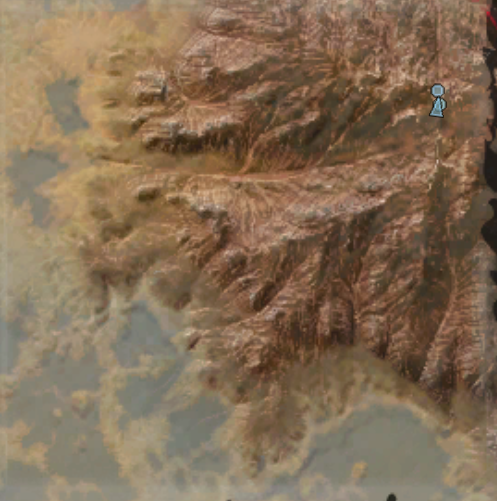
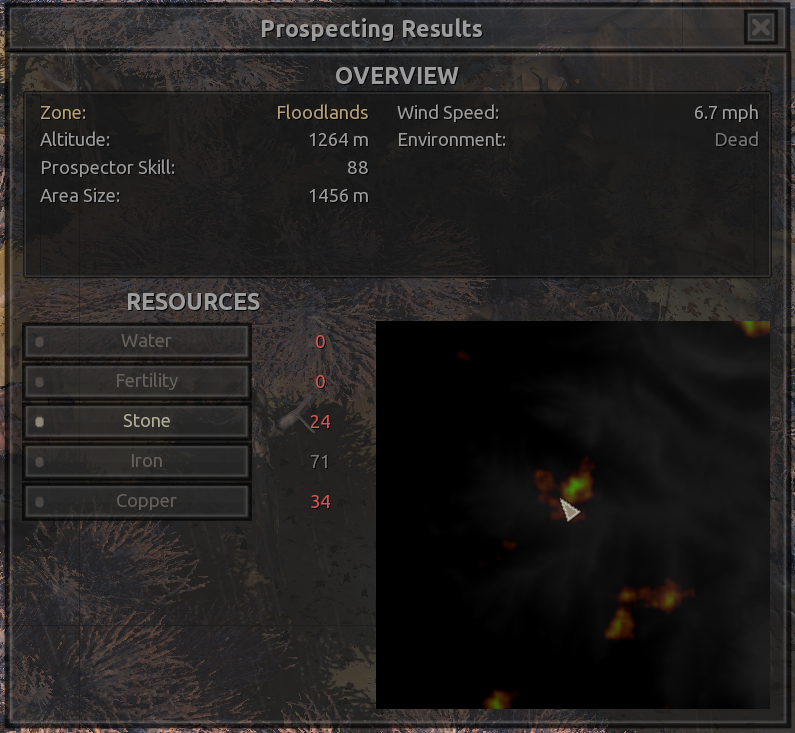
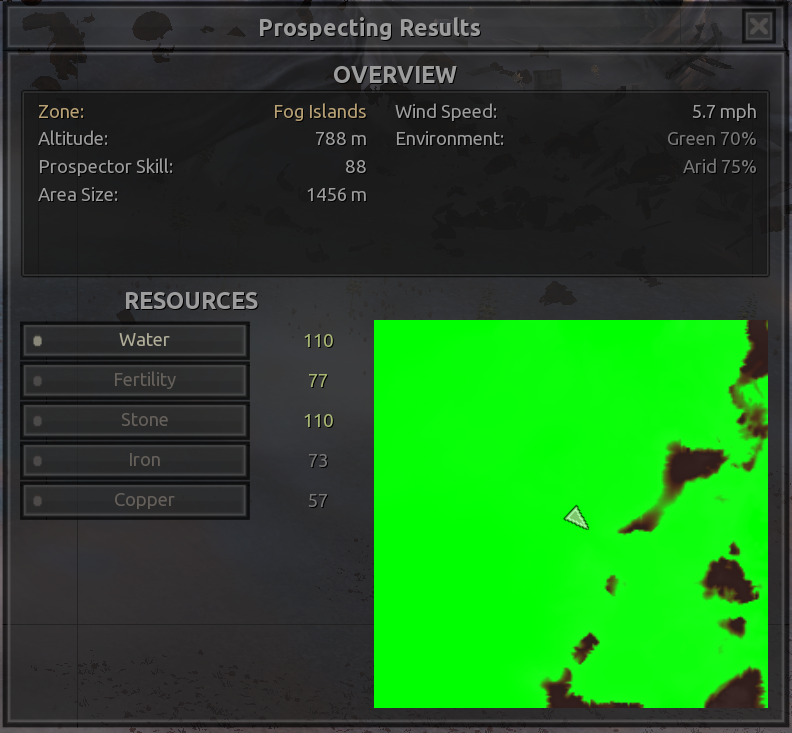
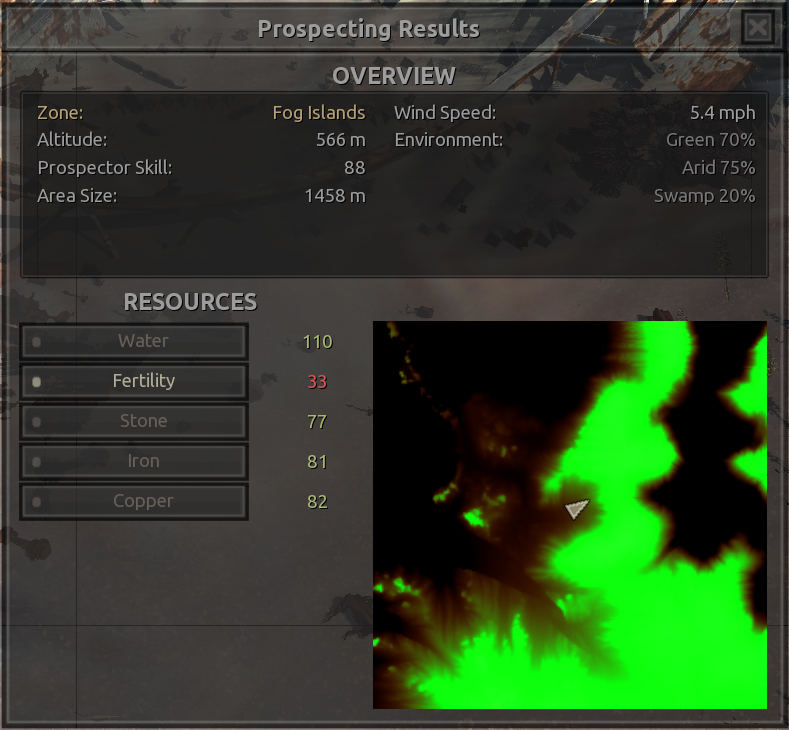
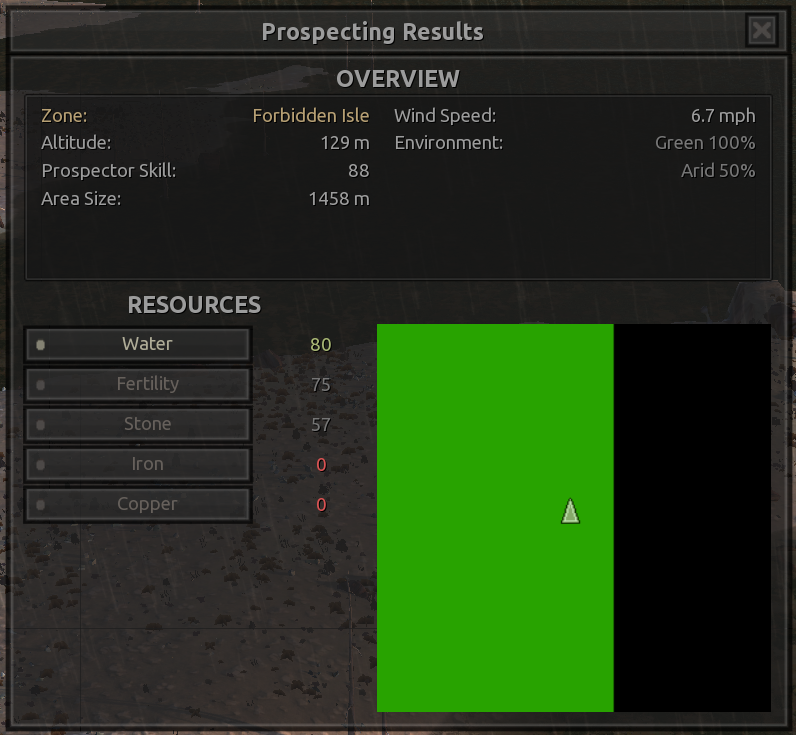
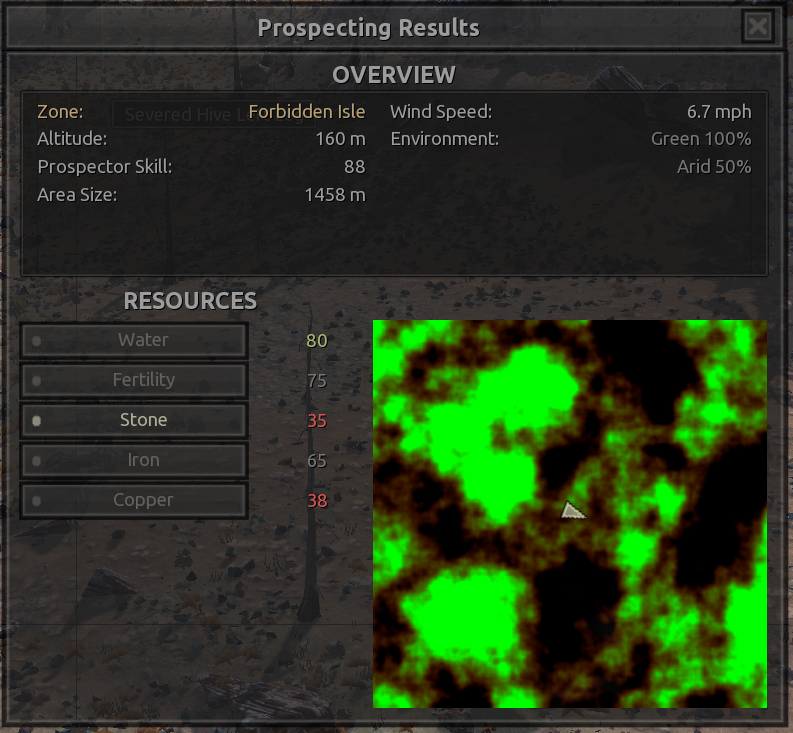
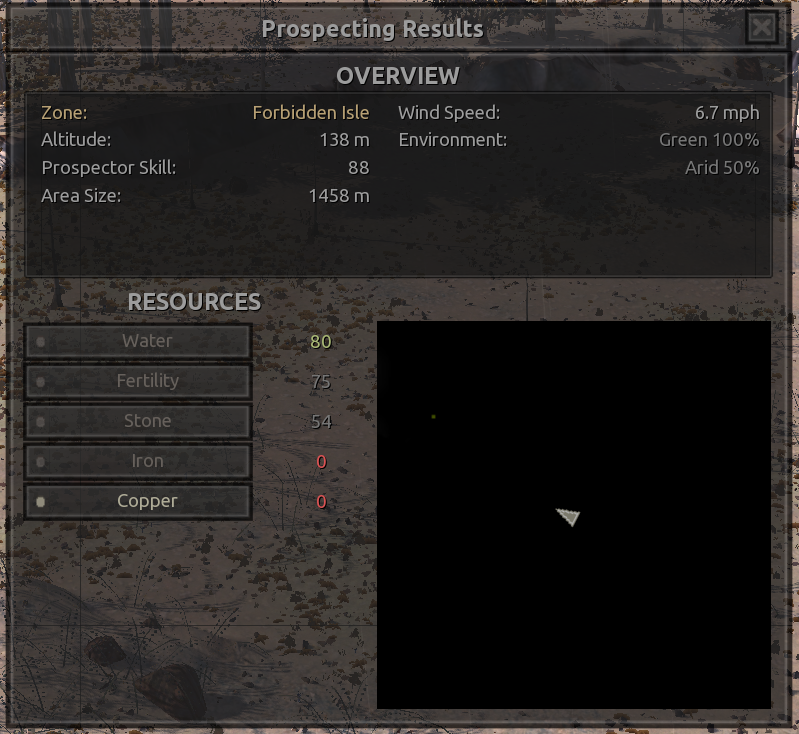
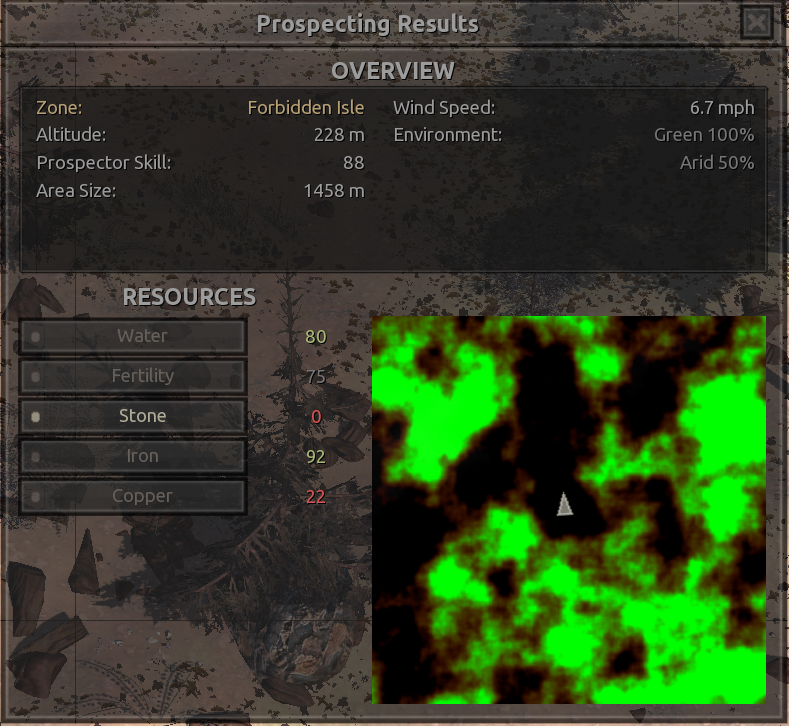
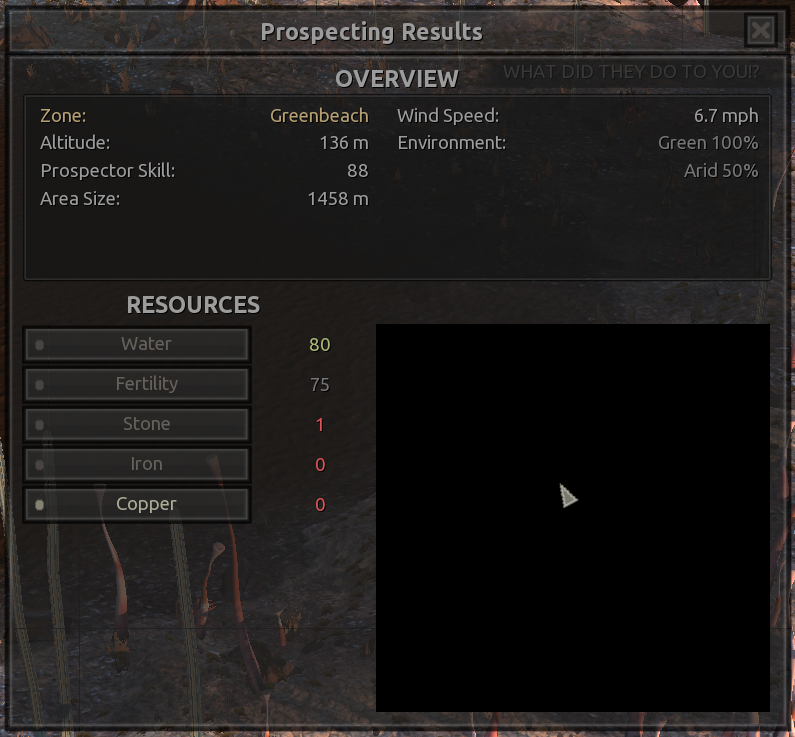
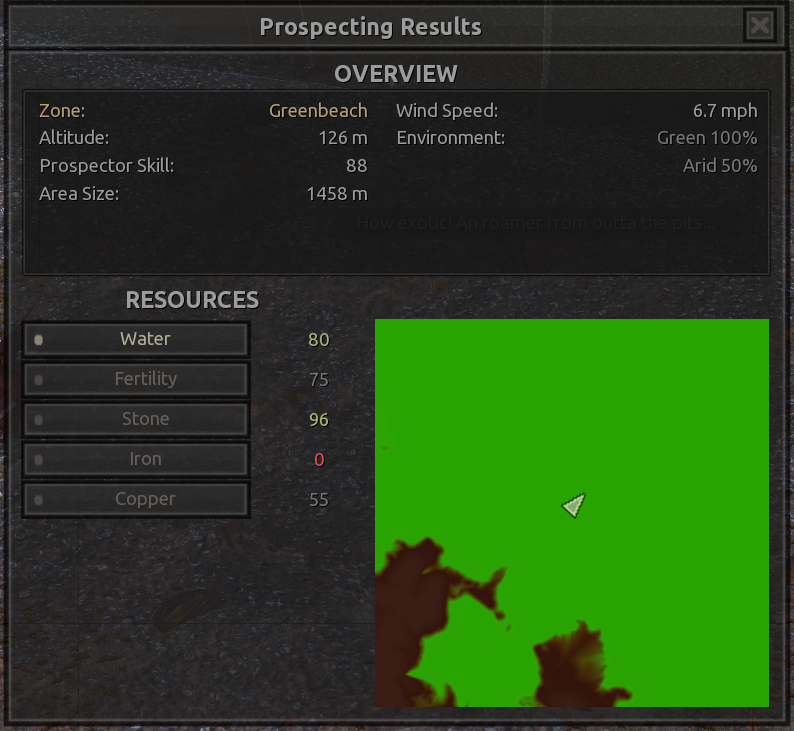
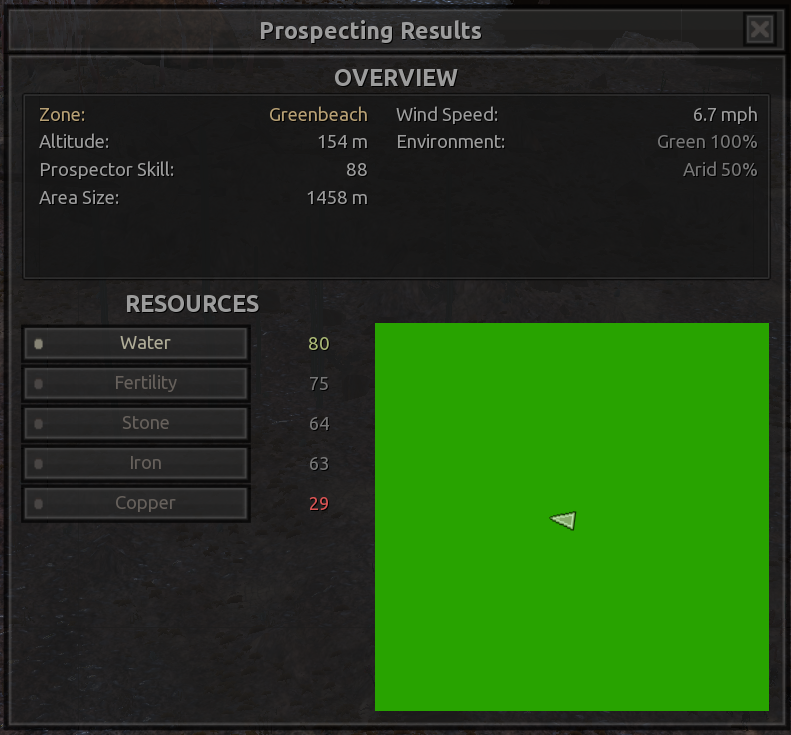
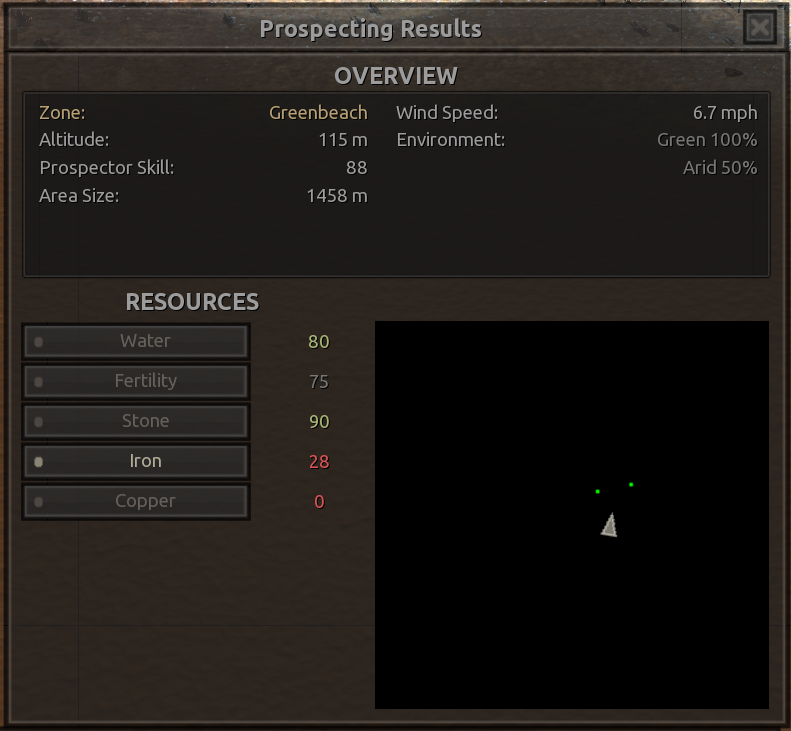
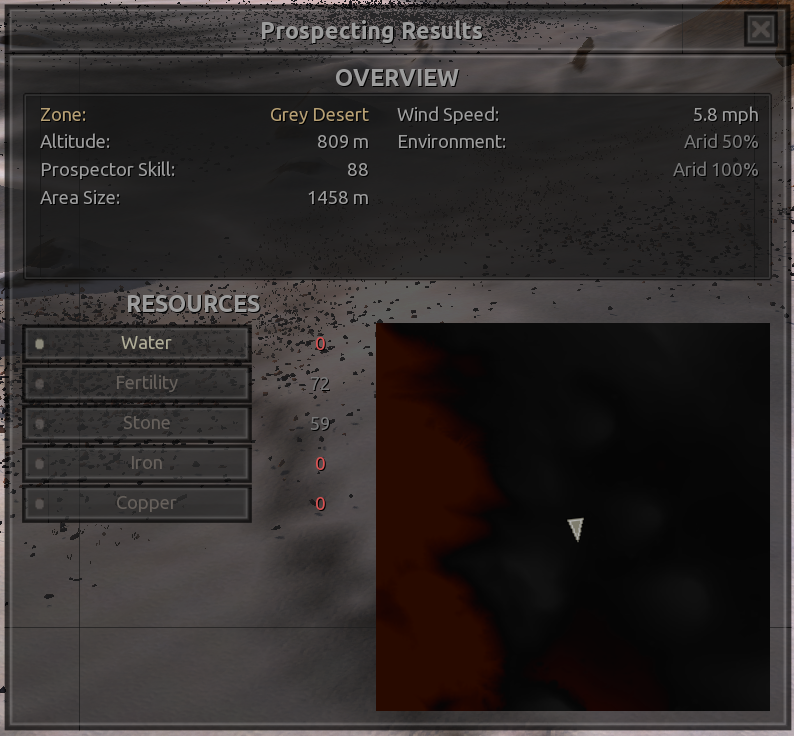
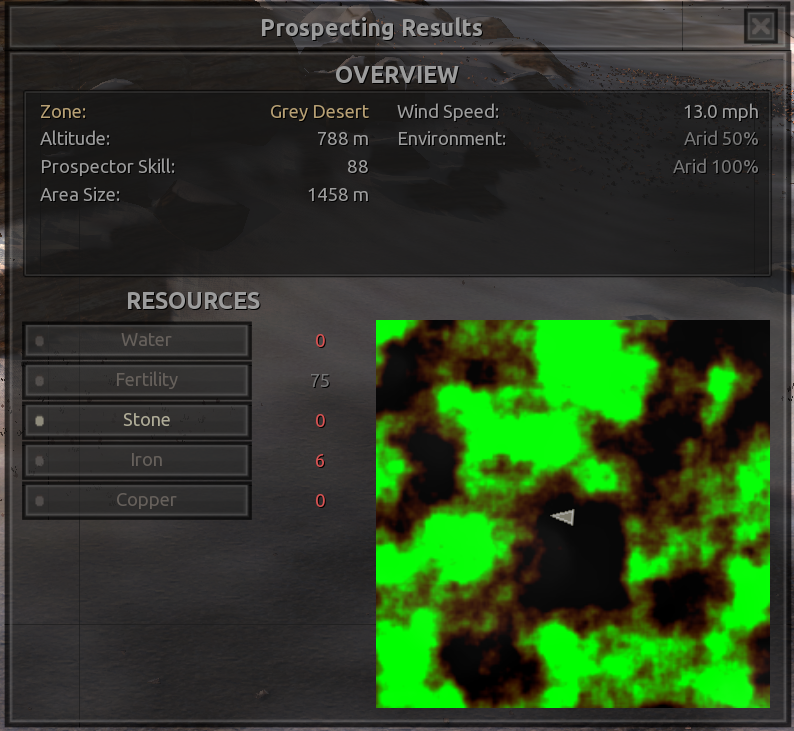
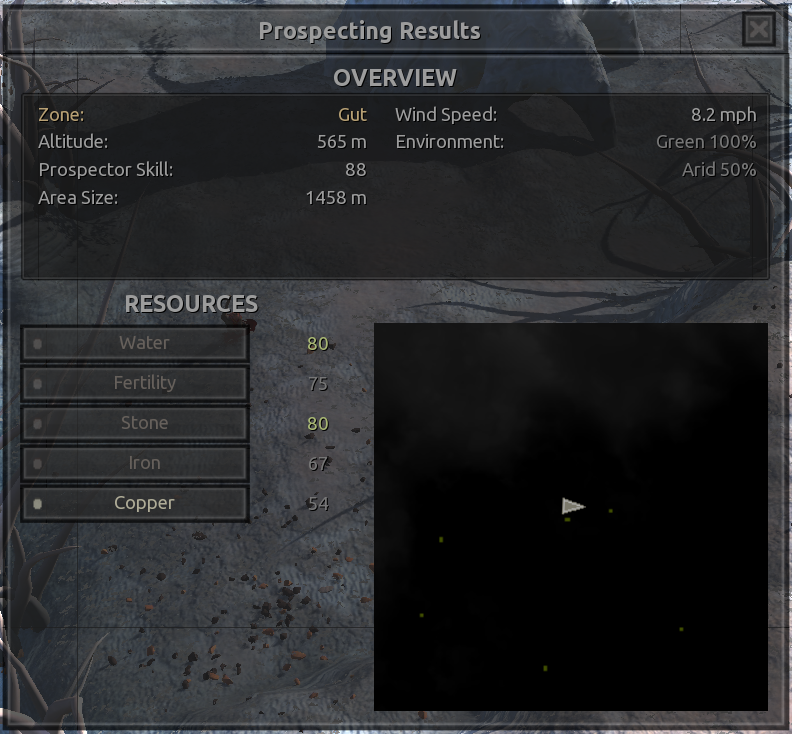
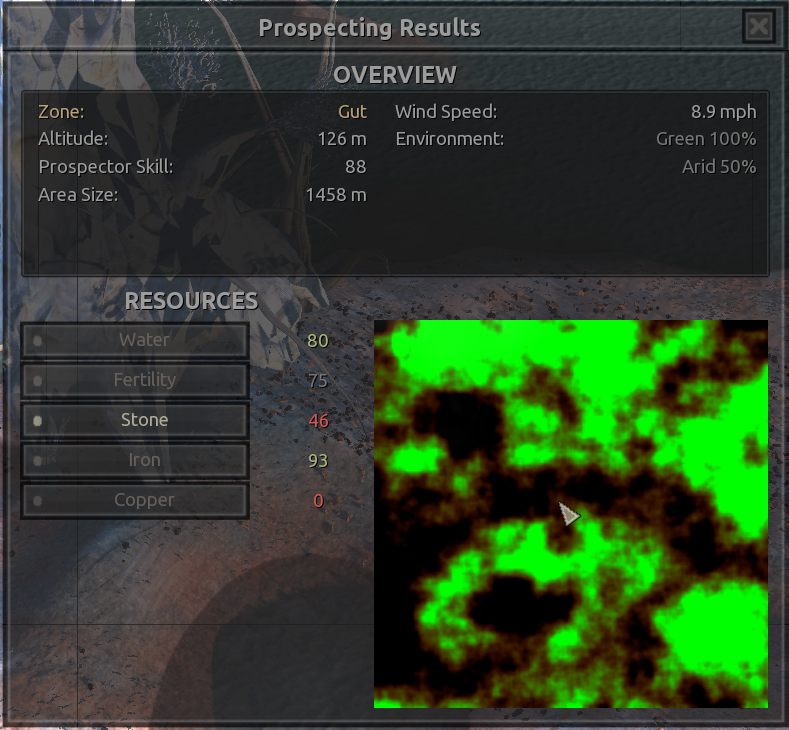
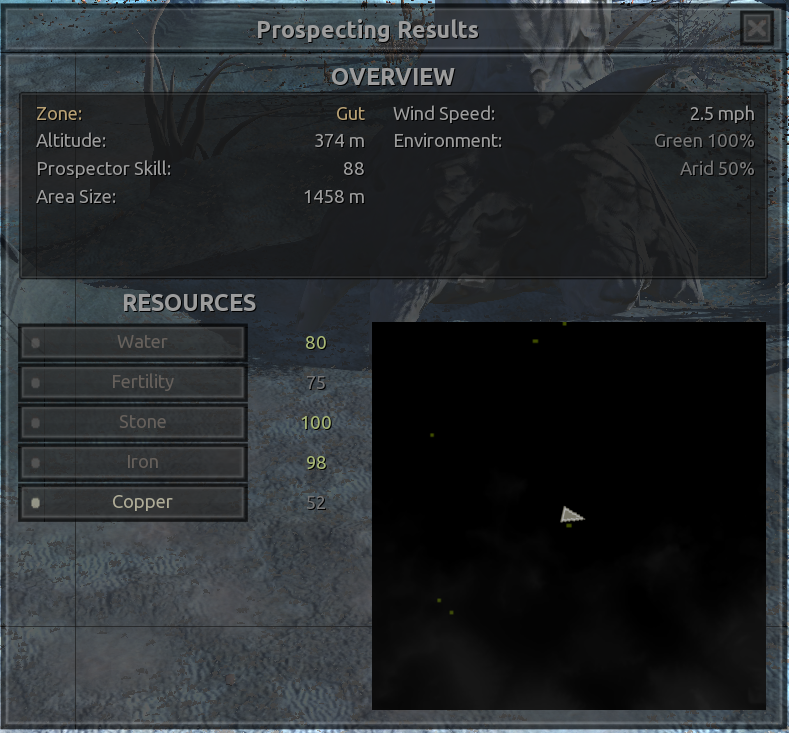
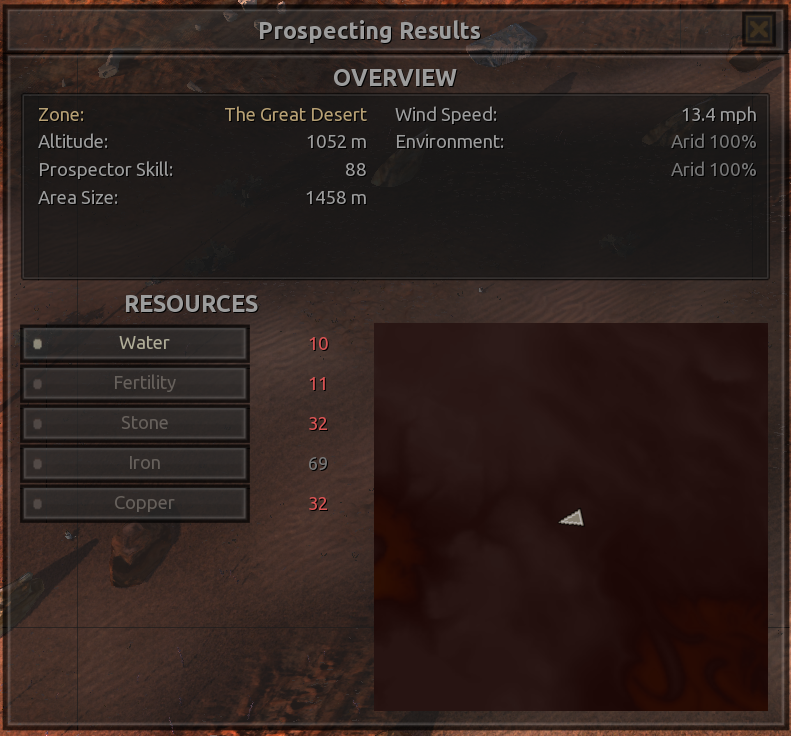
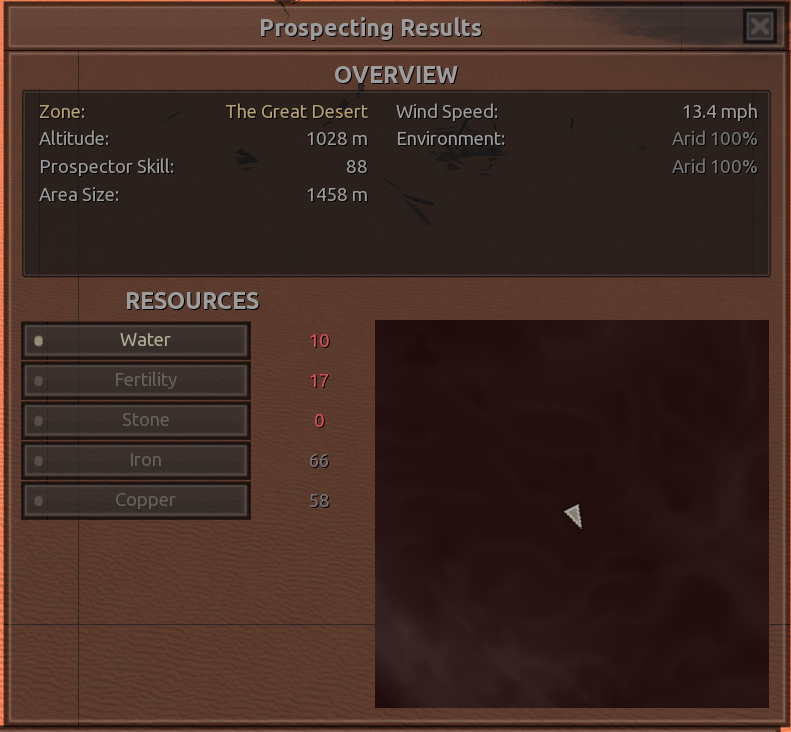
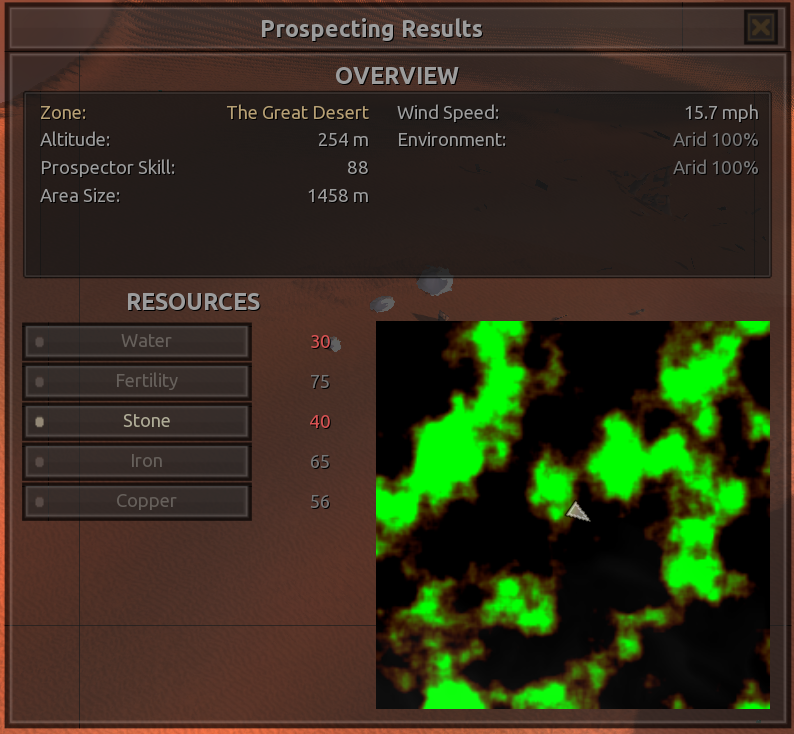
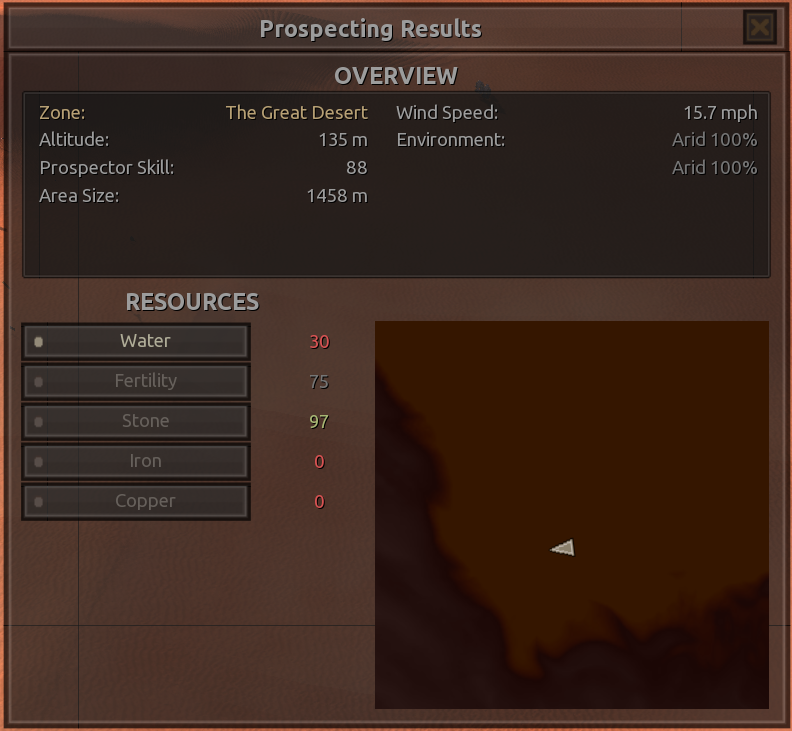
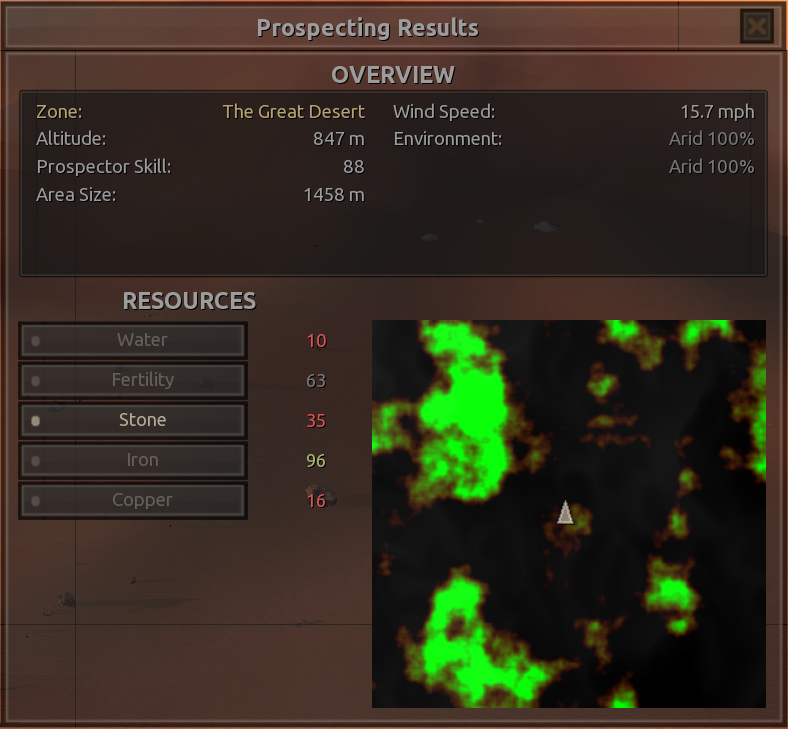
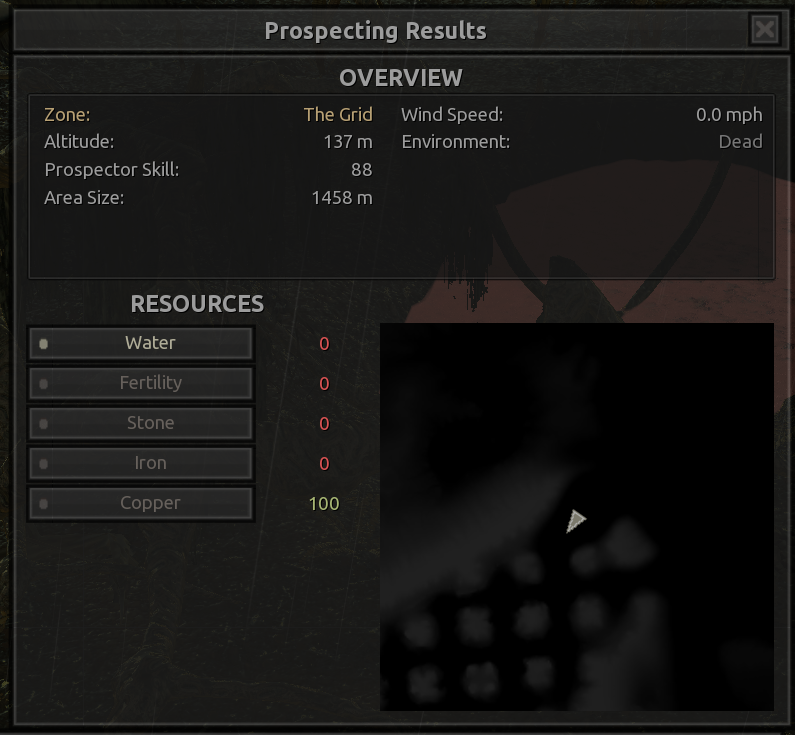
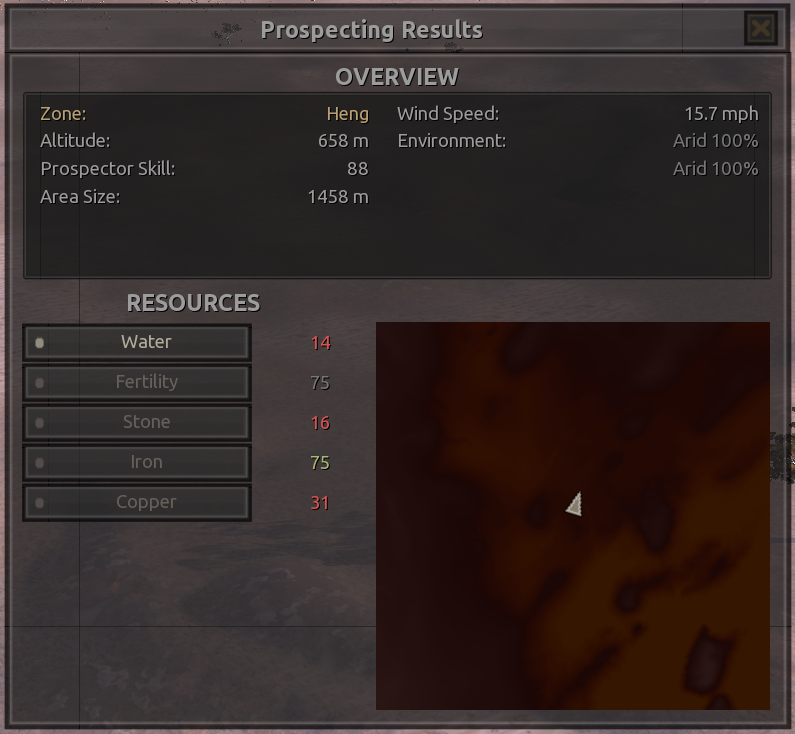
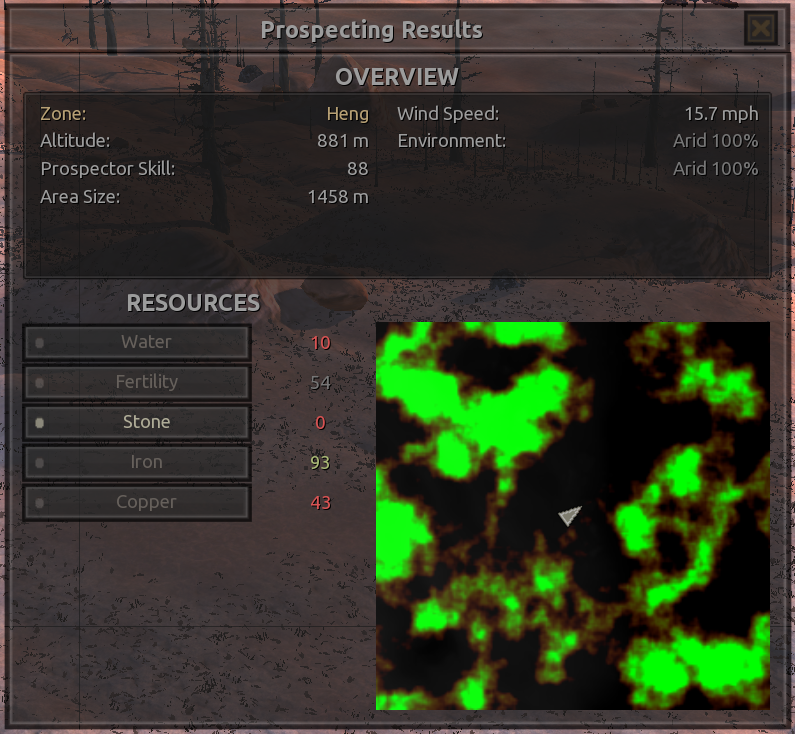
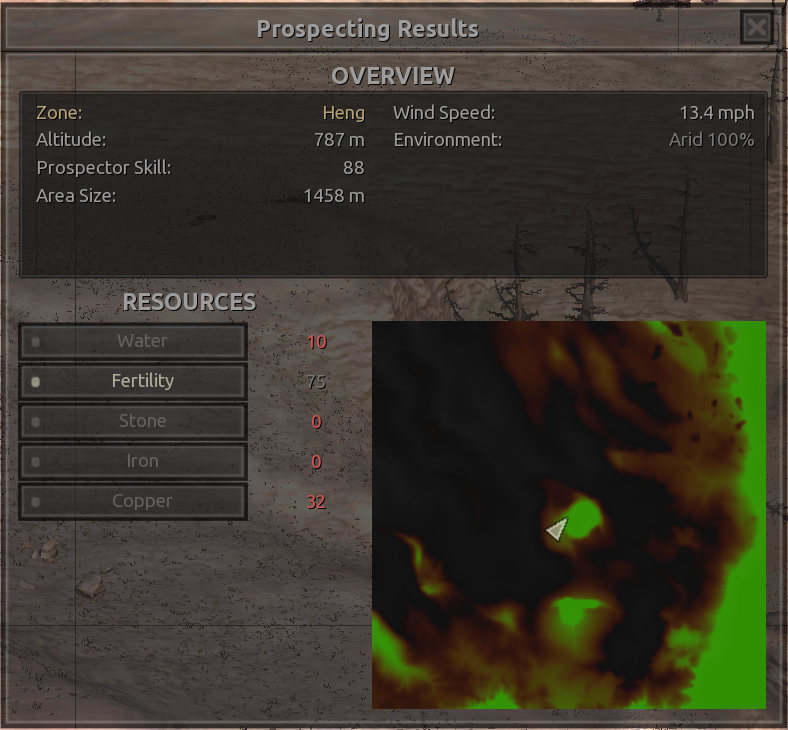
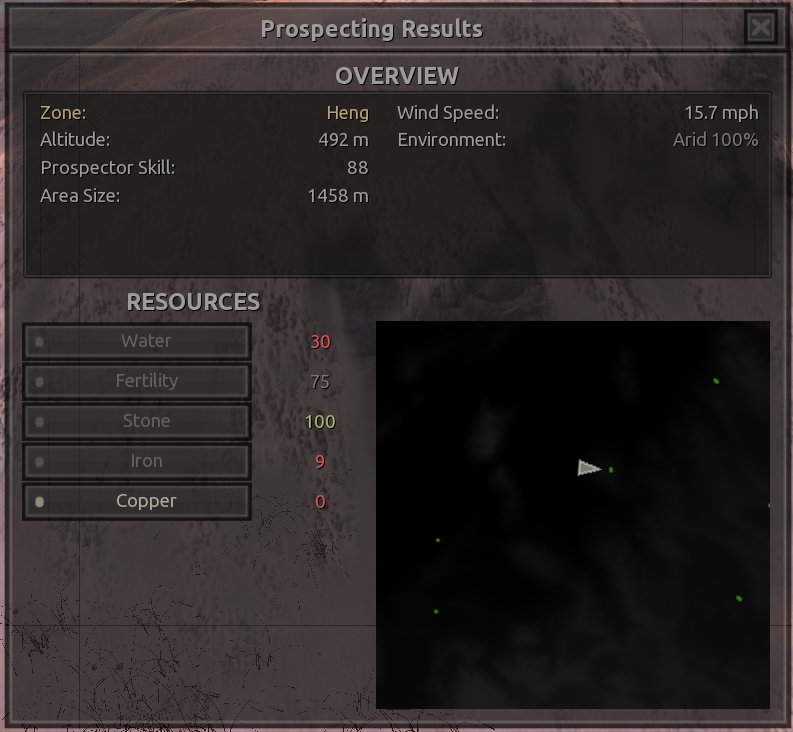
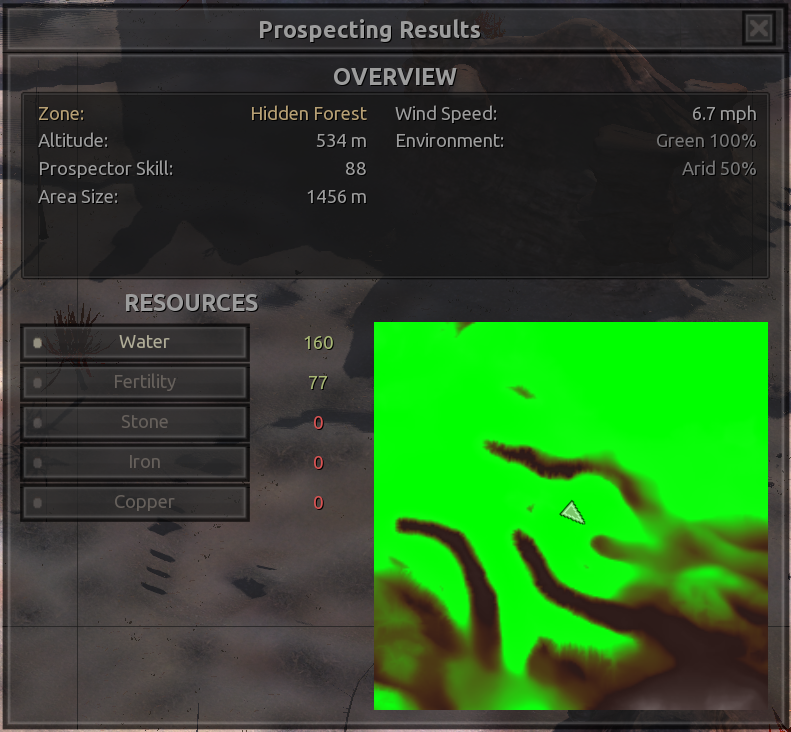
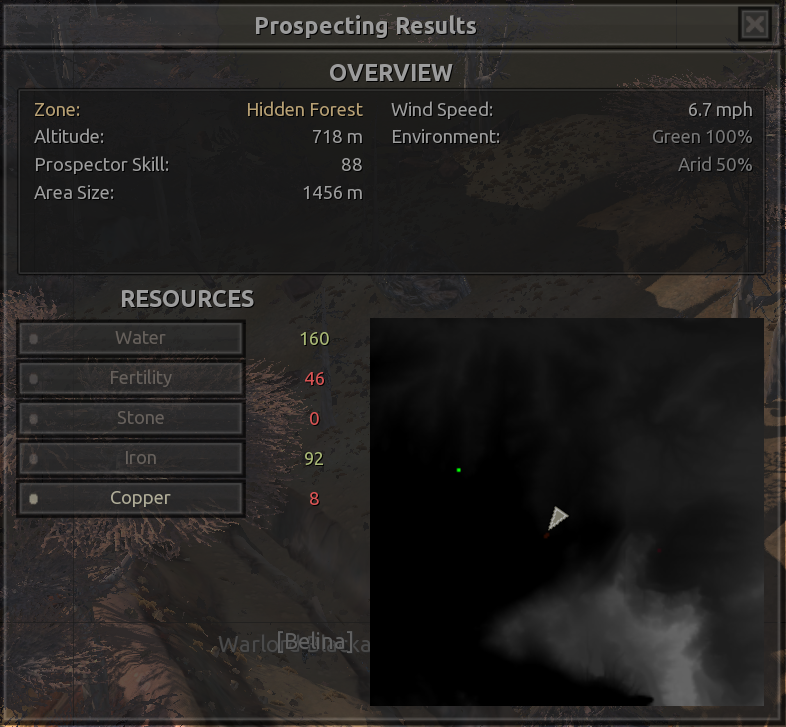
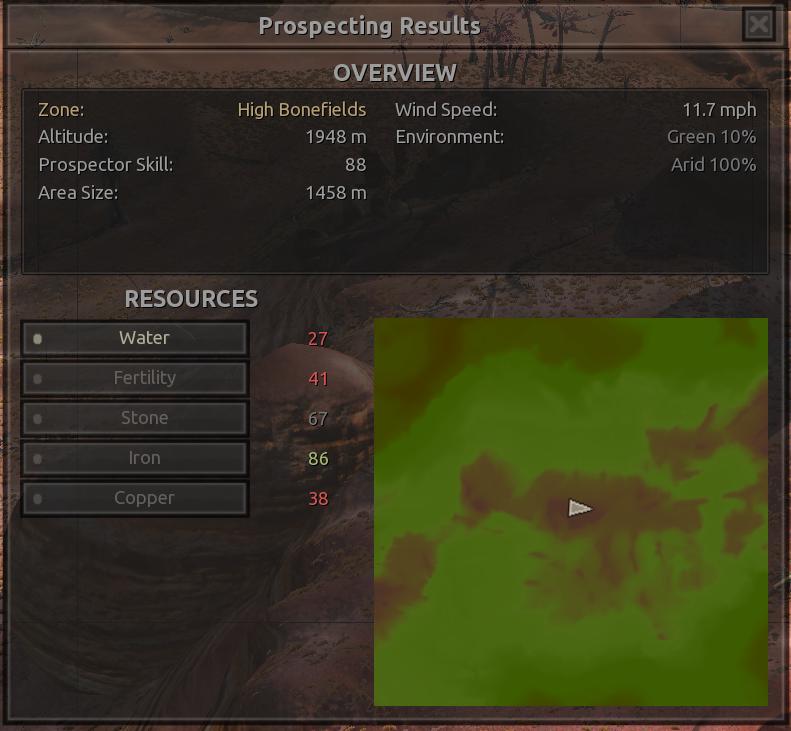
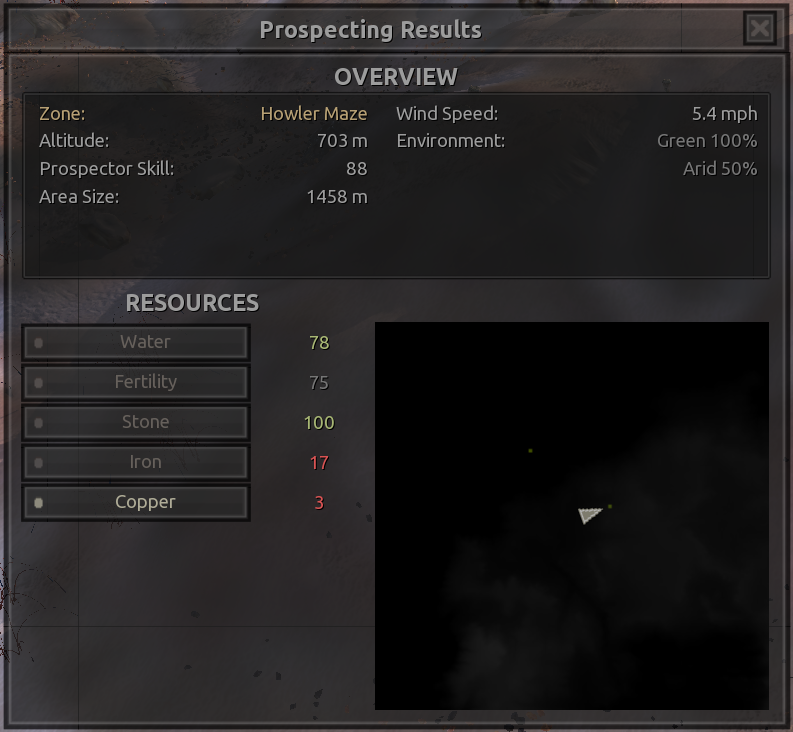
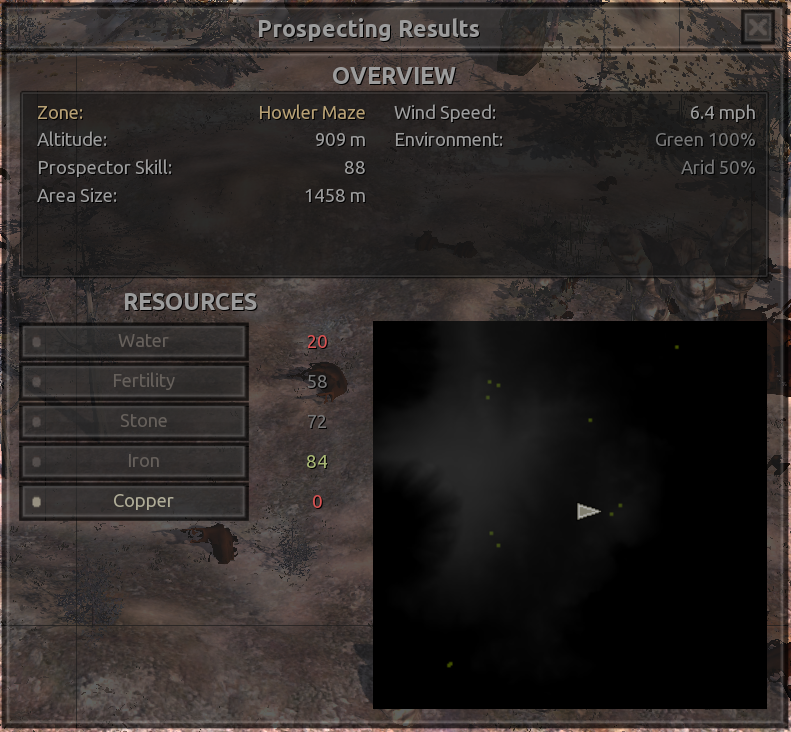
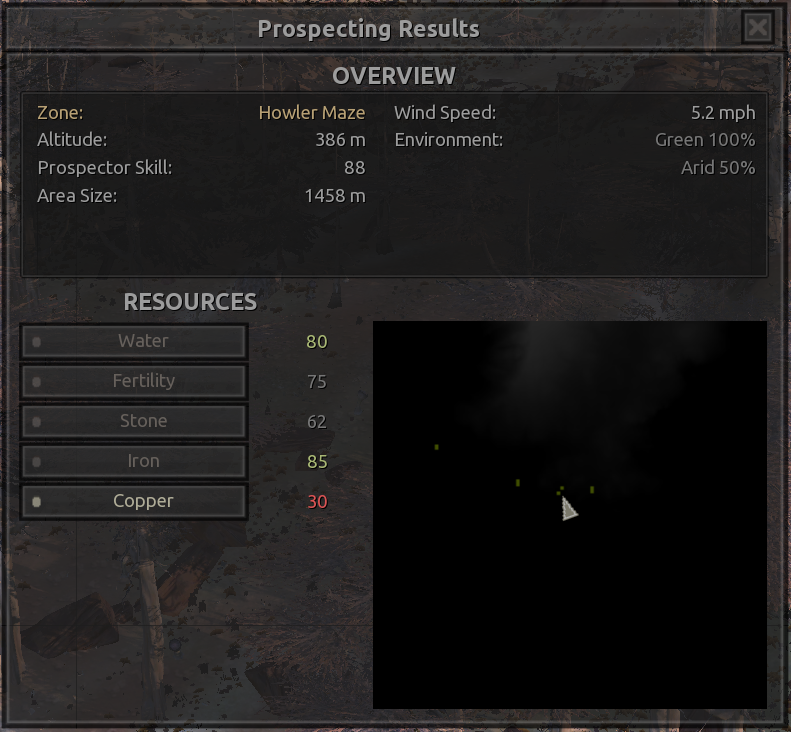
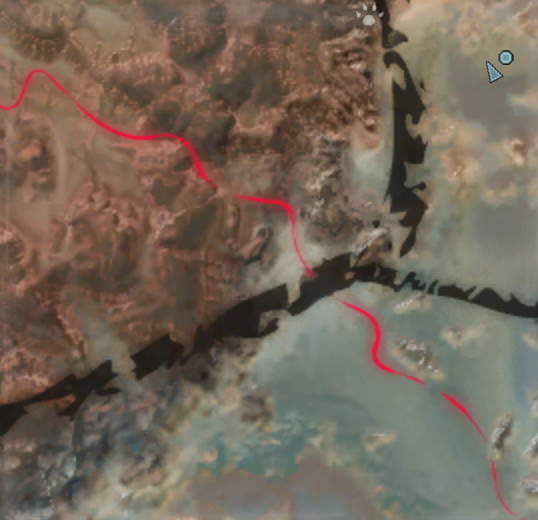
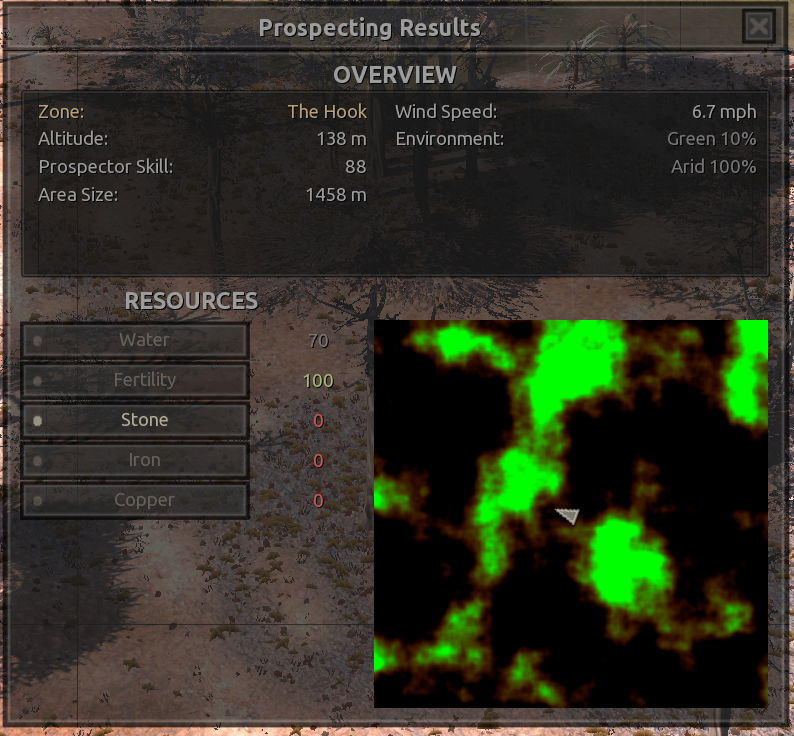
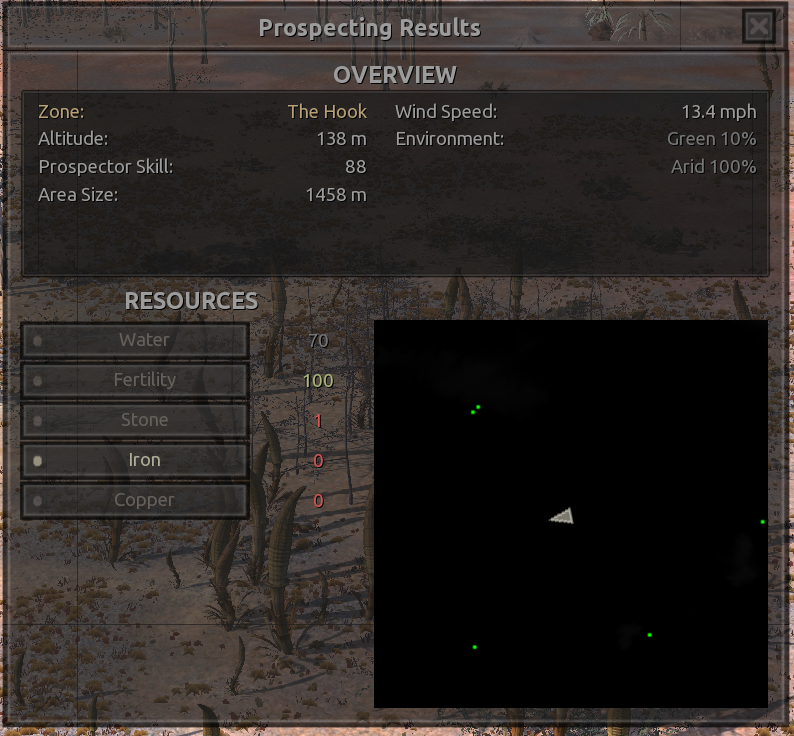
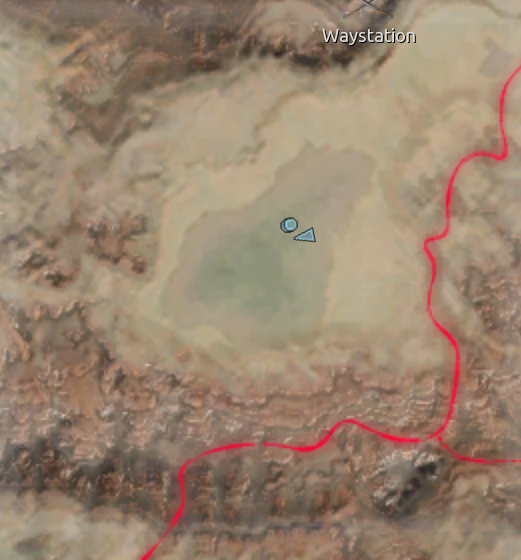
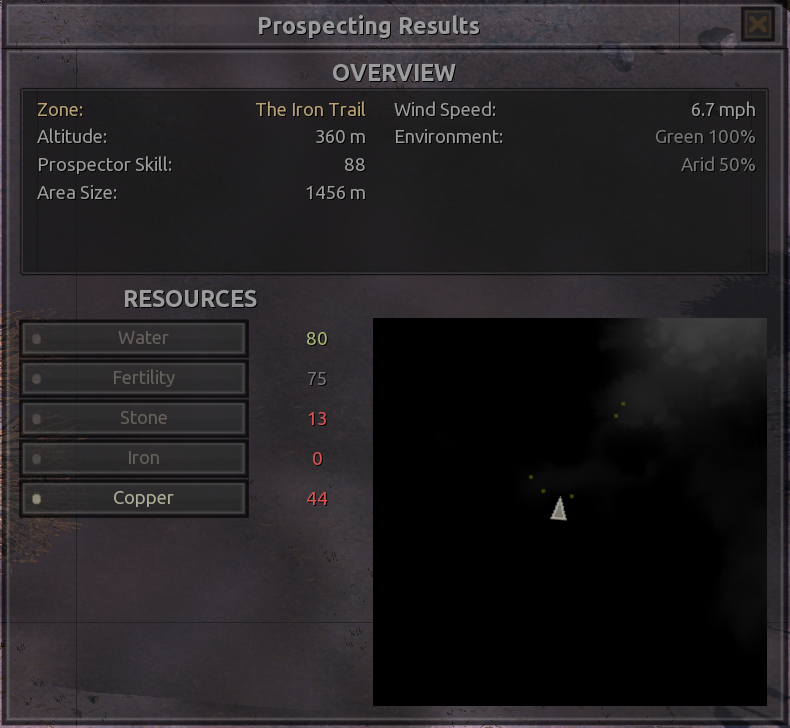
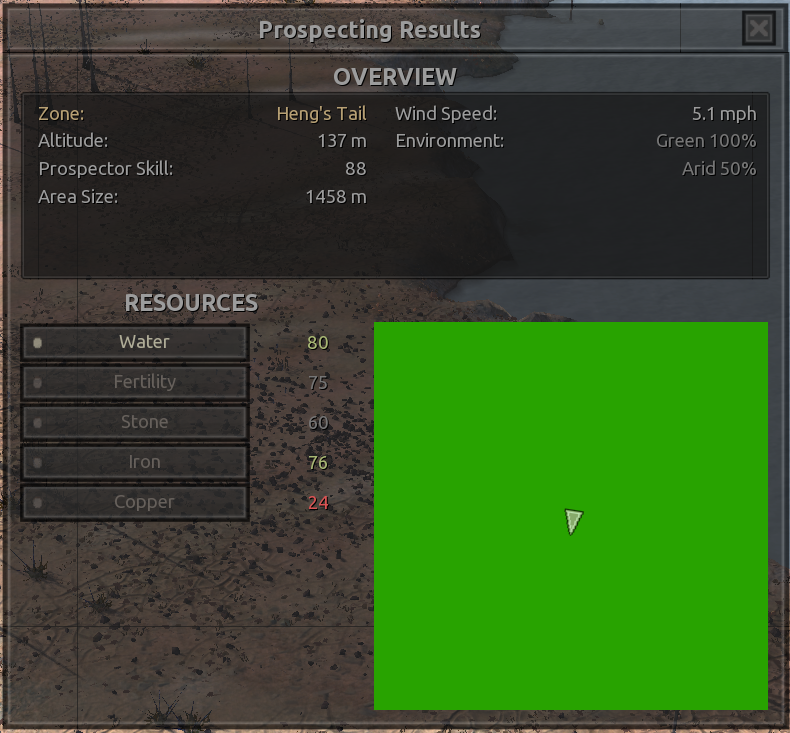
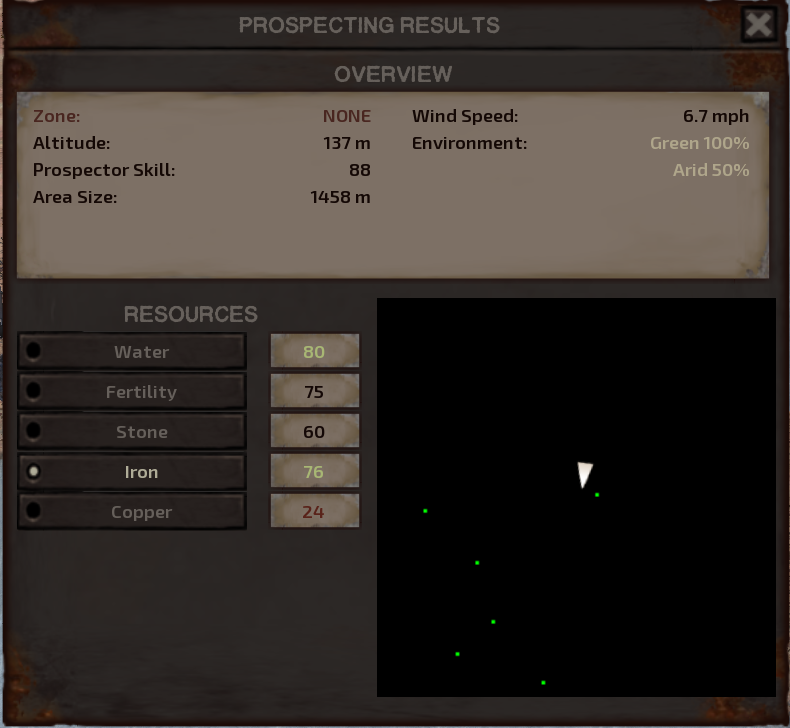
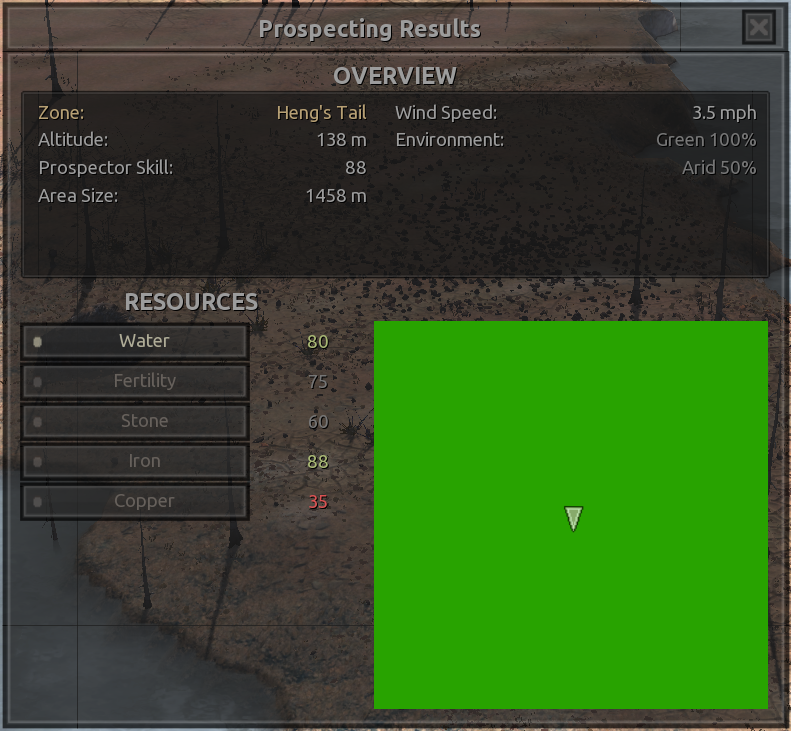
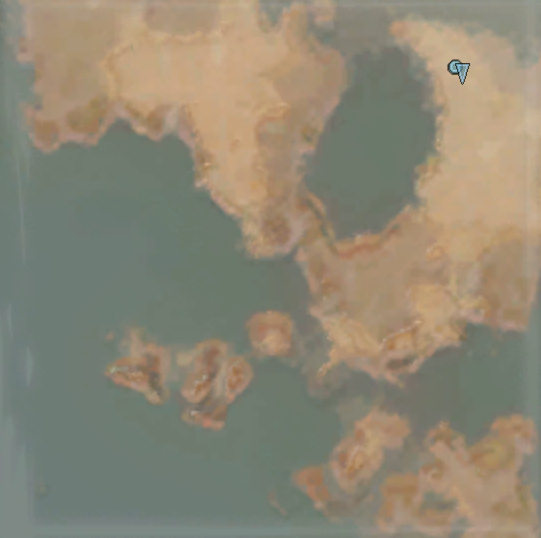
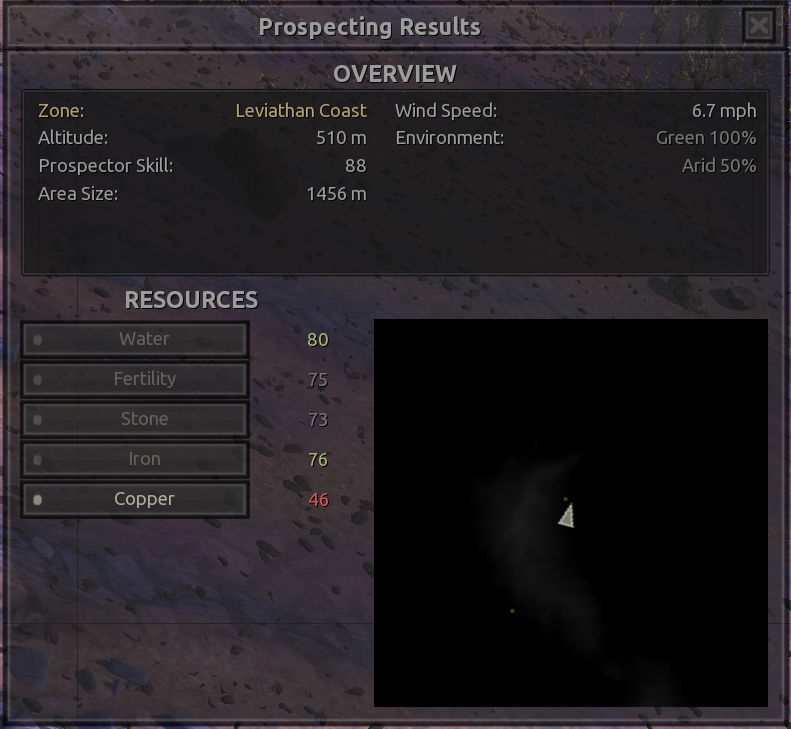
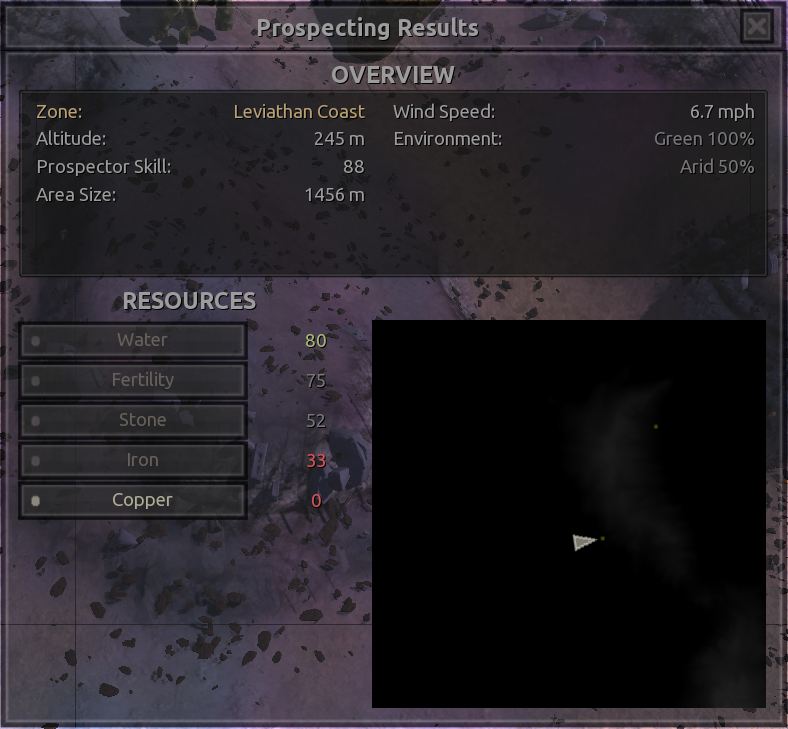
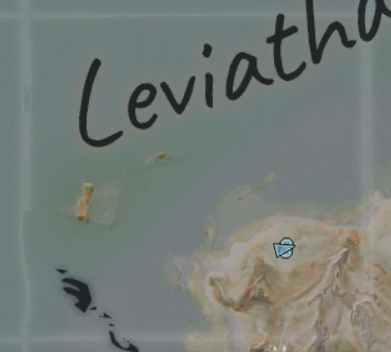
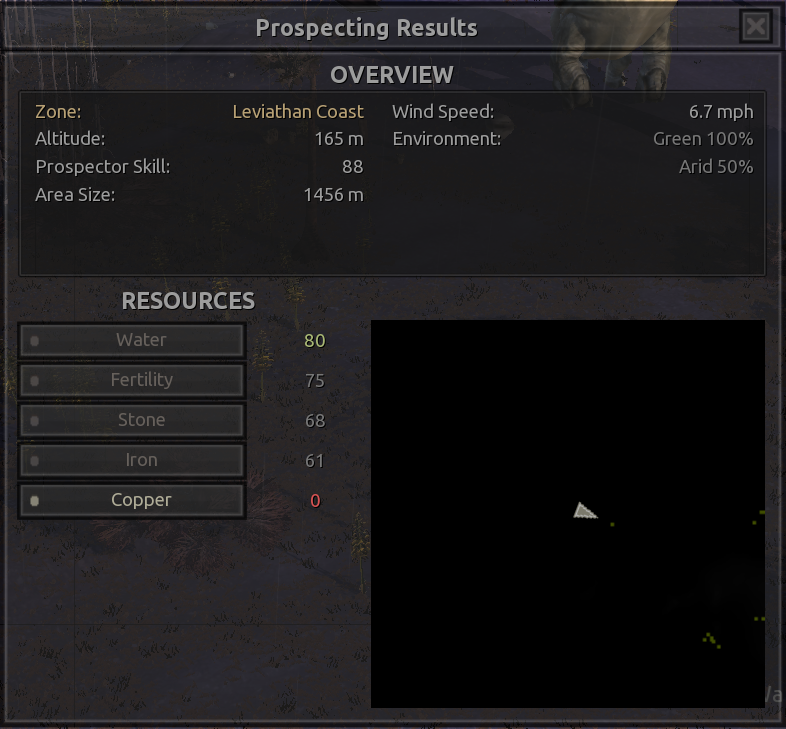
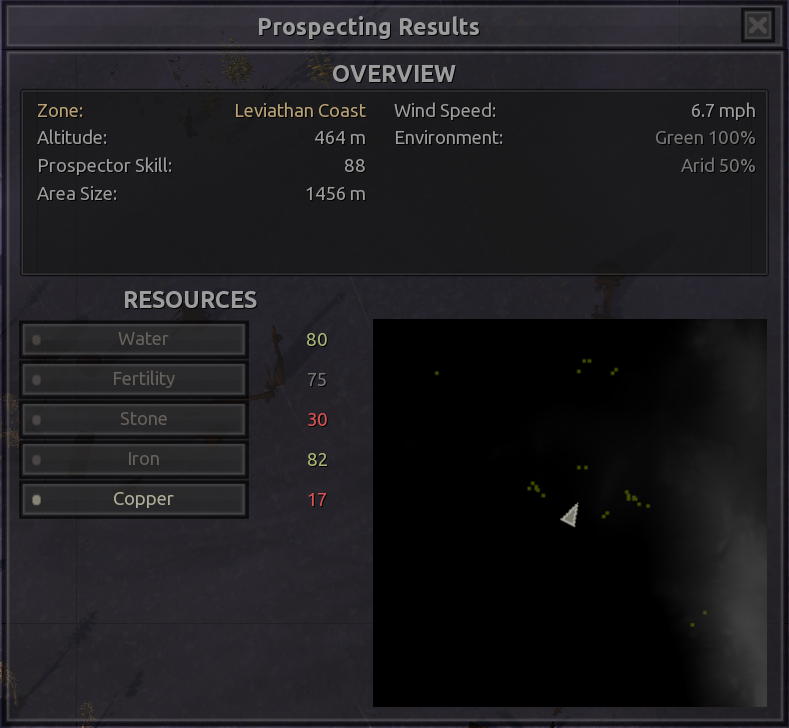
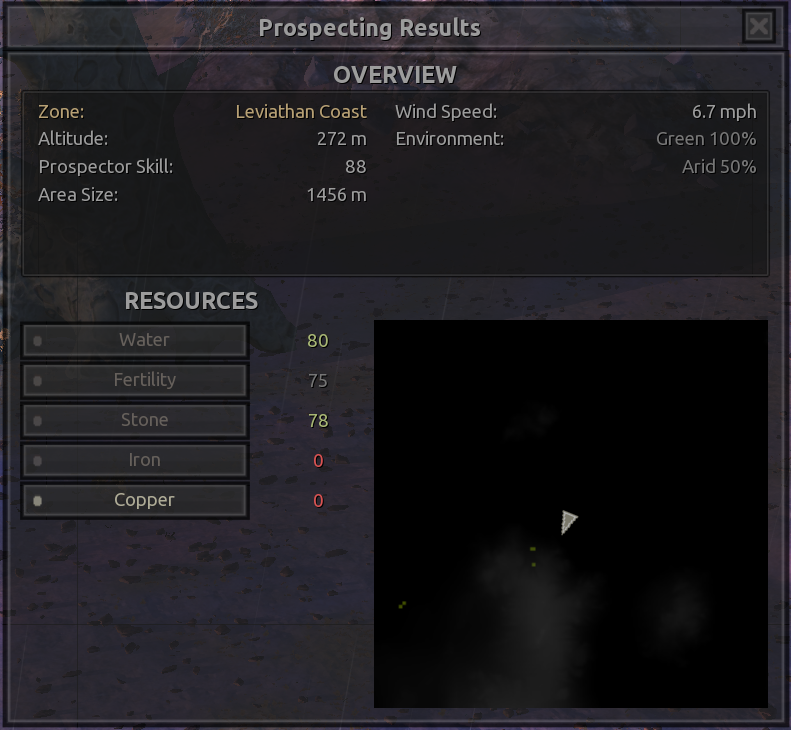
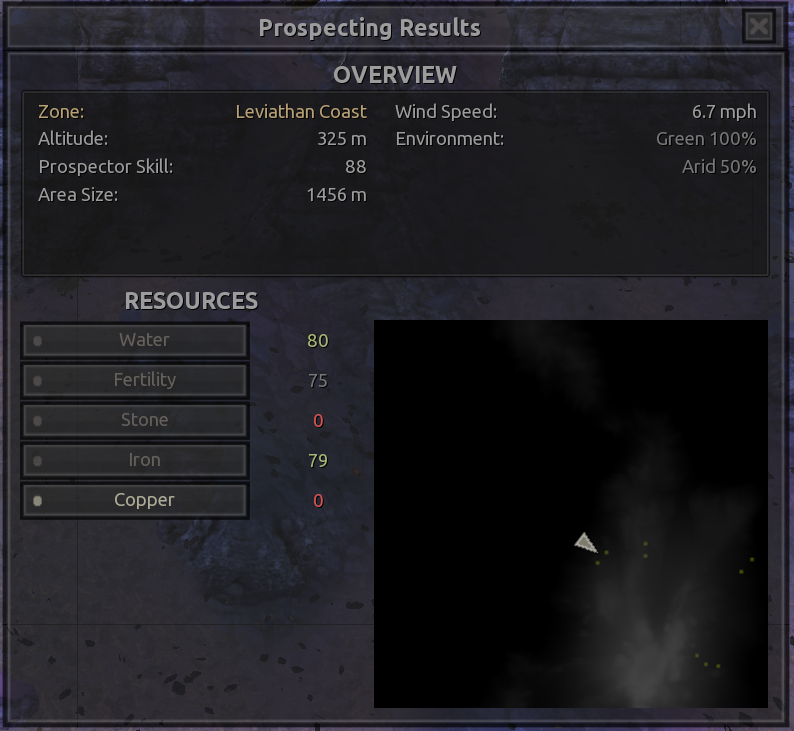
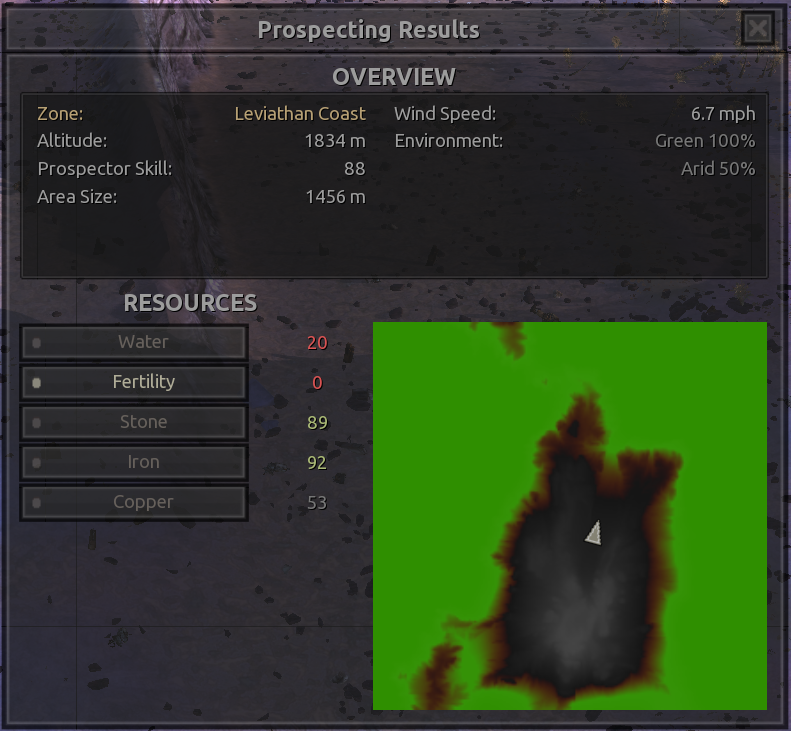
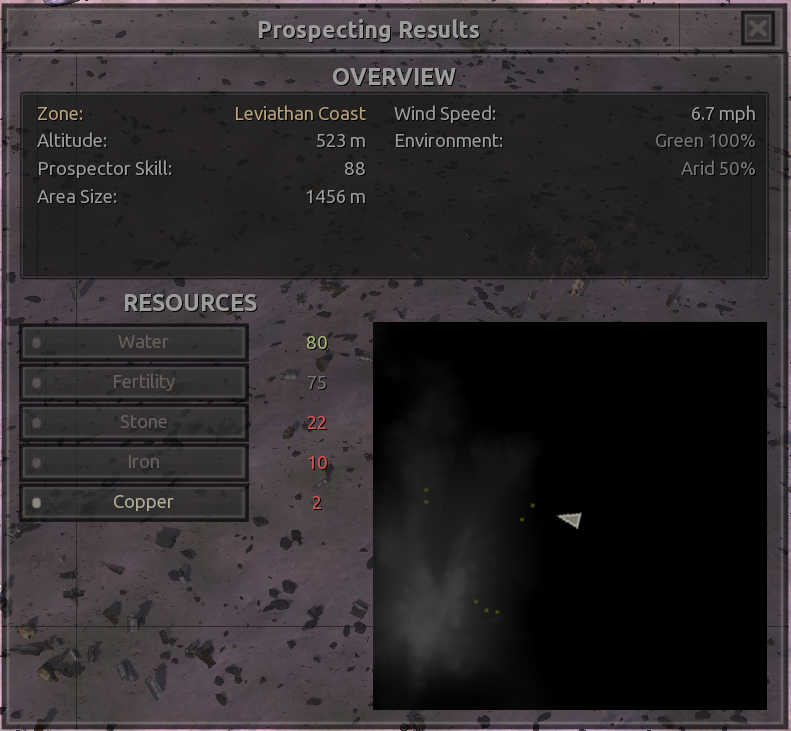
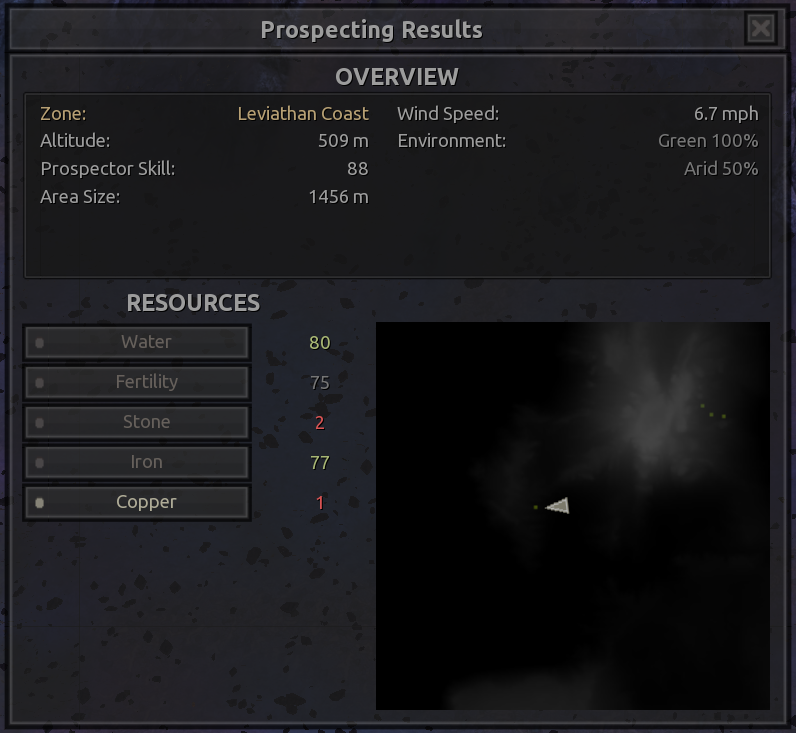
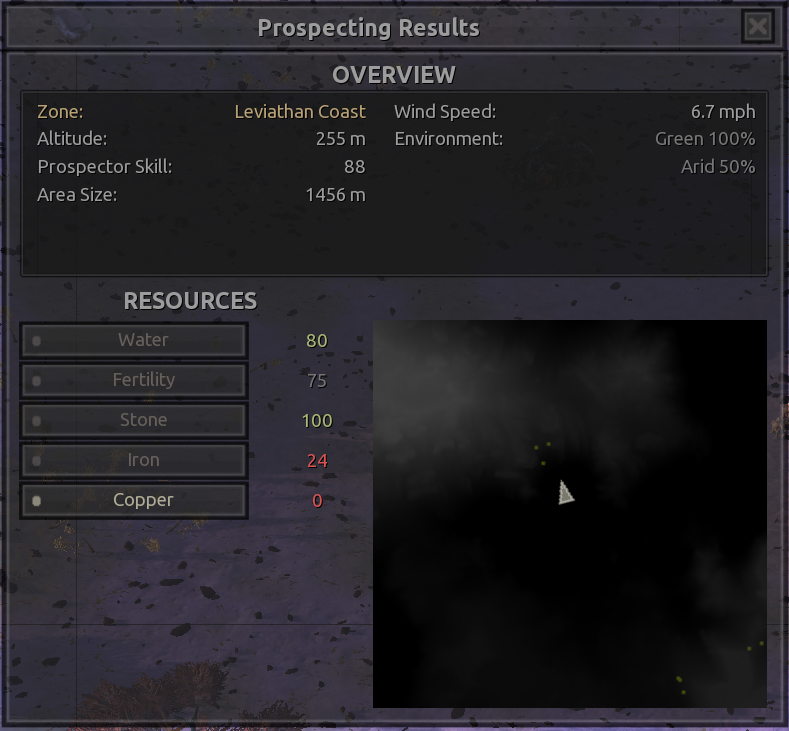
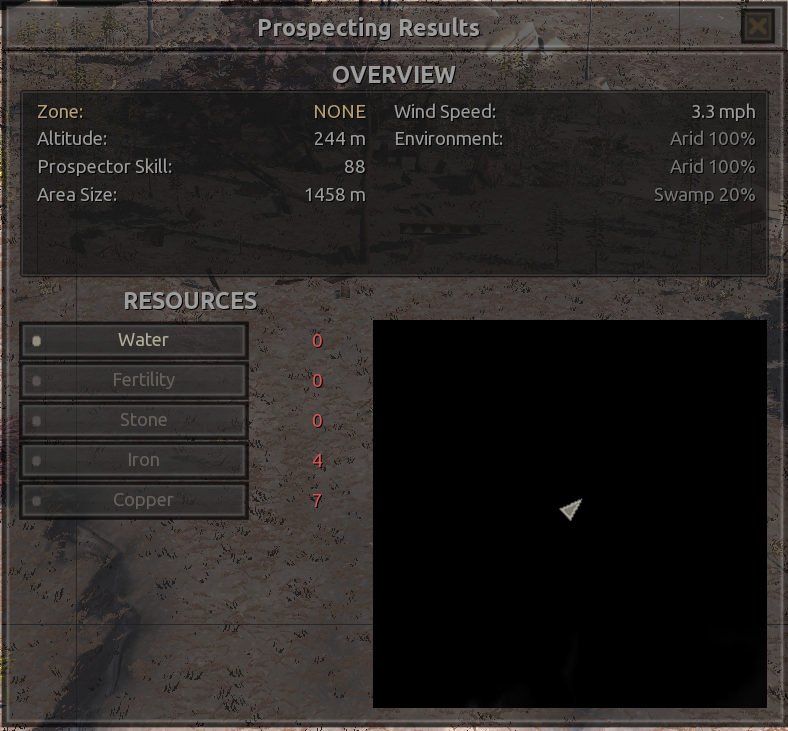
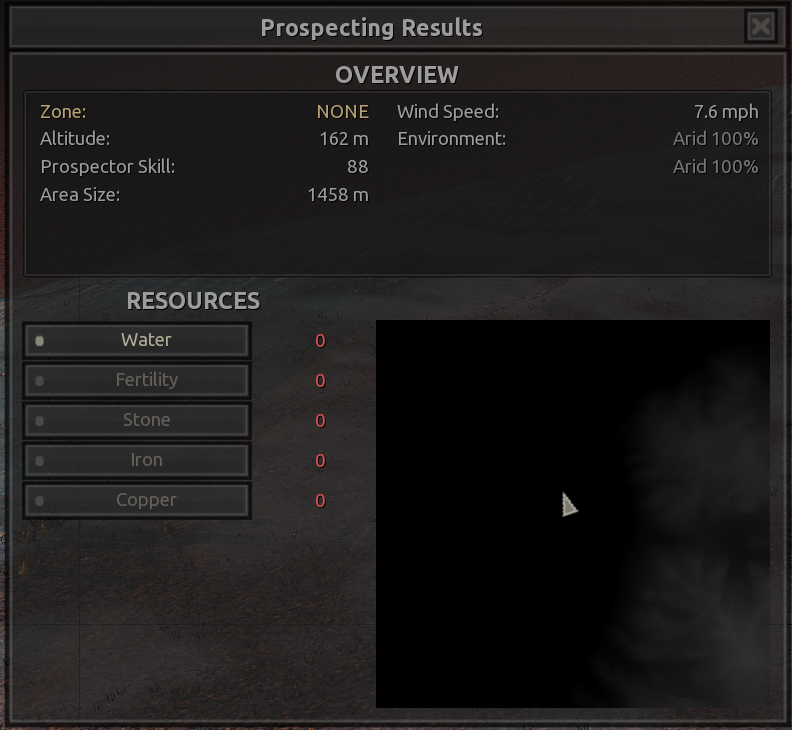
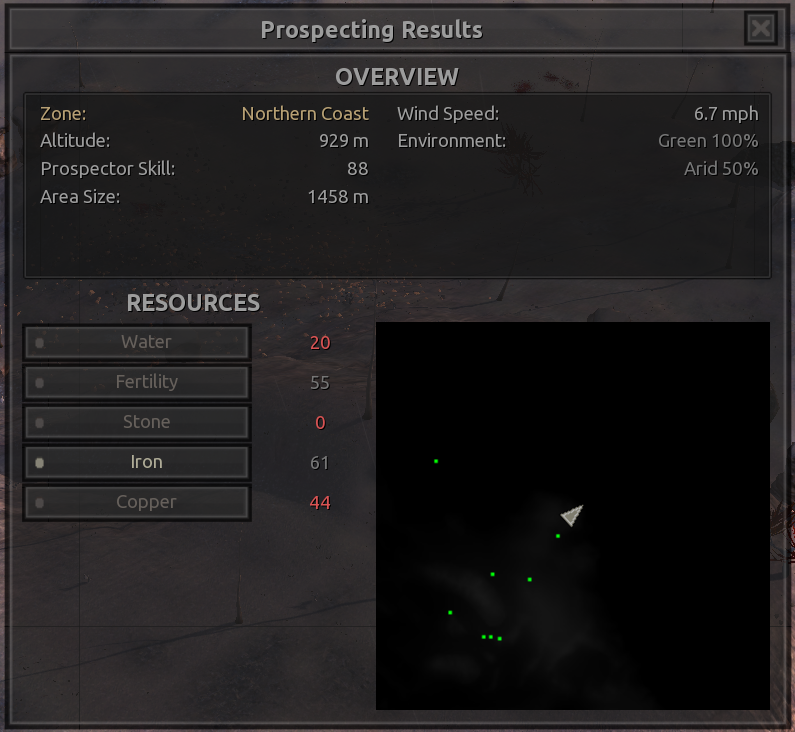
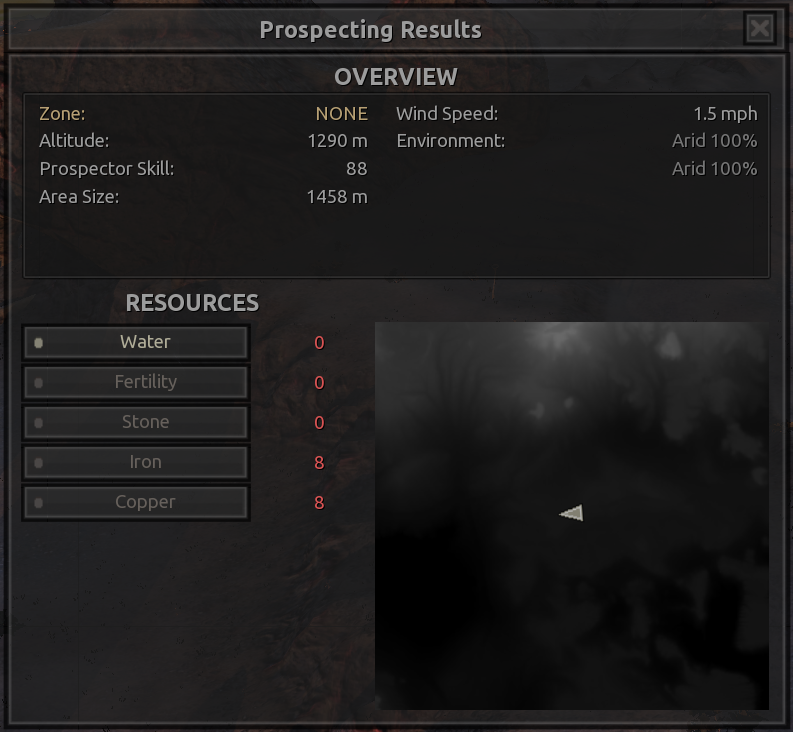
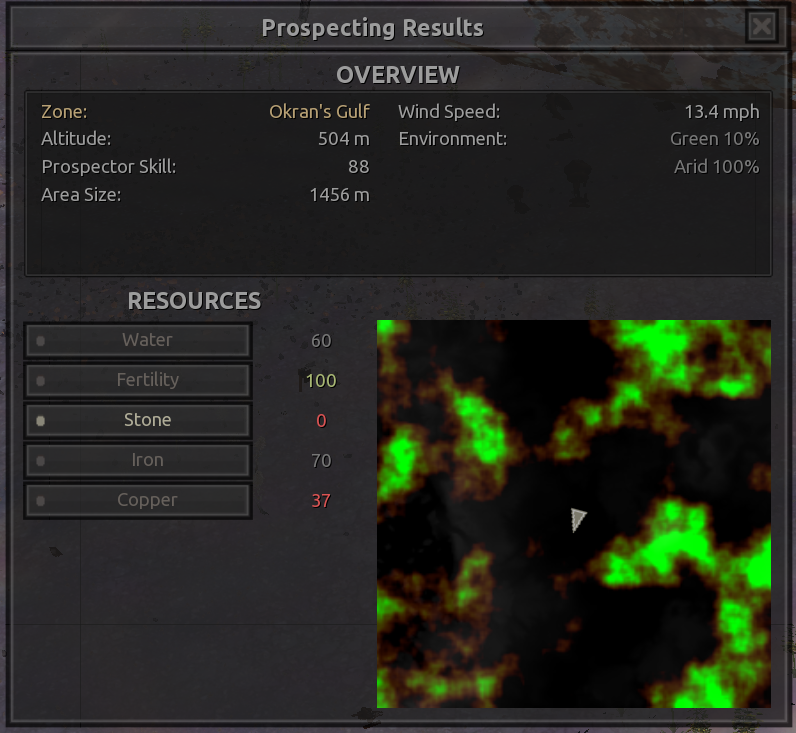
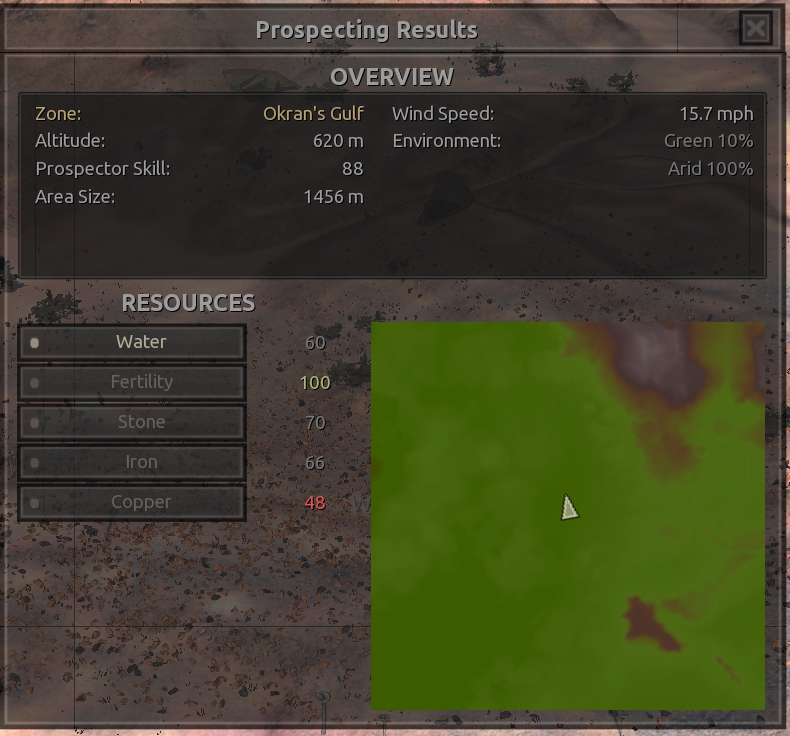
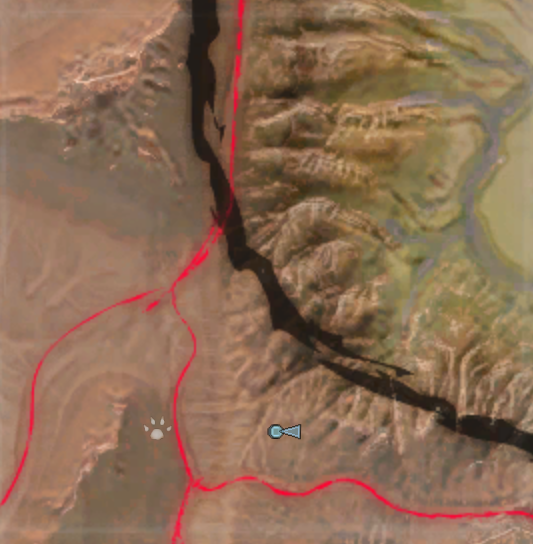
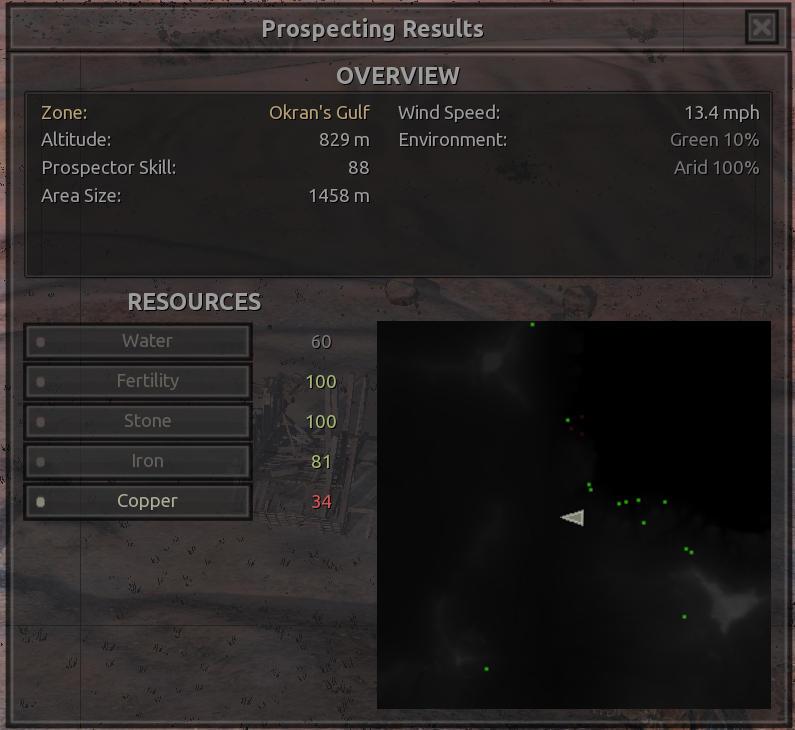
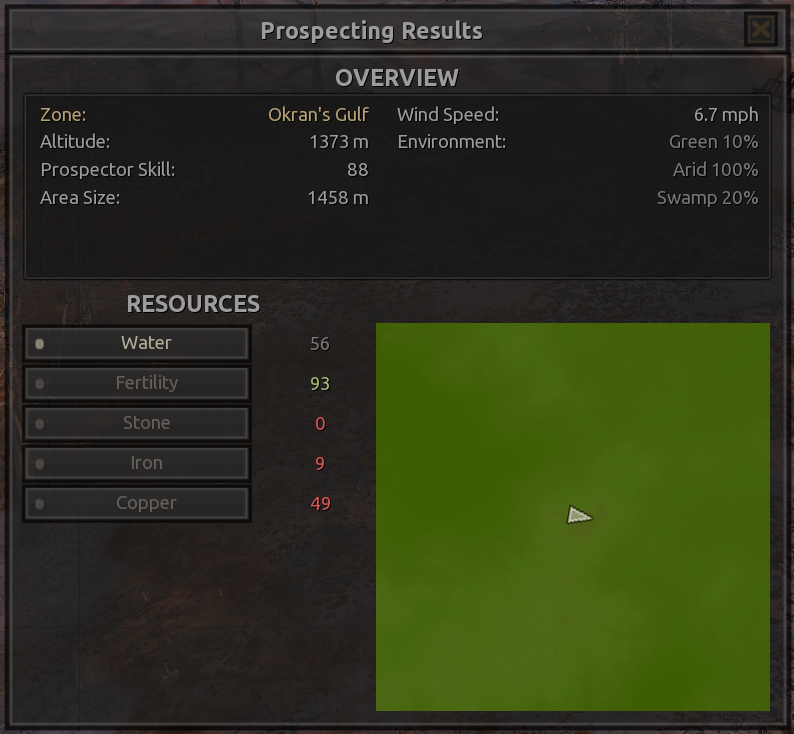
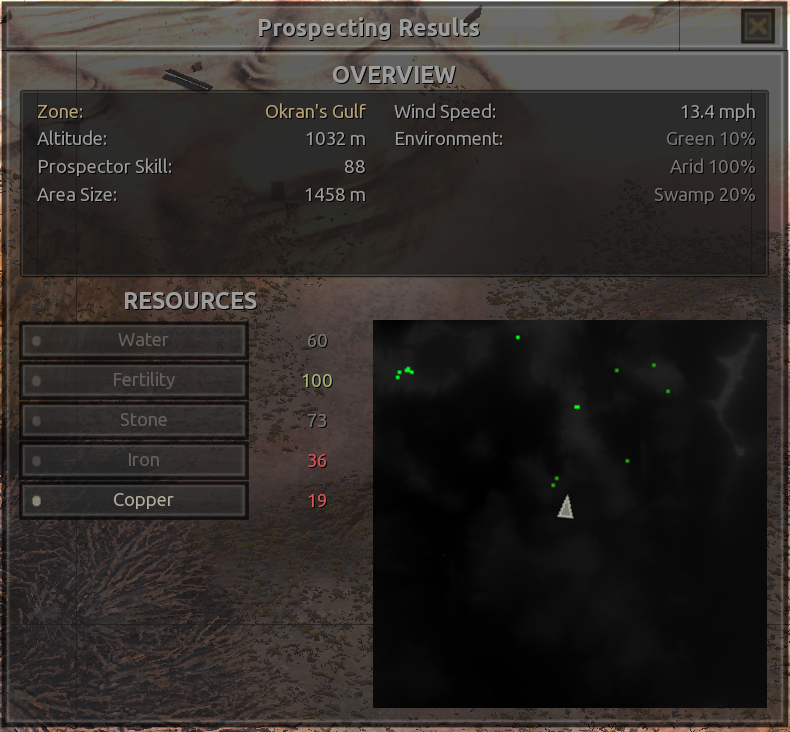
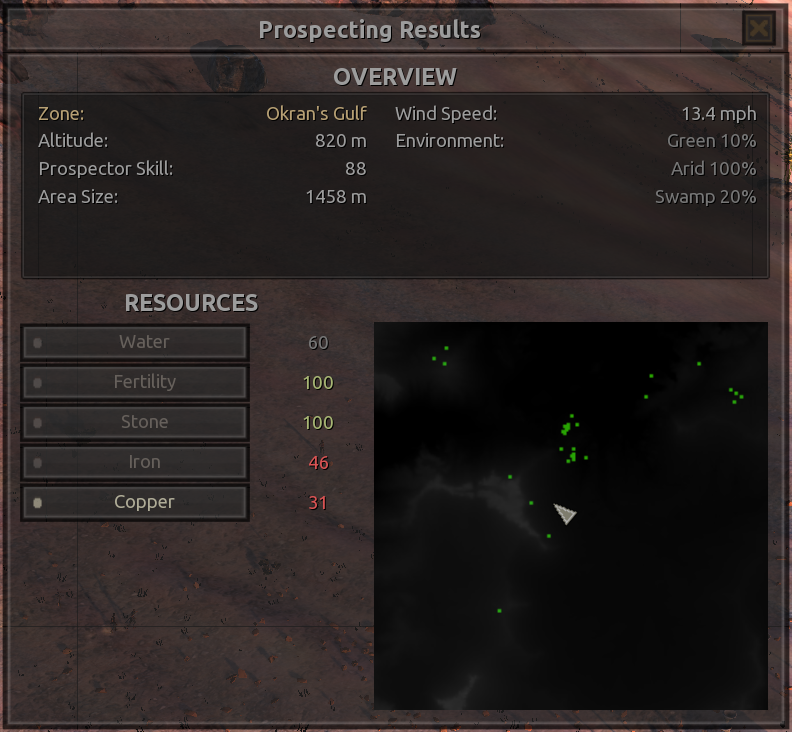
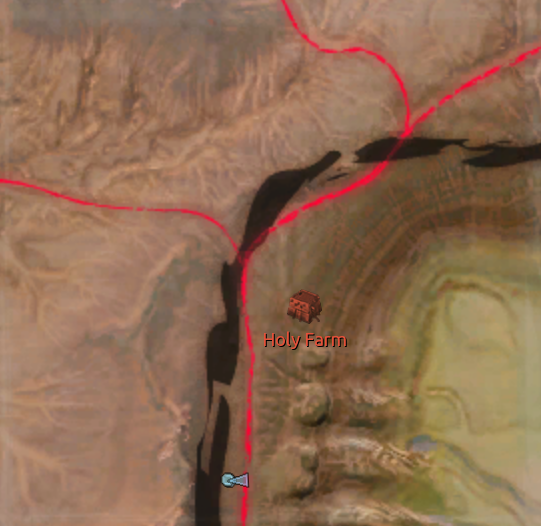
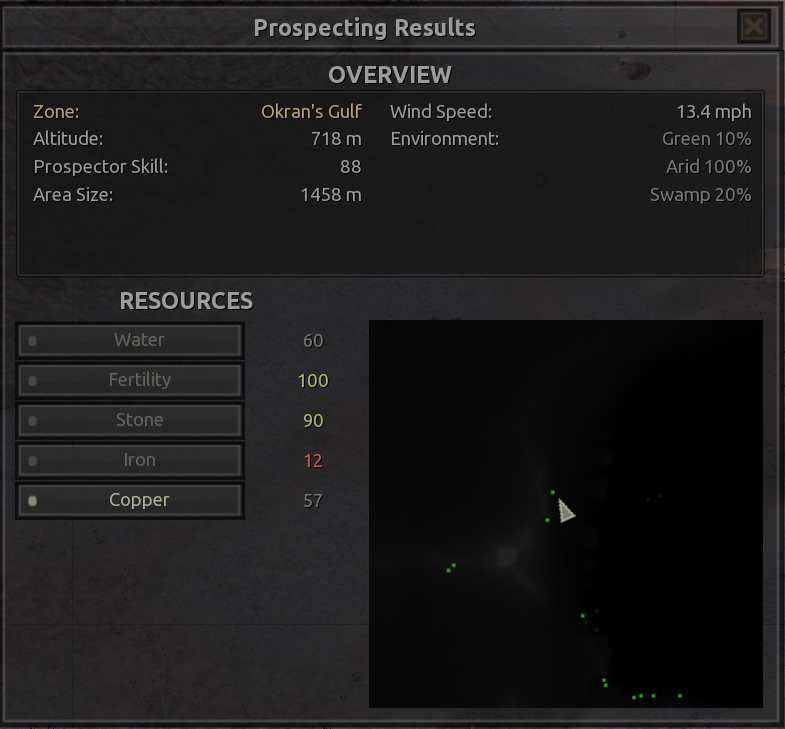
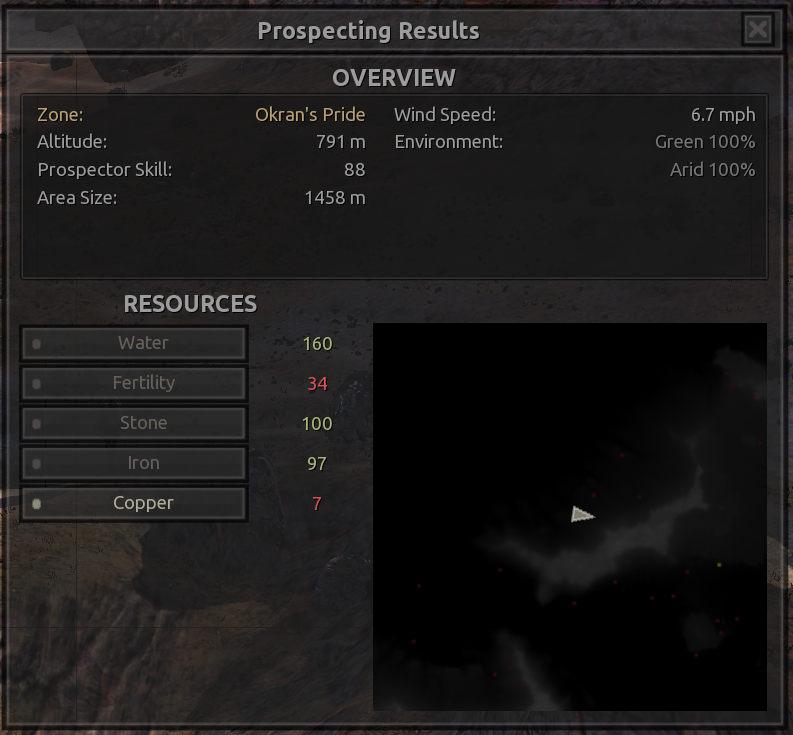
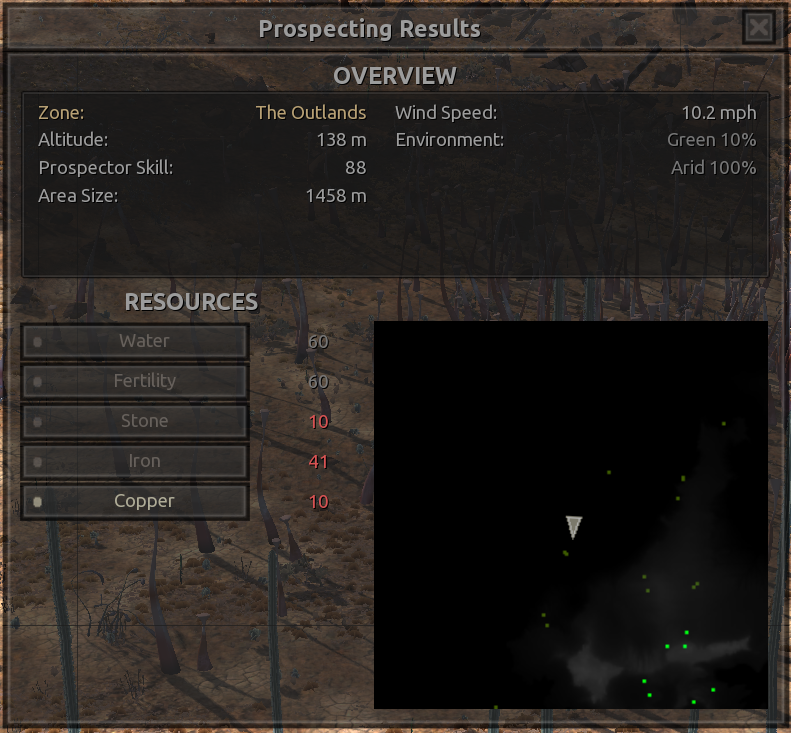
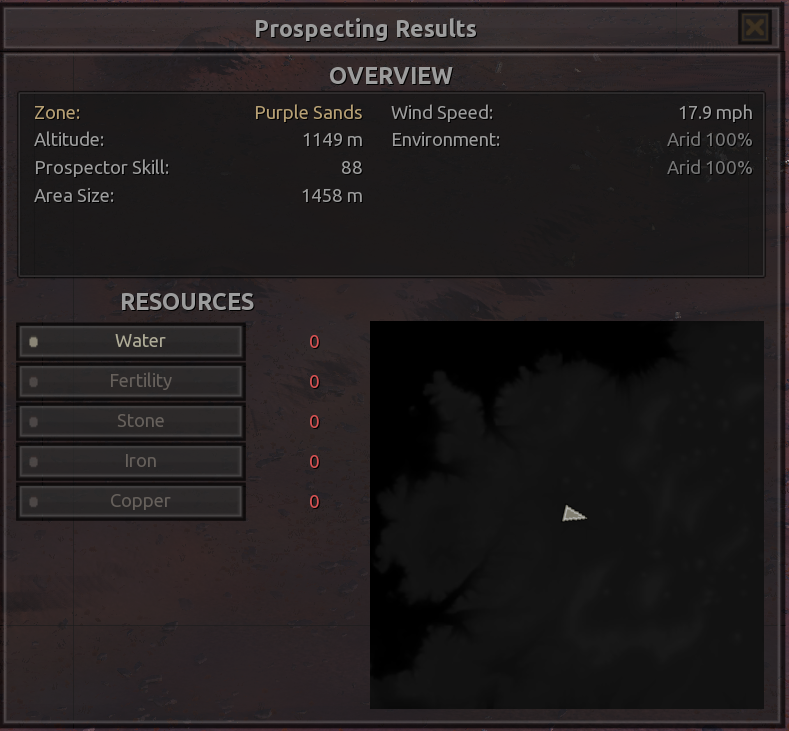
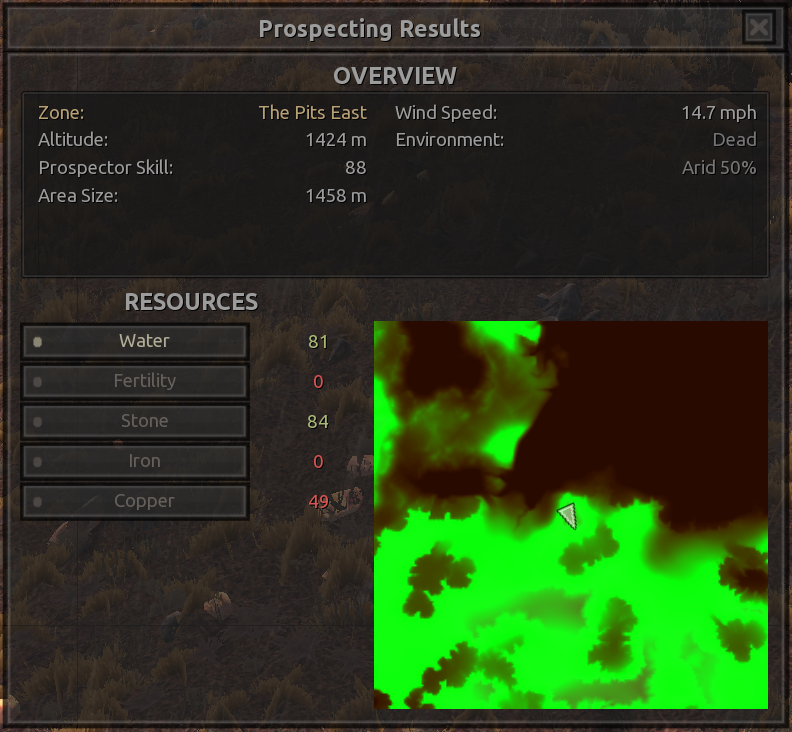
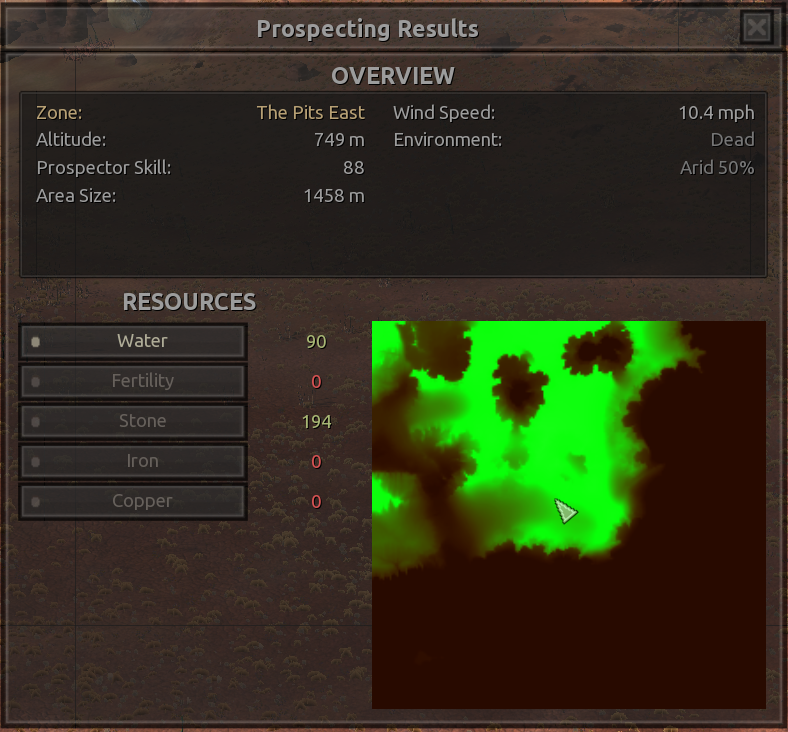
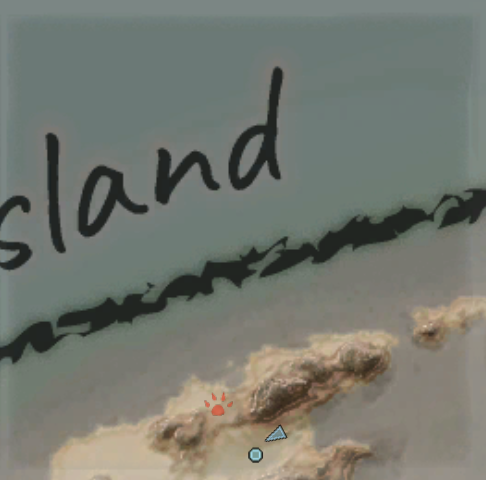
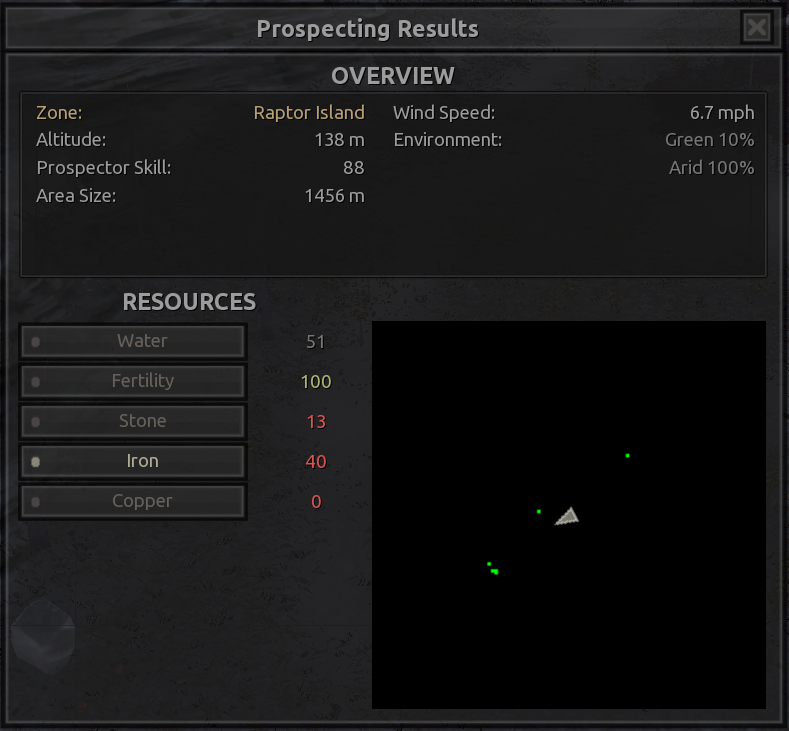
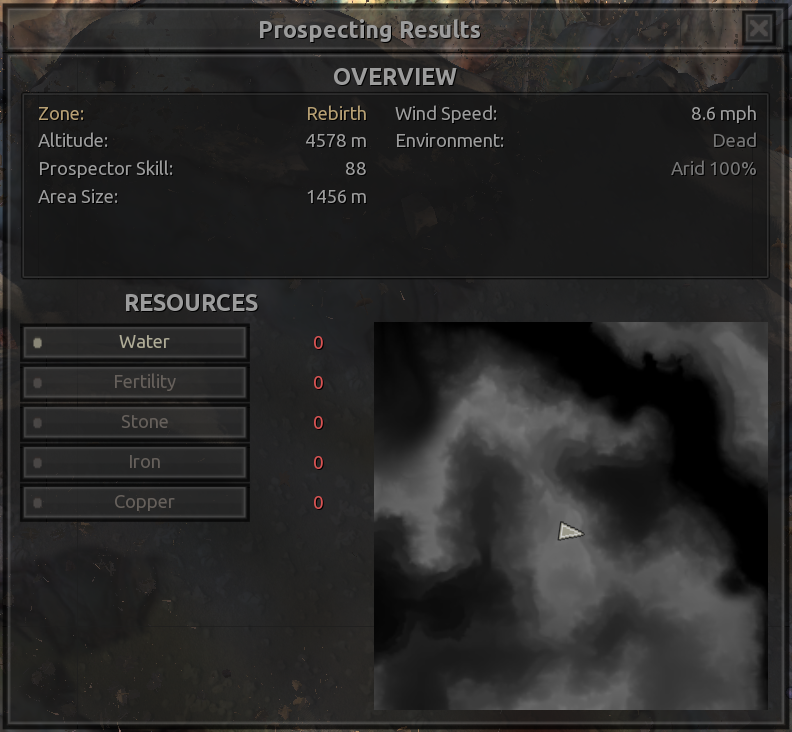
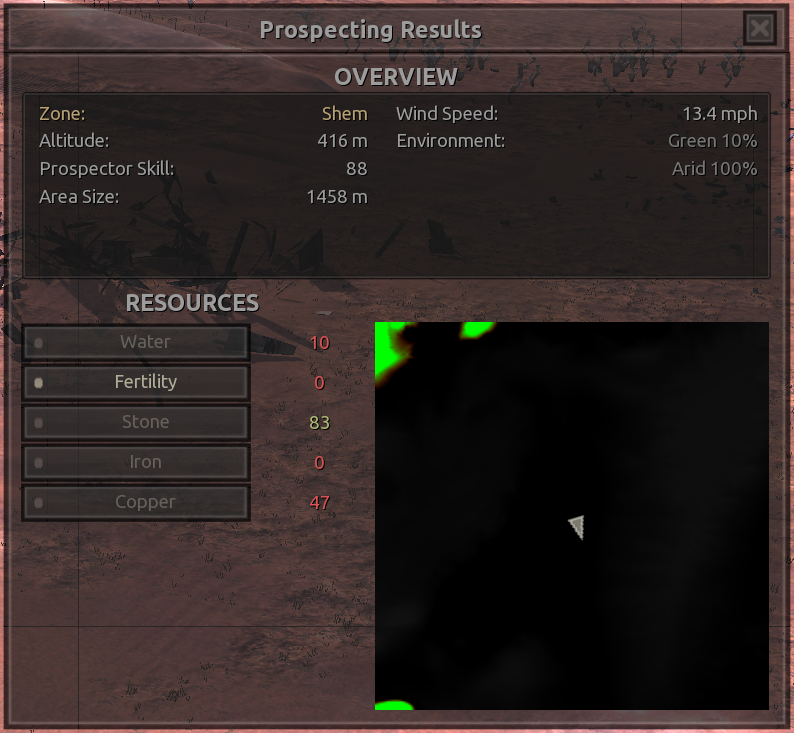
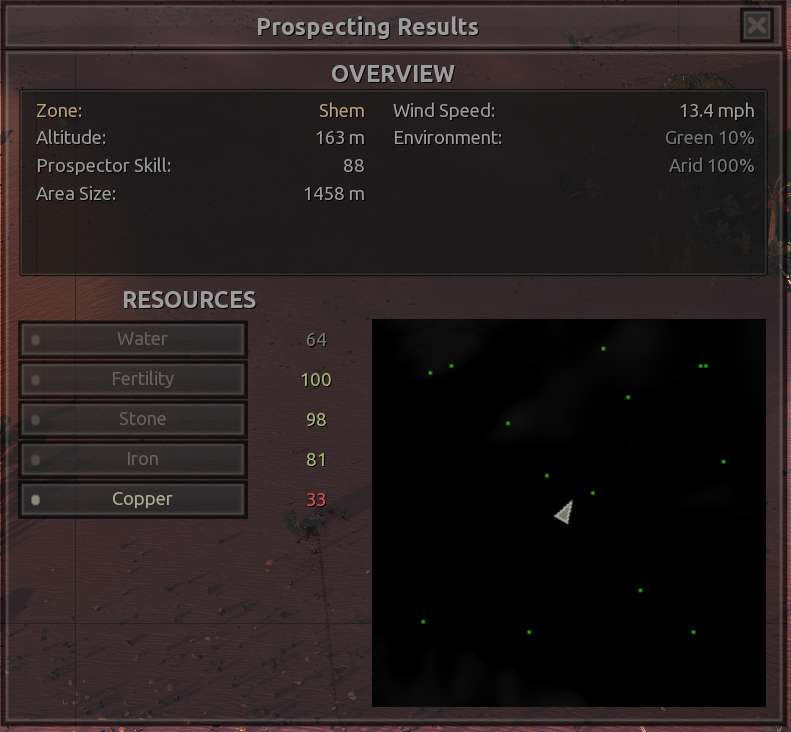
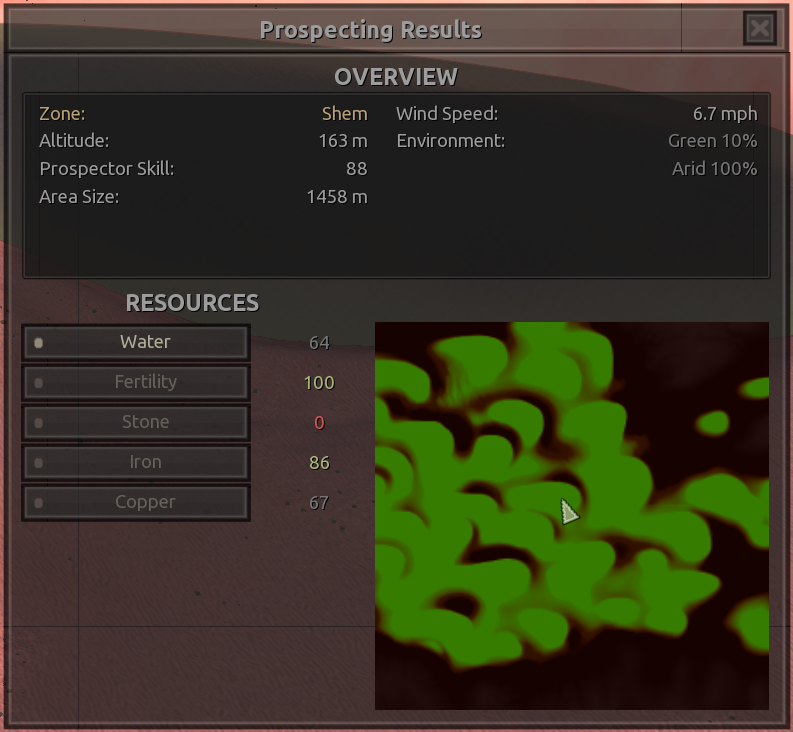
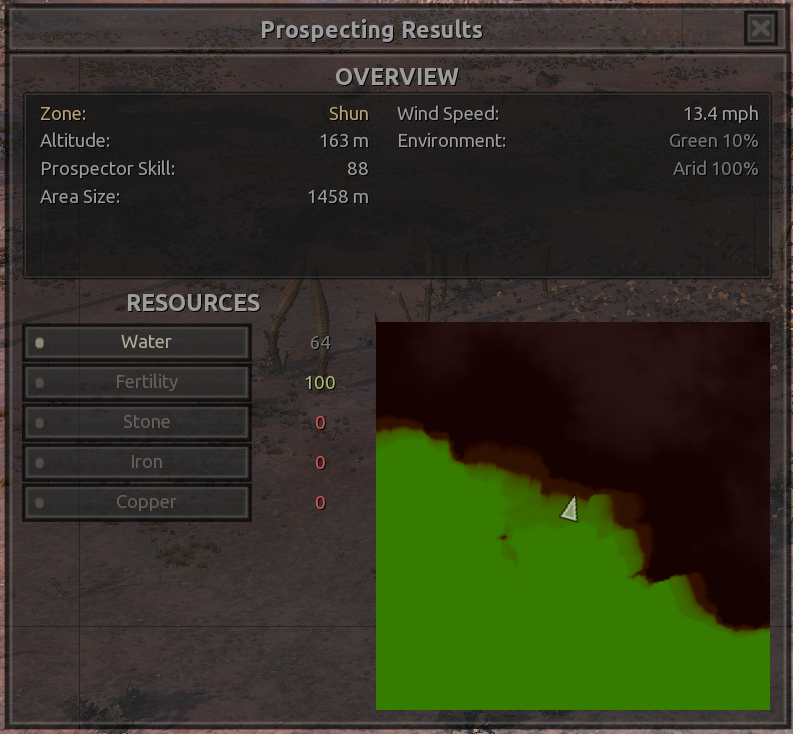
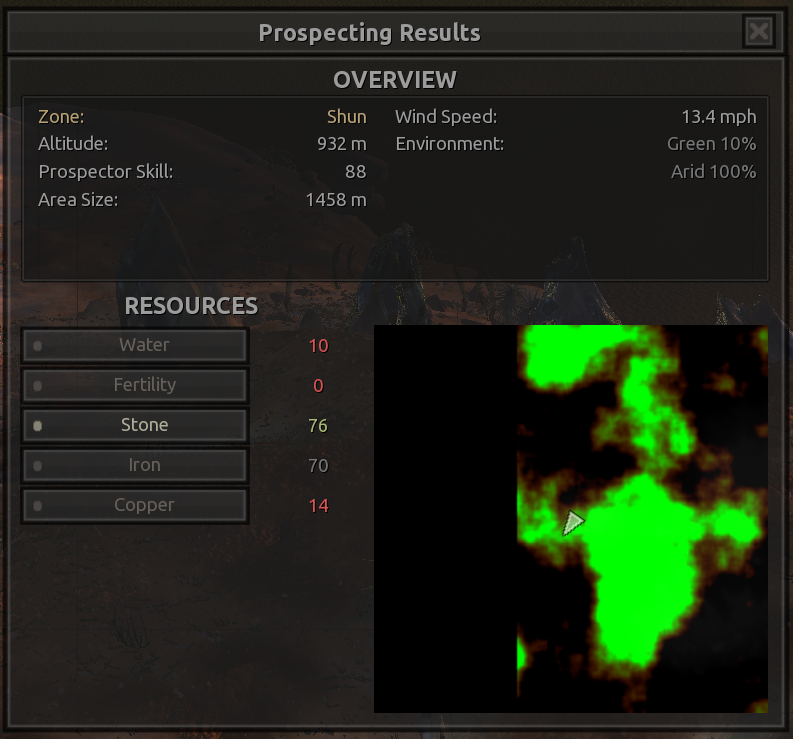
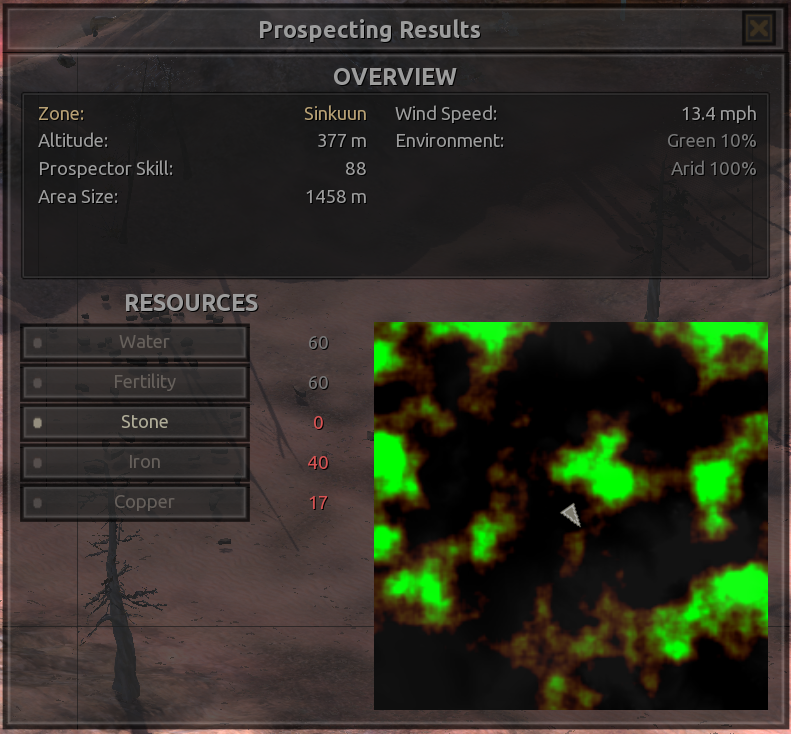
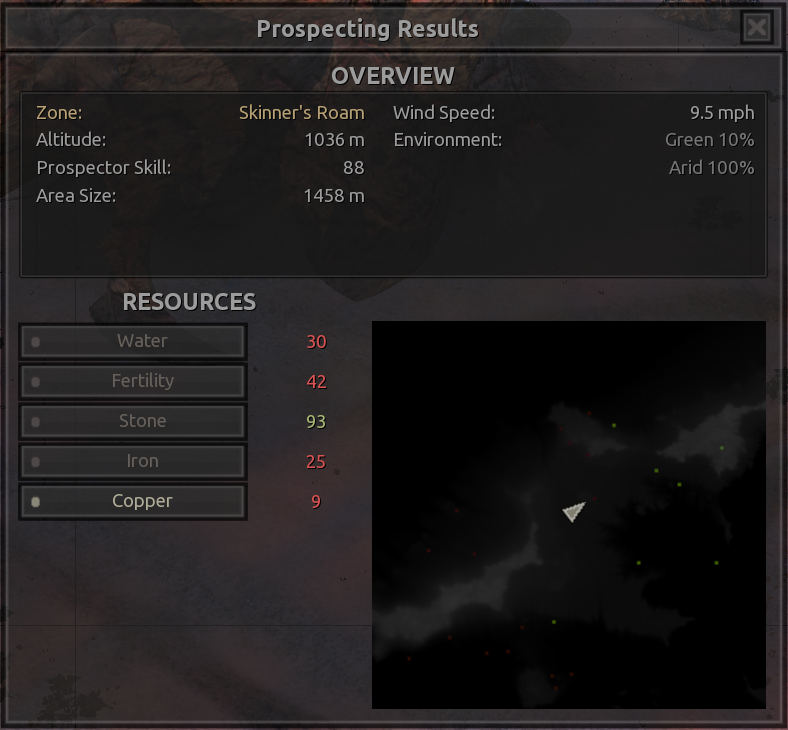
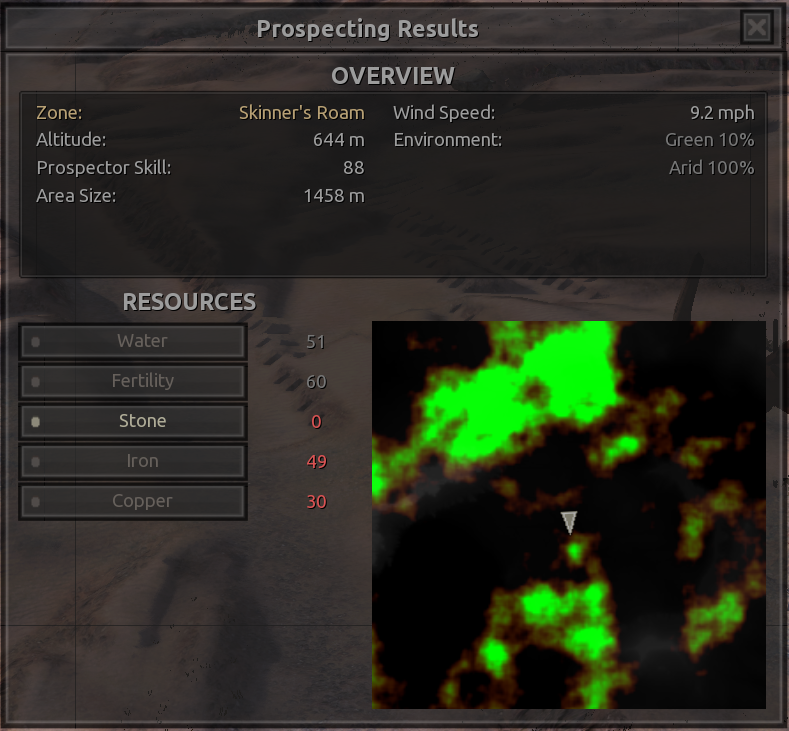
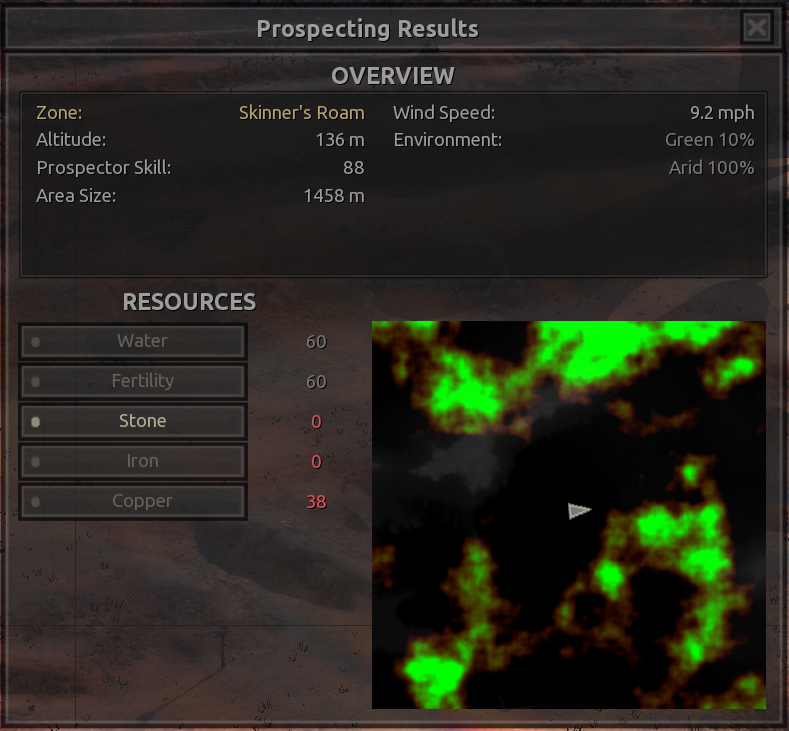
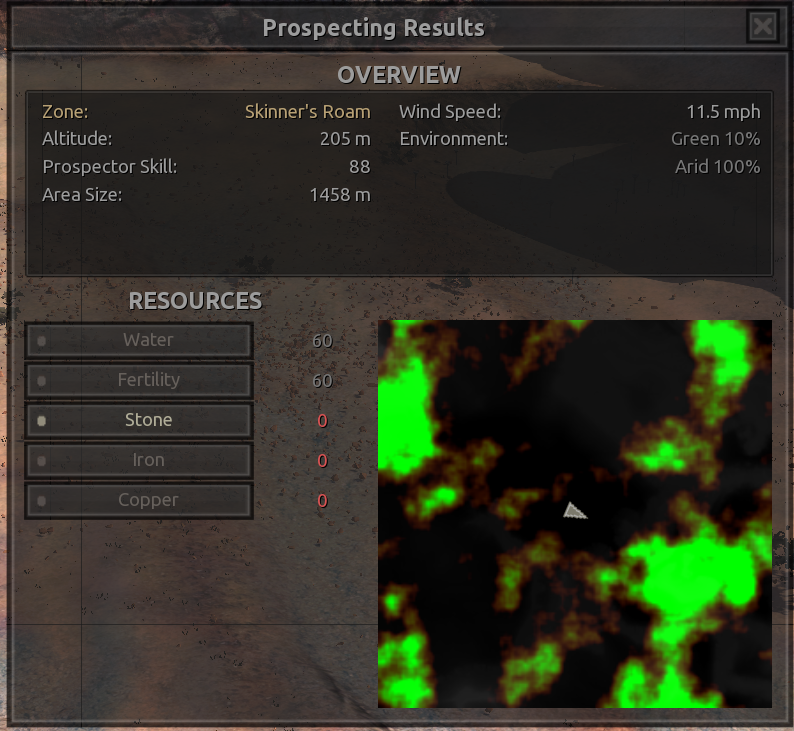
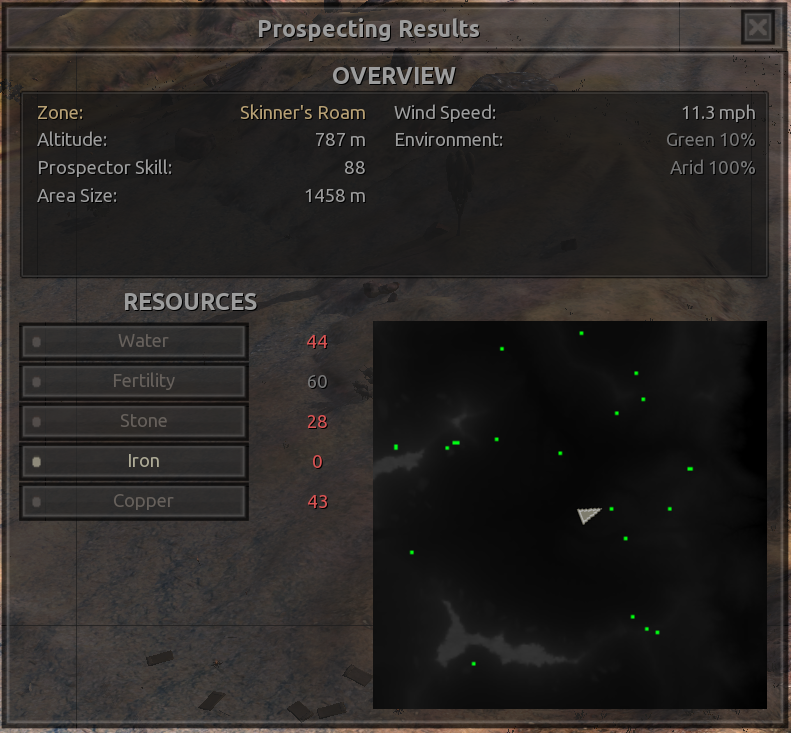
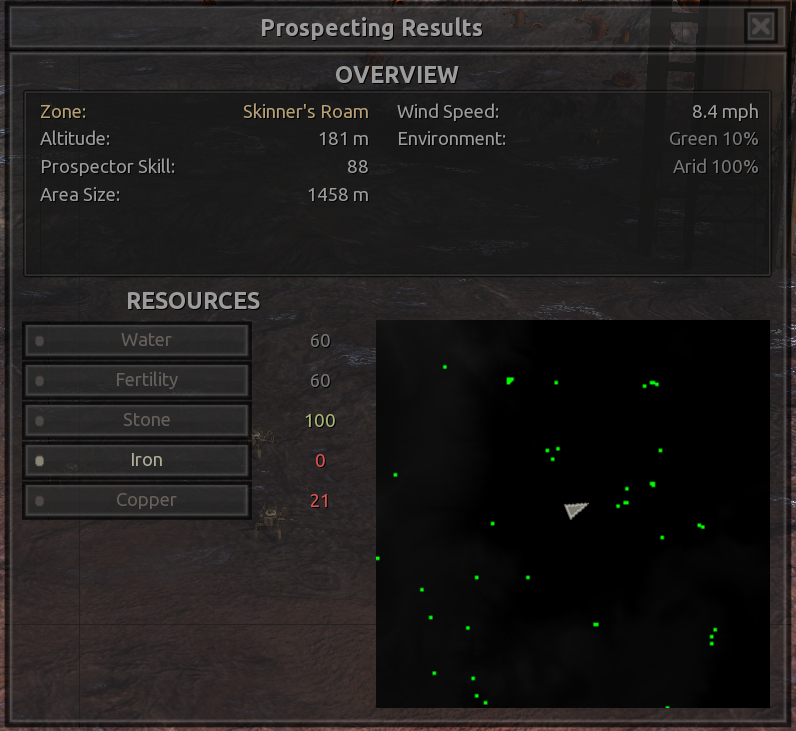
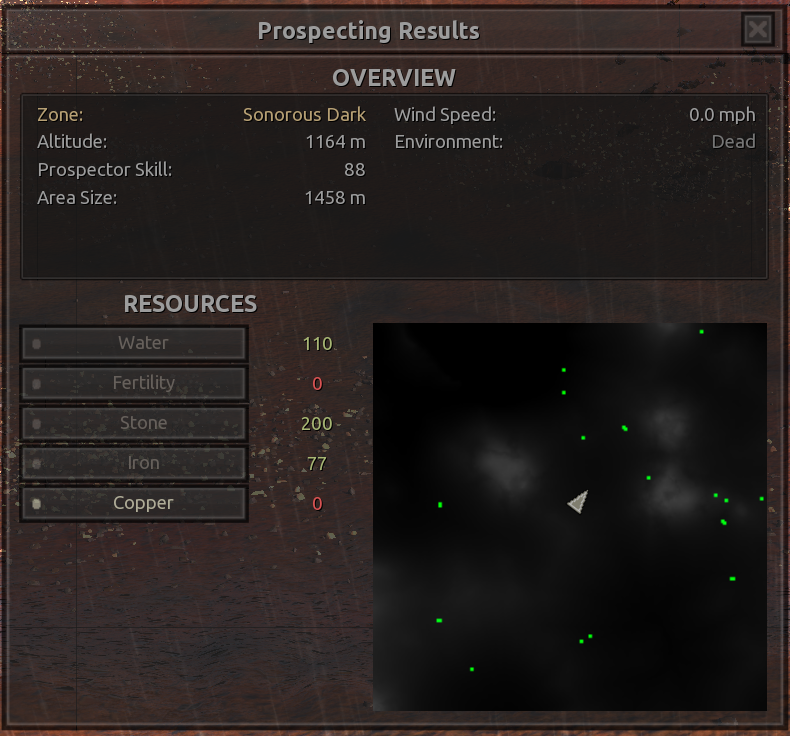
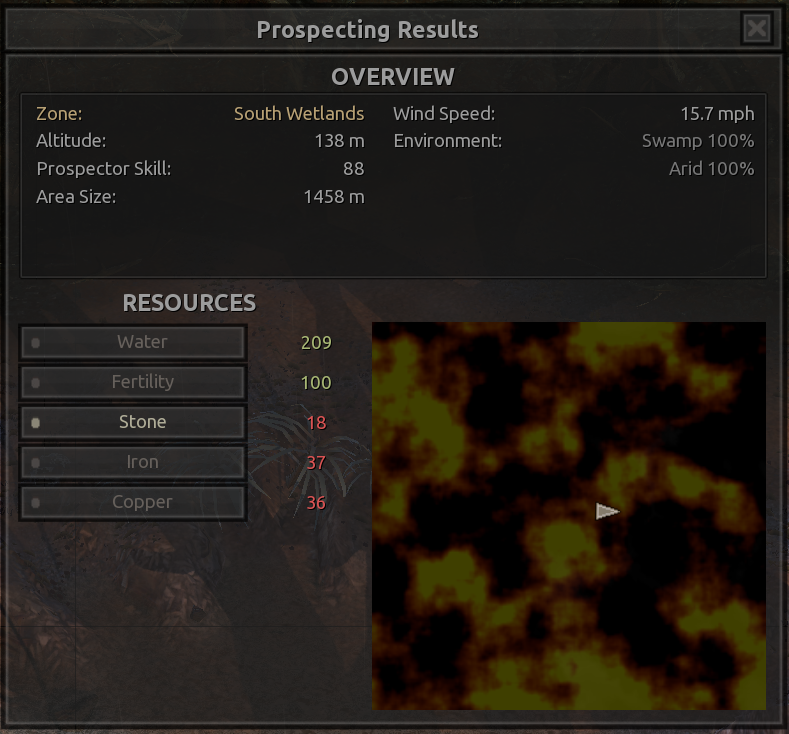
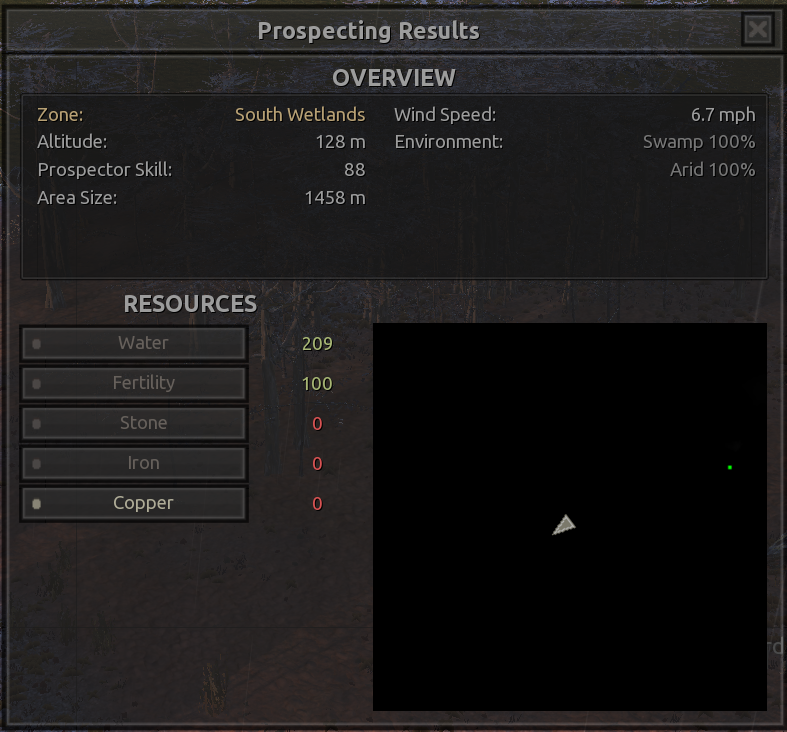
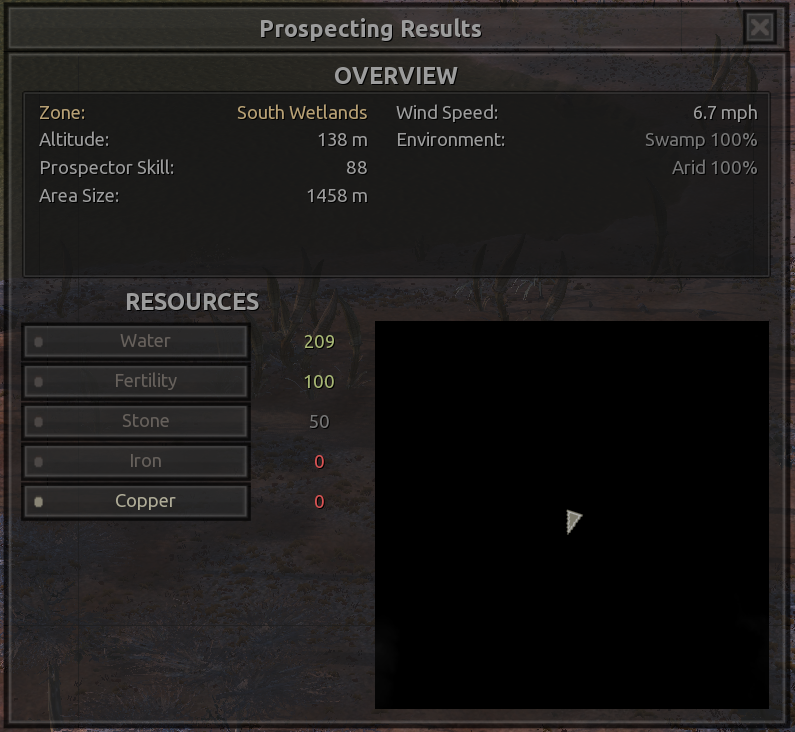
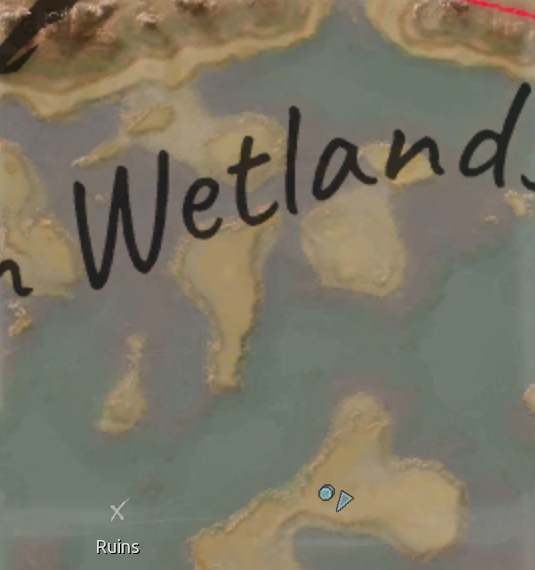
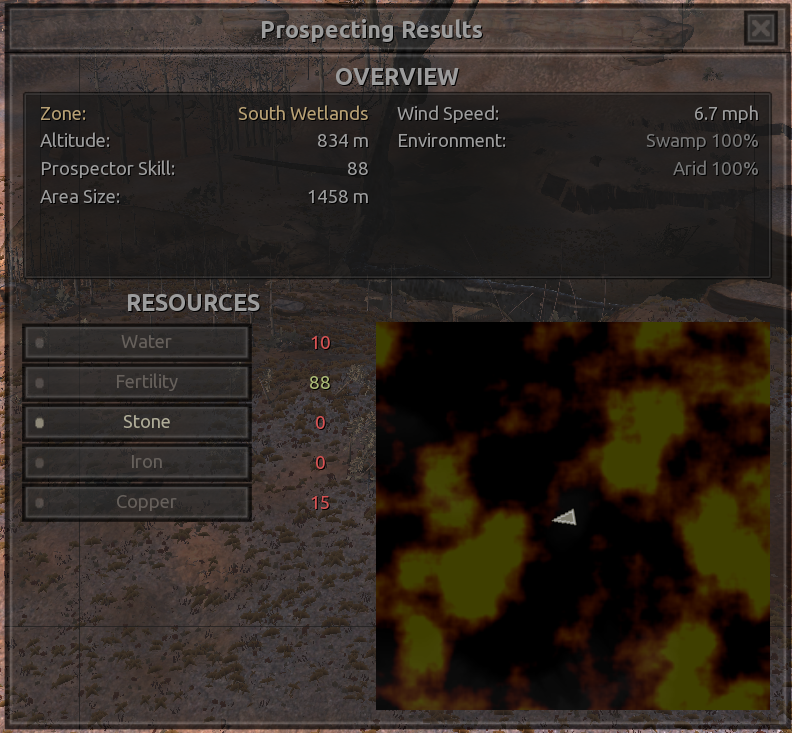
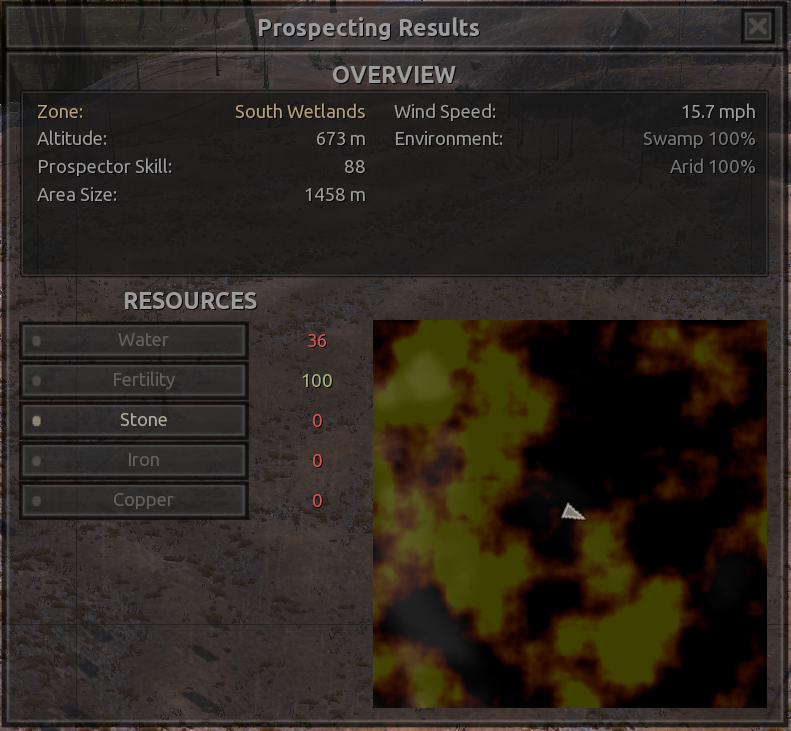
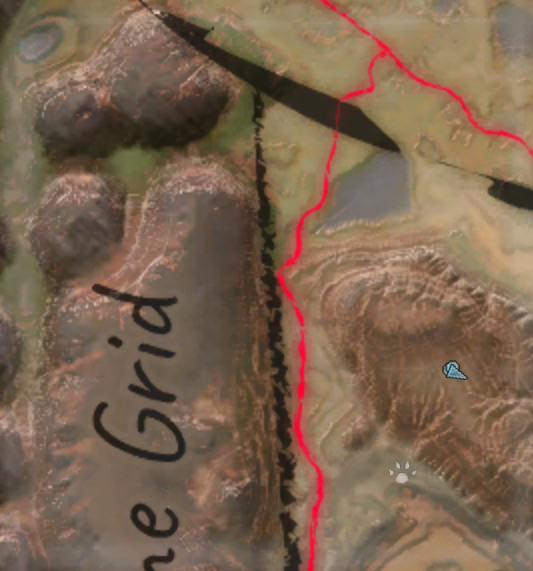
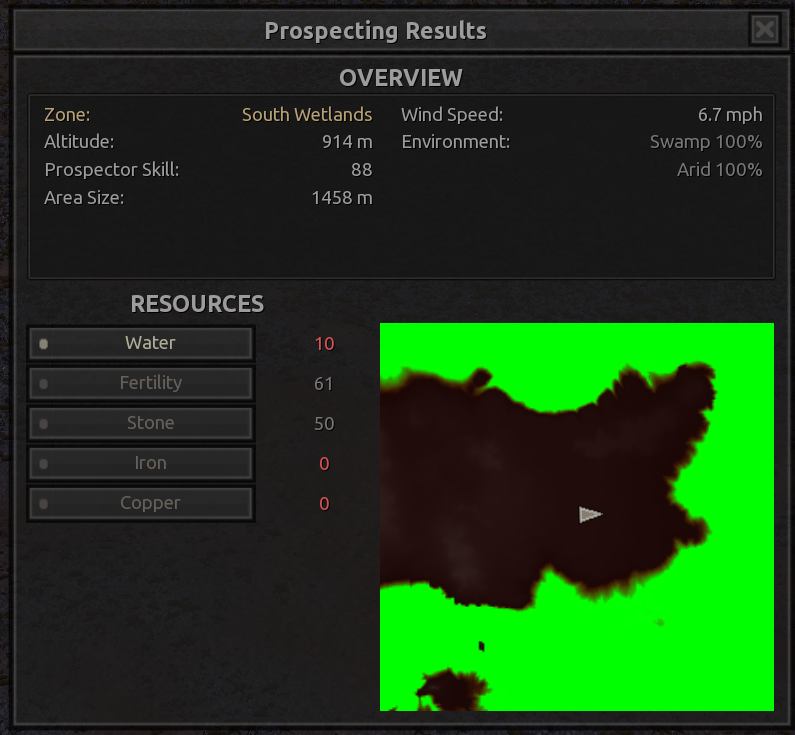
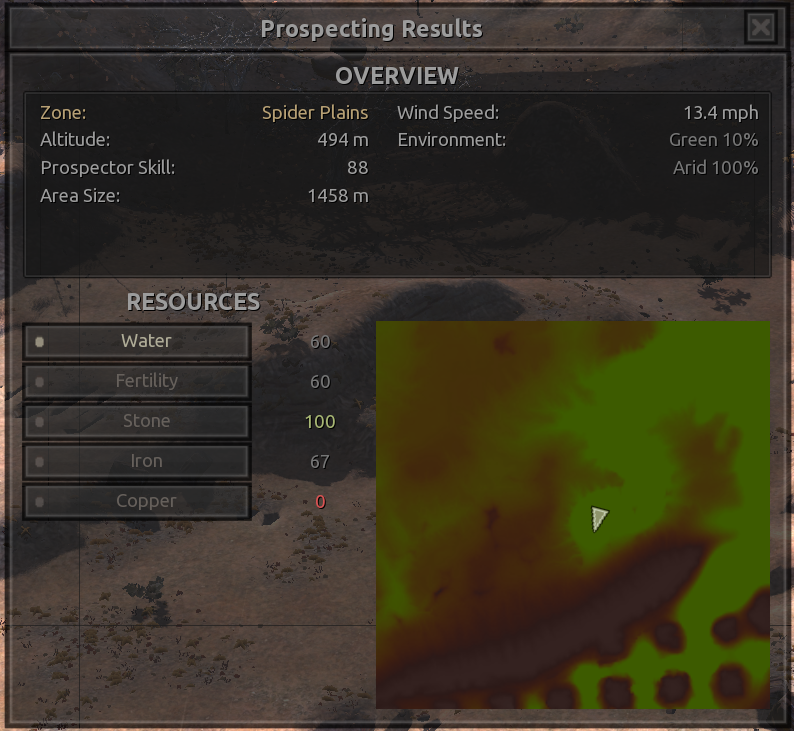
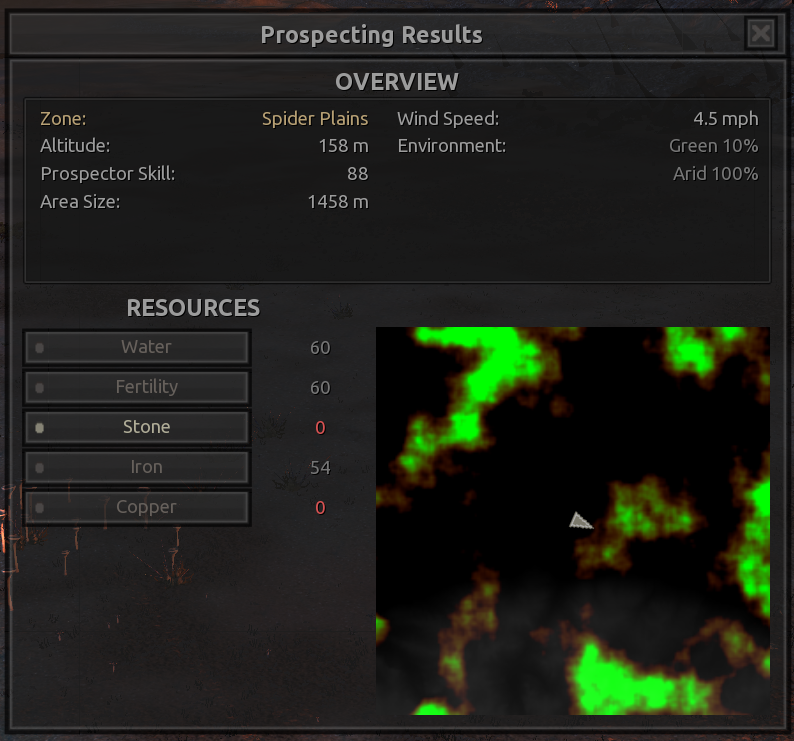
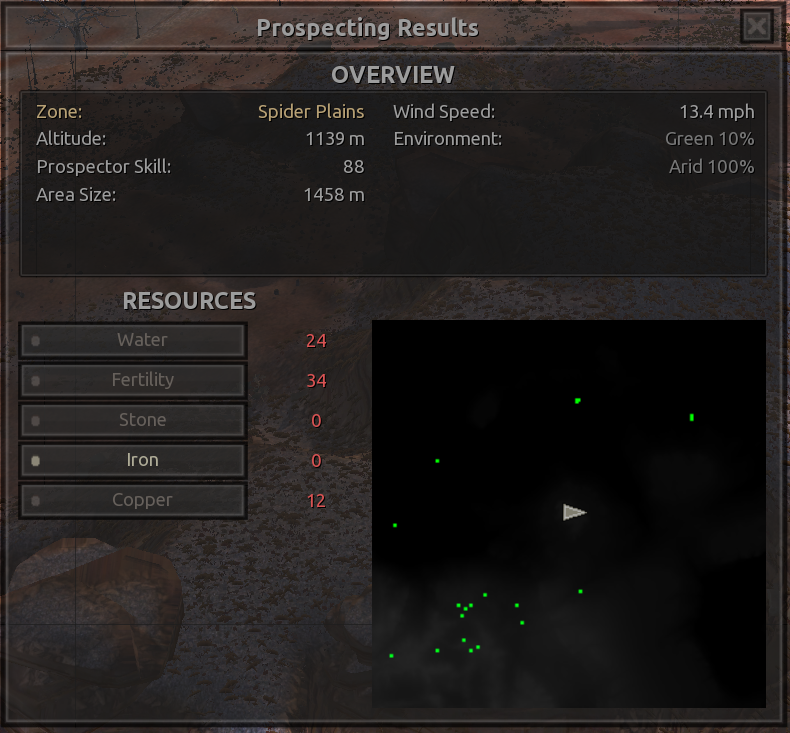
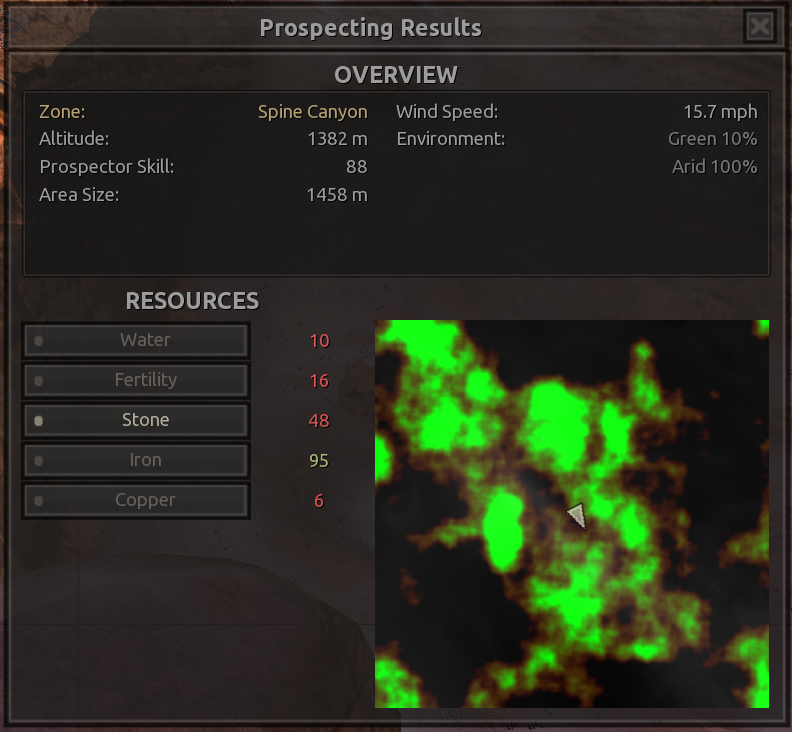
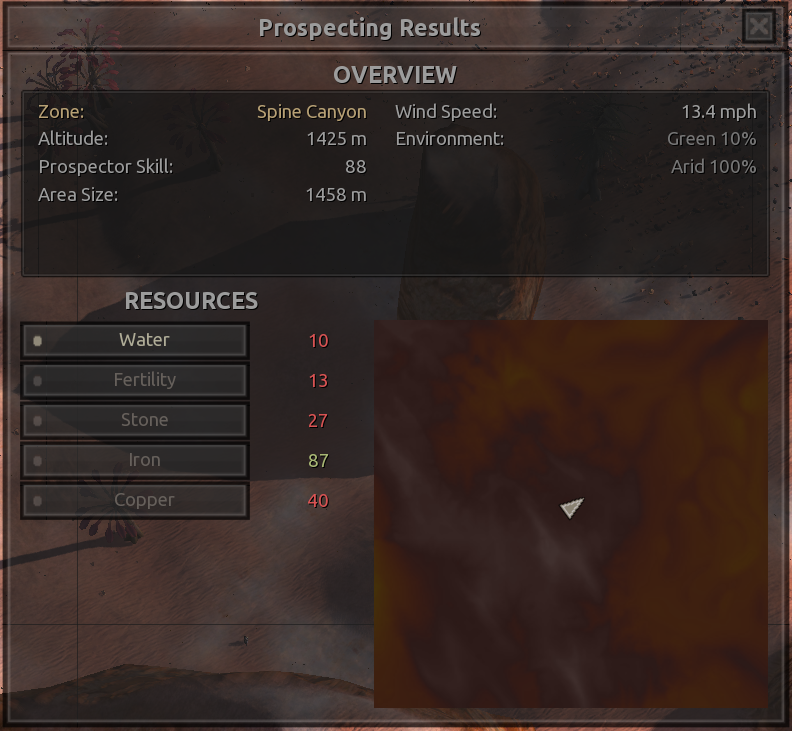
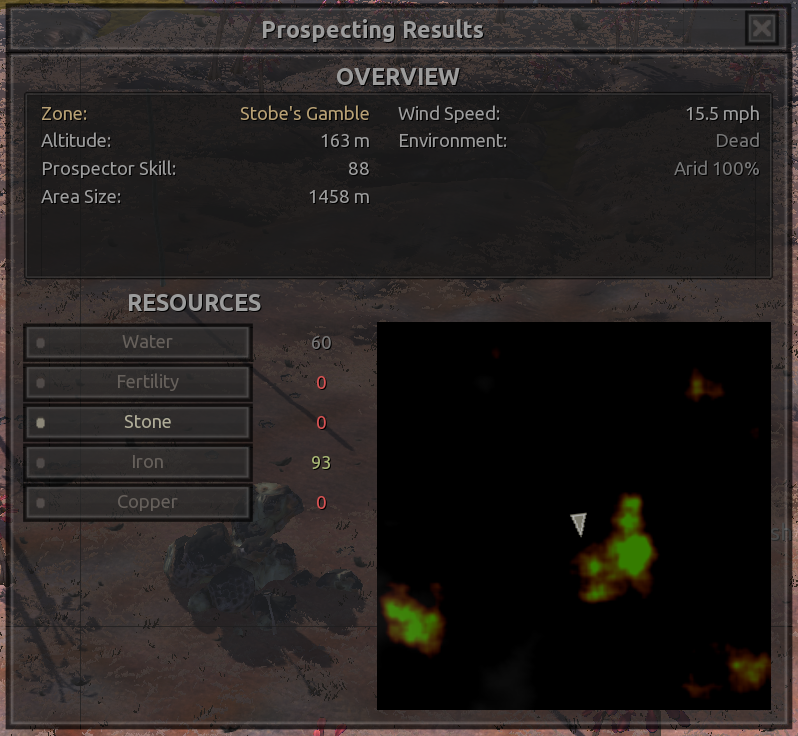
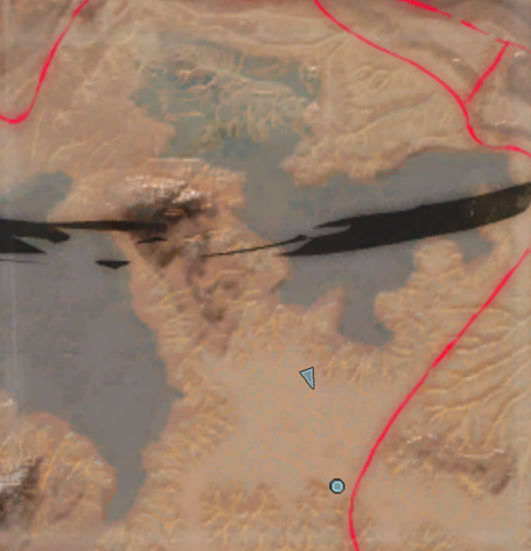
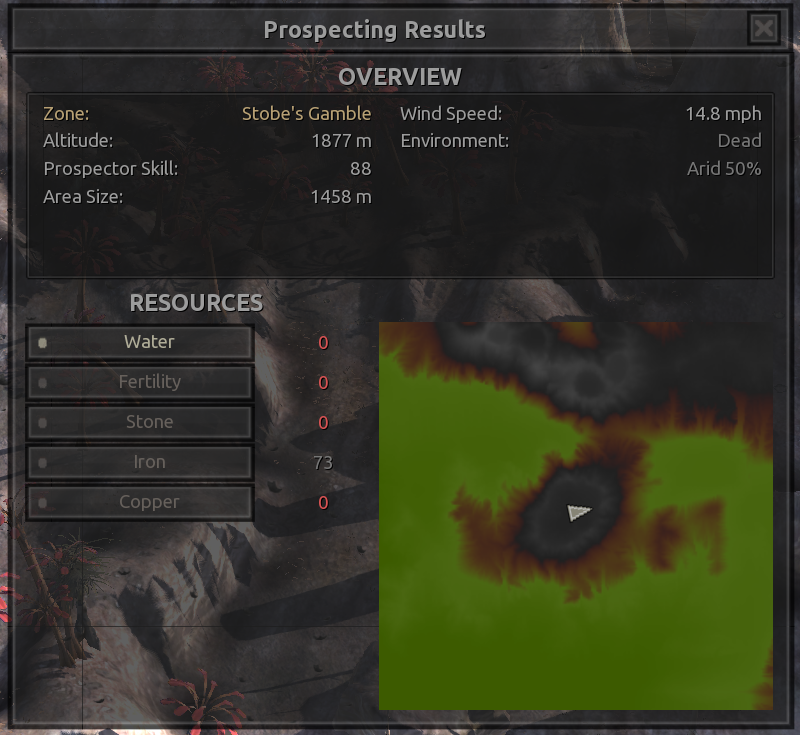
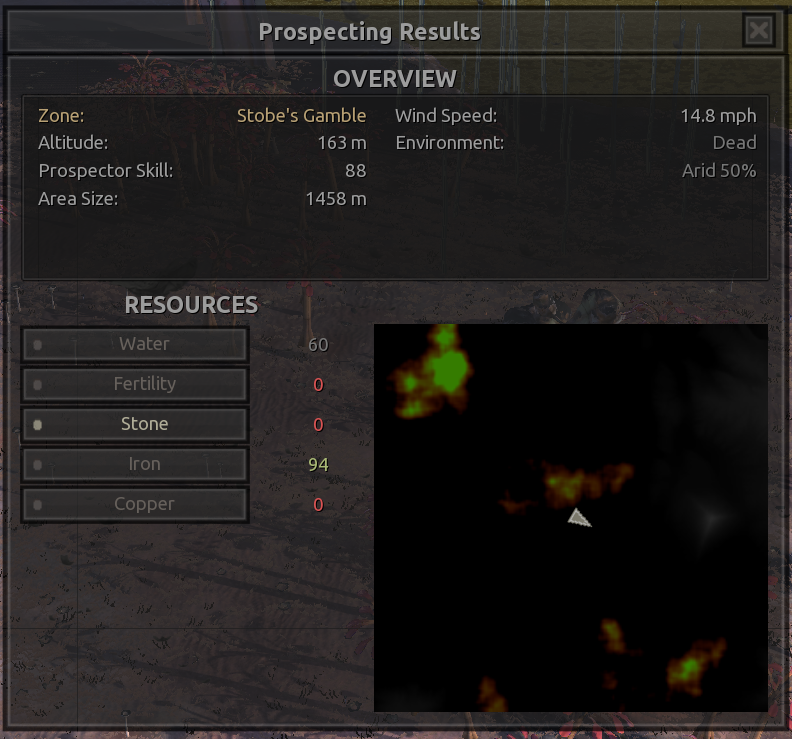
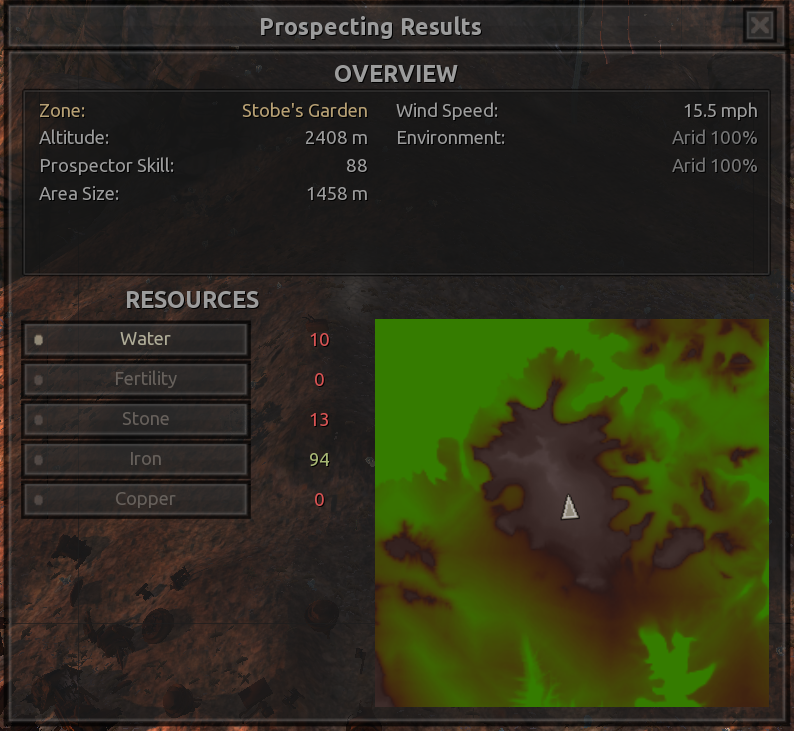
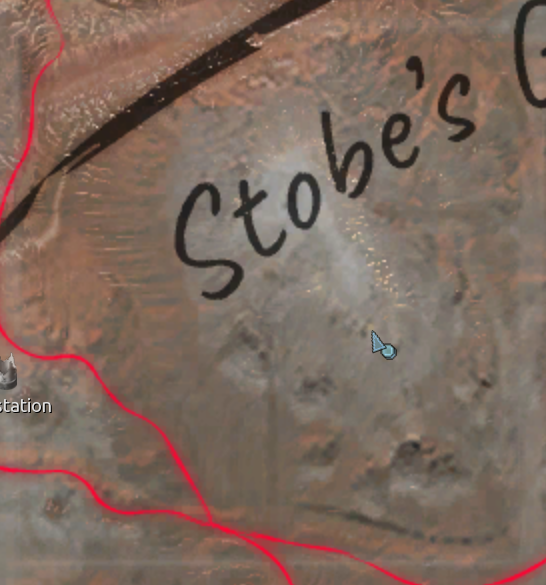
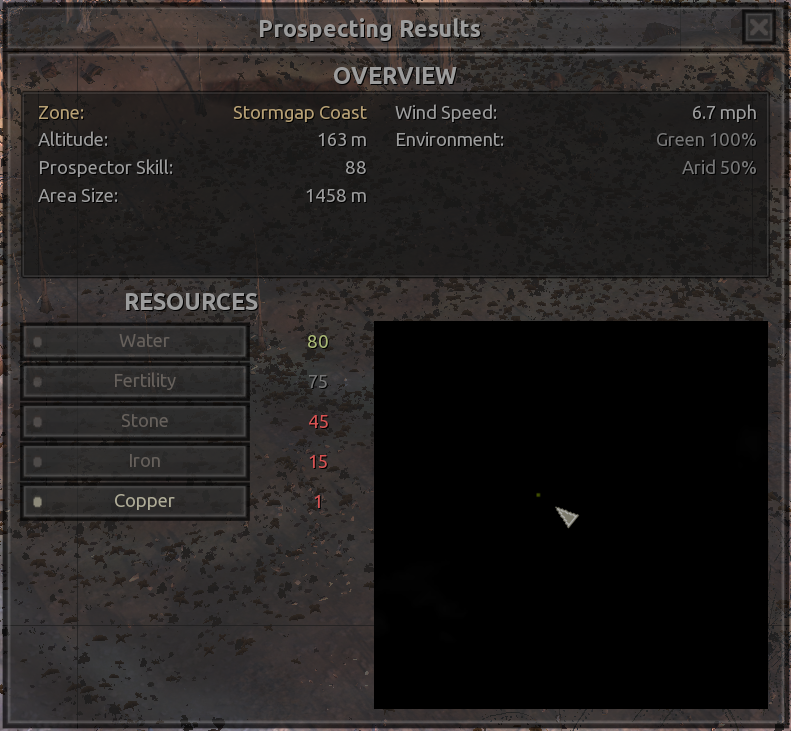
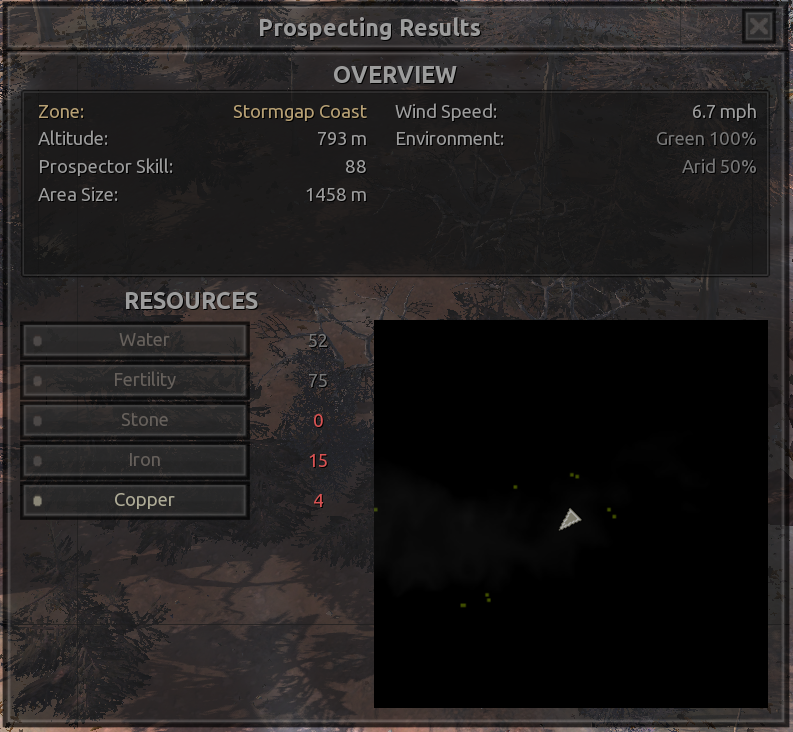
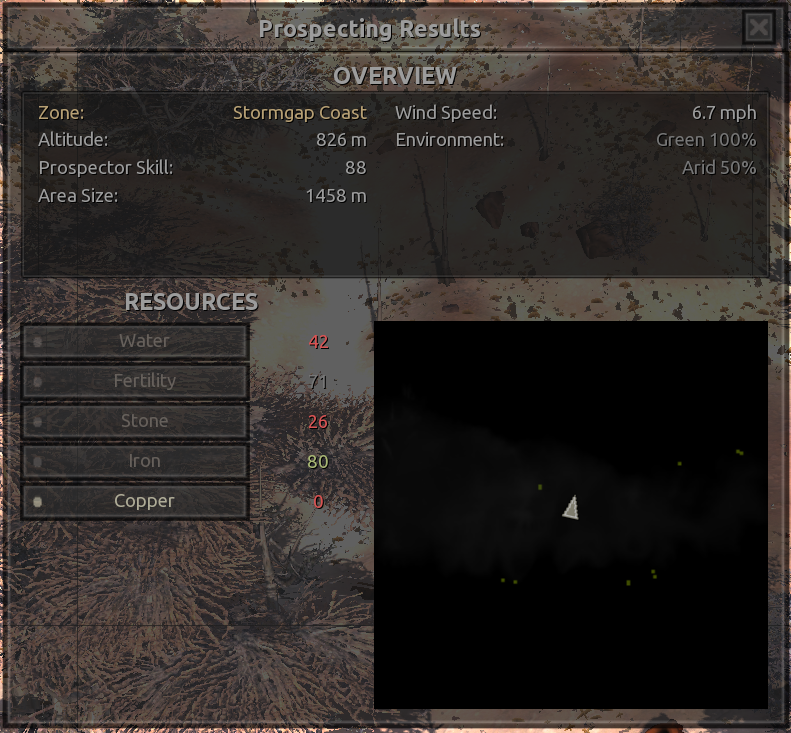
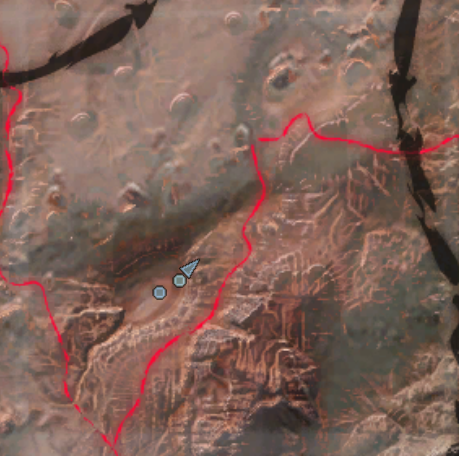
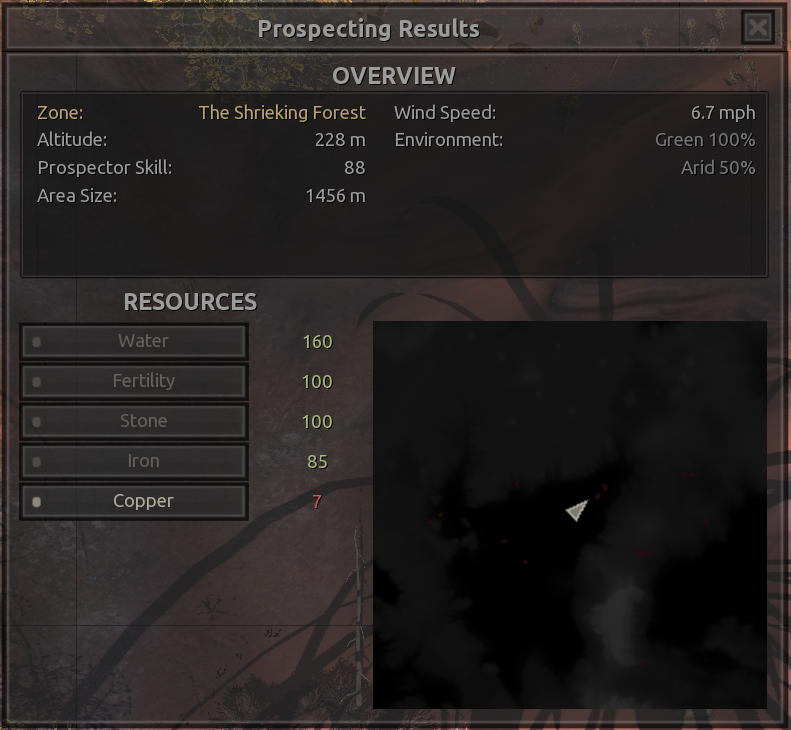
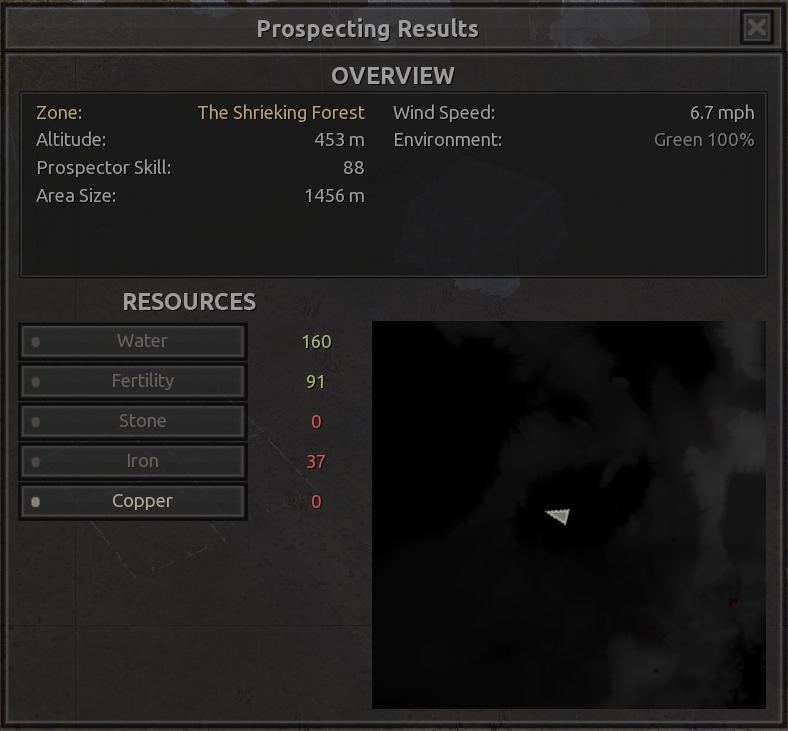
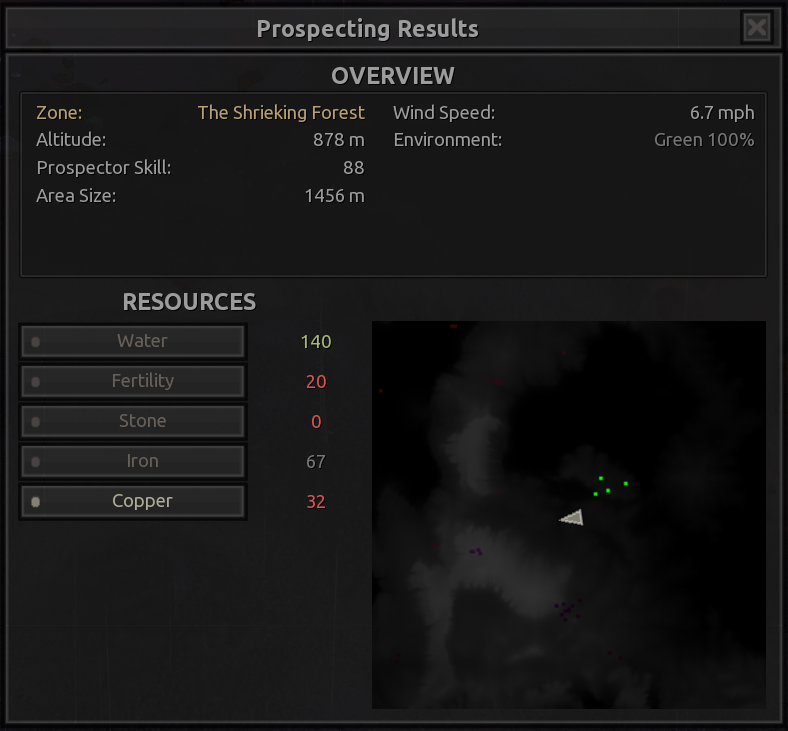
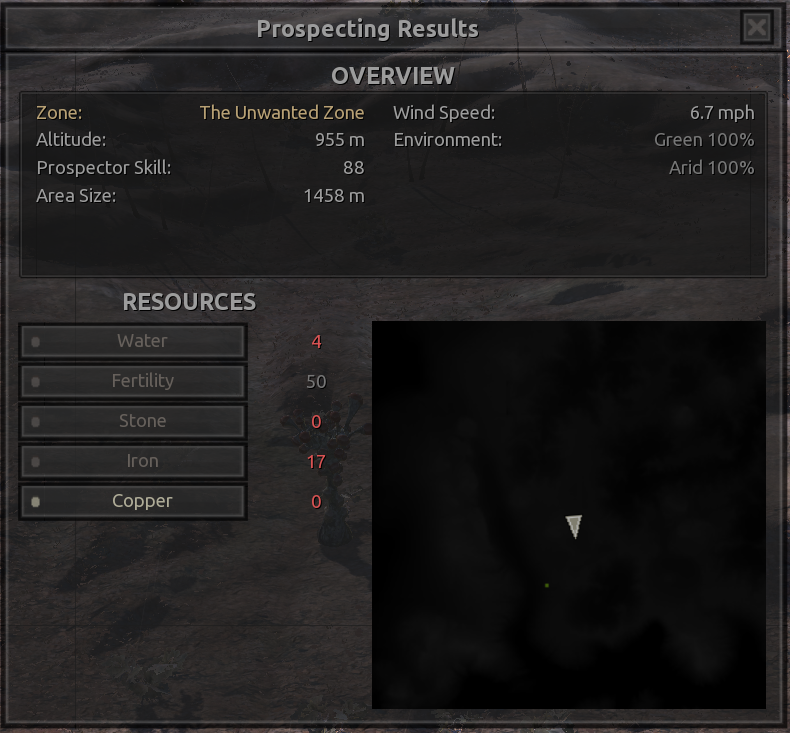
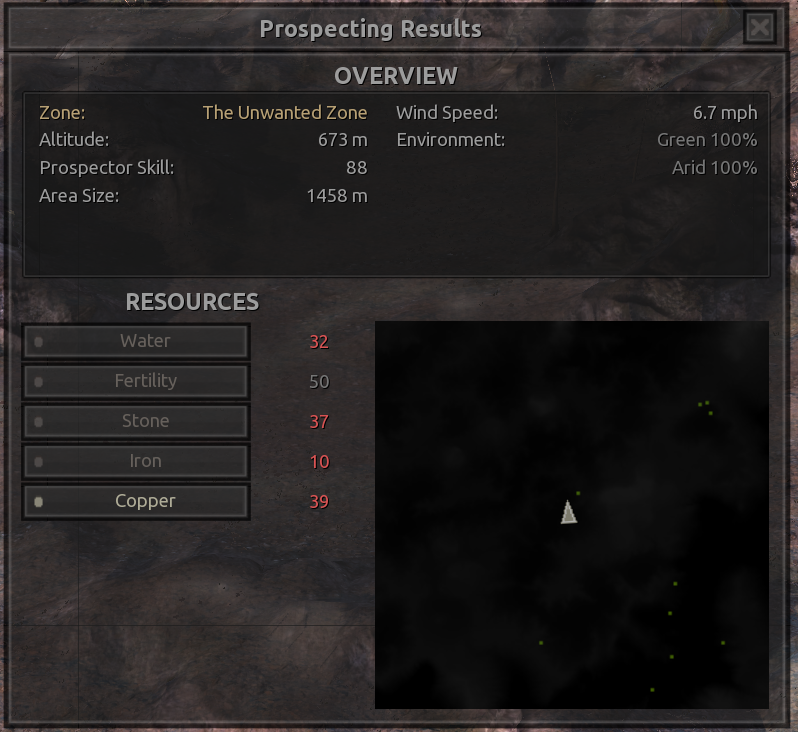
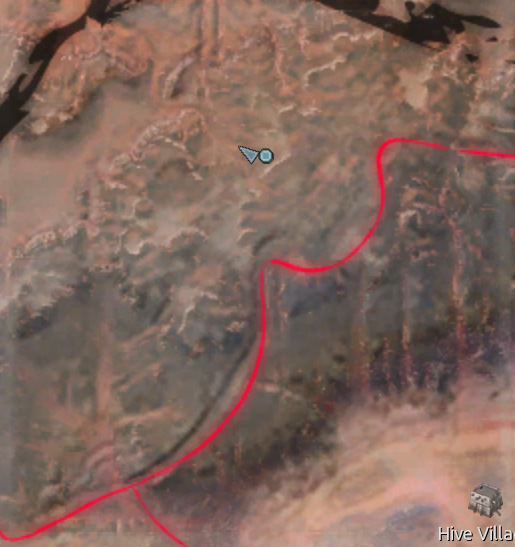
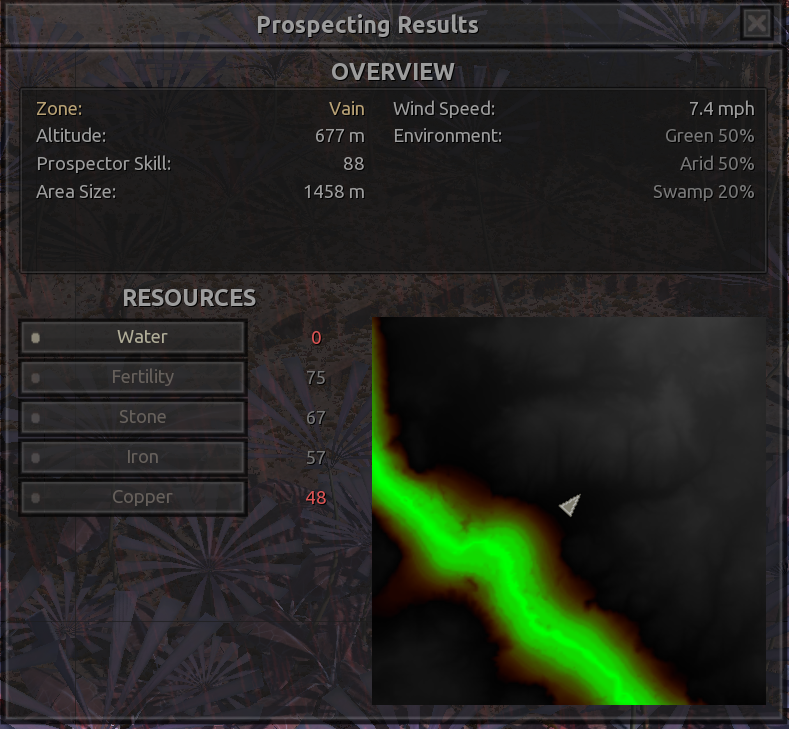
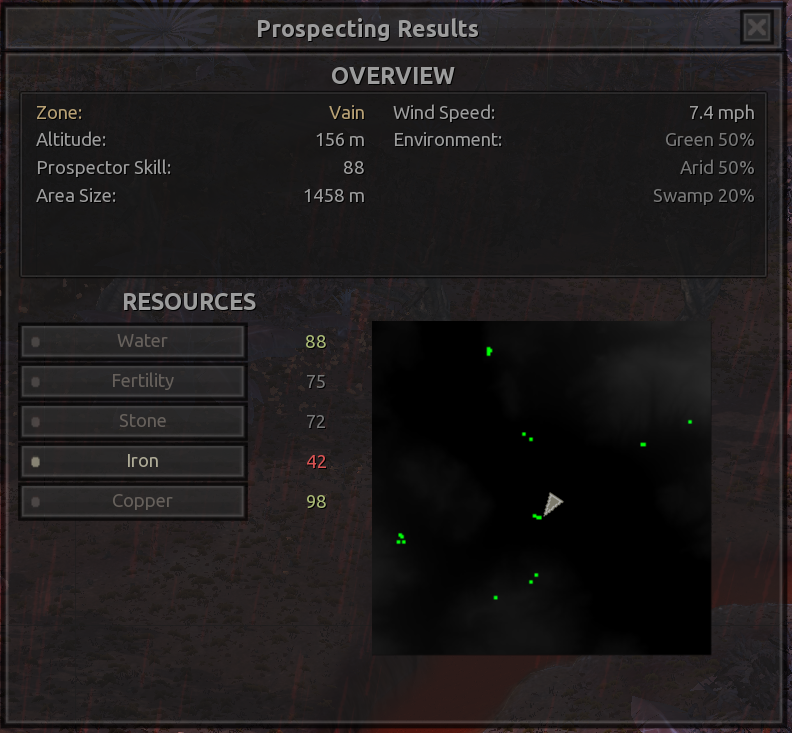
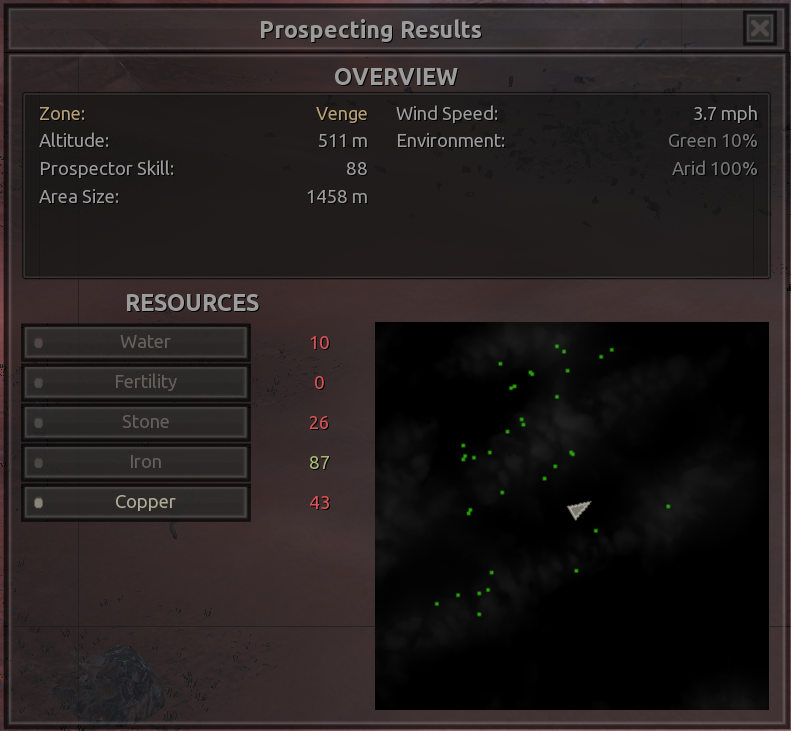
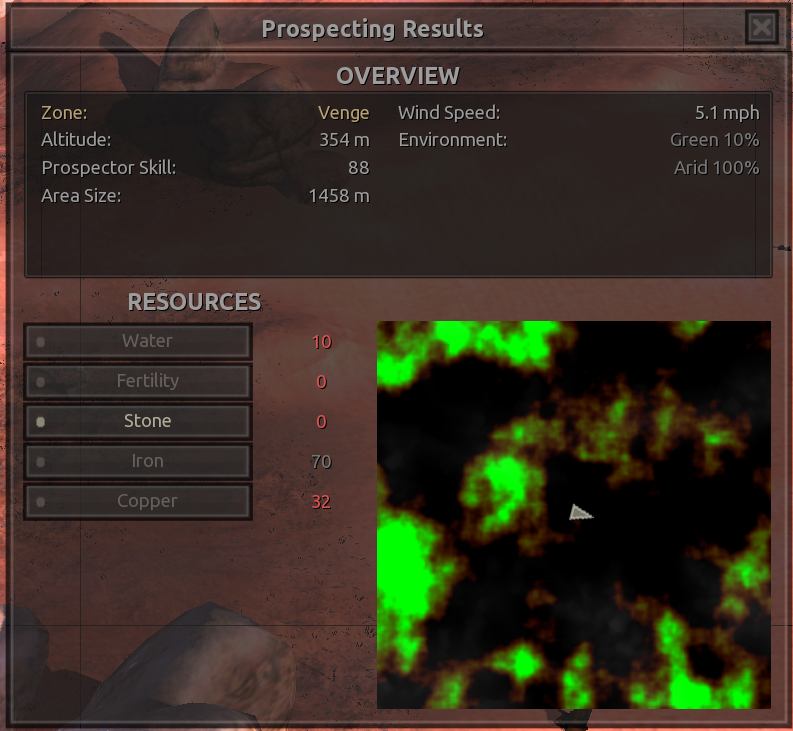
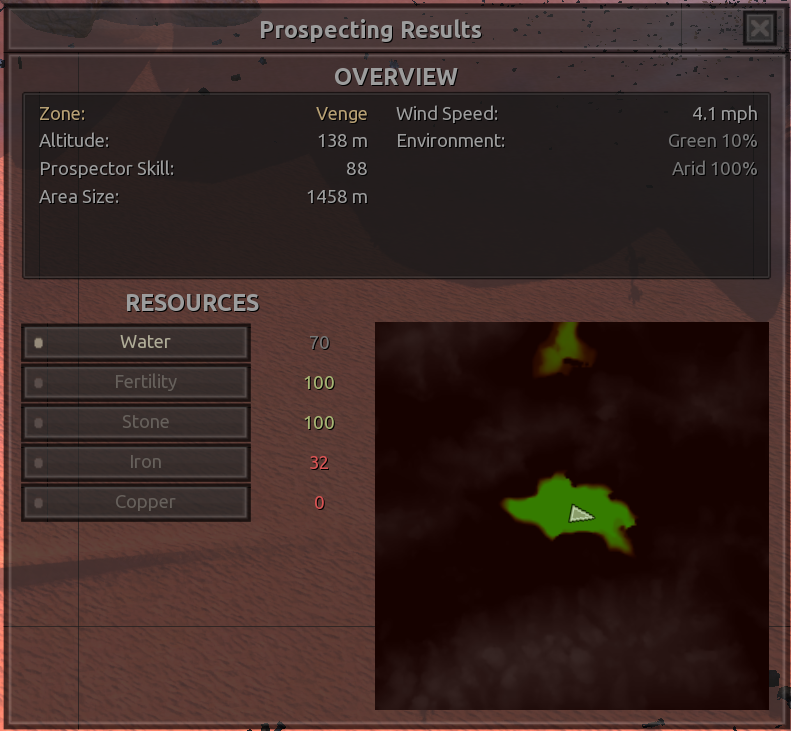
2 150 Iron Deposits and 2 100 Small Copper Deposits, 100 Stone and 120 Water everywhere. 100% Arid and 50% full 100 Fertility everywhere as well.
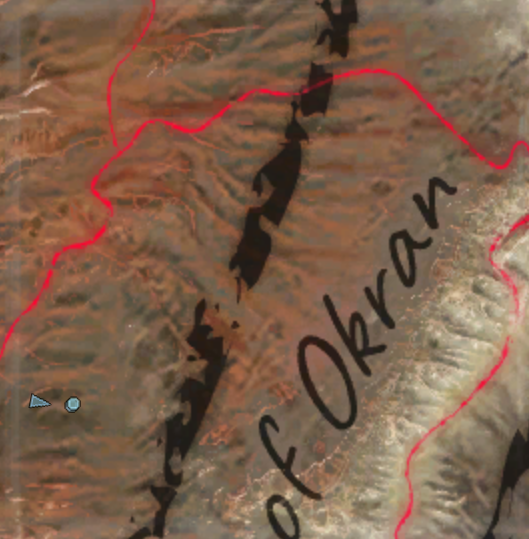
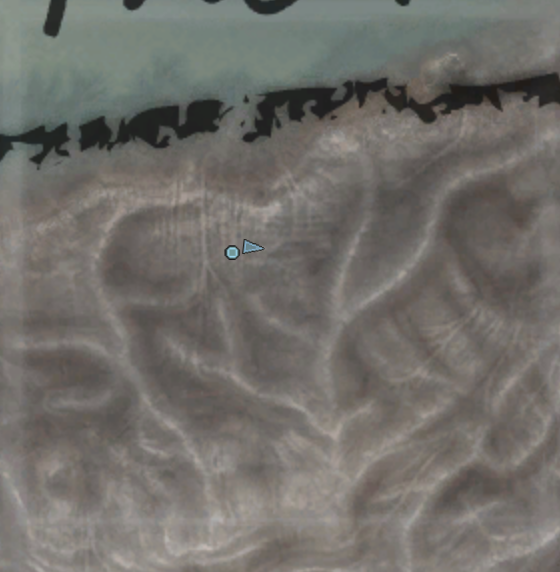
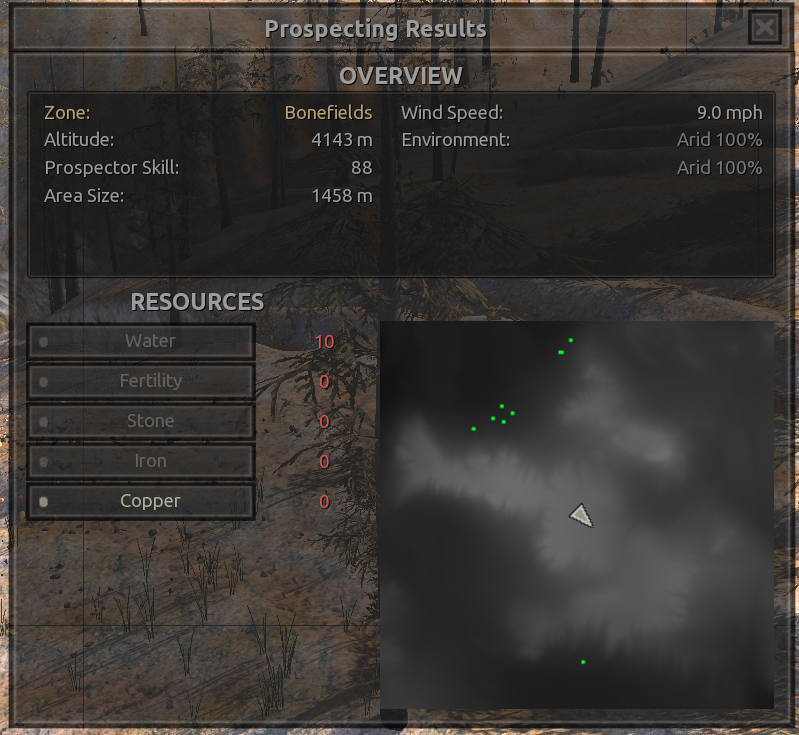
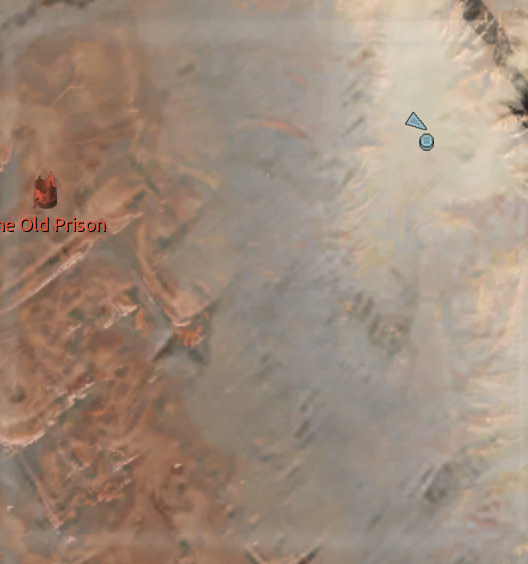
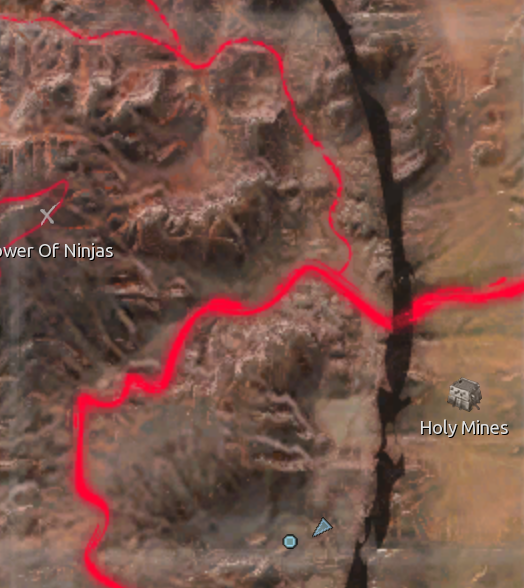
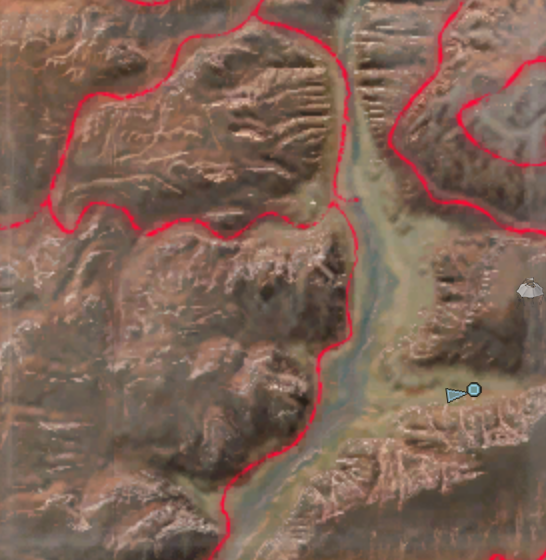
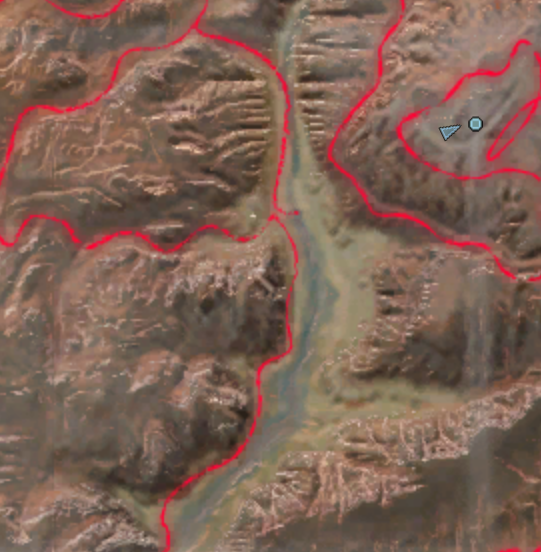
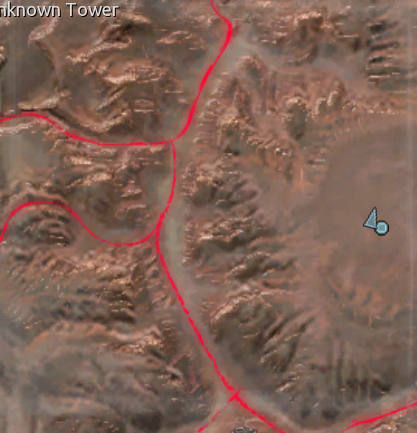
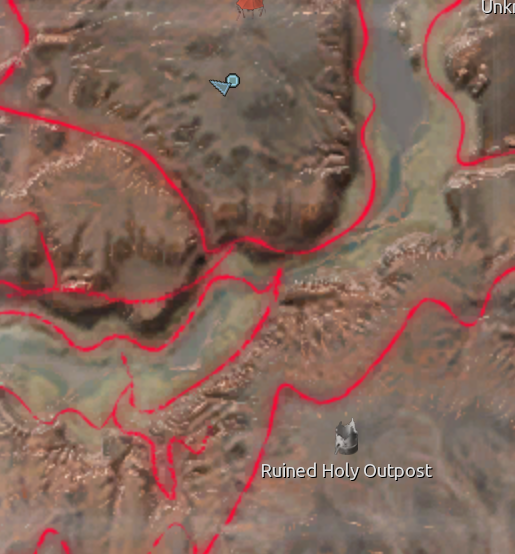
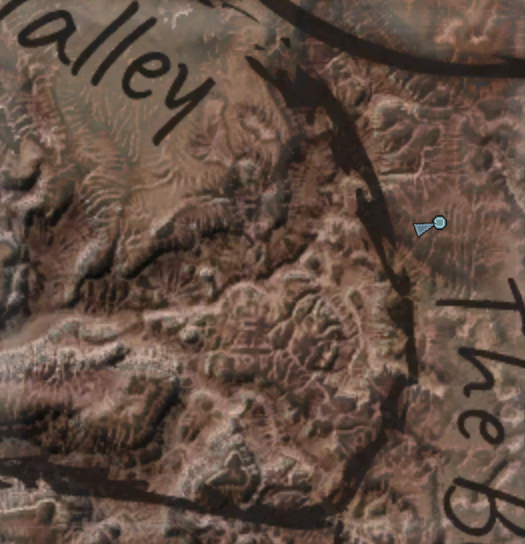
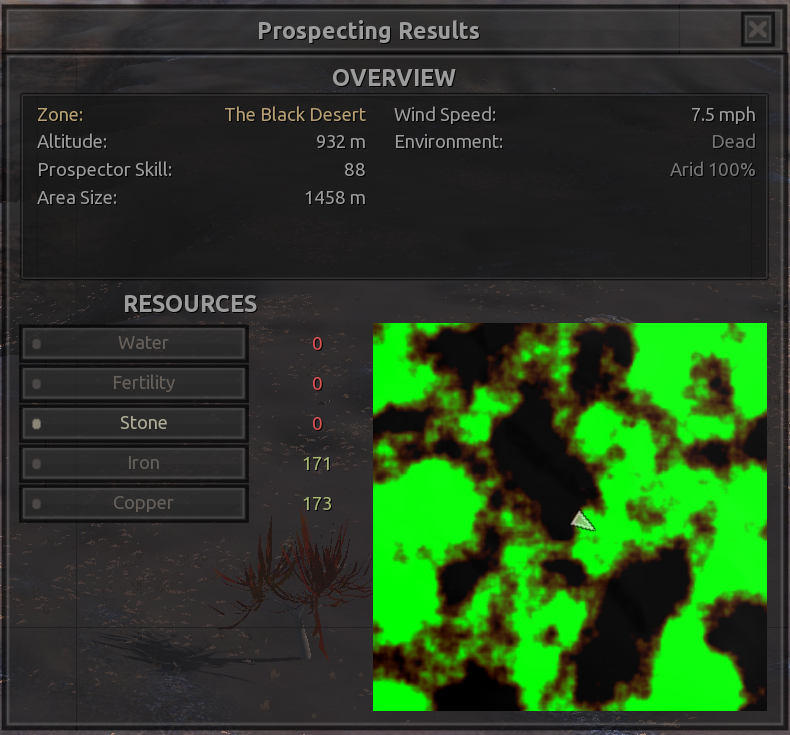
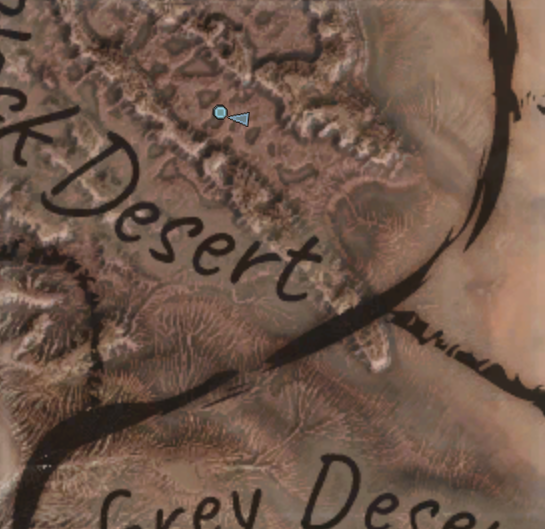
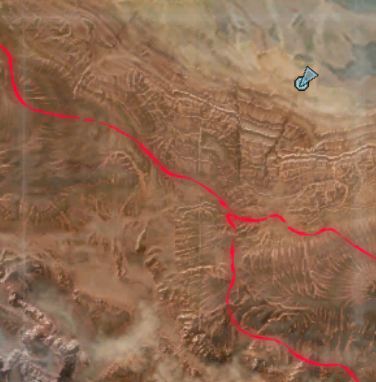
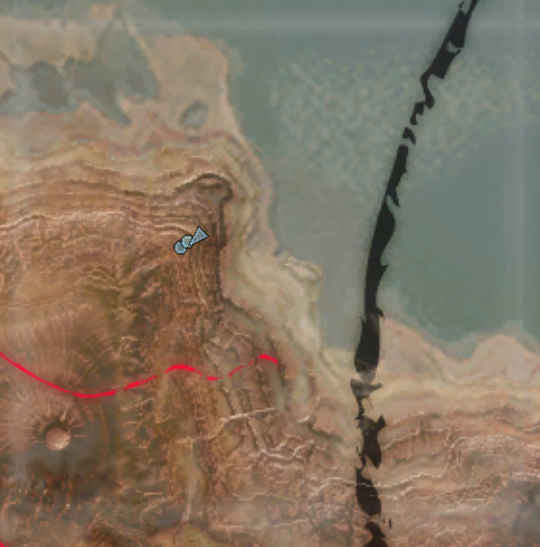
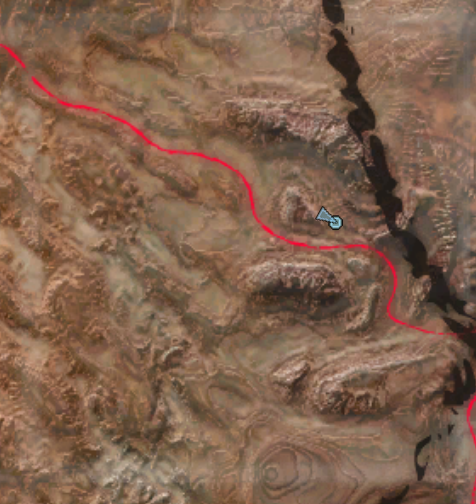
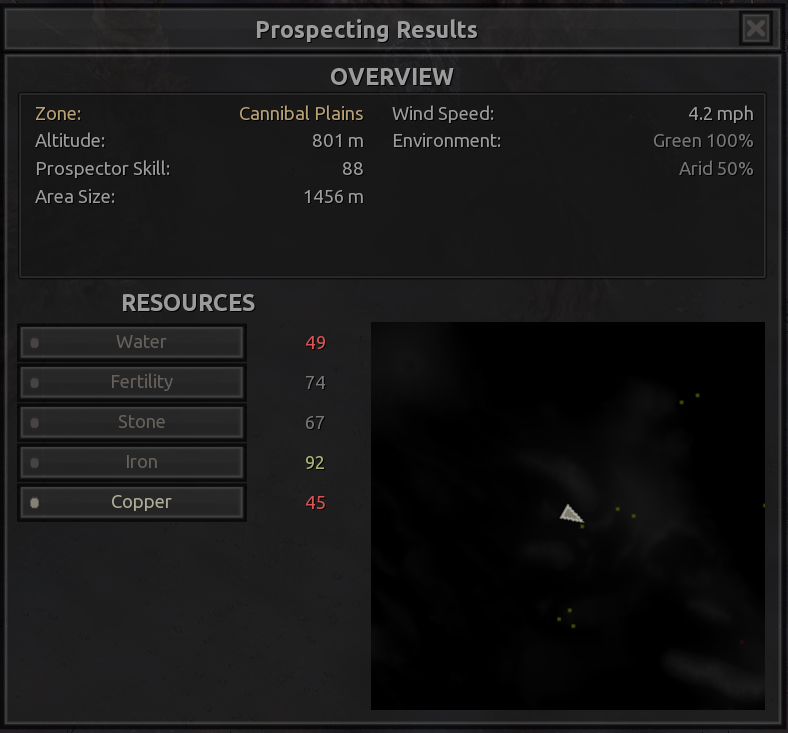
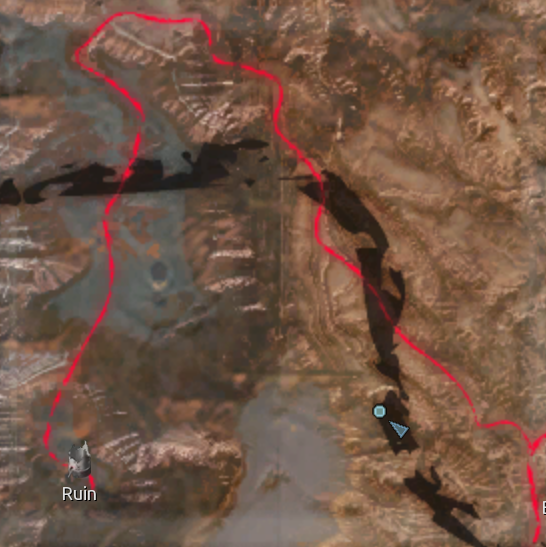
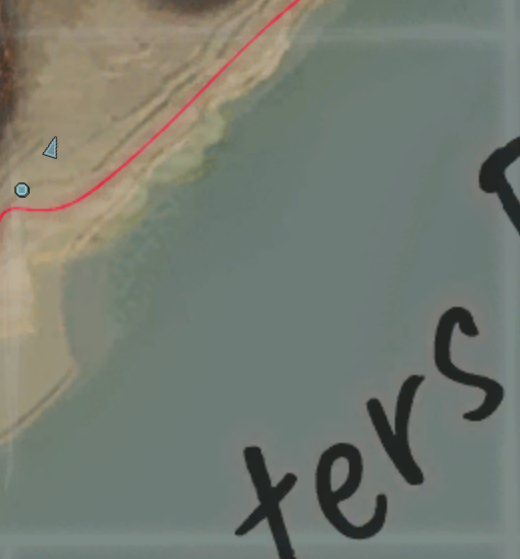
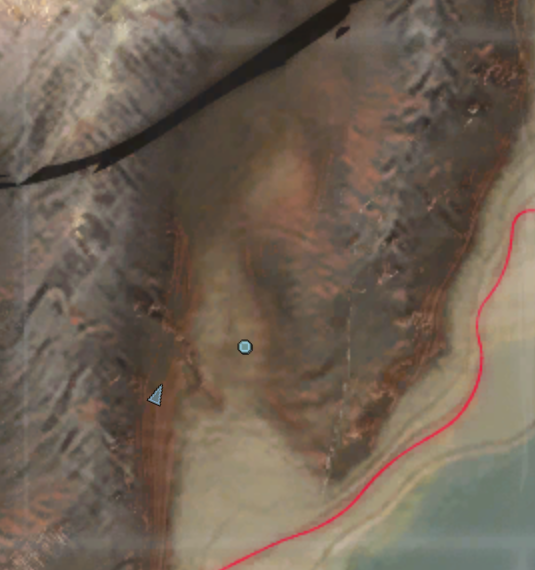
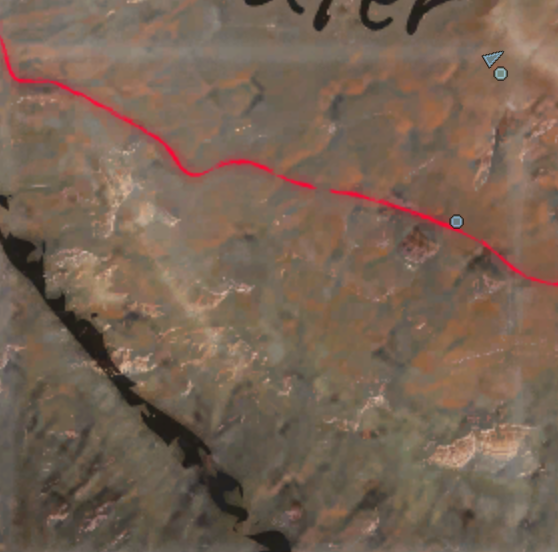
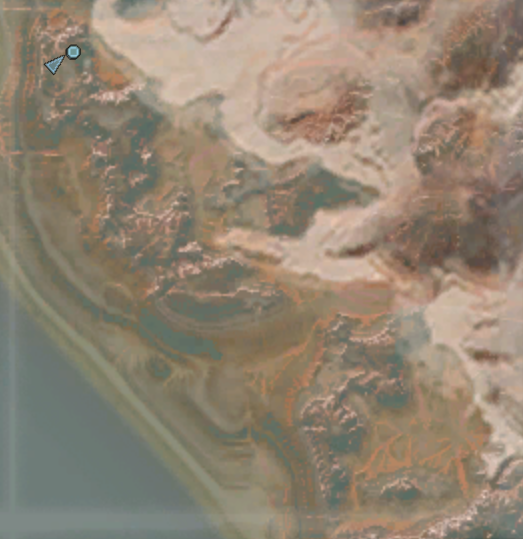
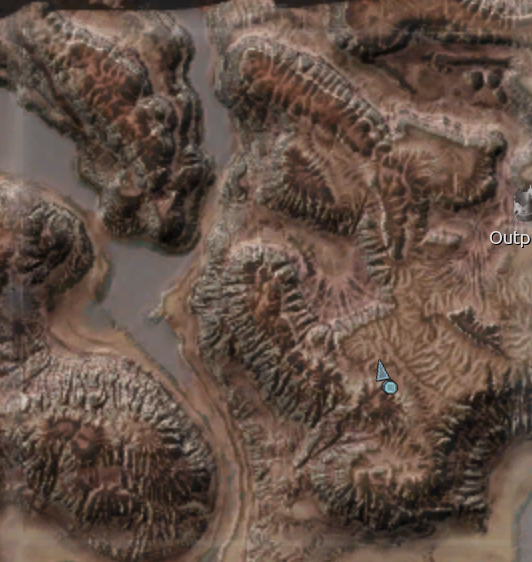
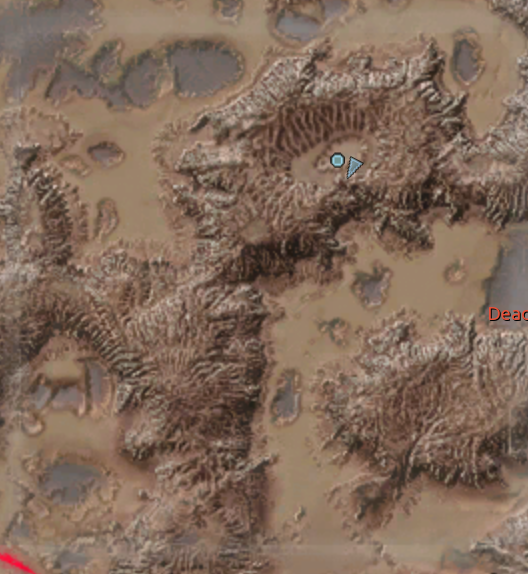
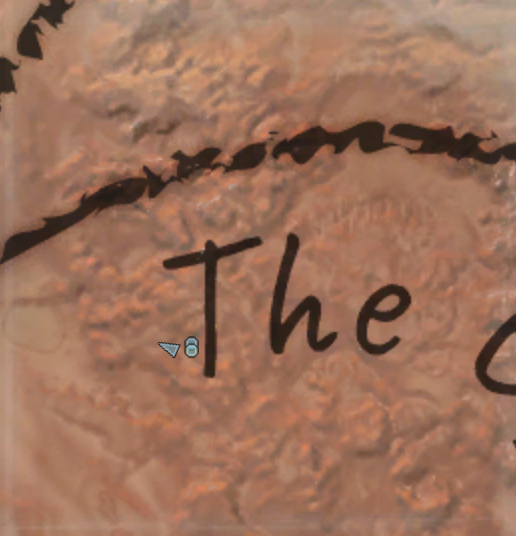
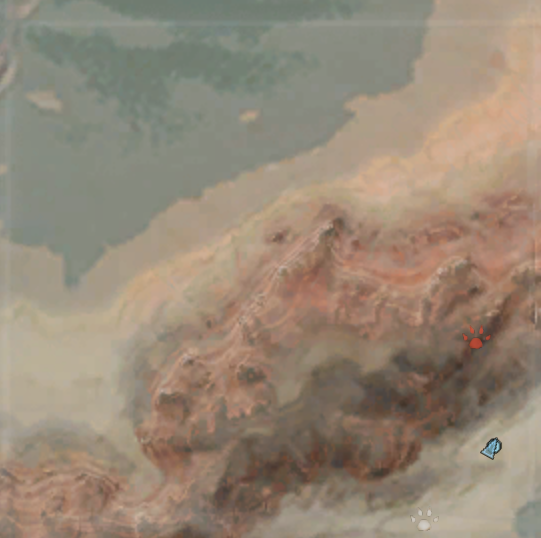
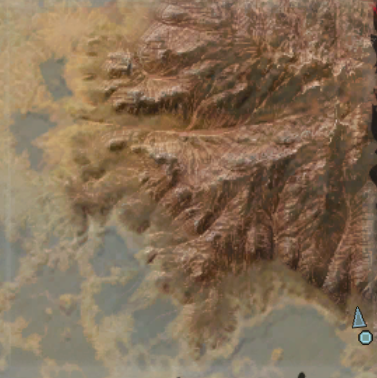
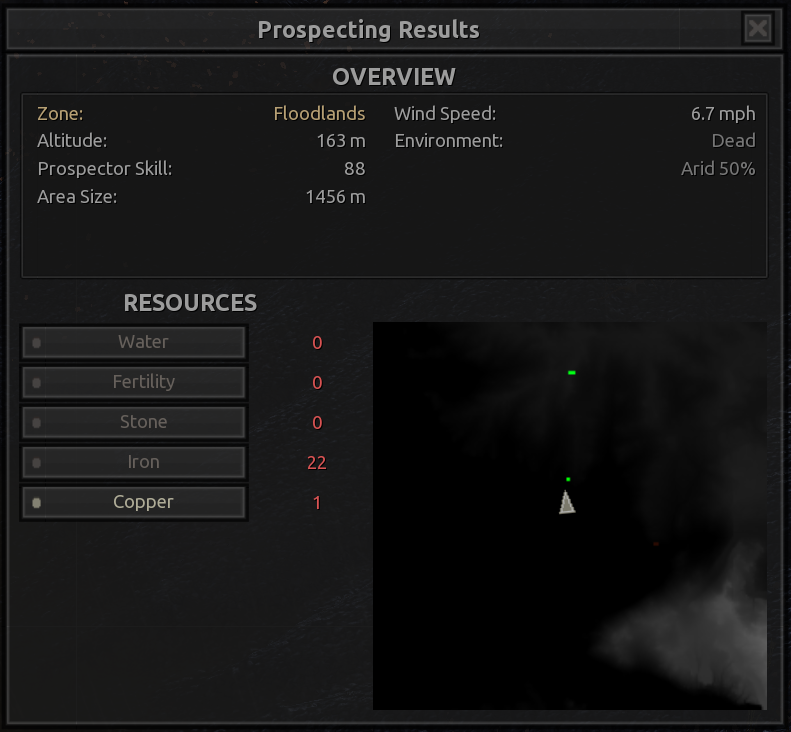
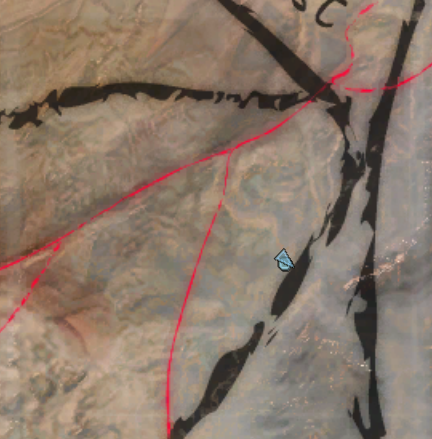
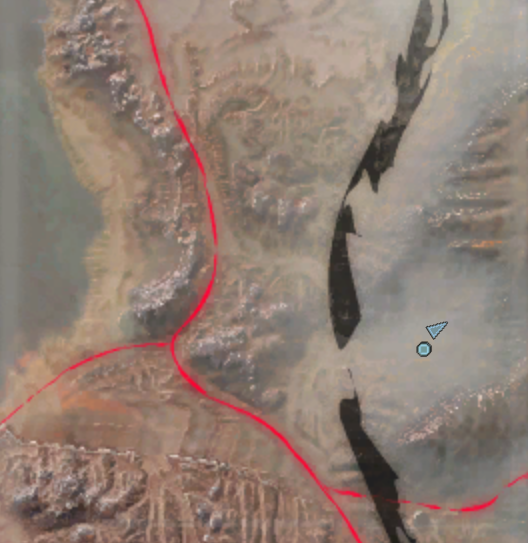
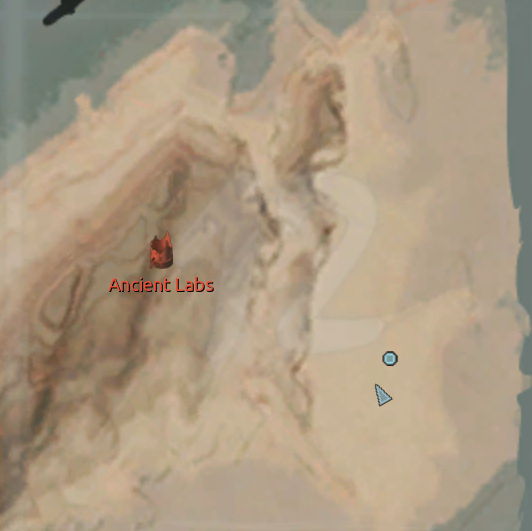
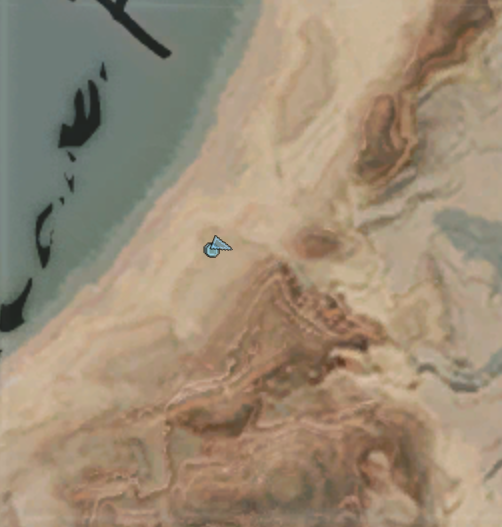
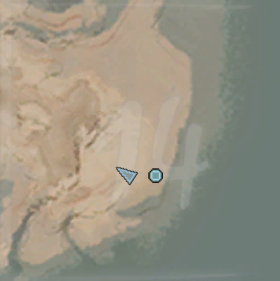
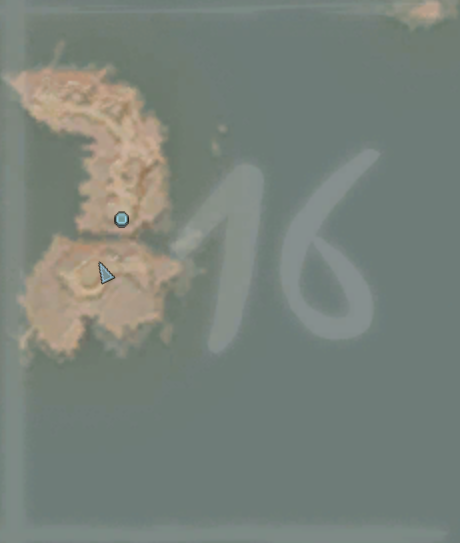
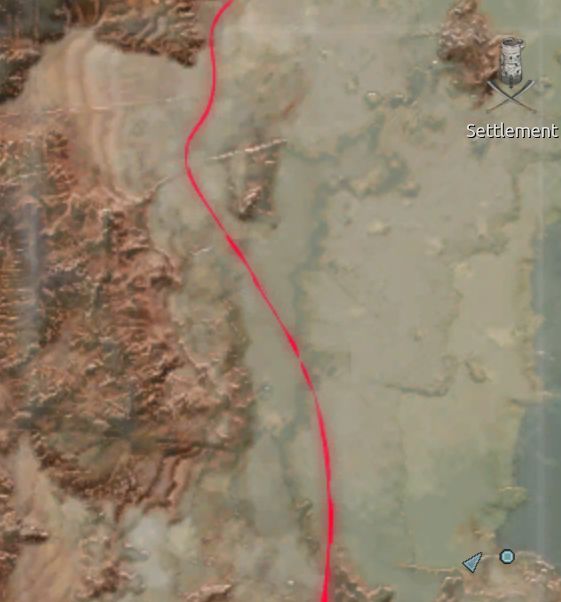
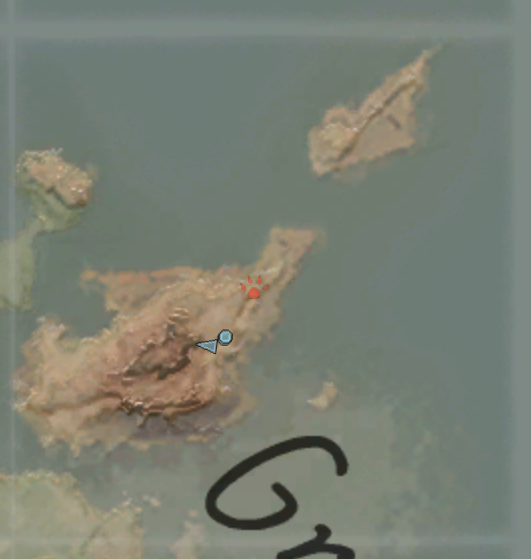
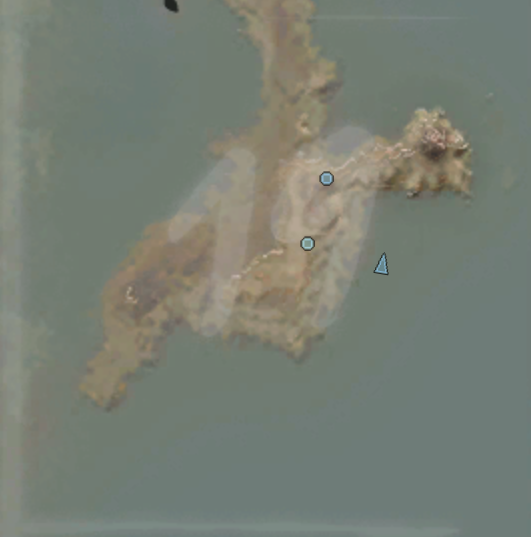
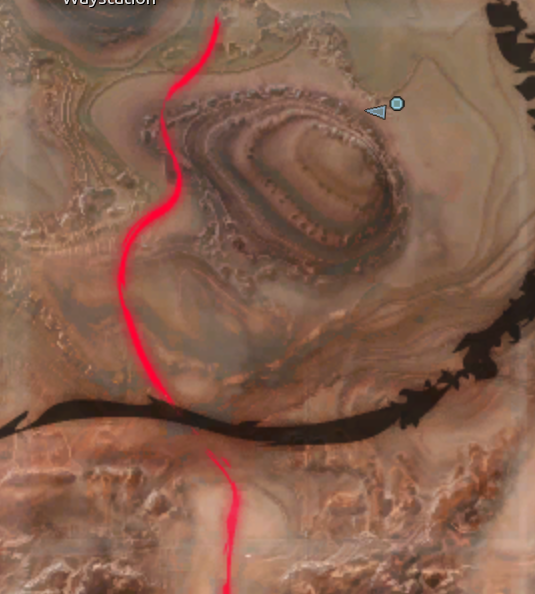
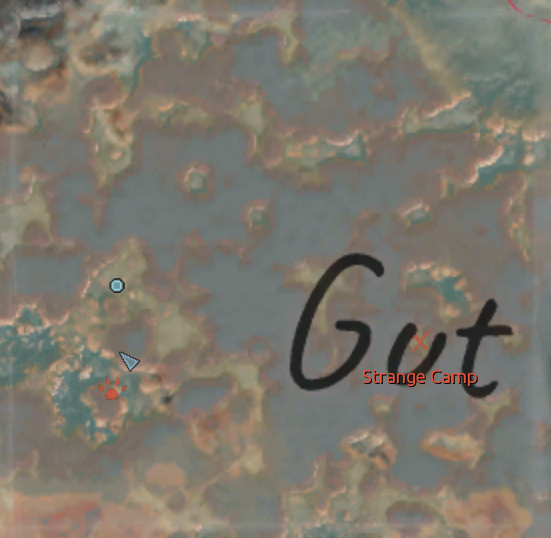
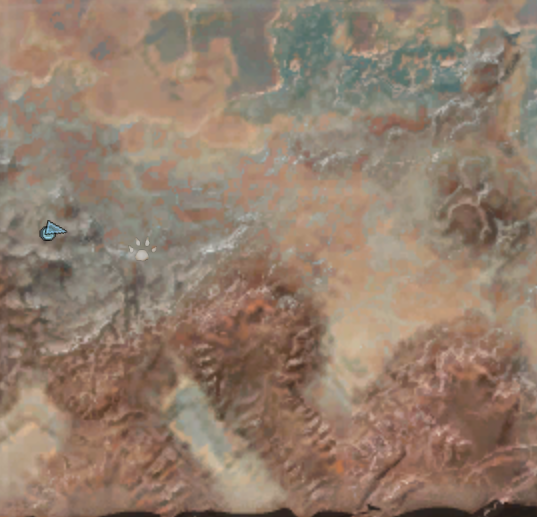
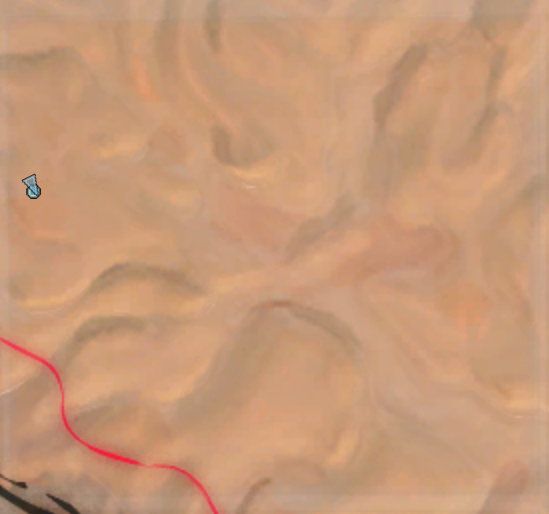
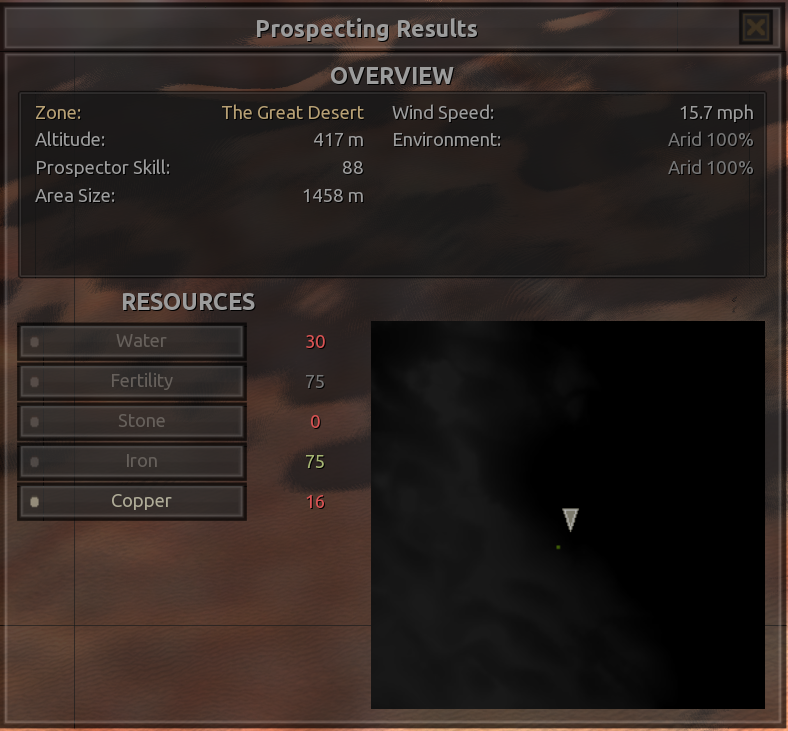
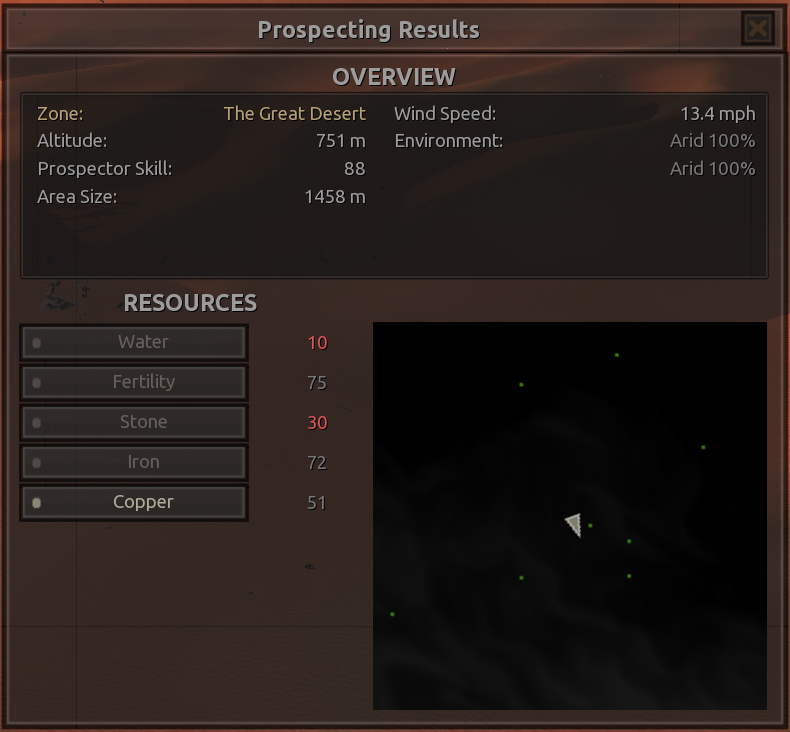
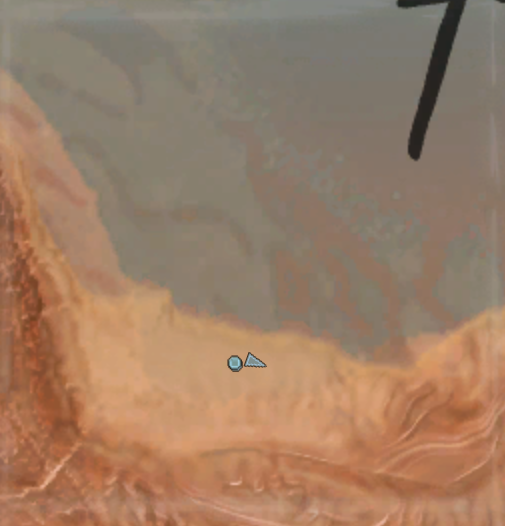
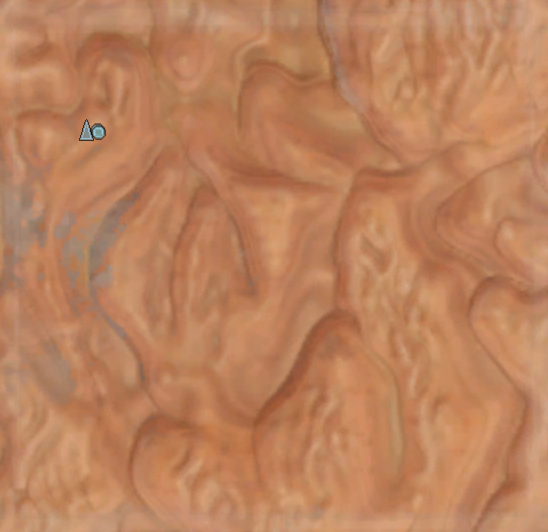
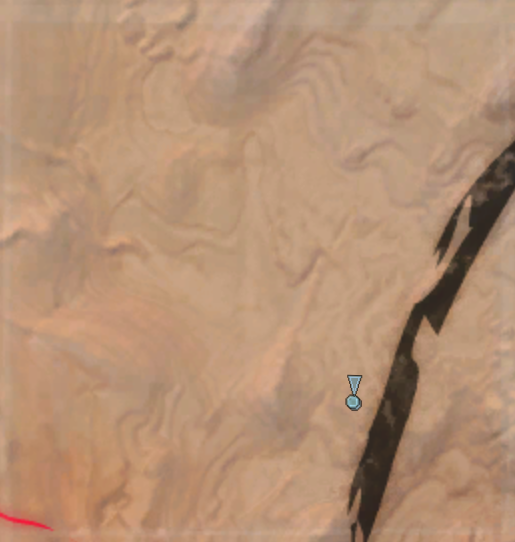
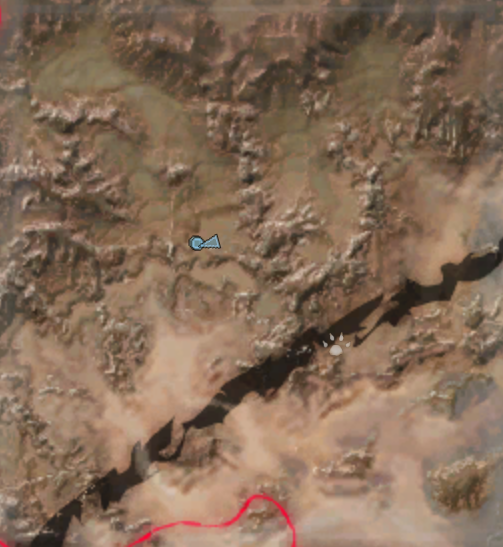
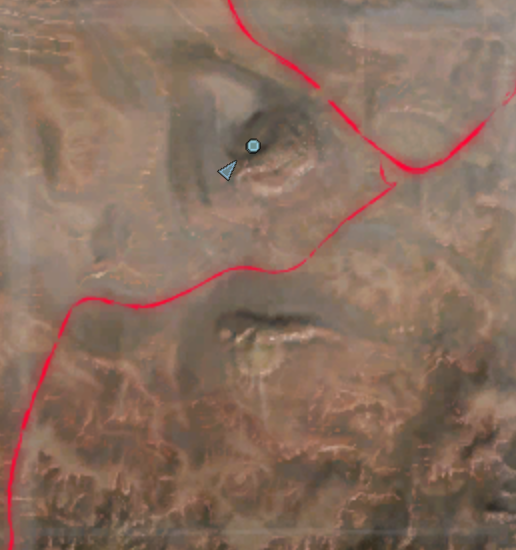
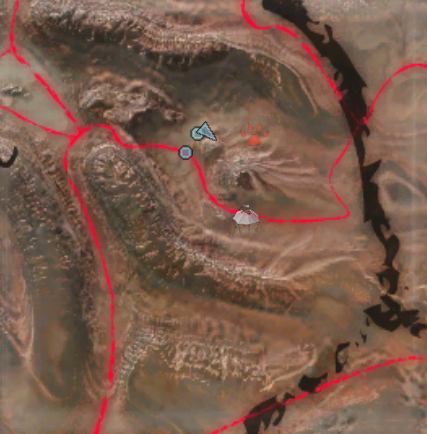
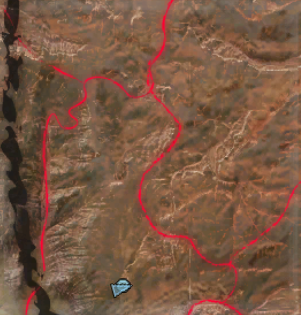
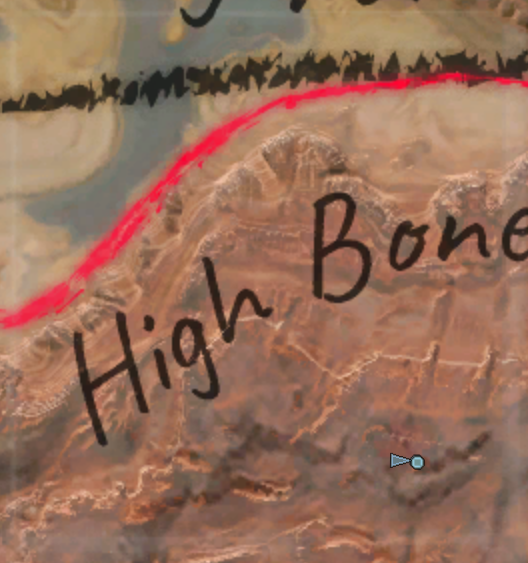
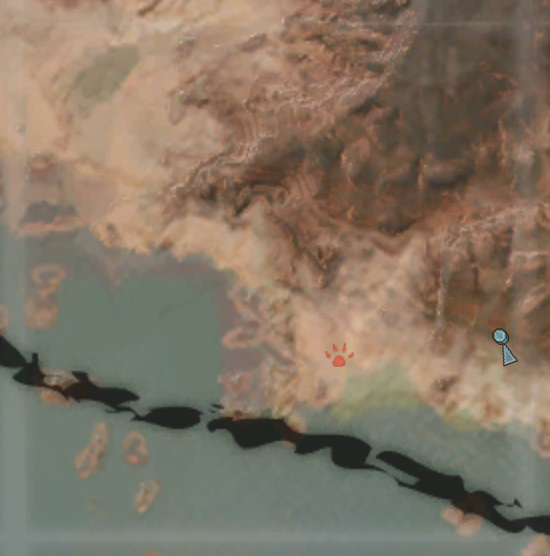
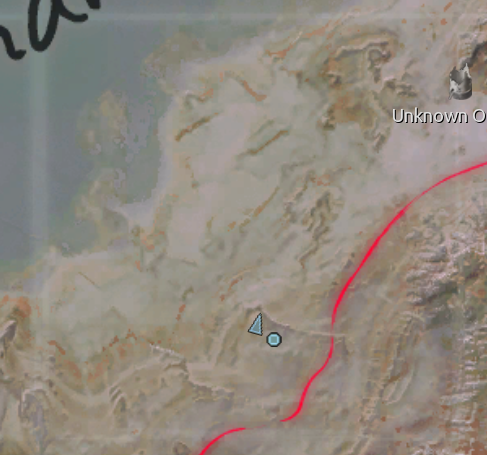
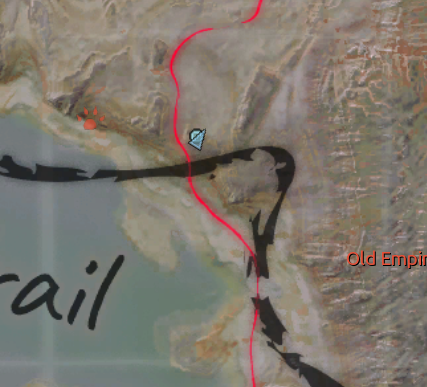
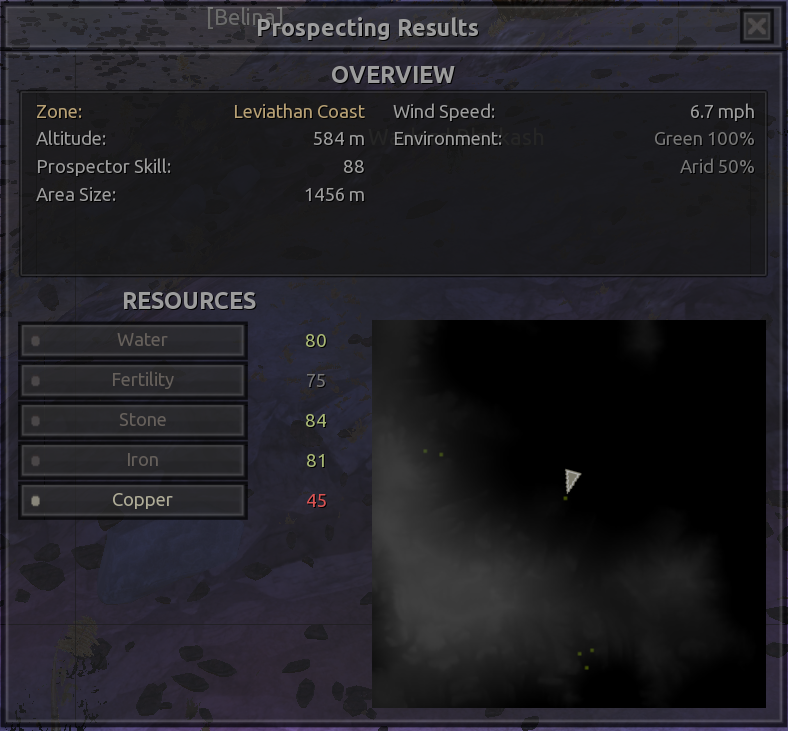
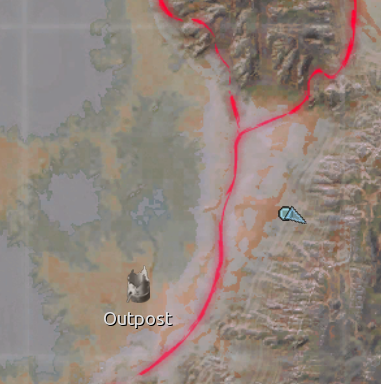
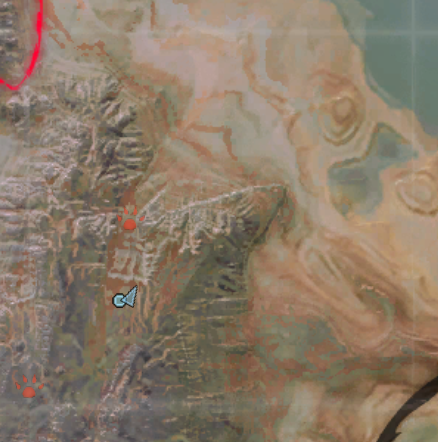
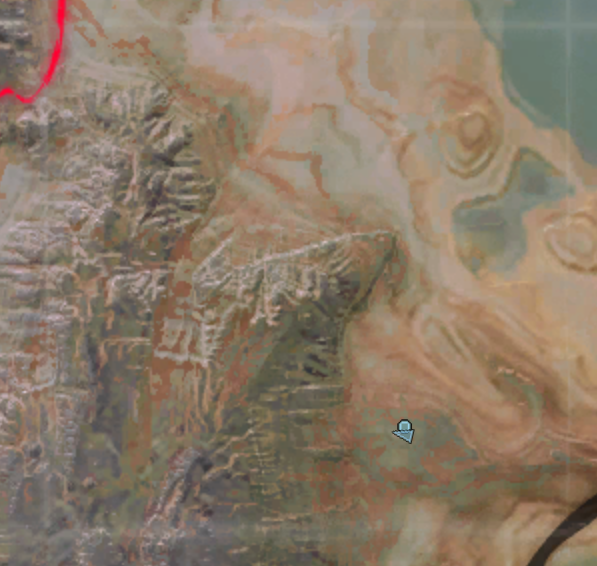
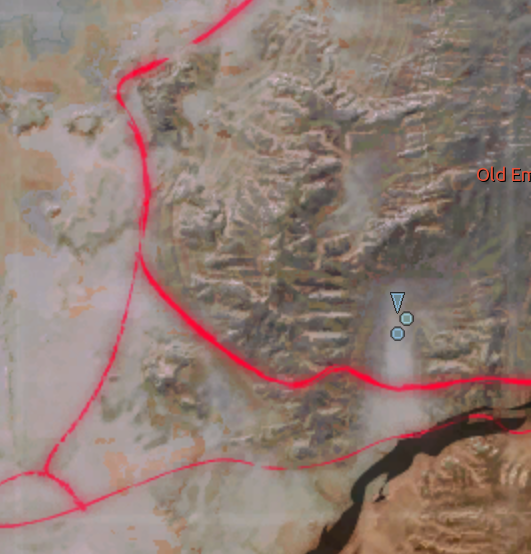
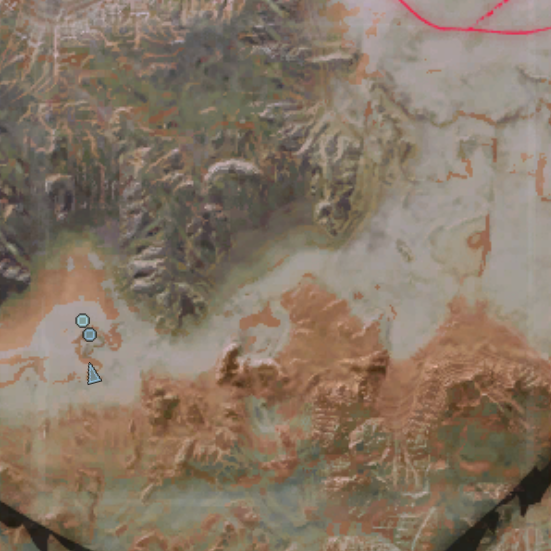
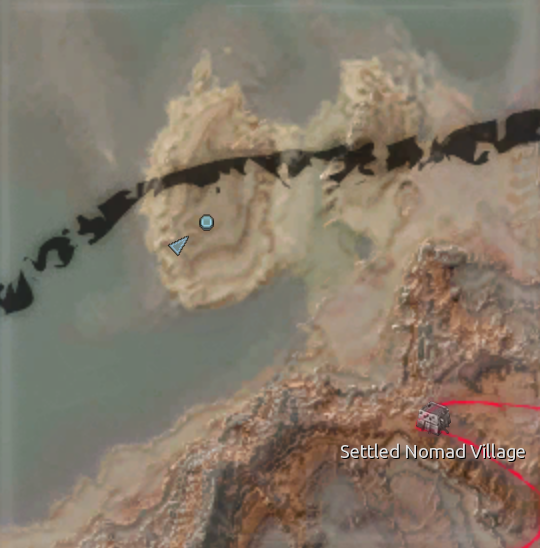
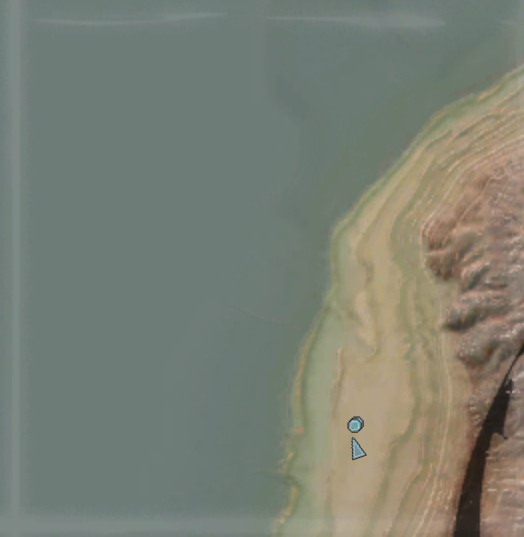
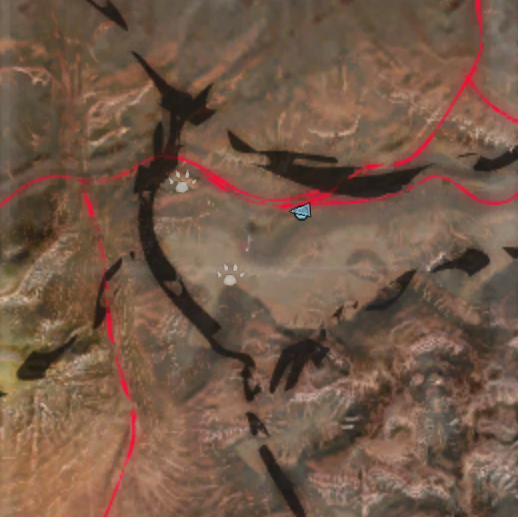
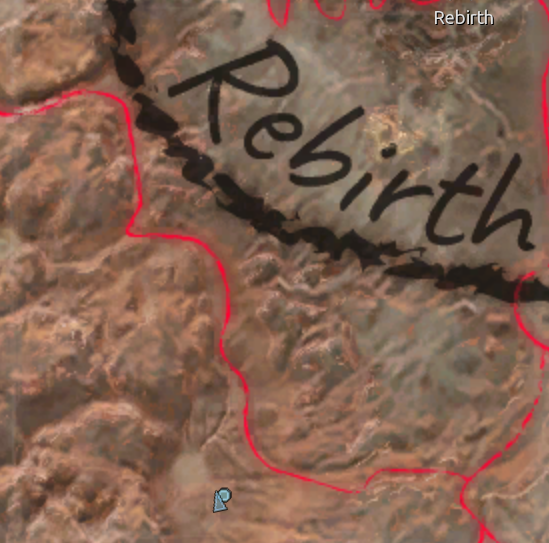
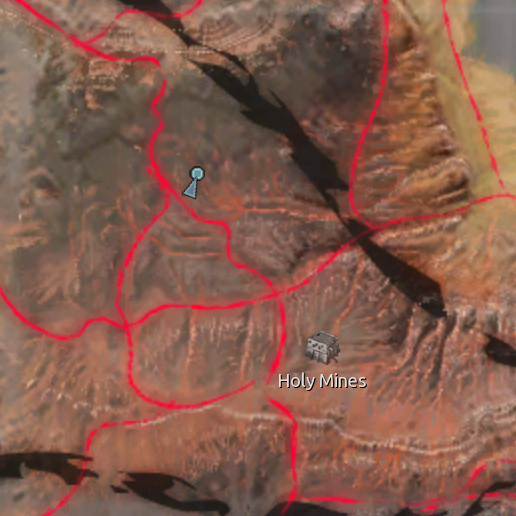
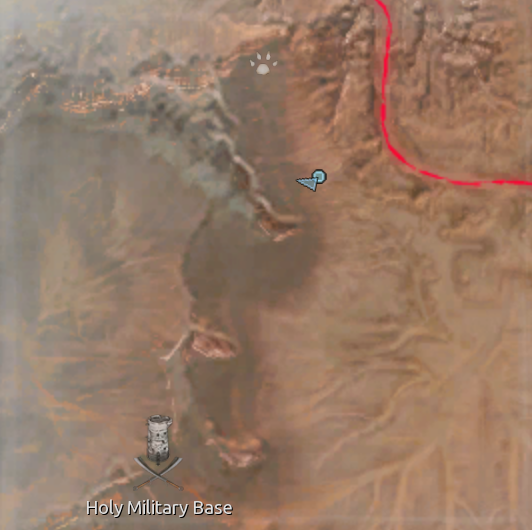
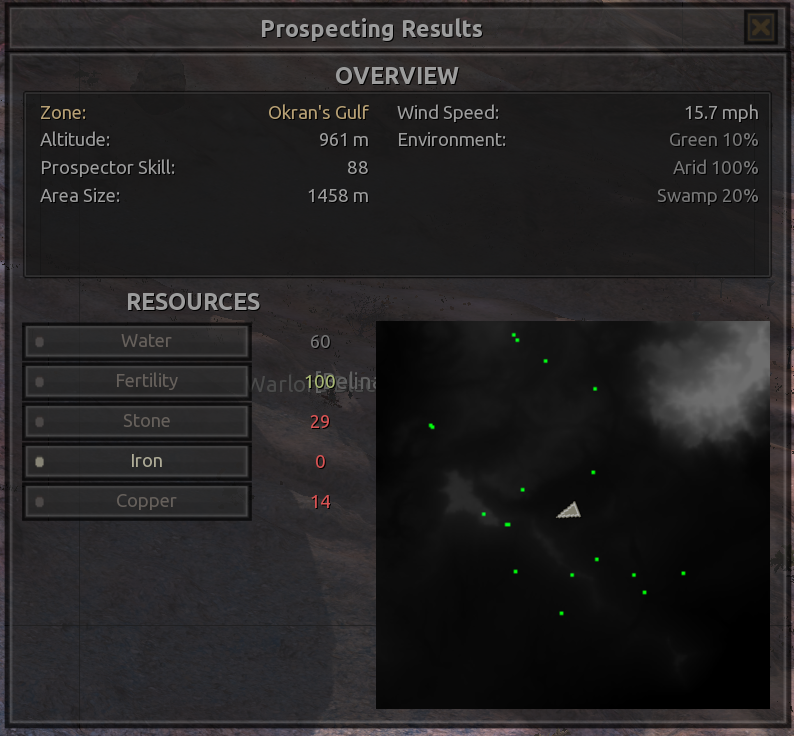
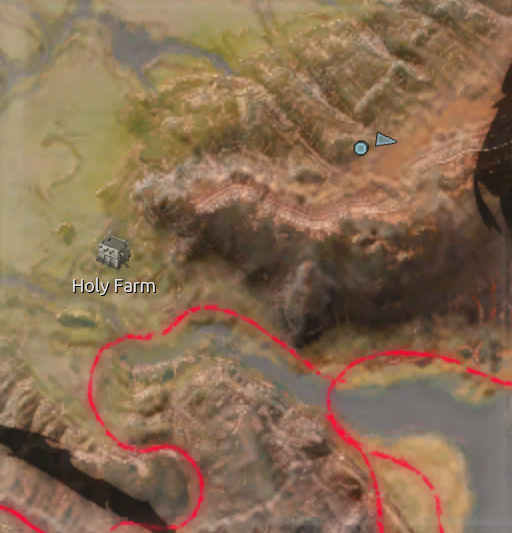
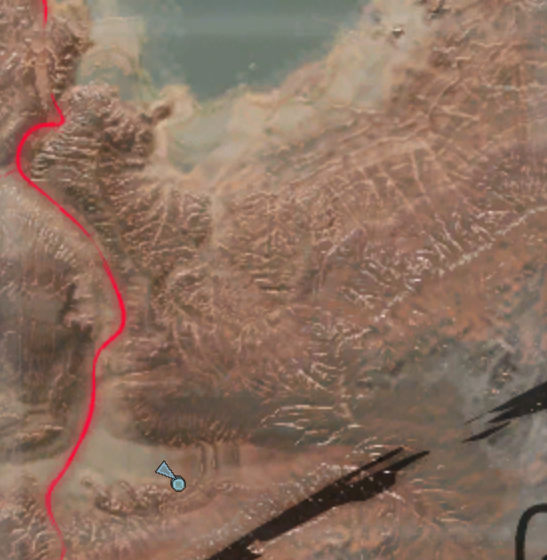
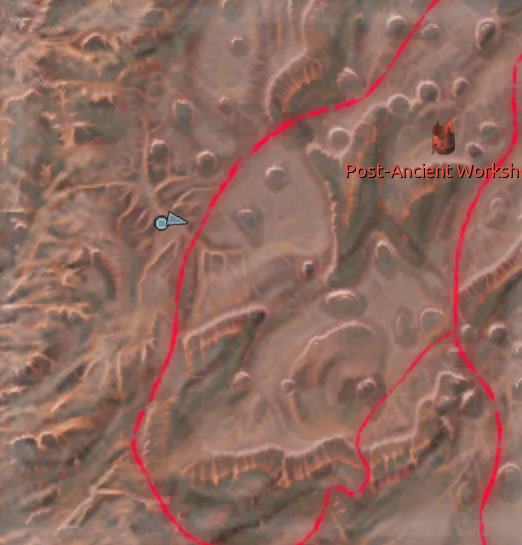
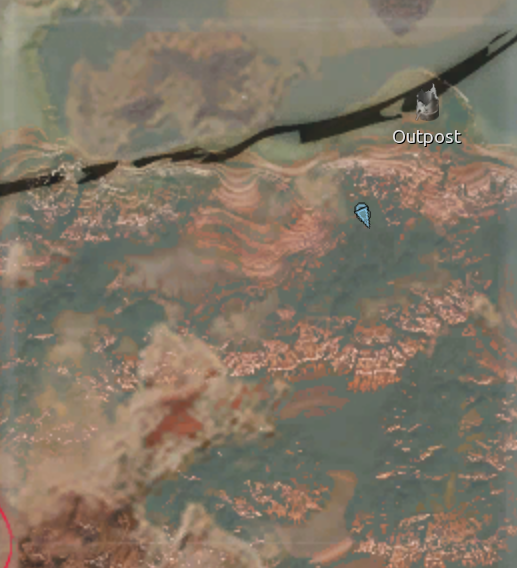
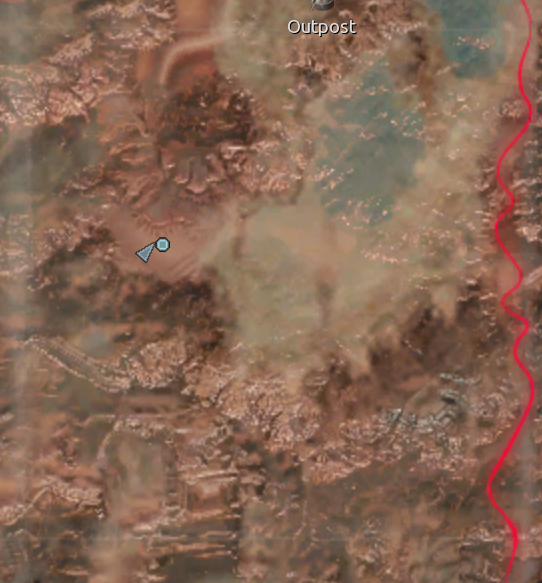
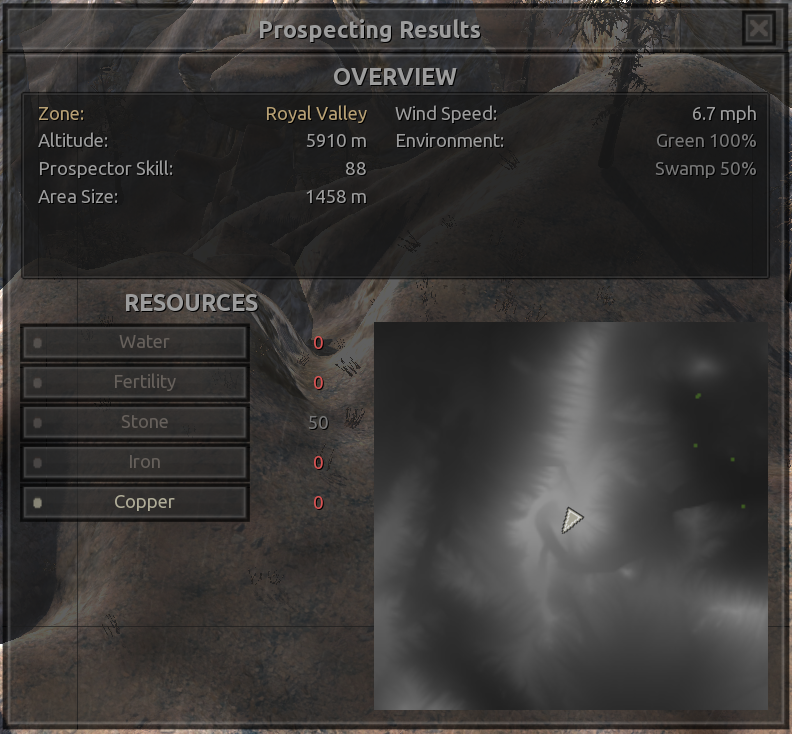
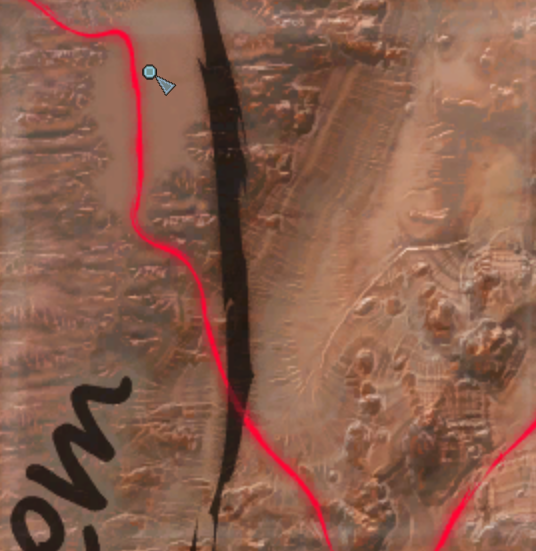
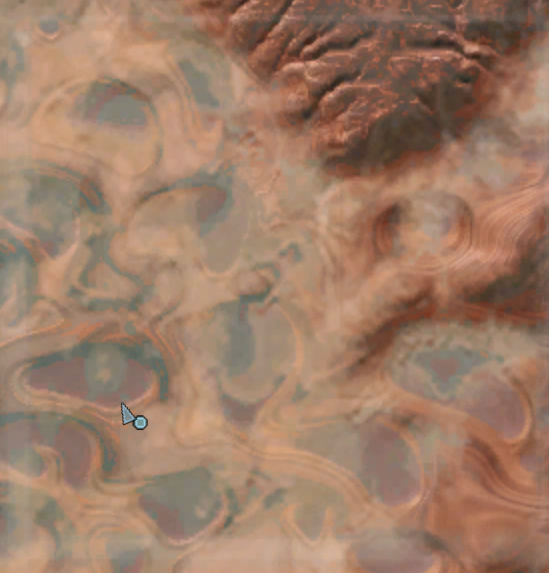
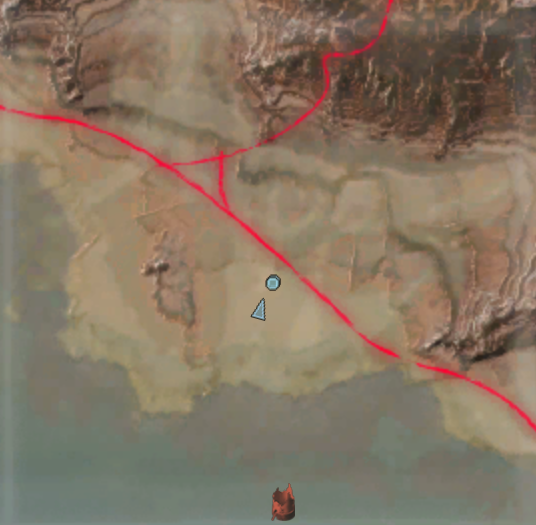
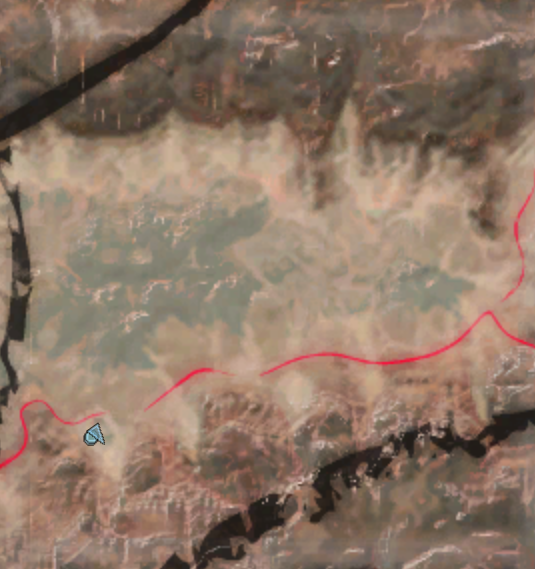
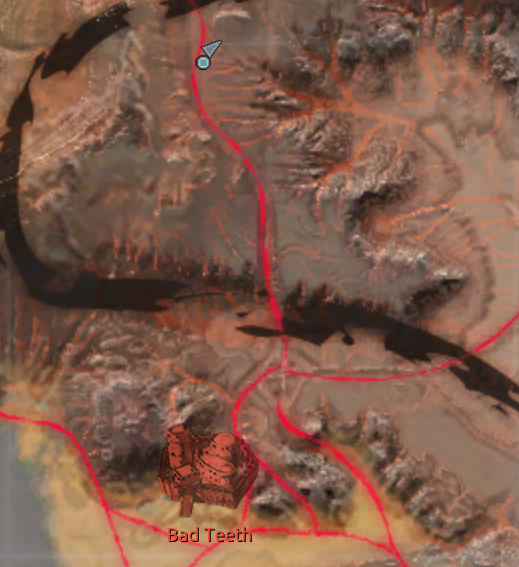
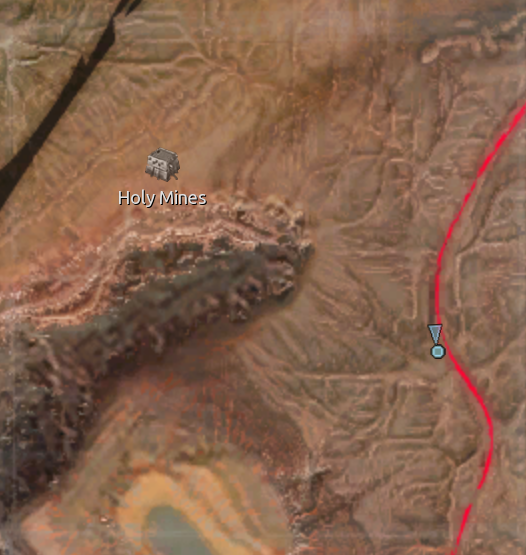
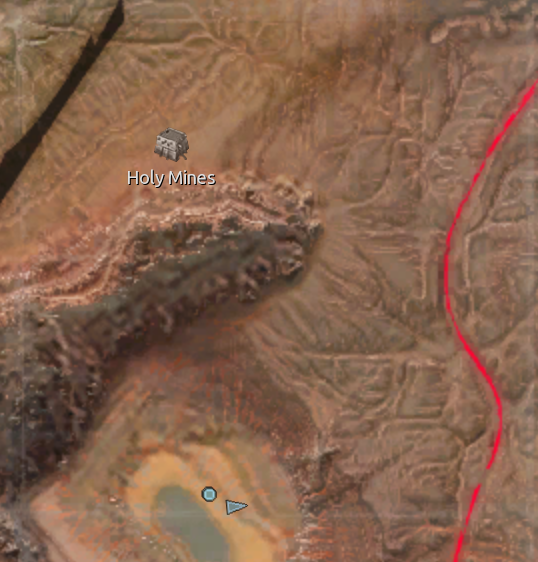
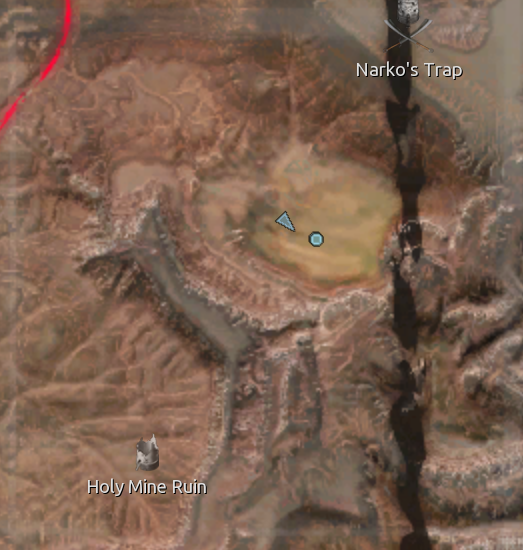
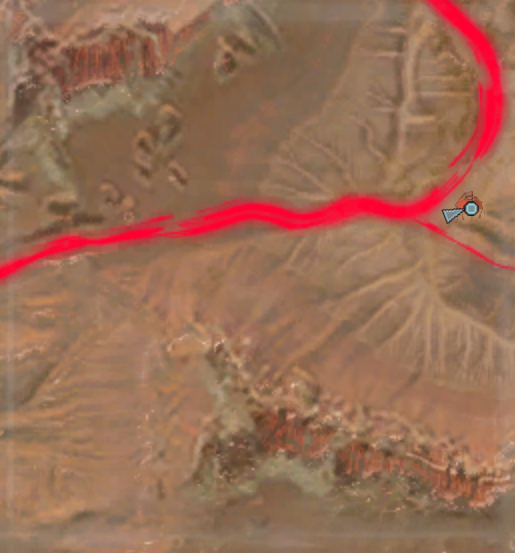
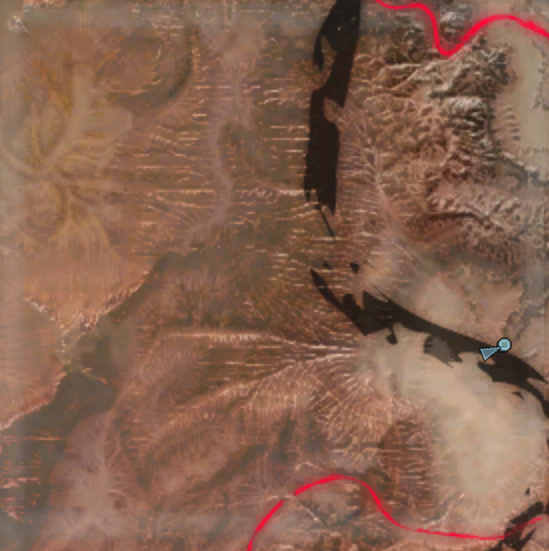
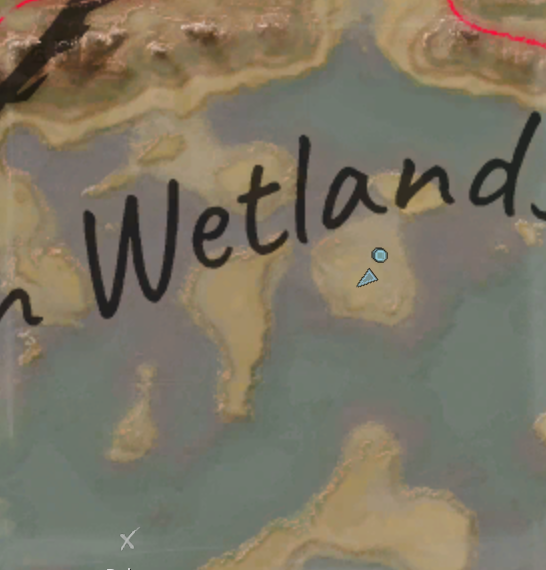
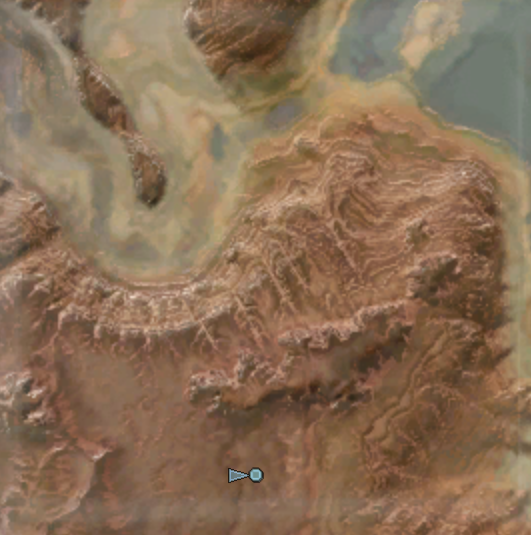
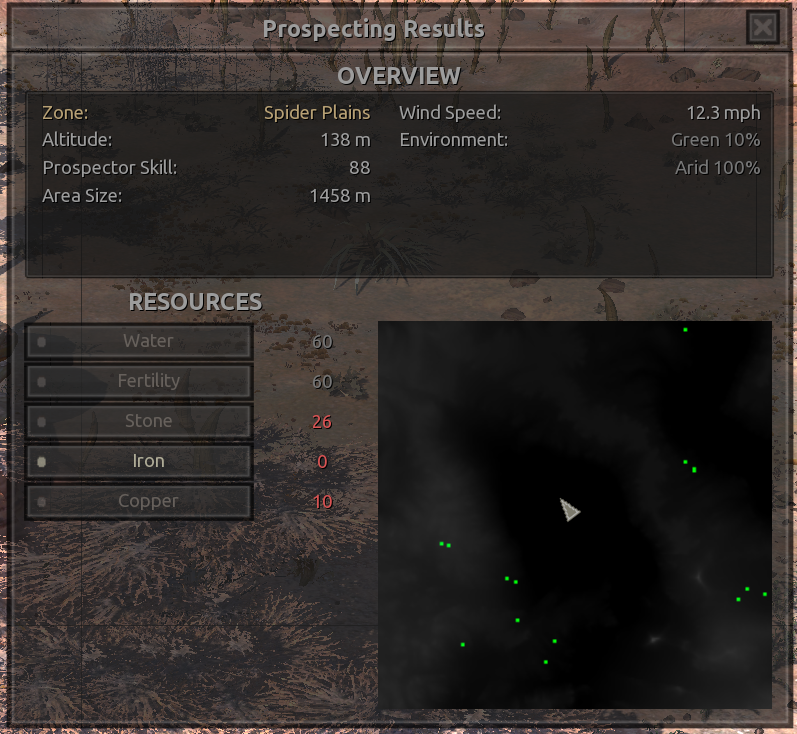
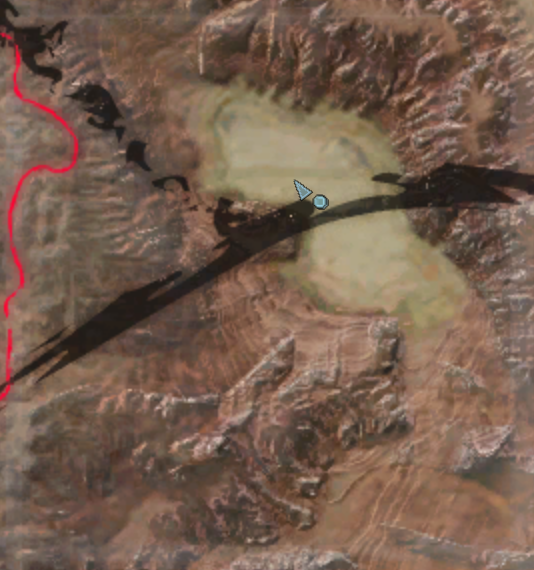
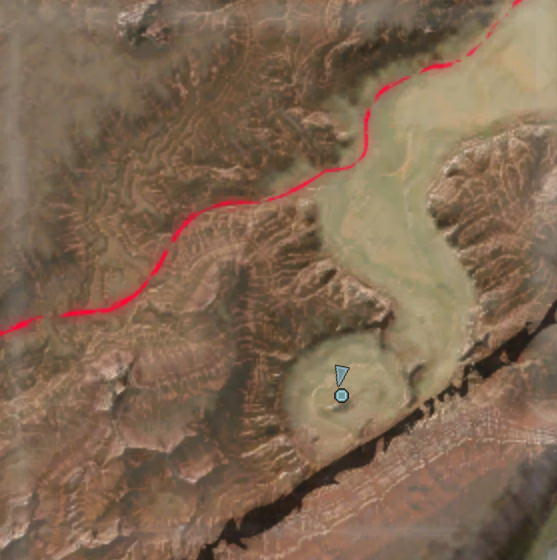
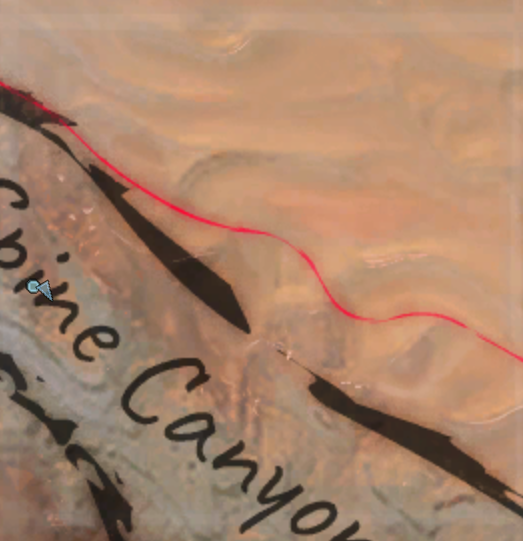
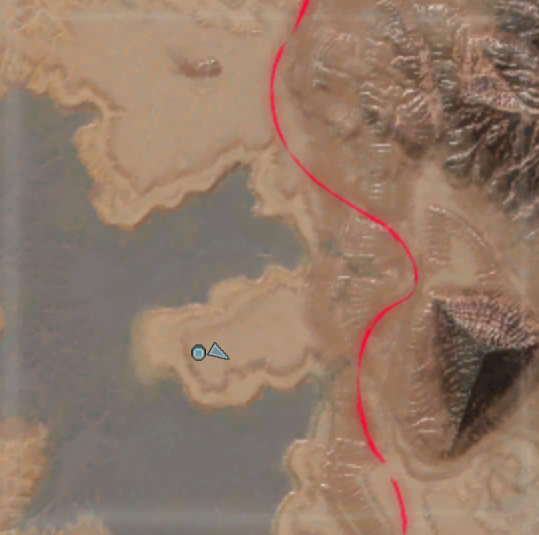
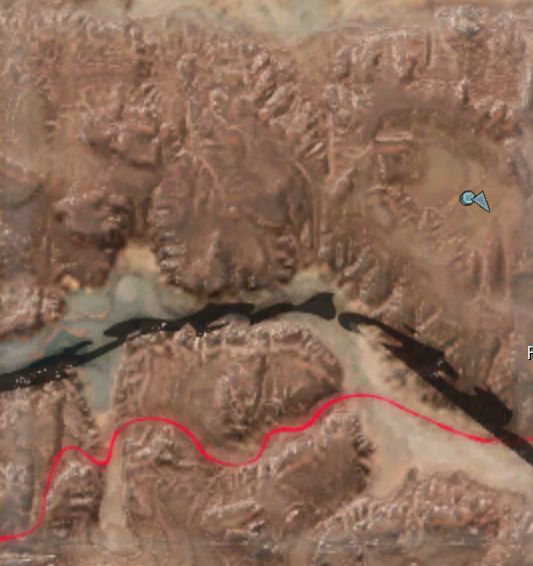
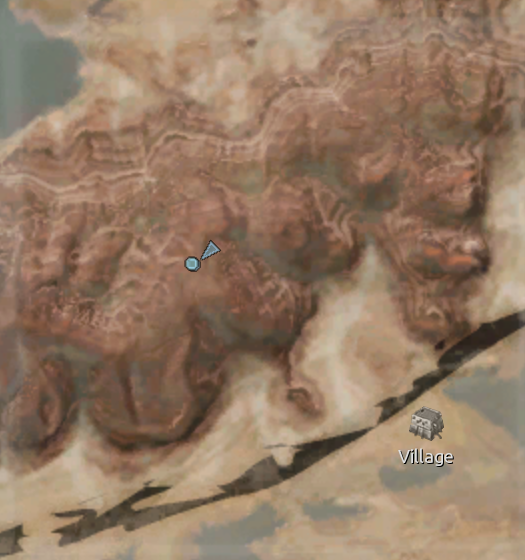
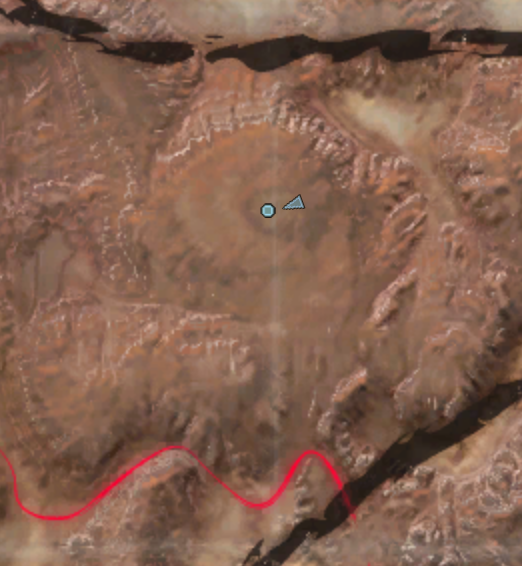
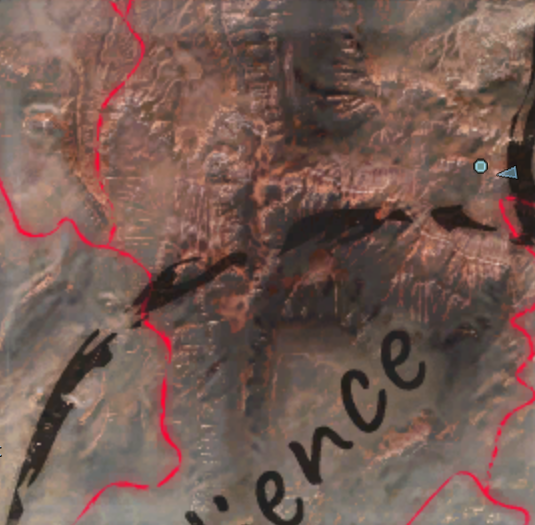
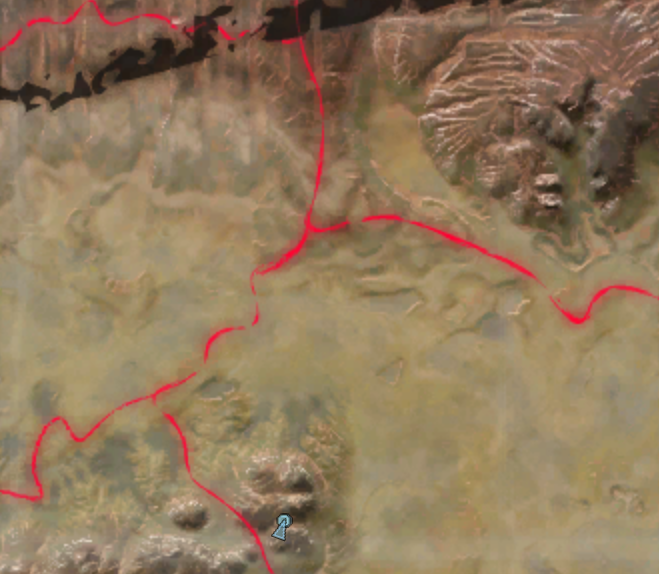
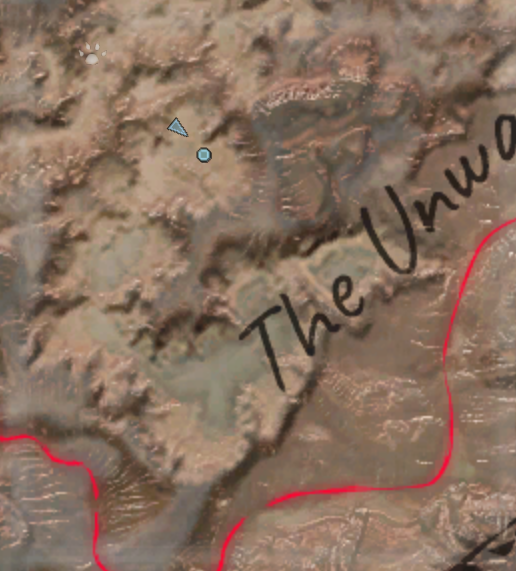
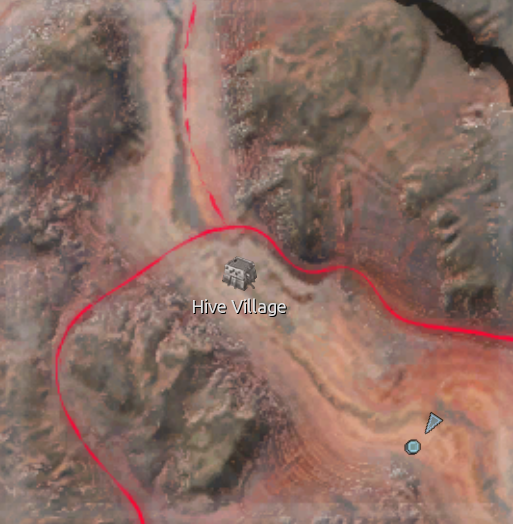
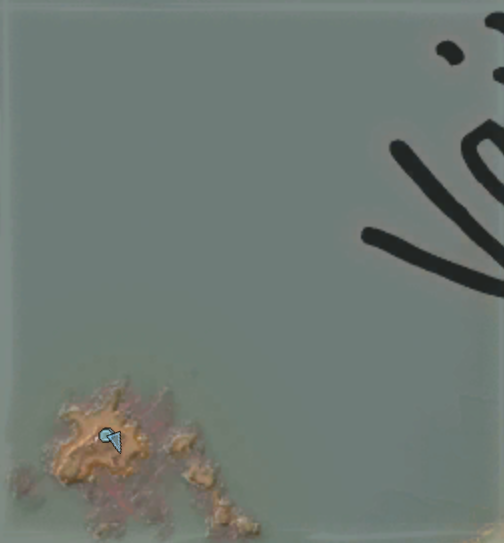
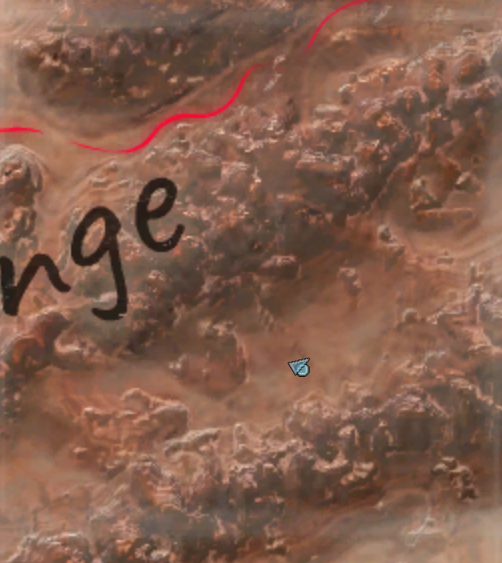
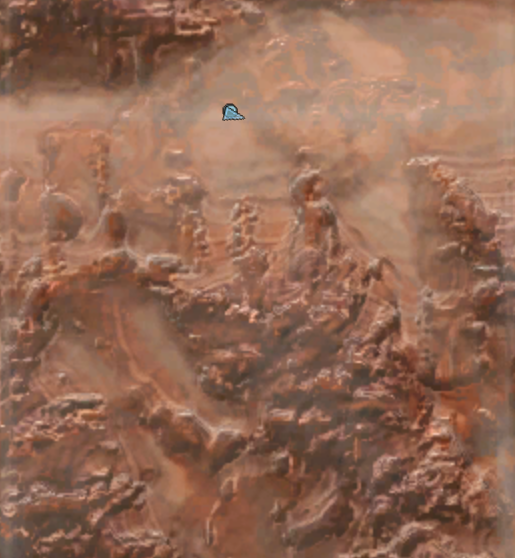
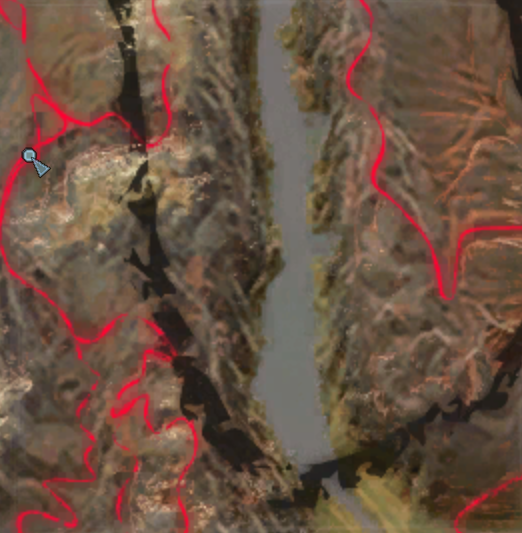
Also another 150 Iron Deposit just a short hop away in X.15,Y.3.
I know it's post-apocalypse and all, but I need some eye-candy.
I know all this was labor intensive, thanx for your efforts.
I'll muddle thru somehow
~cheers again
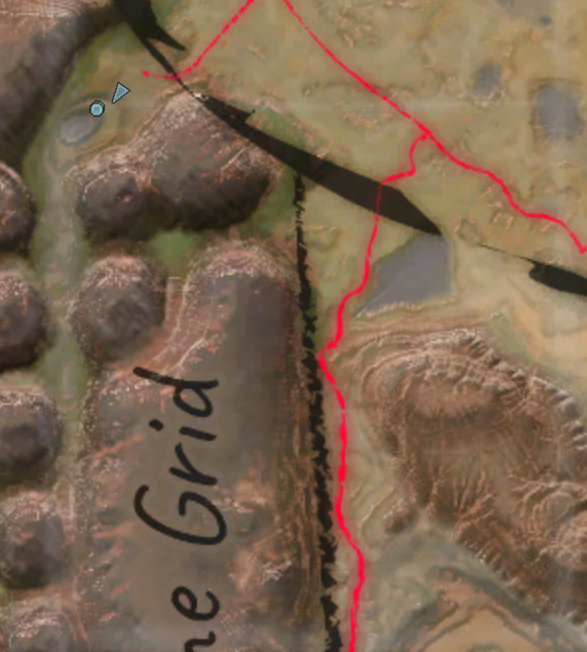
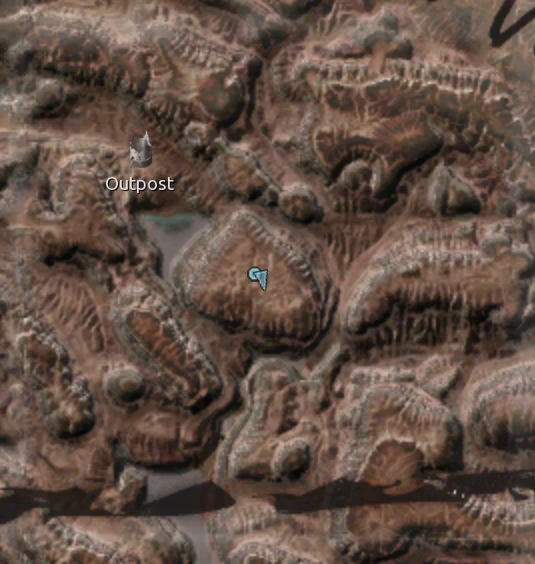
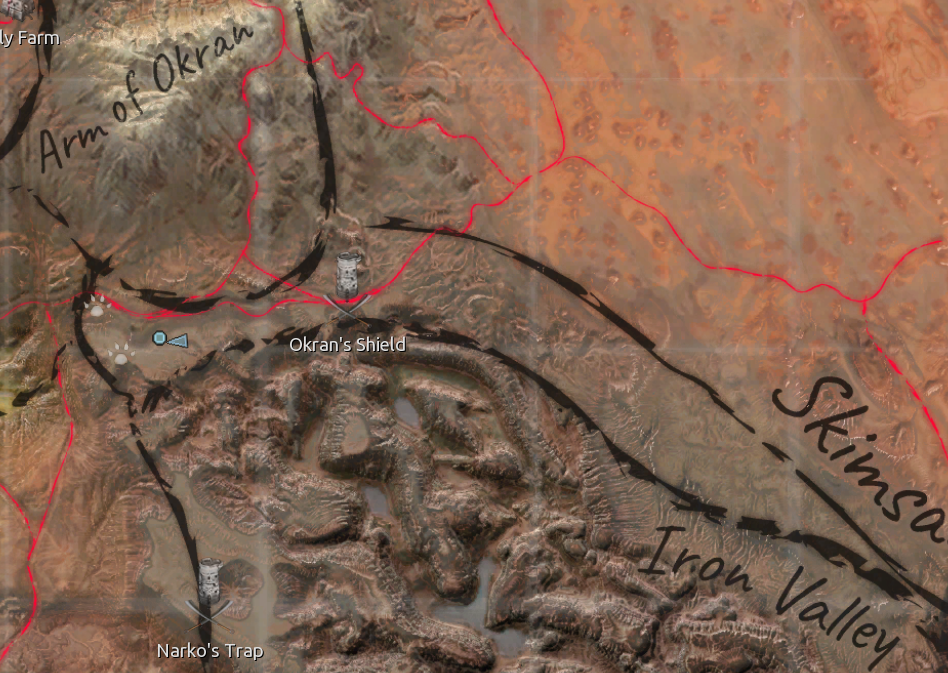
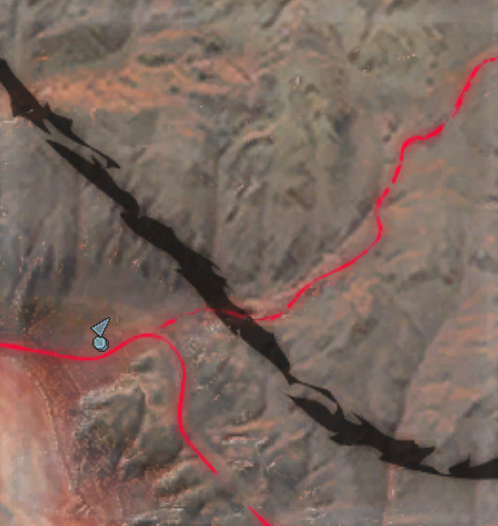
If it's any consolation only a couple places on the map require mods and I made sure to clearly write about it on the page, so be sure to check out my notes on individual locations.
But... so few people understand the plight of the red-green color deficient -- (eg. Is that yellow or green?) Color weight is a real thing, too.
~cheers