
Install Steam
login
|
language
简体中文 (Simplified Chinese)
繁體中文 (Traditional Chinese)
日本語 (Japanese)
한국어 (Korean)
ไทย (Thai)
Български (Bulgarian)
Čeština (Czech)
Dansk (Danish)
Deutsch (German)
Español - España (Spanish - Spain)
Español - Latinoamérica (Spanish - Latin America)
Ελληνικά (Greek)
Français (French)
Italiano (Italian)
Bahasa Indonesia (Indonesian)
Magyar (Hungarian)
Nederlands (Dutch)
Norsk (Norwegian)
Polski (Polish)
Português (Portuguese - Portugal)
Português - Brasil (Portuguese - Brazil)
Română (Romanian)
Русский (Russian)
Suomi (Finnish)
Svenska (Swedish)
Türkçe (Turkish)
Tiếng Việt (Vietnamese)
Українська (Ukrainian)
Report a translation problem


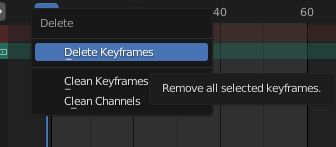

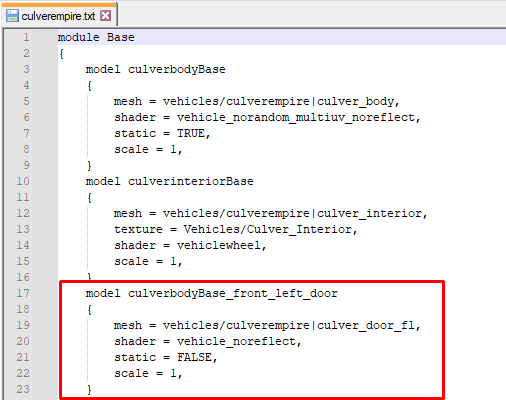


and it doesn't work
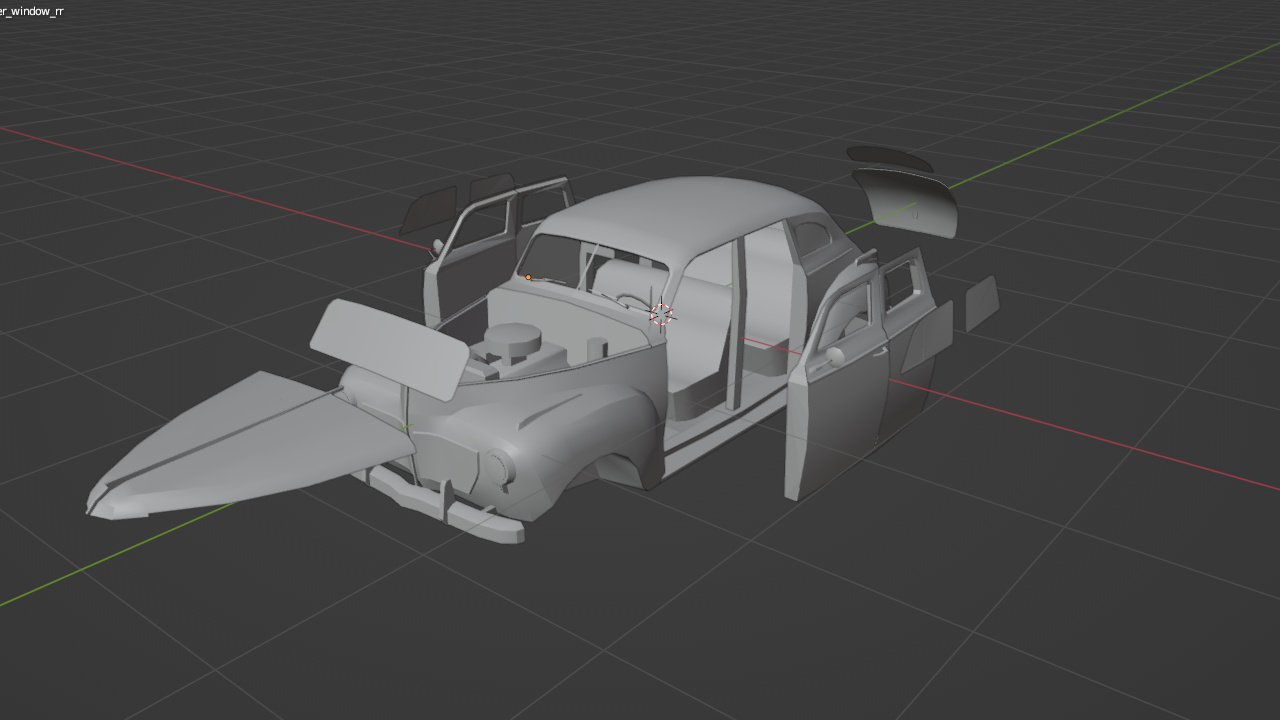
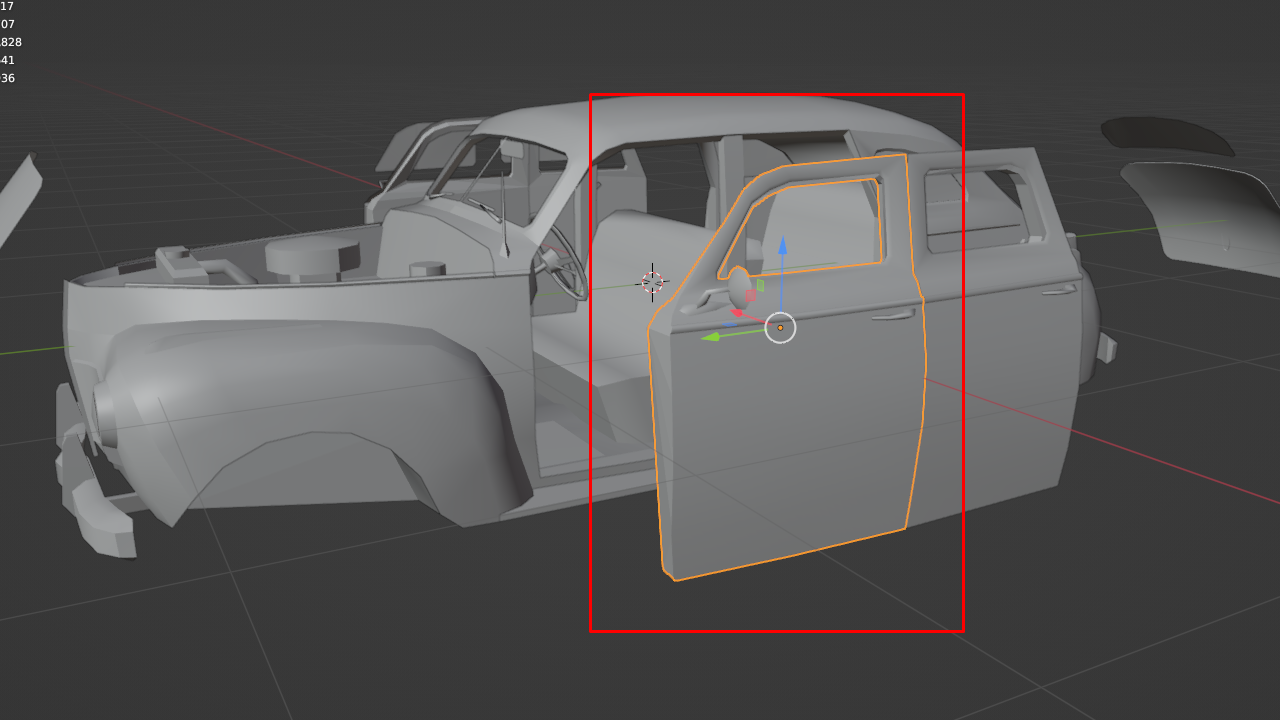
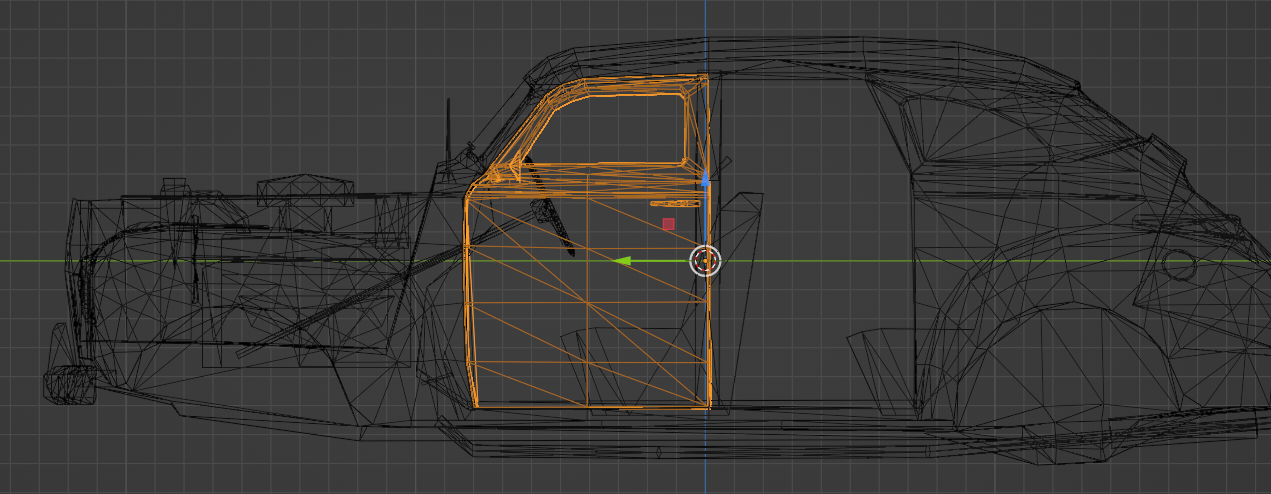
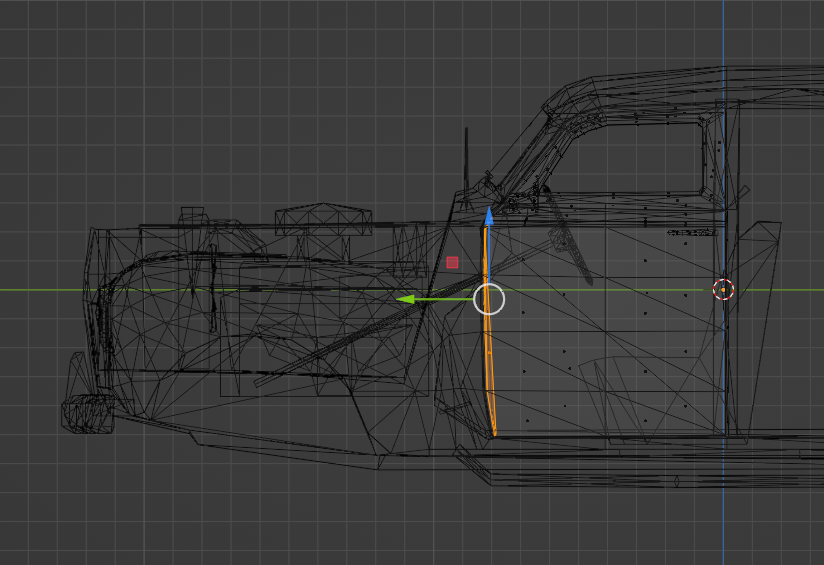
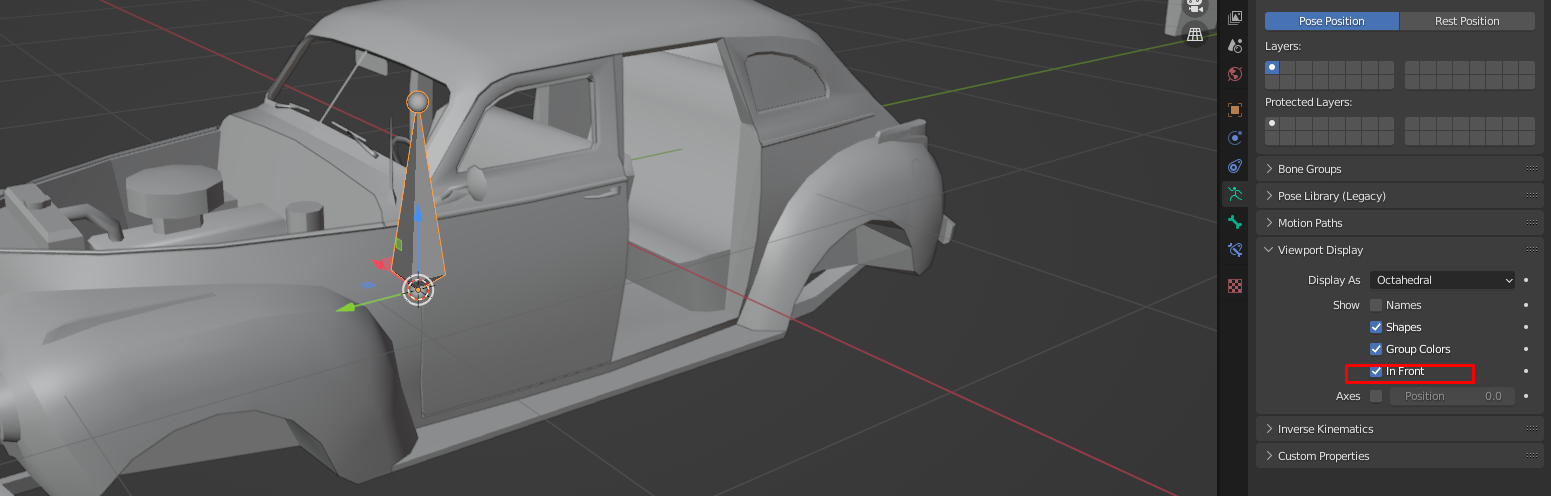
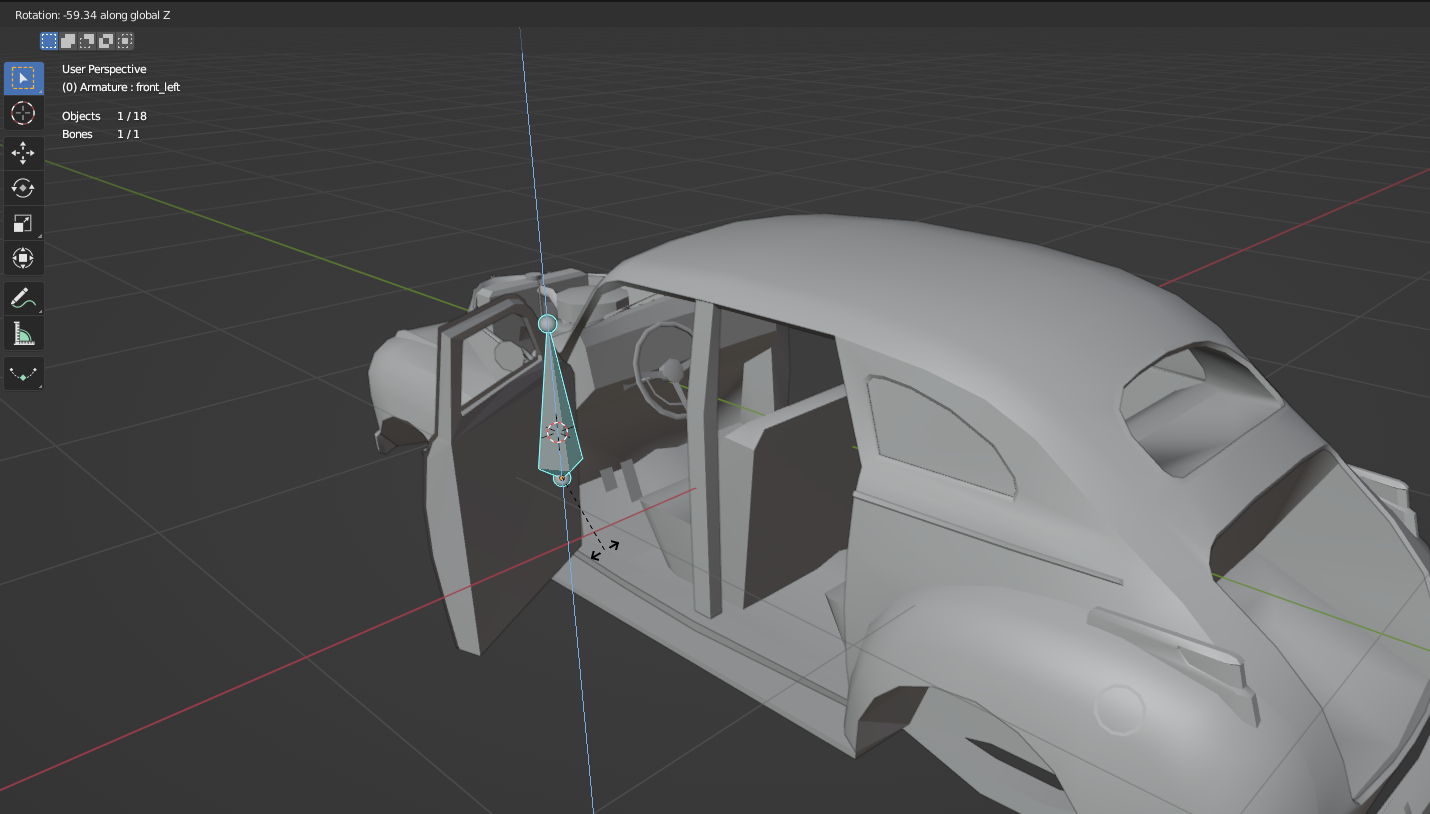
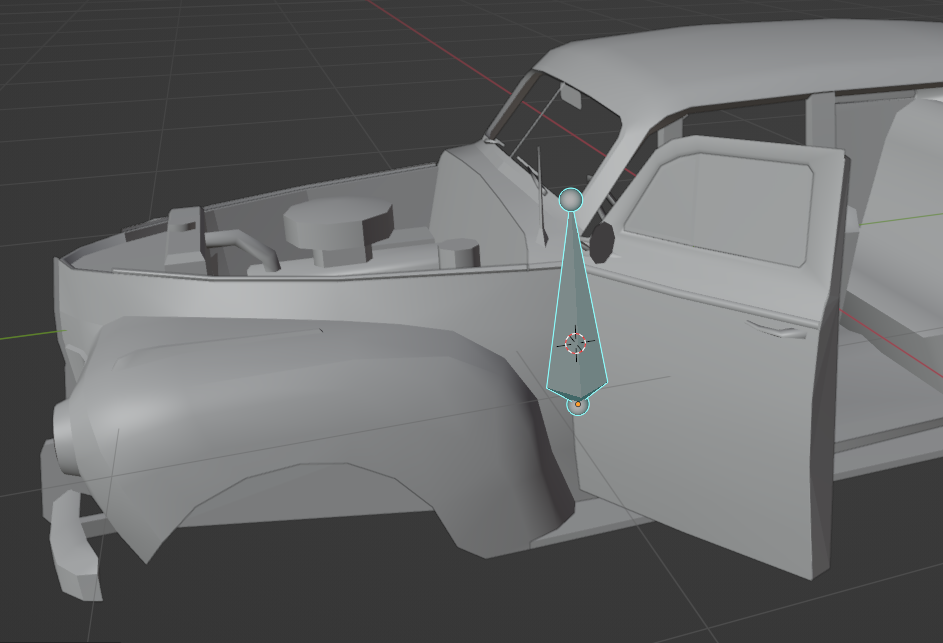
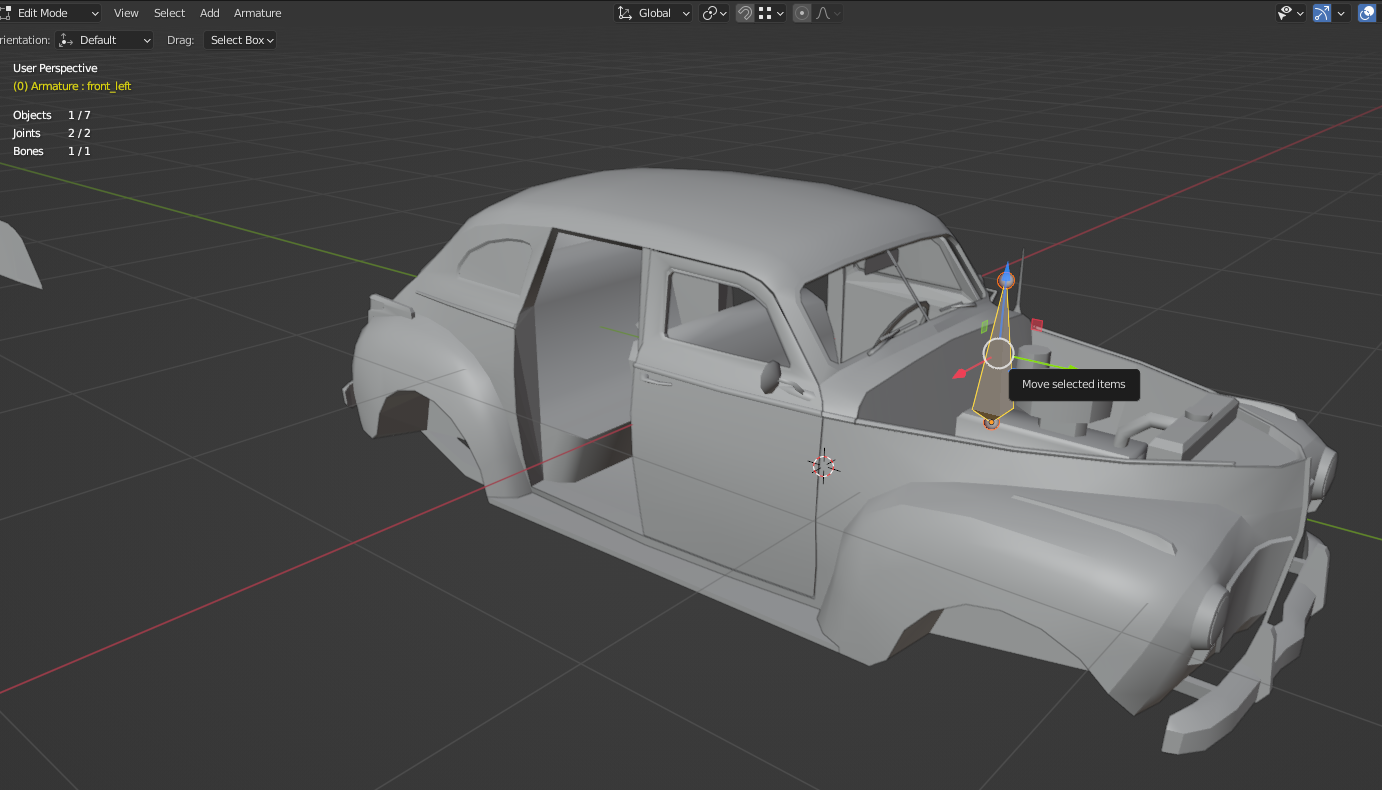
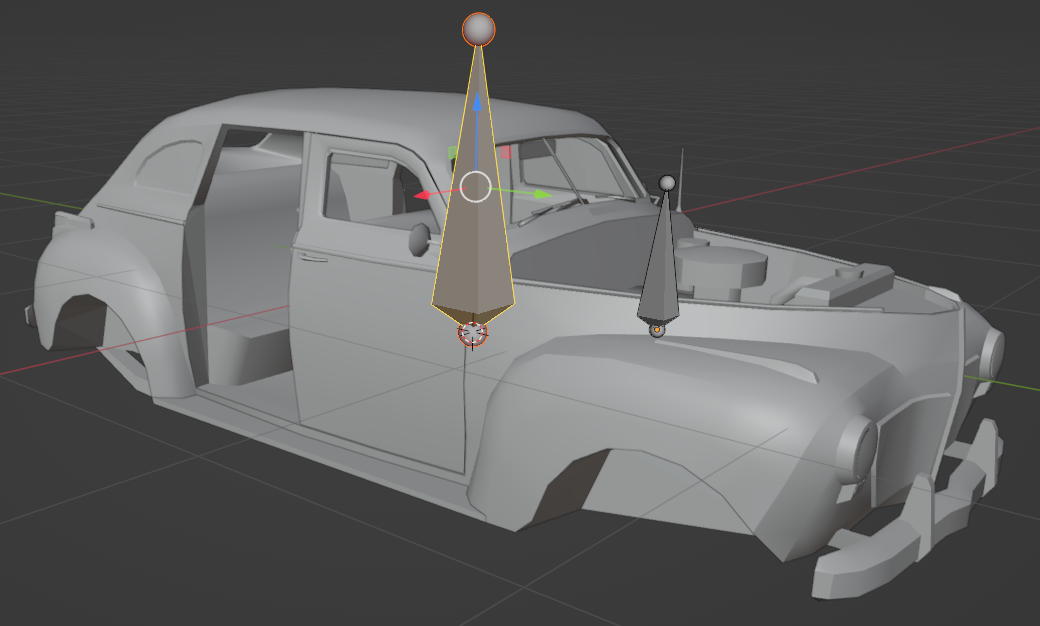
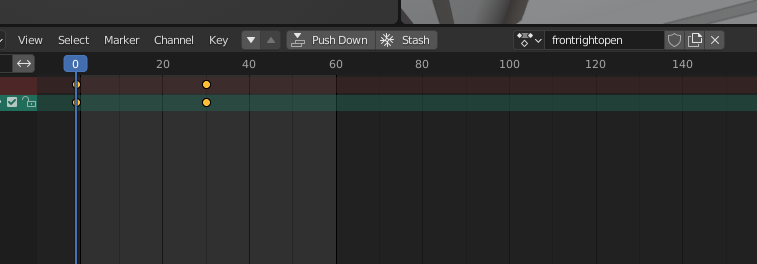
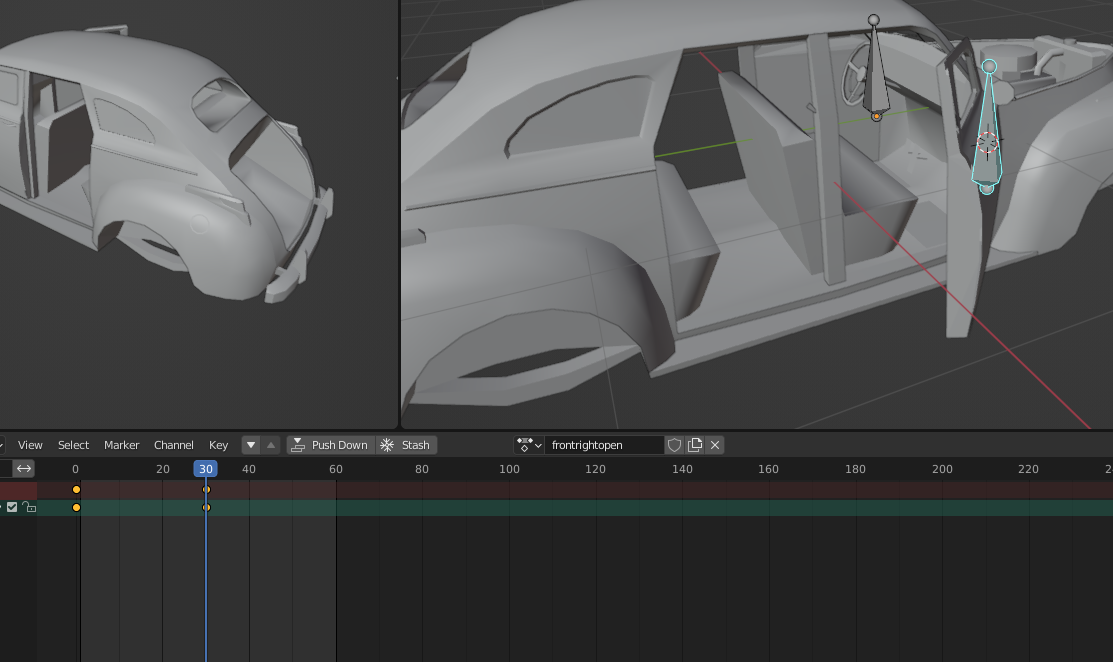
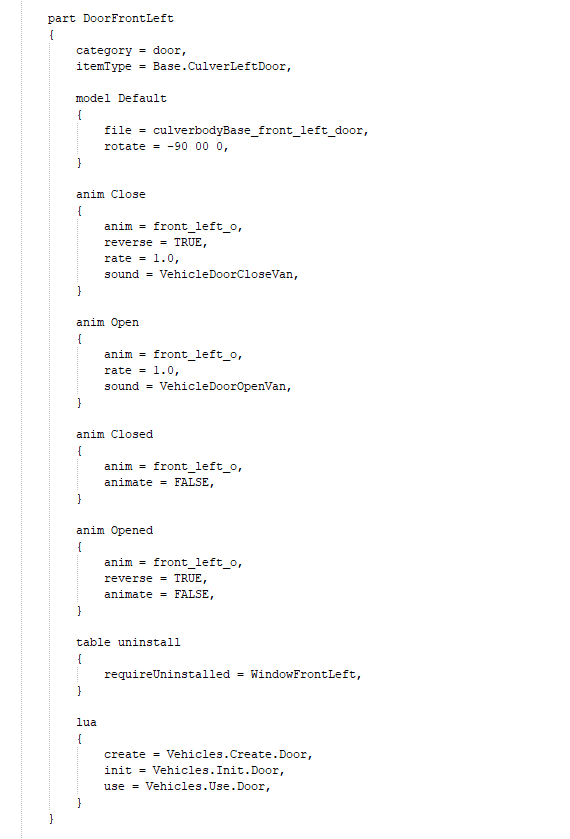
When I remove the static parameter the parts are in place but the animation can't run
(I know what the cause is because if static is true then the animation won't work)
then I tried to make the static parameter false and the part model disappeared
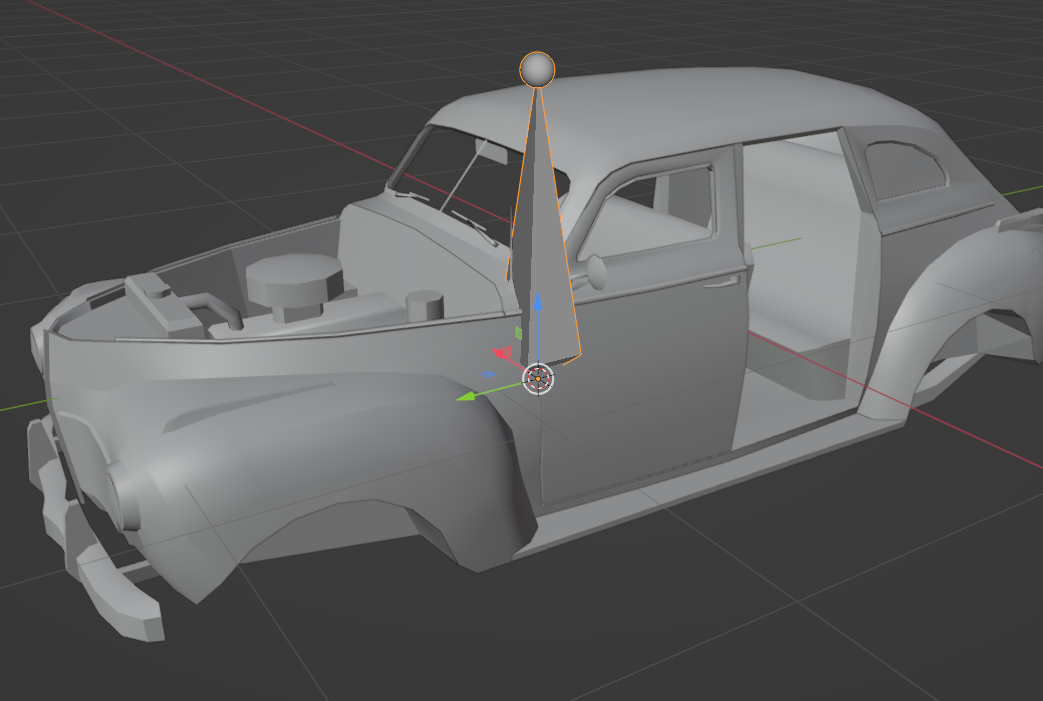
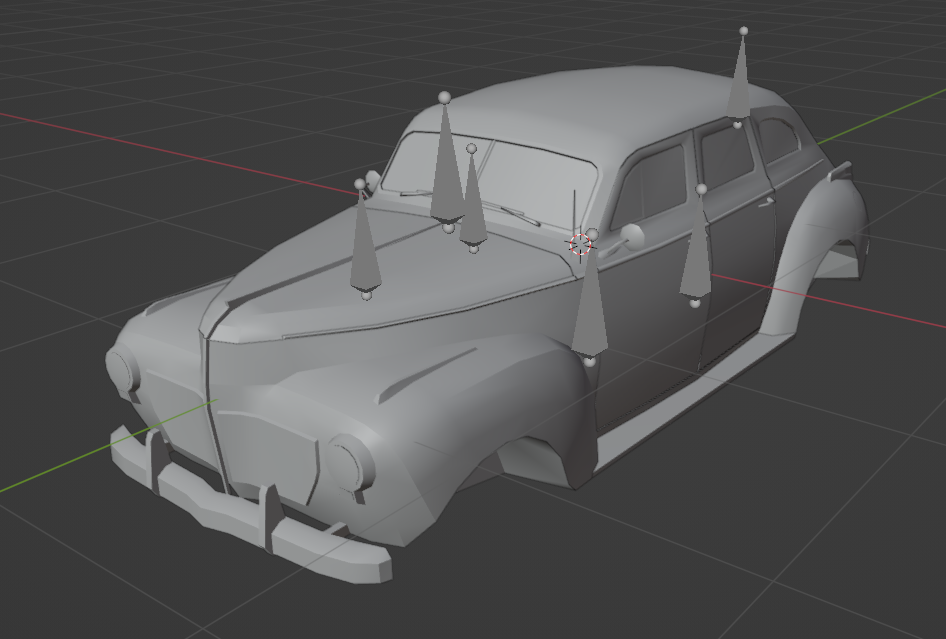
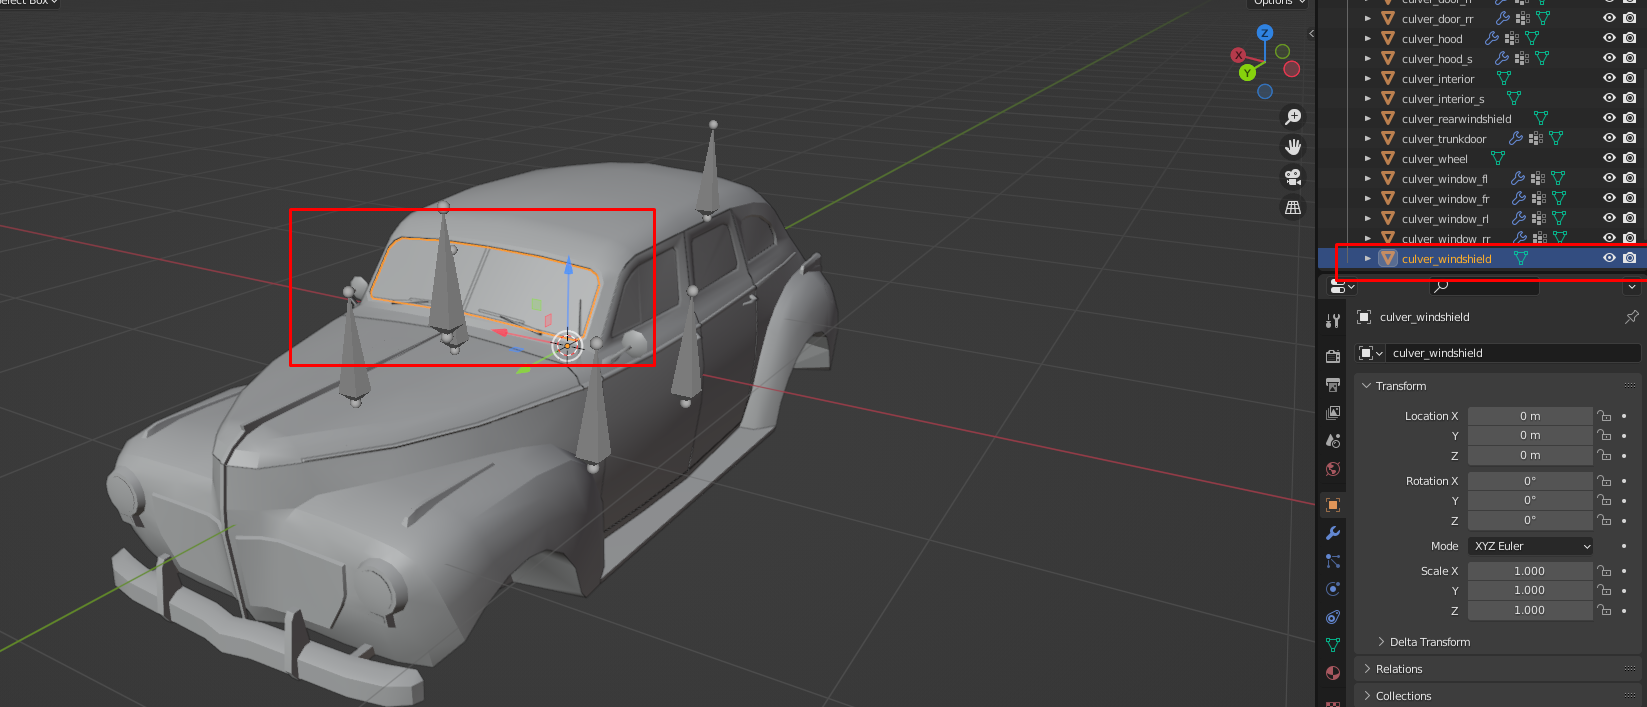
What do you think is the problem that makes it happen like that?
is it on the model?
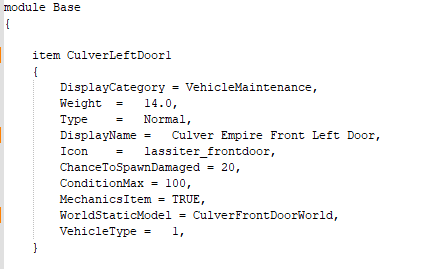
in writing the script I am sure it is correct
Thanks for the time you took to put this together.
I'd be nice to see a full tutorial how to make a car mod from scratch.