Destiny 2

Destiny 2

196 ratings
All Security Drones in Season of the Seraph
By Offyerrocker and 1 collaborators
CAUTION: THIS GUIDE CONTAINS SPOILERS
This guide contains a list of every Security Drone collectible in Season of the Seraph (S19).
22
8
23
6
4
3
2
2
2
   
Award
Favorite
Favorited
Unfavorite
Introduction

(This is Marty. He wishes you godspeed on your quest for spherical friends. He is a rather funny-shaped dog who also likes finding balls scattered throughout the world and playing fetch with them.)

About this guide

This is a text and image based guide (no videos) for finding the Security Drone collectibles in Season of the Seraph (S19). If you are looking for a video guide, I recommend Esoterickk's video guide. Generally speaking, he makes very high quality collectible/guide videos.

My SO and I spent a few hours looking for each of these without using a guide ourselves (by choice), and I decided to screenshot the ones we found and share them in a guide for others. Personally, I'm a text/image based guide enjoyer- I don't care for watching video guides unless there are no other options.

About Drones

There are 50 Security Drones total (henceforth referred to as "Drones"). The 12 Drones in the Seraph Shield exotic mission are time-gated, and can only be obtained by purchasing two upgrades that allow access to certain doors in the mission. The other 38 can be obtained normally. Currently, the laser doors can be bypassed any number of ways, and thus we suggest purchasing the upgrade for bypassing locked doors first to be able to collect all the drones as quickly as possible.

These Drones are yellow spheres about one meter in diameter, and bear a resemblance to the suppressor drones from the raid Deep Stone Crypt.
Here's a screenshot of one:


You can "collect" these Drones by shooting them with the Revision Zero exotic pulse rifle from the Seraph Shield exotic mission. You must use the Revision Zero; other weapons will not affect the Drones.
Upon being damaged by this pulse rifle, a Drone will disappear, grant some amount of experience towards the Season Pass, one or two Seraphic Umbral Energy, and check off the drone as collected in your triumph progress for the appropriate triumph.

Triumphs and Numbering

In this guide, Drones are also numbered according to these triumphs- each Drone is assigned a number in its associated triumph, and the numbering in this guide is consistent with this order to make it easy for anyone trying to track down missing Drones in their list.
However, not all Drones are organized neatly together by location- there are a few errant outliers, which will be noted at the beginning of each location section, in case you want to do all of the ones in an area before moving on.

The collection triumphs are as follows:

Drone Destruction I
Destroy all security drones with Revision Zero on Europa.
(x10 Drones; #1-10)

Drone Destruction II
Destroy all security drones with Revision Zero in Heist Battleground: Europa.
(x6 Drones; #11-16)

Drone Destruction III
Destroy all security drones with Revision Zero on the Moon.
(x10 Drones; #17-26)

Drone Destruction IV
Destroy all security drones with Revision Zero in Heist Battleground: Moon.
(x6 Drones; #27-32)

Drone Destruction V
Destroy all security drones with Revision Zero in Heist Battleground: Mars.
(x6 Drones; #33-38)

Drone Destruction VI
Destroy all security drones with Revision Zero in the mission "Operation: Seraph's Shield."
(x12 Drones; #39-50)

The Drone Door
At the end of the spacewalk platforming section, in the same room where you defeat the Hive Knight boss, there is a locked door with a holographic Drone image next to it. This is the door that you may only open when you have all 50 Drones collected.
There are 50 light dots, which are lit up according to how many Drones you have collected.
Note that these dots do not correlate with individual Drones; they will simply fill up from the bottom to represent the number of Drones you have.

All 50 Drones collected. What could lie ahead? I won't spoil it for you >:)

Europa (Patrol Zone): #1-10
Note: The order is a bit strange here. #5, #6, and #10 are in Cadmus Ridge, but #7, #8 and #9 are in Eventide Ruins.

#1 (1/10)
Beyond

You can find this Drone by travelling to Beyond on Europa (at the bottom of the map).
Hop on your sparrow and ride over to the Pyramid altar in the distance. The ball sits on top of an archway of the structure.


#2 (2/10)
Asterion Abyss

On the north side of the Asterion Abyss, near where the Fallen Brigs public event can spawn, this Drone hides nestled in a tiny crevice near some large empty ice plains.

Another angle.

Another angle.


#3 (3/10)
Asterion Abyss
On the western side of Asterion Abyss, the Drone sits high up on a ledge, often guarded by some yellow-bar Vex. Platform onto the large boxy Vex structure to reach it.

View from the Cadmus Ridge route:


#4 (4/10)
Asterion Abyss, Concealed Void Lost Sector

This Drone is in the Lost Sector, the Concealed Void. In a large room next to a Servitor spawn, the Drone is hidden beneath a Vex box platform, in front of a crane.


#5 (5/10)
Cadmus Ridge

On the right side of a large Vex structure, hugging the side of an icy hill.
If you're entering from Charon's Crossing, you should be able to see this one as you enter the area.


#6 (6/10)
Cadmus Ridge

You can find this Drone at the entrance to the Bray facility in the area, though it's essentially completely hidden until you get close. Walk to the damaged entrance hole and turn left to find it hidden behind a wall.

In this screenshot, the Drone is on the right side of the image.


#7 (7/10)
Eventide Ruins, Bunker E15 Lost Sector

You will probably see this Drone as you progress naturally through the Lost Sector. When you first find it, it will be behind a layer of smug, unshootable glass. Continue past it to the next room, which is the last room before the Lost Sector's boss. After entering this room, turn right to find the hidden door to the Drone.


#8 (8/10)
Eventide Ruins

After teleporting to Eventide Ruins, turn around and enter the building. The Drone is up on a platform to your left, overlooking the entrance hole to the Bunker E15 Lost Sector.


#9 (9/10)
Eventide Ruins

This Drone can be found by the entrance to the Deep Stone Crypt.
If you're not familiar, look for an area that is illuminated in orange/red. There are often two Void-shielded, named, yellow bar Fallen Captains guarding this area. To the left of a large hatch at the back of the room, the Drone sits snugly within a tiny spherical cutout.


#10 (10/10)
Cadmus Ridge, Perdition Lost Sector

Yep, we're back in Cadmus Ridge! No, I don't know why the Drones are ordered this way.
Enter the Lost Sector, Perdition. Straight away, you should see the little Drone next to the Lost Sector Chest area, mocking you from yet another layer of smug bulletproof glass. Complete the Lost Sector to gain access to the Drone.

View from the start of Perdition

View of the Drone, with the Lost Sector Chest as a landmark.

Europa (Heist Battlegrounds) #11-16
#11 (1/6)

At the start of the mission, go all the way to the entrance of the Bray facility, but don't enter it. Jump on top of the entrance and turn around. You will see the Drone on top of an icy ledge, next to a Fallen platform and a roughly capsule-shaped structure with some glowing lights on it.

(This image is technically from the patrol zone but still should show you approximately where it is)

This image was taken from the entrance of the Bray facility, facing away from the entrance.


#12 (2/6)

Upon entering the main foyer of the facility (the first big room of the mission), you should see a large cryptolith in the center of the room. On your left, high up, the Drone peeks at you through a small hole in a support near the ceiling.


#13 (3/6)

After the foyer fight, you'll travel through some empty hallways, down further into the facility. In one (poorly lit) red hallway is a Drone, hidden behind a box at a left turn.

#14 (4/6)

You'll enter a room with some enemies, including a Barrier Champion Hive Knight (if you're doing this in the Heist Battlegrounds Playlist). Before dropping down the hole, find the ball on the left side of the room (relative to where you entered), beneath the catwalk.

#15 (5/6)

In the large bottomless room where you fight the Chorister, the Drone is hidden away on the left, in between the main leftmost platform and the wall, just to the left of the Chorister's plate. You can also see this before you jump down the cracked circular glass hole.


#16 (6/6)

In the room with the giant Clovis Bray head, check the back-right corner of the room, behind some crates.
If you are hunting these in the playlist with blueberry teammates, get this one quick before your teammates reach the next section of the mission, or else you'll be "Joining Allies" teleported!
The Moon (Patrol Zone): #17-26
#17 (1/10)
Sorrow's Harbor
This Drone is on the eastern side of the Sorrow's Harbor area.
From the bridge on the northeast side of Sorrow's Harbor (the one that led to the Moon intro area and the Season of the Splicer/S14 Moon Battlegrounds arena), face the Altars of Sorrow and move forward, hugging the right cliff edge, and you should find the Drone.


#18 (2/10)
Sorrow's Harbor

From Sorrow's Harbor, head towards the Scarlet Keep structure, as if you were going into the Pit of Heresy dungeon or the Scarlet Keep strike. Instead of jumping down the hole into the Pit of Heresy or turning right to enter the Scarlet Keep strike area, look straight ahead and up to see this Drone peering back at you through the window.


#19 (3/10)
Sorrow's Harbor, K1 Revelation Lost Sector
Head into the Lost Sector until you reach the platforming bit. You should be able to see the Drone behind a wire mesh wall.

#20 (4/10)
Hellmouth
This was the first Drone I found, and I shot it before taking a screenshot (because I hadn't decided to make a guide yet), so unfortunately the first image does not actually feature the drone in the screenshot.

Go towards the structure at the north side of the Hellmouth, on the right/clockwise side of the structure. The Drone is out in the open above a ridged rock formation.
In this screenshot, the Drone does not appear since I had already shot it by this point, but it would be positioned roughly in the center of this image.


Here's Drone #20 from another angle. (Thanks to Metroid for the screenshot!)


#21 (5/10)
Hellmouth

Head towards the area with the K1 Crew Quarters Lost Sector, but don't enter it. On top of the leaning radio/telecomms tower, the Drone is perched, surveying all within its spherical domain.


#22 (6/10)
Hellmouth, K1 Crew Quarters Lost Sector

You should find this one easily by doing the Lost Sector normally. It is on a cliffside before a U-bend, where the Tracer Shanks spawn.


#23 (7/10)
Archer's Line

Jump on top the of the decrepit skyrail line in the middle of the map and follow it to the side of the building (the one that contains the Lost Sector) to find this Drone.


#24 (8/10)
Archer's Line, K1 Logistics Lost Sector

Progress through the K1 Logistics Lost Sector. In the boss room, on the right side of the area (relative to where you entered), the Drone awaits a worthy collector.


#25 (9/10)
Anchor of Light

You can find this Drone on top of the tower on the left side of the map. You don't actually need to scale it to find it, but as a Hunter main, I like to be tall.


#26 (10/10)
Anchor of Light

Navigate to the entrance to the Traitor's Ketch area. This Drone is out in the open, so it should be fairly easy to spot.


The Moon (Heist Battlegrounds) #27-32
#27 (1/6)

At the start of the mission, go forward until you encounter the enemies, then look up to the lip of the crater on your right. The Drone is hidden behind some small reddish capsule-shaped tanks.


#28 (2/6)

After entering the bunker, you will eventually reach a large slide. The Drone is hidden in some Hive gunk on the left side of the slide.

Note that in this image, I am at the bottom of the slide, looking back up through the tunnel.


#29 (3/6)

Eventually, you will reach a room with a large glass window and only a couple of enemies in it. If you haven't collected it yet, you will also see Drone #31 behind the large glass window, mocking you behind even more smug bulletproof glass. That Drone is not the one you'll be getting, however.

Instead of taking the door on the left to continue through the mission, check the right side of this room. Hidden in a dimly-lit corner, hides this Drone.


#30 (4/6)

In a red-lit room, descend a short set of stairs and find a green-lit section of the room to the right to find this Drone.


#31 (5/6)

In the wave-defense room where you are tasked with keeping enemies away from Ghost while he hacks the terminal, look up into the light to find the Drone. This is also the Drone that you can see behind the glass from the same room where Drone #29 is located.


#32 (6/6)

Continue through the mission until you get to the part of the mission where you must retrieve two CBR nodes to break five Hive seals. Check the right path for this Drone.
Mars (Heist Battlegrounds) #33-38
Note: I recommend you start with #34, then go to #33, because these Drones appear to have been indexed by a madman.

#33 (1/6)
This Drone is near Tower C. Head to the path that used to lead to Alton Dynamo.
For new players: from Tower C, head back towards where you came from, then turn right at the large "02" signage on the blue wall.

#34 (2/6)
This Drone is near Tower A, behind some boxes, near where the Chorister spawns.

#35 (3/6)
Once you've broken the Hive gunk with the CBR node, head inside, then turn around 180 degrees and look up. The Drone is on the ceiling, above the viewing bay with the large glass windows. (Not the one where Ana Bray used to hang out!)

#36 (4/6)
After the first fight inside the facility and the mini platforming section, you'll be faced with a large, Hive-gunked sloped freight elevator. On the right, there is a lower path, which leads to an inactive enemy spawn door and a Drone tucked away in the corner.

#37 (5/6)
Just after the Hive gunk wall, you'll find yourself on a new level. Look up to the ceiling to find this Drone.
If you find a door that must be hacked open, you've traveled too far and should turn back.

#38 (6/6)
After hacking the door, you'll fight some more enemies just before the main door to the facility interior. Look up and to the left to find this Drone.

Alternatively, as in this image, you can walk to the door to the next area, then turn around and look to your left.
Seraph Station (Exotic Mission) #39-50
These nodes require you to have completed the seasonal quest "More Than A Weapon III" at least. If you are looking to complete these naturally (without OOB or laser door cheesing), you will need to wait until the week of Jan 3 to obtain both upgrades needed to get all of the Drones.

Upon speaking to the Exo Frame in the H.E.L.M., you are given a choice between three upgrades: Tactical Armor, Security Clearance, and Extreme Ordnance. You should get Security Clearance first, and then Tactical Armor.

You can only choose one upgrade per week starting with "More Than A Weapon IV".

As of the week of 19 December 2022, the Drones (#39-50) in the Seraph Station (Seraph's Shield exotic mission) are not achievable through normal gameplay. These Drones are time-gated, locked behind laser grids or doors which require upgrades to open, and should become available later on in the season.

Drones #39, 41, 42, 45, 46, 48, and 49 are locked behind puzzle doors and require the "Security Clearance" upgrade from the Exo Frame.
- These Drones are hidden behind doors marked with an encircled star waypoint on your HUD. Interacting with the terminal next to a security door spawns three shootable tiles; you find and shoot the tile that matches the one next to the door each time a new one appears, for a total of three times. This process must be repeated for each security door.

Drones #40, 44, 47, and 50 are locked behind laser doors and require the "Tactical Armor" upgrade from the Exo Frame.
- These Drones are hidden behind laser grids. The upgrade allows you to pass through the laser grid doors without dying. Alternatively, you may also bypass them by lunging through the doors at high speed with the movement utility of your choice (sliding, Eager Edge sword lunge, shoulder charge, etc). You can also be revived on the other side if your Ghost spawns on the other side. Many of these Drones can also simply be shot by using ricochet rounds/seraph rounds to strike the Drone by bouncing the bullet off of the wall.

Drone #43 is a special special boy and doesn't require an upgrade. However, it does appear before #42 for some reason...??? So if you're looking through the level after 42 and can't find it... that's why.

#39 (1/12)
- Security Clearance upgrade
In the very first section, before you've entered the facility, while you're playing hide and seek from the security towers. Make your way to the facility's entrance, where the nice orange-bar Ogre is there to greet you. On the right side of the platform, there is a secret entrance hidden beneath the ground level. You'll need to jump down into a small alcove to reach this door. Solve the puzzle and it's yours!


#40 (2/12)
- Tactical Armor upgrade
After the first section, where the game so kindly explains the Scanner mechanic to you (probably for the billionth time), find a tunnel that leads to a hacking point and a laser-covered door.

The door to the room with the Drone inside:

Inside view of the room with the Drone:

#41 (3/12)
- Security Clearance upgrade
In a room that is almost entirely painted yellow, immediately upon entering, you will find a security locked door to your right with Drone #41 inside.

(after completing the puzzle)


#42 (4/12)
- Security Clearance upgrade
Immediately after the boobytrapped tile maze puzzle, turn right to find this locked door and Drone #42 inside.
All three tiles visible from one angle:


#43 (5/12)
- No upgrade required!
Just before the boobytrapped tile maze puzzle, look up above the entrance to the maze room to find this one. Sneaky!

You'll need to move a bit to get an angle on the Drone behind its stupid smug bulletproof glass.


#44 (6/12)
- Tactical Armor upgrade
After you find the room with the two Shriekers, look around for a darkened doorway with a laser grid just inside the entrance. Inside to the left is a Drone; to the right is a secret chest.


#45 (7/12)
- Security Clearance upgrade
In a teal blue colored laboratory room where you've just obtained Operator for the first time, there is a security door hiding Drone #45.


#46 (8/12)
- Security Clearance upgrade
In the boss room with the Hive Knight and the three orange-bar Brigs, just before the literal war crimes false surrender section. Turn left from the rally flag to find this security door and Drone #46.
Tile A

Tile B

Tile C


#47 (9/12)
-Tactical Armor upgrade
At the end of the spacewalk section after the literal war crimes false surrender section, you'll find a long room containing two orange bar Fallen Brigs, an Augmentation Terminal, and a Ammo Restock box at the end of the room. On the left side of this room, near the start, is a laser grid. Bypassing it through whatever means you can will allow you to obtain Drone #47.


#48 (10/12)
- Security Clearance upgrade
This Drone is directly before the final boss room. After you obtain the Suppressor buff for the first time, you'll find yourself in a white room with some orange pillars. On the left side of this room is the security door hiding Drone #48.
Tile A

Tile B

Tile C


#49 (11/12)
- Security Clearance upgrade
After defeating the final boss, go to the room where the rewards chest spawns.
The security door is on your right.
Tile A

Tiles B and C


#50 (12/12)
- Tactical Armor upgrade
Also in the rewards chest room after the final boss.
Drone #50 is behind the laser door to your left.
The End
Feedback

I hope this guide has helped you! Rating guides helps distinguish them from all of the low-effort joke guide spam; please consider leaving a rating on this guide if it did help you.

If you have feedback, comments, or questions, please post them as a comment on this guide! I don't generally accept friend requests from strangers, due to the high volume of phishing/scam attempts on this platform.

Special thanks
Thanks to Doom Kitten, my partner in crime, for helping me find all of the round friends; to Metroid, for helping fill the third slot in the Heist Battleground playlist so that we didn't have to deal with a blueberry while we searched, and for providing an image of Drone #20 on The Moon (Patrol Zone); and Dmon, for taking a better picture of Drone #32 when it turned out that mine was unusable.
19 Comments
Fluclox Jan 21, 2023 @ 3:16am 
Great guide, a huge help in getting all this done. Big thanks and respect for a simple, effective guide.
Offyerrocker  [author] Jan 9, 2023 @ 6:45am 
No, there aren't any in Ketchcrash, since that was Season of Plunder, the season before Season of the Seraph. The list in this guide is comprehensive.
DSI Jan 9, 2023 @ 6:25am 
are there any in ketchcrash?
*Thump* Jan 9, 2023 @ 5:57am 
fun fact, you can still do security drones which require Tactical Armor without actually owning it
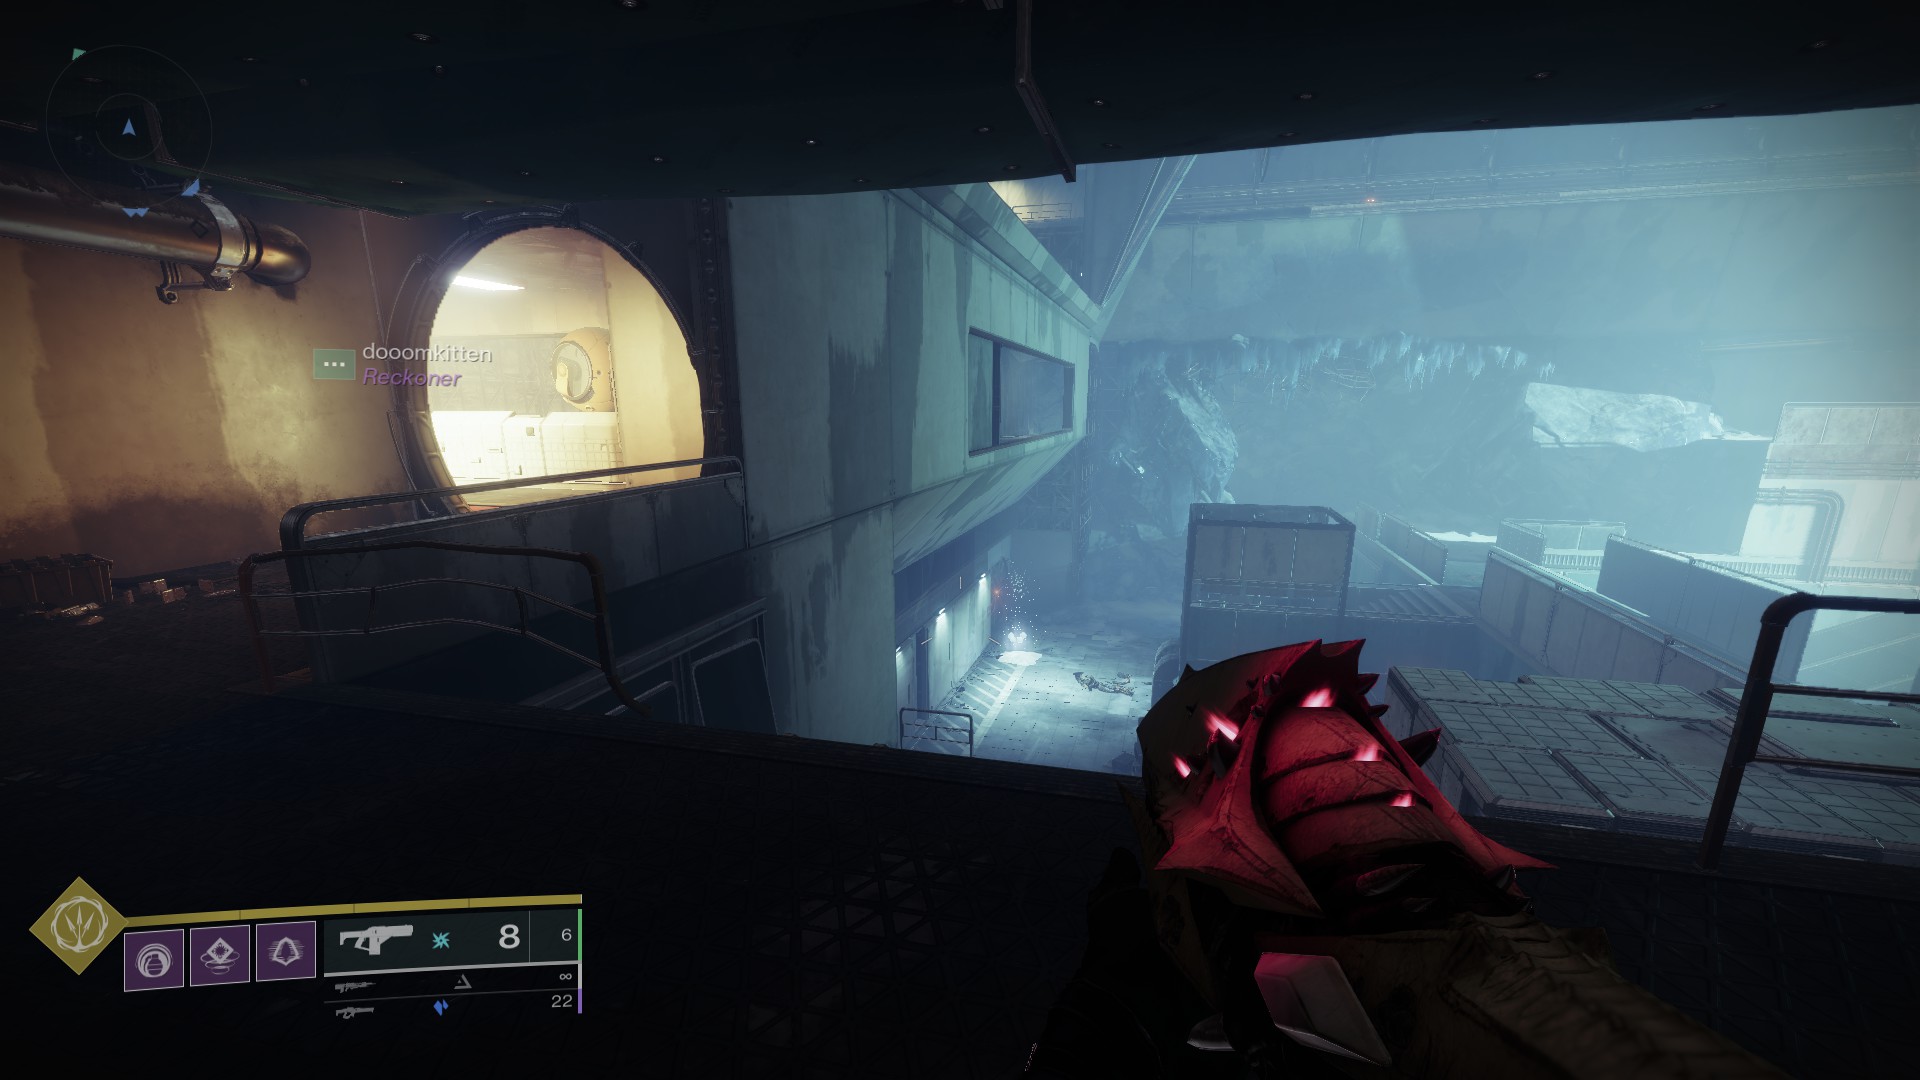
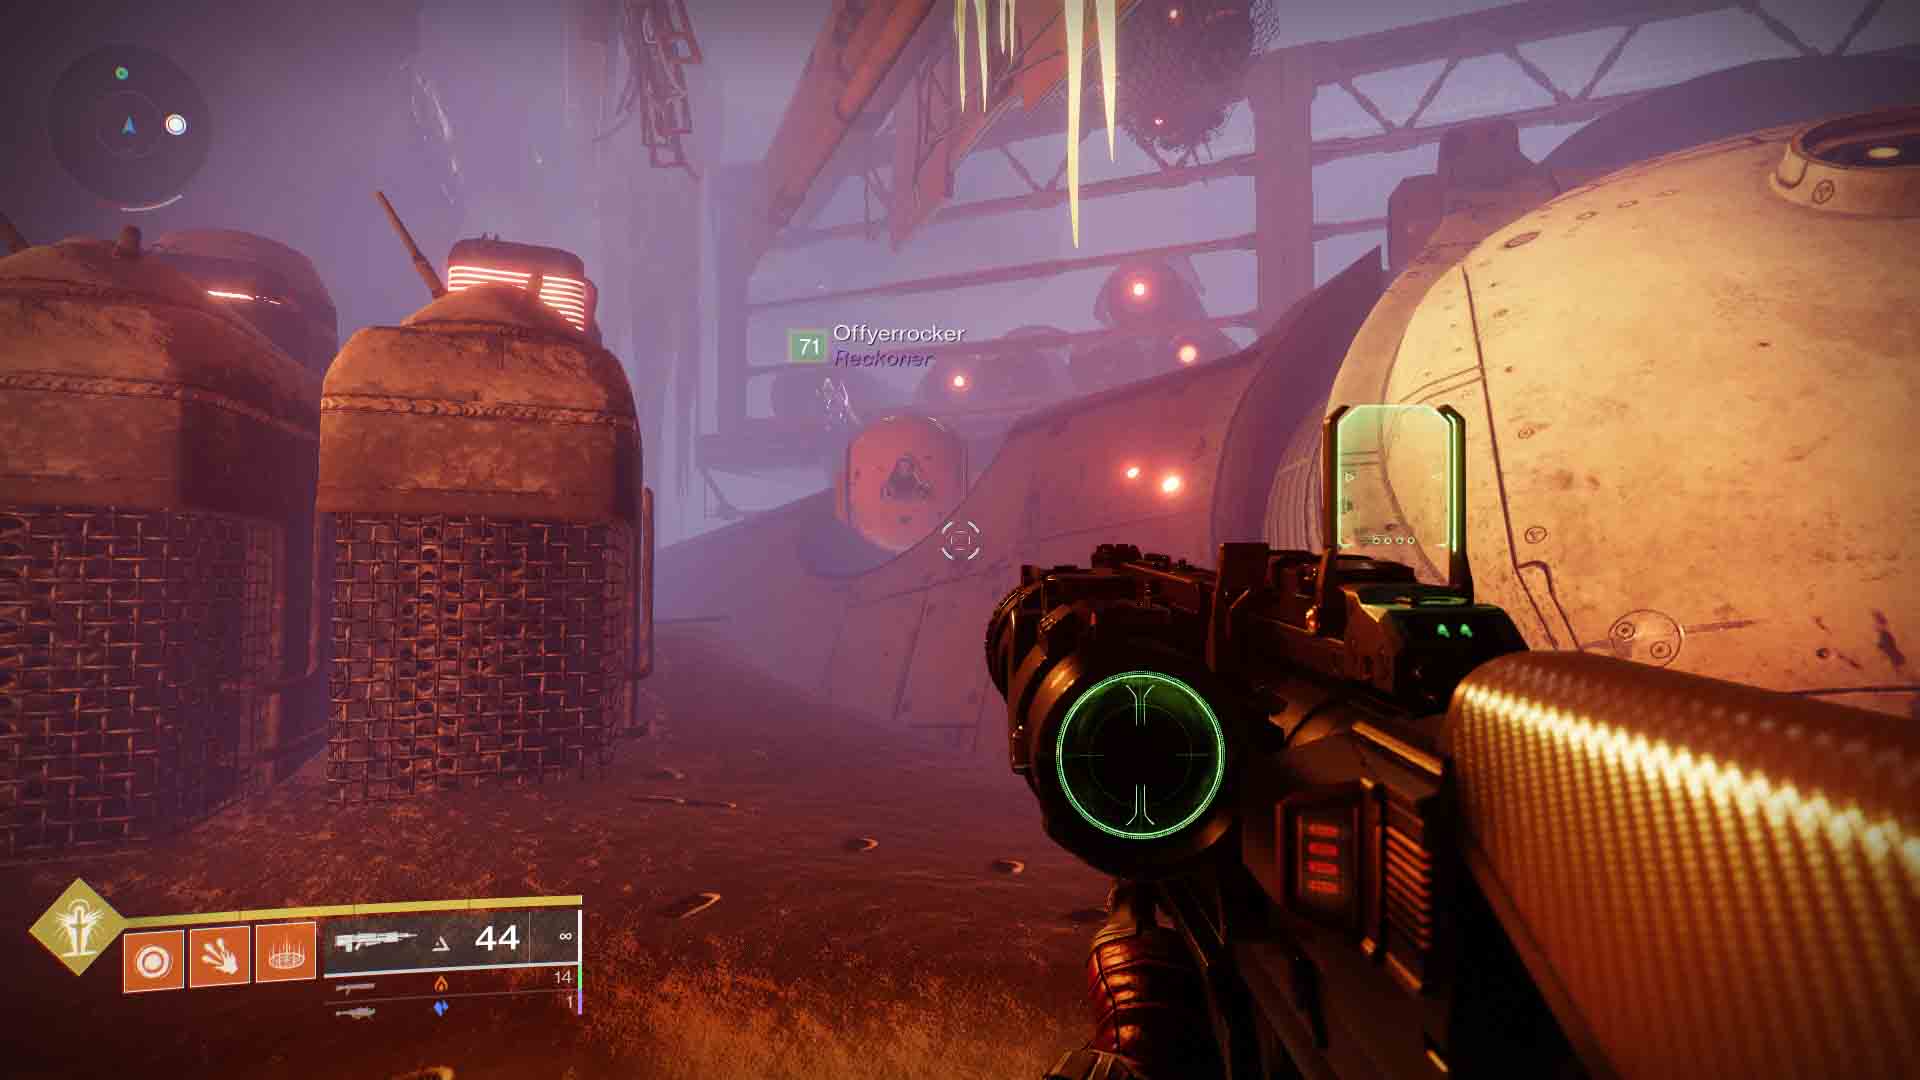
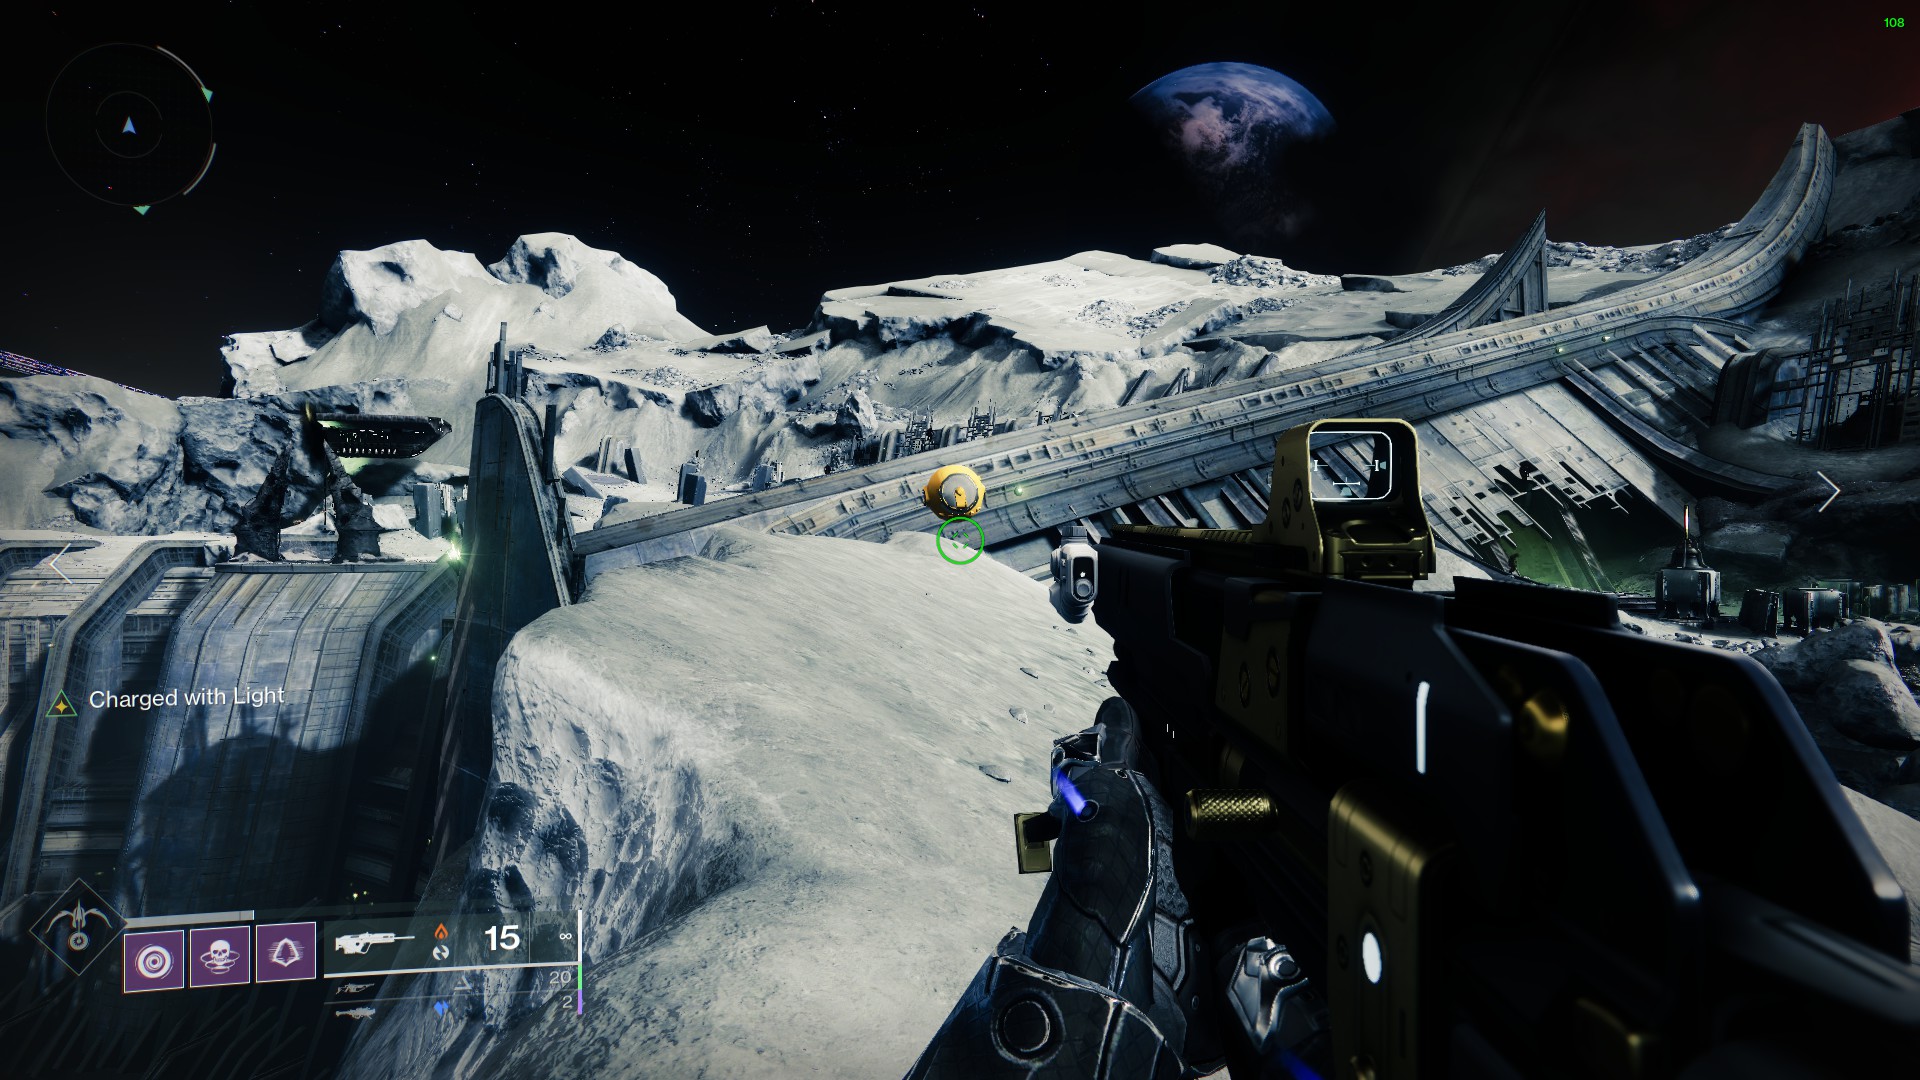
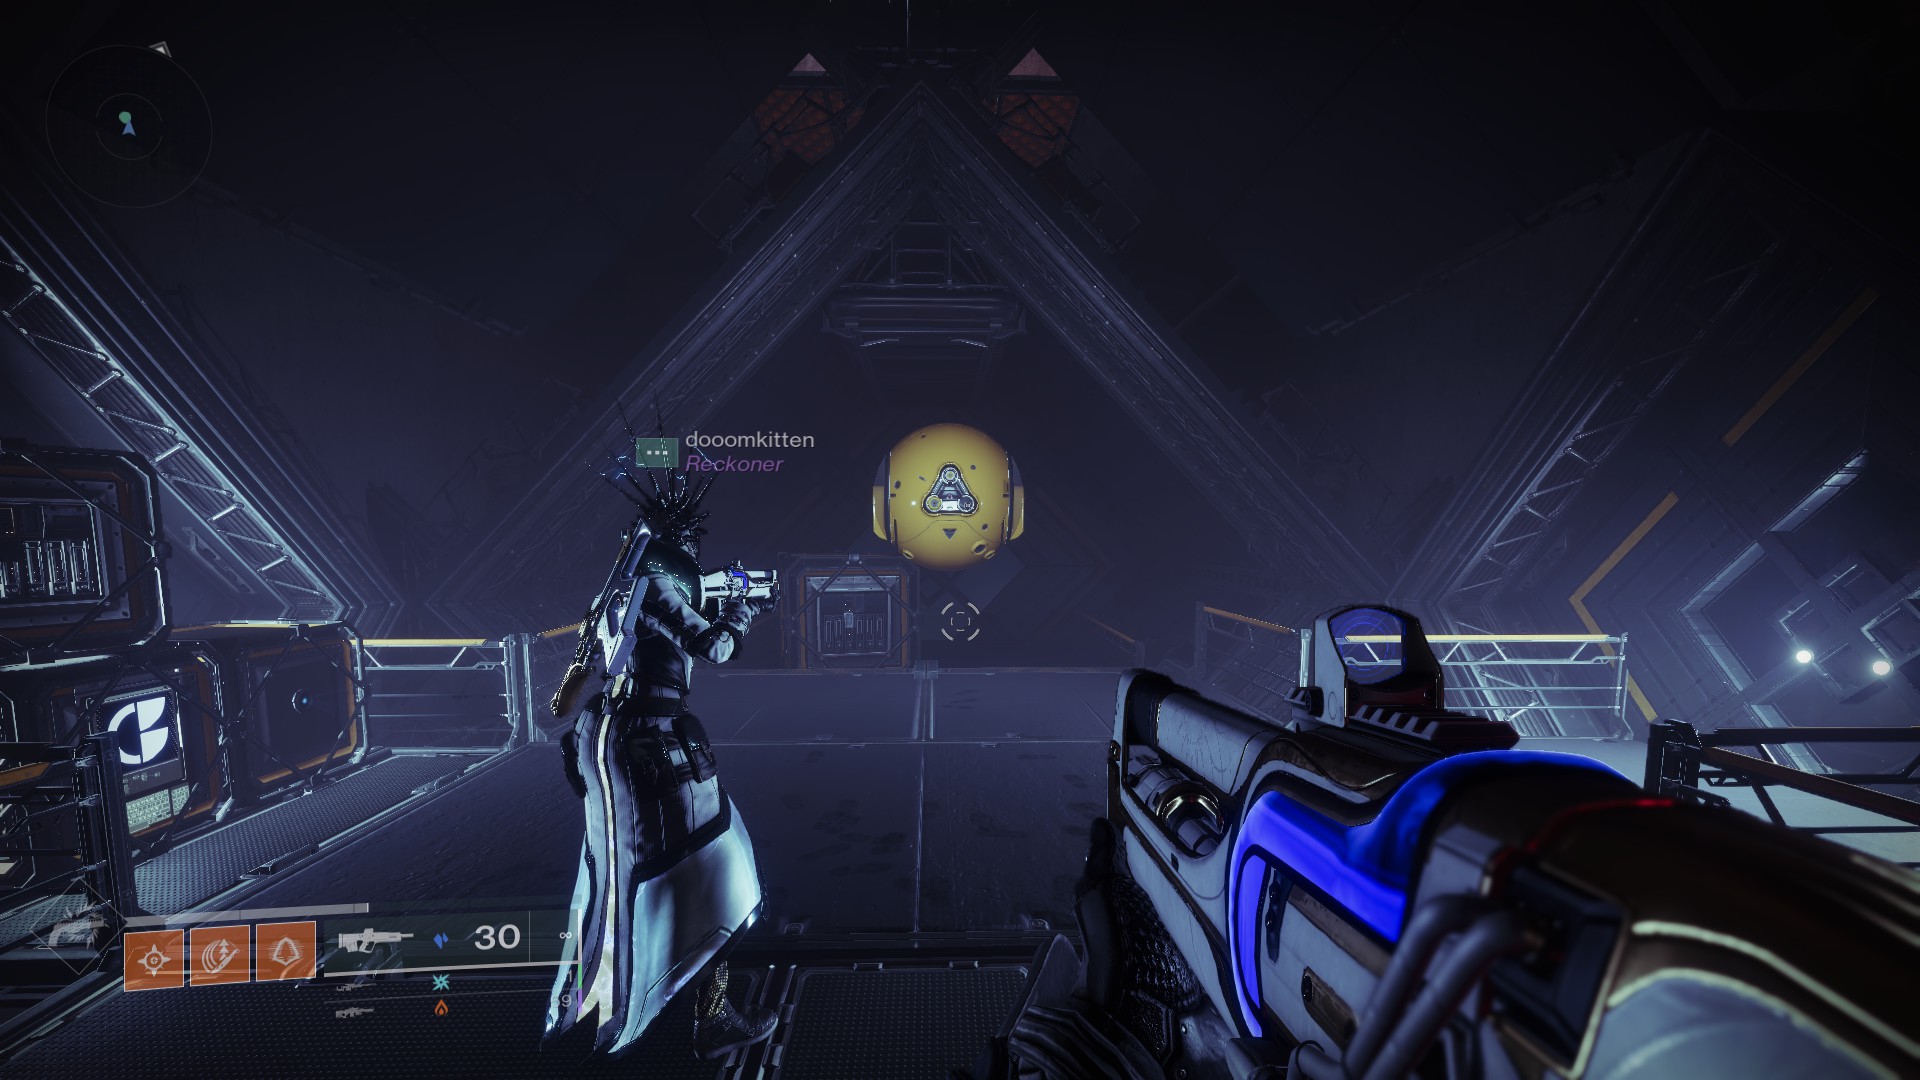
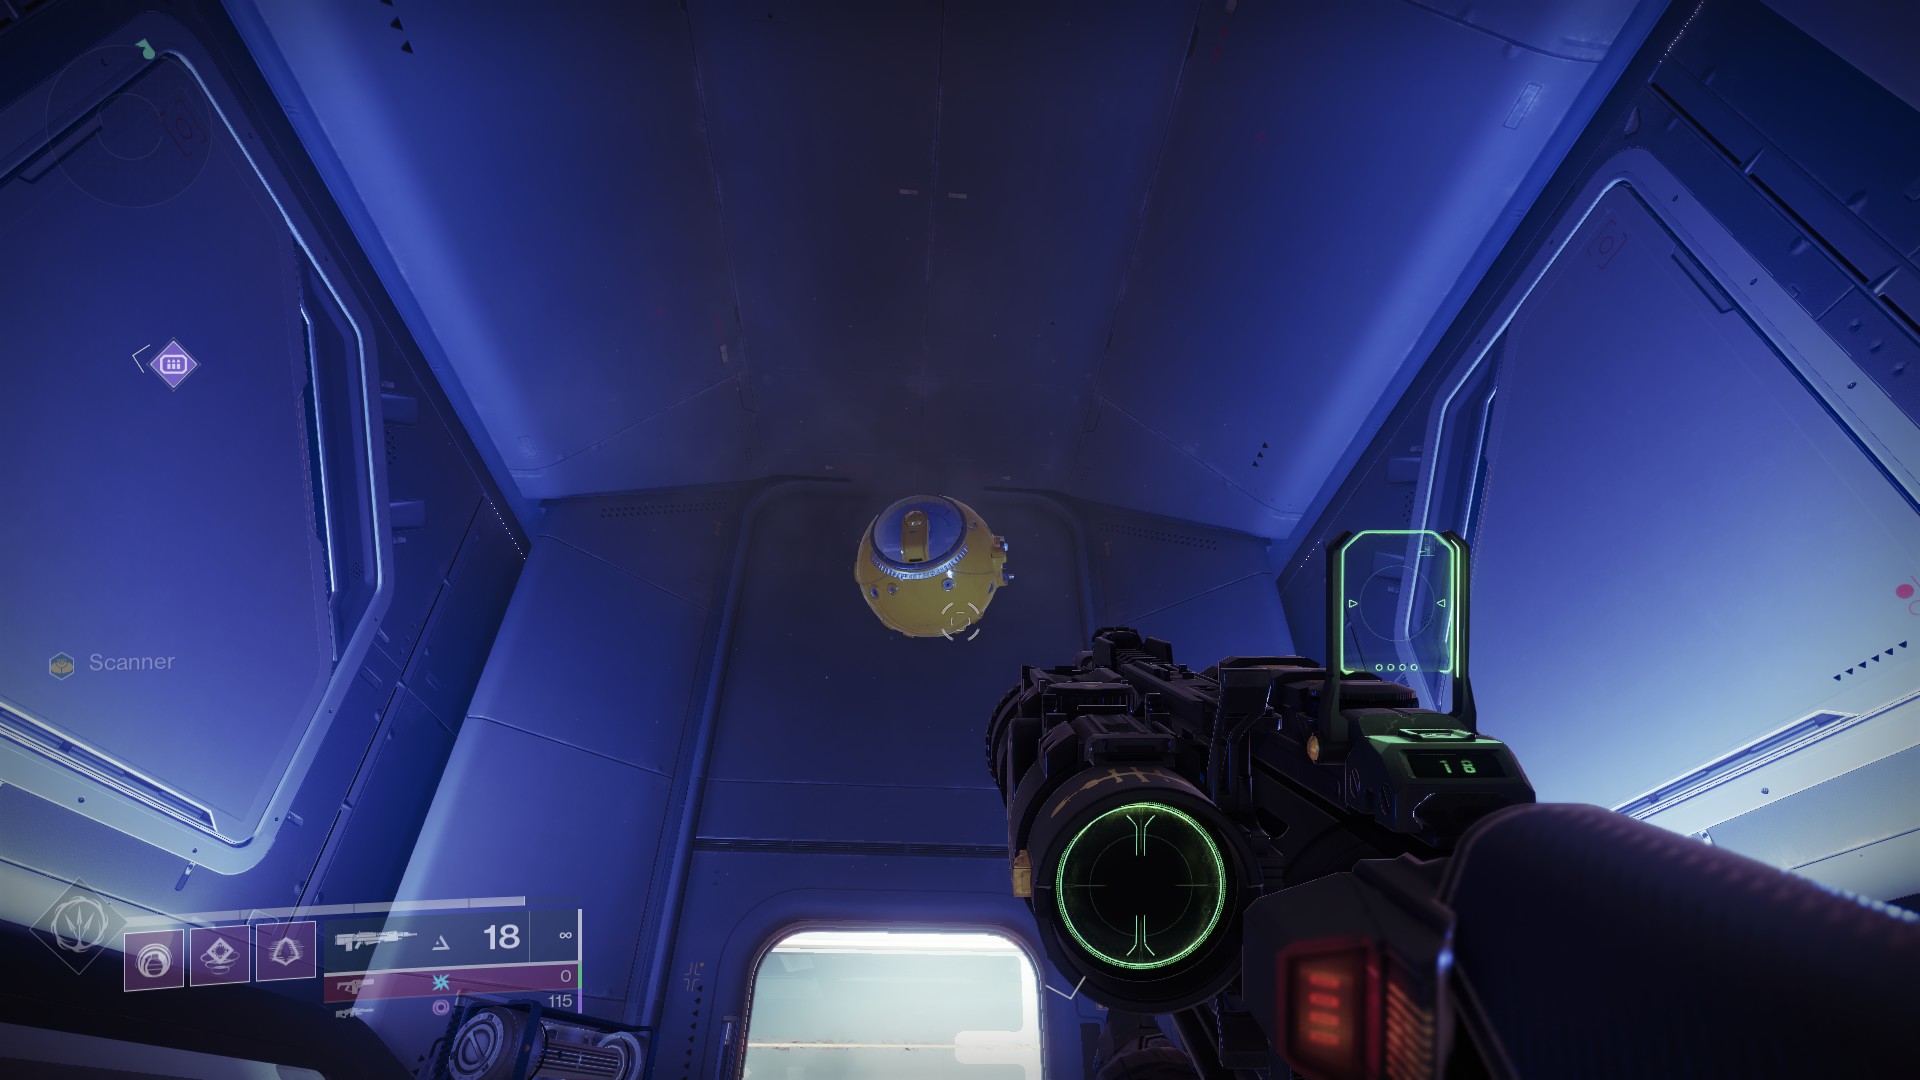
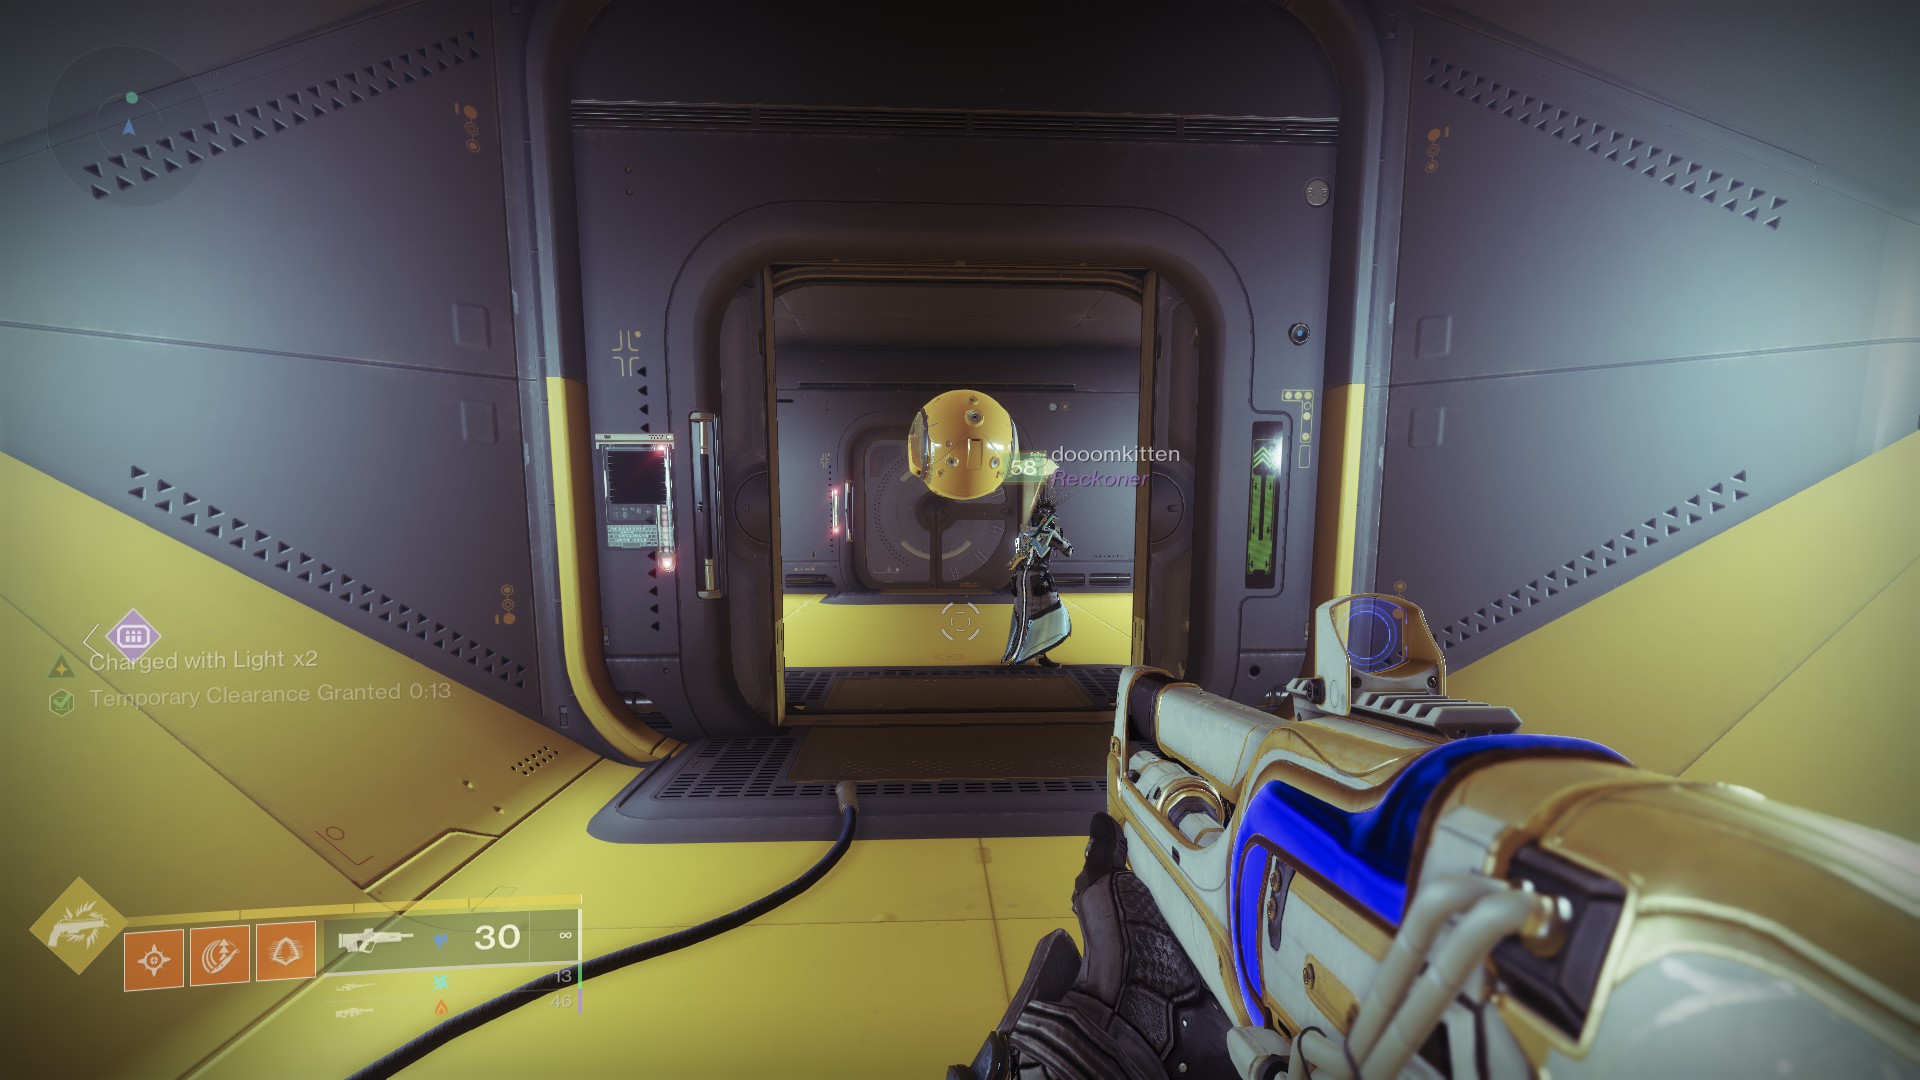
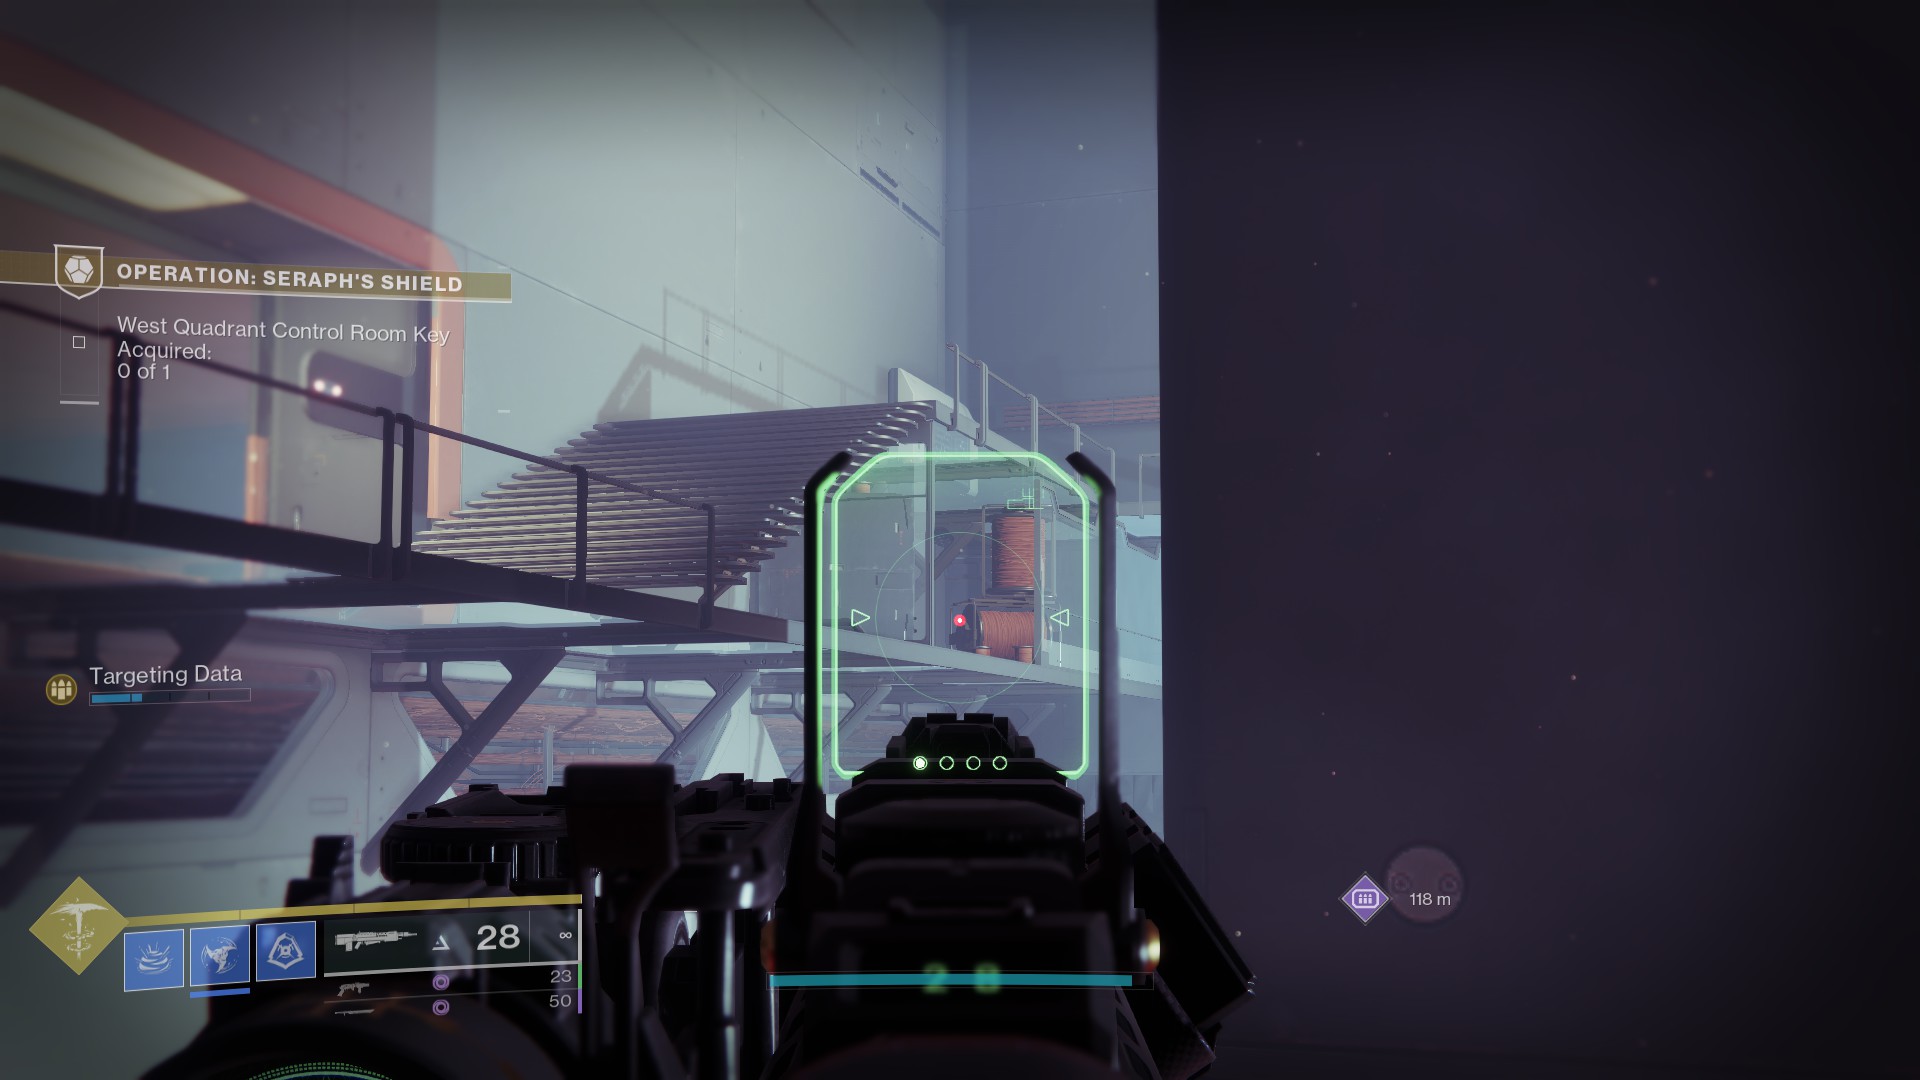
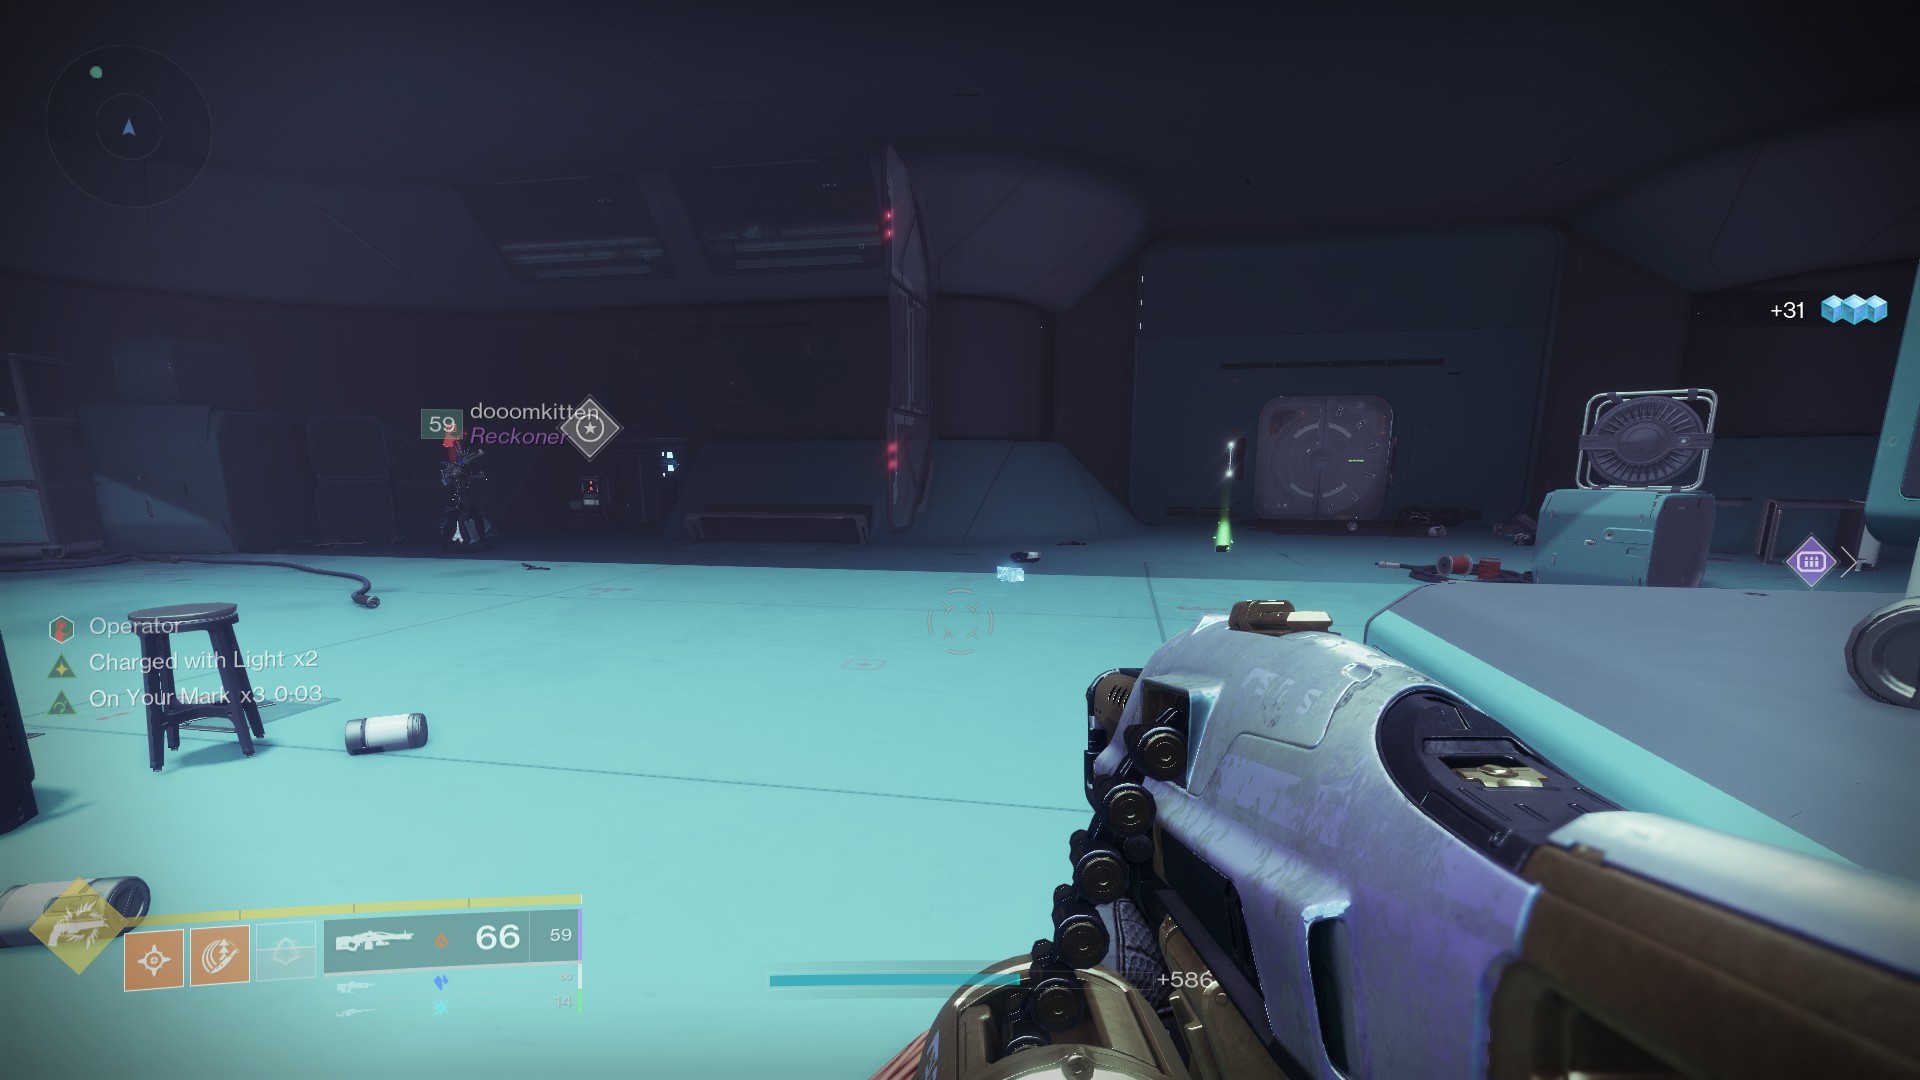
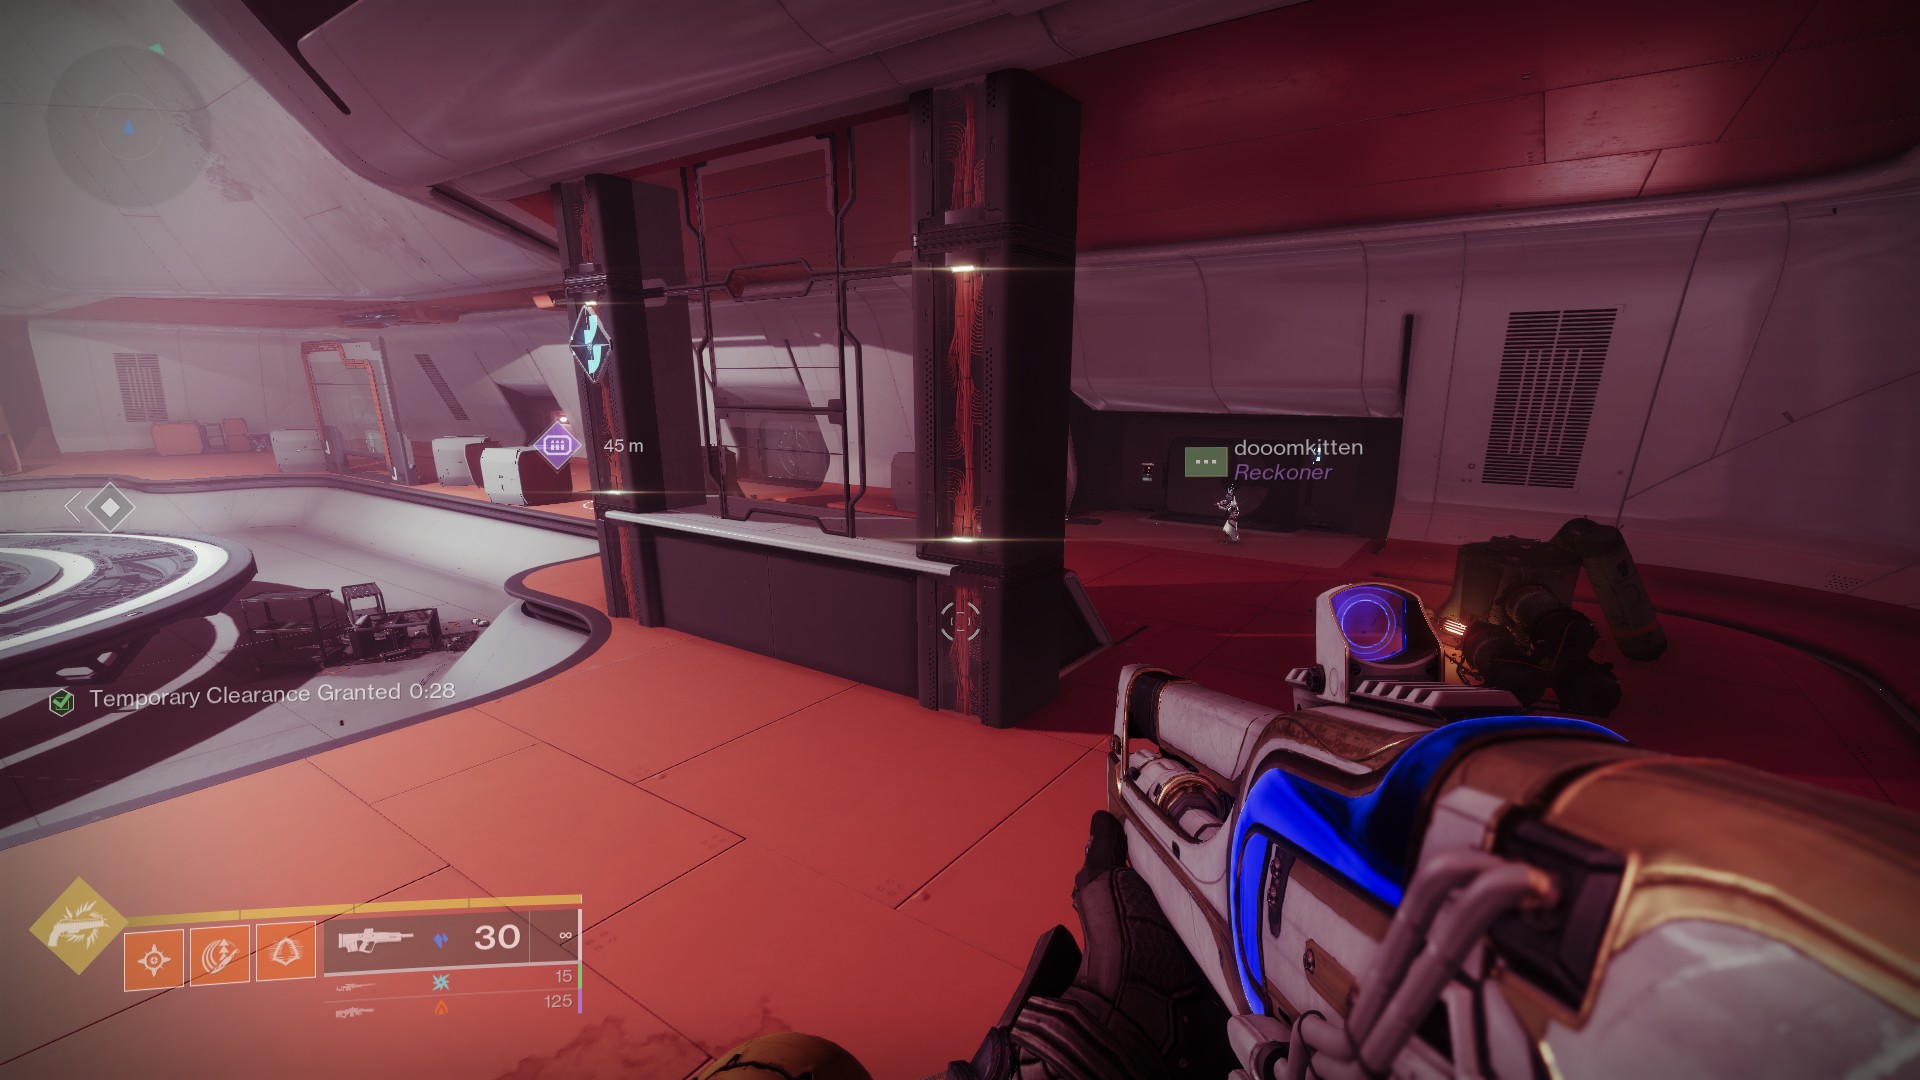
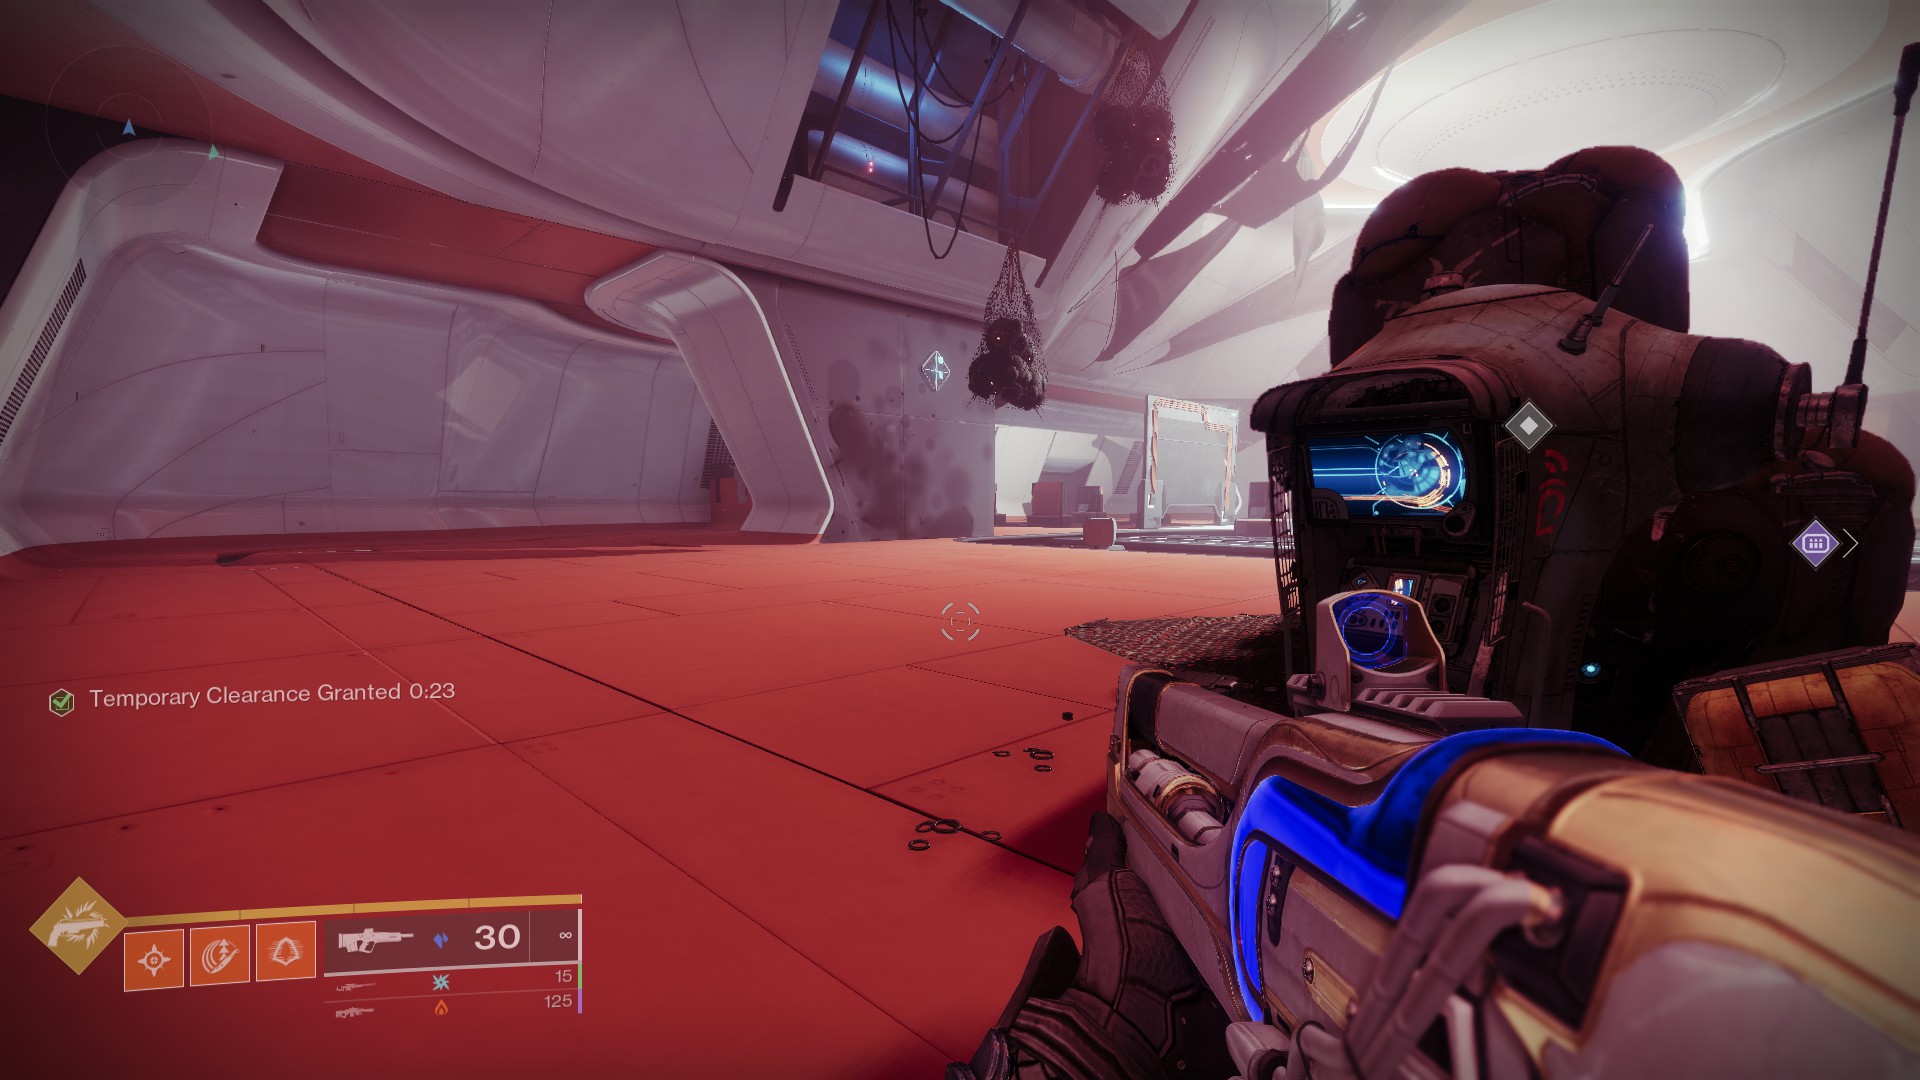
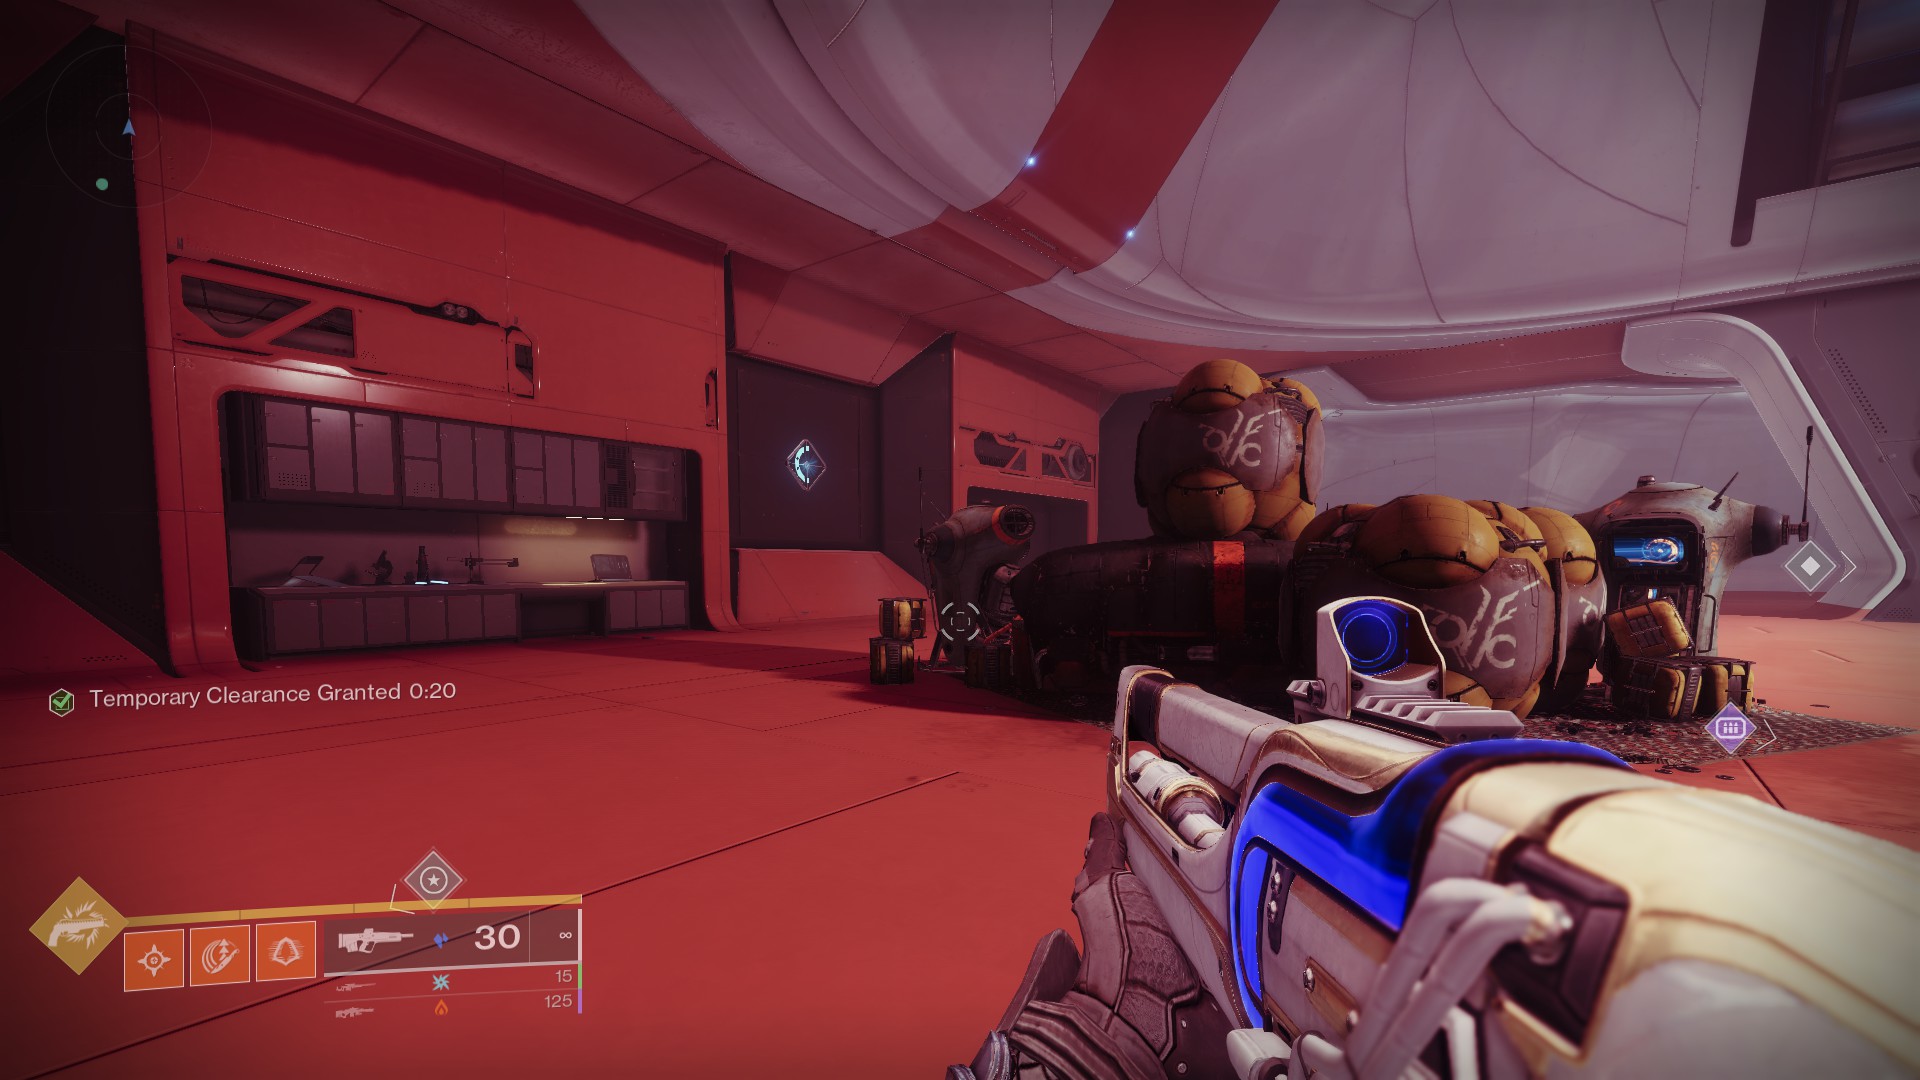
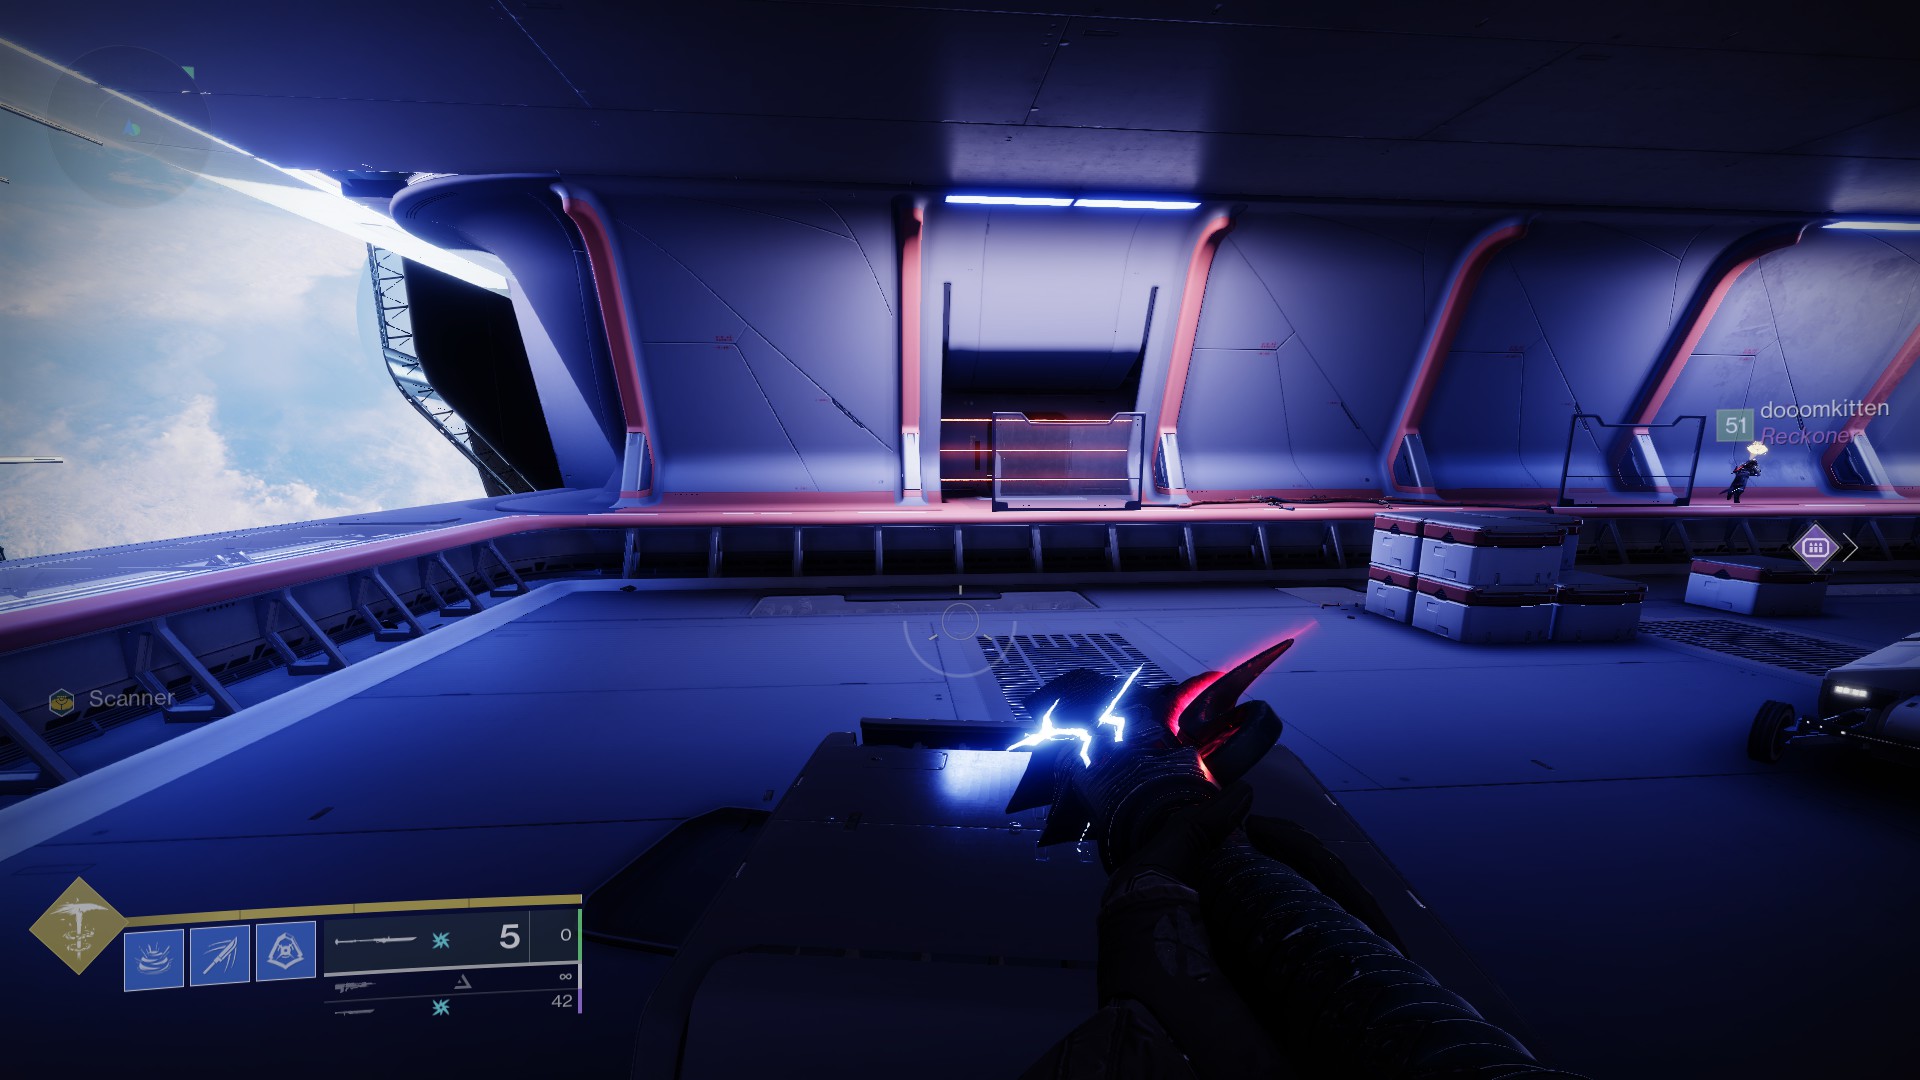
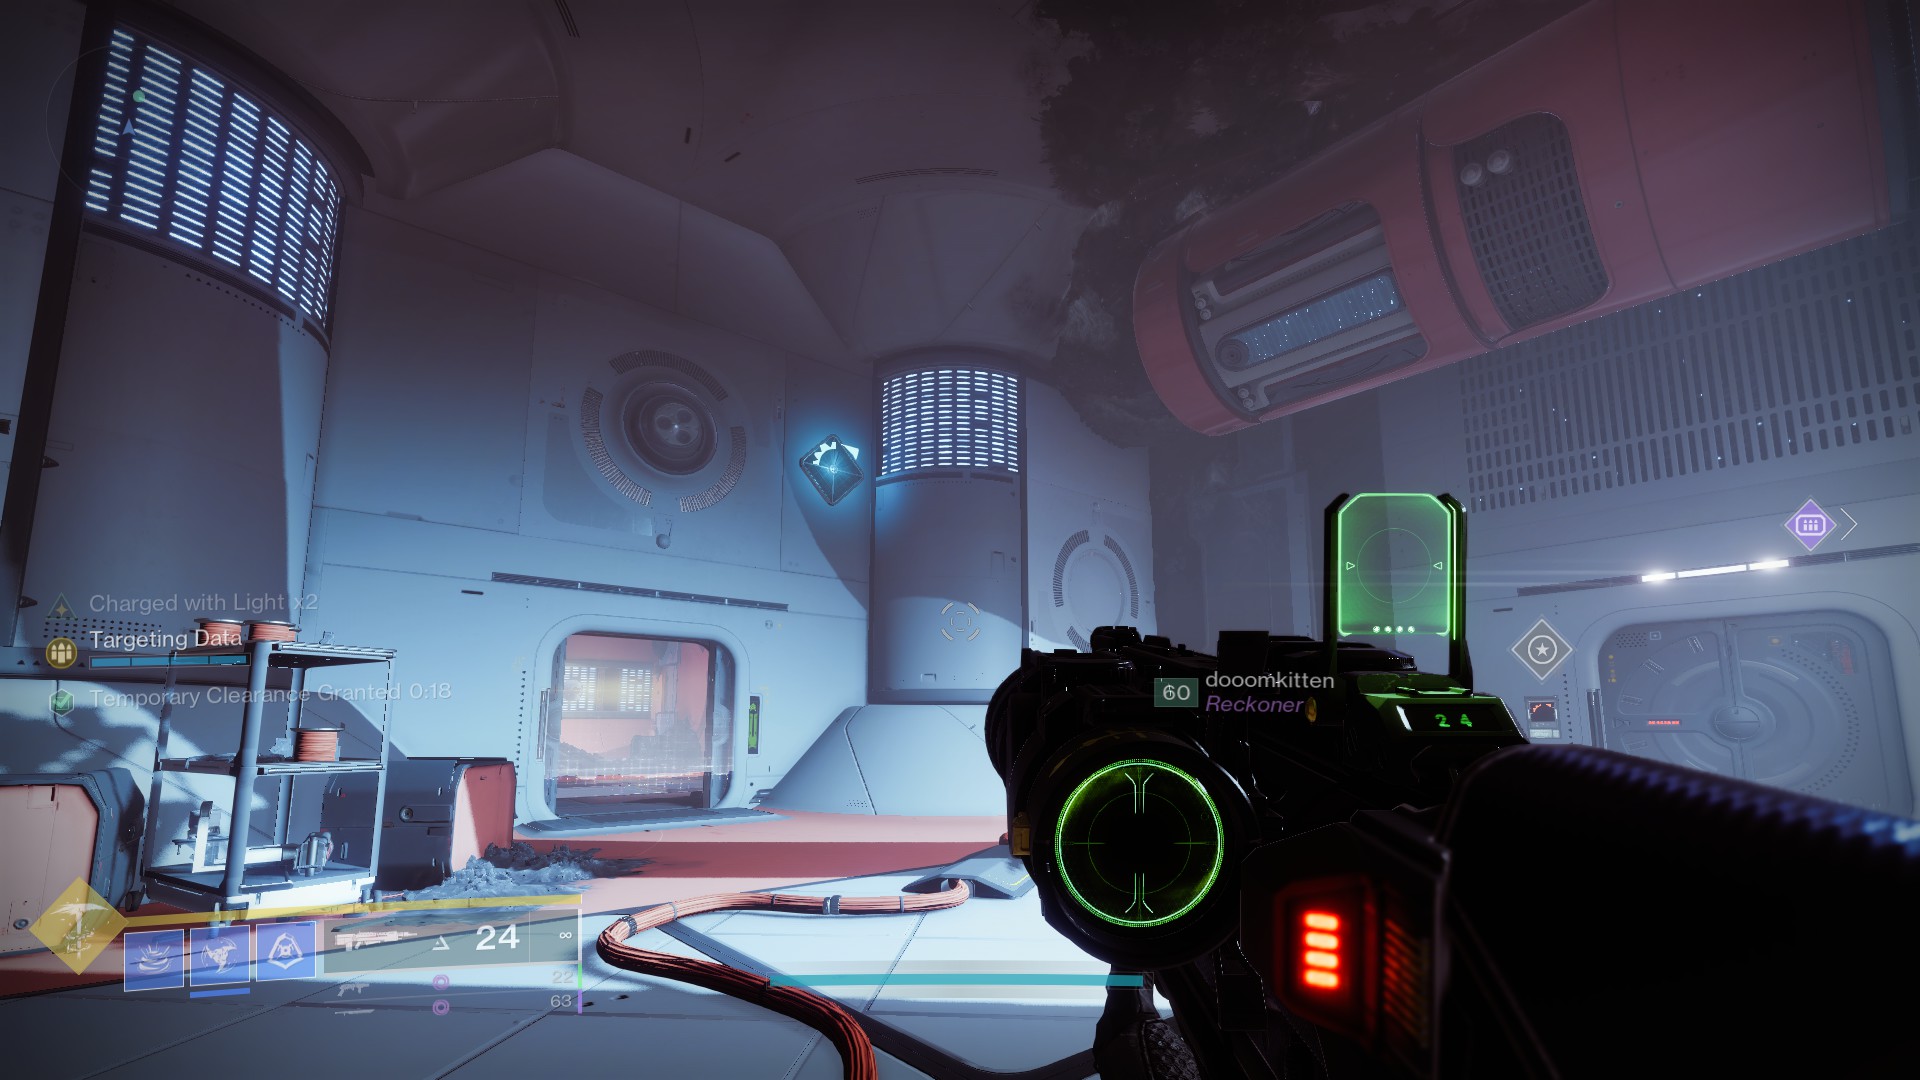
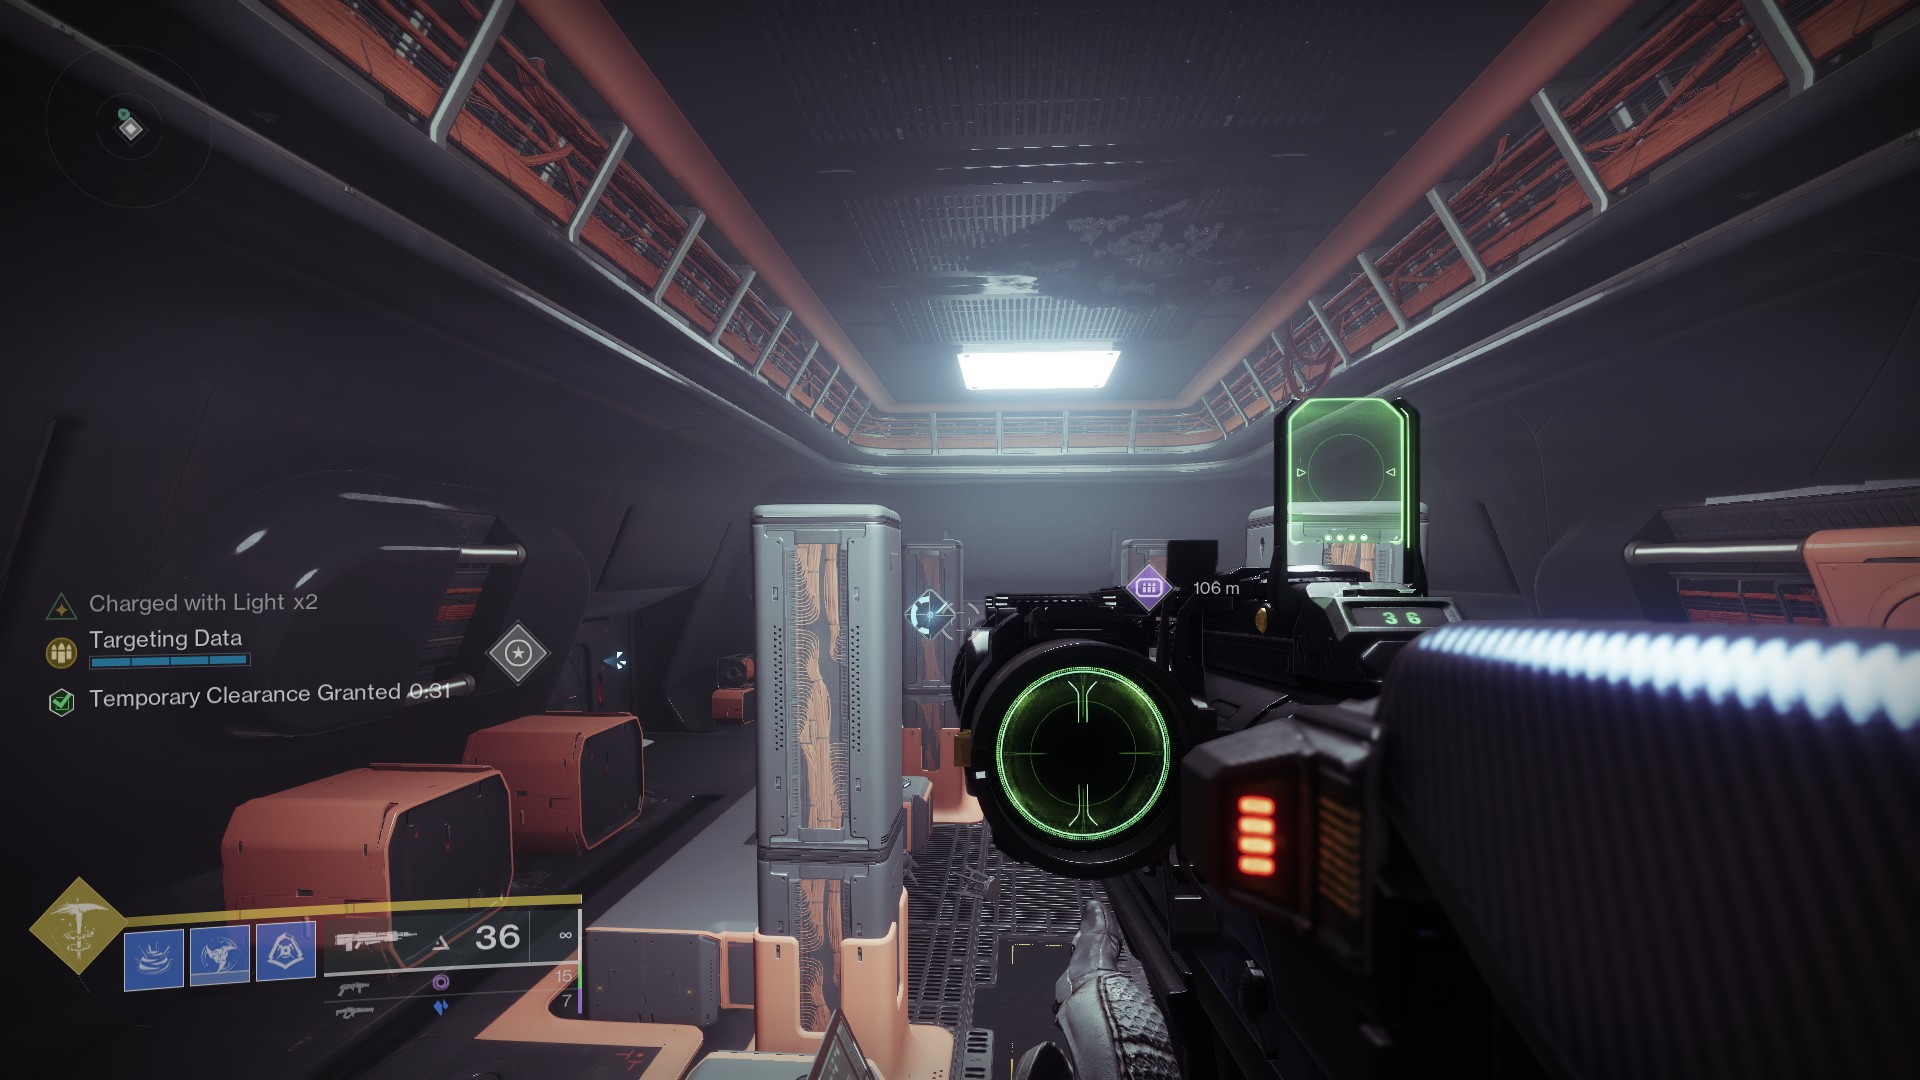
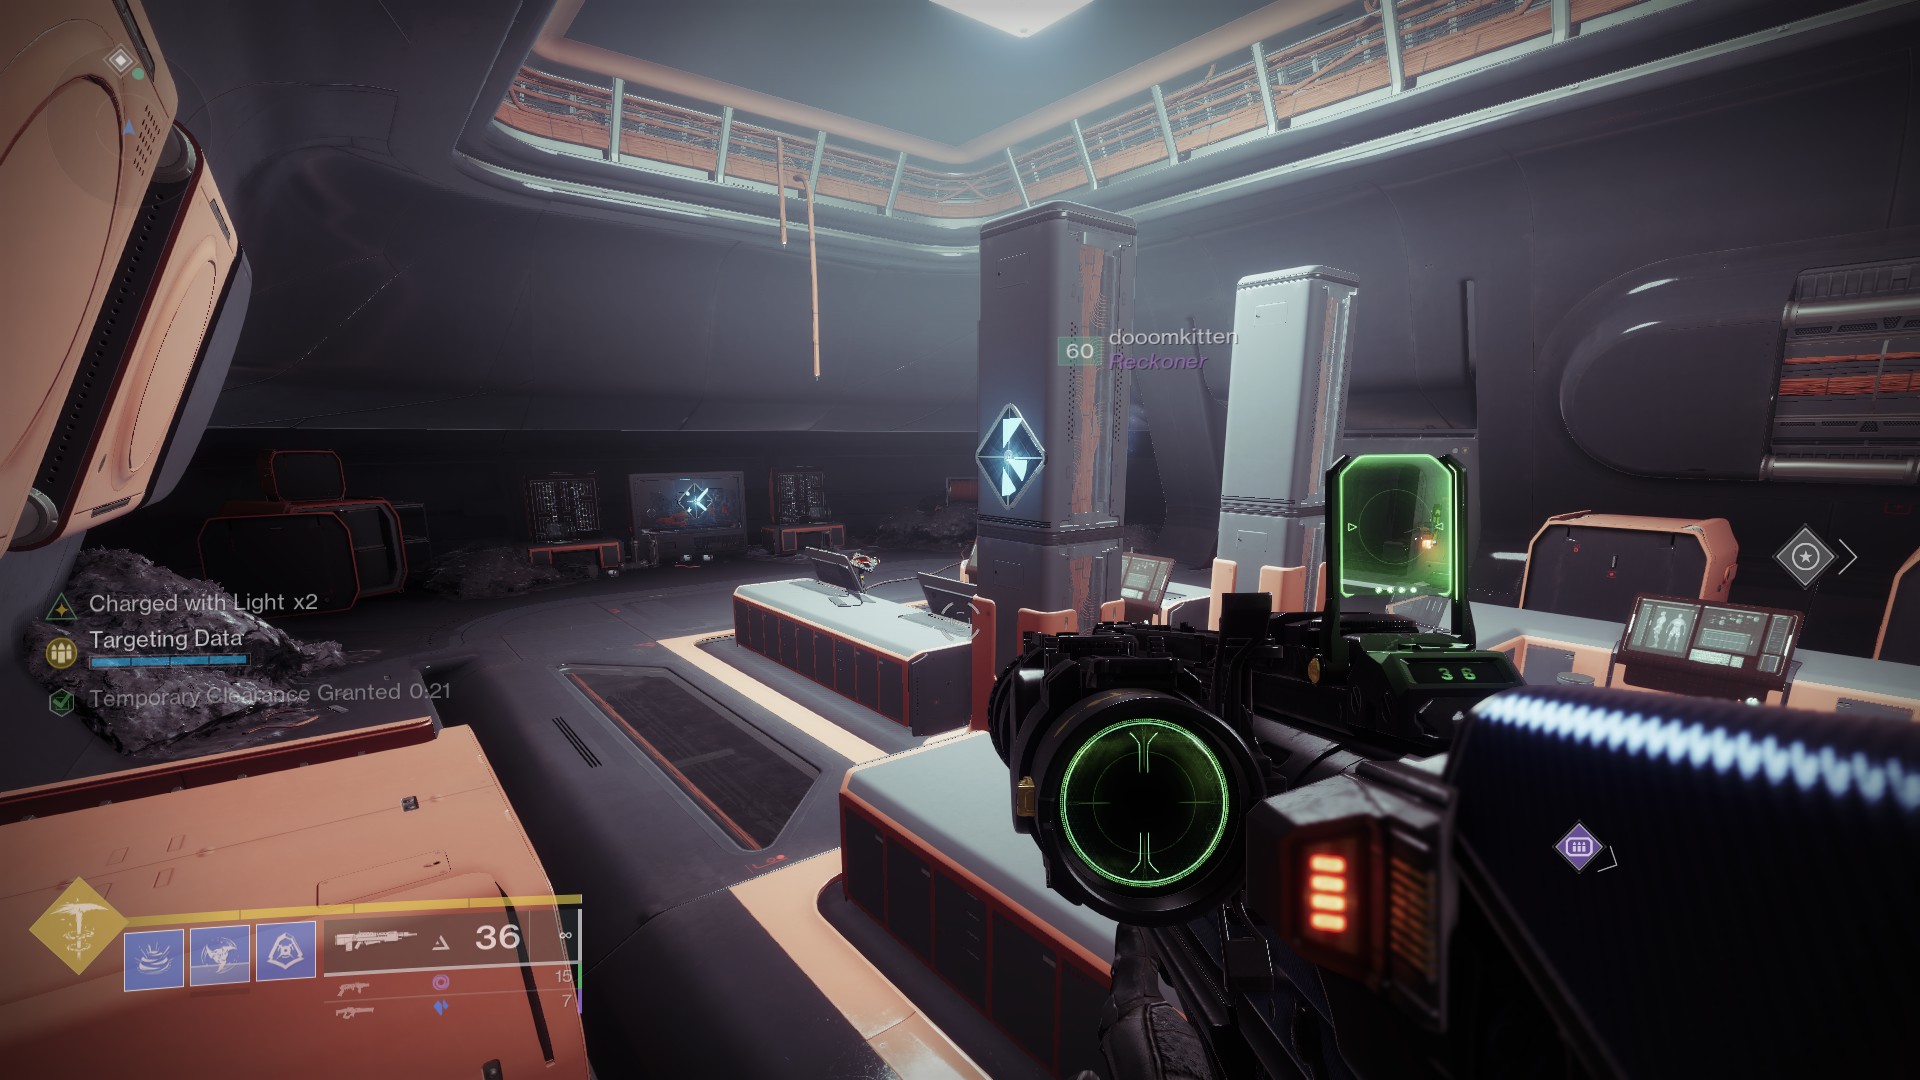
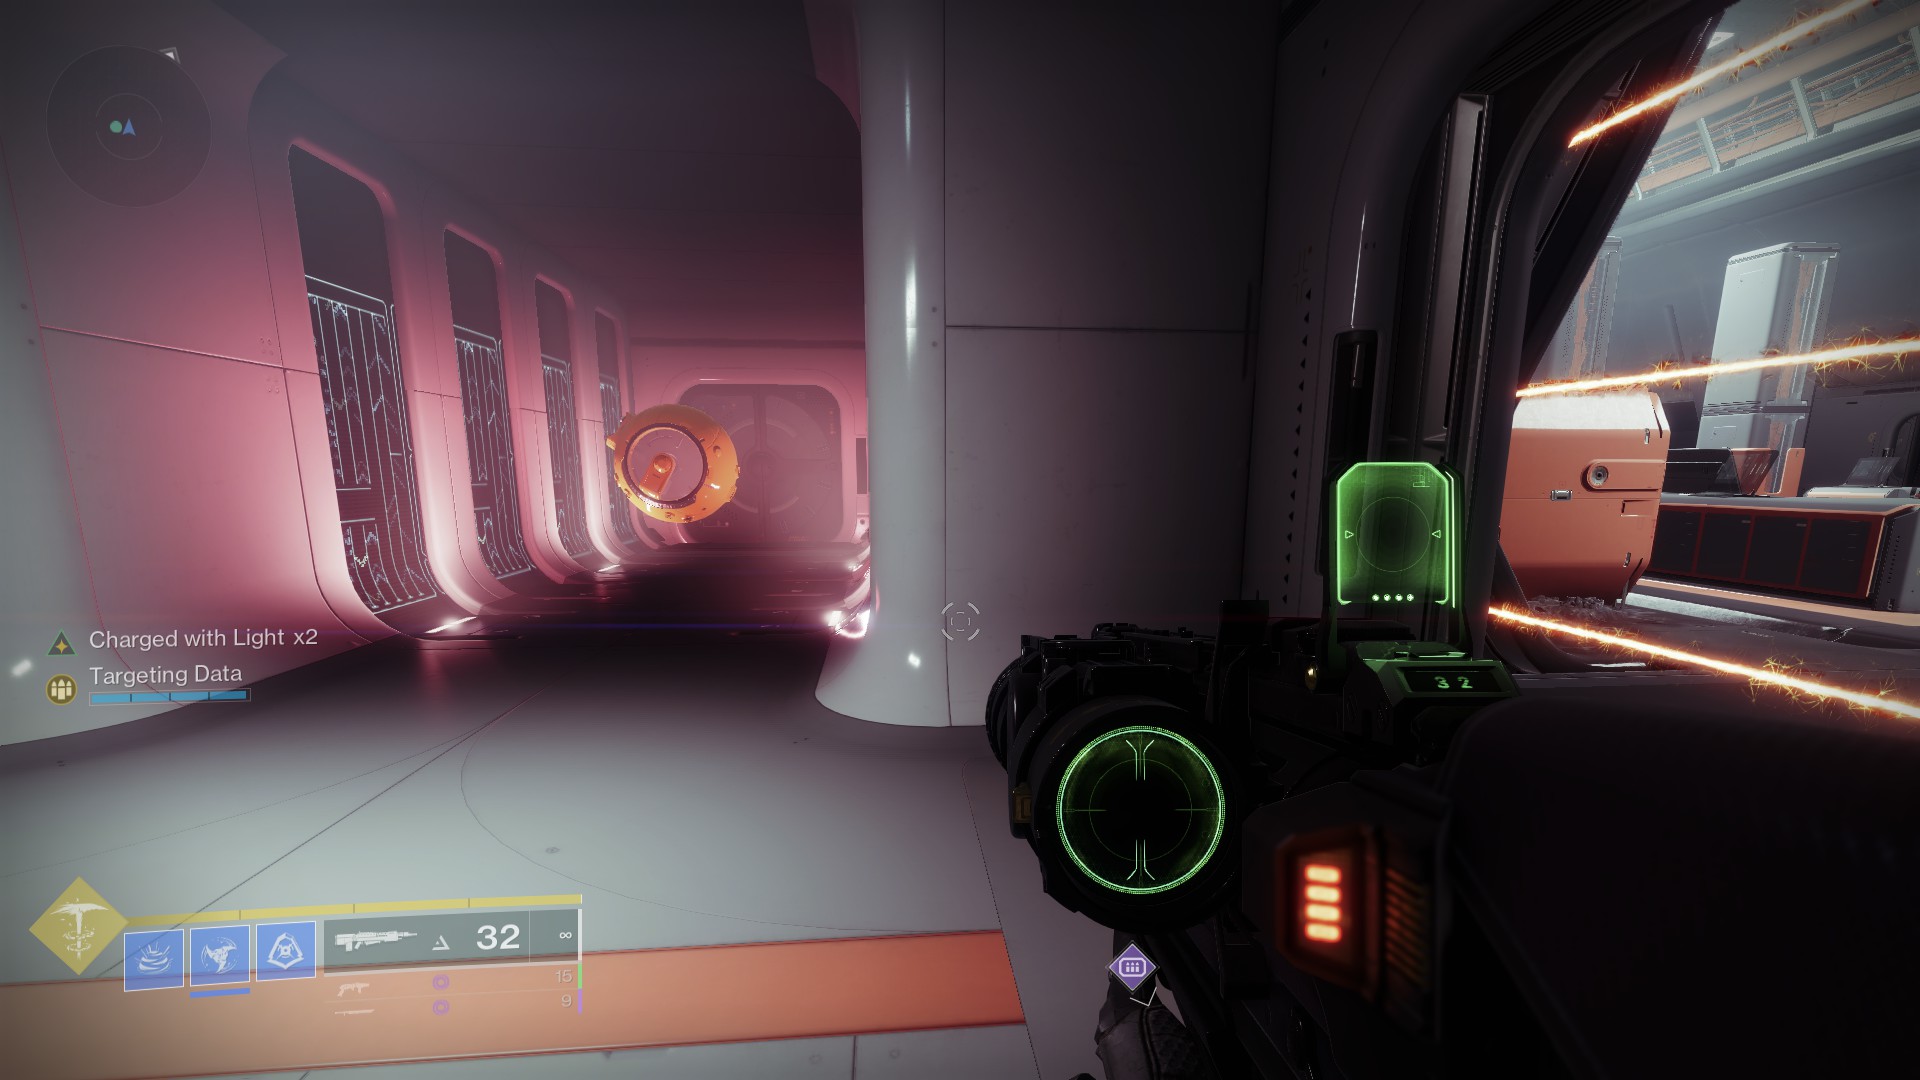
all you need is a sword with whirlwind
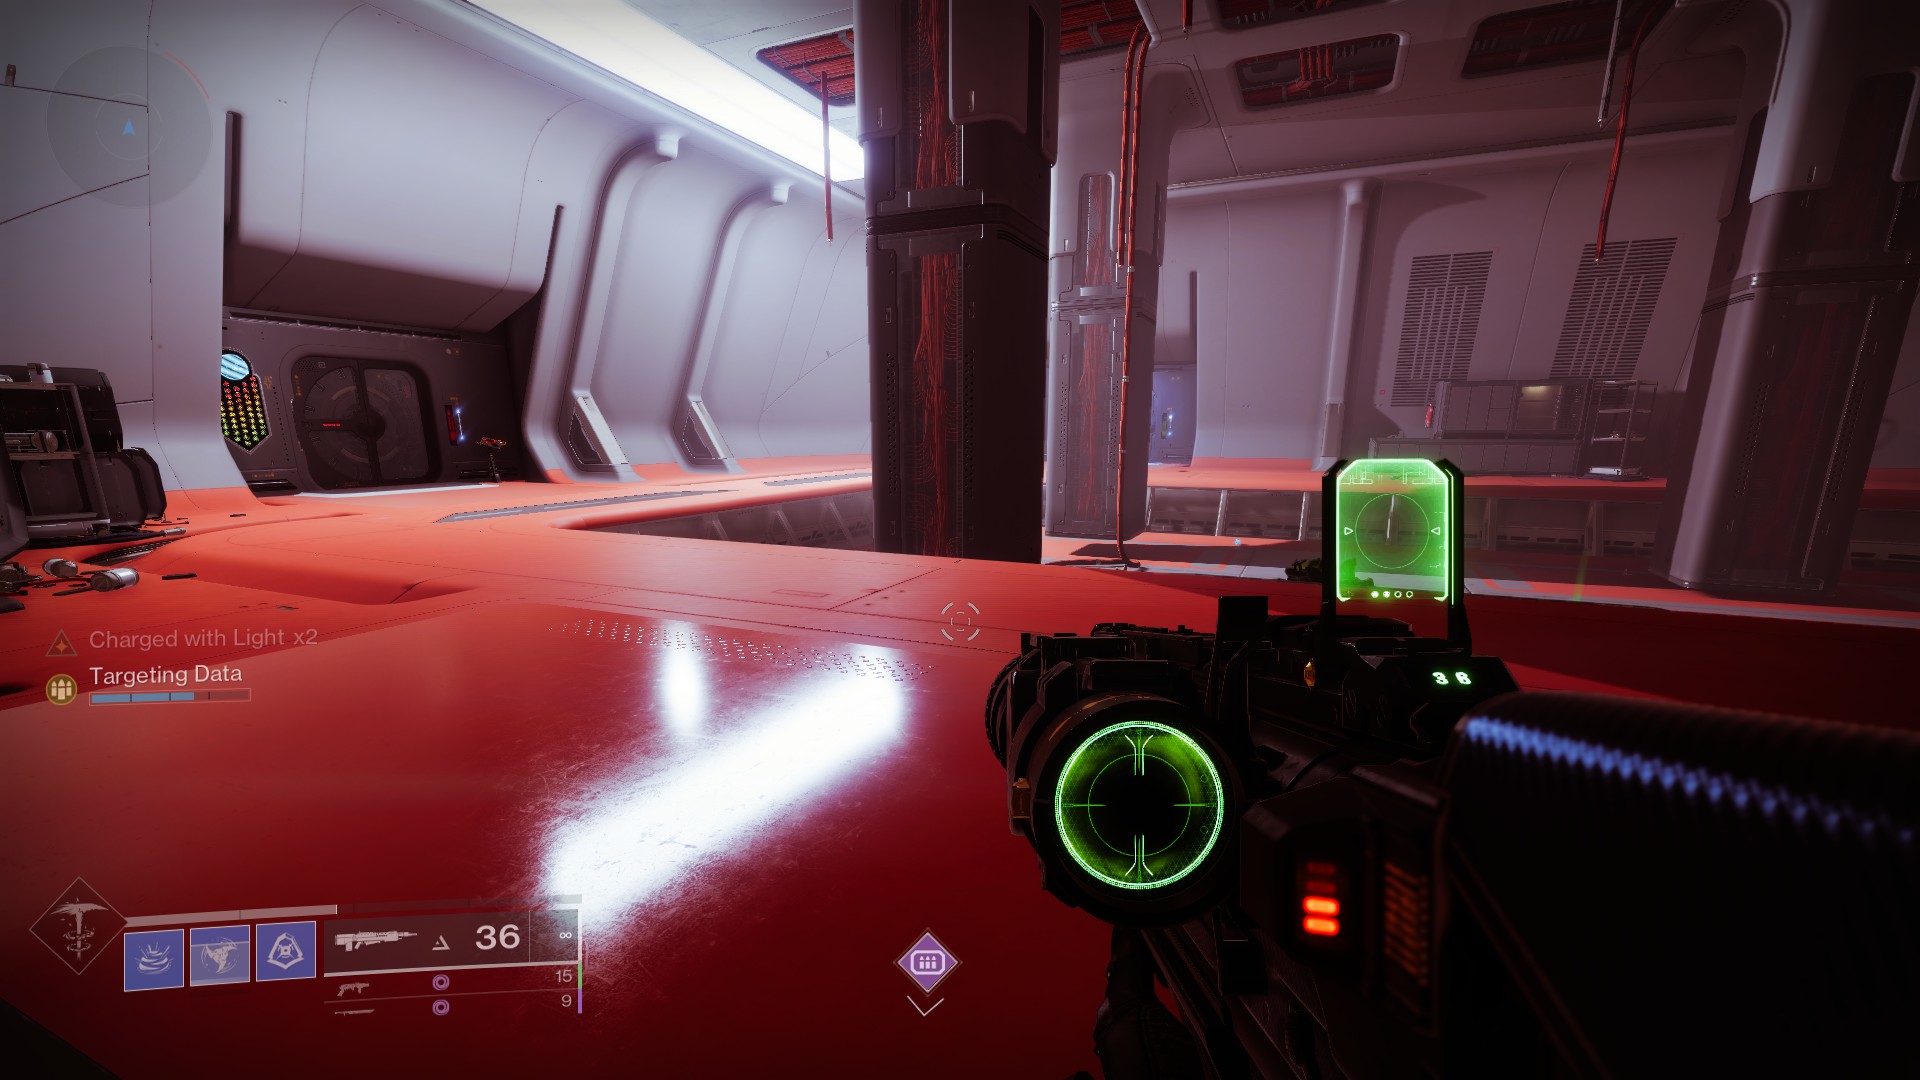
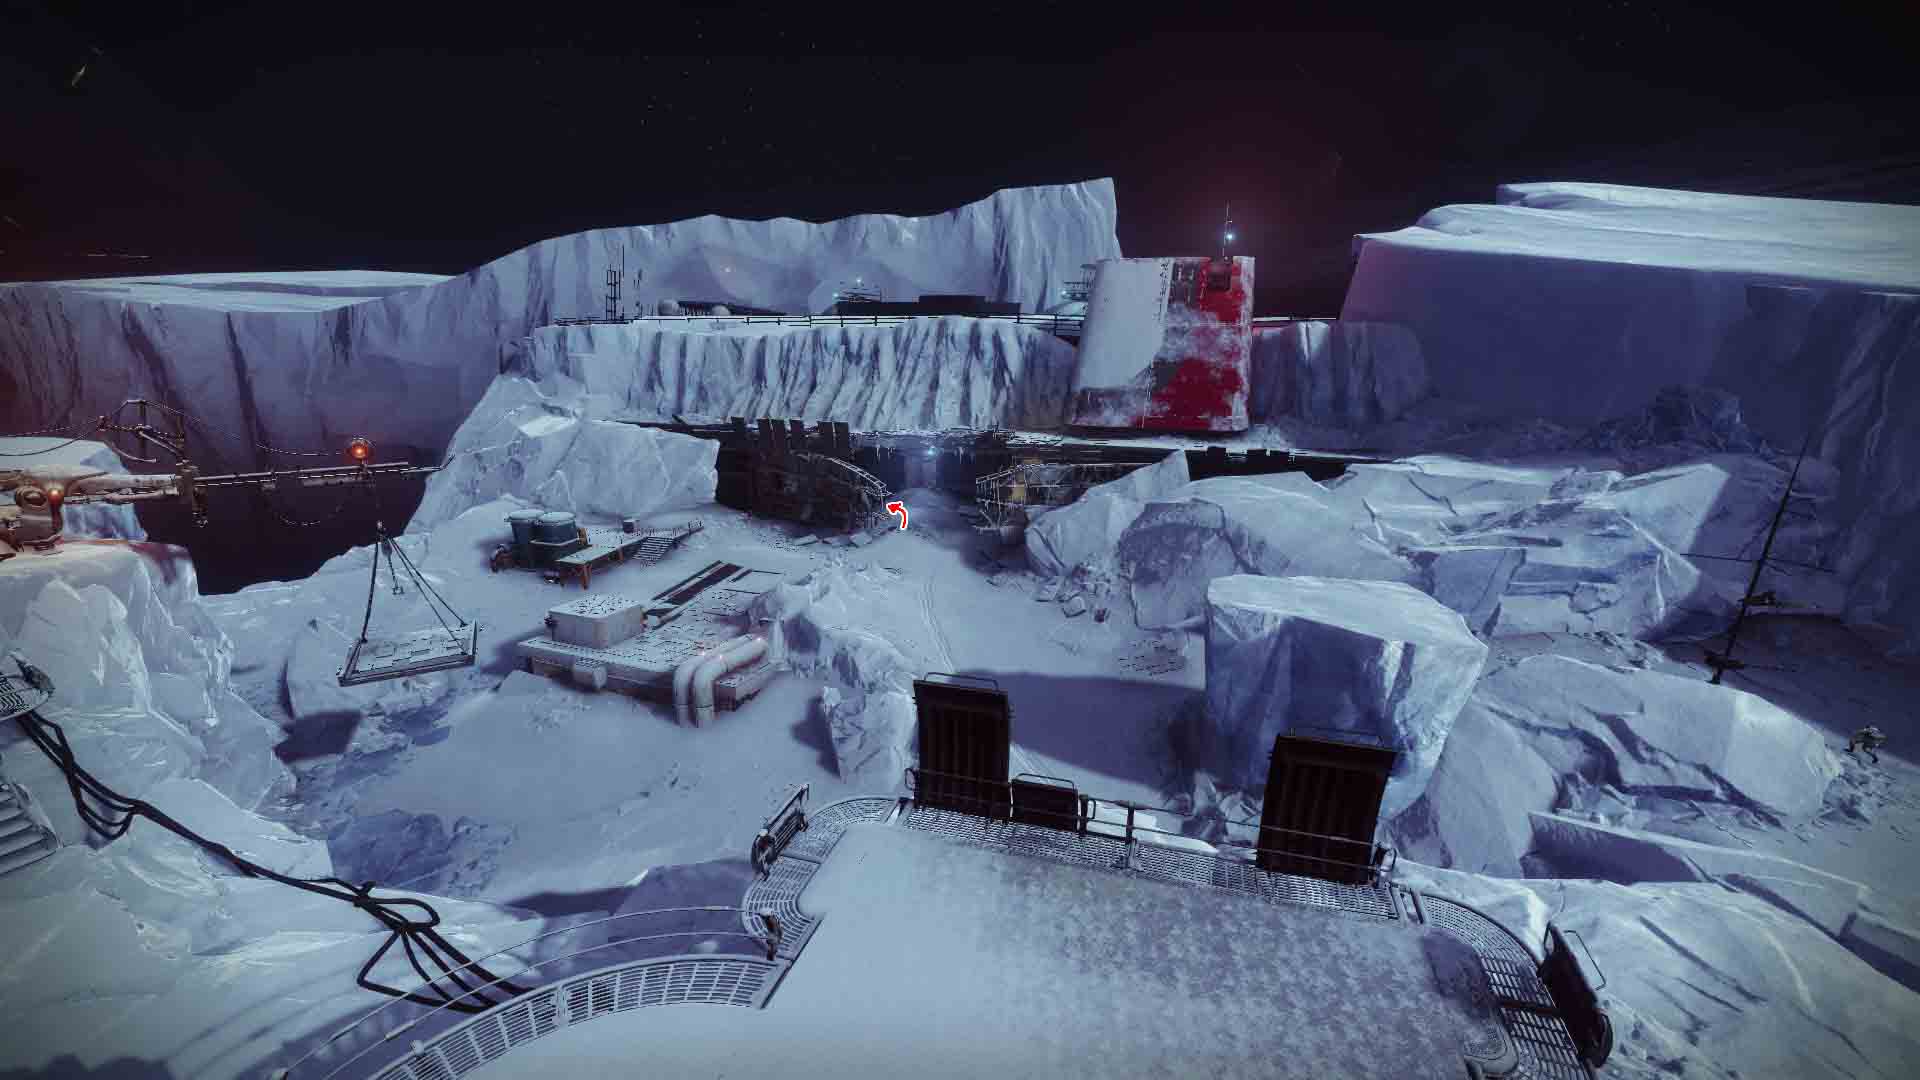
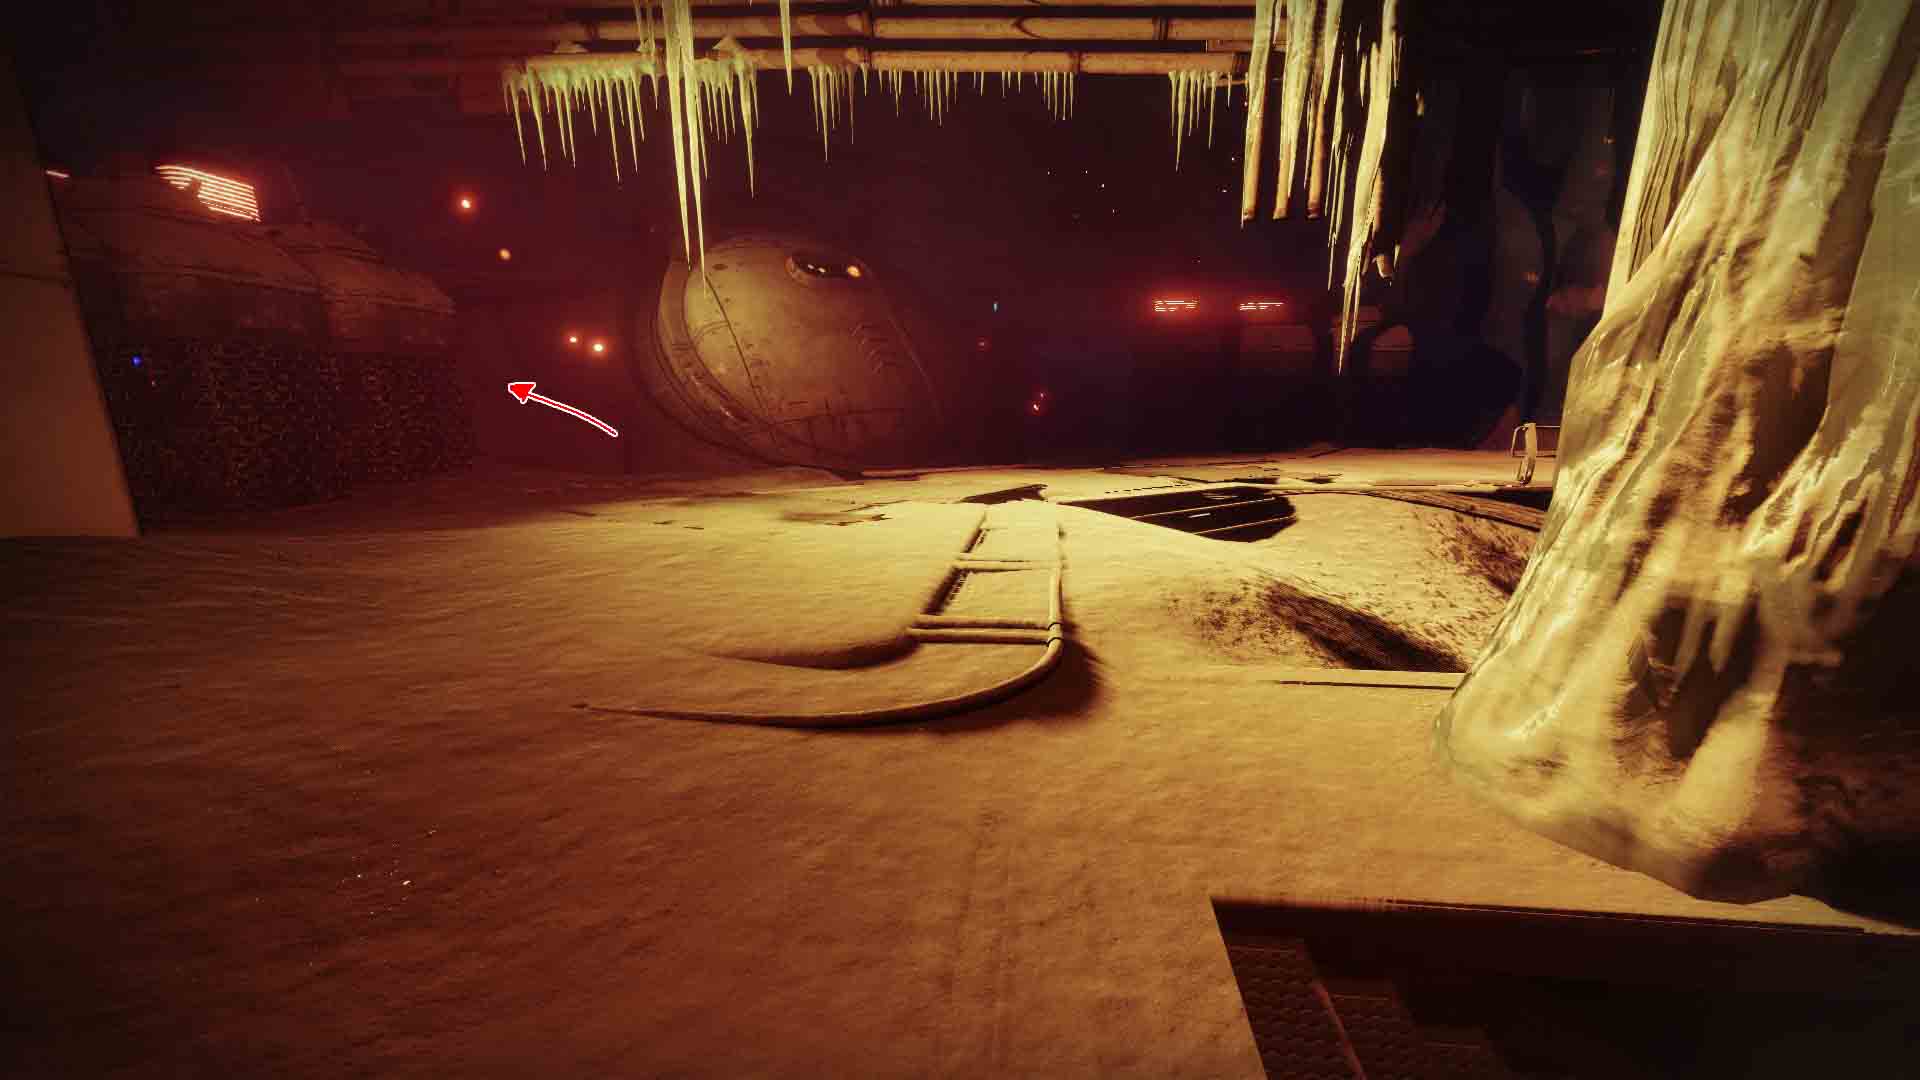
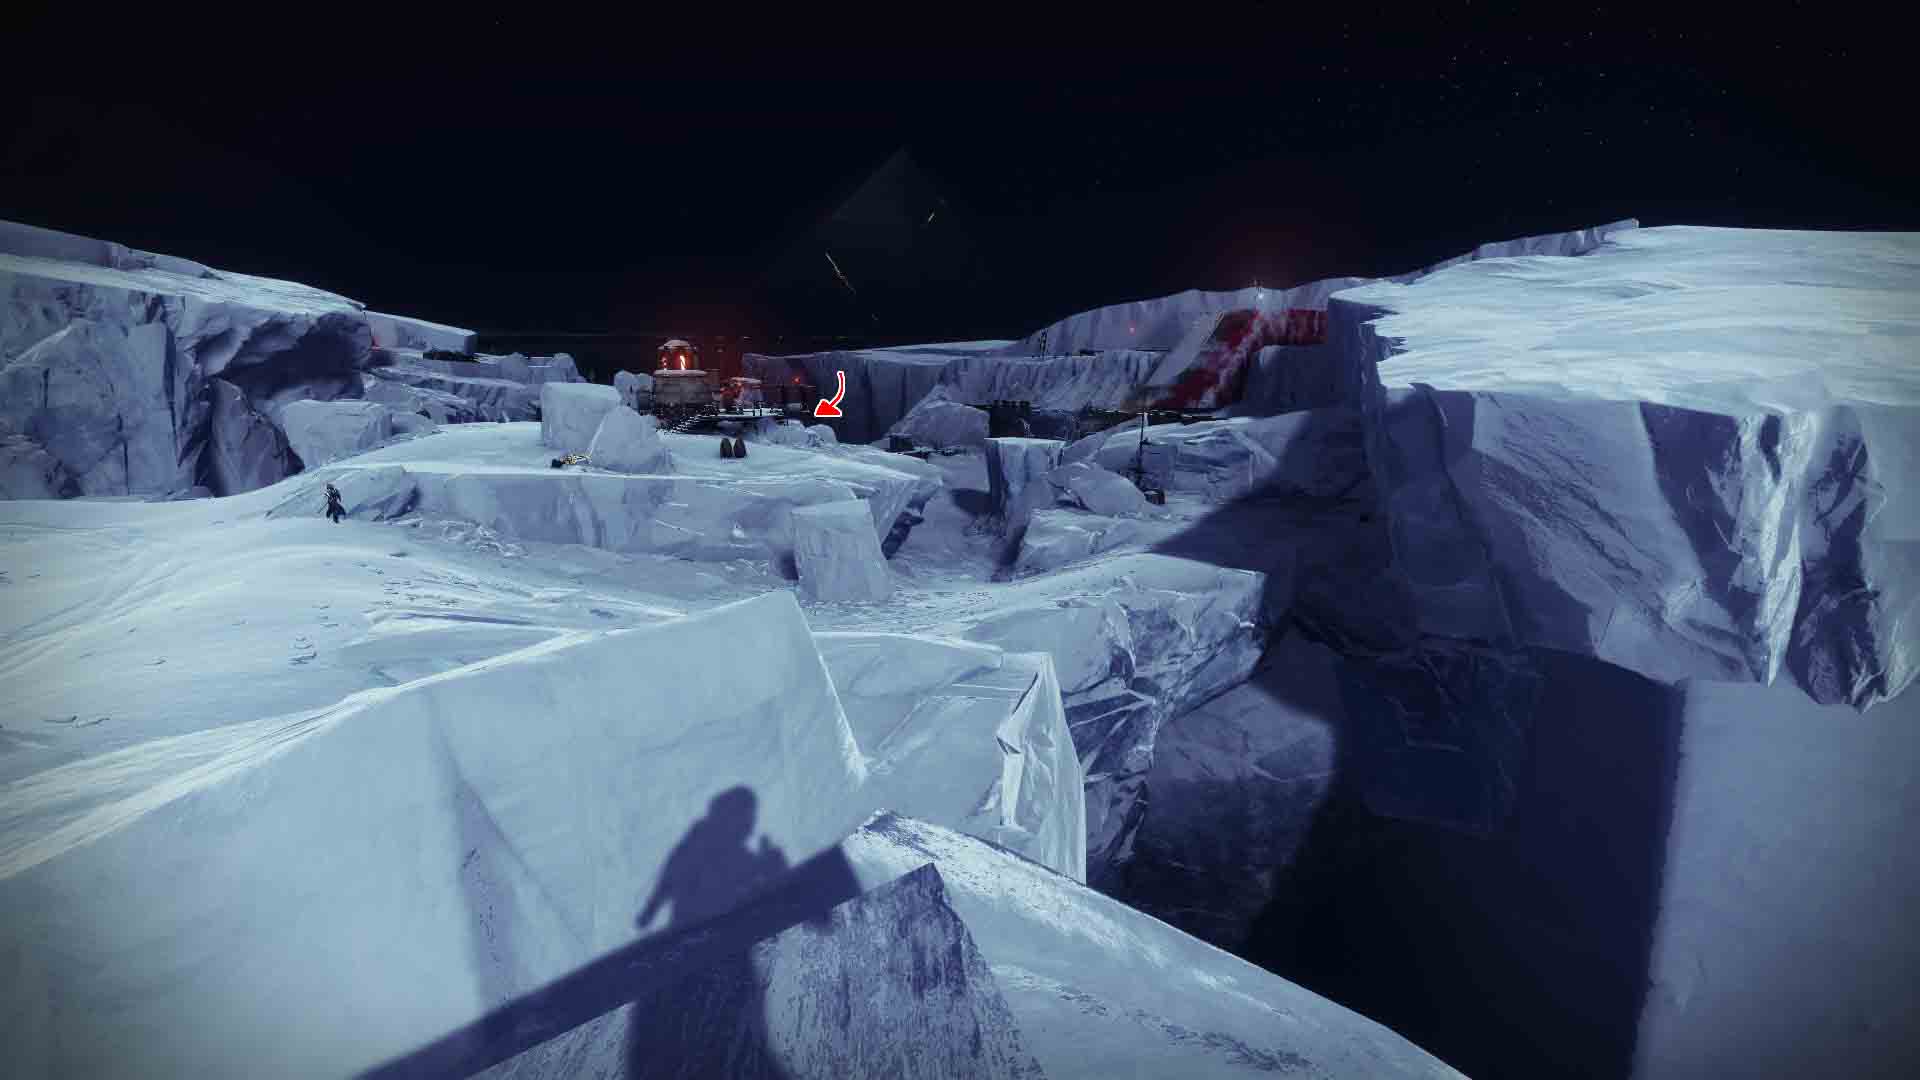
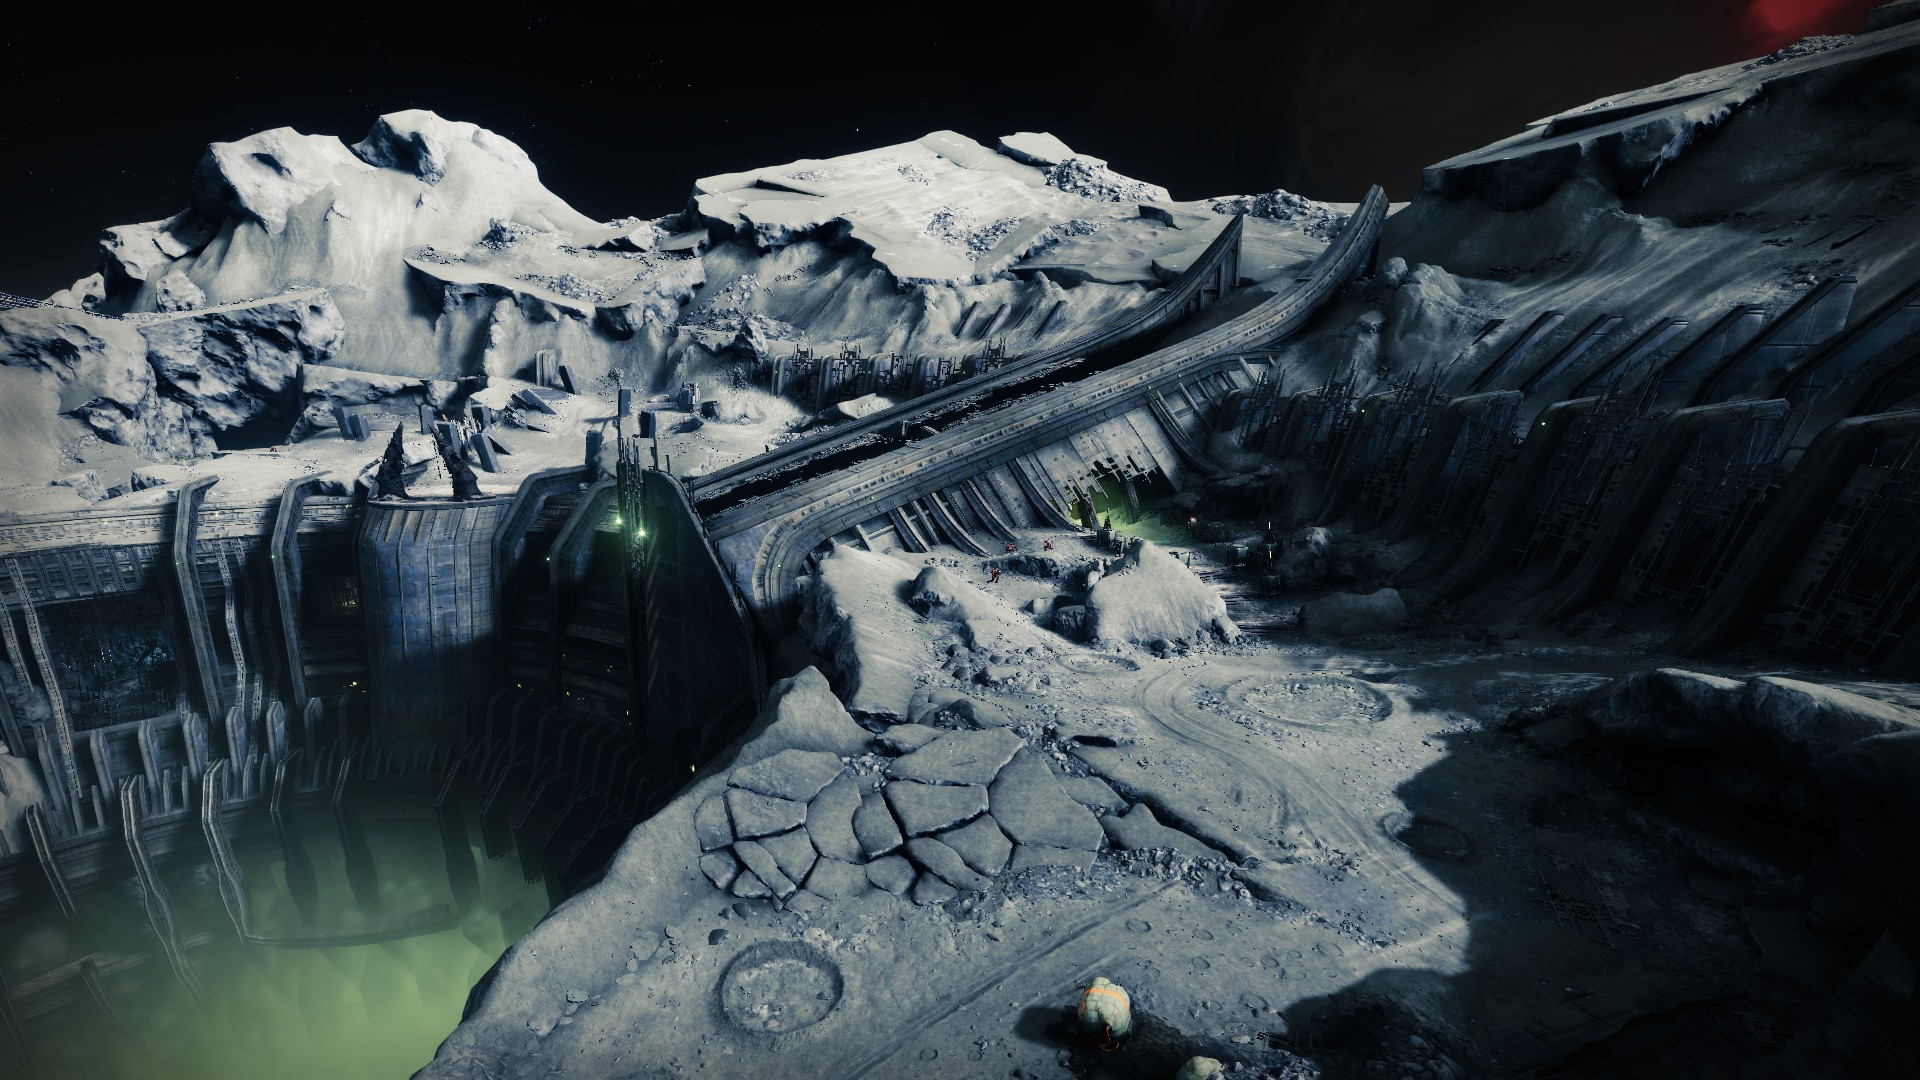
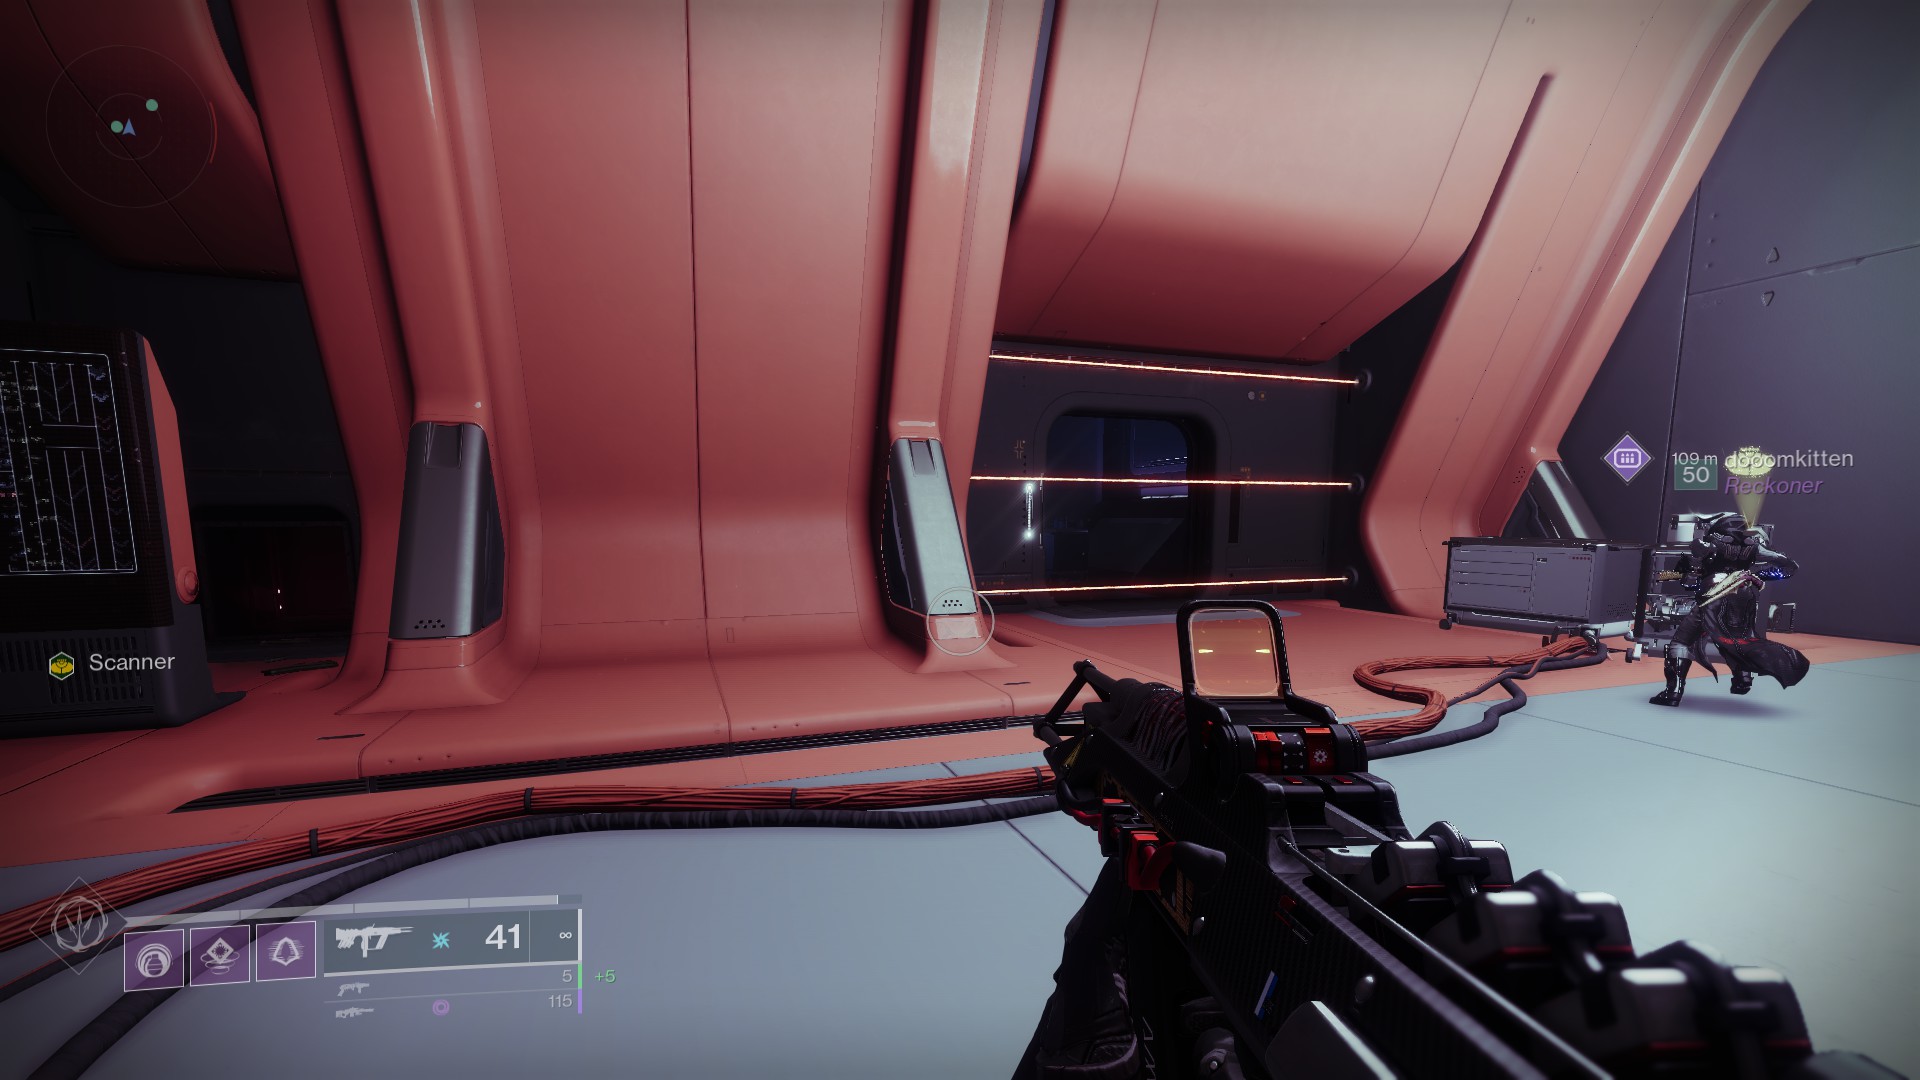
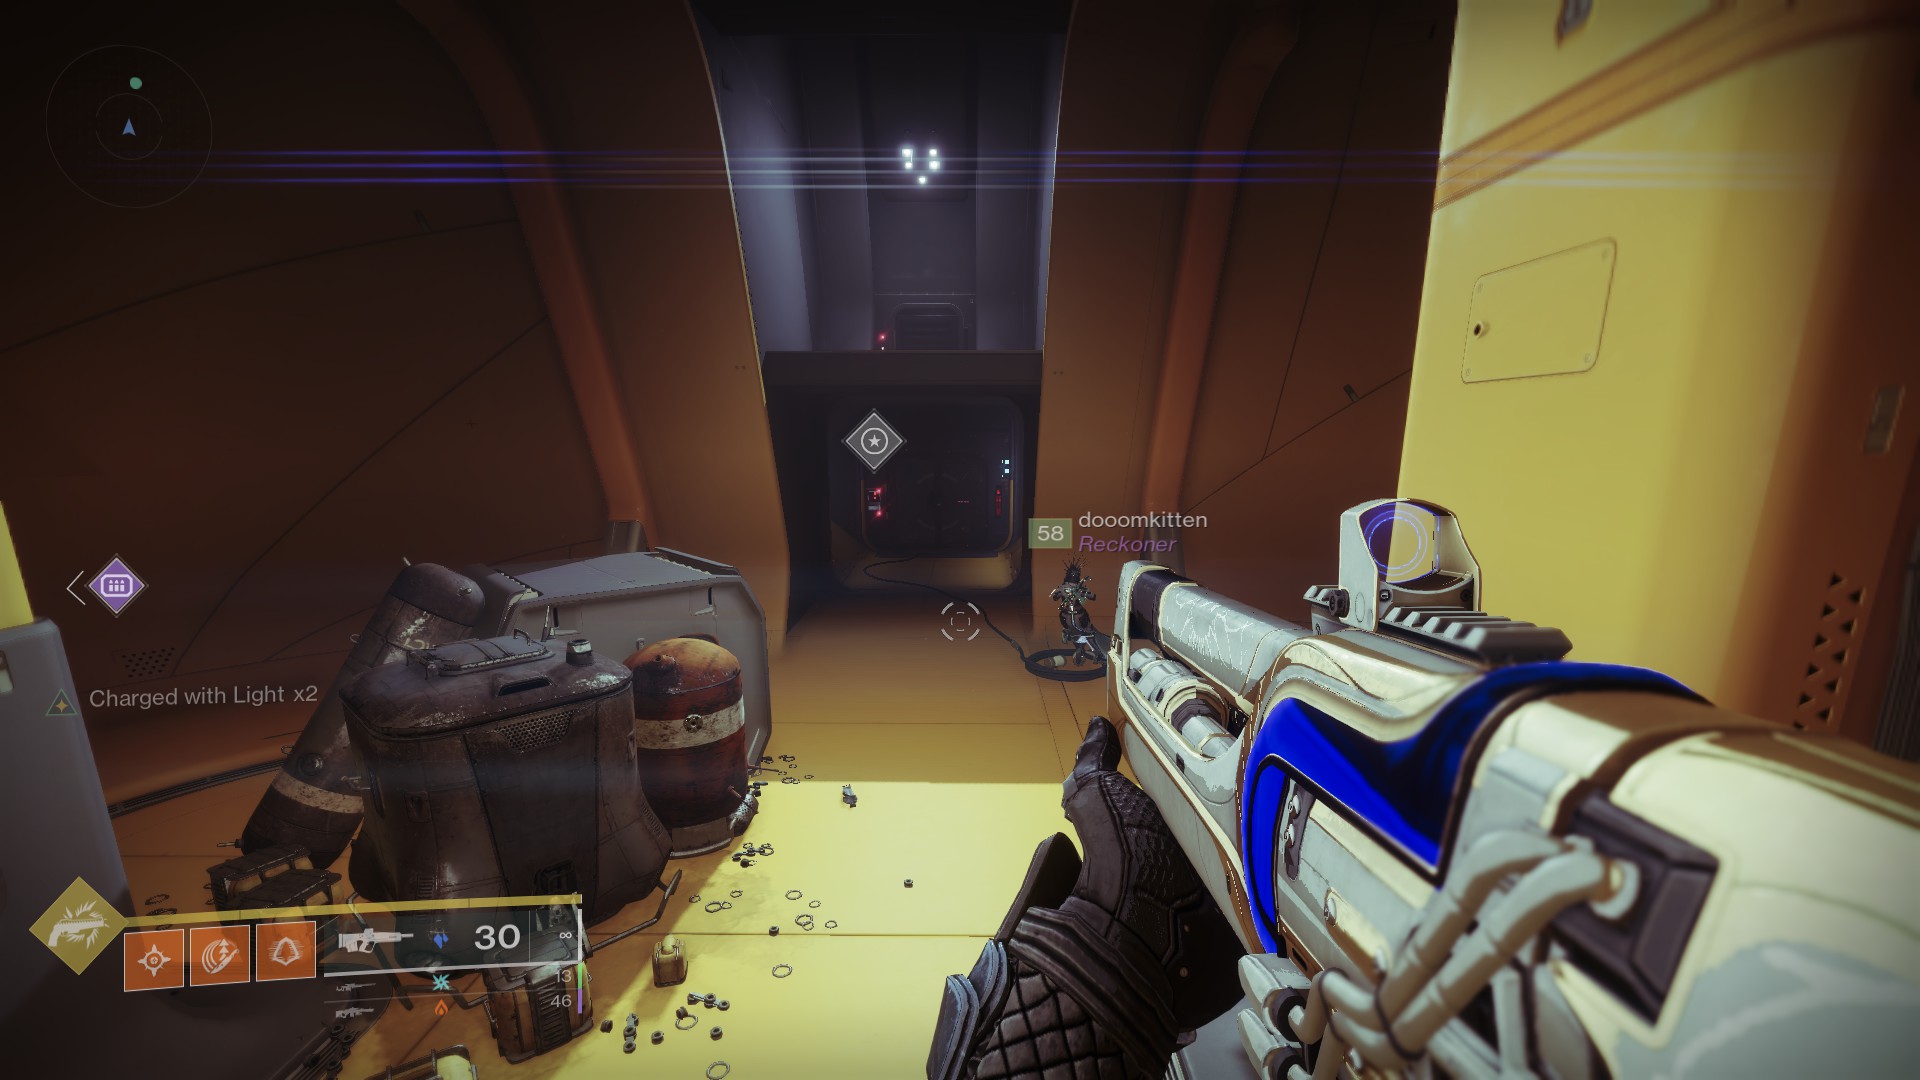
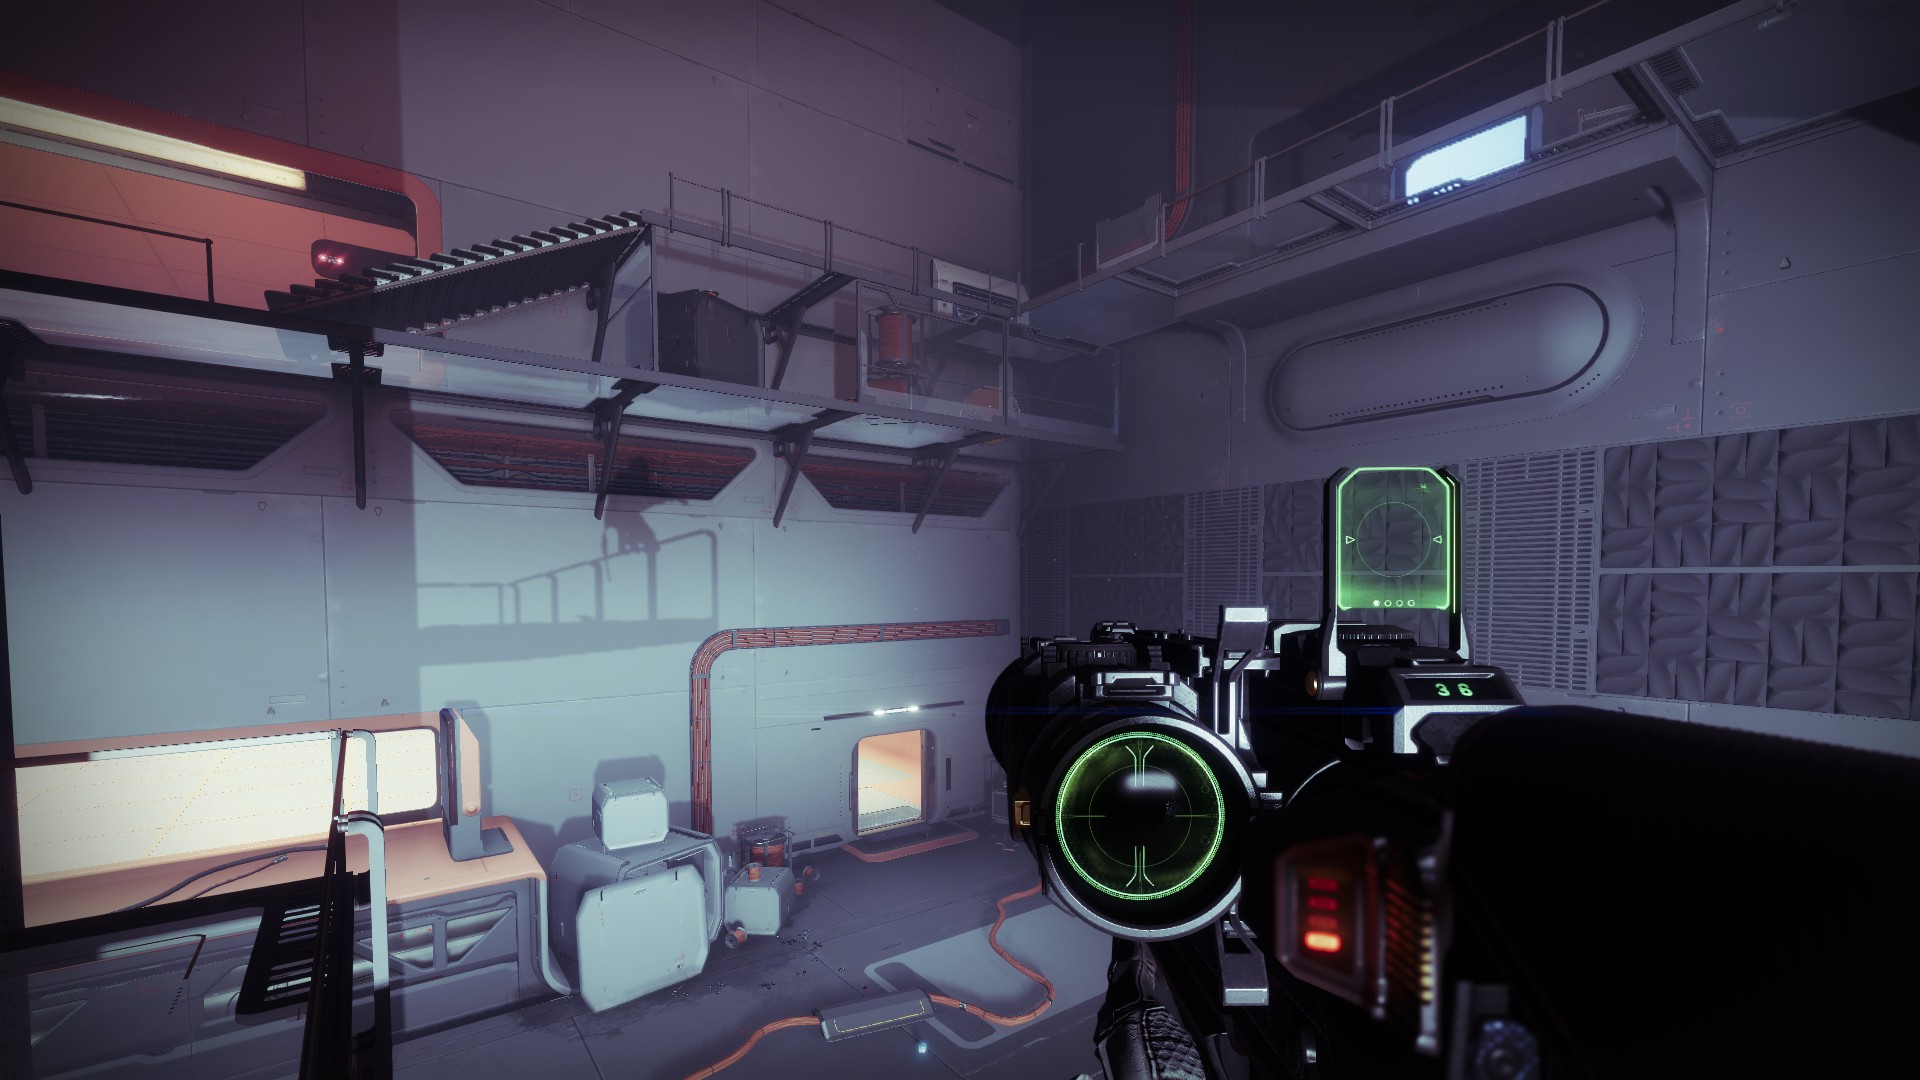
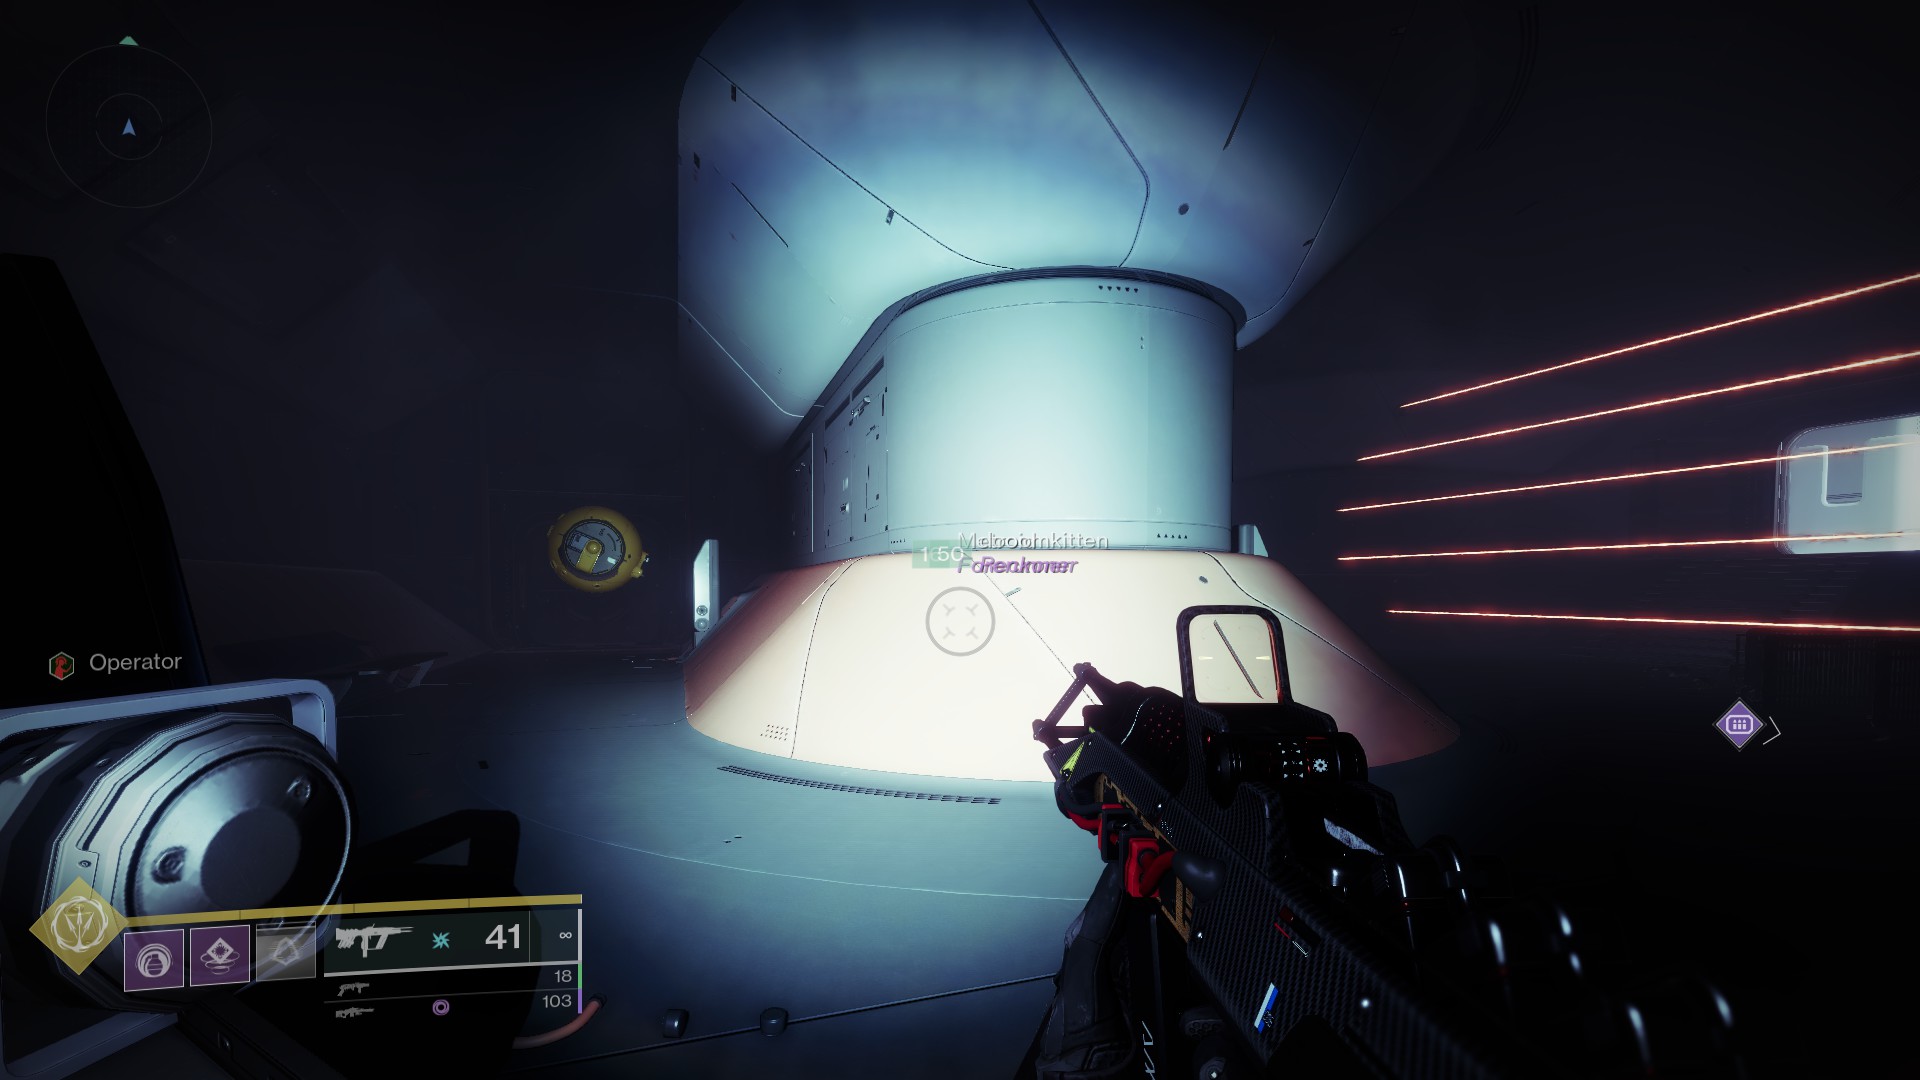
run and slide at the lazers and hit right click before hitting the lazers
with good timing you won't touch the lazer hitbox and will find yourself on the other side - works both ways, you won't be stuck (unless you run out of ammo)
KING Jan 5, 2023 @ 9:27am 
reminds me of the savathun eyes. long, tedious and boring
Bloodfist Jan 1, 2023 @ 4:57pm 
If you're running Warlock you can teleport through the lasers. So it's best to just get the Security Upgrade as your first upgrade, if you want to get all drones without having to wait for another upgrade.
WolfyInfection Dec 28, 2022 @ 9:52pm 
Dude, thank you so much for this guide! You are a true legend!
the doge Dec 28, 2022 @ 2:16pm 
this guide is a godsend
Xytan Dec 28, 2022 @ 12:37am 
Drone #50 is easy to do if your Revision Zero has Ricochet Rounds. Simply shoot at the red-lit wall left and right until one of your shots can hit the drone.
Offyerrocker  [author] Dec 27, 2022 @ 10:09am 
Thanks! That's fixed now.