Arma 3
151 ratings
AI Squad Commands - Advanced Guide
By pissman
Are you the kind of guy who likes commanding AI around, like me? Well, then, do I have the guide for you!
After doing research as well as using hours of personal experience, my intent is to explain the basics of AI commanding and perhaps give a more insightful view on ArmA AI, if possible.
2
3
5
2
3
2
2
   
Award
Favorite
Favorited
Unfavorite
To Start
So you want to become a better commander for AI squads.
Maybe you're in campaign missions that require them, or you just like having AI for no particular reason and asked Zeus for them a thousand times (like me!) but don't actually know what you're doing with them (unlike me!). Well, the first thing to know:
Your AI will most likely die.
Yes, this is a fact. Unless the mission creator or maybe even Zeus made the AI invincible or perhaps just gave them higher skill than normal, there is a very high chance at least one of your men will not make it out of a combat situation alive. As your AI are likely the same exact skill level as the enemy (50%, on normal difficulties or Zeus gameplay), they are likely going to get about 0 - 2 kills before dying, themselves, unless you can position them very well (more on that later).
The Easy Access Menu
The first thing to make sure of is to know how to open the command menu to begin with. You can do this by pressing your Tilde key. (~)
Once you have it open, you should see a list like this. This list acts as an "Easy Access Menu" to important commands, so I won't go into too much detail about it.
You can select specific squad members with the Function Keys (F1 - F12, or fn + 1-12 on certain computers)

The top part of the menu shows very basic commands.

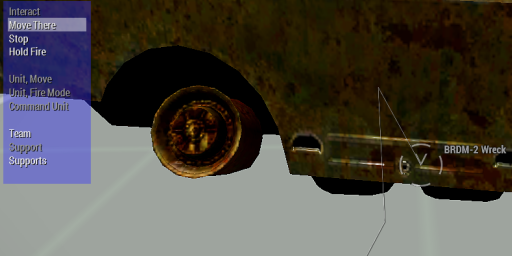
Interact: This command requires you to be looking at applicable entities.
By default, the "Target" option will appear there if you have one, more, or all of your squad members selected.
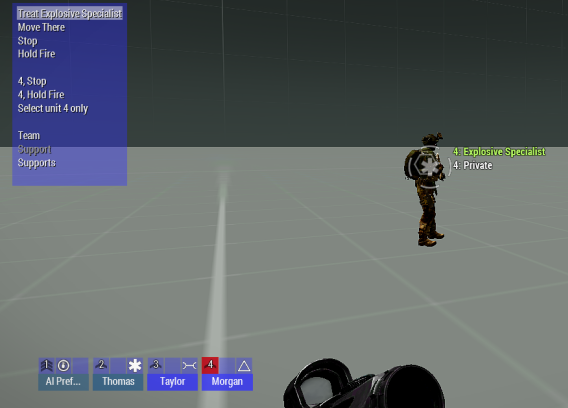
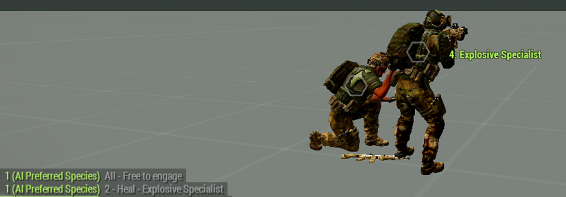
However, if you have a Combat Life Saver and one of your teammates (can be a squad member, friendly trooper, or even members of a different friendly faction such as AAF) is injured, the "Treat" option will appear. "Treat" is relatively finicky, however, as although AI will stop moving to allow the CLS to heal them, players will likely not even know its happening and will waste your CLS' time and possibly get him killed.
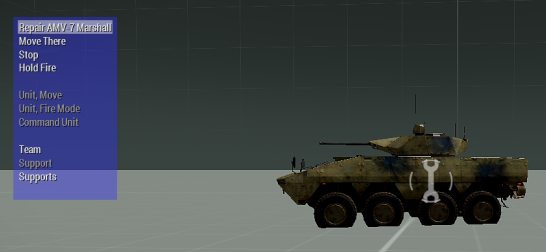
If you have a mechanic unit such as an Engineer or Repair Specialist and a vehicle is on red damage levels, the "Repair" option will appear. This functions just like the "Treat" command when it comes to effectiveness; if an AI is in the vehicle or the vehicle is empty, the mechanic should have no trouble. However, a player could end up knocking over or killing your mechanic, or wasting their time and getting them killed by another source.
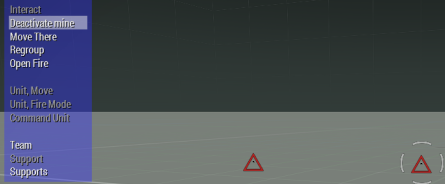
One unique case lies in mines. Instead of using the "Interact" button, the game creates a new one underneath it.

If you have any AI with a Toolkit selected and there are active mines, the "Deactivate mine" option will appear. AI are specifically programmed to avoid going over or accidentally exploding spotted mines, so unless a teammate decides to walk into your AI who is actively and clearly disabling a mine or for some god forsaken reason you're trying to clear mines in an active combat zone, they will be fine.
If you are looking at a vehicle or are inside a vehicle, it will change to "Get In". If a selected squad member is already inside, the option changes to "Disembark".

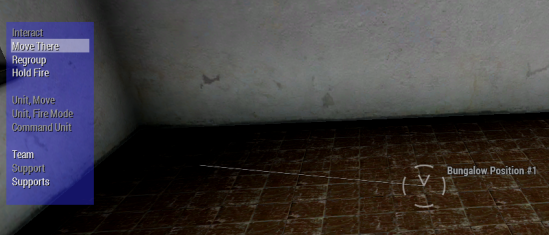
Move There: A very simple order. Tells one or more squad members to move to a location, keeping formation with the highest numbered soldier. With certain things, including trees and rocks, buildings, and fences, there will be lines (or Positions, in the case of buildings) showing a specific spot an AI is willing to reside near or on. In the case of lines, they are sometimes vertically shorter, representing how an AI will use that cover, crouching and prone included.

Stop: This option is exactly as it says. It stops one or more squad members from moving. This option changes to "Regroup" when the selected squad member(s) is already stopped or is otherwise not in formation (such as after completing an action).

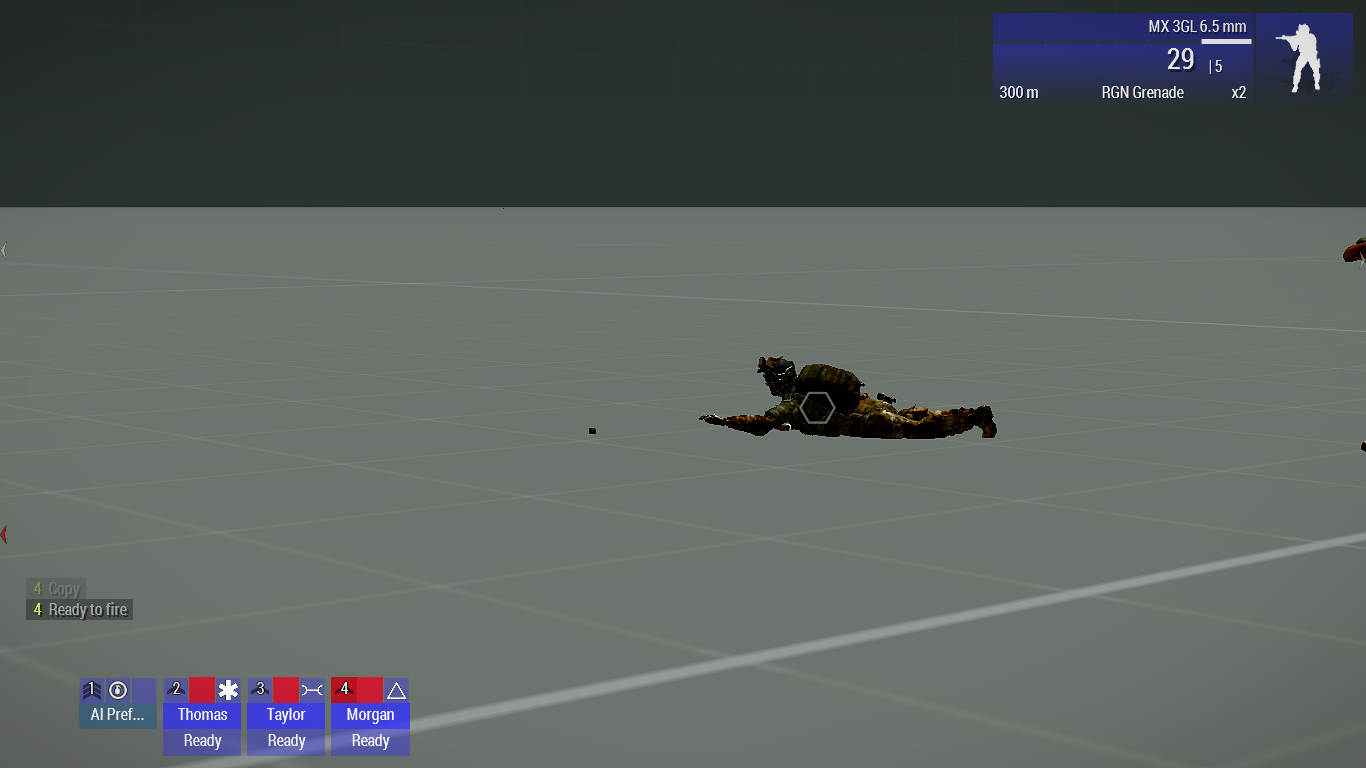
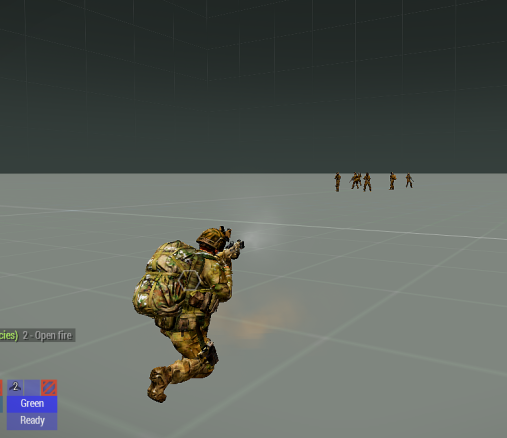
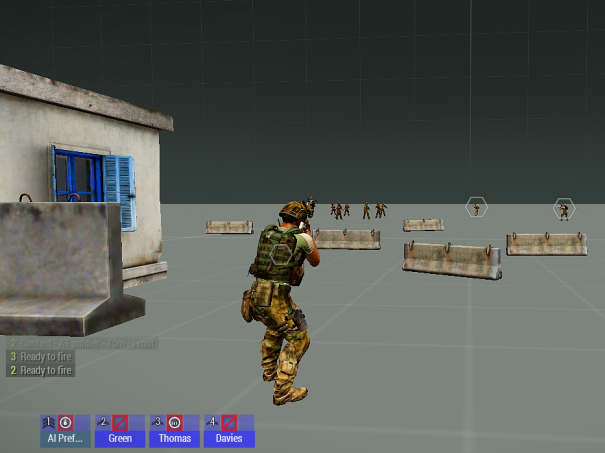
Hold Fire / Open Fire: Toggled option. If told to hold fire, AI will hold fire and the option will change to Open Fire. If told to open fire, the AI will willingly shoot hostiles and the option will change to Hold Fire. AI in the "Hold Fire" mode will have a red, hollow square to represent this. (In this image, "Free to engage" is enabled, so it's a fully red square.)

The middle section of the Easy Access Menu is extremely simple.

All the options shown are quite obvious, and will only show up when you are directly facing a squadmate with the menu open. When this occurs, you have the option to select the unit you are facing, as well as quickly telling them to Stop / Regroup or Hold Fire / Open Fire. Once the unit is independently selected, you can tell them specifically to do anything seen further on in the guide. Holding Control will allow you to select or deselect multiple units in your sight.

The bottom section of the Easy Access Menu is a little complicated.

Team: This will lead to the 9th menu of the Command Menu. More on that later.

Support: Becomes "Injured" when you've taken some damage. Allows you to call out "Injured!"

Supports: This requires that you have actual supports available, which is only possible by use of the Eden Editor and requires the mission maker to use the Support Requester and Support Provider modules. Once used, these supports will help you out. However, they technically have nothing to do with your squadmates, so I am not obligated to tell you more other than that you'll know you have supports available if you see icons similar to these on the left of the menu.

ALT KEY USAGE
While holding the left Alt key, the "Interact" and "Move there" options will be replaced by "Suppressive Fire" and "Watch There". For "Suppressive Fire", go to Section 3.
"Watch There" simply tells a unit to watch a specific spot, which can be useful if you need a doorway under control.
1 - The Movement Menu
By pressing the 1 key while the Command Menu is open, you will get a list of Movement commands for your AI.

1: Return to Formation
Functionally identical to "Regroup" in the Easy Access Menu. You can have fun with it by spamming `->1->1, which will cause your guy to continually shout "Return to formation!" and "Regroup!", but this can hinder you in a combat situation as inability for your squad to relay info is not a good thing.

2: Advance
This command will cause selected squamates to advance further in your current formation. This advancement will keep the soldier in formation, just far ahead of the group.

3: Stay Back
Effectively the opposite of Advance.

4: Flank Left
Advance, but to your left flank. Good for covering larger areas of ground.

5: Flank Right
Advance, but to your right flank. Good for covering larger areas of ground.

6: Stop
As discussed in the Easy Access Menu, this will stop your soldiers from moving.

7: Find Cover
This command will cause your squadmates to break formation and find cover, preferably in building Positions or against objects. If none are close by, they will stay crouched or prone whenever possible.

8: Next waypoint
This command will cause your squadmates to simply advance to the assigned objective waypoint, usually in your task list. If the objective is completed, the AI will move to the next one. This is a bit of a reckless movement option if there are hostiles nearby.
2 - The Targeting Menu
This menu is simpler than most of the other menus (see Section 4) and consists of just two options by default.


1: No Target
Cancels any specific targetting options previously given to the squad member(s) selected. This includes Attack Targets as well as other options that will be elaborated on later, like Scan Horizon and Watch.

2 - 9
These numbers are usually taken up by spotted enemies that you and your squad are aware of (usually, Spotted Hostiles are visible on the map). By targetting, you are telling your squadmate(s) to fire at that thing specifically as long as it is within line of sight. This can be useful if you need an AT soldier to focus on a vehicle, but if he's exposed to other enemies, he could get shot without a chance to defend himself. Use this wisely!

0: More
This leads to more options, or if you've already gone through all the hostiles, pressing it again will bring up another menu allowing more attack options. You can make your squad target friendlies, items on the ground, etc. This can be useful if you have a TKer, but beware that players are usually marked as the role they're meant to spawn as (I.E. "Soldier" in Zeus mode).


To get them to actually shoot friendlies willingly, however, you need our next menu on the list...
3 - The Engagement Menu
This menu controls the squad's combat abilities.


1: Open Fire / 2: Hold Fire
As discussed in the Easy Access Menu section, these commands will tell your squadmates whether to open or hold fire. Hold fire, they won't shoot enemies and will tell you when they have a target. Open fire, they'll automatically fire upon enemies.

3: Fire
This is mainly used to specifically tell squadmates when to fire, even while on Hold Fire mode. This can be useful for AT soldiers or if you have a non-hostile target selected and they don't automatically attack.

4: Engage | SQUADMATE(S) REQUIRE(S) TARGET
Once you've targeted an enemy, the man or men targetting him are likely going to stand still and stay in Formation, despite the fact they've been told to target. The reason for this is because they haven't been told to actually engage! Once you do, they will maneuver around cover to hunt down their target. Once their target is in sight, they will kill their target, then return to Formation.

5: Engage at will | SQUADMATE(S) REQUIRE(S) TARGET
Just like Engage, however you now won't need to specifically tell your men to engage the enemy;as long as Engage at will is active, your men will hunt down whoever you tell them to kill.

6: Disengage
Squadmates will stop hunting down their target and will return to previous movement task.

7: Scan Horizon
The selected squadmate(s) will turn at a consistent rate, looking for enemies along all horizontal directions. I like to do this with any units in Prowler or Qilin guns!

8: Watch Direction
Tell your squadmate(s) to watch a specific direction.
1 - North
2 - Northeast
3 - East
4 - Southeast
5 - South
6 - Southwest
7 - West
8 - Northwest

9: Suppressive Fire
This one is a bit finicky and has prerequisites.
> Must be set to Open Fire
> Must be within AI squadmate's view
> Must be targeted directly by you
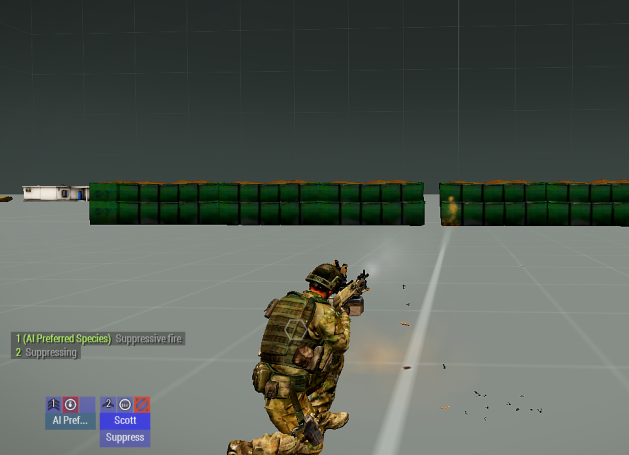
The command itself is simple. Look at a certain place and tell them to suppress, and they will fire on that location and make sure no enemies can make it through there without risk of dying. And hey, you get to hear your guy shout "Suppressing!!!!" at the top of his lungs, so that's always fun!
4 - The Mount Menu
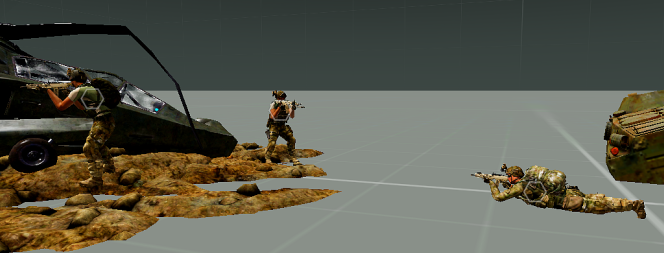
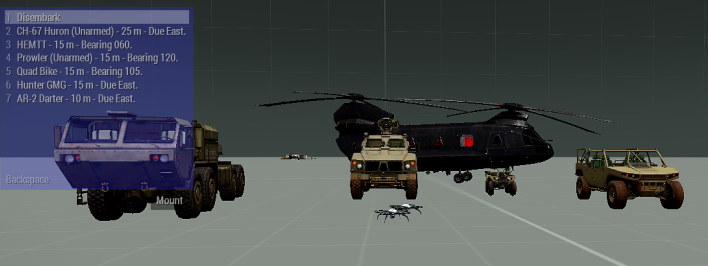
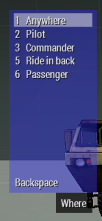
Easily the simplest section. How simple? So simple, that just two images can explain the entire menu.


5 - The Status Menu
The status menu doesn't have a lot when it comes to controlling AI, directly, as it even appears when you are not in a squad or if you're not a squad leader, but it is still relevant.


1: Call support
Another one that requires Eden Editor specifics. Don't bother with it, honestly...

2: Fuel Low
Inform people that you're low on fuel. AI can't really do much about that, but hey!

3: Ammo Low
Inform people that you're low on ammo. AI, again, can't really do much about that. (unless they're an Ammo Bearer, in which case you can tell them to Stop and grab some ammo out of their bag, if you're using the proper weapons for it.)

4: Injured
Inform people that you're low on health. This time, AI can actually do something about it! If you have a CLS, your character will automatically tell him to heal you. Just remember to sit still!

5: SITREP
Call for a SITREP from your squad. AI will report their positions on the grid and will tell you if they're injured.

6: I'm under fire
Inform people you're being shot at. AI already know this anyway, as they are set to always know your enemy's location, so it's useless for the sake of this guide.

7: One Less
Inform people you killed an enemy.

8: ...is down
Inform people that a selected squad member is dead. You'll end up automatically reporting this anyway if an AI doesn't respond to a SITREP or you see their corpse, so don't bother worrying about it...
6 - The Action Menu
Probably the most complicated menu to take advantage of, not gonna lie...


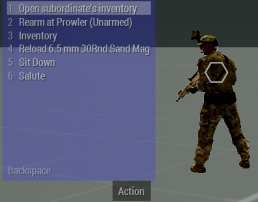
The Action Menu has so many options that change frequently based on your situation that specifying numbers is simply impossible. However, the general premise is "Actions the player can perform using the scroll wheel", such as reloading a specific magazine. Even then, the menu includes options such as "Sit Down" and "Salute", both of which require your units to be in Safe Mode and not in Formation.
I can, however, list commands that I find most useful and interesting!

Treat / Repair
Just the same as the Treat and Repair functions in the Easy Access Menu, but without having to look at a target. Telling an AI with a First Aid Kit or a mechanic AI with a Toolkit to Treat or Repair is fully possible with this Action Command, and now you can tell them to heal themselves or an ally without even looking!
-Note of Caution: Telling AI to heal "Soldier" is most likely telling them to heal a player. If they do heal a player and the player walks away, it will waste a First Aid Kit and possibly get the AI killed. Try to communicate with your player teammates, too!-

Open subordinate's inventory
Useful for rearranging an AI's inventory, such as applying or removing suppressors from weapons. Functionally identical to Scenario missions' "Inventory" command in the Team section of the map.

Inventory
Causes the AI to find a nearby entity that has an accessible inventory, such as a cluster of items on the ground or a vehicle. Once they interact with said inventory, the menu will show up on your screen and you can use this to allow them to pick up certain items you deem beneficial.

Eject
WARNING: PARACHUTE SUGGESTED IN HELICOPTERS
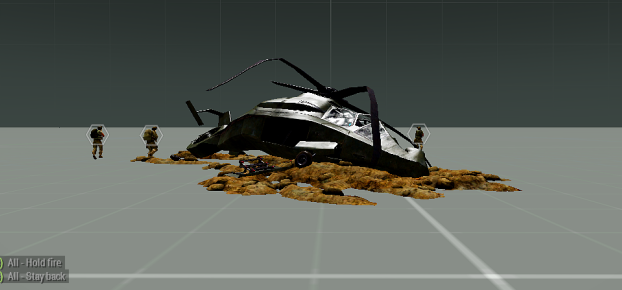
This command makes AI disembark but faster and more recklessly. Normally, telling them to disembark will make them wait until a vehicle has either stopped or has landed, but if Eject is used, they will get out quickly no matter the speed of the vehicle. If they are wearing a parachute and eject from a vehicle in the air, they will use the parachute accordingly!

Arsenal
Yes, you can tell the AI to use the Arsenal! However, they have to be close enough to it in order to do that. One notable thing about this function, though, is that scripted Arsenals such as Expunged's simple green Arsenal or M9-SD's yellow AIO Arsenal will not work properly with AI, as when they use it, the Arsenal will simply go to you instead. The only Arsenals that seem to work are normal Arsenals, non-scripted Full Arsenals, and M9-SD's green AIO Arsenal, which features the ability to change the loadout of group members (yes, even players).
7 - The Combat Mode Menu
The basic stances and combat awareness.

These options are a big player in how combat will play out.

1: Stealth
Puts the AI into stealth mode. They will crouch and go prone more often, they will often move one at a time, and they will barely attempt to keep formation. They will only fire if they are certain they can hit the enemy.

2: Combat
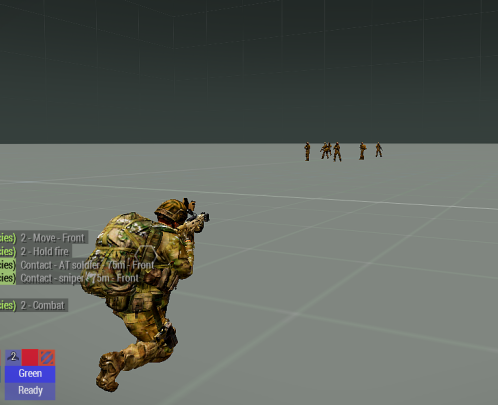
Puts the AI into combat mode. They will search around cover for enemies, but will maintain Formation when possible. Of course, this'll make them very willing to pull the trigger, so having them on Combat mode at all times in a combat zone would probably be best.

3: Aware
The default mode. AI stay in Formation and are ready for combat.

4: Safe
Puts the AI into safe mode. AI don't care about Formation and will usually walk, only jogging if necessary to catch up with you if you have them set to regroup with you. I prefer this when I'm standing by, such as waiting a far distance from battle.

6: Stand Up
No, it's not a typo. There is no "5".
Tells the AI to stay standing, no matter what.

7: Stay crouched
Tells the AI to stay crouched, no matter what.

8: Go Prone
Tells the AI to stay prone, no matter what.

9: Automatic stance
AI will go into whatever stance they want. Can be detrimental, such as in a plane open area, where they might not do the right thing.
8 - The Formation Menu
All this "Capitalizing the F in Formation" finally payed off!


Explaining every individual Formation just seems like a hassle, as they should explain themselves. However, one major point to state is that changing Formation will change the direction of your Formation, which can help with Movement menu commands.
My favorite Formation is Diamond, if you were wondering.
9 - The Team Menu
Not as useless as one might think...

The Team Menu, great for larger squad commanding. Have 8 dudes? Put 3 in Team White, 4 in Team Red! Keeps things nice and organized.

Assign Team
Assigning your AI to a team is as easy as `->9->1/2/3/4/5! Or going down to Team in the Easy Access Menu and pressing one of the first 5 buttons. Putting them in teams allows for easier control of a group, as well as organizing them up.

Team Selection
Done with `->9->9->1/2/3/4/5 or `->Team->9->1/2/3/4/5
Allows you to select one of the teams you've organized. Even comes with specific voicelines!


Ease of Access
Fun Fact: With squad members selected, you can do Ctrl + F1-F5 to assign them to a team! You can then easily select them with Shift + F1-F5. It's very convenient, trust me...
0 - The Reply Menu
The menu I don't have to talk about!
but i still will because i'll feel wrong if i dont

These responses have nothing to do with AI communication and are better for communicating with actual people. However, AI will use this frequently to inform you of their actions, so pay attention to them! Because most of the list is obvious, I'll go over the bottom 3.

Supports
Follows the exact same situation as the Supports menu listed in Section 5.

Custom
Scripting required, too complicated for me...

Radio
I'm not sure, but if I had to guess, maybe it has to do with scenario scripting, such as indicating you're ready for an assault.
Useful Info from Commentors
Originally posted by Blackmamith:
heads up the action menu also allows the AI to use the arsenal if they are close enough also for the movement menu a better way to frame the advance, stay back, flank left and right commands is think of the squad leaders position as the centre of a grid. The advance command tells the selected AI to move one grid squad ahead of you but stay in formation from that new grid. understanding this allow people to create more advanced formations like a proper diamond with two guys in front, behind, to the left and to the right of the squad leader by about 25m. This greatly increases the squad leaders capabilitiies and can not be stated enough. 80% of good squad leading comes from the movement menu and good positioning
Conclusion
Hopefully you learned something today!
I'm finishing this at 6 AM, 5 hours after I intended to sleep, because I procrastinated and watched YouTube for a while and then wanted to keep working on finishing up my research for this!
I don't completely regret it, I enjoyed researching the AI, honestly.
Now your skills are the only thing keeping you from being an efficient commander on the field. Can you memorize the numbers and their uses? Can you quickly put them in and get your AI to do as needed? It's up to you, squad leader.
21 Comments
slimy slimy, grimy grimy Dec 16, 2024 @ 12:13am 
@AStarryColdNightWalk you saved me from so much seething frustration.
AStarryColdNightWalk Feb 15, 2024 @ 2:53am 
Heya , after nearly 2k hours , i only have one advice please dont use vanilla command menu , use something like All In One Command
KOMMANDER Dec 13, 2023 @ 8:54pm 
Amazing help here I am very glad you posted this for the community. Maybe some people will take inspiration from this guide and make more better compatible AI Mods in the future!
Leon Portier Sep 15, 2023 @ 3:48pm 
I found it extremely effective to dictate the stance for AI squad. Big boost in survivability when stance is set to prone before fights (->7->8).
nmonster61 Jul 30, 2023 @ 8:40am 
Very good guide thank you
Petrus Aurelius Mar 27, 2023 @ 11:25am 
This guide should be in the wiki for Arma 3
Brebs Feb 13, 2023 @ 9:06am 
I recently got good with commanding the AI just from experience but I decided to read this guide anyways, I learned an extra thing or two and I reinforced my current knowledge, thanks for the guide! :steamthumbsup:
Forlorn Hope l >< l Apr 22, 2022 @ 6:45pm 
-COMPLEX-
One way around this is to assign the teams in a slightly more complex manner.
Again starting with the wedge formation:
2 4 - Team Red
3 5 - Team Green
6 8 - Team Blue
7 9 - Team Yellow

_______________________2
______________________4
____1
___2 - 3 ____-----> __3__________6
__4 ---- 5 ___-----> _5 _____1_____ 8
_6 ------- 7
8 ---------- 9 _______________7
_________________________9
This will pair the AI of the team closer together. Making them slightly more effective. There are a number of different combinations of pairings AI that can be used.

A variation can also be expanded to the formation of larger teams and even multiple sections controlled by one individual. Commanding of a platoon of AI is as fun as it is challenging to set up.
Forlorn Hope l >< l Apr 22, 2022 @ 6:41pm 
Further to Blackmamith's post.
The use of Team Menu assists this greatly.

-SIMPLE-
First two members of your squad can be assigned Team Red, the second two Team Green, the third Team Blue, and the last Team Yellow. You can then order these teams forward, left, right, and back respectively. Using the wedge formation will help the members of the team pair up. However there will be a larger gap between the members of Team Yellow than the members of Team Red.
The numbers bellow represent the individuals in the squad and dashes the relative distance between them.
____ 1 ____________----> _______ 2 - 3
___2 - 3
__4 ---- 5 _________-----> 4 ---- 5 ___ 1 ___ 6 ------- 7
_6 ------- 7
8 ---------- 9 _______-----> ______ 8 ---------- 9
Unfortunately, the spacing between the teams will remain relative to original positions in the starting wedge formation.
BladeForged †♱☦ Apr 22, 2022 @ 12:40pm 
The problem is especially with new players is that they don't play or appreciate the base game and the single player campaign so when it comes to it they have no clue what they are doing