
Install Steam
login
|
language
简体中文 (Simplified Chinese)
繁體中文 (Traditional Chinese)
日本語 (Japanese)
한국어 (Korean)
ไทย (Thai)
Български (Bulgarian)
Čeština (Czech)
Dansk (Danish)
Deutsch (German)
Español - España (Spanish - Spain)
Español - Latinoamérica (Spanish - Latin America)
Ελληνικά (Greek)
Français (French)
Italiano (Italian)
Bahasa Indonesia (Indonesian)
Magyar (Hungarian)
Nederlands (Dutch)
Norsk (Norwegian)
Polski (Polish)
Português (Portuguese - Portugal)
Português - Brasil (Portuguese - Brazil)
Română (Romanian)
Русский (Russian)
Suomi (Finnish)
Svenska (Swedish)
Türkçe (Turkish)
Tiếng Việt (Vietnamese)
Українська (Ukrainian)
Report a translation problem


And then my dupes decided to promote themselves from retard mode to super retard and kept bringing extra liquid instead of the single perfectly sized container that was flagged as sweep to re-establish. Had to manually have all other mopped up bottles moved far away to avoid then sweeping non marked bottles with the single one I selected to be swept.
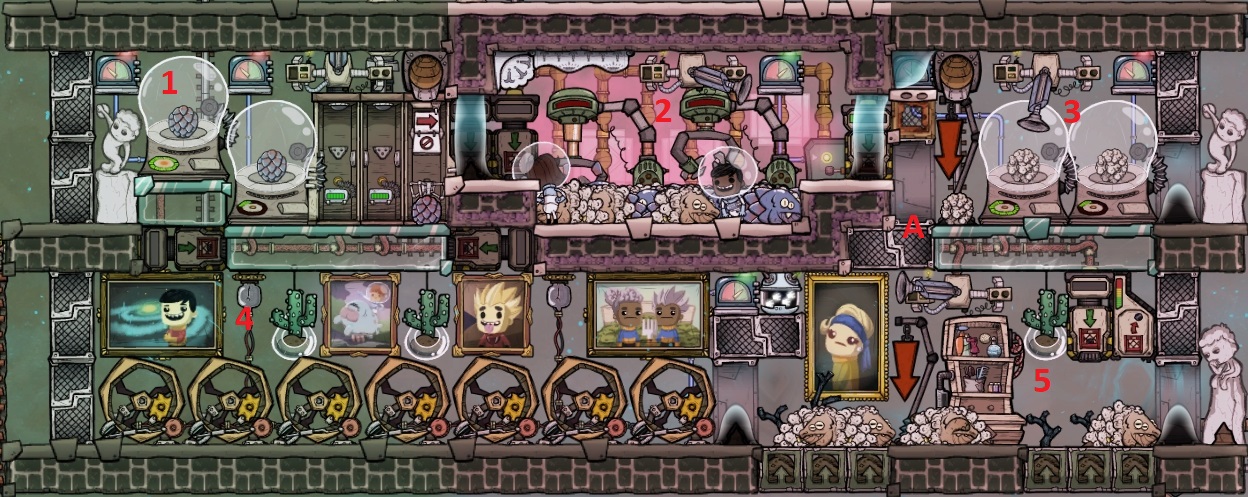
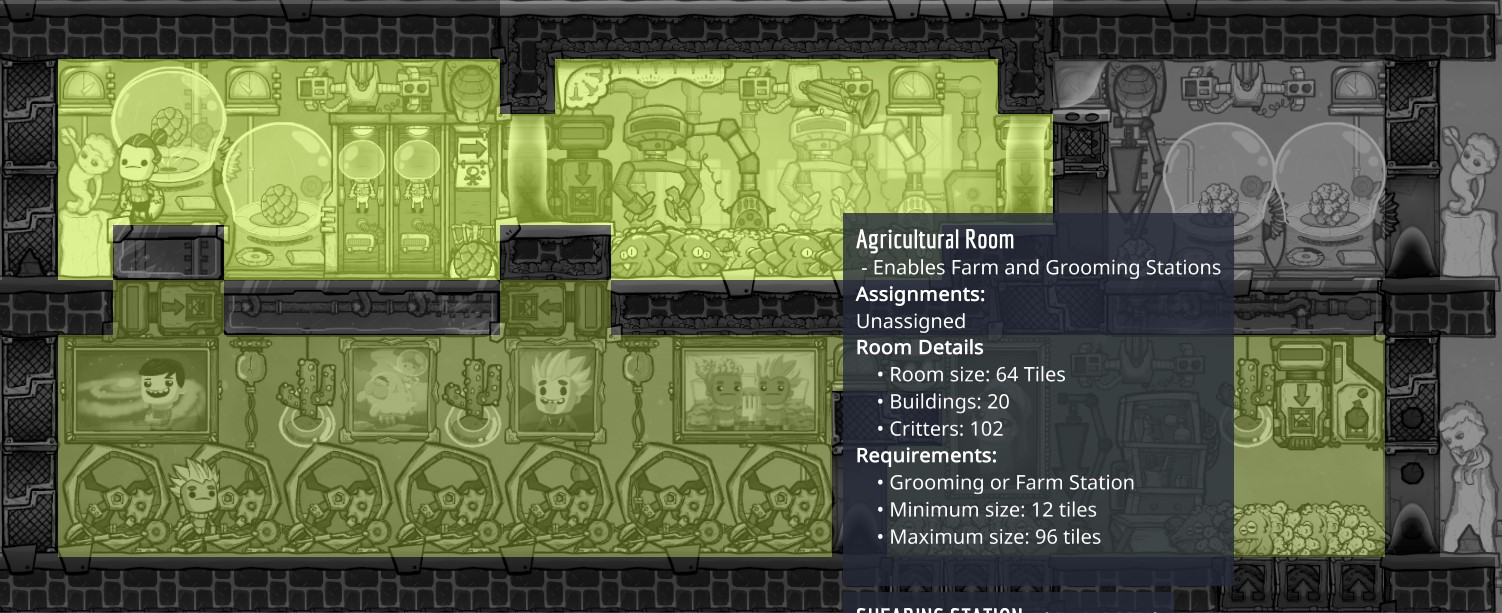
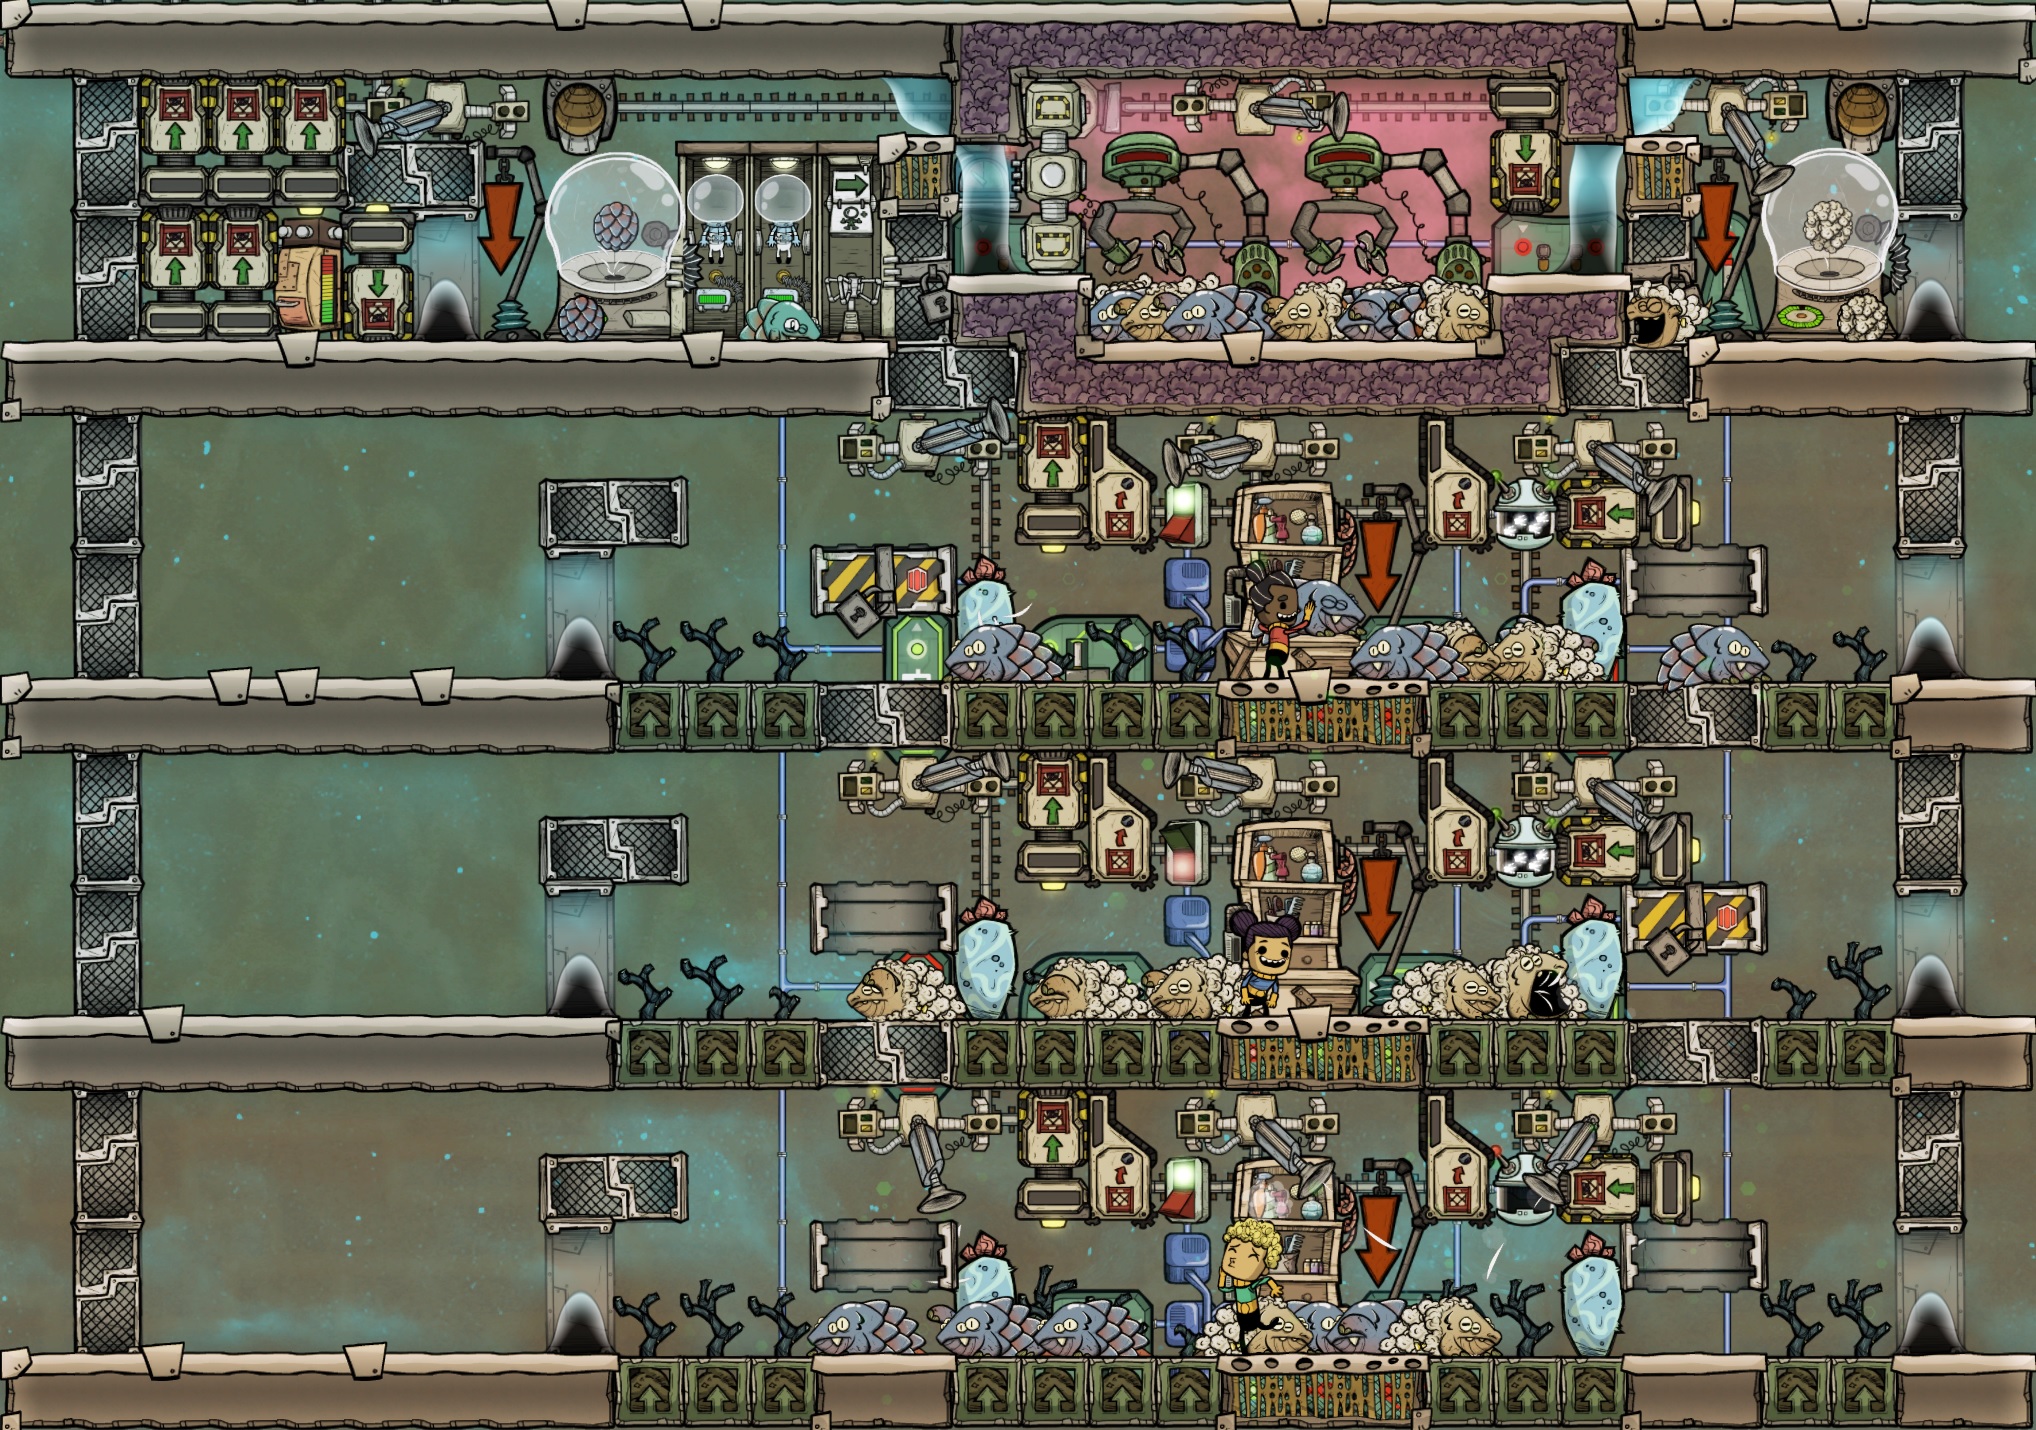
The critter drop off point was changed and don't believe it has all the same settings as you describe referencing it.
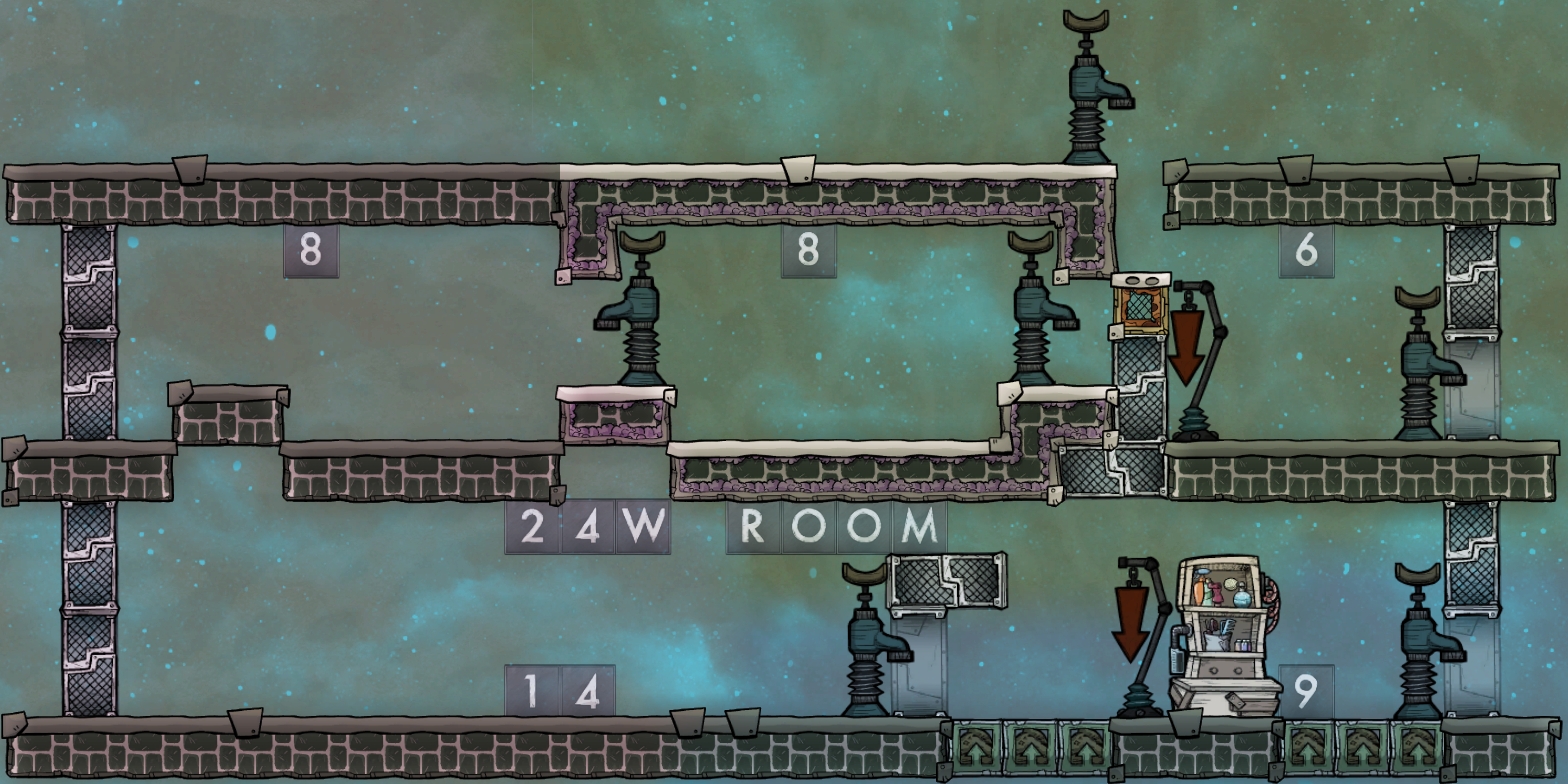
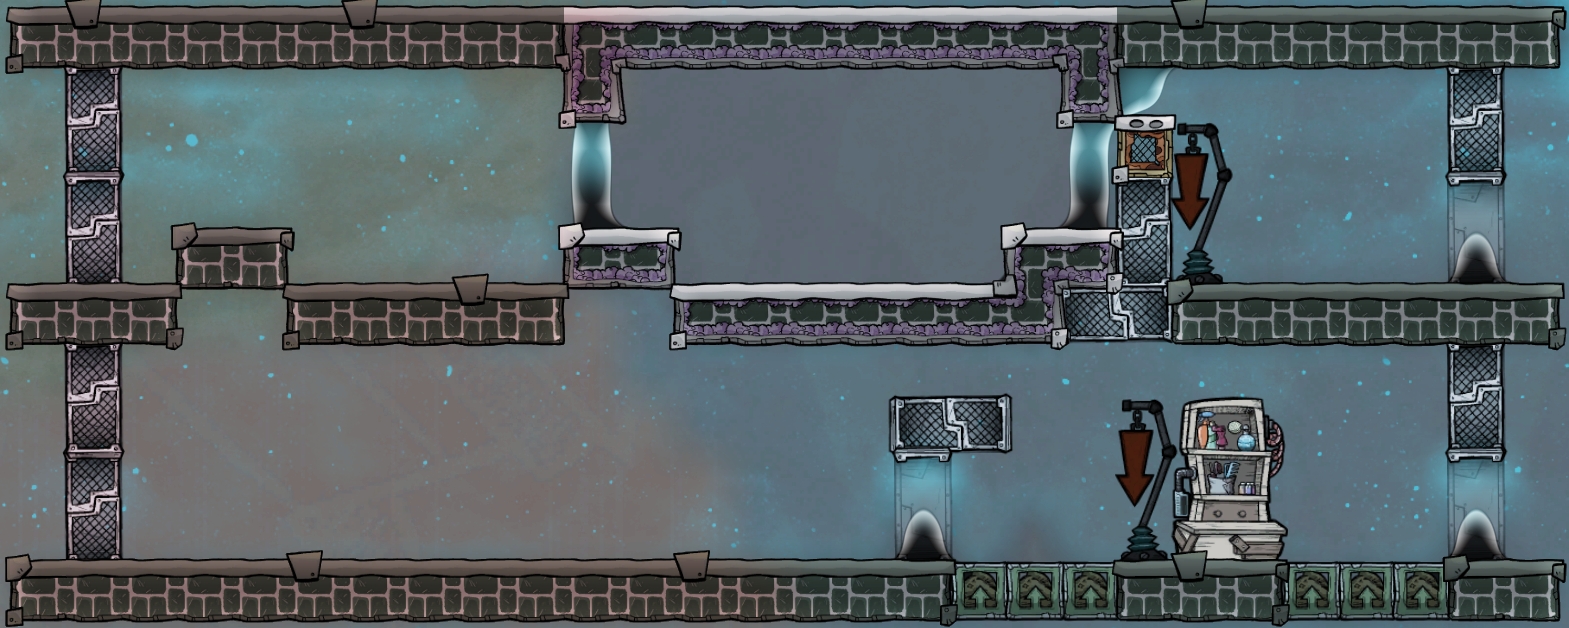
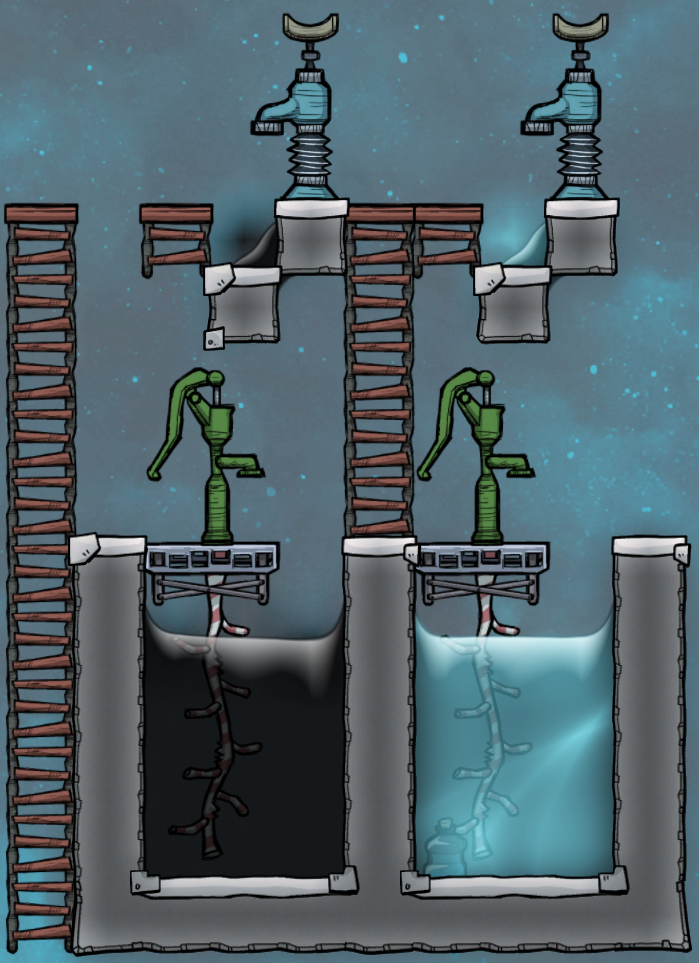
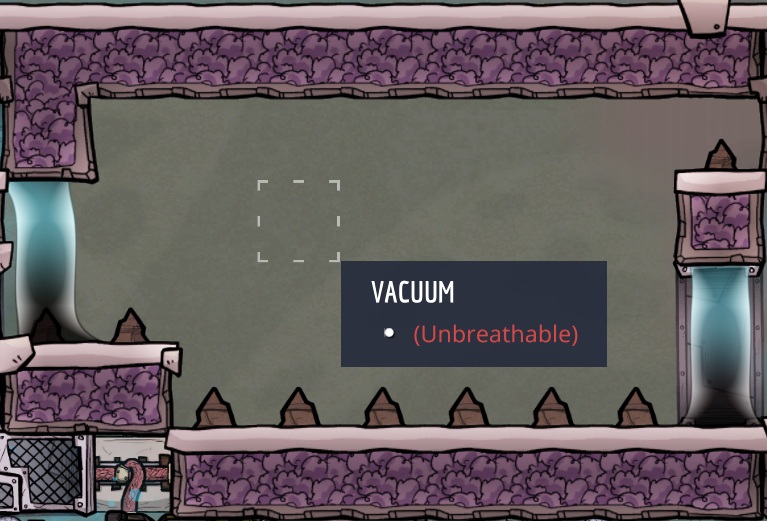
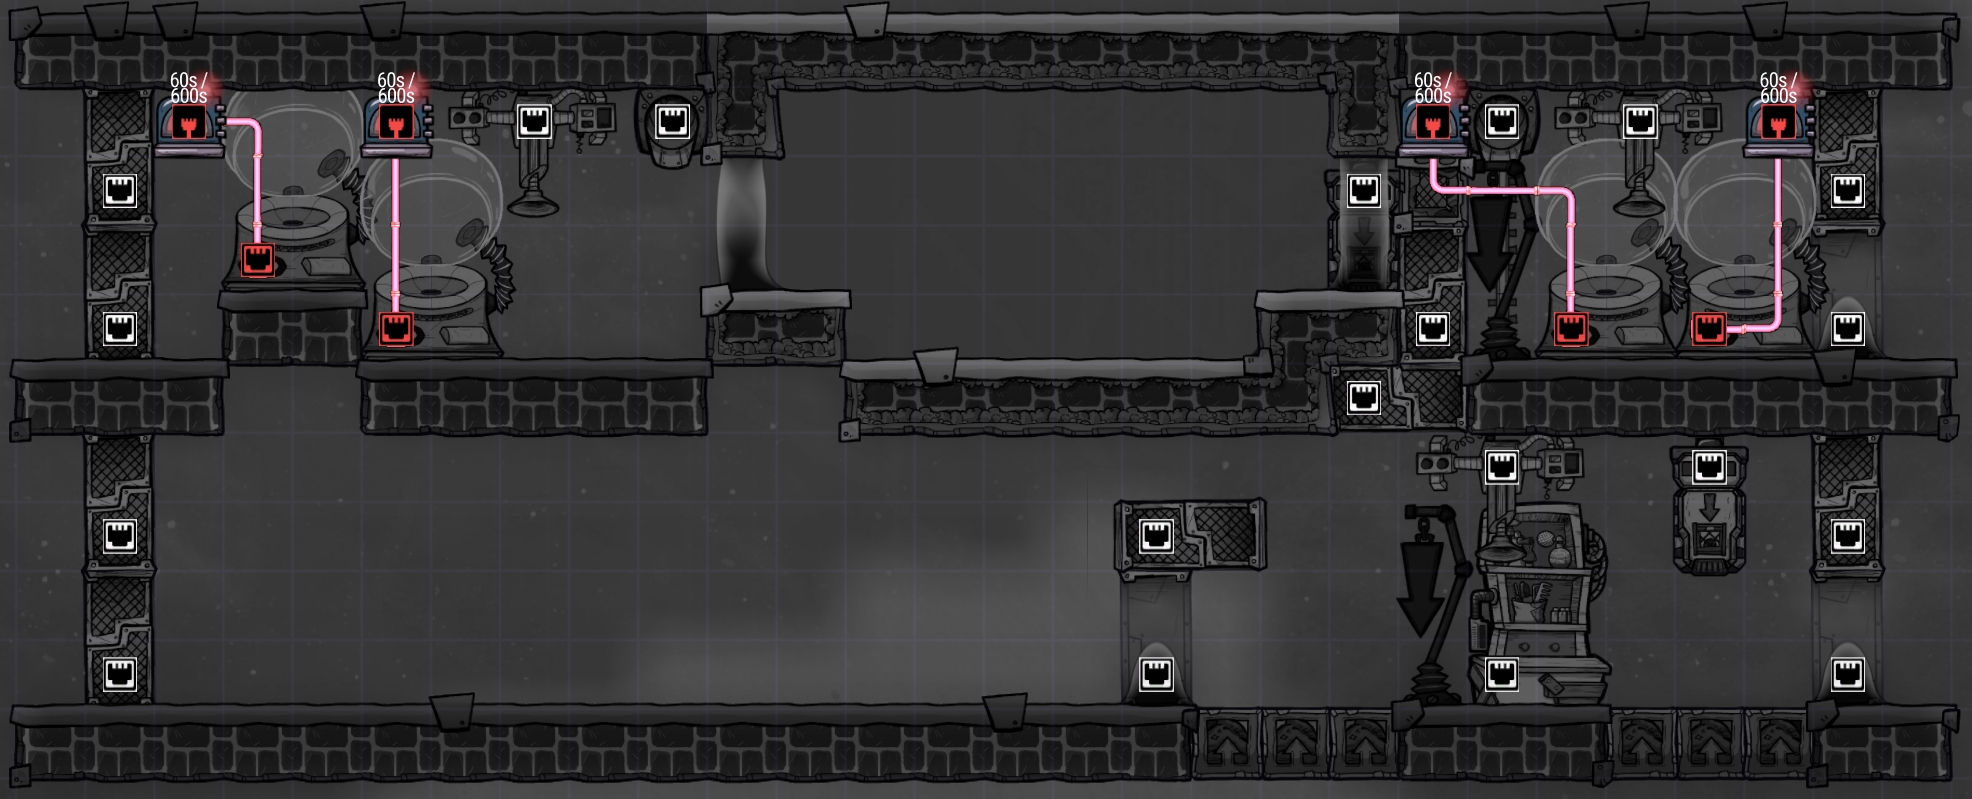
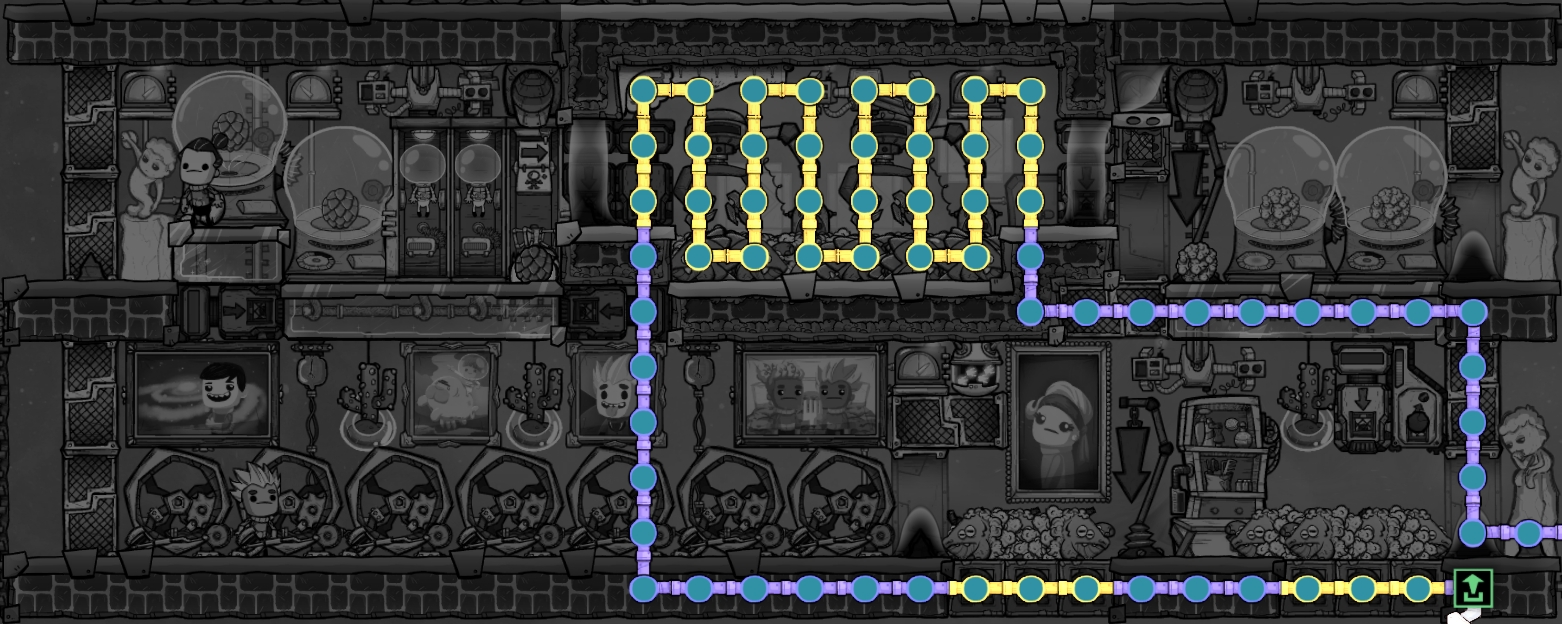
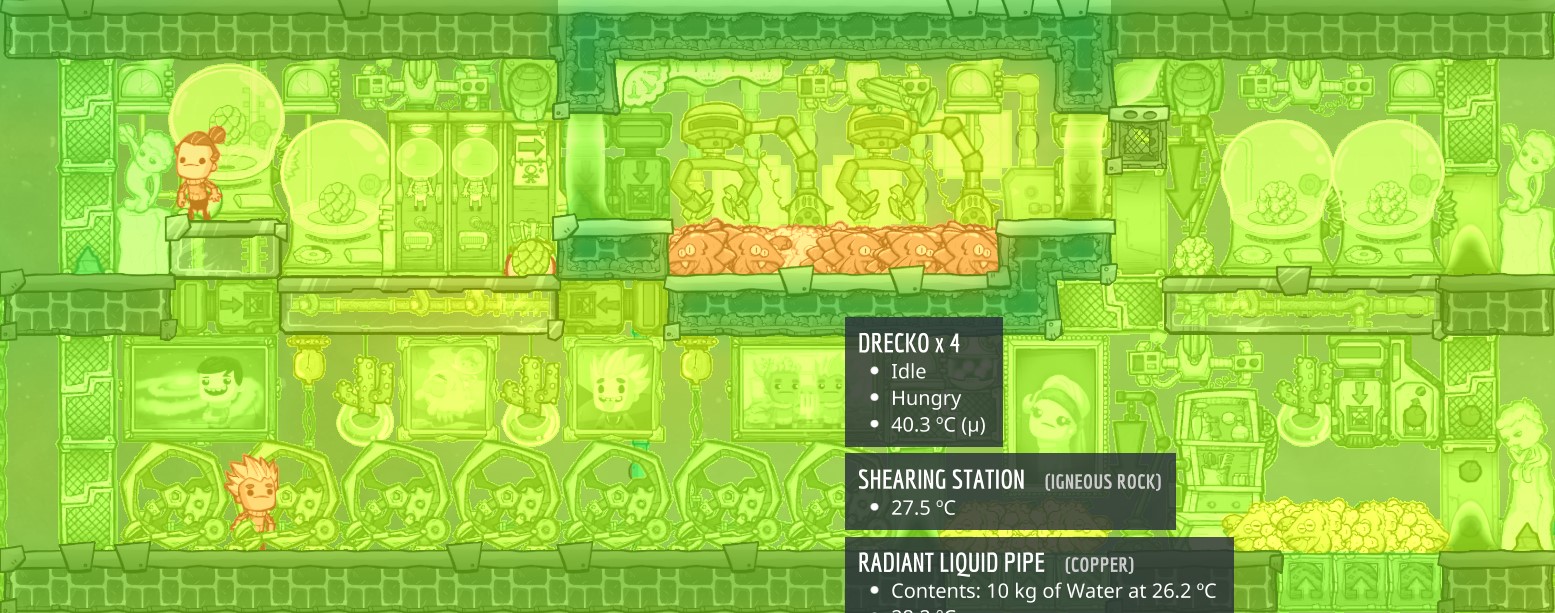
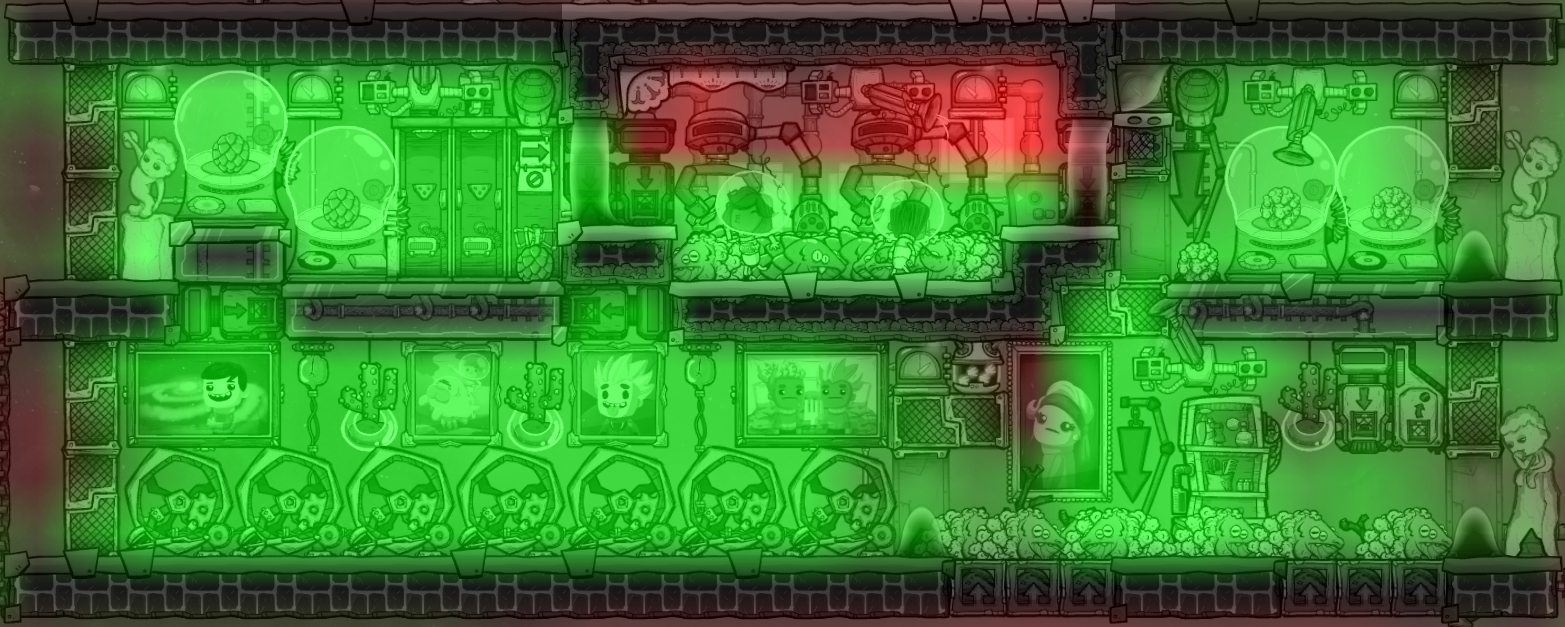
In the image about vacuuming out the shearing chamber, the liquid locks are no long on the same level causing a momentary panic as I thought I messed something up. But all the following ones again show them at the same level.