
Install Steam
login
|
language
简体中文 (Simplified Chinese)
繁體中文 (Traditional Chinese)
日本語 (Japanese)
한국어 (Korean)
ไทย (Thai)
Български (Bulgarian)
Čeština (Czech)
Dansk (Danish)
Deutsch (German)
Español - España (Spanish - Spain)
Español - Latinoamérica (Spanish - Latin America)
Ελληνικά (Greek)
Français (French)
Italiano (Italian)
Bahasa Indonesia (Indonesian)
Magyar (Hungarian)
Nederlands (Dutch)
Norsk (Norwegian)
Polski (Polish)
Português (Portuguese - Portugal)
Português - Brasil (Portuguese - Brazil)
Română (Romanian)
Русский (Russian)
Suomi (Finnish)
Svenska (Swedish)
Türkçe (Turkish)
Tiếng Việt (Vietnamese)
Українська (Ukrainian)
Report a translation problem


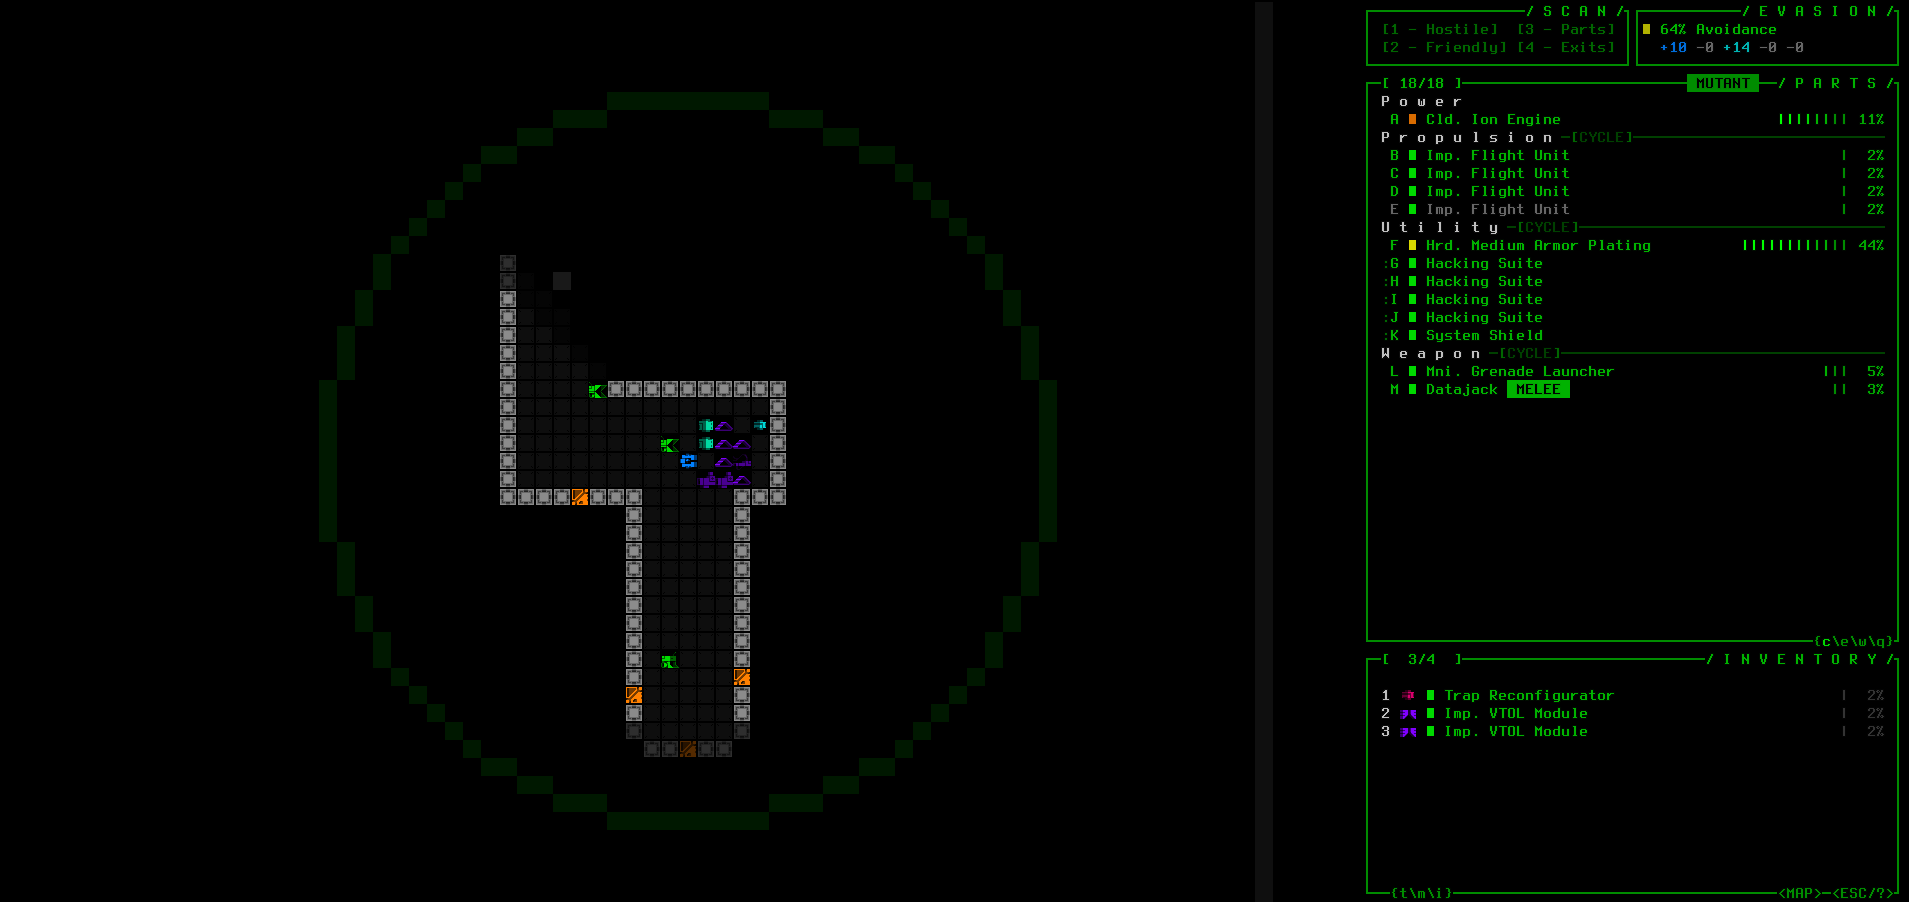


I can suggest a list of essential hacks for such style:
Access
Index
Recall
Layout
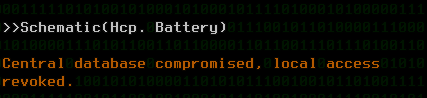
Schematic
Purge
Traps
Manifest
Track
Disrupt
Operators
Assimilate
Botnet
Search
Siphon
Prioritize
Download
Watchers
Redirect
Jam
1) hacks list is in bad state, it definitely should include index(), operators and assimilate - no way you can skip those
2) I have no idea why you will want launcher equipped together with datajack, seems like wasted slot
3) Why 4-prop? 3 slots are enough for storage and armor, 4 are pushing energy balance, and every possible utility slot is needed to pull schematics from 2 depths higher - and it is difference between transitioning on -6 to imp. cesium with need of replacement and transitioning on -6 to exp. cesium which can last until the end (I'm talking about w0/2/3 currently) with later fabs used for other things.