Stranded Deep

Stranded Deep

Not enough ratings
Modding for Stranded Deep with UMM
By Hantacore
This guide intends to give the basics to mod Stranded Deep with Unity Mod Manager.

I struggled a bit myself to find the information, and decided to share what I learned with the others.

Have fun modding !
2
   
Award
Favorite
Favorited
Unfavorite
Prerequisites
Learning C# basics

Before starting anything with modding for Unity Mod Manager, you should know everything is C#. If you don't have at least basic programming knowledge, it might be pretty hard to get your hands on it (but not impossible with motivation).

What is C# ? Quoting Microsoft :

C# (pronounced "See Sharp") is a modern, object-oriented, and type-safe programming language. C# enables developers to build many types of secure and robust applications that run in .NET. C# has its roots in the C family of languages and will be immediately familiar to C, C++, Java, and JavaScript programmers. This tour provides an overview of the major components of the language in C# 8 and earlier. If you want to explore the language through interactive examples, try the introduction to C# tutorials.

https://docs.microsoft.com/en-us/dotnet/csharp/tour-of-csharp/

That being said, decide if you want to go on or not :)

Understanding or learning unity basics

I was a complete n00b with Unity when I started my first mod, and to be honest, I most probably still am. I found it to be the hardest part, because Unity has its own logic and principles, which are necessary to understand before starting.

https://docs.unity3d.com/Manual/UnityManual.html

It's even harder when modding because you won't have the Unity IDE to help you, so it will mostly be try/log/die/retry.

  • Unity is sequential programming, meaning it's a big loop called "Update", which is executed every frame
  • Unity is a big container of "GameObjects" which are enriched with "Behaviors", and rendered with "Renderers" (MeshRenderers... and other types)
  • Unity uses a library of "Assets" which are basically 3D models and textures (but also various texts, databases... whatever)

Asset are compiled with the Unity Editor, a standalone program, but there are some hacks that allow to explore asset libraries without the editor, like UABE
https://github.com/SeriousCache/UABE.

The rendering is done in a 3D space, using what are called "Shaders". Shaders are precompiled specific elements interpreted by the graphic card for extremely fast rendering. Unity ships some "native" or "builtin" shaders, but programmers can write their own shaders (Beam Team has made some custom shaders). Shaders are very powerful elements that can change the way surfaces react to light, and ever deform or animate objects (vertex shading).
It is complicated to add shaders to a game via mods, and for pure graphical improvements, we use more often external shading programs like "ReShade" or "ENB".

"Recompile mods" are made with DnSpy which is a "decompiler-recompiler", which makes the .net code from a Unity game humanly readable, and allows to modify it. The downside is that the edits will be overwritten by every game update. The advantage is that it is easier, and less restricted than a hook mod, since you can basically edit anything in the game.

"Hook mods" are made with external programs which "hook" into the update loop to allow the modder to change the game behavior. For SD, you may use BepIn, or Unity Mod Manager (UMM). The advantage is that those mods are "version independant", as long as their code is compatible with the new version. The downside is that sometimes, we need to update them to use the new code, whenever a feature has been deeply modified. Another caveeat is that the access to the core code the game is sometimes more complicated, and in some rare cases, impossible.

UMM is a hook mod framework.

Having a project

Before starting, you should obviously have deep knowledge of how the game, here Stranded Deep, works, and have played a lot to know the different menus, game modes, mechanics, content, etc...

Secondly, you should start with a project. Any project, even very simple, will do, but it's best (if not mandatory) to have decided before starting what you want to do.
Getting everything ready
Install Stranded Deep

It might seem obvious, but you can't mod a game you can't launch. I write it here just to be clear about it :)

Download dnSpy
Download the latest version of dnSpy here. I chose the portable version because it suits me best. I'll explain later how to use it.

https://github.com/dnSpy/dnSpy

For the curious :
https://www.systanddeploy.com/2019/08/explore-exe-or-dll-with-dnspy.html

Download Visual Studio Community Edition

https://visualstudio.microsoft.com/fr/vs/community/

You'll need VS to compile your mod. Visual Studio is, in my opinion, one of the best IDEs out there, so give it a shot, plus it's free.

It can be used to build any program for Microsoft .Net.

Download Unity Mod Manager

Unity Mod Manager is the patcher that will inject your mod into the game at runtime. It patches Stranded Deep to hook your mods into the main program. It's pretty genious, and I genuinely admire the guy who made this awesome tool.

https://www.nexusmods.com/site/mods/21/

Install UMM into Stranded Deep

Choose the "Assembly" way, it will be needed later.
Preparing your VS Solution
I'll detail the same steps as explained in this tutorial, which I followed to begin with :
https://wiki.nexusmods.com/index.php/How_to_create_mod_for_unity_game

Creating the solution
A "Solution" when speaking .net development, is the root of one (or multiple) projects. It's the file that Visual Studio opens when you work with it. It does not really hold any intelligence, but is more a container for the .net projects.

Our mod will be a .net project, so we need a solution.

So, when starting Visual Studio, got to : File / New / Project, and choose :
Visual C# / Windows Desktop / Class Library (.Net Framework)

Give it a nice name, and choose the directory in which you want to store the solution.


Let's call the project "StrandedDeepTutorialMod"

After that, you'll be set up with a project, but some tweaking will be needed.

Adding the right references

A "reference", when speaking .net is an assembly (DLL) which contains additional code that is used by your project.

To make a working mod, we have to add the assemblies from Stranded Deep, plus the assemblies making Unity work, and finally, the UMM injector.

On the right side of the screen, extend the tree of your project. You should see a node called "References".

Right click on "References", and click on "Add". This opens, the reference adding menu.

* Navigate to the folder where you installed/unzipped UMM, and add these references :

0Harmony.dll UnityModManager.dll

* Navigate to your Stranded Deep directory, and reference these two assemblies :

Assembly-CSharp.dll Assembly-CSharp-firstpass.dll

You'll find them in the <...>/StrandedDeep/Stranded_Deep_Data/Managed folder

* Now we need the basic Unity references

This part is a bit tricky, because it might depend on which parts of Unity you want to use. I recommend to add :

UnityEngine.dll UnityEngine.CoreModule.dll UnityEngine.UI.dll UnityEngine.IMGUIModule.dll

This should give you access to the basics.

I would recommend deleting the reference called "Microsoft.Csharp" since it is not supported by UMM, that will avoid using syntax which won't work.

Creating the minimal files

* Delete the file called "Class.cs", we won't need it.

* Then right click on the name of your project, and choose "Add / New Element"

Go to : "Visual C# elements / General / Text File"

Call that file "Info.json"

This file will hold your mod informations.

* Then repeat the "Add / New Element " and go to : "Visual C# elements / Code / Class"

Call that class "Main.cs"

Preparing the Info.json file

Id is the name used bu UMM, it will be the name of the target directory
AssemblyName must be the name of the assembly (DLL) generated by your project (e.g. StrandedDeepTutorialMod.dll).
EntryMethod will describe the entry point of your mod. We have not prepared it yet, but you can use the example below to write it with this template : AssemblyName.ClassName.MethodName

{ "Id": "StrandedDeepTutorialMod", "DisplayName": "Stranded Deep Tutorial Mod Display Name", "Author": "YourName", "Version": "0.0.1", "AssemblyName": "StrandedDeepTutorialMod.dll", "EntryMethod": "StrandedDeepTutorialMod.Main.Load" }

Preparing the Main method

Open the "Main.cs" file

Copy and paste this code into the file :

using System; using System.Collections.Generic; using System.Linq; using System.Text; using UnityEngine; using UnityModManagerNet; namespace StrandedDeepTutorialMod { static class Main { static bool Load(UnityModManager.ModEntry modEntry) { modEntry.OnUpdate = OnUpdate; modEntry.OnGUI = OnGUI; modEntry.OnHideGUI = OnHideGUI; Debug.Log("Stranded Deep Tutorial mod properly loaded"); return true; } static void OnGUI(UnityModManager.ModEntry modEntry) { } static void OnHideGUI(UnityModManager.ModEntry modEntry) { } static void OnUpdate(UnityModManager.ModEntry modEntry, float dt) { } } }

Final tweaks

* Change the properties for the "Info.json" file. Click on it, and right below, change the value :

"Copy to target directory" to value "Always copy"

* Compile your project with menu "Build / Rebuild Solution" (or CTL+SHIFT+B shortcut)

If you have compilation errors, you might have missed a step above, re check everything.

Installing the mod

These steps will install the mod into Stranded Deep, and you'll see the first results.

* Go to the target directory like this :
Right click on your project, and choose "Open in file explorer"

Navigate to bin / Debug

You'll see a lot of files there, don't be afraid, just select "StrandedDeepTutorialMod.dll" and "Info.json"

Right click and choose "Send to" -> "Compressed folder", rename it if you like. You should have a zip file containing your assembly, and the Info.json, like this :

StrandedDeepTutorialMod.zip

* Launch UMM, and drop this Zip file into the "Mods" tab
Drop zip files here

UMM should say Status = OK if everything went fine, if not, double check the previous steps.

Test your mod

Launch Stranded Deep, you should see the UMM interface at startup, like this :


You should see your mod in the list, with a green bullet on the right under Status (saying everything was fine at Load and that the "Load" method returned "true")

Now open your Data directory :

C:\Users\<user>\AppData\LocalLow\Beam Team Games\Stranded Deep\Player.log

And you should see the line inside the file :
Stranded Deep Tutorial mod properly loaded

Ultimate pro-tip
To make your mod development easier, here's a tip I use.

Visual studio allows you to execute commands after building your projects. We'll use this to auto-copy the updated mod automatically into Stranded Deep without going through the whole UMM hassle.

Right click on your mod project, and choose "Properties".

Open "Build events", and modify the Post-Build event

copy /Y "$(TargetDir)Info.json" "<PATH TO STRANDED DEEP>\Mods\StrandedDeepTutorialMod\." copy /Y "$(TargetDir)StrandedDeepTutorialMod.dll" "<PATH TO STRANDED DEEP>\Mods\StrandedDeepTutorialMod."

Don't forget to change <PATH TO STRANDED DEEP> to the right folder holding Stranded Deep.

Try and rebuild your project, if everything went fine, you should see no error.

If you get a copy error, you may have mistyped the commands for your post-build event, check the assembly name and the target path (it should exist)

That's it for now

Now you have all the bases to start working on your mod !

We'll get into more serious things.
First steps
How does it work

Unity, like every game framework, is sequential programming

UMM gives access to some steps of the lifecycle of the game.

Load = is called at the loading of the mod, and only once OnGUI = is called every time the UMM GUI is opened (with CTRL+F10, or at start) OnHideGUI = is called every time the UMM GUI is closed OnUpdate = is called at every game frame

What does it mean ? It means that every frame (yes EVERY FRAME) calls the "OnUpdate" method.

Keep that in mind when coding your mod, because if you do heavy calculations in the "OnUpdate" method, it will drastically drop your framerate (FPS)

You have a complete reference of the events you can catch on this page
https://wiki.nexusmods.com/index.php/How_to_create_mod_for_unity_game

Handle exceptions

When coding your mod, alway assume something will go wrong.

Be very careful with your exception handling.

https://www.tutorialspoint.com/csharp/csharp_exception_handling.htm

Handling UMM GUI

You may want to use the GUI to simply change some game values, this happens in the OnGUI method, somehow like this :

static void OnGUI(UnityModManager.ModEntry modEntry) { GUILayout.Label("God mode"); health = GUILayout.TextField(health, GUILayout.Width(100f)); ammo = GUILayout.TextField(ammo, GUILayout.Width(100f)); if (GUILayout.Button("Apply") && int.TryParse(health, out var h) && int.TryParse(ammo, out var a)) { Player.health = h; Player.weapon.ammo = a; } }

This code will most probably not work, and is given as a pure example

Catching key press

One of the first things i wanted to do was reading the user input. To achieve this, you will have to read the Unity Events inside the OnUpdate loop, like this :

static void OnUpdate(UnityModManager.ModEntry modEntry, float dt) { try { Event currentevent = Event.current; if (currentevent.isKey) { if (currentevent.keyCode == KeyCode.F8) { // do something } if (currentevent.keyCode == KeyCode.F9) { // do something else } } } catch (Exception e) { Debug.Log(e); } }

OK, thats nice, but how do I know what to do with the Stranded Deep code ?

That's the tricky part.

Open DnSpy which you should have downloaded earlier.

DnSpy is a decompiler which will give you access to the game code.

BUT, it's unity code, so it's not so easy to understand, as you will not have access to the insides of Unity itself. You'll have to guess how things work by reading the code.


Here's how it looks to dig into the player information : I found out that they are stored in the PlayerRegistry, and kept digging. This is why having C# knowledge becomes mandatory if you wish to do some advanced stuff with your mod.

Here's what i've learned so far :

Beam.GameState = get the game state Beam.PlayerRegistry.AllPlayers = access player information Beam.Crafting.CraftingCombination = access crafting combinations Beam.Terrain.World.MapList = access the world as it is loaded from the .MAP files StrandedWorld.Instance.Zones = access the world as it is loaded in the game memory Singleton<LE_LevelEditorMain>.Instance = the island editor content SoundtrackManager.Instance = handles the music in the game

And quite a lot more, but I'll let you find out what you need yourself, do not hesitate to contact me if needed.

.net Reflection to access hidden properties

Sometimes you will need to access properties that are voluntarily not made public, it's a pretty common way of doing things in development. Still, you might need to access them while creating mods.

This is still possible in .net using something called "Reflection". It's extremely powerfull, but be aware that it might be performance consuming. Use it wisely.

https://stackify.com/what-is-c-reflection/

Here's an example I used in one of my mods to access a specific hidden object inside the StrandedWorld instance :

ZoneLoader loader = typeof(StrandedWorld).GetField("_zoneLoader", BindingFlags.NonPublic | BindingFlags.Instance).GetValue(StrandedWorld.Instance) as ZoneLoader; if (loader != null) { loader.LoadedZone -= Loader_LoadedZone; loader.LoadedZone += Loader_LoadedZone; }
More advanced stuff
Work in progress

Loading images without modifying game assets

To use new textures without changing the assets of the game, we need to bypass the way Unity loads its assets, and hack the textures into the renderers. Here's how I did it (and it is very possible there are easier or better ways).

First, add the textures to the project.
These textures need to be configured as "Embedded resources" (right click on the texture, then Properties -> Generation action = Embedded resource)

The magic is then to be able to load these images as textures for unity, namely "Texture2D".

First step is to read the resource as a byte array, here's an example method that I use :

public static byte[] ExtractResource(String filename) { System.Reflection.Assembly a = System.Reflection.Assembly.GetExecutingAssembly(); using (System.IO.Stream resFilestream = a.GetManifestResourceStream(filename)) { if (resFilestream == null) return null; byte[] ba = new byte[resFilestream.Length]; resFilestream.Read(ba, 0, ba.Length); return ba; } }

Then I load the byte array into a Texture2D object for Unity (be aware that the texture size must match the size of the image. For now I mainly tested this with PNGs, but it should work with JPGs.

// 4096 is the size of the image Texture2D tex = new Texture2D(4096, 4096, TextureFormat.ARGB32, false, false); // call the LoadImage method to read the image into the texture tex.LoadImage(ExtractResource("path/to/ressource.png"));

Now that you have a Texture2D object, you can do almost what you want with it, display it on screen in a canvas, or use it in a Material for 3D rendering.


Loading sounds without modifying game assets

This one is a bit more tricky. Here is how I did it.

Unity re-encodes the sound assets before shipping, this is why we are constrained to specific formats when injecting sounds into a mod.

What I wanted to do was to read a file on a drive, and play it into the game.

The first trick is to be able to read the sound/music as a Unity AudioClip. For this task, I used a very nice utility, called WavUtility :
https://github.com/deadlyfingers/UnityWav

Then either you can read the file as a byte array from disk, or from the resources (same way of embedding and reading as images, see previous section).

AudioClip clip = WavUtility.ToAudioClip(ExtractResource("path/to/resource.wav"));

The caveeat is that I had to convert the audio to a specific format :
44100Hz sampling, 16bits sample size

Adding image layers to the game

WIP


Storing your mod configuration

To retain the user settings whenever you want to, you have to write it down on disk. UMM ships (if I remember correctly) with a configuration management, but I wanted to write my own for more flexibility.

I wrote two methods : WriteConfig, ReadConfig which handle a file written in a simili-INI format.

private static string configFileName = "StrandedDeepTutorialMod.config"; private static bool myConfigValue = false; private static void WriteConfig() { string dataDirectory = System.IO.Path.Combine(Environment.GetFolderPath(Environment.SpecialFolder.LocalApplicationData).Replace("Local", "LocalLow"), @"Beam Team Games\Stranded Deep\Data\"); if (System.IO.Directory.Exists(dataDirectory)) { string configFilePath = System.IO.Path.Combine(dataDirectory, configFileName); StringBuilder sb = new StringBuilder(); sb.AppendLine("configValue=" + myConfigValue + ";"); System.IO.File.WriteAllText(configFilePath, sb.ToString(), Encoding.UTF8); } } private static void ReadConfig() { string dataDirectory = System.IO.Path.Combine(Environment.GetFolderPath(Environment.SpecialFolder.LocalApplicationData).Replace("Local", "LocalLow"), @"Beam Team Games\Stranded Deep\Data\"); if (System.IO.Directory.Exists(dataDirectory)) { string configFilePath = System.IO.Path.Combine(dataDirectory, configFileName); if (System.IO.File.Exists(configFilePath)) { string[] config = System.IO.File.ReadAllLines(configFilePath); foreach (string line in config) { string[] tokens = line.Split(new string[] { "=", ";" }, StringSplitOptions.RemoveEmptyEntries); if (tokens.Length == 2) { if (tokens[0].Contains("configValue")) { // parse corretly here according to target type myConfigValue = bool.Parse(tokens[1]); } } } } } }
Tips and tricks specific to Stranded Deep
Game states

public enum GameState { MAIN_MENU, INTRO, NEW_GAME, LOAD_GAME, MAP_EDITOR }

  • MAIN_MENU : when you are in the main menu, which means every UI outside the 3D game itself
  • INTRO : during the intro in the crashing plane
  • NEW_GAME : inside a game that has never been saved / loaded
  • LOAD_GAME : when you play a loaded game
  • MAP_EDITOR : inside the cartographer 3D UI

Available shaders

(WIP)

  • Standard = (has bump)
  • Standard (Extra) = (has bump)
  • Standard (Two Sided) = (has bump)
  • Beam Team/Standard/Skin/Skin = (no bump)
  • Standard (Specular setup) = (has bump)
  • Hidden/Amplify Impostors/Octahedron Impostor = (has nothing)
  • Beam Team/Standard/Particles/Additive - Night Fade = (no bump)
  • Beam Team/Particles/Alpha Blended = (no bump)
  • Beam Team/Stipple Billboard CG = (no bump)

Material mat = new Material(Shader.Find("Standard (Specular setup)"));


Accessing the players information

IList<Beam.IPlayer> players = Beam.PlayerRegistry.AllPlayers; for (int playerIndex = 0; playerIndex < players.Count; playerIndex++) { Vector3 playerPosition = players[playerIndex].transform.localPosition; // whatever }

Accessing the islands information

Beam.Terrain.Map[] maps = Beam.Terrain.World.MapList; for (int islandIndex = 0; islandIndex < maps.Length; islandIndex++) { if (StrandedWorld.Instance.Zones.Length > islandIndex) { bool discovered = StrandedWorld.Instance.Zones[islandIndex].HasVisited || StrandedWorld.Instance.Zones[islandIndex].IsStartingIsland || debugMode; } }

Savegame structure
4 Comments
stuck Feb 25, 2024 @ 4:14pm 
I've created an "empty" mod skeleton mostly based on your Guide. But it uses the settings storage mechanics provided from UMM (works pretty well). I added a lot of comments so its easy to understand what do what.

Here es the link to the skeleton repo, including the complete VS Solution:

https://github.com/stuck1a/UnityModTemplate


I've further modified the postbuild event script to make it a bit more universal and it will also generate the zip files on the fly.

To use this template just open the .sln file in Visual Studio, rename the project + assembly in the project options and adjust the path to your steam directory in the postbuild event script, that's it :-)
stuck Feb 24, 2024 @ 10:32am 
One last one regarding the build process:
Theres a small typo in your script which caused the copy commands to fail. This one worked for me (I also replaced the project name with a marco, so it can be reused for other mods without adjusting):

copy /Y "$(TargetDir)Info.json" "E:\Programme\Steam\steamapps\common\Stranded Deep\Mods\$(ProjectName)\."
copy /Y "$(TargetDir)$(ProjectName).dll" "E:\Programme\Steam\steamapps\common\Stranded Deep\Mods\$(ProjectName)\."
stuck Feb 24, 2024 @ 10:18am 
Maybe some additional Comments for building the assembly:
The used target .NET-Framework must be 4.6.2 (higher SHOULD also work)
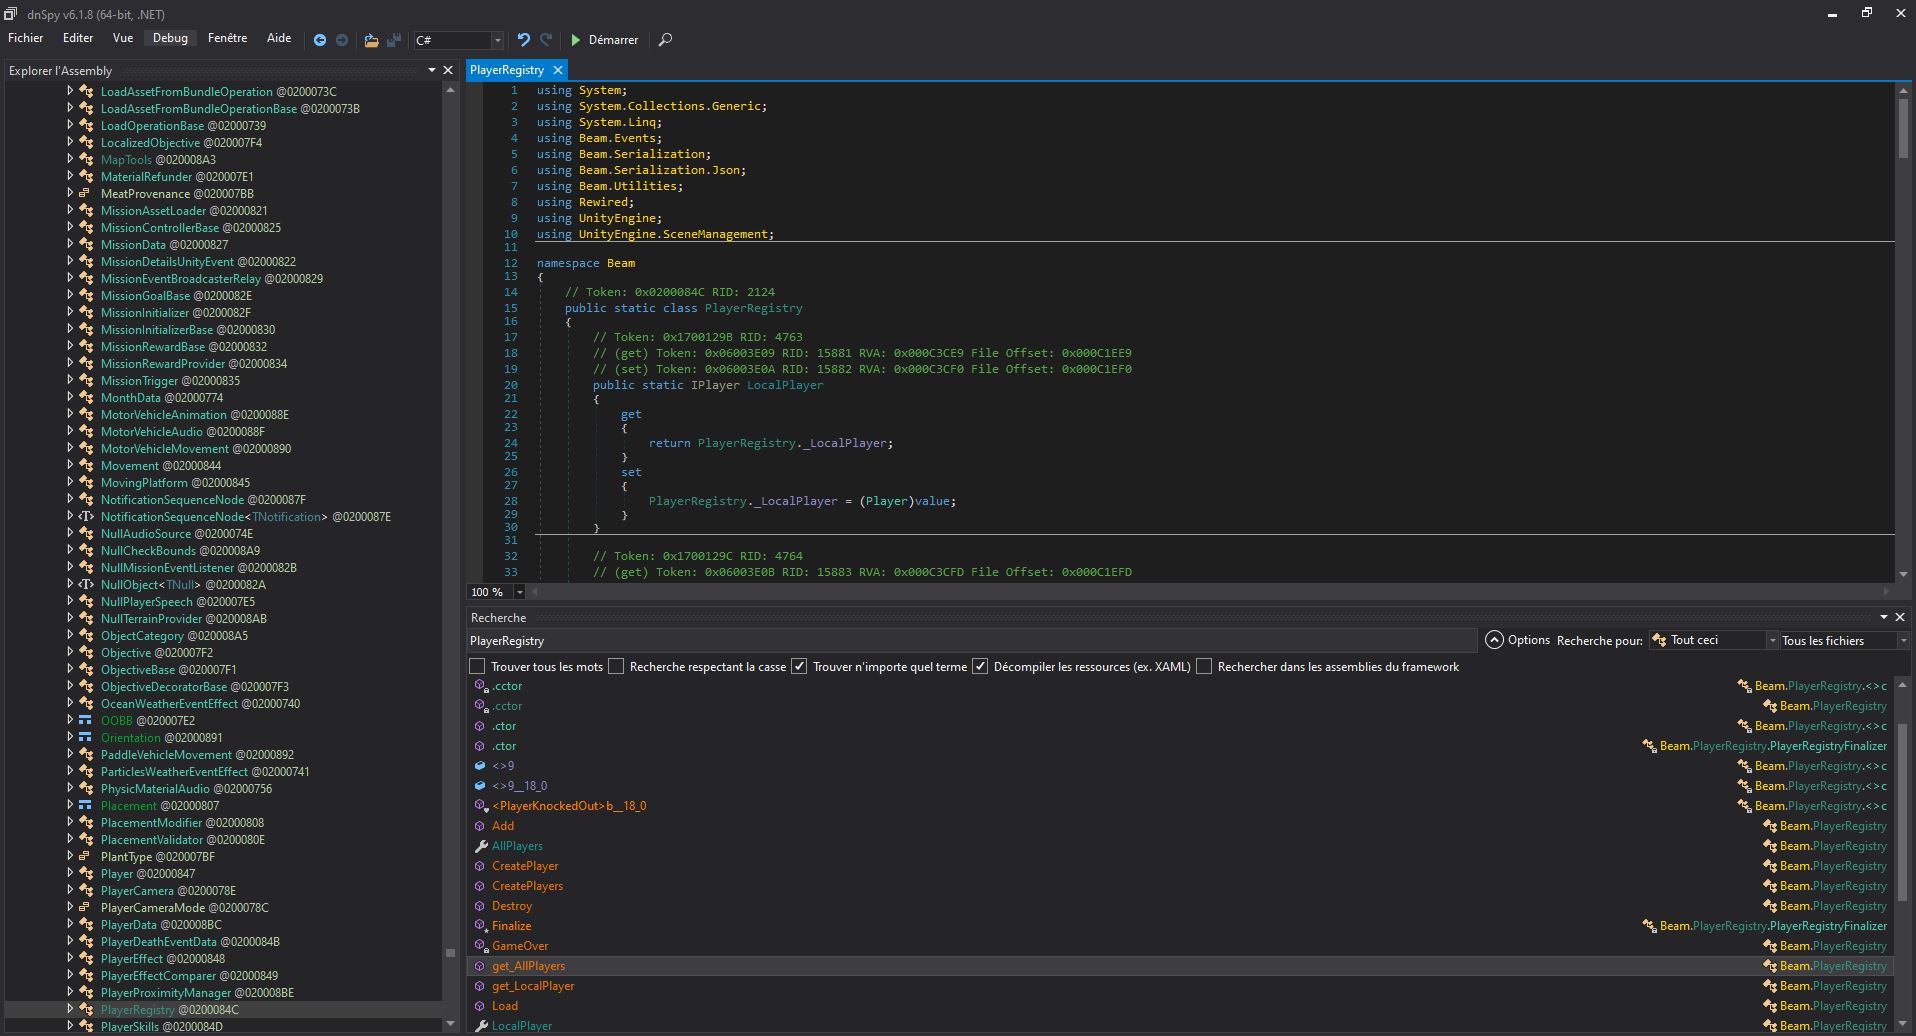
When I've referenced the UnityModManager.dll Assembly from the location, where I installed UMM, the build failed. Even if it should be the same assembly, I had to use the one which UMM copied into my Standed Deep Directory under "<SD INSTALL PATH>\Stranded Deep\Stranded_Deep_Data\Managed\UnityModManager\UnityModManager.dll" for some reason.
stuck Feb 24, 2024 @ 5:47am 
Thanks for sharing your knowledge. Even as an expirienced dev, it's pretty hard to dig into it without Unity knowledge. It's a perfect base to start with my planned mod :steamthumbsup: