Stormworks: Build and Rescue

Stormworks: Build and Rescue

Nincs elegendő értékelés
Exporting Vehicles in to Blender, an In-depth guide.
Készítők: apachyhunter19 és 2 közreműködő
An rather In-depth guide on how to render exported vehicles in blender, from exporting to rendering, and some extra info. Still a Work in Progress
   
Díjazás
Kedvenc
Kedvenc
Törlés
Section 1: Exporting your vehicle from Stormworks into Blender.
First, you need to get your vehicle into an file that blender can take, and blender Installed. (If you don't know the basics of blender I highly recommened waiting and watching a video on the basics or this guide is going to make no sense.) Stormworks has an-built in exporter, so all we need to do is export the vehicle by pressing F11 while in the vehicle editor with the vehicle selected. In this guide, we are going to be using ZachAttack227's Martin B-10B (I have his permission.) as our example. It can be found here. After opening the game and loading in, head to the workbench and open the vehicle you want to use, and press F11, after pressing F11 you should see this popup

Now, after you've exported it, you should have a .ply file with the name that you selected in your stormworks exports folder, the folder will be located at C:\Users\*Your windows user*\AppData\Roaming\Stormworks\export Now launch blender, delete the default cube, and go to File > Import > Standford (.ply) as shown in this image. In my case, the file will be named Martin B10. Your's will be different depending on what you named it.


A window should pop up where you can import your file. After Importing it to blender, you show see it facing upwards, and flipped on the X axis. To fix this you need to set your X Rotation to 90 Degrees, and set your X-Scale to -1, as shown.


Now, the origin of the import is off, so what we need to do is Right-Click > Set Origin > Origin to Center of Mass (Surface),


Now, this step is optional but recommended if you are going to fix any modded parts on the vehicle.
In blender, go to Edit mode, and select all vertices and then go to Mesh > Merge > By Distance
After that, with them still selected, go into Face Select, then Right Click > Tris to Quads, Now your vehicle is into Blender, but is lacking materials.

Now, concluding Section 1, we have imported the model, fixed it being flipped, and corrected the origin
Section 2: Material Setup.
Now, with our vehicle in blender, you need to go into the shader editor, and create an new material for the vehicle. In my case, I'll be naming it MB10 MainBody. In the node editor, we need to add an Vertex Color node to our Principled BDSF Shader.


Now, to have multiple materials on the model, we need to assign our glass material to our windows and dial faces. I'll be using cycles, in other rendering engines, making glowing materials that illuminate the area around them are different, so keep that in mind. First, lets make our glass material, to keep things simple, it will be a Glass BDFS Shader with a low roughness value.
Go into the shader editor, add a slot for our glass, and create new material.


Create the glass shader, then select the window faces, after this, click on the slot dropdown, and clikc assign, after that, your windows should show the glass preview.


After this, we can rinse and repeat the process of adding a slot, and assigning it to things that are a differant material. In our case, we need to do the Nav-lights on the plane. Cycles has an light output node that can make a materal which can light up it's surrondings. First, select the faces of the lights that you want the color you are about to chose, in our case. If there are these blue faces clipped inside of the light, just delete them.
In my case, here is the shader I used for the Red Nav light


Another note, I swapped to the RAW Color space after this point, so the sreght value is cranked up allot, so keep that in mind. I reused the shader for the rest of the light, by just changing the color of the RGB Input.
This is what the Model should look like at this point.


Now, the cockpit light was the same shader as the others, except the RGB Node was replaced with a Blackbody, with the Temp set to 2750, for a warm white, and the brightness cranked up.
Concluding this section, here is a preview render of what we have so far, in the dark.

Section 3: Cleaning Up the Model and Preparing to Render.
To startoff this section, we are going to cleanup the modded windows, first we need to mess around with the position of the faces, this can't really be explained within this guide, as your editing the model like you would with anything in blender, so I'm not going to into depth a whole lot. But here's what I changed with the windows.

Now, since we got the vehicle model cleaned up and imported, we need to setup the scene around the vehice, in my case I want to portray the B-10B flying above the clouds in the moonlight.
First I'm going to add a dim sunlight, and then change the sky shader. For the clouds, I used a wide cube with a principled volume shader with a musgrave texture.

Now, all we need to do is render, and move on to compositing.
Section 4: Compositing the Render
TODO
4 megjegyzés
Mac and Cheese 2024. nov. 15., 7:53 
how to do this in 3.1 or above versions of blender???????
Jazzhar 2022. nov. 27., 23:52 
Very Important: After doing " X Rotation to 90 Degrees, and set your X-Scale to -1, as shown."
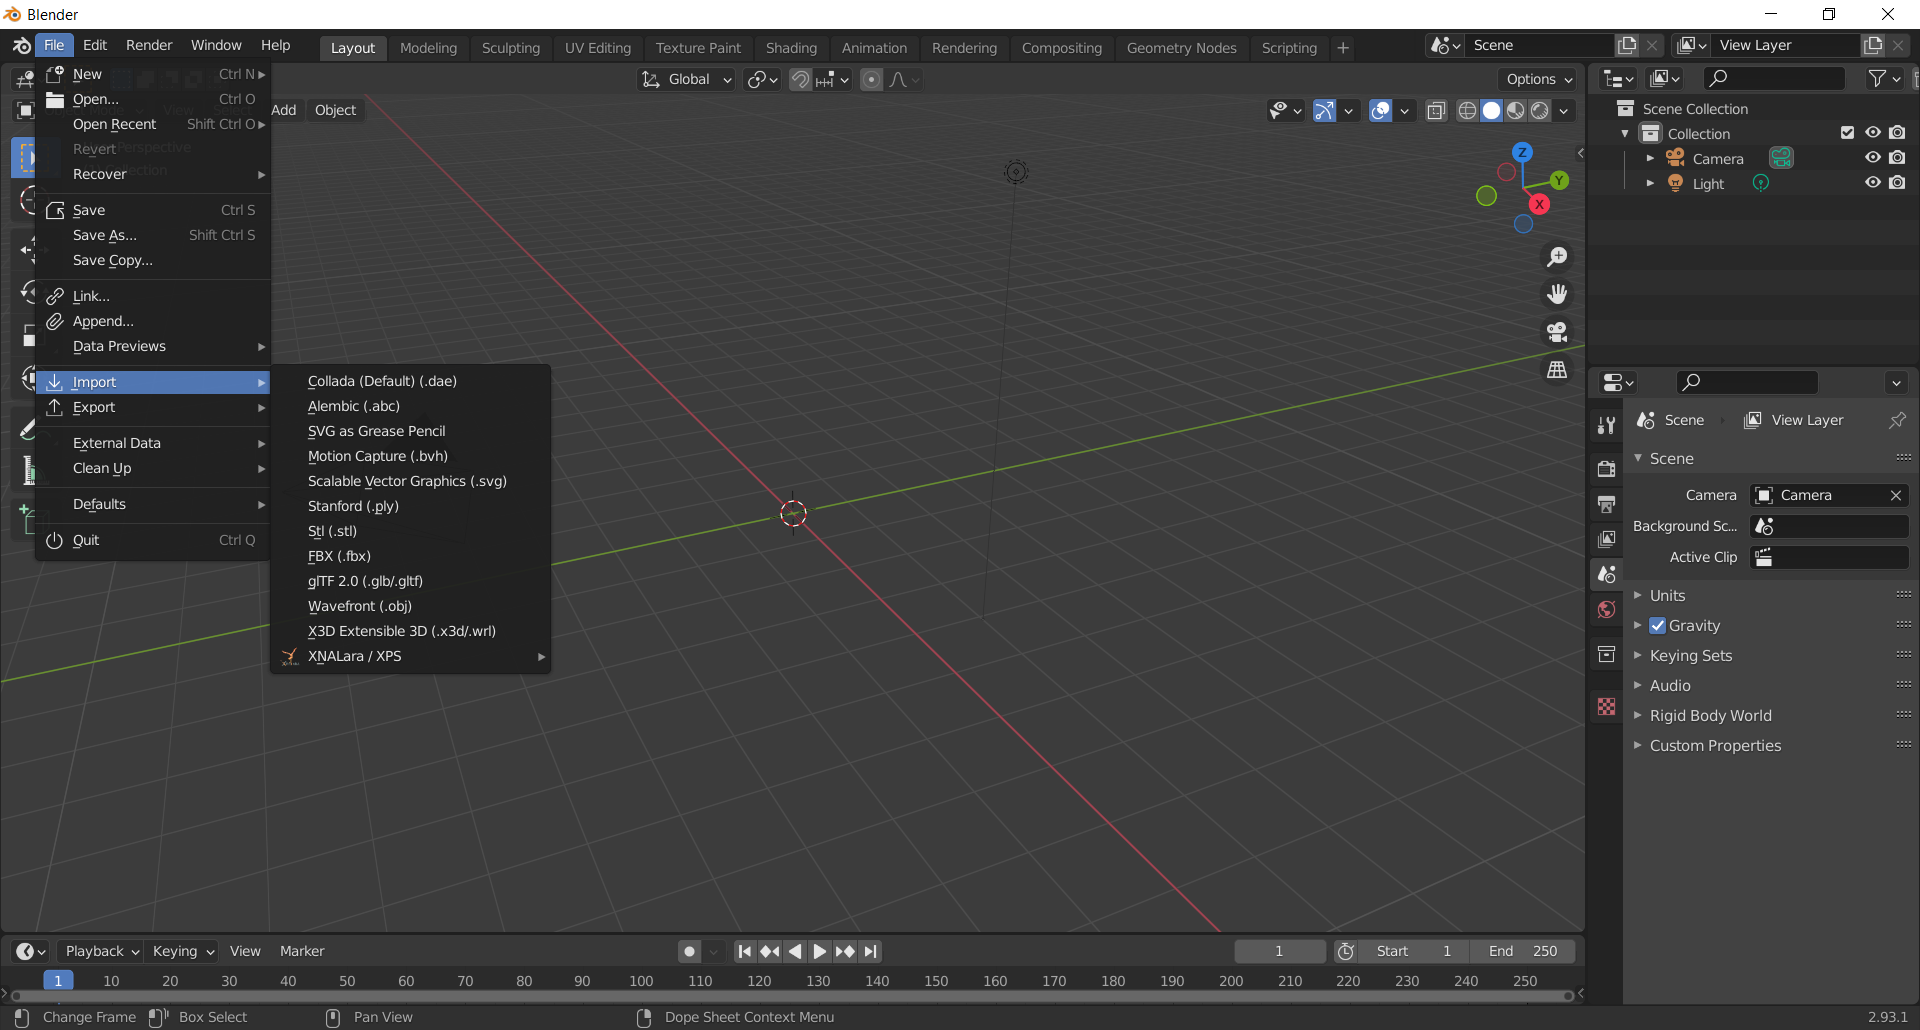
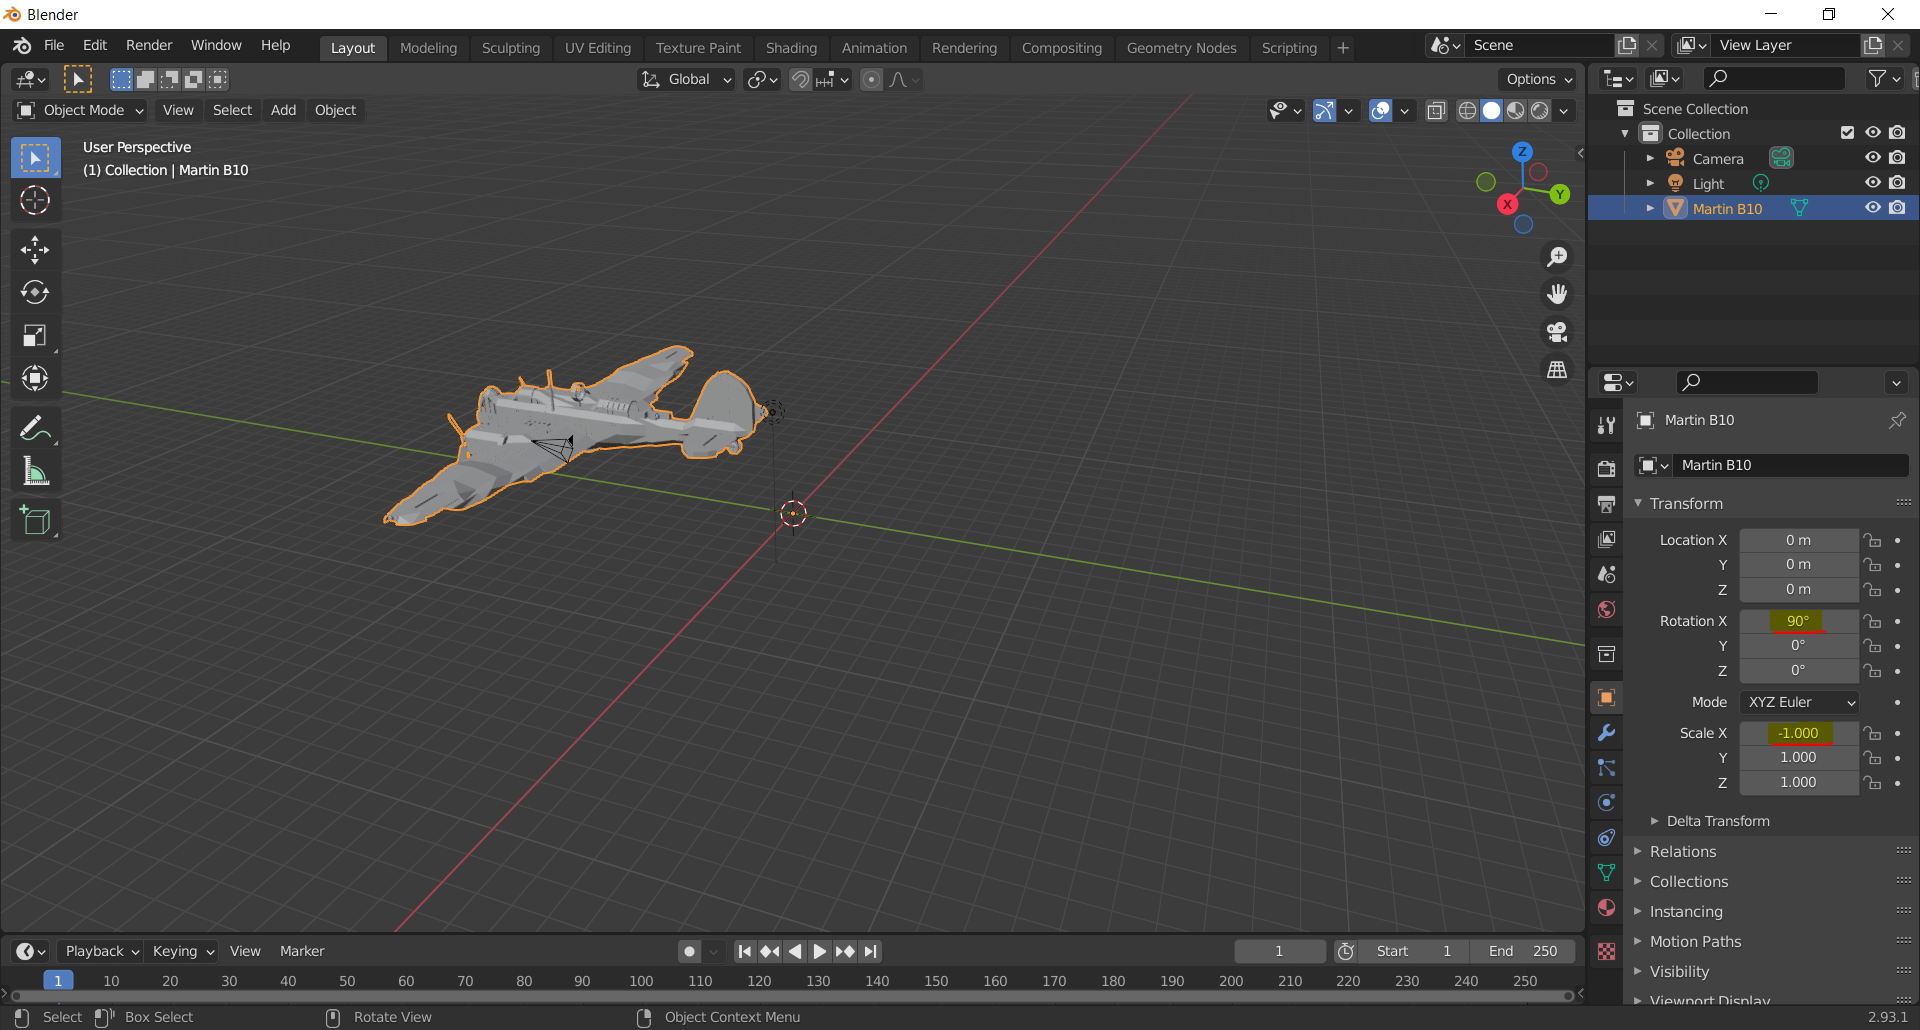
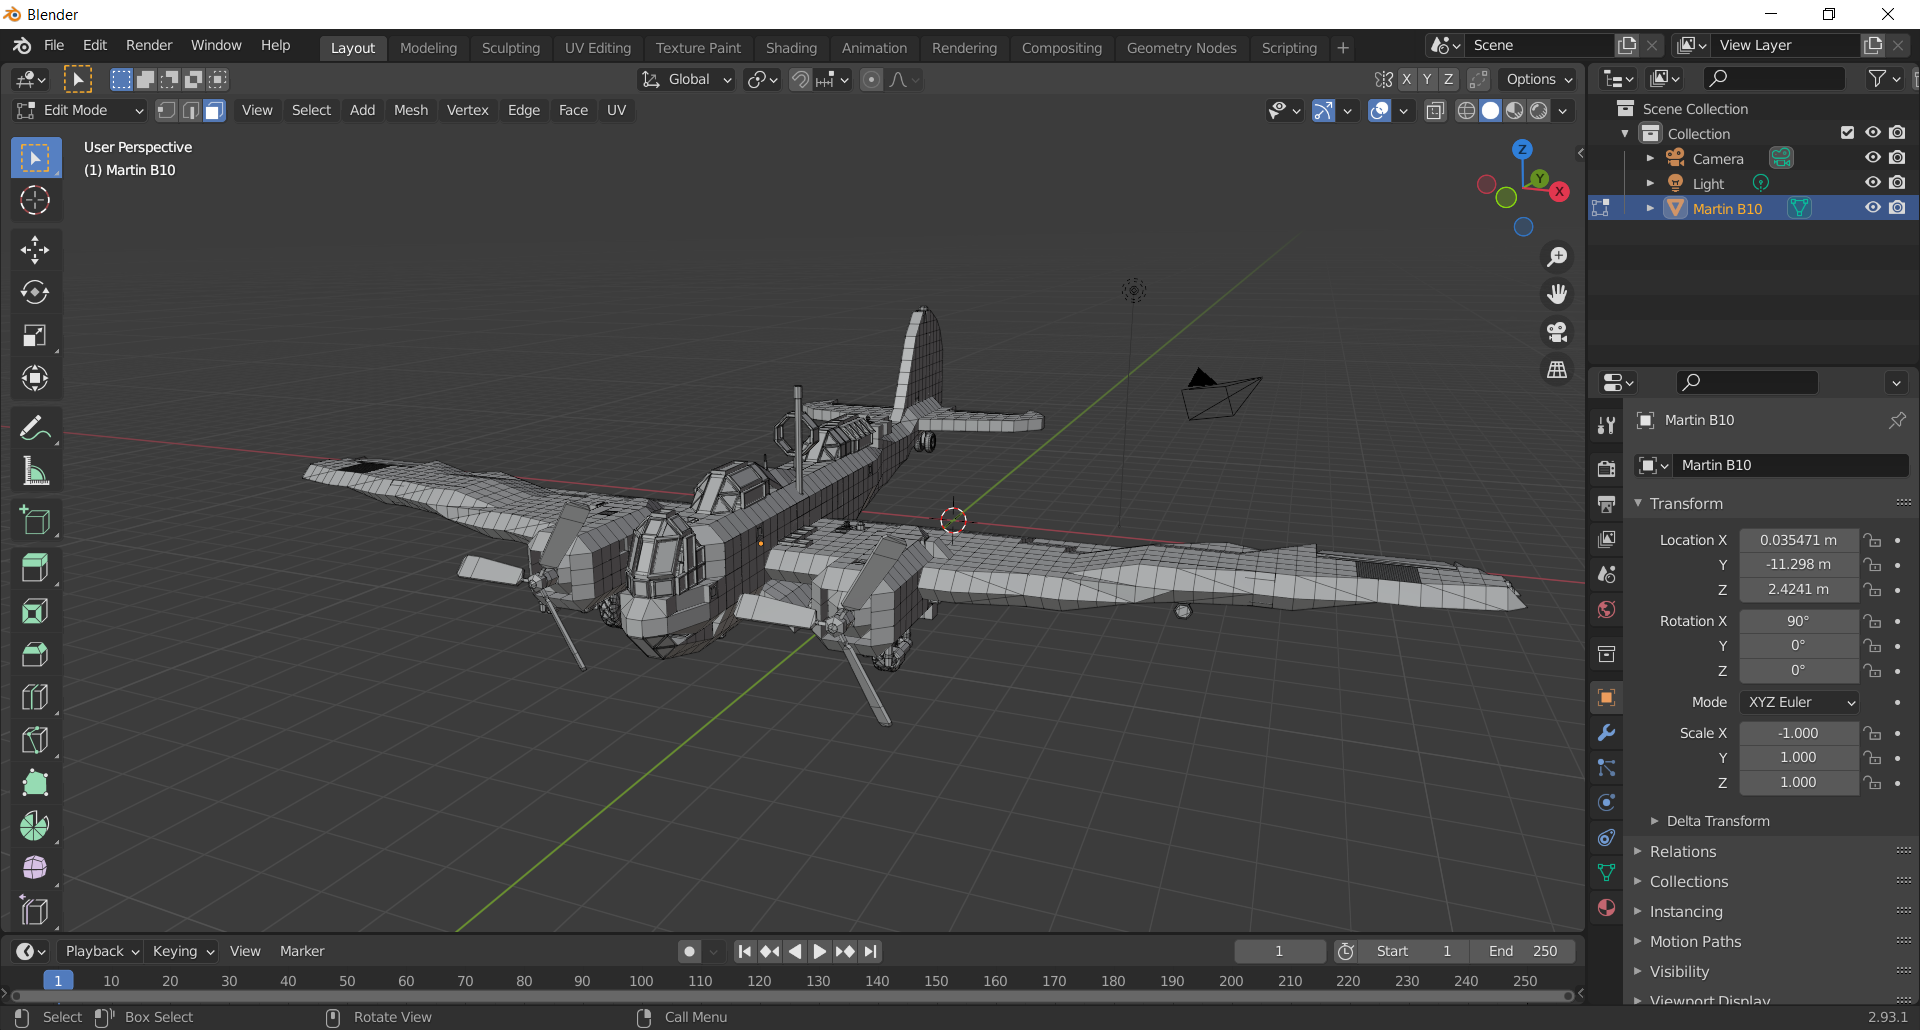
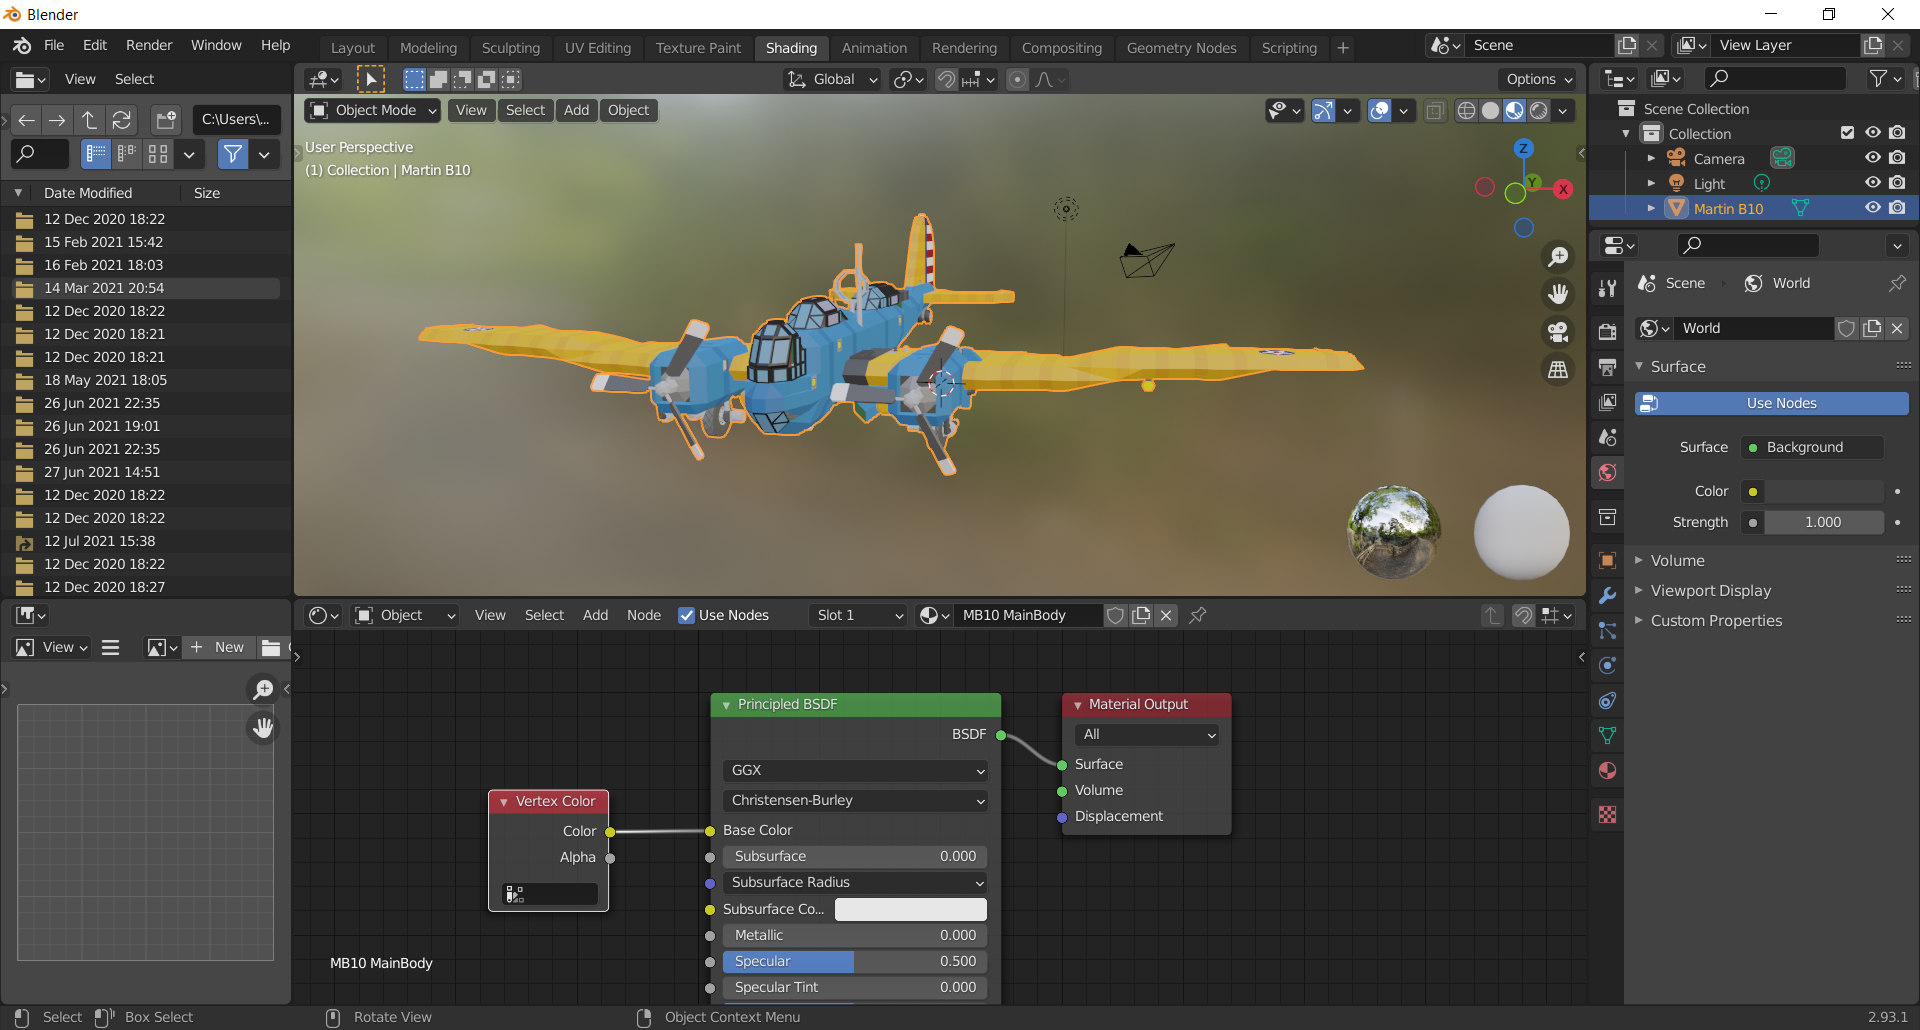
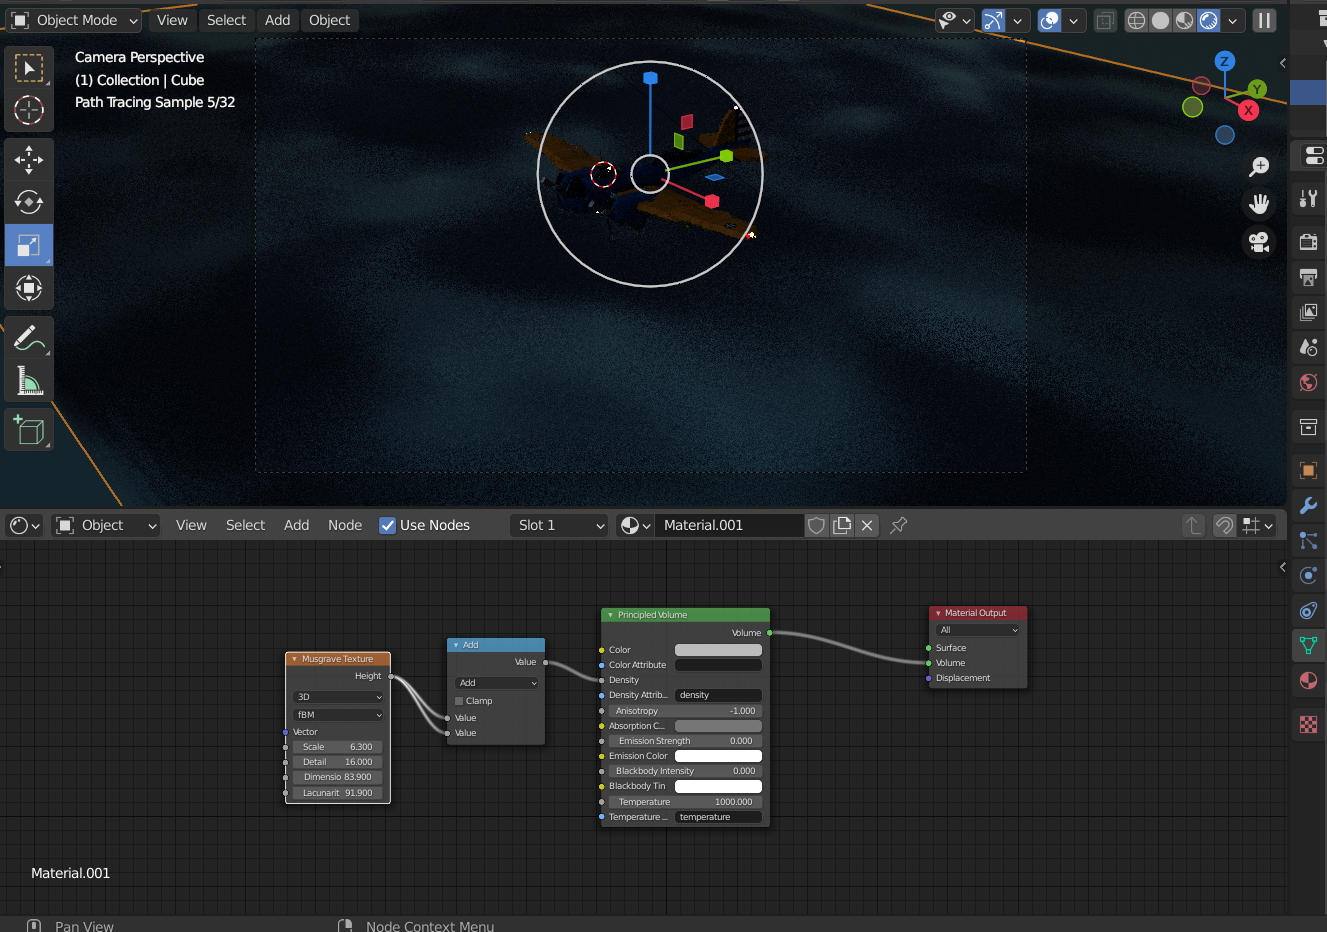
It's important to do: Ctr + A > All transforms. Than: Edit Mode (Tab) > A > Mesh > Normals > Recalculate Outside.

This is really important if you want to do any work in blender, or if you wish to export the model from blender, Having worked with blender for a long time I can assure you you will face problems if you don't apply scale and recalculate your normals.

:)
anonymous 2022. ápr. 21., 2:10 
ok
apachyhunter19  [készítő] 2021. júl. 17., 17:00 
I published this a bit early since it has most of the core things. I will expand it later on, but right now this should be enough to make some render