Metro Exodus Enhanced Edition

Metro Exodus Enhanced Edition

1,401 beoordelingen
All Collectibles, Upgrades, Achievements and Morality, a Comprehensive Guide (DLC'S INCLUDED)
Door B3rgman
This is a massive walkthrough condensing all info in one comprehensive linear guide, in the most convenient way through your playthrough. It contains section maps and guidance for the open areas, while being easy to access via atl+tab to steam's guides. You won't find nothing so detailed on the web.

I have already countless hours on the regular version of this game in a few different platforms. But, in my endeavor to feed my completionist obsession, I had to make use of several different guides, none convenient or easy to access in this hard-to-go-back-to desktop game. This guide exists to mitigate all those annoyances one I hope you have fun with. If it helps you, please thumbs up.
.
62
28
51
19
4
13
10
5
8
4
2
2
7
6
4
3
3
3
2
   
Prijs
Toevoegen aan favorieten
Toegevoegd aan favorieten
Verwijderen uit favorieten
Introduction
This Guide is considered COMPLETE for the main story and BOTH DLC's; The Two Colonels and Sam's Story
  • However if you find any inaccuracy or typos, let me know in the comment section. This was a massive project and it has flaws for sure.


I had much fun making this guide, tbh, I wish I had it in my previous runs on the normal version. Alt+tab is a great privilege in this game cause it's really hard switching back to desktop. So my goal number one was to make a guide easy to access in-game, and only steam can provide that.

Then I wanted a guide you can follow seamlessly in an open world without searching back and forth for a specific item on some index; I've long scratched my head about that.

So, on linear Chapters, there's was no fuss about how to lay the items, but in the Volga and Caspian (open) chapters, I've made a Item location guide with a suggested picking order based on the story playtrough with a progression map to help you step-by-step; It might differ from your progression choices, but it's not far off for sure, easy enough for you to travel to the next most likely item while giving you the freedom to explore on your own, referring only to the specific item section if you have trouble finding the item.[/b]

The Morality actions you get them "first thing" in every chapter, although it might spoil some of the story, it prevents you doing something you'll regret after reaching a given milestone. I'll try to disclose the less possible.

The achievements are mentioned in the chapter witch they apply; the story related (unmissable through story progression), but also the ones you can get as soon as in that chapter, so you can achieve the most of it sooner and prevent future replays to farm them.

If by any chance you're fond off my screenshots and would like to experience the same. Let me know on comments and I'll share the Reshade Presets.

______________________________________________________________________________

Have fun, and make the most out of it. It was my pleasure. If you find it useful on your travels, please click thumbs-up to help make it available for more players.
Credits
First things first.

A big thanks to 4A games for pushing the boundaries of videogames quality, regarding gameplay, story writing, and especially visuals. It's the first game I bought in two different stores, and the only one I ever wanted to make a guide to help other players to experience all of it.

I want to mention @the horror network's amazing 100% Achievement Guide for the normal version oft this game; a guide I used as reference every time.

But mostly, I want to credit @Marley The Buffalo Soldier and the guide he made for the previous games, especially the Metro: Last Light Redux Full Walkthrough witch inspired me to make something at least as good as his.

As for the rest, I red several guides back in the days, but I'll mention the best ones I returned frequently for some specific guidance.

For my first playtroughs on the normal version I remember using @sellers collectibles guide from powerpyx, so I must credit him.

For the moral points I followed @Kevin Thielenhaus from gameranx guide to help me getting the best ending. Kudos to his fine job
.

and now I'm at peace with all of it...
Morality System
Origineel geplaatst door Wiki:
Moral Points form a hidden system in the Metro video game series that follows Artyom's progress and affects the ending of each game. This system is never explained to the player and its mechanics can only be speculated about. As Metro is about Artyom's journey and him seeking to understand the world around him, the game rewards the player by guiding Artyom through experiences that help him better understand the metro and its strange phenomena.

It is commonly understood that every time Artyom gets a moral point, the screen flashes light blue and whispers or the sound of water dripping can be heard. When Artyom loses a moral point, the screen darkens and an ominous sound can be heard. There are more opportunities to gain moral points than to lose them, and moral points that are gained and lost are speculated to vary in severity. Moral points can be gained through making morally correct decisions, being stealthy in certain levels, but can also be awarded for exploring every part of the map to get weapons and supplies. The best way to gain moral points is to knock out enemies and spare lives when possible - doing so will almost always activate the good endings.

There is no telling how many moral points are required to get the good ending since the statistics are hidden; however, making wrong choices or going loud in the levels that require stealth will likely cause the player to not gain enough moral points to trigger the good ending.

As with the previous games, In Metro Exodus, Artyom is awarded points for doing good deeds or doing certain deeds. Unlike its predecessors, listening in on conversations does not affect moral points, and instead can be used to gain locations to stashes.

Moral points are also present in the Sam's Story DLC, but instead of indicating good deeds, they reflect actions taken by Sam to gain the Captain's trust. Completing all actions will gain the A Man of Principle achievement.

So, if you're after the good ending, make use of the following behavior when playing, transversal to all chapters. It's easy to figure it out if your goal is the bad boy ending.

  • Use stealth and avoid combat whenever possible.
  • If needed, use knockout without killing.
  • When an enemy surrenders, always spare them

*Don't worry, during gun-fights that can't be avoided there here is no morality penalty for killing enemies
Achievements - Endings, X Playthroughts and Farming
In this section you make first contact with the achievements you get after completing the game once, the ones you need multiple playtroughs and the ones you better start farming from the start.

Here's some guidance.


Your Destination: good ending.
You know this one, save everyone, get most of the morality points, behave yourself and don't kill chapter's factions members. Refer to specific chapter morality and crew missions[ [/i]


Eternal Voyage: the bad one.
Easy figure, go opposite from the previous, also, refer to specific chapter morality and crew missions.


Hardcore: Complete the game in Ranger Hardcore mode. And you'll need more than a "Cross and Prayer", that's for sure. But stealth is indeed the keyword here


Mutation: Complete the game in New Game+ mode using any modification. (Iron mod counts as mod)


Iron Mode: It's a pain I know. If you die you start from the beginning of the chapter. I recommend going readers mode for this one.


Toy seller: Find 3 toys in New Game+ mode: teddy bear, sun and fish.
Use the New game + mode plus the Iron Mode while farming this one. You can choose readers difficulty. In fact there's more then one location for the 3 toys, albeit in the same level/chapter. I'll describe just one with screenshots cause there isn't a point to screen them all.

  • The Fish is on Volga, where you get the Fisherman achievement. It's i the middle of the boat standing upright against a wall

    Alt. location: in a shack made out of old train parts below the train tracks east of Duke and on your way to the Gas Station.

  • The Sun is on Caspian. It's in the Hermit's ship on a shelf filled with cardboard boxes.

    Alt. location: at the start of the water trunk with Damir and before you slide down the old village, go left and jump to the area below. I the middle there's a pole with the Sun on it.

  • The Bear is on Taiga, in the first schoolhouse at the beginning of the level before the bridge hanging from a window frame.

    Alt. location: The bear can be also found hanging from a big wall map behind the Admiral, when you to meet him.

Regarding the previous achievements, there's no other way around, and the fastest way to get them all is the one suggested by @THN in his guide.

- Playthrough One: Go for bad ending (no stealth required) on Reader difficulty while picking up all collectibles and completing as many other achievements as possible.

- Playthrough Two:Go for good ending (a lot of stealth required) while keeping all 3 crew members alive on Ranger Hardcore mode, just focus on main story and speed it.

- Playthrough Three: New Game+ Mode on Reader difficulty with Iron Mode enabled since on Mode counts as a modifier.

There's also other achievements witch I recommended you farm trough out the chapters.


Tidyman This is a pain of an achievement. However it's possible to get it in one playtrough if you go all the way till Sam's Story DLC where's plenty of water, puddles and flooded buildings to mess your weapons. My advice tho, is make the most progress you can in the Volga Chapter too. Jump into mud ponds like a child, throw your self on the water, and clean your weapons every time you find a crafting table. Sam's story DLC provides plenty of ponds, sewers or water channels for you to make a mess of your weapons, so take that in mind if you still need to farm it by the end of the main story.


Headhunter: If you are running the boy scout mode it might be difficult to farm for this on 1 single playthrough. It's a good the game does consider cannibals as humans, witch is... actually accurate, Regarding this guys, use the first ambush has canon fodder for this achievement; save, empty your ammo clip, load, empty your clip... rinse and repeat as long as you will. Other than that, swipe clean every bandit on Volga and use the unavoidable script gunfights to farm some kills, like the ones in Caspian on the crane or when approaching the oasis. Save kill. Load kill... You know the drill. Again, Sam's story DLC provides plenty of human targets with no moral penalty, so take that in mind if you still need some kill counts by the end of the main story.


Professional: Make at least one kill with every ranged weapon.
ongoing


So here's the guide from witch chapter you can find an use them.:

Revolver: Moscow
A-shot: Yamantau
Shambler: Moscow (first weapon in the game)
Bastard Gun: Volga
Kalash: Moscow
Bulldog: Caspian
Gatling: Yamantau
Valve: Caspian
Tikhar: Volga
Helsing (crossbow): Taiga
Moscow - Overview
Postcards: 2
Diary Pages: 10
Equipment Upgrades: 0
Moscow - Morality Actions
Although there's nothing specific to accomplish in the first chapter regarding morality points, avoid killing the human enemies you find, opting for the non-lethal take-down.

The last train infiltration for instance is easily doable undetected without firing a single shot.

Just take down the first 3 guards in the first car and then move trough the gap unnoticed on the right side of the second car.

Take out a guard soon you enter last car and go below the metal grid where's the machine gun manned with 3 soldiers.

Don't forget to detach the train car's while doing it for the secret achievement.


Moscow - Achievements
image
Exodus Mandatory, unmissable; just complete the chapter.

image
Brakeman Secret achievement; in the last section of the chapter when you have to infiltrate the big armored train, detach the 2 independent train cars by interacting with a lever mechanism on your left side before entering a new car.
Moscow - All Collectibles - Linear Chapter Guide
Diary Page #1: Half - Torn Notebook

imageIn the first large section of the metro tunnels with the first watchman, when the section opens up, look right, the Half - Torn Notebook is on the candle lit table to the corner.

Diary Page #2: Patient File

imageAfter waking up in the clinic and after the dialogue with Anna and Miller, move forward and don't miss the Patient File on the desk to the right.

Postcard #1:

After you pick the second diary page, in the small room before you open the door to find Anna, the Coronel, and the "Spartans", the postcard is on a green locker to your right

Postcard #2:

Before following Anna down the stairs and eventually through a narrow wall; go right after one first set of stairs and enter into, what seems to be, a small apartment. The postcard is on the right side of the kitchen window

Diary Page #3: Dusty Diary

imageGo to the living room next to the kitchen and pick the Dusty Diary on the small table next to the sofa

Diary Page #4: Shopping List

imageShortly after leaving the residencial building, you'll reach a wide room of a comercial area where you need to deal with some watchman. Against the book store door on the left side, you'll find a body with the Shopping List diary page


Diary Page #5: Shura’s Note

imageAfter following Anna downstairs from the comercial area you'll enter a wrecked bus, Shura's note, can be found as soon as you enter, the on the benche right beside a small sized skeleton. :(

Diary Page #6: Crumpled Letter

imageAfter the dramatic turn of events and shortly after you regain control in the ravine, you'll find a med-kit after crawling under a log barrier. Look ahead and pick the Crumpled Letter diary next to the corpse lying in front of the center mass of terrain.

Diary Page #7: Official Note

After reuniting Anna with the help of Yermak, in the command center, where you'll have some interactions with the officers operating there, there a short window of control while the officer says his piece. Pick the Official Note behind him in the middle of the console


Diary Page #8: Memo

As soon as you enter the red door, after sneaking trough the courtyard, you'll find the Memo diary on a green desk in the far end of the small room to the left of the fire.


Diary Page #9: Official Letter

After boarding the big armored train, infiltrate the cart knocking the guard leaning on the window. Crouch and enter the separate section of that car trough the curtains to the left, minding two guards placed there. After dealing with them silent and non-lethally (the second one surrenders) pick the Official Letter on a desk to the left side of the car


Diary Page #10: Crumbled Note

In the last train car, where's a metal grid on the ground with 3 soldiers shooting the soon to be train Aurora , pick the diary Crumbled Note on the crate to your right
Winter - Overview
Postcards: 0
Diary Pages: 1
Equipment Upgrades: 0
Winter - Achievement

Aurora: If you didn't click the spoiler back there, this is gonna be surprising, The name comes from the Greek Goddess of Dawn, and a cruiser of... (duke never finishes his line), but I'll give it to you; Aurora was a Russian Cruiser known for his involvement in the October revolution, nowadays a museum ship. Go google "October revolution" if you're interested into deeper reference.
Winter - Diary Pages
Diary #1 : Survey Report

After getting a prompt in a map to go on with the story, click leave to explore the Aurora. Anna is blocking the path speaking with Alyosha, but while you wait, go smoke a cigarette with Col. Miller, then go see the boys in front of the train and come back. The path should be clear now. Go below deck to find the letter Survey Report on a wooden case at your left
The Volga - Overview
Postcards: 5
Diary Pages: 13
Upgrades: 8

Attention: In this chapter there are 2 missable Postcards (#1 and #5) and 1 missable Diary Page (#8), So make sure you check them out first, before going head first with the guide and the play.

In this section from an open chapter, i'll introduce for the first time a FULL MAP with all items, suggested by Floppa Gaming . Good choice for free-roam players. For deeper guidance, refer to the next sections.

The Volga - Morality Actions
  • Don't Kill any Fanatics, aka Silantius-mind-washed-followers when visiting their church, or near the end of the chapter when a barge is involved.

  • Same goes to friendly ones you encounter in 3 fixed places; the paladins with their ritual, the father and the idiot of his soon, and some prisoners in a camp.

  • While being friendly, mind saving the one held captive next to the radio tower, where there's something musical you should take.

  • Complete two side quests involving one spartan fond of music and a certain cute girl and her teddy.

  • In the last section of the game, go stealthy undetected and confront who you have to confront without alerting the guards.
The Volga - Achievements

Regata: Story related, Unmissable


Railwayman: Story related, Unmissable


Long distance passenger: Story related, Unmissable


Lower the Bridge: Story related, Unmissable


Friend of the Crew: Nastya will ask you to find the teddy bear, she'll point it on your map. Same goes for Idiot and Damir who ask you to steal a guitar for our big boy Stepan. You'll get the achievement as soon as you get both items, you don't even need to return them.


Duke: Make sure your learn something from last year's events and apply some tolerance with the locals, keep the good terms with the Tsar-fish worshipers and play completely stealthy during the short mass service in the beginning and also in the longer last part of the chapter. Reload if spotted.


Last Breath: It doesn't come naturally if you make sure you pick or craft enough filters. Go to an hazardous zone, save the game, open the backpack, dismantle every filter you have, after time runs out, craft a filter, et voilá.


Martian: That's a easy one, just make sure you get some hits till you mask gets a hole in it. Press "G" to patch it.


Fisherman: Eventually you need to go fetch a railcar in a large abandoned train depot, where something nasty lives, worshiped by the brain-washed-guys. In order to acces the railcar you enter a room to the left. There you'll find, a bells, 3 hanged bodies and a lever. Try to figure it out yourself, you don't need a masters degree, and you'll feel great afterwards.


Gunsmith: It's easy to dispatch this one as soon as in this chapter, just make sure to change all 5 mods slots on one weapon. My advice, use the binoculars to tag loot spots as soon as Krest gives it to you (zoom in, scan horizon, search for the click, wait for the tag) . Go loot those mods, and go play with your portable crafting backpack


Silent marksman: If you use your Tikhar in this level (tbh a good option) play mostly at night and kill the watchers an humanoids monsters with it (one head-shot preferably). There's plenty for the achievement


Handyman: I got the achievement in this Chapter just by crafting filters, med-kits, and some metal balls while I was strolling for this guide Screenshots.


Firebird: Catch this one with little effort here too. You'll need to find a flying demon; there's one nesting/sleeping next to a side quest item up in a silo. You'll know when you get there. Make sure you have a couple Molotov's in your pack before approaching and unleash hell upon it when in range.

Professional: Make at least one kill with every ranged weapon.
ongoing


So here's the guide from witch level you can find an use them.:

Revolver: Moscow (You probably use it by now, with silencer)
A-shot: Yamantau
Shambler: Moscow (first weapon in the game)
Bastard Gun: Volga (SMG, not that usefull, so make sure you kill some mutants soon)
Kalash: Moscow (Your main assault rifle period)
Bulldog: Caspian
Gatling: Yamantau
Valve: Caspian
Tikhar: Volga
Helsing (crossbow): Taiga
The Volga - ITEM PICKING GUIDE
Attention: In this chapter there are 2 missable Postcards (#1 and #5) and 1 missable Diary Page (#8), So make sure you check them out first, before going head first with the guide and the play.

I RECOMMEND you follow MAINLY this section, to keep the thrill of the discovery. Follow the map directions and short description of the place, referring to the specific item section only if you have trouble finding the place.

Open World Chapter - Suggested Pick up Order


Going to the Church and back
  • 1. Postcard #1 MISSABLE - Church, Children's cove
  • 2. Suit Upgrade #7 - Compass - Crashed plane
  • 3. Diary #2 - Mouldy Log - Plane crew camp


Check on Krest and rescue mission on the way back
  • 1. Diary #3 - Faded Note - Basement, Building
  • 2. Postcard #2 - Krest's place
  • 3. Diary #2 - Water-Logged Note - Sealed bunker, storage room


Check on Duke and path to the Railcar; small detour south of the tracks.
  • 1. Suit Upgrade #1 – Battery Charge Controller - small island, torture chamber, south of the tracks
  • 2. Diary #13 - Patient Ledger - Half flooded clinic, south.
  • 3. Suit Upgrade #2 – Reinforced Helmet - Bandit camp, close to Duke


Going after the Railcar, swiping map, North Island, feel free to pick them in any order
  • 1. Suit Upgrade #6 – Extended Filter - Same Safehouse, box far end of the room
  • 2. Diary #11 - Dusty Workbook - Hazardous Safehouse

  • 3. Suit Upgrade #4 - Ammo Pouches - Same Camp, by the door entrance
  • 4. Diary #4 - Bandit Camp - Table on the ground floor (Don't forget the key given by the prisoners)

  • 5. Postcard #3 - Safe house, Inside transport truck, shelve to the right
  • 6. Diary #9 - Torn Page - Same as previous, transport truck

  • 7. Diary #5 - Sturdy Envelope - Half buried Van

  • 8. Suit Upgrade #5 – Throwing Weapons Harness - Gas Station, padlocked room
  • 9. Diary #6 - Weathered Notice - Gas Station, green shelve inside
Before heading to the terminal, use the boat to reach small island in the middle.
  • 10. Diary #8 - Bandit Note MISSABLE - among the corpses.


In the terminal, home of the Tsar-fish and the Rail car.
  • 1. Suit Upgrade #8 – Night Vision Goggles - Using the prisoner's key, sealed space in the terminal.
  • 2. Diary #10 - Thick Ledger - Last room you visit for the Fisherman trophy

Going for the Passenger Carriage, and swiping the rest of the far side of south island, parking the rail car when needed. Rescuing the Teddy Bear.
  • 3. Postcard #4 - Safe-house, soon you leave the terminal
  • 4. Diary #7 - Faded Note - Ruined Structure, wooden shed on top of it

  • 5. Diary #12 - Blood-Stained Diary - Same shack, wooden shelf
  • 6. Suit Upgrade #3 – Metal Detector - Shore shack right to the Silos

....
Infiltrating bridge compound
  • Postcard #5 MISSABLE - After the gathering of fanatics listening to Silantious, in the next room next to the fire barrel
The Volga - Postcards
Postcard #1 ------> Missable <--------


Inside the church, and only after you meet Nastya an Katya, (you can't get it never again), go downstairs to the church from the courtyard, knock the guy to your right, and enter a room with a sewing machine. Go up the yellow ladder


In the far end of the small children's cove, you'll find the Postcard on the wall at your right.

Postcard #2

Soon you reach Krest on the big crane, he is gonna invite you to his abode after a nice chit chat, don't miss the postcard next to the exit door, before leaving

Postcard #3


Near the bridge you need to lower later, there's a Safe-house built in the back of a truck


The Postcard is glued to some scanning equipment in front of you. Get the Torn page on the shelves right next to the post card

Postcard #4


As you leave the terminal with the trolley, stop soon after next to a safe-house to your right.


The Postcard is a lonely speck on the wall. Easy pick.

Postcard #5[/b] ------> Missable <--------


While infiltrating the Stronghold to lower the bridge and after using an elevator, you'll reach a space where a bunch of fanatics listen to Silantious. Go stealthy to the right and break the padlocked grate in the far end.


In the room with the stair that lead you to Silantious, the Postcard in on the far end to the left, close to a barrel with fire.
The Volga - Diary Pages
Diary Page #1: Moudly Log


After the first contact with the Tsar-fish, and returning to the Aurora trough a plane crash, where you found a suit upgrade (Compass), check a small camp with 2 dead crew members from the plane and 2 impaled shrimps at front. The Moudly Log rests next to a corpse.

Diary Page #2: Water-Logged Note


Soon after leaving Krest's company you must rescue Anna who's last know location was near some sealed hazardous waste depot. You see the diary soon after you enter the facility, if you look left trough a metal fence. The division is accessible breaking the padlock a few steps around the pillar

Diary Page #3: Faded Note


On your way to find Krest on the big crane, before you start climbing the containers, check the stairs beside the rectangular building. Head down, kick the metal door and enter the basement. on the far end of the first room you'll find the Faded Note on some shelves.

Diary #4 - Folded Letter


Infiltrate this Bandit camp from the balcony preferentially at night. Take out the sleeping bandits first and then clean the ground floor with haste.


The Folded Letter rest in a table in the middle of the ground floor. Don't forget to release the prisoners, get the key from them, and, on you way out, pick up the Ammo Pouches(Suit Upgrade #4) next to the exit door

Diary Page #5: Sturdy Envelope


Closer to the Gas station, and south of a second passage below the tracks there's a Half Buried van. Inside you'll find the Sturdy Envelope

Diary Page #6: Weathered Notice


Before you reach the pier where you catch a boat to the terminal, you'll find a gas station manned with a few bandits.


Take care of them, and go inside through the broken window. The Weathered Notice rests on desk in front of you. Behind the sealed door you can find the Throwing Weapons Harness upgrade, accessible via a metal padlocked grate on the side of the building.

Diary Page #7: Faded Note


Another mandatory stop for your rail car, soon after the safe-house and next to a massive building structure to your right. Start climb the wall you see in the screenshot; mind the steps and the dragon lurking around.


The Faded Note can be found inside the wooden shed on the top.

Diary Page #8: Bandit Note MISSABLE


You need to get here for the boat that's gonna take you the terminal. Don't rush it, or you'll miss this page. After leaving the terminal, this boat and the other one on the opposing side of the river are gone, a the Diary Page becomes inaccessible. I confirmed it


Instead, row towards the opposite direction of the terminal, until you reach this island.


The Bandit Note can be found resting among the corpses.

Diary Page #9: Torn Pages


Same place as Postcard #4 near the bridge inside the back of a truck


Get the Torn page on the shelves right next to the post card

Diary Page #10: Thick Ledger


Just before you leave the terminal with your ride, inside the room where you get to kill the fanatic's God, if you figure it out.


The Thick Ledger rest on one chair next to the corpse carefully arranged in a small boat

Diary #11 - Dusty Workbook


In the far north of the North Island, you'll find a Safe-House container...not that safe. The Dusty Workbook and the Extended Filters Upgrade can be found inside

Diary Page #12: Blood-Stained Diary


On your way to collect the passenger carriage make a stop to get the Teddy Bear marked on your map. Look for a small shack close to the water to the right of the silo


Break the padlock to get in. You'll find the Blood-Stained Diary on the shelves to your right and the Metal Detector on a desk to your left


Diary Page #13: Patient Ledger


After picking the Battery Upgrade, check a couple fisherman around the building. Behind them you'll see a half flooded building. Use the boat next to the safe house and go there to find a run-down clinic and some ghosts.


You'll find the Patient Ledger on a desk at the end.
The Volga - Equipment Upgrades
Suit Upgrade #1 – Battery Charge Controller


After wiping the radio tower and rescuing the villager and the guitar, you'll get this location marked on your map from him, reach this small island trough a narrow piece of dry ground. There you'll find a puzzle to solve evolving a generator a fuel canister and some switches. Don't forget to climb to the roof too. You'll find eventually a small room with an electric torture device with a Humanimal on it. Turn that thing ON and pick the Battery Upgrade afterwards


Suit Upgrade #2 – Reinforced Helmet


On your way to dukes place from the clinic, mind this bandit camp at your left.


At night there's fewer risks, clean the courtyard stealthy and throw a grenade into the only division there.


With the path clear take the Reinforced Helmet inside.


Suit Upgrade #3 – Metal Detector


This the same Shack from Diary Page #12, right side of the Silo with the Teddy Bear


Break the padlock, the Metal Detector is on a desk to your left. You'll find also the Blood-Stained Diary on the shelves to your right

Suit Upgrade #4 – Ammo Pouches


This is the same camp where you find Diary #4, the prisoners and the key. The Ammo Pouches upgrade is on some wooden crate to the left of the only exit door, on the ground floor.

Suit Upgrade #5 – Throwing Weapons Harness


In the Same gas Station as the Weathered Notice diary Page


Behind the sealed door right next to the diary, you can find the Throwing Weapons Harness upgrade. It's accessible via a metal padlocked grate on the side of the building.

Suit Upgrade #6 – Extended Filter


In the far north of the North Island, you'll find a Safe-House container...not that safe. The Extended Filters Upgrade and the Dairy Dusty Workbook can be found inside

Suit Upgrade #7 – Compass


After the church escape, and the 1on1 with a Tsar-fish, follow Duke's suggestion and check the plane wreck near by. You'll find the Compass on the cockpit. NOTE: On reader's difficulty the compass is granted since the beginning, accessible via any crafting table, so it won't apear at the plane cockpit.

Suit Upgrade #8 – Night Vision Goggles


Inside the Terminal right after you deal with some humanimals in a corridor on the ground level your climb some stair to this door. Use the key you got from the prisoners you saved and enter


The Goggles are on an altar soon you enter the room filled with "heretic" equipment
Spring - Overview
Postcards: 0
Diary Pages: 1
Equipment Upgrades: 0
Spring - Achievements

Join us on air. Get done with this one; just use the radio and tune some music in this intermission chapter before you arrive at the mountains.
Spring - Diary Pages
Diary Pages #1: Nastya’s Letter


The only Diary in this chapter can be found soon after you gain control of Artyom. You'll find Nastya’s Letter on a cabine next to yours to the right.
Yamantau - Overview
Postcards: 2
Diary Pages: 6
Upgrades: 0
Yamantau - Achievements

Righteous Vengeance: Right after you're saved by Idiot and Sam, there's a infinite stream of them coming, while you wait for the elevator, kill many as you can, then load a couple times to the start of the rampage before entering to the elevator, make sure every shot counts, again, and get this done.


Spoiled dinner: Mandatory, unmissable; just complete the chapter

Professional: Make at least one kill with every ranged weapon. ongoing

So here's the guide from witch level you can find an use them.:

Revolver: done
A-shot: Yamantau (best option against cannibals close-range)
Shambler: done
Bastard Gun: done
Kalash: done
Bulldog: Caspian
Gatling: Yamantau (get her from the tough guy, and make sure your score with her afterward)
Valve: Caspian
Tikhar: done
Helsing (crossbow): Taiga
Yamantau - All Collectibles - Linear Chapter Guide
Diary Pages #1


After being released from certain death, just to fend off a massive cannibal ambush, take the elevator with the crew. On a table to the left, you'll find Diary Page #1

Postcard #8 and Diary Pages #2


Past the frozen chamber filled with corpses and frenzied cannibals, squeeze through a tight space between shelves. Turn on the electric switches on the right to light what seems to be a firing range behind the boxes.


Just crawl to reach that space. The Postcard#1 is pinned on the target to the right and the Diary Pages #2 on a crate to the the left.

Diary Pages #3


After this hallway with crazy fellas and a red light, climb some boxes to the right.


Climb down to the other side, deal with the canibal, and check the room behind him. The Diary page #3 can be found on a crate with a candle to the left

Diary Pages #4: Officer’s Diary 1

So you made past the tough sob with a mini-gun? Cool. Push forward, clean this corridor and mind the doors to the right


Inside the cabine marked with a skull is the Officer’s Diary 1 on a shelve to the left side

Postcard #9


After you save Anna, and while she's checking on her father, get the Postcard #2 above the tilled wall next the exit door.

Diary Pages #5


In the end of the next hallway and before you enter the elevator with your wife get the Officer’s Diary 2 on the barrel with a candle to the left

Diary Pages #6


Last item from this chapter you aquire after leaving the command center now reunited with your crew. The Officer’s Diary #3 is on a table to the left before you enter the circular elevator with them
The Caspian - Overview
Postcards: 5
Diary Pages: 12
Upgrades: 5

Attencion: All 4diary pages and 1 postcard from the lighthouse and Sat-com station are missable.

In this section from an open chapter, there's also a FULL MAP with all items, suggested by Floppa Gaming . Good choice for free-roam players. For deeper guidance, refer to the next sections.

The Caspian - Morality Actions
  • Don’t kill any slaves!

  • At the start of the Chapter, while checking the radio tower, don’t kill the soldier that ambushes you on the rooftop.

  • Complete it the side-quest he gives you LATER (I mean that safe house you need to sleep in order to trigger the interaction in the chapter)

  • Use non-lethal take-downs on all the guards at the Mine/Cave even to the ones attacking Giul. You'll gain the point as soon you start the elevator up to the Lighthouse

  • Apply the same behavior visiting Shipwreck Slave Camp, only that way you save the slaves.

  • Liberate the Prison (another Shipwreck) and release the prisoners.

    Recover the family photo for Giul in the Coms facility under the lighthouse where her mom used to work.

  • Recover the water bowser undetected and with no kills, there's extra points to be gained if you release a couple prisoners guarded by a hound on the ground next to the truck with the water, but may not compensate for the risk of being detected.

  • When infiltrating the fortress on the last mission you'll gain a point reaching the surface without killing or being detected. Saving a slave from his punisher midsection will grant you another point but then again, it'll turn, most likely, everyone hostil towards you.
The Caspian - Achievements

Driver: Story related, Unmissable, just drive the.... thing. I wonder if it's really unmissable!!


Complete road map: Story related, Unmissable


New order: Story related, Unmissable


Damir: There's a few things you must do in order to save him.
  • Don't kill the thug who ambushes you in the top of first building you visit.
  • Reach the lighthouse without killing since you enter the caves.
  • Recover Giul's family photo from the underground bunker.
  • Free the slaves in the prison ship without being detected till you pull the lever.
  • Still the water bowser in the oasis, without being detected
  • Reaching the Baron's fortress through the sewers, guess what?... don't hget detected till you open the door to outside


Roller coaster: Use the bucket lift to go up from the water basin in the Oasis mission.


Saboteur: It would be a pain if you had to "V" everyone to get this done, fortunately non-lethal ko's counts too. You probably gonna get it around this time.


Carmaheddon: Make 50 kills with the Bukhanka.


Dressed for Success: : If you followed this guide correctly you'll find the 12th suit upgrade in this chapter. Nice!


Antibiotic:: This one comes naturally, in my case it popped when I was splashing hummanimals with my Bukhanka.


Kaleidoscope: You only need the extra scope you get from the sniper on the big crane after checking on Anna. At night make 3 kills while wearing the mask, the night-vision goggles and a rifles equiped with that x6scope. Using NVG in the new enhanced version is pain since


Stand back: Use the crane mission after reuniting with Anna. After getting to the top, you'll be ambushed from below. Save, kill, load, kill... a couple a times should do it.

Professional: Make at least one kill with every ranged weapon. ongoing

So here's the guide from witch level you can find an use them.:

Revolver: done
A-shot: done
Shambler: done
Bastard Gun: done
Kalash: done
Bulldog: Caspian (an alternative to the Kalash, score some in this level)
Gatling: done
Valve: Caspian (you can get her sooner, but with the scope it's funnier. Go for the head-shot)
Tikhar: done
Helsing (crossbow): Taiga
The Caspian - ITEM PICKING GUIDE
The Caspian is more linear than the Volga Chapter, but make sure your make use of your binoculars to find loot and points of interest. Feel free to go off-tracks. As for the items I still RECOMMEND you follow MAINLY this section, to keep the thrill of the discovery.

Follow the map directions and short description of the place, referring to the specific item section only if you have trouble finding the place.


Checking the tall building, and the spoted vehicle.

1. Postcard #10 - Inside the building next to the Aurora.

Swipe clean a Shipwreck Slave Camp

2. Diary Pages #1: First Mate’s Diary - Slave camp, first shipwreck, first floor.

3. Diary Pages #2: Leader’s Letter - 3rd floor next to a radio

4. Suit Upgrade #1: Motion Scanner - Below Ship's Command Bridge, dark section

Going for the Lighthouse

5. Suit Upgrade #2: Extra Bright Flashlight - a small boat to the left before the caves.

6. Diary Pages #3: Letter to Son MISSABLE- Behind the Master/slave drama scene

7. Postcard #11 MISSABLE- Up in the lighthouse, glass wall

Going for the plans, entering the Communication facility

8. Diary Pages #4: Memo MISSABLE- Jump to the hole on the ground, on a desk to your left

9. Diary Pages #5: Image Analysis MISSABLE- After crawling, in a desk far in the corner.

10. Diary Pages #6: Last Orders MISSABLE- Inside the map room, central table


Sleeping on that safehouse till night (do it!!), Checking on Anna, detour to the geizers

1. Diary Pages #8: Diary Fragments - Wrecked ship, next to the oil geizers. Hermit's cabine.

After meeting with Anna, Go check the sniper on the crane and return via zipline

Saving the prisoners, cleaning the crossroad

2. Postcard #12 - Container Carrier (big ship) prison, Command Bridge

3. Diary Pages #7: Shopping List - Same place, next to previous item, on a table

4. Diary Pages #11: Charred Note - Cross road camp, not far west from the prison, on a lookout.

Meeting a legend, checking on the tower, and return to the Aurora with the maps

5. Suit Upgrade #3: Consumables Carrier - Look for someone who lost his marbles, on the cost line. Inside this man's cave.

6. Suit Upgrade #4: NVD Amplifier. Air Control Tower, top floor.

7. Postcard #14 - Zipline to the hanger, inside, far end, pinned on a crate.


Going after the water, checking a Camp on the way to the oasis.

1. Dairy pages #9 : Baron's Letter: Camp entrance, next to the truck with the cage.

2. Diary Pages #10: Death Note: Far end of the camp, up the rope ladder

3. Suit Upgrade #5: Armored Glass: Same place. next to the craft table

4. Dairy pages #12: Letter to the artist:: Abandoned village, end of the makeshift ramp.

5. Postcard #13: In front of the ramp. Cabine to the left with a wind-chime on the doorway.
The Caspian - Postcards
Postcard #10


Soon you leave the Aurora, check the building to the left


Turn around to pick the Postcard #10 from the wall on our way out.

Postcard #11


After dealing with the lighthouse assailants, get the elevator/boat to the top


As soon as you enter, turn around, and pick the postcard #11 on the glass wall frame. Don't forget to install the flashlight upgrade on Giul's table. You'll thank me later

Postcard #12


Go for the prison, and progress stealthy from below to the command cabine if you want to save the prisoners. On the command bridge, look back to the back wall; the Postcard #12 is pinned on it. Don't forget to take the Shopping list on a console to the left

Postcard #13


In the beginning of the Oasis mission, in the abandoned village and after coming down the ramp where you got the Letter to the artist diary page, look for a small cabine on the left with a wind-chime hanged on the doorway.


Turn around as soon as you enter and take the Postcard #13 from the wall.

Postcard #14


After picking the NVD Amplifier in the tower, use the zip-line down to the hanger.


Inside you'll find a whole lot of mutants, and the Postcard #14 pinned to a crate on the far end.
The Caspian - Diary Pages
Diary Pages #1:First Mate’s Diary


Enter the slave Shipwreck from below, go up the stairs, and pick the First Mate’s Diary behind the friendly slave on a table to the right.

Diary Pages #2: Leader’s Letter


On the same ship, climb the ladder from previous floor. Deal with the Slavers, non-lethally if you're after the moral points, and go up the stairs. You'll find the Leader’s Letter on a table with a radio equipment.

Diary Pages #3: Letter to Son


After entering the caves, you'll find a slave dragging his master in agony, apply some non-lethal love before he sounds the alarm.


On the corner, to the left of them, there's another corpse, with the Letter to Son at his side

Diary Pages #4: Memo


Inside the Facility you'll reach a dead end, where you must jump to a hole on the ground. In that area you must switch the electricity ON. Look for this desk on a work cubicle to find the Memo

Diary Pages #5:


After crawling above the coms room, you'll reach an area with a big hole on the wall. The desk with the Image Analysis is on the far corner to the right.

Diary Pages #6: Last Orders


After picking the maps you were looking for, on your way out, you'll fill a VIP room with a big central table with maps, the Last Orders rests on it

Diary Pages #7: Shopping List


Go for the prison and if you want to save the prisoners, progress stealthy from below to the command cabine. On the command bridge, the Shopping list is on a console to the left at the corner. Don't forget to take the Postcard #12 pinned on the wall.

Diary Pages #8: Diary Fragments


Before checking on Anna make a short detour to the big shipwreck next to the black wholes you see on the map. Enjoy the view of the blowing oil geizers and enter the ship.


After dealing with the 8legs fellas, or run from them, climb the ladder and meet the friendly Hermit. The Diary Fragments is at the corner of is cabine on a small crate.

Diary Pages #9: Baron's Letter


Before heading to the oasis, and Damir's checkpoint, check the camp dug on a canyon to the left. Close to the entrance there's a truck with cage on the back.


The Baron's Letter rests behind the truck on a small table

Diary Pages #10: :Death Note


Reaching the end of the canyon, and after you deal with the last Munai-bailer, you'll ear a gun-shot and a rope ladder will fall from the small cave above.


Go up the ladder. Next to a body, you find the Death Note on a barrel. Further inside you'll pick the last Suit Upgrade too, the Armored Glass for your mask.

Diary Pages #11: Charred Note


After the prison, check the cross road camp near by. It has a wrecked boat (how original!) facing the big prison ship.


From the lower section, climb to a small lockout near the fire place. Up there, the Charred Note rests on a wooden crate.

Diary Pages #12: Letter to the artist


As soon as you slide down to the abandoned village, while trying to infiltrate the oasis, look for a improvised ramp to the left, and around the pillar you see on this screenshot.


Go up the ramp and you can find the Letter to the artist in the end of the path on a radio device.
The Caspian - Equipment Upgrades
Suit Upgrade #1: Motion Scanner


Before reaching the top floor of the slave ship, you'll find a glowing item, the motion scanner, on the right in contrast to the fairly dark area if you go at night. It's the area before reaching the old command bridge of the ship.

Suit Upgrade #2: Extra Bright Flashligh


Before reaching the caves that gives access to the lighthouse, there's an old boat to the left asking to be visited.


Mind the trap inside the cabin. Pick the Flashlight upgrade and then use the bed, to make sure it's night when you leave. Soon you'll need stealth to knockout everyone easily and get those moral points.

Suit Upgrade #3:


From the Prison, or from the Crossroad Camp nearby, follow briefly the cost line to the west till you find this scene


Leave the broken man alone, and check his cave on the side. You'll find the Consumables Carrier upgrade next to a useful crafting table

Suit Upgrade #4: NVD (Night Vision Device) Amplifier


Go for the Air Control Tower, and climb the rumbled building to the top. Make use of a good close combat weapon while at it.


On the top you'll find a the NVD Amplifier on a chair. next to a safe spot for a nap. When your're done, use the zipline down to the hanger and the catch the Postcard #14

Suit Upgrade #5: Armoured Glass


Reaching the end of the camp, and after you deal with the last Munai-bailer, you'll ear a gun-shot and a rope ladder will fall from the small cave above.


Go up the ladder. Further inside the cave you'll pick the last Suit Upgrade, the Armored Glass for your mask. If you picked the other upgrades, you get here the Achievement Dressed for Success. Don't forget to take the Death Note too next to the body on a barrel.
Summer - Overview
Postcards: 0
Diary Pages: 1
Upgrades: 0
Summer - Achievements

Gor'ko!: Story related, unmissable
Summer - Diary Pages
Diary Pages #1: Tokarev’s Note


Leave your cabine and the company of your beloved Anna. Turn right instead, and head to the end of the train. On the train car holding your newly found Vehicle, you'll find Tokarev’s Note on the workshop's table

The Taiga - Overview
Postcards: 5
Diary Pages: 18
Upgrades: 0

This Chapter has a linear progression, with few open areas to explore, or even return back once done. So take that in mind marking every item as "missable"
The Taiga - Morality Actions
  • Save the guy tied to a pole, in the beginning.

  • Don’t kill the forest tribe members. Sneak past them!

  • Don’t attack the unarmed forest tribals or the hermit.

  • Don’t kill wounded forest tribe members.

  • You'll gain one bright point of moral superiority every time you make past a camp with pristine behavior, sneaky Dalai Lama; no kills and no detection (also useful for the Forest Child achievement)
The Taiga - Achievements

Sword of Damocles Unmissable; Just complete the TAIGA level


Alyosha If you go for the next achievement; Forest child, it's granted. I urge you to it. But you want to sweep clean all camps, make sure that you don't kill "pioneer's", "pirates" are somehow allowed; the ones in the school section, and the ones where you need to steal a boat.


Forest child; This might be a tough one, cause you can't even use non-lethal knockout. thing is, it's fairly easy to do it, if you make sure it's night. Couple advices.:
  • Pioneers and pirates camps... are mostly skipable from outside or close to it's walls.
  • a couple items are just impossible to pick without a knockout or two, however you can save first, do the thing, pick the item, load back, the item remains, and your achievement remains immaculate.
  • From experience, don't use nothing except the bow with regular arrows, and some Molotov's for the bear.
  • Some scripted encounters doesn't count, like the guys warning you in the beginning, the alchemist, the trap guys, Olga and the Admiral.
  • Looking/being suspicious of you doesn't matter, but if they start shooting, load back.
  • Tbh only the boat gate section might take some more tries.
    Although in my list, only 0,8% of the players have it.


Decommunization: Reaching the first school, ready your bow, pop the big statue's head. Done


Master of the Forest You'll get there, there's no doubt, the question if how you leave it. If do enough damage for he runs; you get the achievement. Use regular bolts and make sure your bag if full of Molotov's. You can run for the ladder and escape, but you won't get the achievement.


5 o'clock: You'll meet the Admiral close to the end of the chapter, indulge him; make a seat, drink some tea, listen the guy till he falls asleep. It's boring?. Well, go to the bathroom, talk to your wife. It's a easy achievement tho.


Robin Hood, If you're after the Forest Child ach. , it's gonna be hard in one run. Just make sure you kill every wolf, bird, bat or rat you find. Or... make a save before you enter in the facility on the mountain slope. Score some kills with the arachnidiae, load, rinse and repeat... it won't take long.


Professional: Make at least one kill with every ranged weapon. Complete

Revolver: done
A-shot: done
Shambler: done
Bastard Gun: done
Kalash: done
Bulldog: dfone
Gatling: done
Valve: done
Tikhar: done
Helsing (crossbow): You'll get your kill with the first wolf, and the achievement too if you did what I told you.
The Taiga - All Collectibles - Linear Guide
This Chapter is a lot more Linear, with not much to explore outside the given path, so I'll present a linear guide with a suggested picking order you'll most likely follow anyway. Feel free to deviate in between the items, to get some loot or sights.

Postcard 15:


After you pick the crossbow from the statue, look to the smaller house on the far right


Go inside. In the far end there's a table and a counter with a broken window behind it. There you'll find the Postcard 15

Dairy page#1:Note on a crossbow bolt


As soon as you leave that courtyard, you're gonna be unsettled by a bolt, shot from afar, carrying the Note on a crossbow bolt. Sorry about the redundancy, but that's the name of the item

Dairy page: Unsent Letter


Going right, using the main road, or forward, saving the tied pioneer, you'll reach this statue. Pop his head for the Achievement, and check the house on the right after you go up the stairs..


The Unsent Letter rests on a school desk inside

Postcard 16

After leaving the school you'll need to access the building on the other side of the road. Go further to the bridge, listen with indifference the threats from the Pirates, and jump down the bridge to the left side.


Next to the treasure tree there's a path to the left, leading to a hole on the fence and the access to the building back there.


Inside, you'll find Postcard 16 pinned on the side of a book shelve. Before heading to the first floor, check the basement through the stairs to the left and find the night-vision-goggles you've lost. I don't know however if they are of much use in this night-bright-as-day enhanced version.

Dairy page: Little Kid’s Note

from the roof of the previous building catch the zipline and move to the right. Walk silently till you reach the side of the building on the other side of the main road.


Climb the ramp, and turn left, without unsettle the residents, on the other divisions.


IPick the Little Kid’s Note from the drawer, next to the teddy-bear any leave through the same window. Now head to your checkpoint, the tower. Use the back of that building, and walk closely to the wall facing the shoreline towards the back of the tower and the ladder to climb it.

Dairy page: Solemn Oath


As soon as you get to the top, you'll have to zip it to the other side. Before that, pick the Solemn Oath from the wooden crate on the floor. If you behaved back there, you'll get a moral point here.

Dairy page: Dusty Diary


After watching some national geographic, follow briefly the main road and check left for the tree-hut.


Inside you'll find a safe camp, and the Dusty Diary on a crate. Make sure it's early night, so take a nap if needed.

Dairy page: Alchemist’s Log


Go up the first section of the bridge and use the zip-line there. You'll reach the other side of a pond next to the house of the alchemist


Make sure you surprise him right in his face, he will surrender albeit his vicious tongue. Don't hurt him, but search his place. Pick the Alchemist’s Log on the bed, and the modded revolver on the wall. Don't use tho, if you're after the Forest Child achievement.

Dairy page: Dusty Notebook


Return to the Camp or go along the rocky wall on the left side taking the checkpoint on you map as direction. You'll find an overgrown tree against it, with an open crevice below it's roots.


Inside you'll find the Dusty Notebook on a desk and a few more heart-beats in your way-out.

Dairy page: Lost Diary


Head to the shoreline on the opposite side of the main road. Look for a old shack near water, with animal traps and fishing clutter.


Inside you'll find 3 cage rabbits (maybe a Robin Hood achievement farming spot), and the Lost Diary on the wooden to the left.


Dairy page: Calligraphic Note

Head forward to the checkpoint on your map, but make it close to the left wall of the mountain. You'll reach soon a choke point where you're gonna trigger some cut-scenes with pioneers, pirates and the Big Bear


Go forward and check the Pioneer in his final moments to get your backpack.


Hide in the small cave on the left, or rush undetected till you pass the group of pioneers heading towards you. Look for this wooden lodge on the left side of your path.


The Calligraphic Note is inside against the old oven made of stone

Dairy page:Scribbled Note

Head for the camp, but get going close to the left wall, until you find a cave. The cave will grant you access to the camp unnoticed. Keep it that way and start going around head right to the front wood wall.


Your goal is the wooden lodge on the ground close to the palisade on the right.


Crawl your way to it, close to the wall to avoid detection, and pick the Scribbled Note from the table
The Taiga - All Collectibles Guide - Part 2
Dairy page: Worn-Out Letter

Sneak your way through the camp around the palisade and then up the wooden path build on the mountain wall. You'll eventually leave the camp area catching a zipline.


Go up the path, and enter the cave to your right.


Fairly close to the entrance, you'll find a campfire and the Worn-Out Letter on a wooden crate to your right

Dairy page: Crumpled Note


Further in the cave tunnels, you'll come across a narrowed point, with a wooden structure supporting the walls. Pick the Crumpled Note close to the corpse on the ground.

Postcard 17


Coming out of the cave, you'll reach another camp. Crawl your way for the building on the elevated ground in front of you.


Inside you'll find a pioneer, searching some corpse, beside him, you'll see the postcard. There's no easy way to pick that item without alerting anyone, so I recommend saving the game before reaching the house, knock the guy out and pick the Postcard 17. Make a quick load, and the Postcard remains on your collections like your immaculate forest child playthrough.

Dairy page: Dirty Diary


Head down to the shoreline on the right side of the camp, look further for a friendly pioneer next to the water. There's a easier path to the shoreline, free of pioneers but you'll have to met Olga first. On you're way down from the tower, head right around the hill instead of left to the checkpoint


He's gonna thank you again for saving him. Feel free to take his dirty diary on the table

Dairy page: Hunter’s Note


Head back to the camp and close to the building of the postcard on your right. Go up for the checkpoint on the top of the hill through the path to the right.


Against the door of the Church's courtyard you'll find a body and the Hunter’s Note close to it. Now take a deep breath, craft some arrows and some molotov's if your lacking

Dairy page: Weathered Note


After leaving Olga's company, head down for the pirate camp. Look first for a fancy tree on the left.


Behind the tree you'll find a cosy shed, a sleeping camp, and the Weathered Note on a dirty pillow. Make sure it's early night before leaving

Dairy page: Folded Note

Skip the camp entirely, if you progress close to the mountain on the left, you'll soon reach the last Pirate house and a boat for the taking.


When reaching this gate control, stop the boat and enter the facility, first thing on the left. You'll need to go upstairs to manipulate some lever and open the gate.


The Folded Note rests on the table, in the first room with the stairs. If you're playing for Forest Child, this is the only challenging zone, there's only 3 guys, but you need to go up stairs, use the lever, return to the boat and leave and row away trough the open gate. Watch their movements and take your time, it's doable and rewarding afterwards.

Postcard 18


After a few deja-vu moments with shrimps and power-generators, you'll reach Admiral's cabine


Indulge the old bastard and you may leave. Don't forget to take Postcard 18 from the wall on the left

Dairy page: Blood-Soaked Letter


Inside the Dam electric facility, you'll have a great shot on improving your crossbow kill count. Save and load will get you the achievement. After that, take care of that red door.


Next thing to do as soon you enter, is picking the Blood-Soaked Letter next to a corpse.

Dairy page: Unfinished Letter


You're out and reunited with Alyosha, I hope. Enjoy the view and mark the second house on your right.


Inside you'll find the Unfinished Letter right ahead on the table next to a sewing machine

Postcard 19


Same house, next division. Turn back soon you enter the bedroom and pick the Postcard 19, the last item from the chapter.
Autumn - Overview
Postcards: 0
Diary Pages: 1
Upgrades: 0
Autumn - Diary Pages
Diary Page #1: Katya’s Note


Head to the back of the train to Tokarev's workshop as soon as you finish talking with Col. Miller. Katya’s Note is next to the window inside some steam equipment compartment.
Dead City - Overview
Postcards: 2
Diary Pages: 8
Upgrades: 0
Dead City - Achievements

Putrification; Story related, Unmissable. @gross


Librarian Damn it, that was a hell of a ride, 70 spots to find and describe. We both made it!!!


Old world pictures
Find all 21 post cards; and you should have, if you're reading this guide right.


Guide. The blind one are bing blind white gorilas somewhat like the ones in the library from Last light. This time they don't see you and you can past around them fairly easy if you don't make noises or come too close. There's always a path to prevent direct contact.


Full Strength: If you followed the morality sections all your crew should be fine by now.

And you'll get ONE of the following:


Your destination: I you save everyone (or saving 2 out of 3 and...) get most of the morality points, behave yourself and don't kill chapter's factions members, you'll get this one.


Eternal Voyage: Being bad, not saving everyone gets you this one instead.

Off course there's the next run...


Hardcore: Complete the game in Ranger Hardcore mode.


....and the next still


Mutation: Complete the game in New Game+ mode using any modification.


Iron Mode: Complete the game in Iron Mode, make sure you turn this on on the previous achievement since it counts as mod


Toy seller: Find 3 toys in New Game+ mode: teddy bear, sun and fish.


Dead City - All Collectibles - Linear Chapter Guide
Postcard #20


After the first contact with the local rat mutants, enter the next room with miller. The Postcard #20 is pinned to a metal box next the first blue locker.

Diary Pages #1: Radiogram Transcript


You'll reach an extermination area, with lots of bodies, after going through the water chest deep.


Go up the ramp to the right and turn your head back. You'll find the Radiogram Transcript on a table next to a body on a chair.

Diary Pages: Weathered Report


You'll reach eventually a locked area after climbing the stairs of the metro station. The only way is the door you kick on the left side.


Pass right through a couple office spaces and Miller will urge you to look around. Look specifically to the left and the table holding the Weathered Report. Pick it up.

Postcard 21


After gaining Kirill's trust, he'll open his place to you.


Catch the Postcard 21 from the pillar in the middle of the room. And cheer up, the Old world pictures achievement it's yours.

Diary Pages: Orders


Still in Kirill's room, you'll find the Orders pinned to the map board.

Diary Pages: Notebook


In the abandoned station after leaving Miller to his task, you'll go trough a train car on the first floor. In a fairly bright and tidy train bench with a corpse close by, you'll find the Notebook.

Diary Pages: Worn-Out Diary


You'll pick a boat, eventually, and you'll find soon a door to your left. Make a stop.


Inside you'll find a bunch of acid spitting giant leches and a locked room with the Worn-Out Diary on a table. Go around and add it to your collection. Not much more left

Diary Pages: Browned Note


The boat thing will end eventually, and you'll reach a metro station after some stairs. Jump through the ticket control and look for a room on the left side of the corridor


Inside you'll find the Browned Note on top of an old TV.

Diary Pages: Dusty Notebook


The radiation will get you hard, and you'll hallucinate about a tank. You'll need to jump underground to this hole.


Head left on the tunnel to a dead end. Pick the Dusty Notebook next to the frozen corpse

Diary Pages: Shipping List


Now to the Last Item in the main story; bear your mind after hallucinating again, this time with Anna grasping for air on the ground, in the building you entered afterwards, head to the broken stairs on the right.


Just open the door, and pick the Shipping List from the table in front of you. The Librarian achievement is granted too. Congratulations.


DLC - The Two Colonels - Overview
Diary Pages: 9

The DLC doesn't have named chapters, but there are 3 different settings that I'll consider each one a "chapter" for the purpose of this guide.
DLC - The Two Colonels - Achievements

New Year: Story related, unmissable.


Duty and conscience: Story related, unmissable.


Father and son: Story related, unmissable.


Real Colonel: Story related, unmissable.


It's just a scratch: My first advice is to unbind the "Q" key for medkit; if you use one, even if you load a previous save later, you'll loose the achievement.

There are 3 chapters on the DLC and in the begin of each one your recover your health.
  • In the first Chapter save your game after every corner and load every time the the bug or the worms spit on you. Keep your quick-save clean of damage and you'll get to the end of it without much fuss, only a few loads.
  • On the station's second chapter, the enemies are humans, but the trick remains the same, save frequently while full health, load if you get hit.
  • Last chapter on the bunker has the Blind-one plus lots of mutant rats, make use of your save/load strategy and install all flamethrower upgrades along the way, they are easy to find. When facing the Gorilla make sure you run around him, close but not too close (you prevent his throw attack, also for the next achievement). And drop everything on the canister on him soon you have the chance, It's a two fase battle with some rats in the middle but a good spray or two can defeat him without too many hits
.


Mind you, it's quite heavy!: Only in the third chapter has Nosalises, and this one are the bald-rat type, like those in the end of the main story. They will come in a decent amount as soon as you enter the bunker. So save first, put them on fire, and when they are burning; mash key "V" till you kill 3 beast and the achievement pops. Load a previous save if you got some hits. Don't use medkits if your going for the previous achievement.


Dodge master. On the final part of the Bunker, you'll reach a closed squared area after crawling throw a hole on some debris. Killing some Nosalises there will trigger the appearance of te Blind-one. Make sure you run to the side as soon you take control because his first throw is scripted.
After that, run close and around him when he is about to attack, just enough to doge the hit; being close prevents him from using his throw ability. Use the flamethrower with long powerful sprays directly on him. He'll leave to another round of rats after one spray if it was strong enough. After you kill some more Nosalises, you'll face the gorilla again.
If you manage to prevent most hits from him, while doing a couple good fire sprays, you'll trigger a cut-scene. If he didn't hit with his throw you'll get the achievement. It took me a couple attempts too, but it's not that hard, especially if he only make the initial throw.


The whole picture: You might want to check the next section, for that.
DLC - The two Colonels - Diary Pages
The Metro Tunnels

Diary Page #1:


As soon as you take control, enter the tunnel filled with slime


The first diary, the Foreman's diary 1 rests on a desk in the first room of the level.

Diary Page #2: Foreman's diary 2


After a few contacts with a worm boss, and the water section, you'll find a crafting table after using the ladder.


Go through the door to your right until you reach a dead end room, You'll find the Foreman's diary 2 there on a green rack

Diary Page #3: Worker's note


After the second workbench you'll find a passage on some toilet division


Go through the corridor till it open to the right, avoid the big worm and check behind the metal grid to the left.


Pick the Worker's note is from the old control panel.

The Metro Station

Diary Page #4: Trader's note


After your return to the Station and the meeting with your superior, you'll go up to the living quarters to reunite Kirill.


On your way to the New Year Celebration, you'll pass through the pub; catch the Trader's note from a bottle's rack after the barman on your right.

Diary Page #5: Letter


Not long after in this chapter, you'll have to make a moral decision.


Just after you get control, you can glance the Letter on the trader's desk in front of you.

Diary Page #6: Investigation Report


Not much ahead, you'll pass through an improvised hospital area


You'll find the Investigation Report at the end of it, in a desk to your left

The Bunker

Diary Page #7: Stalker's Diary 1


Soon you go down to the bunker, you'll find the Stalker's Diary 1 in very hard-to-miss spot next to a corpse in the room with the lockers

Diary Page #8: Stalker's Diary 2


After some time and a few unfriendly interactions, you'll reach a flooded room with a stair in the far end.


At the top of it you'll find a room with a corpse 3 green lockers and the Stalker's Diary 2 on the table to your right.

Diary Page #9:


You made it past the Giant just to lose your weapon and you fall in the elevator shaft... damn it. On the bright side you'll find the last diary a few steps ahead. The Stalker's Diary 3 rest in the only bright spot of the room and at your mandatory destination. Hard to miss. Congratulations.
DLC - Sam's Story - Overview
Diary Pages: 11
Harmonica Melodies: 9 (10 if you count the first one Sam already know)
Night Hunter's Secret Stashes: 8

Getting all diaries in Sam's Story doesn't award you with any achievement, but no way in hell I wouldn't try to get them all. Obviously you can count on this guide for guidance in that regard. If nothing else, they'll add to the background story of this amazing DLC.
t[/i]
DLC - Sam's Story - Morality Actions (Captain's Trust)
Moral points are also present in the Sam's Story DLC, but instead of indicating good deeds, they reflect actions taken by Sam to gain the Captain's trust. Completing all actions will gain the A Man of Principle achievement

There are 5 major Actions, you need to perform to achieve his full trust; The are however other positive points you may receive and eventually (not tested) could help you to the same result even if you miss one. My advice is to pursuit ever point possible

  • MAJOR When you first meet the Captain. Put your gun down when he tells you to.

  • Help him move the wooden beam

  • Spare the sniper (choose punch).

  • MAJOR After you and the Captain speak to Tom over the radio. Give him food when he mentions that drinking would be better with something to eat.

  • MAJOR. Set all five Molotov traps in the Captain’s hideout after getting drunk with him. This is also required for the Trapper Achievement.

  • MAJOR. After stealing the boat from the bandit camp and sailing through the toxic bog, proceed through the left side of the swamp until you find a "question mark on your map". You'll find a tape and some bodies. Follow the path and find two more tapes while speaking to the captain via radio. At the top of a tower you'll uncover what happened to the Captain's crew and you add points to his trust towards you

  • MAJOR At the very end of the DLC. You'll need to make a difficult choice, you must choose NOT the flag.
DLC - Sam's Story - Achievements

The Last Hero Story related, cannot be missed.


Untouchable: You need to prepare before every encounter, and there's 3 of them. This guide will show you when. A general advice is, if your about to fall or die. Hit F9 and try again. Even If you die and load a previous save you'll lose the achievement.

  • The first encounter occur after you met the Captain on the ruins of the sky-elevator. you'll fall mid track on a boxcar. Don't rush it or he will push you to a fatal fall, if that happens hit F9 for a quick load before before the dead screen appears. Land a shot or two as soon he appears, hide behind the car on the opposite side from where the shaking trees are, shooting every time he goes up. Repeat 3-5 times till the cut scene where he'll jump on you from the pillar below yours. Don't hit load; it won't kill you

  • The second encounter occurs after meeting Tom's scouts while heading to the Firehouse. He will ambush you on a narrow car scrapyard. Don't run or you'll be crushed by falling cars. Make sure you have plenty medkits and ammo.

    Hide when he's attacking or run in the opposite direction if he's sending his bats, try to prevent being below the higher piles of cars cause he will push them to crush you 3 times, but you'll hear some metal sound before the push, so make sure you identify witch pile he's gonna trash.If you are crushed tho, hit F9 fast before the black screen. It'll save the achievement.

    Land land some shots in between healing every time it's needed till the next cutscene where he'll fall behind the cars and when you approach it, some of them will fall on you. Don hit load this time tho, it won't kill you.

  • The third and final encounter will take place shortly after leaving the fire department with the radiation suit. This one works the same as the other battles. He will fly toward you and you just need to shoot it a few times until it falls and retreats. Keep your eyes on the trees. You’ll be able to see where the attack is going to come from. The trees will move and there will be a dust cloud. Just follow that until it attacks. The bat swarms can be dodged by sprinting away in a different direction.
    There will be rain and it'll be harder do e'identify the last couple attacks, but even if you get hit, heal your self and keep looking around till you land a few more shots
    Eventually, it’ll fall on you and a scene will play as you finally defeat this thing.

    Don't despair if the achievement don't pop up when you kill it. It will ,but only in the end of the chapter after the million dollar choice and the final cutscene rolls up. I know. it sucks.


A Man of Principle Check the previous section for the full list of possible actions.


Cinephile: On your way to find the Captain, search a big building on land full with bandits. It's the third you should visit after getting a boat. Swipe clean the facility to enjoy the movies in peace. Go upstairs, take the trash tape from the projector, find an educational one on a room nearby and put it back on the projector. The room with the tape is on the right side of the window with the planks you have to reach to pick Melody #2. In the enhanced version of the game you won't see the pictures tho... too white


Trapper After the drinking night with the Captain he'll ask you to set their traps, don't catch the zipline to leave the building before that. If you're following the guide to get the music sheet and the stash on this building you'll pass the numbers on the ground to set the traps


Lord of War: Honestly, you shouldn't have much trouble with this if you find most of the stashes and loot enemy's weapons for their mods. Mind the stashes and you won't miss this achievement too. This are the mods you need to find, just to put them on paper.

Stallion Pistol
  • Balanced Grip Handle
  • Short Barrel and Suppressor
  • Reflex Sight
  • Heavy Grip
  • Long Barrel with Full Auto
  • Closed Reflex Sight
  • Extended Magazine
  • Green Laser
  • High-Capacity Magazine
Sammy Rifle
  • Burst Fire Barrel
  • Standard Magazine
  • Semi-Automatic Barrel
  • Heavy Stock
  • High Capacity Magazine
  • Sniper Stock


Music Lover: Well, follow the guide and you won't have any trouble. Wonder why there's 10 music sheets on the achievement and only 9 to find? The first one is on-the-house, you'll unlock it soon you start the DLC, I guess it's Sam's own music


Great Owl Some of them are tricky to find and not all of them are at the end of a skull or an inked wall. But follow this guide and you'll reach each one with little fuss.
DLC - Sam's Story - ITEM PICKING GUIDE


The first part of the chapter doesn't have anything worth mentioning except, the FIRST Batwing encounter, where you must NOT die. Refer to the achievement section.

After that, enjoy the ride and the cut-scenes.


You have a boat and a job; find the Captain.... again.

  • 1. Diary Page #1: Note to Korzh
    Get the boat, drive/sail to the first building, go upstairs, turn left, check the corpse ahead

  • 2. Night Hunter Stash #1:Throwing Weapons Harness and Night Vision Goggles(NVG)
    Same Building, first floor, follow yellow ink on the walls for the NVG. Jump to the planks on the water and follow the path up again to find the suit upgrade. Only the suit upgrade unlocks this stash count on the achievement, however in my modest opinion and regarding the ink on the wall, the NVG should have been the real stash.

  • 3. Melody 01
    Back to the boat, second rectangular building on the left. Ground floor. Classroom with a Piano

  • 4. Diary Page #2: Absence note
    Same room as previous, on a desk with an old computer

  • 5. Melody 02
    Big Building on land to the right with the theater, second floor, use planks to reach room. It's pinned on a board. Don't forget to get the tape from the room on the right side of the window with the planks for the Cinephile achievement.

  • 6. Night Hunter Stash #2: Rifle Scope
    Residencial Building with the checkpoint, ground floor, side entry.

  • 7. Night Hunter Stash #3: Battery Charge Controller:
    Same building, 2nd floor, room with a workbench, exit via the porch behind on the opposite side, kick the last door. Shoot the jelly jars.

  • 8. Diary Page #3: Survivor's note:
    Also, same building, top floor on the window to the left BEFORE climbing down the pole to meet the captain.

  • 9. Night Hunter Stash #4: Reflex Sights and Magazine mods:
    While hunting the sniper, first building. Use NVG to find the ink sign. Climb close to the elevator shaft, crawl to the secret room.

  • 10. Diary Page #4: A note from Korzh:
    Same building, second floor

  • 11. Melody 03:
    Returning to the Captain. Check blue side-door to the left before entering the boat


  • 1. Melody 04:
    After the drinking night with the Cap, climb down looking for traps to set. Inked wall with a hole. Pillar in the piano room ahead.

  • 2. Night Hunter Stash #5: Reinforced Helmet
    Head forward after the last item. Room with a skull on a wall. Kick wooden plank on the right

After going out via the zipline, go left, pick boat, head to the first brother. Get his half-code then head right, take the wooden bridges walking or the boat for sights and loot

  • 3. Melody #5
    Safe house close in the left border of the central landmass of the map, close to the scouts on the tower

  • 4. Ammo Pouch suit upgrade: It's not a Stash
    Climb the stairs in the building next to the previous safe house.

Head south vis the bridge to the half flooded facility mentioned by the scouts

  • 5. Night Hunter Stash #6: Upgraded NVG Goggles and Stallion weapon mods
    Down the hall from the locked door, find a crawlspace you can use to enter.

Go back to the safe house and head to the car dealership and stock on ammo and medkits before the second Batwing encounter on the car scrapyard. Don't die :) (refer to the achievements section for instructions). Remember also, that the previous items became inaccessible throught the scrap yard, but you can return to the pier past the corpses and through a ramp.(thanks to Xander77 for the correction)

Alive? good. Head to the second brother to his second half of the code, and then to the Car Dealership.

  • 6. Melody #6
    Car dealership, in the office. Access trough a green door behind the cars in the garage

  • 7. Diary Page #5: Company Charter:
    Same building, if you have the two codes from the brothers, open a small room behind the office

  • 8. Diary Page #6: Engineer’s Note:
    Bandit hideout, climb the ladder to enter, first room in the corner

  • 9. Melody #7
    Same floor, a bit further, after 2 Molotov traps, open door at your right to a room with a piano

  • 10. Night Hunter Stash #7: Consumables Suit Upgrade and Stallion weapon parts:
    Same bandit facility, next building, second floor. Locked door with a 3 switches combination. 3-1-2 is the correct order.


  • 1. Diary Page #7: A Note from the Boss :
    After getting the boat through the area with mandatory mask use. First stop, on the dock where you leave the boat.

After solving the worm puzzle, you can return to the boat a move forward. Go left to your "question mark" in your map and accomplish there a major morality action for the Captain (check previous section)

  • 2. Diary Page #8: Tail’s Diary :
    Head forward towards the checkpoint. Check a boat on the left with a Clinic sign. The diary is small compartment above its roof

  • 3. Melody #8
    Access bridge from the previous room. The music sheet is pinned on a unique toilet facility in the end of it.

  • 4. Melody #9
    After the clinic, head to the dock on the left side from the path to the fire station.
    The music sheet is pinned on the green car. Congratulations, you're officially a Music Lover

  • 5. Diary Page #9: A Guard’s Journal :
    The journal is on the opposite side to the right inside the car with a workbench.

  • 6. Night Hunter Stash #8: Extra-Bright Flashlight and more Stallion weapon mods:
    Refuel the generator to lift the crane and grant access to the stash. You'll probably unlock the Lord of War achievement here, if you followed this guide.

Now head to the Firestation

  • 7. Extended Filter mask upgrade - it's no stash
    After the Protection Suit, climb the stairs and pick the upgrade on a table to the left. look ahead to a small office box for the next diary.

  • 8. Diary Page #10: Boss’ Notice :
    On the desk inside the aforementioned office box

  • 9. Diary Page #11: Seryi’s note :
    After dropping from the Fire-Station zipline. Ruined building ahead. Watch out for mines.

    This is the last of the last items in the WhoLe GaMe. Congratulations
    .

Now prepare yourself for the last Batwing encounter filling your pockets with ammo and med-kits in the workbench close to your last item. I recommend incendiary ammo. You'll make it for sure, check the achievement section for advice
DLC - Sam's Story - Sheet Music
Melody 01


Back to the boat, head to rectangular building on your left. Enter the old university


Loot the place for some weapon mods and look for a classroom with a piano and a computer. Take the Melody 02 from the wall close to the piano. Don't forget the Absence note on the computer desk too.


Melody 02


Head for the big building inland on your right and infiltrate the facility from the ground window on the right.


Sweep clean the premisses as you like, lethally if you still need count for the Headhunter achievement. till you find on the second floor a window with some planks on it.


Access the instrument room via the wooden planks. The Melody 02 is pinned on the board to the right


Melody 03


After dealing with the Sniper, return to the captain. Before entering the boat, check the blue side-door to your left.


Inside, you'll find the Sheet music pinned on the cupboard to your left


Melody 04


After spending a merry night with the Captain, he'll ask you to set some traps before heading out. Go downstairs one floor and look for a wall with a whole in it (and some ink). Go through it.


Not long further, you'll find a open room with a piano. Pick the sheet music from the pillar to the left. Don't forget to set the traps you find along the way.


Melody 05


After receiving the first part of the Car dealership Brother, head to the central land mass of the map. in the left border you'll find a tall building and a safe house accessible from the bridge


You can pick the music sheet from the wall left to the workbench, a very important workbench. But first go talk with the scouts on the building to the left and pick the Ammo Pouch suit upgrade


Melody 06


After dealing with a giant bat, and receiving the ultra complex password of the second brother, go around the scrap yard to find the famous Car Dealership.


Inside, go to the garage in the far end and access the office behind the two wrecked vans. Pick the sheet music from the wall.


Melody 07


Not much further in the first building of the bandit hideout and after you pick the Engineer’s Note, after having disarmed a couple traps, open the door at your right the the piano room.The sheet music is pinned on the locker.


Melody 08


From the Clinic Boat's roof where you found the Tail’s Diary head to bridge and to the toilet in the far end of it. Pick the sheet music from the door


Melody 09


Go ahead to the your checkpoint the firestation. Dock your boat on this pier to the left. Go up the wooden stairs.


The music sheet is pinned on the green car to the left next to a fire barrel and a sofa. Congratulations, you're officially a Music Lover
DLC - Sam's Story - Night Hunters' secret stashes
Night Hunter Stash #1: Throwing Weapons Harness and Night Vision Goggles


Through the passageway where you picked the Note to Korzh you'll reach a porch with ink on the walls, If you follow the ink you'll find a safe house with the NV goggles witch you wanna pick


But you need to jump to the wooden planks on the water too before or after you pick the goggles


Go through a half flooded basement and go upstairs to find the Throwing Weapons Harness lying on the sofa, the true stash for the achievement


Night Hunter Stash #2: A-Shot Scope and some other weapon parts


Head to the residential building with the last known location of the Captain. To progress up, check the the left entry on the ground floor.


Before going up the stairs go to the far end of the floor and turn left to find a barred red door. Cutting a rope reachable on a whole in the wall will unlock the door.


Take the weapon parts from the corpses inside


Night Hunter Stash #3:Battery Charge Controller


In the same residencial building go further to the second floor progressing through the apartments and mutants. You reach one with a workbench and some mods, for the Stash however you should take the porch behind you if your facing the workbench


Go to the end of it and open the door to the left with a kick.


The stash is hidden behind some old vegetables jars. Break them to take the Battery Charge Controller


Night Hunter Stash #4: Reflex Sights and Magazine mods


You'll have to deal with a pesky sniper and the Captain will stop in this building.


Go inside, make use of your NVG and sweep clean the ground floor: Look for the skull on top of the stairs in the far end. Turn right there to the elevator shaft where's a balcony you can climb instructed by the arrow only visible with the NVG.


The secret stash is accessible throught a crawling space with arrows to help u find it


Night Hunter Stash #5:


Not much further from the music sheet on the pillar, you'll reach a room with a painted skull on the wall. Look closer to your right. Kick the board hiding a narrow passage. The Reinforced Helmet is inside. Hard to miss.


Night Hunter Stash #6: Upgraded NVG Goggles and Stallion weapon mods


Use the wooden bridge and go check the building south of the scouts as instructed by them.


Inside look for a skull, and behind some debris to the left of that wall there's a crawling space.


Go inside and pick the NVG upgrade and the weapon mods from the table to the right

Now go back to the safe house and stock on ammo and med-kits.

Night Hunter Stash #7: Consumables Suit Upgrade and Stallion weapon parts


Progress further to the second building of the bandit hideout, and while reaching the top you find a small room with 3 switches. Activate them in the order: 3rd switch --» 1st --» 2nd switch to open the secret stash door, or use your NVG to check the correct switching order (*thanks to HighPingTank for the tip)


Inside you'll find the most useful Consumables Suit Upgrade and some weapon mods


Night Hunter Stash #8: Extra-Bright Flashlight and more Stallion weapon mods


Refuel the generator next to the Van with the Guard's Journal to lift the crane and grant access to the stash.


You'll probably unlock the Lord of War and the Great Owl achievements here, if you followed this guide for the stash and looted some weapon parts too.
DLC - Sam's Story - Diary Pages
Diary Page #1:


You'll need to go through a building with your new boat. make a stop and go upstairs.


Turn Left, go to the far end while dealing with some mutants. The Note to Korzh rest next to a corpse in the beginning of a passageway to the left.


Diary Page #2: Absence note


In the same classroom with piano where you found melody 01, pick the Absence note from the computer desk


Diary Page #3: Survivor's note


Going up on the residencial building and after pick the Battery Charge Controller, you'll reach the top floor where you need to climb down a yellow pole. BEFORE doing that pick the Survivor's note from the window on your right.


Diary Page #4: A note from Korzh


After finding the secret stash in the building complex where you need to deal with the sniper, look for a ladder to the second floor in the opposite of the building.


The note will be sitting on a sofa to your right


Diary Page #5: Company Charter


In a small division behind the Car dealership office where you found the Melody 06 you'll find a safe. If you have both codes, it'll open. Inside is the revealing Company Charter.


Diary Page #6: Engineer’s Note


Head to the bandit hideout. Climb the ladder giving you access to the first building.


Right inside the first room, you'll find the Engineer’s Note on top of a old mini-fridge to the left


Diary Page #7: A Note from the Boss


After taking the boat from the mutant breeders bandits you'll have to stop on a blocked building. The diary can be found after you dock your boat on top a crate to your right.

Diary Page #8: Tail’s Diary


Further sailing in the poisonous bog, head to a boat with a clinic sign outside. Inspect the roof to find a small half opened division


The Tail’s Diary can be picked from the table to your right


Diary Page #9: A Guard’s Journal


In the opposite side of the last sheet music, enter the van for the workbench and the Guard’s Journal


Diary Page #10: Boss’ Notice


In the Firestation, after putting the protection suit on, climb the stairs and pick the flashlight-upgrade on a table to the left.


In front of you there's an office box. Pick the Boss’ Notice from the desk there


Diary Page #11: Seryi’s note


Just after dropping from the Fire-Station zipline, check the ruined building ahead. Watch out for mines.


The last item in the WhoLe GaMe rest inside, close to a workbench you should use. Prepare yourself for the Bat.

To be honest, It's a shame we don't get an achievement, firework and a cake with all diaries too... but well...congratulation are in order... to us both. It means my guide is also finishing.
Final Comments
Good luck in your playthrought, and hope this guide could help you getting the most of this memorable game.
If so give it a thumbs up so others can find it easier.

All Collectibles, Upgrades, Achievements and Morality, a Comprehensive Guide
written by B3rgman.
...and please do not redistribute this guide without my express permission.
118 opmerkingen
Fbll -The Seeker- 21 mrt om 15:50 
There is one more Upgrade in the Volga level that has not been marked since well, the place seems to be only accessible if you're willing to use noclip and fly over there.
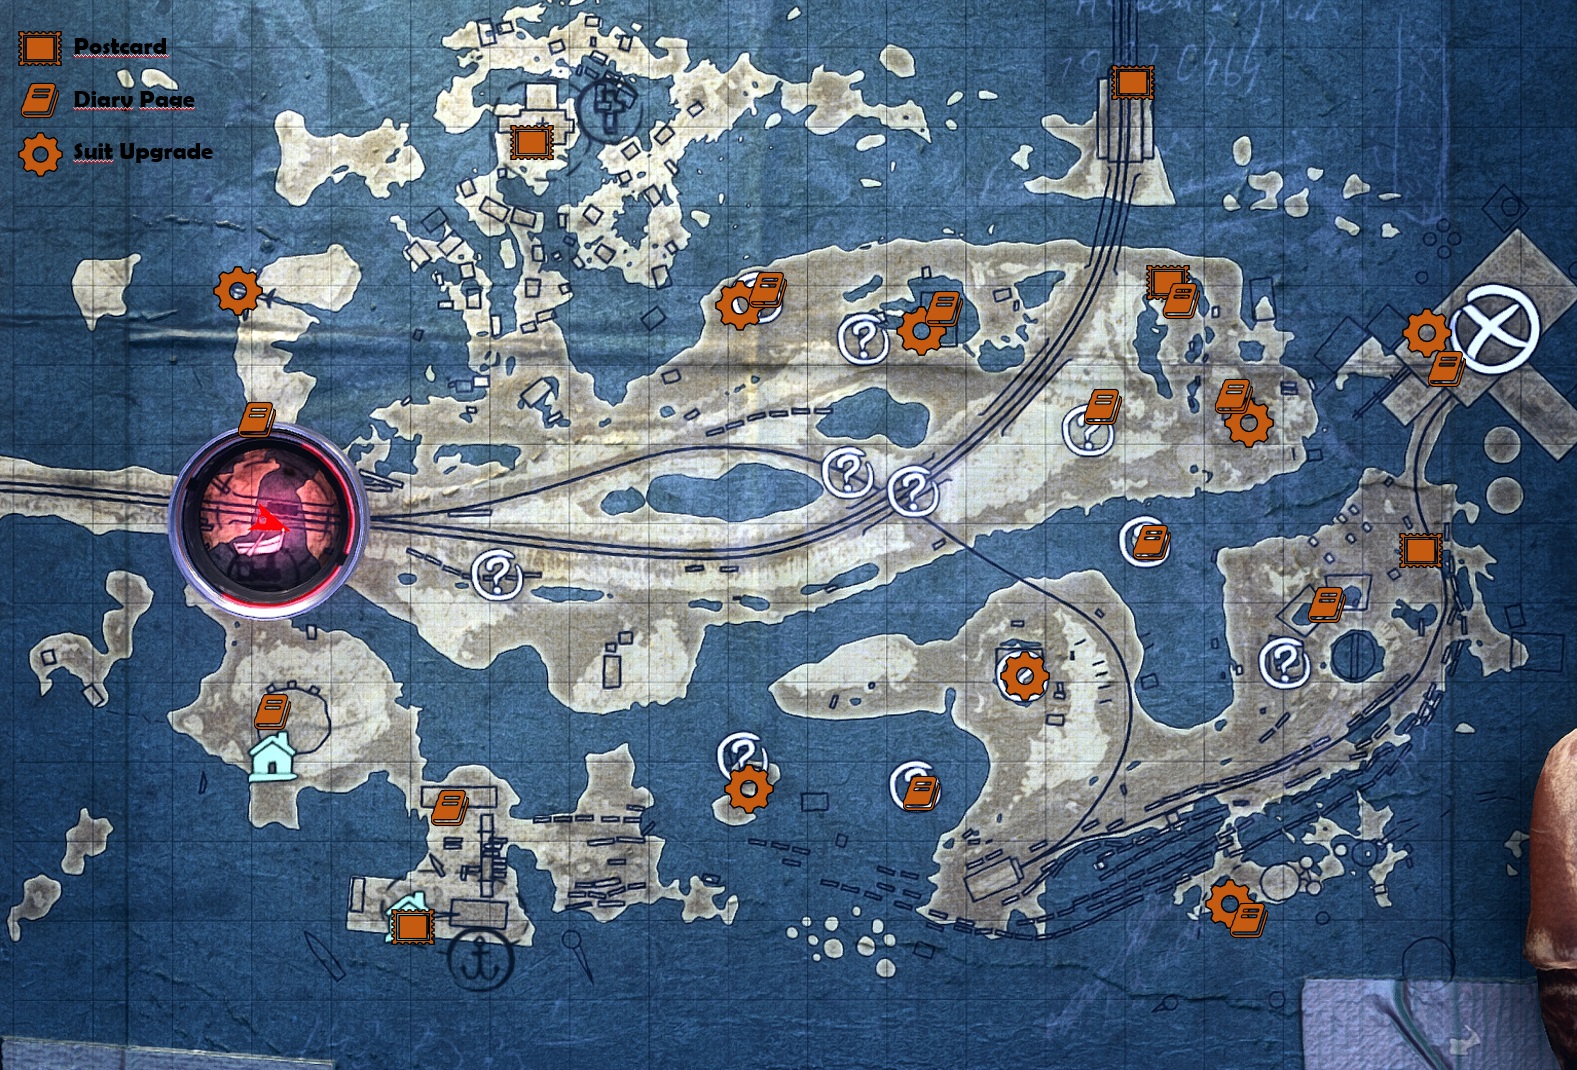
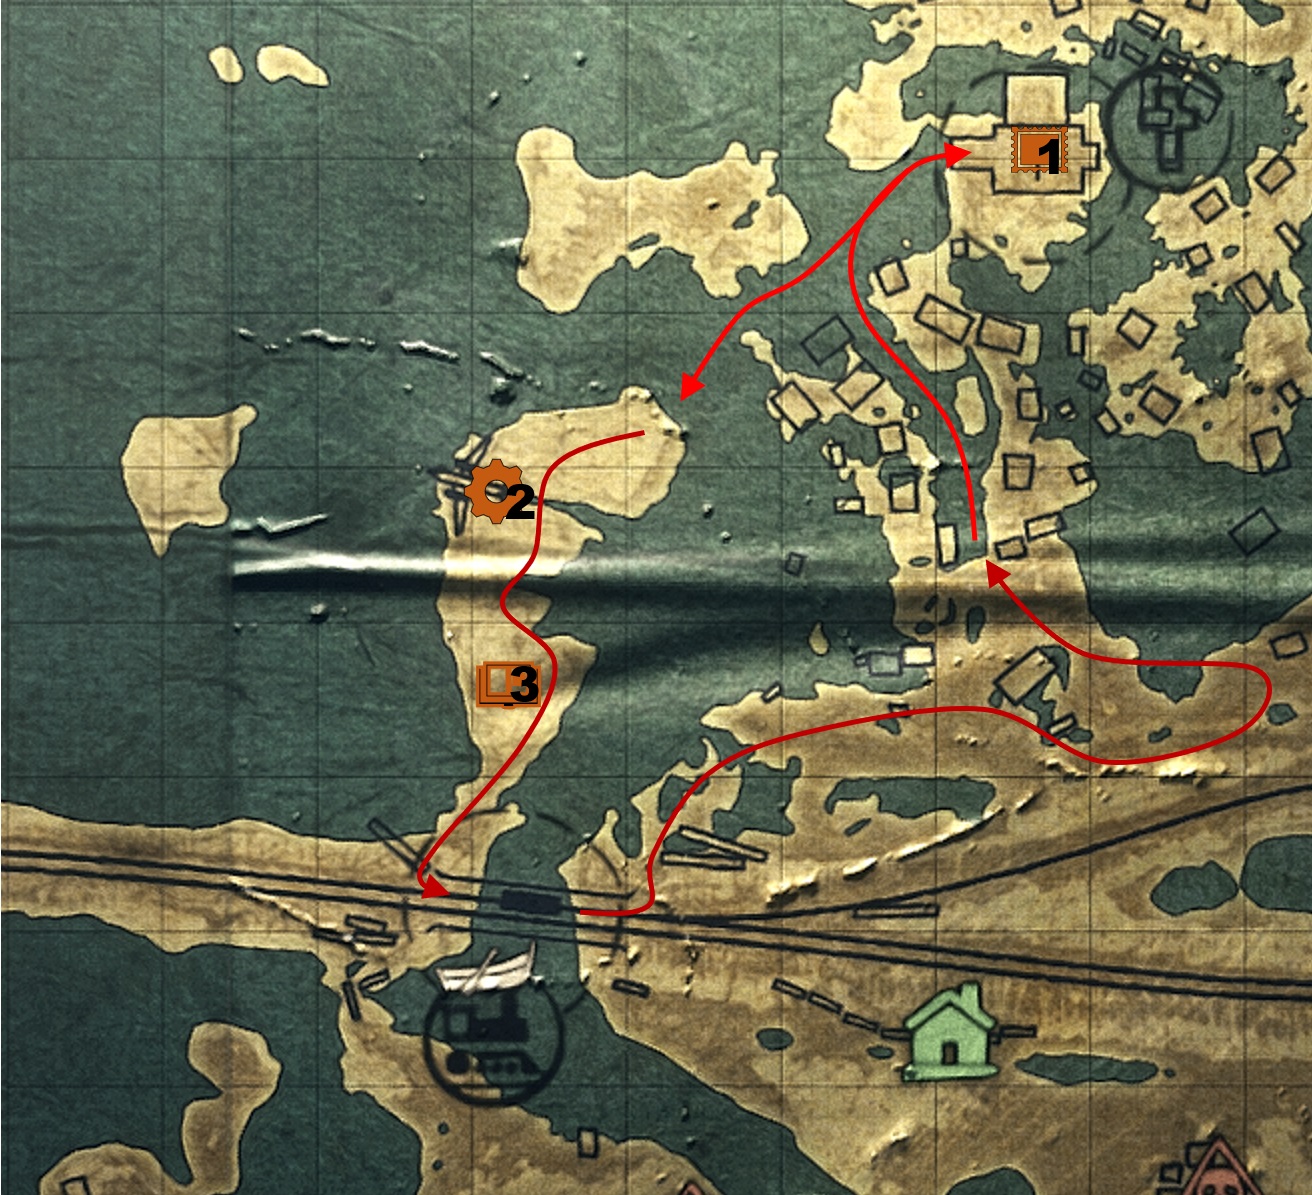
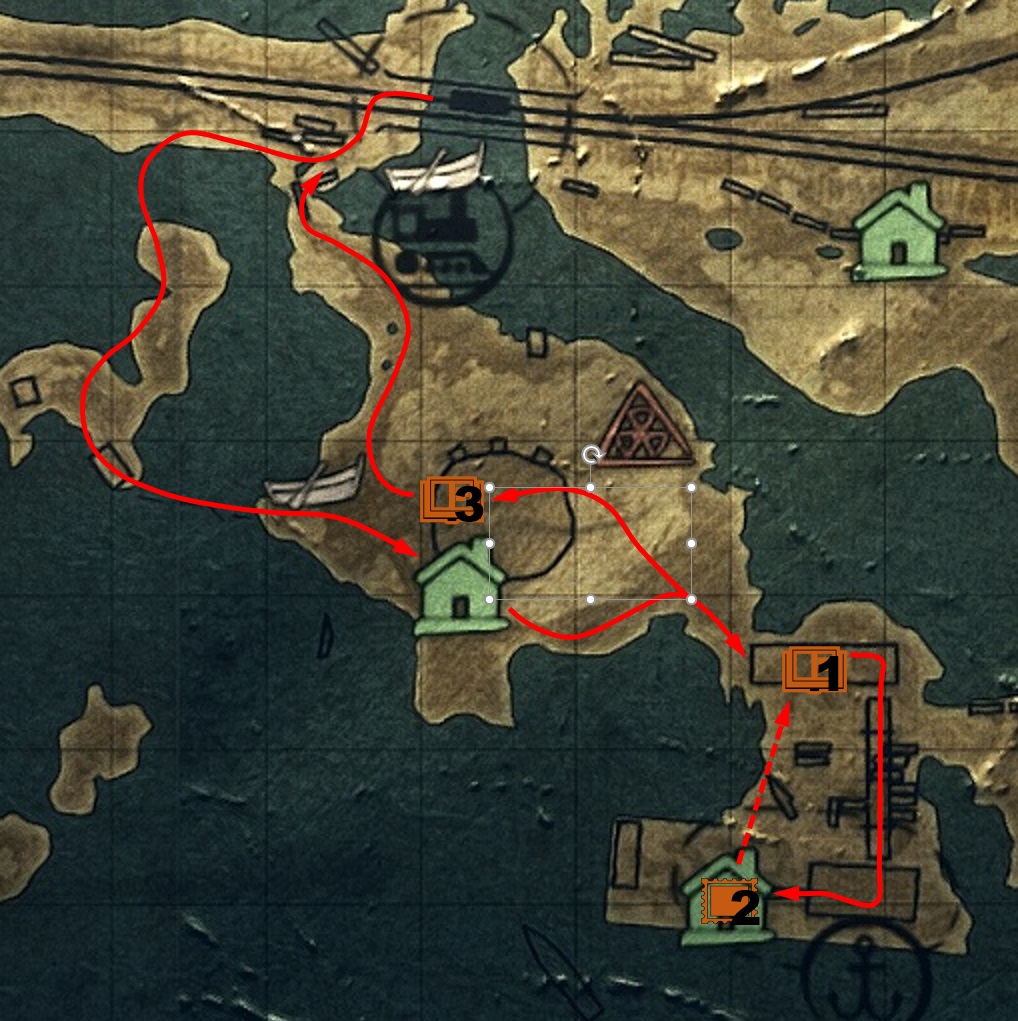
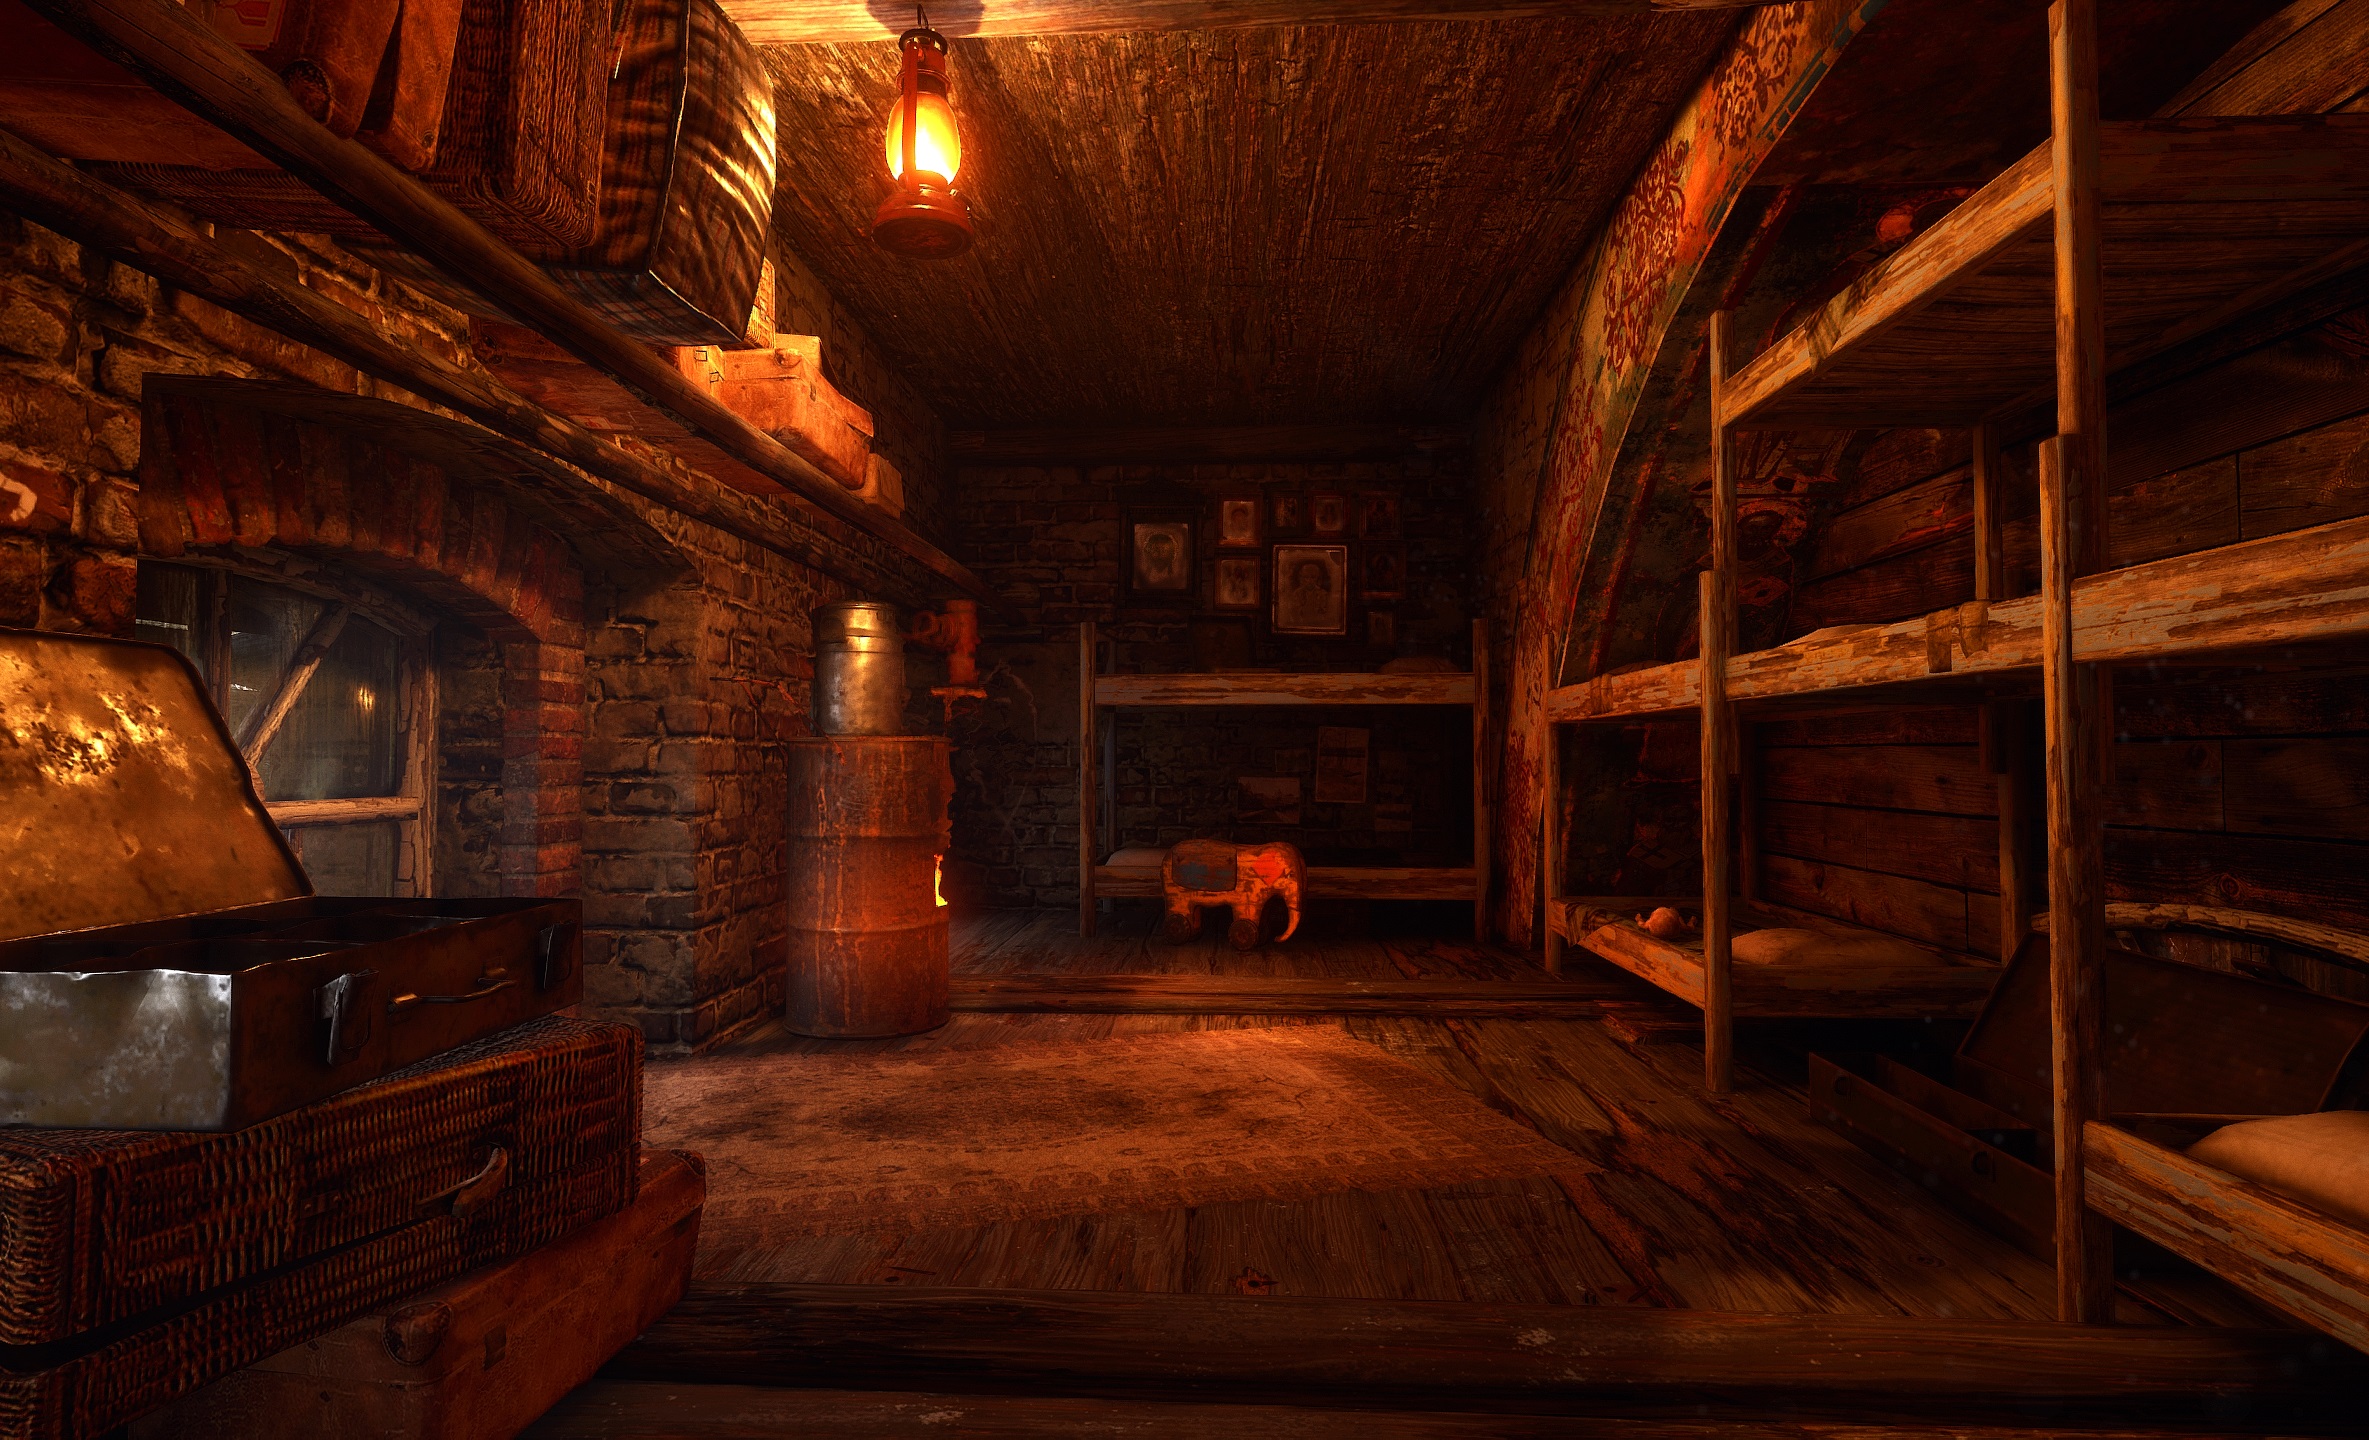
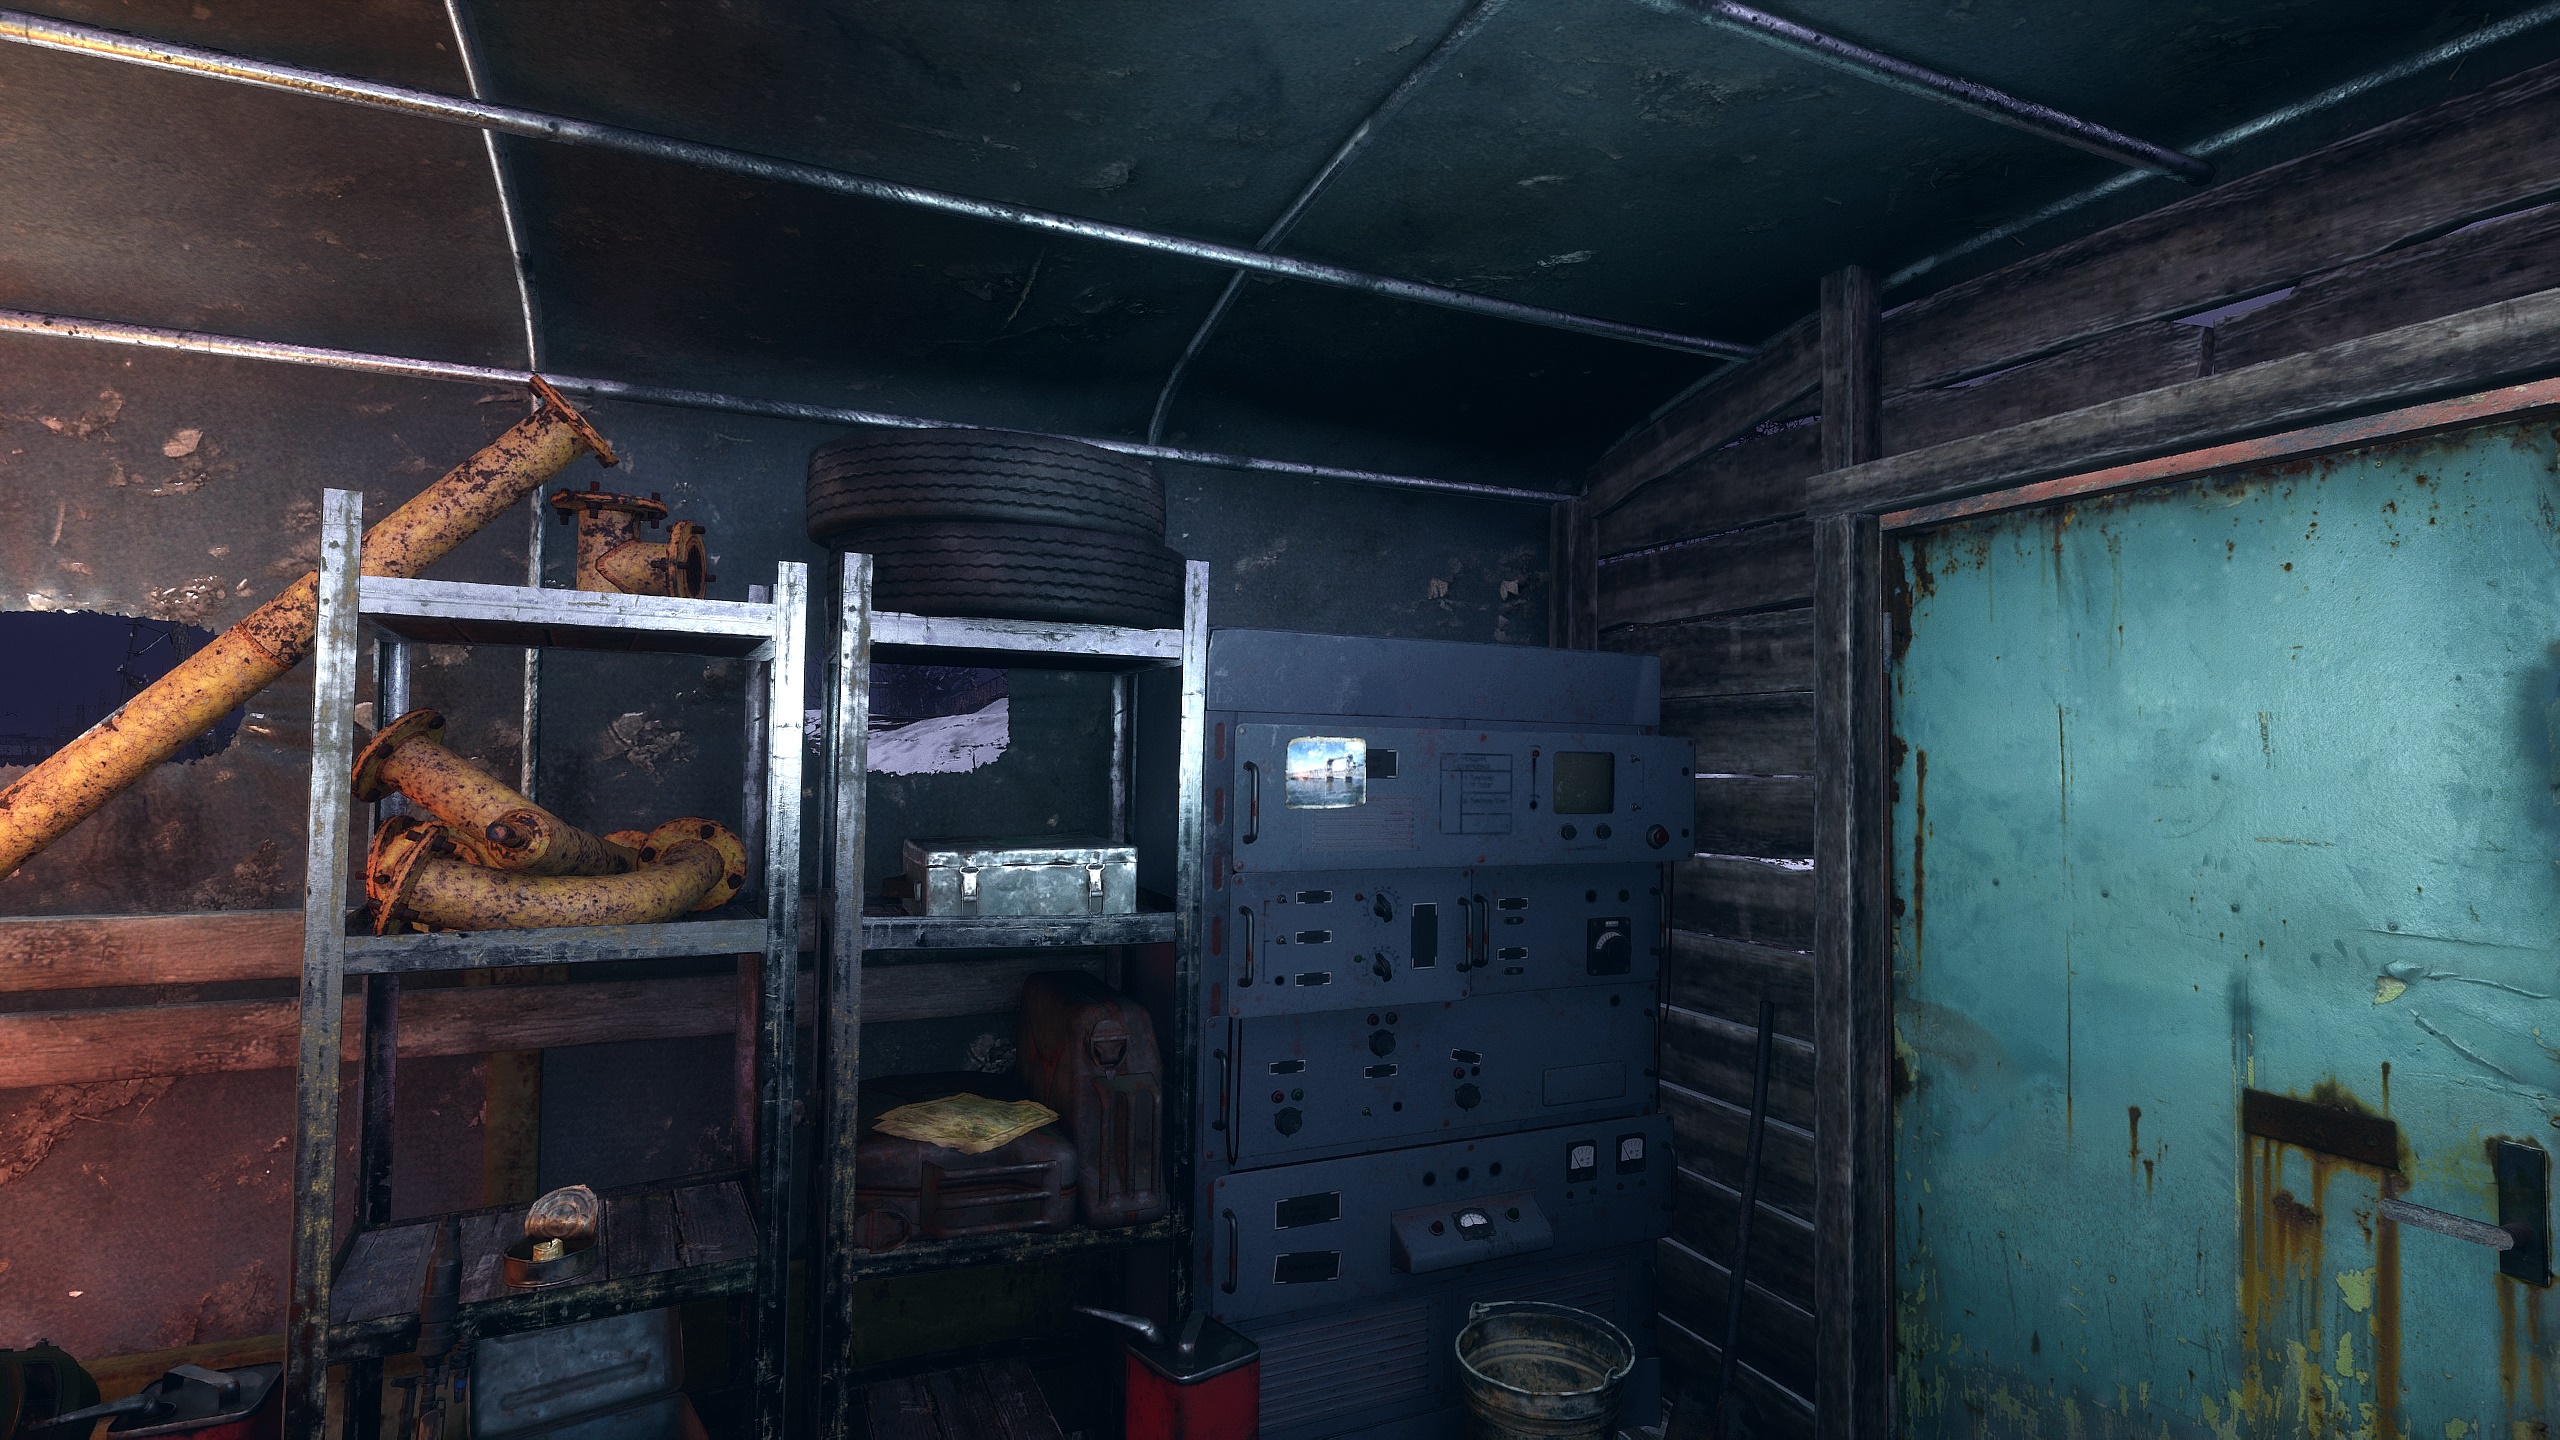
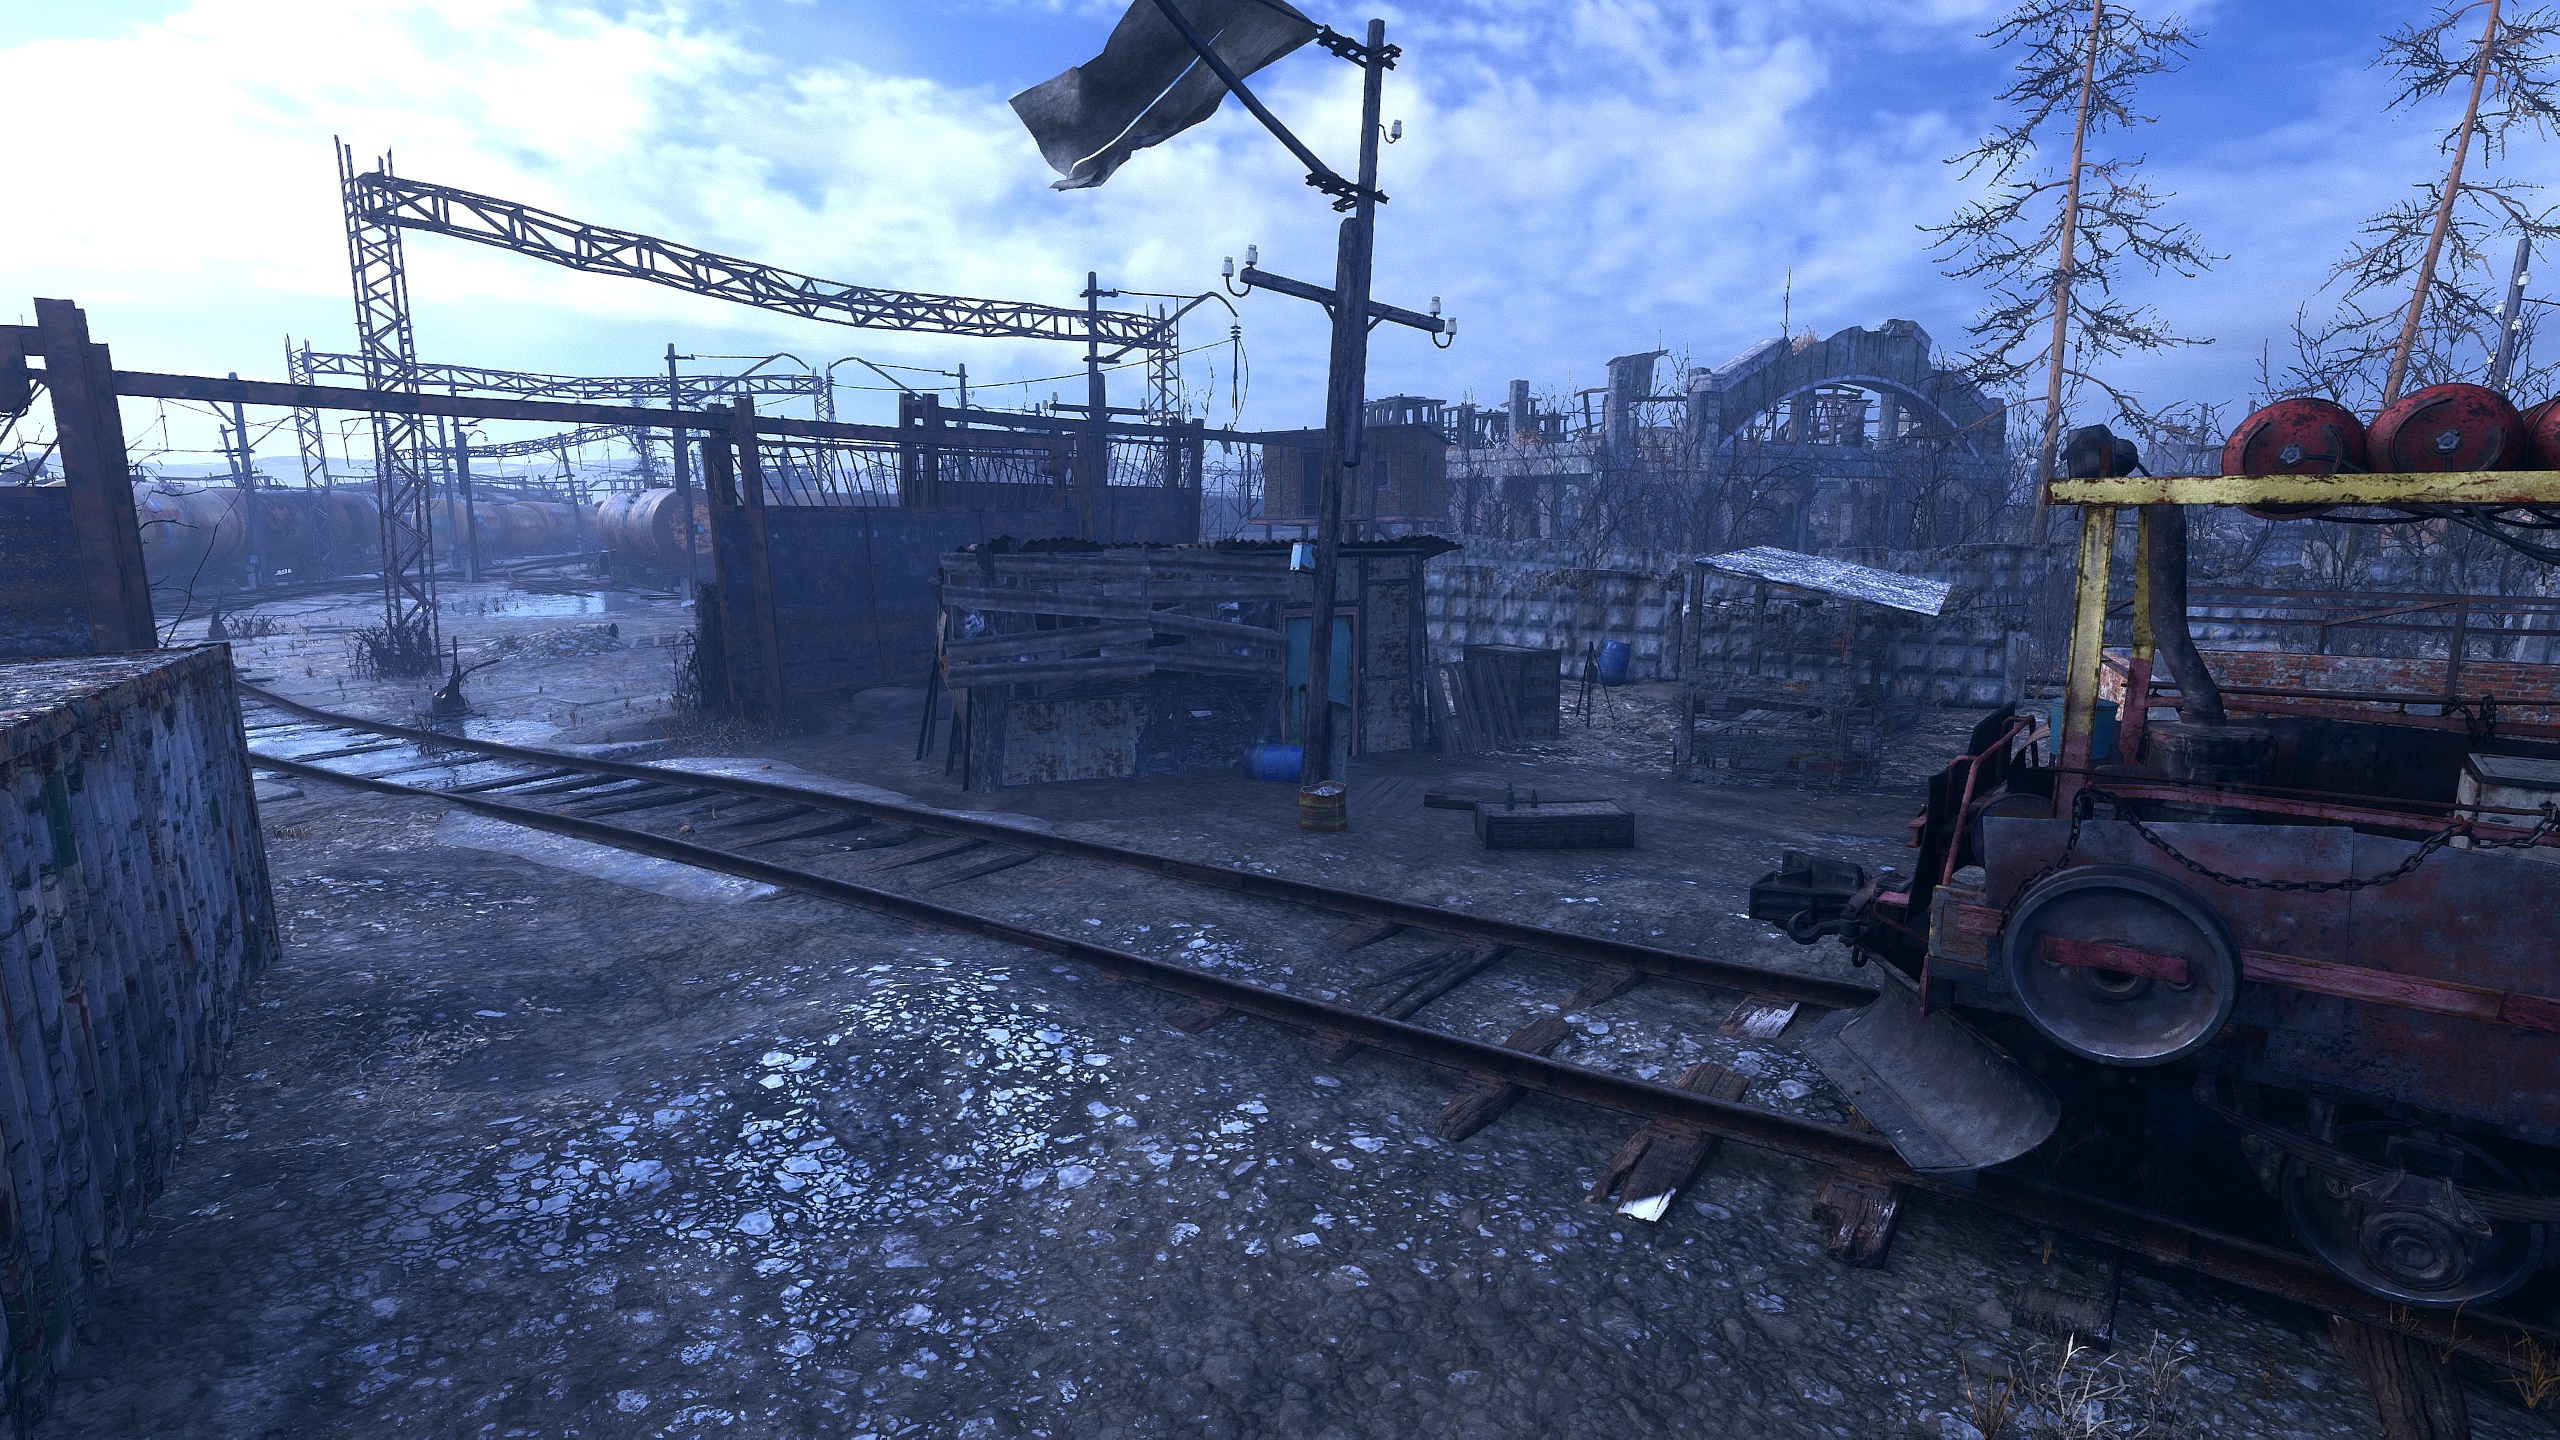
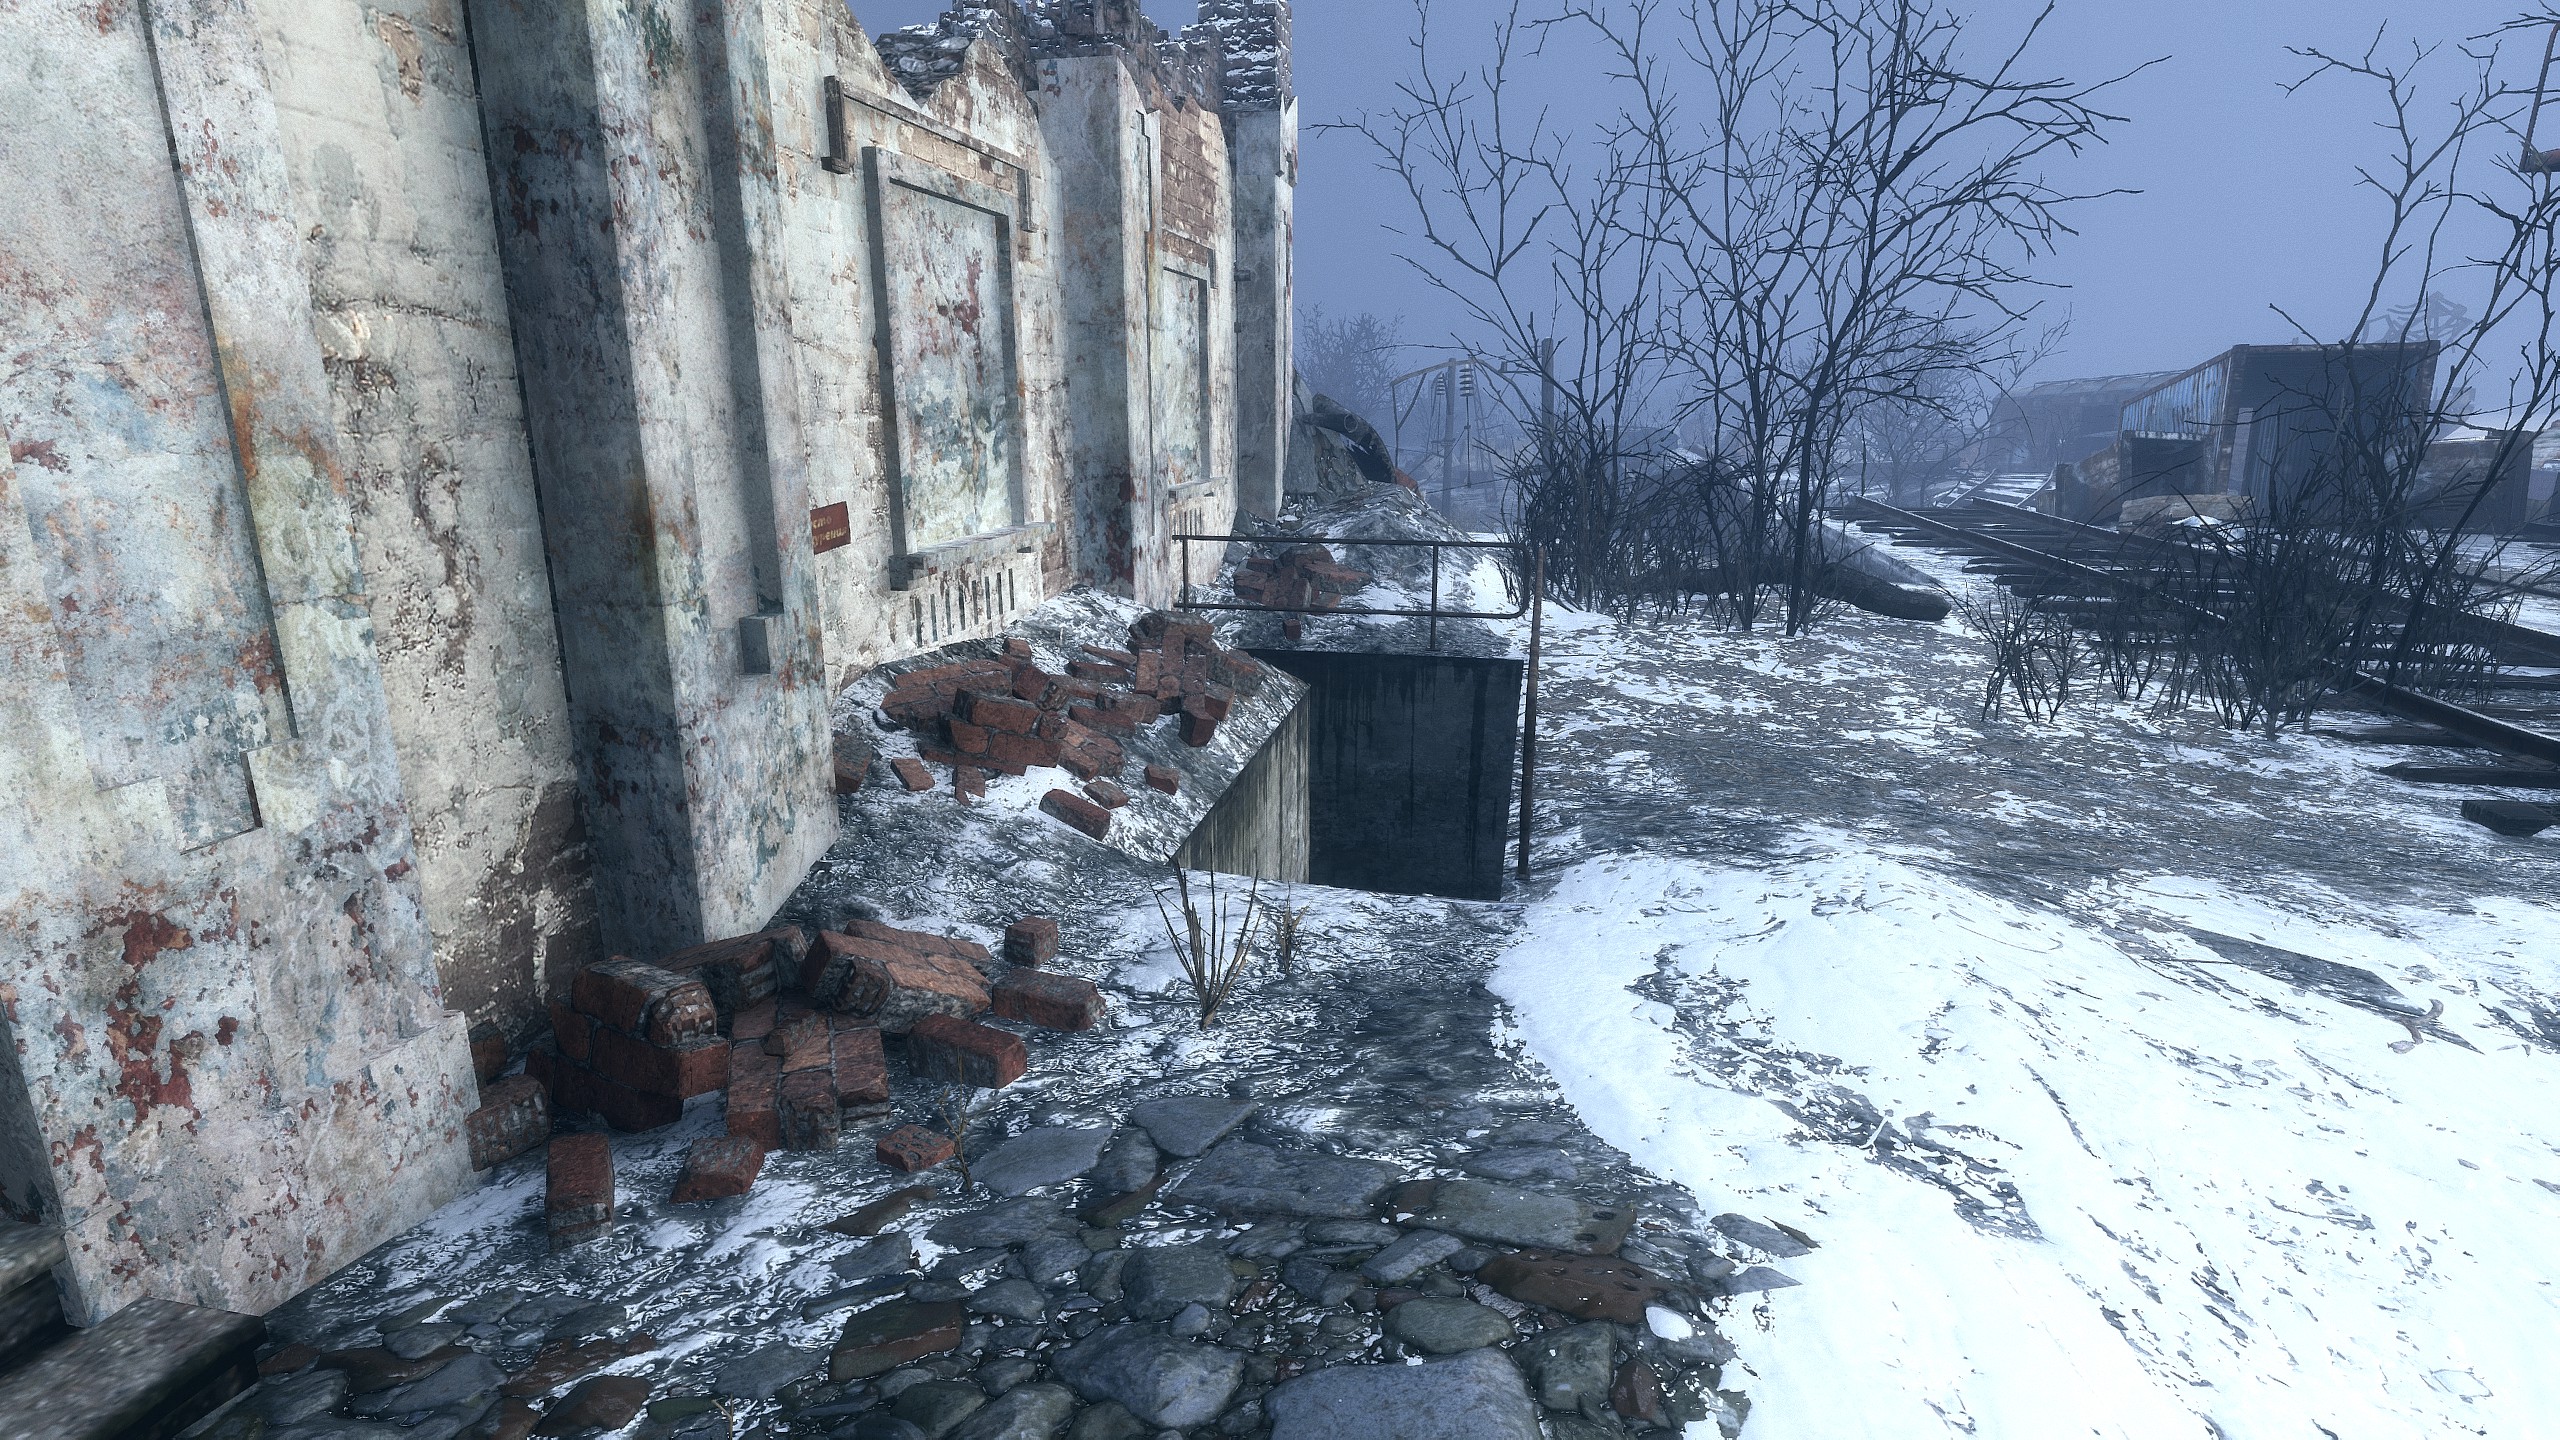
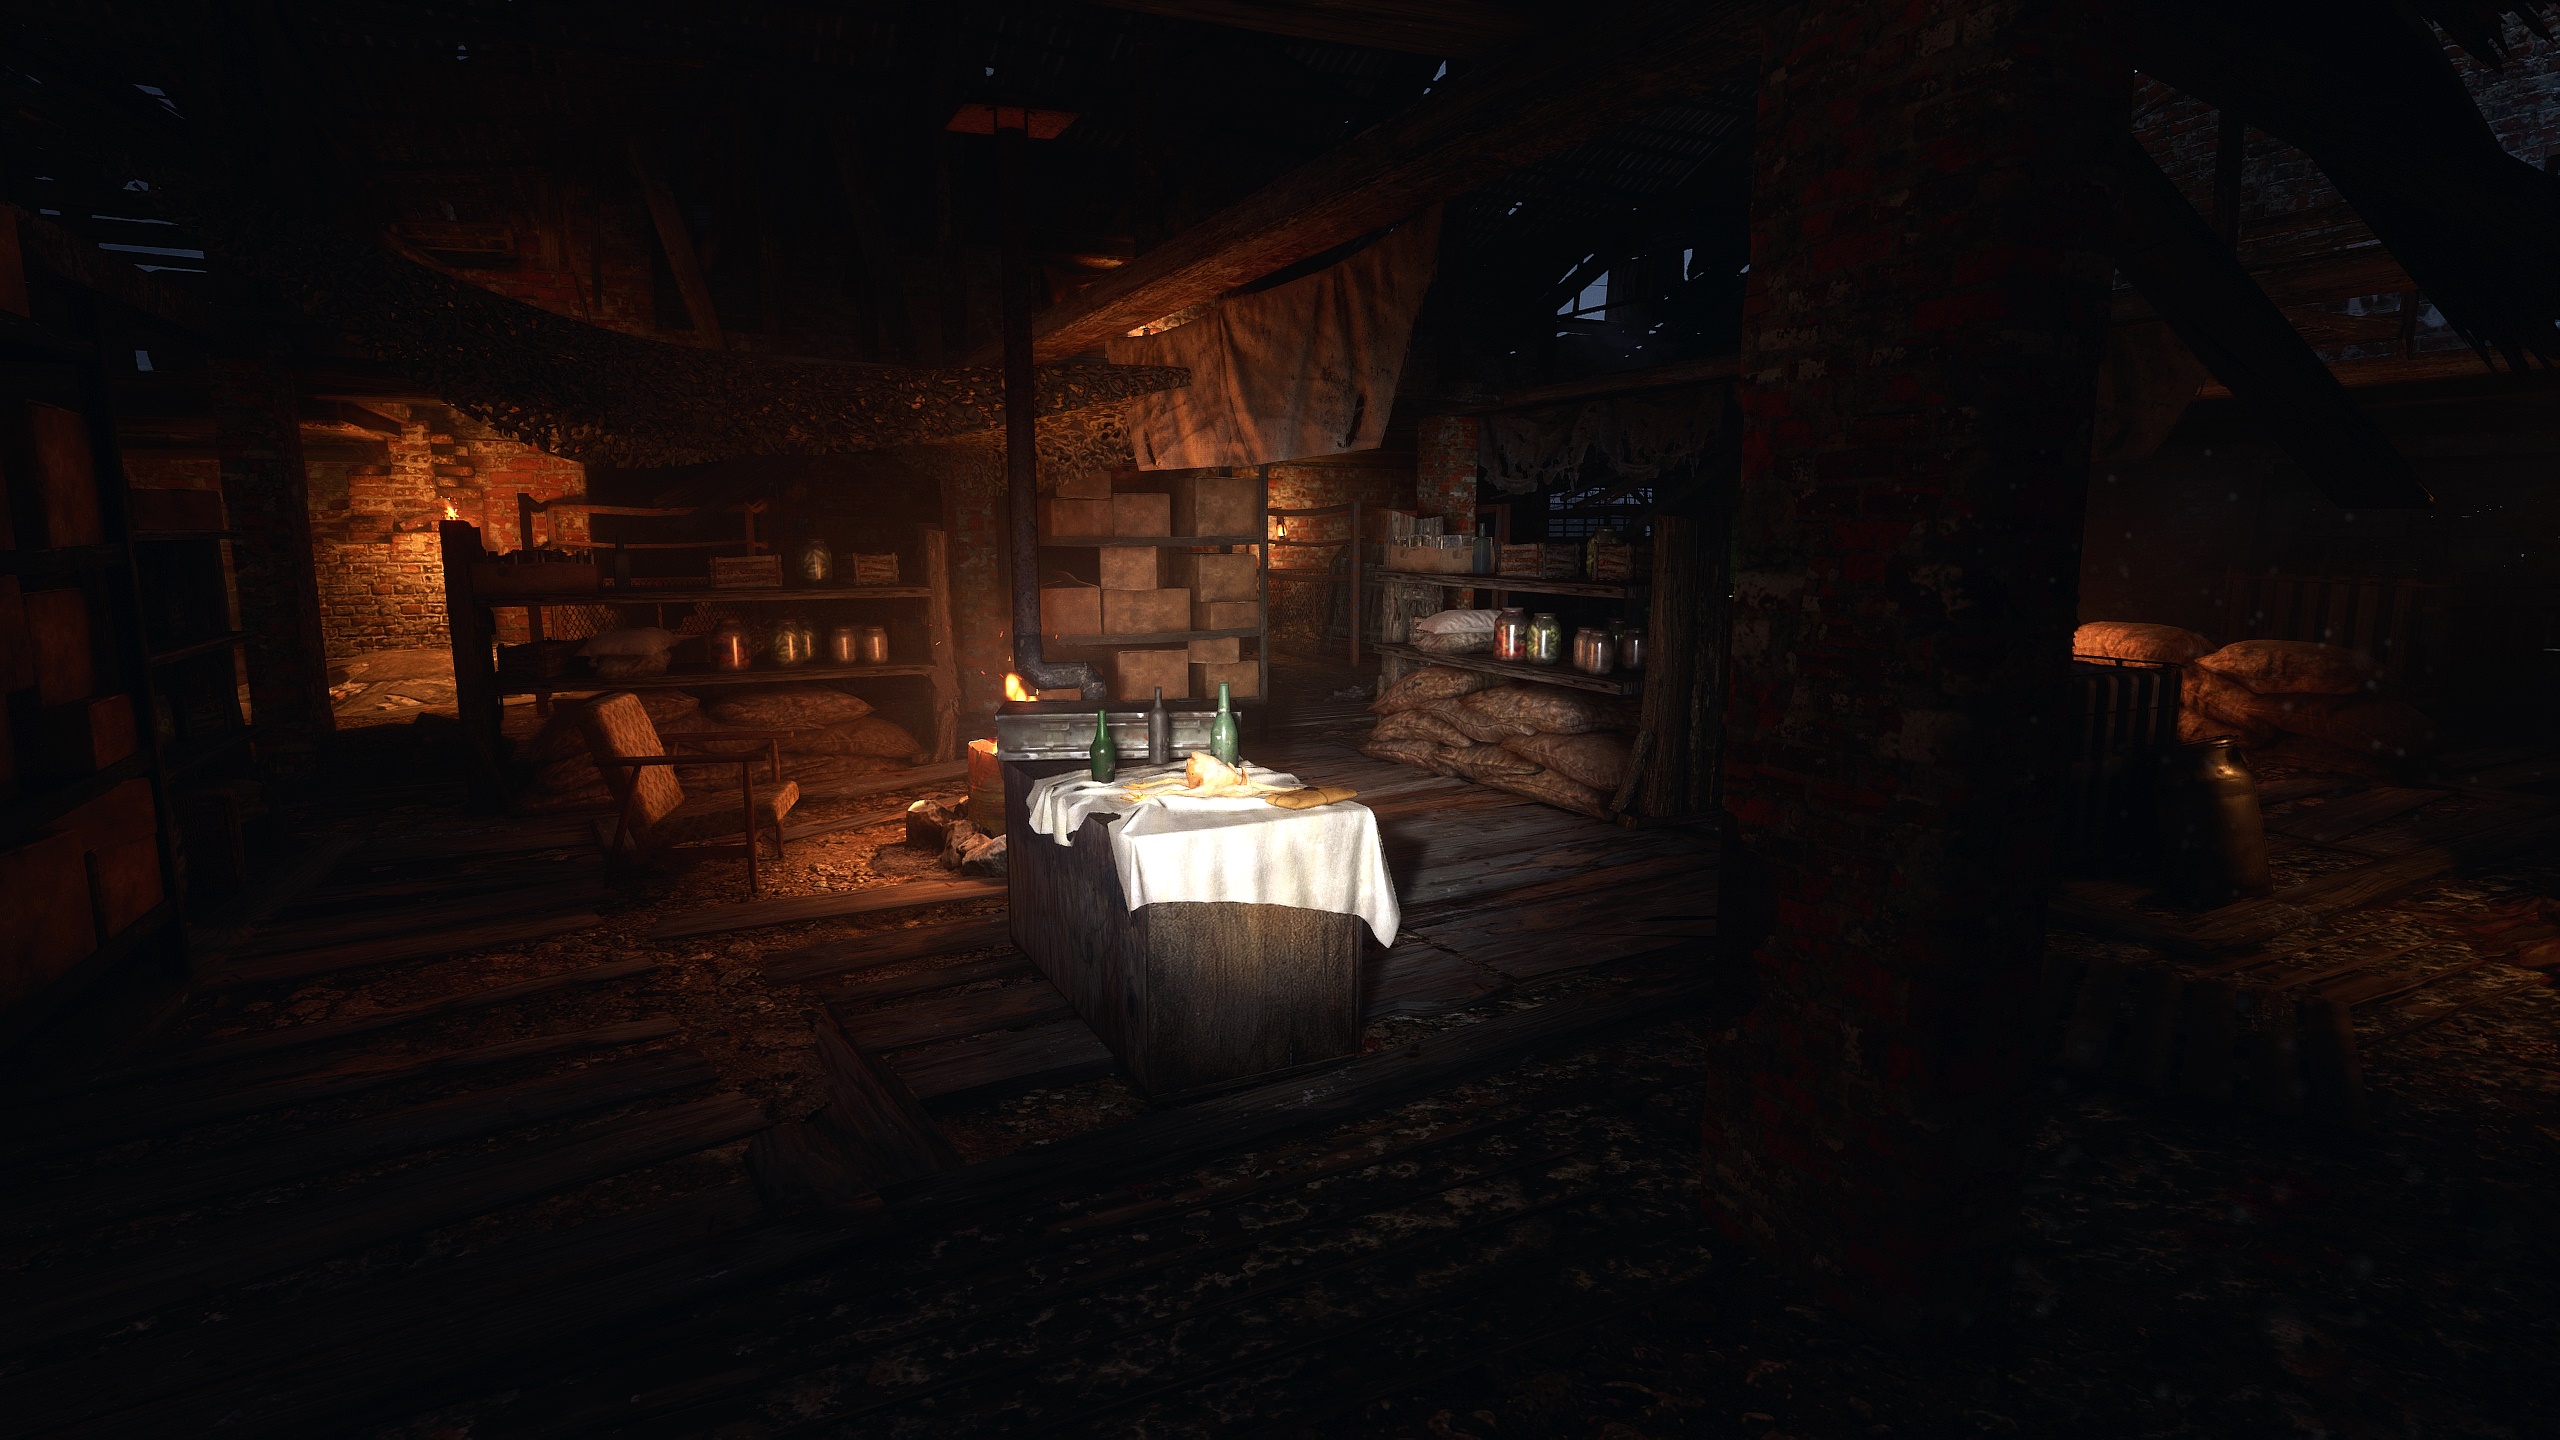
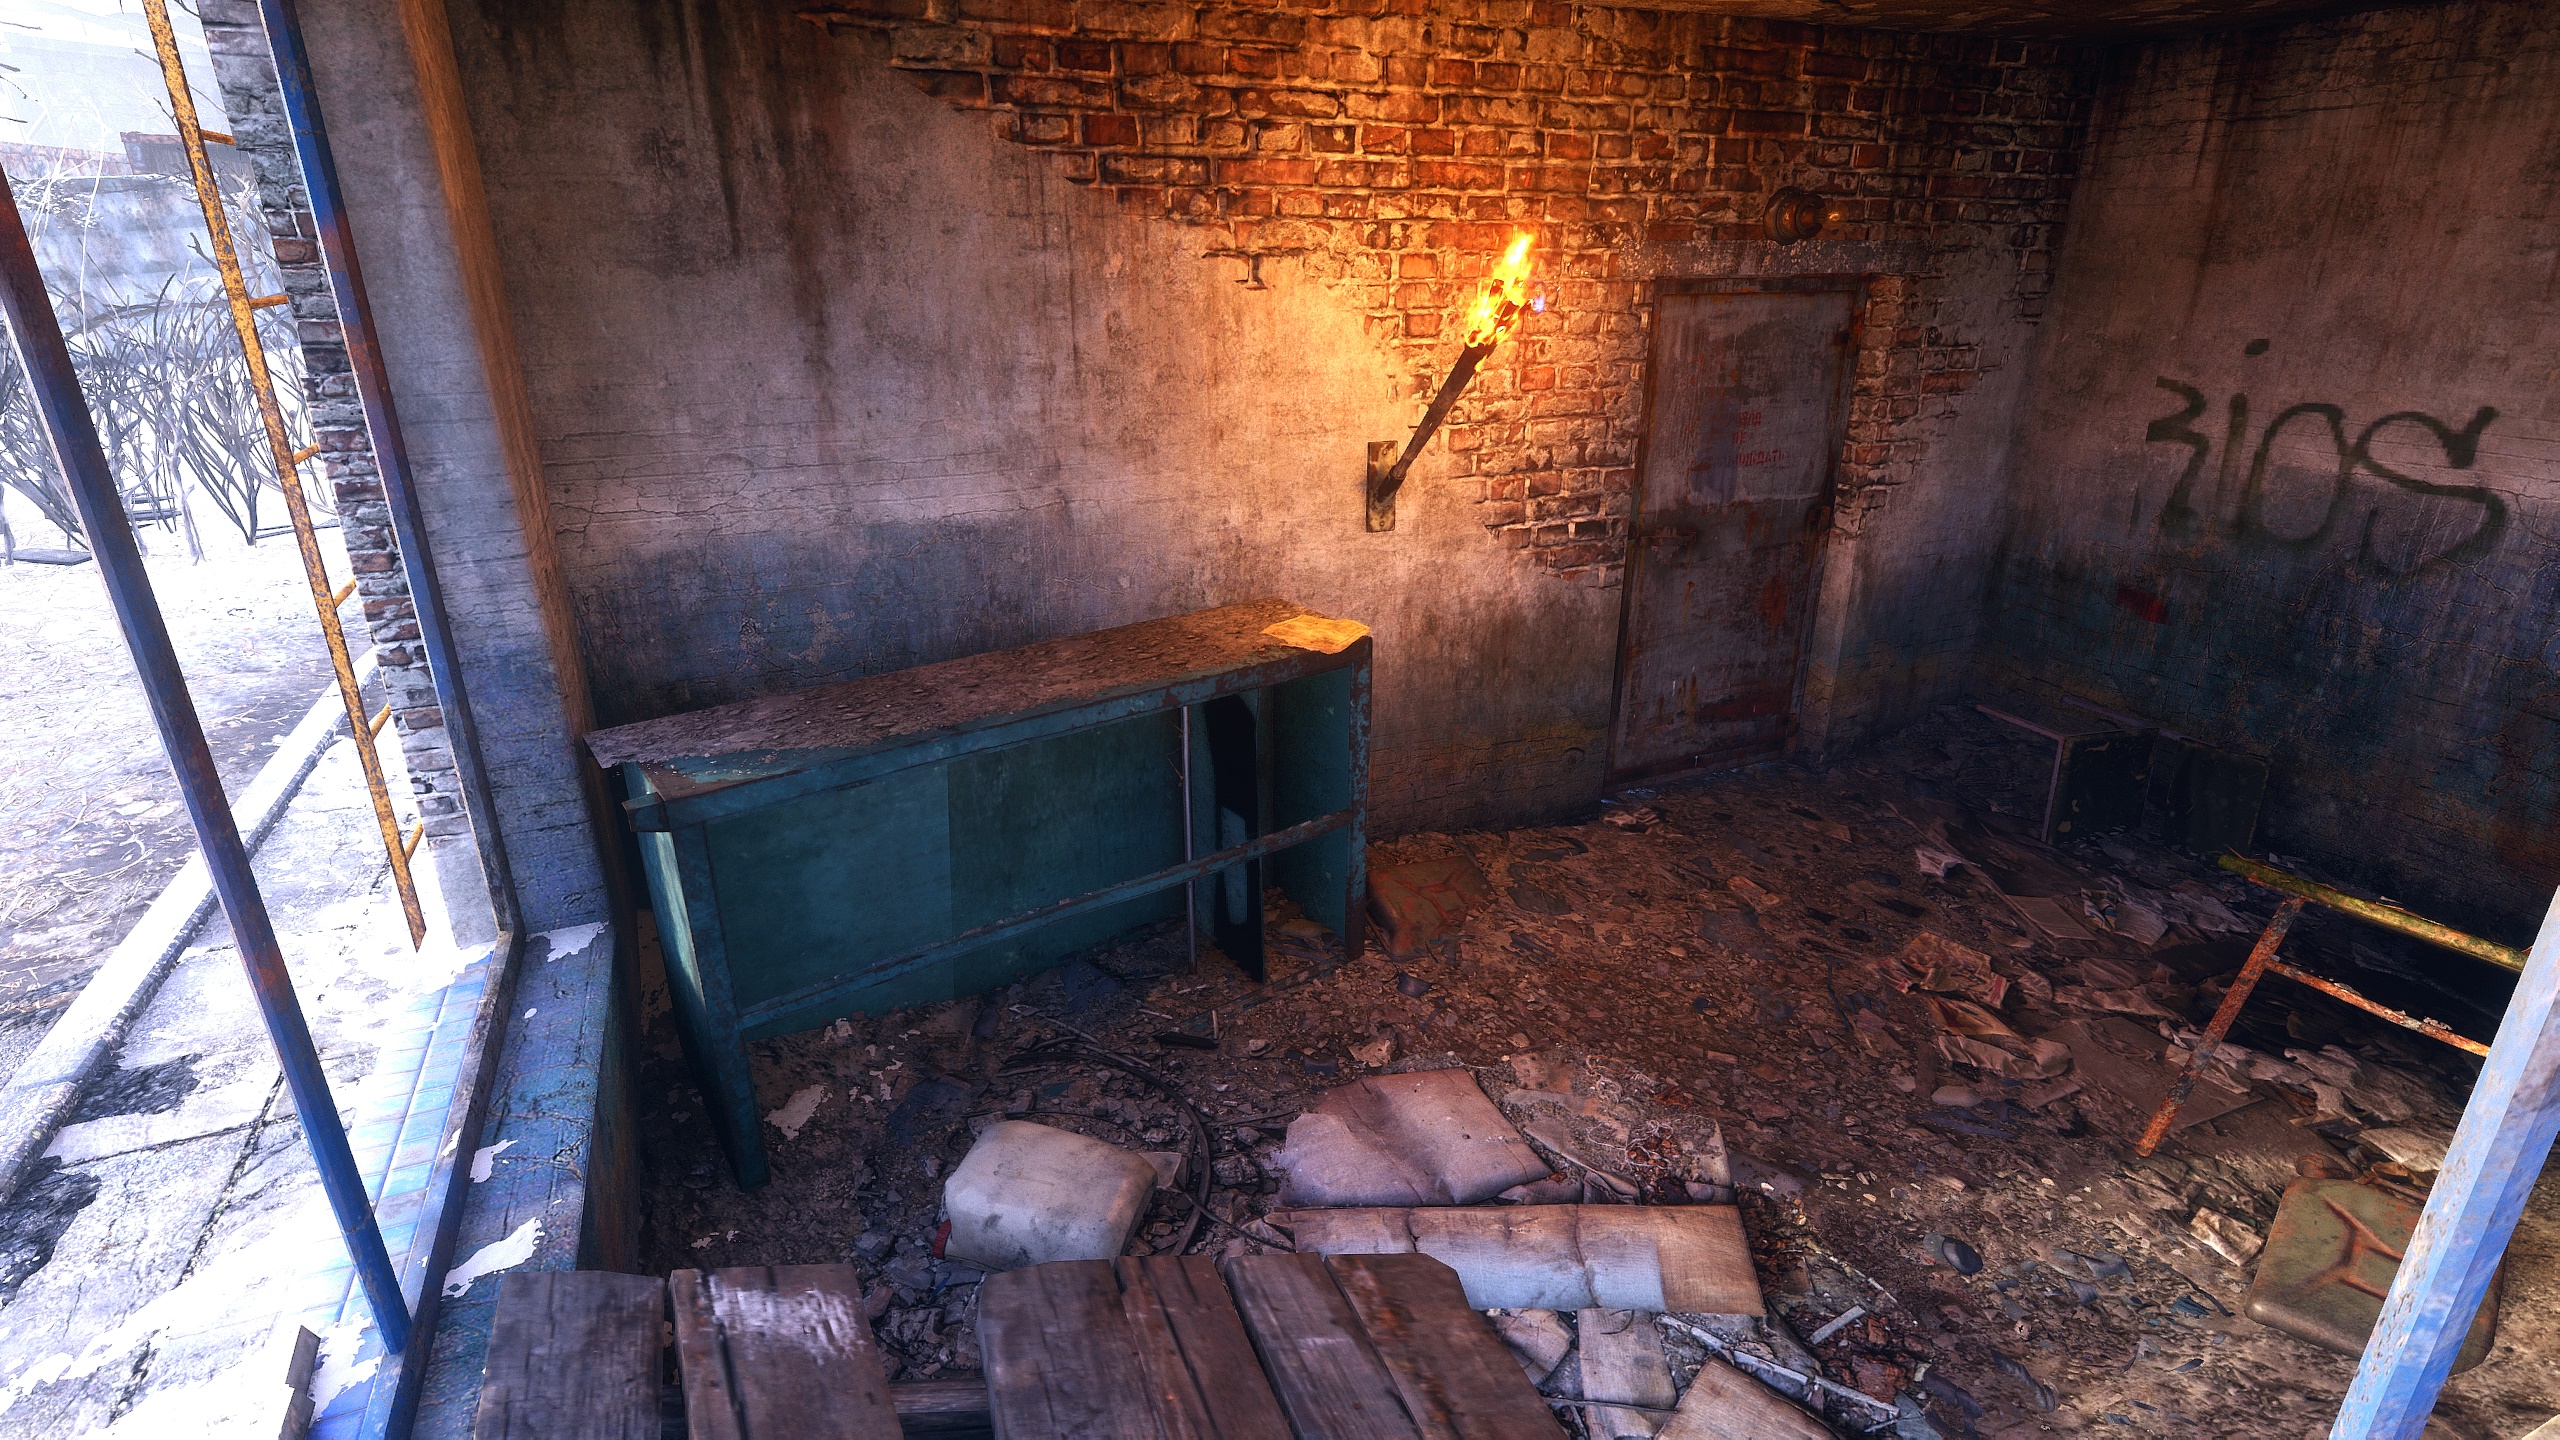
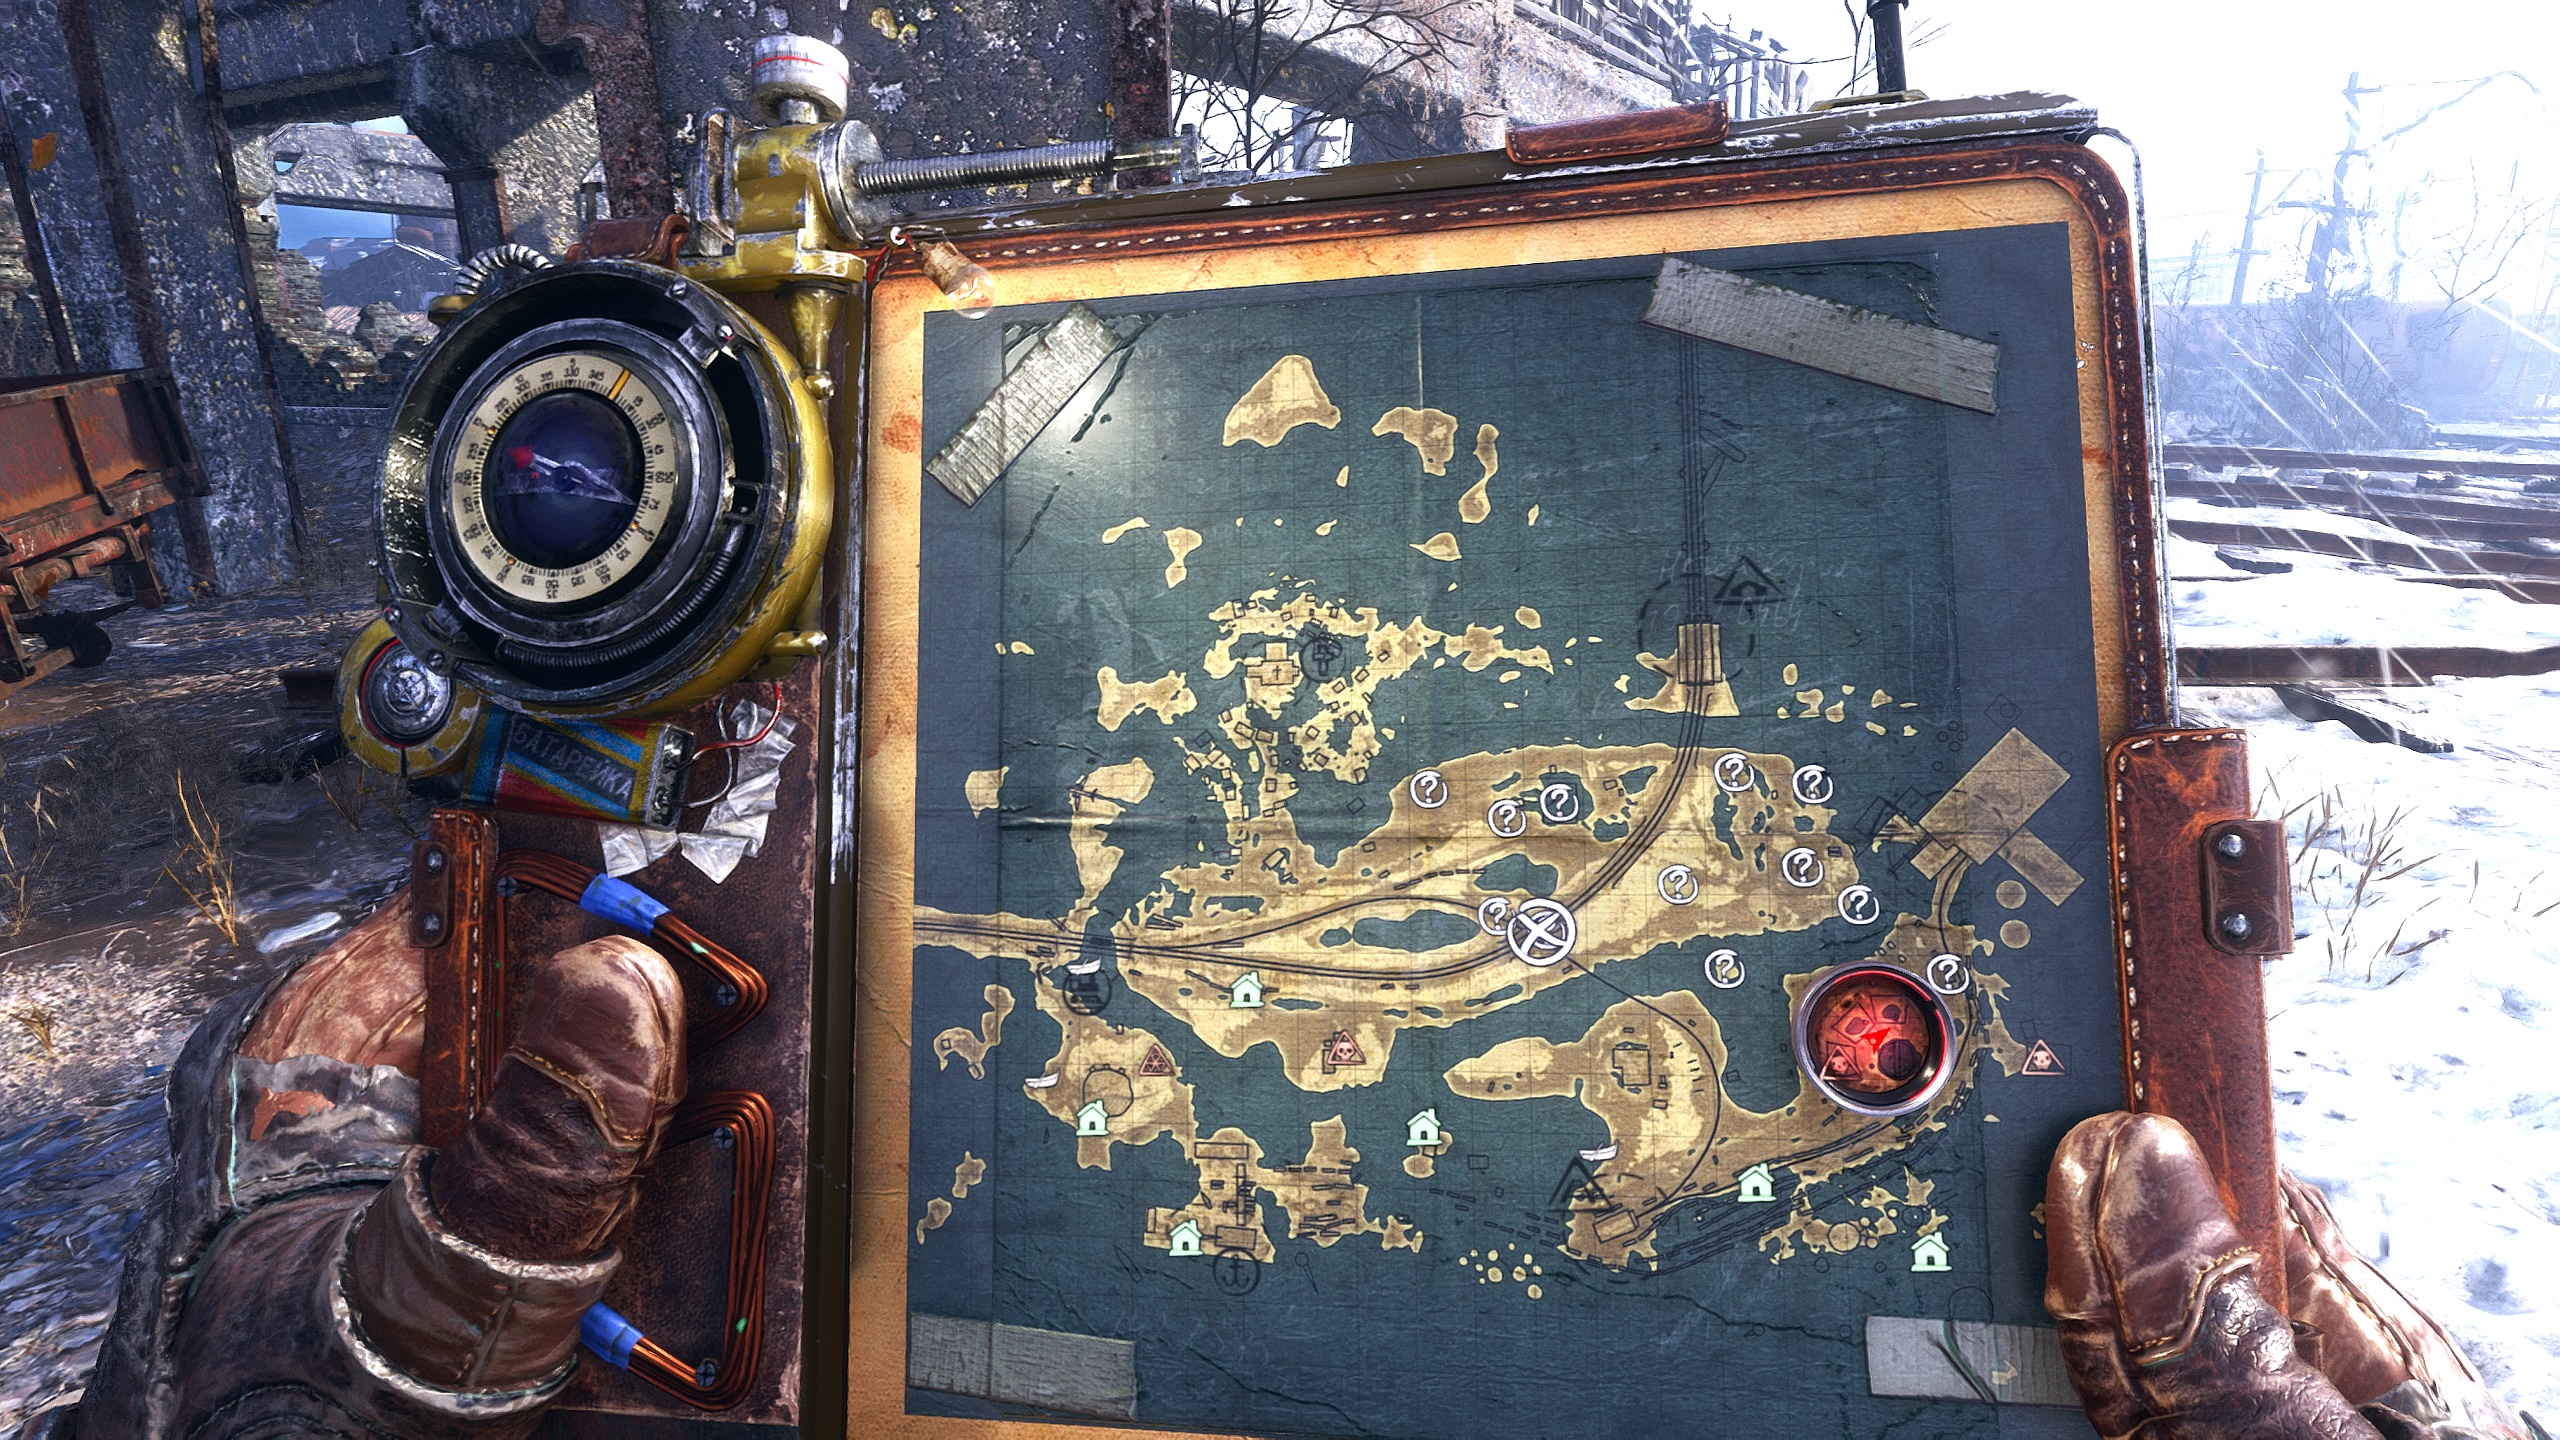
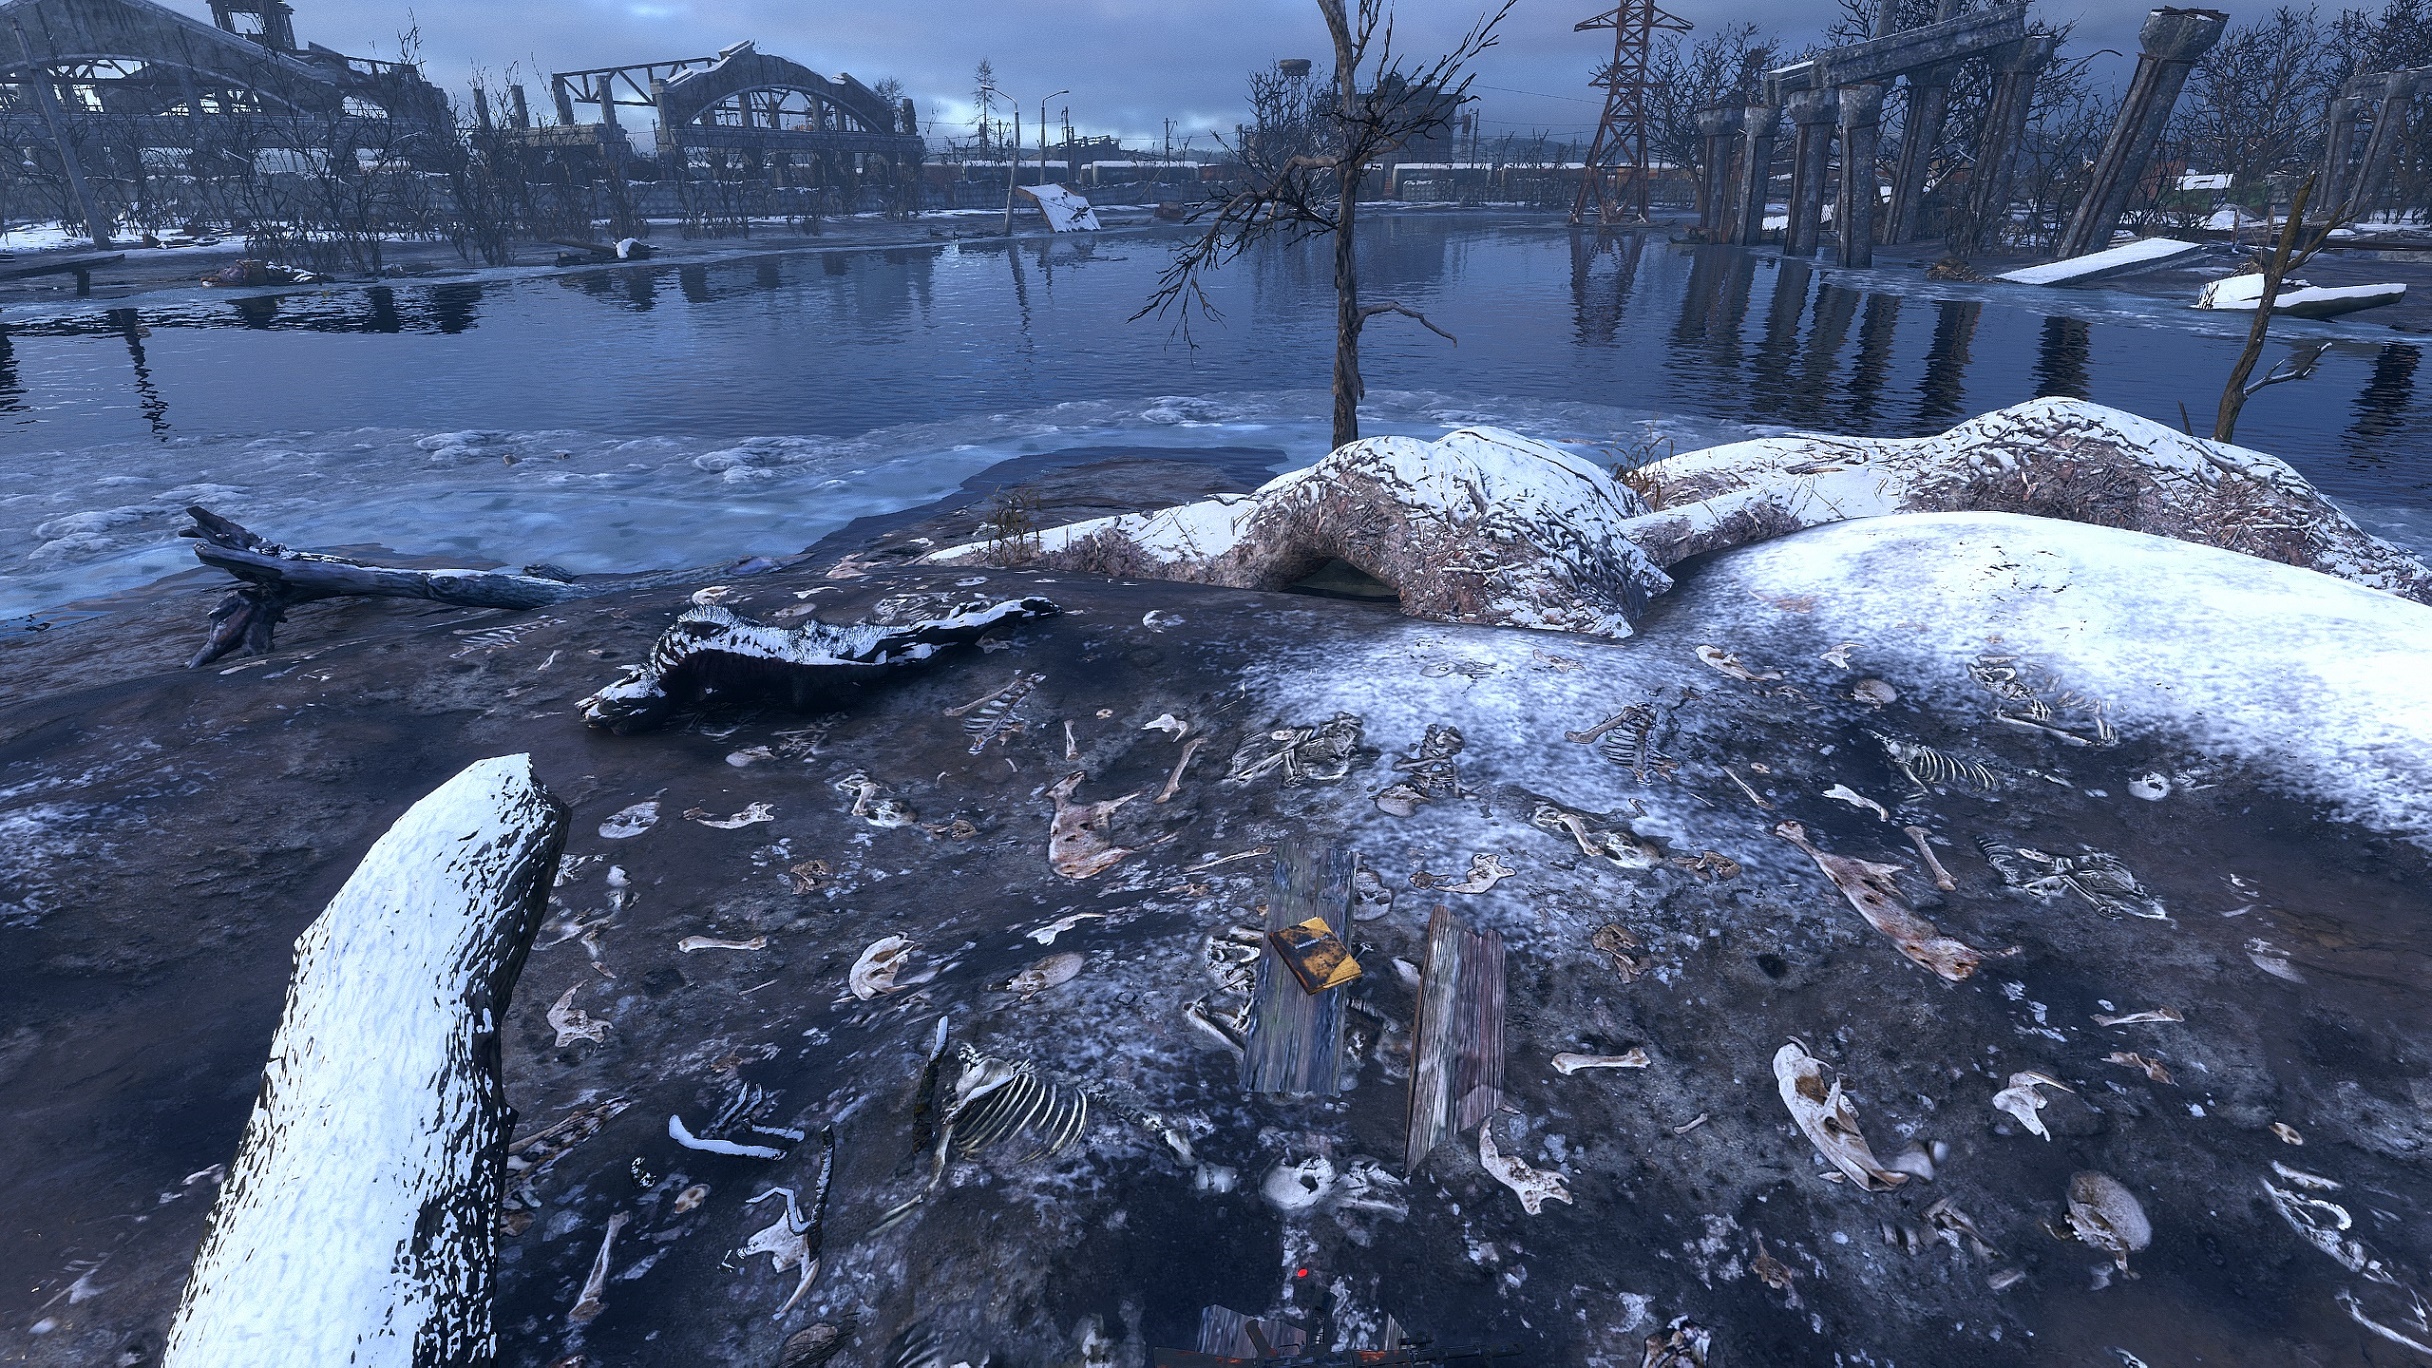
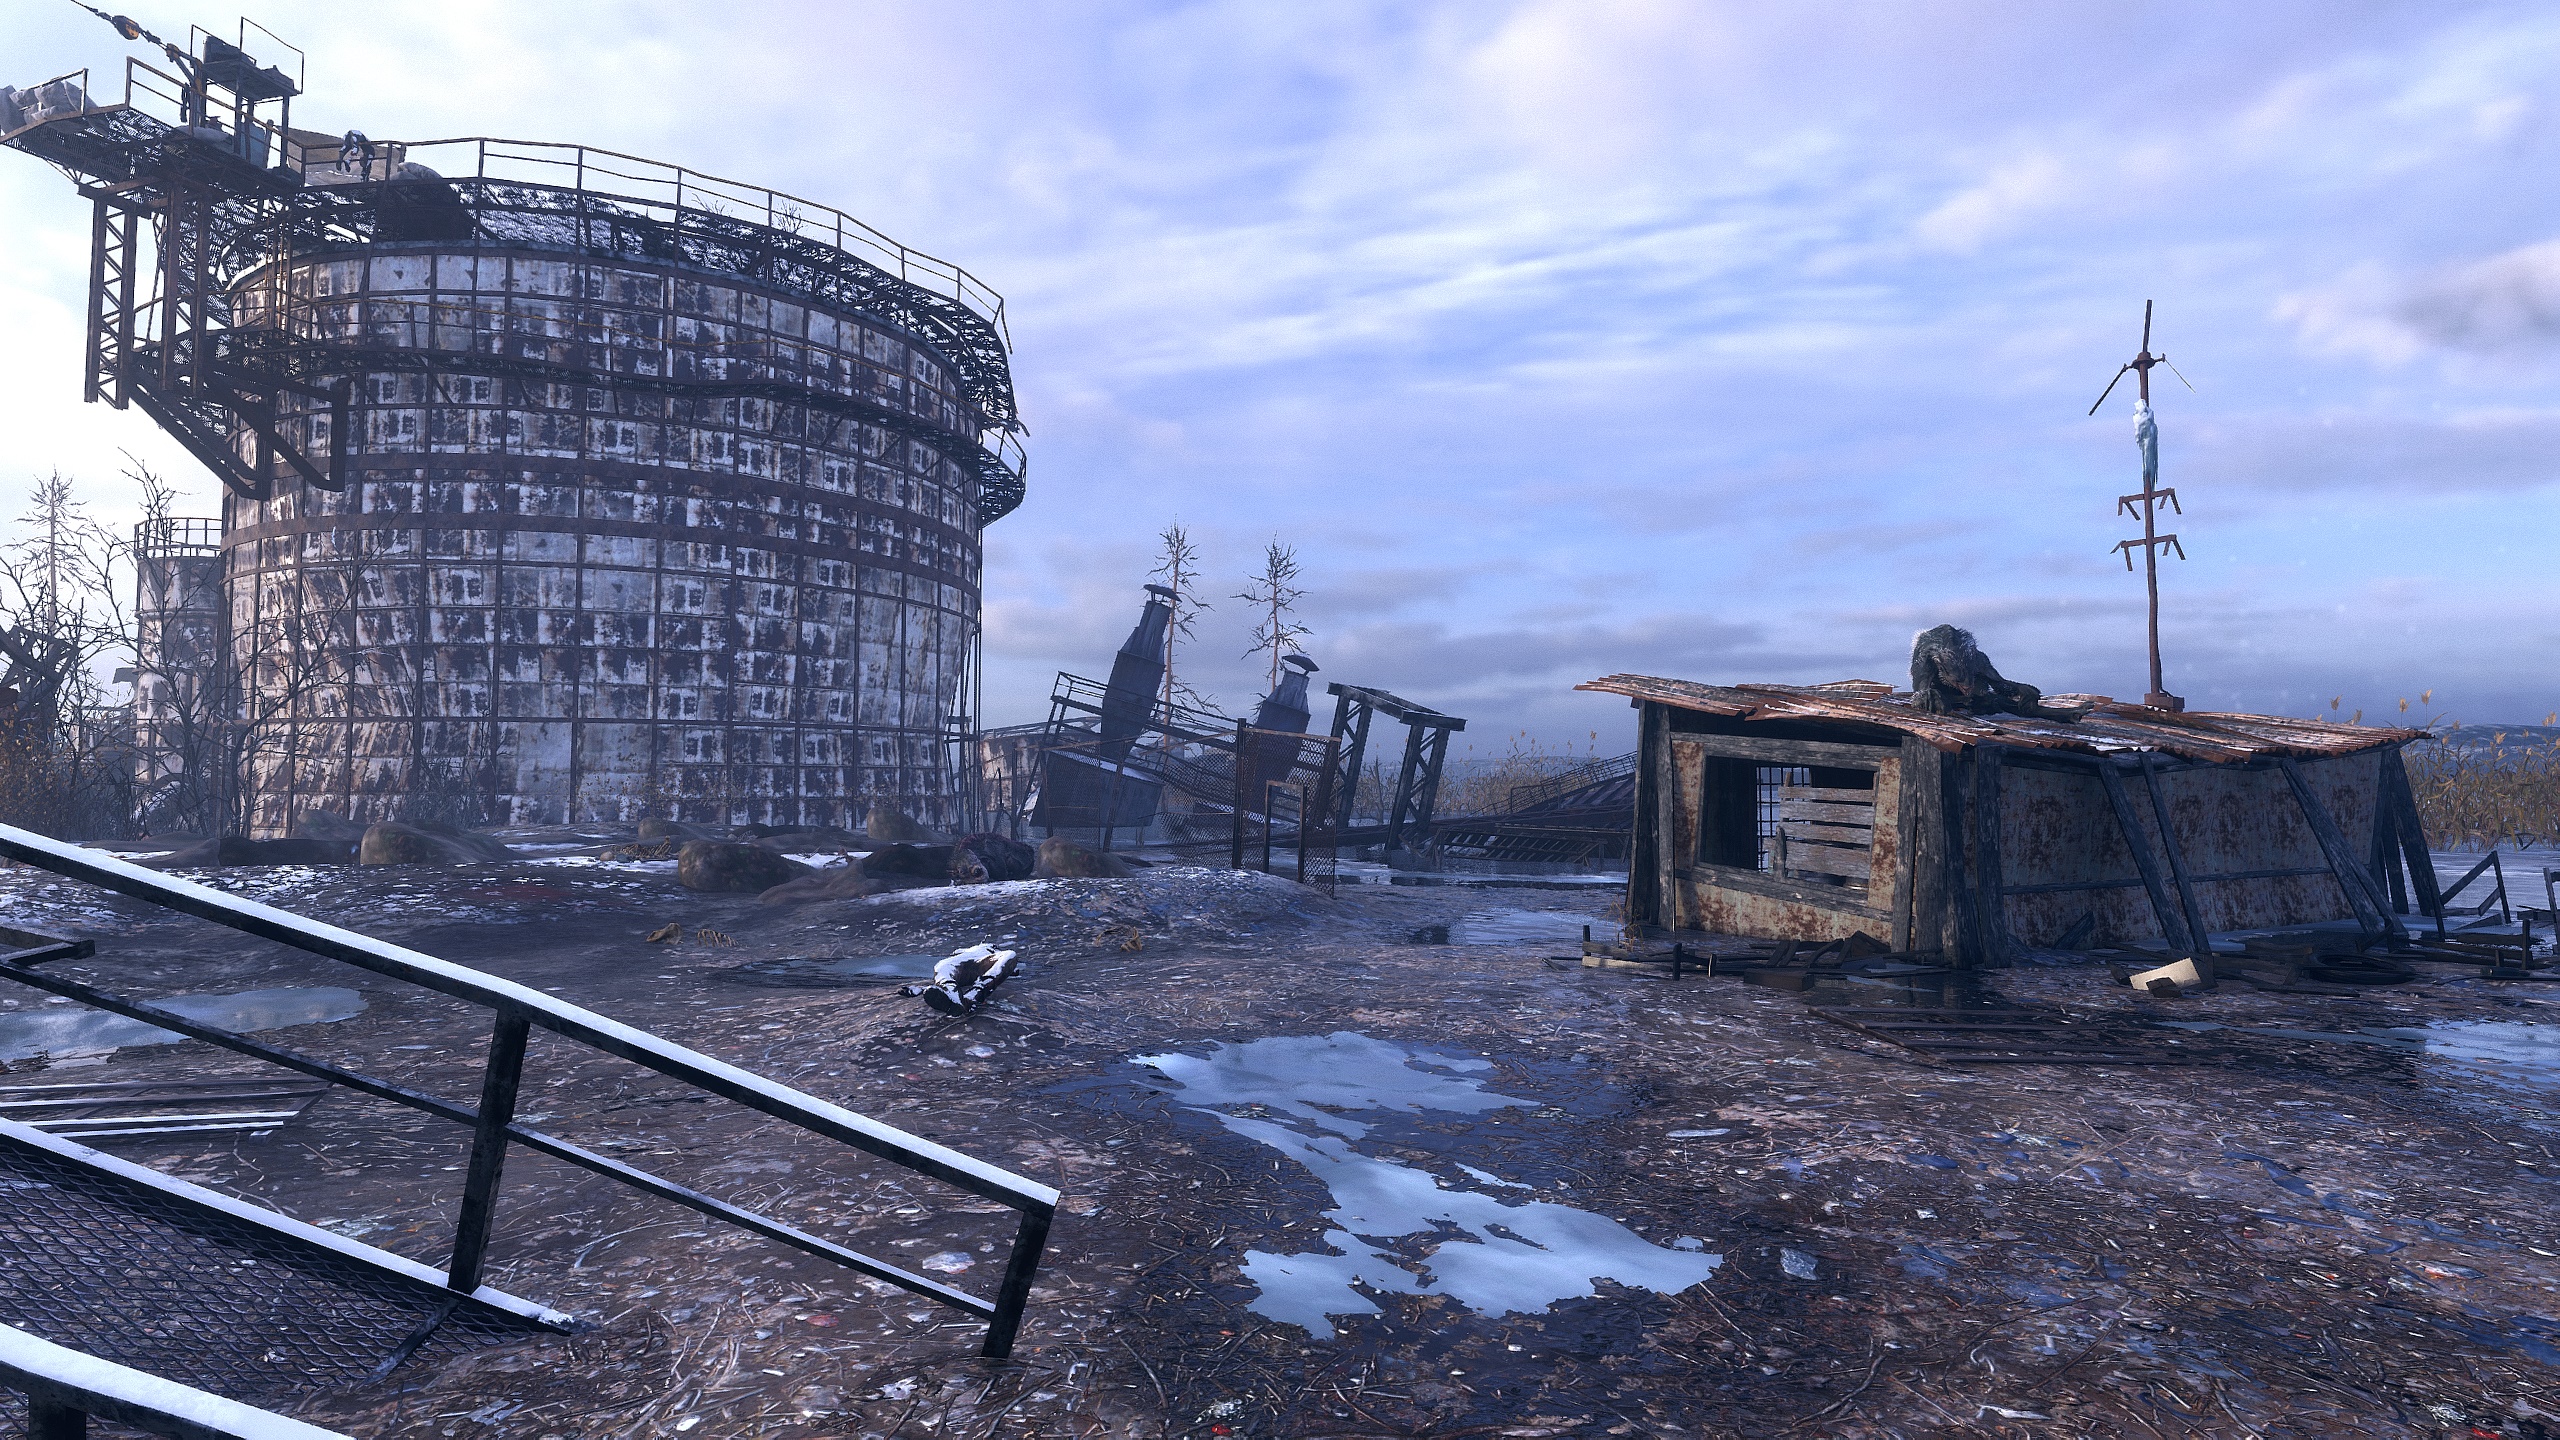
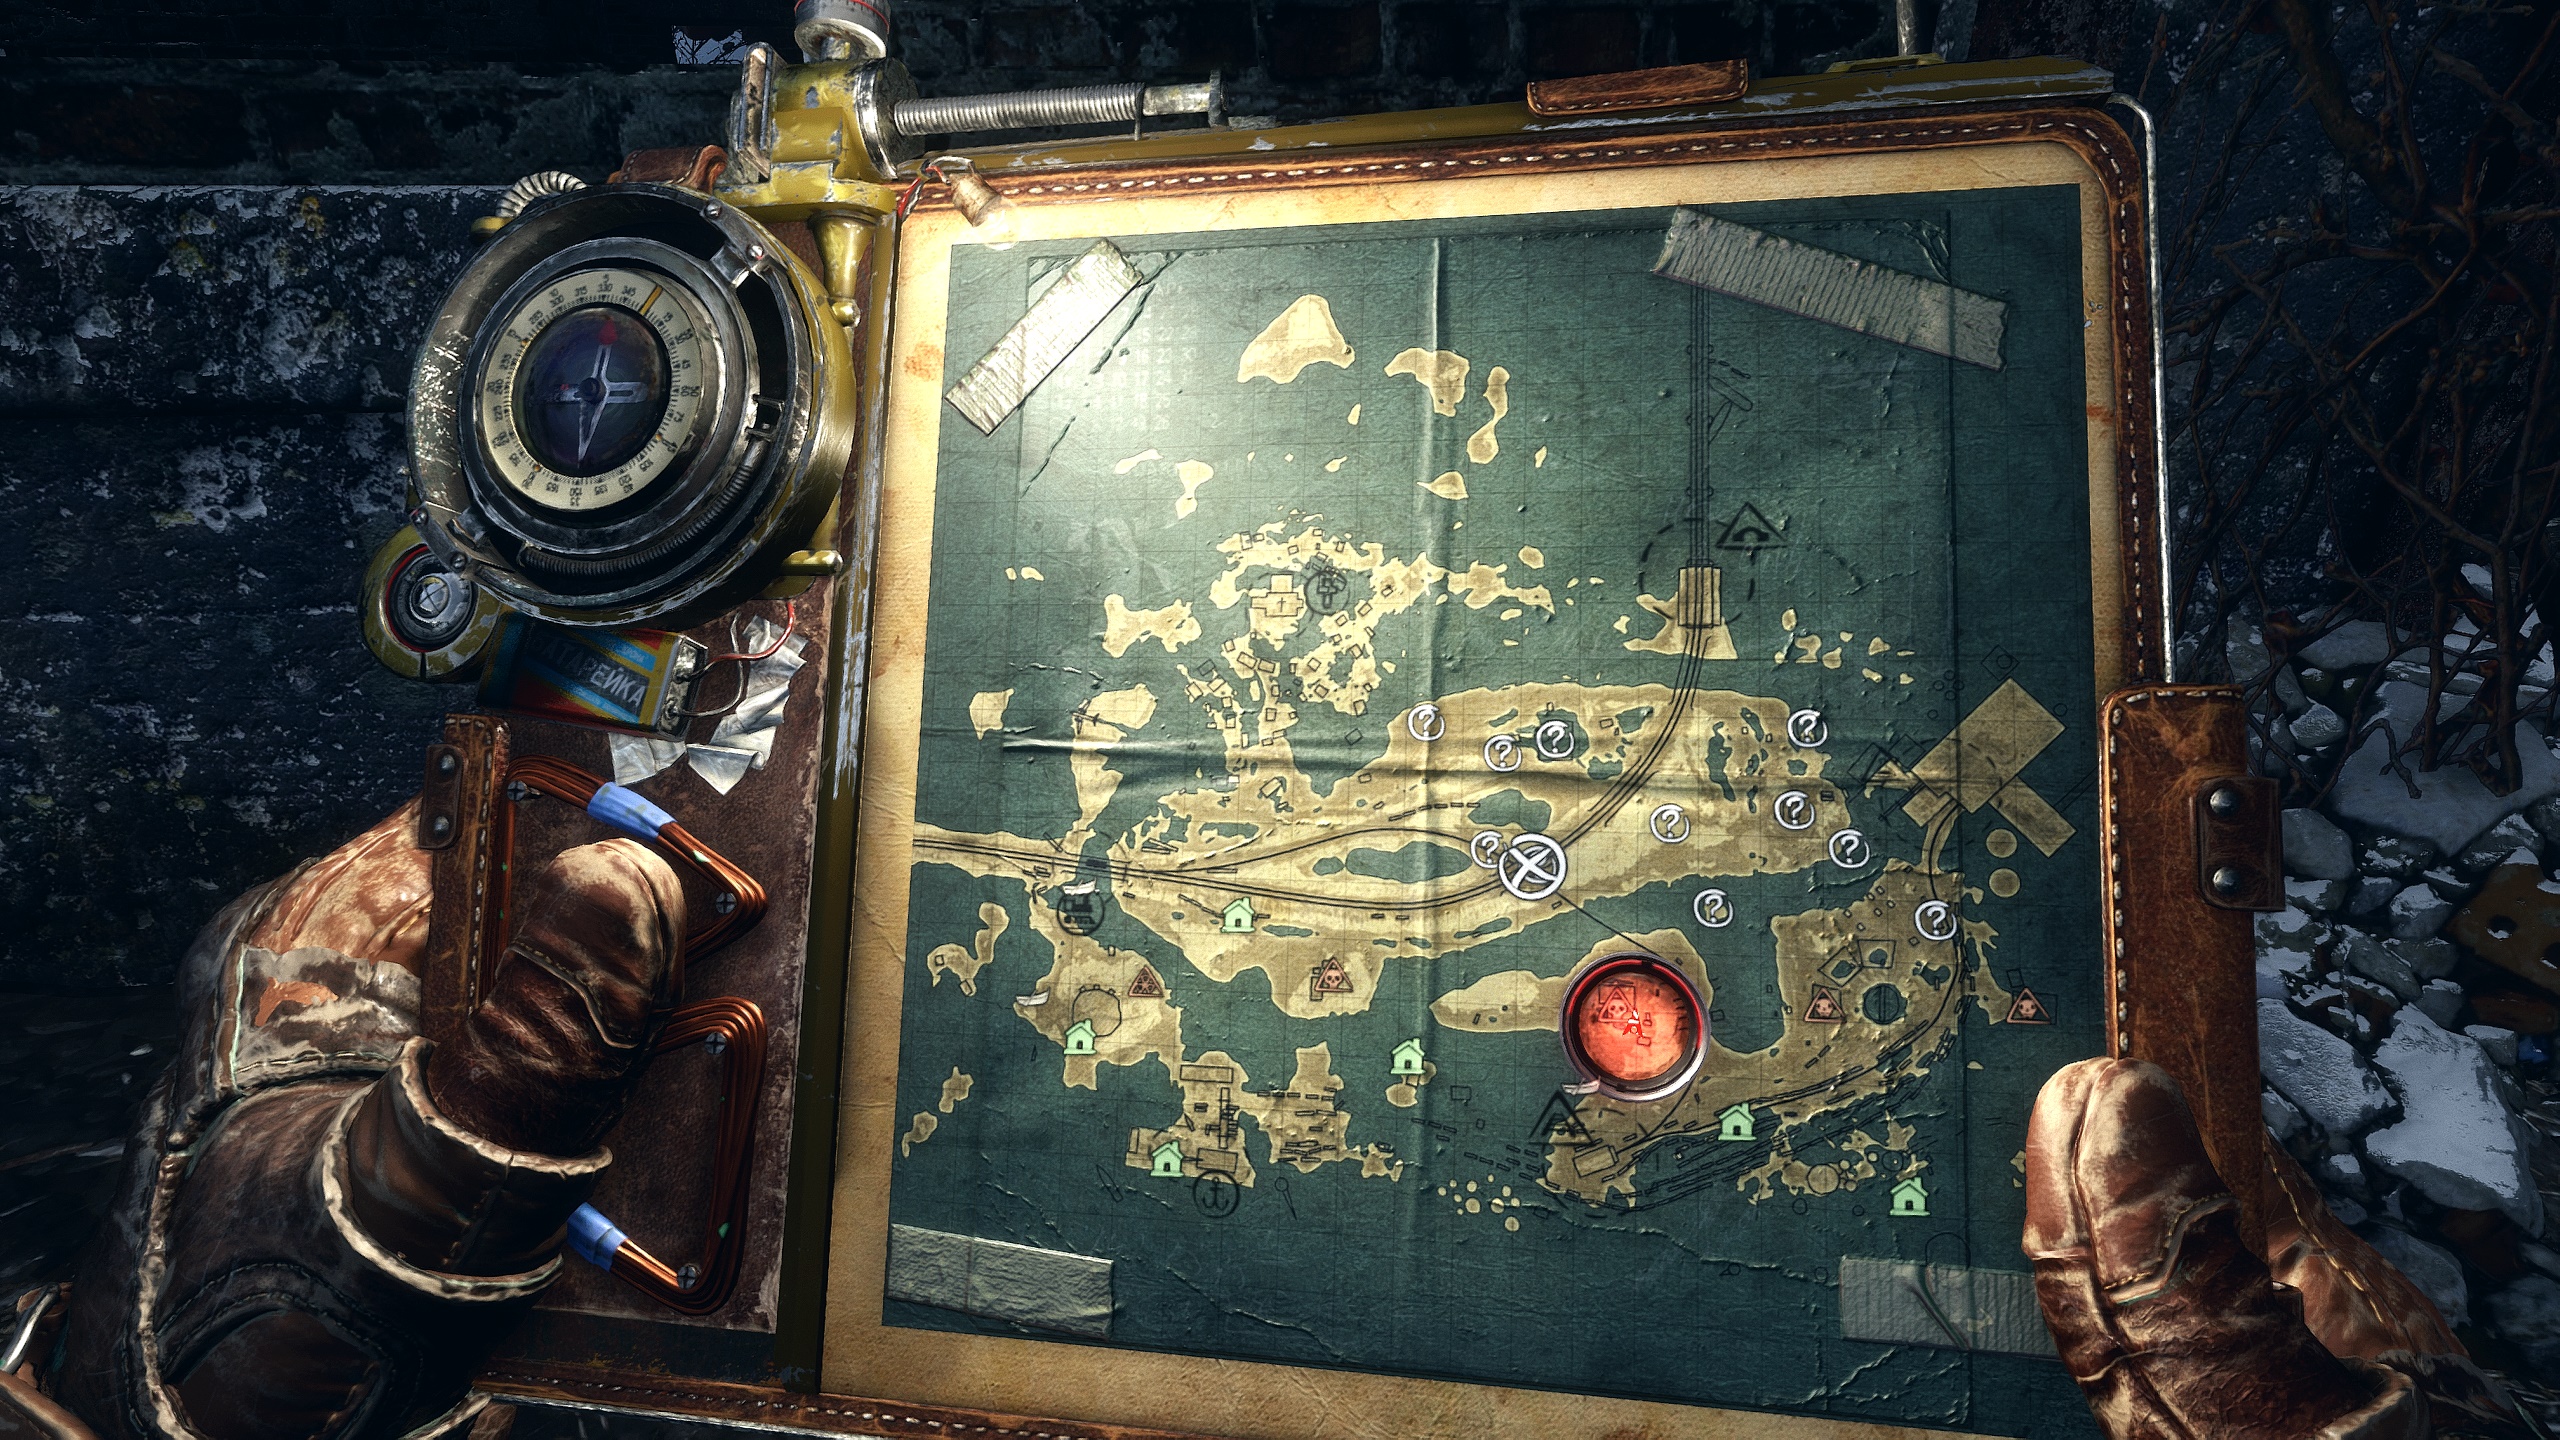
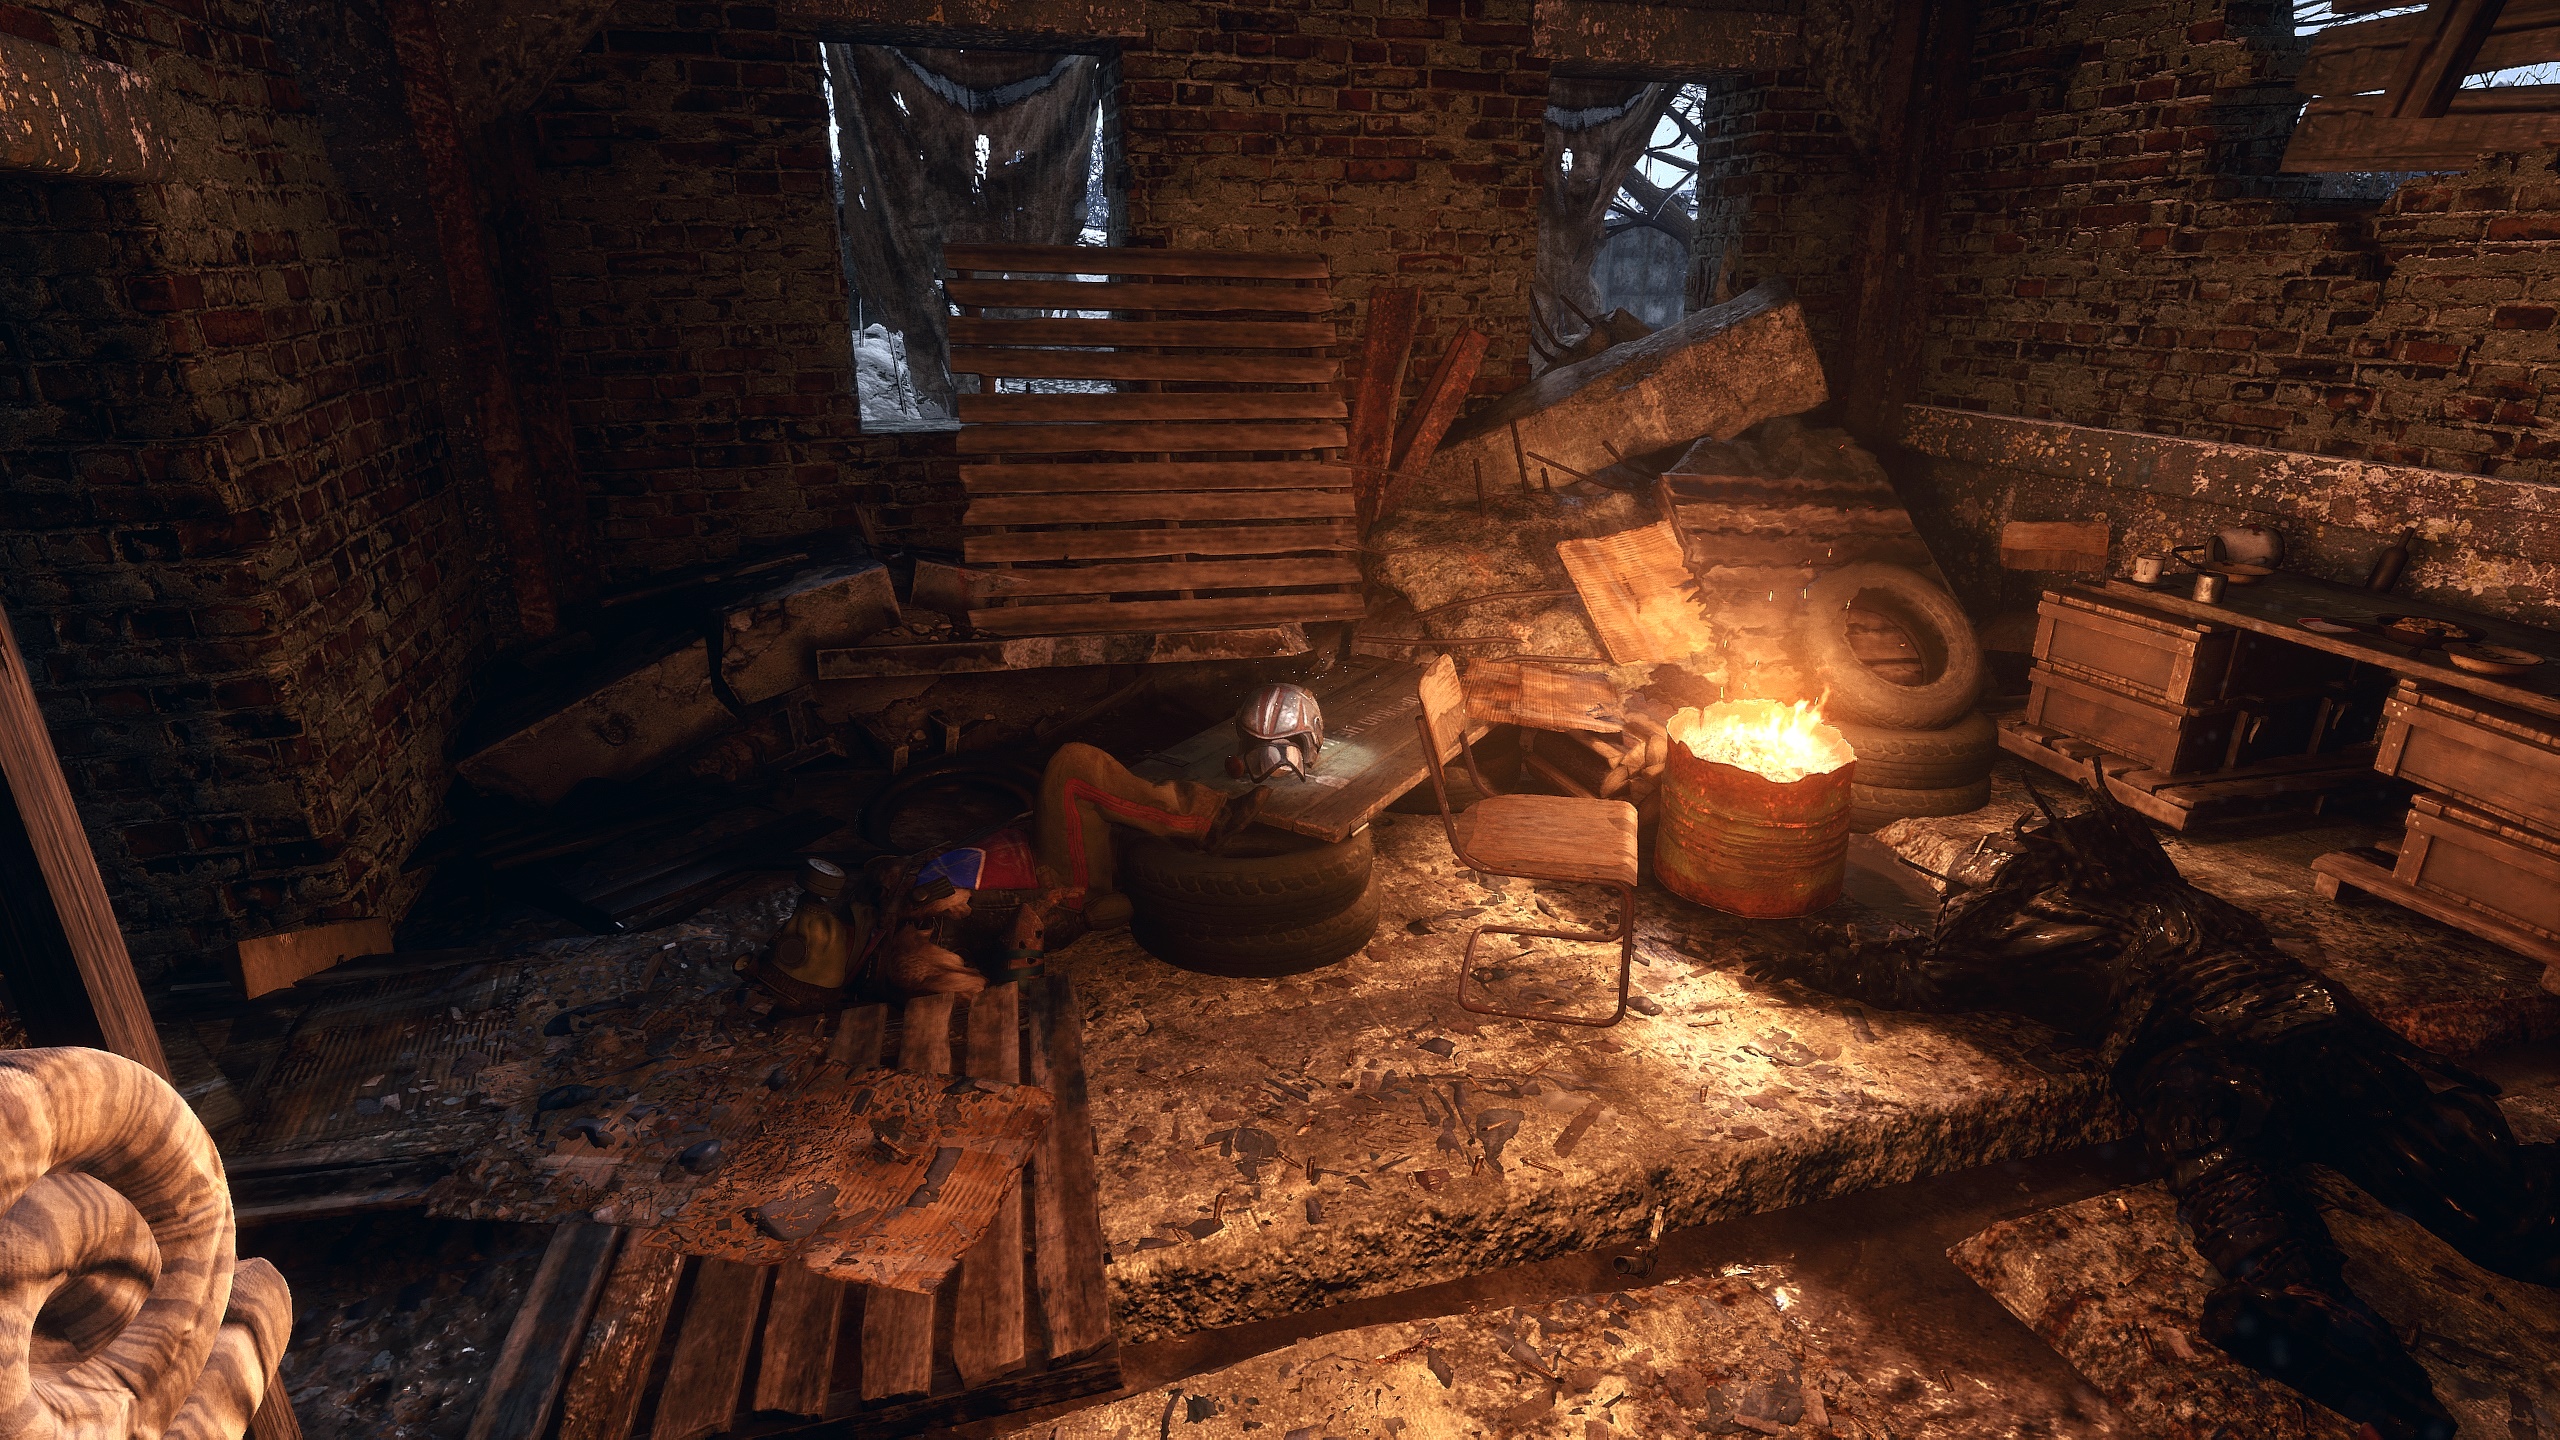
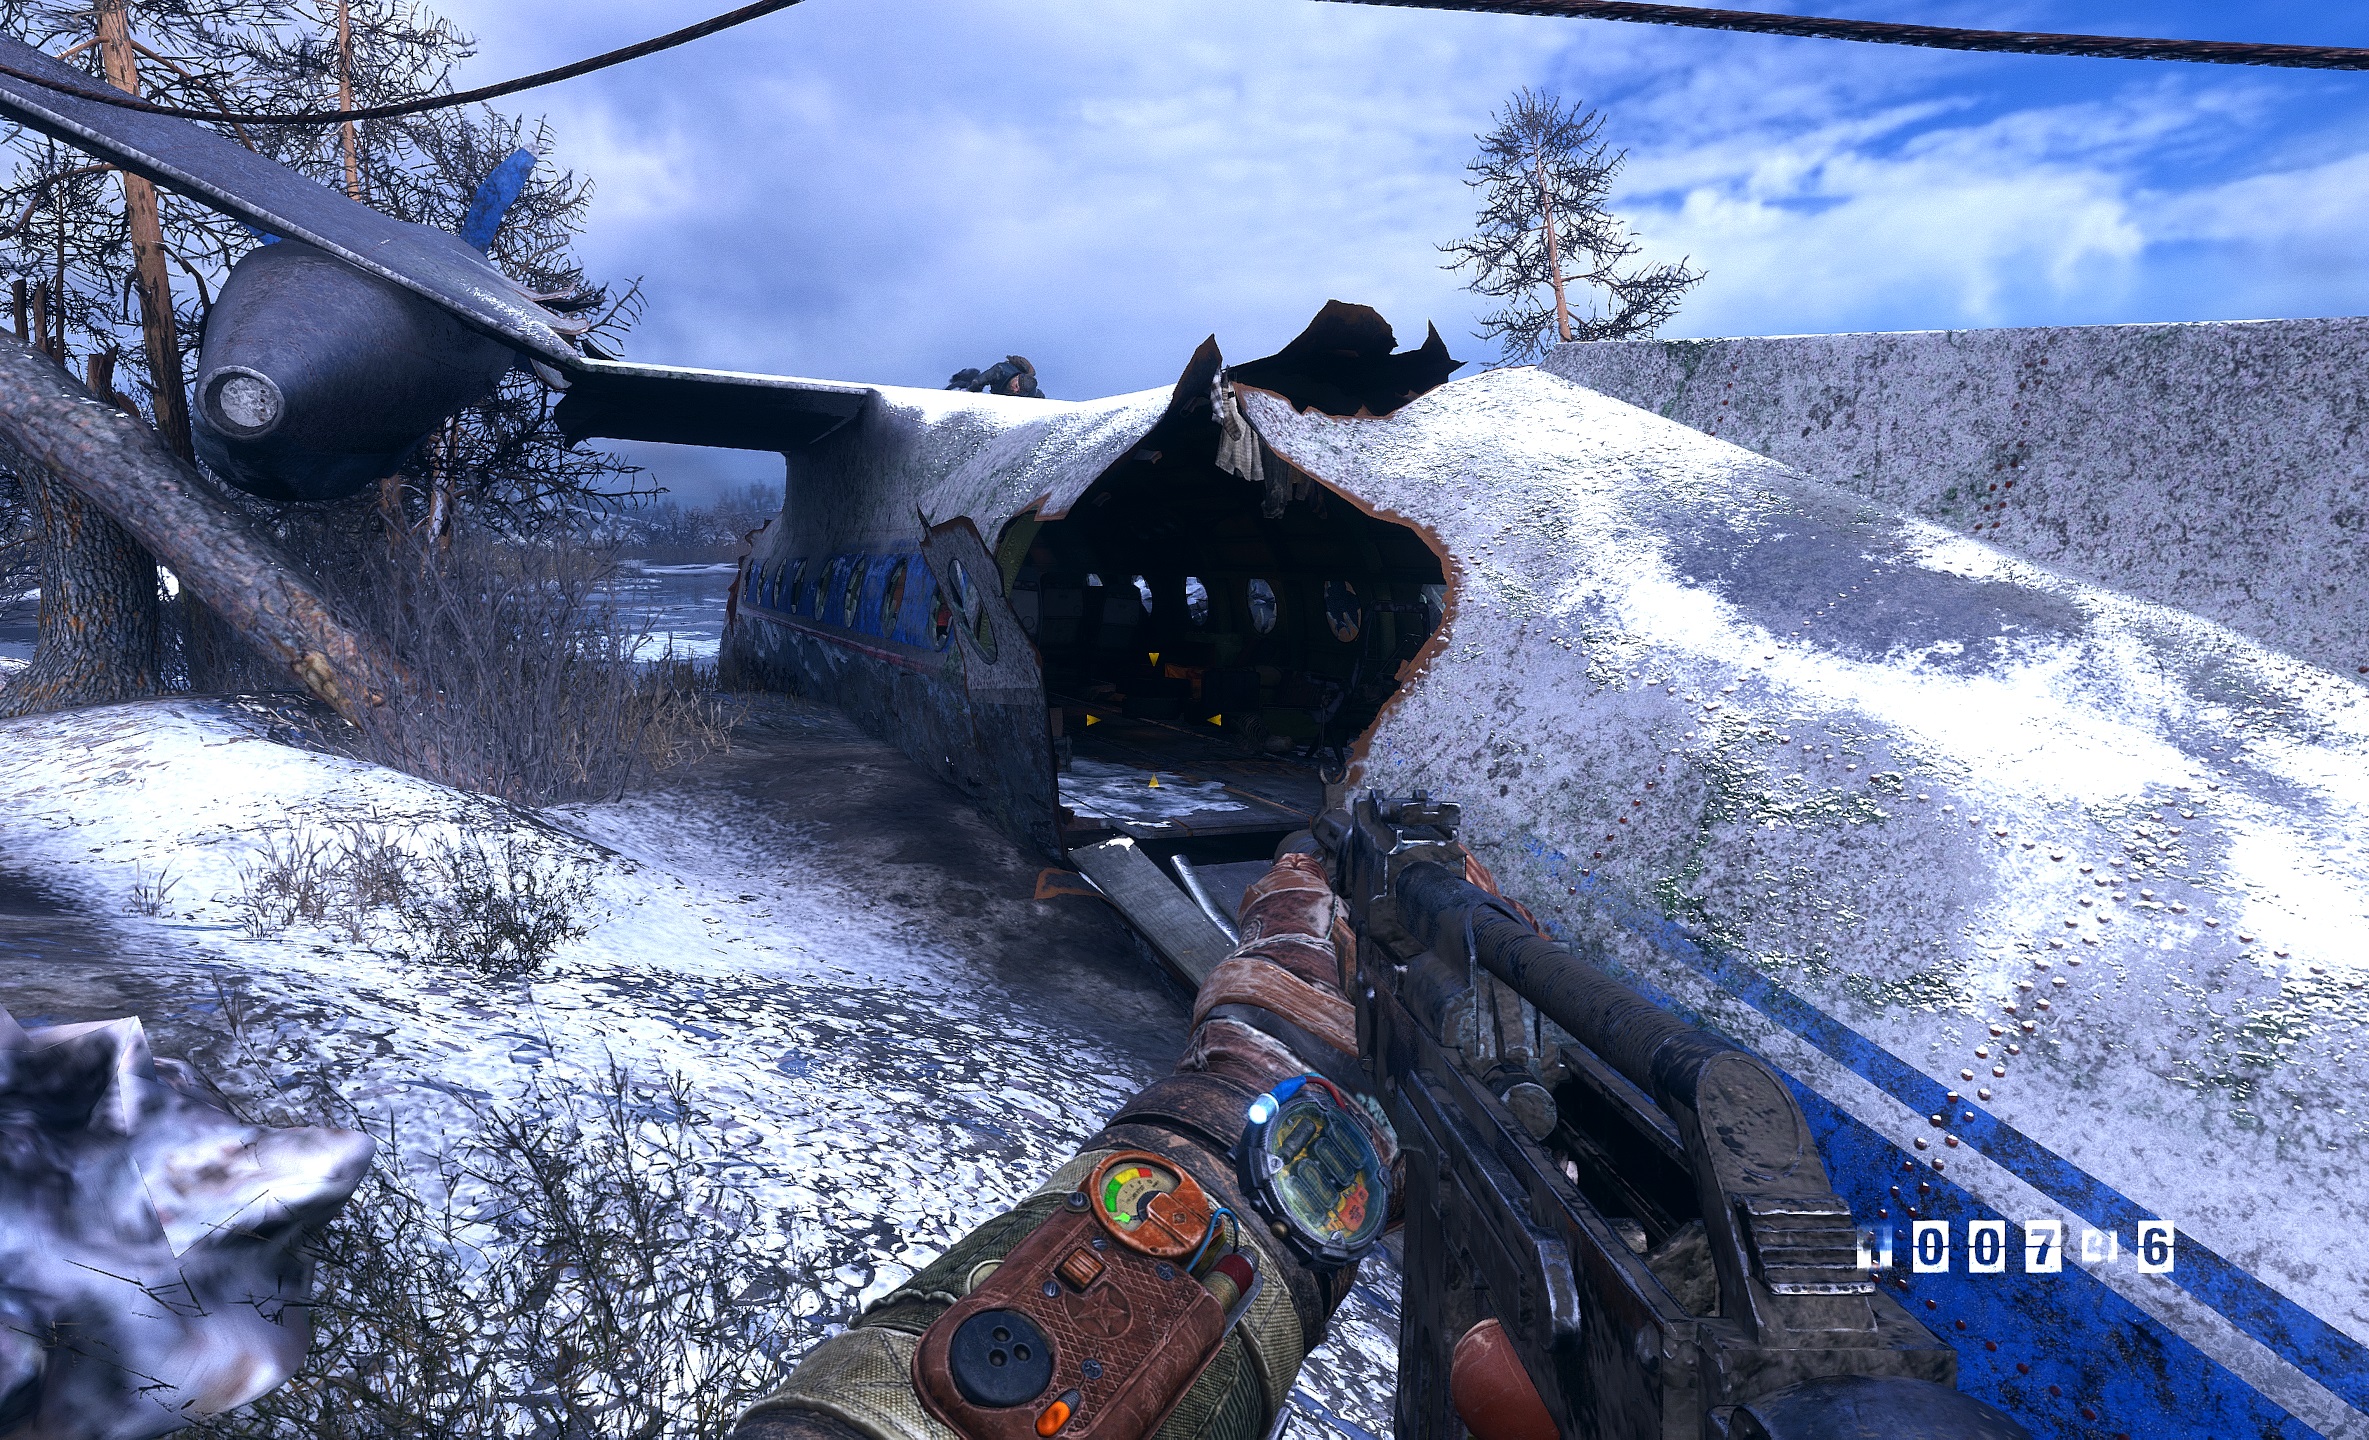
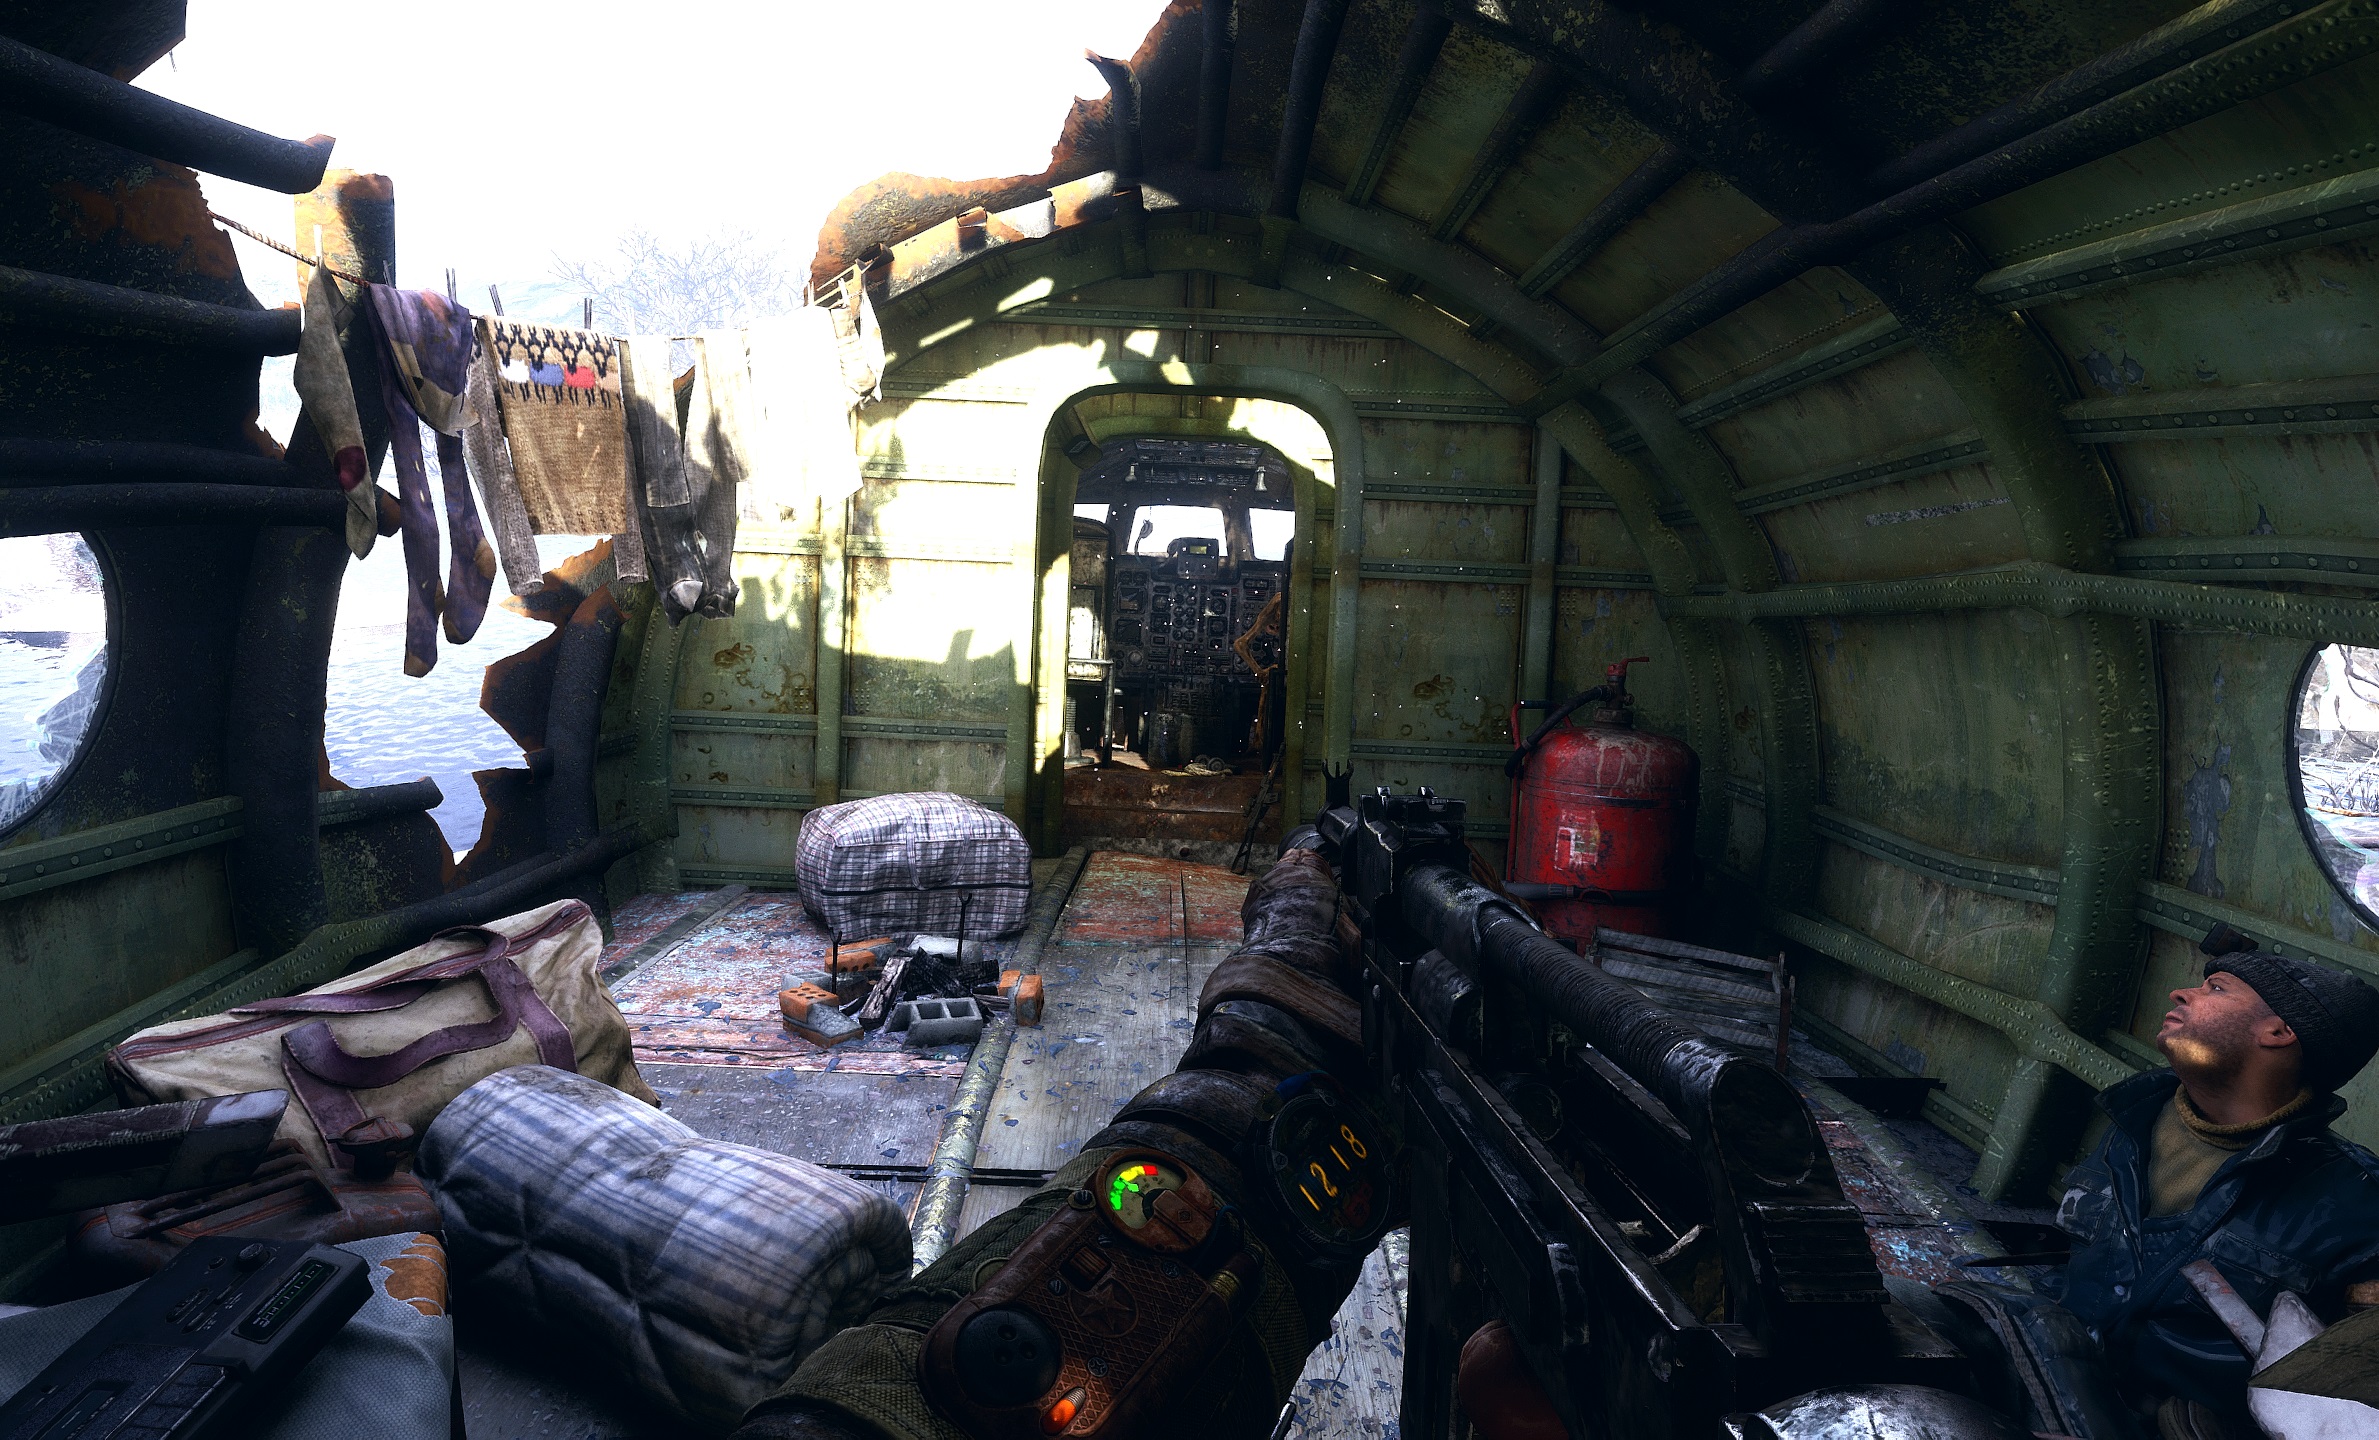
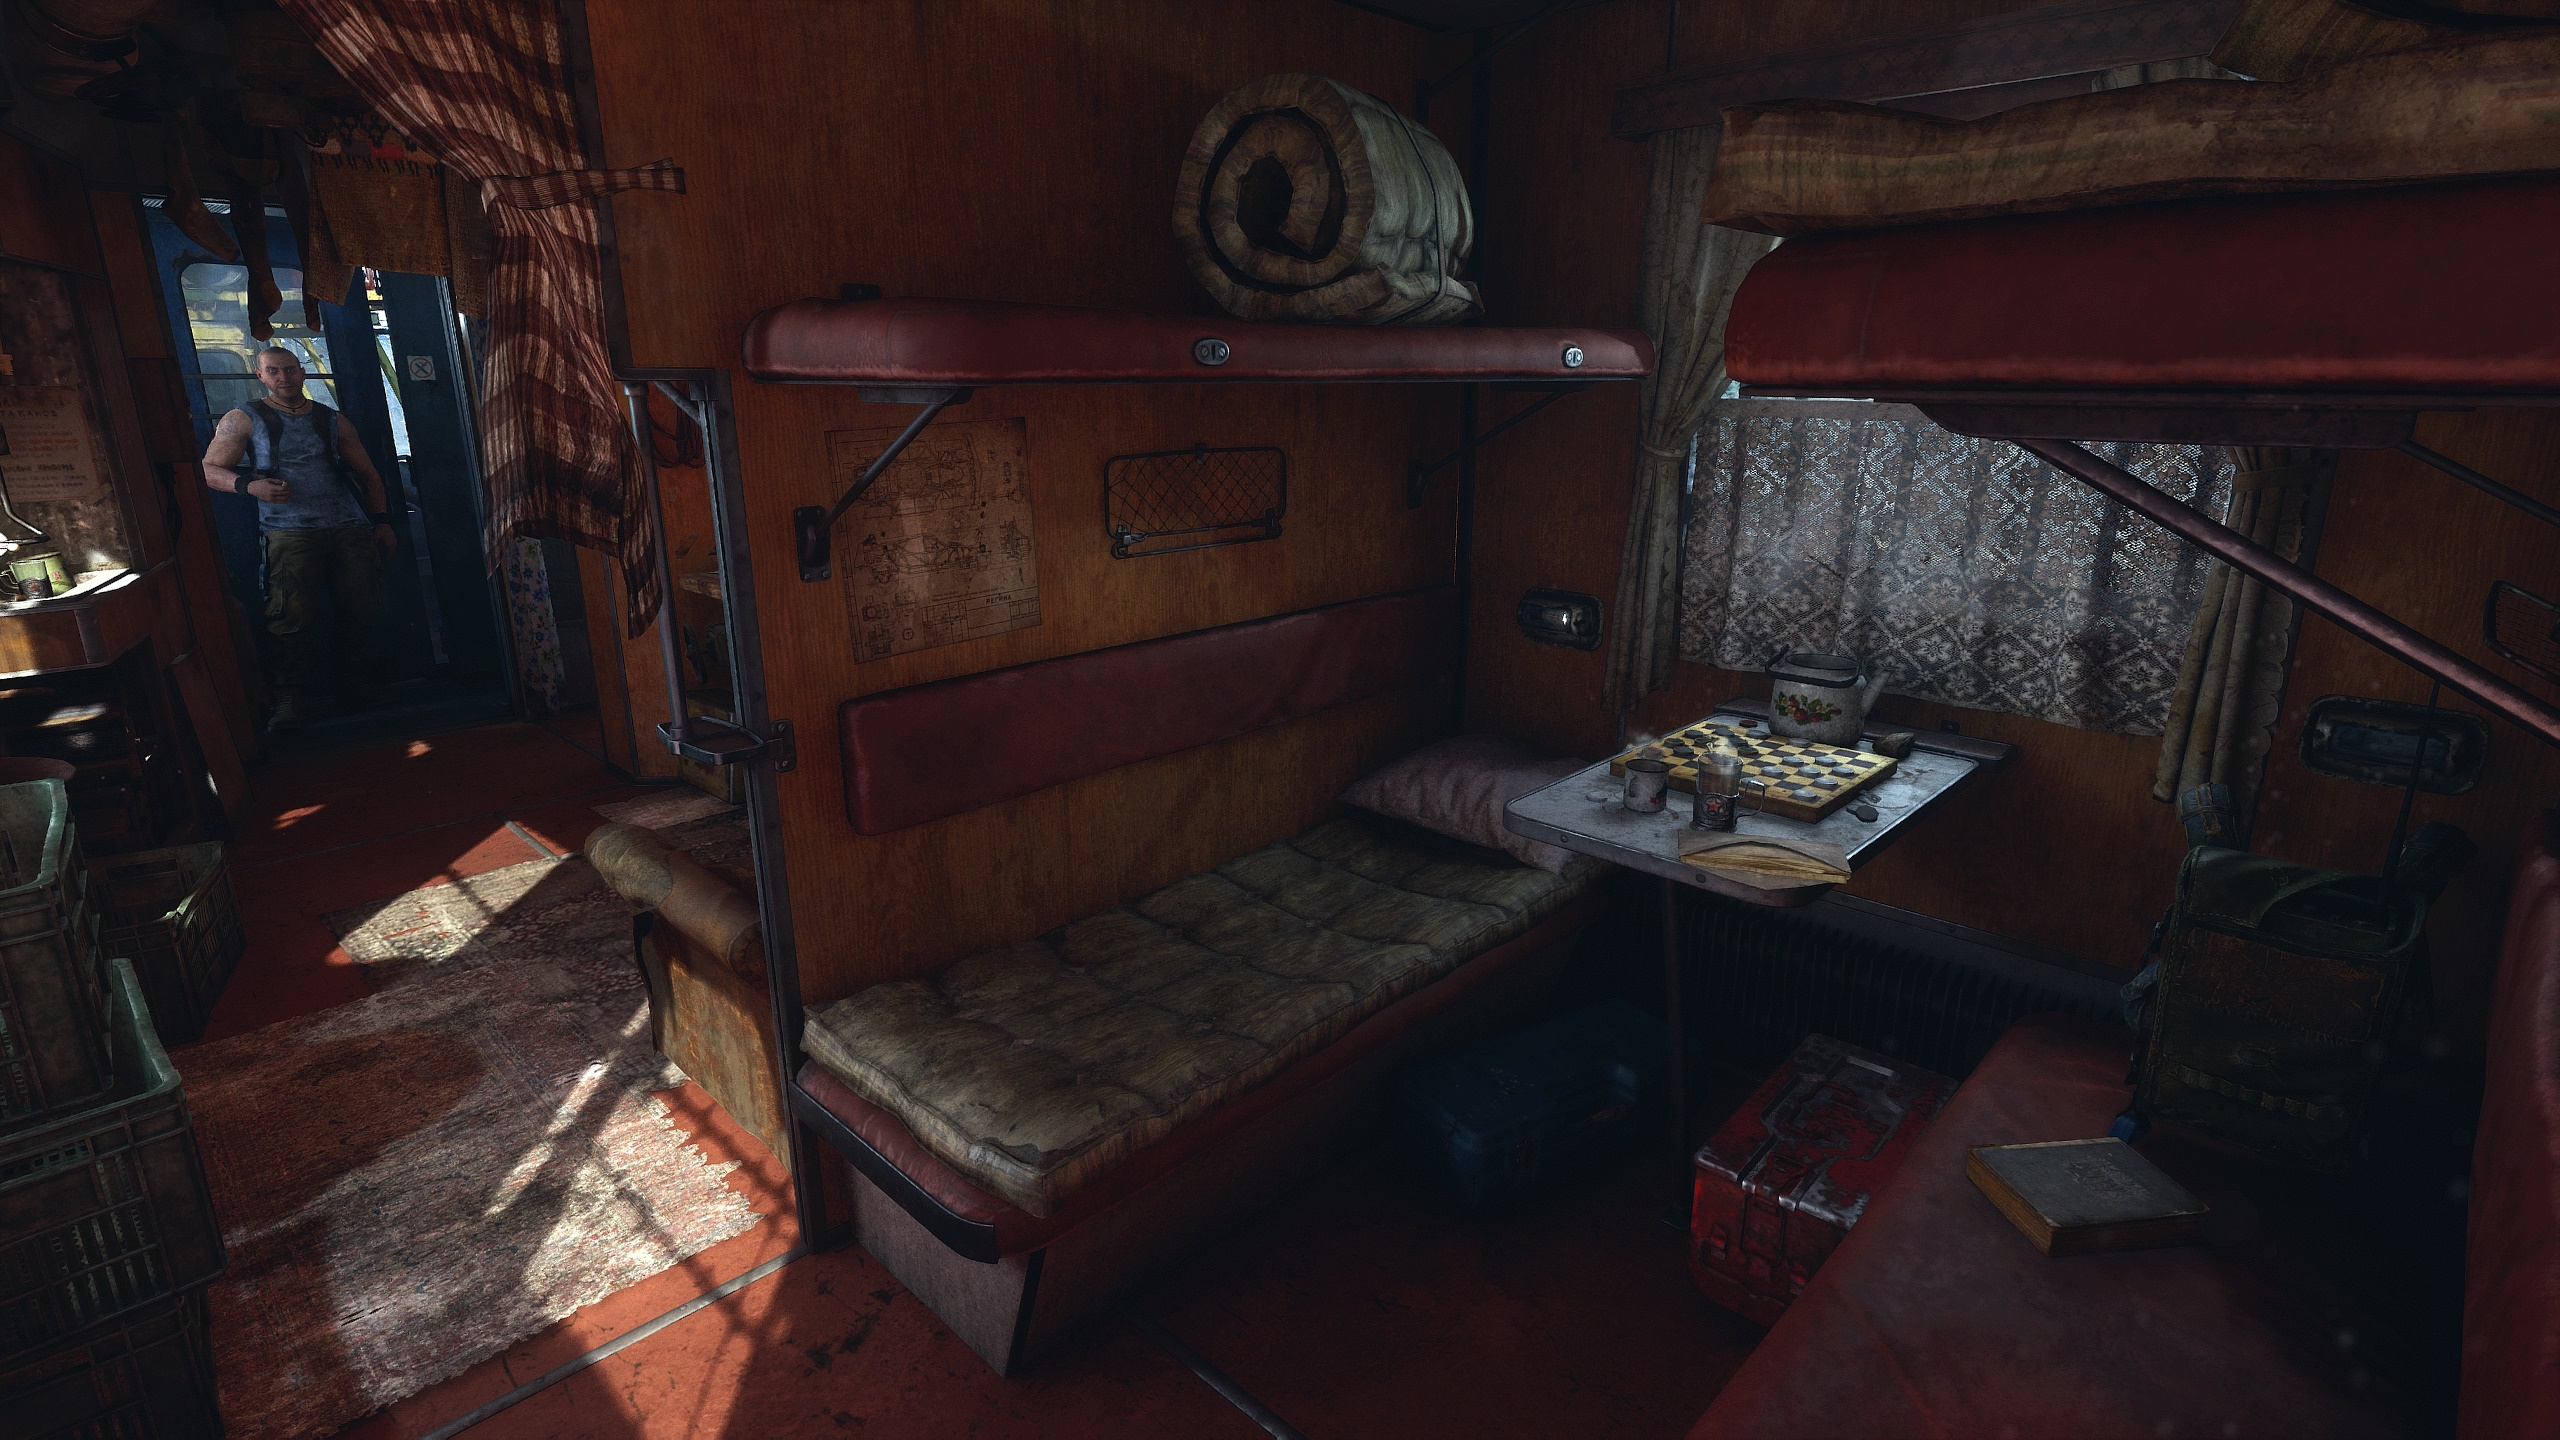
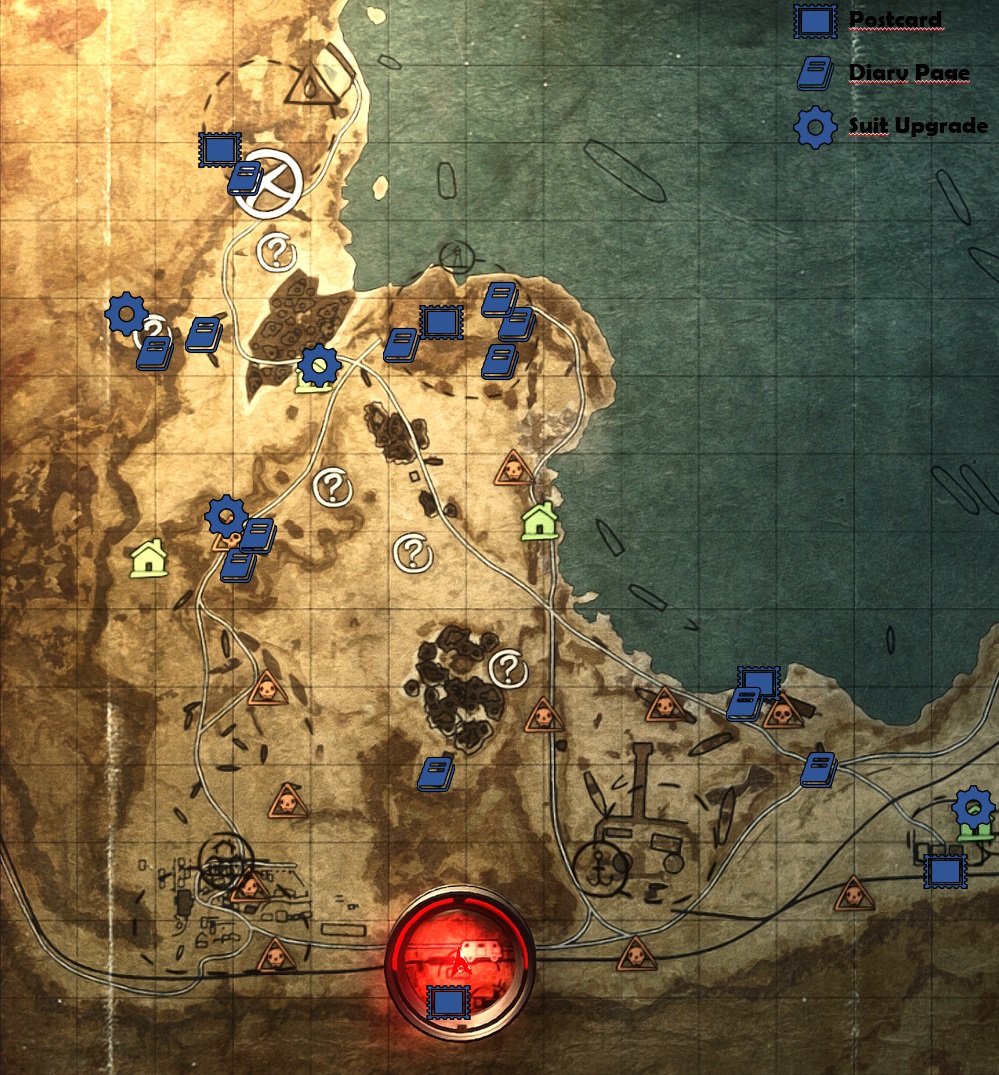
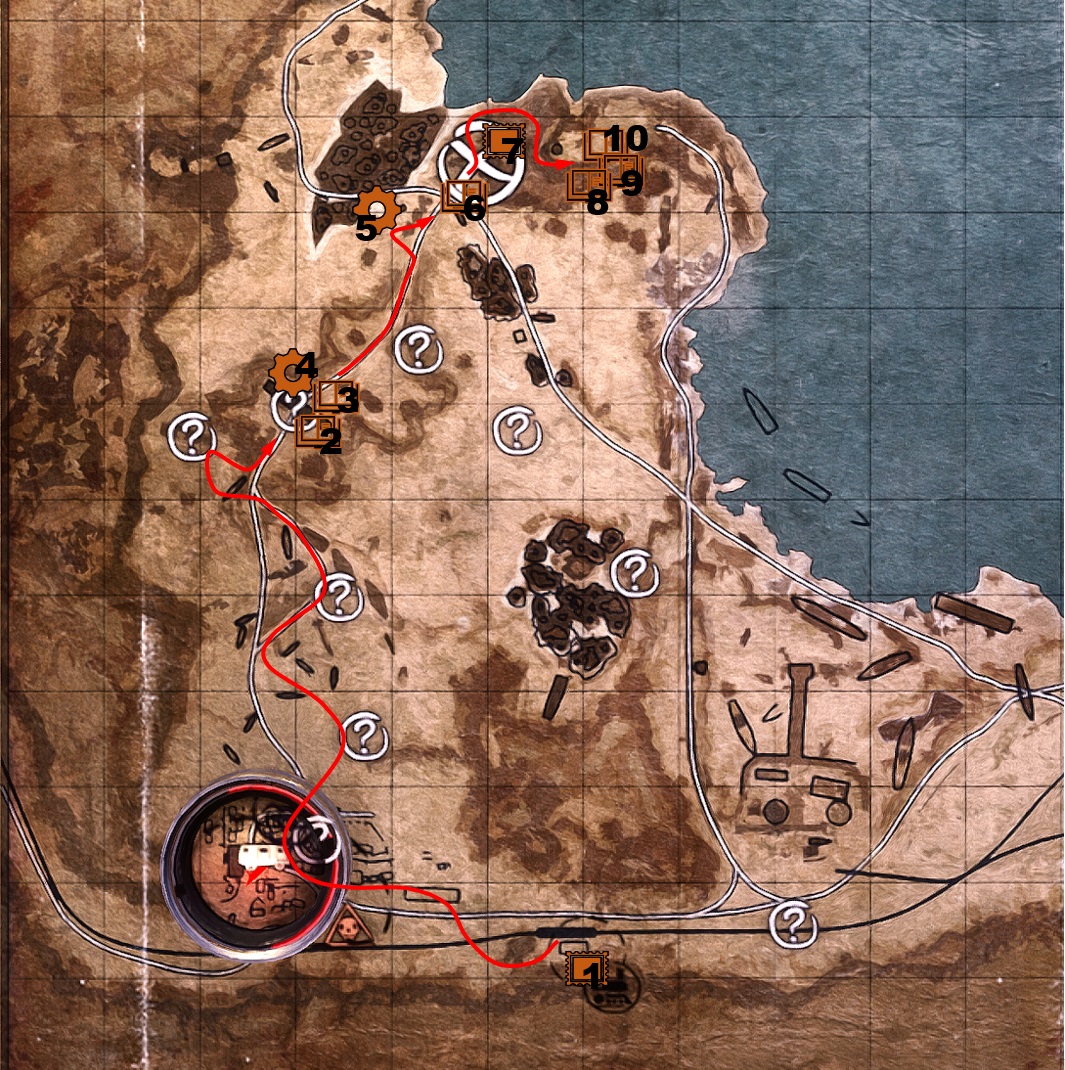
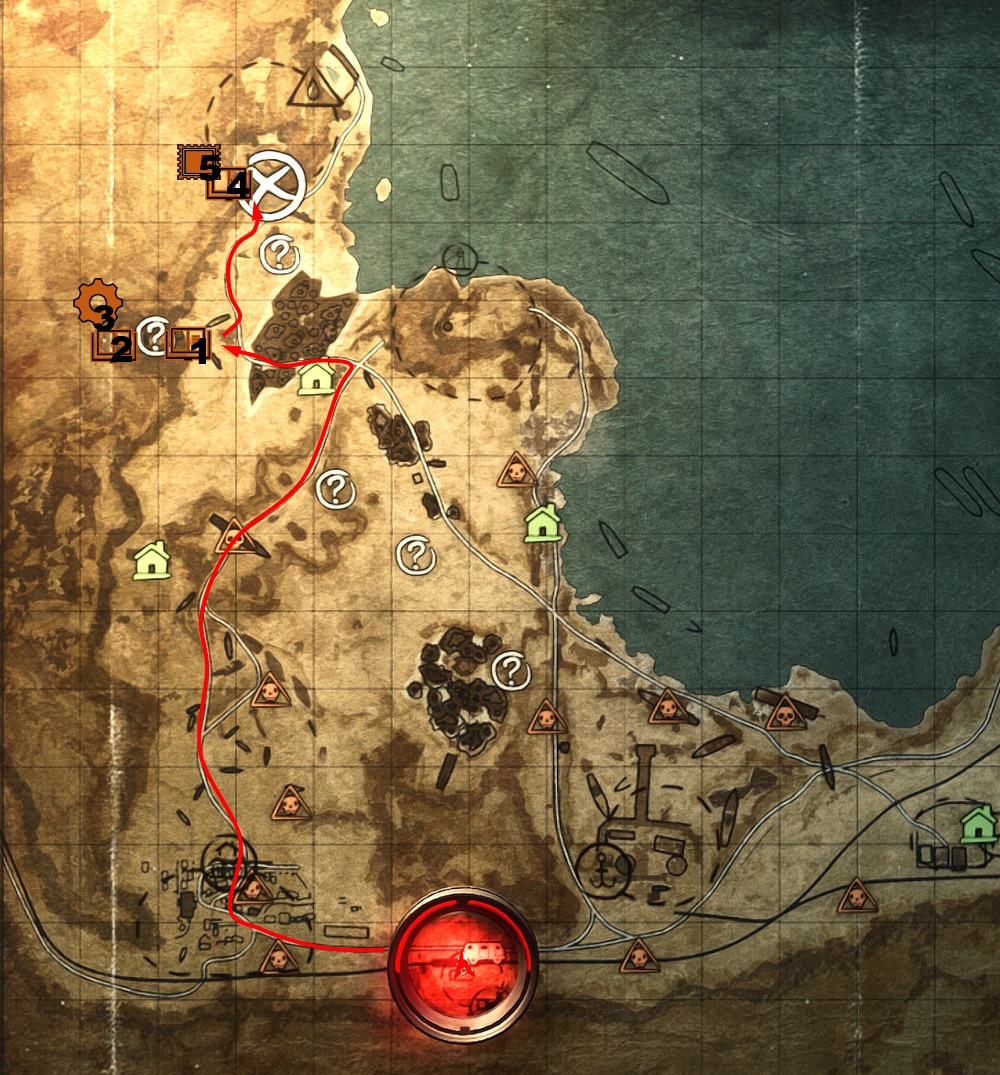
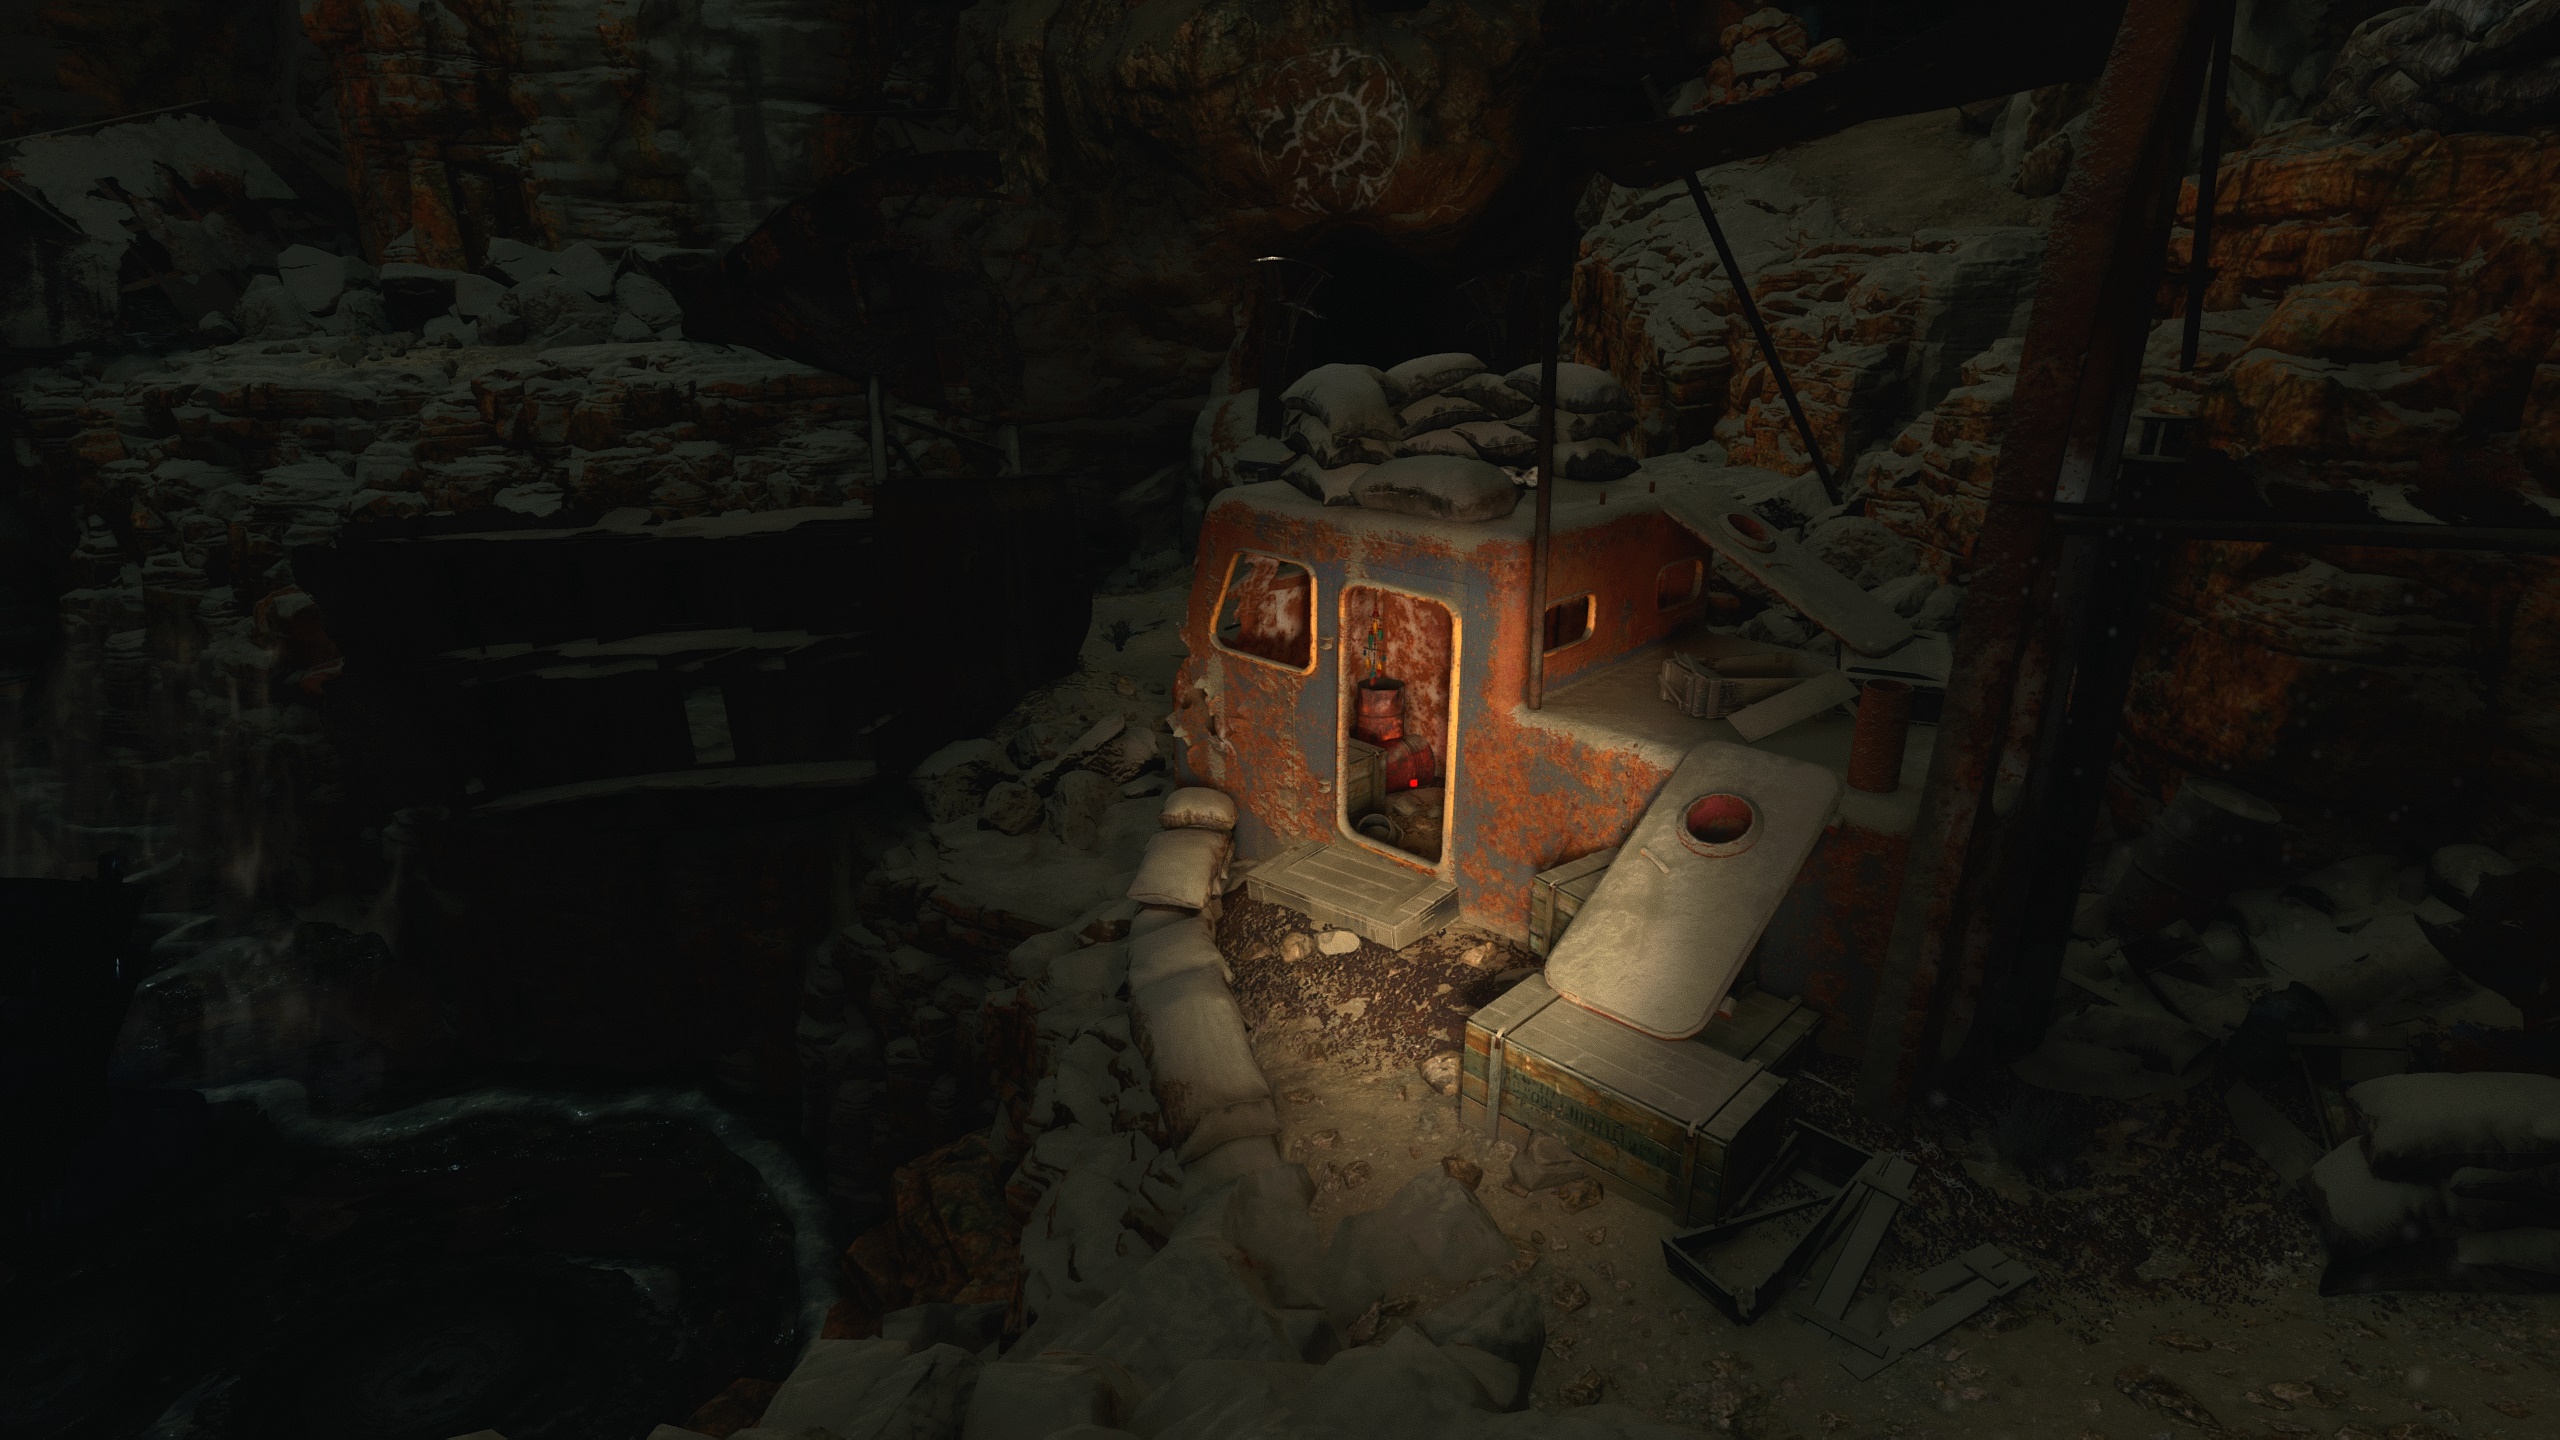
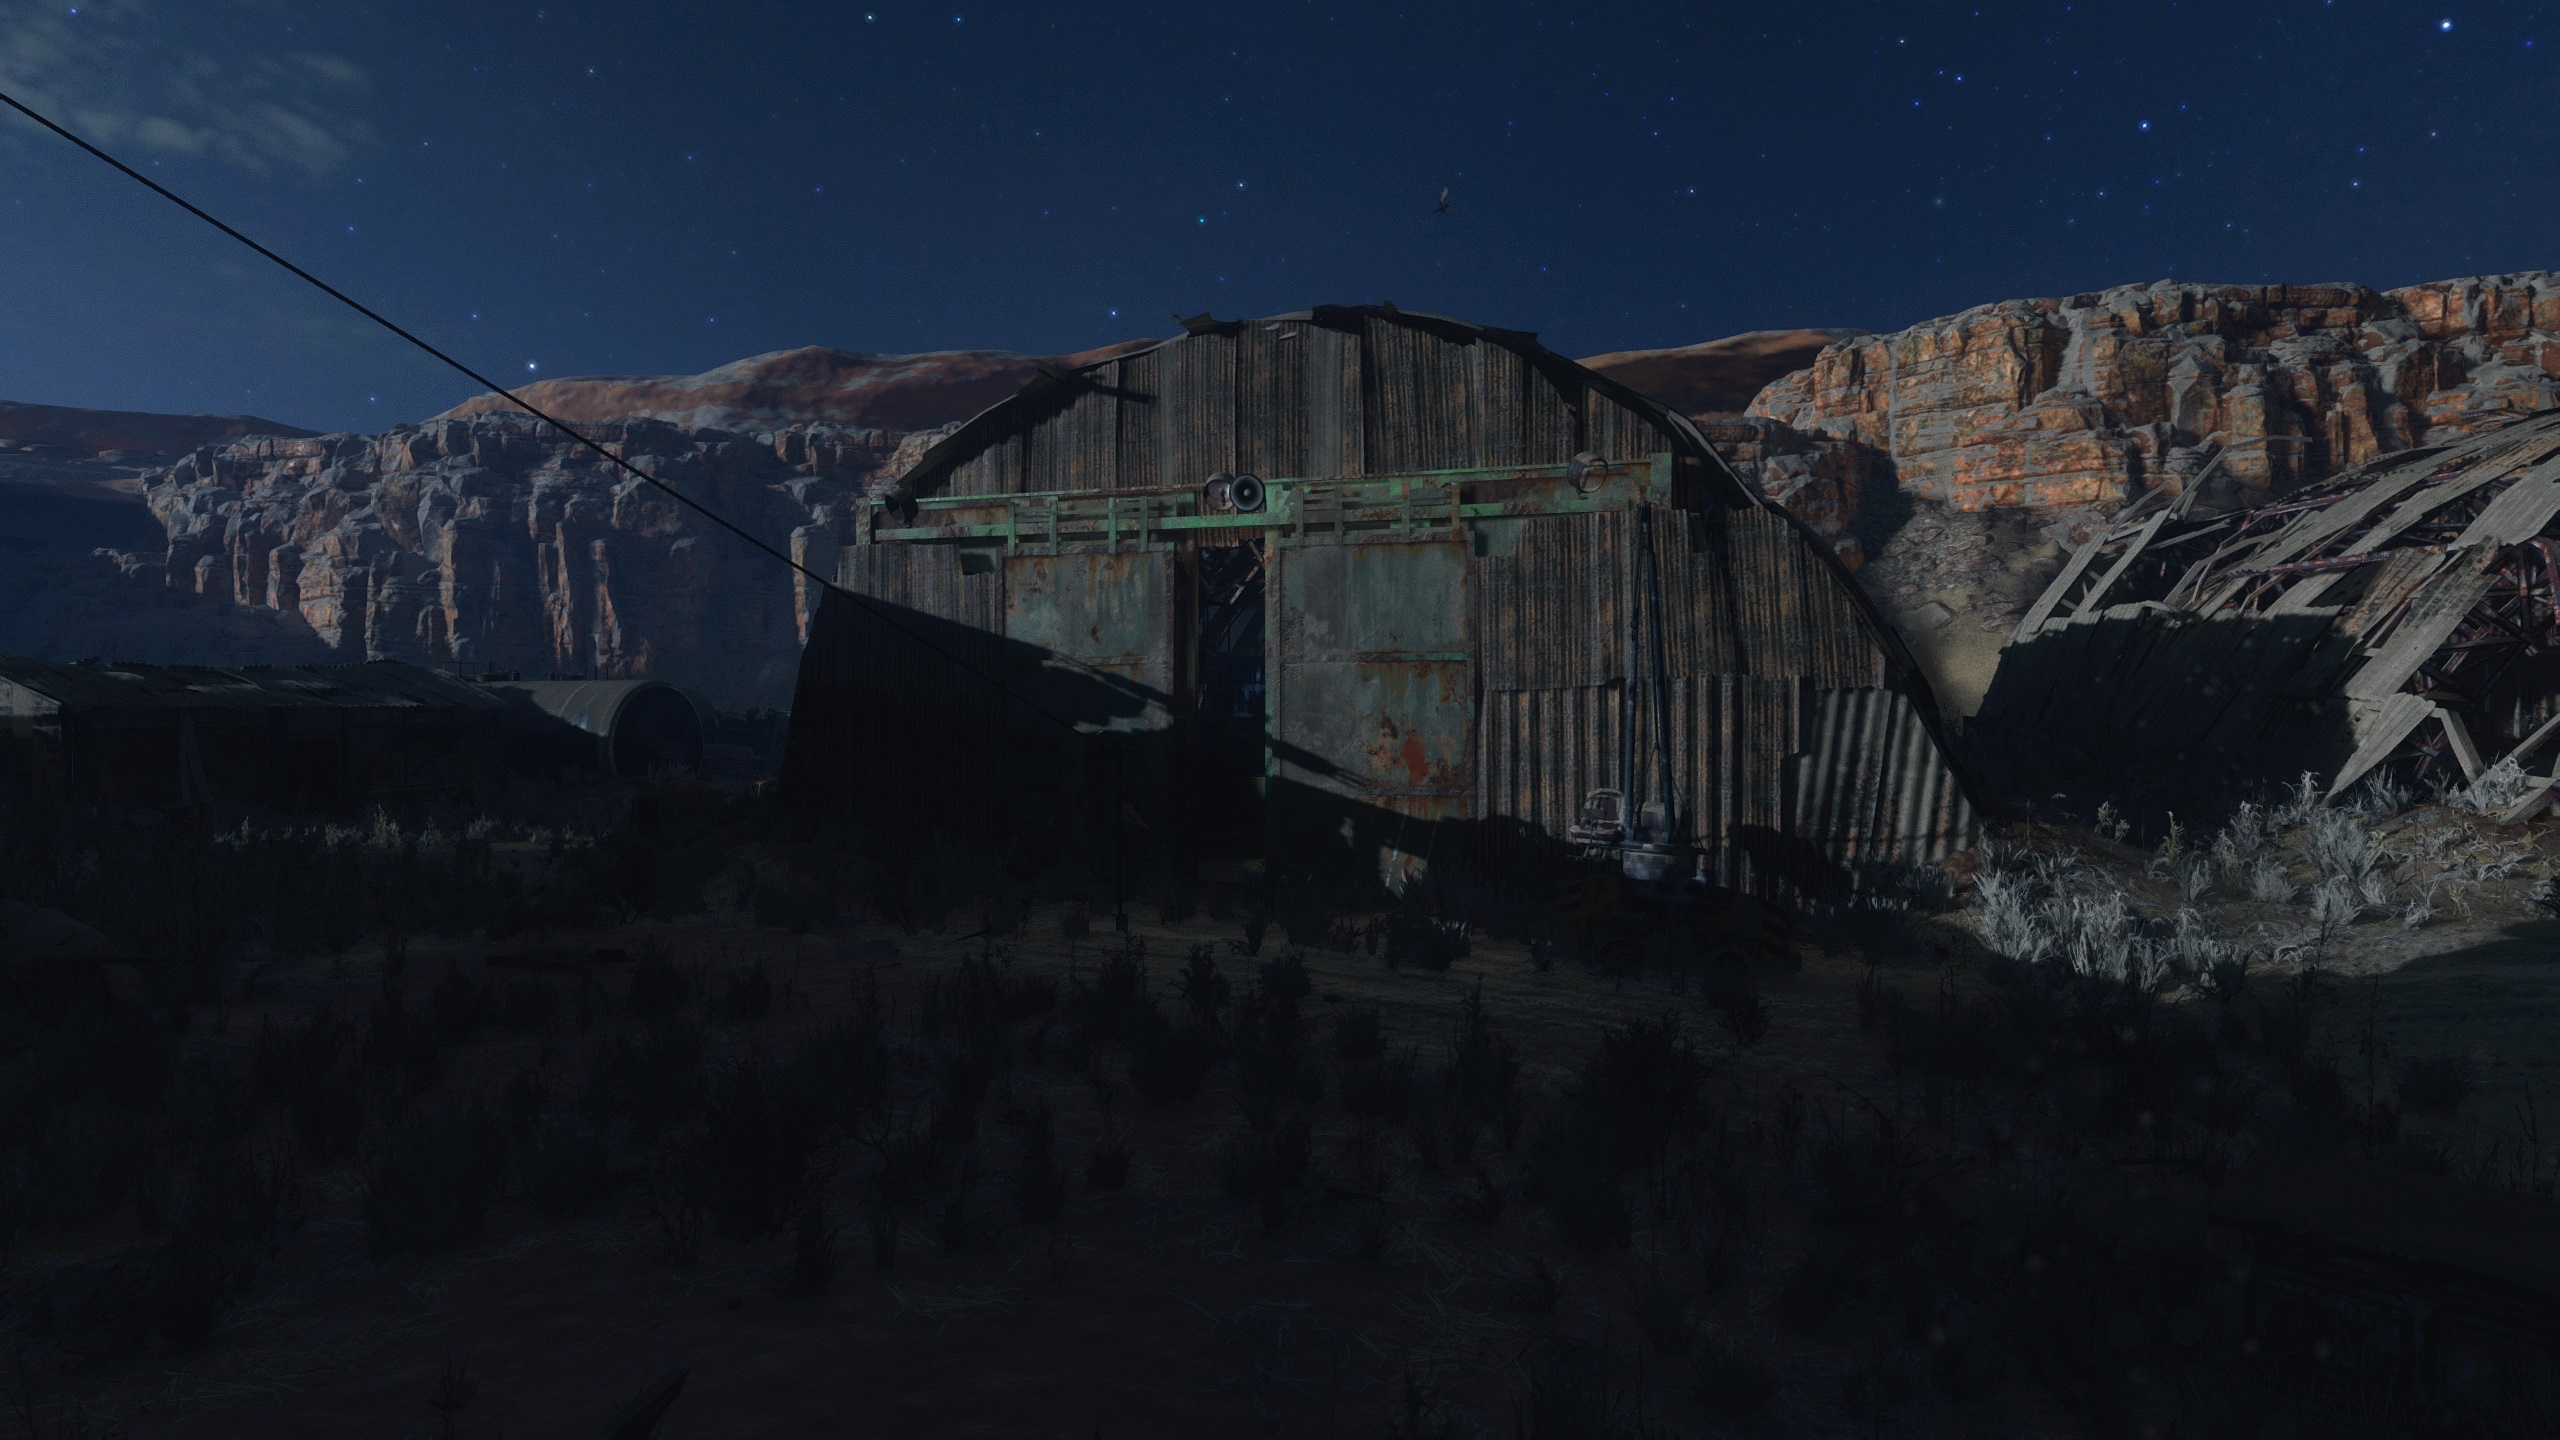
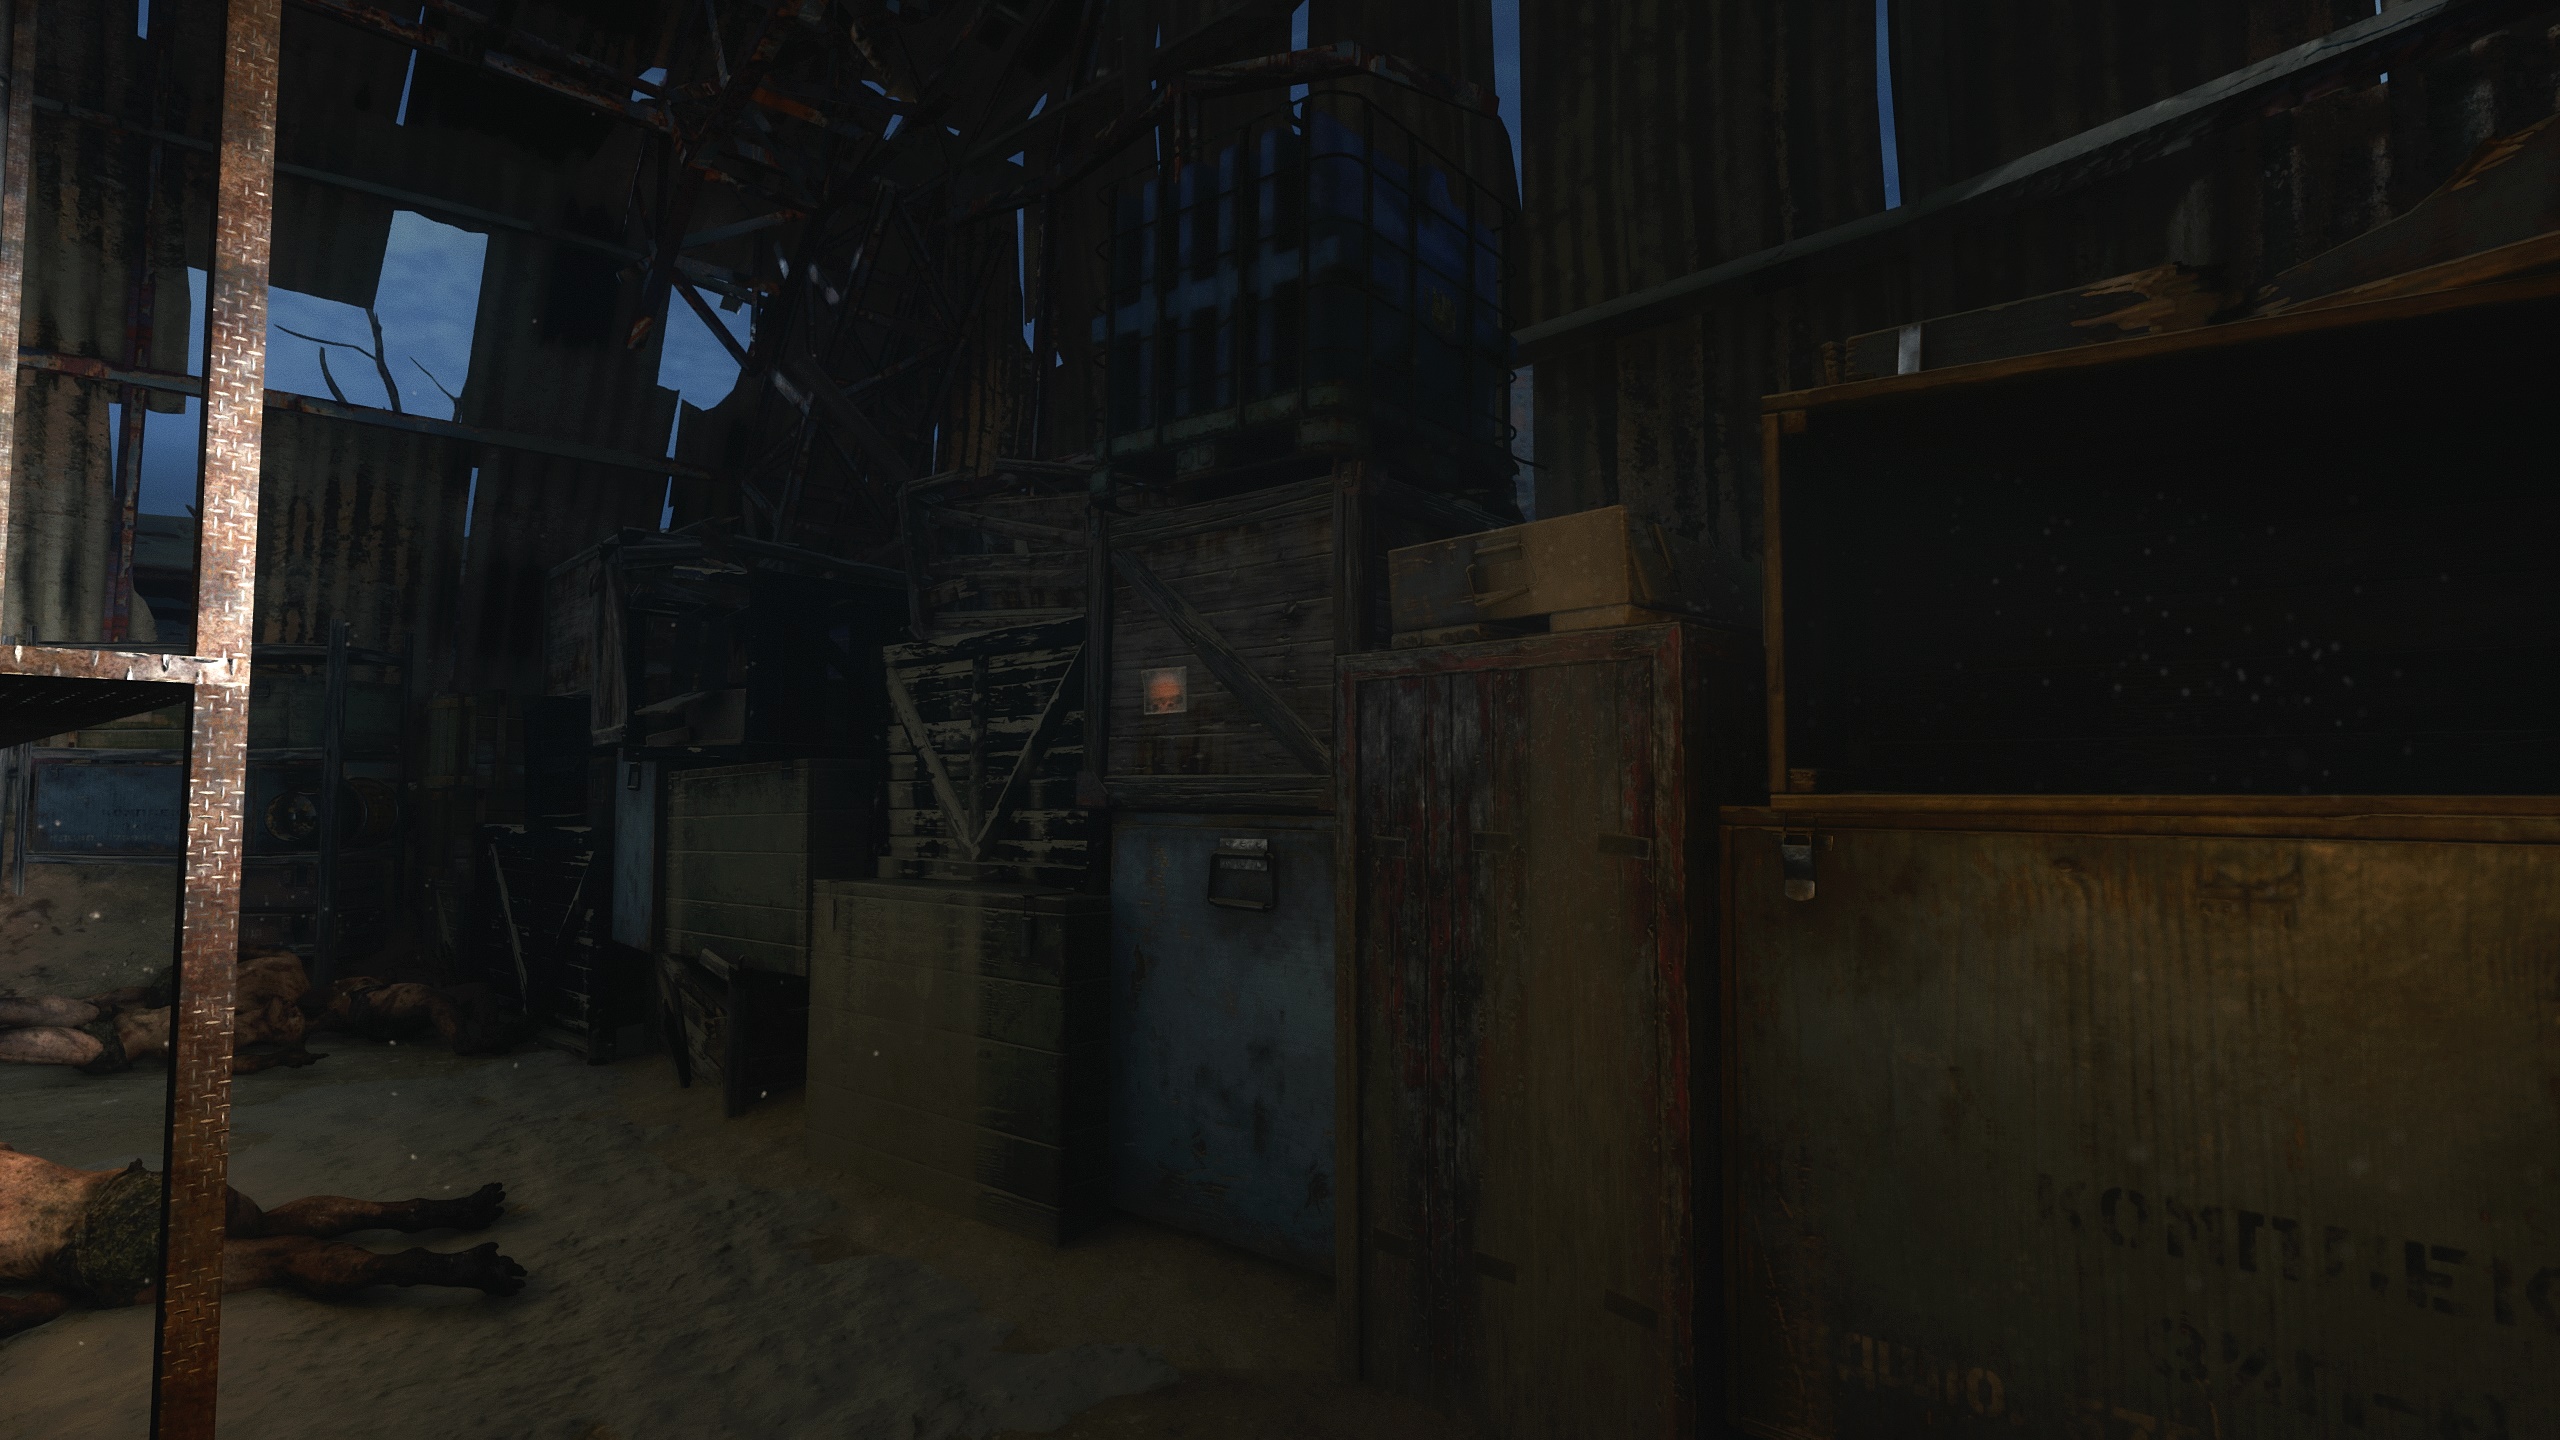
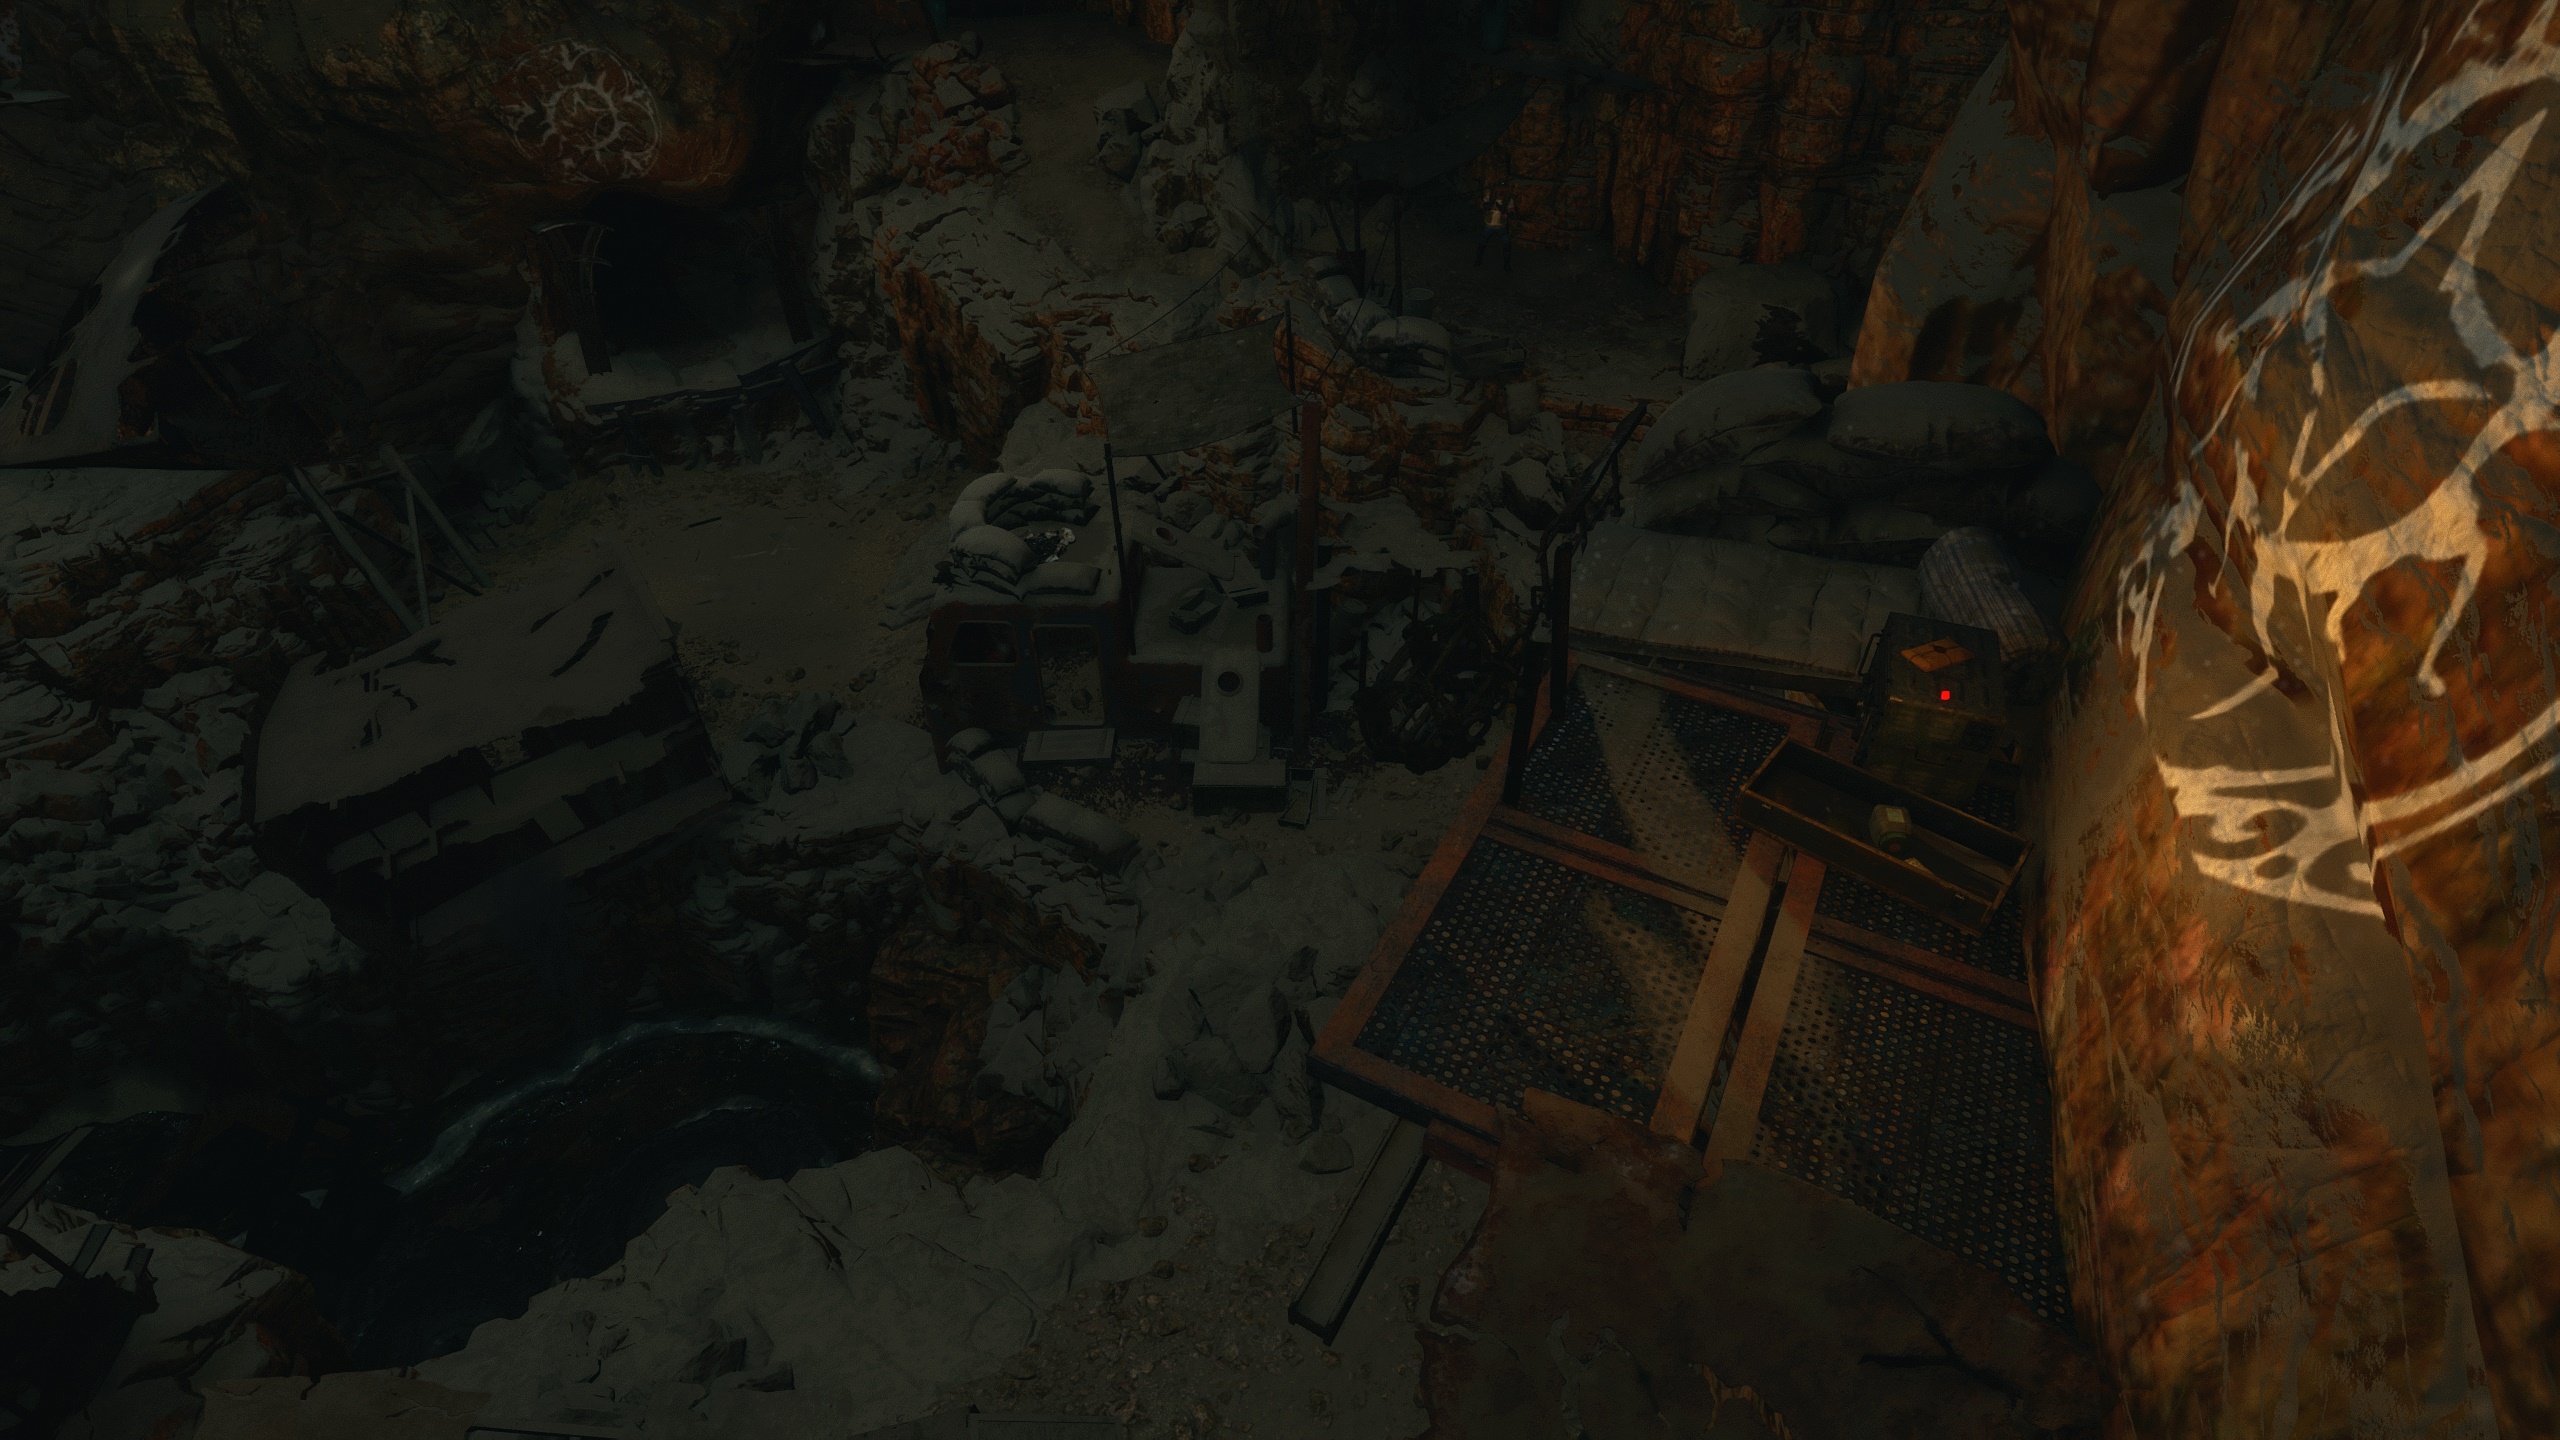
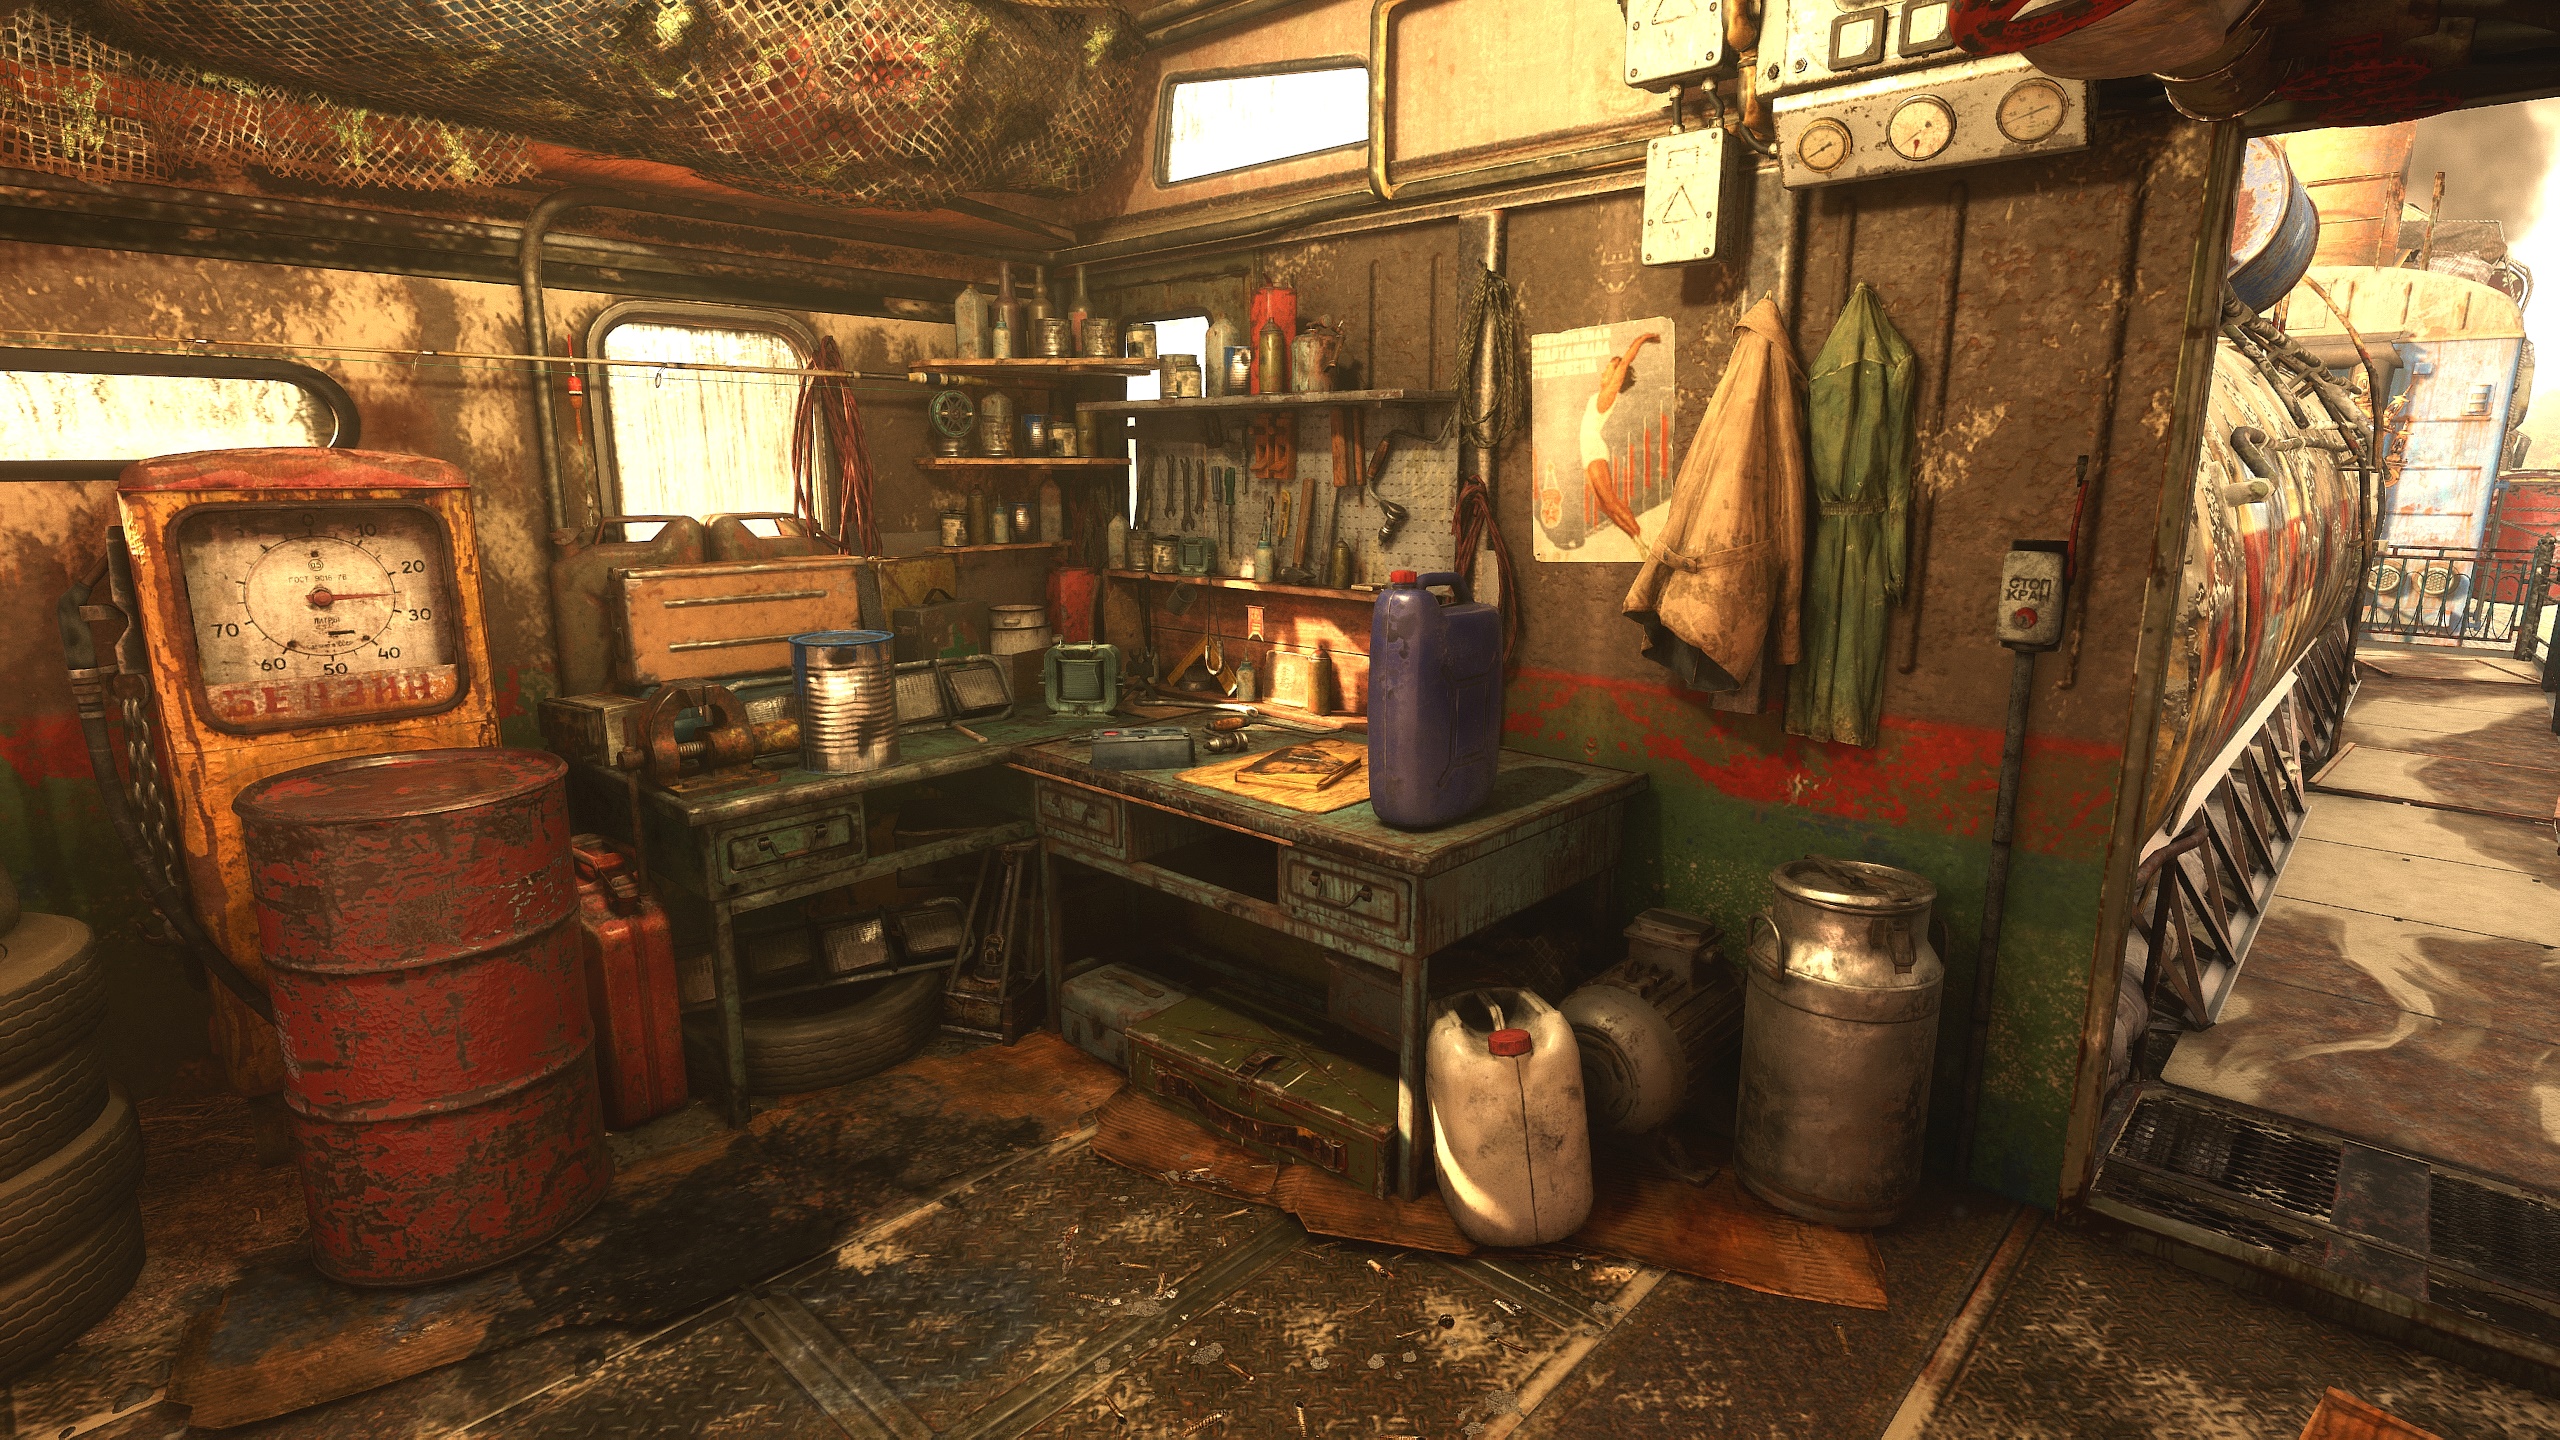
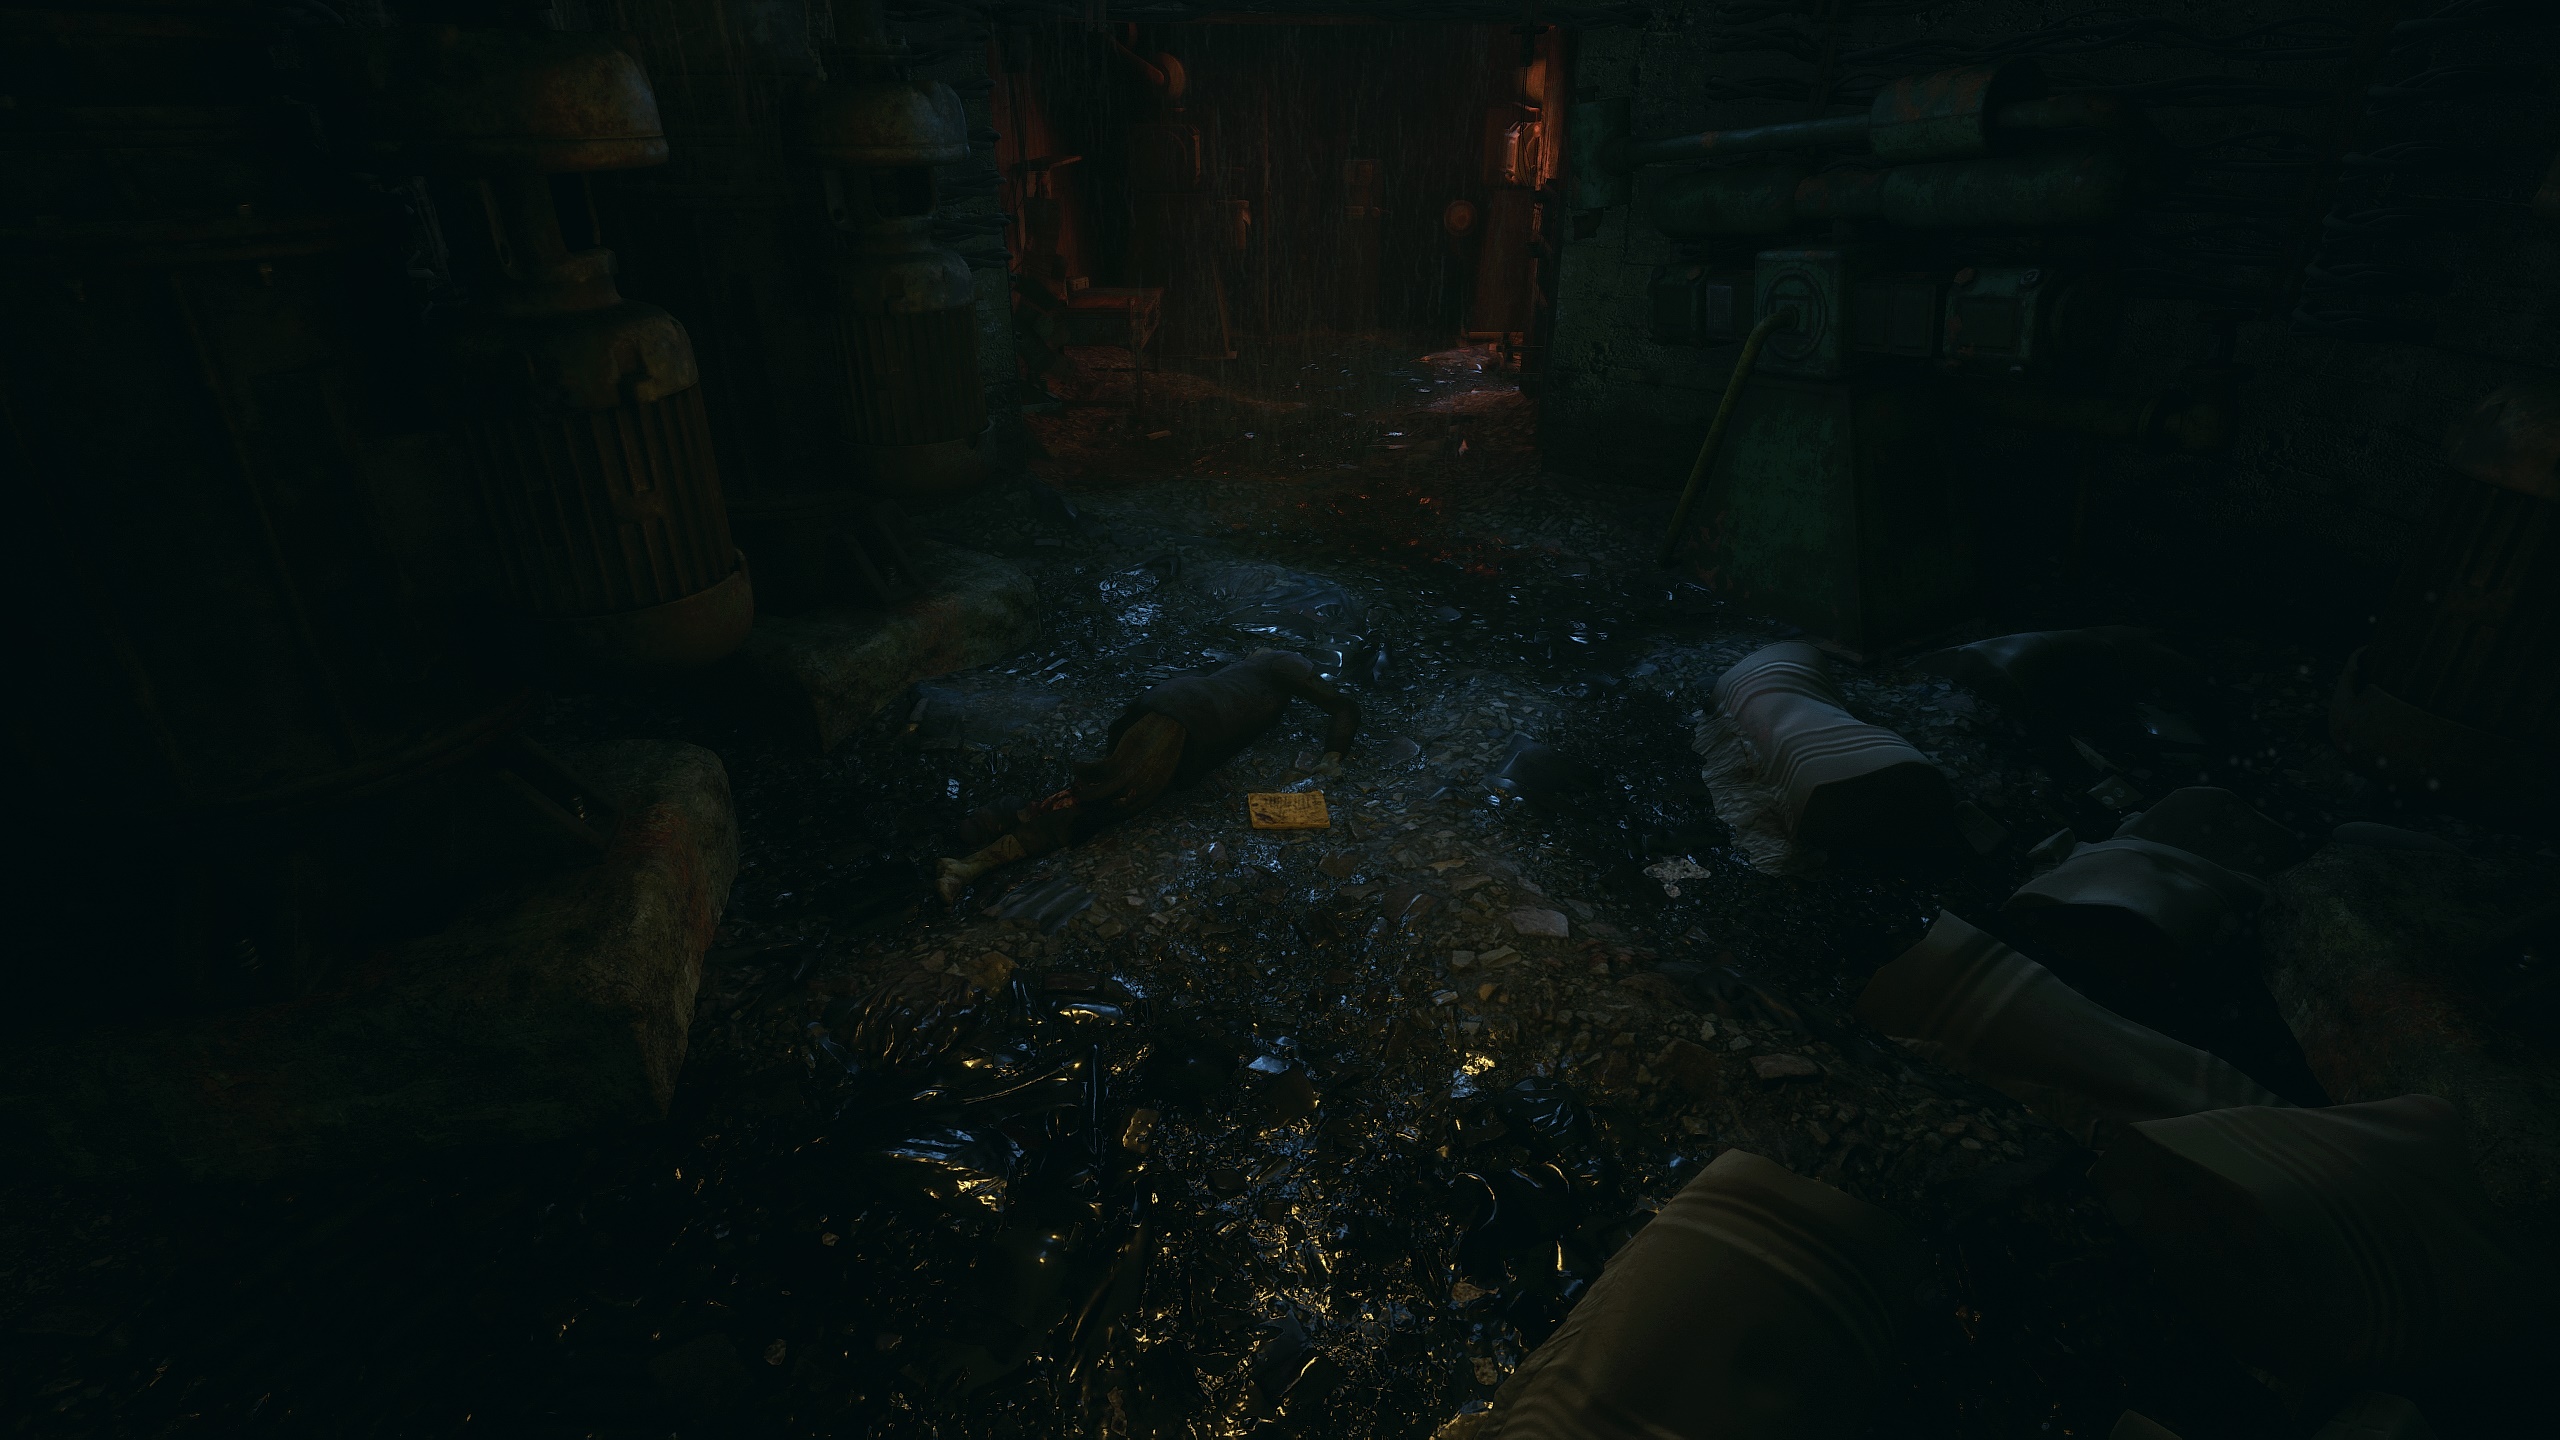
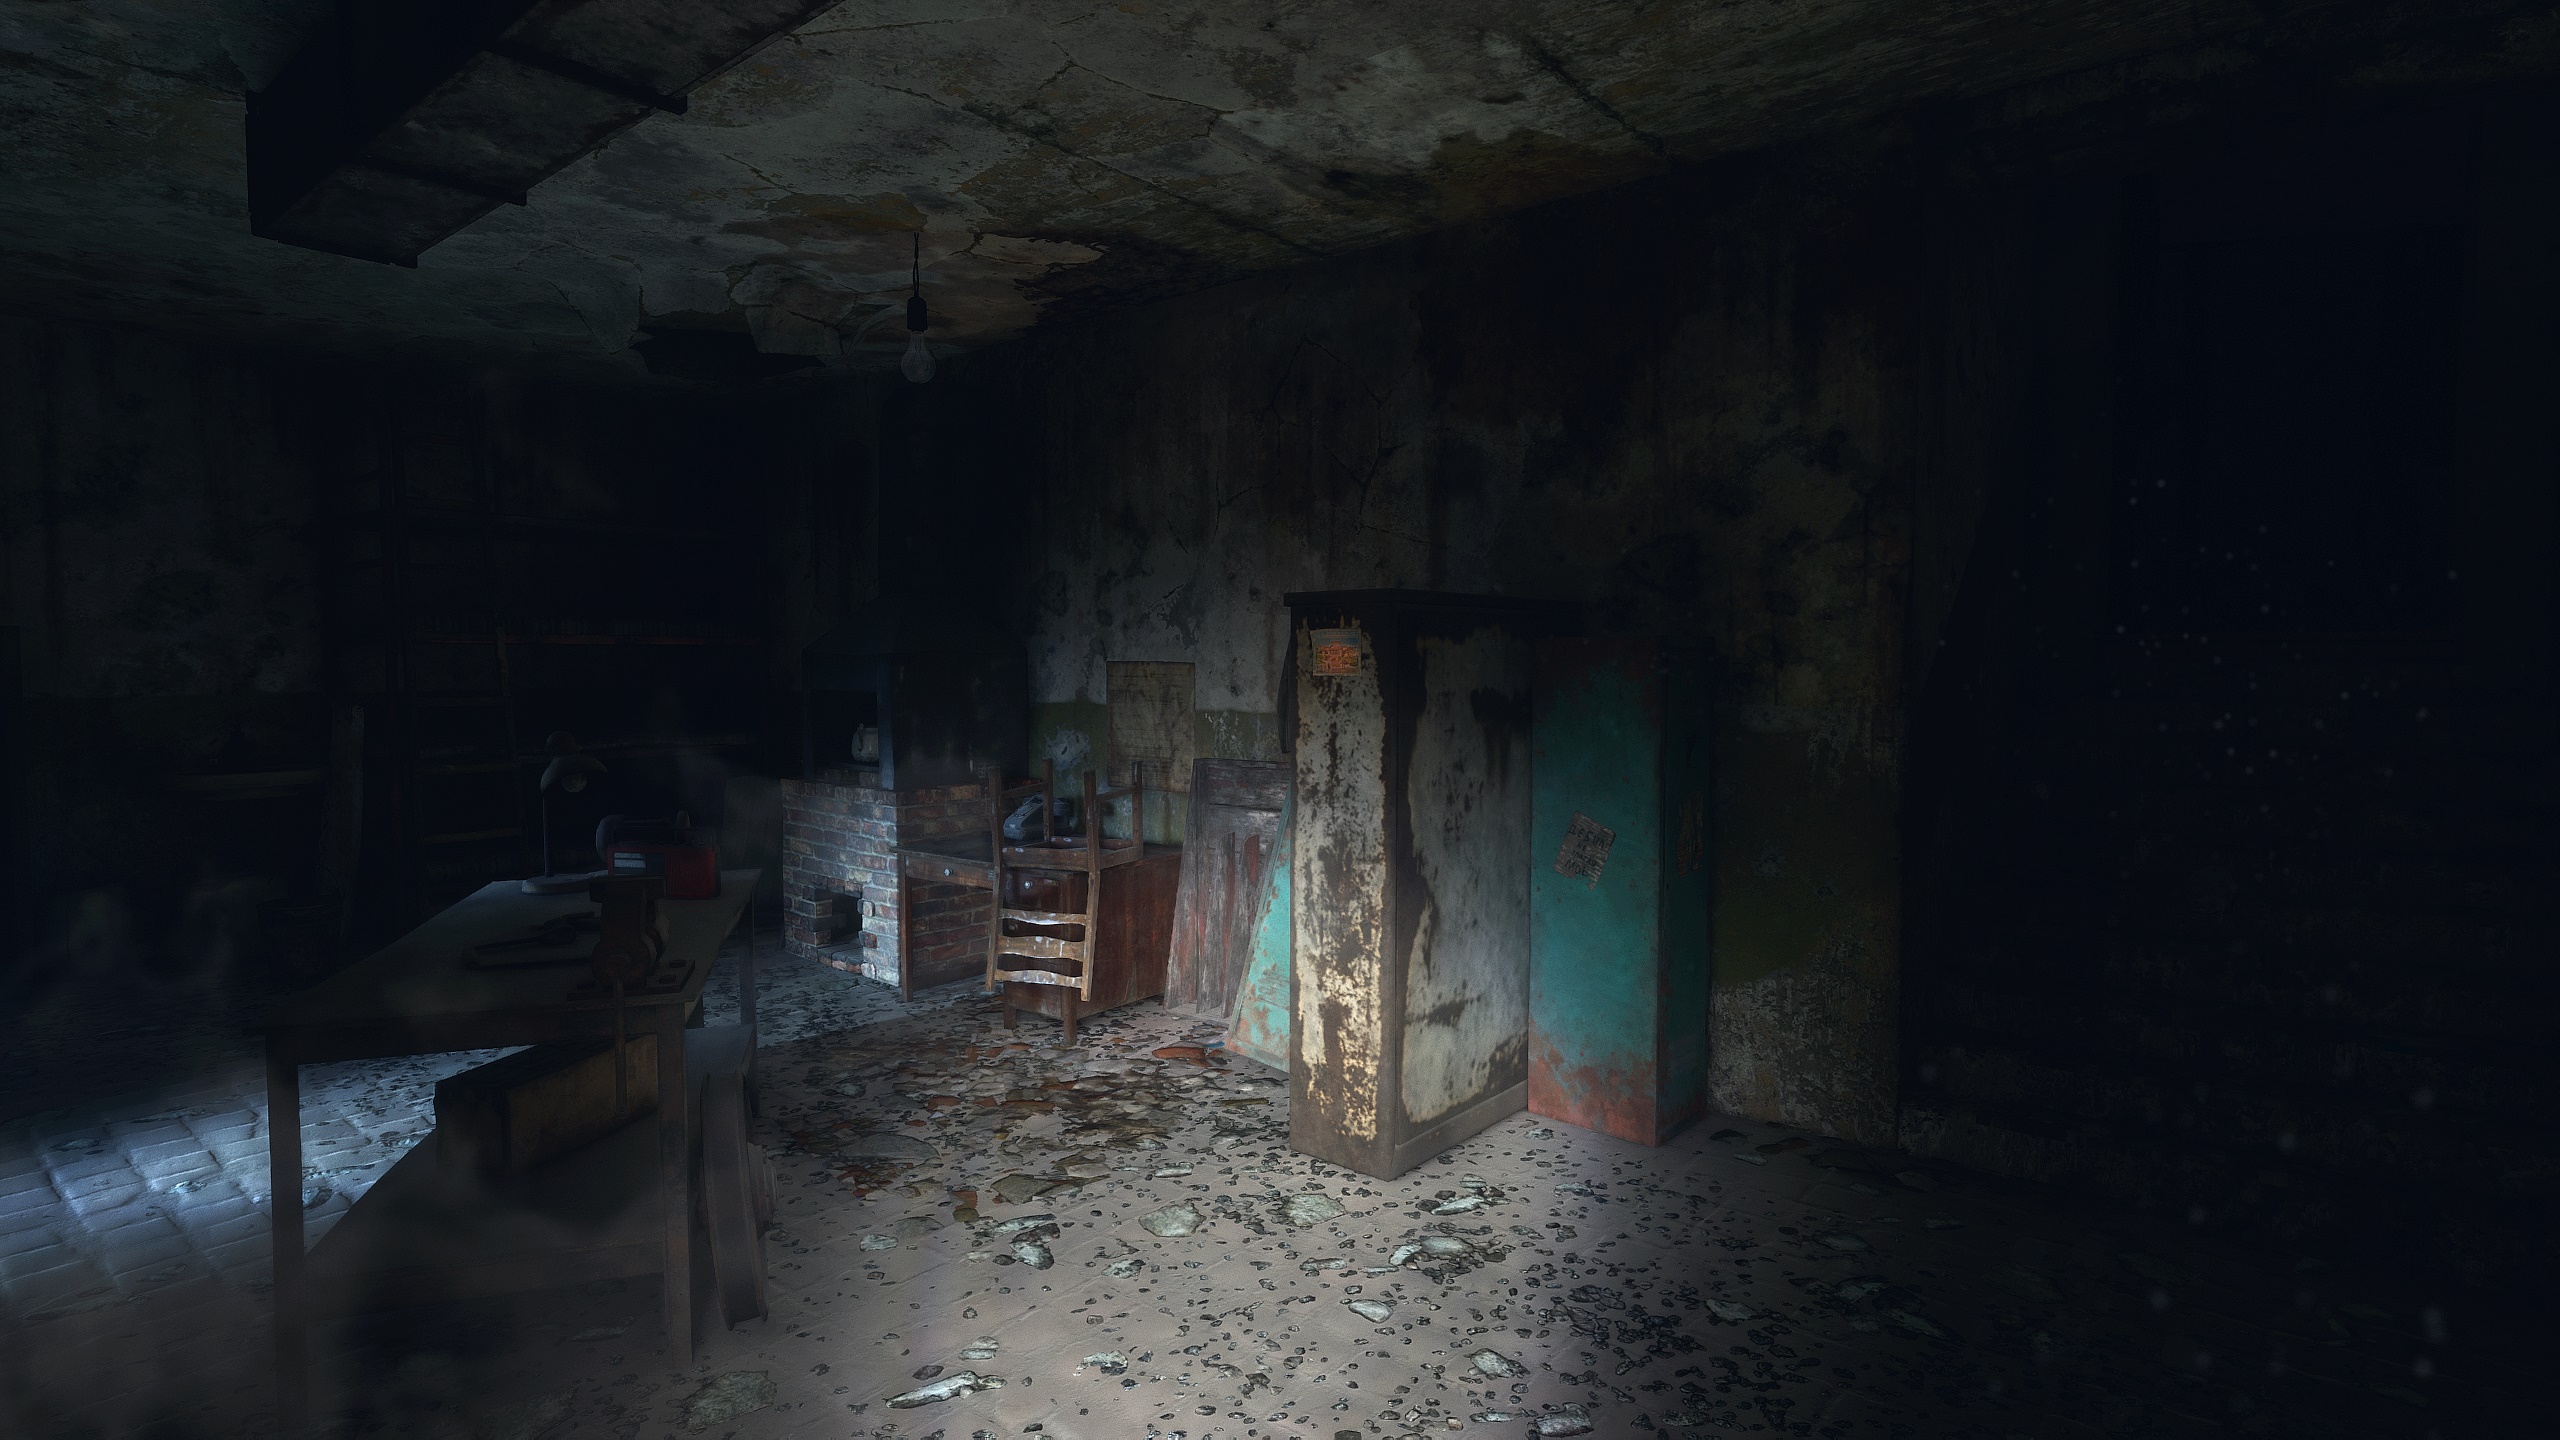
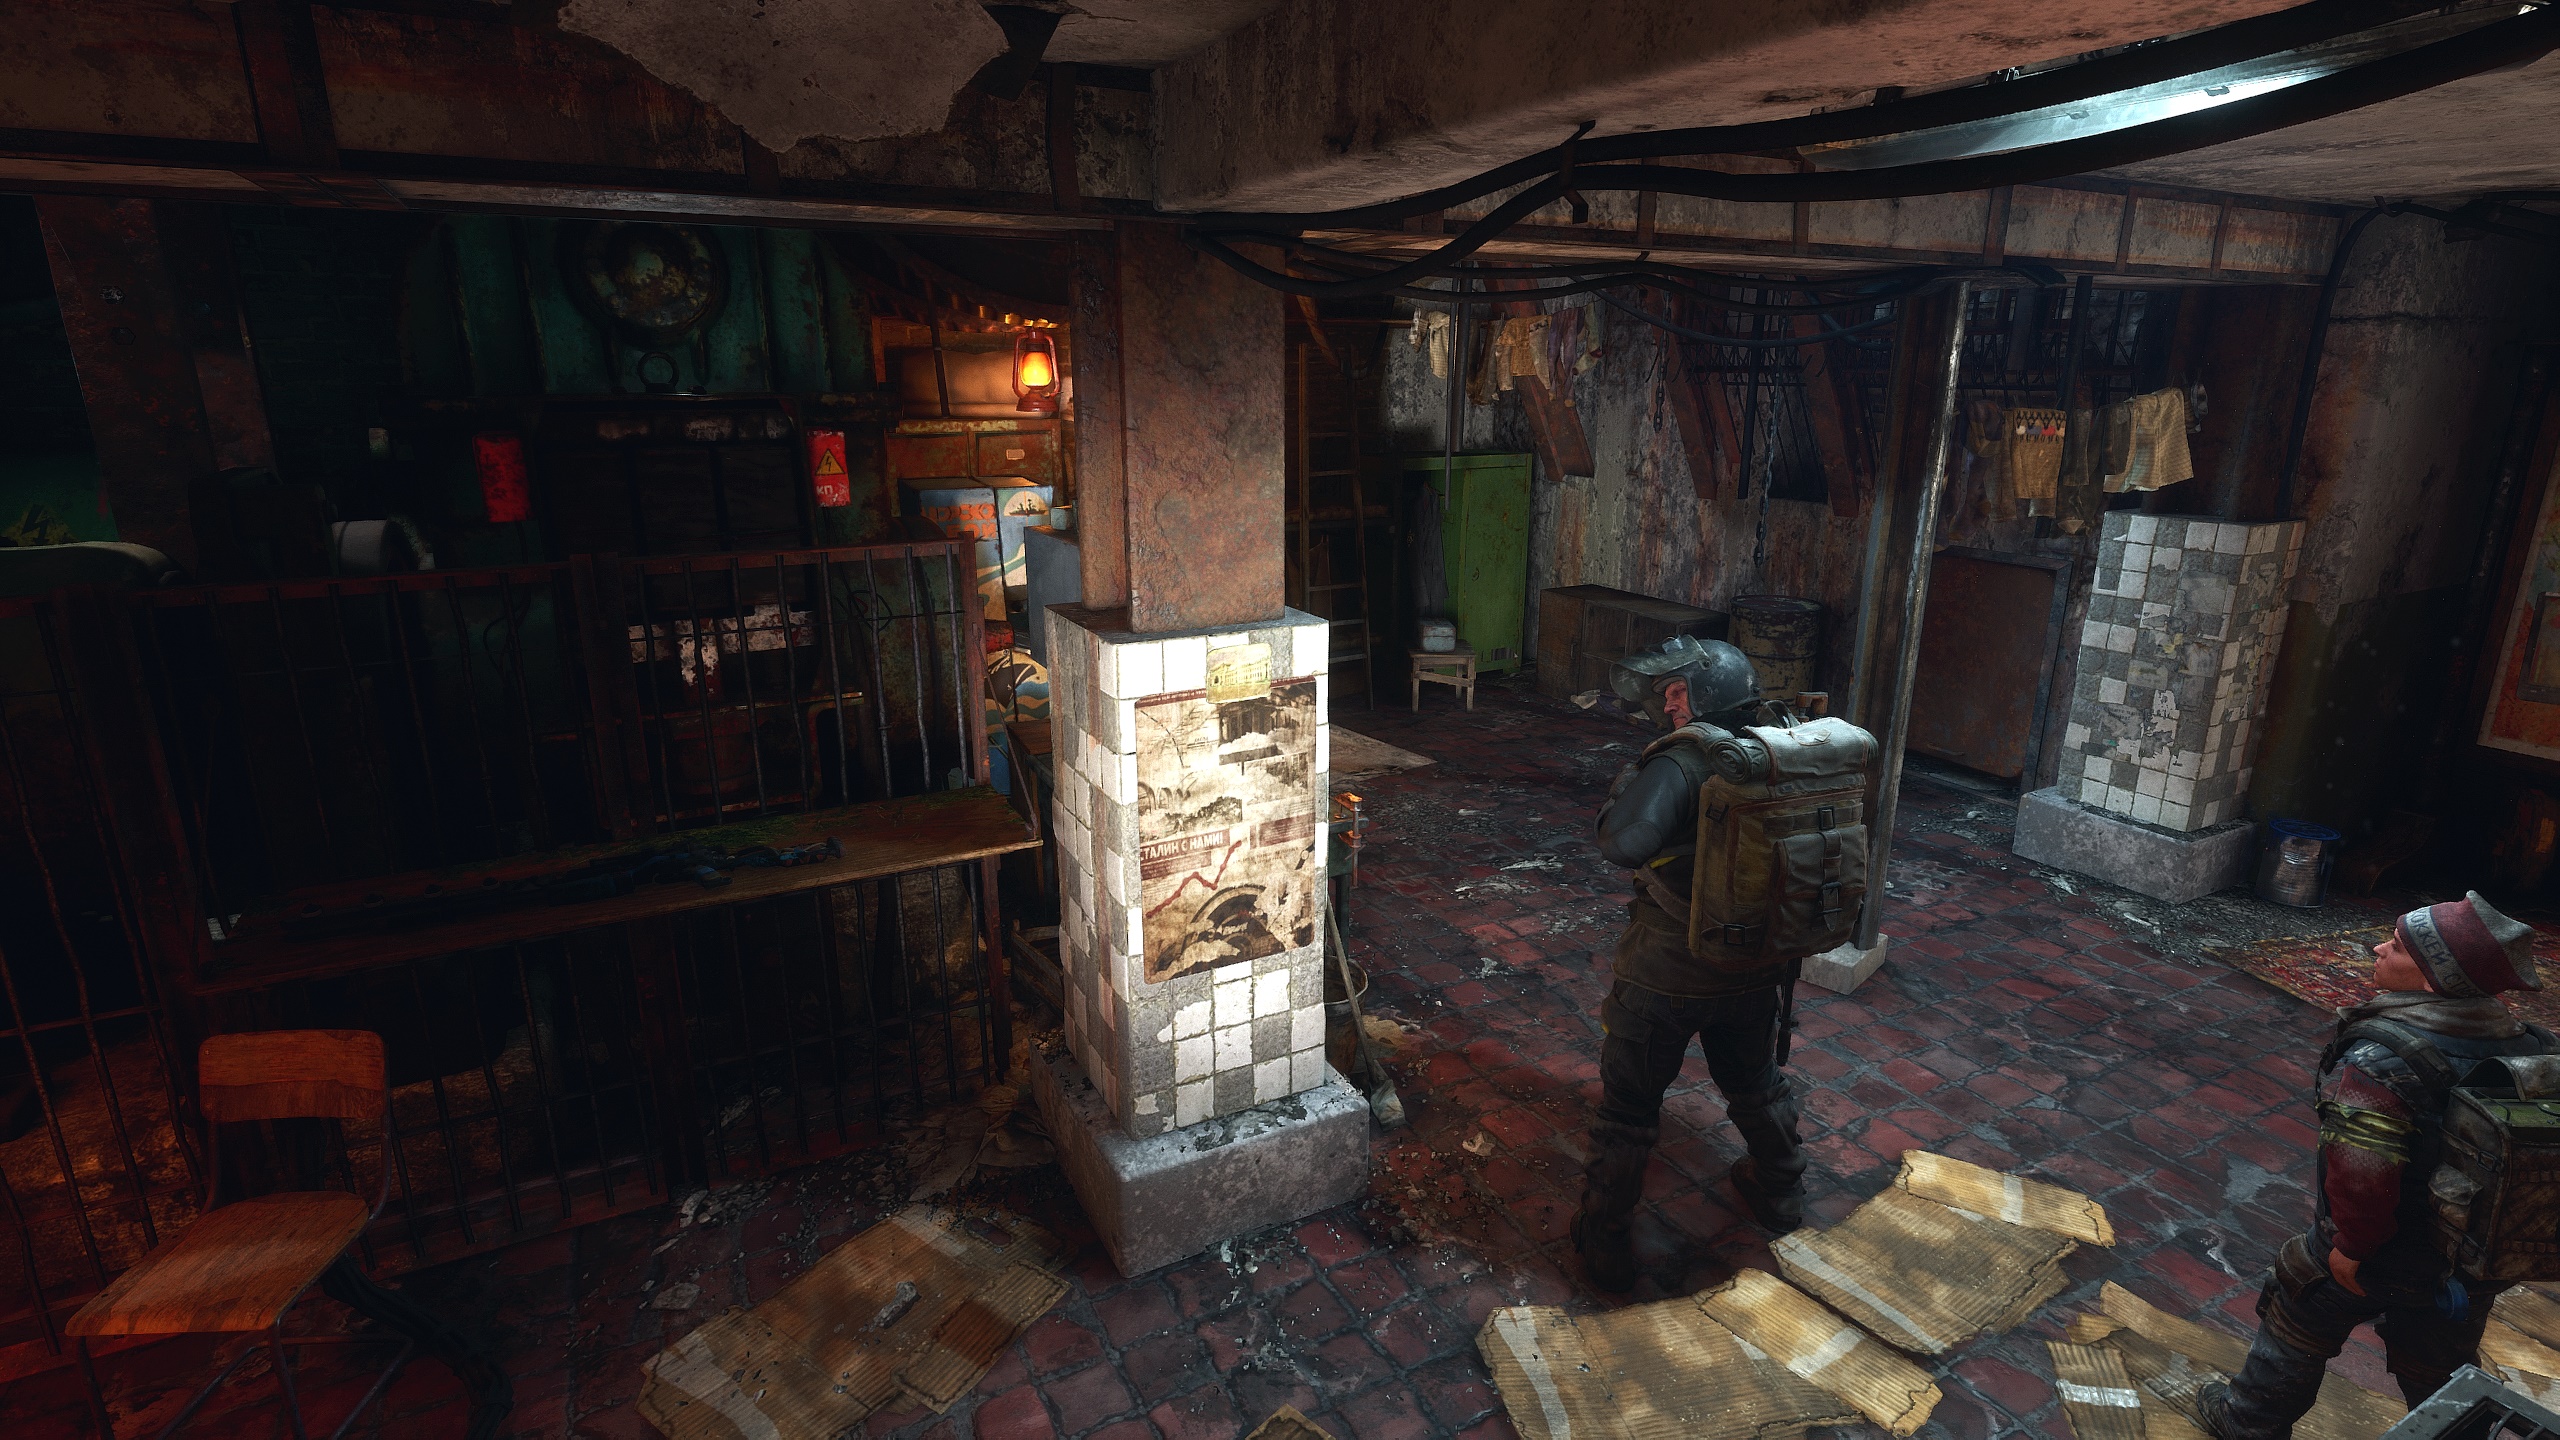
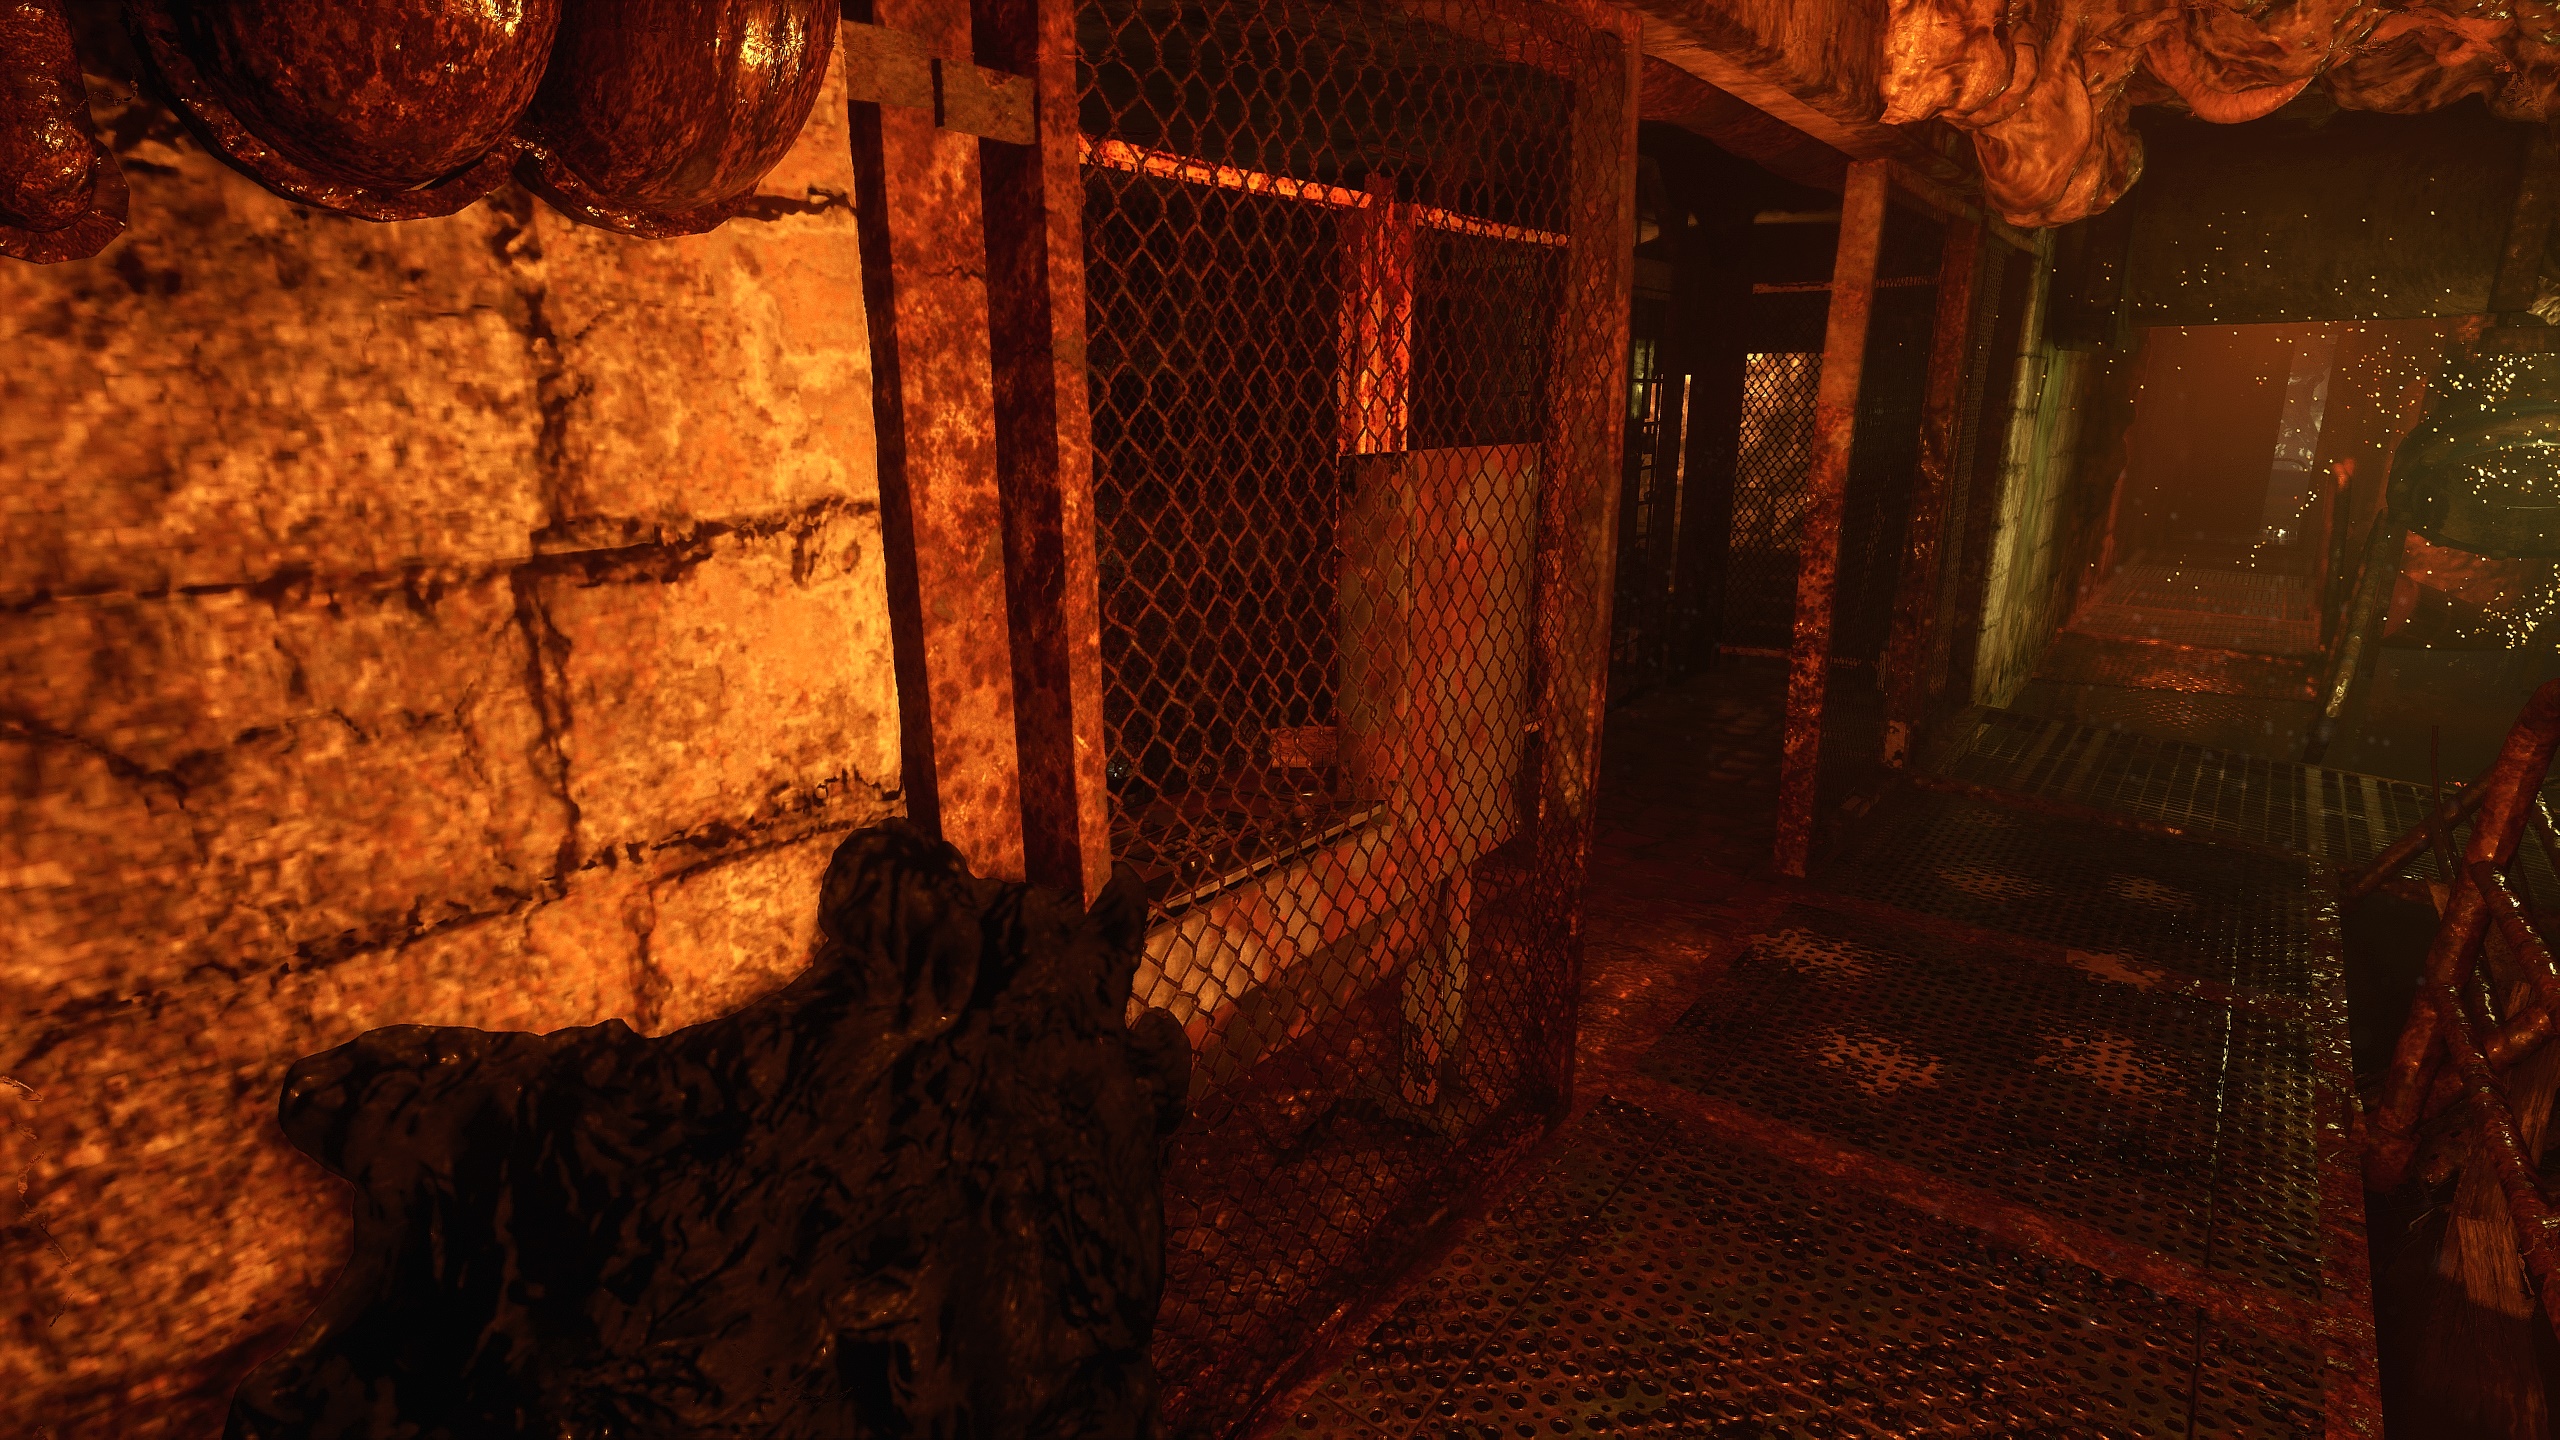
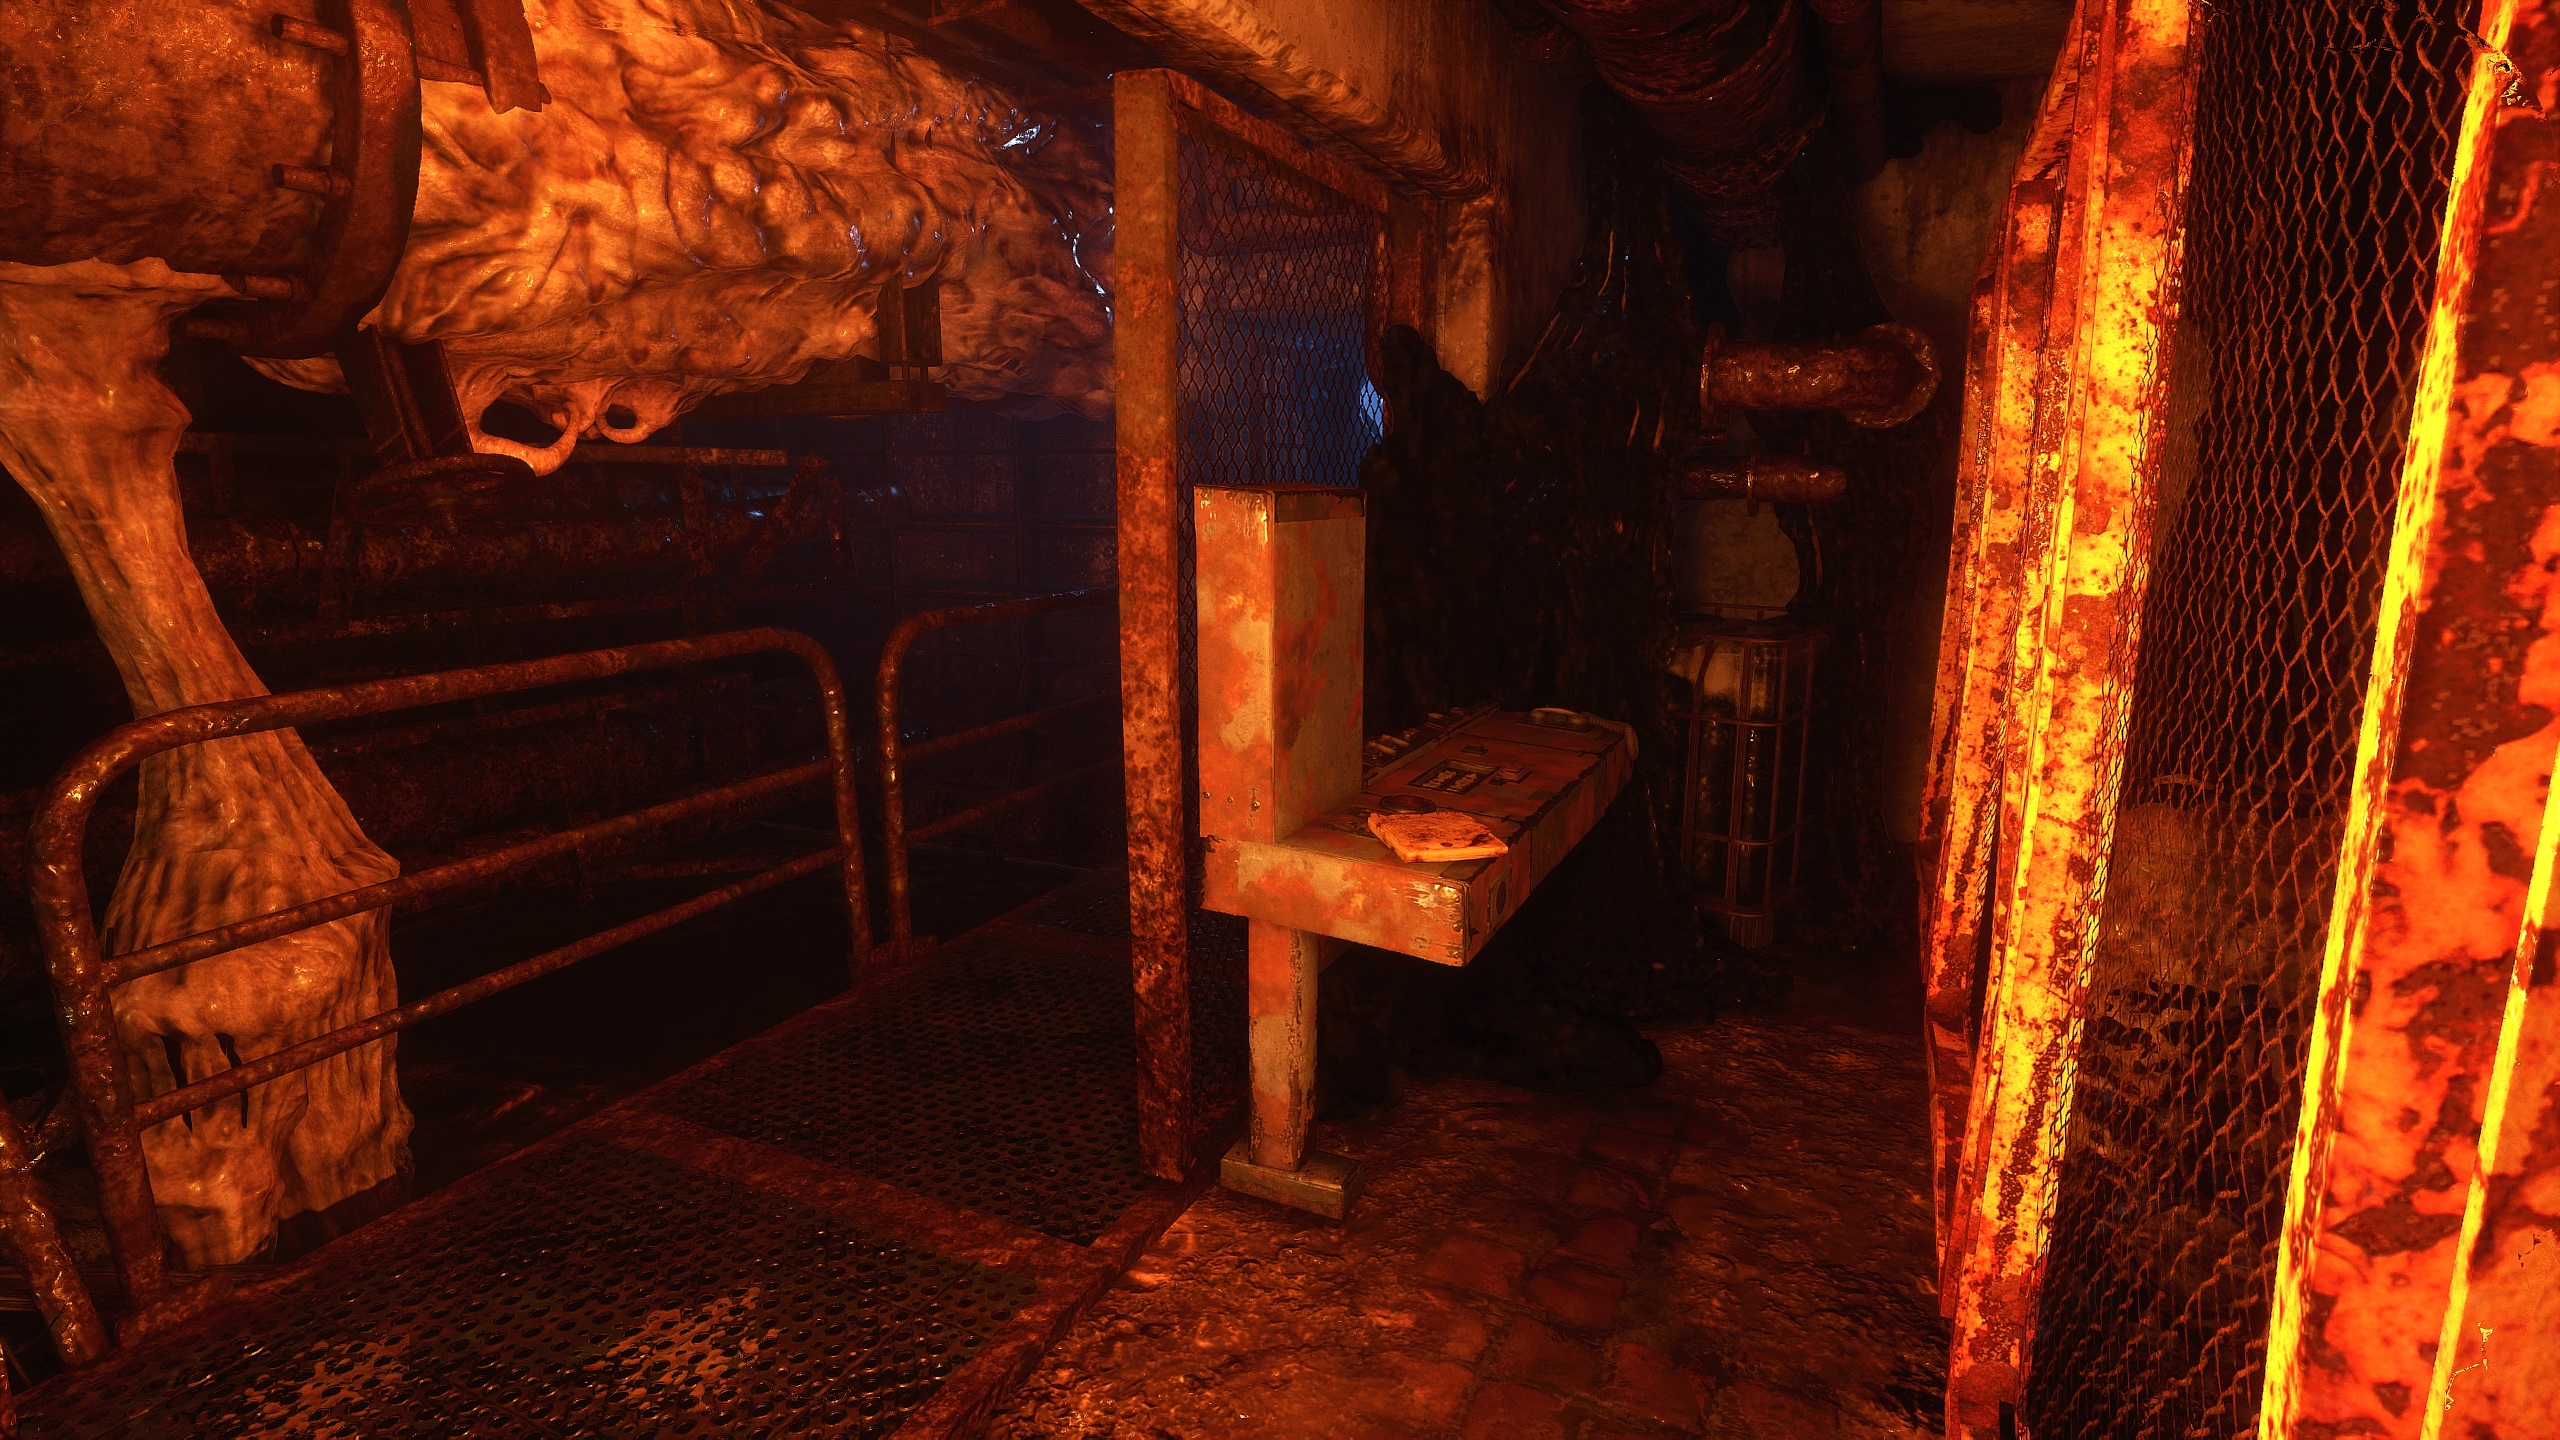
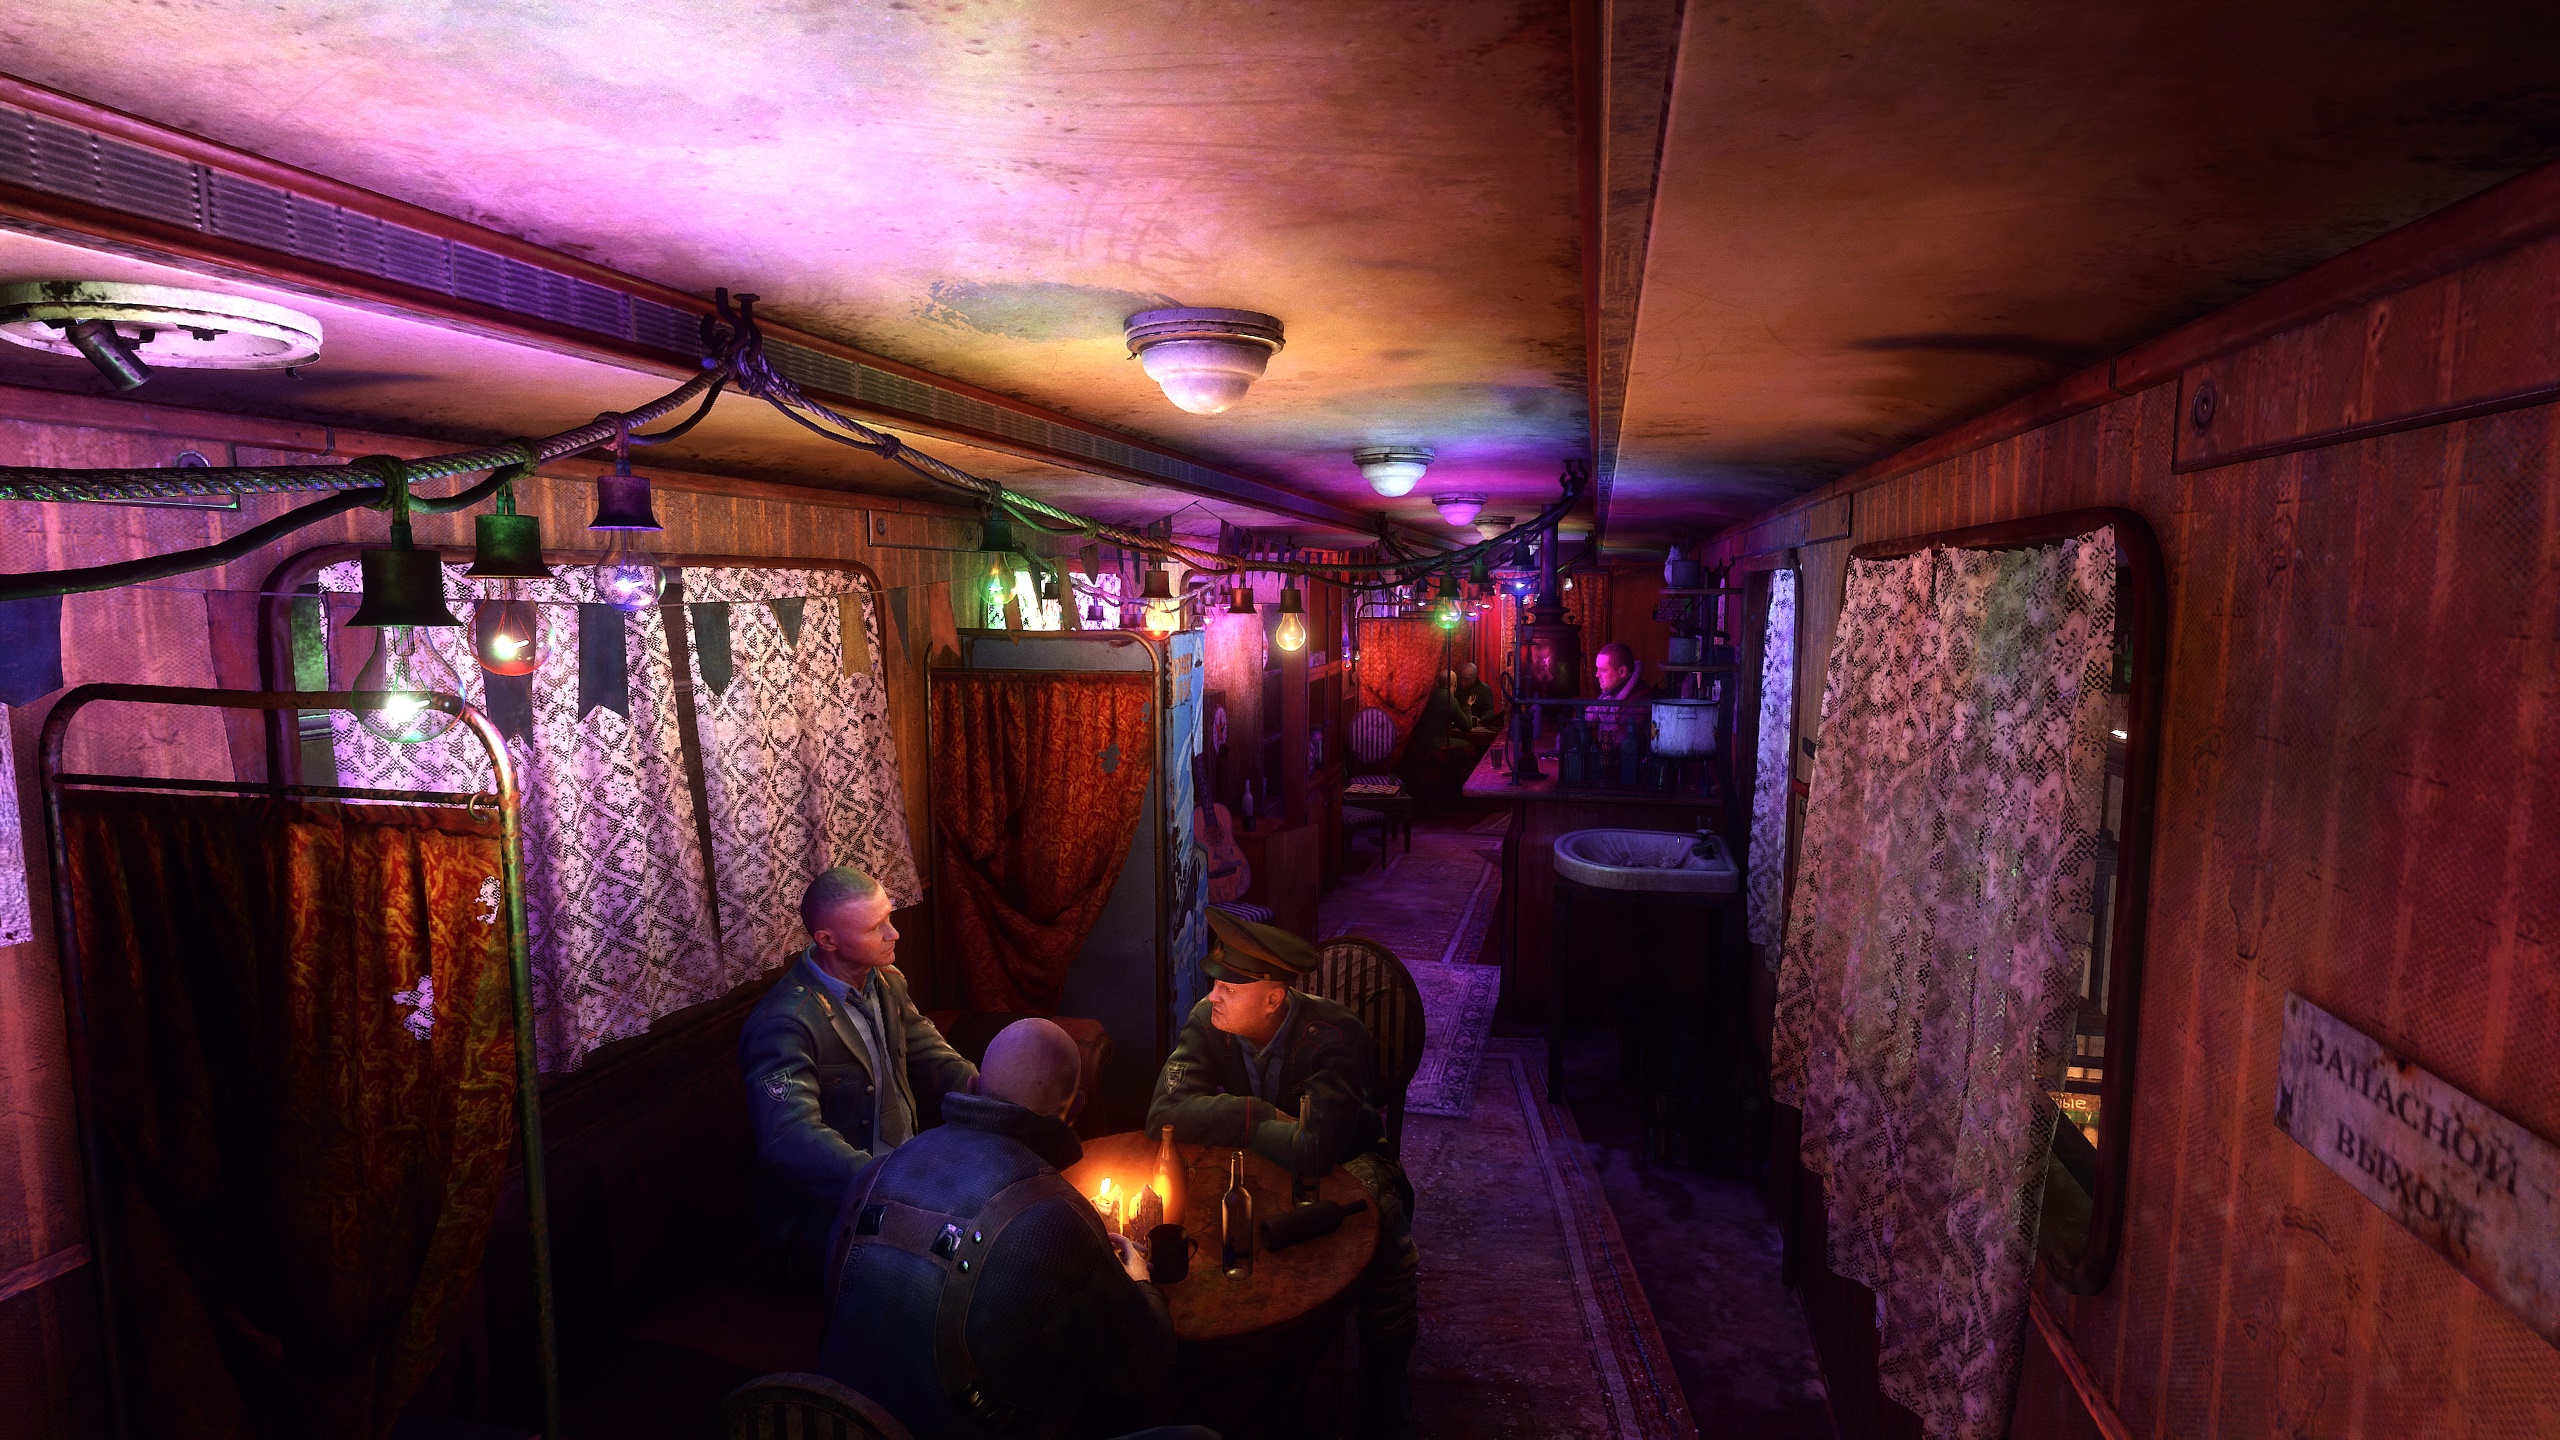
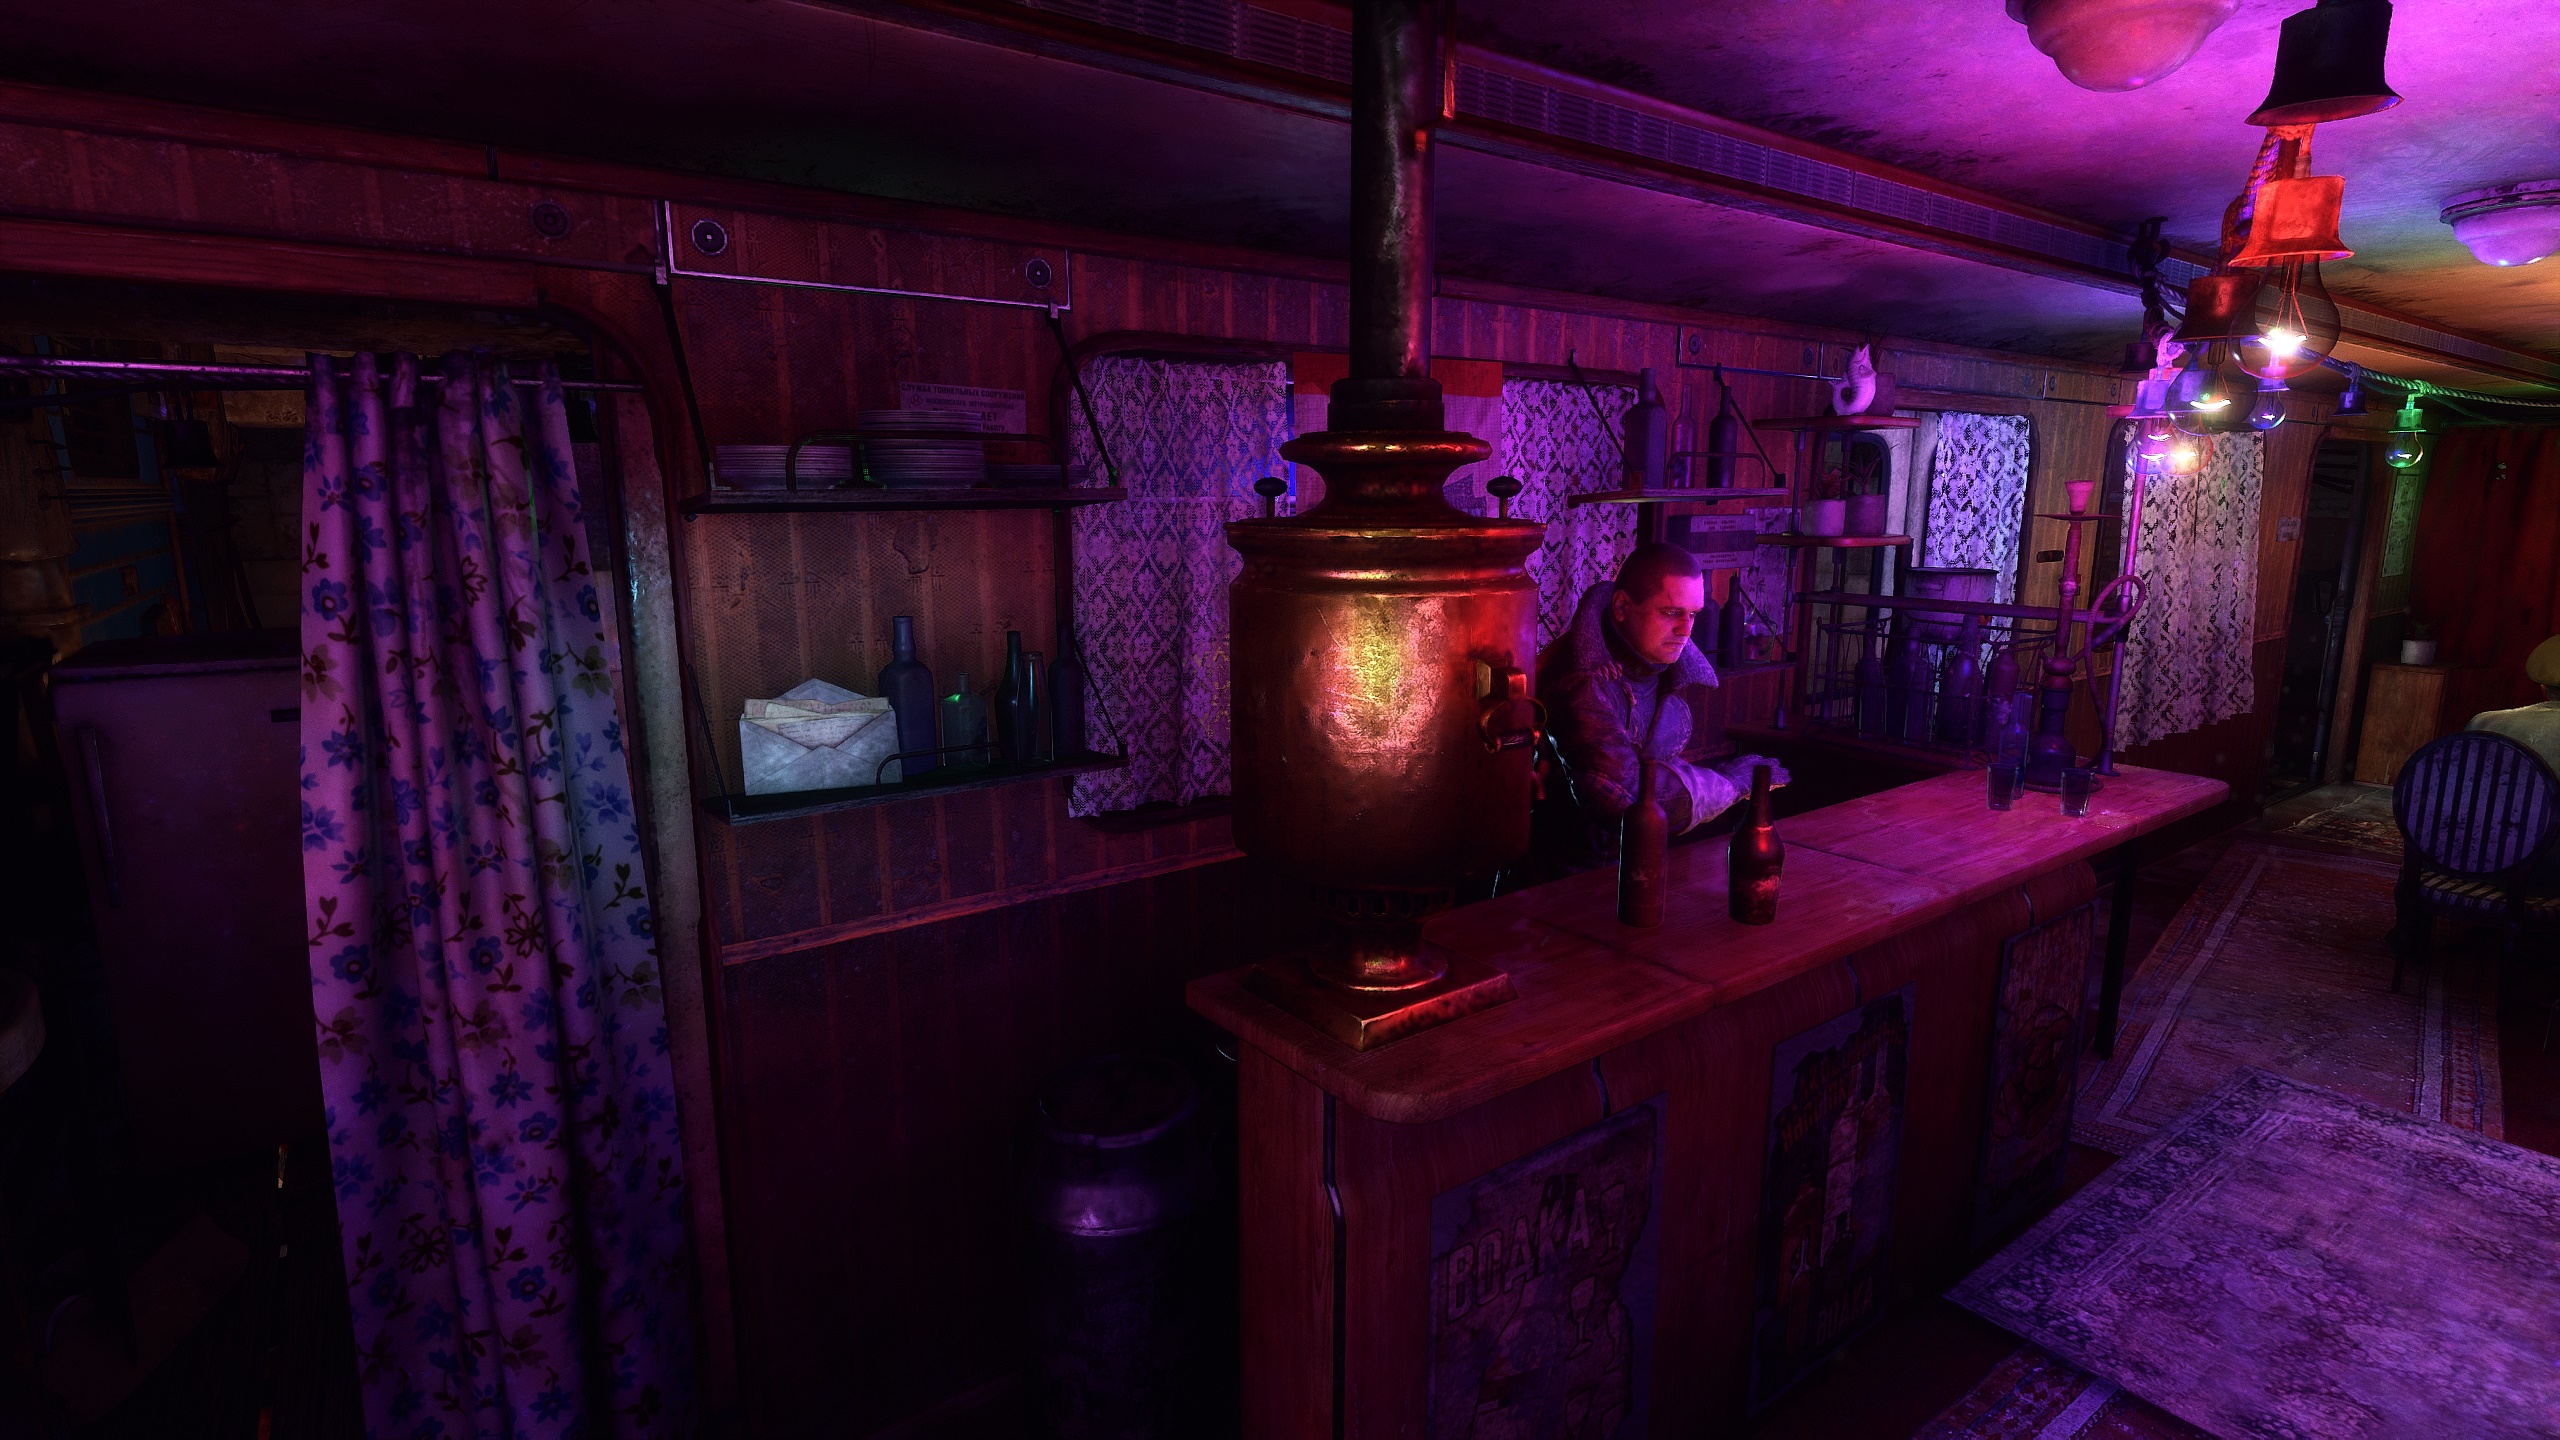
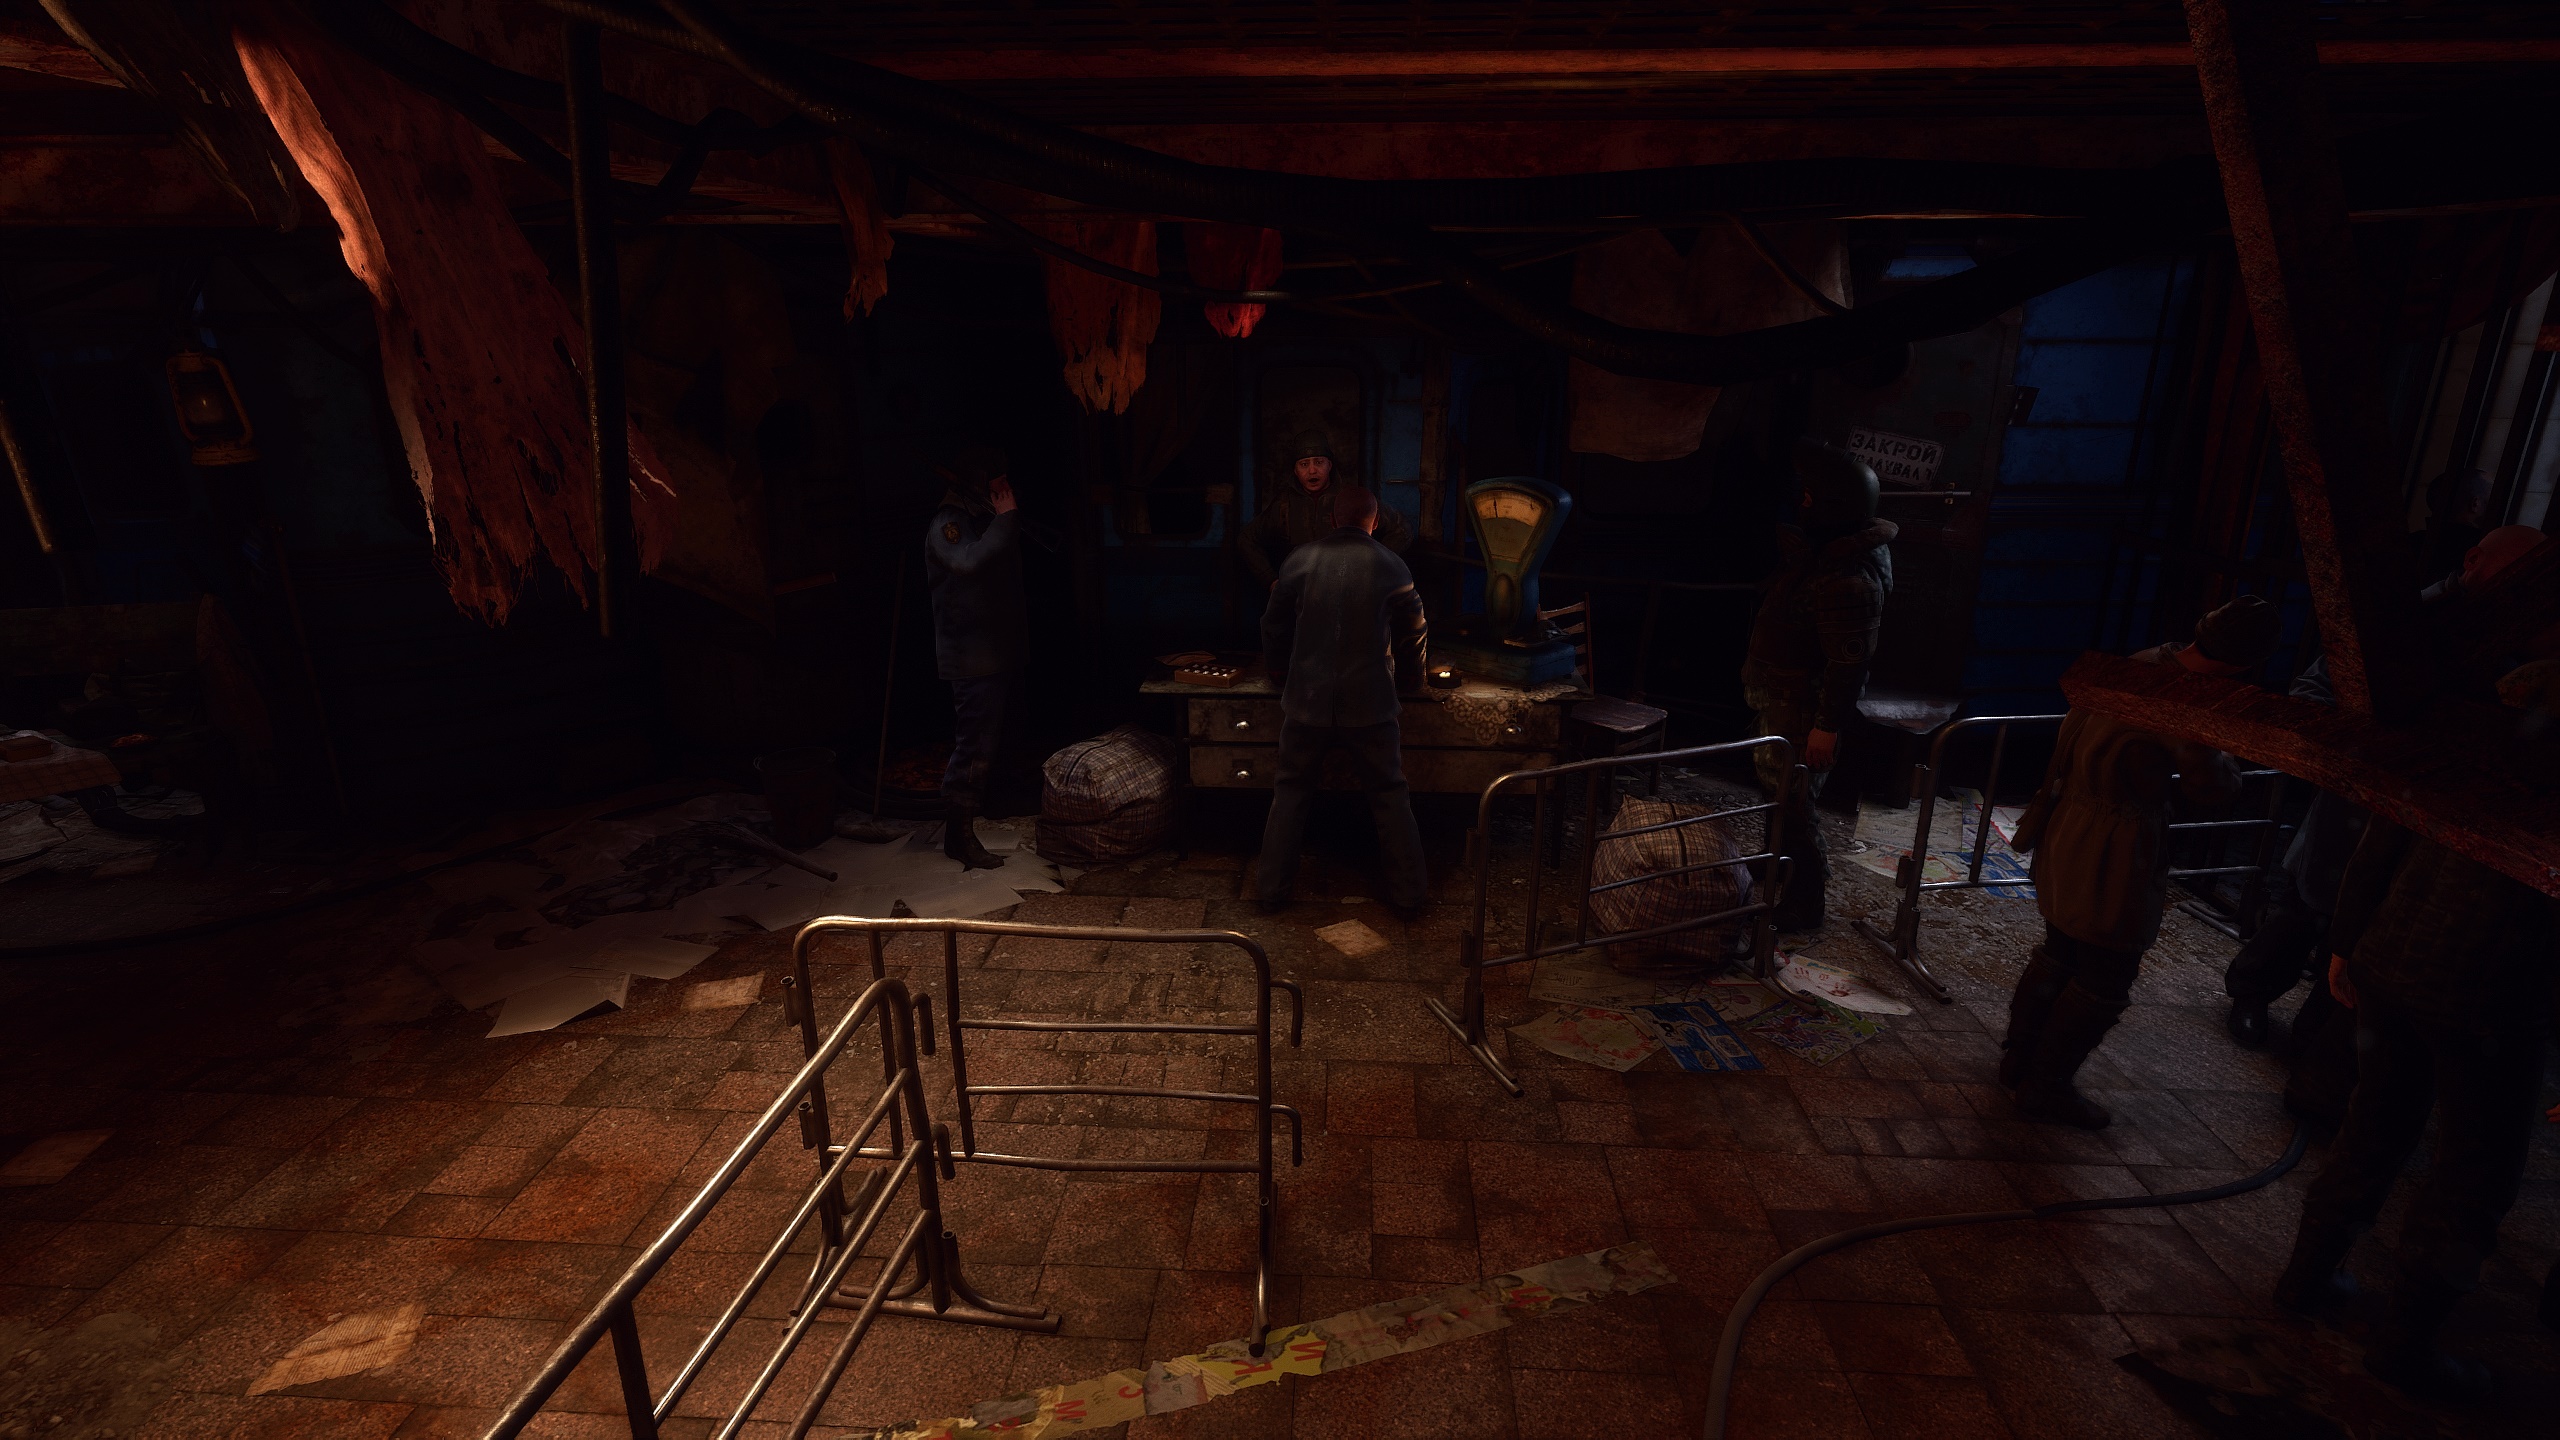
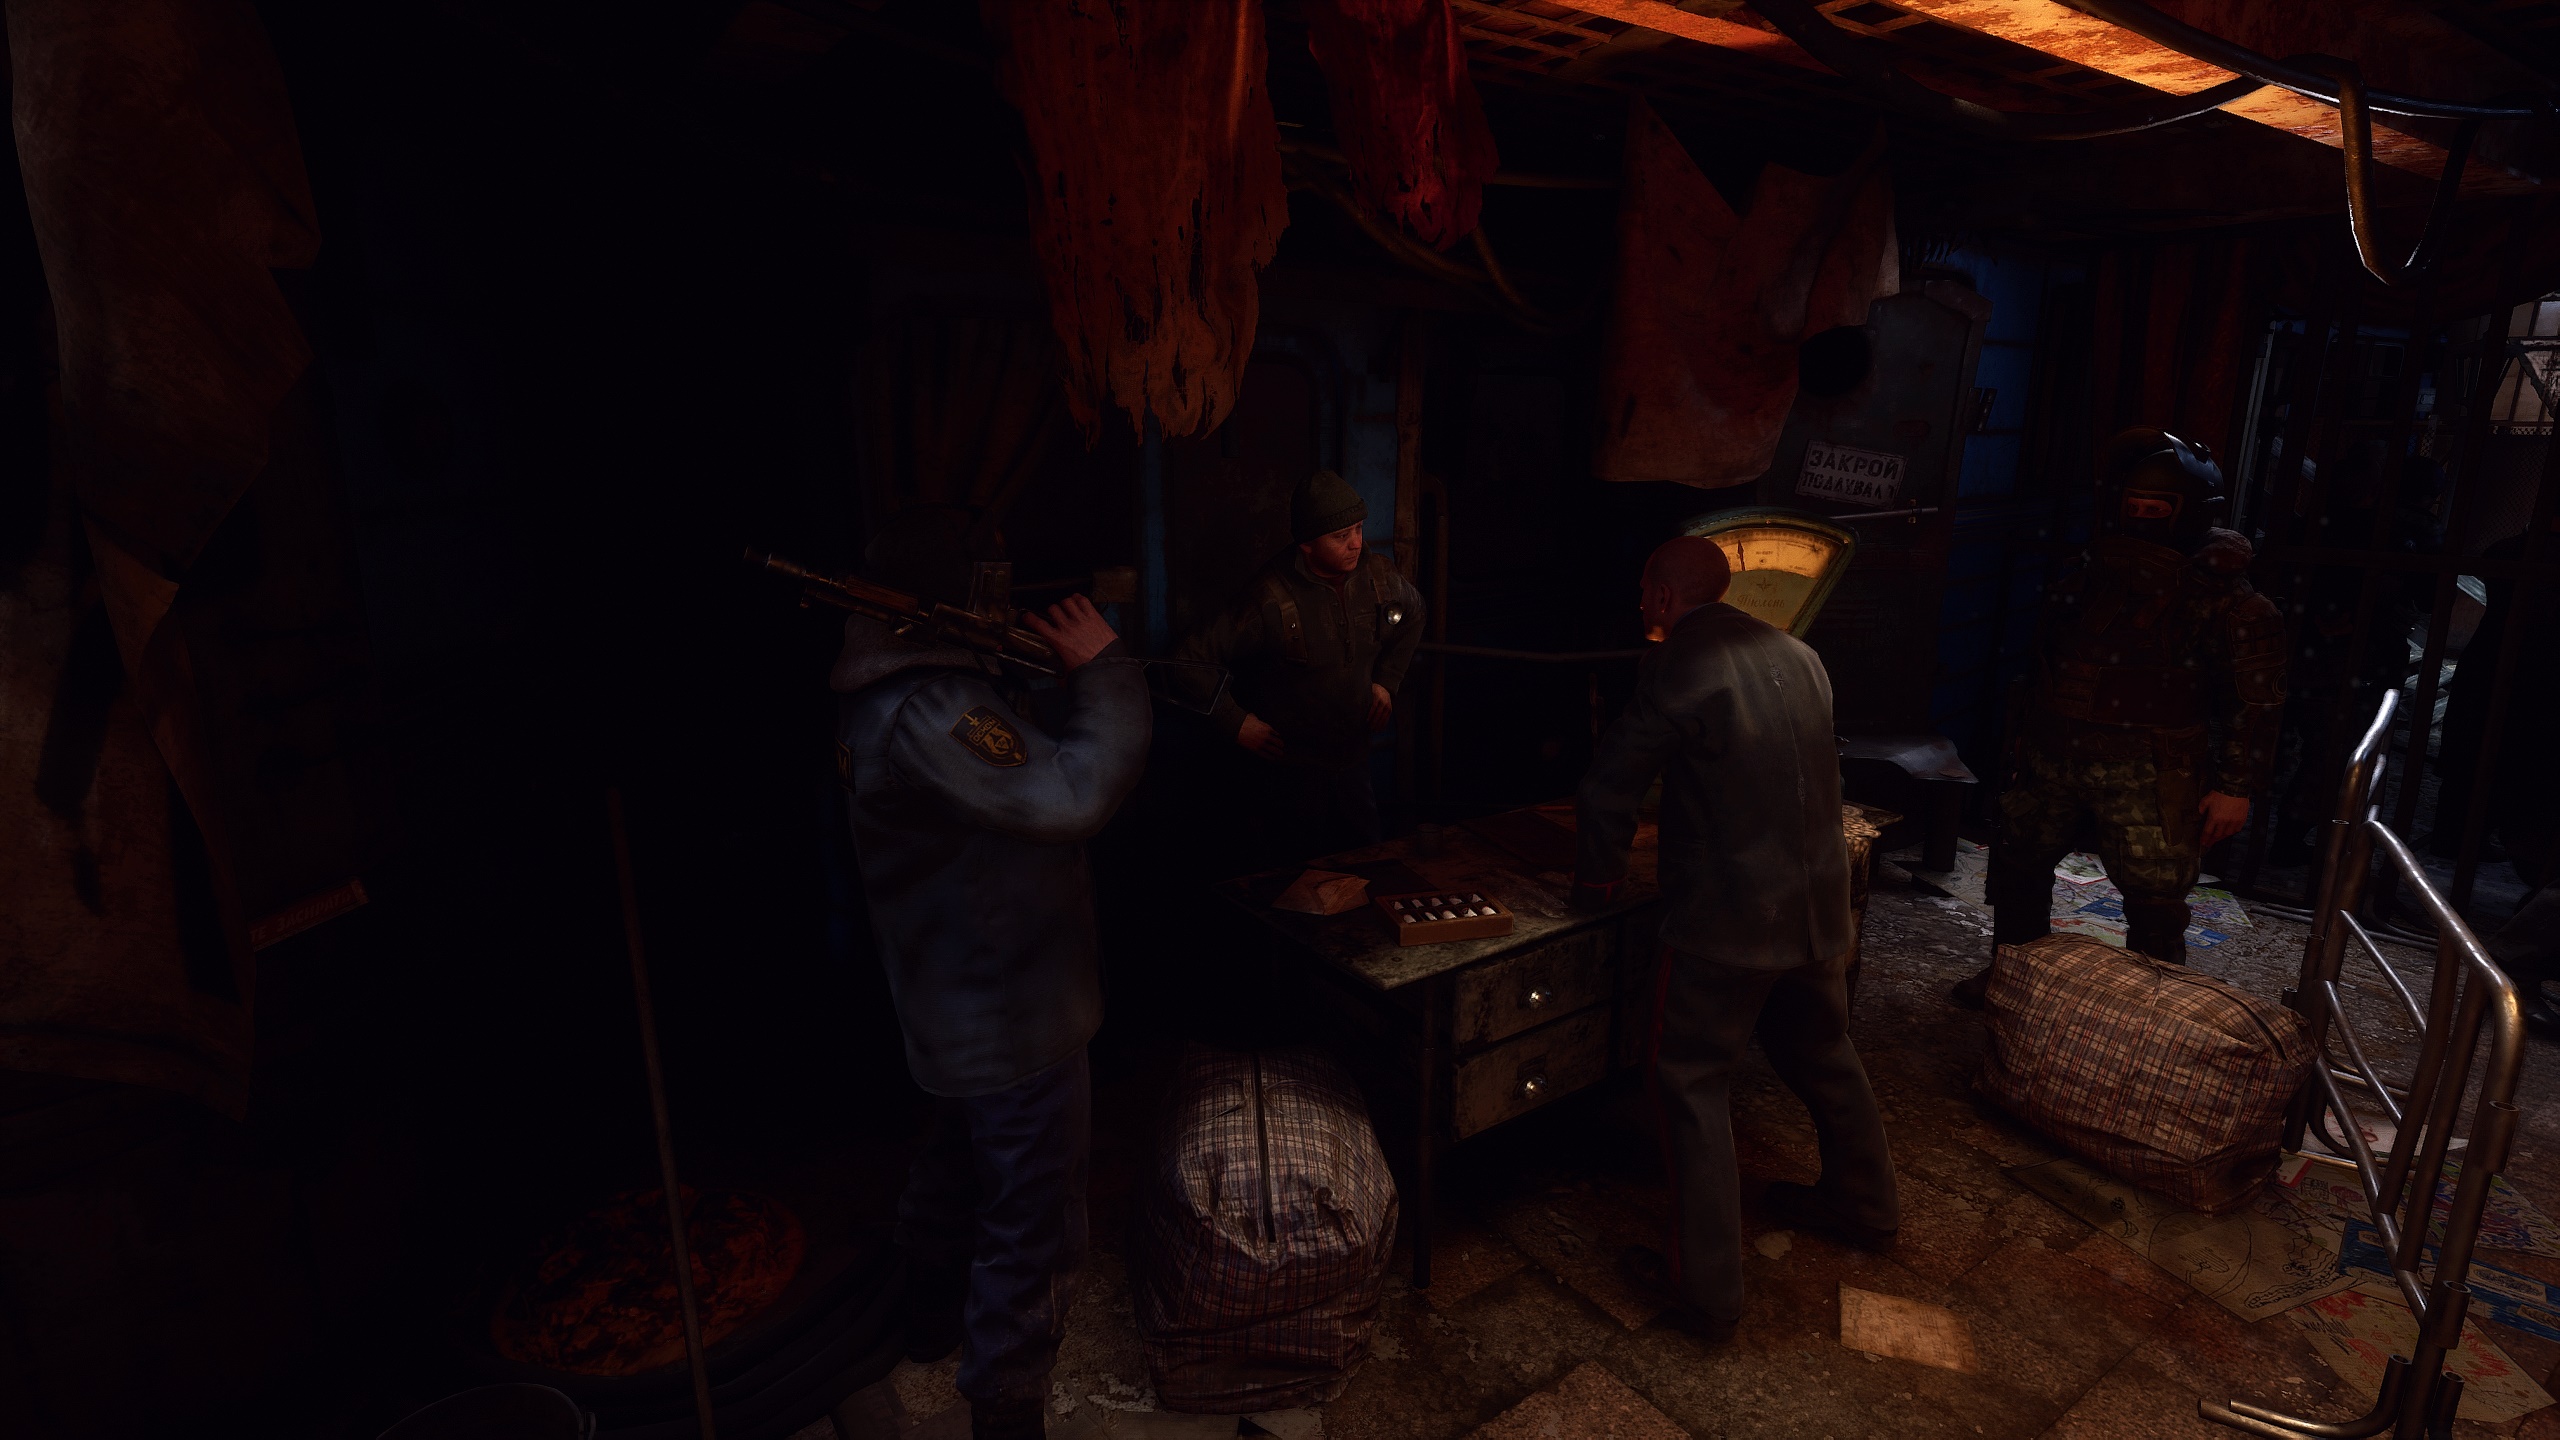
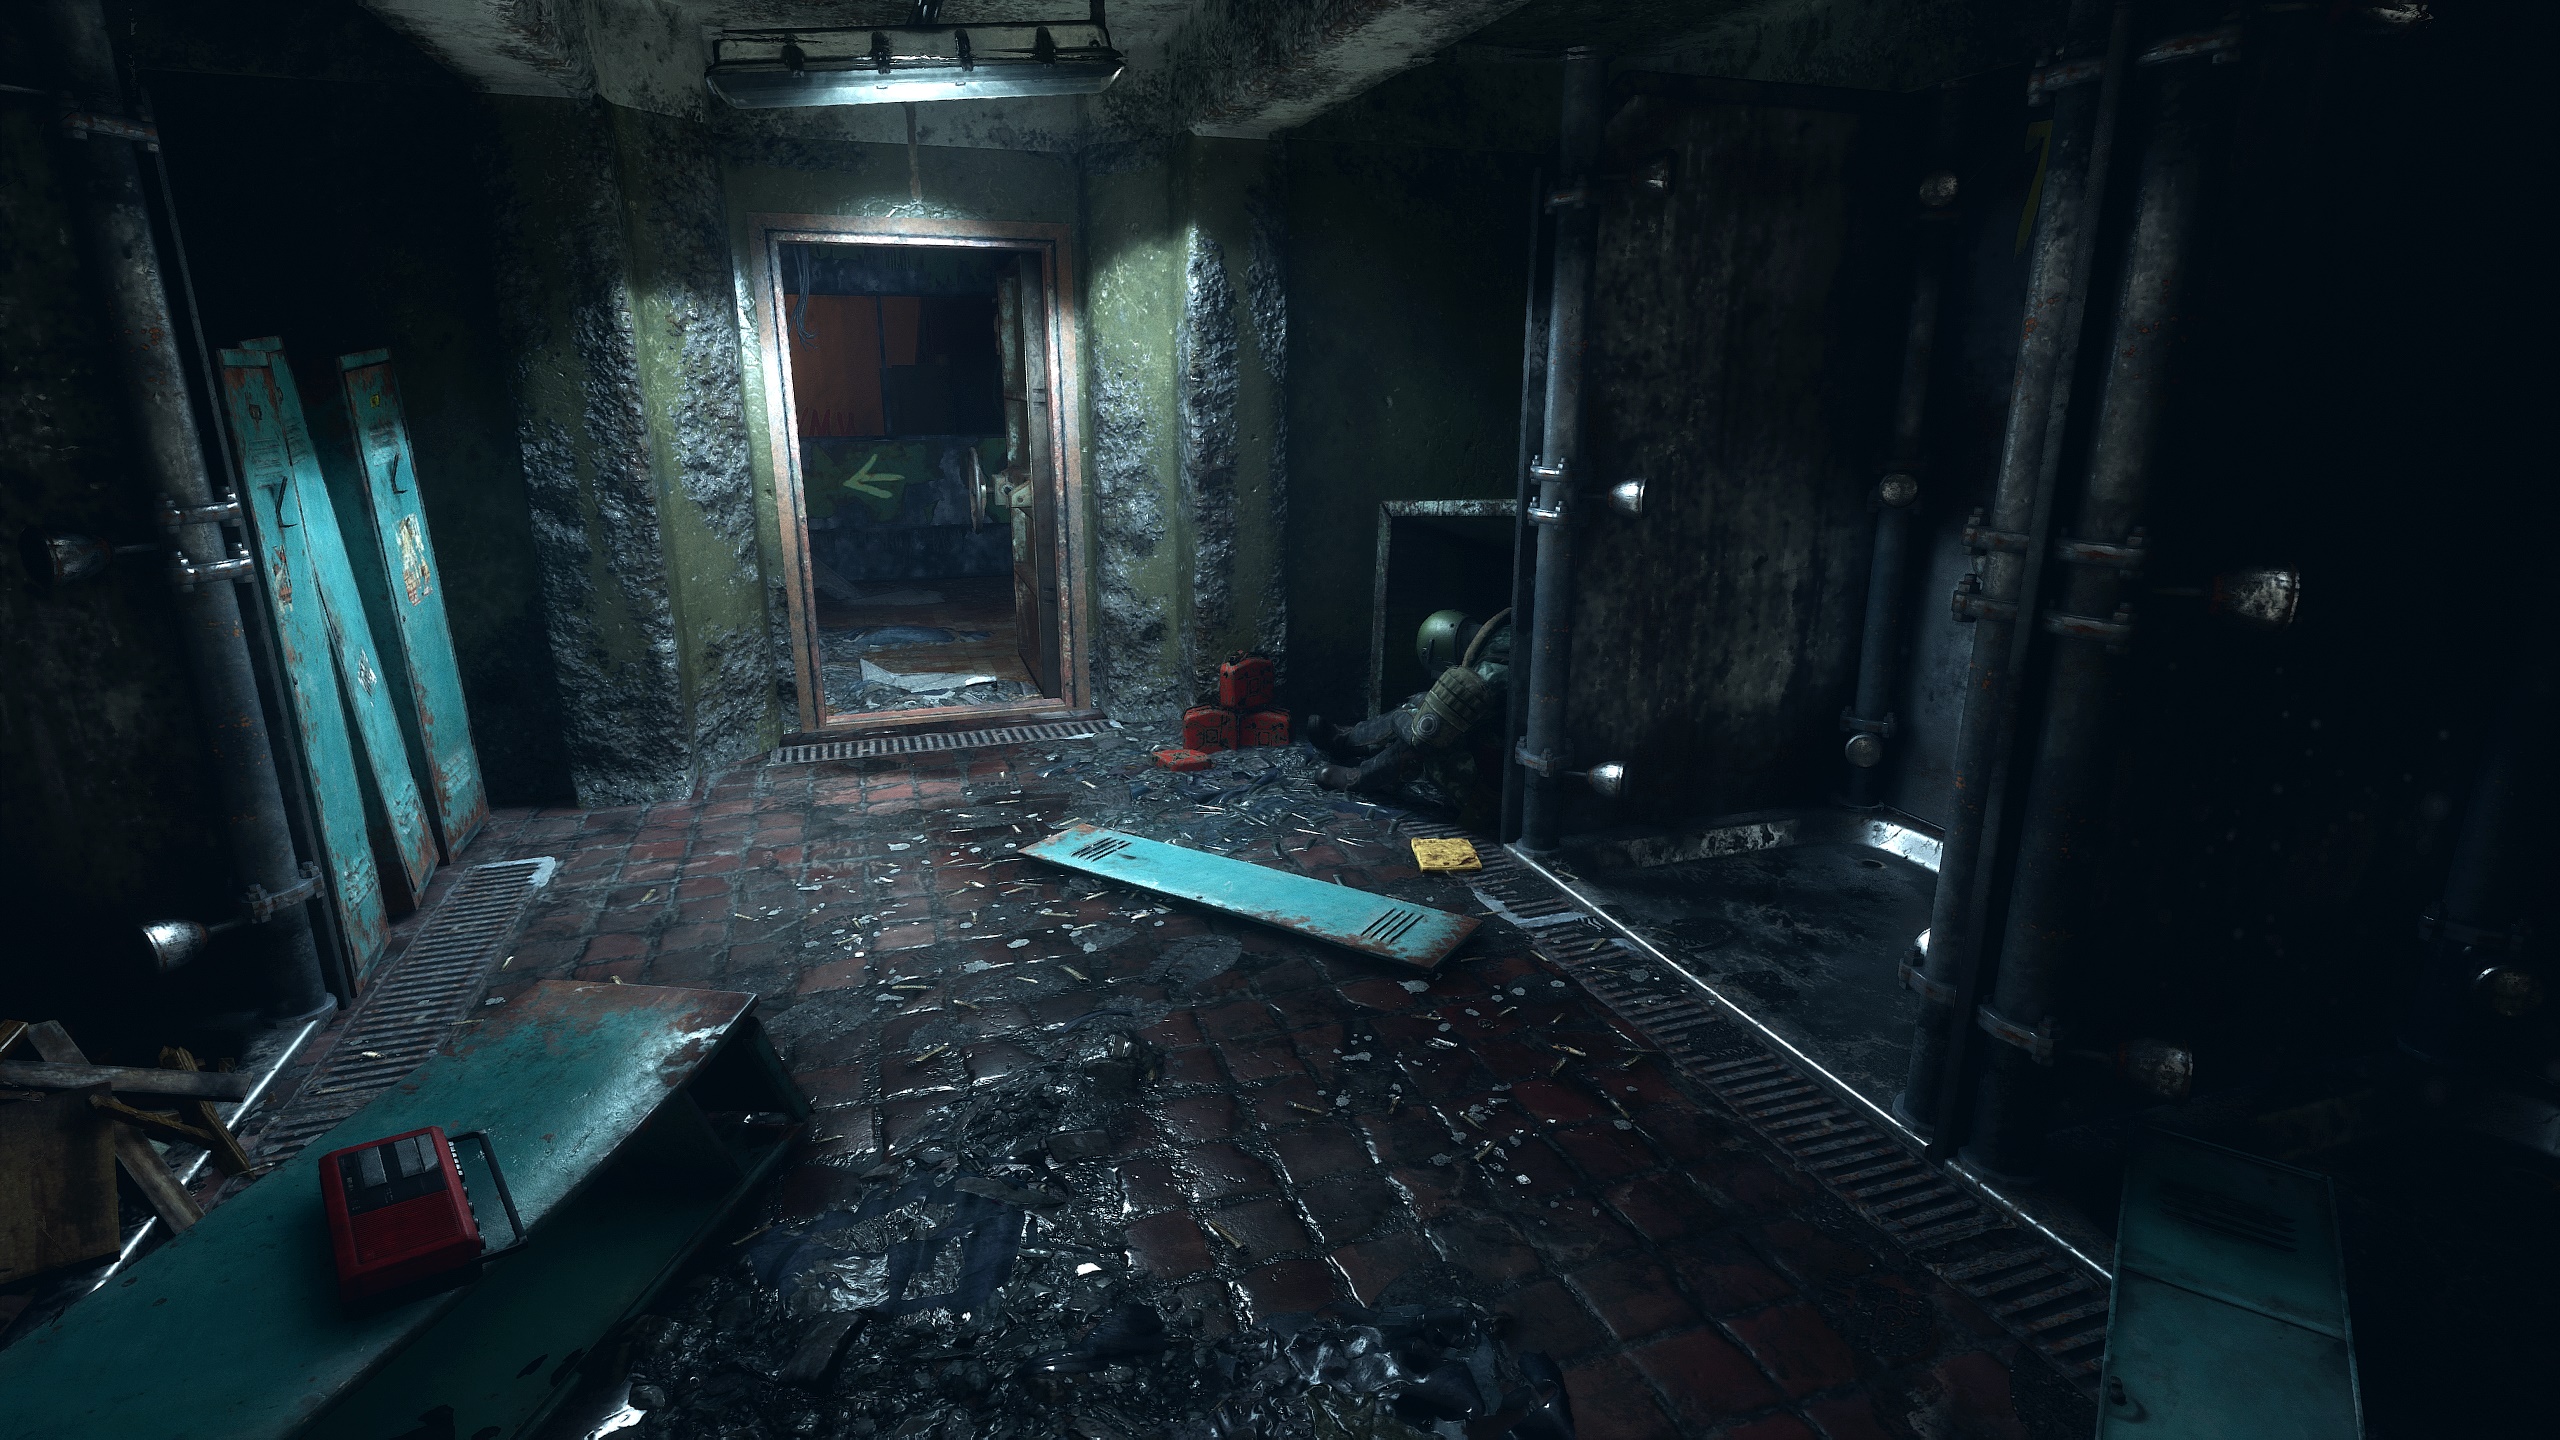
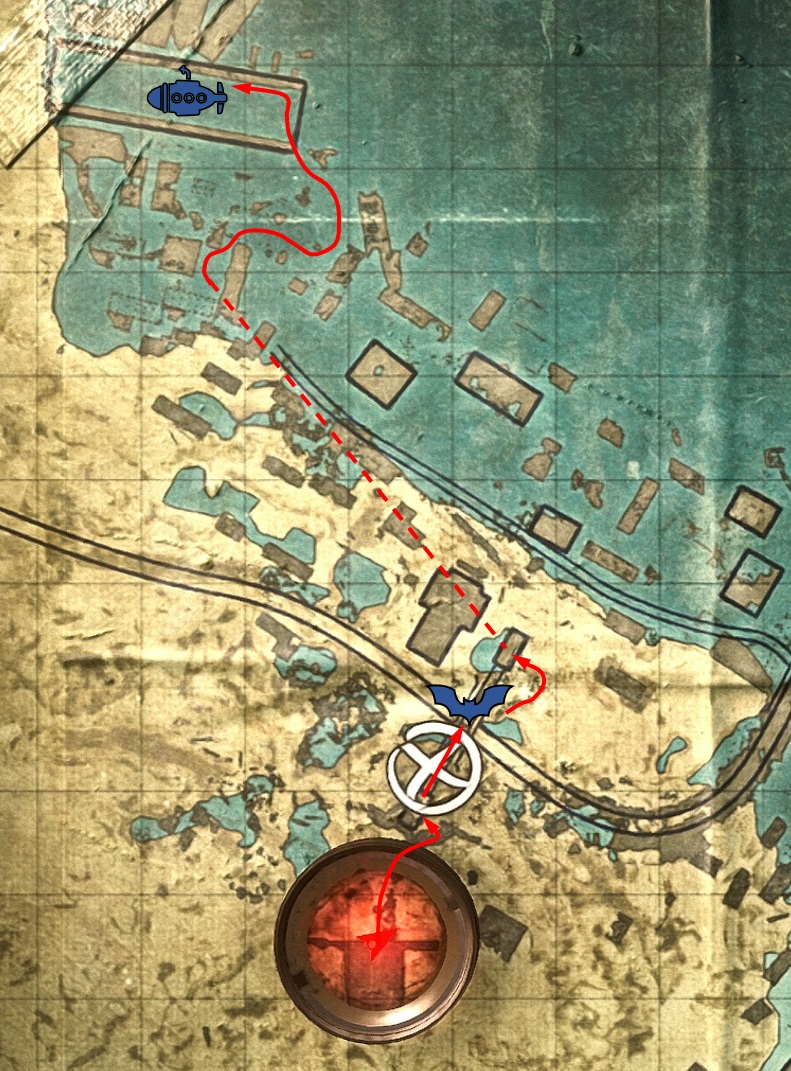
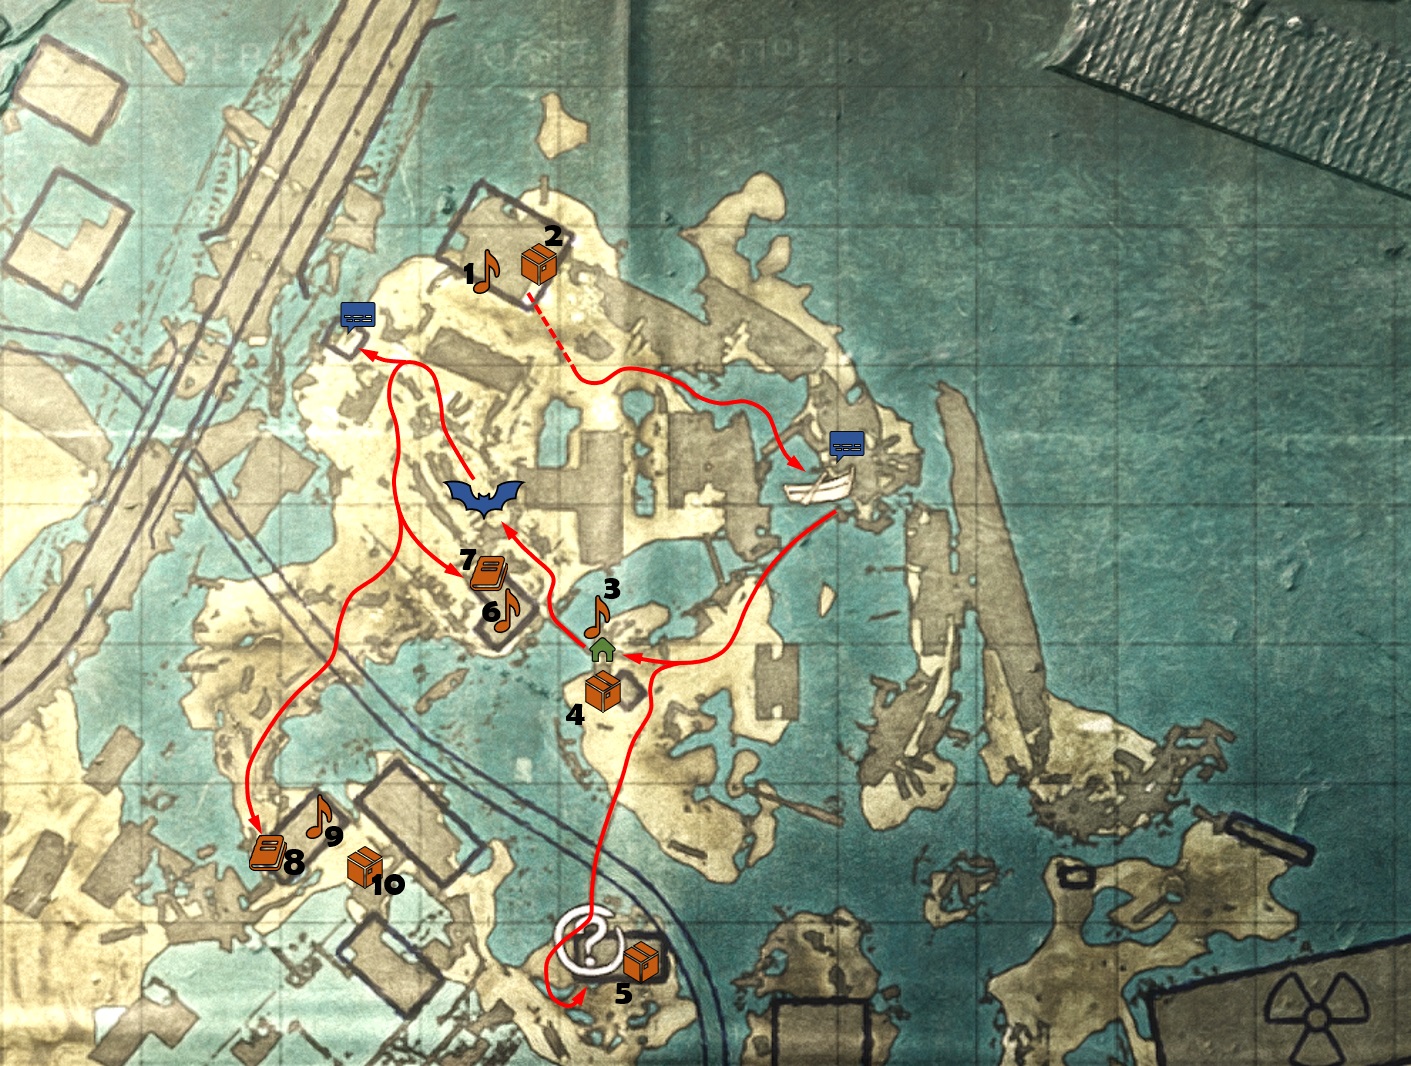
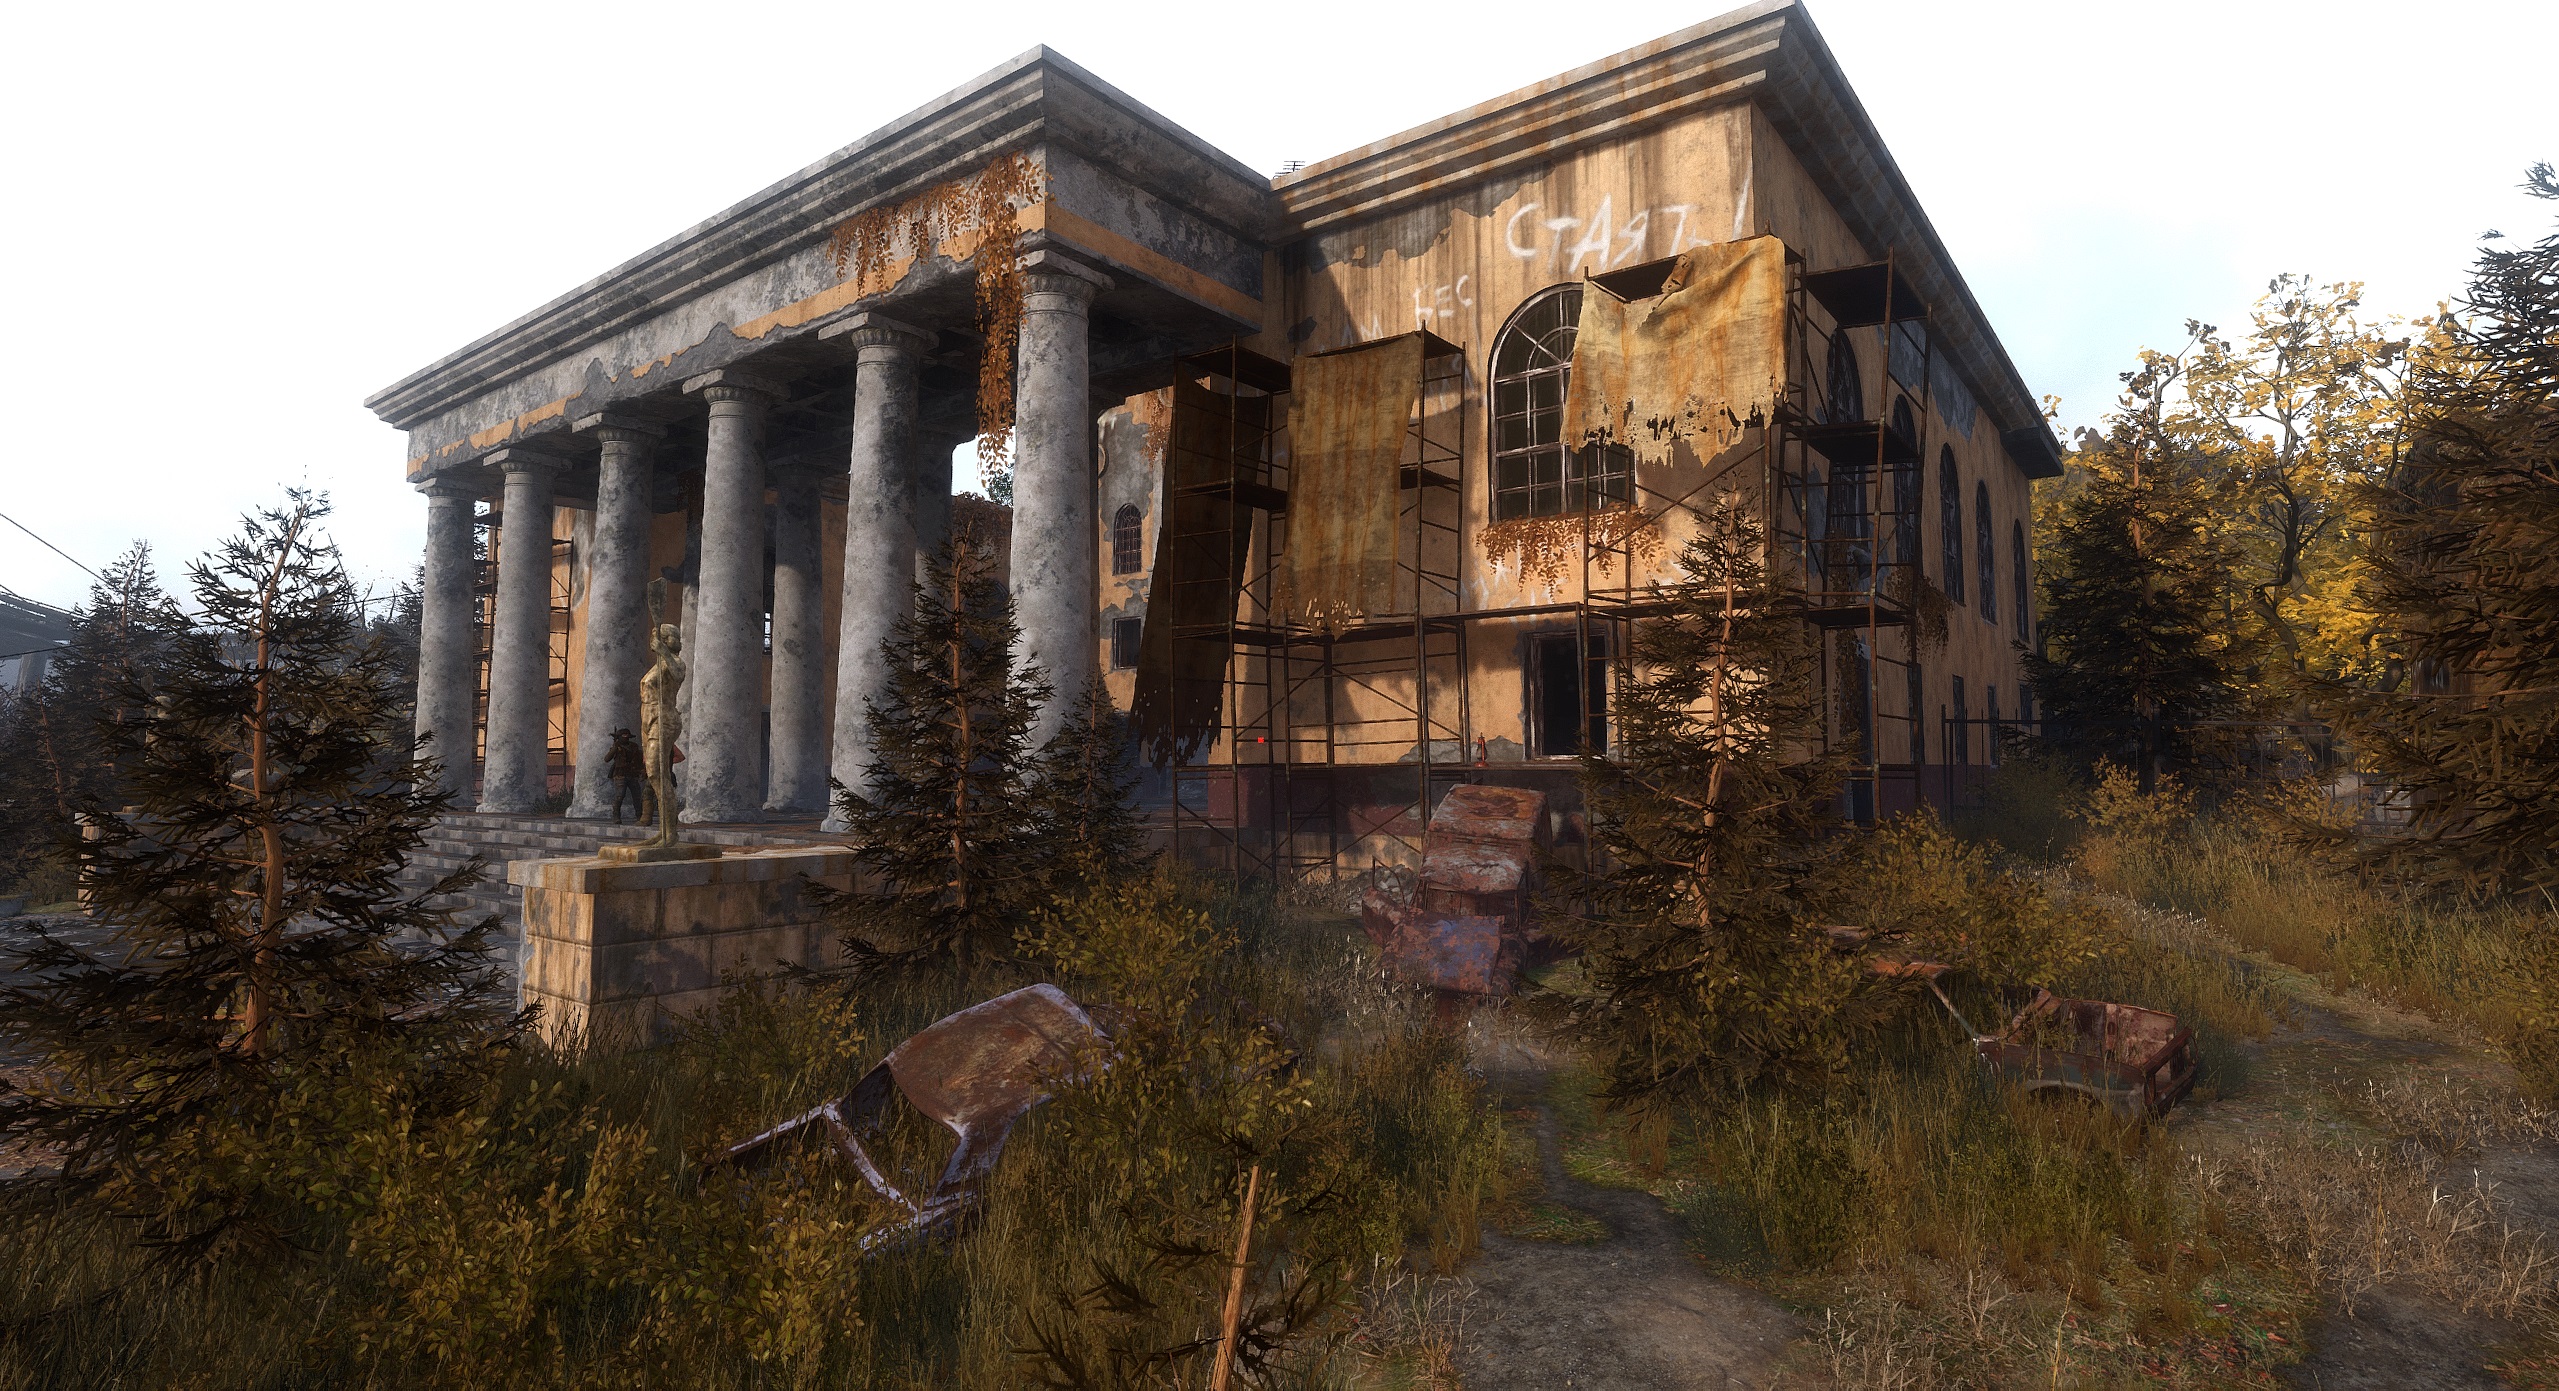
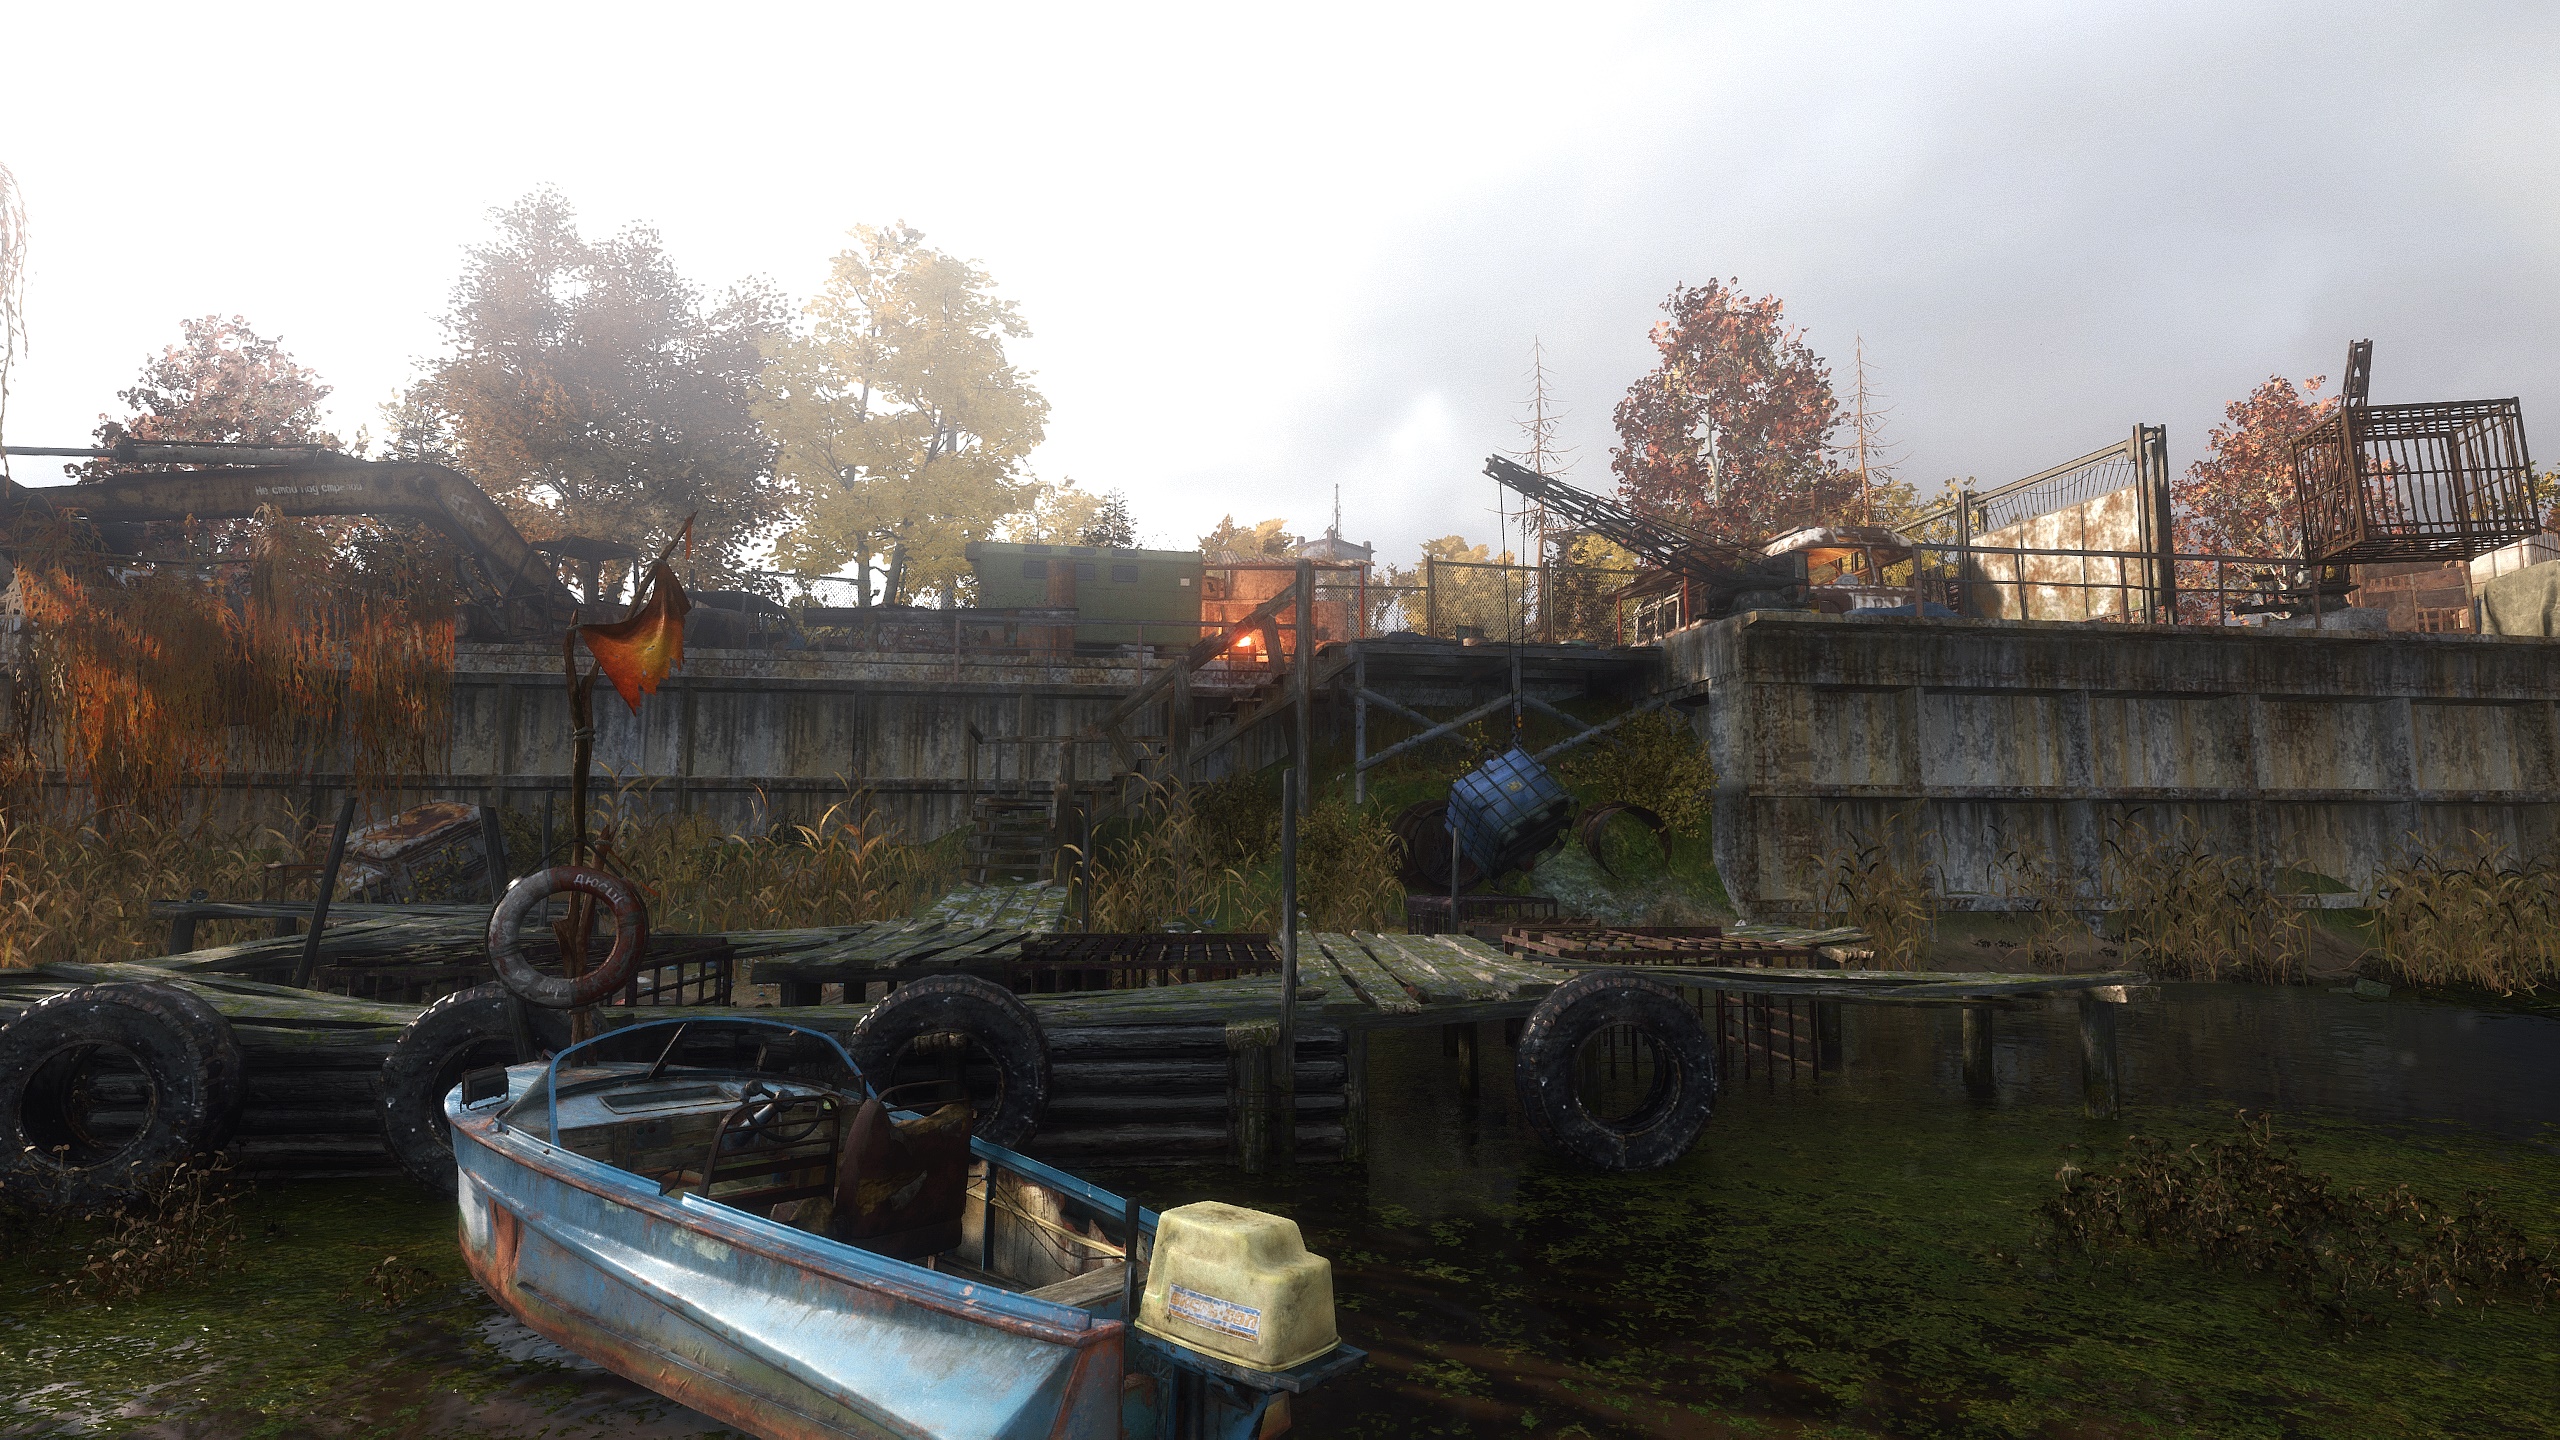
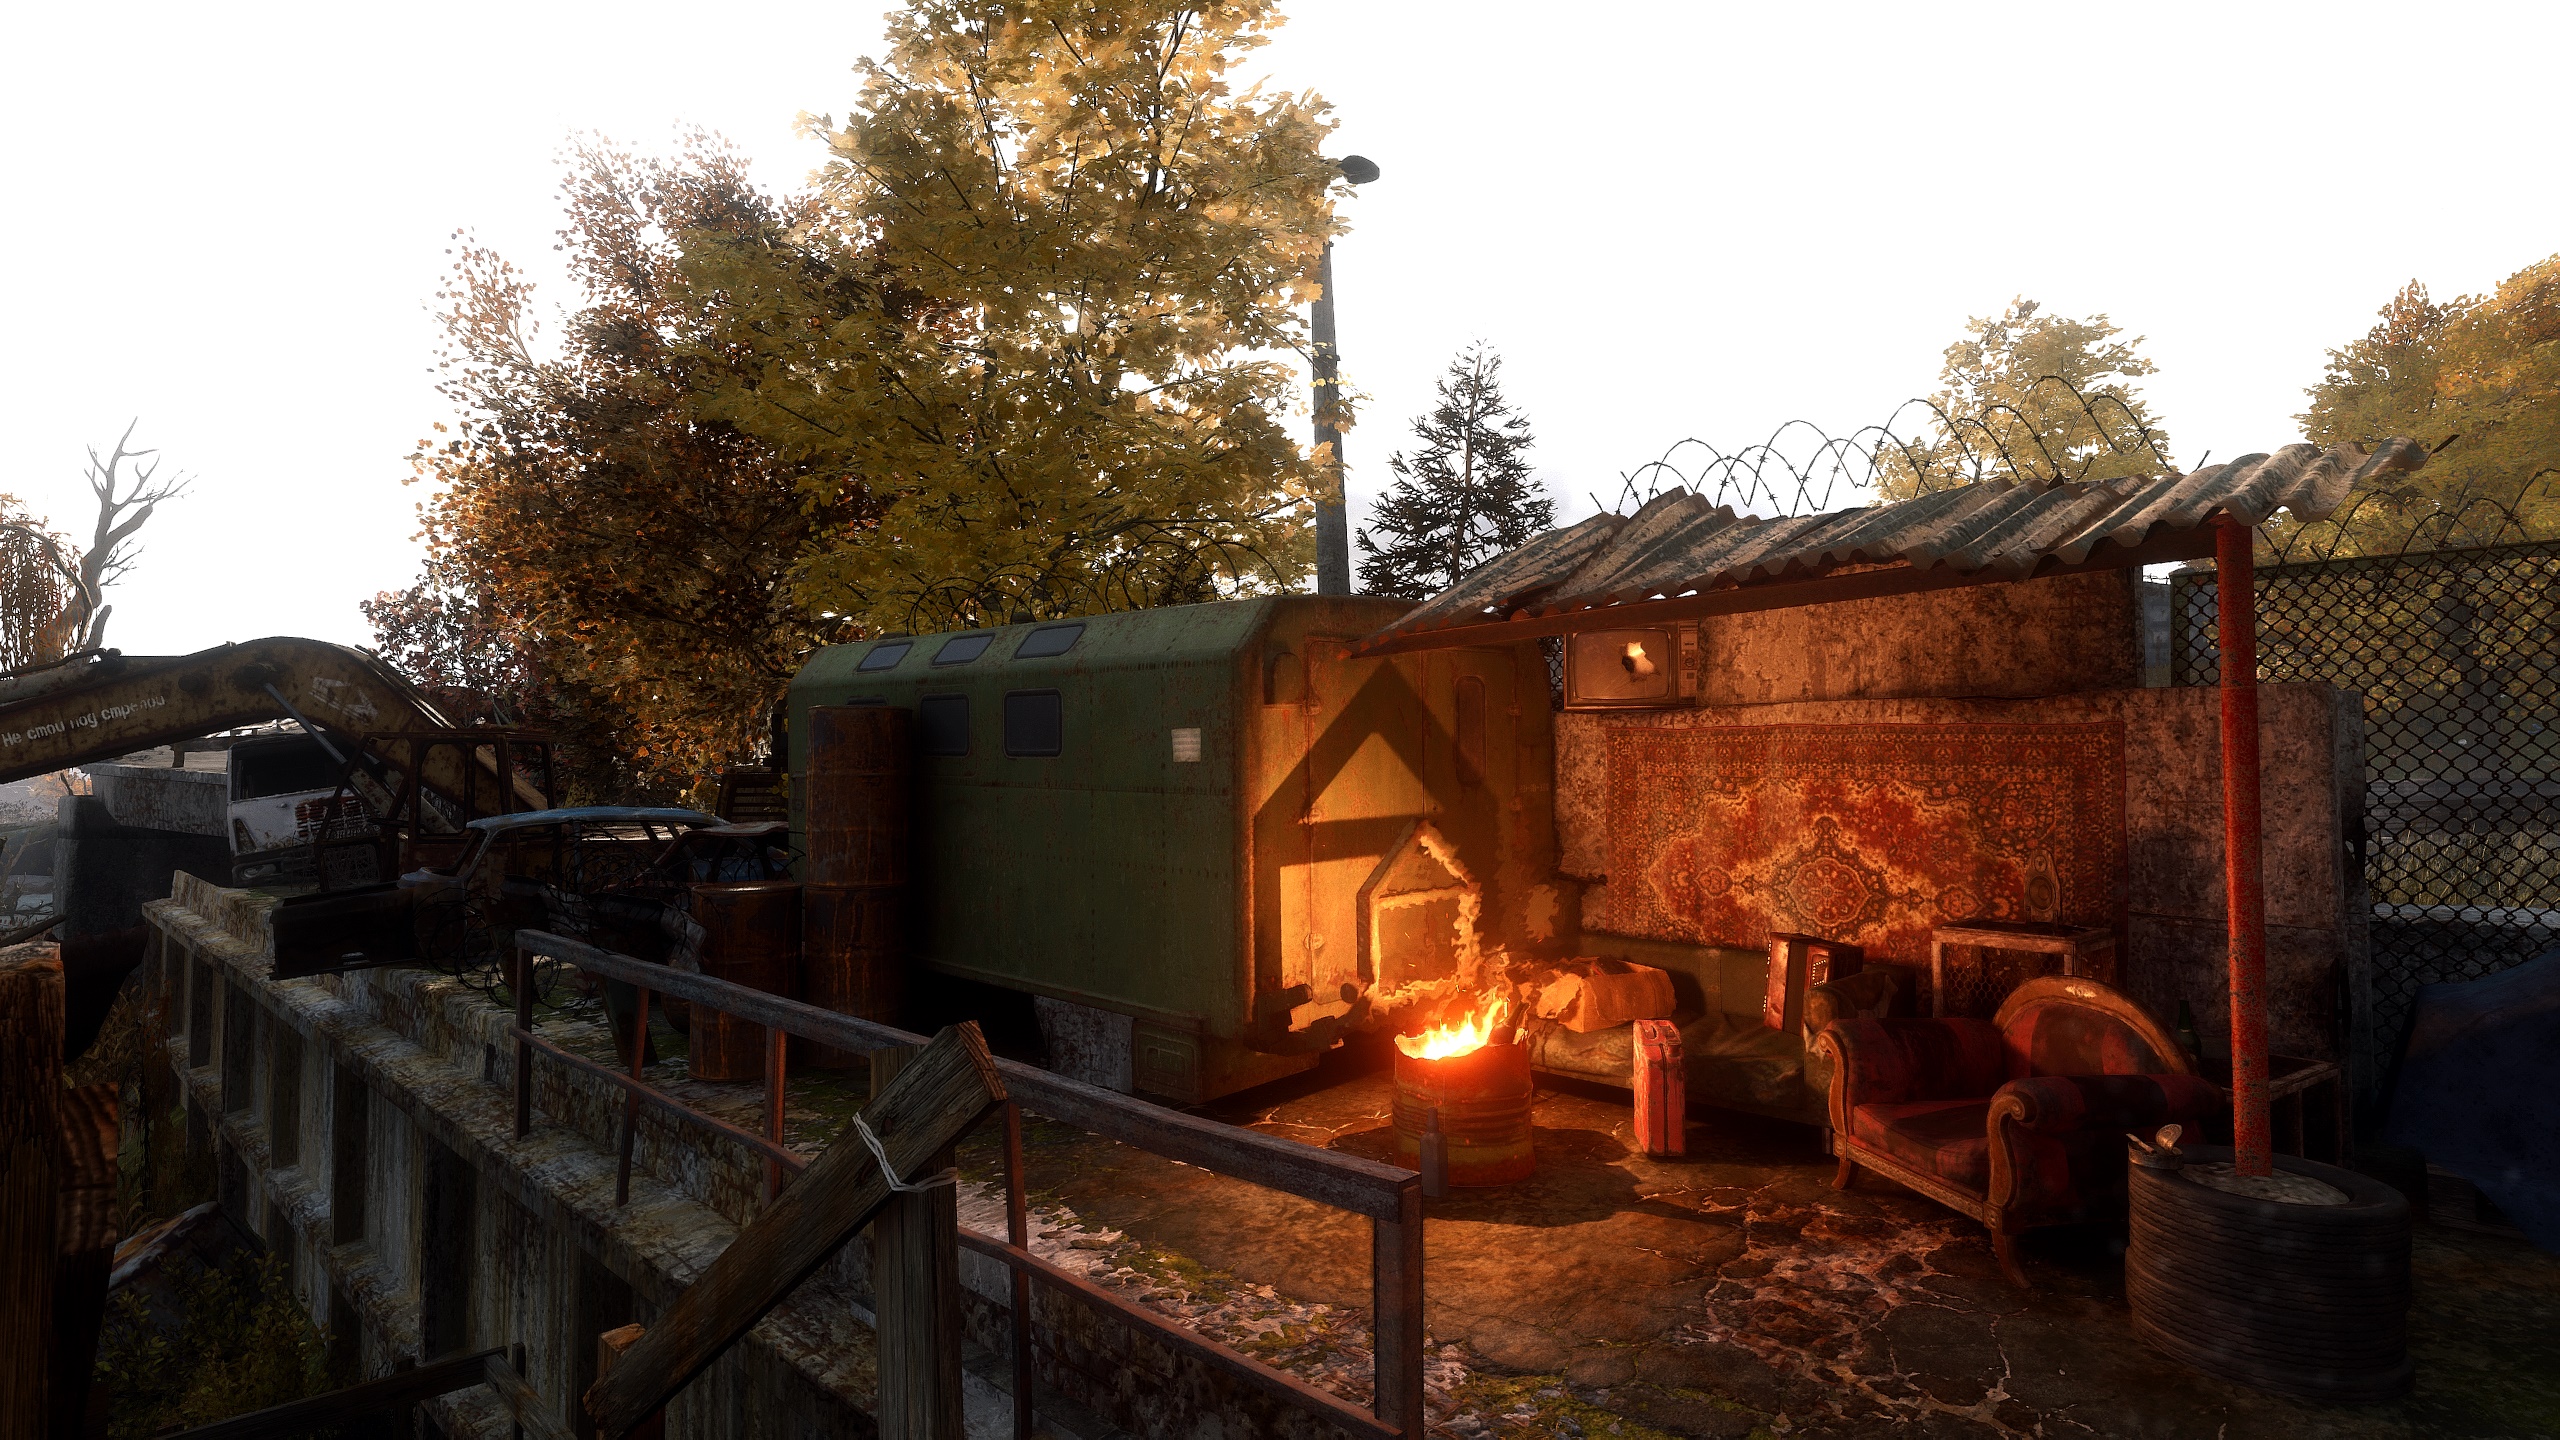
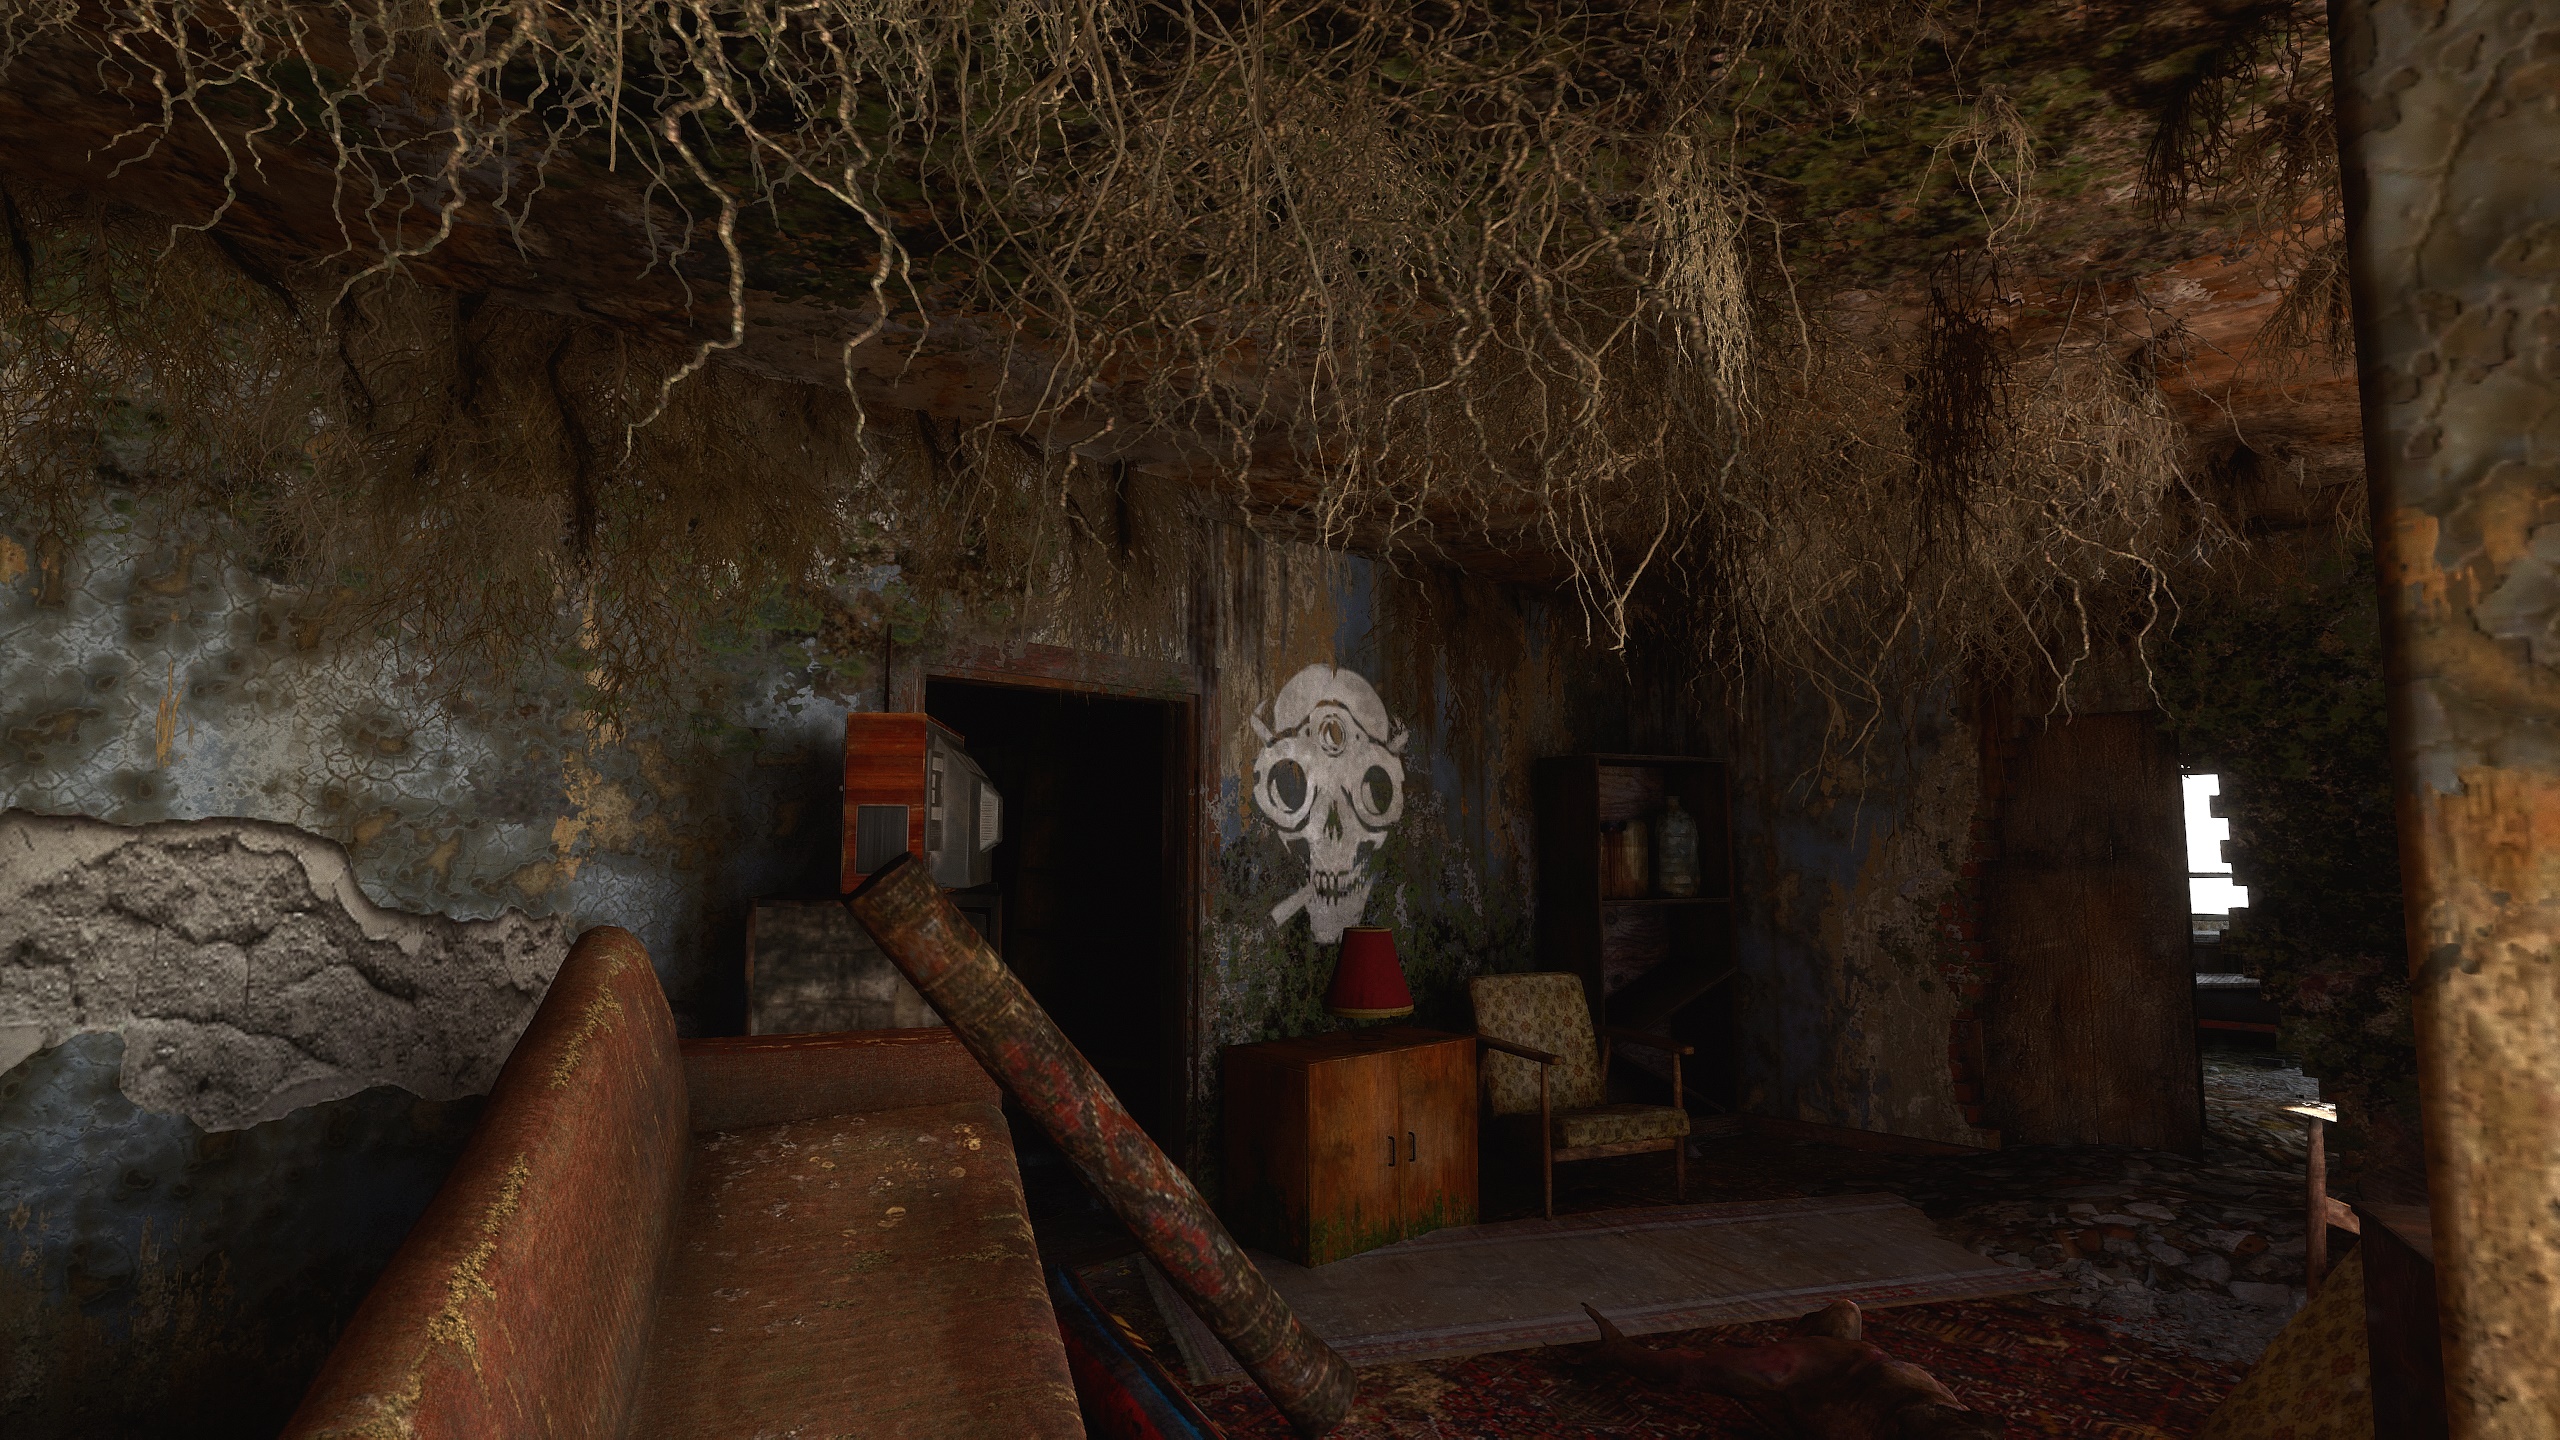
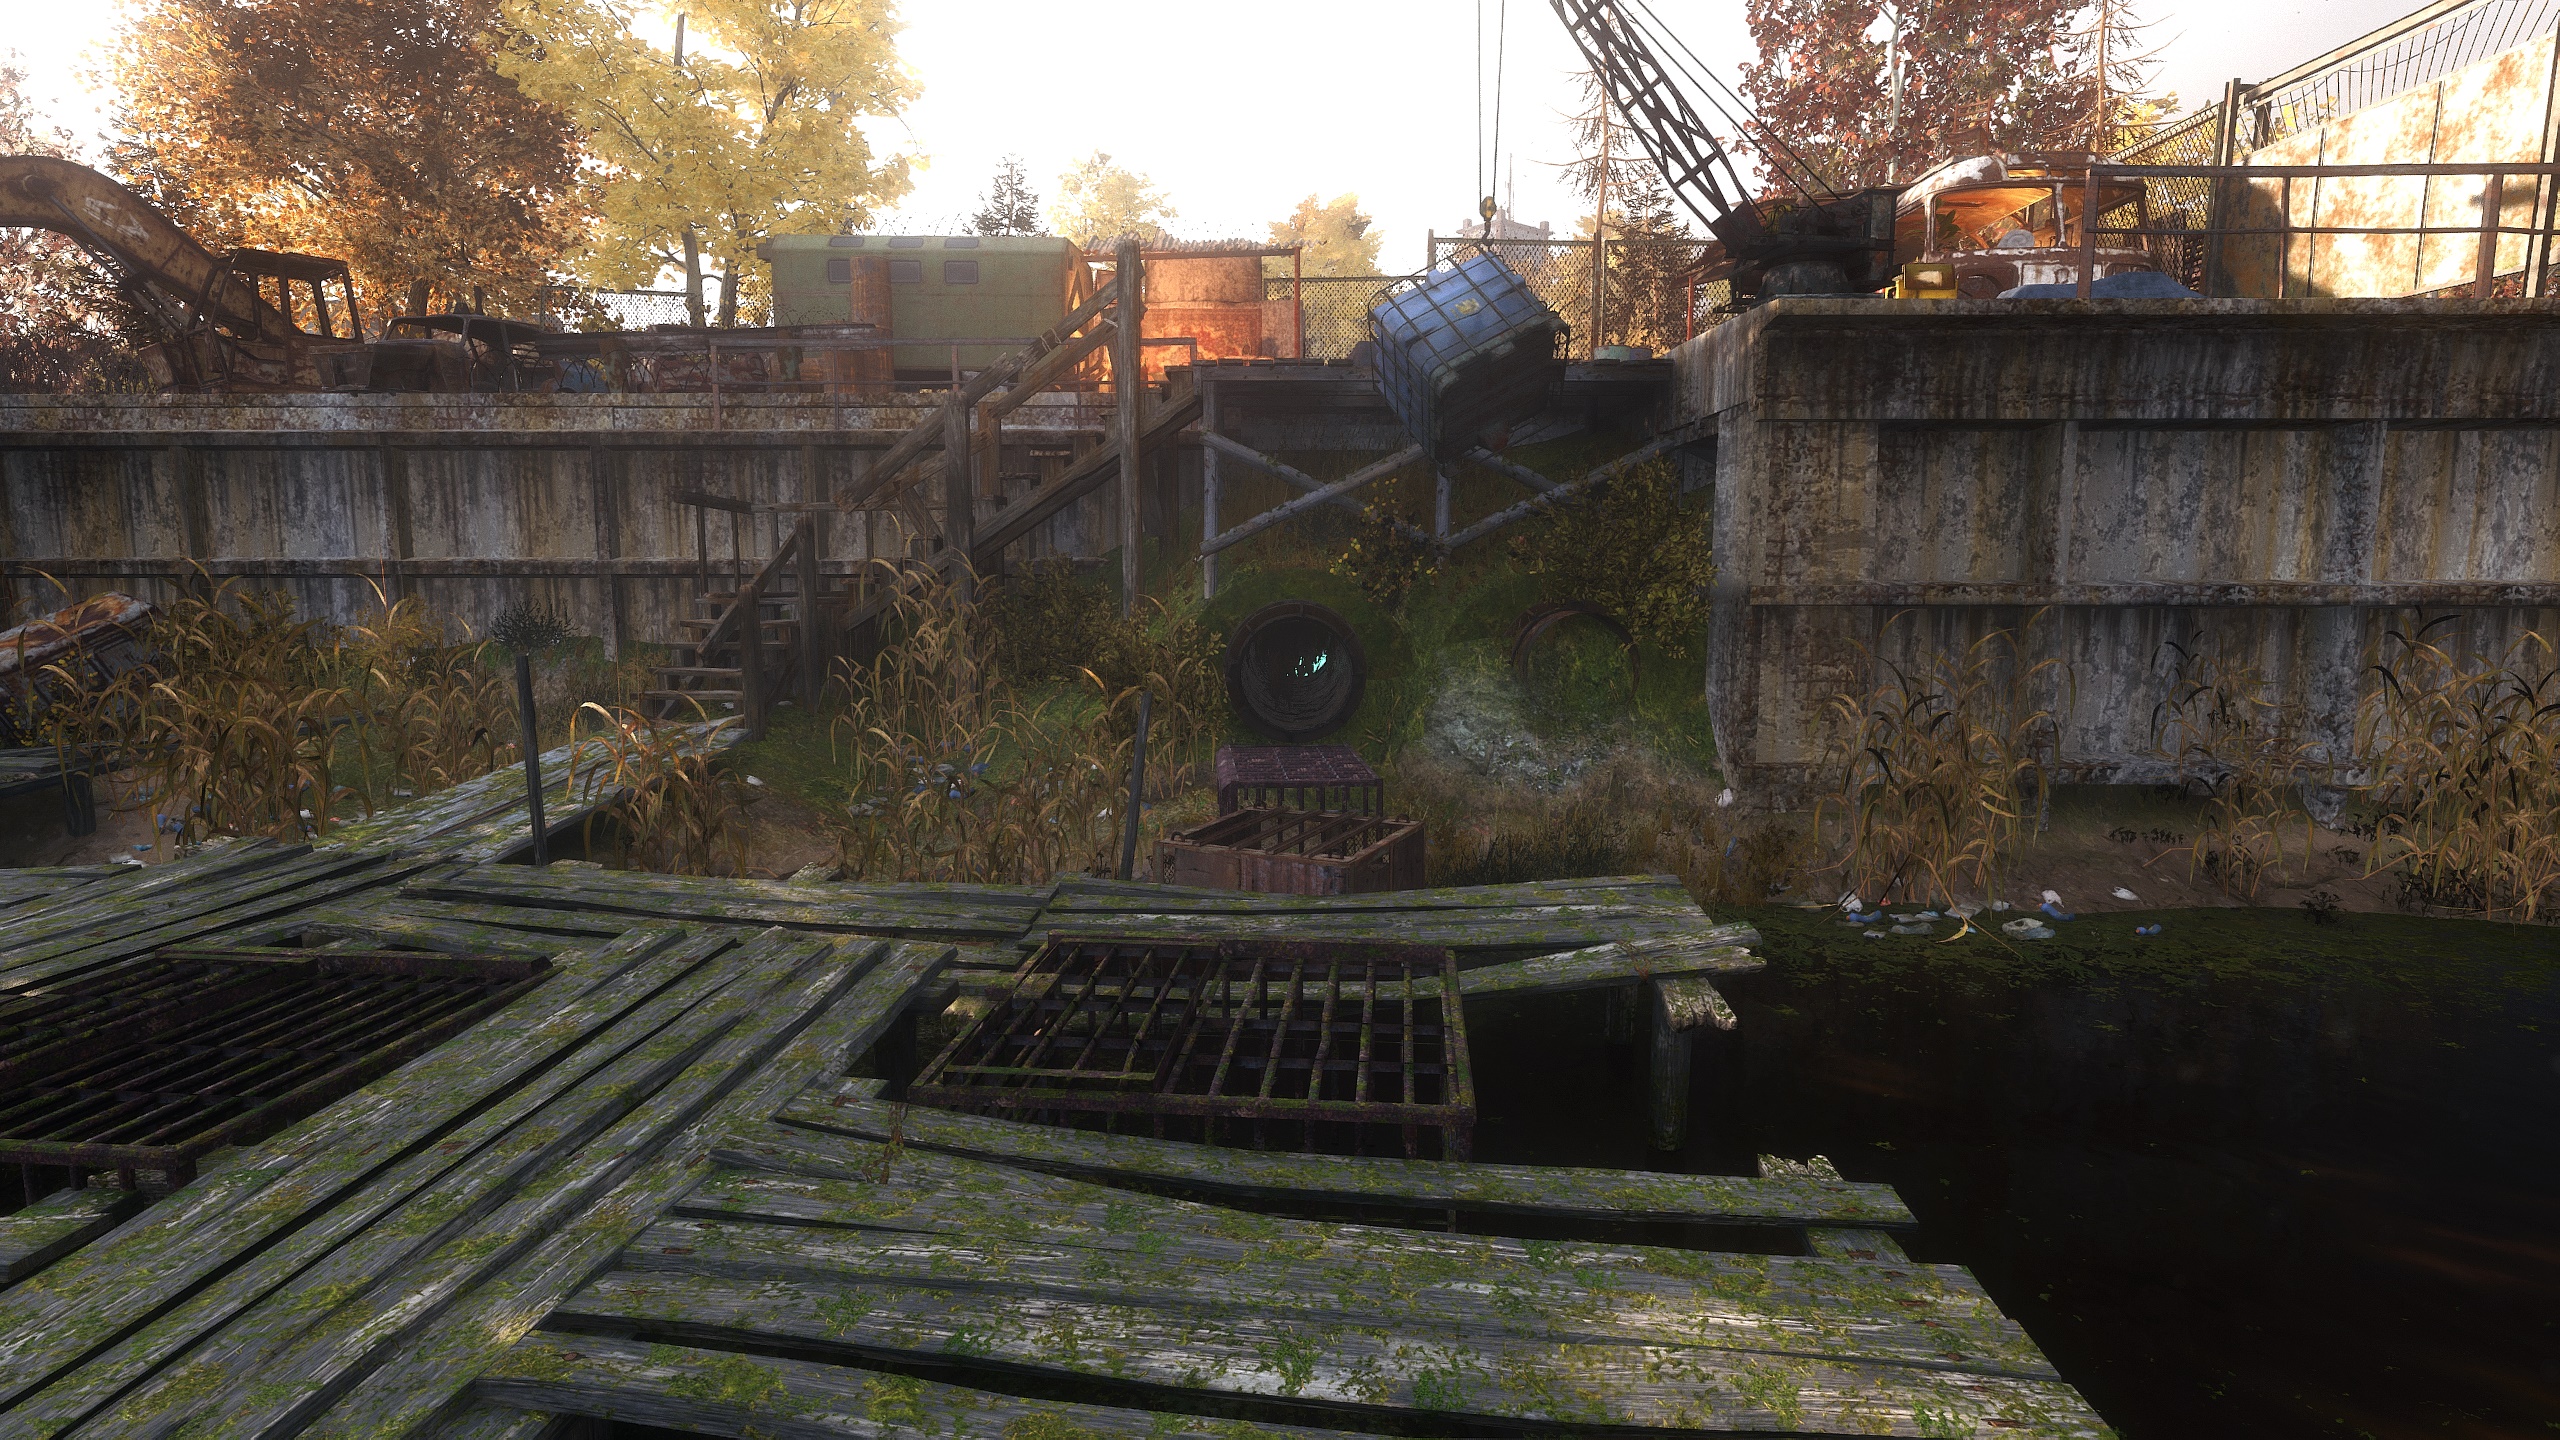
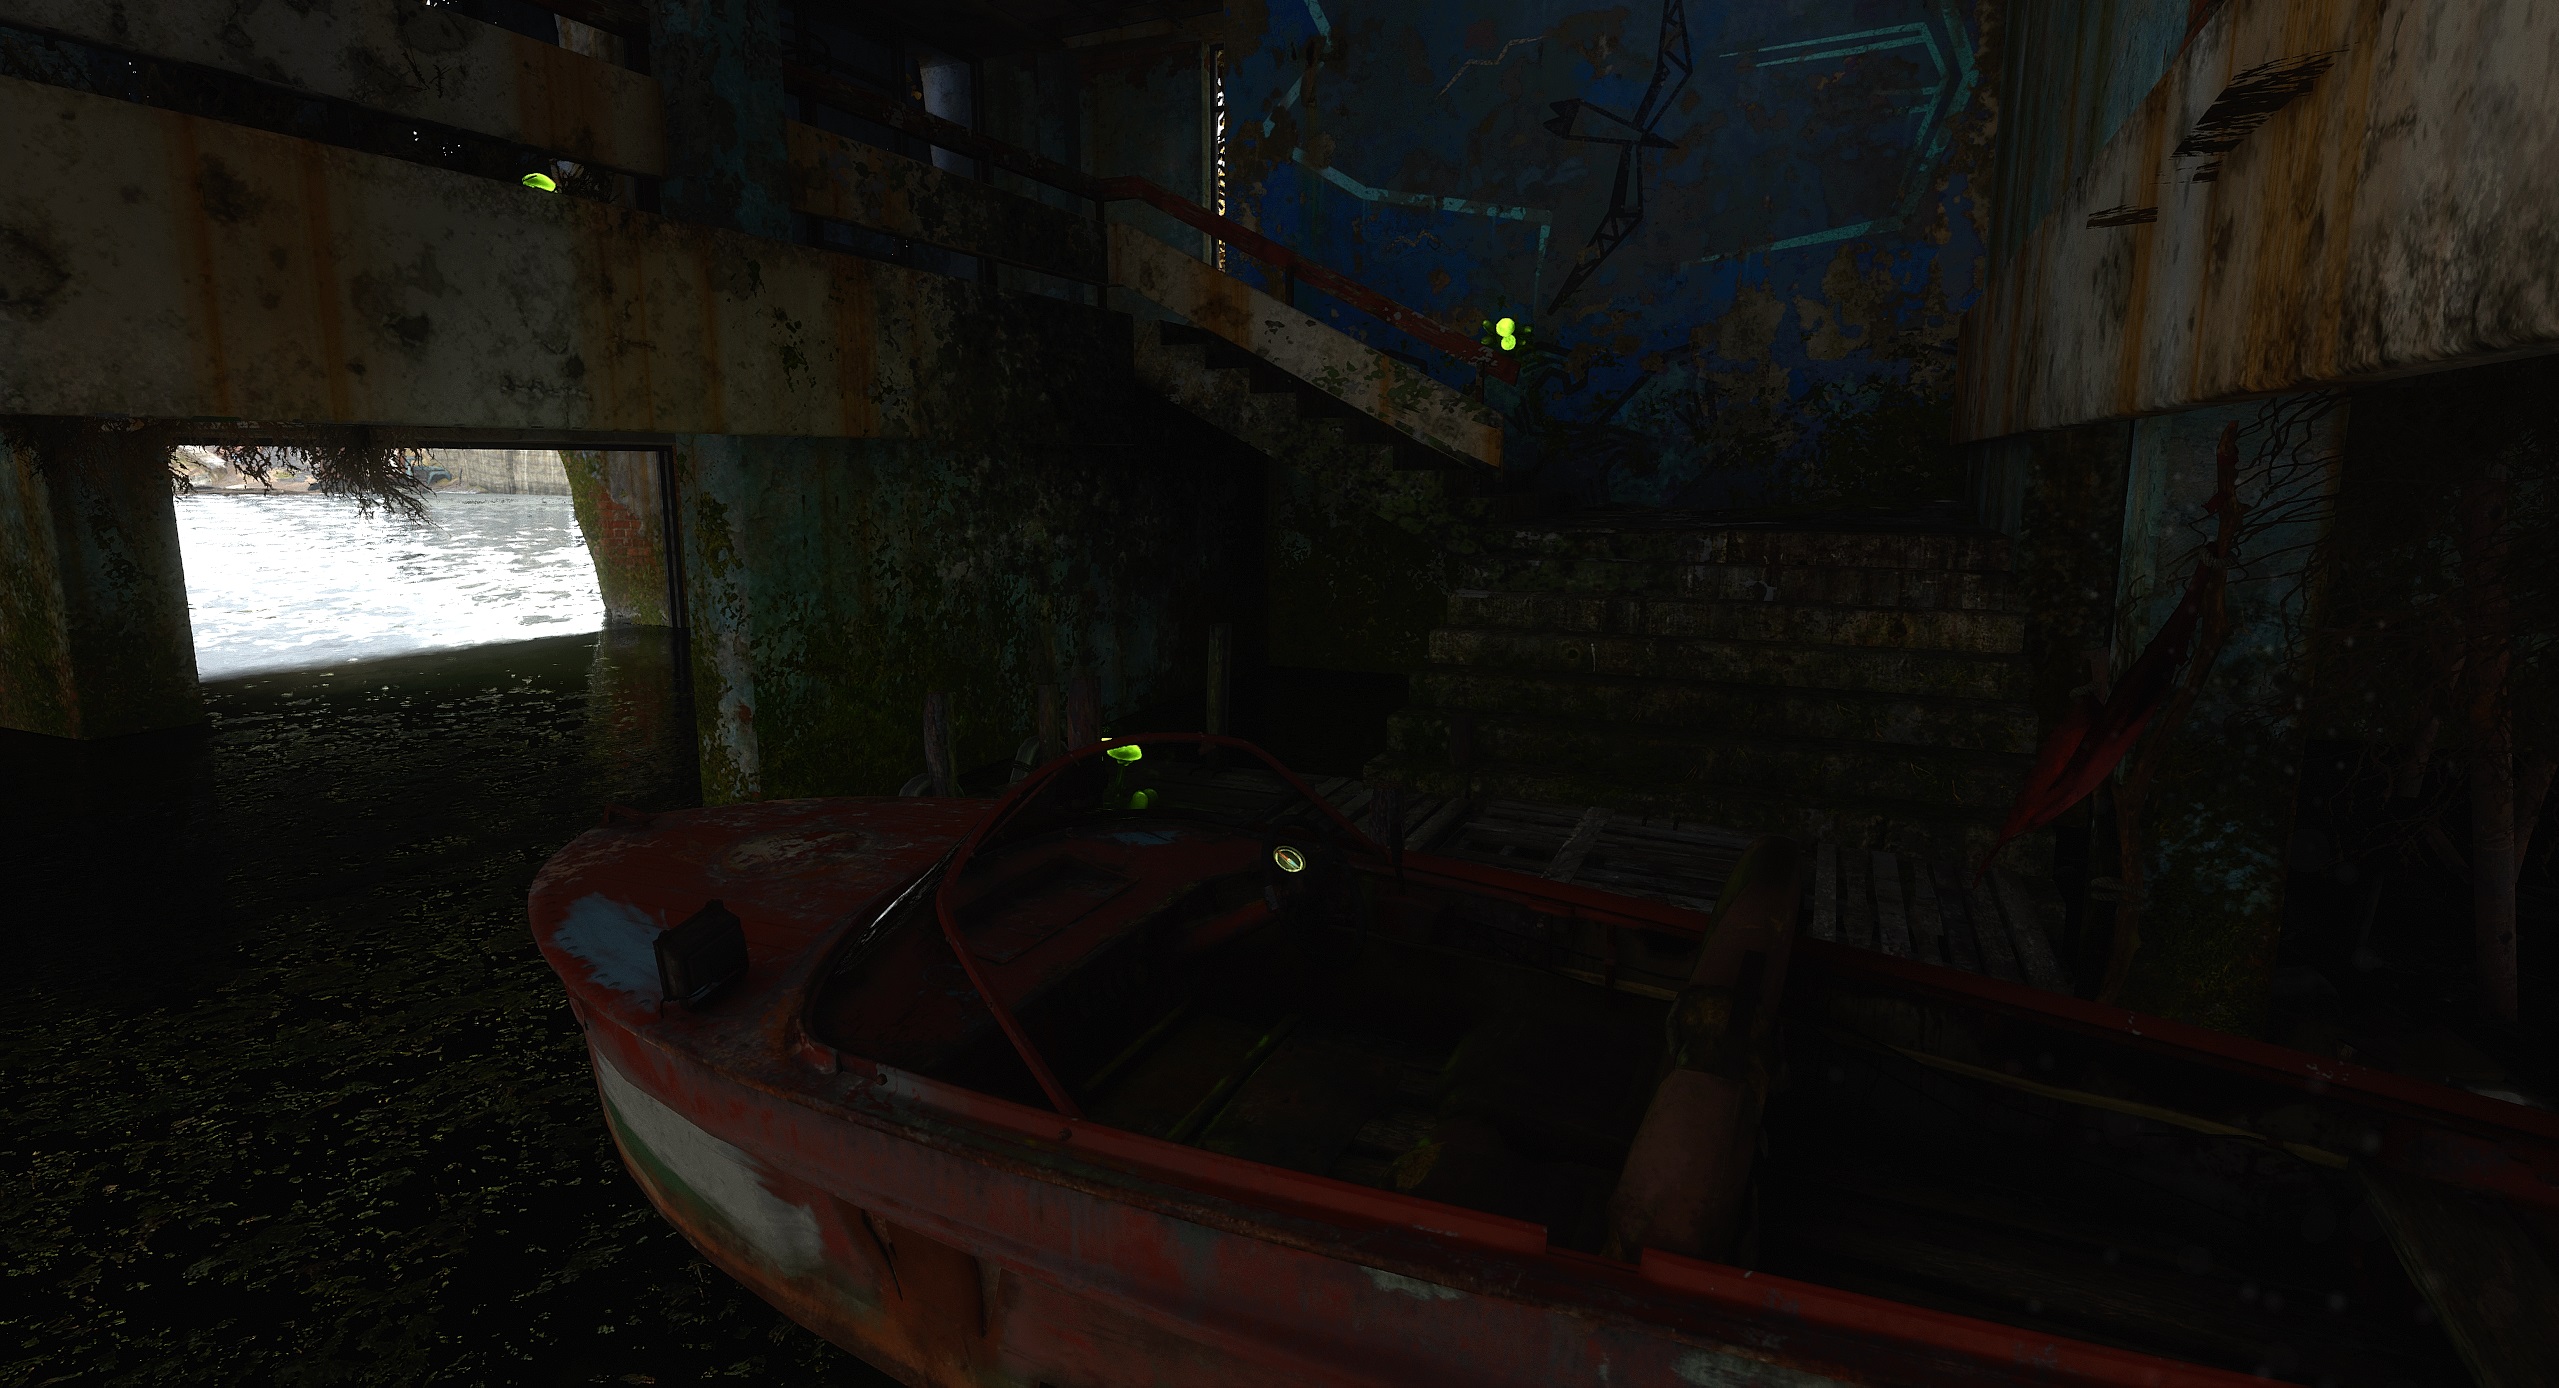
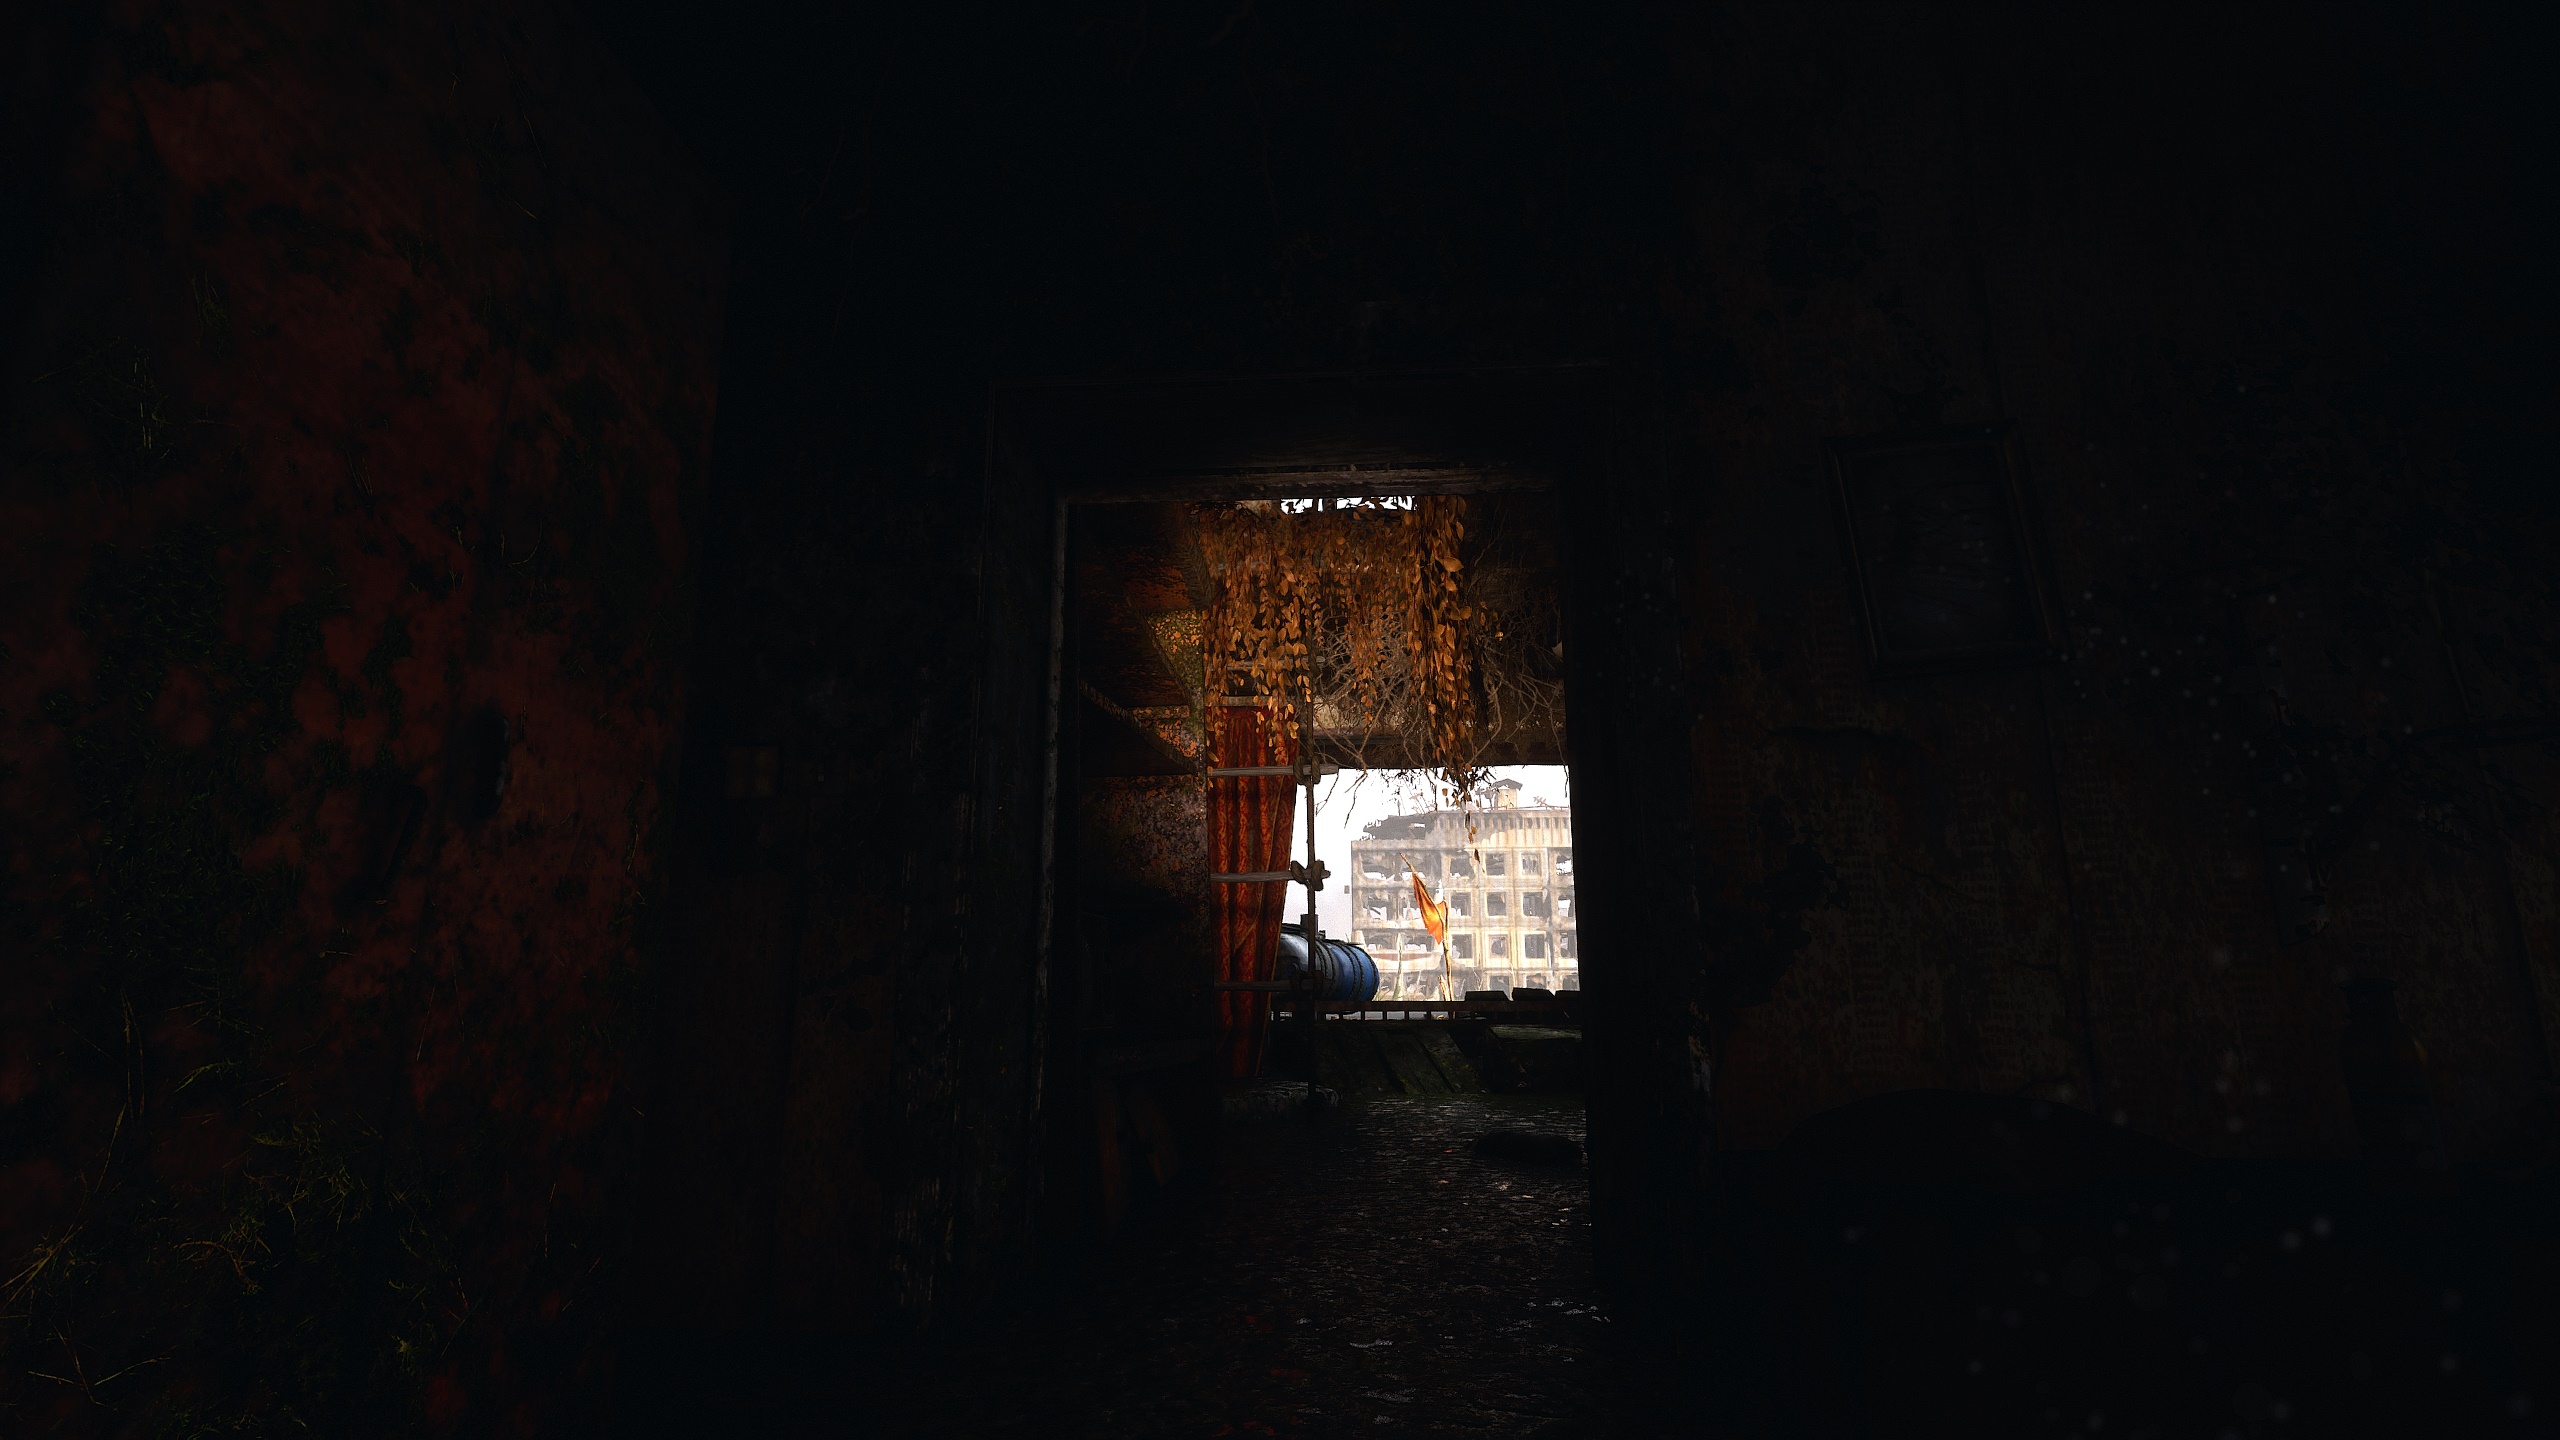
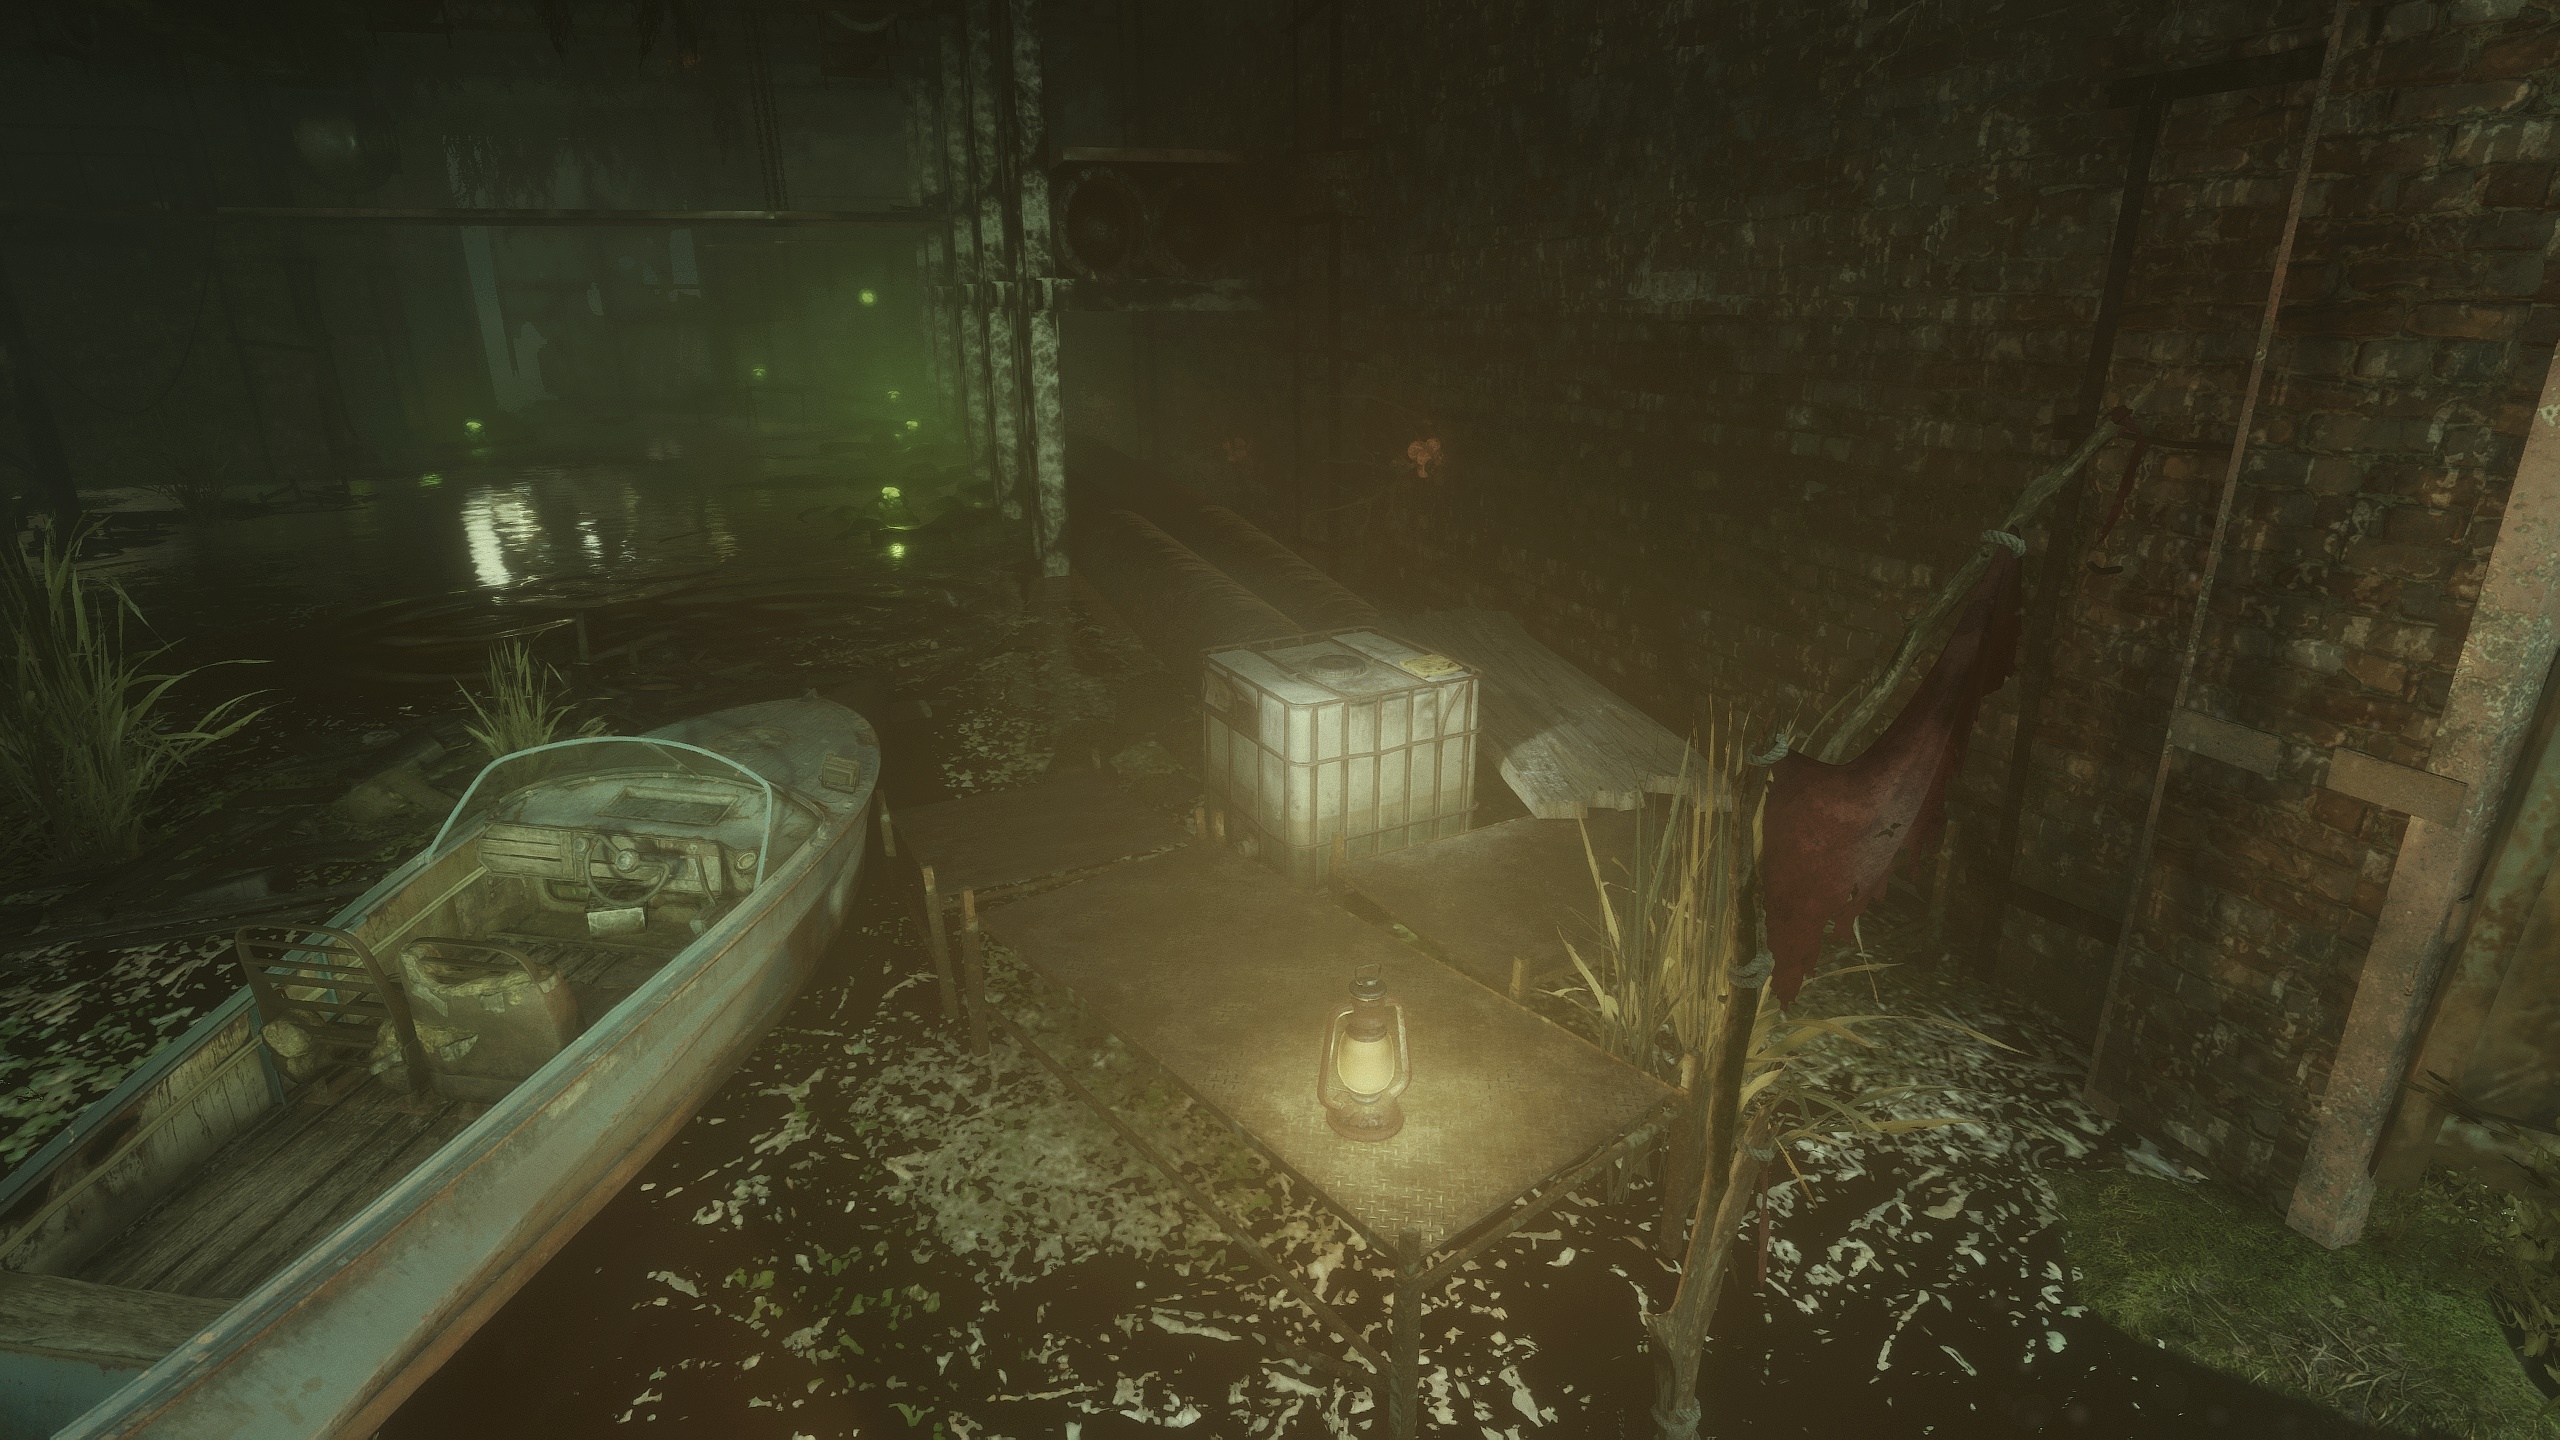
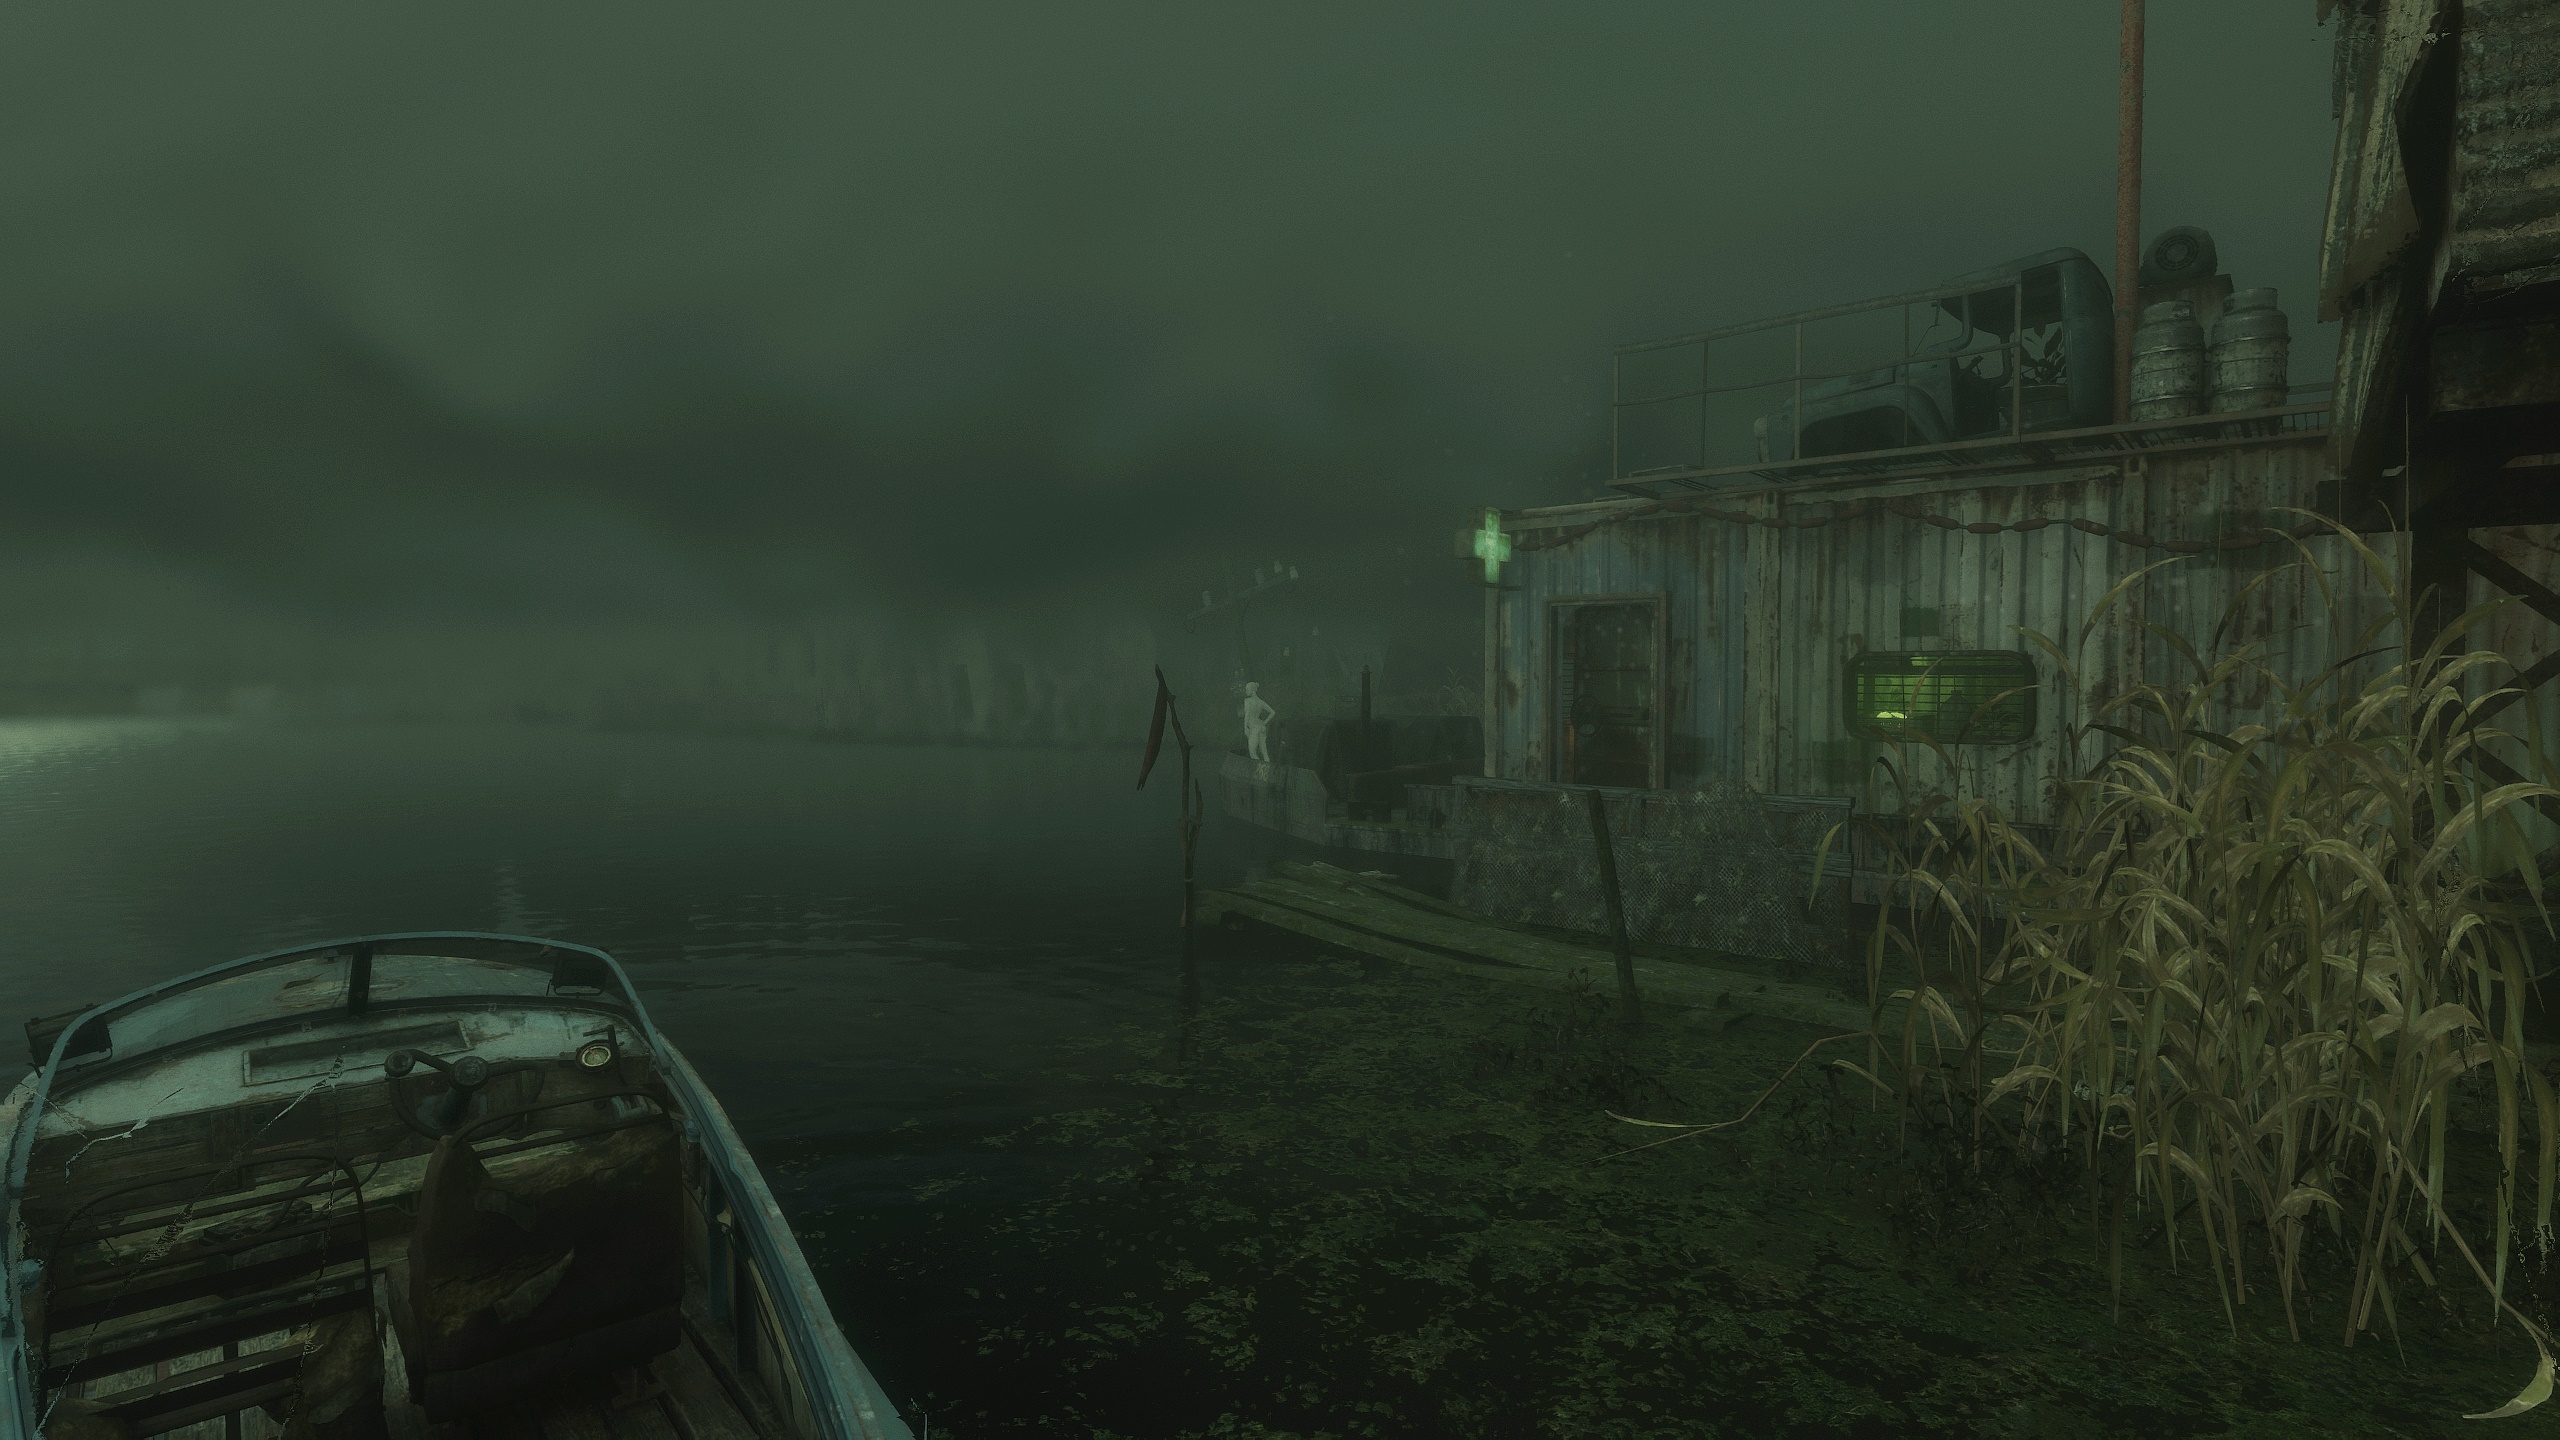
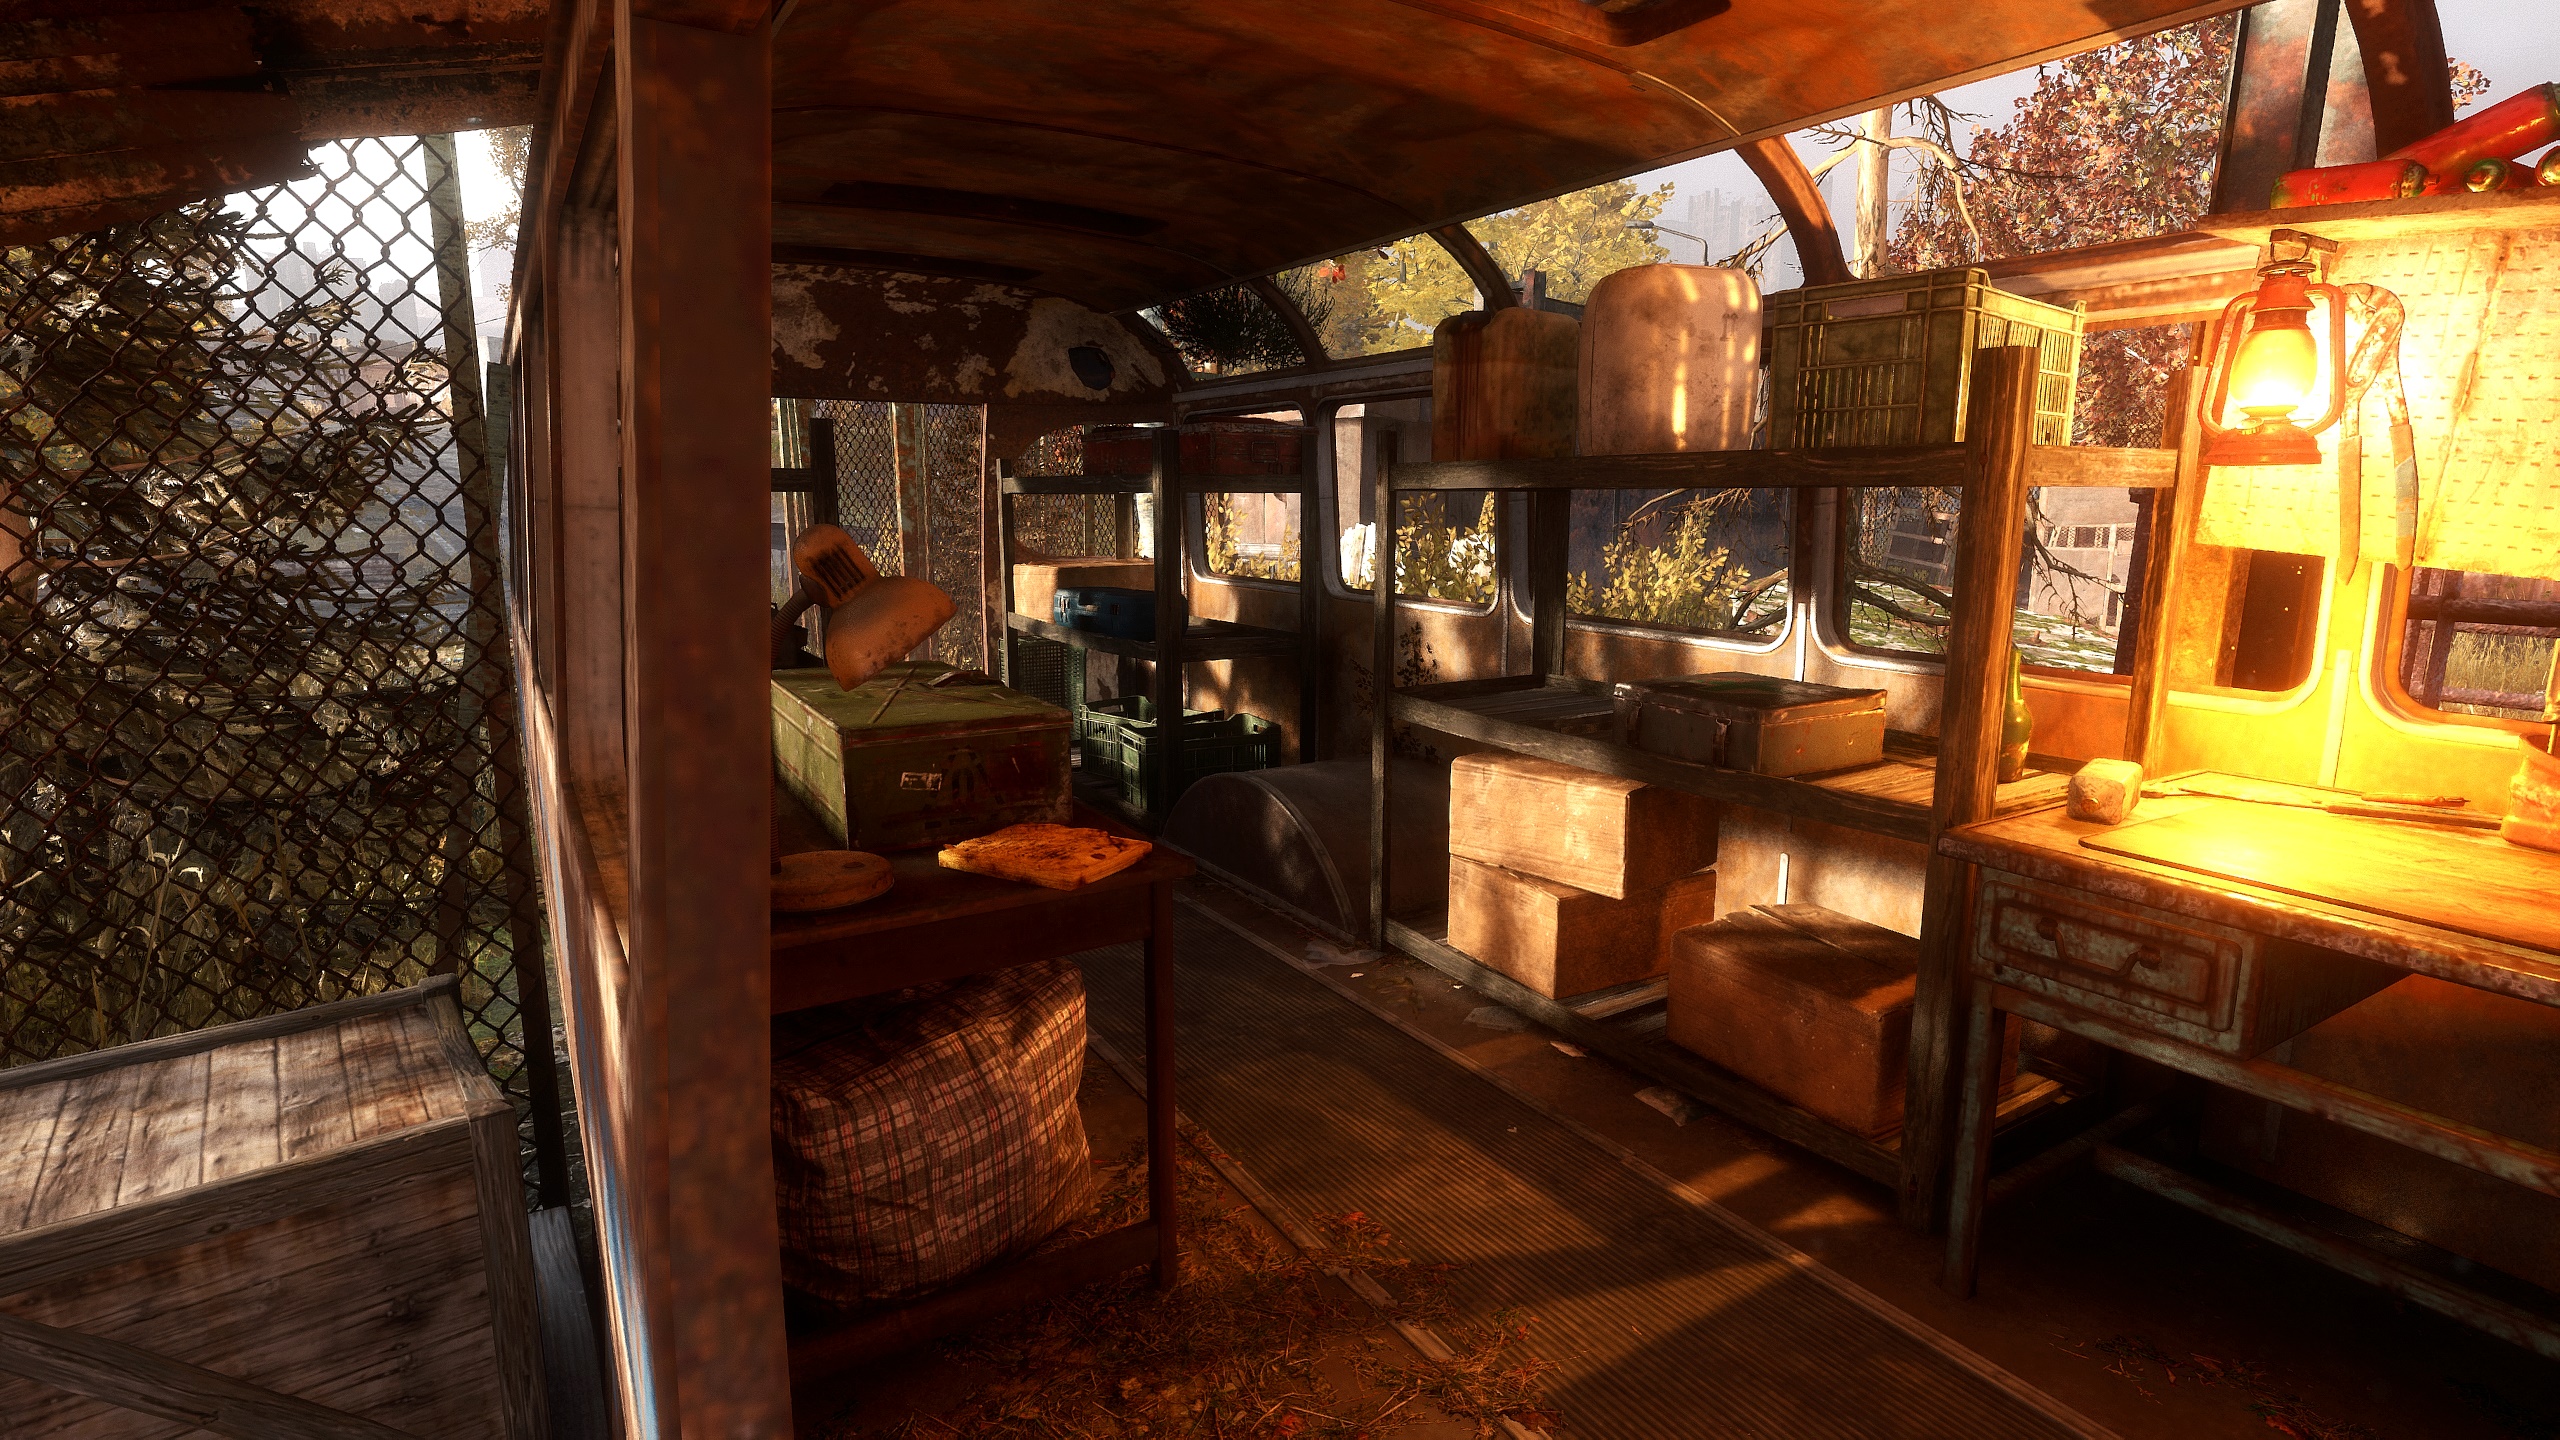
The passenger train cart warehouse location.
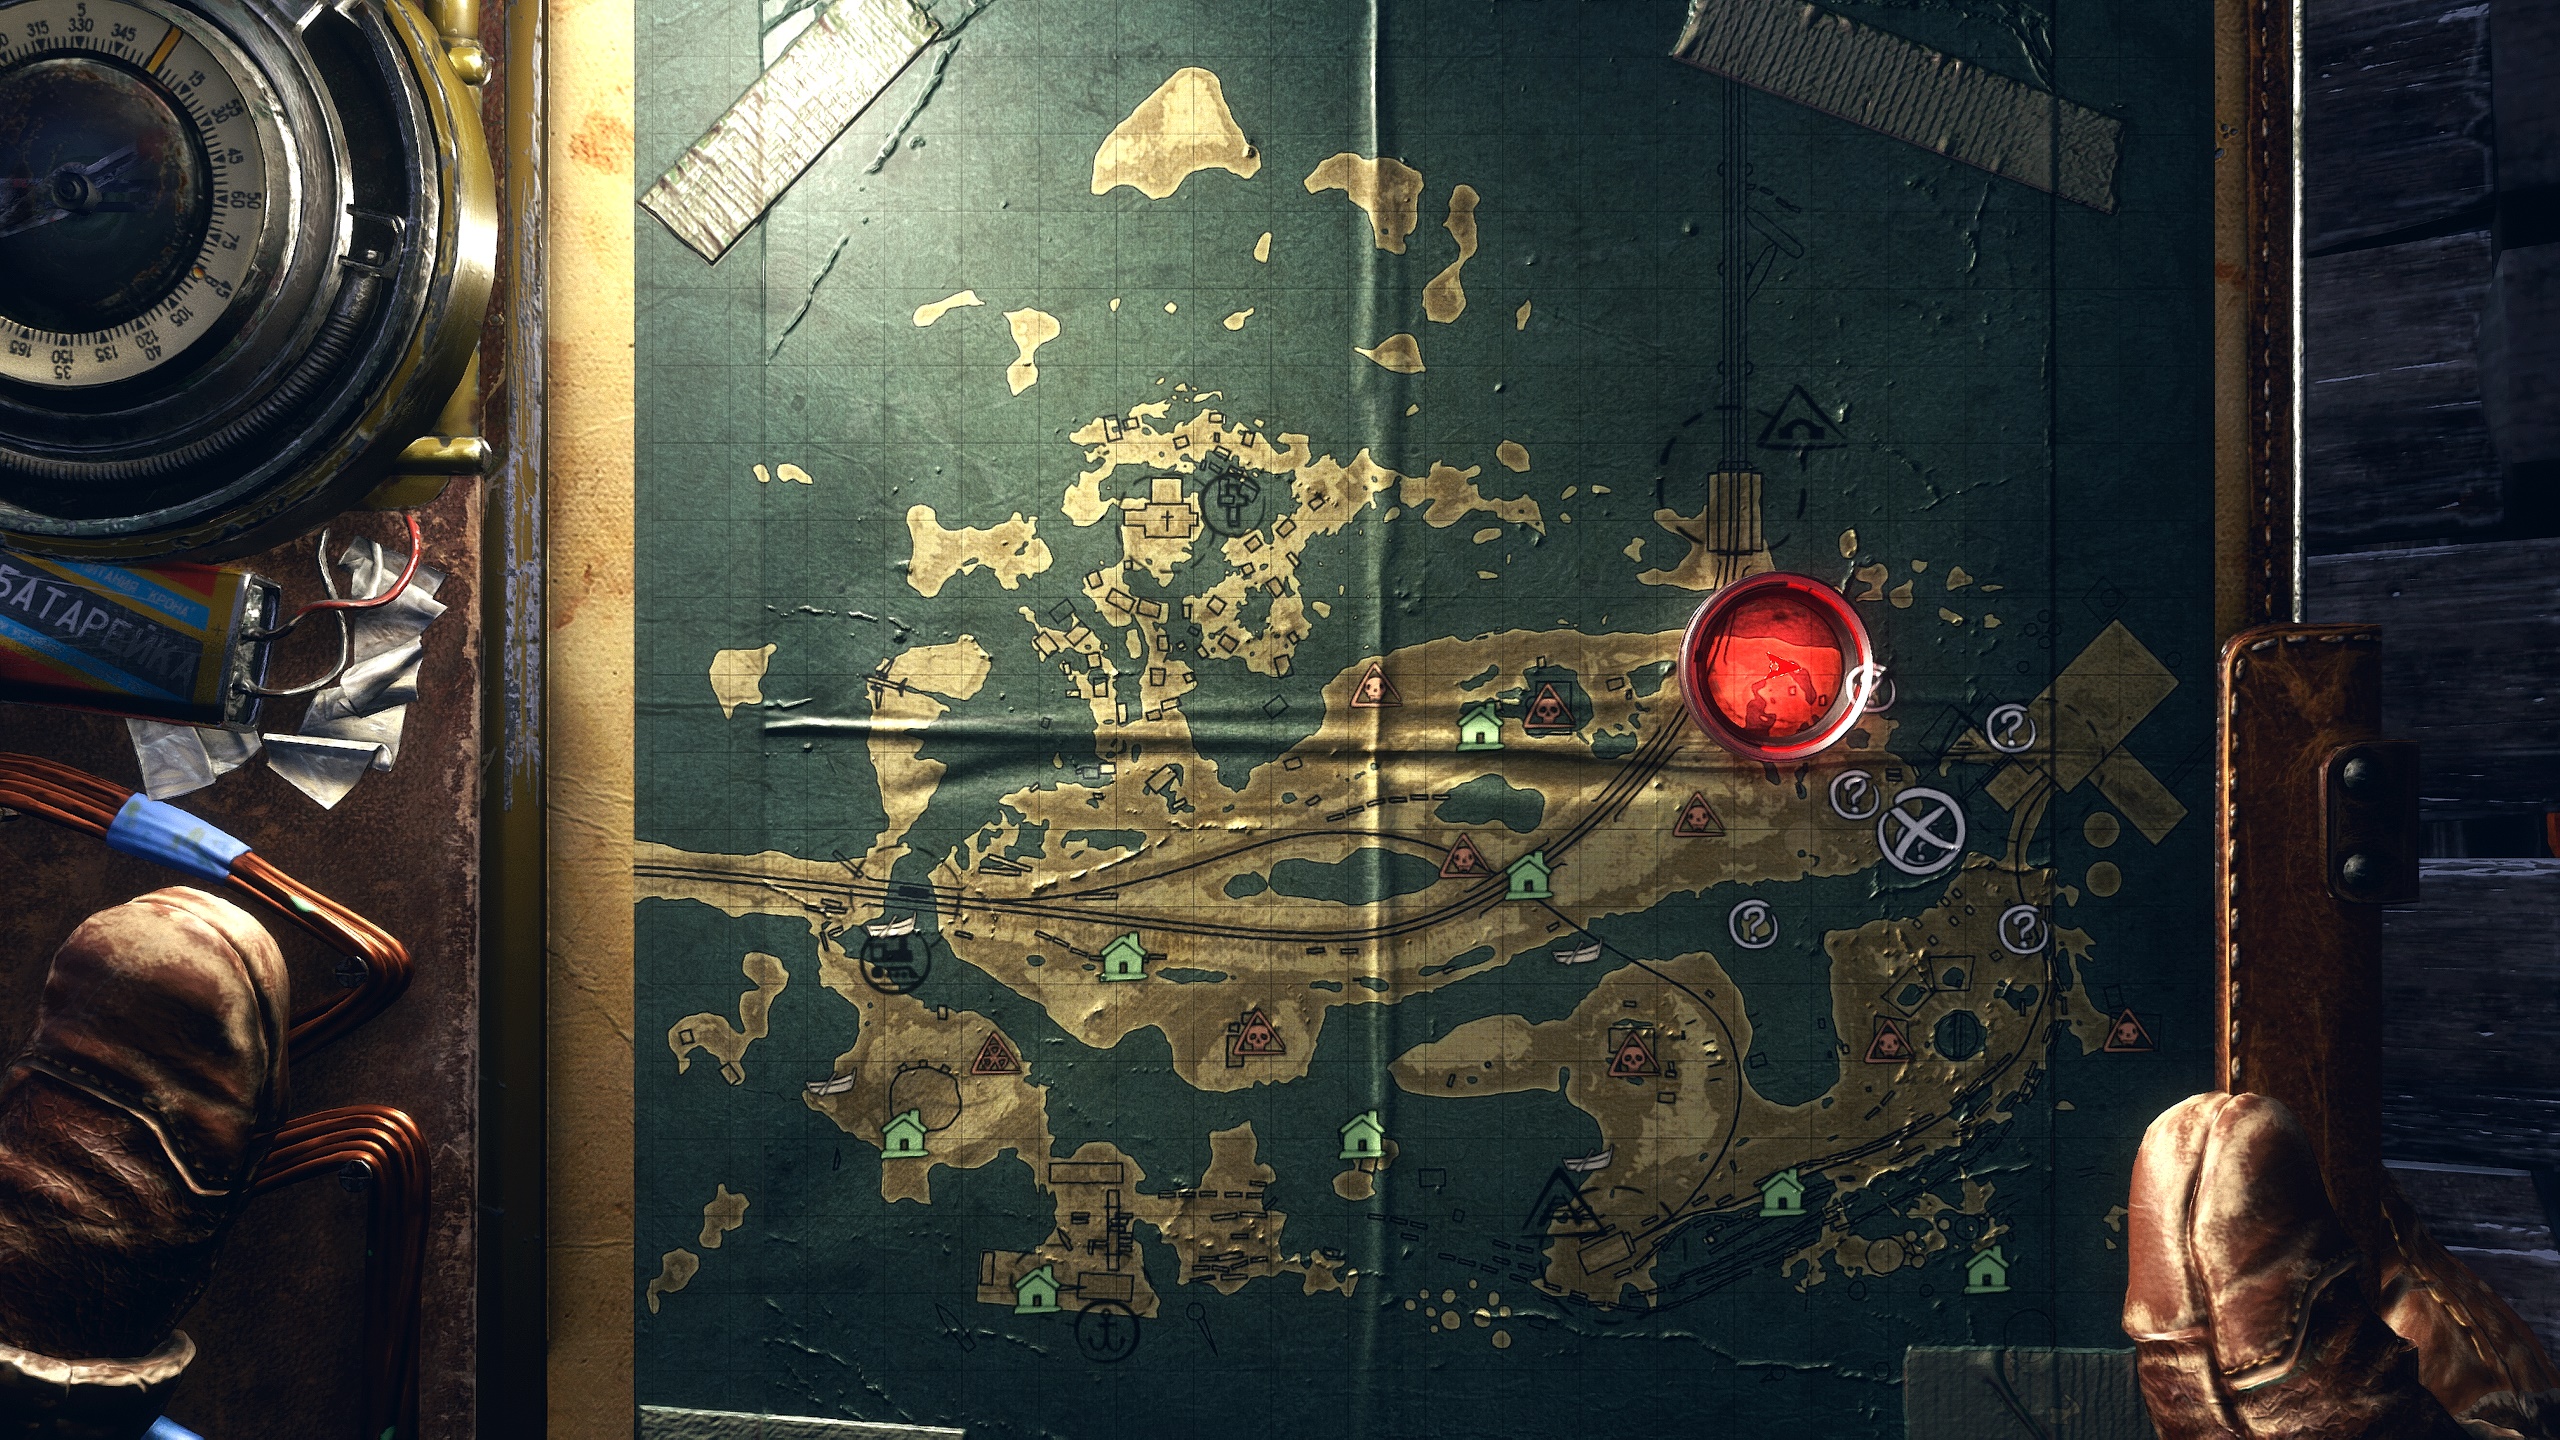
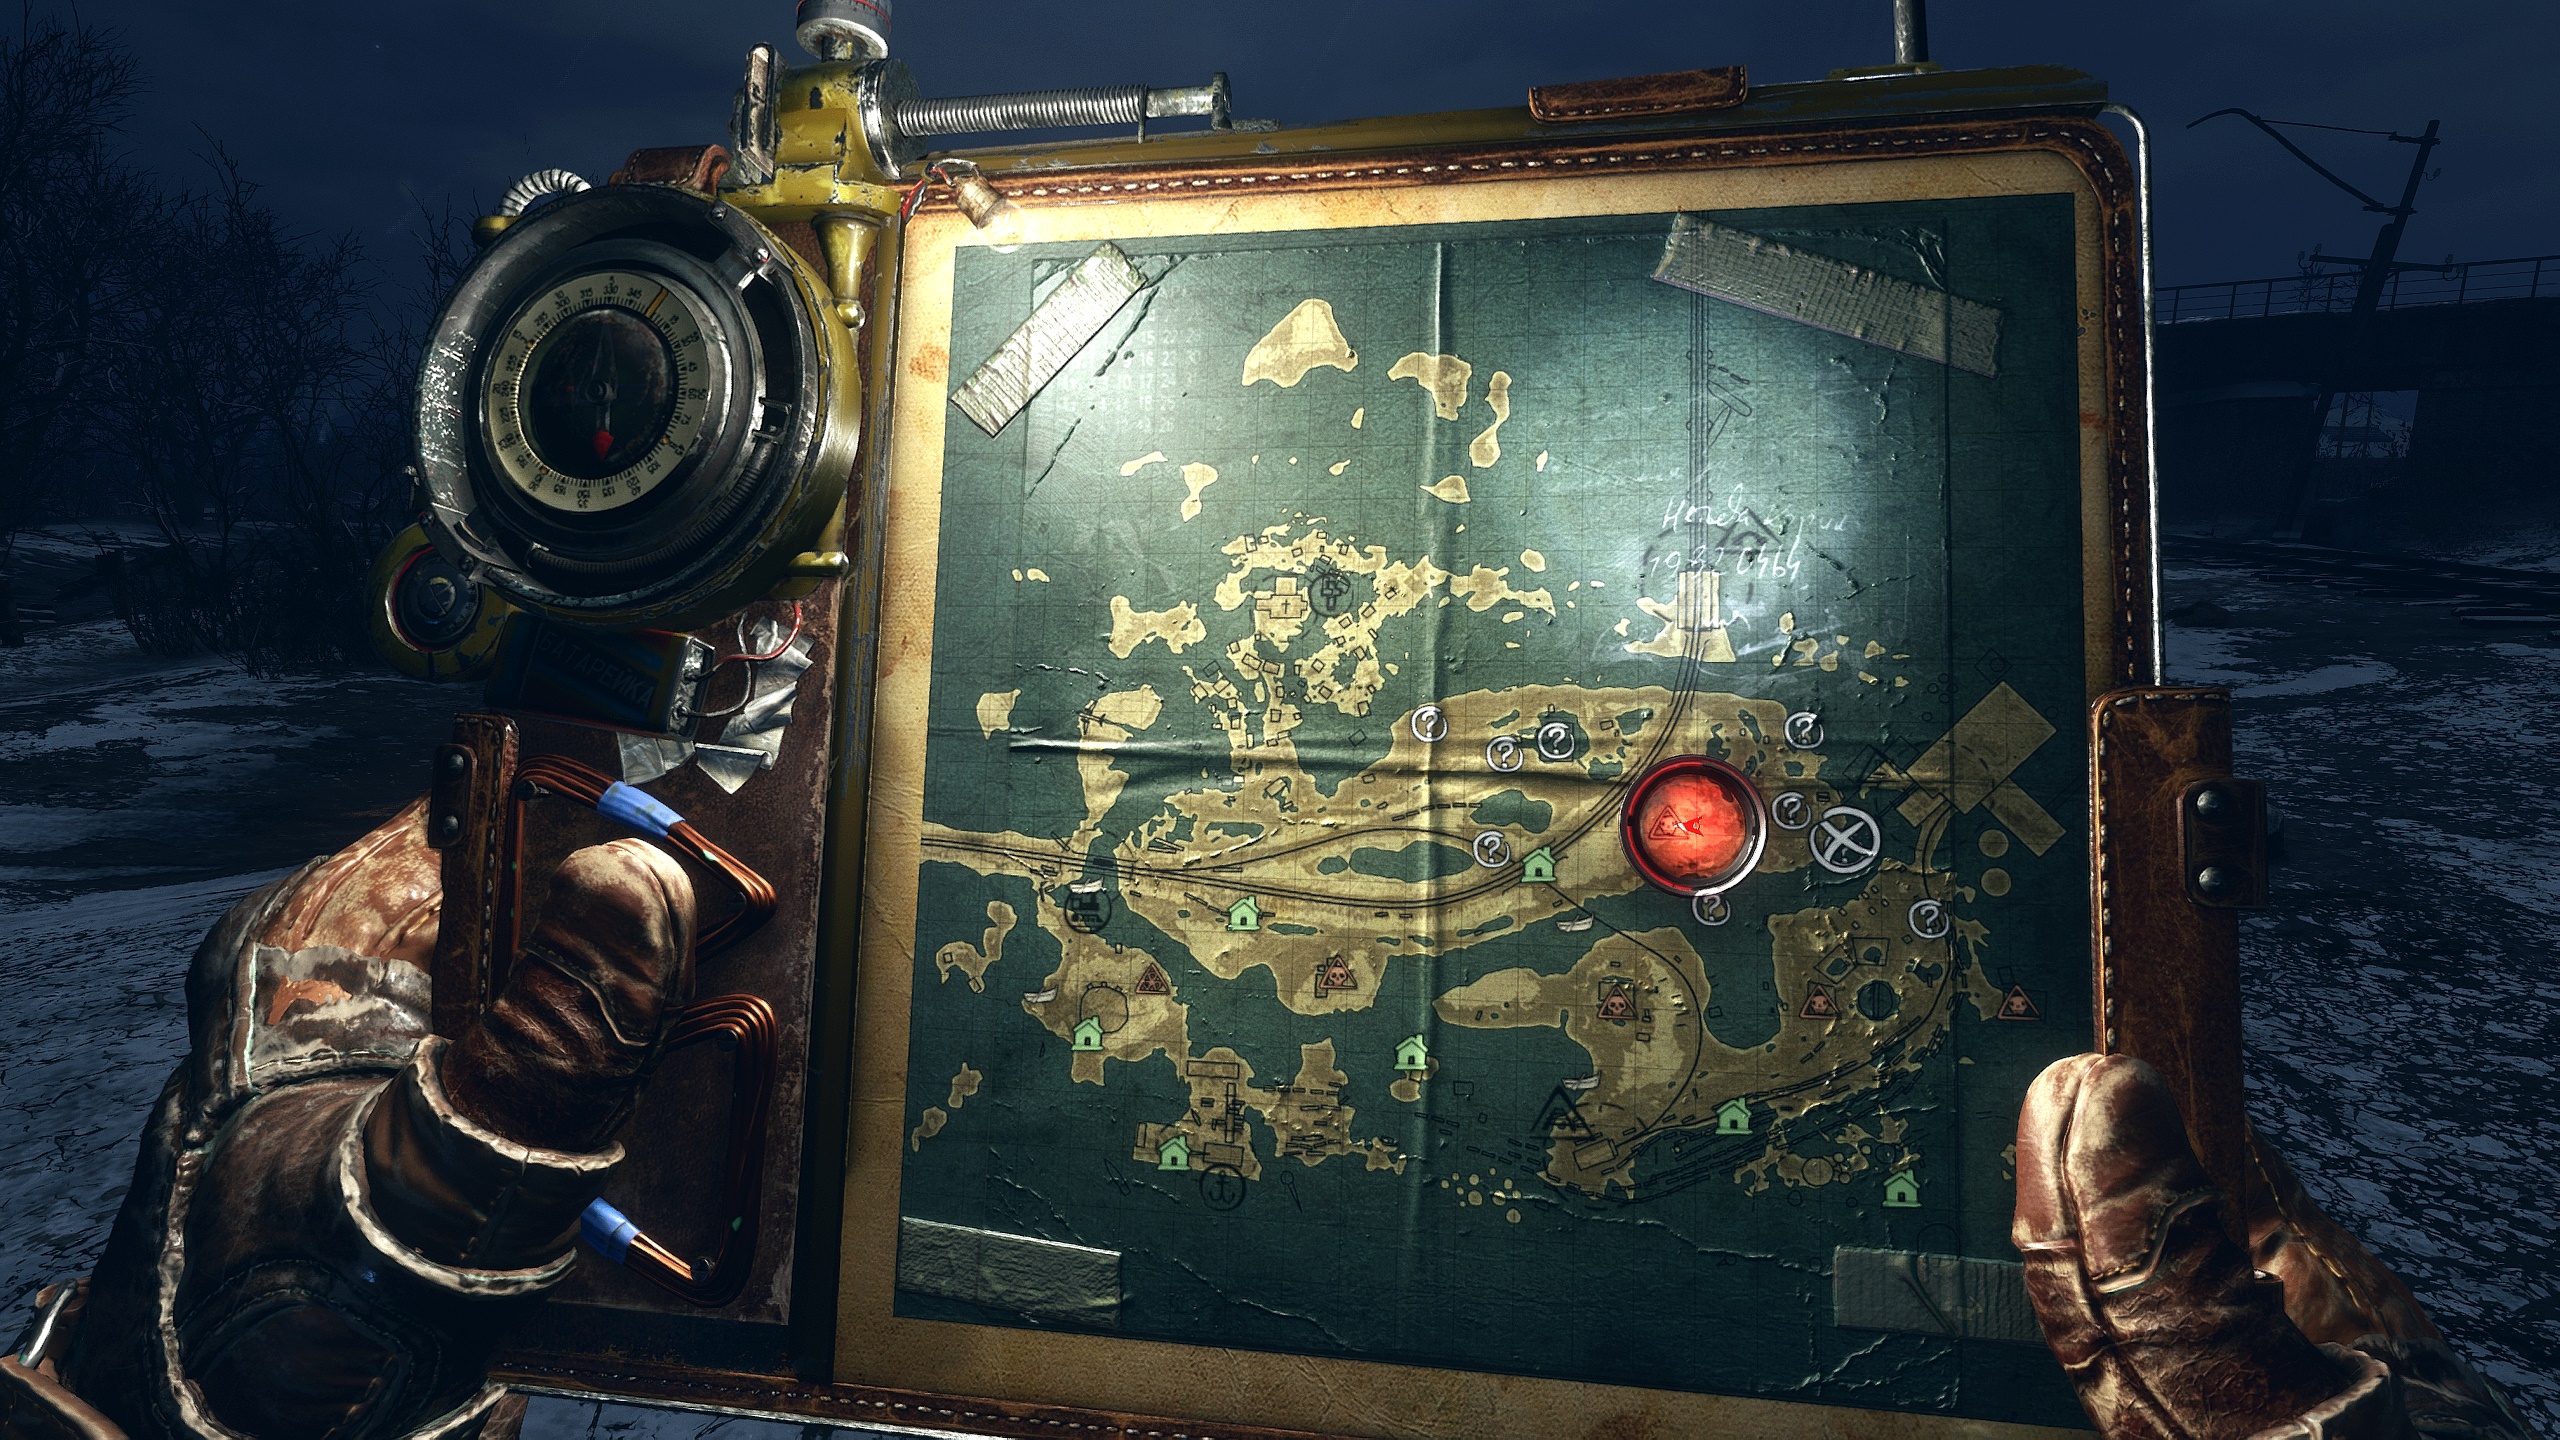
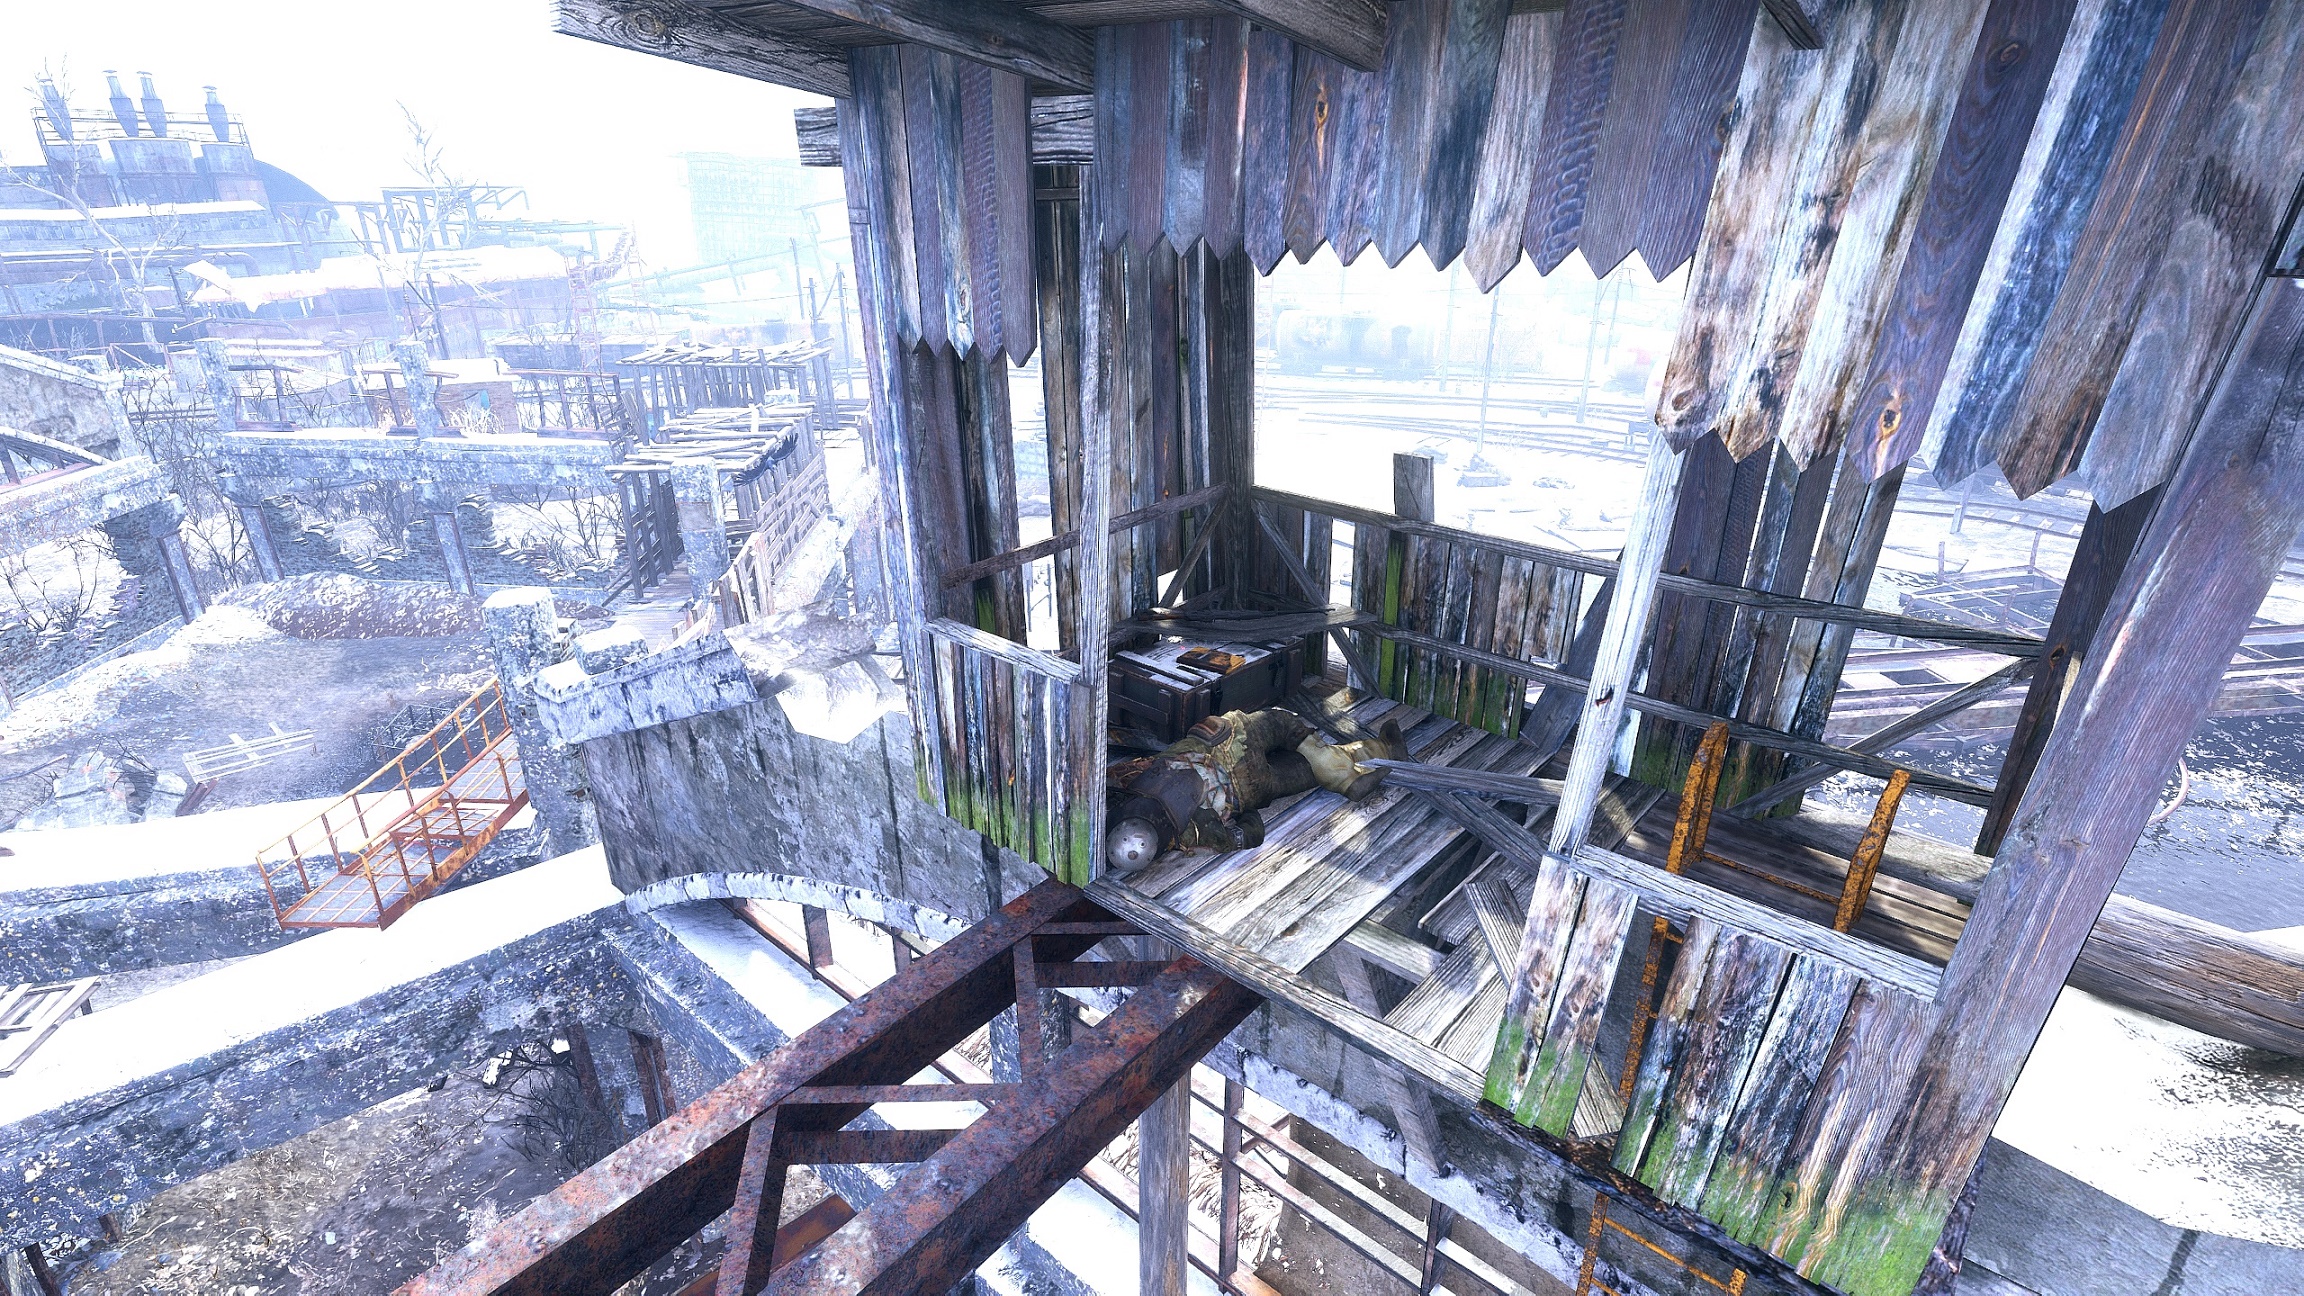
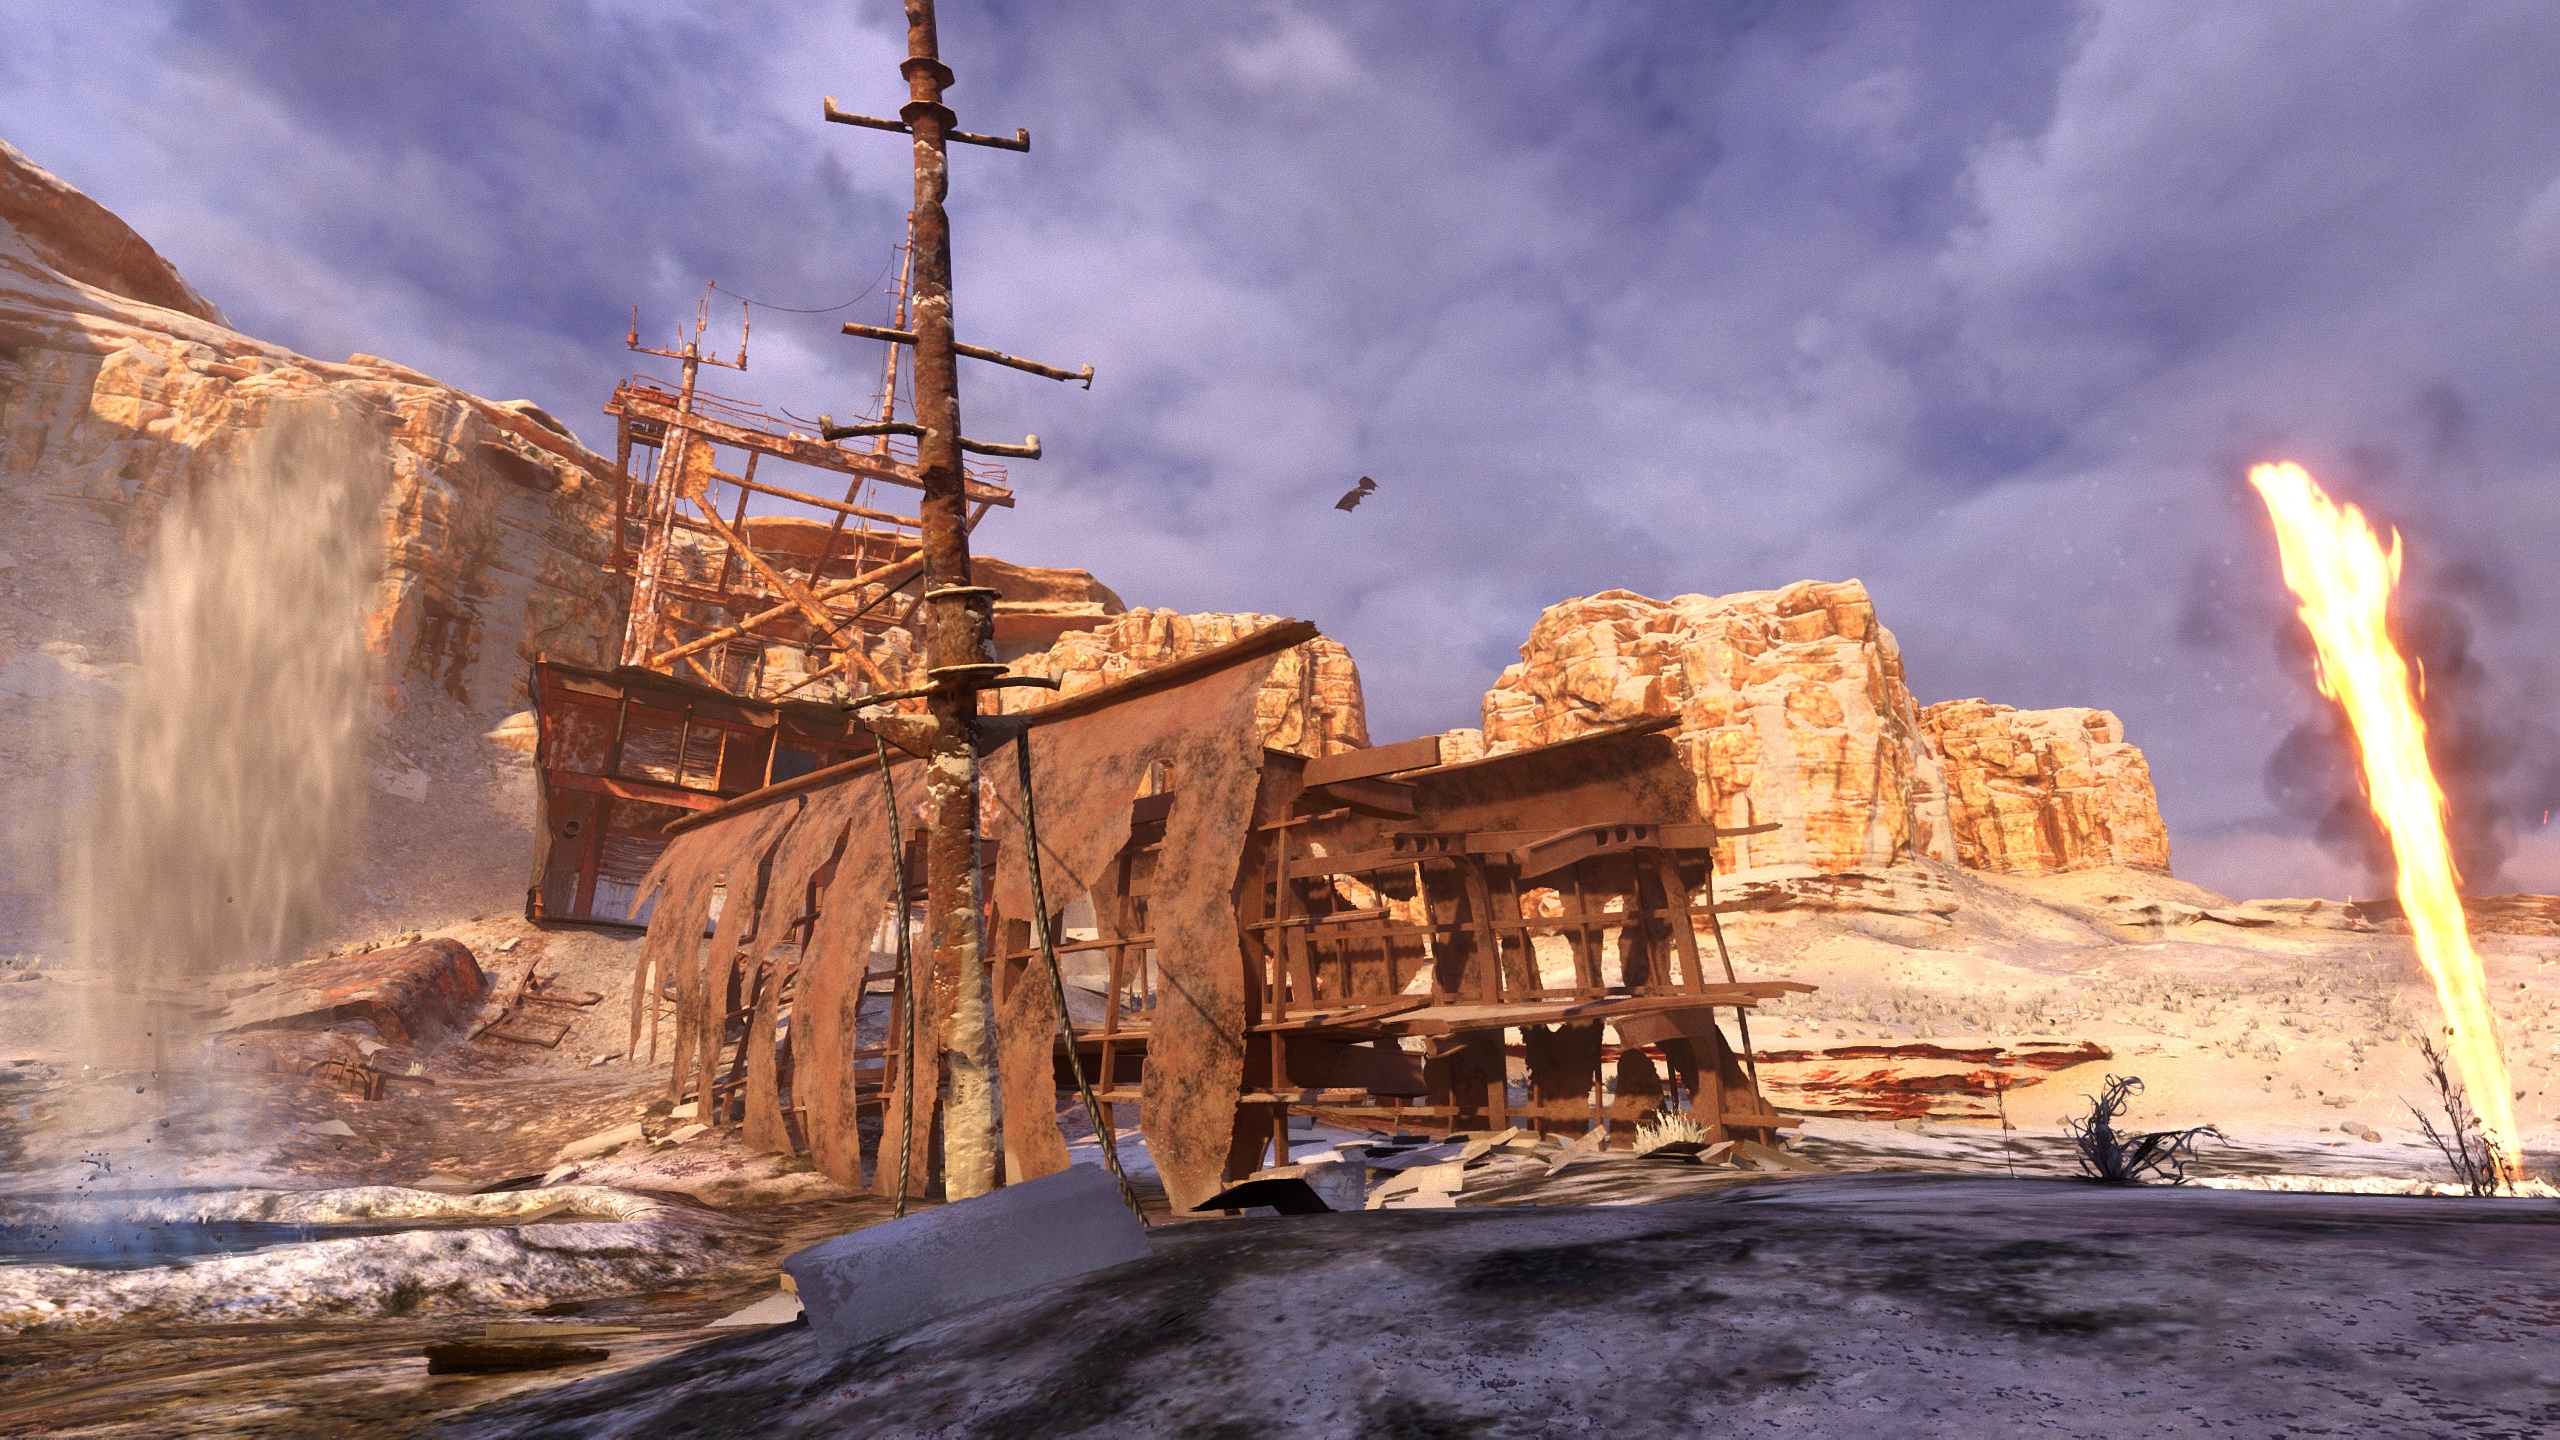
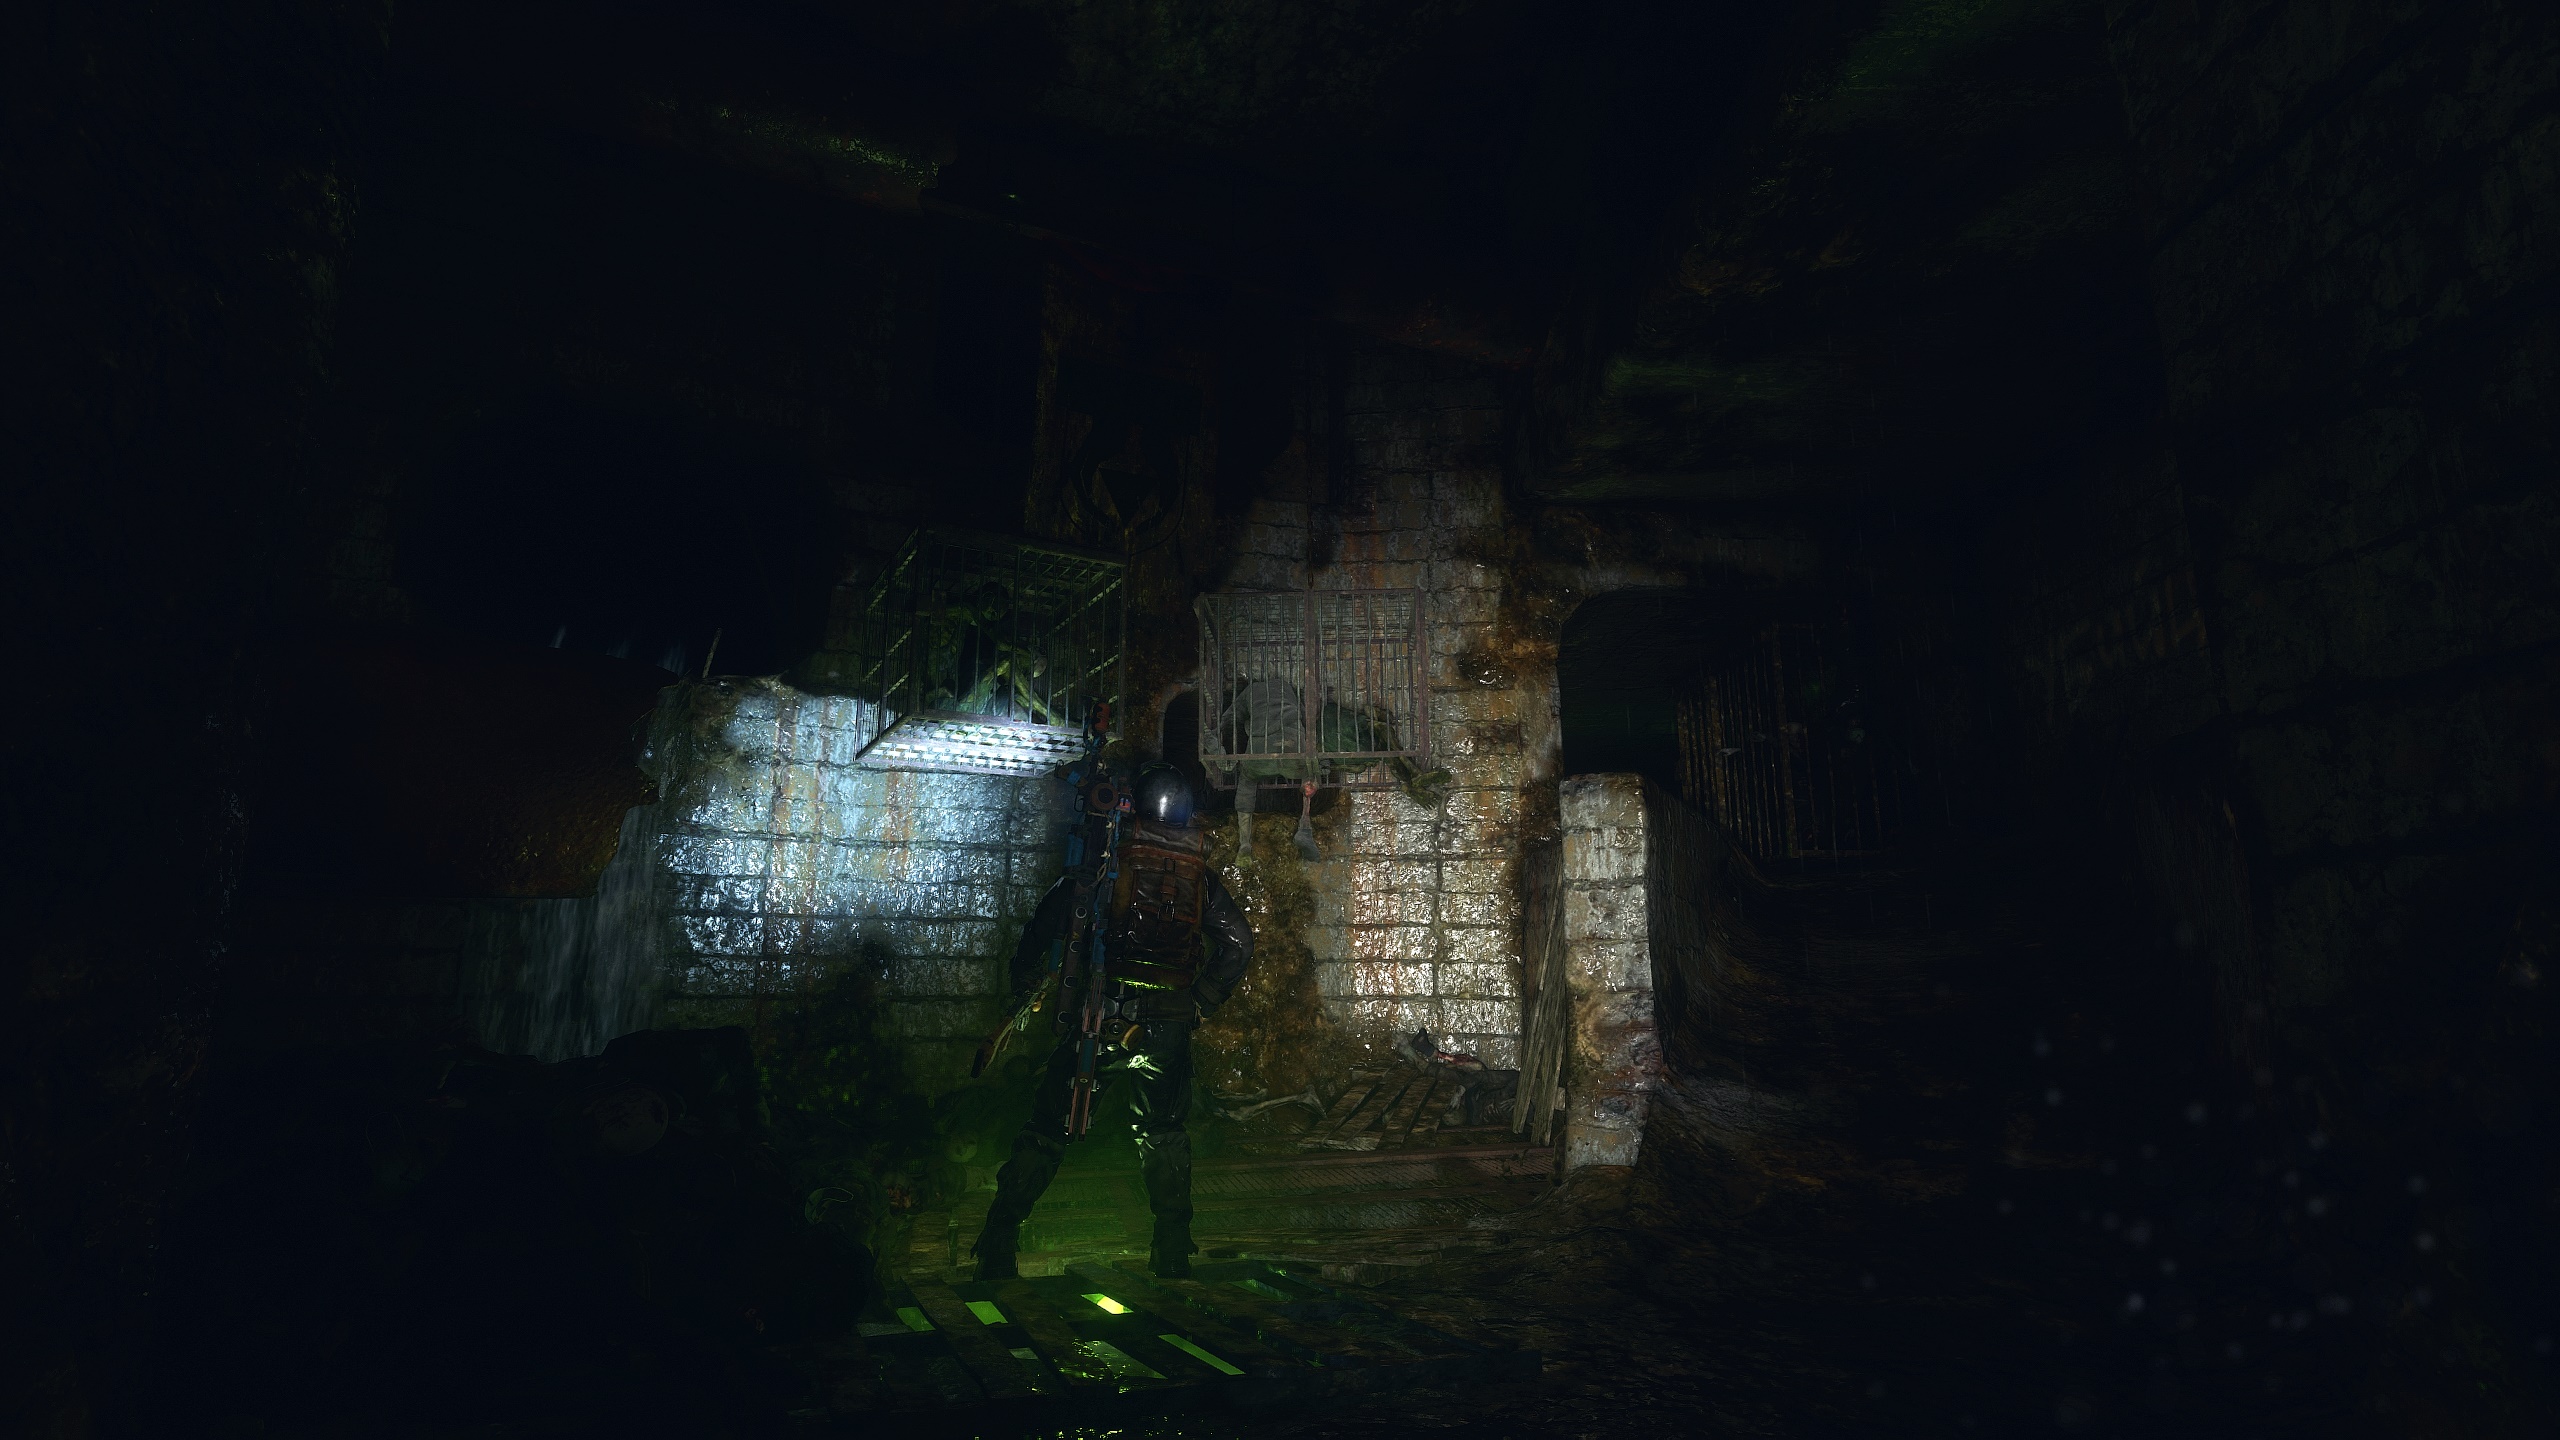
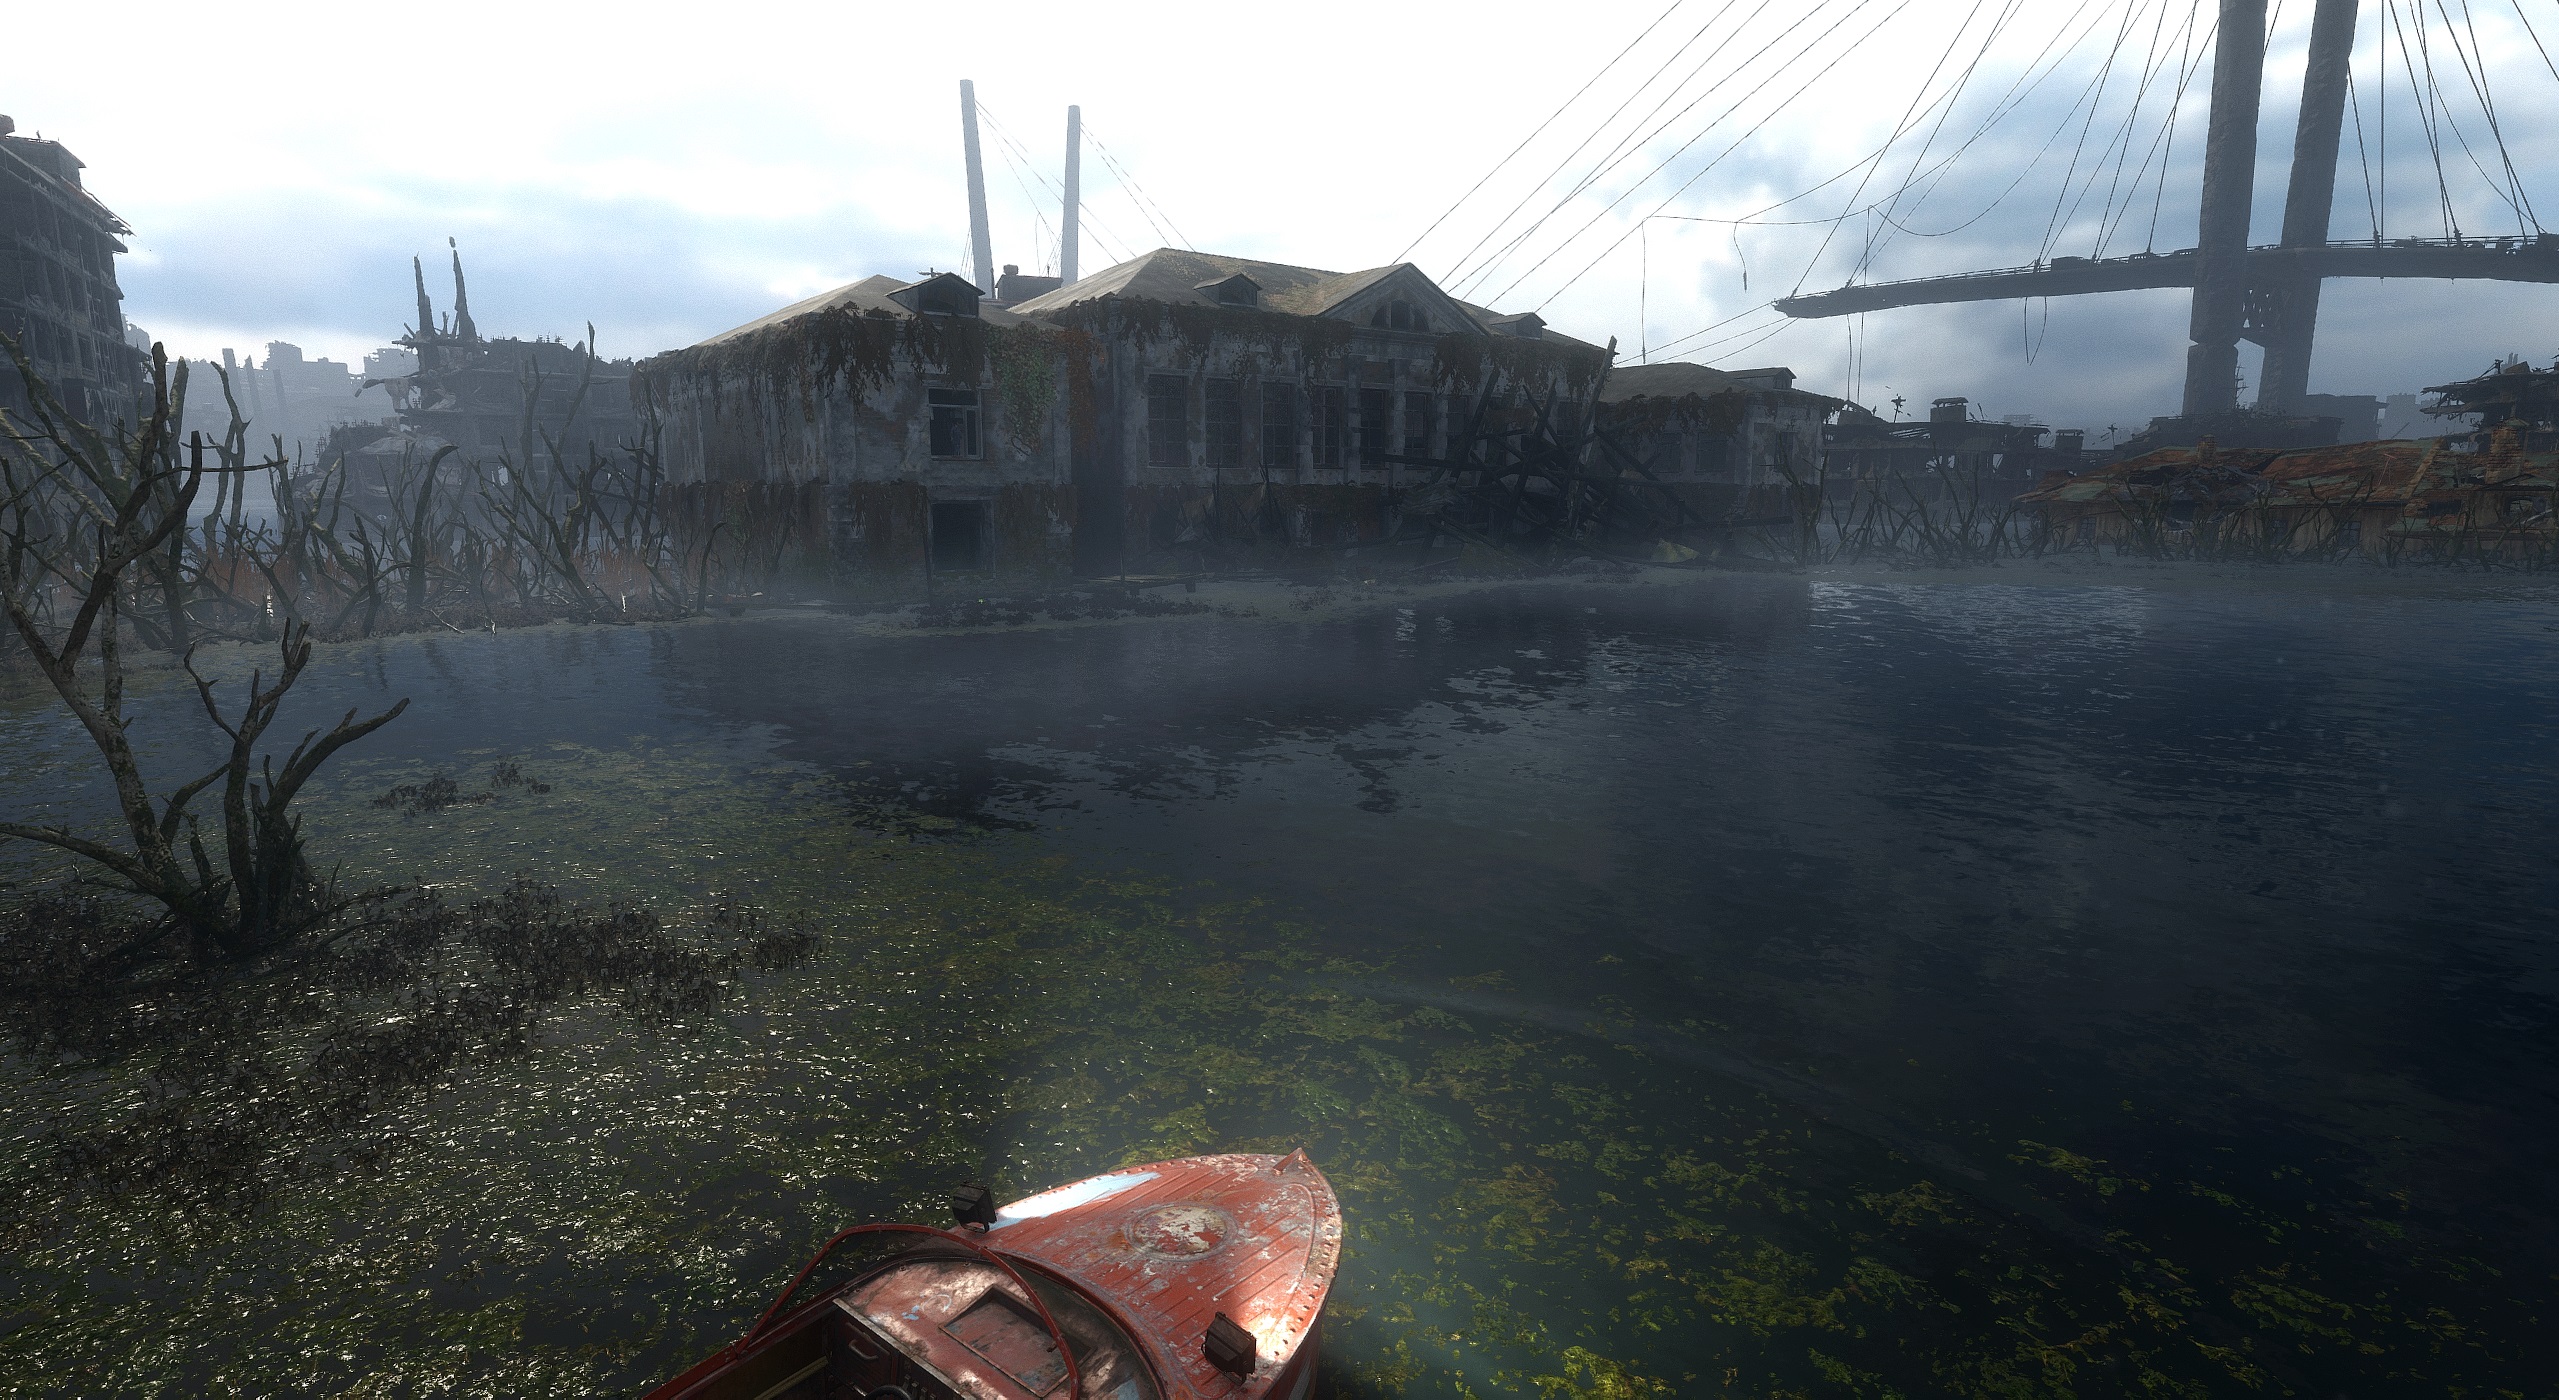
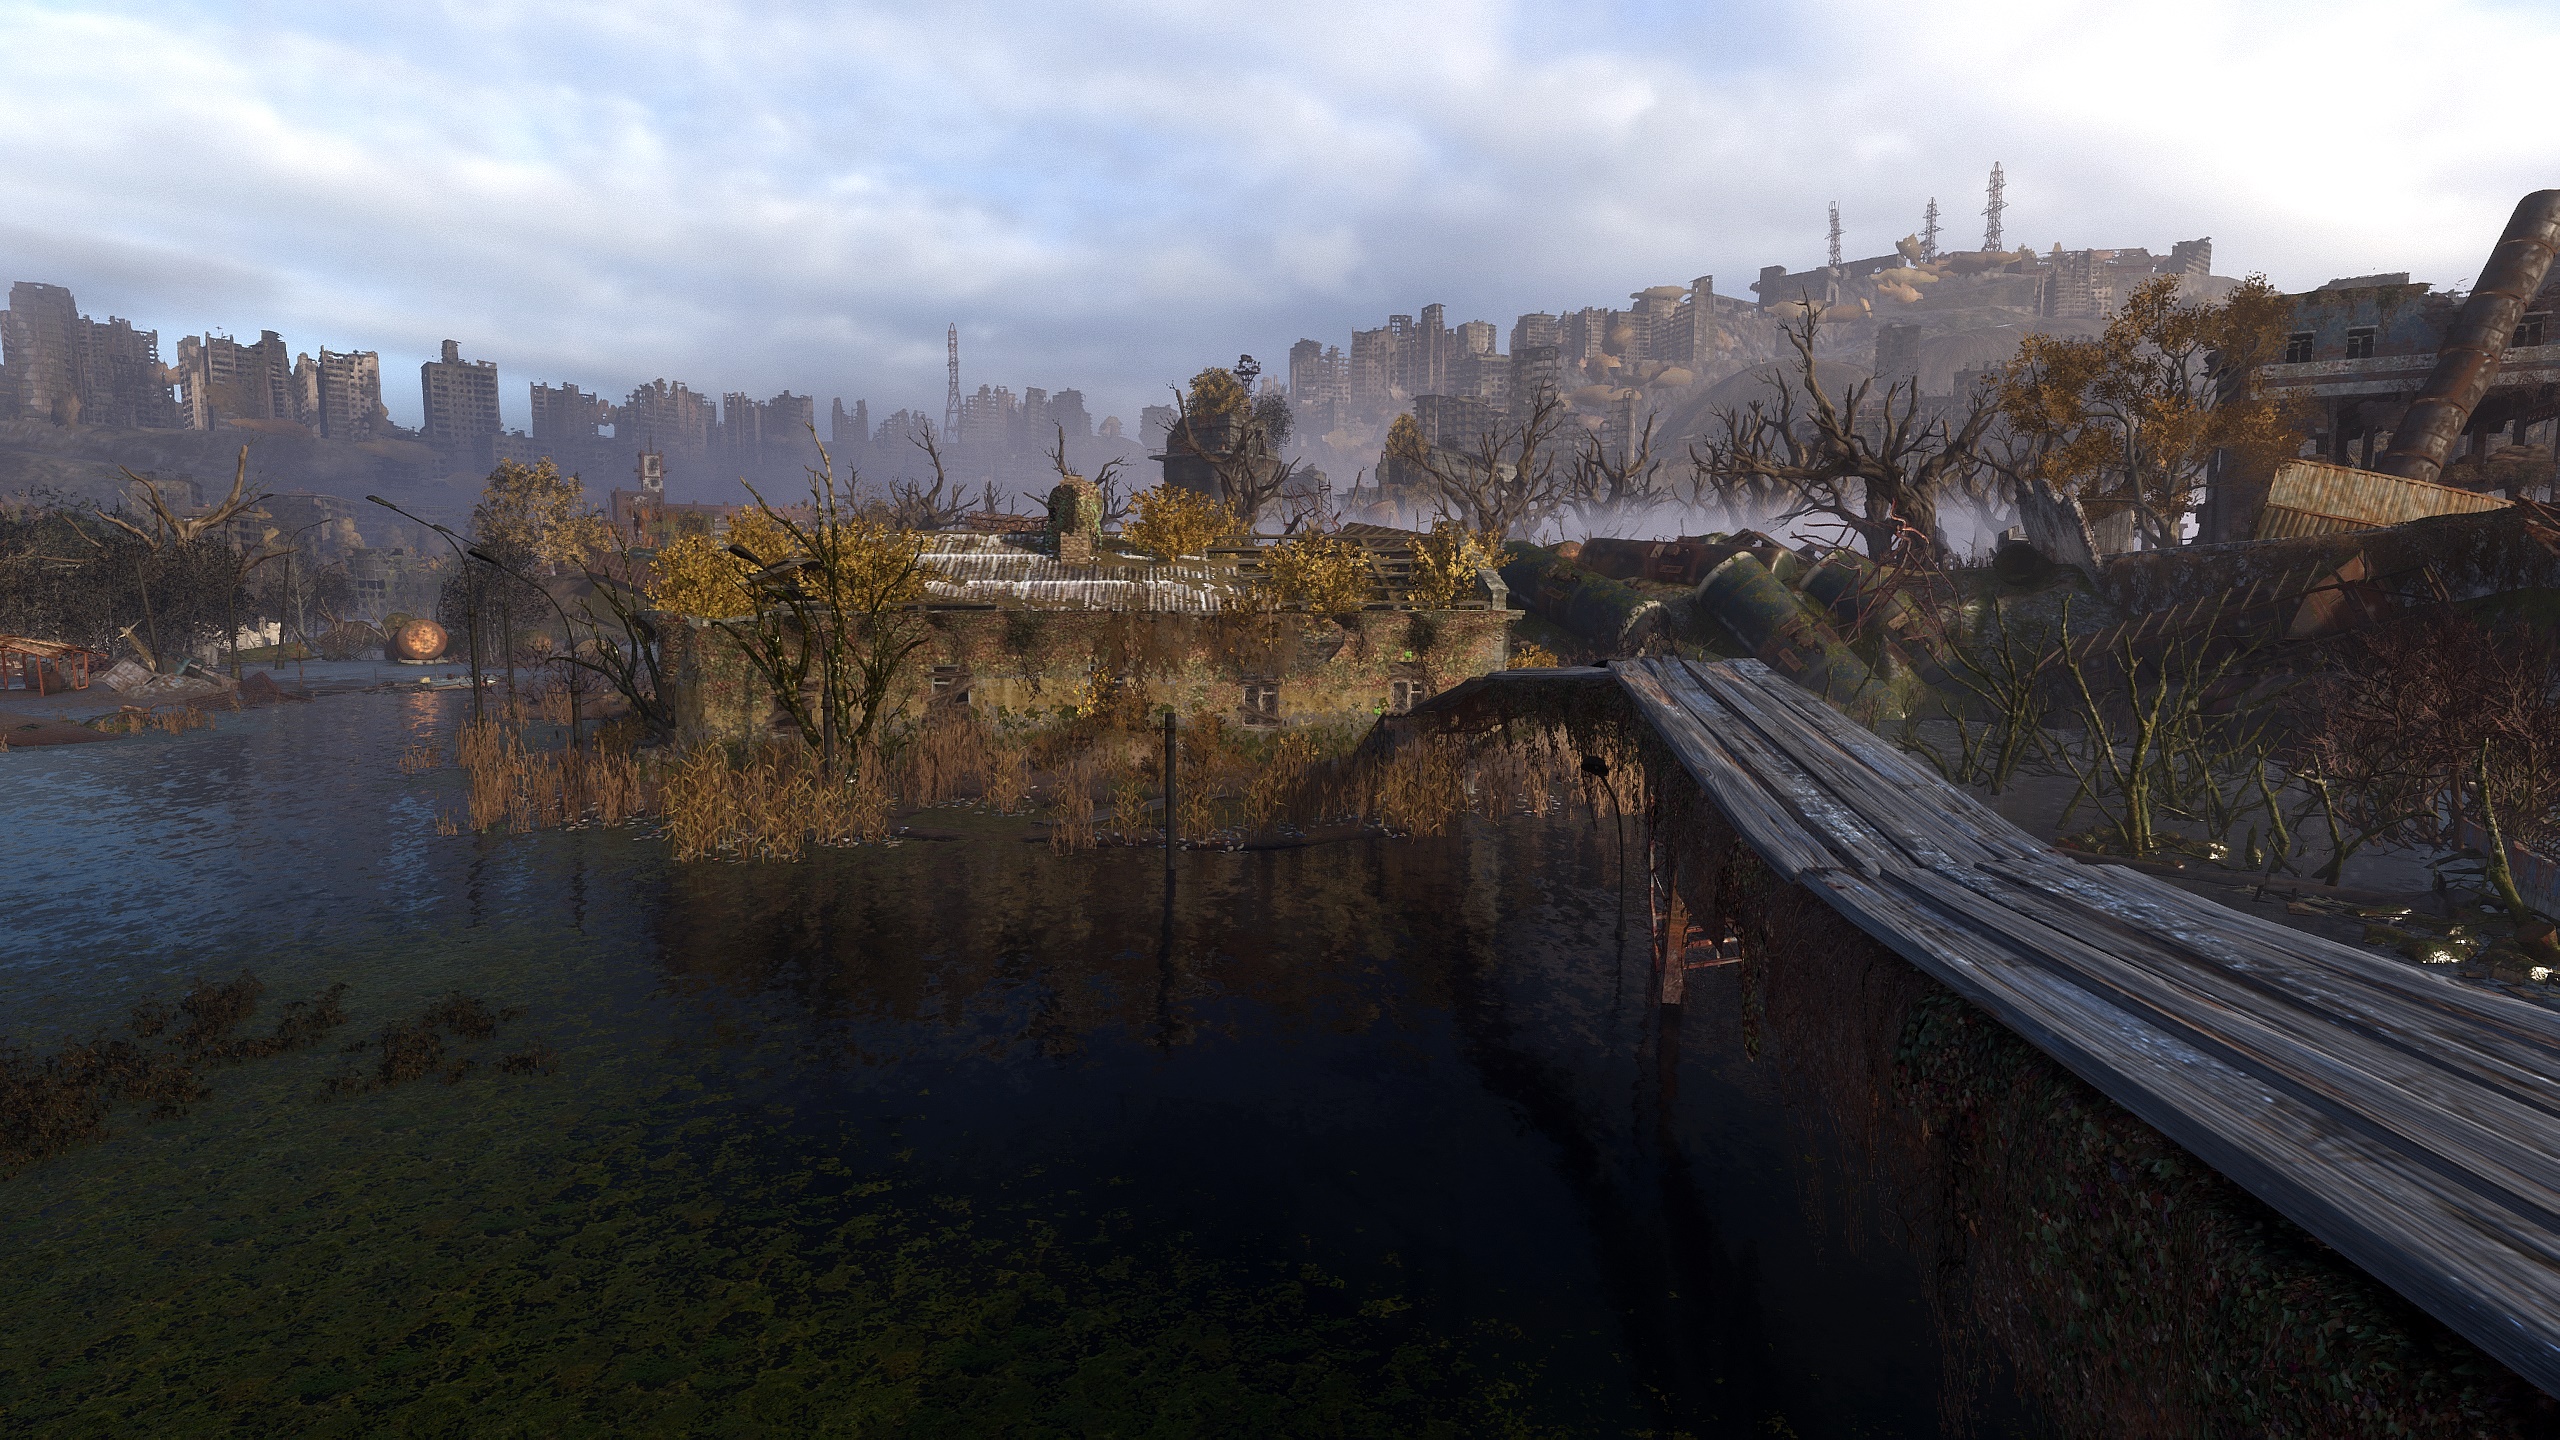
Very short distance precisely south east from the epicentre of the building is a crane in the water. One part of the crane is lowered in the water and can be climbed on exactly like the big crane was accessible in the port.
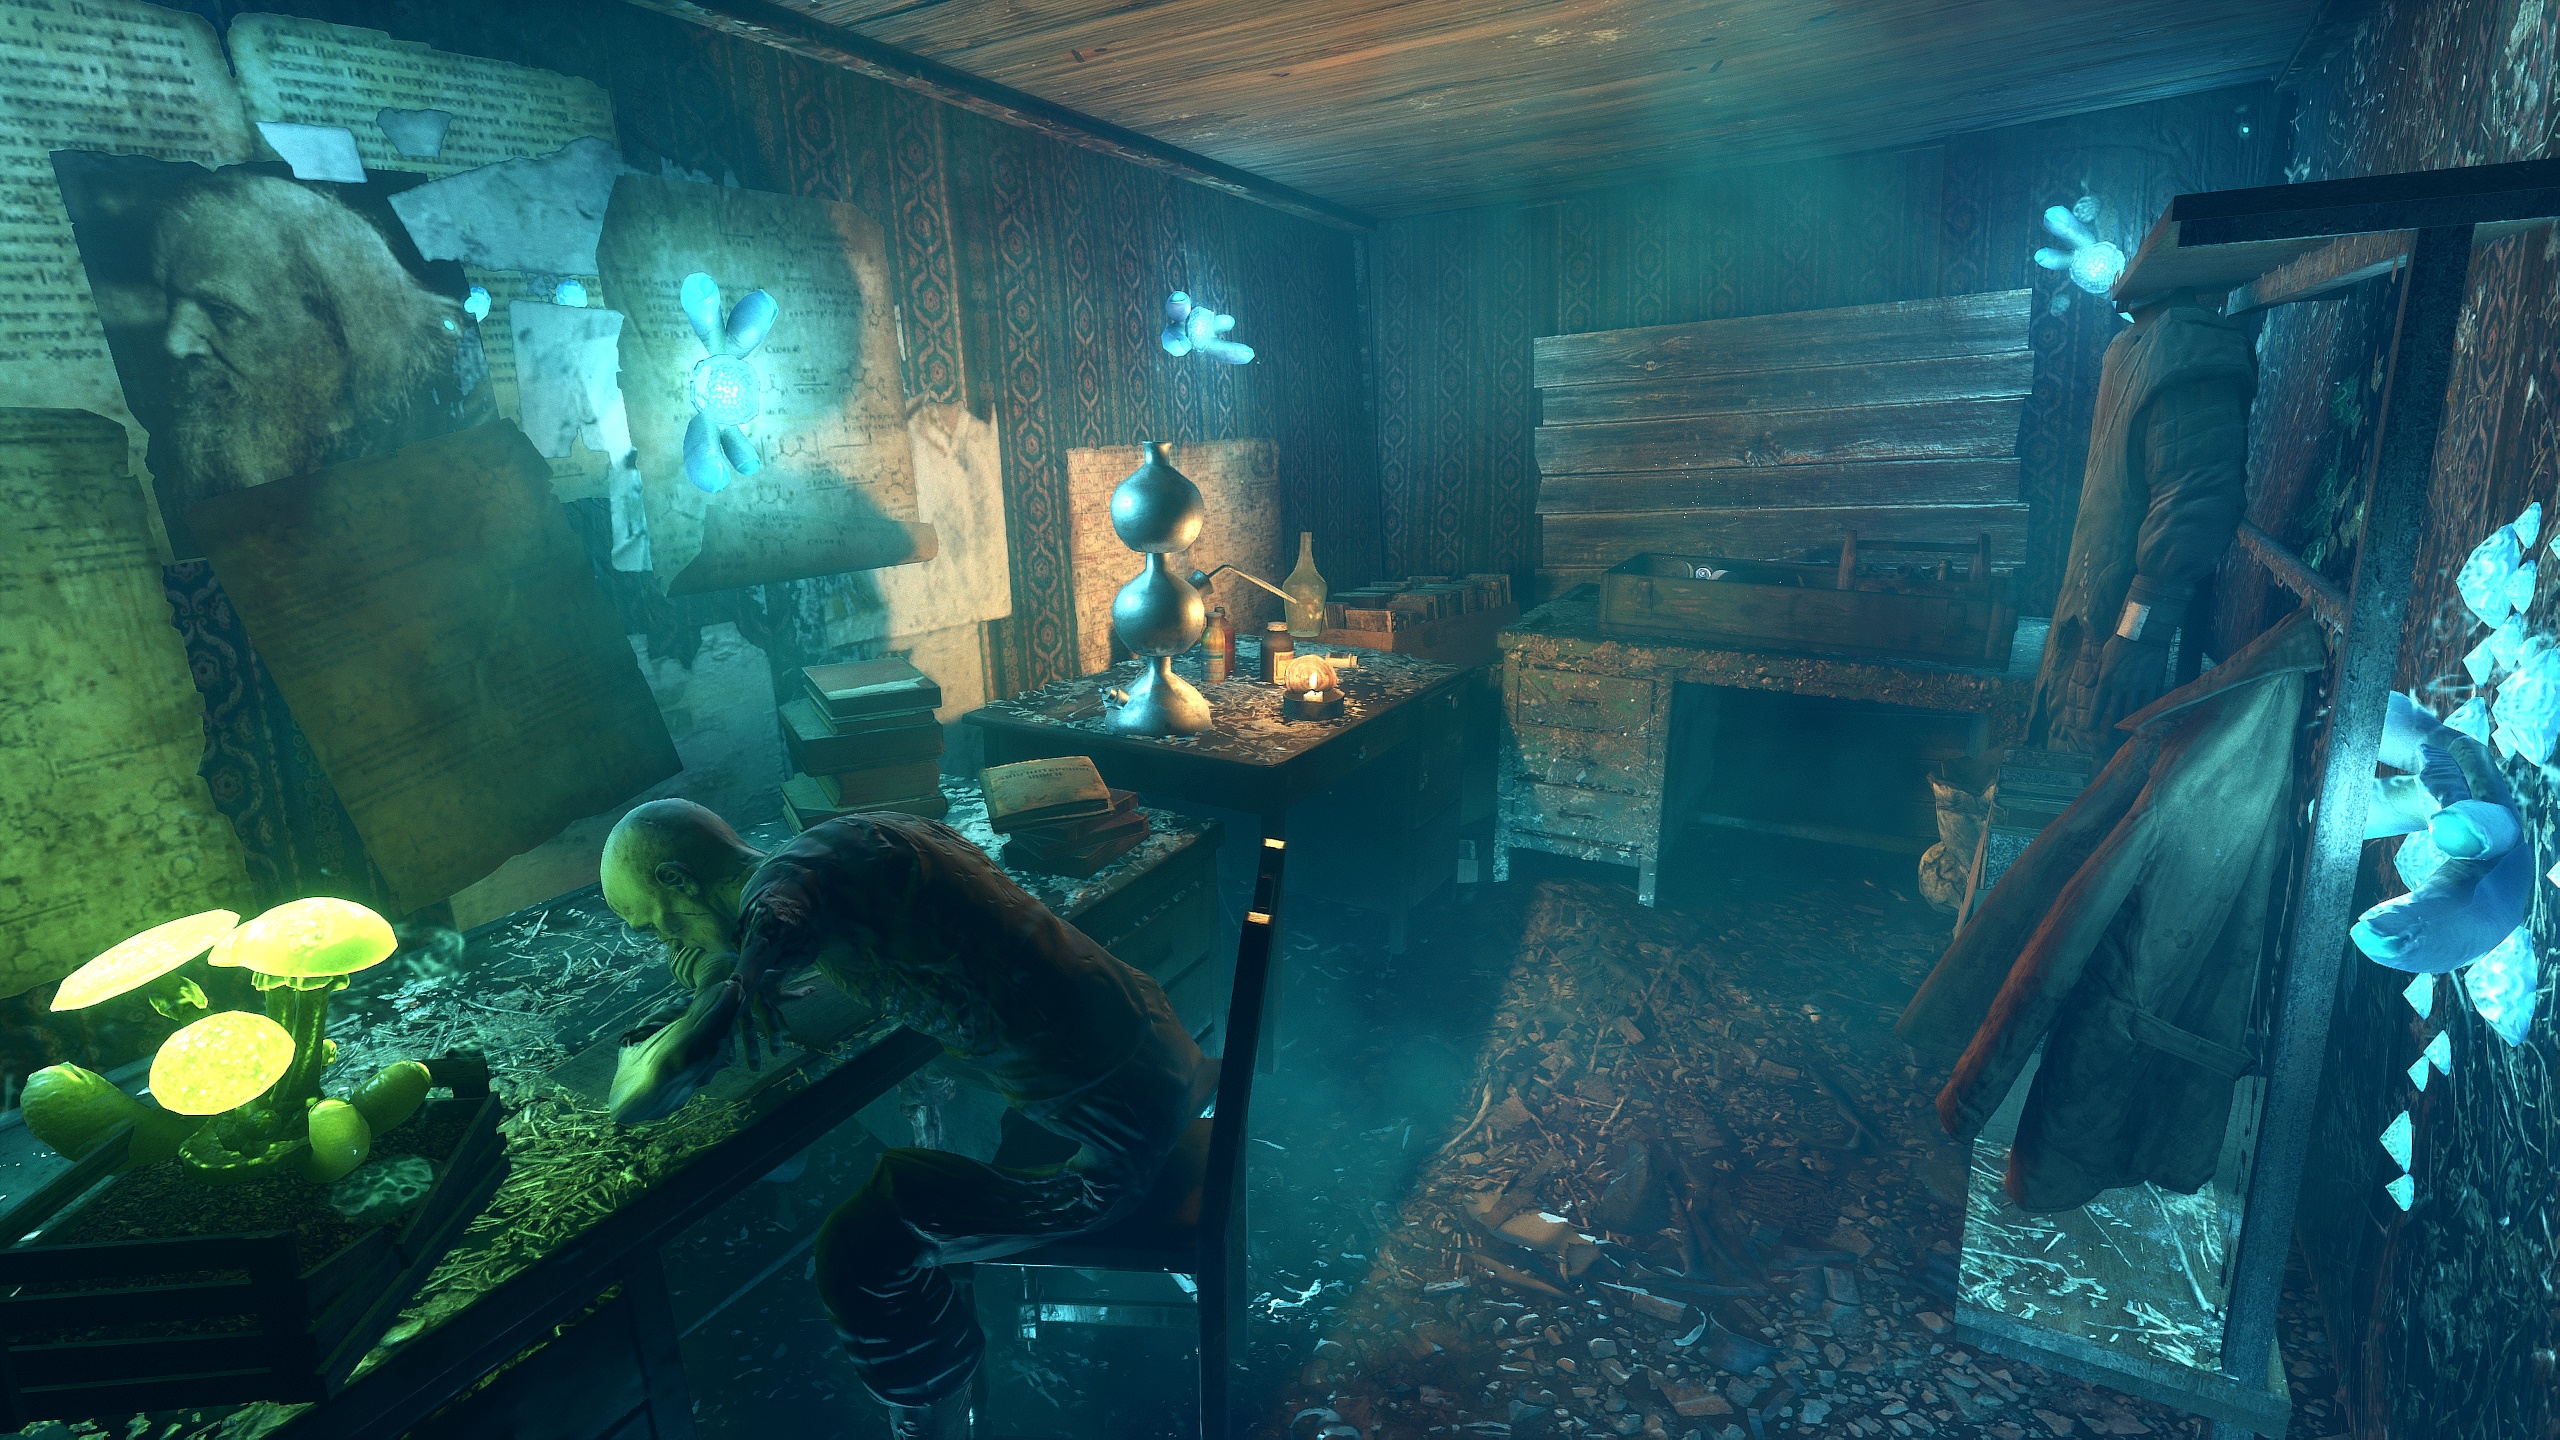
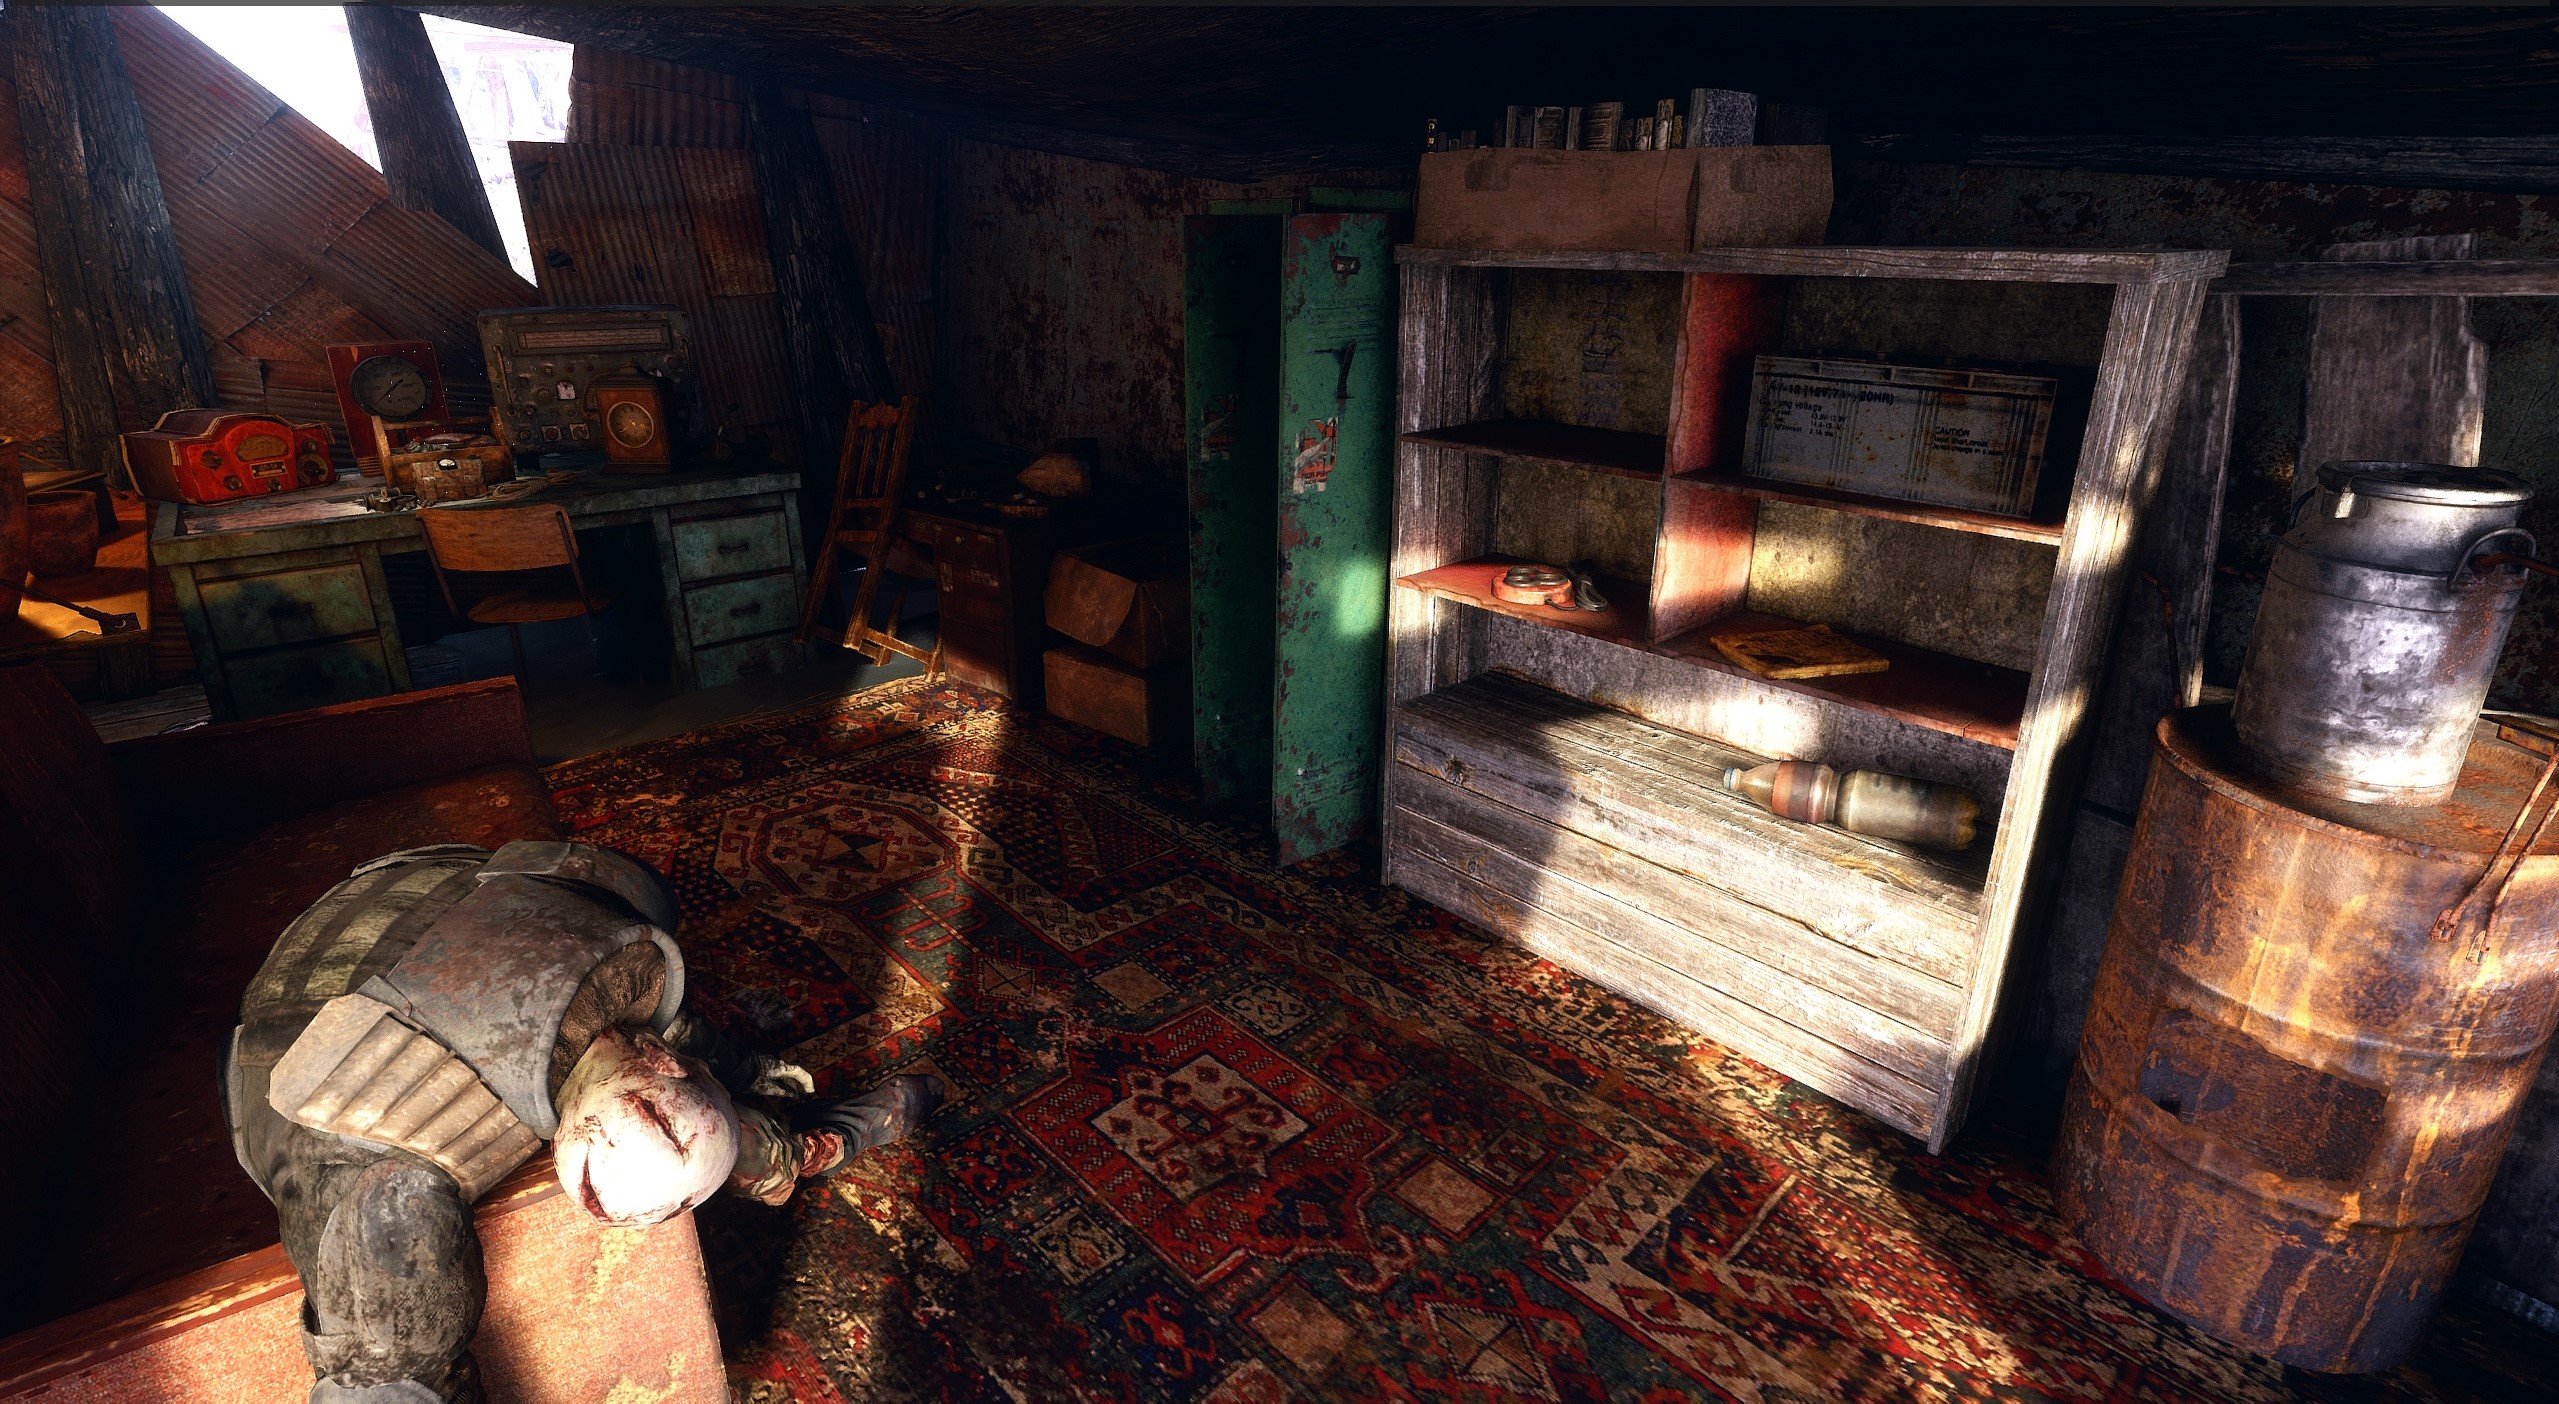
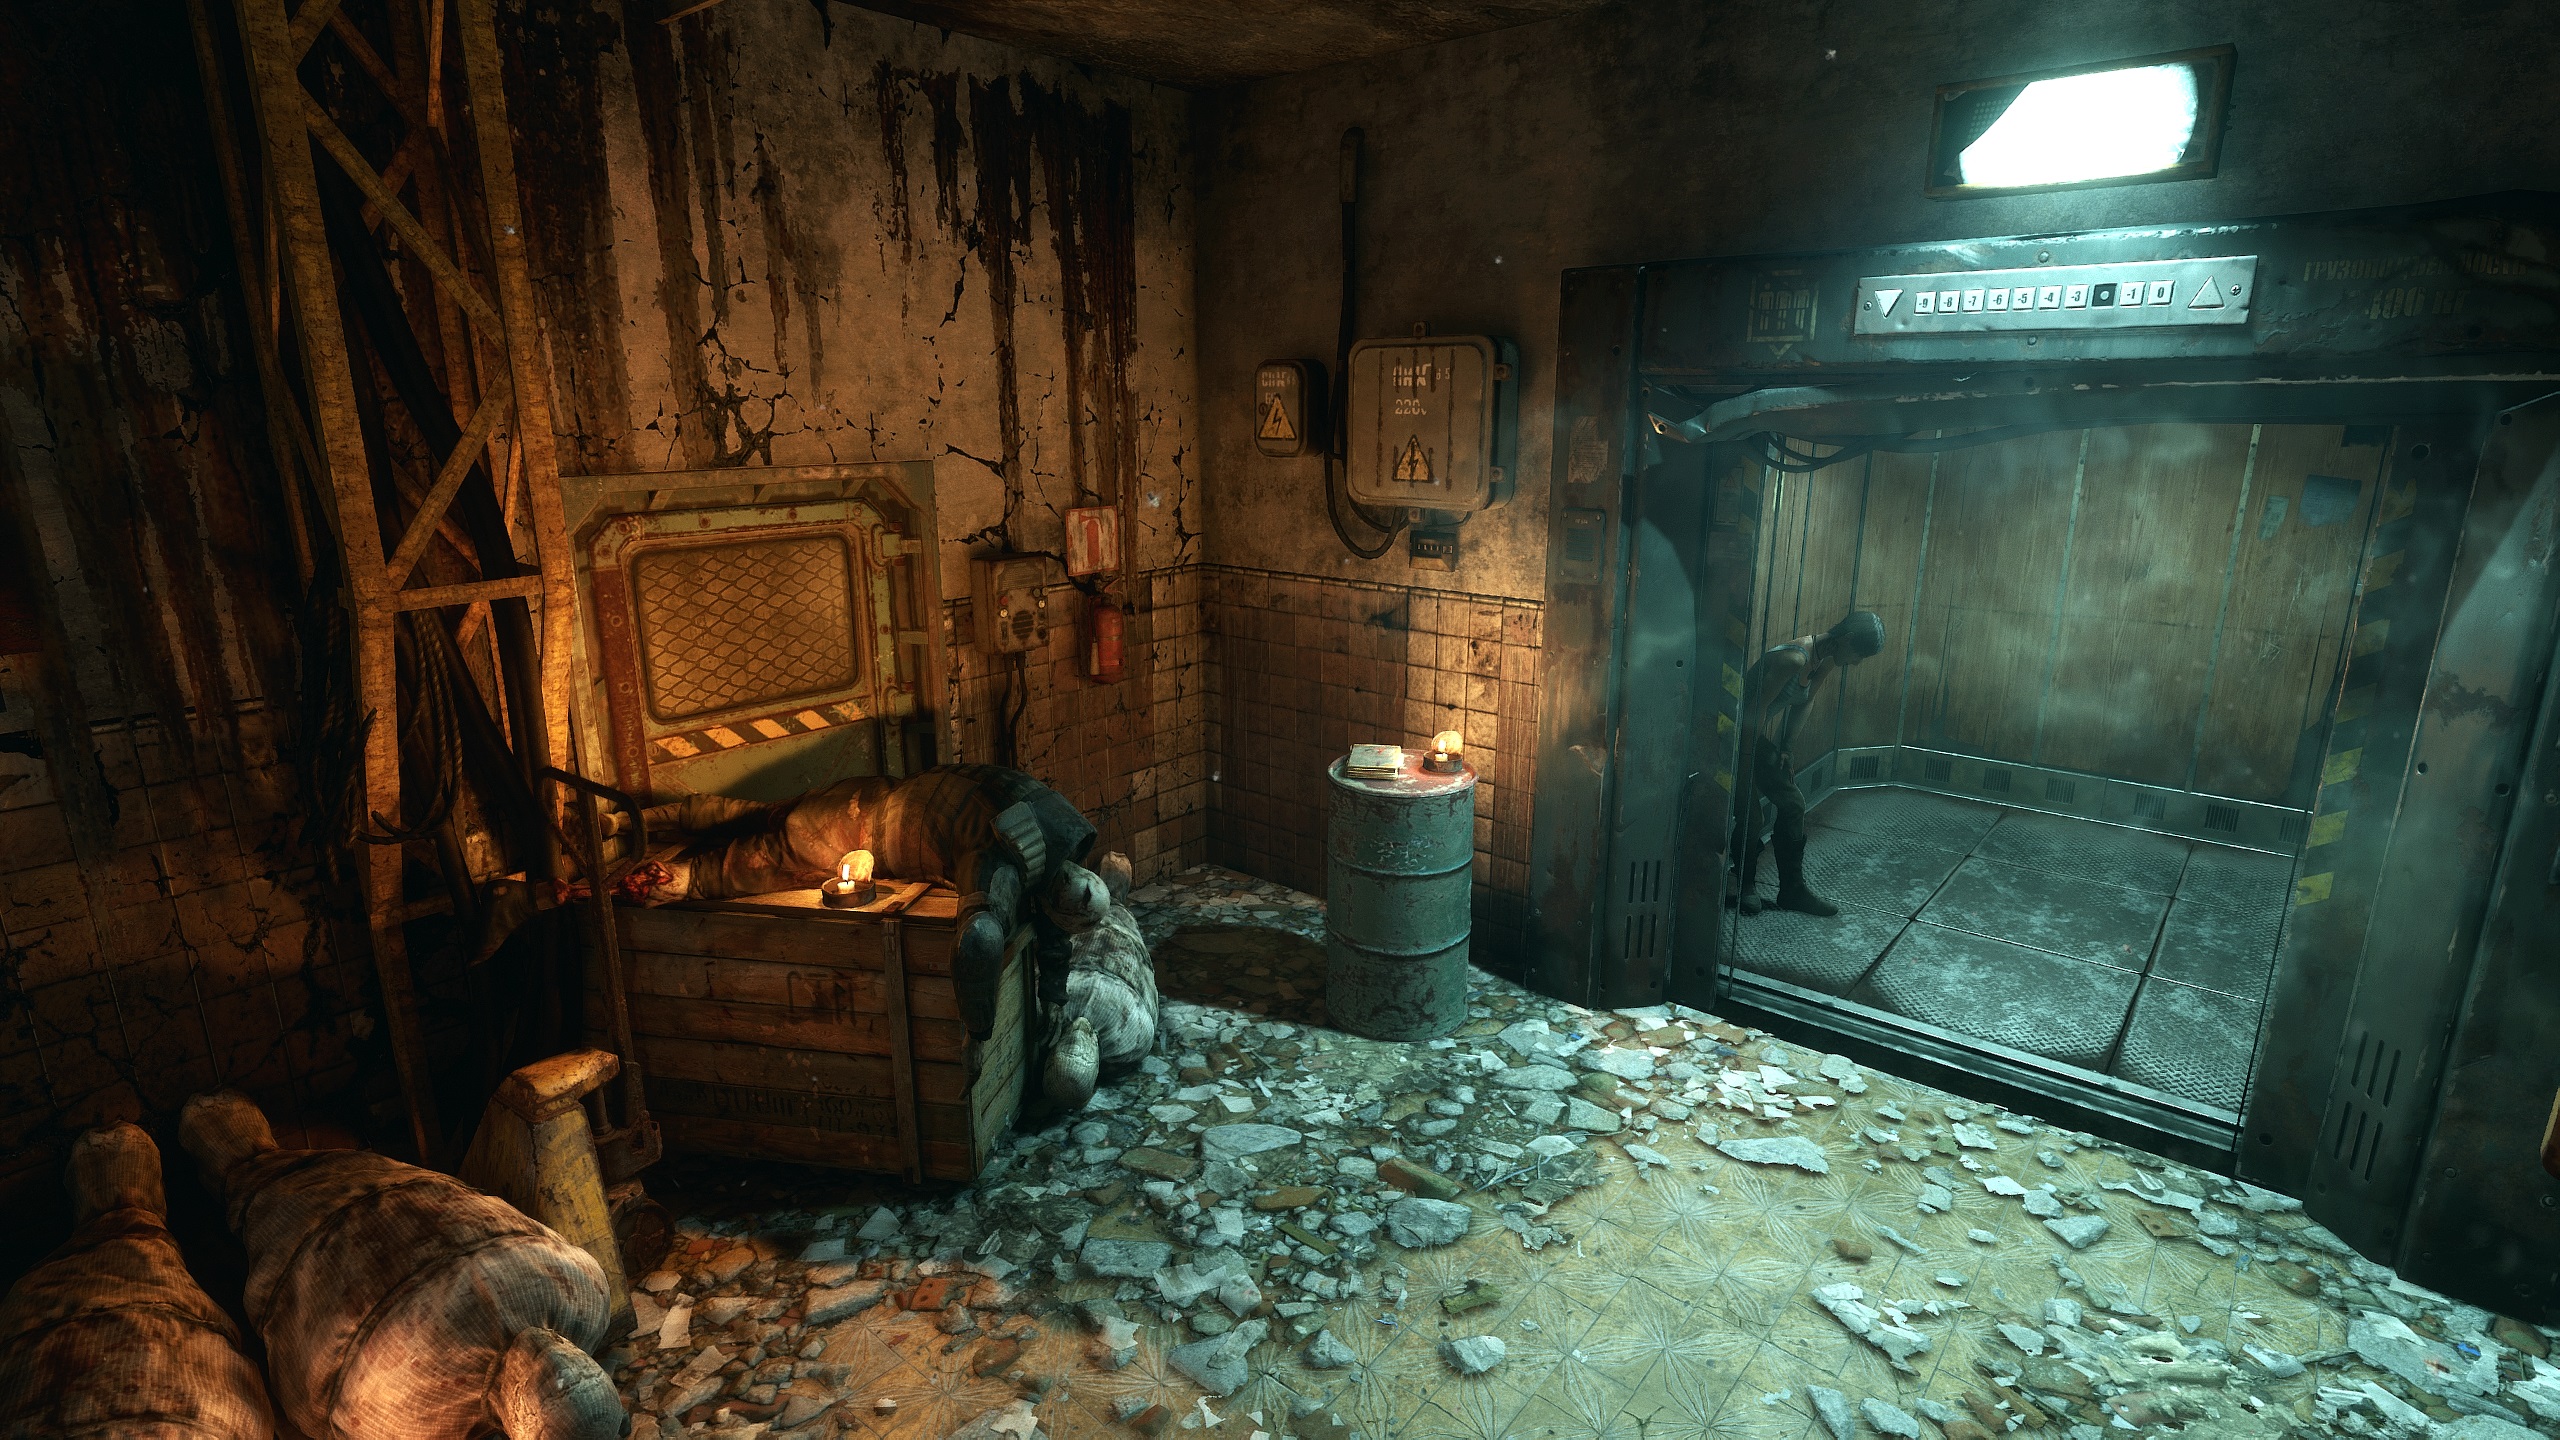
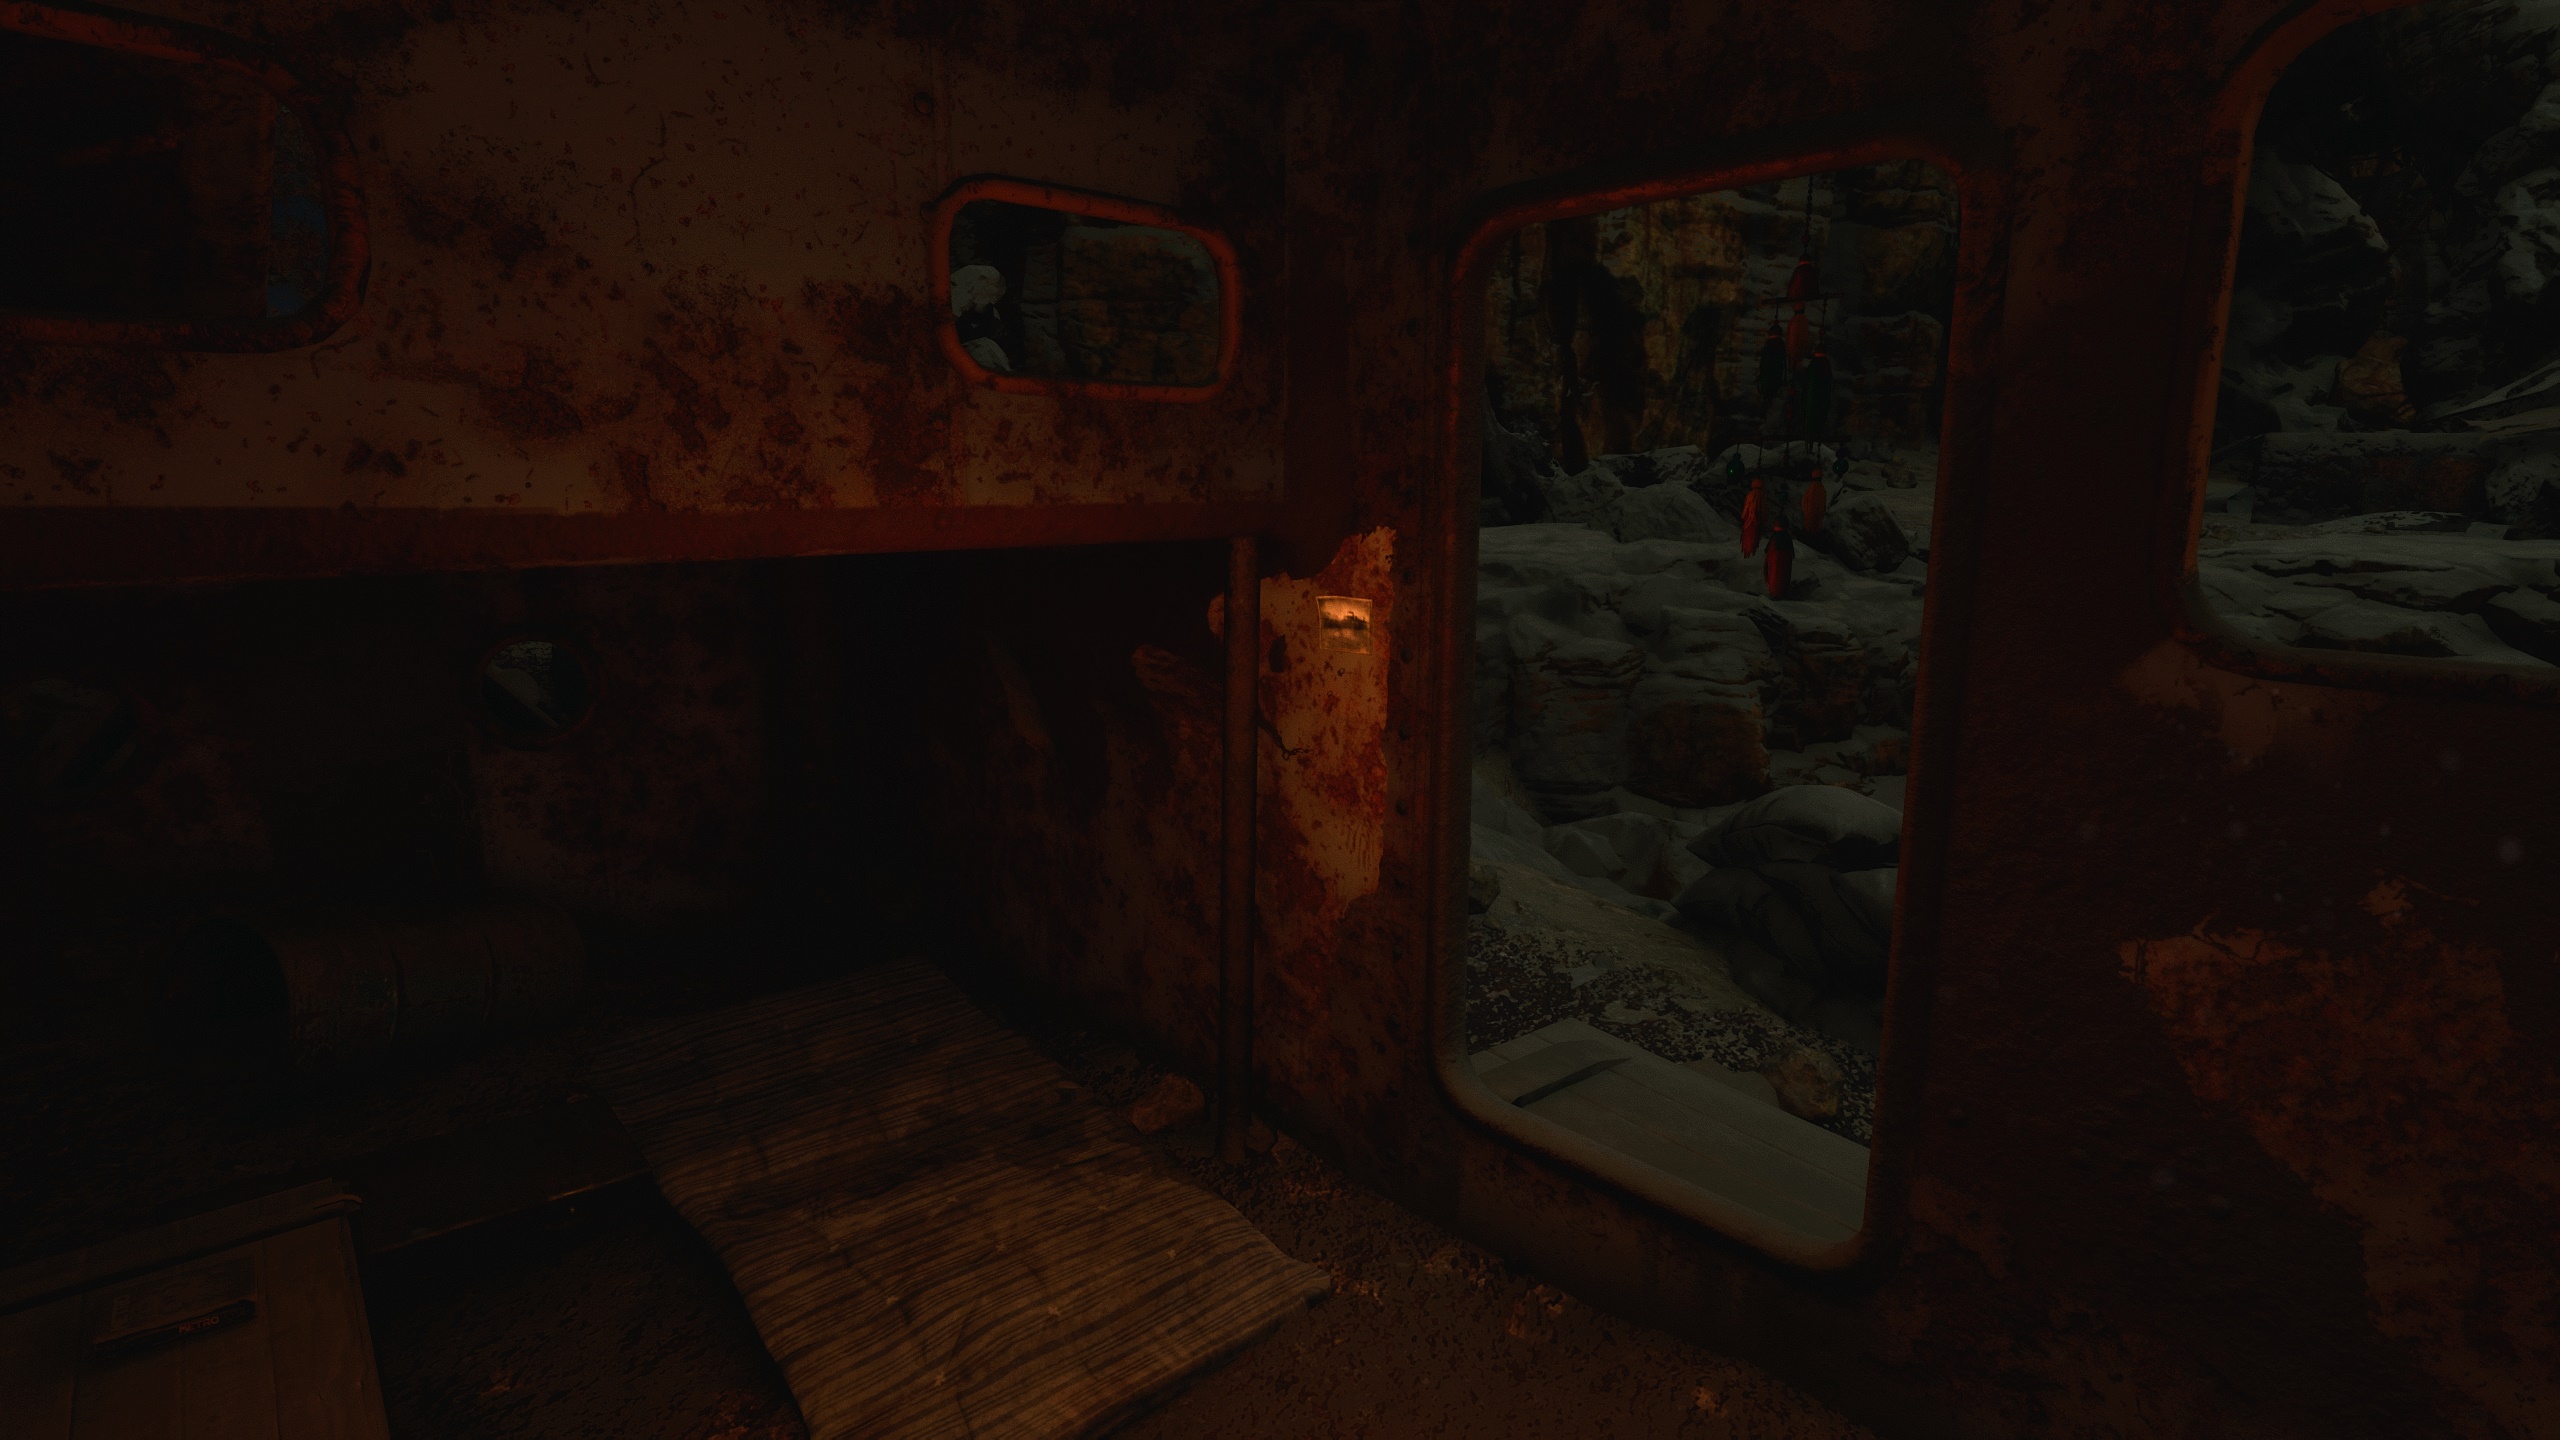
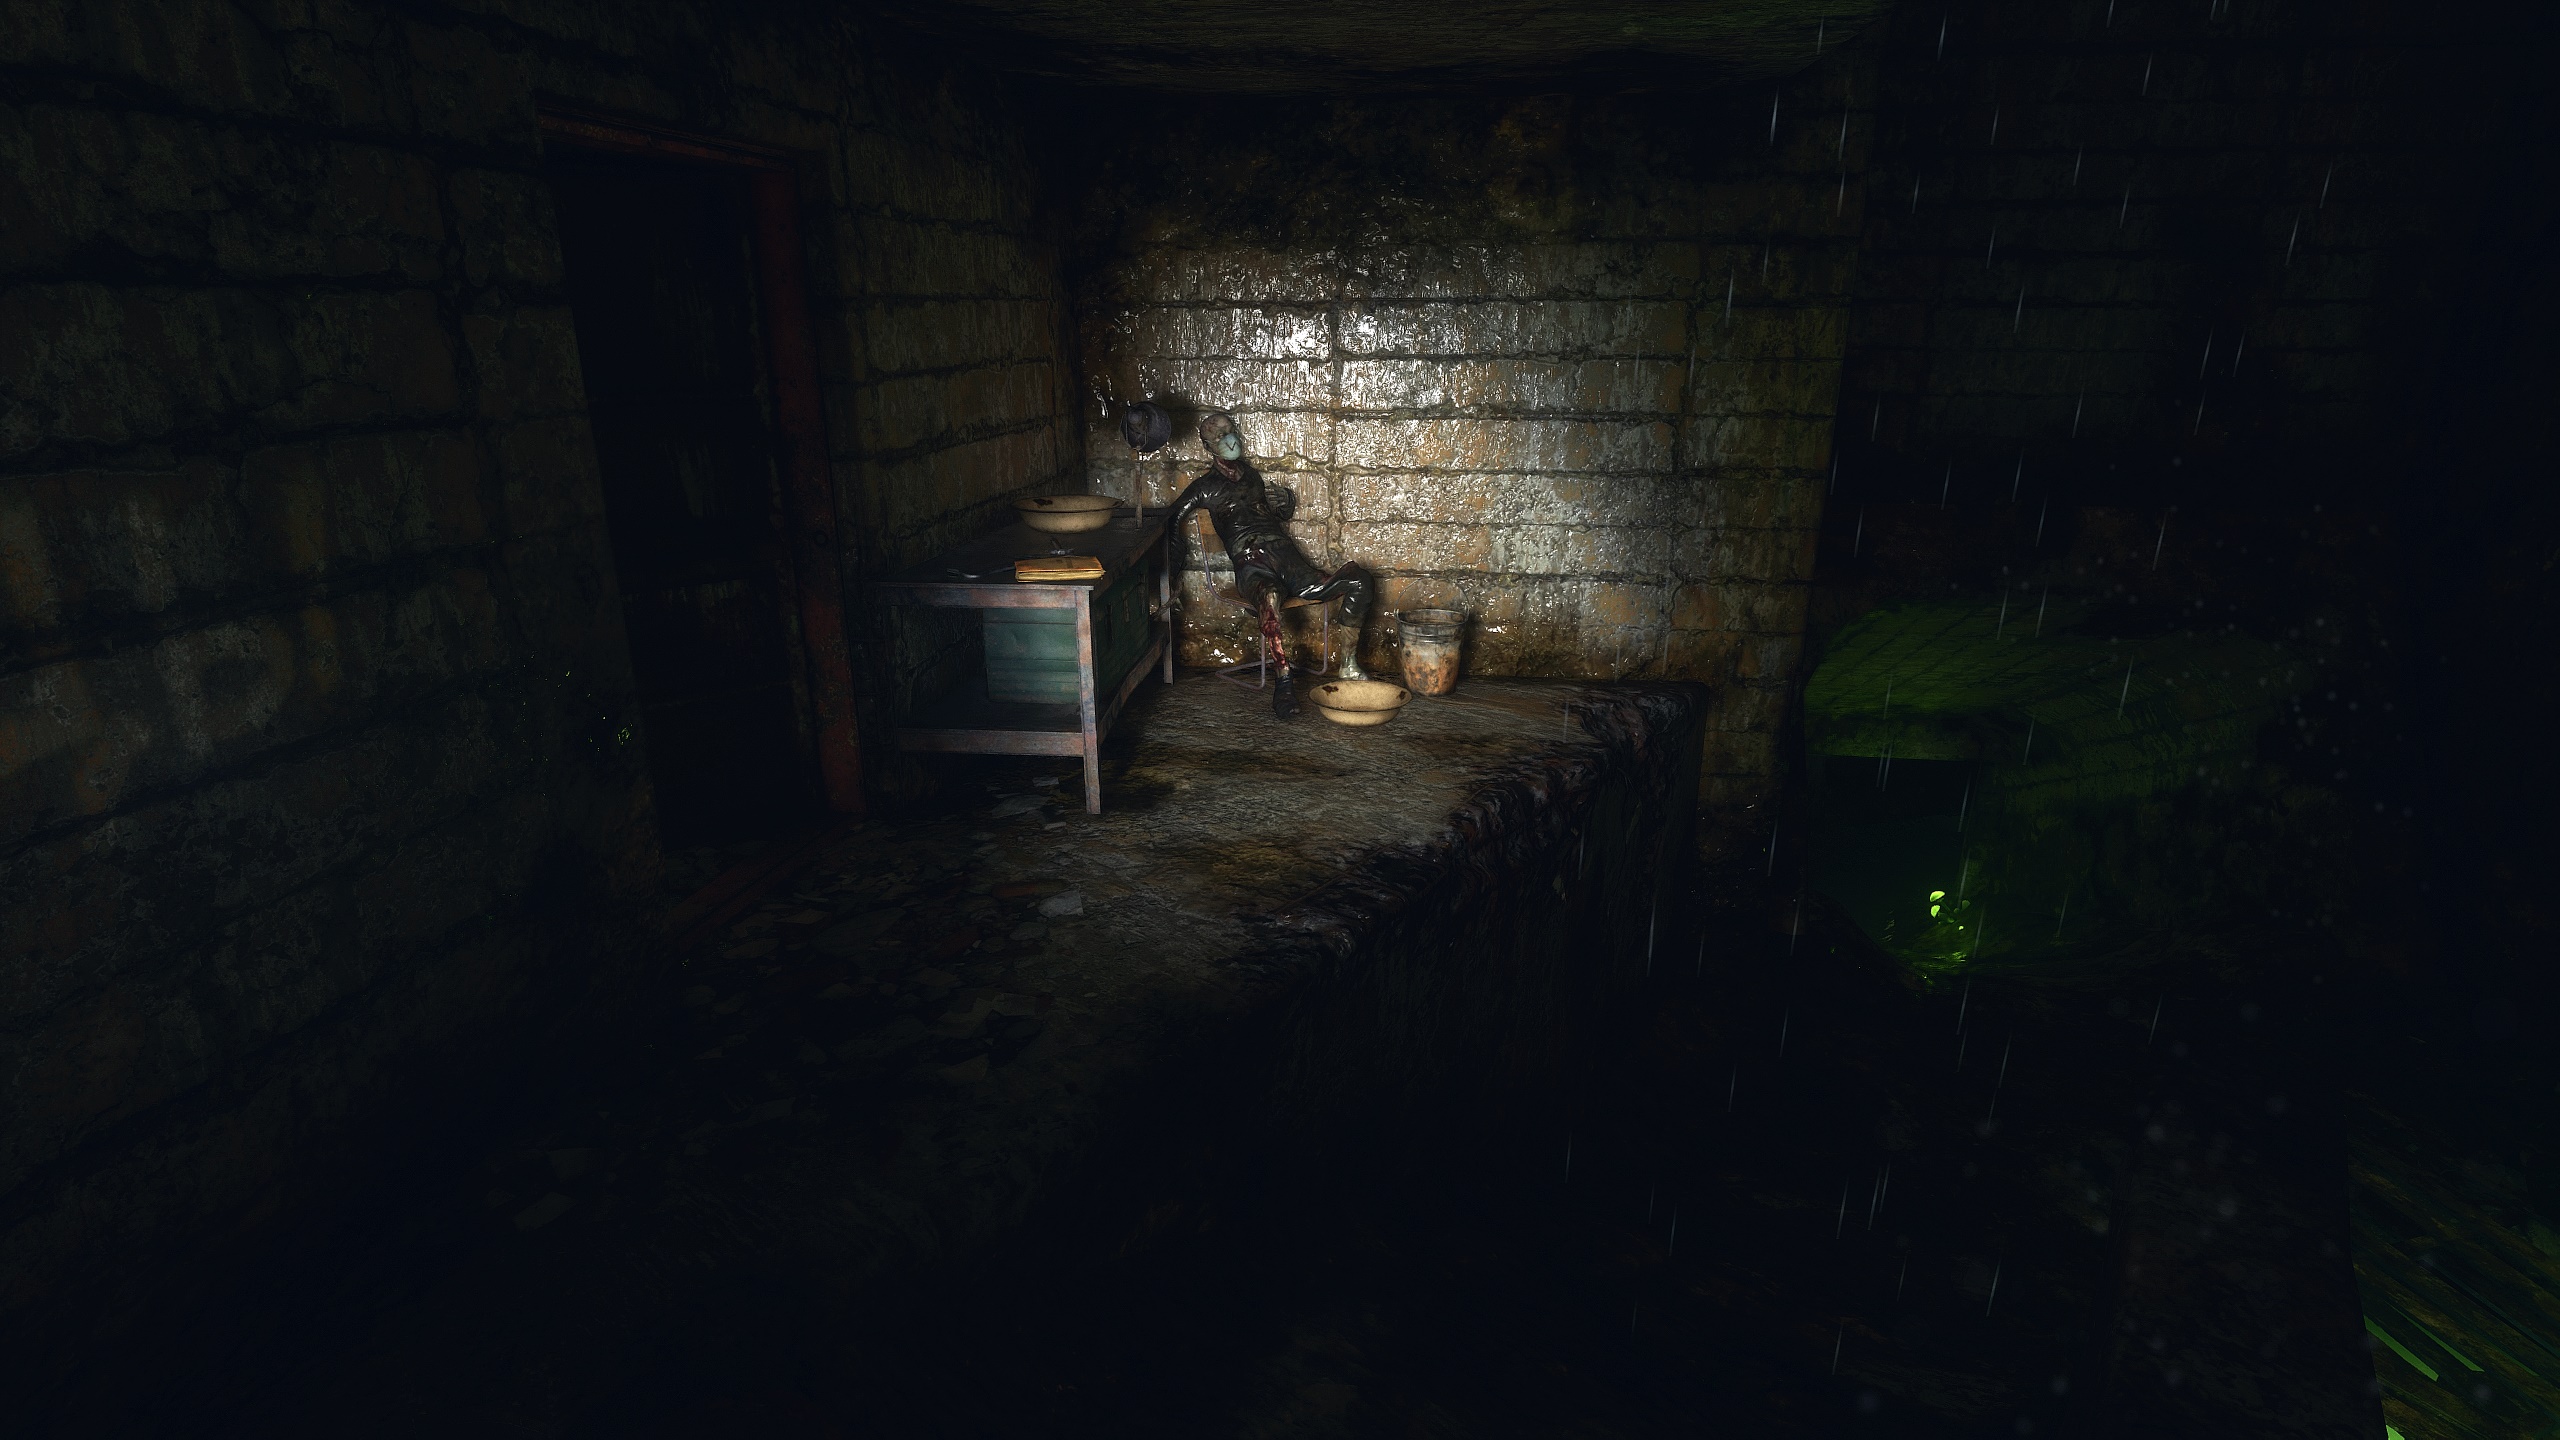
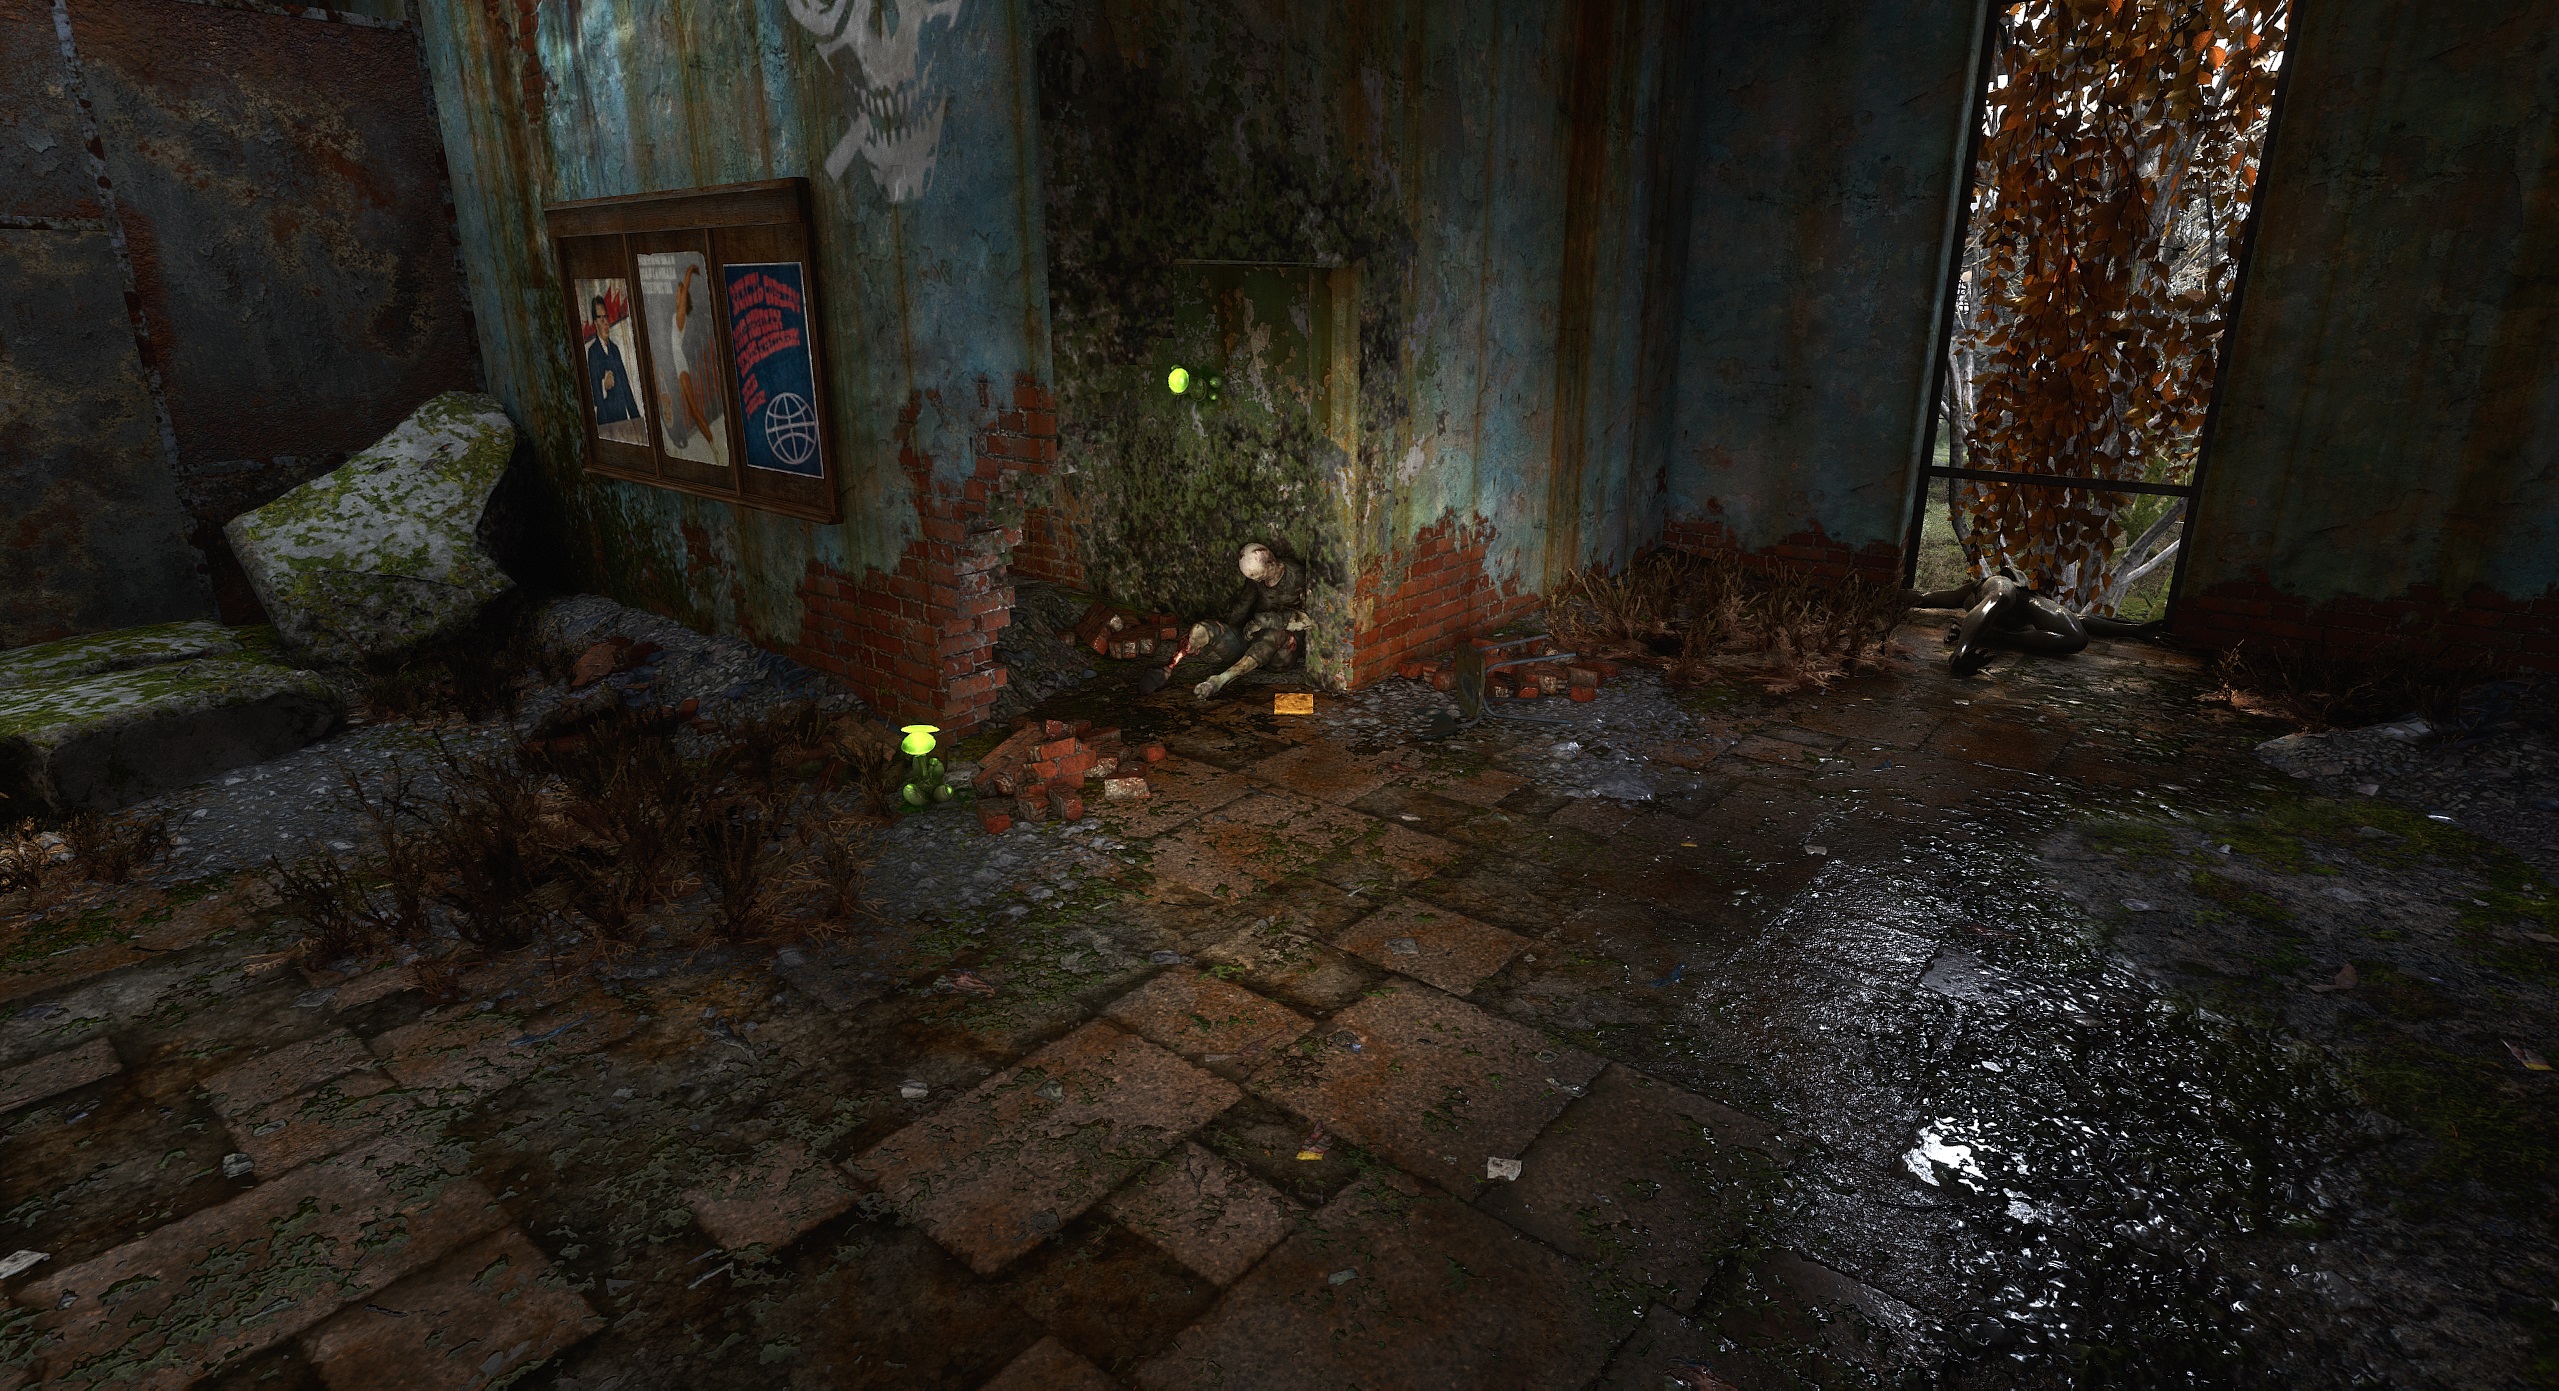
Once up there you can easily open the door and inside loot the dead body and also find a kalash with semi grip stock installed on it.
Near that crane are pipelines, several of them but they do not seem to be accessible in any normal ways or means.
MAYBE it is possible to access by boat but I sincerely doubt it.
Martian 16 mrt om 2:58 
Thanks so much for the detailed guide! :cozybethesda:
Martian 16 mrt om 2:58 
For anyone worrying about Damir in the Caspian , here's what I did and he still chose to stay.
1) Neutralized (no kill, just stunned) the guy in the restaurant.
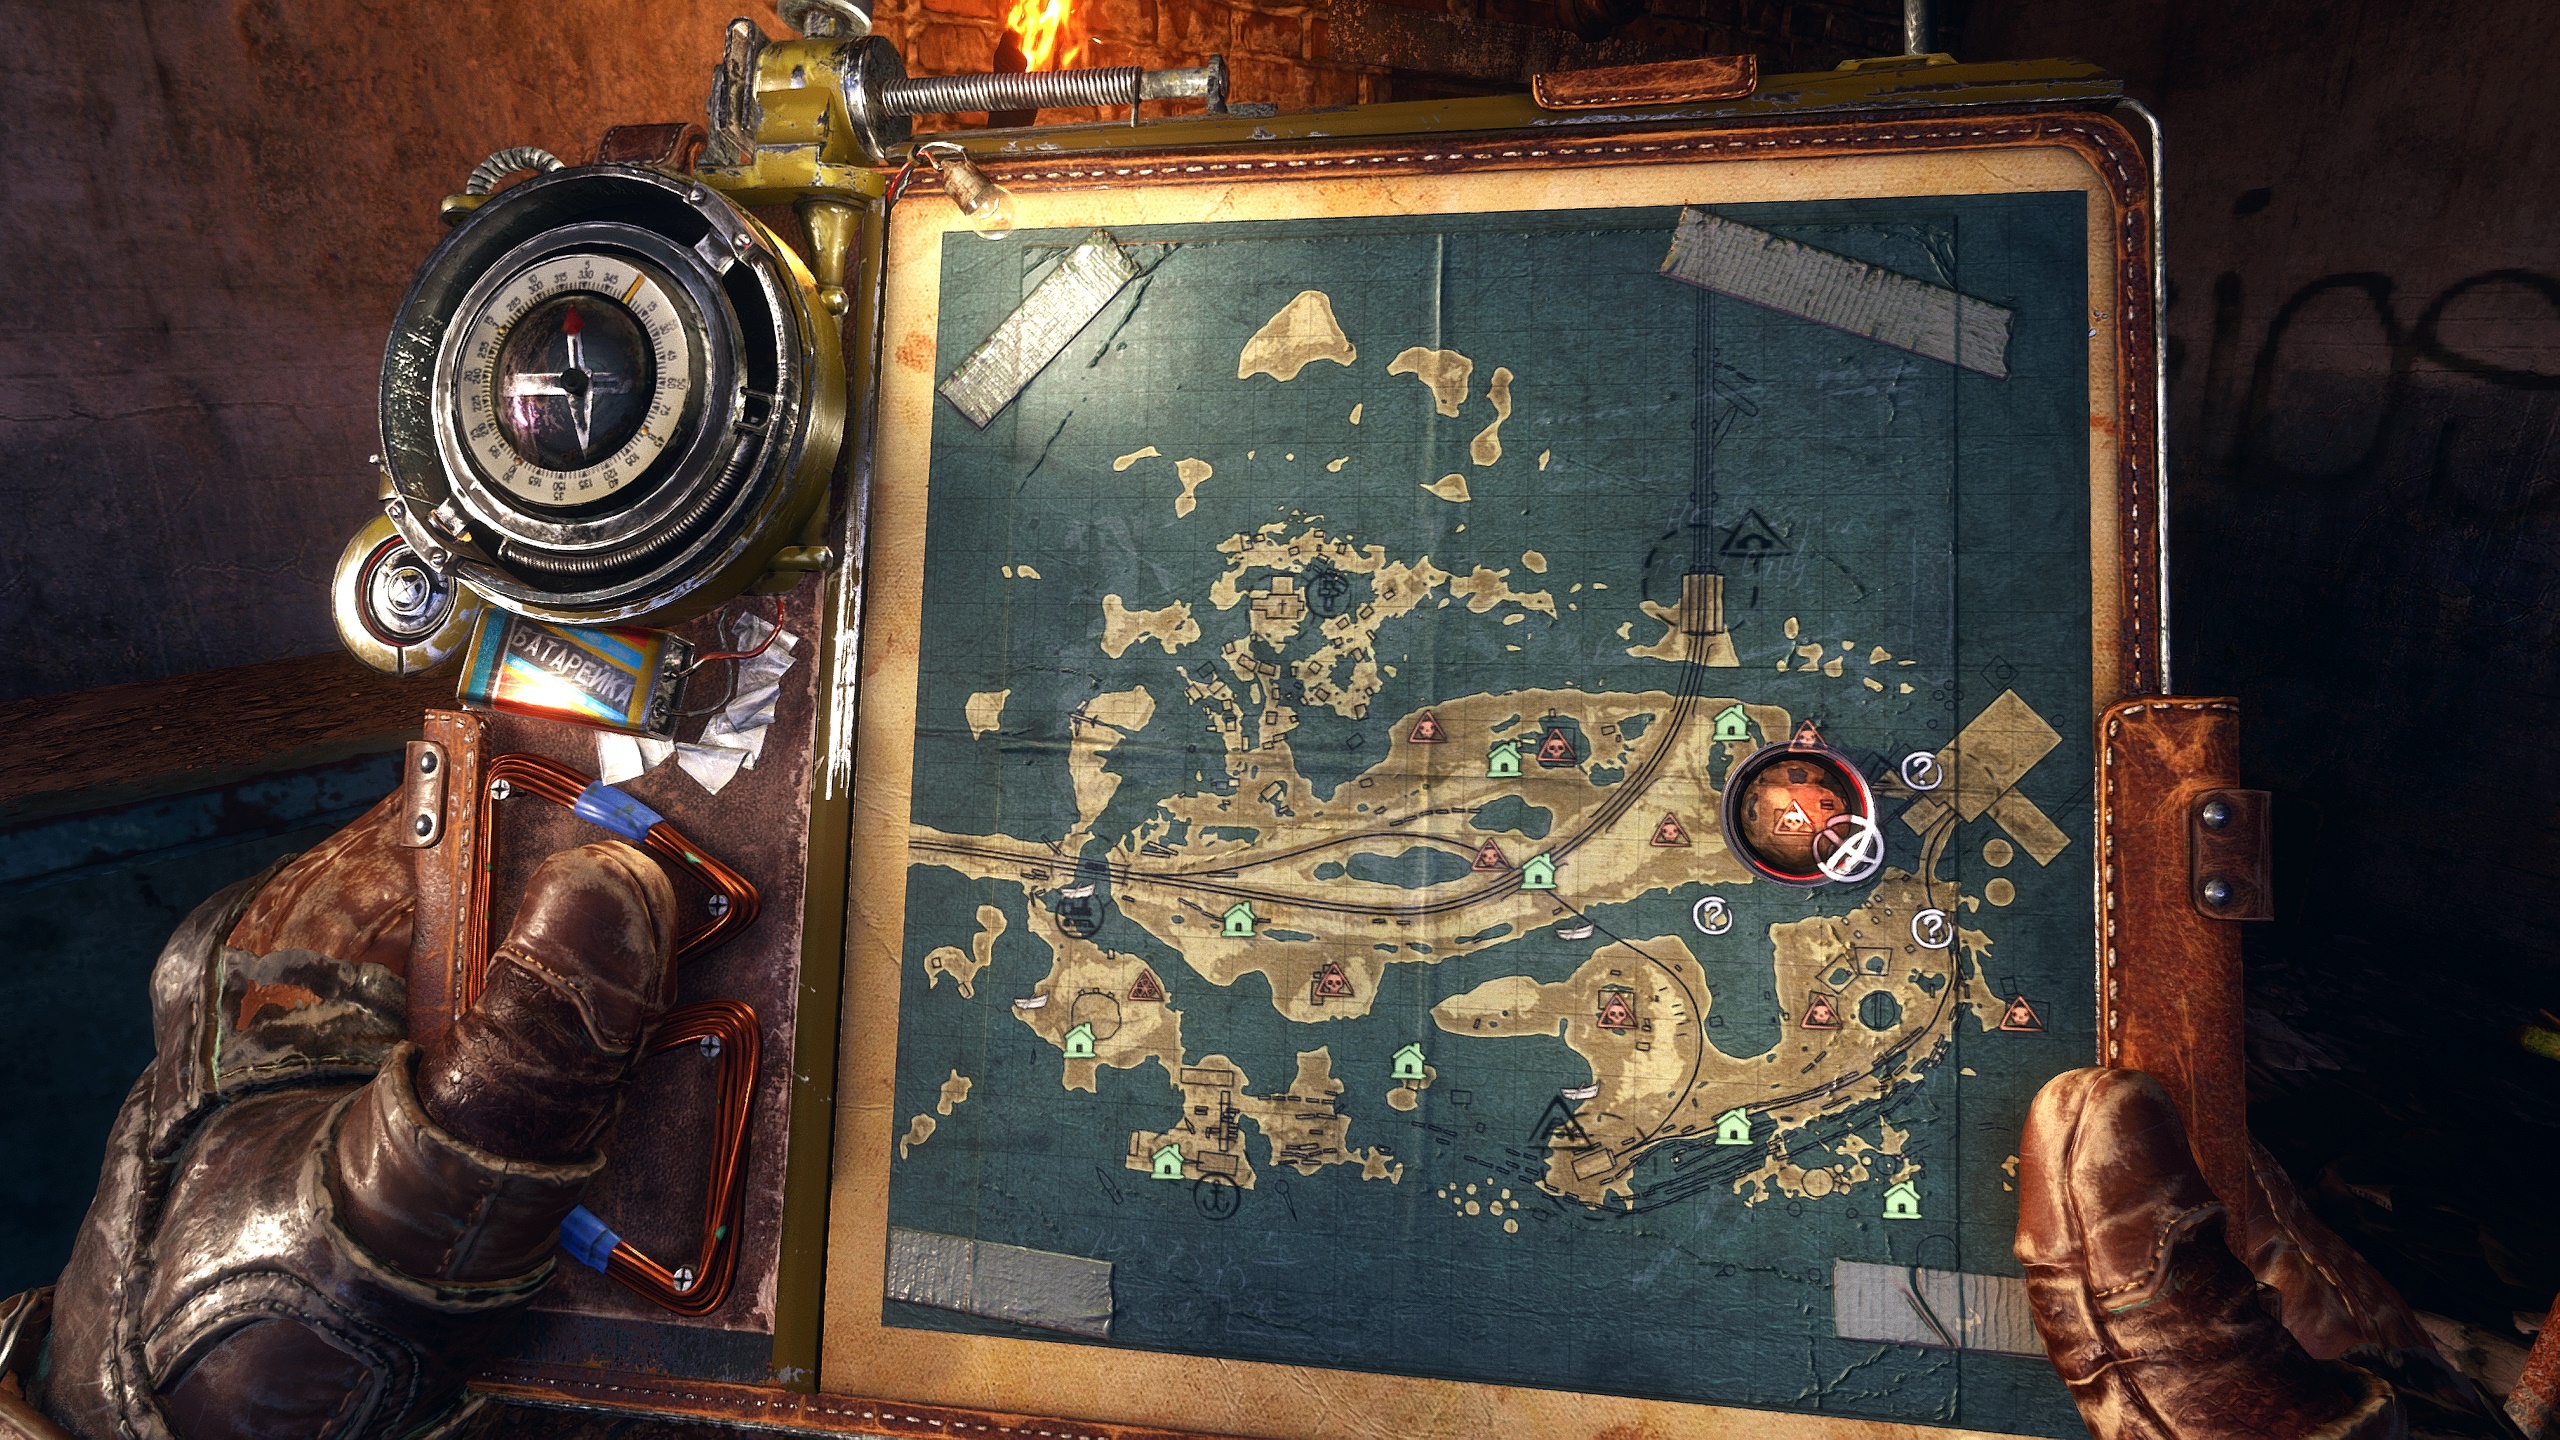
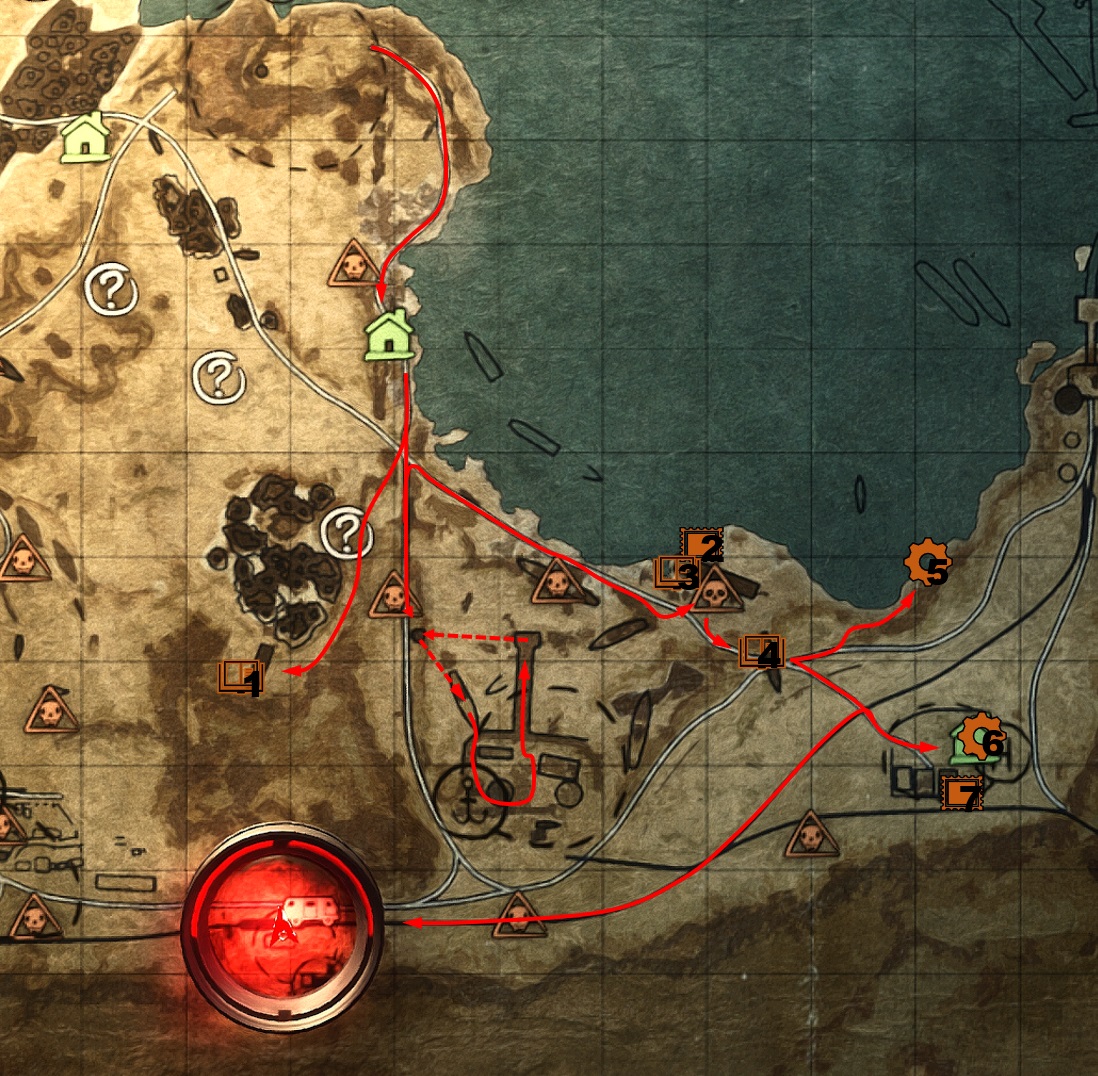
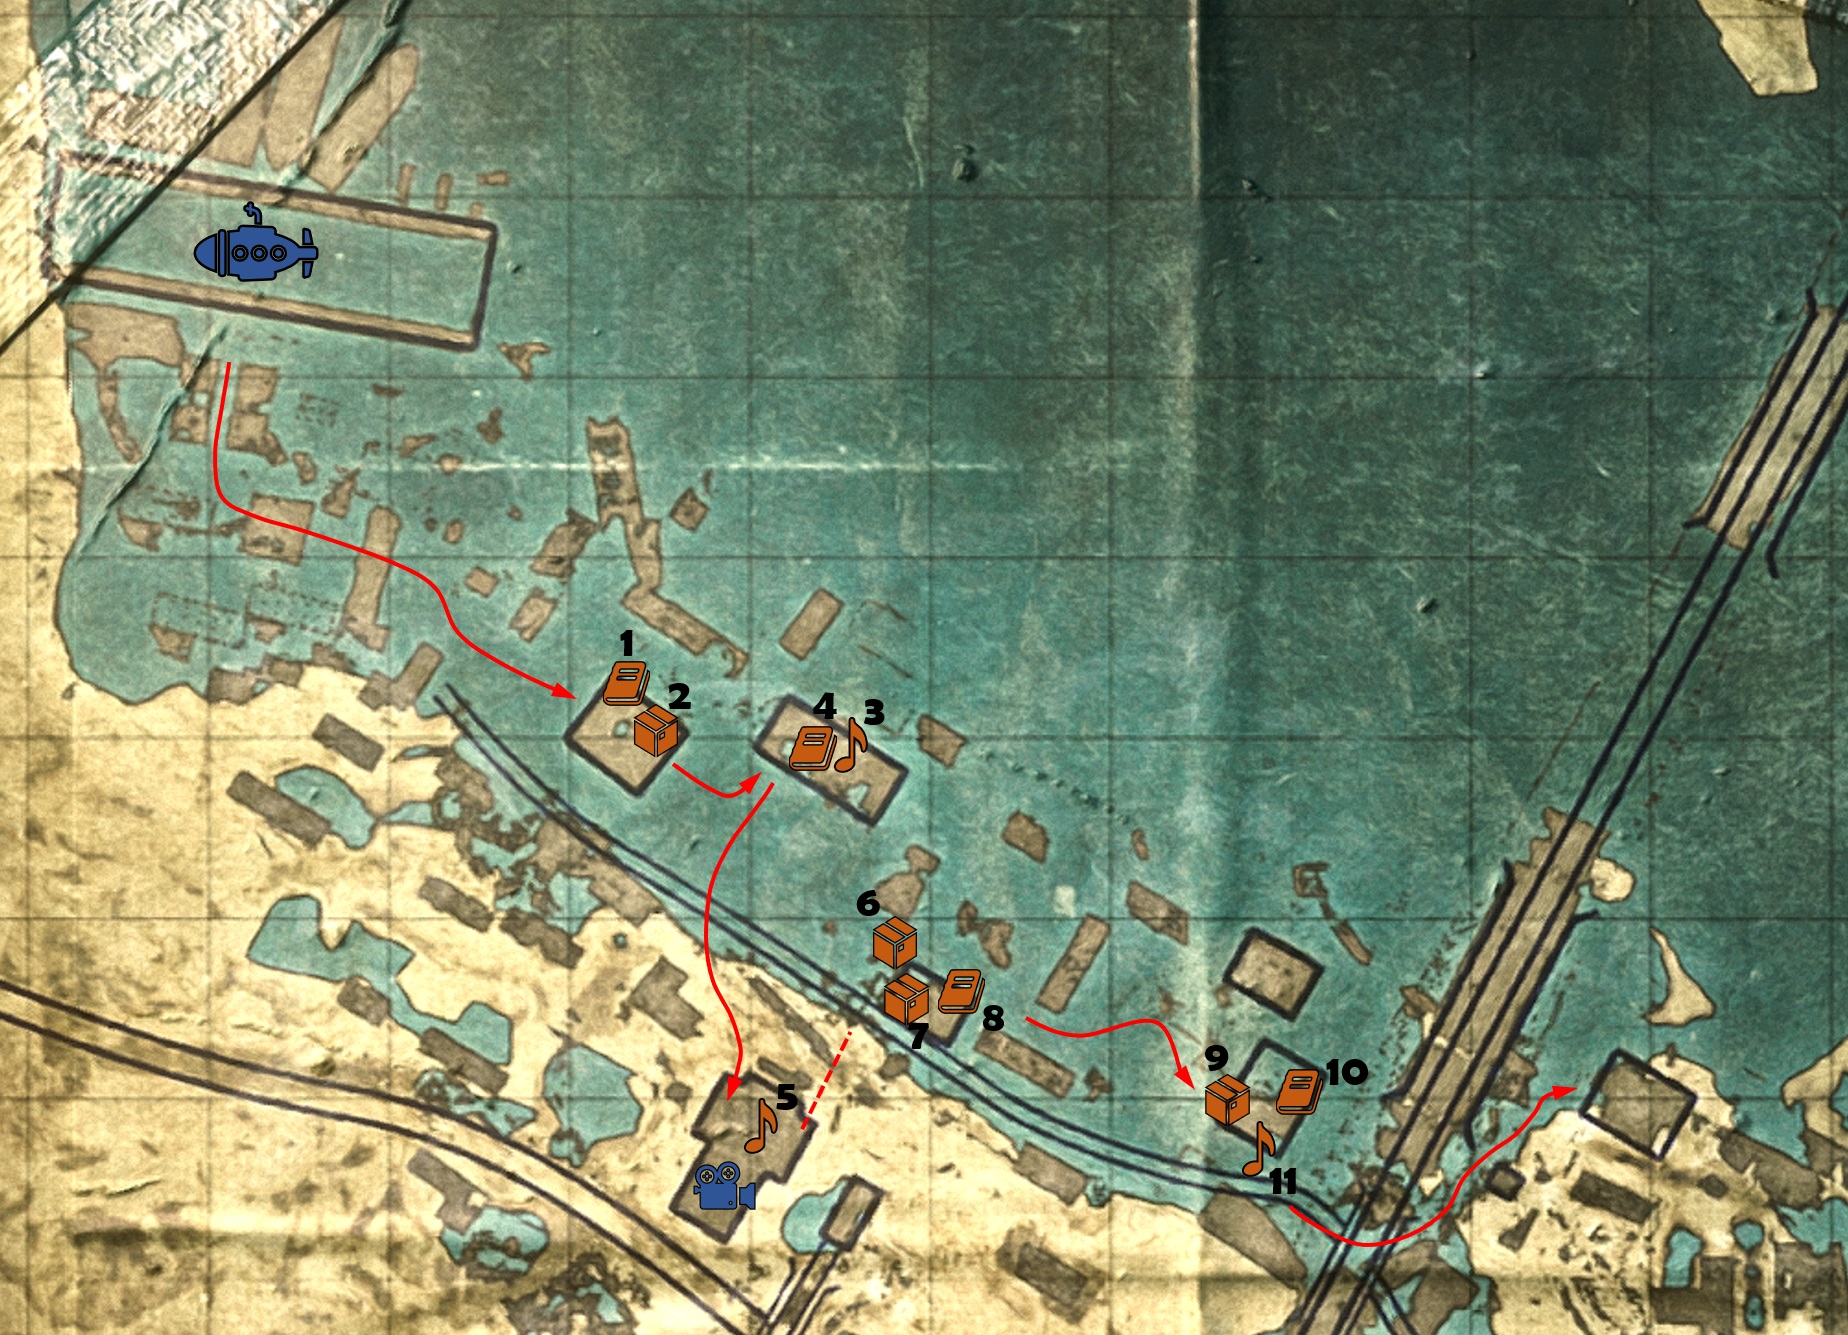
2) Neutralized the first slave shipwreck on my way to the lighthouse.
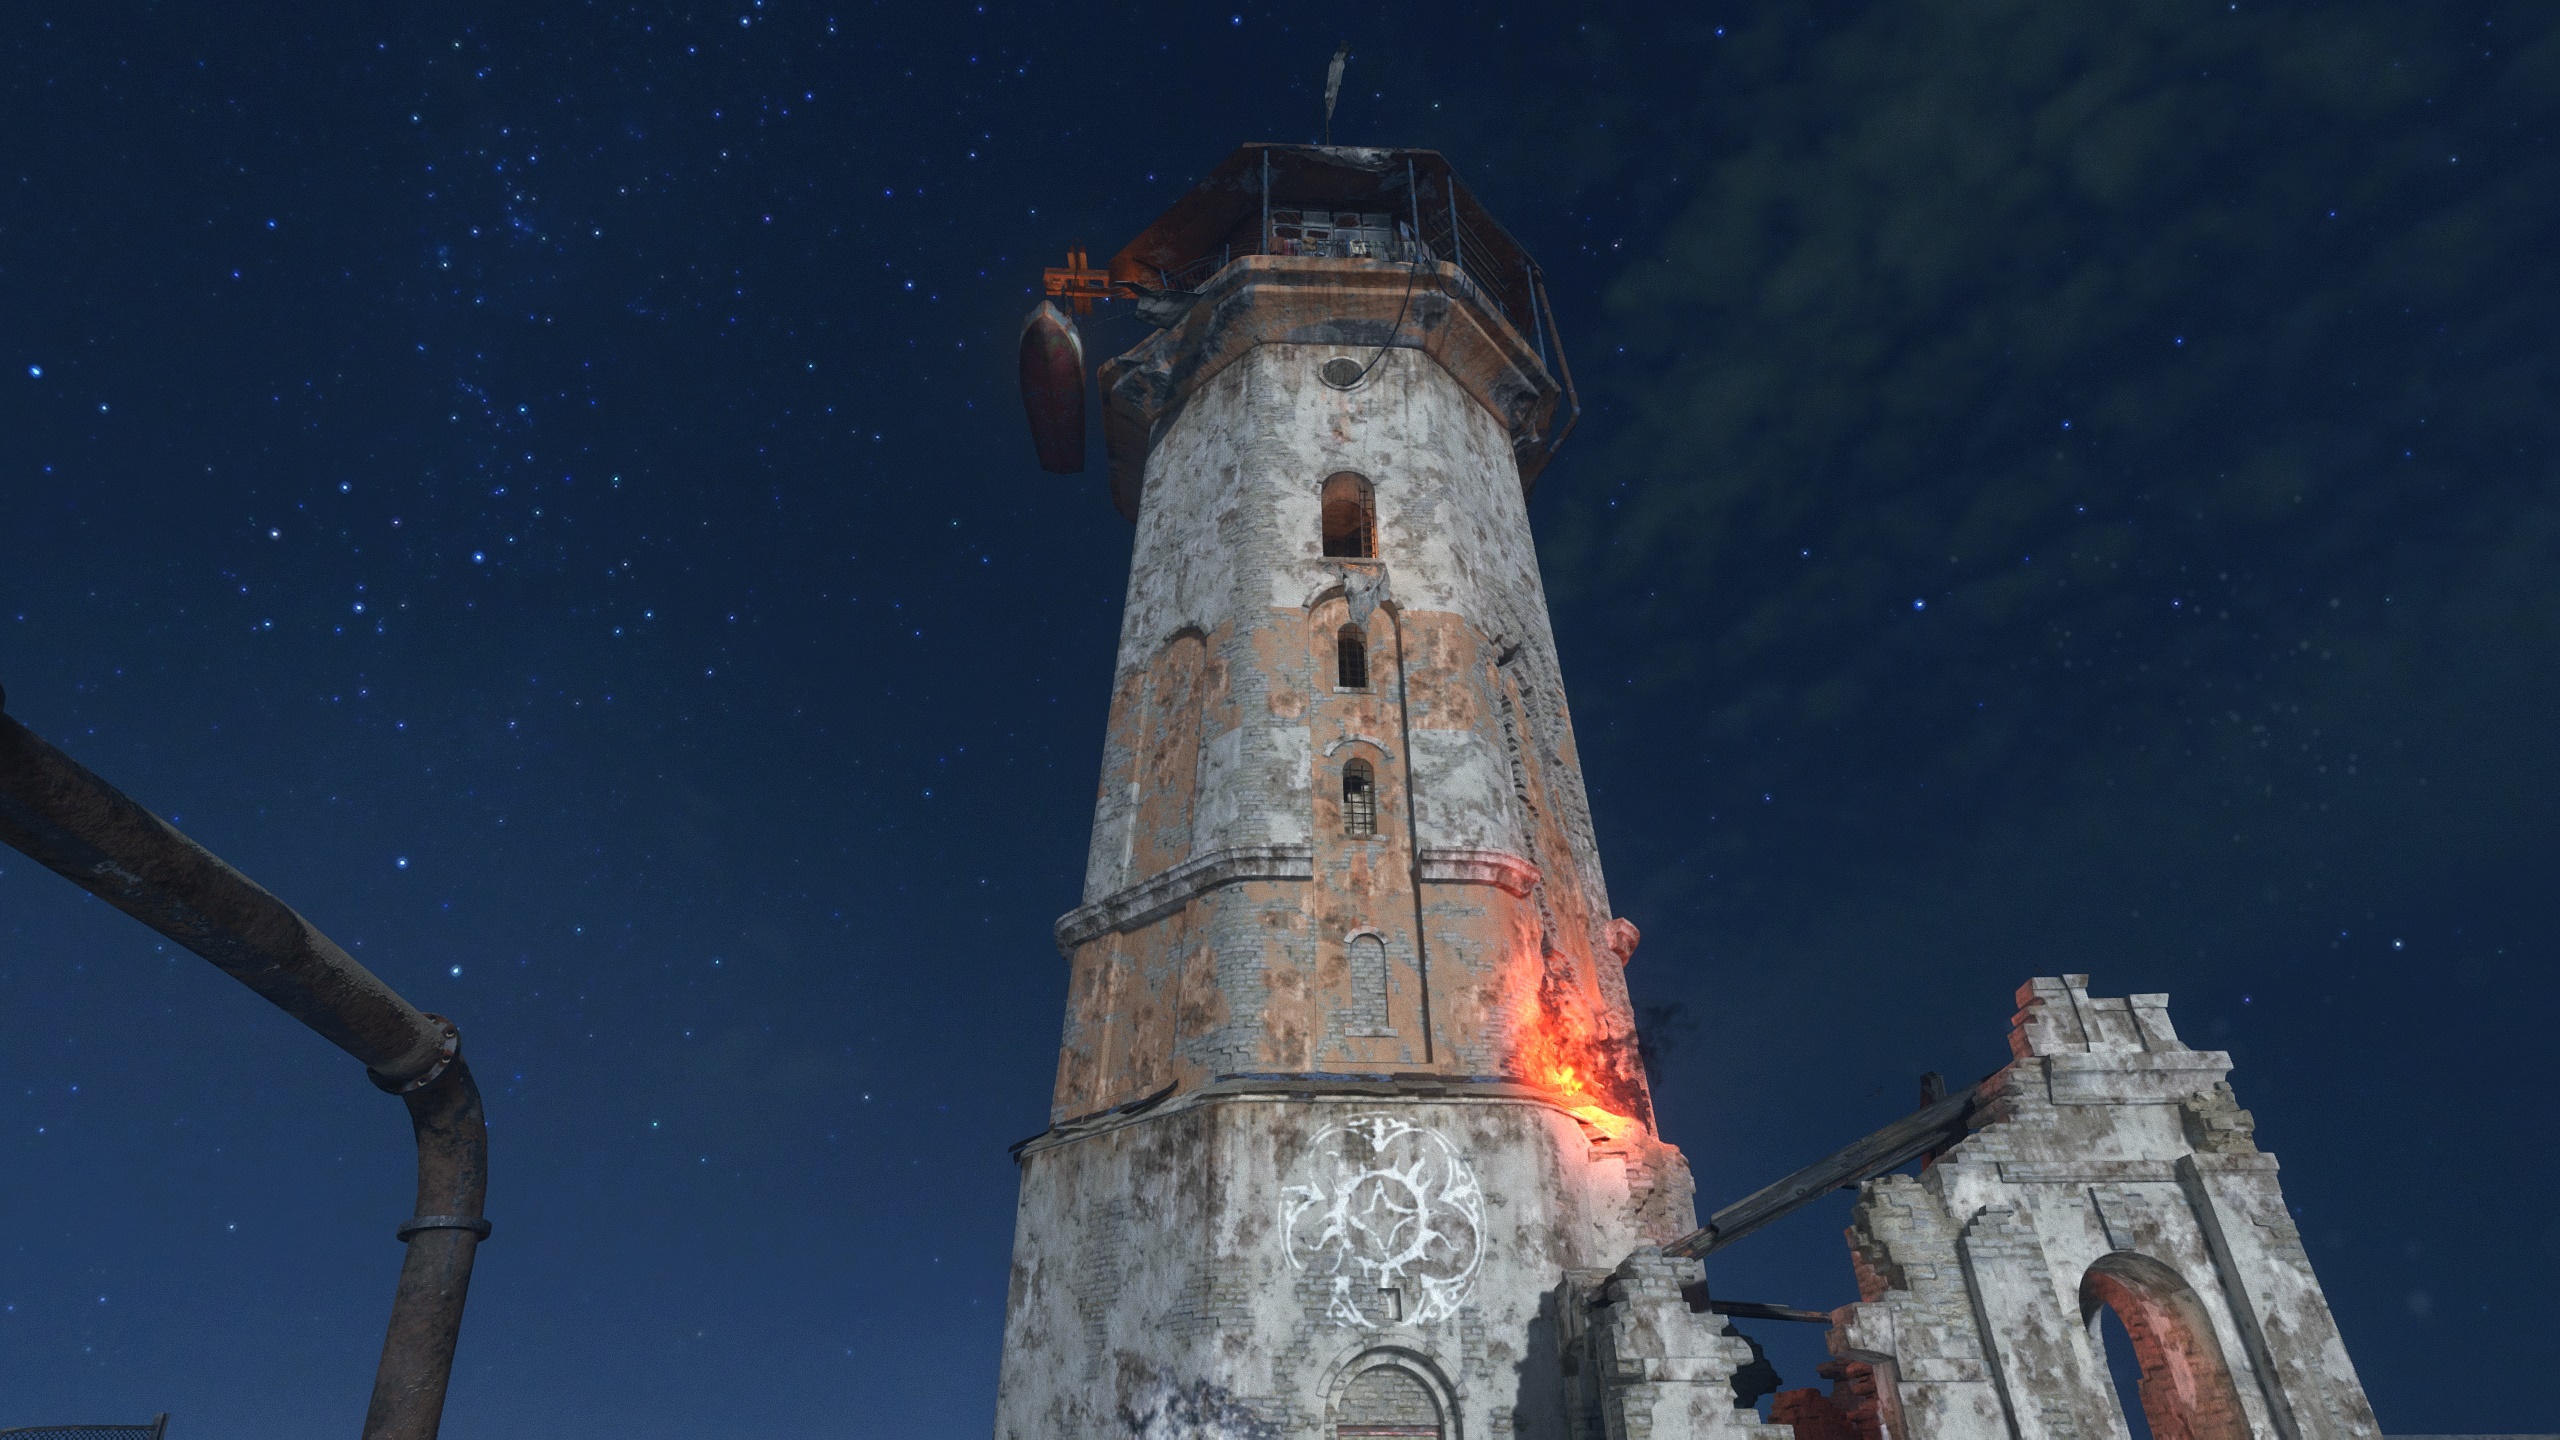
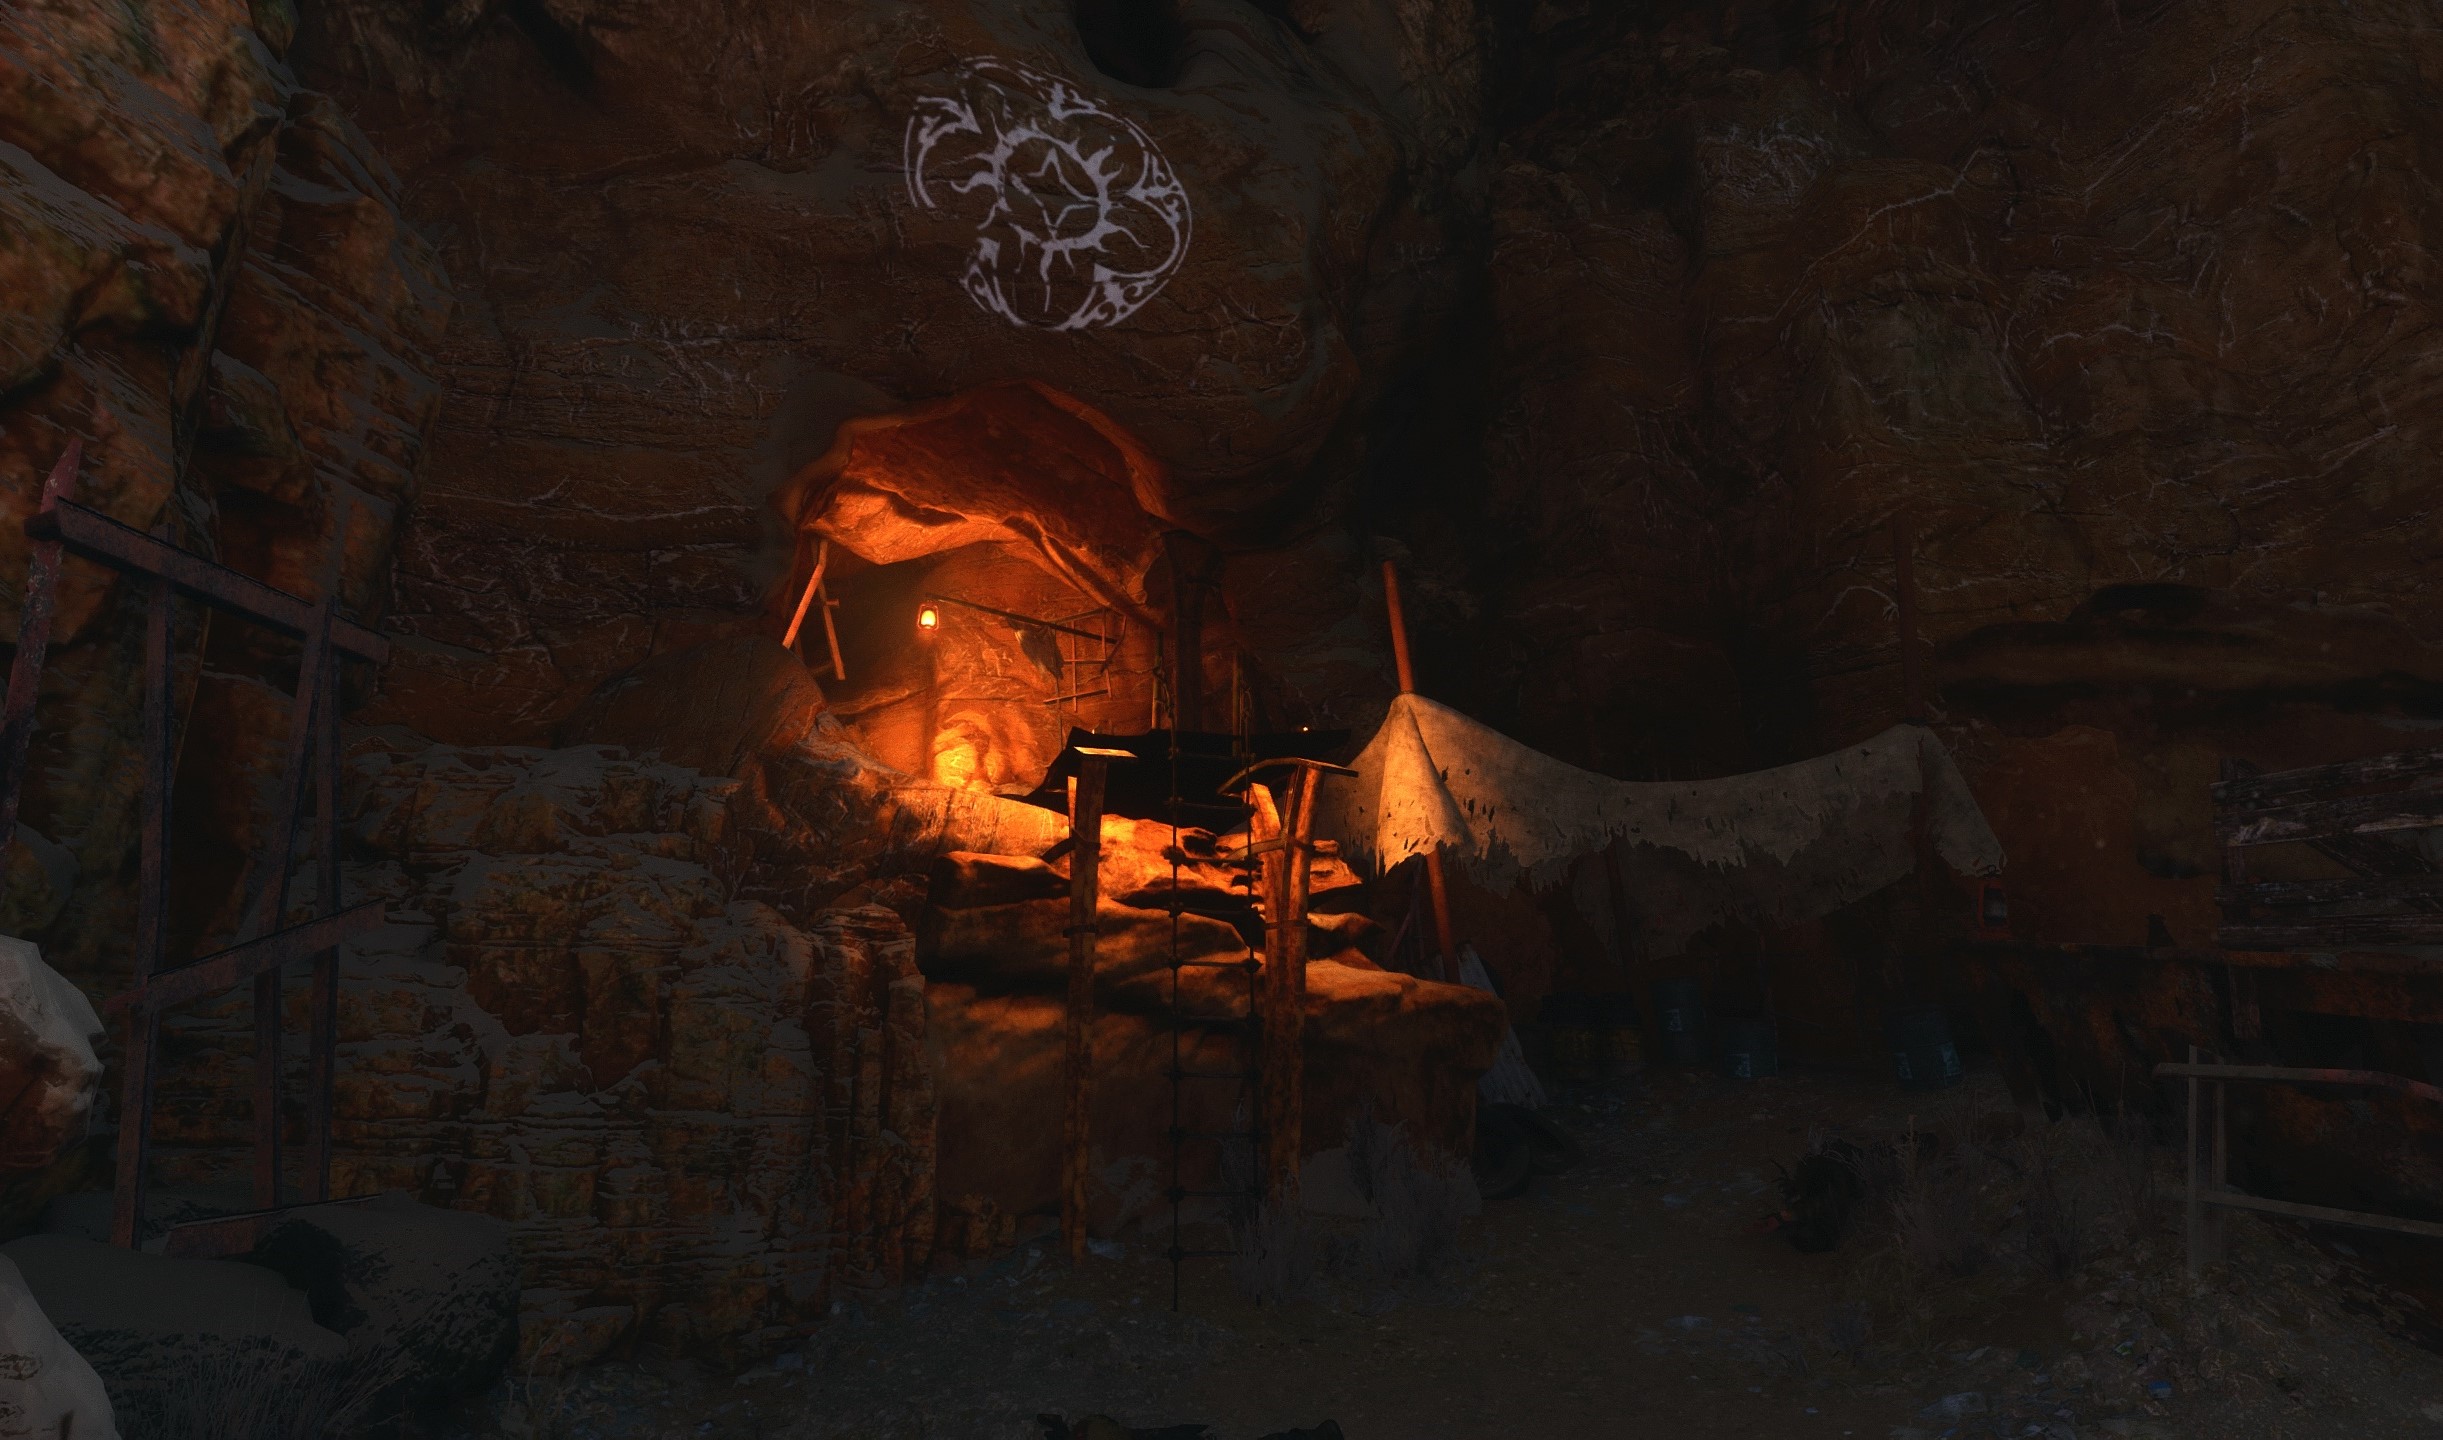
3) I definitely killed enemies on my way to the lighthouse in caves and mainly during the fight in front of it. Neutralized only some.
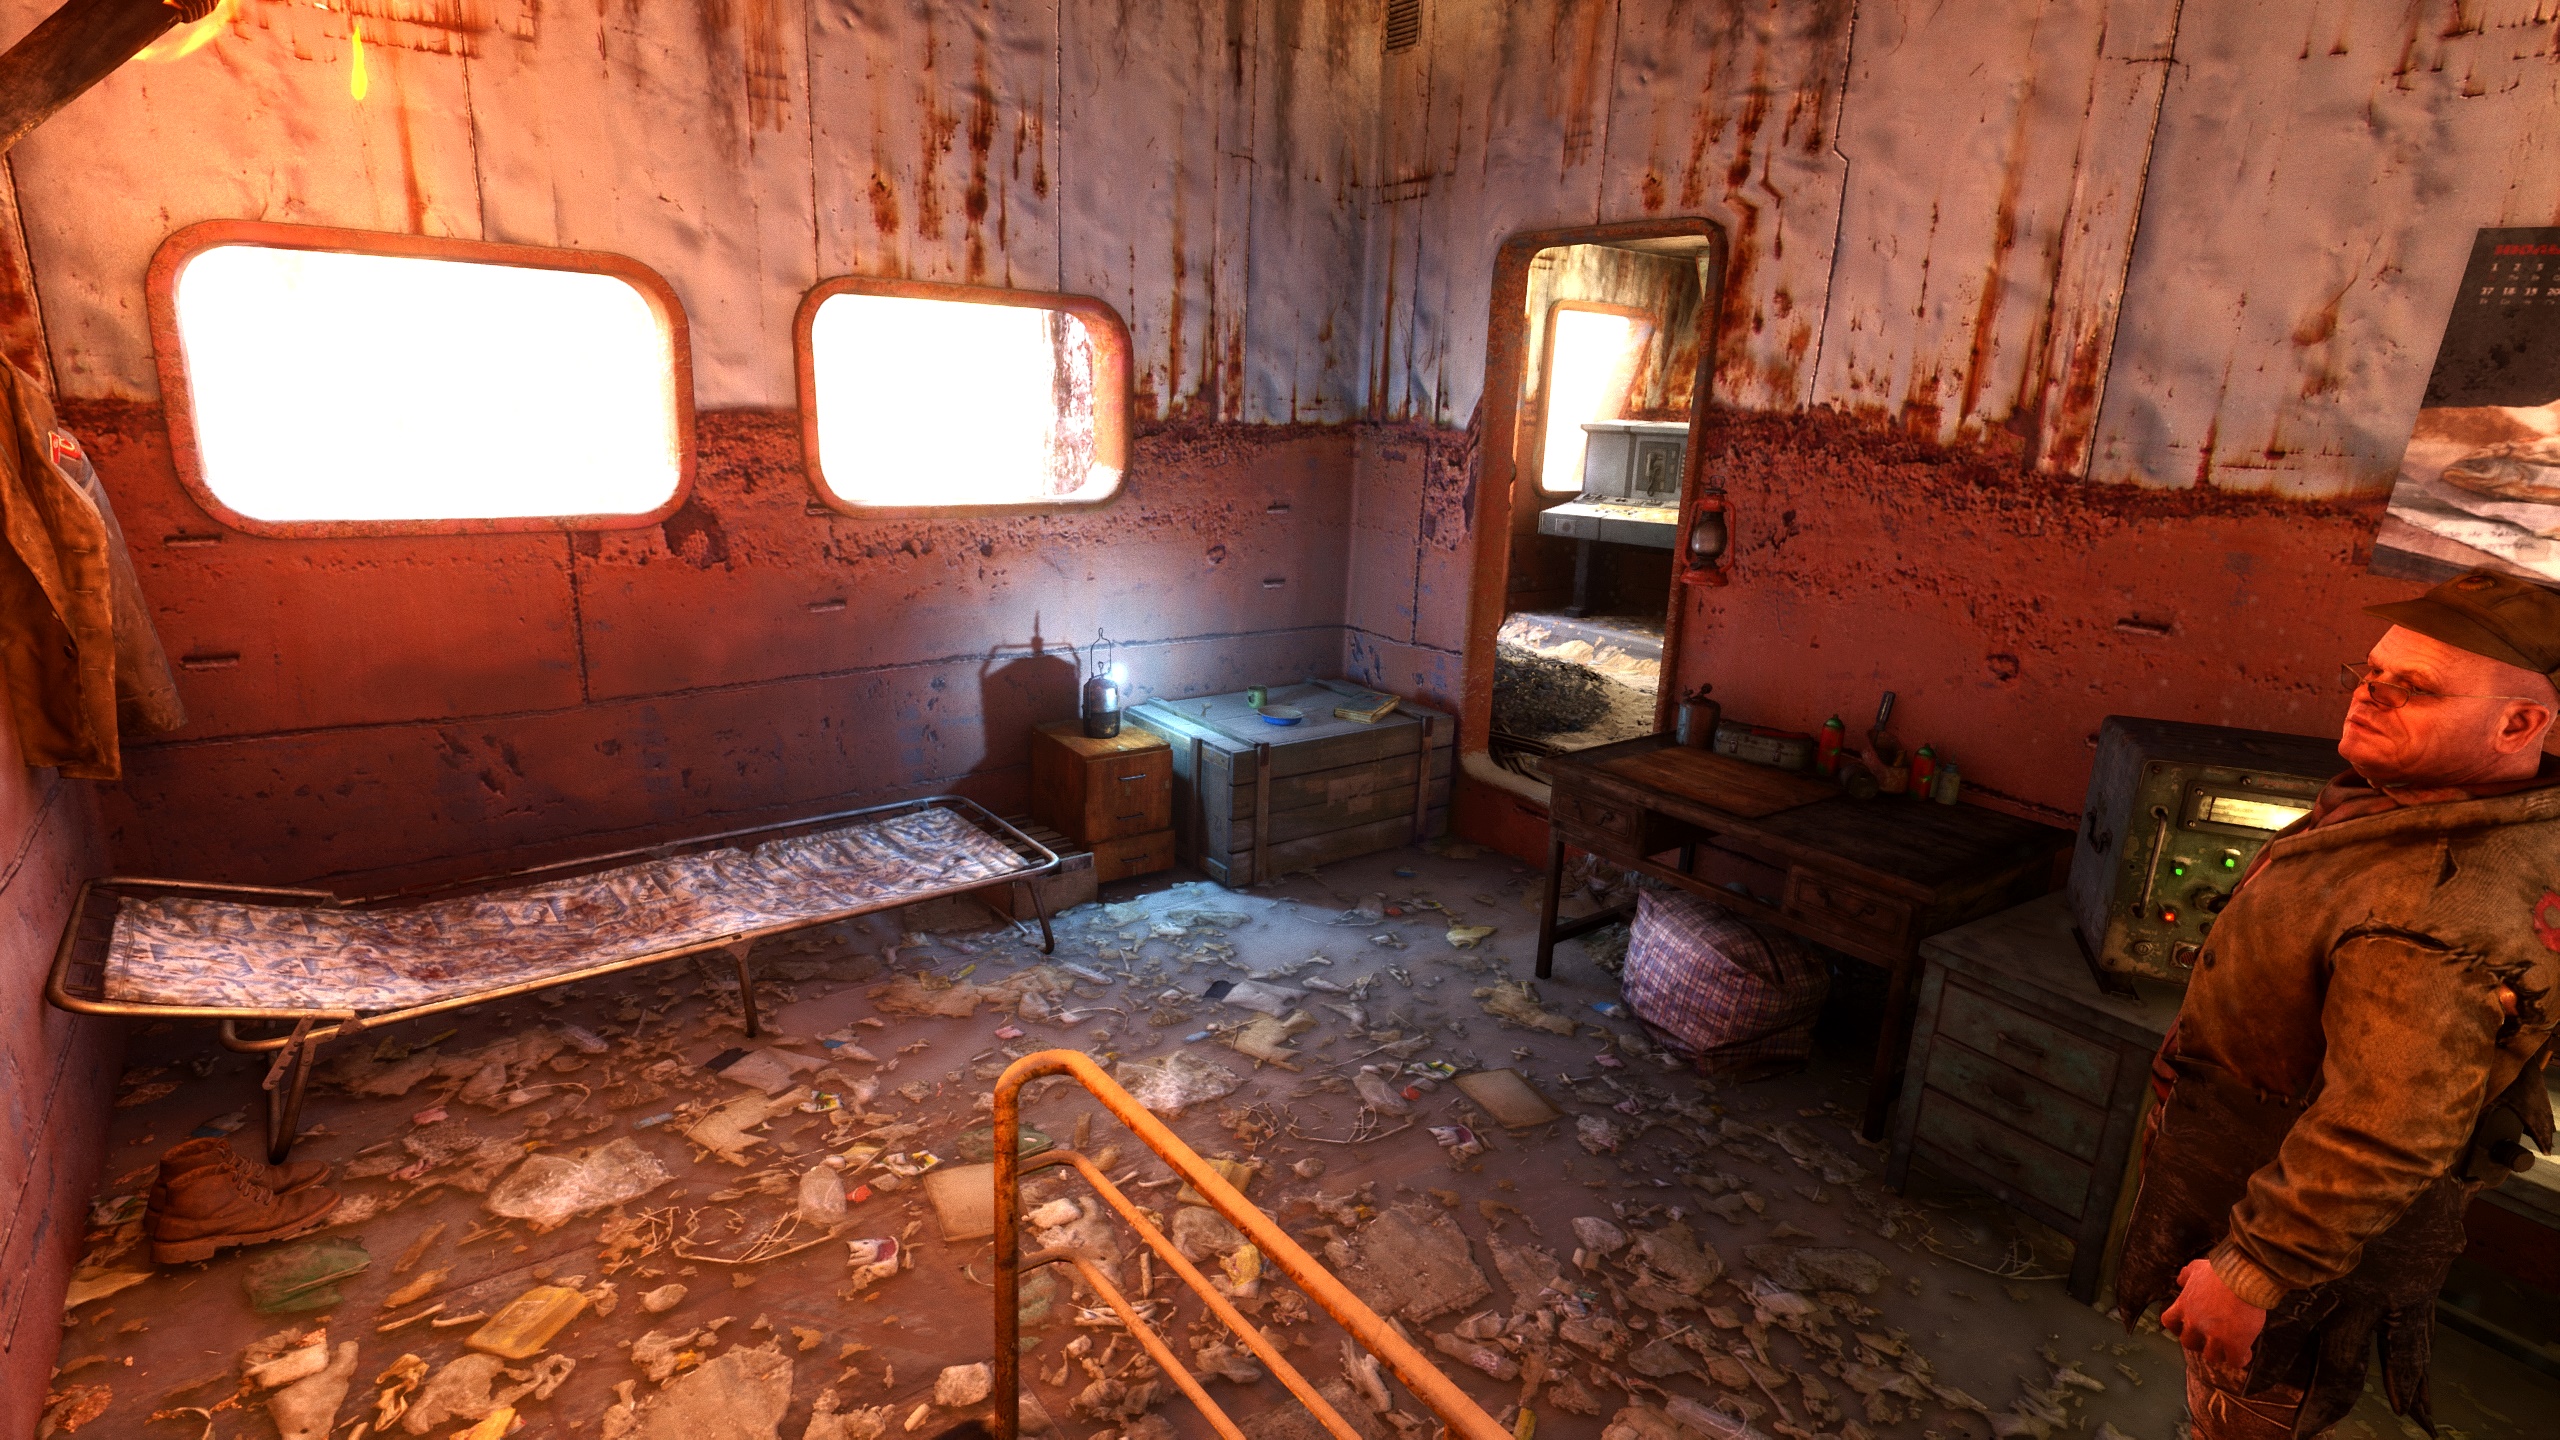
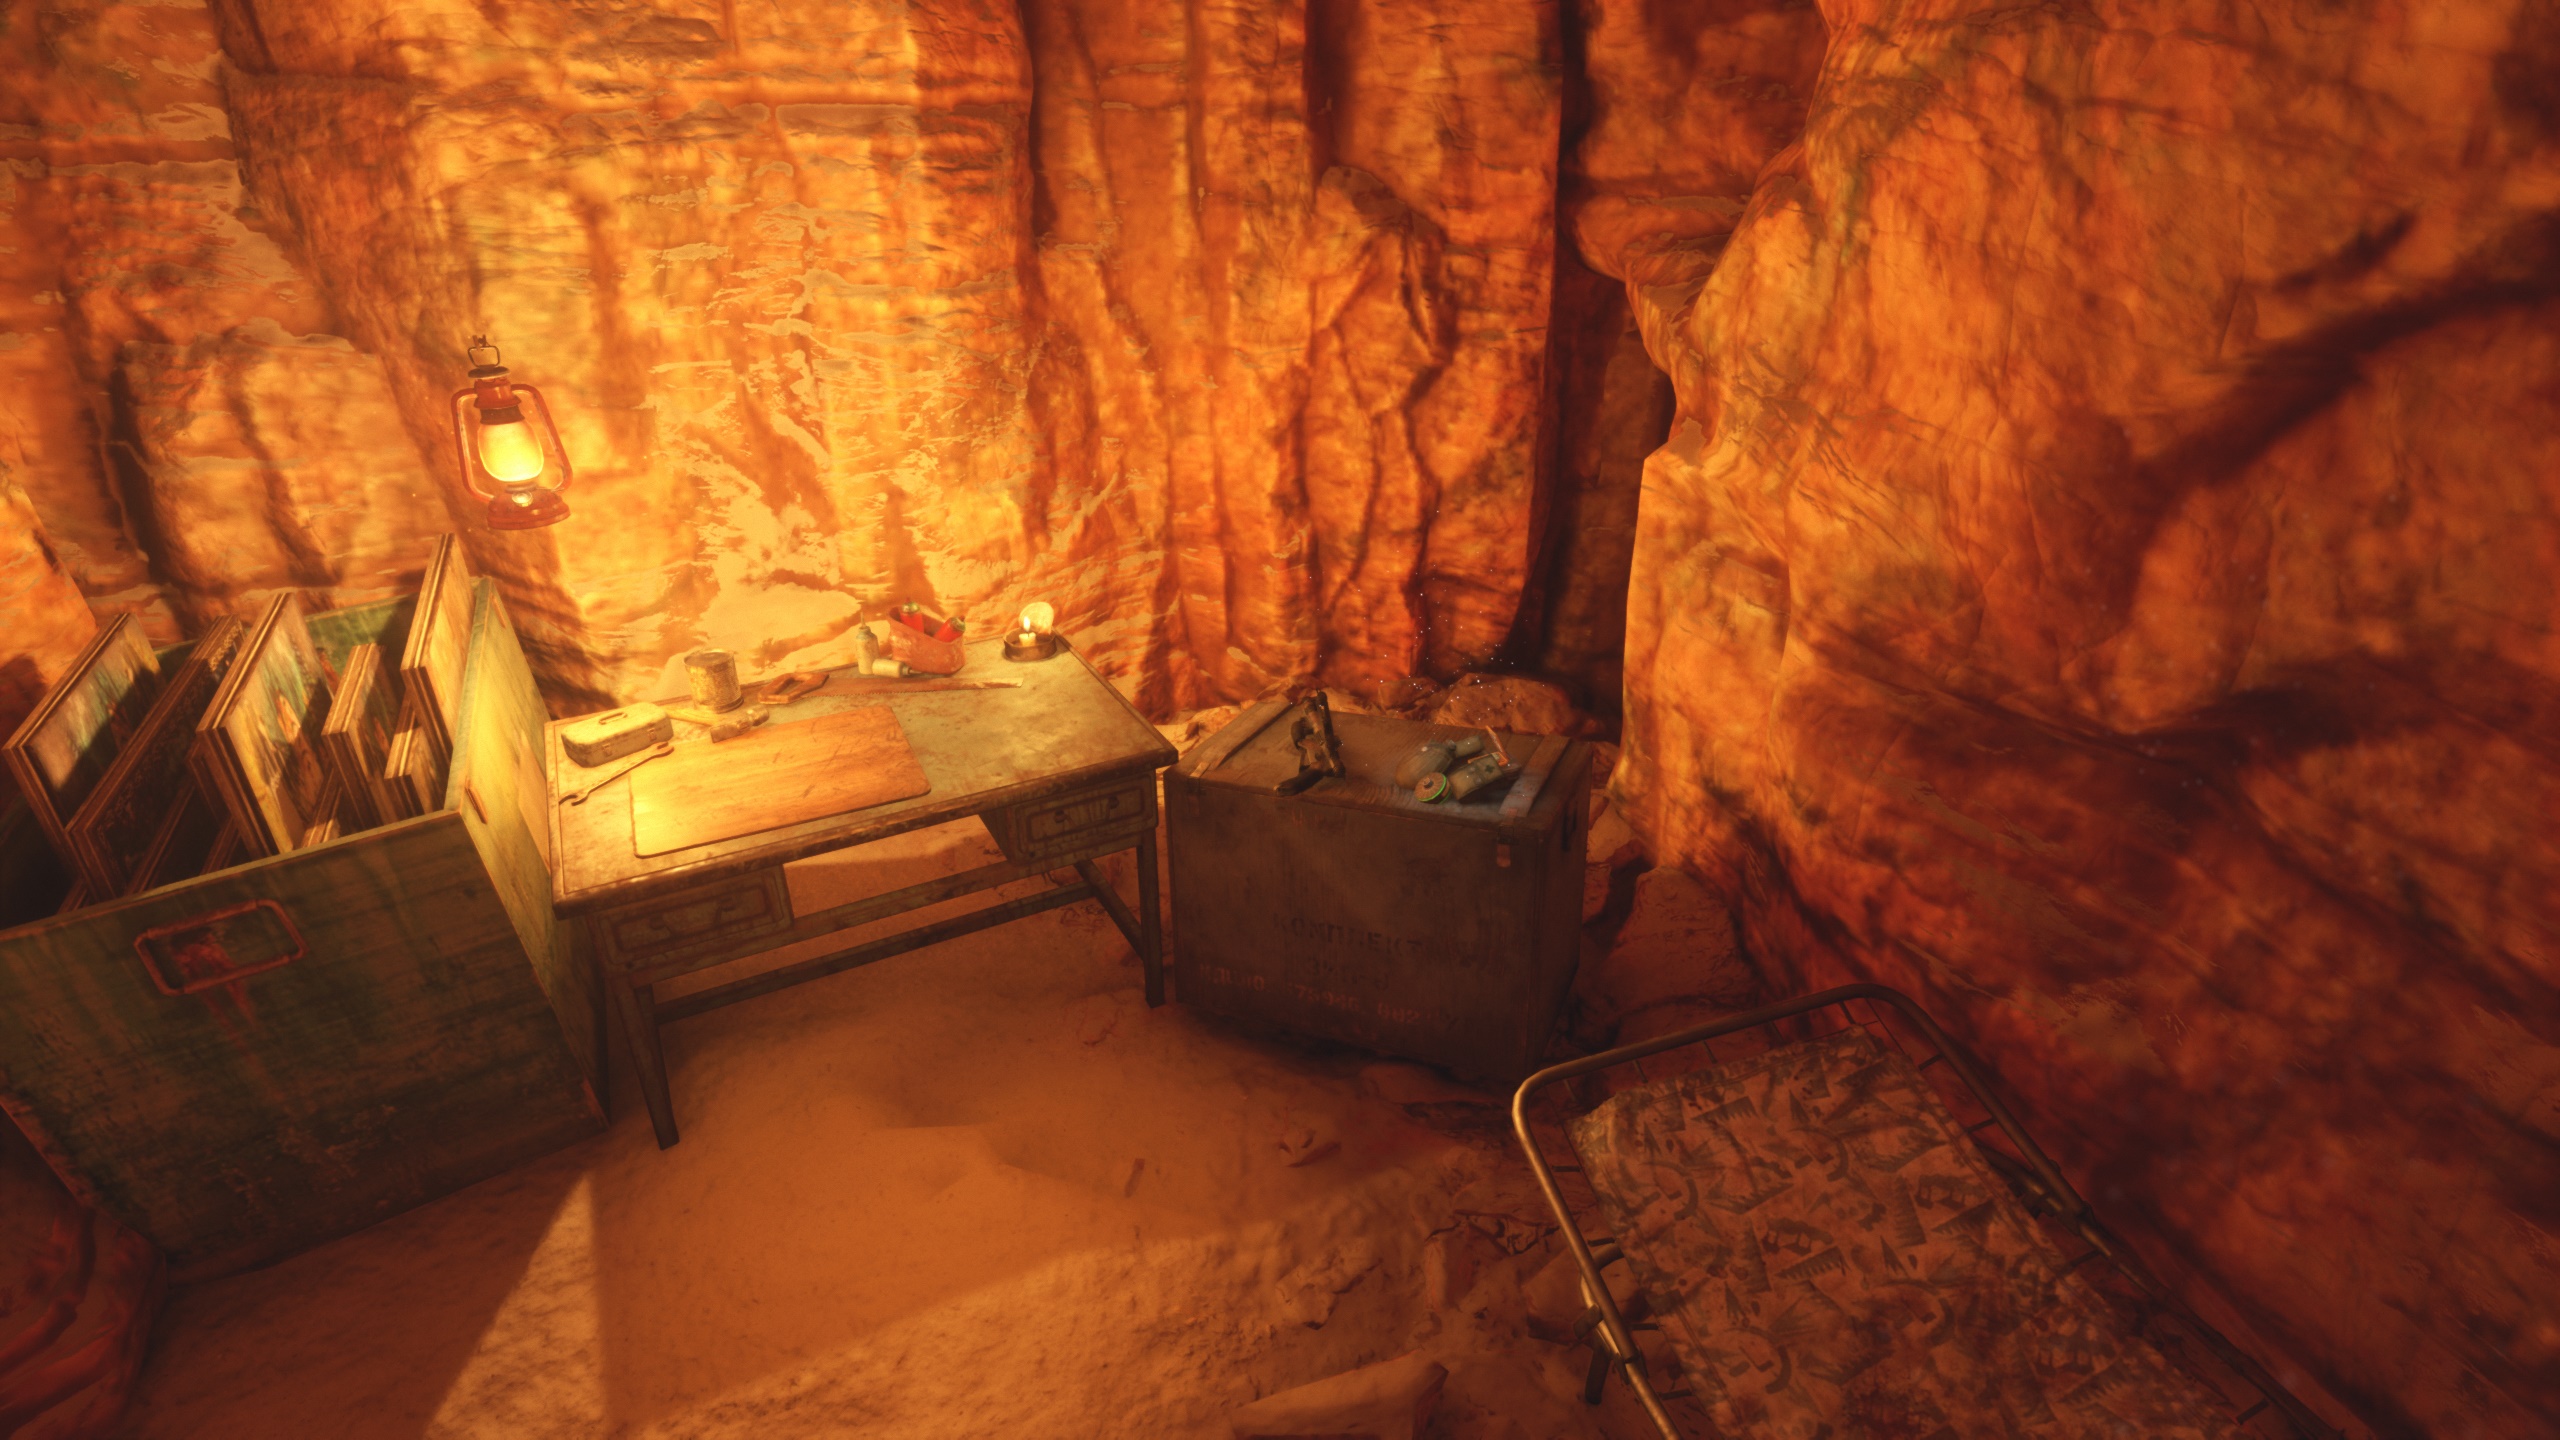
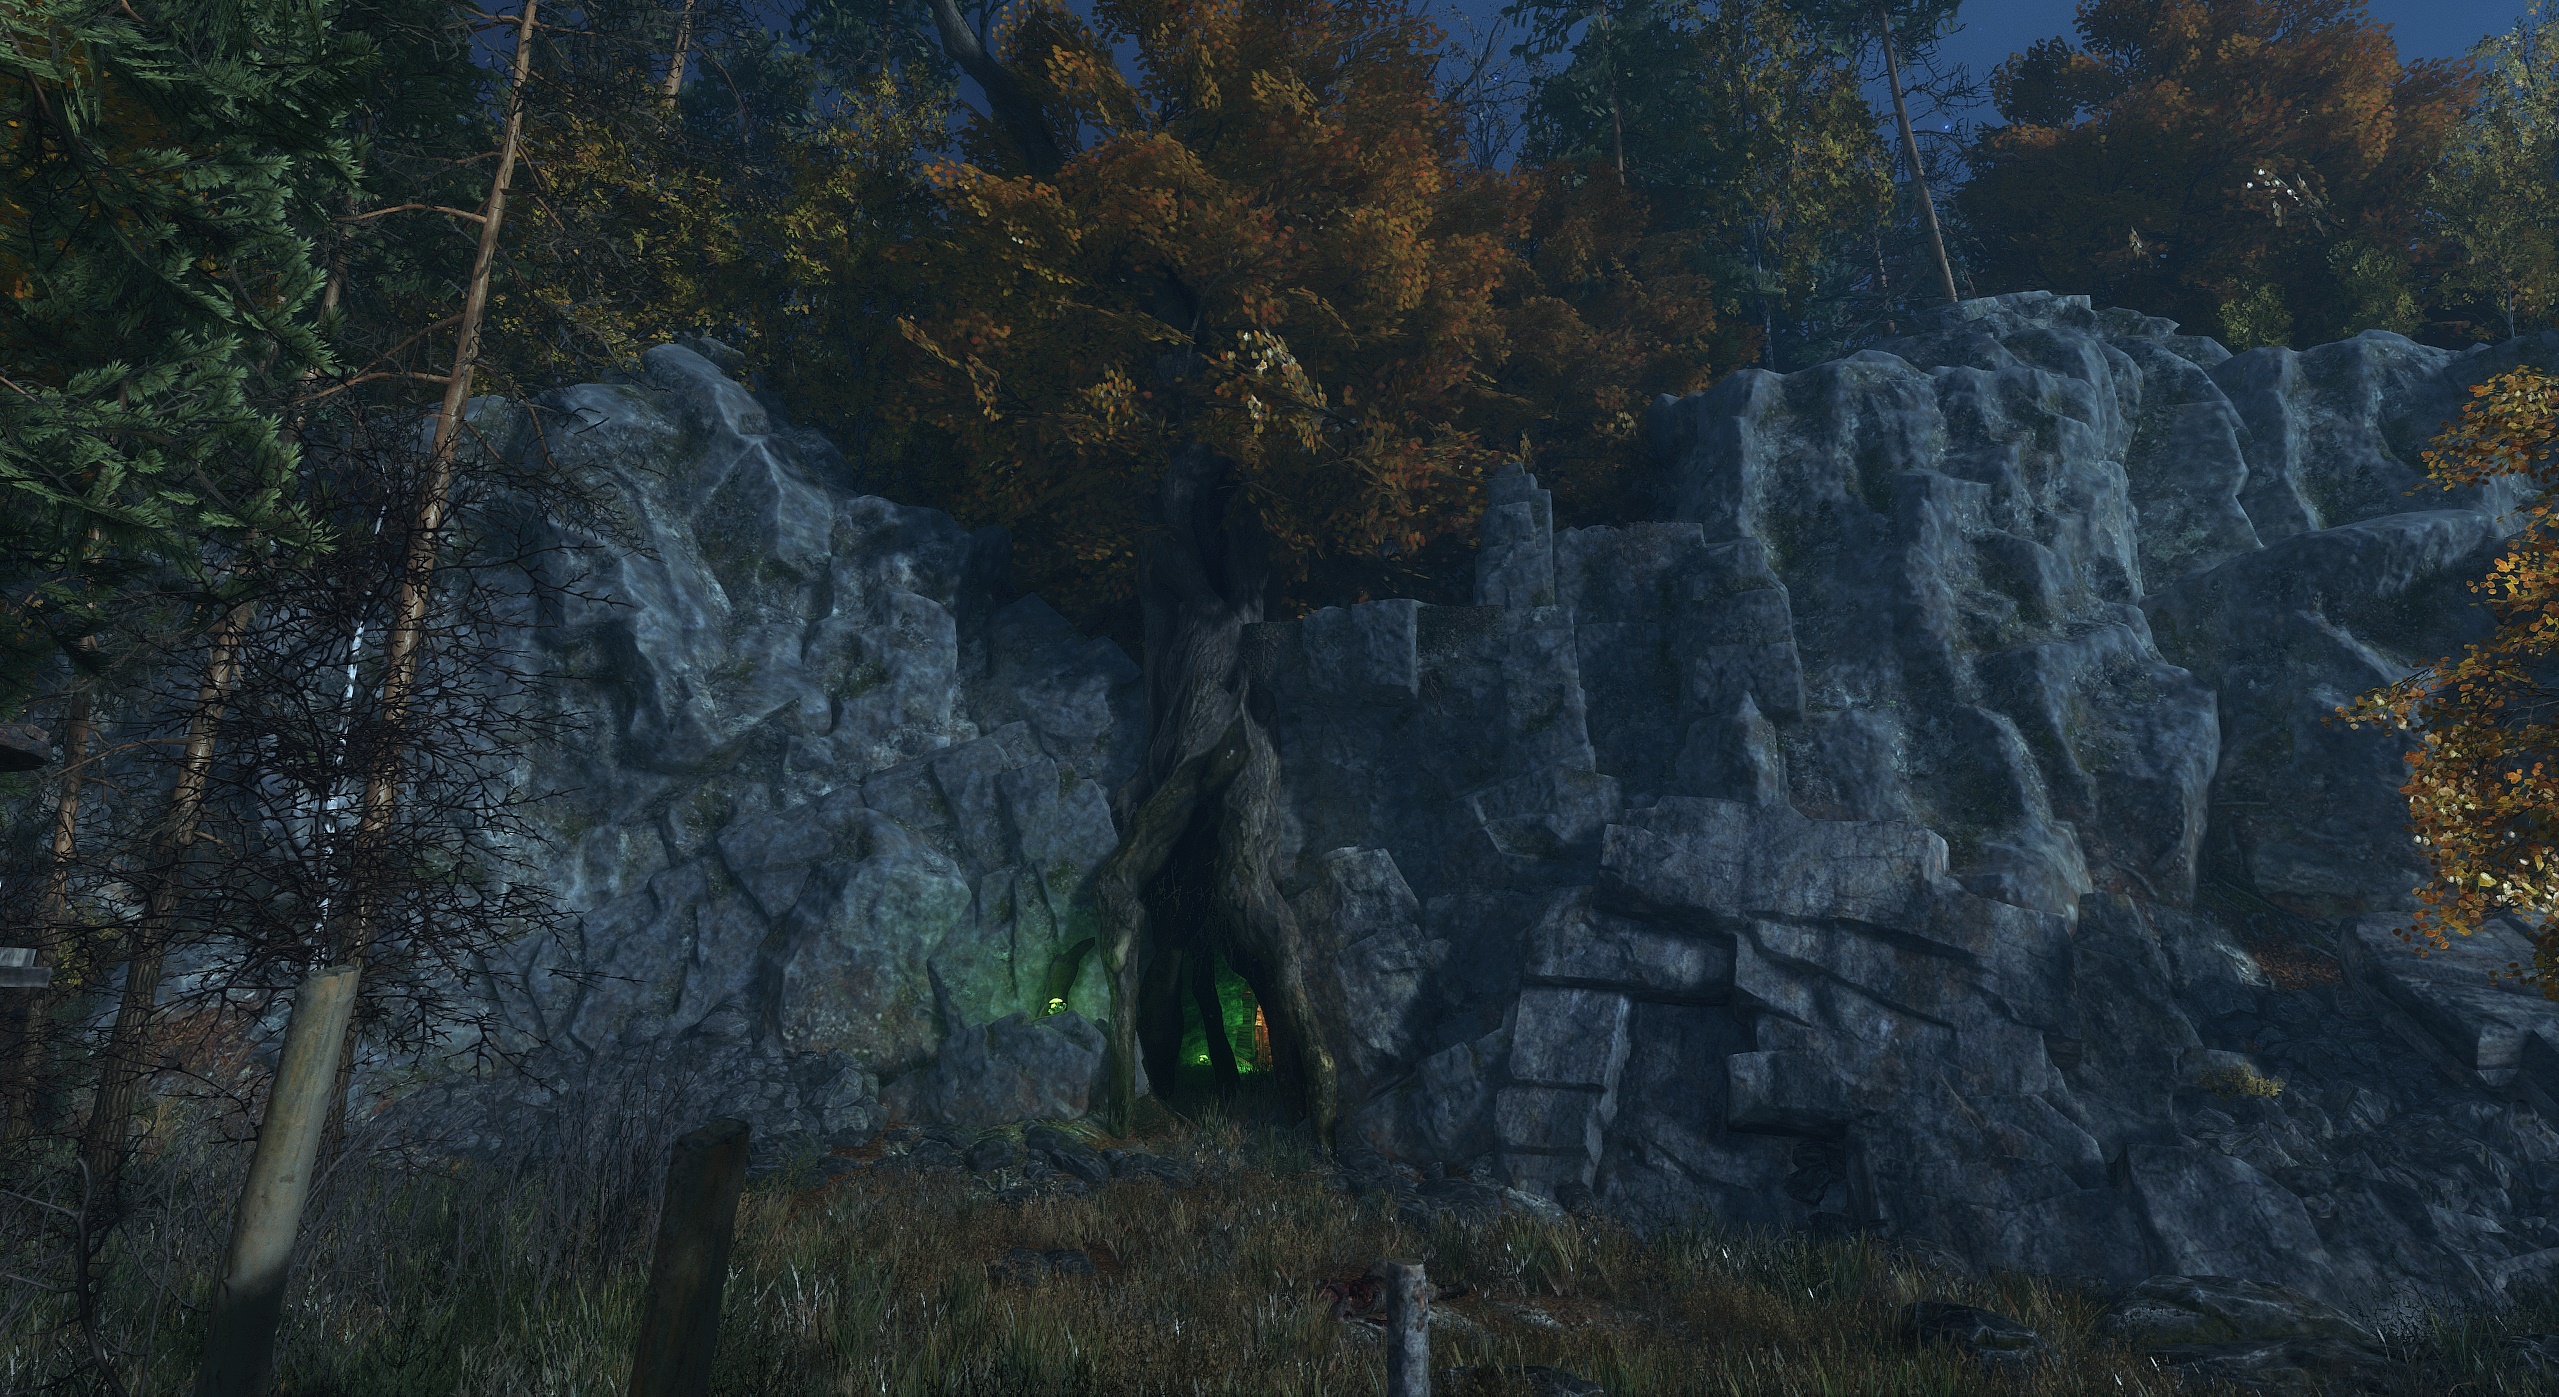
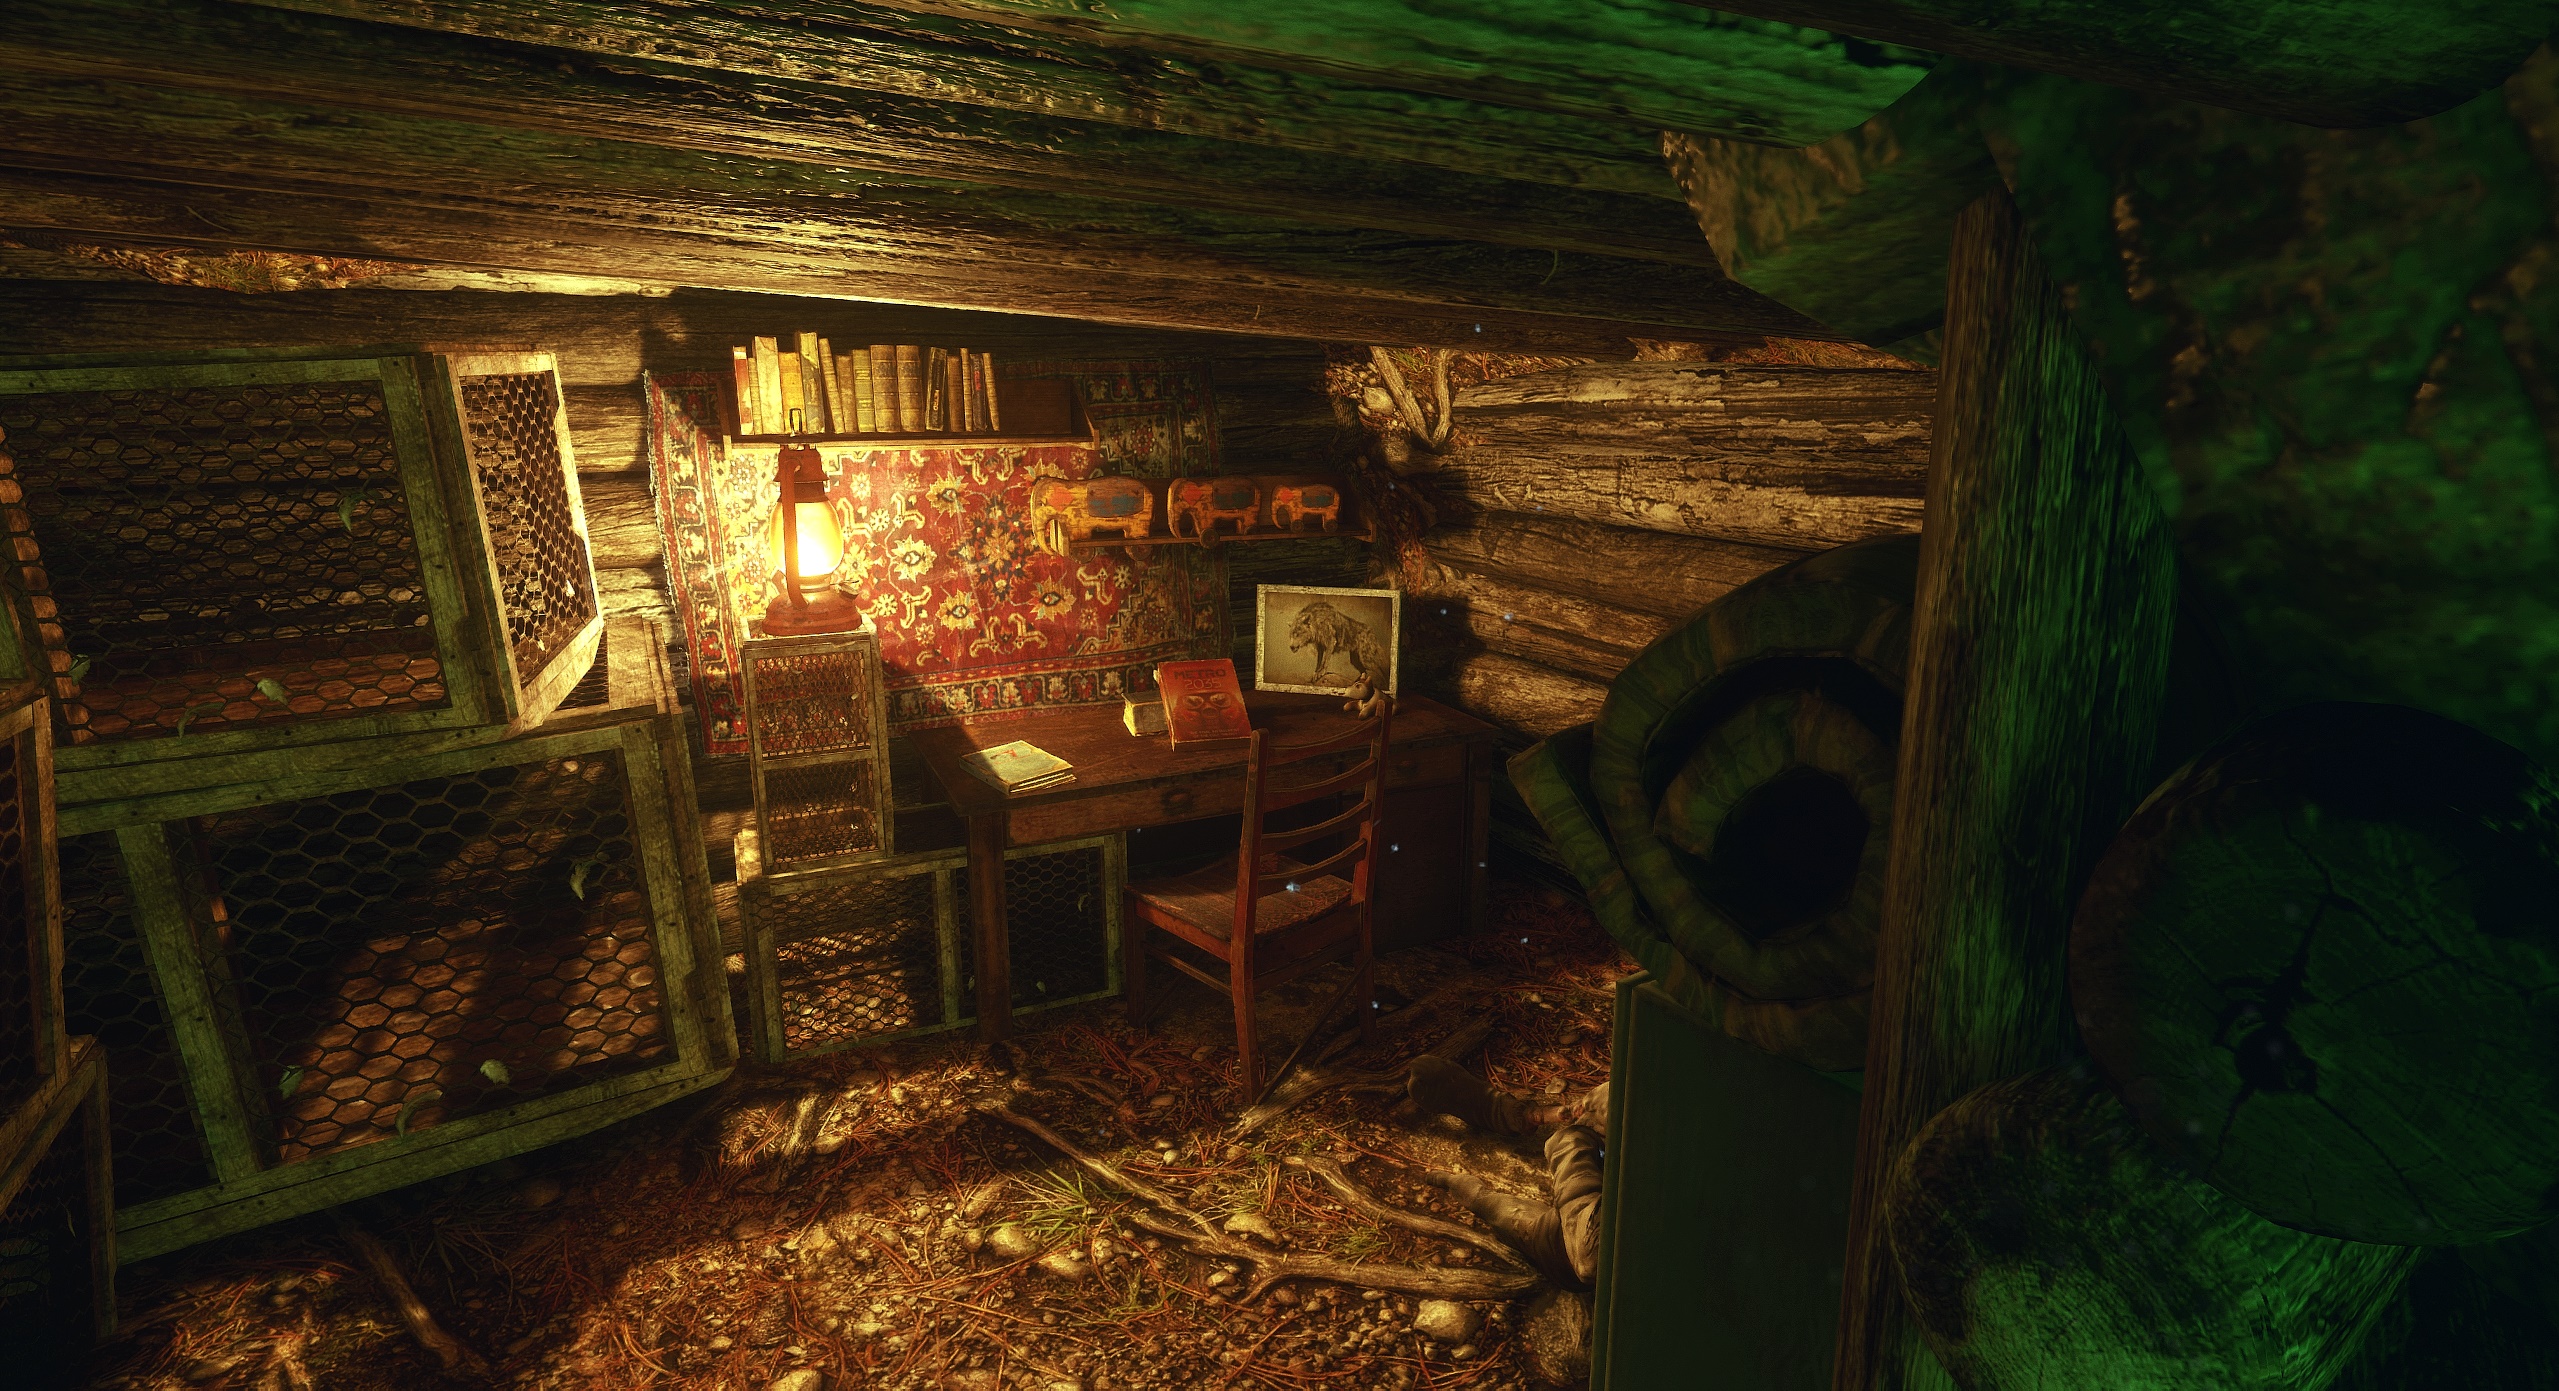
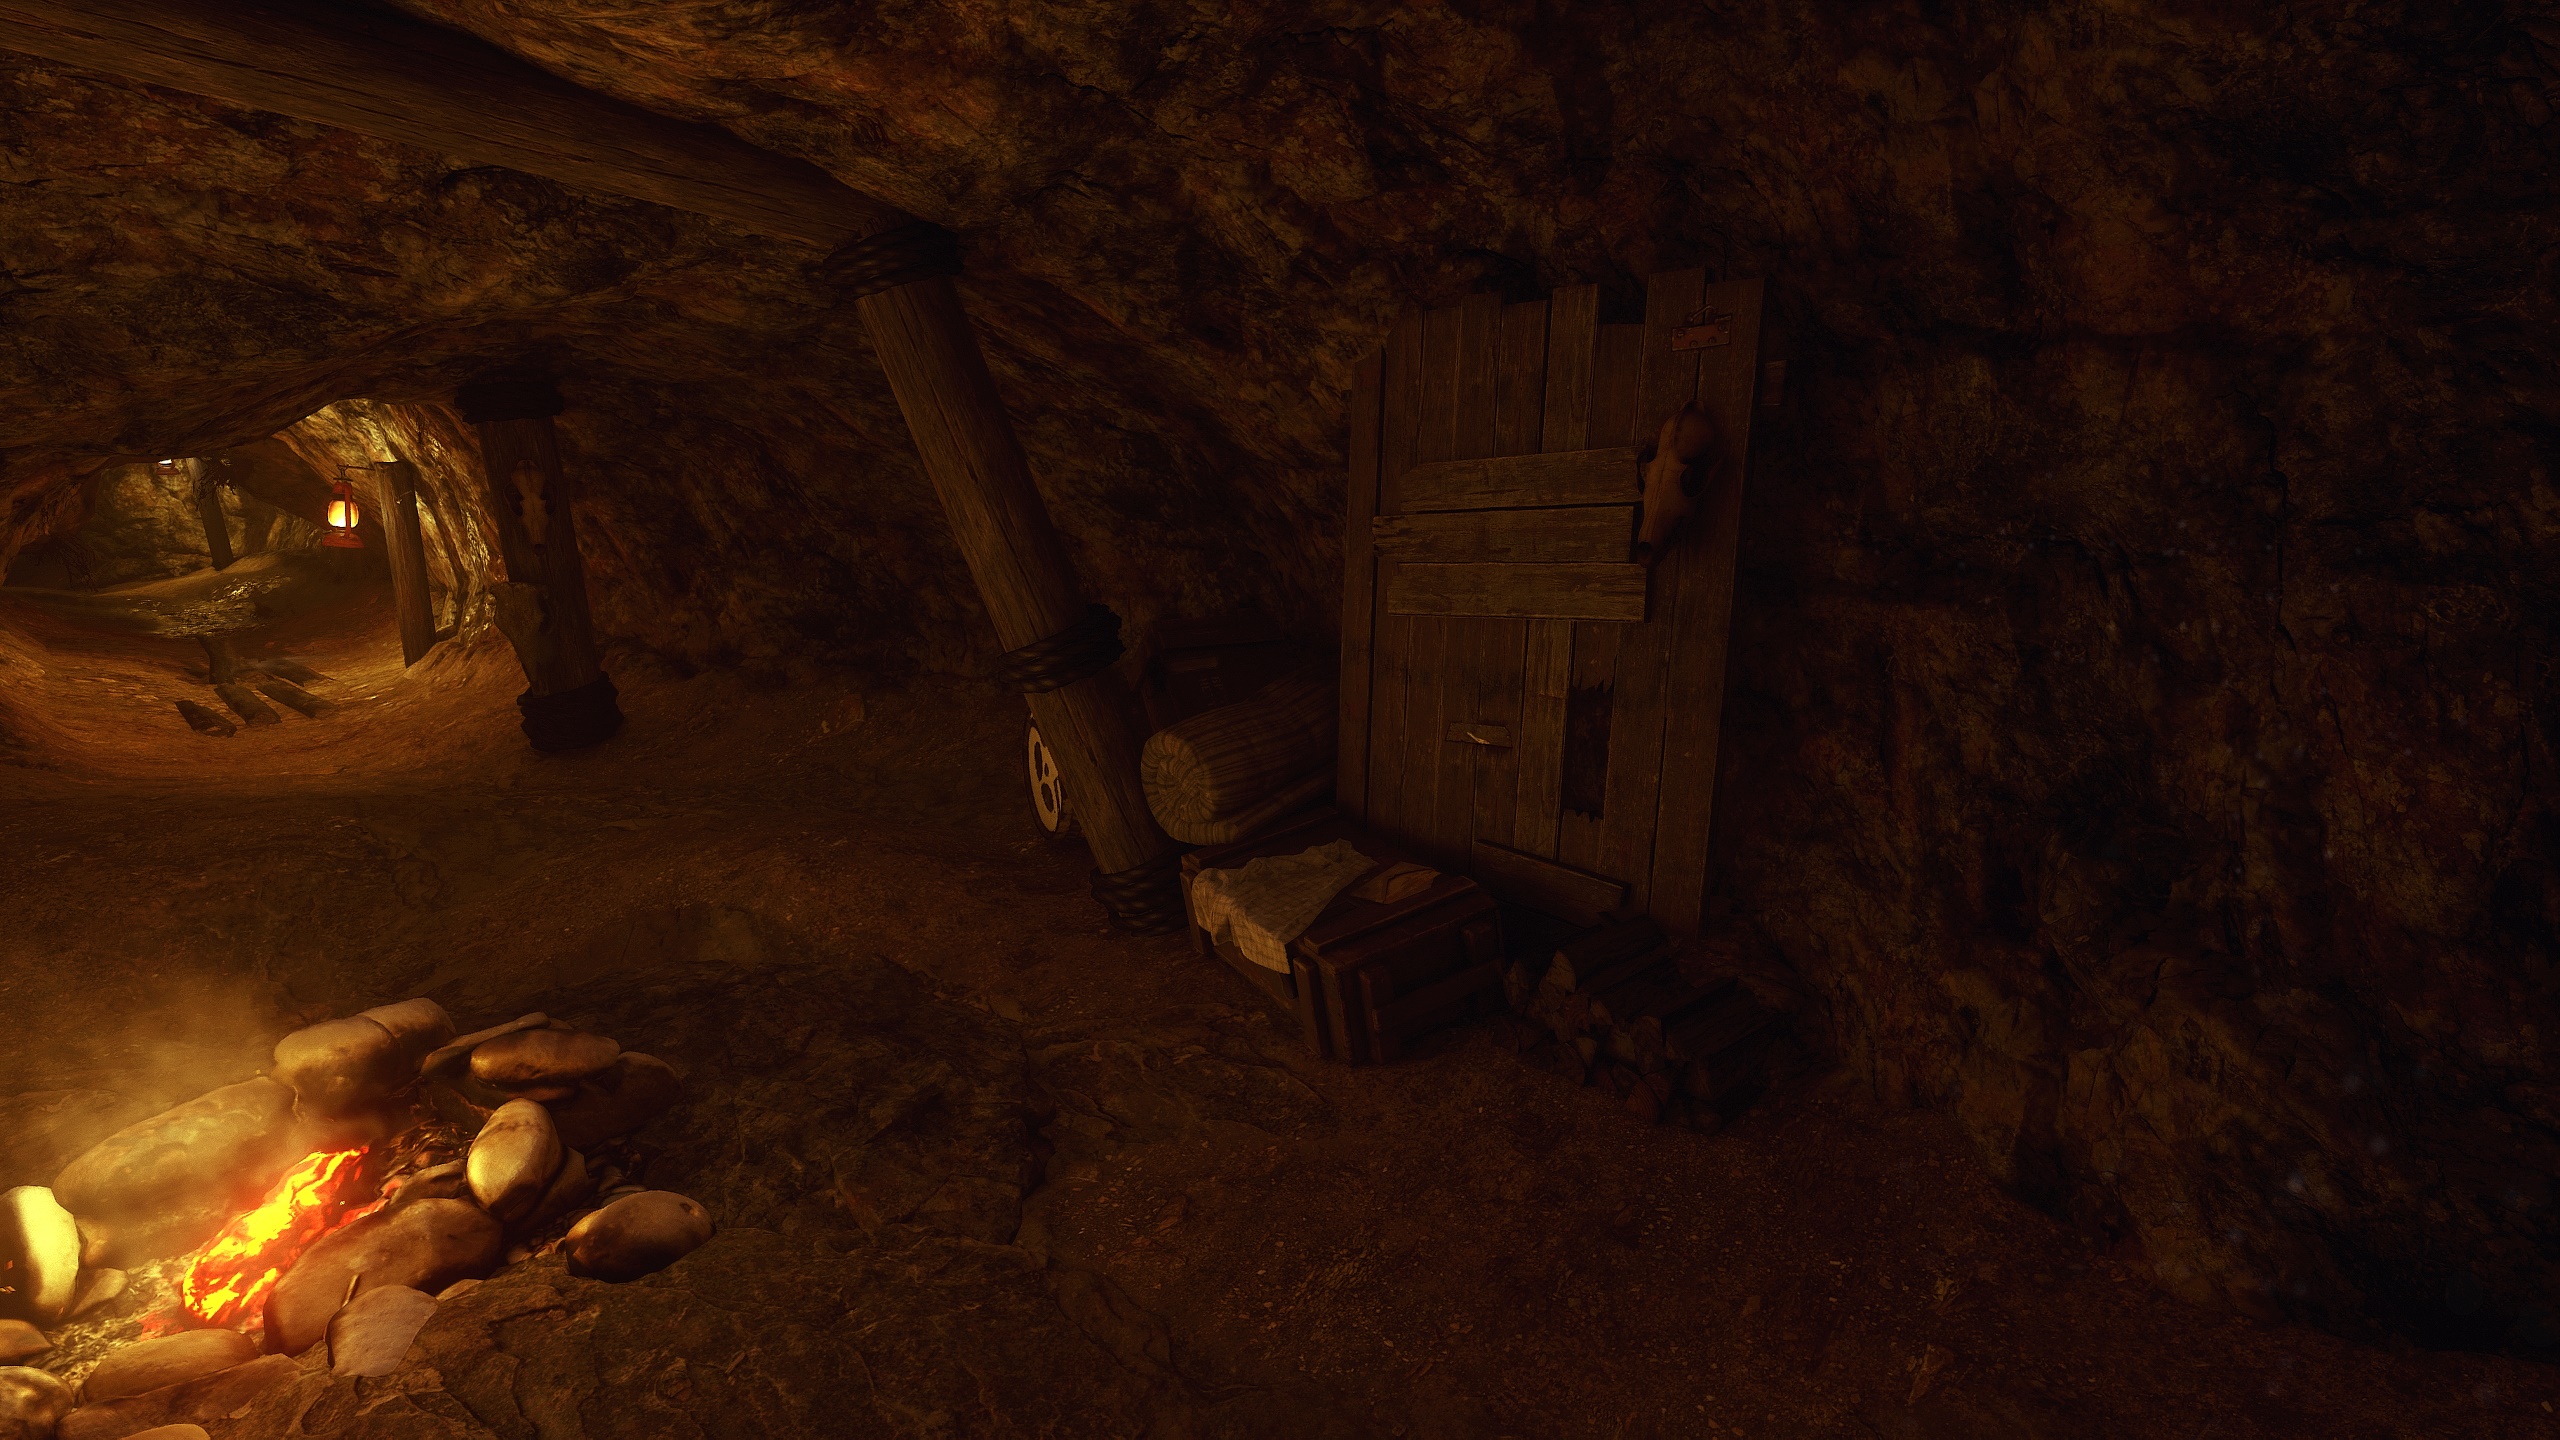
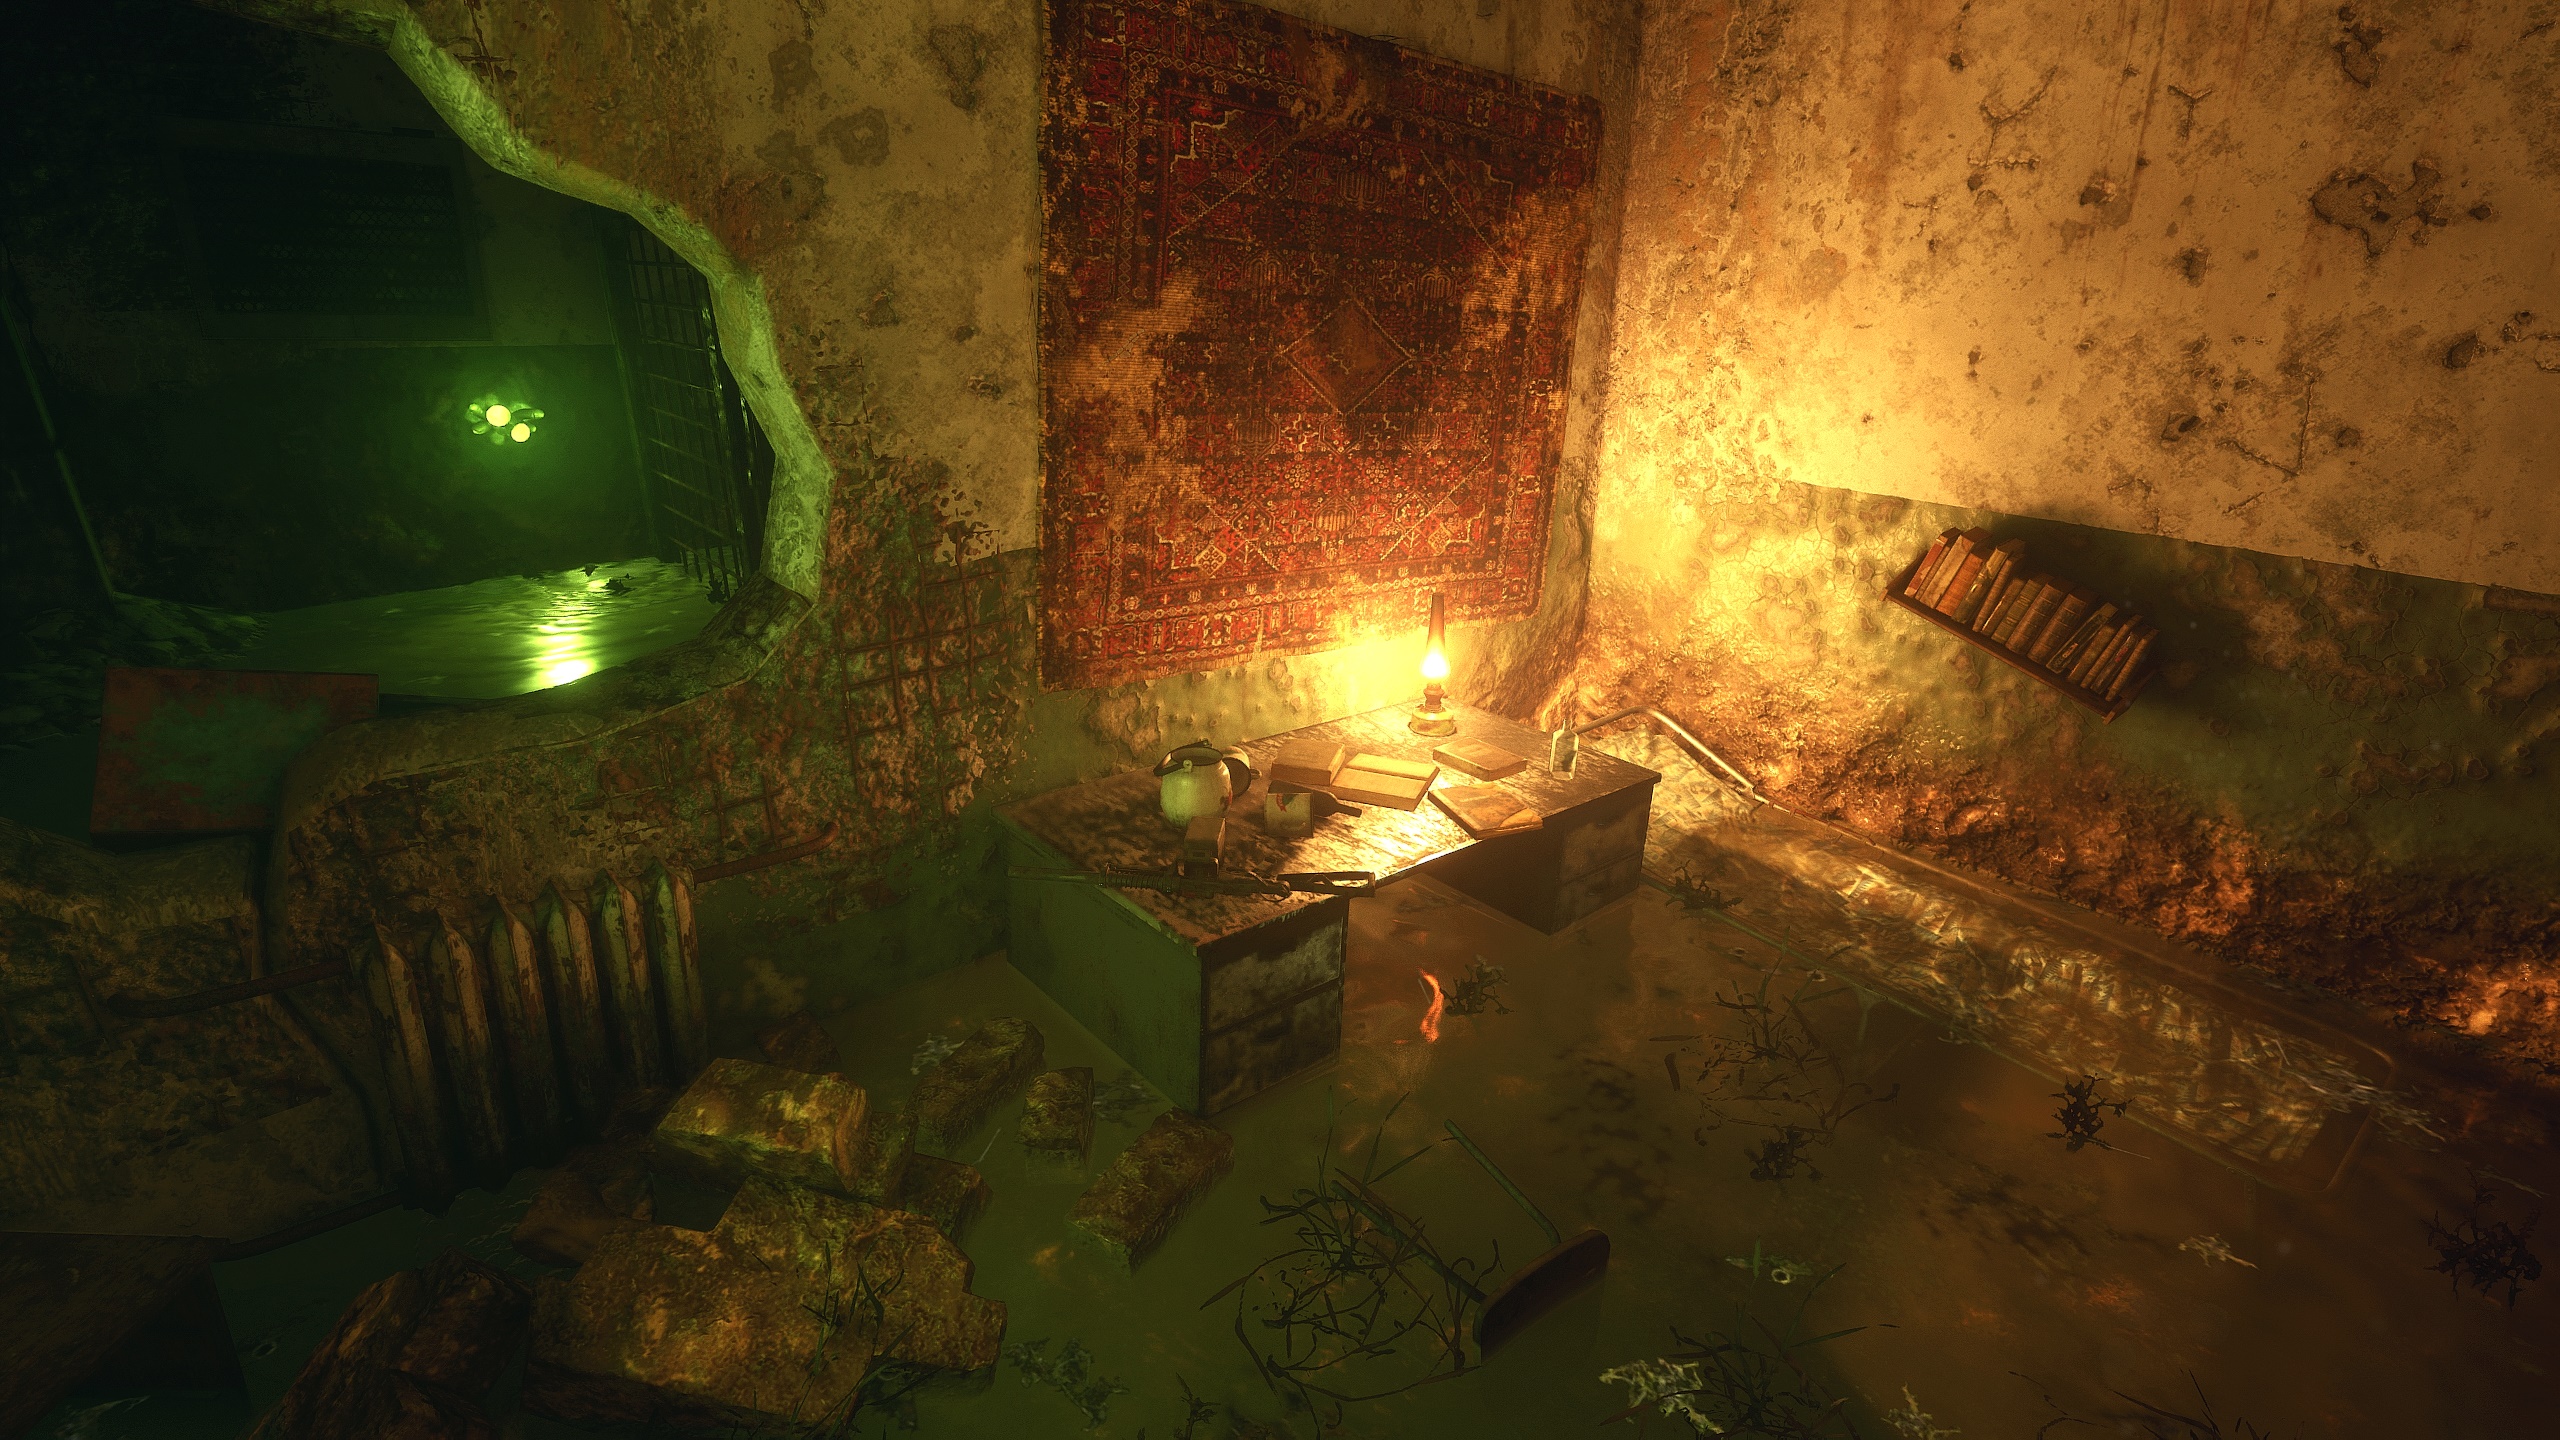
4) Recovered Giul's family photo from the underground bunker.
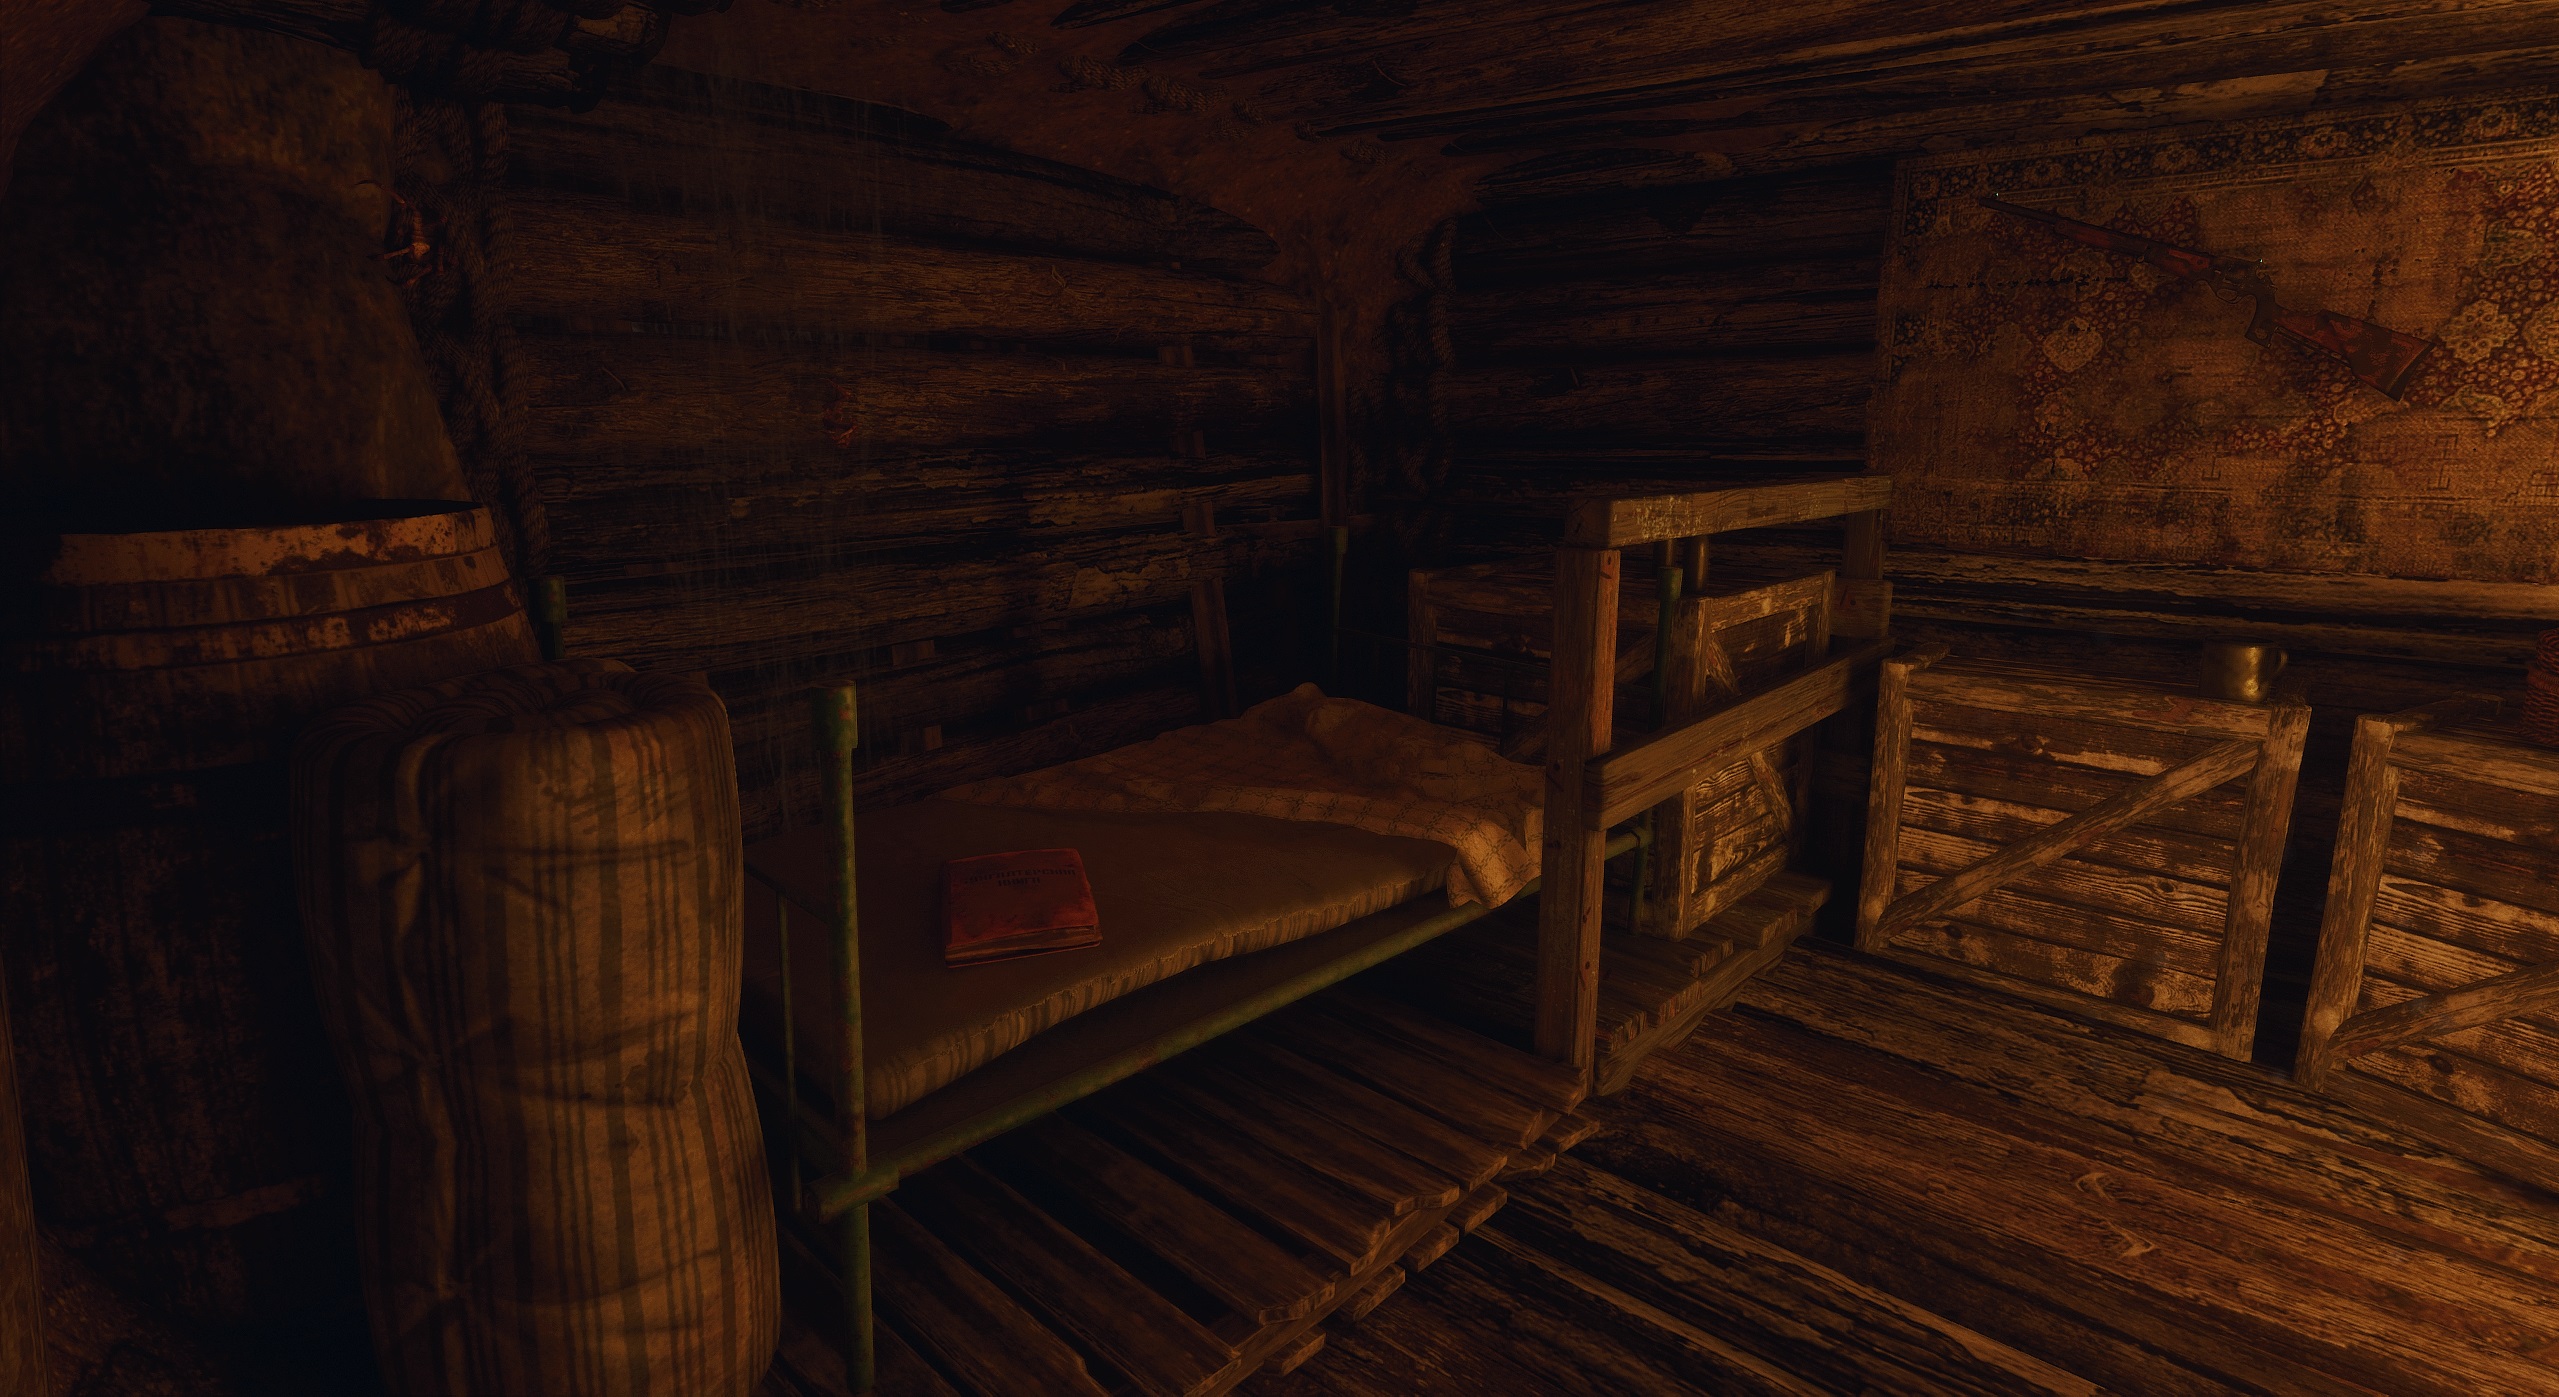
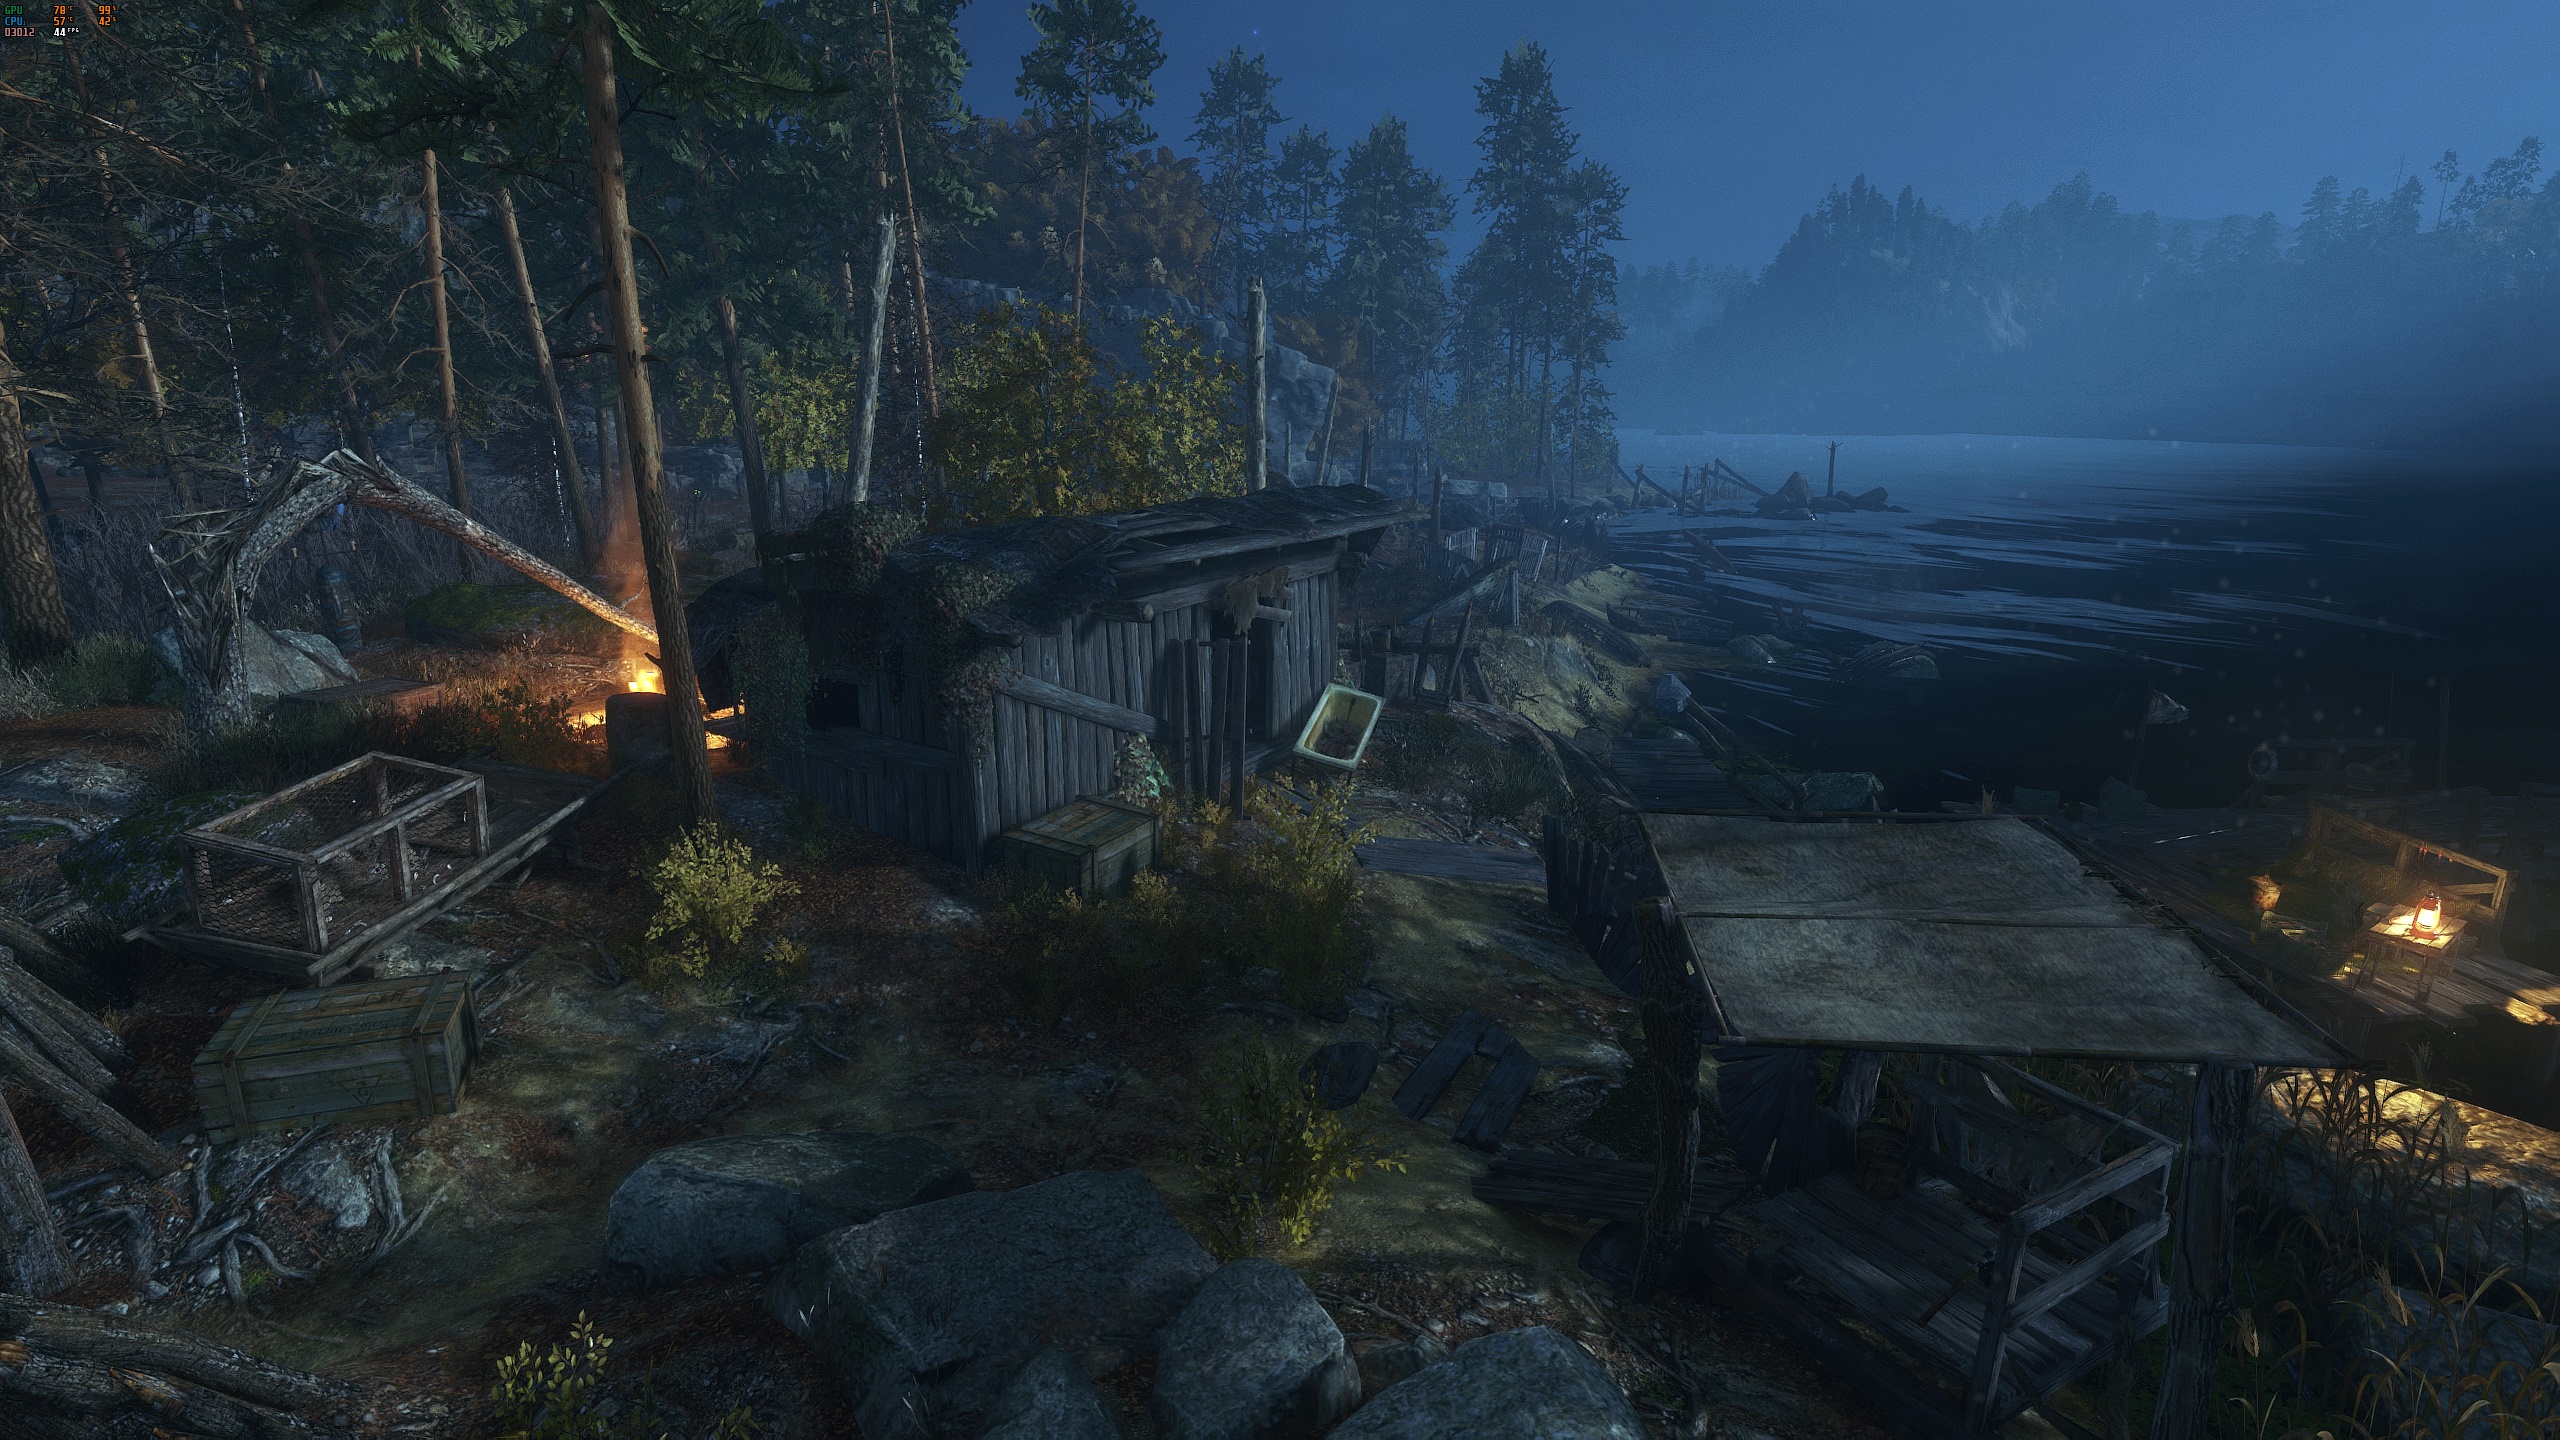
5) Slept till night in the safehouse closest from my way out of the bunker.
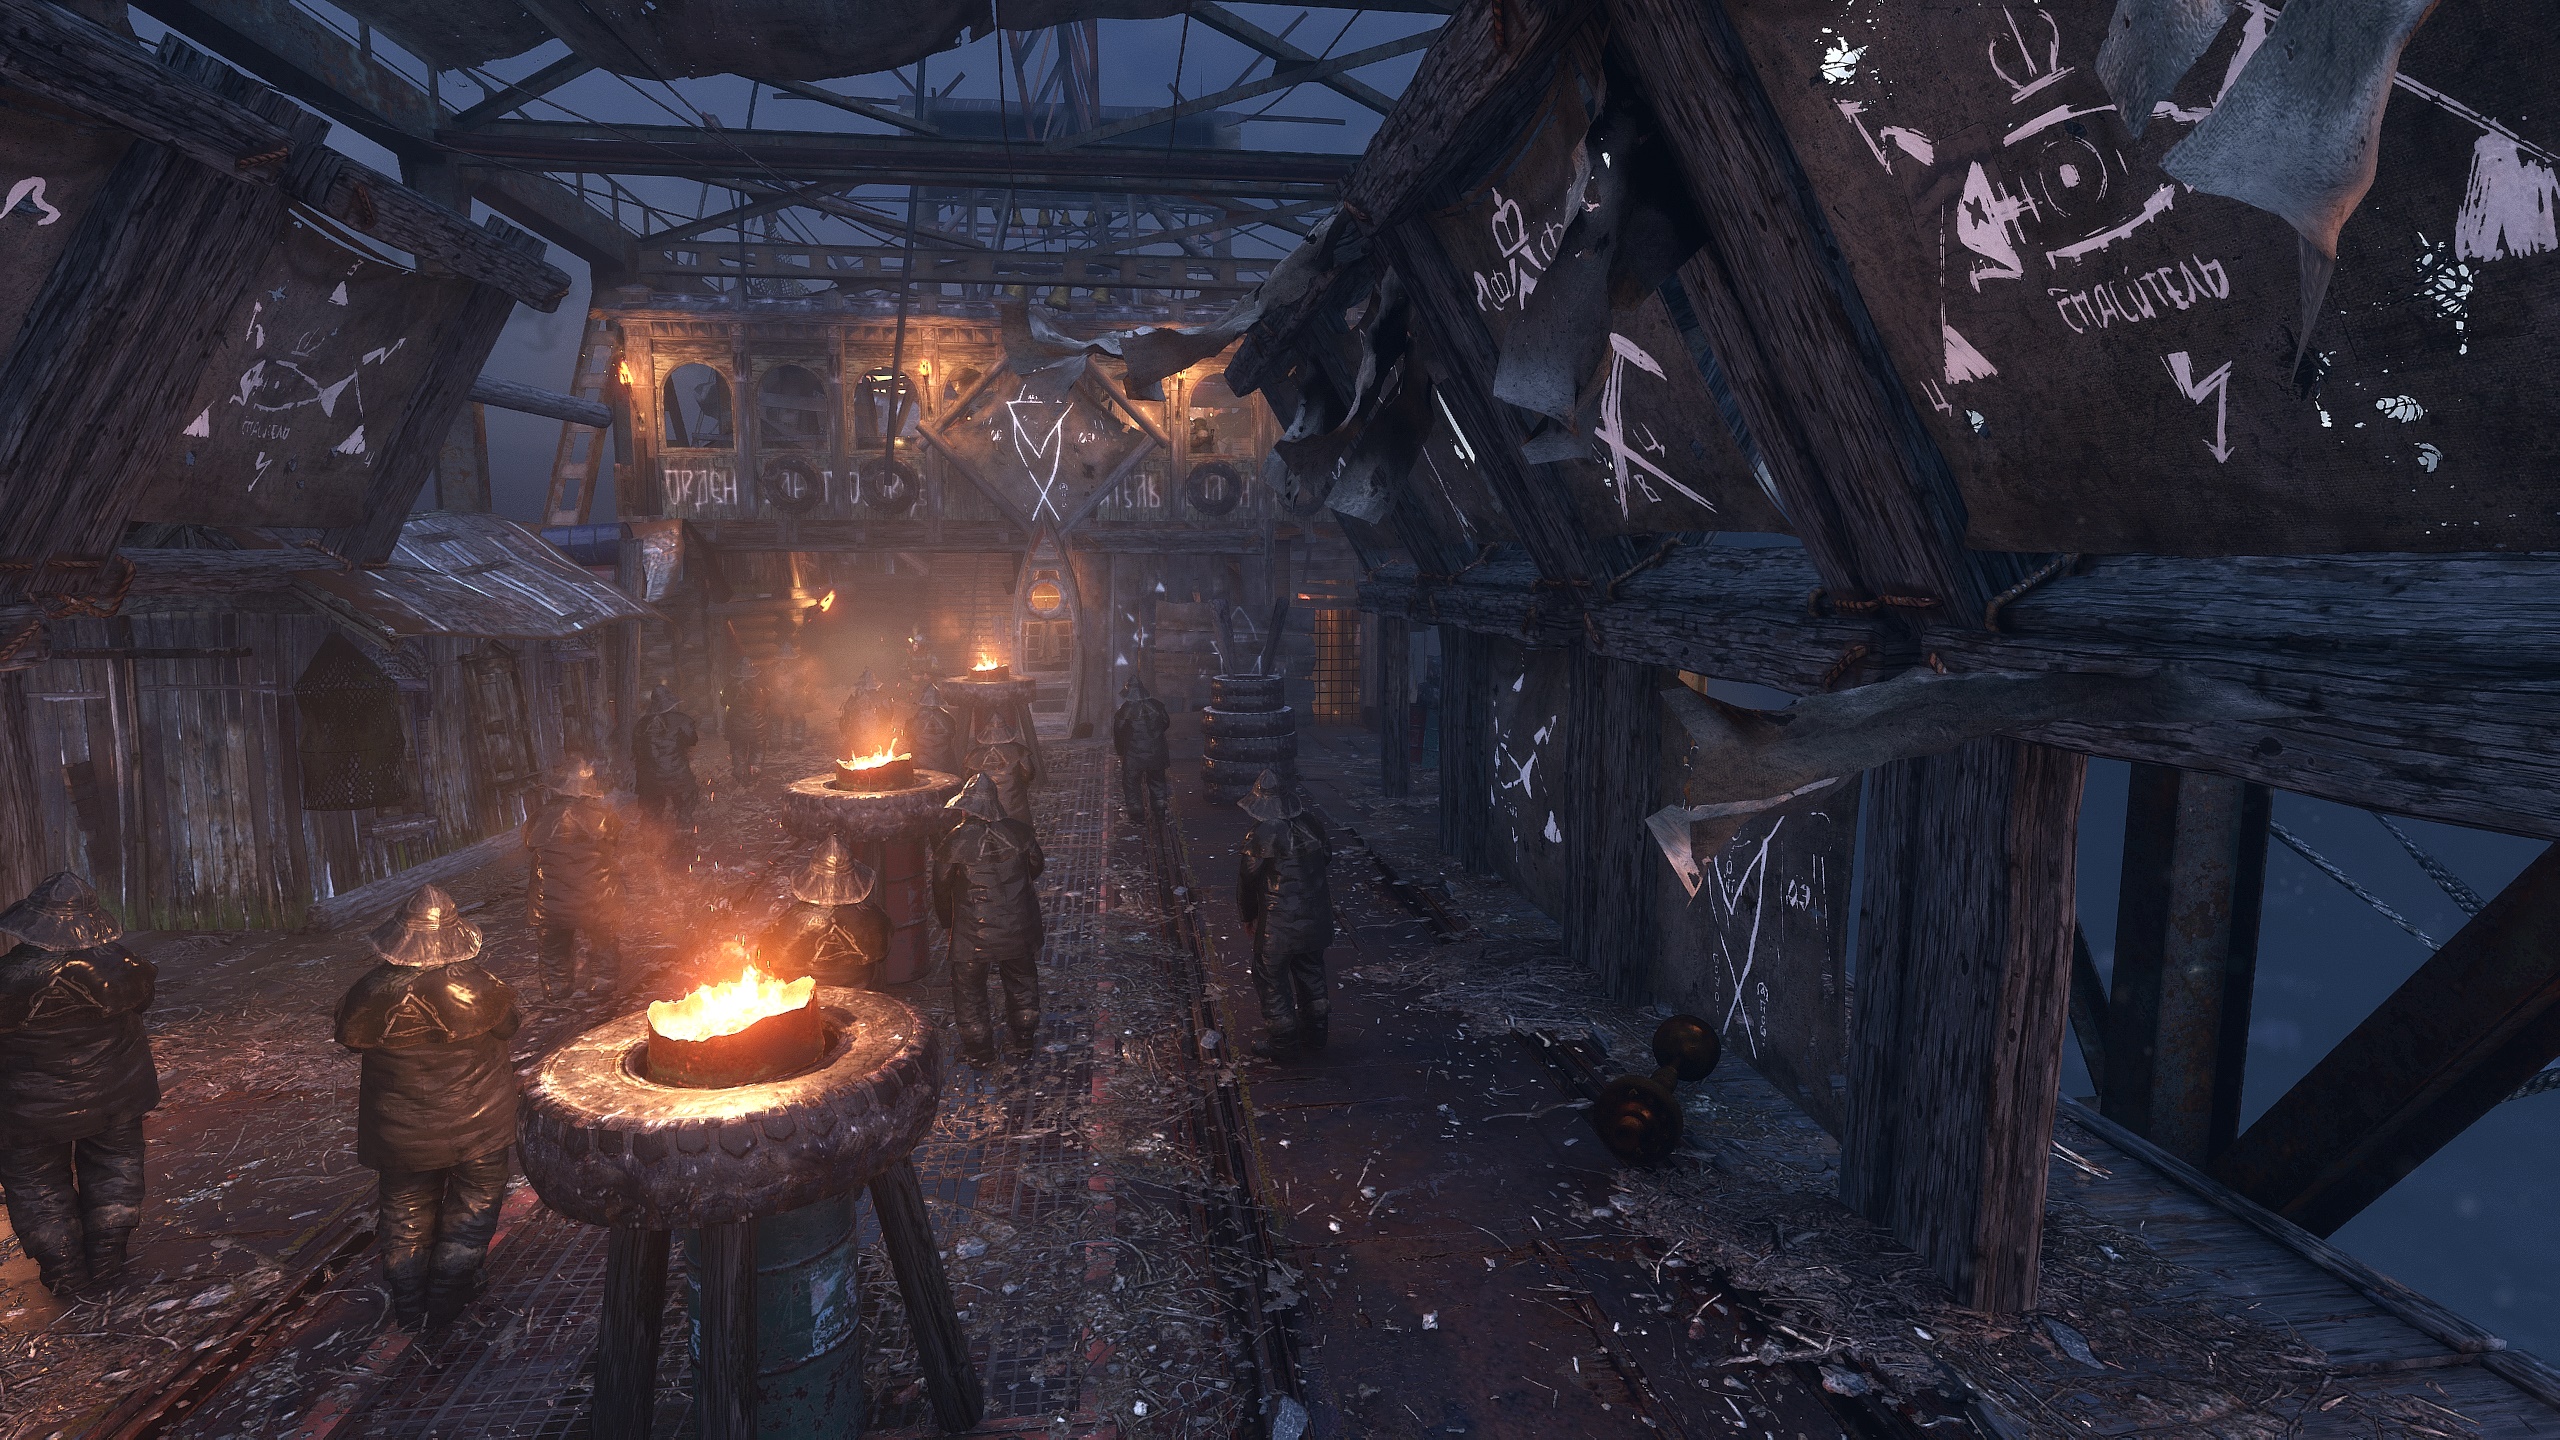
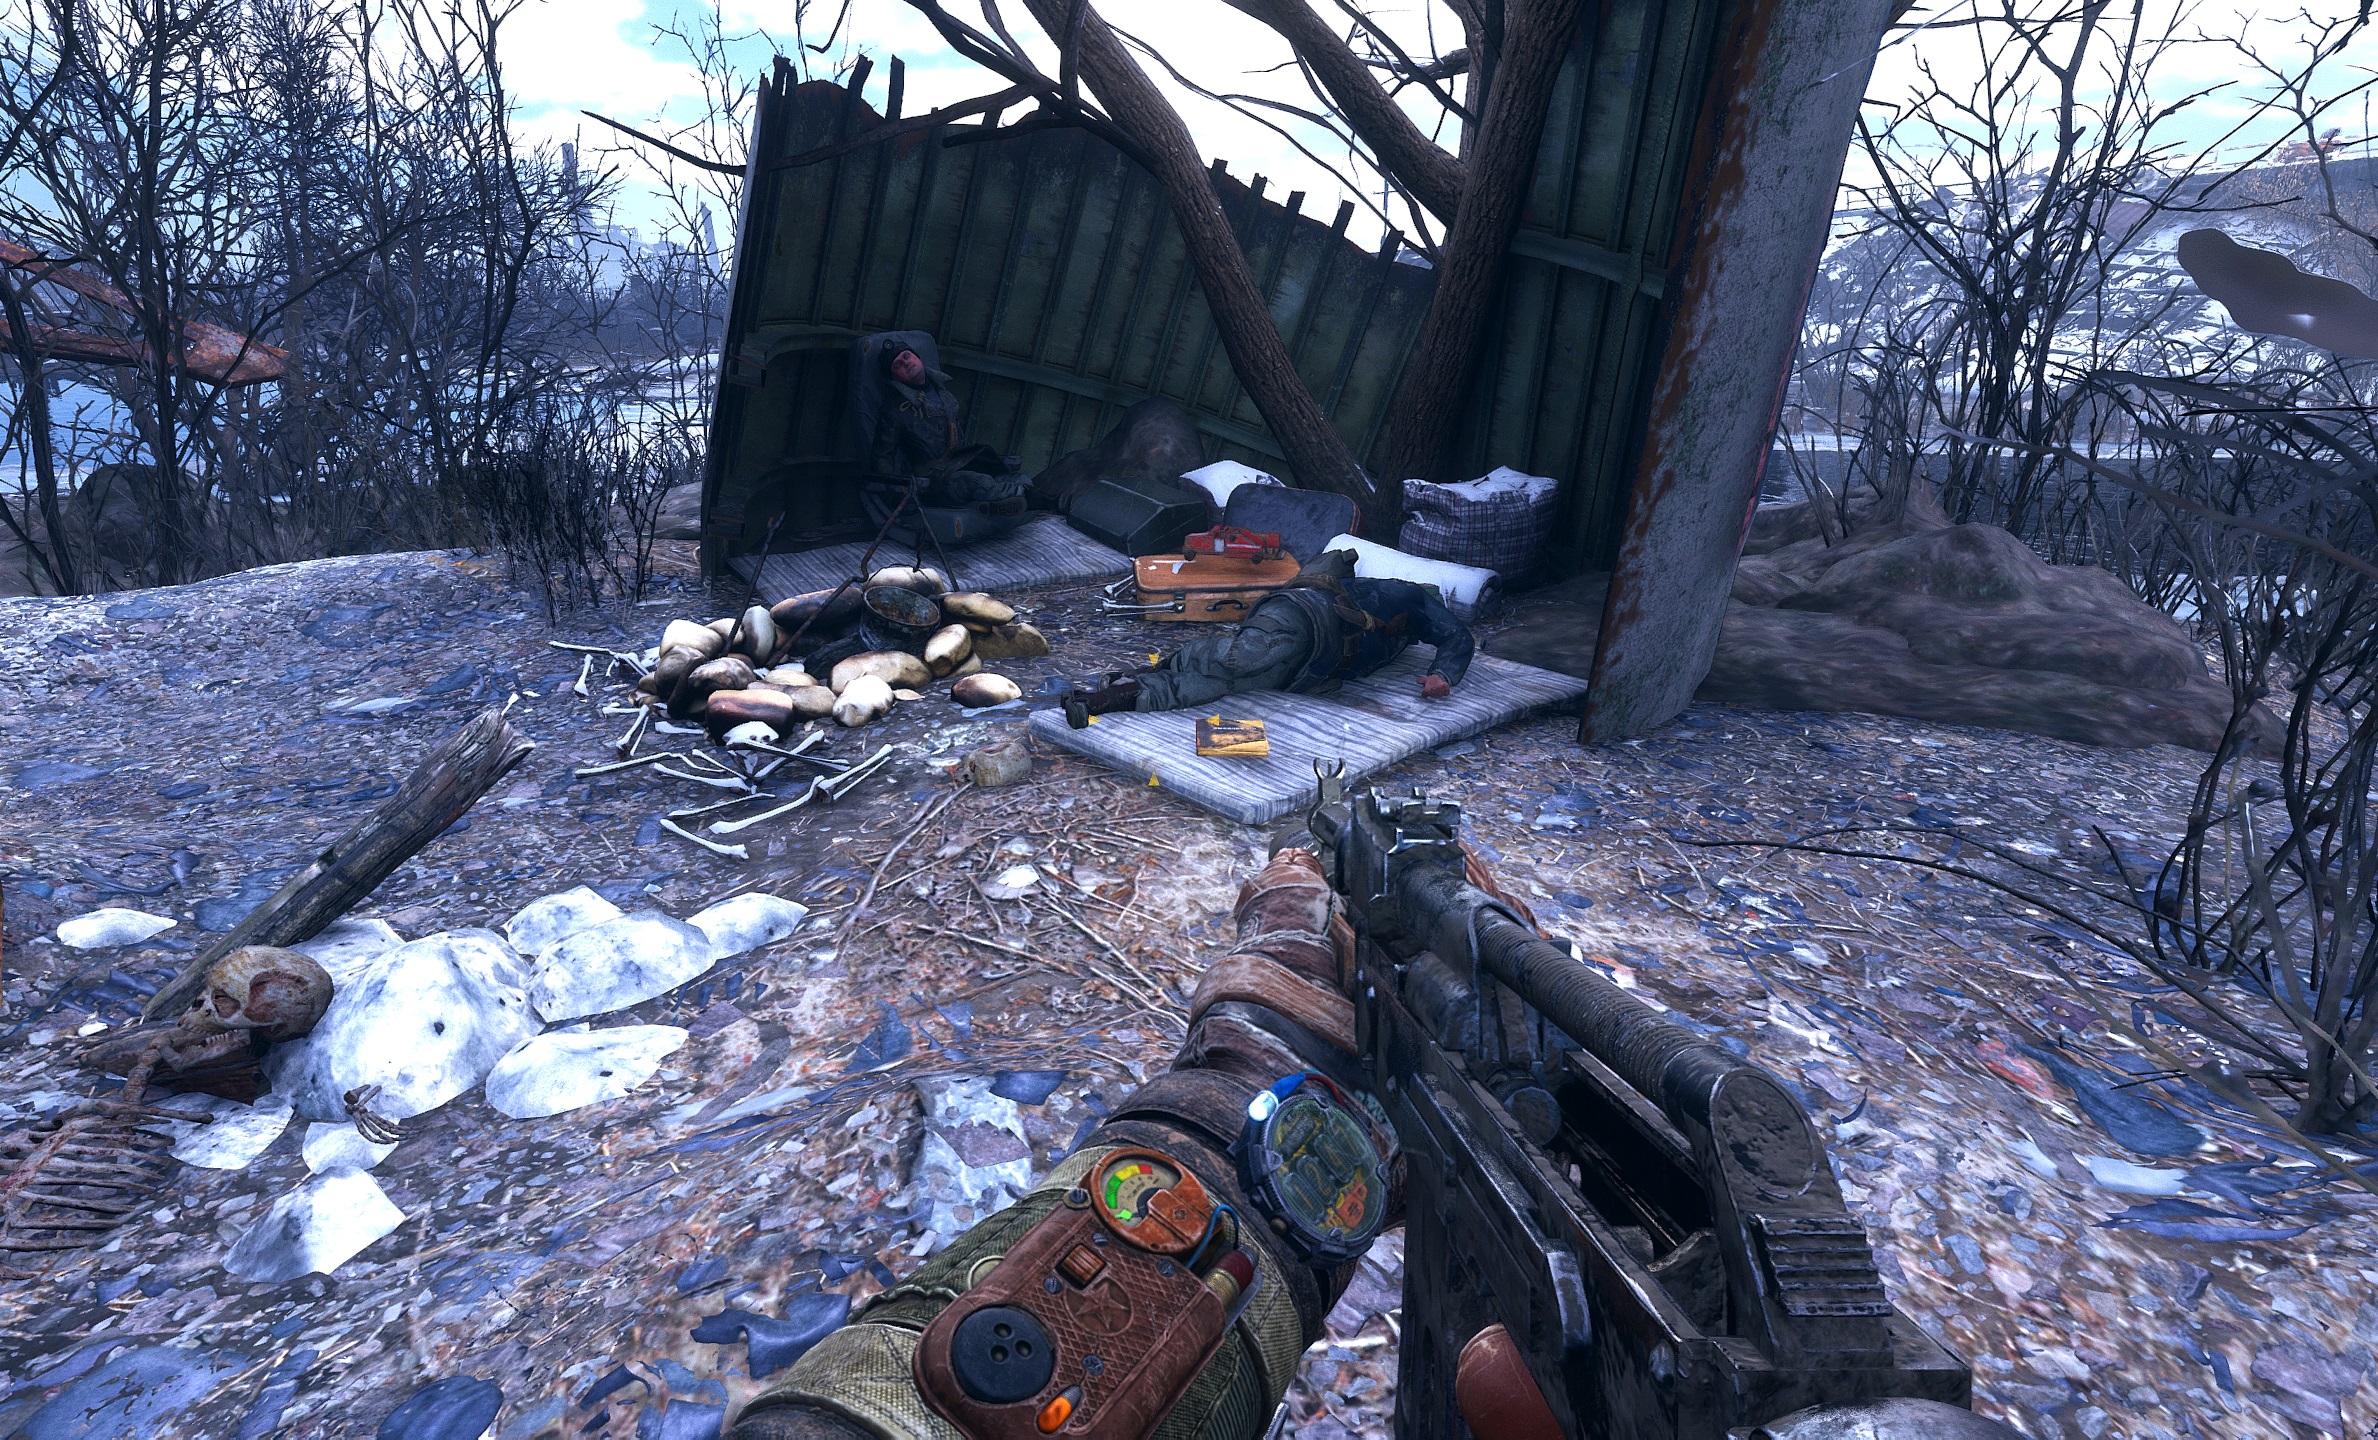
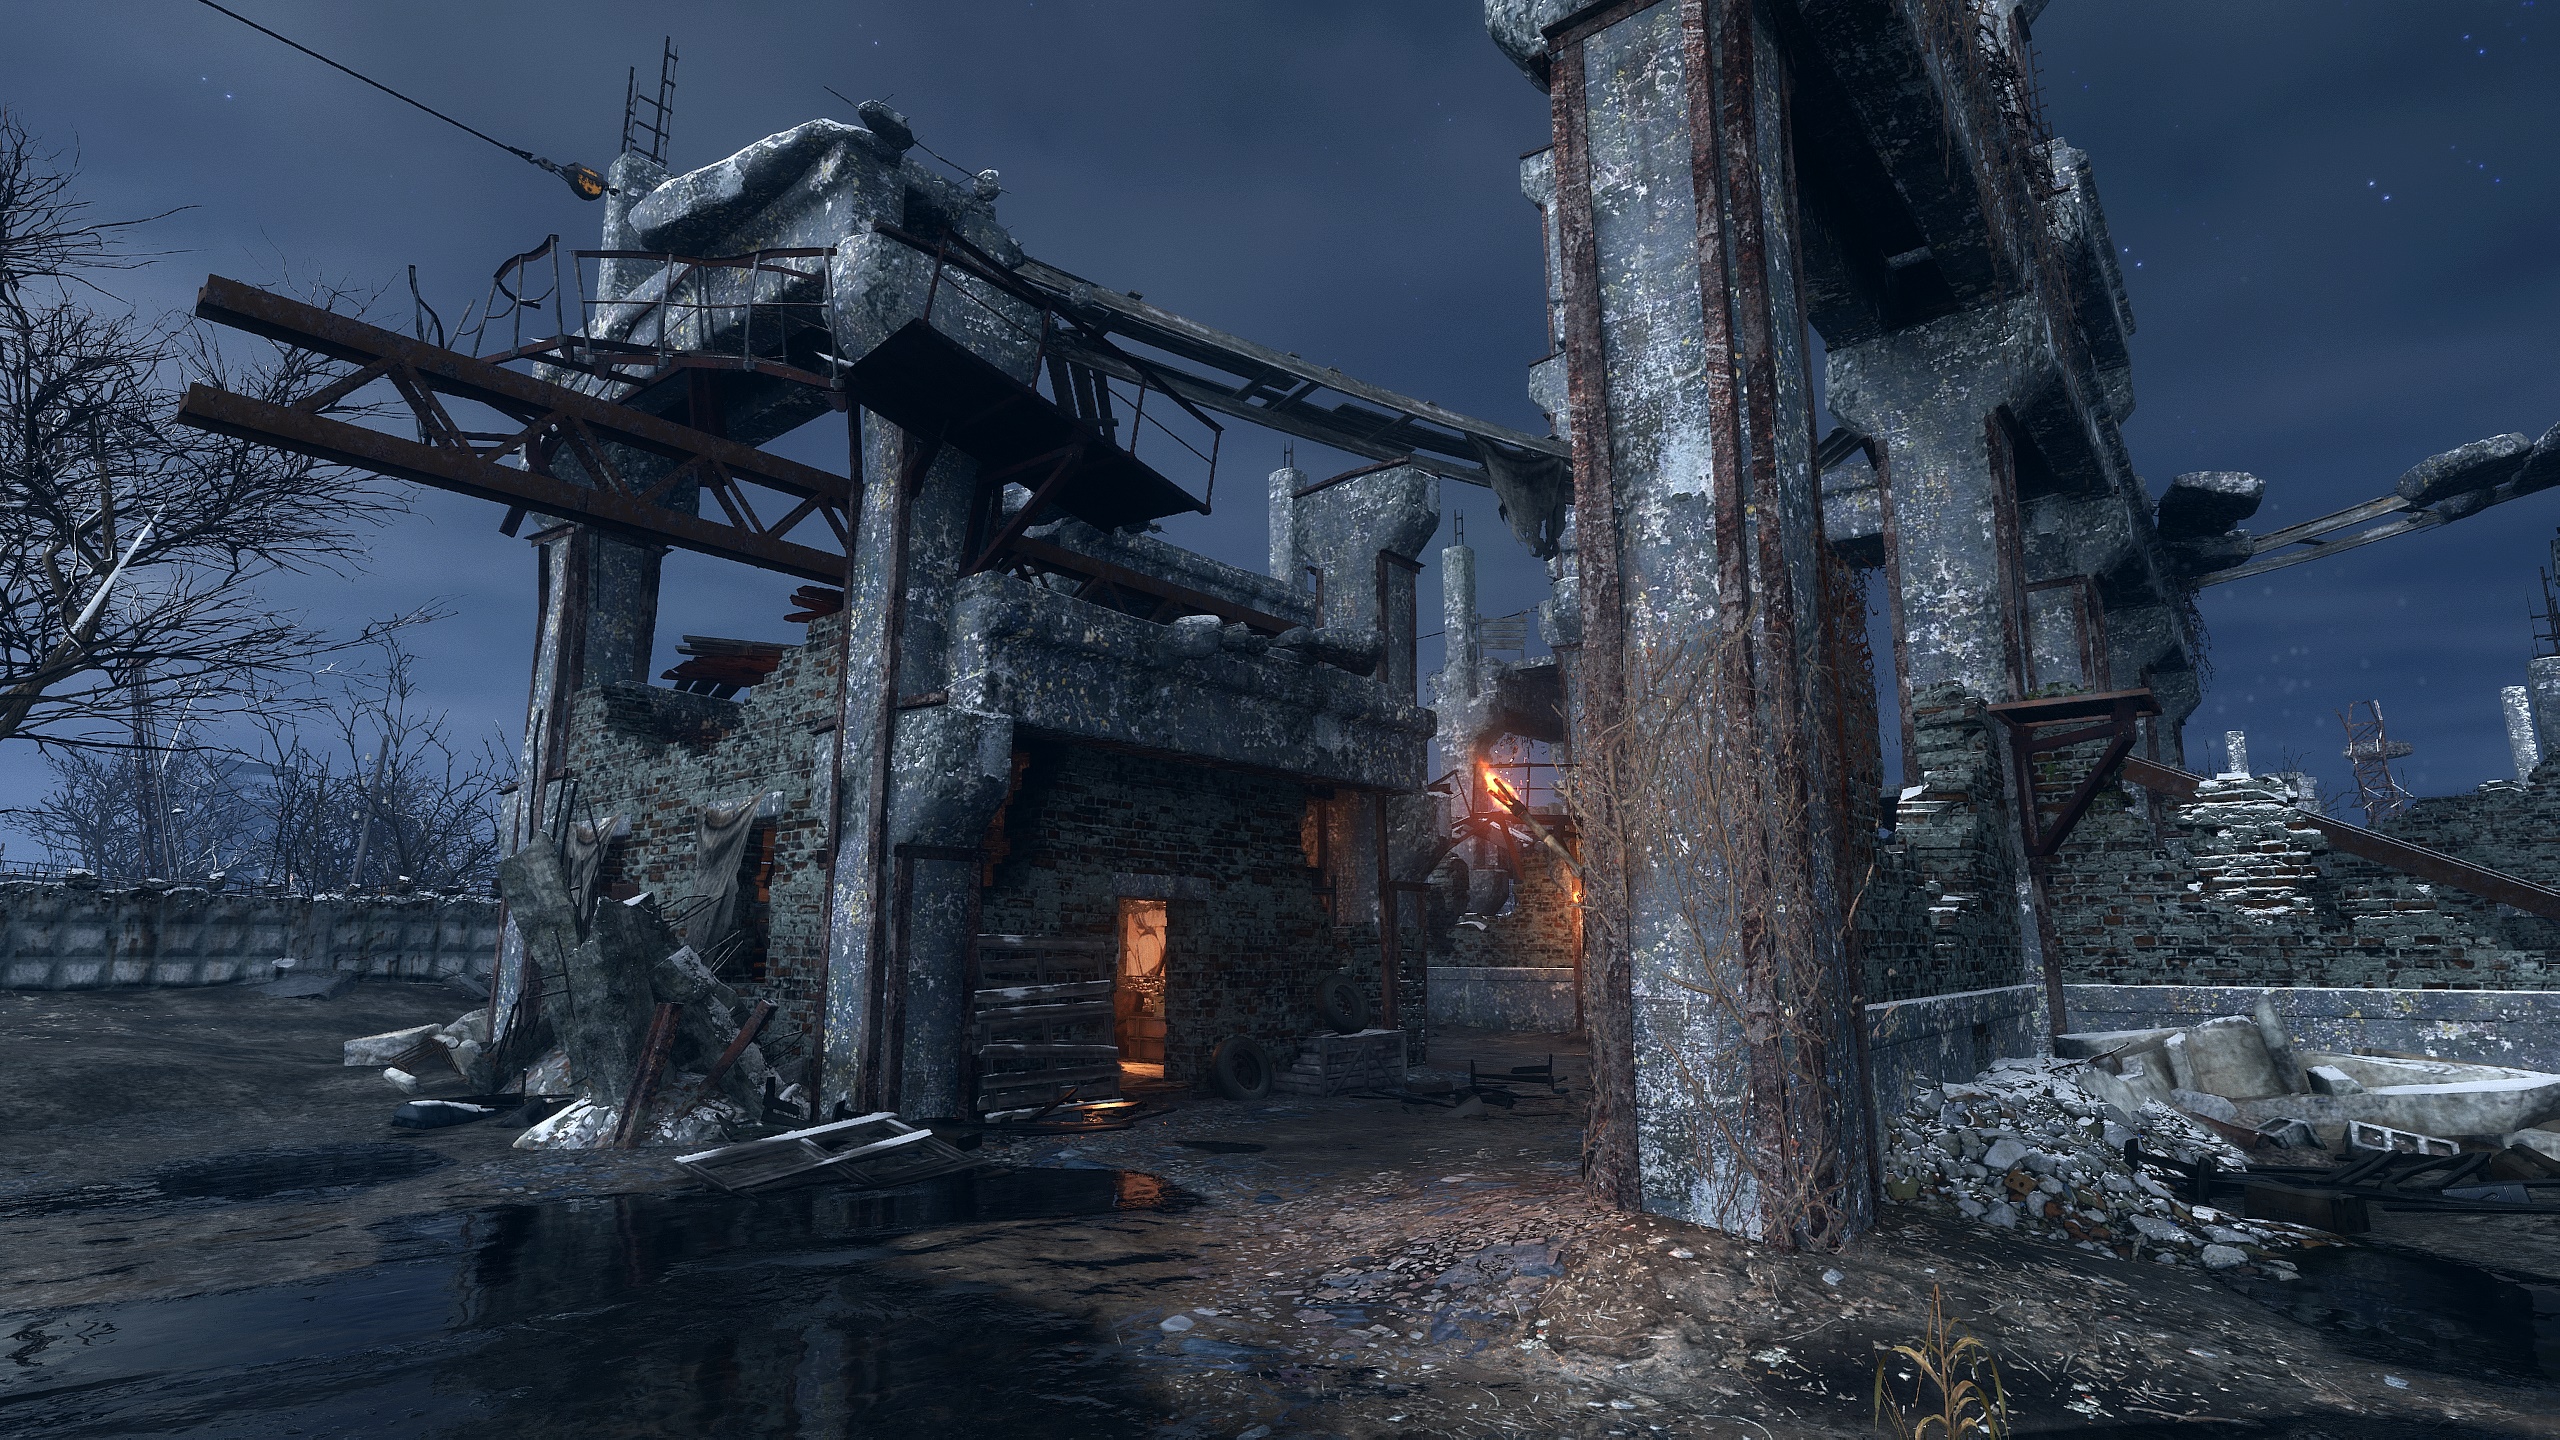
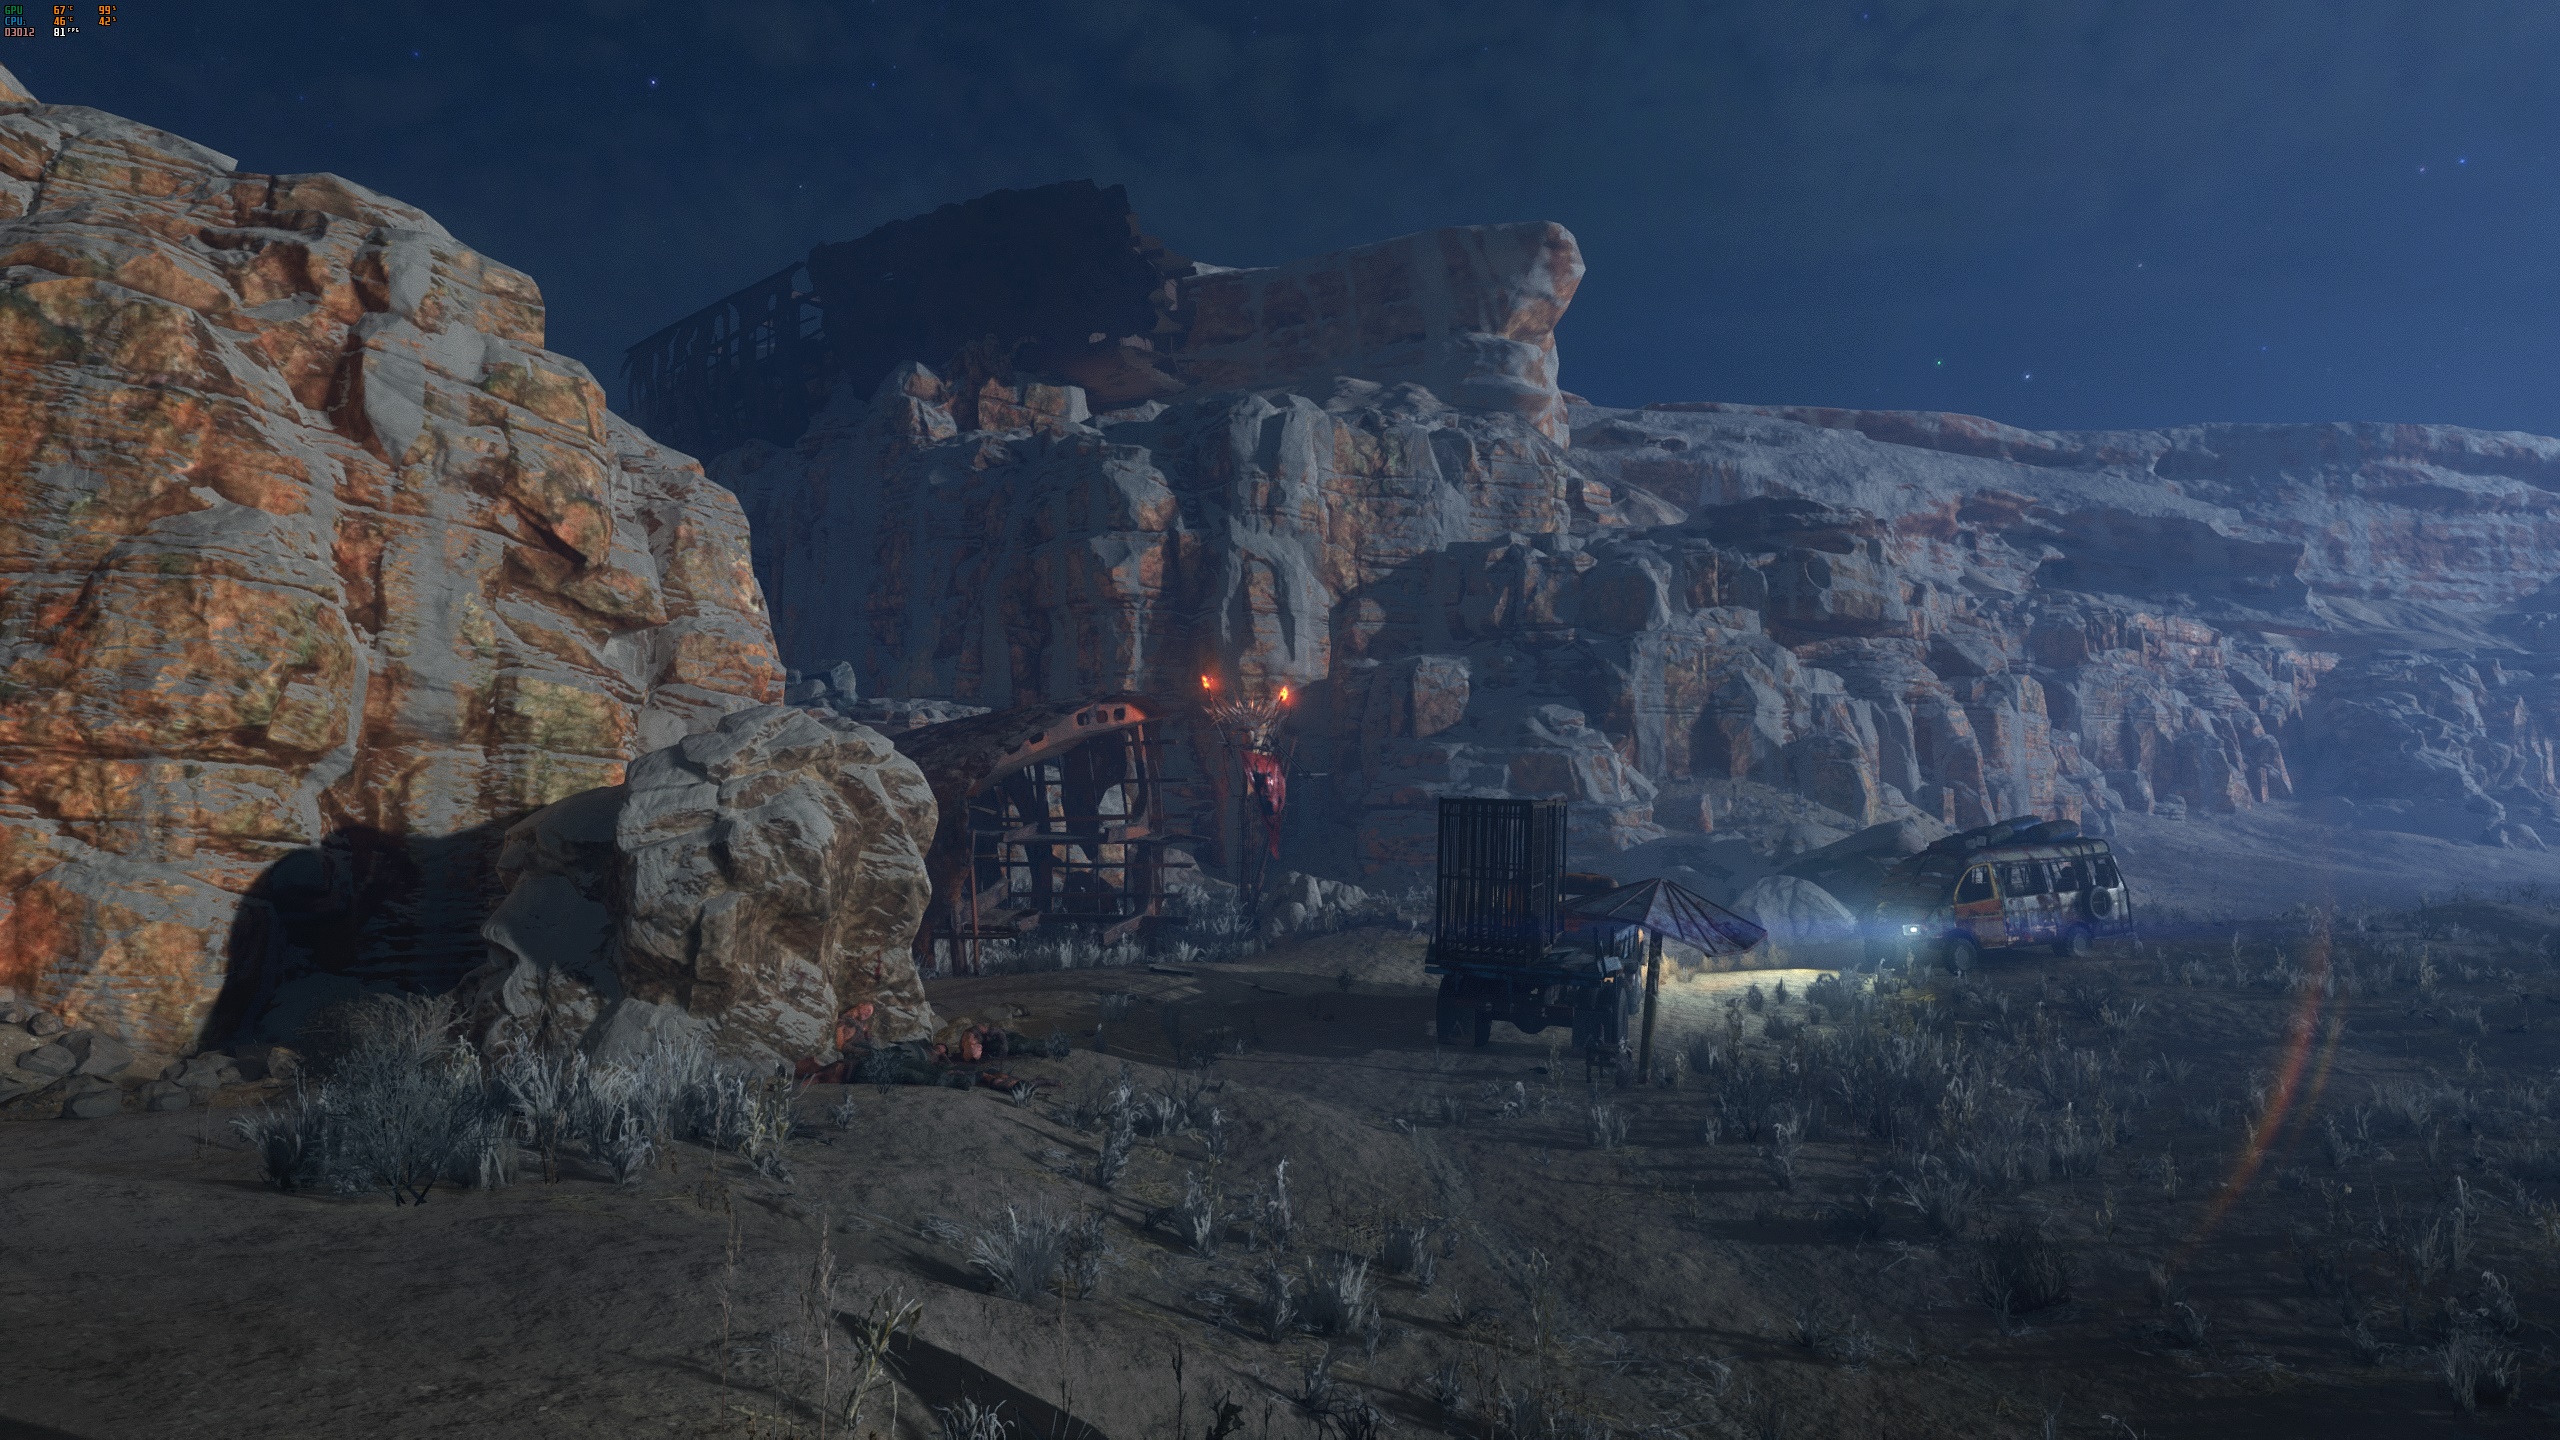
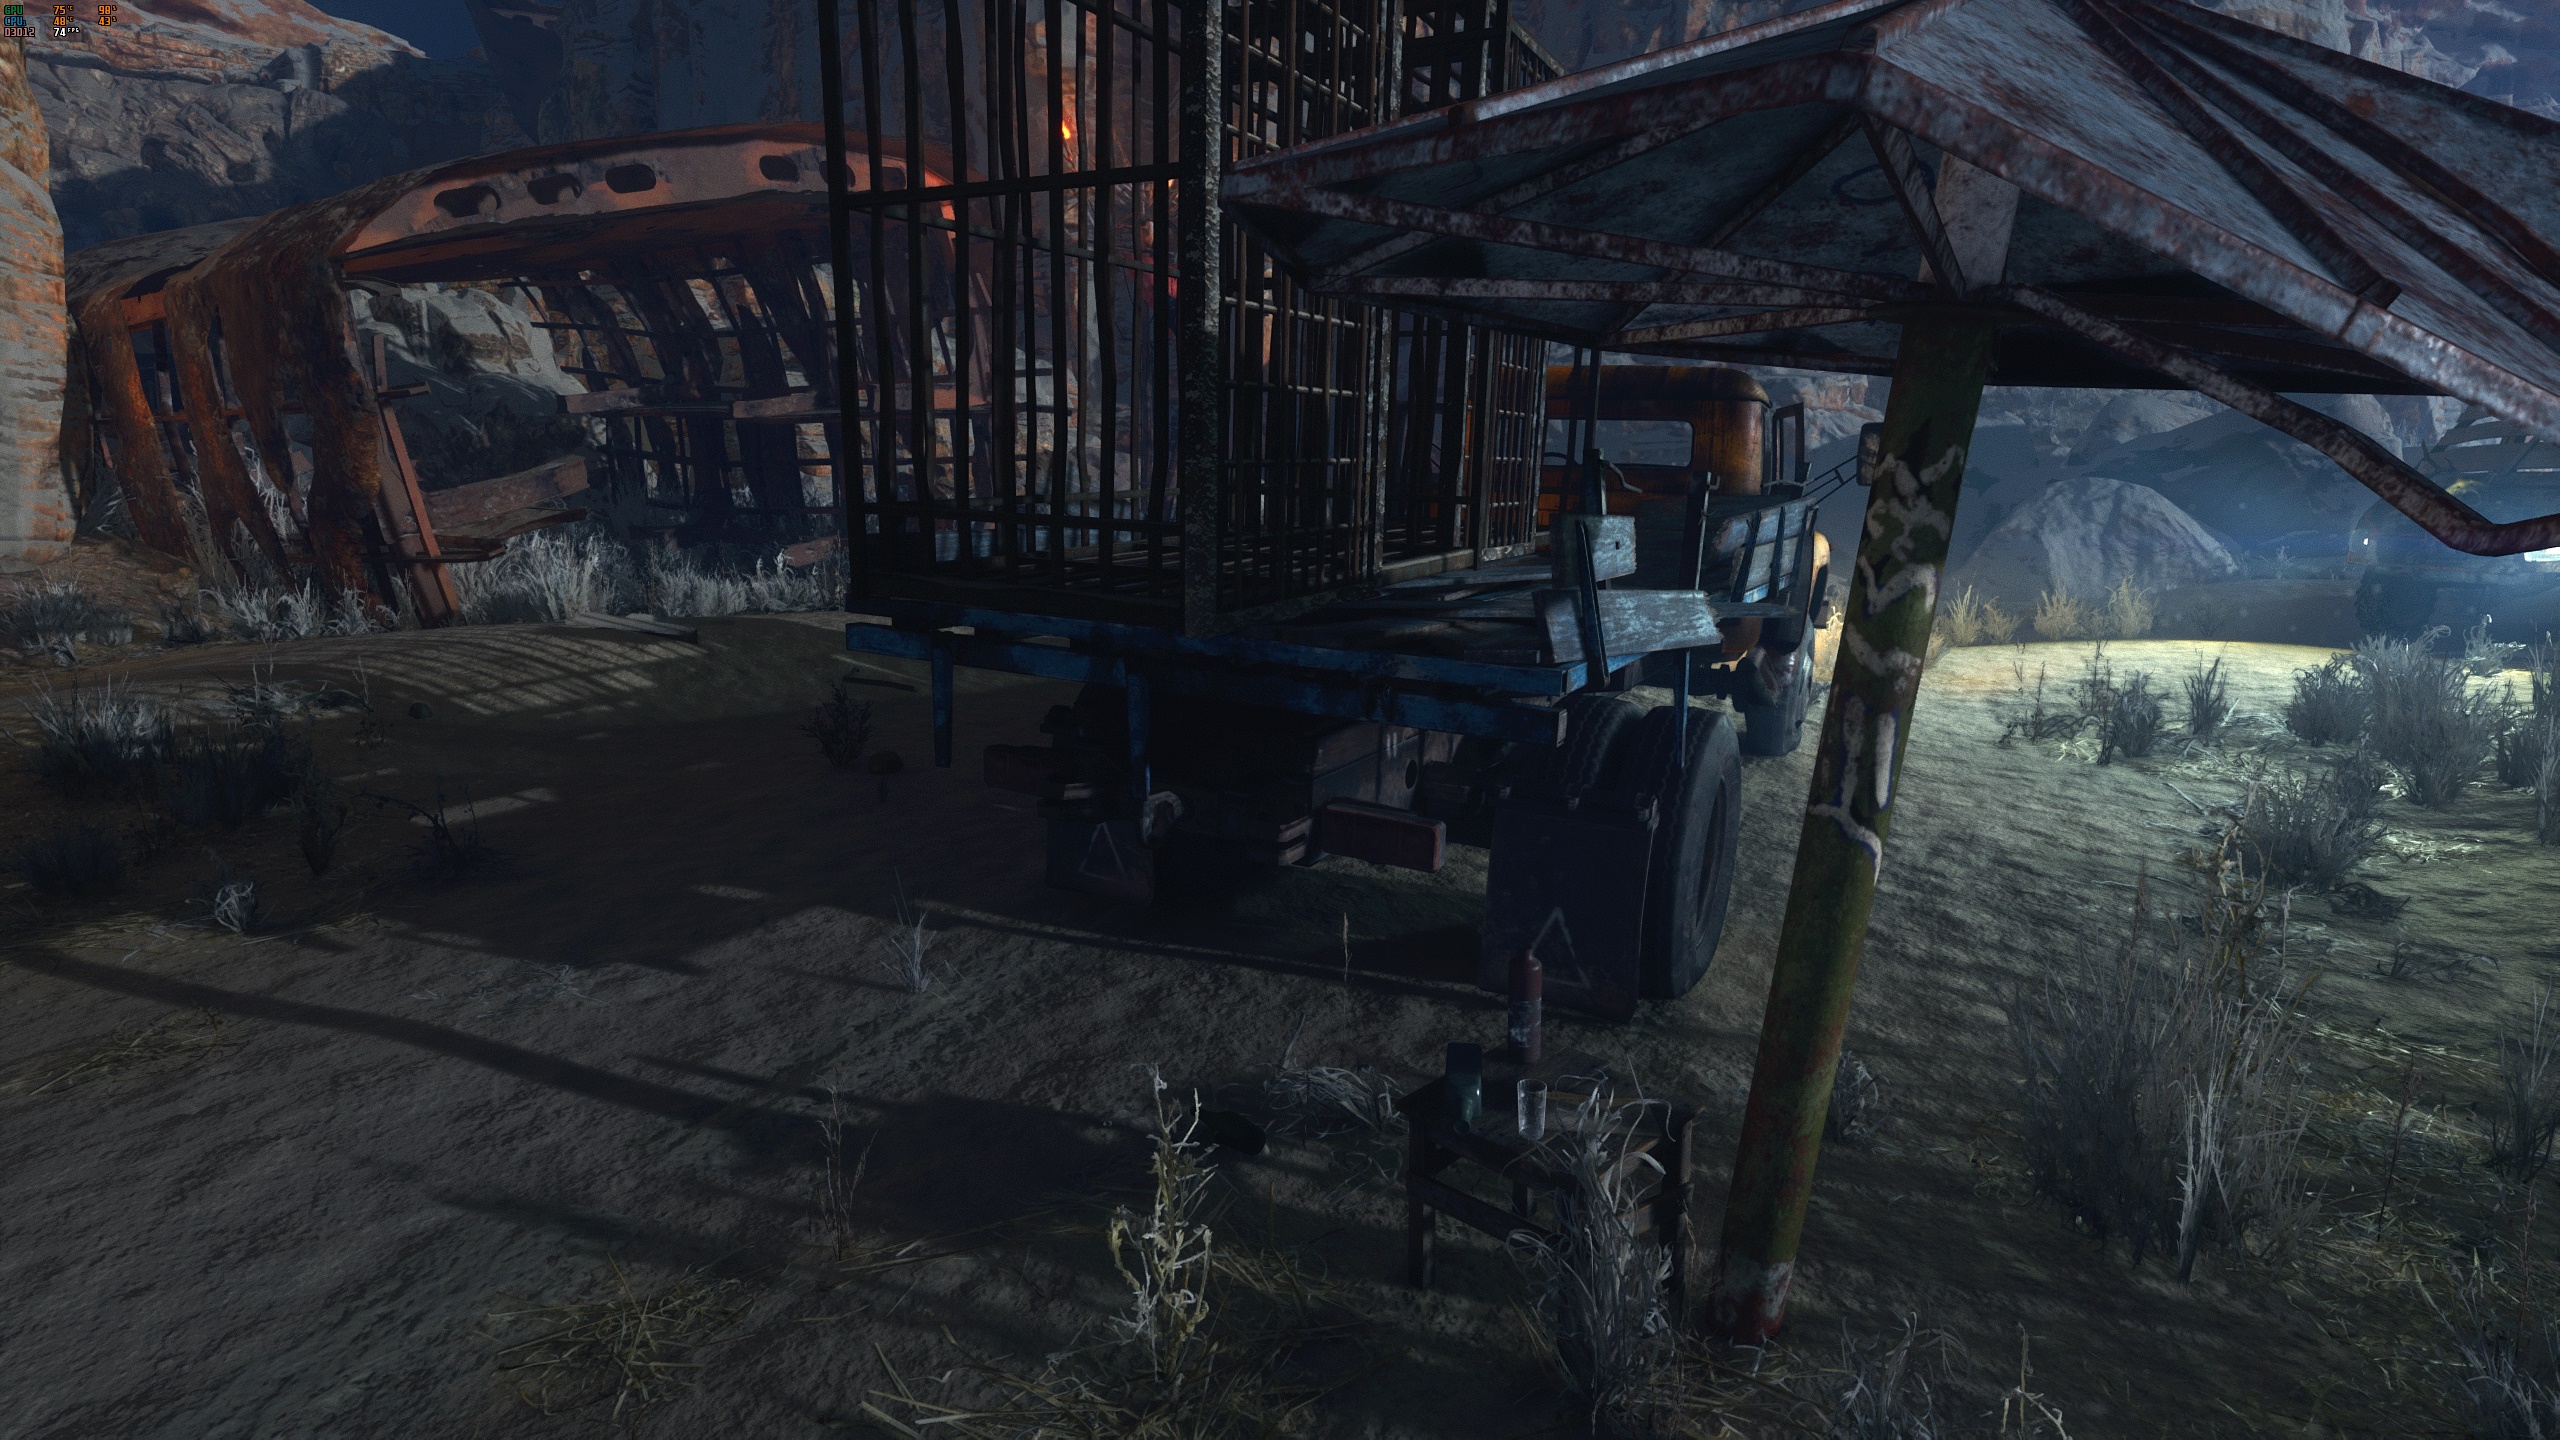
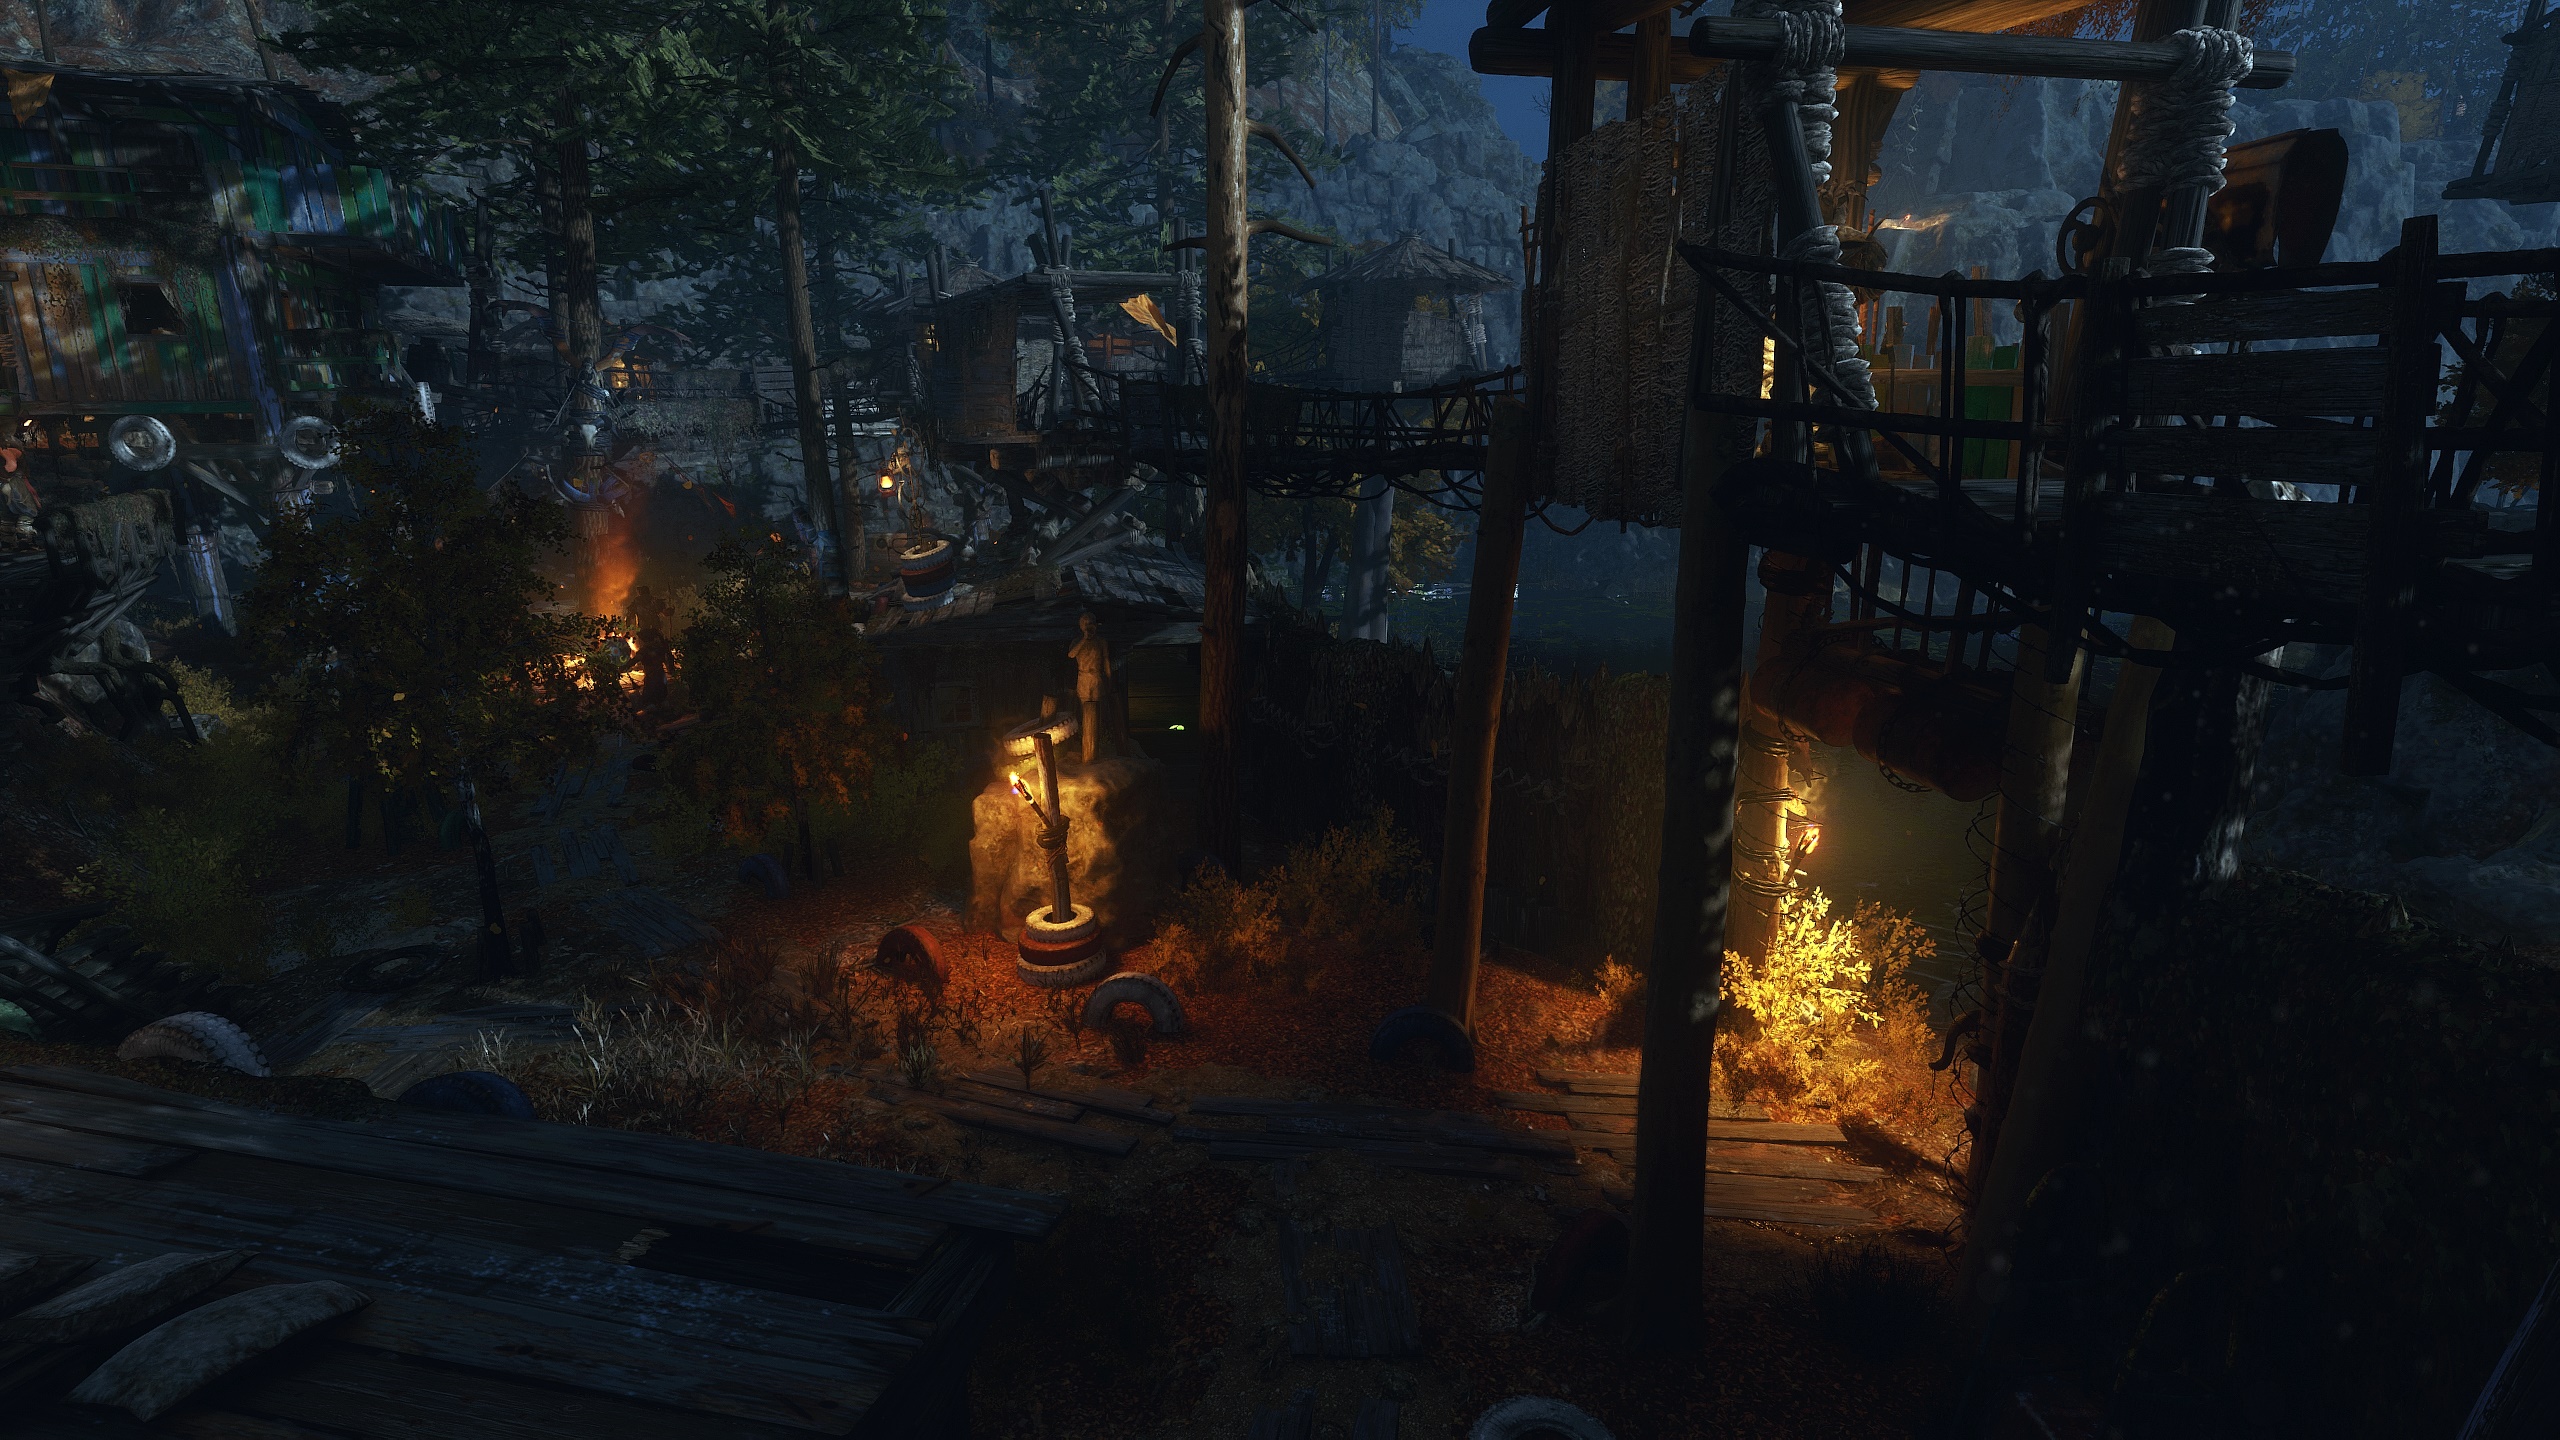
6) Neutralized the camp above the "Prison ship". Freed the slaves in the prison ship without being detected till I pulled the lever. Leave detected but didn't kill or neutralized any of the enemies.
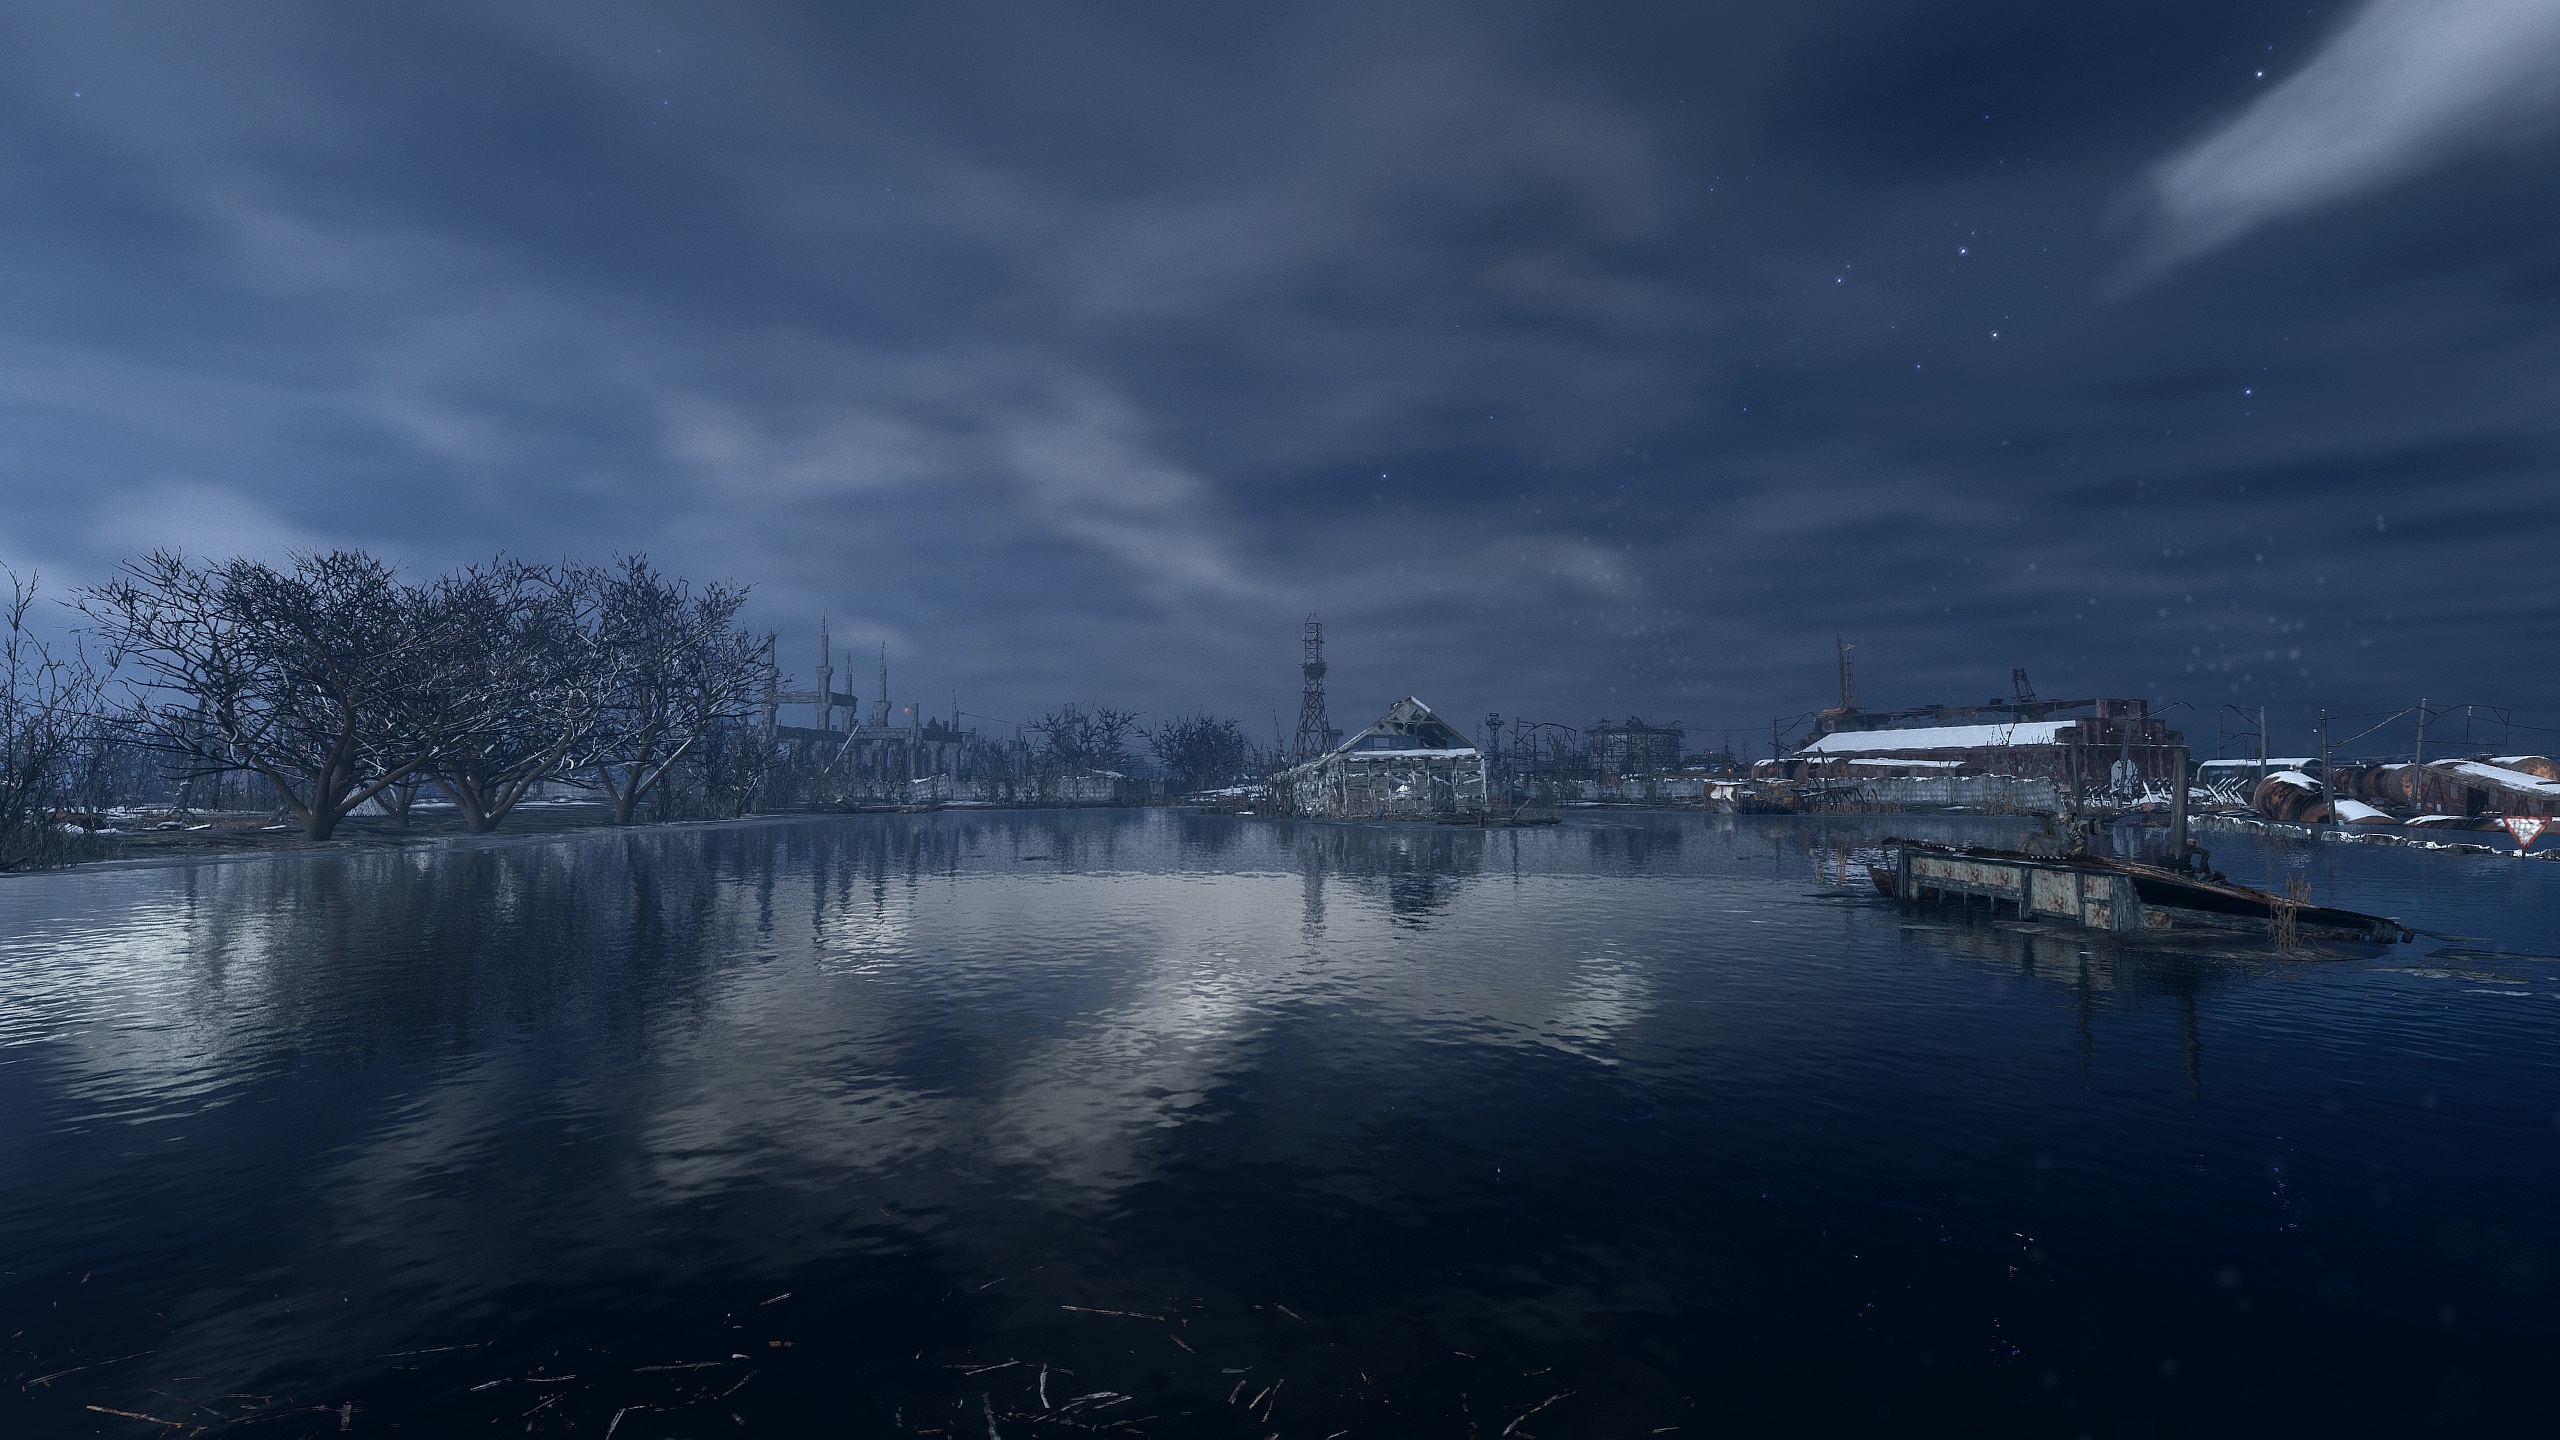
7) Going after water. Used the lift. Immediately killed the dogs and released slaves, but started gunfight, ended up killing all enemies.
8) Baron's fortress through the sewers, avoided all the slaves, just run past them to the next doors. Definitely detected.
B3rgman  [auteur] 27 feb om 4:53 
Hey Kato, sorry for the late reply. Actually I think I moved long ago to new and better reshade presets. I might find that one yet tho. Add me and I'll shate them with you via PM what I using atm. Thanks for your interest.
KatoDanzo 26 feb om 11:12 
Damn, your in game screenshots looks really good ! What are the shader presets you are using ? (not sure if this has been asked already)
Marley The Buffalo Soldier 15 jan om 15:52 
@B3rgman Fantastic work :steamthis: carrying the metro guide torch :MSparta:
tusker_2006 1 jan om 20:15 
For Diary Page #8: Bandit Note MISSABLE you can just jump across the water and it puts you on the island
Xyoz Quasar 1 jan om 11:23 
Thank you very much for this guide!
usirious 3 dec 2024 om 0:07 
absolute legend. very decent and complete guide.
ShadyBiznis 1 dec 2024 om 17:03 
Brilliant guide that was exceptionally helpful. Unfortunately, I'll have to run through again as I missed the heavy stock for the Sammy (and may have blown myself up in the last fight with the Batwing which didn't let me quick load). Just want to mention that you get Armored Glass for your gas mask in the room immediately after powering the first door in the bunker where you get the fuel rods.