
Install Steam
login
|
language
简体中文 (Simplified Chinese)
繁體中文 (Traditional Chinese)
日本語 (Japanese)
한국어 (Korean)
ไทย (Thai)
Български (Bulgarian)
Čeština (Czech)
Dansk (Danish)
Deutsch (German)
Español - España (Spanish - Spain)
Español - Latinoamérica (Spanish - Latin America)
Ελληνικά (Greek)
Français (French)
Italiano (Italian)
Bahasa Indonesia (Indonesian)
Magyar (Hungarian)
Nederlands (Dutch)
Norsk (Norwegian)
Polski (Polish)
Português (Portuguese - Portugal)
Português - Brasil (Portuguese - Brazil)
Română (Romanian)
Русский (Russian)
Suomi (Finnish)
Svenska (Swedish)
Türkçe (Turkish)
Tiếng Việt (Vietnamese)
Українська (Ukrainian)
Report a translation problem


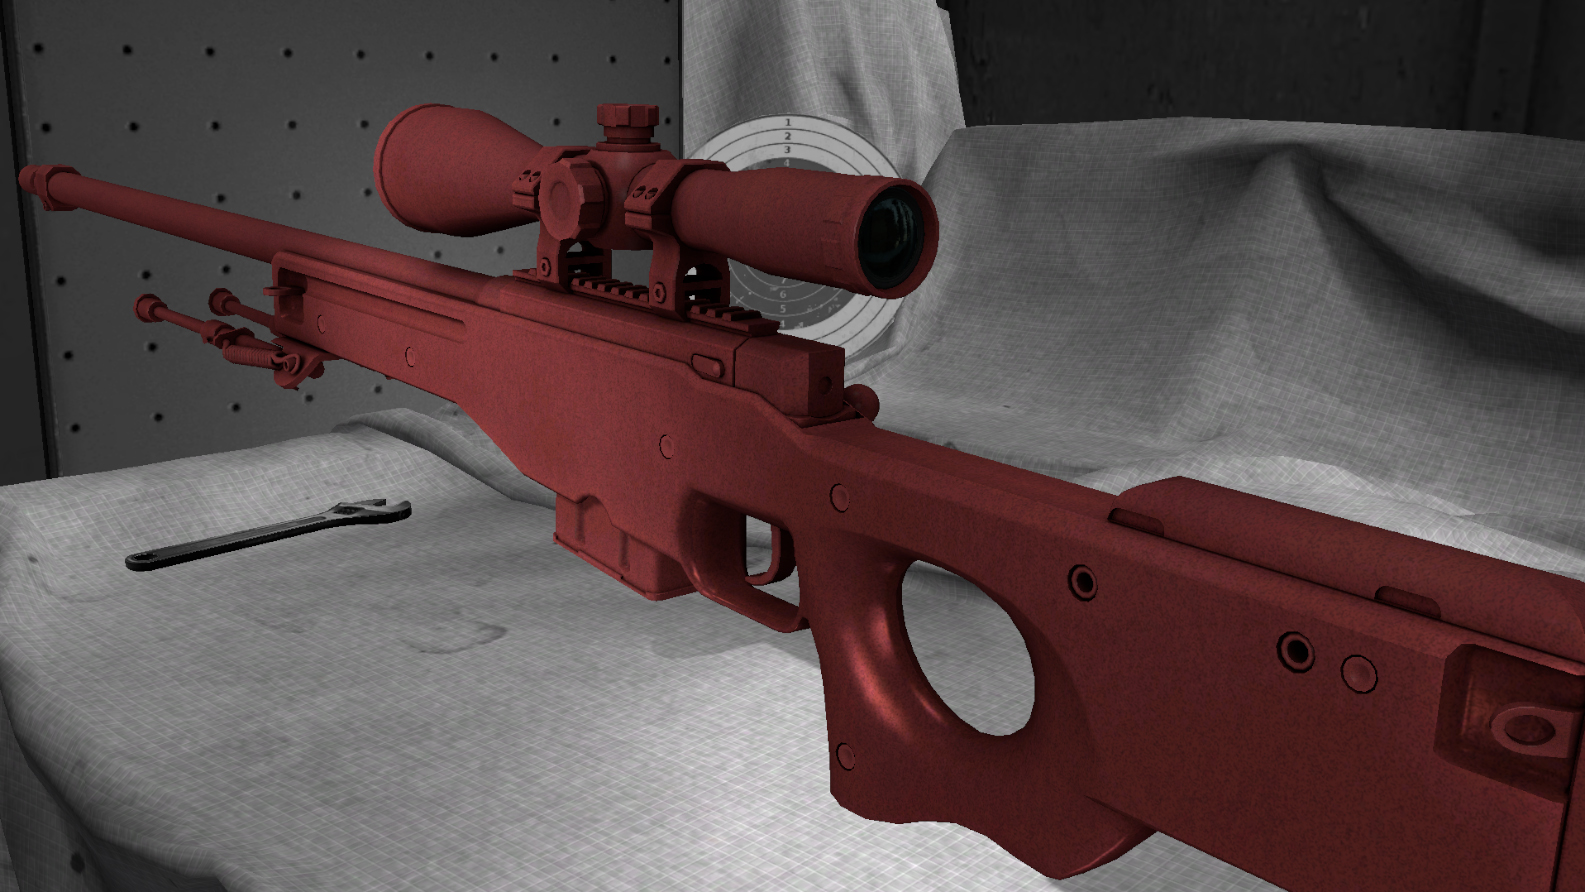


Honestly until now I hadn't payed much attention to making the wear in gunsmith, because it seems it mostly just darkens the whole texture, unlike custom paintjob where you can really determine which parts will wear down to the base material.
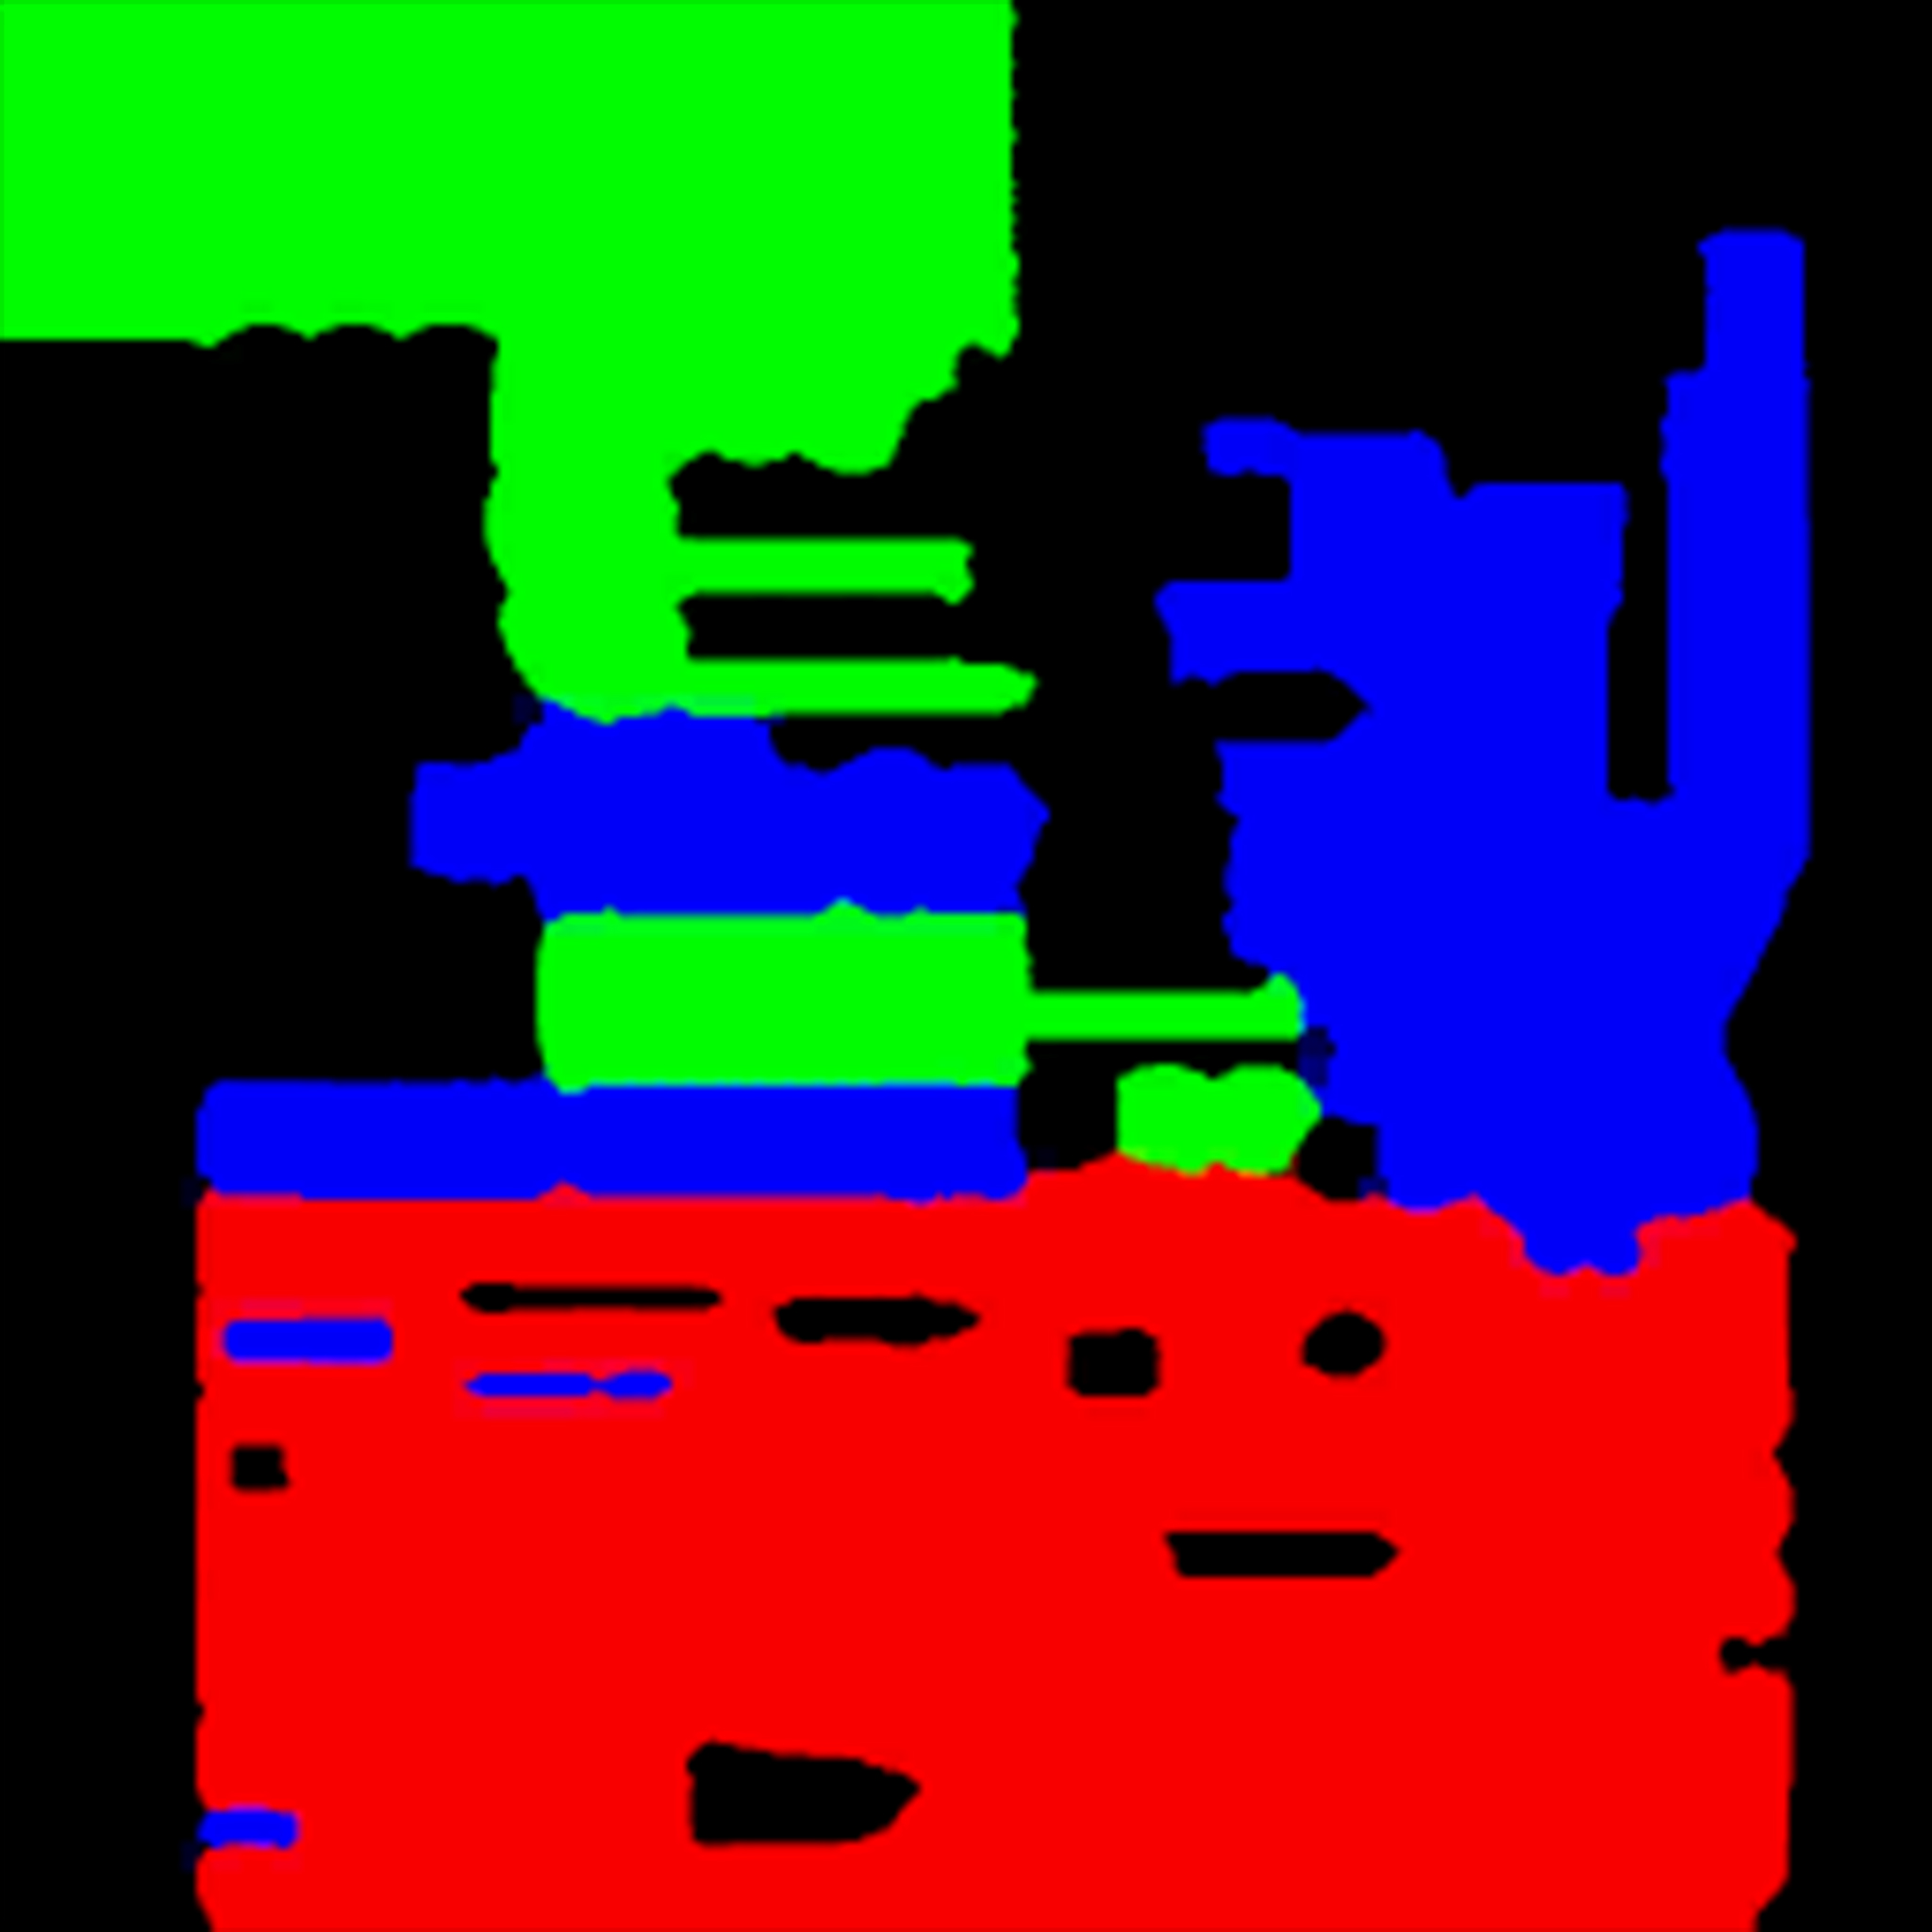
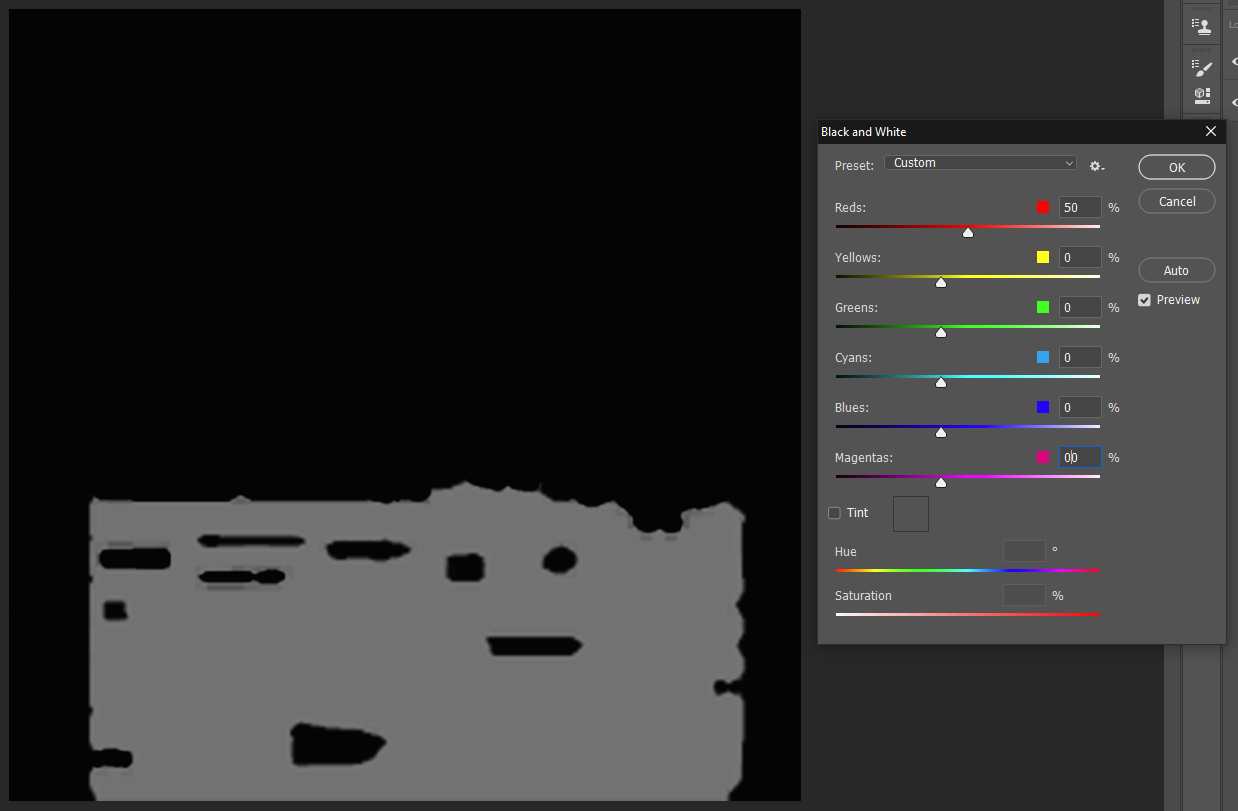
What I think is possible in gunsmith using the alpha channel is to adjust the reflectivity of areas to a certain degree.
For example if you are working in substance painter, you can simply export the glossiness map and incorporate it into the alpha channel, so that stuff like dirt will look slightly less reflective.
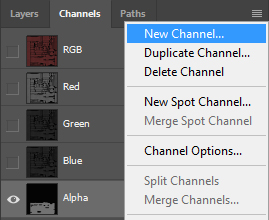
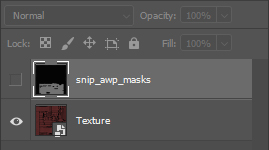
The way I make my alpha channel if it is made out of multiple layers is by putting them into a layer group in photoshop.
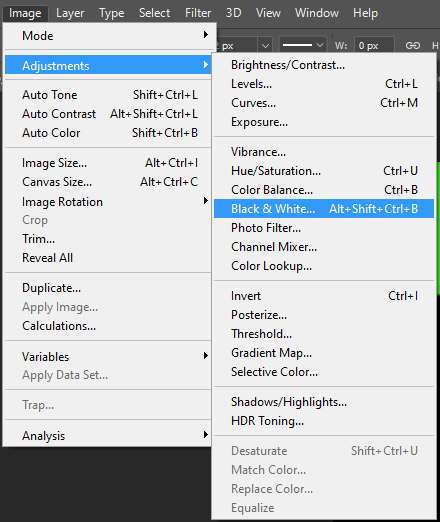
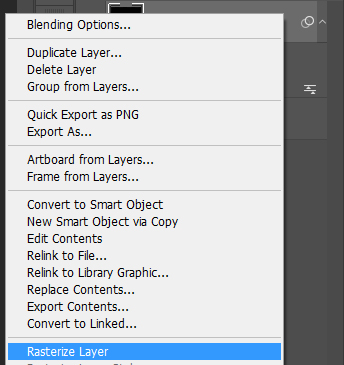
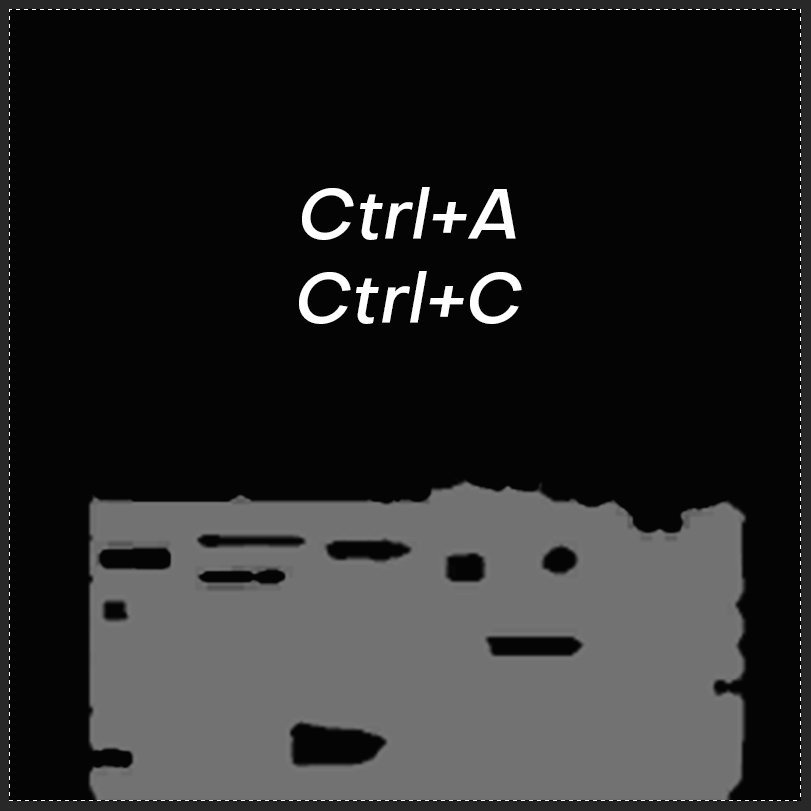
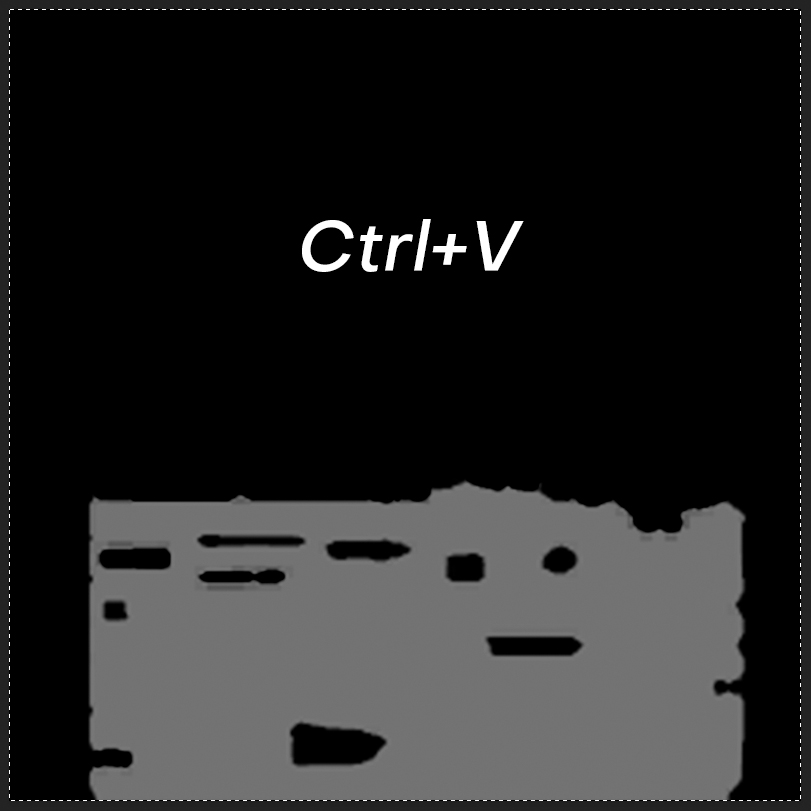
Once that is finished, I duplicate that group, convert it to smart object, rasterize the layer and copy and paste that into the alpha channel and delete the layer.
I hope my answer helps you, I am still experimenting with this stuff myself, but good luck with what you're trying to achieve :)
Just one question: If I'm done with the skin design and I applied your guide and I want to do the weapon wear in alpha channel as a gunsmith style, how this won't effect the alpha I created for the shine/phongalbedobost? Do I need to create another alpha channel for the wear to work or the same one but that might change the shine itself right??
I've included the solution to the problem by Viper in the guide!
If you might not have the files, there is another way to get them:
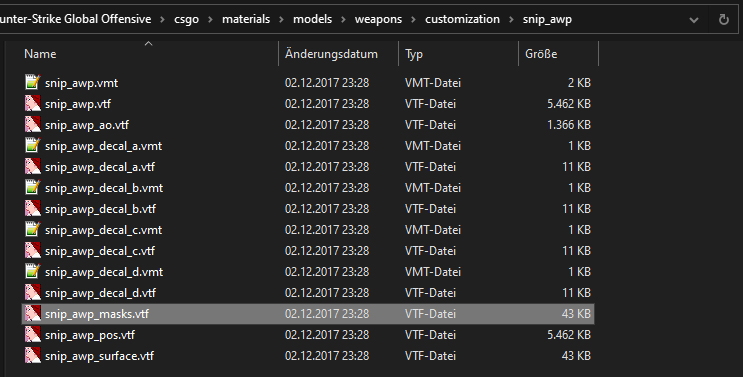
- Go to "C:\Program Files (x86)\Steam\steamapps\common\Counter-Strike Global Offensive\csgo"
- Then open the file "pak01_dir.vpk" using GFCScape (you can download it here: https://developer.valvesoftware.com/wiki/GCFScape)
- Then go to the corresponding directory and all the files and folders you might need should be there
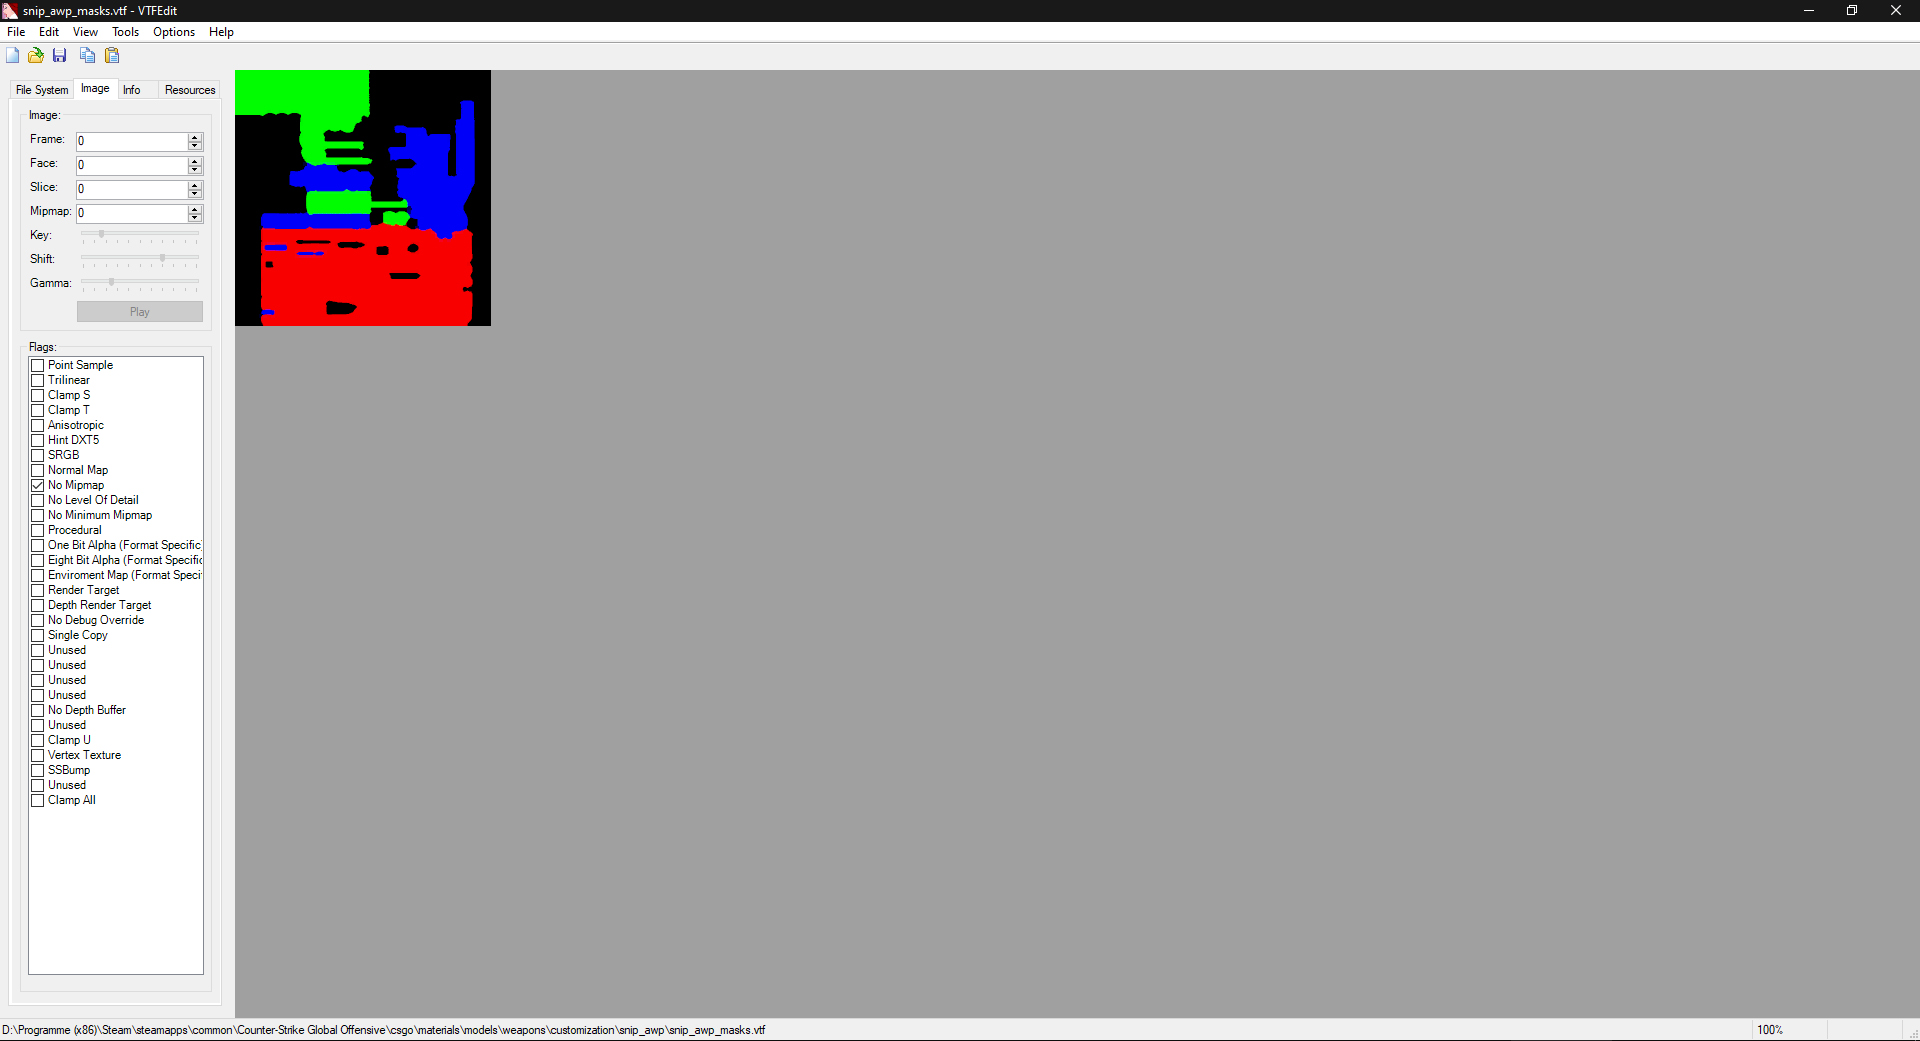
- You don't need to extract any file in that case, just double-click on the .vtf file and do the same thing as I have written in the guide
(actually, I do not even remember whether I had extracted all those files manually a long time ago, to just have them in my regular file explorer for quicker access.
So if more people seem to have this issue, I apologize for that)
But I will update the guide with this information, thank you again for your comment and I hope my answer has helped you!
One question though: In the path you specified (customization folder) I can only see a folder called "paints". I made sure that it's the same path, in fact I copy pasted it from your guide. How come you have the mask files while I don't?
And again, thanks a lot for this effort :)