Team Fortress 2

Team Fortress 2

173 ratings
The Guide to new VSH
By BrickGaming
Welcome to the guide to brand new VSH which was added to the actual game. After playing VSH whole days, I want to tell you how to get gud at this gamemode
2
3
3
   
Award
Favorite
Favorited
Unfavorite
Notes for 2010s VSH players
YOU CAN'T taunt to get crit/mini-crit buff

Special weapon buffs DON'T EXIST

Saxton Hale's stunning jumpscare WAS REMOVED

Every class CAN climb walls

Medic CAN'T revive teammates

Crits for melee weapons ARE HERE
SCOUT
He helps the team with giving debuffs to Saxton and can survive the round longer.


There are 3 primary guns that are good for the gamemode


Scattergun deals decent ammount of damage at close range.


The Shortstop
shoots faster and has insane accuracy. Its able to push Saxton away using alt key.


Force-A-Nature yeets Saxton away at pretty much good distance. Reccomended to shoot while standing on the ground or else you'll compeltely stop moving at any direction. I don't tell you to never do that while midair. It's just not reccomended.


ALWAYS take Mad Milk and Fan O'War


Mad Milk heals your teammates
Fan O'War gives Marked for Death debuff that lasts for 15 seconds, which is longer than Jarate effect(10 seconds)


STRATEGY
  • №1 --Throw com jarMad Milk the first Saxton appears.There can be many teammates who will swarm all over Saxton. Mad Milk gives more chances to survive
  • №2 --Hit Saxton with Fan O'War when he gets distracted
  • №3 --Make yourself hard to catch
  • №4 --Alway use Force-A-Nature knockback wisely. You may push Hale right into your teammate
  • №5 --If needed, SCOUT out his location and tell it to your team
  • №6 --Don't be a

SOLDIER
Soldier plays support role, giving buffs to the teammates around. Its easier for player to escape Saxton if he knows how to rocket jump.


Weapons to use....

You can use any rocket launcher except for Liberty Launcher and Cowmangler You can't use only Concheror Battle banneras a buff giver. Be free to use others. As for melee weapons, use Disciplinary Action or Escape Plan.


(P.S: I guess I don't have to explain why using these certain weapons)


STRATEGY

  • №1 -- Don't stay and shoot Saxon, move and use rocketjump
  • №2 -- If Saxton chose you as a target and starts chasing, rocketjump away as far as possible or to a higher spot.
  • №3 -- Apply banner buff while attacking Saxton and while defending yourself from Saxton]
  • №4 -- If there is also soldier with banner, apply your buff at the same time as him.Don't do that if Saxton hides, soldier can activate banner accidentally.
  • №5 -- Use Disciplinary Action on your teammates when you start to chase Saxton


    There is also another way to play. Trolldier!

    Market Garden deals 500 or 900(if 3-1 players left) if hitting Saxton midair.

    Manntreads deal the same amount of damage upon landing on his head.


    I can't tell much about the strategy. It entirely depends on your rocketjumping skills and ability to dodge Saxton's hits.


PYRO
He plays role of defender, as he is able to airblast Saxton away


Here are the weapons to use


Stock Flamethrower (just for airblast, and normal afterburn, lol)


Stock Shotgun is just a good weapon to shoot Saxton. It has normal bullet spread. Good for mid range fight.


Scorch Shot allows to slow down Saxton. As you know, when you hit somebody with second flare or somebody already exposed to fire, they get stunned by the knockback. The same applies to Saxton Hale


Panic Attack deals greater damage at close distance(point black range deals 100+ damage). With quicker weapon switch it makes a good weapon to fight attacking Saxton. Fact: spread for Panic Attack pellets IS NOT random


Degreaser is just great addition for Panic Attack (at cost of faster afterburn and increased ammo cost for airblast)


Detonator great for the mobility as you can quickly flarejump away from Saxton or chase him faster.


Powerjack gives faster speed, so you can chase Saxton or take cover from Saxton's attacks


STRATEGY


  • №1 -- Approach Saxton at your risk. AIrblast him to the corners or walls so it will be harder for Saxton to attack anybody. Even better if you push Saxton to hazardous area(radioactive wastes in Nucleus,quickly killing shredders in Distillery) Always remember that he will eventually use dash ability.
  • №2 -- If Saxton is ready to use "dashpunch", take cover, climb or run to safer spot as quickly as possible
  • №3 -- Don't let Saxton kill your teammates
  • №4 -- Protect engineer's babies if possible
DEMOMAN
Demo can either be an important attacking unit or sticky trapper. Its more important to attack Saxton if you are sure about your movement and reaction speed.


REGULAR
I can't tell much about regular demoman. Demoman needs to keep distance between him and Hale, being good at shooting pipes and stickies.

If you like to use sticky launcher not as second weapon, but to use stickies as trap, then Scottish Resistance is must-have. All 14 stickies deal ~1400 damage. If medic with kritzkrig charges demo, stickies will deal ~4200 damage, which is deadly when Saxton has low hp.


DEMOKNIGHT
If you want to be demoknight, you must take TIDE TURNER and BOOTLEGER/Ali Baba's Wee Booties

  • Tide Turner lets you charge and turn freely. Gives additional advantage if you know how to
    trimp.

    Tide Turner and all other shields gives 100% protection from first Saxton's hit. After Saxton hits you, it breaks. Overall its great advantage while fighting Saxton.
    You can quickly start slicing his a$$ by charging at him. By the time Saxton manages to break your shield, you'll build up important buffs (you'll see about buffs on next lines).
  • Bootleger/Ali Baba's Wee Booties increase health by 25% and speed by 10%

There are 2 good swords

  • The Eyelander/Nessie's Nine Iron gives you head for each time you hit. You'll increase max health and speed until you reach 4 heads. After 4 heads, you'll get 1/4 of your health. The main point of Eyelander is increased speed. You won't worry about lack of speed if your Tide Turner breaks. Combining that with Bootleger, you can run even faster than Scout and it can be hard for Saxton to chase you down
    However, you'll need a medic to survive for long. Otherwise, Saxton will start to dodge your hits and kill you.

  • Half-Zatoichi heals and overheals you with each hit. That's better than healing effect of Eyelander. You won't need a medic unless you failed at hitting him multiple times and got severely damaged.
    But Half-Zatoichi has its bad side. It's obviously no speed increase. However, if you'll manage to approach Saxton in a tight space without him noticing, you can push him straight to the corner and slice him until he thinks of using abilities. In short, you'll be slow, but dangerously tanky.


    Other swords or other melee weapons are garbage. Never use them.


NOTE: If lack of buffs you get from Bootlegger are no matter for you, then you can use grenade launcher instead. You potentialy can deal damage from both long distance and close distance

You can use funny Loose Cannon. It can completely stun Saxton or make him go flying from DONK! But be aware, it deals much less damage comparing to other launchers. It's COMPLETELY useless if you fight Saxton in 1v1. So yes, other launchers are better option but its funny to f@ck around with cannon, right?


Strategy

  • №1 -- Hit Saxton when the match starts. If you are brave enough, you can continue to cut his a**, if not, run away and don't attack until Saxton gets distracted or surrounded by your teammates
  • №2 -- Ask a medic to heal you. When medic heals you, you'll be able to deal much more damage and have lower chances to die.
  • №3 -- If you see that Saxton's arm glows red, do not approach. You'll get instantly killed. Wait until Saxton kills somebody other and then attack.
  • №4 -- Never stop moving, use everything to either chase Saxton or run away from him.. Climb wals and trimp using any slopes.(Stairs also count as slopes)
HEAVY
Heavy is tanky and can survive 2 Saxton's punches. If he sticks to medic he can be a dangerous enemy. Unfortunately he is not quite good class for the gamemode due to his slow mobility. If you still want to play heavy, then the guide is for you.


First you need to take proper weapons

If you like to shoot at far distance, then Tomislav is a good choice, if you like to get closer to Saxton and you also have medic who heals you, then you should take stock minigun
For high mobility, especially for walking from point A to point B or escaping Saxton, take Gloves of Running Urgently. If you don't have medic around, take Dalakosh with you to increase chances of surviving during a fight with Saxton. If you do have medic, take sandwich instead so you'll heal him from time to time

I don't reccomend taking Natascha, cause of low damage and insignificant slowdown effect but NEVER TAKE BRASSBEAST. With Brass Beast you'll become very easy target as you won't be able to pull minigun away and take Gloves to escape


STRATEGY

  • №1 --Always change your location to shoot from
  • №2 --If possible, stalk him, so you'll be able to deal damage longer
  • №3 --While not getting attacked or seeing Saxton, move using what I call "fat bunny hop". You'll keep the same walking speed and at the same time always have your gun prepared for sudden Saxton's appearence.

    Its simple, jump forward and rev your minigun. When you land on the ground, release MOUSE2 and jump and press MOUSE 2 again quickly.

  • №3 --If you are shooting and Saxton suddenly starts to approach you. Immideately stop and pull out Gloves of Running to escape. Don't turn back, because walking backwards decreases your speed by 10 Hammer Points(Source engine speed amount) Hope for the best because Saxton can still catch you. Saxton can just change his prey or get distracted by your teammates
  • №4 --If medic isn't busy healing all teammates, ask him to be with you and tell him to ubercharge.
  • №5 --Give every teammate (who is severly damaged) a sandwich They can also ask you.
  • №6 --Don't stay on the ground, Get on higher spots(unless you get stock ubercharge)
ENGINEER
Engi is the most important class if not the best. His sentry can deal tons of damage to Saxton. However, you and your metal kids wont survive for long if you dont't have strategy and right "nest" placement


Equipment to use:


Wrangler. It's MUST-HAVE. Wrangler gives sentry shield which makes protection equal to 1 THOUSAND HP. Saxton will have to hit many times to take down that sentry. Wrangler is also very good for open spaces and you can aim at Hale anywhere he goes. BUT, if Saxton notices that annoying laser, he can choose you as a target.


Jag. Its BEST for Saxton Hale gamemode. Allows you to build your nest faster. 20% slower building rate is nothing for you. If your buildings ever get damaged they are more likely to get instantly destroyed. If you use wrangler then this debuff can somehow affect you.


Rescue Ranger. Its good for moving a sentry from one point to another and saving your sentry from Saxton.


Usage of teleporter

The teleporter can be used as a tool to escape from Saxton. Exit teleporter has to be placed in spawnroom and entrance near you sentry. Do it as quickly as you can. Expect to have teleporting effect but getting punched in the balls. Its Source engine and ping


NEST PLACEMENT ON THE MAP

TINYROCK

Kinda small map, but great for an engineer.


This is my favourite place for the sentry nest. Sentry controls half of the map, excluding closed spaces. Dispencer prevents Saxton from quickly attacking me from this area. Dispencer placement also allows sentry to damage Saxton, while Saxton has to destroy dispencer to catch me. It buys me time to teleport right into the spawn area and save my a$$. If you ask "why can't he just attack me from the control point area and not jump", that's a good question. There are two scenarios. 1 - He will be pushed away cause of large knockback of sentry. 2 - He will destroy my babies, but by that time I'll escape.

There's also second spot for the sentry nest. And it's on the roof of tall building


On the other half of map, there are same spots. Tinyrock is mirrored, like CTF maps.


NUCLEUS

Great map with many hard to reach high spots. Hard doesnt mean impossible, so Saxton can get to you using the dash ability. But it's still good, because Saxton needs only one way to reach you. Brave jump won't work, cause sentry will still push him away

Here is the scheme for nest spots.


DISTILLERY

Doesn't have much good spots. I'm not even sure if some spots marked as good are even good, but it's still fun to play there as an engineer.


(examples for nest placement, you don't have to 100% build like there)


SKIRMISH
The only map where there is no actual good spot for your nest. Place dispencer close to scrappy walls to help your teammates with health and ammo. Sentry can be anywhere on the bridge. Just build teleporter somewhere close to the sentry and hope for the best ¯\_(ツ)_/¯


The best and my favourite spots you can place sentry on are these two roofs. Sentry will push Saxton away when he tries using brave jump. But if he uses dashpunch, then say goodbye to your cute killing machine


However, if you have two or more engineers who have strong connection with you, you can build a whole base on the area above the Saxton gate. Using wrangler and having a pyro who airblasts Saxton away the base will stay for long. If Saxton ever thinks about going upstairs or using dashpunch(like it happens to any nest), the base might be ruined


STRATEGY

№1 -- When round starts immideately place exit teleporter and then move further. Tell the team that only you will use teleporter entrance.
№2. -- Choose your spot for sentry nest. Build teleporter and then sentry. It's required to have ammo packs nearby. If you upgrade the sentry to lvl 2, you can start building dispencer. It's not important to upgrade the teleporter.
№3 -- If Saxton is approaching you or aims his "dashpunch" on you, escape using teleporter or jump off high building. If you jump off high building instead of using teleporter, use wrangler. Saxton will probably give up and choose other target(pray its not you). If there is EVEN HIGHER spot, climb.
№4 -- Get back to the same spot and quickly build new nest. Most of Saxton players don't expect you to come back to the same place after the nest gets destroyed. However, you can still choose other spots.
№5 - Don't forget to always use wrangler when Saxton is out of default sentry's reach
№6 - If there are not upgraded or damaged buildings of another engineer, take care of them. They can provide additional defense, especially when there are not many teammates left.

MEDIC
Medic is must-have unit because the overheal makes your teammates survive Saxton's attack. Ubercharge makes you and your chosen teammate even harder to kill(how surprisng).
He is even capable of surviving two default punches(11 hp after first punch), cause of built-in damage resistance.


Top 4 mediguns

#4 - Vaccinator


......

Who the f*ck use a medigun that doesn't give resistance to melee damage?


#3 - Kritzkrieg


Good but not the best. Has ubercharging speed faster than stock medigun. Good to use ubercharge on heavy or demoman who lays sticky trap


#2 - Stock Medigun


Better than Kritzkrieg because of its ubercharge, It can be applied on, heavy, pyro, soldier and demo(if player is good at playing spy). Ubercharge can be applied on two or three teammates at once. Just switch ubercharge from teammate to teammate quickly. However, Saxton can just ignore you and your chosen teammates and go for people who aren't getting healed or ubercharged.


#1 - Quickfix


The best out of all. With Quickfix you can heal all your damaged teammates Quickly. It's ubercharge helps very much during attack to Saxton Hale, especially helps demoknights and heavies. However, overheal rate is lower and so scouts, spies, engineers and pyros can still die from 1 hit. But its still helpful after other attacks, such as stomp, dashpunch or default punch that didn't kill someone.


CRUSADER's CROSSBOW AND UBERSAW ARE MUST-HAVE. USE THEM ALL TIME FOR GREAT EFFICENCY


STRATEGY
  • №1 -- At first seconds of match, give ubercharge to those who attack, have right equipment, and skilled, such as demoknights, pyros or heavies.
  • №2 -- HEAL ALL TEAMMATES
  • №3 -- Don't trust your ubercharge to those who don't attack much, stupid or certain classes(you don't need to ubercharge scout, for example)Otherwise your ubercharge will be useless.

    THE RULE DOESN'T APPLY TO THOSE WHO USE QUICKFIX. That ubercharge is great way to heal teammates nearby very fast

  • №4 -- Don't hit Saxton Hale, unless he is very distracted of someone and doesn't care about the rest of your team
  • №5 -- Always move, bunnyhop constantly


SNIPER
Like scout, he can also give jarate debuff(equal to Death Mark) using SYDNEY SLEEPER. He can also just use default sniper rifle.. if he is skilled at headshotting


STRATEGY
  • №1 --Get on the highest possible spot of the map While doing that, try to not attract attention of Saxton. Be as far from the fight zone as possible and you'll make it to your spot.
  • №2 --If Saxton sees you and does "dashpunch" on you. Fall off your spot but don't land on the ground and instead climb back to the spot. It's the way of trolling Saxton and surviving longer. Don't do it continuosly. You'll eventually have to RUN for your life
  • №3 --Everything else depends on your sniper skills
SPY
Sneaky hon hon hon baguette who can quickly deal large damage by backstabbing Saxton. Using dead ringer, spy can survive ANY Hale's attack

Like in regular gamemodes, spy has to attack when Hale is distracted. Each backstab takes away 500+ hp. After stabbing you will receive special buffs(depends on knife)


KUNAI
gives you overheal. Its useful when actually fighting Saxton.


Your Eternal Reward/Wanga Prick
Gives you Saxton's speed. Saxton will have hard time to catch you


DON'T FORGET TO TAKE DEAD RINGER! OTHER WATCH DEVICES ARE USELESS

Any other knife is either weak or useless. As for revolvers, you should have AMBASSADOR, but only if you are good at headshoting

NOTE: You can disguise as your teammate because if Saxton sees you being a spy, he can start trying to kill you
SAXTON HALE

AFTER READING GUIDES FOR EACH CLASS YOU NOW HAVE HUGE ADVANTAGE OVER ALL THOSE MAGGOTS. Speaking of how you will become Saxton Hale, you will be chosen randomly. But the randomizer sometimes gets drunk and chooses certain person twice or three times. Good luck being that person.

LETS MOVE TO SAXTON HALE'S ABILITIES...

BRAVE JUMP
Very useful to quickly get away from spawncampers or to take down enemies on high spots. For Brave Jump you need to press SPACE twice. Unlike in 2010s version of the gamemode, this ability has no coodlown(I wish it gets back, very unbalanced) and doesnt require to crouch and look up.


DEFAULT PUNCH
Punch instantly kills pyro, scout, demoman, sniper, engineer and soldier. It takes 2 or more punches to kill heavy, demoknight and obviously any overhealed class(except for scout)


STOMPING
It's the ability to quickly land on the ground, smash someone like goomba and knock out all teammates around you. Very useful and sadistic against groups of mercs and heavies. Reloads for 15 seconds. To properly stomp, hold CTRL midair until you land on the ground.
Stomp only works if you're far from surface. Otherwise, stomping animation will play but actual stomp won't happen


DASHPUNCH
The second ability for the mobility. Dashpunch helps you to quickly get from point A to point B. It can be used to knock off groups of enemies. However, this punch deals ~50+% of base HP healthbar. It's not deadly, but will weaken these maggots. Reloads for 10 seconds.
Dashpunch can be also used midair. You will levitate during the charge.
Dashpunch can be held forever until releasing key. The dash is fully controllable and you can fly at any direction. But the most important feature of the punch is that during the dash you'll be fully resistant to any knockback. It makes dashpunch very useful while fighting against pyros, demoknights and scouts with Force-A-Nature


BLOODPUNCH
The most powerful punch which can turn any enemy (except for spy) into gory firework

Bloodpunch reloads every 30 seconds despite how much damage the mercs dealt. It is best to use on heavies, demoknights, and medics.. Any other class can be killed in one hit with default punch, so use this ability wisely. You can use bloodpunch on random target too if you are surrounded by group of mercs. Bloodpunch not only obliterates an enemy, but deals additional splash damage to other teammates at certain area and knocks them away. Splash damage deals around half of or more than base HP bar. Adding the fall damage and you can kill more than one mercenary with this punch.


NOTE: Bloodpunch can kill anyone except for overhealed heavy(stock medigun), cause the bloodpunch deals 395 damage points

THE S T R A T E G Y


Before being randomly chosen to become Saxton Hale you'll have to know who you will fight against, how many units of single class, what are preferable spots for engineers to build nests and who was r*ping Saxton player the hardest in previous round. It makes the fight easier for you when you know everything about your ex teammates.


  • №1 -- Go first for weak targets or certain players who can ruin your fight. Don't try to kill everyone you see.

    Medic is problematic, because he quickly heals and overheals his teammates so he should be killed the first he runs out of his first ubercharge.

    Scouts give mad milk and death mark debuffs, they should also be killed quickly.

    Spy can help the team kill you quickly if you aren't attentive enough.

    Engineer is the most dangerous one. If you give him much time he will upgrade his sentry to lvl3. With this sentry, he will take away thousands of HP in just seconds. It can be harder if engineer is using wrangler.

  • №2 -- If you see any engineers building, destroy them. If you see engineer around or on its nest, kill him first

  • №3 -- Randomly run away from the team to charge your fists or do ambush. Its good tactic because those who run ahead of the pack are vulnerable.

  • №4 -- Use DASHPUNCH and BLOODPUNCH wisely. Like I said before, punches are used to fight against certain classes. Save DASHPUNCH for snipers, pyros and scouts, BLOODPUNCH for heavies, demoknights, medics, and spies(they can have hp low enough to die, even if they have dead ringer)

  • №6 -- Never forget to use Stomping. Stomping can be useful to make enemies go flying and be bamboozled(That works great on demoknights and medics, as they can't escape you and it will be hard for them to hit you midair). Stomping is generally great ability for crowd control. Never underestimate it

  • №6 -- Avoid sticky traps if your Health Bar is low

  • №7 -- Don't let them push you to corners or tight spaces

  • №8 -- If you can't kill someone and capture point is available, cap. Enemies will come to you to stop you from capping immideately and thats when you can strike.

  • №9 -- DON'T STOP MOVING make yourself harder to shoot. Remember that you can be faster than scout

  • №10 -- Dont charge dashpunch for TOO LONG. While charging your punch you are fully immovable. Therefore, scouts can apply debuffs on you and demoknights can hit you many times. Think quickly where you are going to dash.

  • №11 -- Use RPS taunt if preferable(unless you dont have that). Its respectable way to end the match with equal chances of winning


UPDATE: Turns out, that if you ever get glitched/a-pose, this is because of playing heavy. Heavy picks up non-existing minigun and so Saxton glitches. To prevent that, TAKE ON FISTS AFTER DEFEATING SAXTON


Tips & Tricks
№1 - When there are 3 mercs or less, they'll get mini-crit boost

№2 - Also with getting mini-crit boost, they will also emit glowing rings. The same goes for spies. Whiile being Saxton Hale you can track down those who faked the death.

№3 - PERFECT TEAM
The team should consist of 2 medics, 4+ demoknights, 2-3 pyros, 2-3 soldiers, 1-2 snipers, 1-2 scouts, 1-2 heavies, 2-3 engineers, and 2-3 sticky trappers(not required, they can be demoknights instead)

№4 - You can only hit walls to climb two times. After that, you'll start falling

№5 - If you are brave enough, take Holiday Punch for heavy and try stunning Saxton

№6 - As Saxton, if you meet sticky trappers, run forward to the stickies but then stop. Demos can quickly press M2 but won't severely damage you. You can also use dashpunch as it's fast and can be very sudden. Just don't hold dash button, press one time.

№7 - If you see that engineer built all buildings very close to each other, better save up for bloodpunch and then destroy everything in one swipe.

№8 - As engineer, if Saxton chases you, you can use your unused metal to slow him down. Place dispencer or sentry. in an entry to room/corridor. Saxton player will be confused for a moment, but will destroy and keep hunting

№9 - If it happens that you get knocked away and slam into a wall, use wallclimbing to minimise or prevent fall damage.

№10 - The last alive player gets CRIT boost

Additional tips to be added....
Trolling


№1 - Make most of your team use single class(and subclass). Demoknights horde can r@pe unexpirienced Saxton with ease, for example. Heavy team can also work.
№2 - Take on Yeti outfit
№3 - Use holiday punch as your only weapon
№4 - When you have Bloodpunch charged, offer RPS to the last merc. When he comes closer, bait him and brutally murder.
№5- Laugh in the face of Saxton when you clearly know you can't survive
№6- If there are 3-5 players left , who are desperately trying to kill you, wait until Bloodpunch is charged, go to a tight space and wait until all of stupidly brave enemies come(you will pretend that you will go AFK).
№7 - If there is last player left who is scared of you and you have Soundpad, play...

Come over here and kiss me on my hot mouth, *smack*, Im feeling romantical


Additional trolling methods to be added...
Facts


№ 1 - Flippin' Awesome and Fist Bump from Saxton Hale KILL
Watch Flippin' Awesome here
There is no video of Fist Bump one. Just believe me that it makes you explode

№ 2 - If Saxton Hale loses RPS, he dies no matter how many HP he had

№ 3 - Saxton = Heavy. All available to Saxton taunts have Heavy animations(The only taunt with unique animation taunt is default). You can even hear Heavy's screech after killing Saxton

№ 4 - Saxton can become glitched if you picked heavy before. Heavy(Saxton Hale) picks up non-existing minigun and so, he gets glitched.

№5 - We never got any special voicelines for 11 years

№6 - It's the only gamemode that says to you "Stop spamming "MEDIC!" You have no medics in your team"

№ 7 - When Saxton approaches sniper, he screams. Realistic, isn't it?

№ 8 - The gamemode has lore. Gray Mann takes over Mann.Co and becomes new boss for mercenaries. He orders to kill Saxton Hale, so he won't cause problems during his reign.
Tell me if it's wrong

№9 - All mercs were voiced by one guy. Saxton Hale and Gray Mann were voice by 1 guy too

№10 - No exploits for VSH were found since official release.
(find them pls)

№11 If Saxton has less than half of Health bar, he runs faster

№12 - The father of VSH gamemode is LizardOfOz. He's Russian
Check out his Youtube, Twitter, Reddit, Github[github.com]

(Not 100% true)№ 13 - Durox(voice actor of the first VSH version) didn't voice Saxton Hale because he vanished from social media and VSH dev couldn't contact him.


Additional facts to be added
Ways to play this gamemode
№1 - JOIN CASUAL, ALL MAPS WORK FINE, THE PROBLEMS YOU'VE EXPIRIENCED BEFORE ARE FIXED.


№2 - Сommunity servers. The best for those whose who want to play on a single map much longer(in Casual, match ends at 2nd or 3rd round) or want to play with more competent people.
vsh_nucleus
vsh_tinyrock
vsh_distillery
vsh_skirmish

(sorry for dogsh*t quality. Steam doesn't allow me to insert better screenshot)
Typing map name manually causes laggs. Just copy the text and paste


THANKS FOR READING!

Tell me in the comments if you find something incorrect, stupid or want to share with people your own tips & tricks. Sorry if my English is sometimes unclear.

The guide might be updated with addition to guides, facts, tips & tricks, and trolling methods

Have fun playing VSH!
67 Comments
Can of Cherry Pie Aug 12, 2024 @ 1:04am 
Baby face blaster as scout is good
NumanTF2 Aug 7, 2024 @ 5:38am 
Medic's vaccniator is good in vsh since slam, saxton or blood punch and charge does explosive
Amarenamann Jan 5, 2024 @ 12:31pm 
I saw some mudcrabs by the water recently... I stay clear of them. Nasty creatures, but I hear their meat is rather tasty.
Shiro Sep 24, 2023 @ 12:03pm 
np :steamthumbsup:
BrickGaming  [author] Sep 24, 2023 @ 10:51am 
Holy shit, I've already forgotten about this guide. Guess I'll create updated version. Thank you :steamhappy:
Shiro Sep 24, 2023 @ 1:31am 
7) Medic: Quickfix having less overheal is critical, not only there's less max overheal, existing overheal will decay as fast as normally - so pretty fast. Meaning you have nearly no overheal potential, and so many of your teammates will die before you have chance to heal them. Also, Quickfix uber does nothing vs Saxton Punch. As such, it is #2 at best - better use stock, and compensate for reduced healrate with crossbow quickswap.
8) Sniper: fuck sniper.
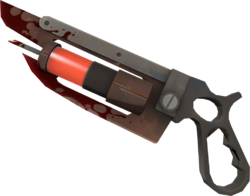
9) Spy: consider L'etranger, for faster dedringer recharge.
P.S. also fuck 1000 symbols limit
Shiro Sep 24, 2023 @ 1:30am 
6) Engineer: if you know you have medics around, combat engie could be worth considering - Gunslinger lets you actually survive 1 punch when overhealed. Weak sentry means less sentry dps but minisentry is something many Hale players will probably leave for the last, letting it ramp up some damage. For primaries, Widowmaker lets you recharge metal without ammo kits assuming Hale is distracted, and Frontier Justice can be good extra damage after sentry is inevitably wrecked. Meanwhile, Rescue Ranger could be used to have sentry in far away spot before teleporting it away from Hale, moving away yourself and repeating.
Oh and Wrangler is less powerful now, Hale just ignores the shield.
Shiro Sep 24, 2023 @ 1:30am 
5) Heavy: Dalakosh bar might be considered: while overhealed maxhp will not increase, overheal will decay 33% slower (so medic has easier time keeping you above 390 hp, letting you tank TWO punches) and higher base maxhp will mean medic has easier time healing you in a clutch with a crossbow.
You can also try using KGB as a melee, assuming Hale is distracted by someone else this lets you ramp up extra damage w Tomislav. If Hale is not distracted, you die quickly :)
Shiro Sep 24, 2023 @ 1:30am 
3) Pyro: seems on point. Consider being near engineer's dispenser to be able to spam airblasts (and defend his stuff). Try to not push Hale out of allies' melee reach.
4) Demoman: since shield breaks and becomes useless after first hit taken, it may be worth not equipping a shield to begin with, and instead using boots+stickies+sword. Deal ranged damage w stickies, then sword strike. Less movement speed and less chances to start eyelander chain, however. Also, stickies deal less damage if you hit lots of them at once, plus Scottish Resistance specifically is nerfed.
Shiro Sep 24, 2023 @ 1:30am 
This guide is generally useful, but there're some things that could be added/fixed:
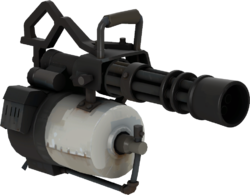
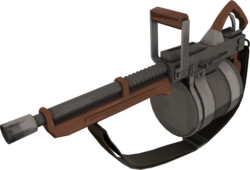
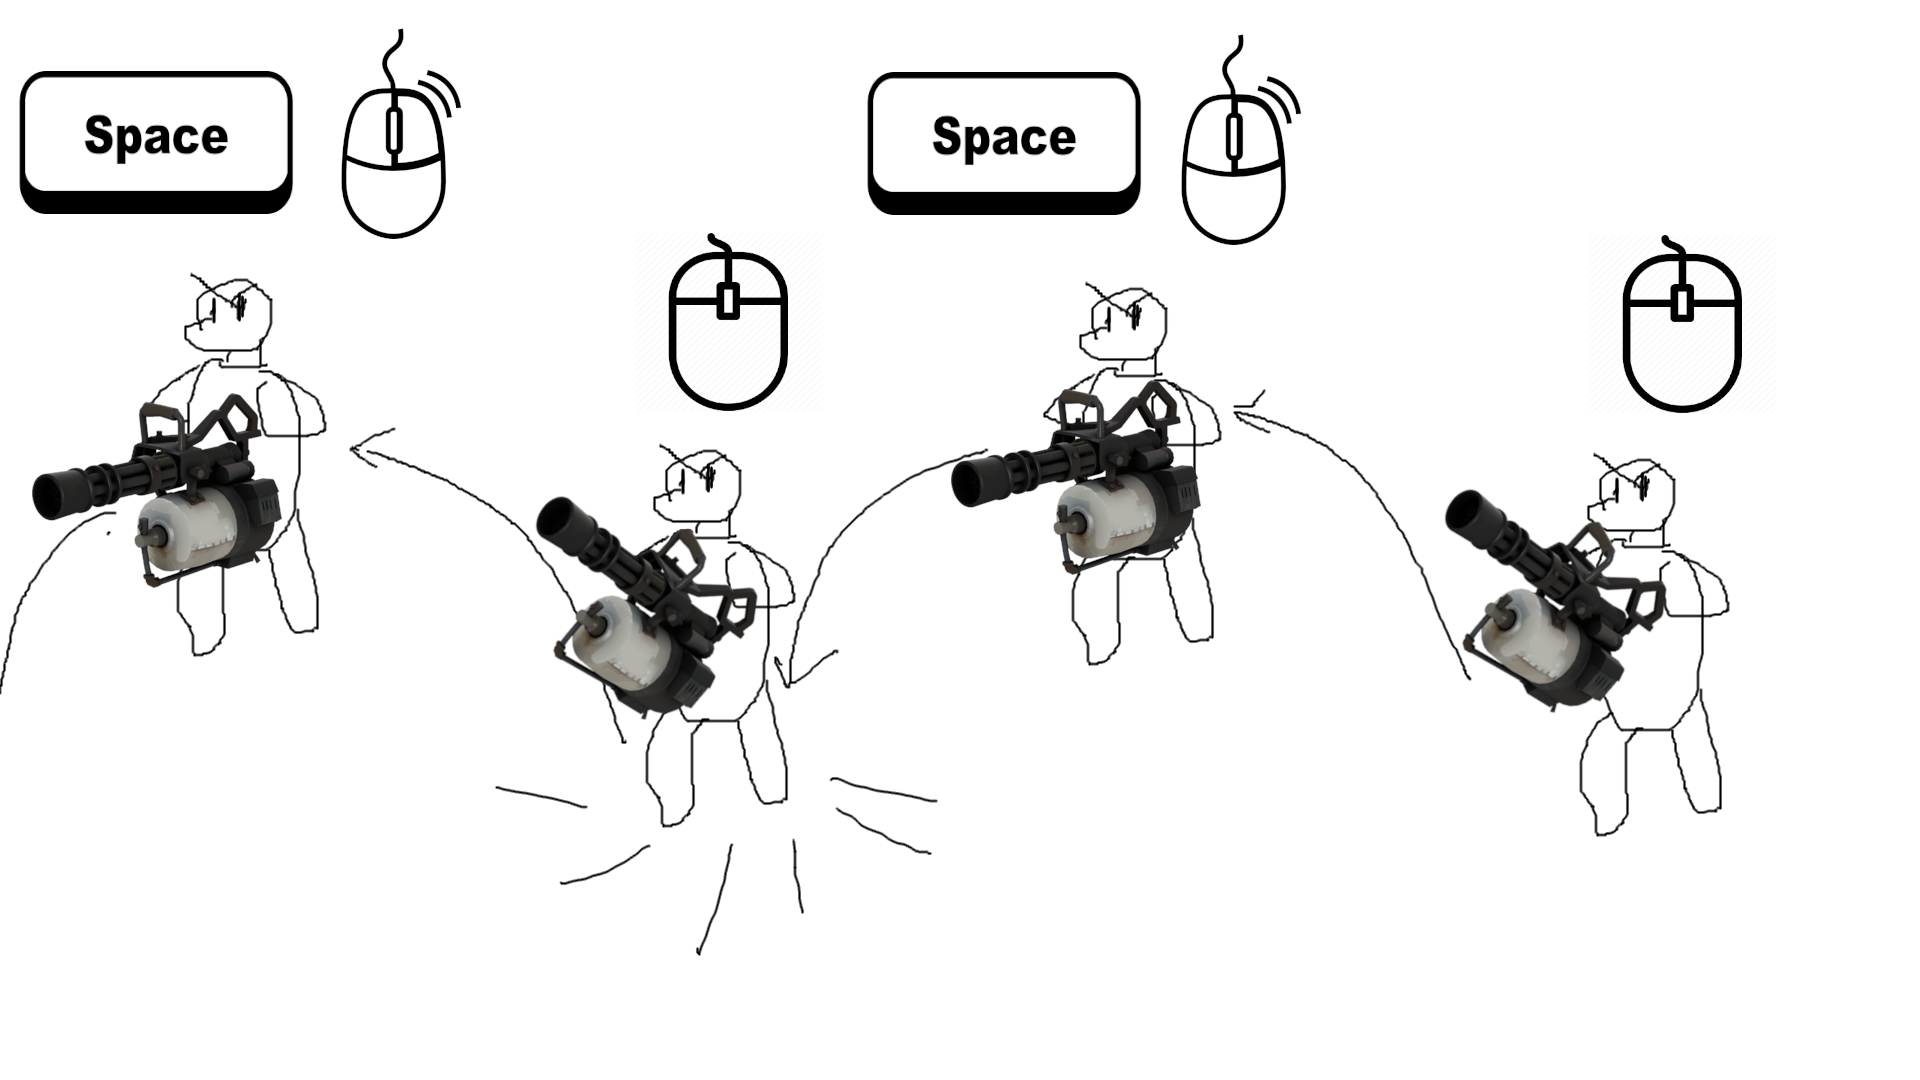
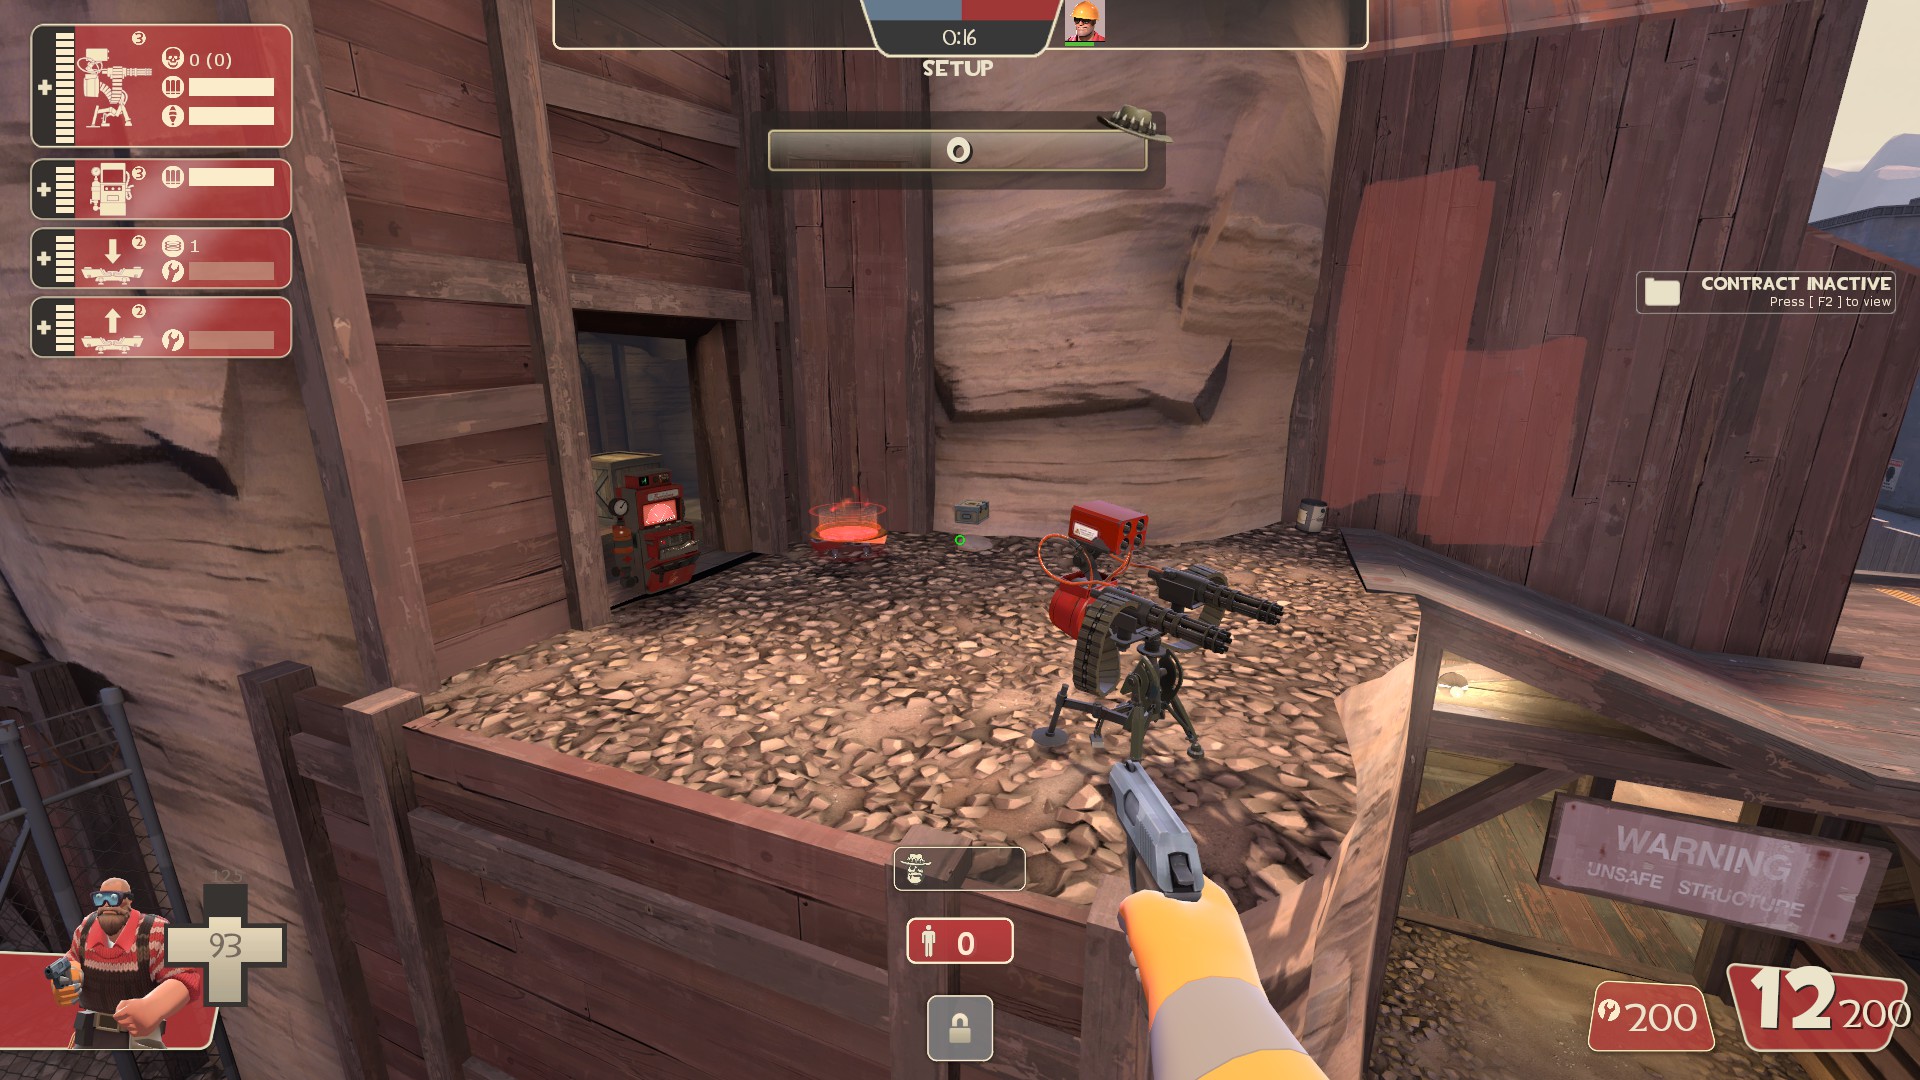
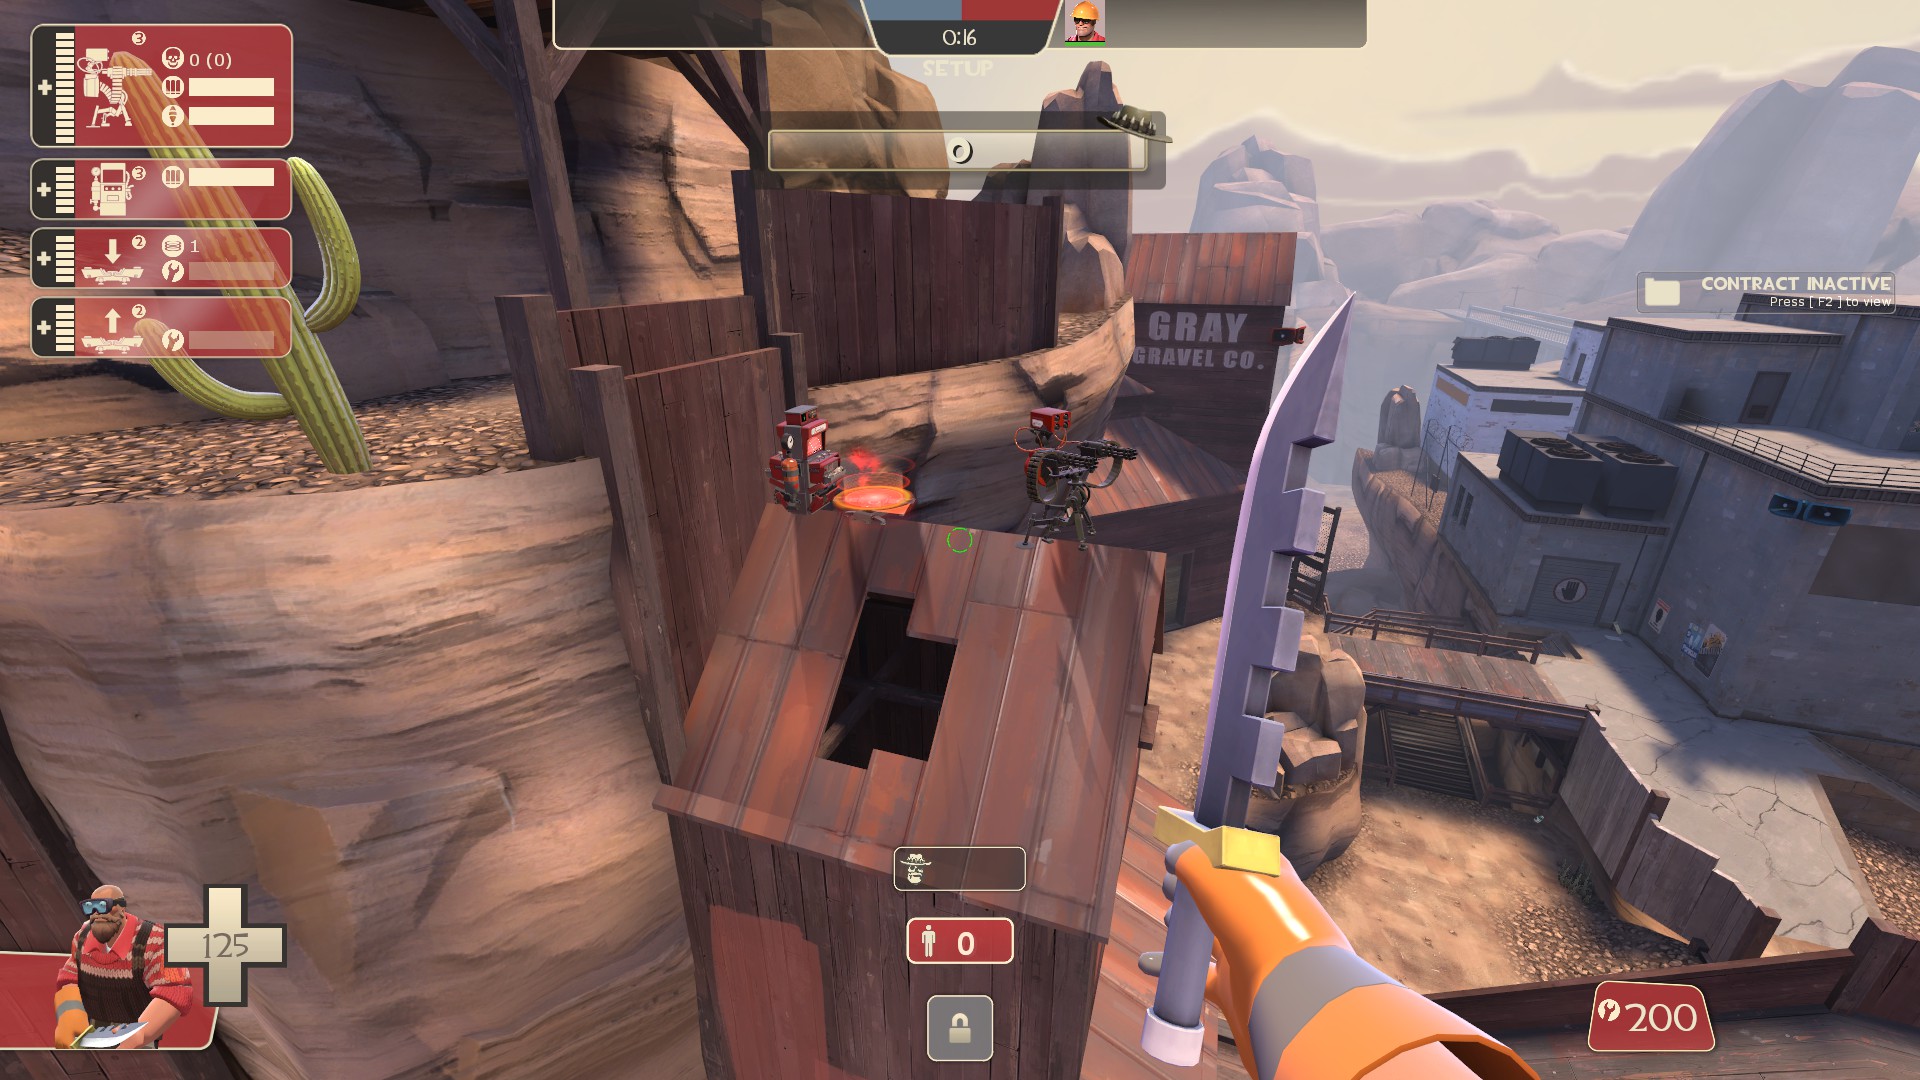
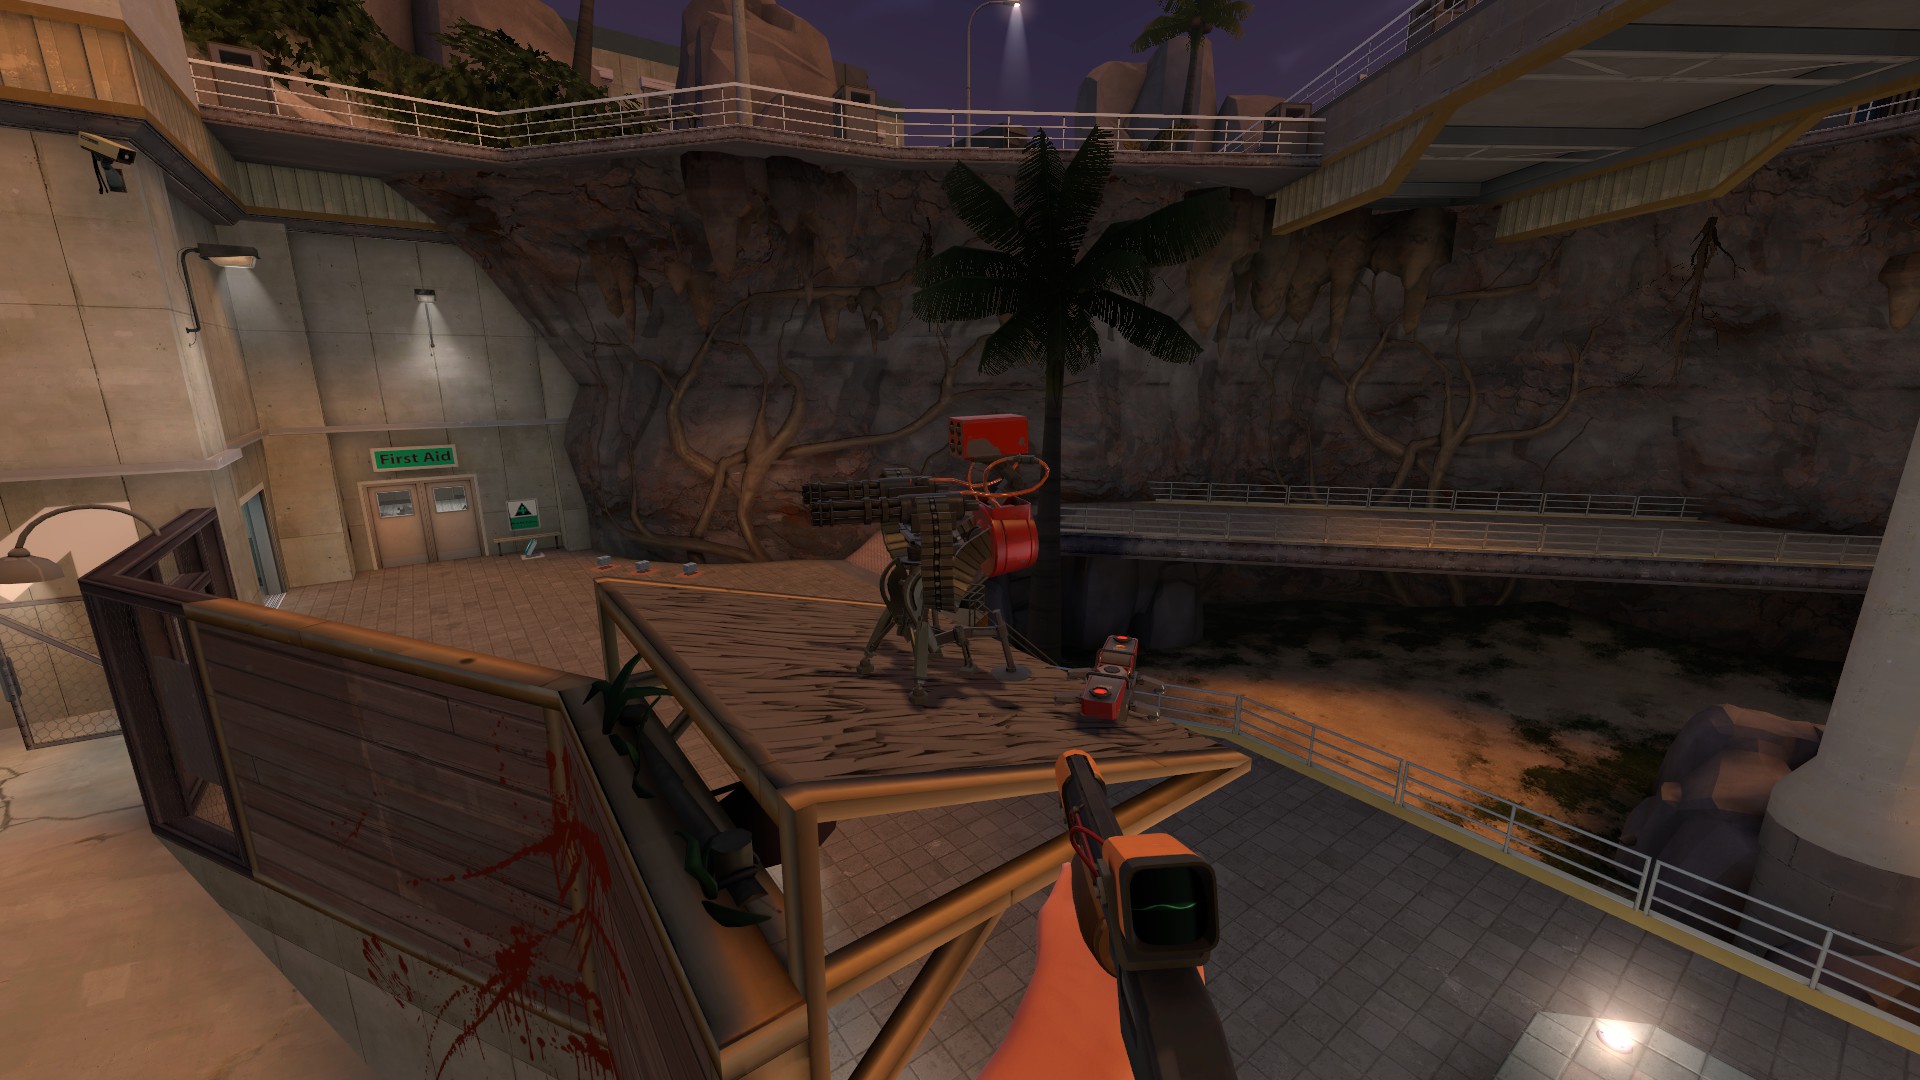
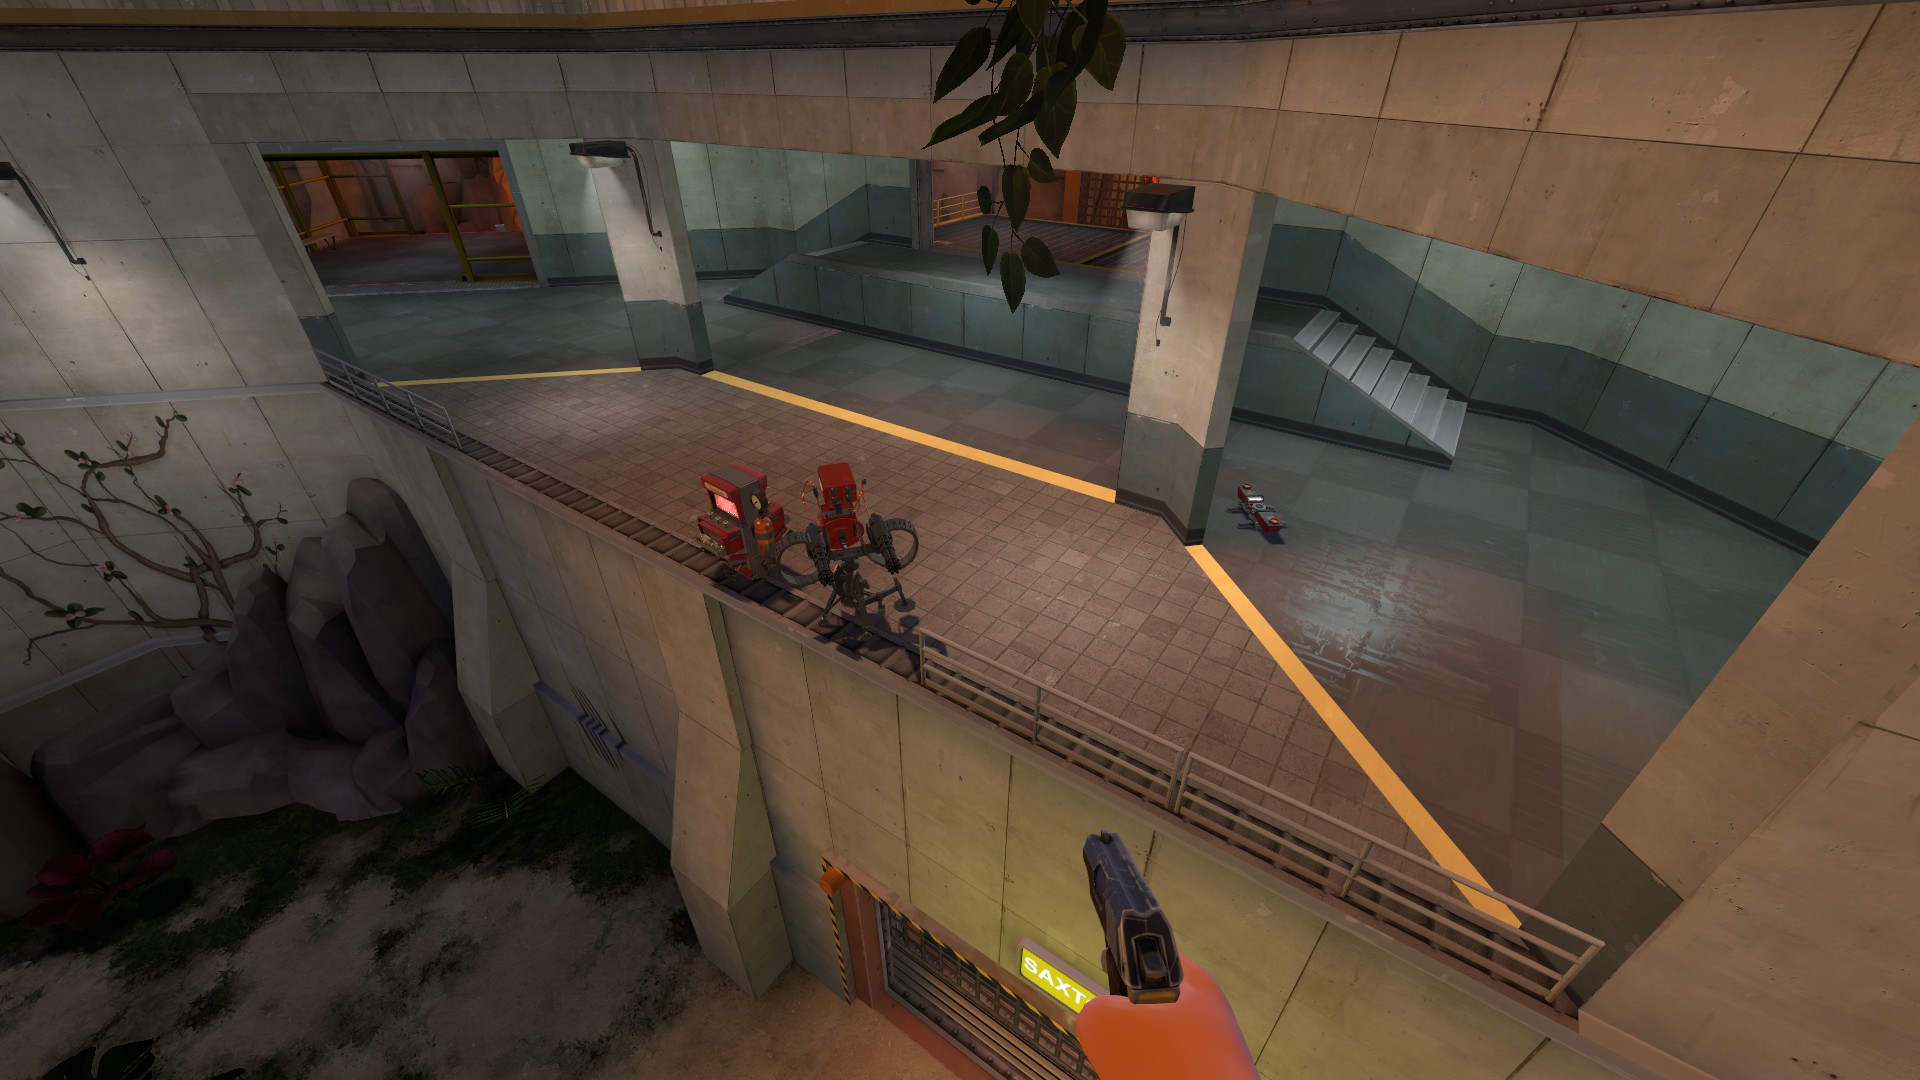
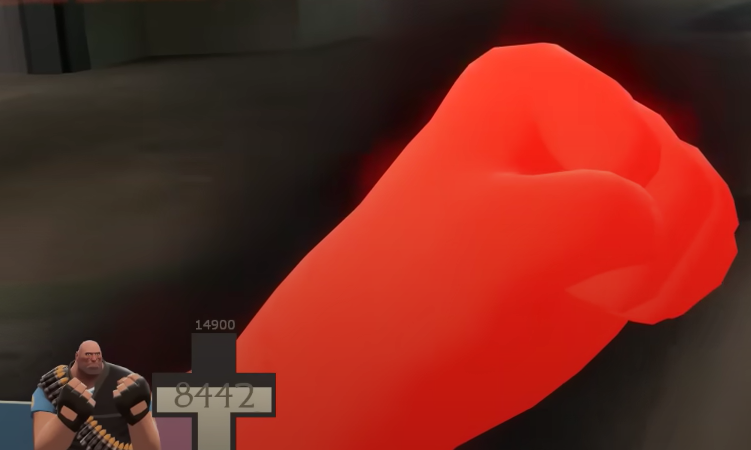
0) Hale passives: he gets faster as he takes damage (up to max speed of 520 hu/s), he can be stunned/forced to laugh but he breaks off it and damages everyone nearby if he takes 1000+ damage, also he has mantreads passive (with fixed 195 damage). His health obviously scales with number of RED players, so be sure AFKs and friendies are kicked.
1) Scout: Baby Face's Blaster is useful here, the only weapon that lets scout actually outrun Hale (or run with same speed as him at lowhp), everything else gonna get surpassed as Hale loses hp. Soda Popper might be handy for maneuvering with all those extra jumps, but I dunno.
2) Soldier: Half-Zatoichi strat works for him too, compared to demoknight he has less speed but can have 220 hp plus banner's effect.