Spelunky 2

Spelunky 2

103 ratings
Spelunky 2 Survival Guide: General Tips from a Series Veteran
By Trev-9000
This guide is designed for new and advanced players of Spelunky 2 to help improve your skills and general knowledge of the game.

I tried to make the tips as un-generic as I could so hopefully even if you have a lot of experience you could still find out something you didn’t know from reading the guide. Most of the tips can be transferred across all levels of the game.

This is a transcript of a guide I created as a video for YouTube which you can watch here if you prefer (Please be aware that the Steam Guide now has more tips added than the video, as its much easier to update a text guide than a YouTube video):
https://youtu.be/t5_7u1DjNwE
2
14
2
2
   
Award
Favorite
Favorited
Unfavorite
Introduction
Spelunky 2 is a very difficult game. Somehow, Derek Yu and his team managed to make a game even tougher than the original. Although I do not claim to be expert level, I am quite good at Spelunky and am in the top 40 average daily challenge of all time for Spelunky 1 (on PS4), so I do know a thing or two about both games. I’ll be the first to admit I make stupid mistakes just like anyone else but I have seen how many players struggle with the game and would like to offer some general tips that may help you in your adventures.


UPDATE: Although I am still really proud of this guide there are some parts which I would disregard now. My most recent guide goes into even more advanced strategies for Spelunky 2 and has much better audio quality for the video. If you are an experienced Spelunker, give the new guide a go or click this link for the Steam Guide version:


Just a quick hit here, but I've seen a guide that recommends new players turning off auto-run in the options menu. Although I'd hate to contradict a fellow Spelunky player, this is poor advice in my opinion, keep auto-run on! It may seem difficult at first but running in Spelunky is 100% required so you'll need to get used to it. Even in Spelunky 1 that didn't have an auto-run option I would always have my finger glued to the button that makes you run. You will find you have more agility and will get through levels far quicker (once you've gotten used to running into things!). You can still use the walk button (right trigger on the controller) if you feel you aren't used to running 100% of the time. :)
Conserving Resources
The biggest mistake I see many new or inexperienced players make is to immediately start using all their ropes and bombs as soon as the game begins. You want to hold onto these items for as long as you can and consider only using them if 100 percent necessary or once you have stockpiled more.


I would always recommend buying as many ropes and bombs as you can from shops and if you notice a crate that is out of reach it is always worth using a bomb or a rope to get it. The only time I will personally not go for a crate is if I only have 1 bomb left and I am planning on heading to one of the secret areas such as the black market that require part of the scenery to blown up.

Even if a crate requires 2 or 3 bombs to access it, it is still worth getting if you manage to get a crate with a bomb bag or ropes inside of it. You might even stumble across a 12 pack of bombs or another useful item. There is always that chance you might end up with a useless parachute though!

Bomb cooking is always an option if you don’t have the sticky paste but be very careful not to blow yourself up in the process. Sometimes, the timing can be tricky, and you might find yourself wasting more bombs than you intended just to get something down.


Be on the lookout for items buried in the ground. It is possible to even find jet packs buried which are arguably one of the most useful items in the game and you can see them if you have the Udjat Eye or the Spectacles.


With all this said you may find that many items, gold and pets are accessible to you without the need of using a rope or bomb. Try throwing objects up at items and gold to get them down.


This can even be done with pets!


... And items!


I notice a lot of new players will immediately use their items to obtain resources but much of the time, they haven’t checked their surroundings by looking up or down. Quite often there is an alternative route to the resource.

For example you may have seen this situation with the skulls piled up 2 blocks high. Try whipping the top of layer and you’ll have an access point to higher levels.


In a similar vein, you can destroy the skulls by picking up rocks, skulls or bodies and throwing them at the skull piles.


Don’t forget that spikes can be walked over and if you use a rope you can drop safely to the bottom without instant death.


In the previous image, you may have noticed these pits with ledges at the top and spikes at the bottom. Quite often, skull piles will spawn in the middle of these spikes as shown above. As useful items and pets can spawn in these pits, if there is no ground below the pit, to save on ropes you can grab an item such as a rock and drop it down onto the skull piles, breaking them. This means that when you drop to the next level you'll have an entry point to the pit from above, or if you feel you'll still require a rope to get up to the pit, just drop down and cling to the edge of the spike pit and gently pull yourself up. (Sorry if this explanation is a bit bad, will try and get some example images on here soon, easier to show then explain :) )

Here's another spike pit hack. Sometimes, push blocks will spawn on either side of the pit and you can push them down into the pit. The block can now be used as a ledge to drop safely down!


Another quite common area found in Dwelling is this pit that is accessible from one side (the side with the skull pile) and looks as though you'll need a rope to get back. There will always be a push block on the other side of the wall to help you get back up so it is always worth checking to see if there is something on the other side.


You can even cling to the side and drop gently into a spike pit or even jump one level up onto spikes.


Be very careful when using the jump boots and attempting to jump up onto spikes, if you jump too high you will die!

Remember that you can always jump and grab onto ledges, so use your situational awareness to predict how many items you’ll need to use or if you can avoid using them at all. In the jungle, the trees and vines allow you to access almost all areas, and if you have the climbing gloves or the jump boots you’ll have even more access to areas.

If you have the jet pack, you no longer really need to worry about ropes and have free access to all areas meaning you should use your ropes for any amount of gold stuck on spikes.
Pets & Health
Health is very important to many players, but I feel obtaining pets or damsels is not as important as you might think, especially on the very first stage. Coinciding with my first tip, you do not want to use resources to obtain damsels unless you have enough bombs or ropes, an item is stuck with the damsel, or a high value piece of gold will be yielded from the rescue of the damsel.


With that said, if you see an altar, you want to get those pets no matter what! Similar to the crate situation, I would only recommend not getting the pet for an altar sacrifice if you have 1 bomb left and would actually recommend using all your ropes even for one sacrifice.


One sacrifice is worth one common item and two is worth the Kapala (blood cup) which you can use to get potentially infinite health by collecting the blood of your enemies, this is why sacrificing the pets and other bodies is so important.


A bomb blast can actually be survived if you have enough health! It takes off 10 health so if you have 11+ you will survive provided something else doesn't kill you whilst stunned from the blast!

Stunned enemies are worth more influence but make sure you keep track of your time. You only have 3 minutes to complete each level unless you have the clover which gives you an additional 2 minutes before the ghost arrives (you have to get the clover before the time reaches 3:00, or else the ghost will already have shown up and the clover will become useless!).


When bringing a damsel to the exit it can be tempting to immediately deposit them through the exit. I recommend keeping them in a safe spot next to the exit if you haven’t explored the entire area as there is still a chance there’s an alter you haven’t seen yet.

Be careful when trying to take a pet passed an exit, I have accidentally deposited pets through the exit when I was planning on bringing them to an altar nearby. You can throw a pet passed the door if needed.


You may also want to consider buying items and getting all the crates on the level you can before making sacrifices as it guarantees the item you are rewarded will not be the same as one already on the level.
Multitasking & Item Managment
You’ll often find yourself in situations where you’ll need to carry multiple items at once to the exit. It is important not to drop to another level until you have dropped all your items you want down or you’ll have to use a rope to get them back. Make sure you always carry the curse pot last as you never wanna drop it. And always check you aren’t dropping your items into a spike pit or other hazardous area.


Pets will run on their own, so it is always worth checking they aren’t going to run into a spike pit. Otherwise you can drop them down first but be sure not to harm them with your other items you need to drop down. It is also safer sometimes to let them run off the edge as this will help save time reclaiming the other items. Remember, that pets do not take any fall damage!

If you do not feel comfortable carrying many items at once or are running out of time before the ghost arrives, I recommend carrying items in this priority order:


Idols can be put onto altars to create golden monkeys which yield a higher rate of gold than just depositing them at the exit. However, if you have too much to carry there is no point in creating these monkeys and there is always a risk they might die before you have gained more gold than you would have made just depositing the idol at the exit.


Unlike Spelunky 1 though, the golden monkey can be carried between levels so if you have no important items to carry you can always go for the monkey.


In the video I mention that you should always bring idols to the exit rather than taking them to a shop to sell as they are worth more at the exit but this is incorrect. You'll get the same value by selling at a shop or the exit so it can be useful to offload the idol at a shop, but make sure you don't sell it if you want to create a golden monkey!


As mentioned before you want to get as many bodies on the altar as possible so this should be one of your top priorities. Even if you have the blood cup you still want to deposit bodies and pets on the altar as you'll get blood in return for the sacrifices and eventually get royal jelly which is worth 6 hit points.


Mattock/ Pickaxe
The mattock or pickaxe is one of the most important items as far as I’m concerned. It’s far more common than an alien weapon and will increase your gold output and resource collection by a lot. As with bombs and ropes I see new players hammering away at the pickaxe like it’s a diamond pickaxe from Minecraft. The mattock only has so many uses so you really wanna be smart about how you use it.


Only go for clusters of gold that allow you to use the pickaxe once or twice. I tend to only retrieve big gold clusters or gems and will use the pickaxe a few more items if I can reclaim red gems which are worth the most money. Do not go for small gold clusters unless it will give you access to higher gold thresholds.


On a quick side note, gems and gold go up in value every stage so you may want to consider stockpiling resources to claim gold at higher values later in your play-through.

On rare occasions, you may even find another mattock whilst having one already. If this is the case then any amount of gold is worth getting with your older pickaxe before swapping to the new one with more uses and then changing level.


Always use your pickaxe to avoid having to use bombs. Any amount of uses of the pickaxe is worth getting an item you don’t already have.

If you have to use your pickaxe to dig deep into the ground, make sure you dig in a way that will allow you to get back up! This is especially important when attempting the first moon challenge. If you don't have enough ropes to get back up, you will most likely be stuck! Dig holes in the sides of your mine that allow yourself to climb back up to the surface.
Ghost & Cursed Pot
Do not mess with the ghost in this game. In Spelunky 1 the ghost was an important part of making extra money and although the ghost does still change gems into diamonds, I don’t know how you would have time to get them. The ghost moves insanely fast and will eventually split into even faster ghosts.


You should always be monitoring your time and at 2 minutes 30, if you are still doing tasks in a level you might want to think about getting to the exit.

If you see the message: “Your voice echoes in here...” at the start of a level, you’ll really need to be quick as these levels are massive and I always find I don’t have enough time to do absolutely everything the level has to offer.


The cursed pot is a great way to make money but can be more harm than good. Be sure to take it to the exit before destroying it and don’t let other enemies destroy it by accident.


Bomb explosions are an easy to way to accidently destroy the pot as well.


One thing you can try is to destroy the jar opposite to the side of the level the exit is on or further away from the exit. The ghost will always appear on the side of the screen you are closest to.

If you don’t have enough money for an item in the shop, then you can keep the jar next to the shop and break it once you know the level is clear. This should give you the extra gold you need for an item you want. I find this is especially important if you get a store selling a jet pack near the start of a play session when you don’t have a lot of gold.


The camera is a good way to slow down the ghost.

Turkeys
Turkeys are awesome, and I notice a lot of players have no respect for these feathered friends. Although, yes, we all know blowing up the turkeys or setting them on fire will yield turkey meat which is worth a hit point, it is just not worth wasting a bomb for.


Turkeys have extra spring to their jump so they will give you access to far higher areas, especially if you jump off the turkey as it is jumping.


They also have the glide ability which means they can drop onto spikes without dying.


They can even walk on thorns in the jungle. Don't be scared when jumping up towards thorns positioned above you when riding a Turkey, you cannot take thorn damage from any direction when riding one and can still squeeze through tight gaps!


Turkeys will also absorb the damage you would have taken from enemies when riding them.


When taming a turkey, make sure it isn’t going to throw itself into a hazardous area. If you see a turkey is gonna fall down a drop, try whipping it and moving it to a safer area before taming or wait for it to be facing the direction it won’t run into harm’s way.


The turkey pen is almost always worth depositing the turkeys at. You will need two put into the pen to get the key to the treasure without upsetting Yang. It is always worth trying to get the turkeys to the pen as there is always a chance there could be items or high amounts of gold inside.


Be warned though, there is always a chance there might be absolutely nothing useful inside and sometimes rigged chests can spawn and alert Yang.


If you do get a rigged chest, you can try to place or throw the bomb away from the door and it should stop the turkeys from being blown away on the other side.


If you have the Skeleton Key which unlocks any locked door without breaking, don't use it on Yang's turkey door unless you plan on getting into a fight or have brought him two turkeys. For whatever reason, the Skeleton Key will not alert the shopkeeper so you should always use your Skeleton Key to unlock locked doors that spawn at shops as well.


Another benefit to helping Yang with the Turkeys is that he will always have a shop open on level 2-1 that always sells the same 4 items (a pile of Ropes and 3 Turkeys). This shop can be really useful when you are low on ropes or if there is an Altar on the level. You may even want to consider buying multiple Turkeys and bringing them with you in case there is an Altar on another level.

One thing to consider with this shop is that if you do not help Yang with the Turkeys, there is a chance a regular Shop will spawn on level 2-1 instead that has better items for sale.


Do not attempt to steal turkeys from the pen or bring Yang dead turkeys, you’ll upset him!


As you have access to other caves and sub levels, it can prove useful to check what loot is inside the turkey pen before depositing turkeys. Sometimes, you might even get lucky and have access to the turkey loot through another entrance.


With all this in mind, turkeys are not worth dying over. Be sure to hop off one if you think they are heading for certain death such as lava pits.

Tamed Turkeys can be carried on top of ridden turkeys and brought through exits. So you may find clever ways to access higher areas by carrying a turkey, jumping off another turkey and then using the carried turkey to jump higher!


And remember, turkeys can be sacrificed as well!


One of the only times I would say making turkey meat is a valid option is on 1-4 as you cannot get the turkey to one of the exits unless you have an opening in the terrain, they cannot be carried through the caves. Use a lit torch or use a bomb but make sure you leave the turkey next to a buried gem to retrieve them if possible. Pick up the turkey, place the bomb down and then drop the turkey next to the bomb. Placing the turkey down before the bomb can knock the turkey out of the way.


Other rideable animals I rarely find as useful as they do not have the ability to glide.


I will usually only ride these animals if I have the jetpack as you can use the jetpack whilst riding any animal.


QUICK UPDATE: Recently I have realised that Yang is incredibly easy to kill when in his passive state provided you have the right items. I find the boomerang, shotgun and freeze ray are the easiest and are usually the only weapons I'll risk using to kill him. The boomerang is a very common item in weapon shops and only costs around $3000 and if you are in the jungle, you will likely find a Tiki Man holding one. Just throw it repeatedly at him whilst he's stood in the corner until he's done for. You'll be given the key to his treasure, his body for the altar and around 3 turkeys you can cook for health (I still recommend keeping at least one alive to accompany you through the following levels).

If you save the turkeys in Dwelling and then make it to stage 2, you can easily rob Yang's pet shop with the same technique. Just make sure you move some of the turkeys out of the way first as I find they can block your attacks and this will make you more likely to get stunned or hit by Yang.

Finally, Yang will always make an appearance at the Black Market provided he hasn't died in any of the previous levels. You can use a weapon to kill him and this will not anger any of the Shopkeepers (again, you can take a boomerang from the surface before entering BM). You will be given some gold to use in the shop and a crossbow if you wish to take it.
Shopkeeper
Although the shopkeeper is easier to deal with than in Spelunky 1, I do not recommend engaging him unless you are an expert.


You have enough to deal with as it is, let alone having to deal with one of the hardest enemies in the game every level. Combat encounters with the shopkeeper can also result in the destruction of key items such as the jet pack and bomb bags.


So, best to keep to buying objects and reframing from destroying his property. You’ll want to buy as many items you don’t already have as you can. Remember, even buying an item you think is useless may prove useful as it will give you a chance of getting another item when making sacrifices.

I recommend buying items in a similar order if possible, but you should decide which items you find the most useful for your own play style:


One item I forgot to include in the last image was the present, which I do not recommend buying pretty much ever. The price is often quite hefty and you can get any kind of item whatsoever. This means it could be a Jetpack, or it could be parachute. If you do the math, you'll probably find that the odds are against you with these presents, but if you're feeling lucky don't let me stop you! Presents can be placed on altars for a rather strange reward that I won't spoil here.

If you do not have enough money for something you want, always consider buying bombs and ropes first. You can use the bombs to get more gold buried in the ground and then use the ropes to return to the shop if needed. Buy climbing gloves and jump boots to get back to the shop if needed as well.

If you buy all the items in a shop the shopkeeper will give you a discount next time you see him. You can only get one discount a game as far as I’m aware, so these do not stack. This means that it is sometimes worth buying an item you already have or an item you don’t necessarily want in order to get the discount. I also think the discount only applies when products are bought from the Shopkeeper's shops and not other shops such as Yang's pet shop.


The dice game is also a great way to get items. If enough time allows then you should always attempt the game as the quality of items that spawn is often quite good. Just be sure not to throw the dice out of the shop, this is especially important if you have the pitcher’s mitt!


Most people know this but unless you are going for a specific run and have the Udjat Eye, you should always go through the jungle to get access to the black market rather than go through the volcano level.


Always go for the moon challenges, especially the first one. They’ll give you extra time for the level with the clover and access to more items and gold if done resourcefully.


The caveman's shop is an easy one to steal from. You can find these shops hidden in caves sometimes. He'll sell such useless items as stones and arrows, but sometimes you'll get a pet, vase or boomerang for sale. He has no weapons so he's an easy target and as far as I'm aware will not come back again for stealing his items.

Unlike Spelunky 1 the Shopkeeper will eventually forgive you for crimes provided you don't kill him! I do not personally provoke the Shopkeeper unless its by accident or if I really want to try my luck during a run but I can certainly see scenarios in which you rob the Shopkeeper, hold off on killing him and then getting him back to a passive state again. I recommend the following guide by IncomingNumbers if you feel up to the task.
Always go for Money
As far as I’m concerned, Spelunky is and always will be about making money. No amount of gold is too small to go for as long as you don’t have to use bombs or ropes. There are exceptions to this rule such as time restraints but generally speaking, you should stick to this mentality.

As mentioned previously, find alternative routes to retrieve gold and only use bombs and ropes to get gold if you have a surplus supply, I’ll usually start using bombs to retrieve gold if I have 10+ and I tend to only go for red gems or gems that have more gold surrounding them. Ideally, you want to use up all your bombs before completing the game.


This tip is one of the most important as it will negate the need to engage the shopkeeper and give you a higher score if you complete the game.

A lot of new players seem to avoid the jars and pots scattered around levels. You should always try to break these jars as there is a chance money and gems will be inside of them. I think the reason a lot of players avoid the pots, is because they can contain harmful enemies and on rare occasions, nasty scorpions.


You will always need to put yourself in harm’s way to make good money in Spelunky, so you should get used to dealing with enemies that spawn from pots.


Throw the pot away from you or whip it and stand far enough away that whatever is inside won’t harm you.


Idols are the best way to make large amounts of money and there are several traps that you’ll need to deal with, all involve speed and agility. I’ll give some tips on the starting area idols.


For the first idol, if you see skulls stacked up either side of the trap, do not whip the pile to destroy it on either side or you’ll risk triggering the trap. Instead, throw objects from the side and destroy the skulls layer by layer then take the idol. Do not get yourself stuck on one side of the trap. Always run towards the side you want to explore next.


It’s important to note that these traps can destroy terrain below so make sure you don’t destroy an altar or a shop by accident.


The jungle idol may look intimidating, but its not so bad once you’ve done it once or twice. It’s all about speed and timing, just don’t even think about it. Get in, get out!


As for the volcano idol, I do not recommend taking it unless you are certain you can escape. It’s instant death if you get the lava above on you, and sometimes you can get yourself caught in an area if the lava is blocking you. Lava can often fall down into other areas making the level very hazardous.


Jungle Thorns
Just a general tip here but in the jungle, I notice lots of players are scared of thorns. Turkeys can walk on thorns and having either the spike or jump boots will let you walk on thorns. That’s right, the jump boots have the same effect.

Hired Hands
Hired hands were useless in Spelunky 1 and they are useless in Spelunky 2. With that said though, they do come in far more useful in this game.


You should try and hold onto hired hands and sacrifice them as they are worth a lot of influence and can often be worth an item.


Another use for hired hands is to bring multiple items to your next level. I don’t know what their problem is, but sometimes they just won’t pick up an item. But if you can get them to pick up say a weapon or pickaxe when you are already carrying a primary item, they will still be holding the item in the next level.


If you don’t want to use a rope to get some gold, try throwing a hired hand up towards it. You’ll receive the gold by them touching it!


Be warned, I have had countless runs ruined by helping hands!


Enemy Bounce
If you don’t have an item that can get you to higher ground, you could consider jumping on an enemy that is at a higher altitude, and you’ll be able to spring up to a ledge. This takes a bit of practice, but can be performed on bats, spiders and many other enemies.


Curse & Poison
The curse and poison mechanics are new to Spelunky 2 and I have to say they are probably the most annoying thing in the game and can ruin runs for even the most experienced players. I’m guessing that these mechanics were put in place to stop players stockpiling health from the Kapala (blood cup) and health pickups but they are annoying nonetheless. The best tip I can provide is don’t get poisoned and ESPECIALLY don’t get cursed!


The most common way of getting poisoned is the scorpions so avoid those ♥♥♥♥♥♥♥♥♥ at any cost and only engage them when safe to do so.


You can get cursed from getting hit by the cursed pot or further into the game by getting hit by specific enemies.


If you get poisoned and are low on health, drop everything you are doing and try to find a damsel, take them to the exit and you’ll be cured. Poison will slowly drop your health by one hit point.


Curses on the other hand will drop your health to one hit point and you’ll die if take any damage. Although you will not have to worry about time as much, you will need to be very careful and pets and the blood cup will become redundant when it comes to giving you extra health. As far as I’m aware the only way to lift the curse other than the second moon challenge is to sacrifice a pet or enough bodies on the alter. This should be your top priority when cursed.


Another problem with getting cursed that I realised today is that you get 30 less seconds to complete a level before the ghost arrives!!

Completing the second moon challenge will give you an item that can cure curses and poison but be sure only to only attempt the challenge if you know you have enough health to complete it. I think you only get this item if you go through the temple, you'll receive a different item in the other area.

Early Bosses (Quillback & Olmec)
As with most other tasks I find inexperienced players will waste bombs on bosses that they don’t need to. For the first boss on level 1-4, you should always let Quillback roll and destroy the left and right paths before killing him. He will always drop 3 bombs and turkey meat so he is worth killing once you have both paths open up.


Why make both paths accessible? Well, although you will only want to take one path it is always worth checking the cave opposite to the path you’ll be taking as there will be gold and items possibly inside. Sometimes items will spawn under the caves so it can be worth dropping down and getting the item and then using a rope to go back if time allows.


Alternatively, you can use a bomb to get access to the other path. I almost always go to the jungle in this situation as it’ll give you access to the black market, but the volcano has its share of secrets as well.


With Quillback it is always important to try not blowing up the precious bombs he’ll drop.

Try not to blast the shotgun at him too much as you’ll risk blowing up the bombs.


Throwing a lit torch at him can also risk blowing up the bombs he is carrying.


If you have the spike shoes, I find this is the safest way to kill him but be careful not jump on him when he’s rolling.


A carefully placed sticky bomb can also be an easy way out of the fight. This method can also risk blowing up the bombs, but I find it is destroyed far less frequently than using the shotgun or lit torches.


Throwing the many skulls piled up above the arena, rocks or other objects is another way to kill him if you don't have any useful items. However, this is time consuming and should only be attempted if you feel you can manage the fight and make it to the exit on time.

As for Olmec, I recommend not using your bombs at all for this fight. Always run to the right and check to see if those weird jungle kids have brought you any items for rescuing them.


On a side note, you should always try rescuing these kids in the caves of the jungle area, if you rescue all 3 you’ll get a 12 pack of bombs.


Lure Olmec to the ladder on the right and jump on his head then stand to the left to get him to jump left. Look up to see if there are any crates as more often or not there will be, then use ropes to retrieve them.


As for the fight itself don’t use bombs, allow him to jump over you and crush the ground below.


UPDATED SECOND PHASE: For the next phase of the battle, drop down onto his head from the first level so you don't take any fall damage. Once you have gotten to the floor he should start floating in the air. If you stand directly under his head he will begin to drop bombs. Stay directly under him and you should be safe from any bomb blasts most of the time. Wait for a gap to be made where you can get Olmec to drop down. The purple things underneath him now only require one damage to break, so you can use your whip to break one of the sensors and then break the next one when you want him to drop. Sticky bombs are good here if you aren't confident you won't get crushed when he falls down. If you have let him drop enough bombs, you can sometimes skip phase 3 of the fight completely as the bombs will also destroy the ground below on the third level.

If there are two or less blocks when he lands he will fall to the next level. 3 or more will keep the fight going and he will be at a lower level now which can make the fight trickier so make sure he's gonna fall all the way before hitting the sensors.

If the ground is starting to get too low you may need to use ropes to get back up. Be careful though as ropes will damage the sensors.

For the next phase of the battle, wait on top of his head until many bombs have dropped from his head and then destroy the lights on his bottom to get him to drop down below. You can use ropes to help with this, rope hooks will also damage the lights when thrown up. Just be careful he doesn't crush you on the way down. If you have let him drop enough bombs, you can sometimes skip phase 3 of the fight completely.


I do not want to spoil what the reward is for killing Olmec is if you haven’t found out already, but just know that there is a key item involved that will make your life a lot easier in the upcoming levels so I say it’s almost always worth trying to defeat him.
Misc Tips
These are tips I couldn't think to put anywhere else in the guide, these are not included in the video!

1. Bodies and Arrow Traps: Use bodies to set off arrow traps. The arrow will always collide with the body first so if you are holding the body there is no way the arrow can hit you. This is really useful when an arrow is positioned in a spot that could result in it hitting something you don't want it to (a Pet, a Shopkeeper or an Idol trap). This means that you may want to consider using a Pet, Turkey or Hired Hand to set off the trap as they'll survive the hit provided they haven't taken damage prior. Remember, having a Pet die to save you is more important than you taking two hit points!


2. Getting to Black Market: As mentioned in the guide you'll need the Udjat Eye to access the Black Market, as it will blink and make a sound when you are close to its location. However, if you are missing this item or just cannot seem to find the entrance you can use the following tips to find the entrance:
- The Black Market will never spawn on level 2-1.
- The Black Market will never spawn on the same level as Tun's Moon Challenge.
- The Black Market will never spawn if there is a Shopkeeper's shop somewhere on the level.
- When going into a cave in the jungle (such as one of the trapped jungle kid locations), listen out for the music that is being played. If it is a quieter version of the main Jungle theme, the Black Market is not on this level. If you can hear a drum beat then the Black Market is somewhere on this level. When you hear the music check the cave at each side and look up and down to see if you can spot the entrance to the Black Market. This will happen more often than you think. When you come out of the cave, keep your eye fixed on where the entrance was and then go to that location in the jungle and use a bomb.

3. Rare Enemy Item Spawns: I have no idea what the actual numbers are, but there is a very small chance an item will spawn from killing specific enemies (there are likely others, but these are the ones I've noticed):
- Hang Spider: Web Gun
- Skeleton: Skeleton Key
- Mosquito: Hover Pack
- Croc Man: Teleporter
- Mummy: Diamond
- UFO: When the Alien drops from the UFO there is a chance it's parachute will be made of gold and drop golden nuggets until it reaches the ground.
- Parachute: Is it also possible for a parachute you have collected to be made of gold as well.
- Anubis II: Jetpack
General Defence Guide - Moles & Lizards
I've created a new guide for general defence and how to deal with enemies without the need for stronger weapons and items. This goes into detail on two enemies in the first area of the game that everyone loves to bits: Cave Moles and Horned Lizards.

Even if you are getting past the first level of the game and are comfortable with most of the gameplay mechanics I recommend giving it a read/ watch if you have time as there are some advanced attacking techniques mentioned here including parts of the game people find unbalanced.

https://steamcommunity.com/sharedfiles/filedetails/?id=2304398775

Watch the video here:
Quick Multiplayer Tips
For a few multiplayer tips, check out the following guide I made, its not as in depth as this one but may come in handy for some! : https://steamcommunity.com/sharedfiles/filedetails/?id=2322985786
Conclusion
Hopefully some of these tips will aid you in your adventures. There is obviously a lot of stuff I haven’t covered here and I haven’t even mentioned some of the later levels but I intend on making some more videos/ guides later on if I get a chance.

Feel free to ask a comment if you need help with something or clarification on anything mentioned in the video.

Never let the difficulty of Spelunky get you down. It is a tremendously difficult game that requires experience and refinement to master. I wish you all the best in your adventures!

19 Comments
Eri Machina Nov 23, 2022 @ 2:58pm 
this is highly recommended. whoever did this is a pure spelunky master.
B10nicle Jun 9, 2022 @ 6:09am 
Extra tips:

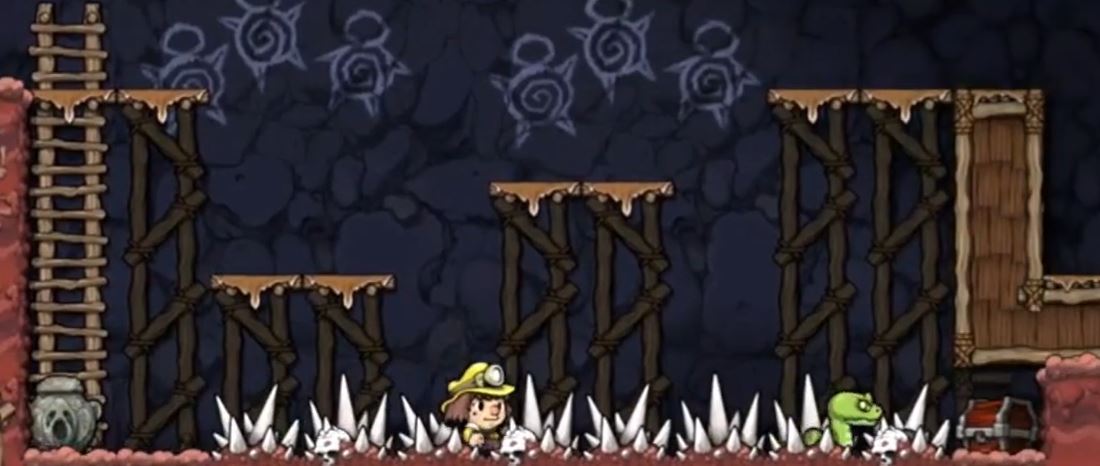
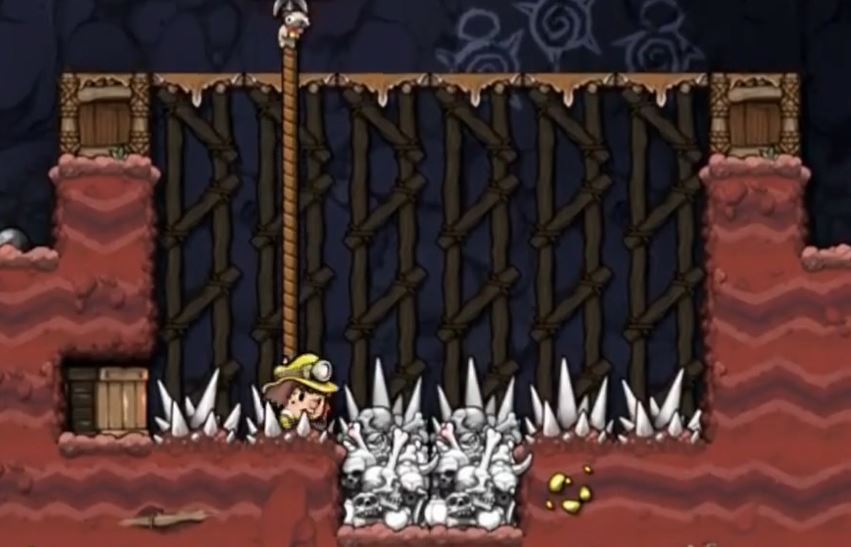
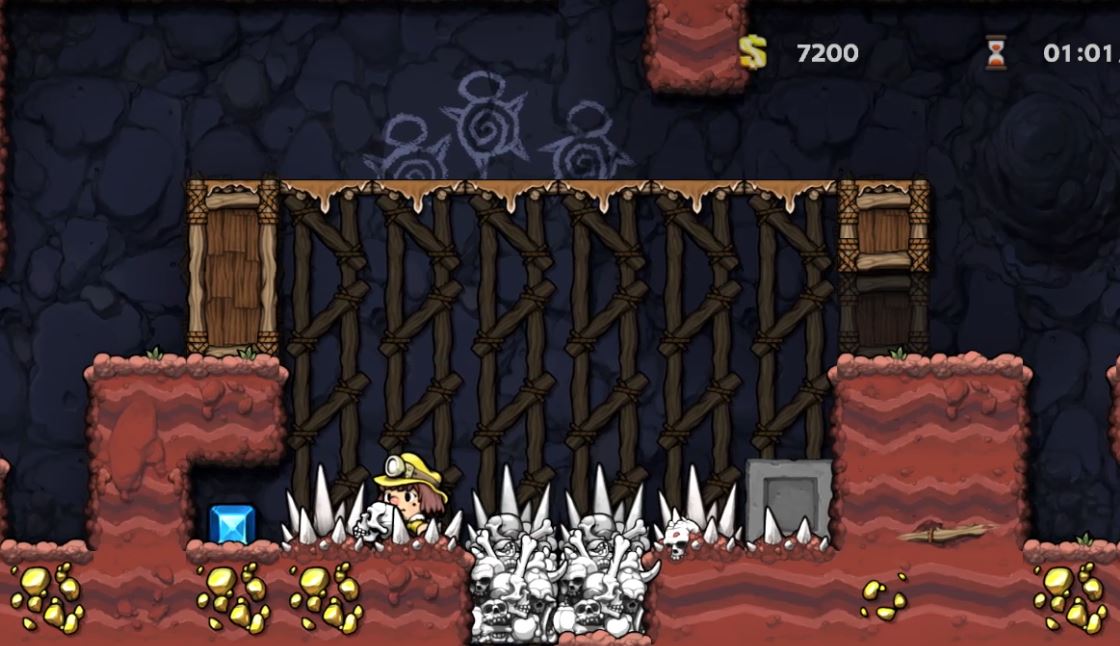
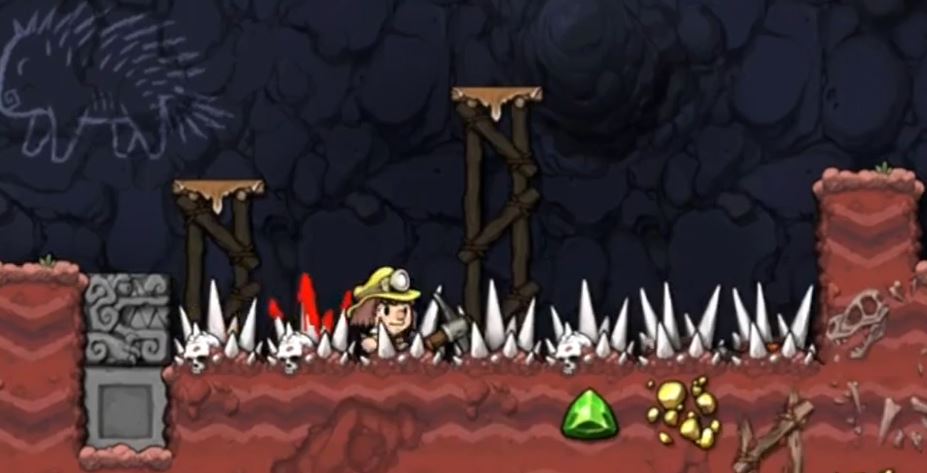
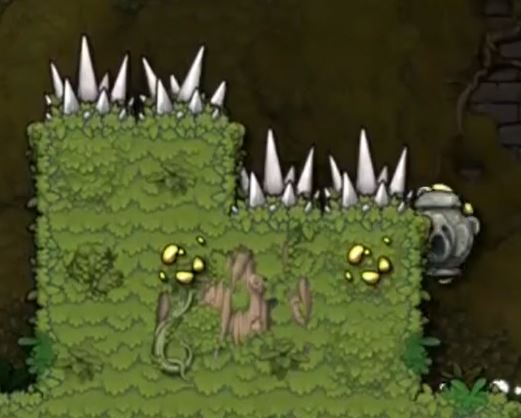
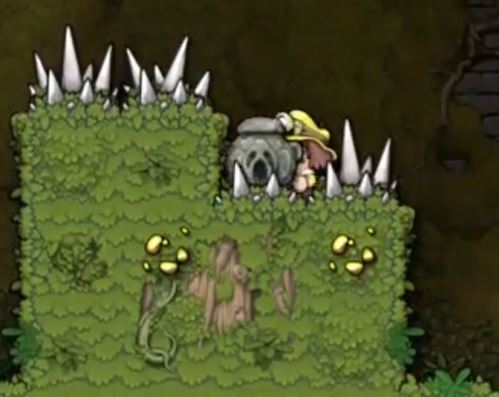
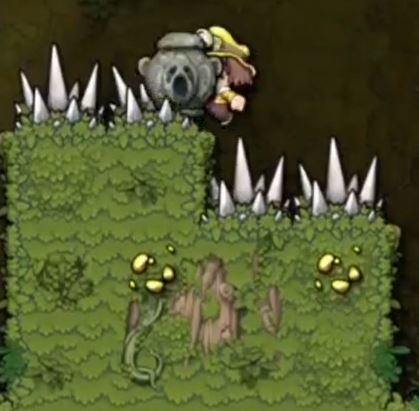
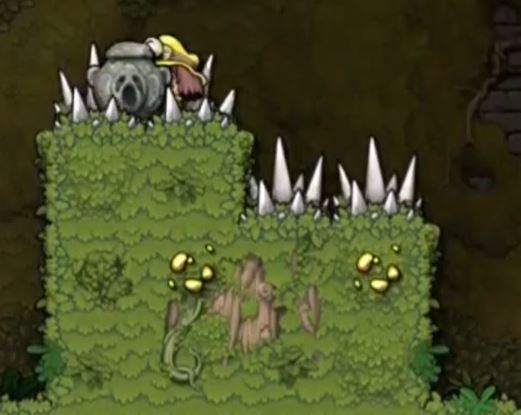
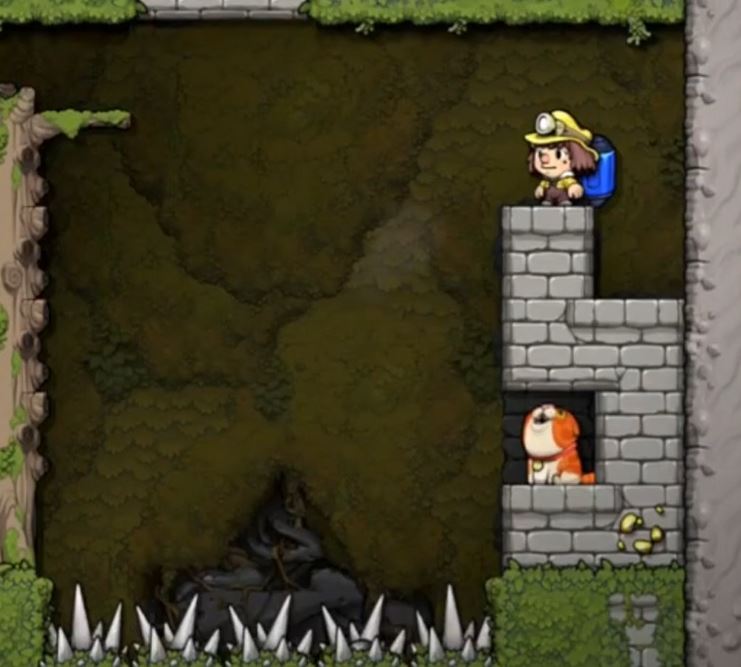
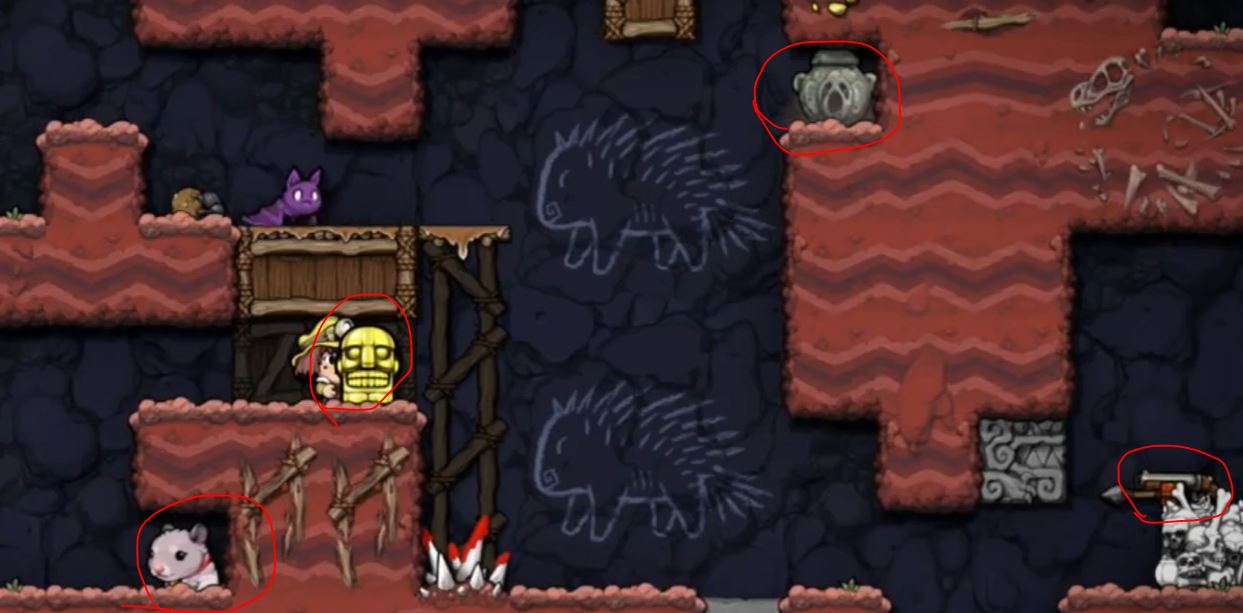
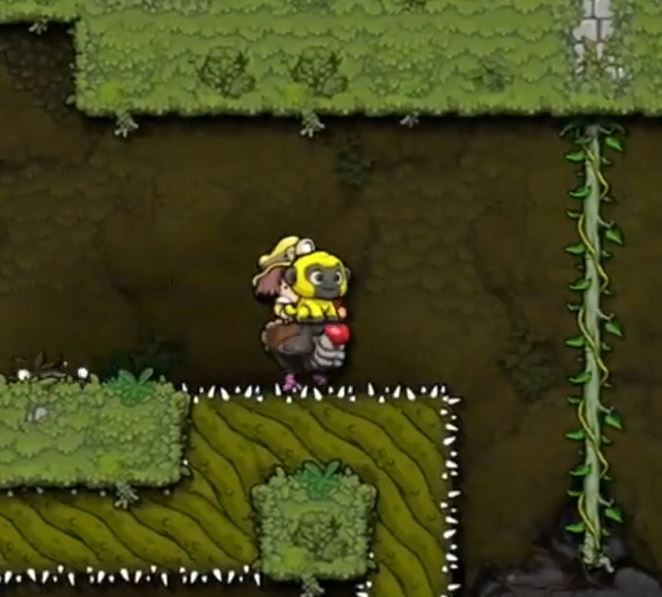
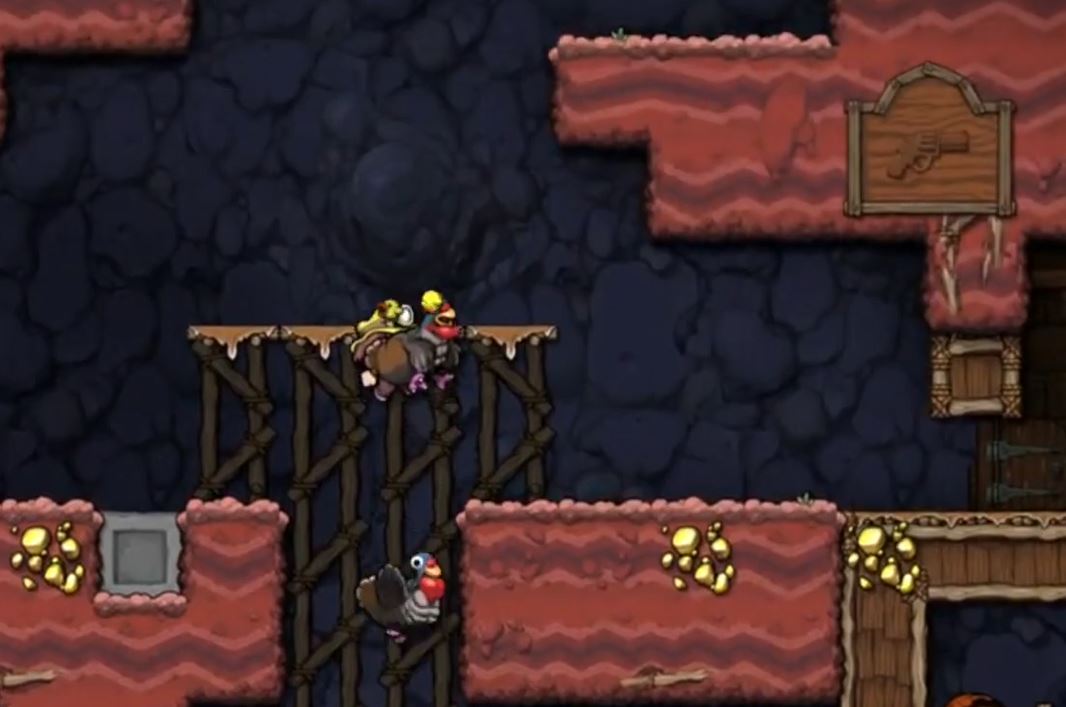
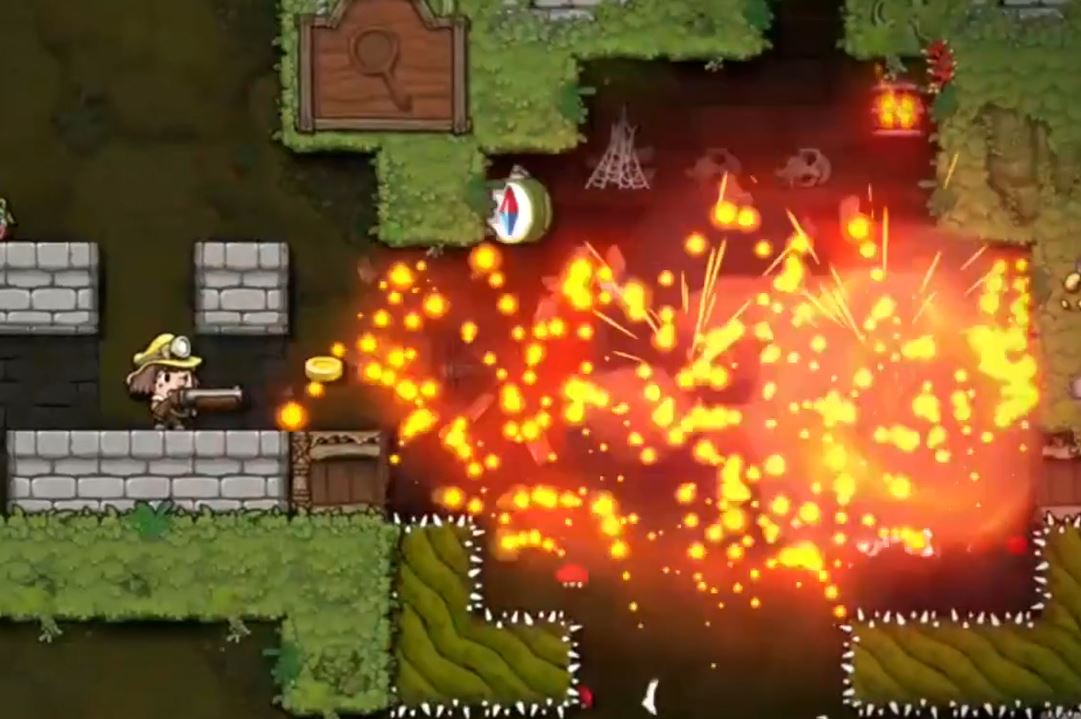
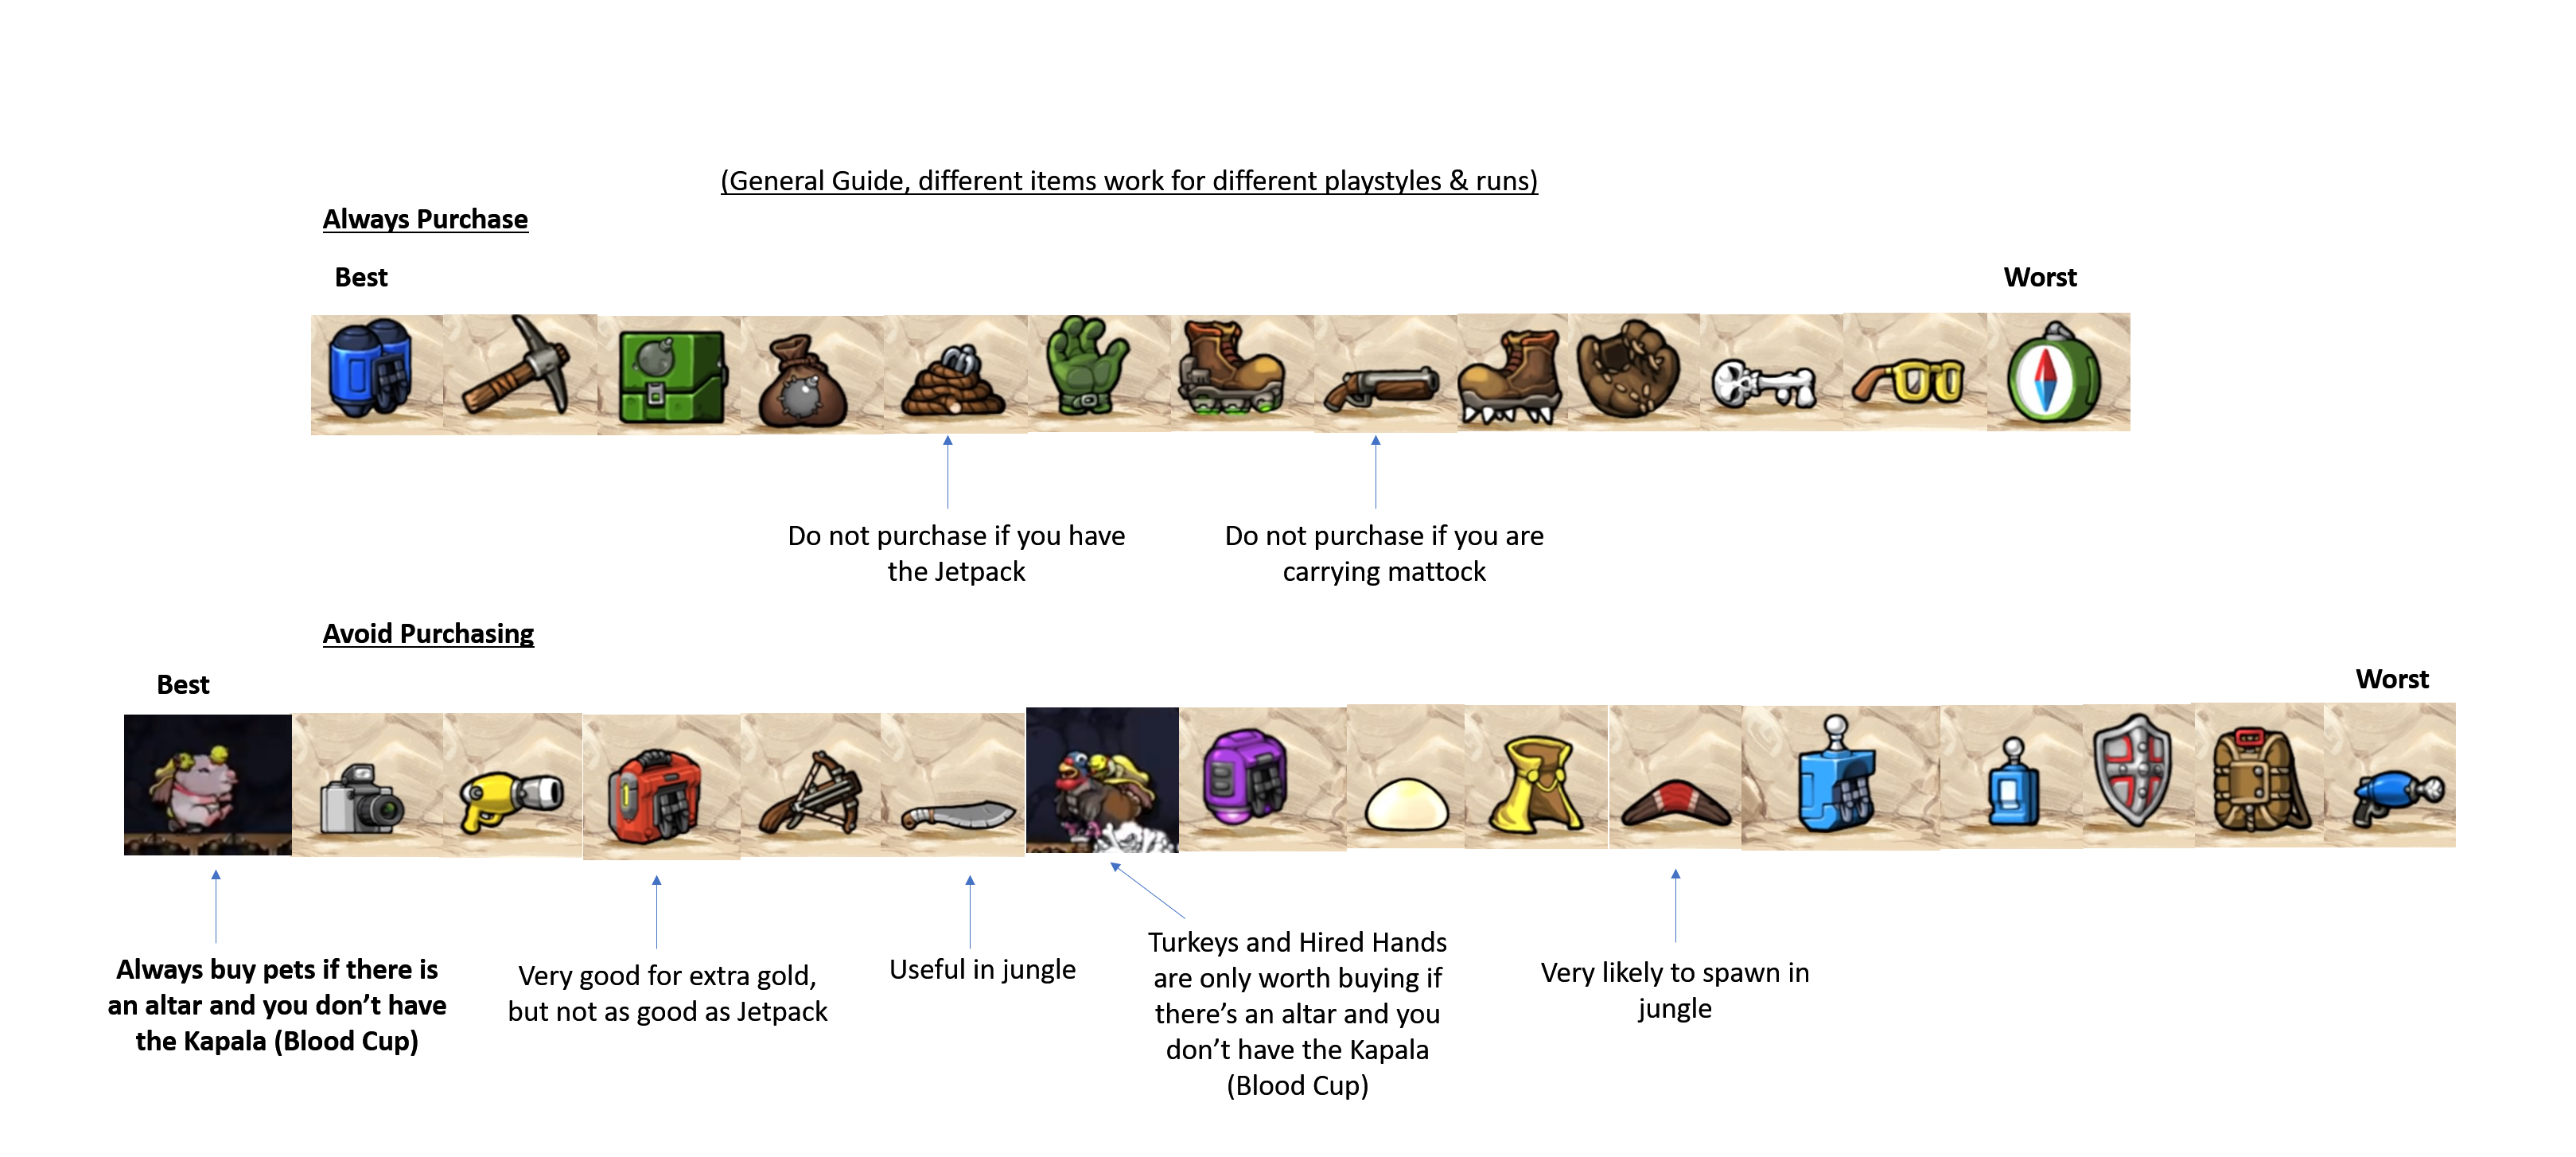
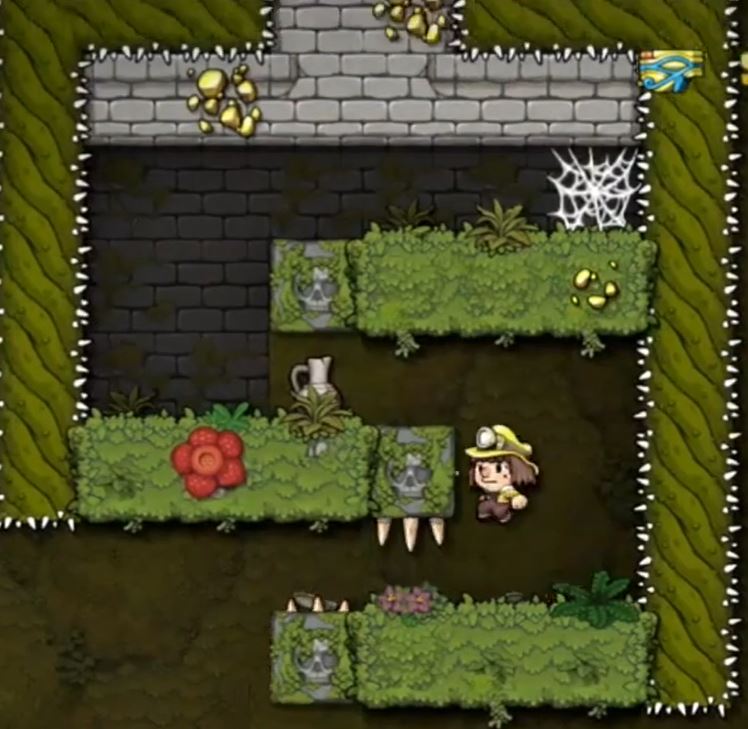
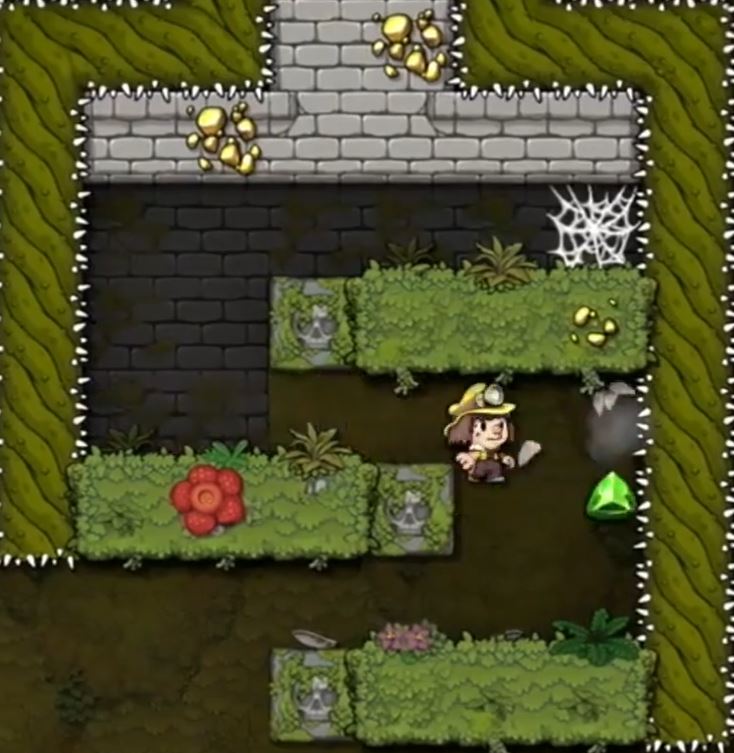
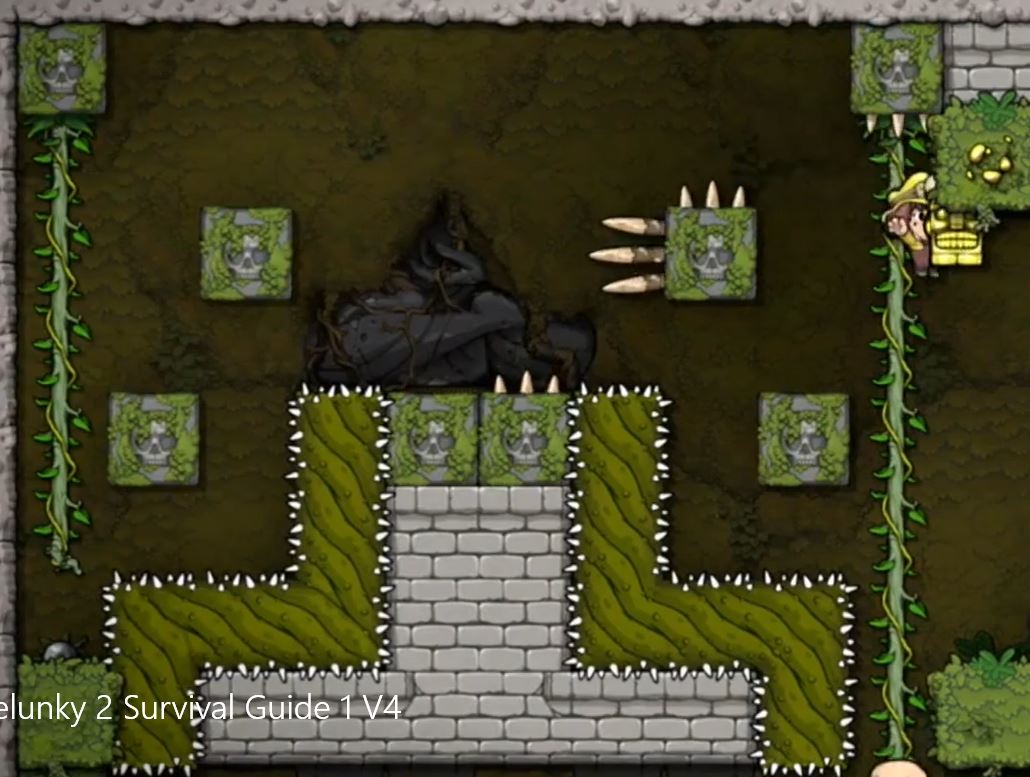
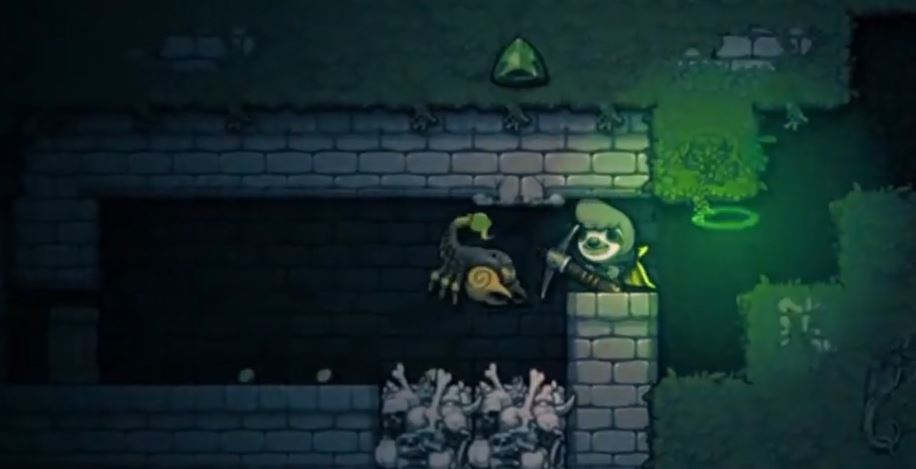
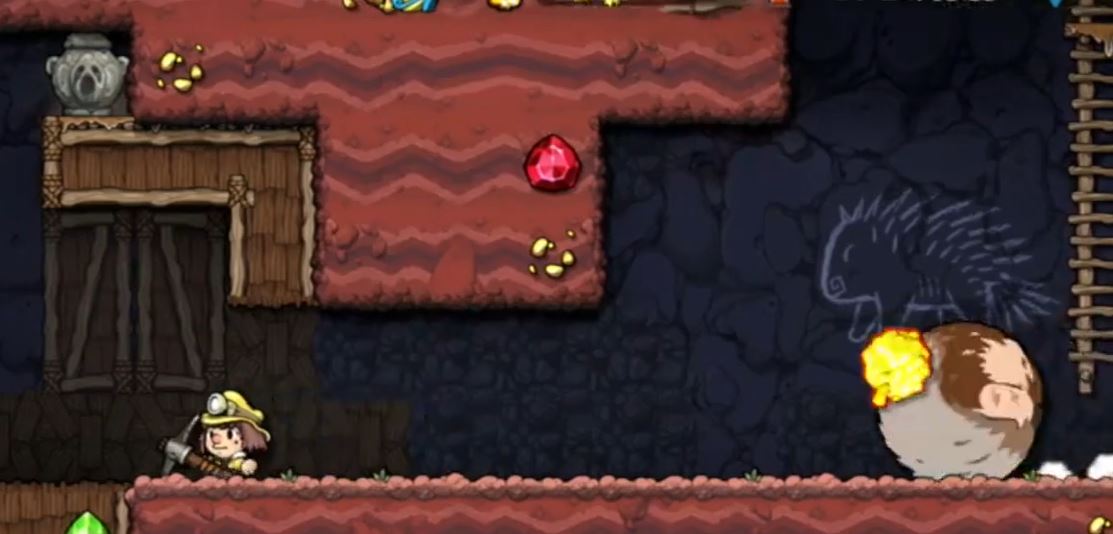
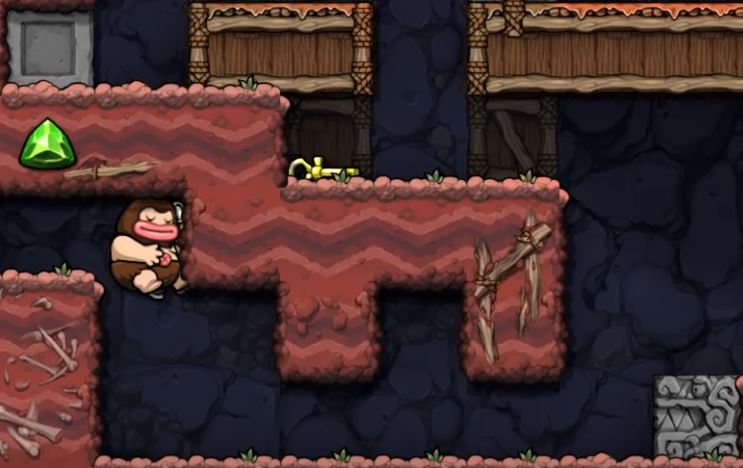
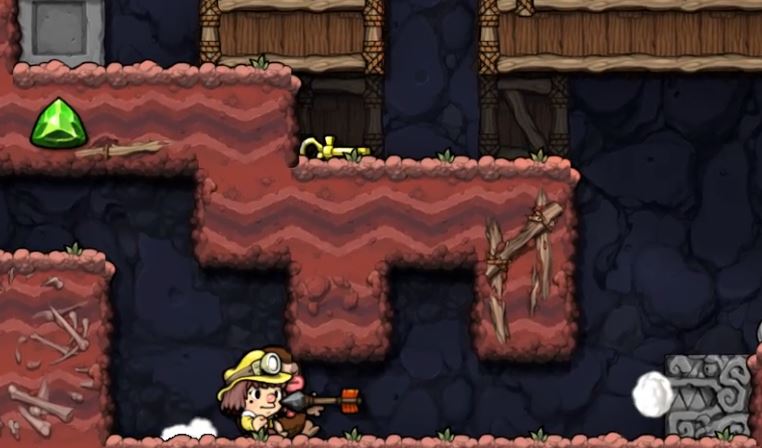
climbing gloves stop you taking thorn damage if you run into them or grab onto them, however you will still take damage from walking on them if you don't have boots.

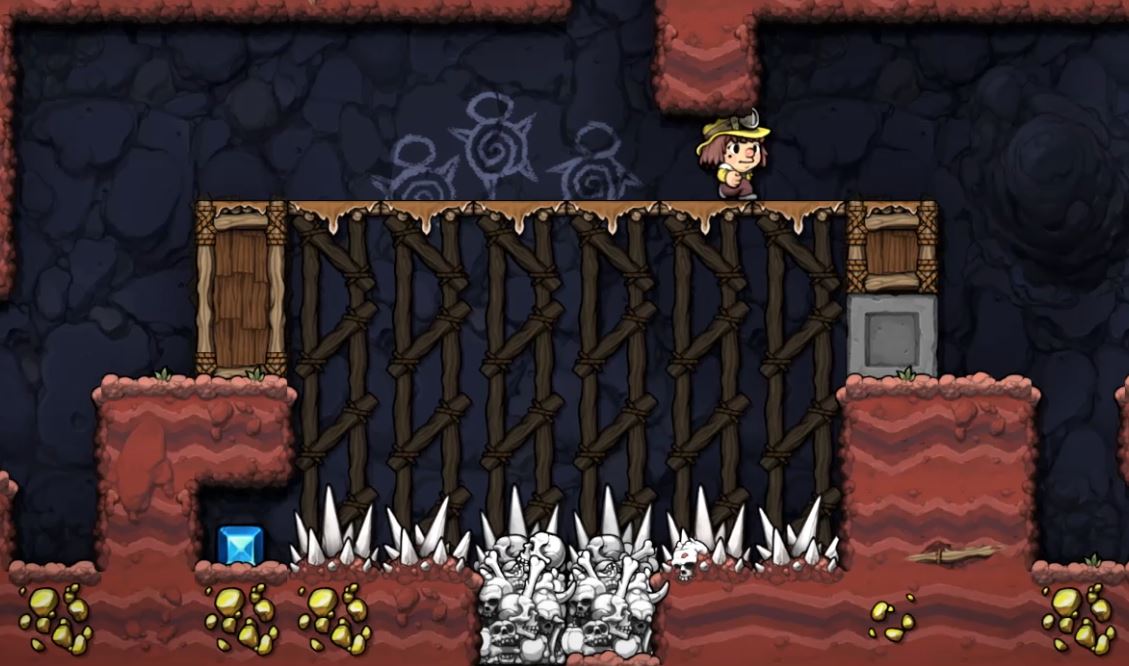
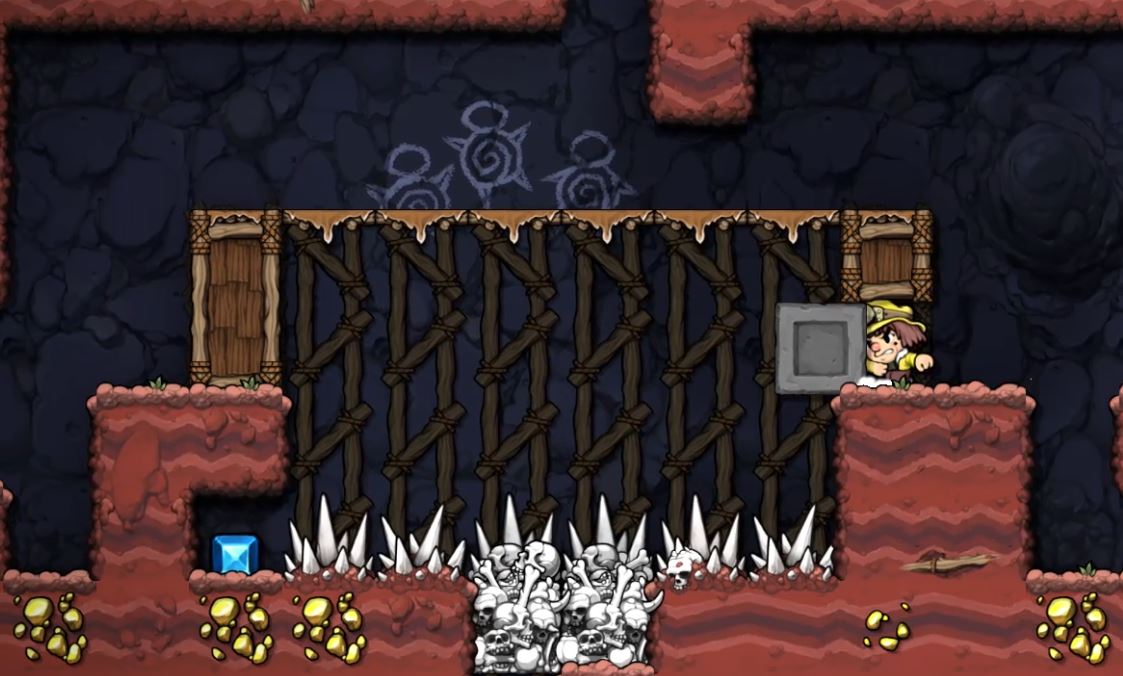
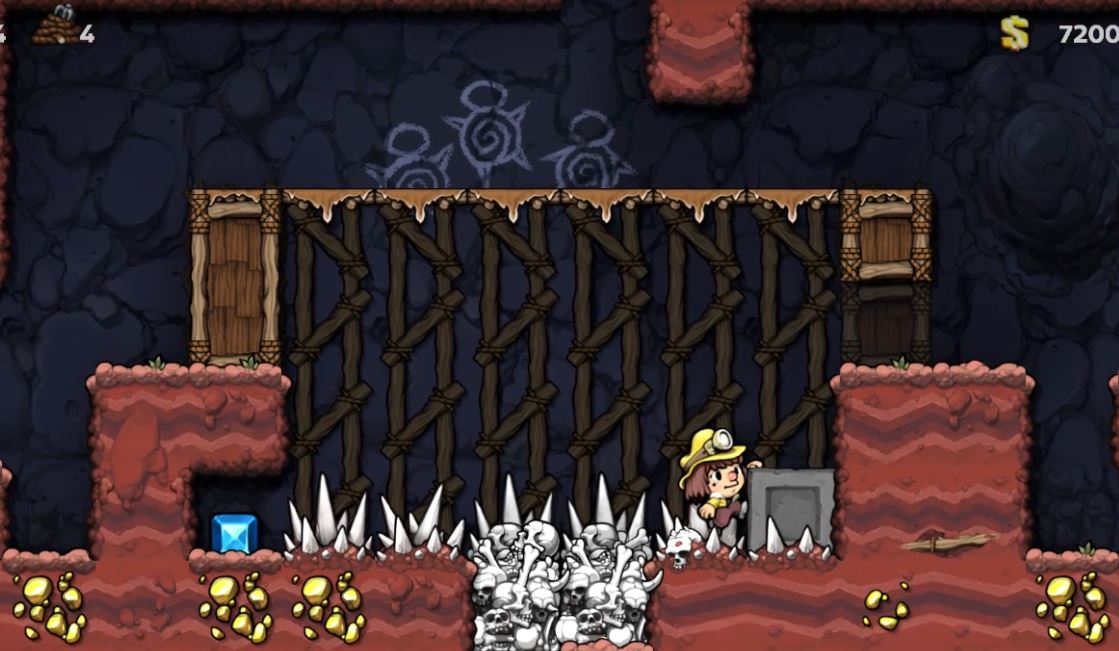
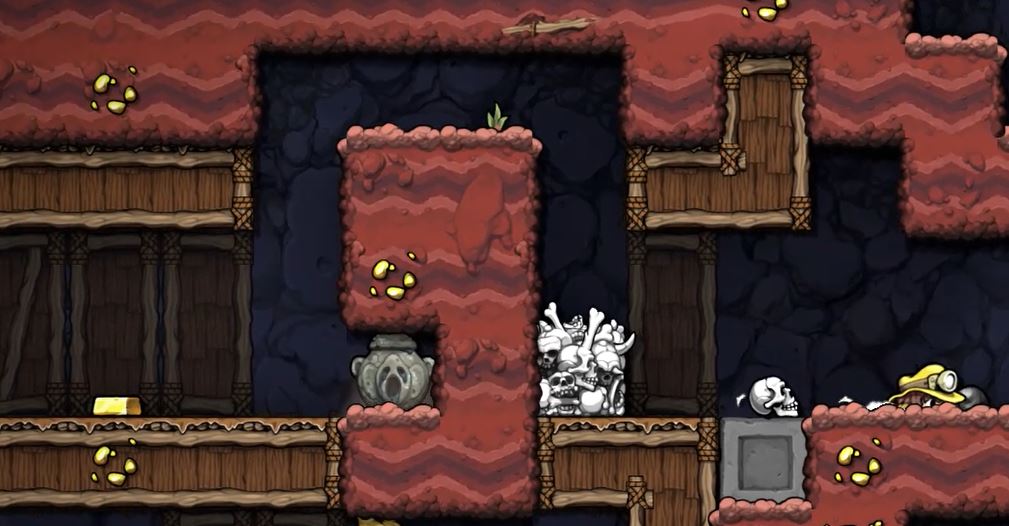
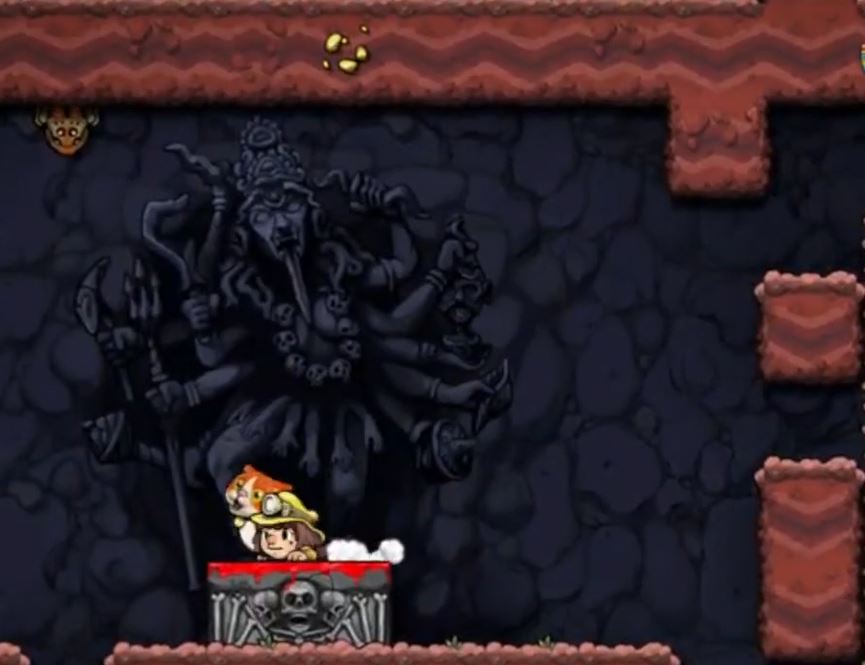
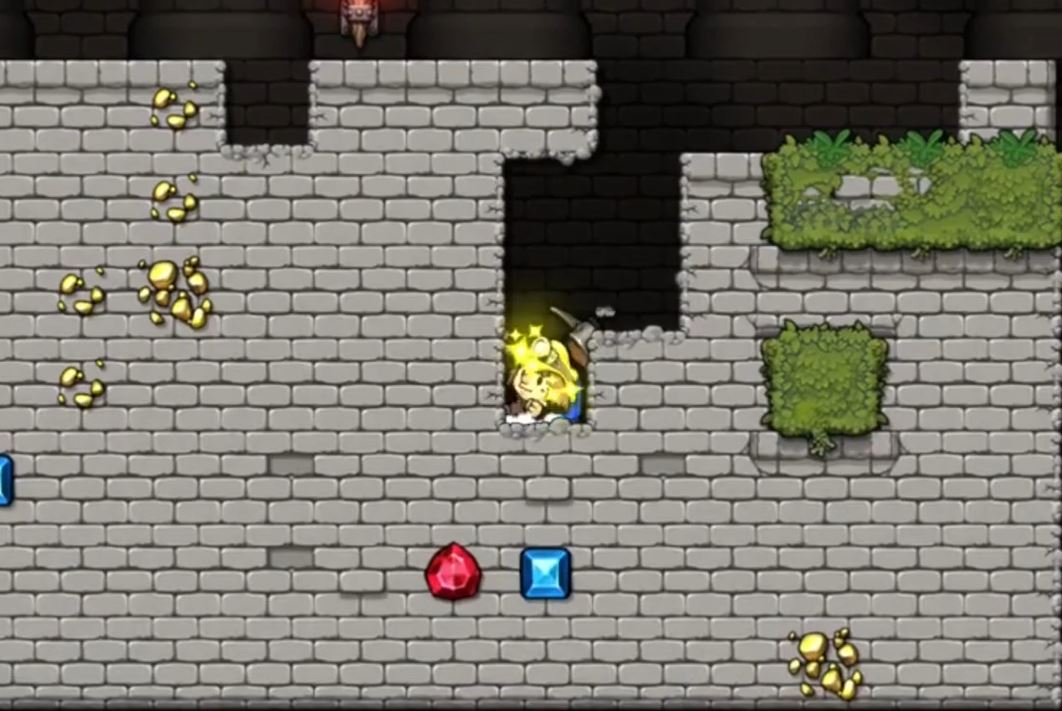
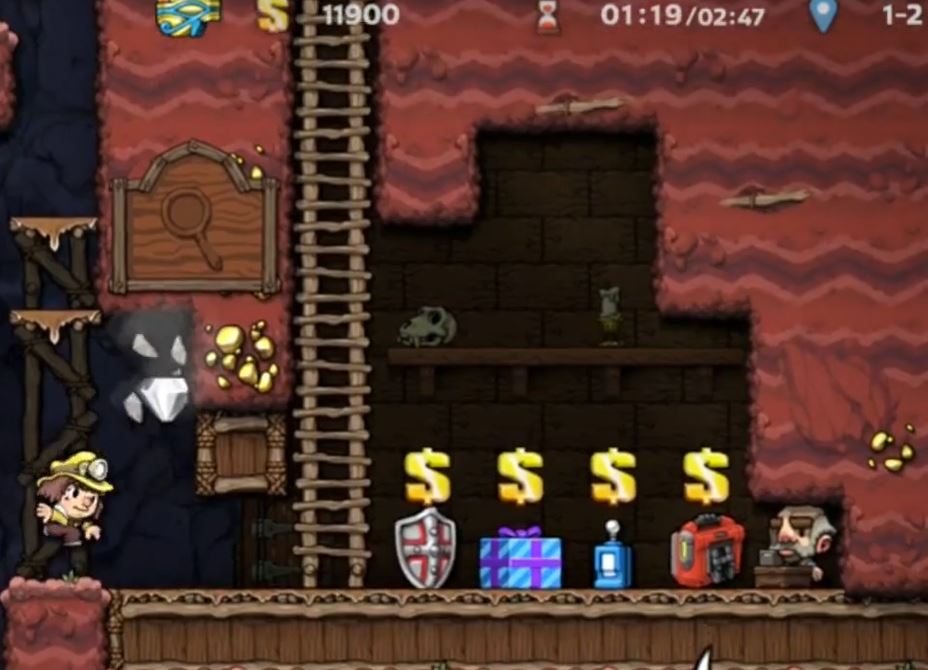
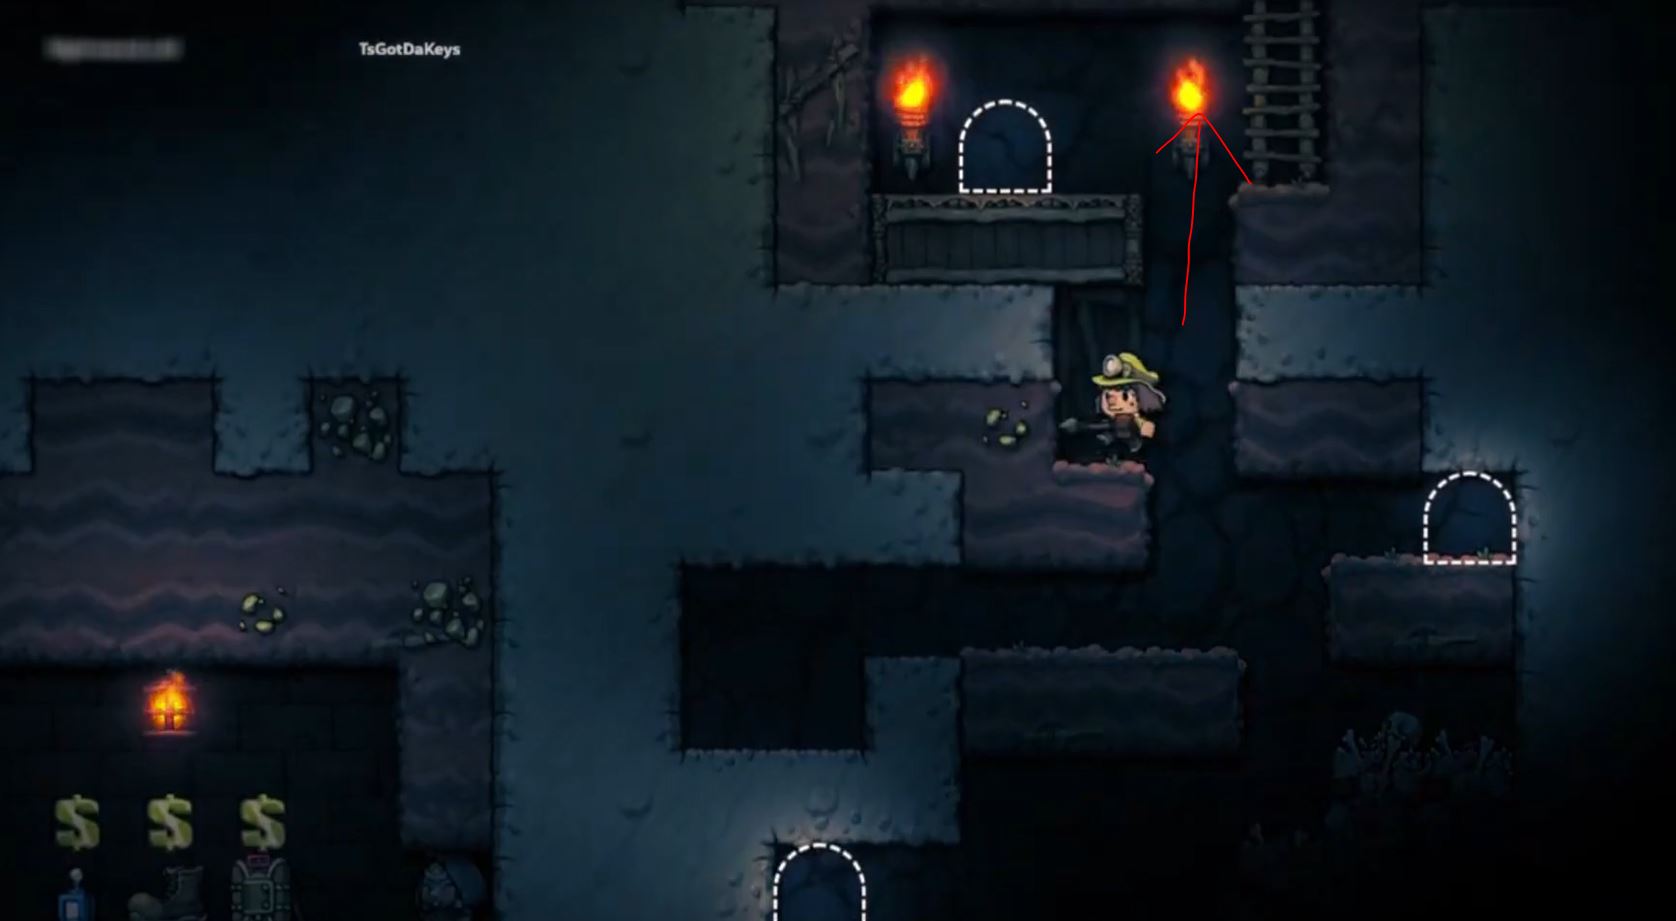
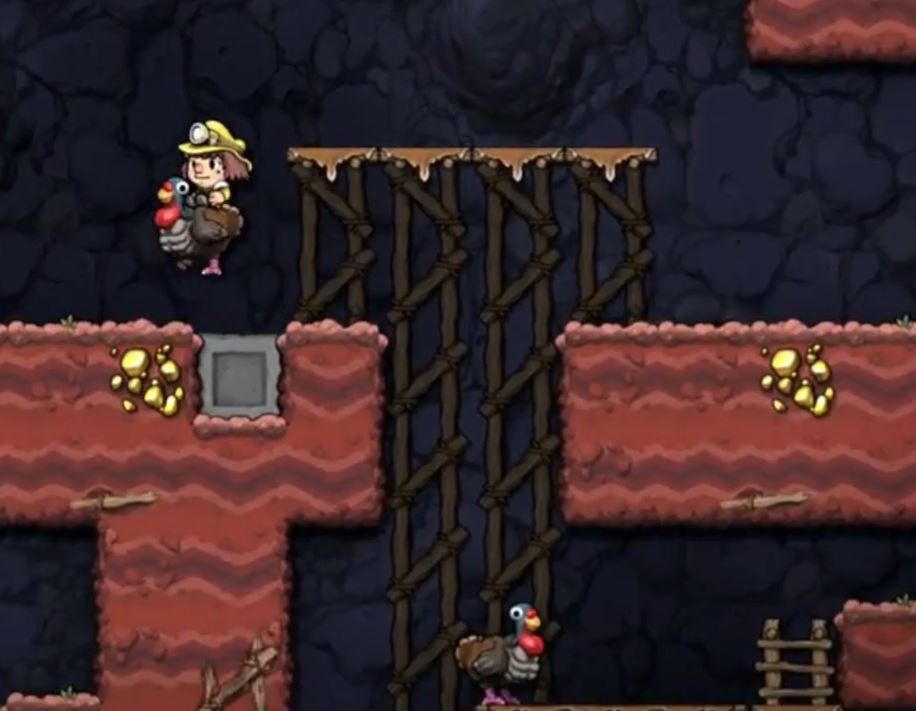
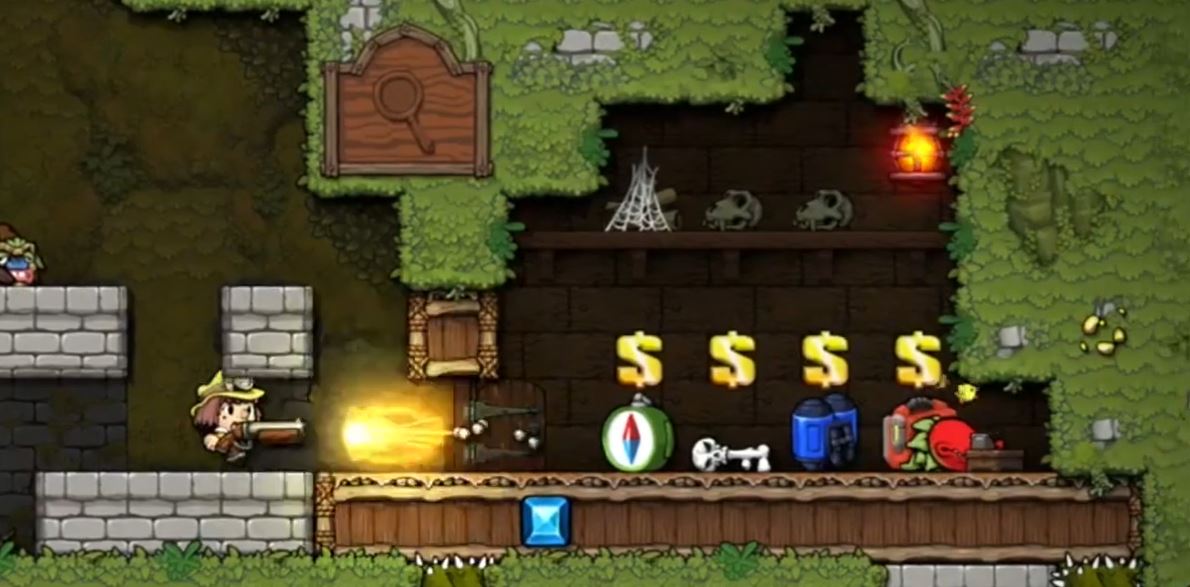
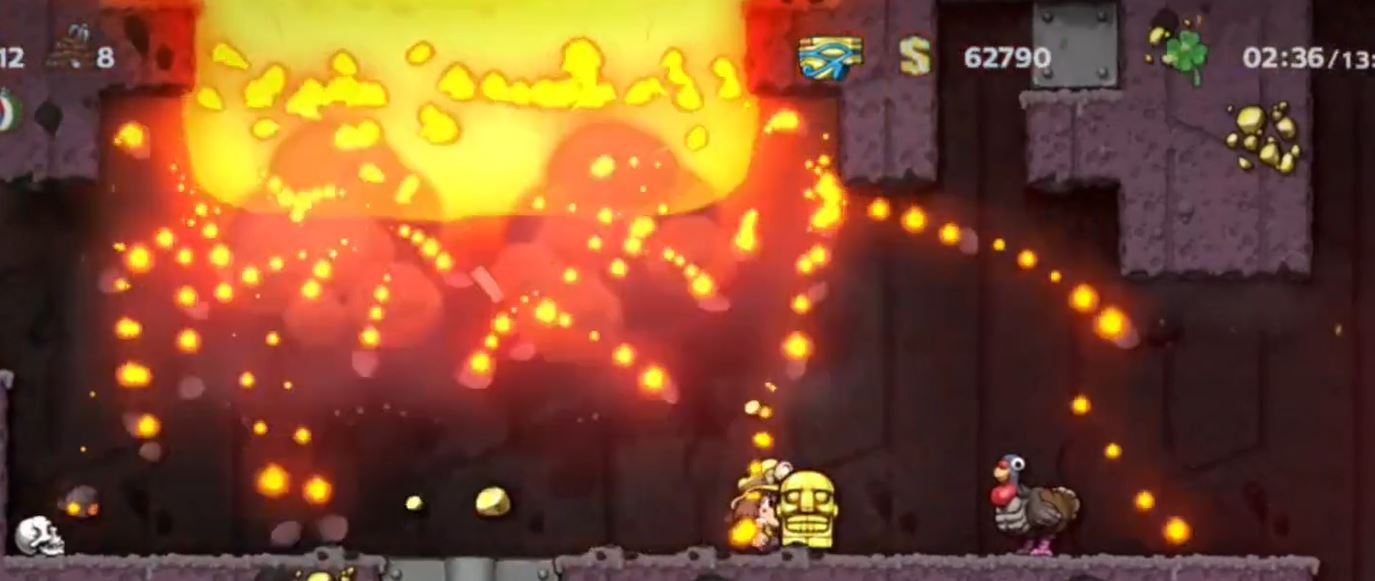
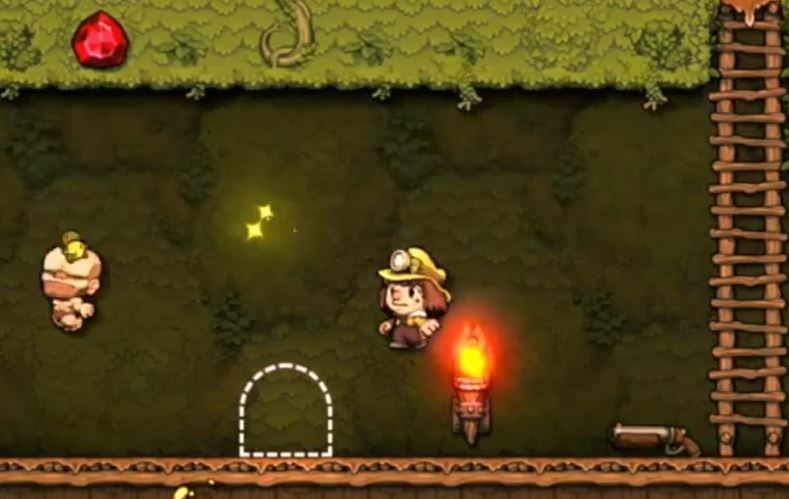
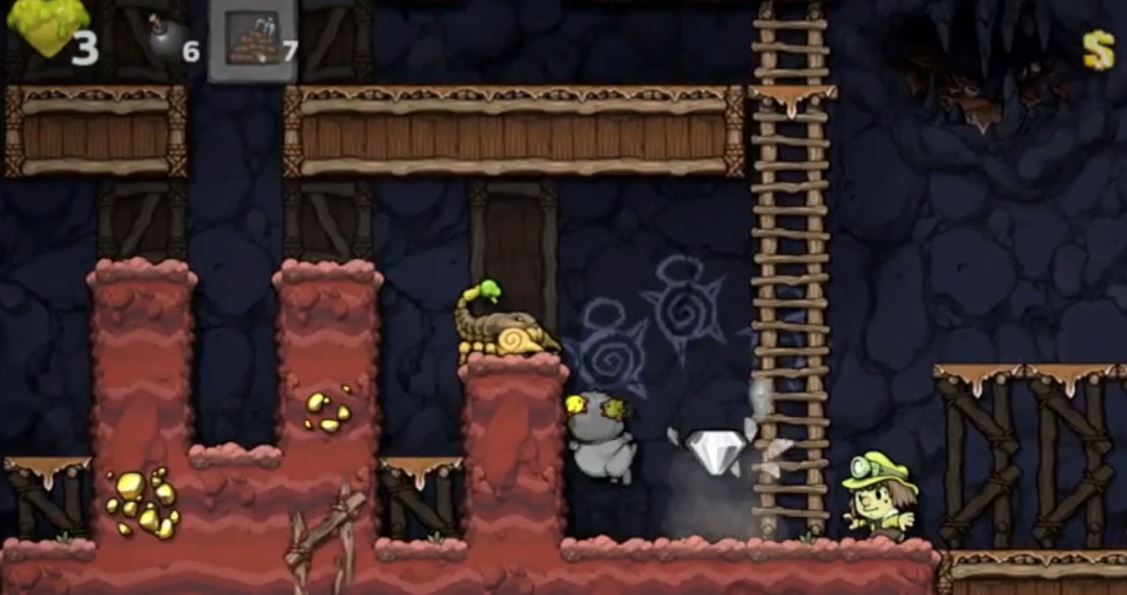
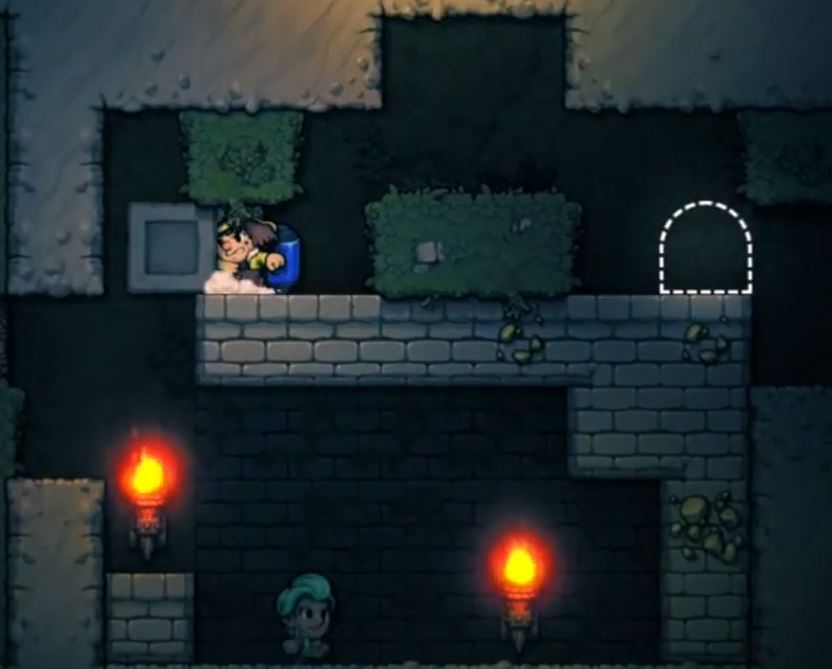
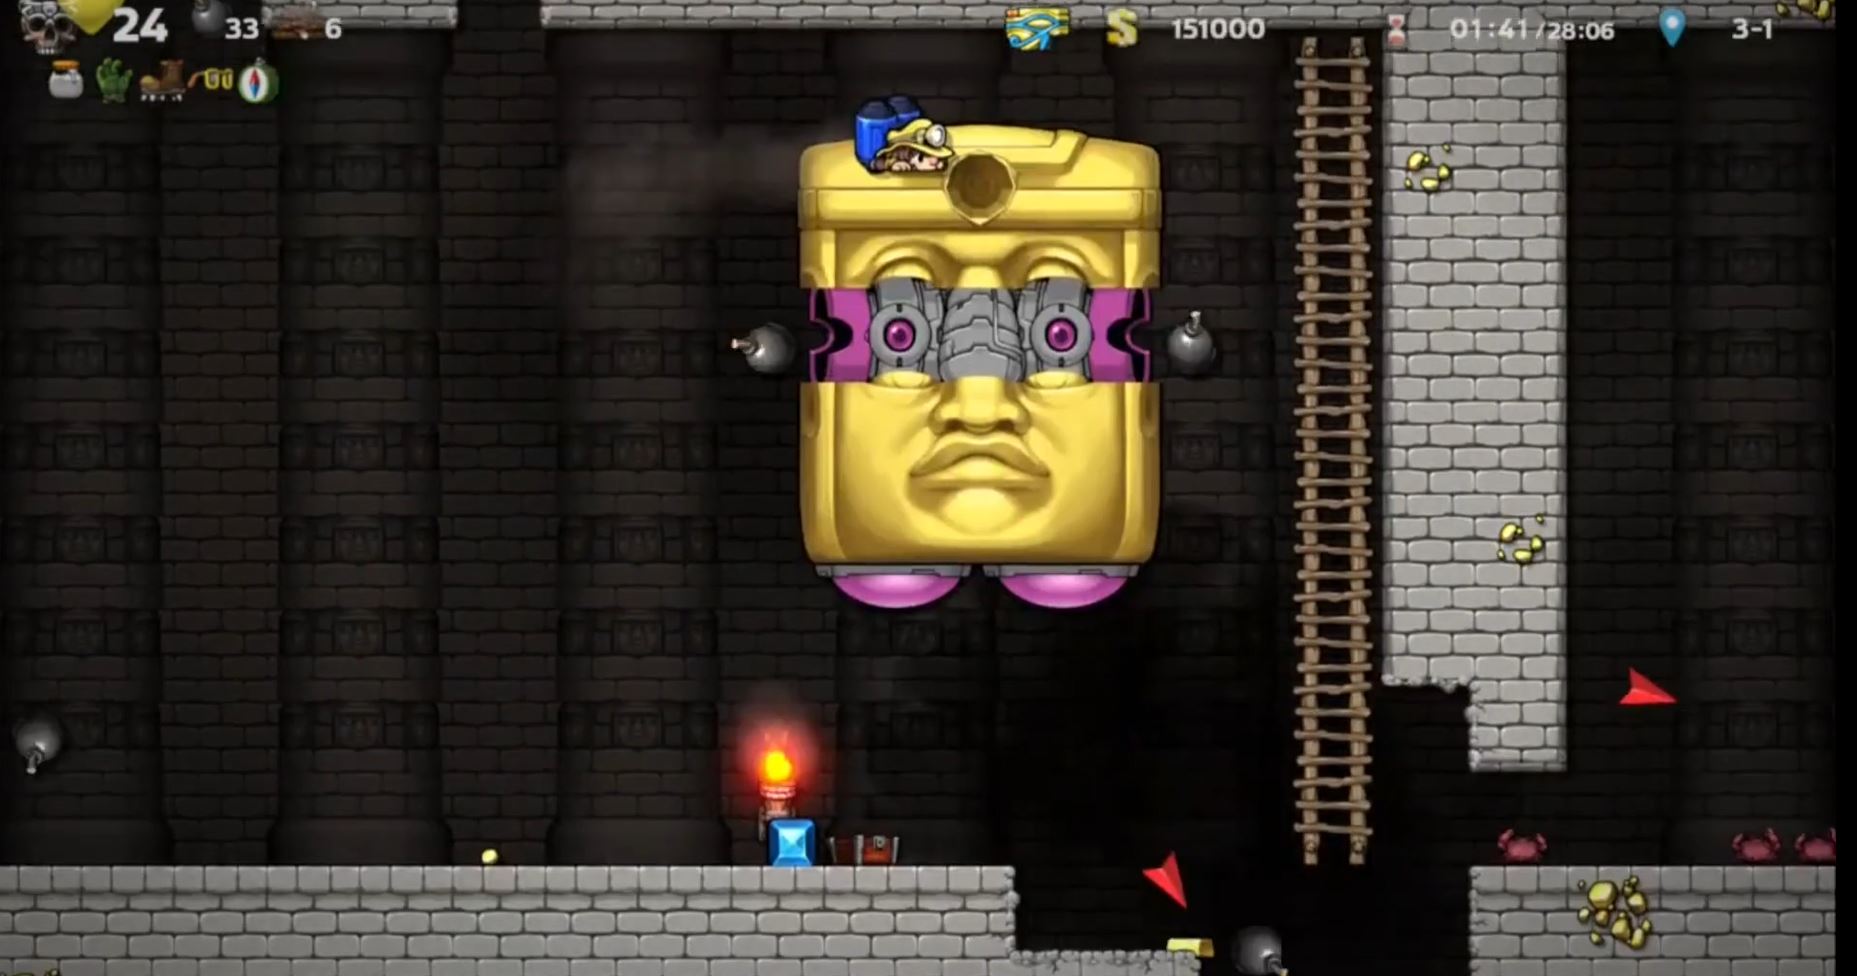
The teleporter can be extremely useful and have guaranteed safety once you learn how to use it.

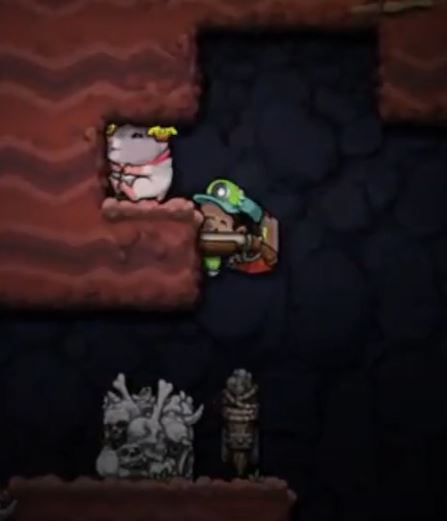
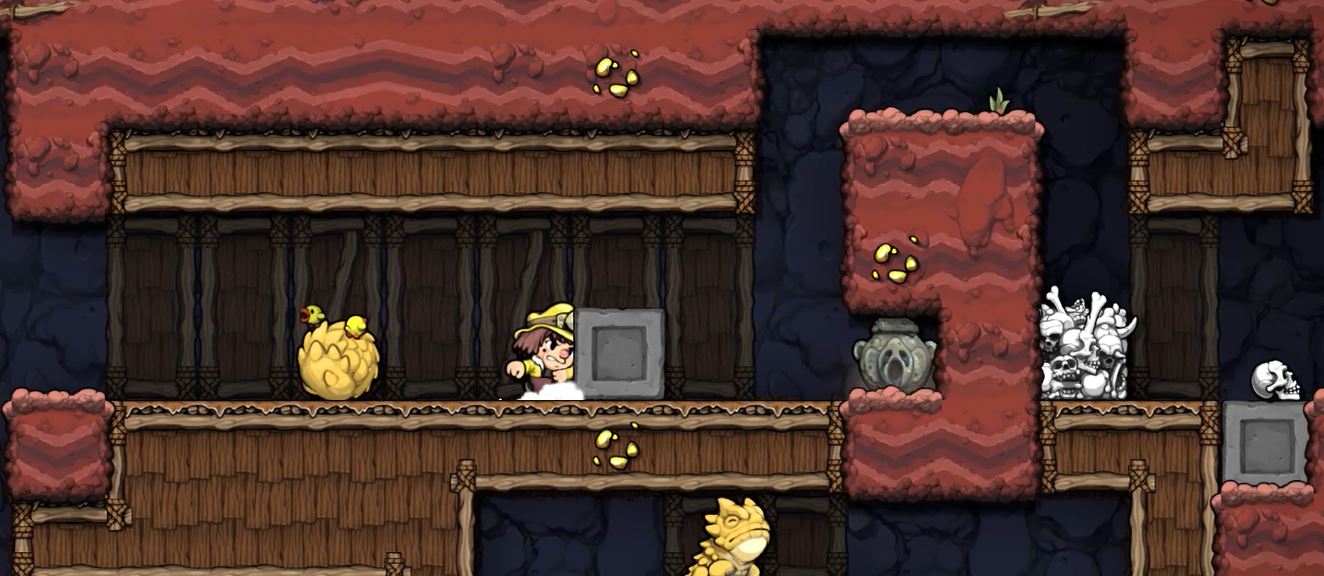
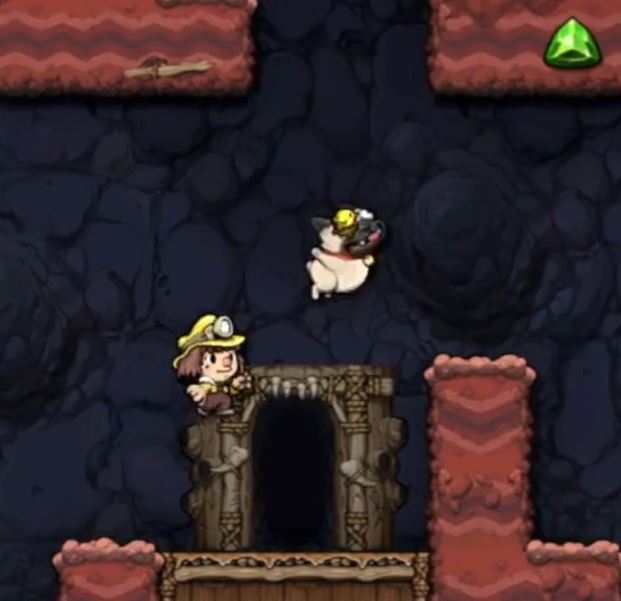
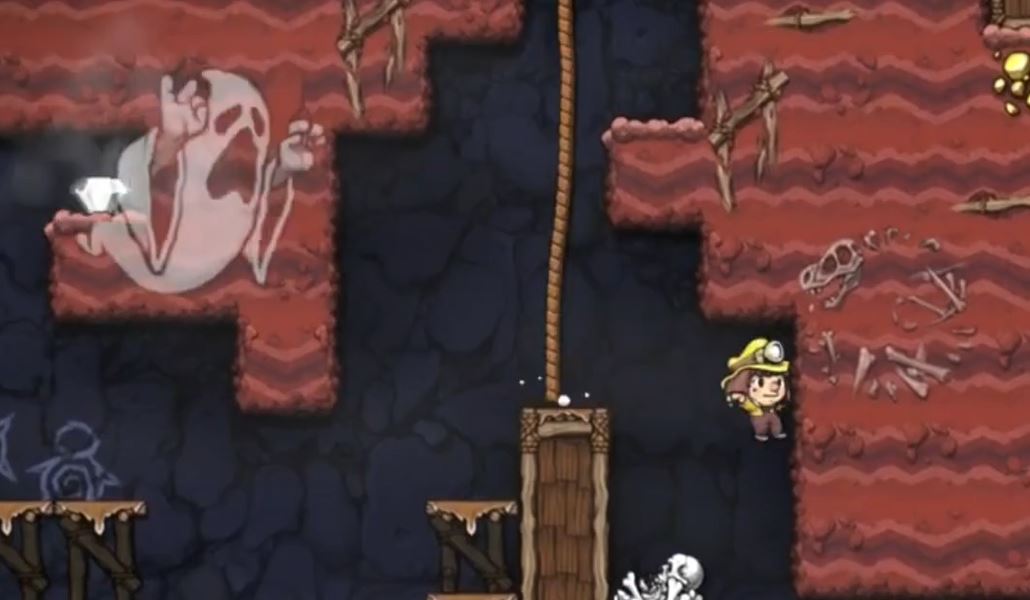
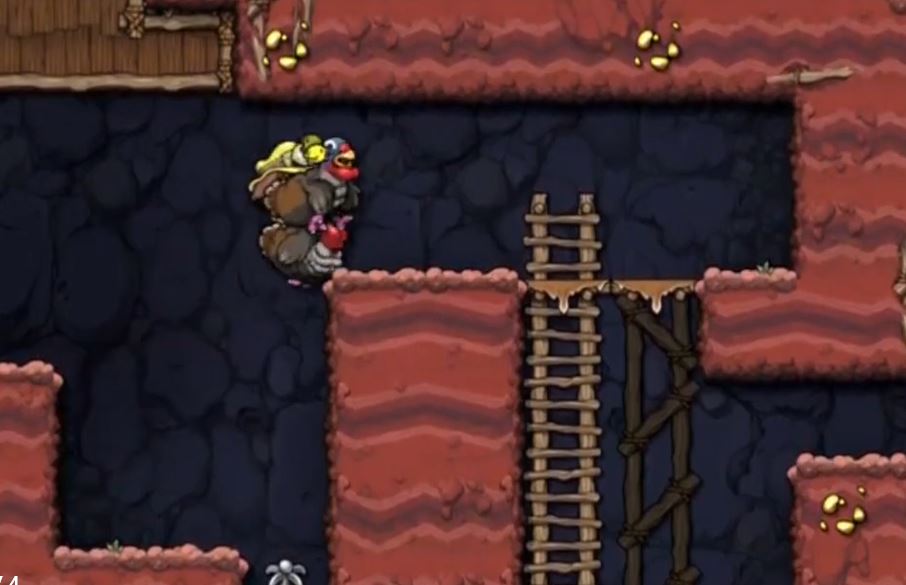
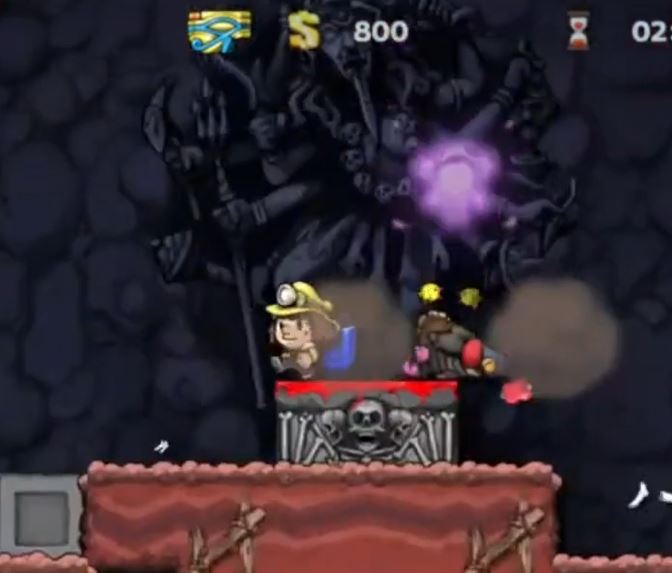
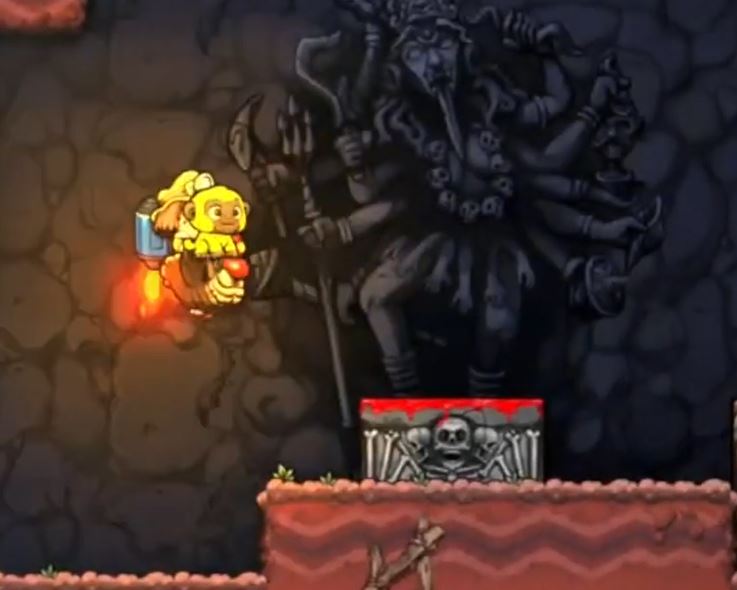
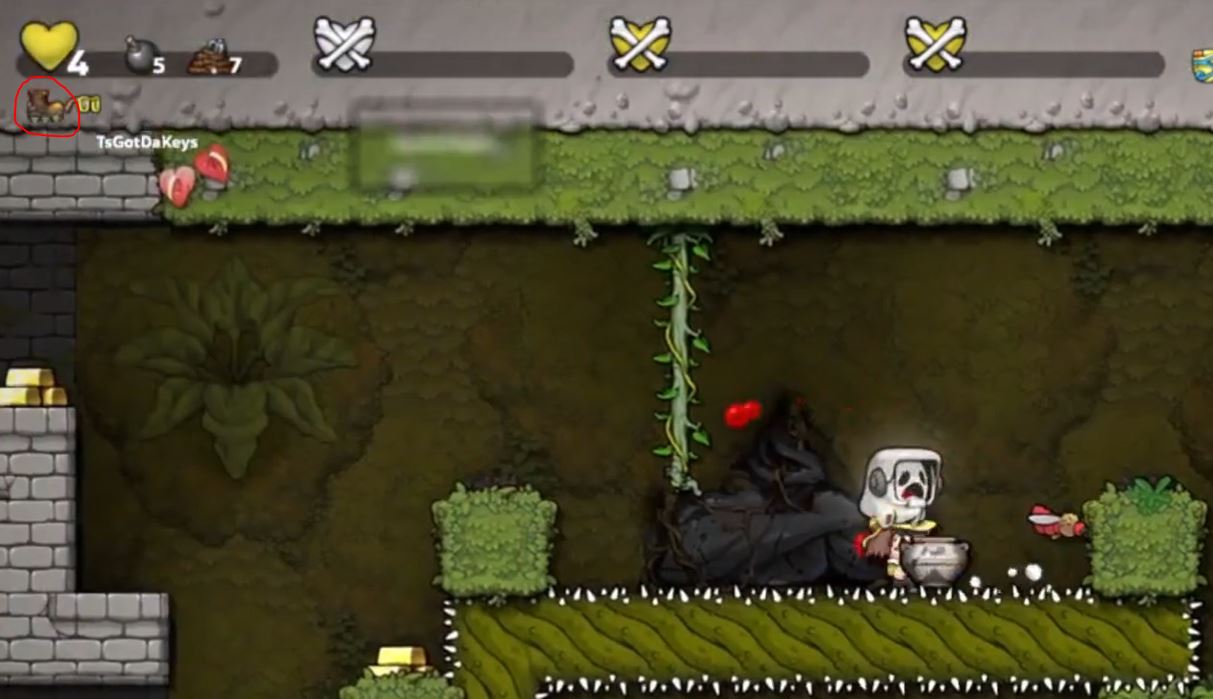
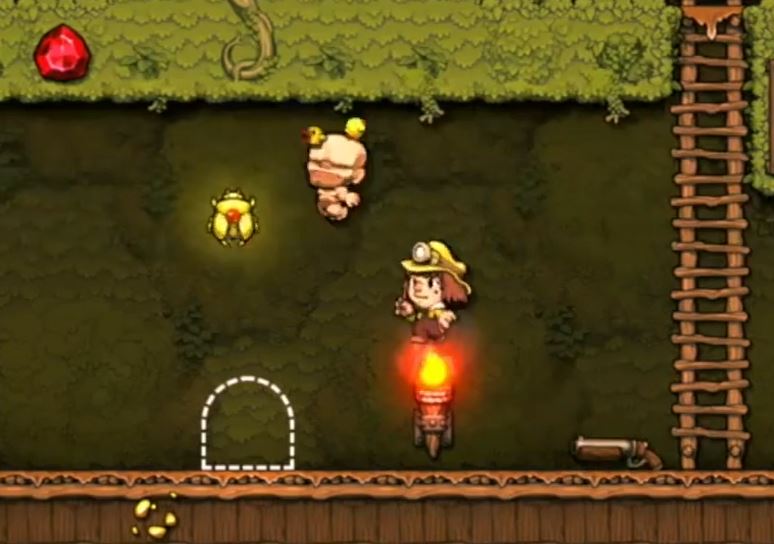
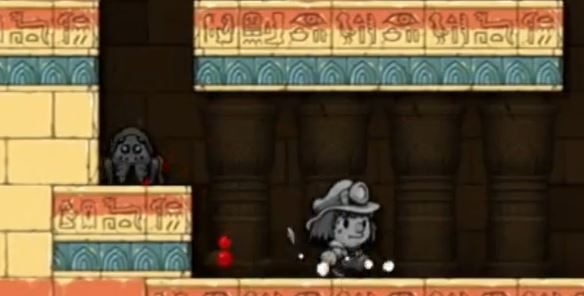
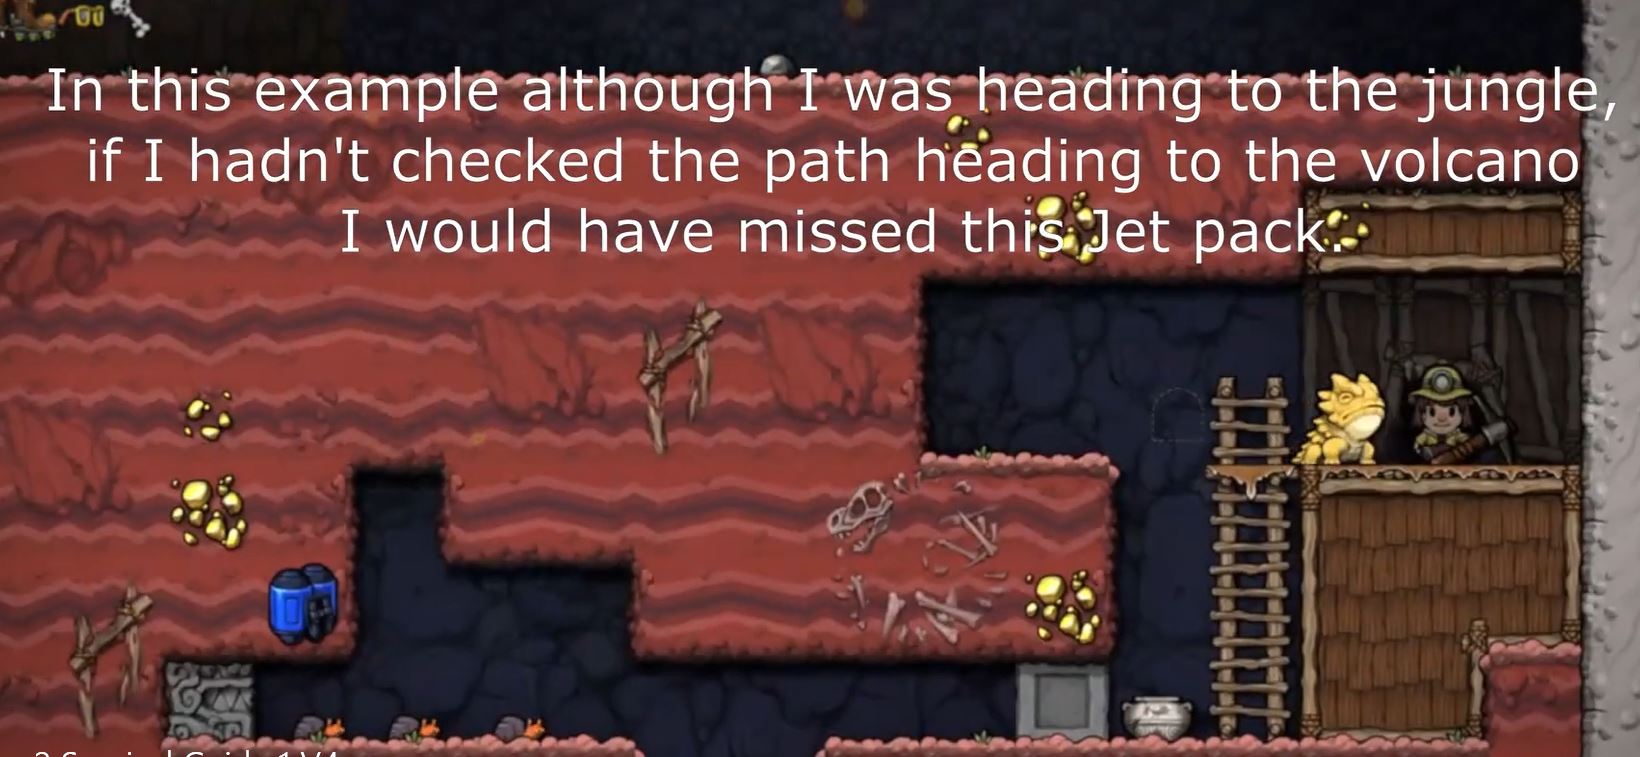
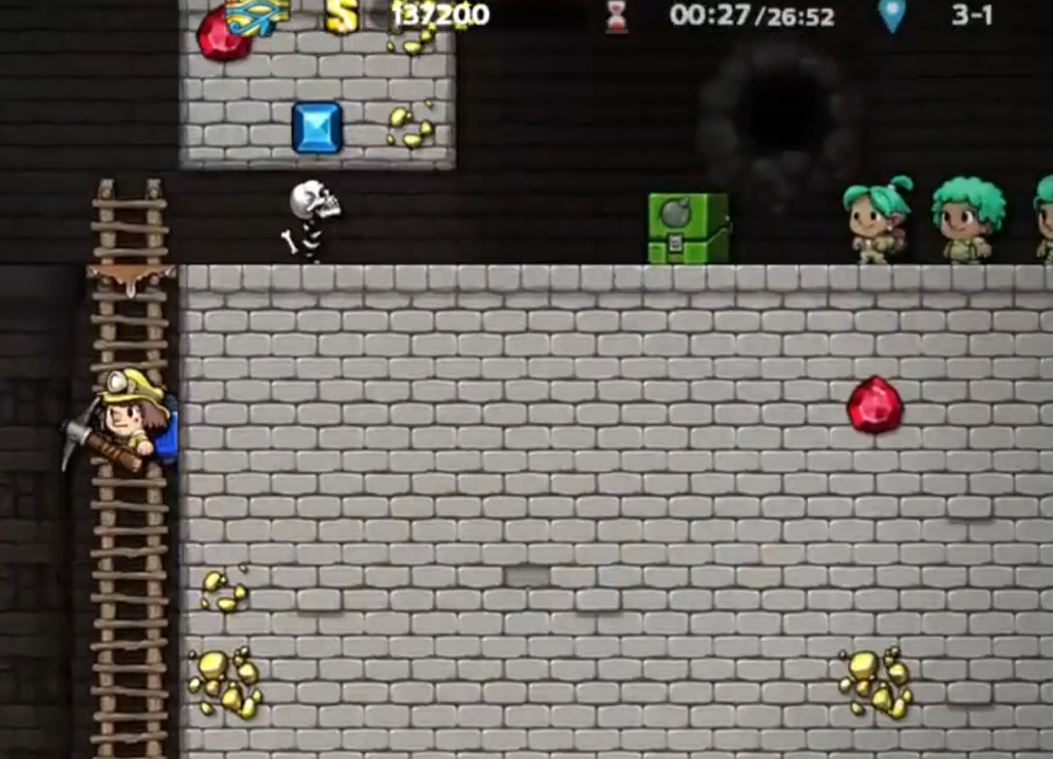
Anubis II is guaranteed to drop a jet pack.
Nitroxy Jun 8, 2022 @ 2:55pm 
I like how all images are in dwelling/volcana
sampu009 Mar 22, 2022 @ 10:34pm 
Bro I've played like 3 hrs. Only corssed 4 levels once. The spike thing blew my mind
Mr. Steal Your Gun Aug 28, 2021 @ 3:07pm 
wow, within the first few sections there was already a lot of stuff I'd never thought to try
Eli(Real) Jul 7, 2021 @ 2:38pm 
Some small tips- Instead of holding down and going over an edge, you can instead run over the ledge and onto it, keeping your held item. Always try to bring clone gun to waddler to clone sun challenge bag. Do research on how to skip using vital items like the ankh. There's a lot more but this is what I can think of right now
Lofef Feb 19, 2021 @ 4:32am 
imagine killing shopkeepers and caveman shopkeepers, this comment was made by pacifist gang
Trev-9000  [author] Feb 18, 2021 @ 4:39pm 
You've all killed plenty of cavemen outside of the caveman's shop. It could be argued that they are just as innocent as you are coming into their territory and disturbing the peace.

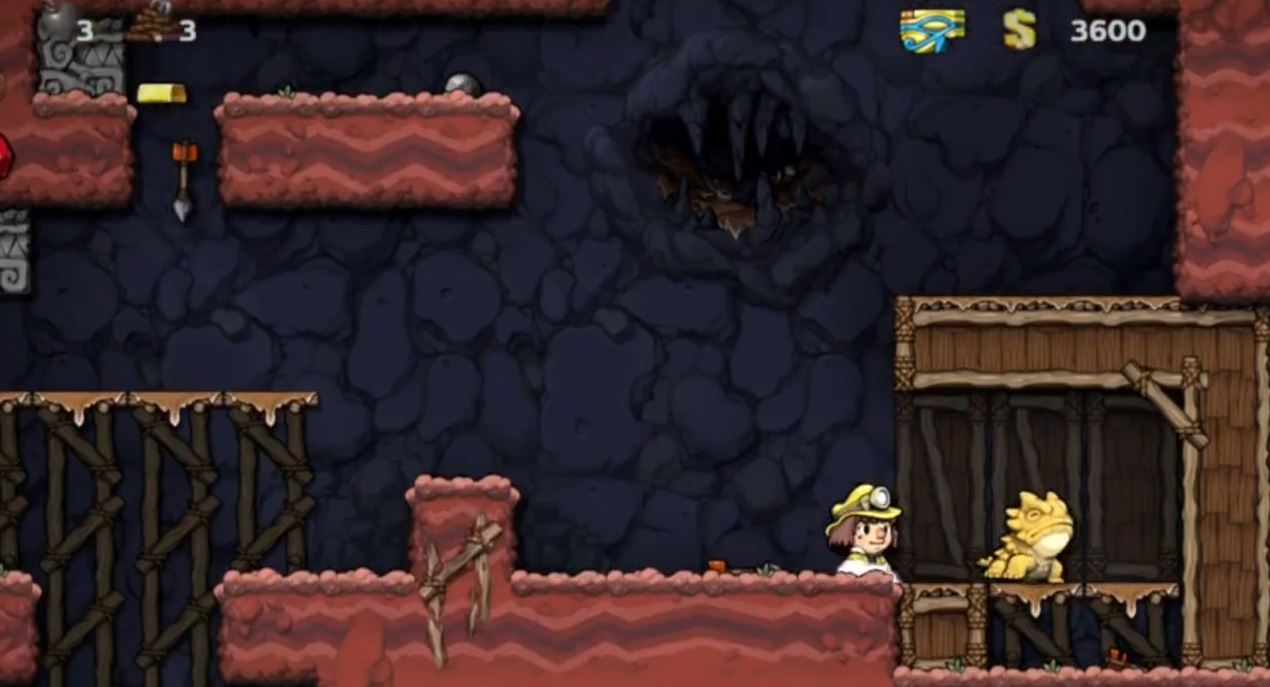
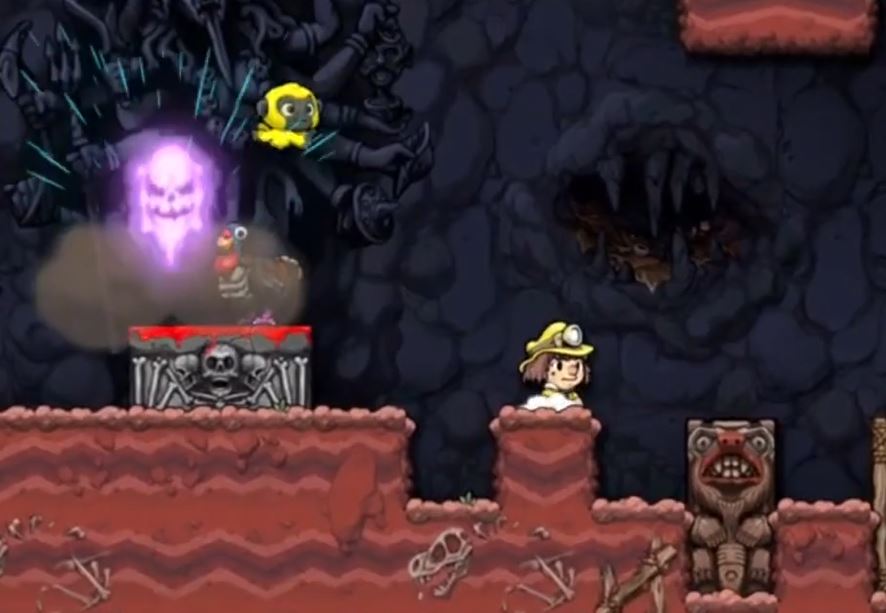
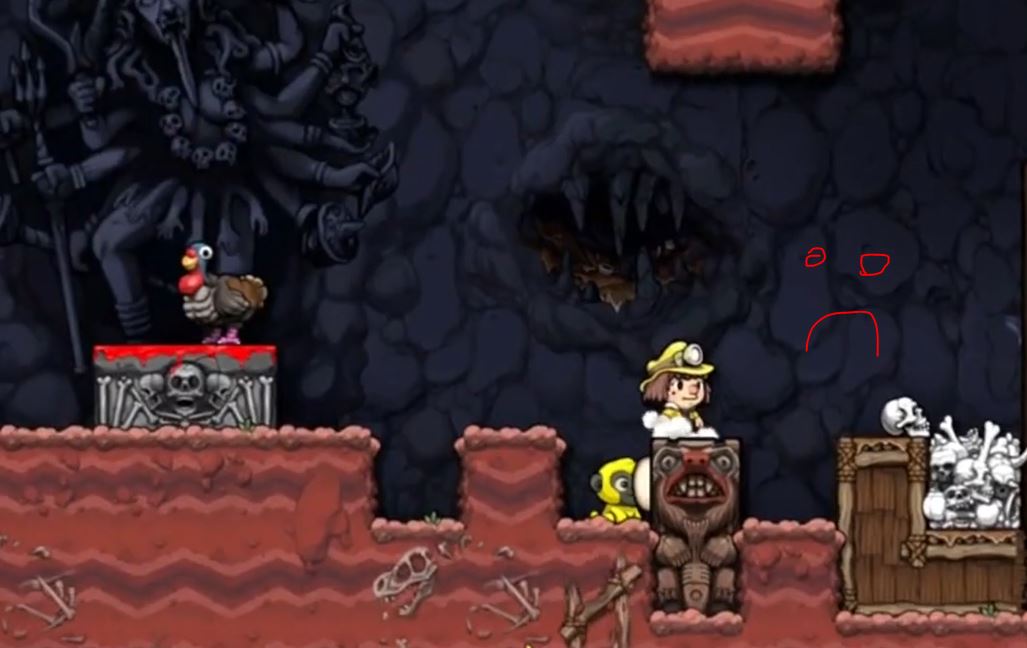
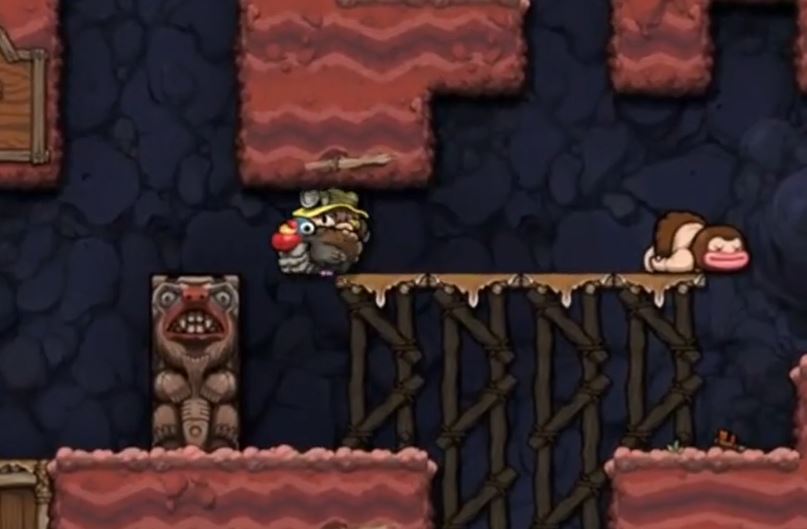
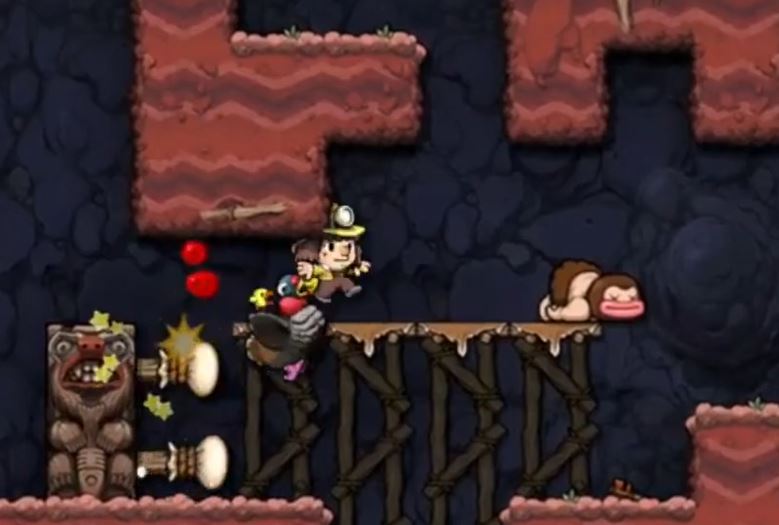
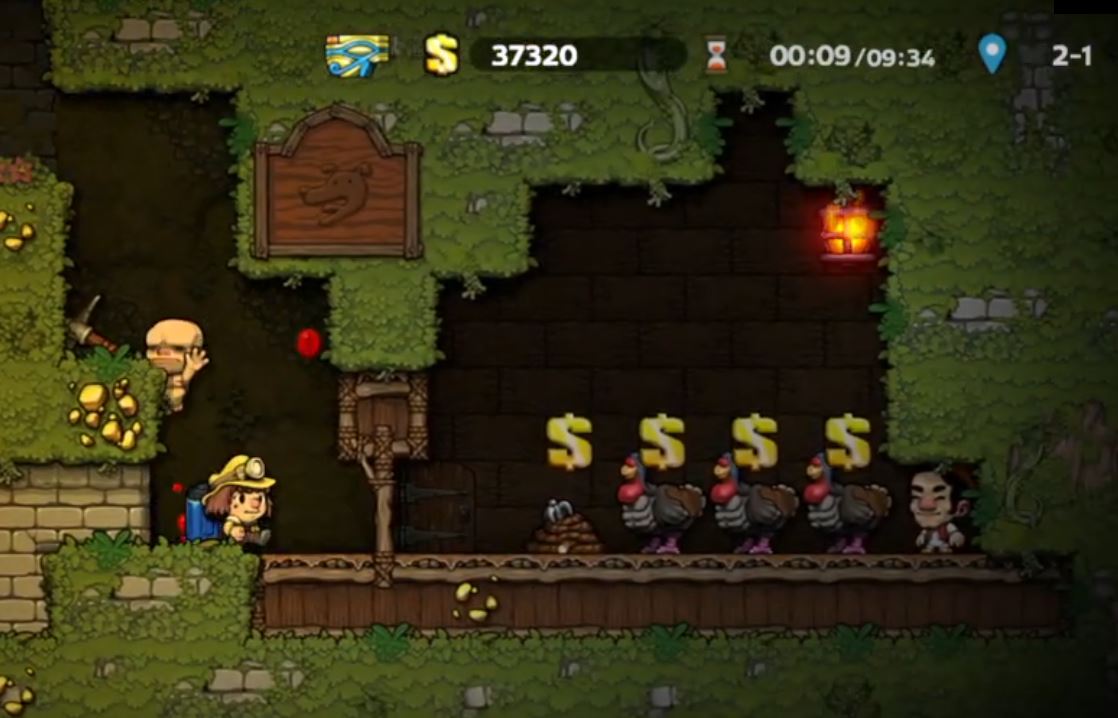
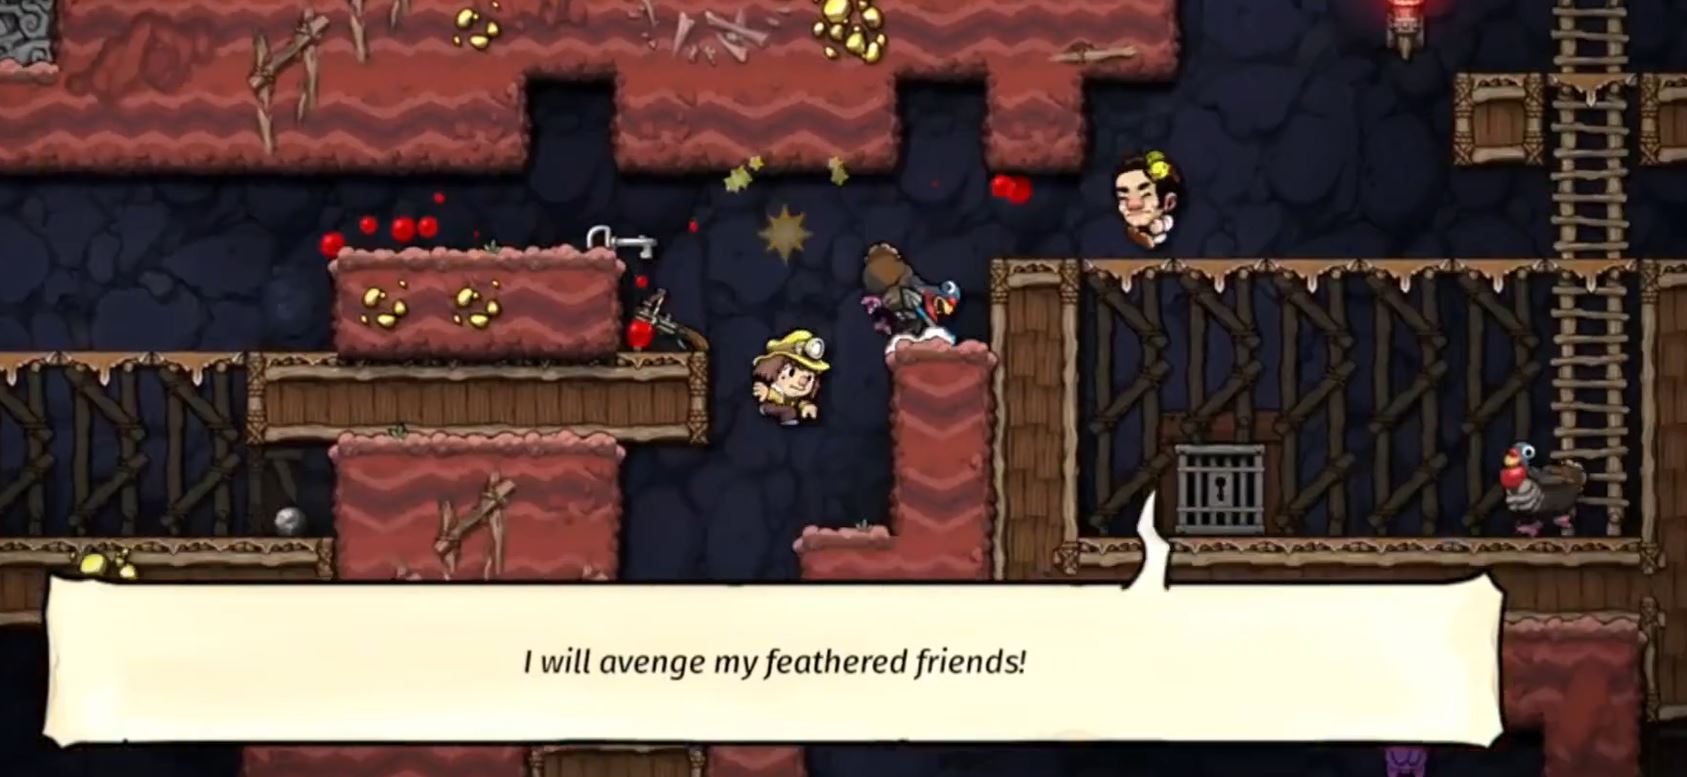
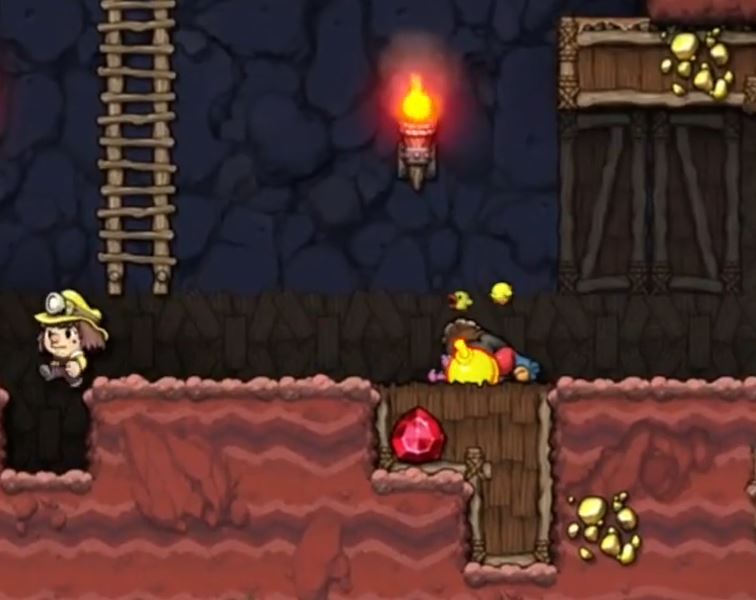
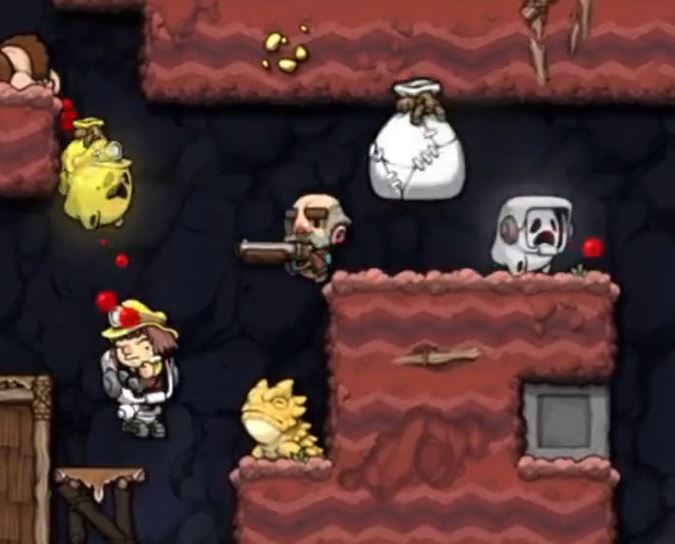
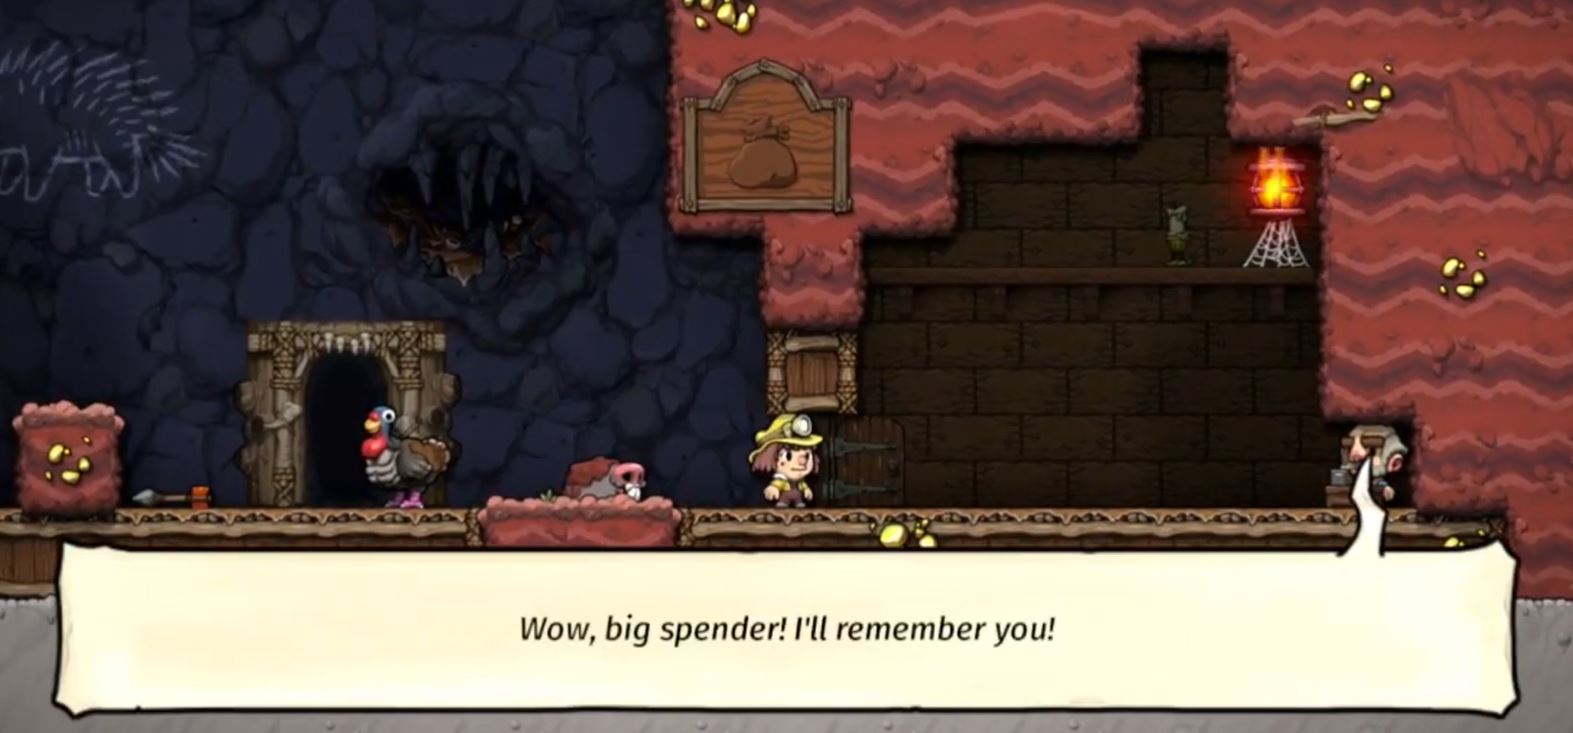
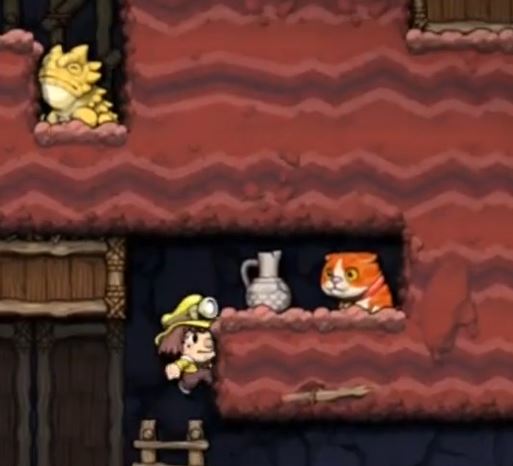
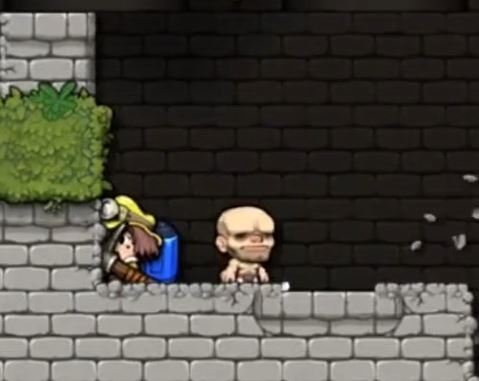
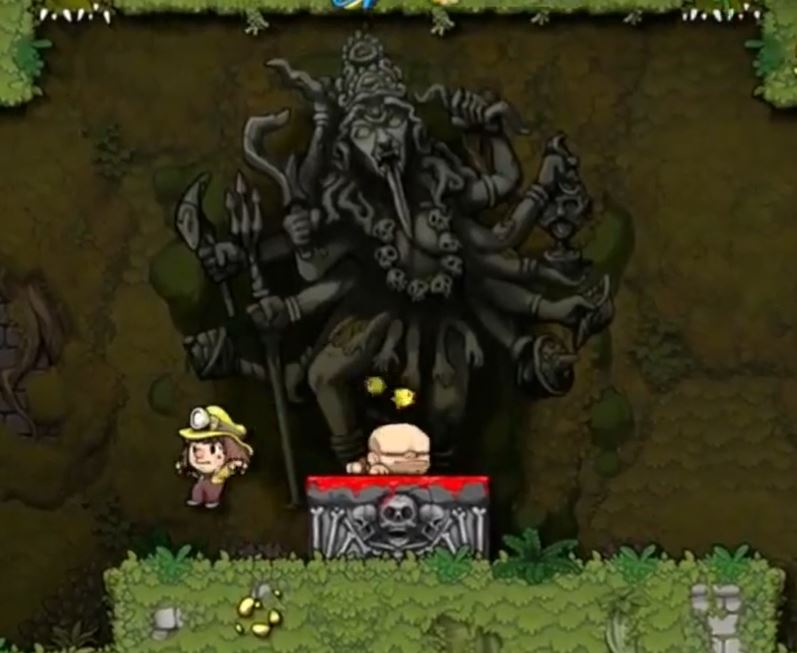
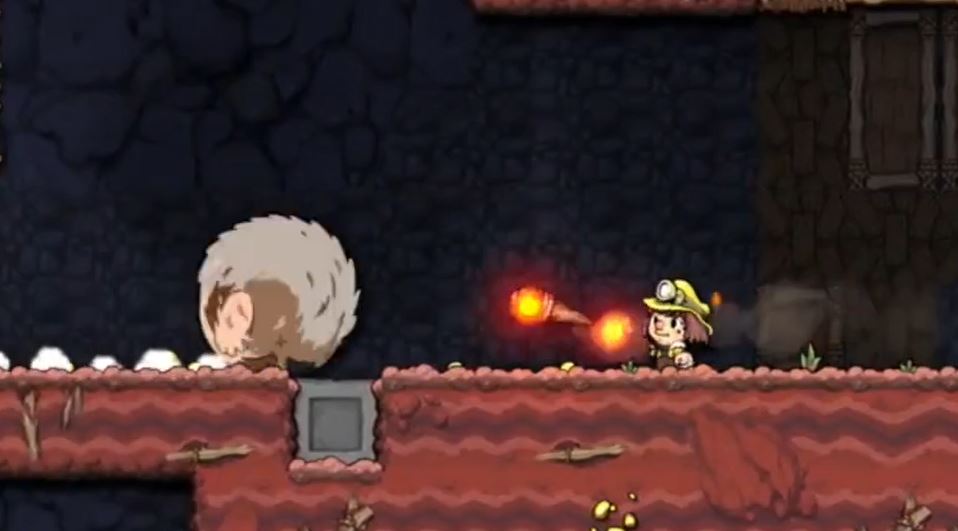
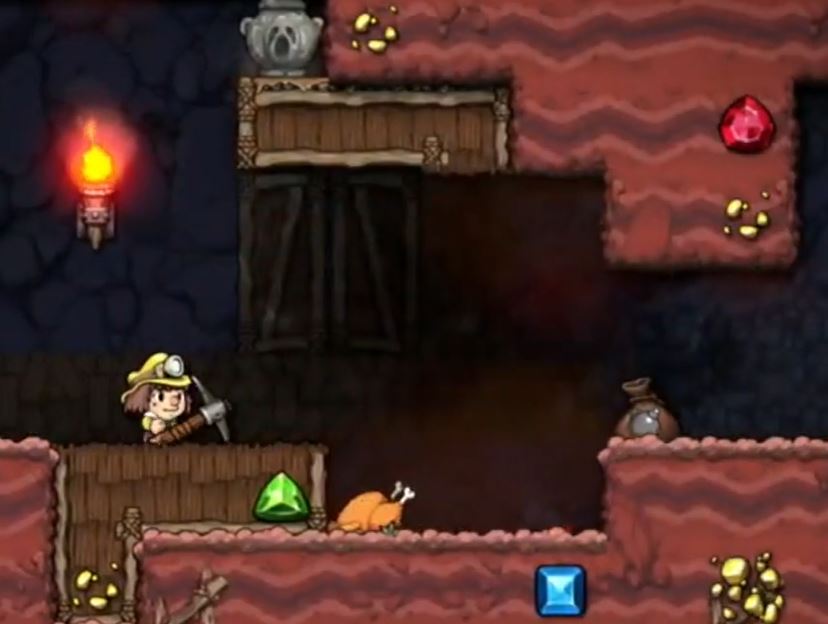
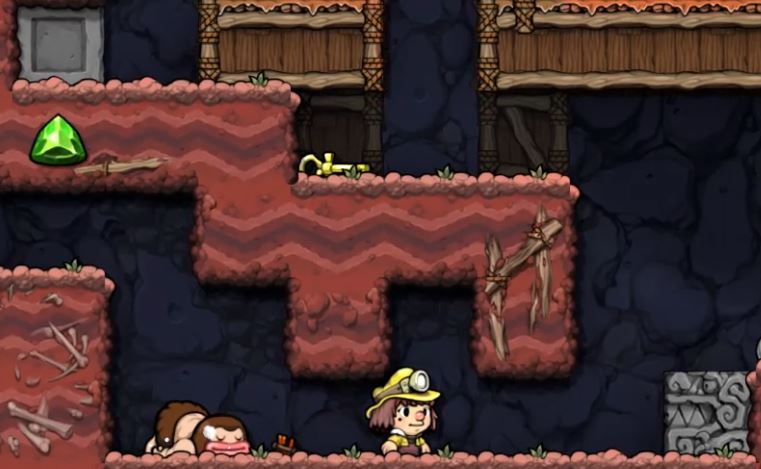
Also, Spelunky is infinite and regenerates every game so the Caveman Shopkeeper never truly dies, he just has to suffer every game. :cozycastondeath: :spel2cave:
squorsh Feb 18, 2021 @ 2:12pm 
"killing one caveman is off the table?" Yes you monster he was just trying to be a businessman :(
Trev-9000  [author] Feb 18, 2021 @ 1:19pm 
In response to Sälmla, Spelunky has always been a game about being as destructive and evil as your skill level allows in order to make as much money as you can. I would say that sacrificing a pet or killing 100s of other Shopkeepers or Cavemen found throughout the world is even more messed up. Your character can literally chop up a body with a machete so much that it explodes into a pile of gore but killing one caveman is off the table? :spel2cavel::cozykcdaxe: