Arma 3
141 ratings
Basic Sniping Techniques and Tactics(and how to counter them)
By Minengeschoss
This will be a short guide on basic sniping and counter-sniping tactics on realistic military games such as Arma, Squad, DayZ and etc.
Note that this will cover more specialized techniques used by snipers, and will not cover basic gameplay controls such as shooting, zeroing your rifle, etc
2
6
3
3
2
   
Award
Favorite
Favorited
Unfavorite
Overview
A sniper is a marksman who engages targets from positions of concealment or at distances exceeding the target's detection capabilities. Snipers generally have specialized training and are equipped with high-precision rifles and high-magnification optics, and often also serve as scouts/observers feeding tactical information back to their units or command headquarters.

In addition to long-range and high-grade marksmanship, military snipers are trained in a variety of special operation techniques: detection, stalking, target range estimation methods, camouflage, field craft, infiltration, special reconnaissance and observation, surveillance and target acquisition.

In short, snipers are specialized marksmen who operate deep behind enemy lines, where they would gather information and/or neutralize various HVTs (high value targets). Unlike normal marksmen, snipers are trained in a multitude of different skills such as camouflage, survival, reconnaissance, escape, and infiltration.

Positioning
Having a good position means you've already done half of your job. Characteristics of a good position are:

Elevation
An elevated position above your target area will give you a larger field of fire, allowing you to more effectively engage your targets. The ideal elevation is higher than the expected target area, but not too high as to expose your silhouette against the sky. This practice bears the term "skylining" and should be avoided at all costs.

Classic example of "skylining" yourself

An elevated position situated halfway across a hill. The elevation provides a clear view of the open fields and roads below

Concealment
A concealed position should distort your human-like figure, making you seem like a part of the terrain.
Vegetation and low-hanging trees make exceptionally good concealment. The wildly irregular pattern of thick leafage helps distorts your appearance from a distance, especially when combined with good camouflage. The shade provided by some trees should also help to darken your silhouette, blending your figure further into the shadow.

A ghillie suit is a powerful tool to camouflage yourself. A ghillie suit hides and distorts the distinct shape of your humanoid figure, helping you blend into oftentimes irregular terrain. A ghillie suit should be used effectively near and around foliage and should act as a blanket to cover up the shape of your human body.

A ghillie suit in the field

Choose a position around a large concentration of foliage, and try your best to hide the most recognizable parts of your physique. The shade provided by the foliage around you should also help to darken your figure, merging you further into the environment.

One example of a concealed position. Note how the rifle is tucked behind a line of tall grass, hiding its distinct and easily recognizable shape.

A view from another angle, Try to spot the hidden sniper.


Spoiler alert

A view from the sniper's perspective.

In quite a few games, various foliage such as grass and bushes might not render at a certain distance to save on processing power, unfortunately reducing the total effectiveness of a foliage based concealment. Keep this in mind when operating on the field, as this could mean the difference between a superb position and a terrible one.

Cover
Any kind of solid material around your position should be used as cover if you start taking fire. A solid cover also helps to hide your heat signature, reducing your chance of getting painted by a thermal module.

Low-profile
A low-profile position means that you should prioritize a position that is least obvious to the enemy without compromising the overall effectiveness of the mission. An overly obvious and elevated spot, such as a tall clock tower or an elevated treeline could be easily guessed if the enemy knows your general direction.

On the contrary, a poorly elevated position might not give you enough time to engage your targets effectively. Use this knowledge and try to find a balance between elevation and discretion in order to find the perfect spot to bring your targets a nasty surprise.

Consolidating your position
After you've found a suitable position, start digging in. Mark common patrol areas and infrastructure. Use buildings, wrecked cars, treelines, or even a distinctly large boulder around your target area to mark various ranges at which your target might appear(methods for ranging are down below). You can use a bipod or something solid to prop up your rifle, but keep it discreet so as to not reduce the effectiveness of your concealment. Use various traps and proximity mines to strengthen your flanks, allowing you some time to react if any contacts, unknowingly or not, wanders around your position. Be sure to stay alert for any sounds and movement around both your target area and your own position.
Range
The ideal range of a target for your typical sniper rifle is somewhere between three hundred to eight hundred meters. Eight hundred meters is considered the maximum ideal range for your average, full-powered rifle cartridge, such as the standard 7,62x51mm NATO round in use with most standard western sniper rifles. Ranges beyond eight hundred meters require more specialized rounds better suited for long-range precision, commonly the more powerful .338 Lapua and .300 Win Mag. In longer distances, you might also have to take physical factors such as ballistic windage and travel time into account. Rounds such as the .50 BMG provides the longest range and highest terminal velocity available. These rounds are able to be accurately used to some degree of effectiveness up to three kilometers away, but are a pain to carry and needs several hundred meters in range to stabilize, and such are not well suited to your typical, scout and go mission.

Ways to estimate distance between you and the target are as follows:

Rangefinder
Using a laser rangefinder is probably the easiest and most accurate way to gauge the range of a target. A rangefinder can be relied on to provide accurate numbers in a split second. A rangefinder is best utilised by a spotter/sniper team, where it's use is relegated to the spotter, allowing the sniper behind the rifle a greater deal of concentration and awareness around the target area.


A view through a rangefinder, the range is accurately displayed on the right-hand side.


Mildot Estimation
Mildot estimation is the practice of using mildots(small round dots on your scope reticle) to estimate a rough distance using a set formula. The formula is as follows:
H(1000) : D = Rm
H = Height of the target (in meters)
D = Amount of dots it spans
Rm = Range in meters

The average height for a human being is between 1,6 - 1,8 meters. In Arma, everyone is exactly 1,8 meters while standing straight, and 1,6 meters while on the default ADS position. You can also use doorways(which are around 2 meters tall) and other structures with a known height to estimate range. This formula can be used accurately on scopes with accurate and working mildots.


The height of the target is 1,6 meters tall, spanning exactly four mildots. By inserting this number into the formula, we get four hundred meters, which are the exact same range provided by the rangefinder

This method is considerably less accurate compared to using an actual rangefinder. But with constant practice and experience you will hopefully be able to quickly adjust and estimate your shot accurately on the spot.

Shot estimation
Shot estimation is the practice of using the impact of live rounds to estimate a target distance. The first shot fired would be zeroed to the most likely range at which the target may appear, and the following shots would be used to further narrow down your zero until you get a good enough idea of the range of the target, allowing you to effectively engage them. This method is only recommended whilst the target is not present and if the two mentioned methods above are not possible. A suppressor or other sound masking techniques are vital to prevent you from compromising your own position due to continued fire. The dust generated by the pressure of your shot might also alert the enemy of your position, but this problem is less apparent in more humid and wet environments.
When to fire
As corny as it may sound, picking the correct moment to engage your target might turn out to be the difference between life and death, or between a failed and a successful mission. A missed shot might cost you your life. These are the several things to consider when you are about to pull the trigger:

What is your mission?
If you are planning to do a typical recon mission, firing on the first target you might come across might not be the best option. Your gunfire might expose your position to everyone in the area, and even if you're using a silencer, your target will most likely have others around to help them. Unless they spot you first, refrain from firing a round and let them pass.

If you are planning to assassinate a high-profile target, make sure to identify them first. When the status of such a mission hangs on sending that fated shot against an exclusive target, the act of carefully identifying such a target is integral to the accomplishment of the mission. Make sure to eliminate them accordingly. It is advisable to send another round or two to ensure that the target stays unmoving.

Is the target moving?
Hitting a moving target, especially on ranges that would require a sniper's expertise is more of a matter of luck rather than precision, and should only be done on highly desperate situations. Make sure the target stays stationary when you are about to engage.

Position of the target.
The positioning of the target is crucial when considering the moment to take the shot. Ideally, you must be able to see the chest of the target for you to be able to accurately hit them. If the target is situated around tons of solid cover, it is advisable to bide your time and wait for your target to expose themselves more.

Ideal target position, minimal cover with a full view of the entire body.

Terrible target position, minimal view of the target's body behind a solid cover

Value of the target.
The value of a target is it's value towards the enemy's asset. A high-ranking officer might be a more worthy target than your average starving conscript. A well positioned machine-gunner might be a more valuable target than a lowly rifleman. Prioritize the ones which presents the most danger towards you and the longevity of your fellow soldiers.

An officer is a much more valuable target than some random grunt with an AK
Shot timing/masking
A high powered sniper rifle has an extremely loud noise profile if not equipped with a sound masking device such as a silencer, risking alerting the enemy of your position. To circumvent this, a sniper might choose to time their shots to match other kinds of loud sounds such as an artillery shell, loud engines, or a loud thunder. This tactic can be used as a substitute to an actual suppressor.
Shot placement
Shot placement is where you aim on the body of a target to ensure a successful hit. Generally military snipers shoot at much longer distances, and would usually aim center-mass(the chest cavity), providing them a larger target that is easier to hit from a distance. In situations where the target must be taken alive however, it is advisable to aim for the legs or other non-vital areas, disabling their mobility and minimizing blood loss. On hostage situations, a clean kill must be ensured to reduce the chance of the target harming the hostages. In these situations, a headshot landing right on the brain might be preferred, immediately killing the target and greatly reducing the chance of a hostage being harmed. These shots are best done in ranges less than a hundred meters to ensure absolute accuracy.
Relocation
When presented with multiple targets, always try to relocate to another position as frequently as possible. Make sure to take note of all the possible positions around you and make a route between them. Relocating will prevent the enemy from easily triangulating your exact position and mounting a counter-attack. Play around with your enemy's behaviour. If they start to get a general idea of where you are, start moving to another position. If they engage your previous position, start moving to another. Keep your movements discrete, avoiding sudden and sharp movements that might catch a pair of eyes. Utilize cover and concealment to move around.
Escape
An escape route is vital if you're ever planning to leave your precious position alive. An ideal escape route leads to somewhere with lots of cover and is large enough to lose the enemy in. Avoid any highly populated areas, such as villages and towns. Avoid open rivers and common patrol routes. Stay away from roads and highways. Utilize traps and grenades to create diversions. Diversions such as smoke grenades, flares, and remotely detonated explosives can be utilized to lure the enemy into a set area, providing you some time to establish a great deal of distance between you and the enemy.

Large forests, jungles, and mountains make great escape routes.

Smokes and other types of diversions are great for putting off the enemy and buying time.
Spotter
A spotter makes up half of your typical sniper team. A spotter's job is to generally assist the sniper in completing their mission. A spotter is generally the more experienced of the two, as they provide the range, position, and target for the sniper to engage whilst also accounting for wind and other environmental factors. A spotter also gives the sniper information about the impact of a bullet, helping them adjust their aim accordingly in case of a missed shot. They protect the sniper's flanks, and observe things outside the sniper's small field of view. They help the sniper in carrying heavier loads during a longer mission. A spotter is usually equipped with a Rangefinder, and an automatic weapon to assist in close to medium range battles. An experienced sniper could operate without a spotter, but the extra utility in having a spotter generally recommends having them for most missions.

A sniper/spotter team, note the automatic carbine carried by the spotter to assist in close to medium range encounters.
Counter-sniper tactics
A sniper is one of the hardest types of enemies to counter, especially if they are fairly experienced. A well-trained sniper almost always has the upper hand in a firefight. But fear not, there are a couple of ways to counter them:

Avoid

The best way to survive and not get killed is to not get shot in the first place. This guide will teach you how to effectively avoid dangerous situations involving a sniper.

Read your surroundings
Being able to read your surroundings is a valuable skill. Note every possible cover, concealment, and firing position around you. These positions are usually situated somewhere elevated, where the shooter has a bigger line of sight and are able to engage you safely in a safe position. A fairly experienced marksman would probably choose a fairly concealed position, but not the most obvious one. Scan the area for any concealment, including trees, bushes, and other kinds of vegetation. Avoid open terrains like plains and roadways. Always move behind any kind of cover. Being able to effectively read and avoid these areas will keep you away from the sight of a trained sniper.

Scout the area
Scouting the surrounding area for potential threats will allow you to easily make decisions based on the situation. Scout potential firing positions, making sure that no threats are around. This could be easily done using long-range scopes and binoculars.

Keep moving
Always be on the move. Staying on the move decreases the chance to get hit by a sniper's bullet. A sniper will most likely wait for the target to stop moving before opening fire, ensuring an accurate hit. By moving you'll force them to lead their shots, accounting for their bullet's velocity and travel time. Few snipers dare to expose themselves by risking a missed shot.

Limit your exposure
Don't stay in the open too long. The longer you'll stay, the more vulnerable you are. Avoid areas where you might have to expose yourself too much. When moving, sprint towards the nearest cover, giving the least amount of time for a sniper to adjust and hit their shot.

Move unpredictably.
Don't just walk straight ahead and not expect to get shot. In places where you expect a sniper to be around, move from cover to cover, stopping for a random amount of time before rushing to the next cover. Instead of running into the cover straight ahead of you, try to randomize your direction, alternating between left and right. This would keep snipers guessing where you will move next, forcing them to rely on their reactions alone.

Search

A sniper would probably choose an elevated position. Start searching the area for elevation, including hills, tall buildings, and sometimes even the quintessential treetops. Keep in mind that a sniper would probably choose a well-concealed and foliage-ridden place. Focus your search around treelines and bushes where the sniper might be hiding. Use an infrared/thermal module to search for any unnatural heat signatures.

Small thermal signature of a sniper. While a ghillie suit should trap most of the body heat of a sniper, in areas where the skin is exposed a small thermal signature could be found.

Engage
Once you get a hold of their position, you can now attempt to engage them. The best way to engage a sniper is by using heavy ordnance such as artillery and mortars with a large radius. Close Air Support elements are also quite effective, but might risk exposure to enemy anti-air assets if any are located around the sniper's position. Direct fire equipment such as a grenade launcher or a rocket-propelled grenade also works, provided you know their exact range and position. Communicate with your fire support commander to dispatch the sniper.

Precision fire support elements such as mortars and artillery are the most common and effective ways to dispatch a sniper.
Author's note
This is my first time making a guide, ever. So bear with me if I missed something important or if there were flaws in my instructions. Please comment any mistakes in the guide and I will respond and fix it as soon as possible.

Thank you for reading <3
21 Comments
jkimmel1975 Nov 27, 2024 @ 8:30am 
This really helped me understand sniping and countering sniping. thanks
von_bock Mar 30, 2024 @ 1:51am 
Don't wait until you've actually found the snipers or ATGM teams to try to engage them.

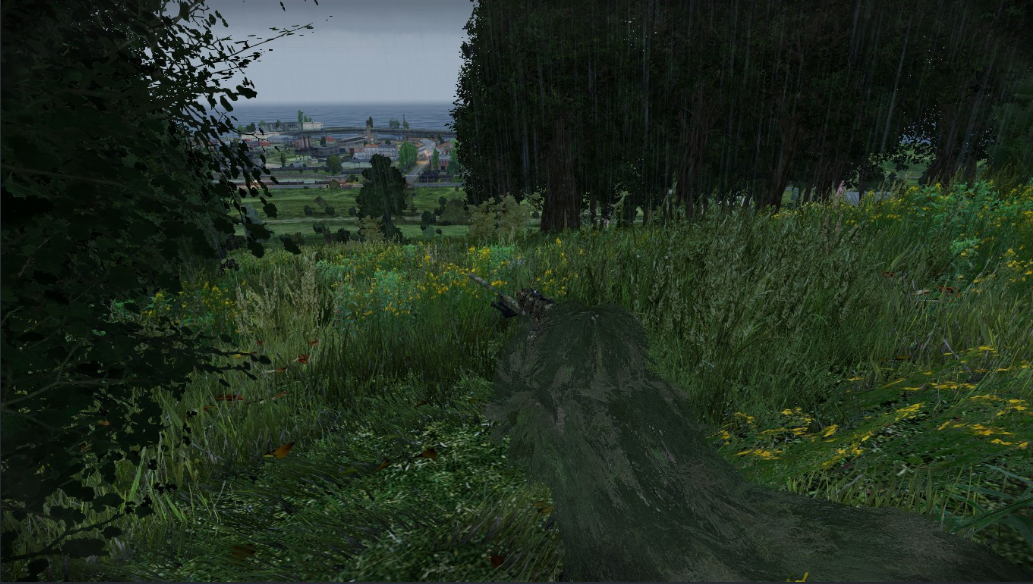
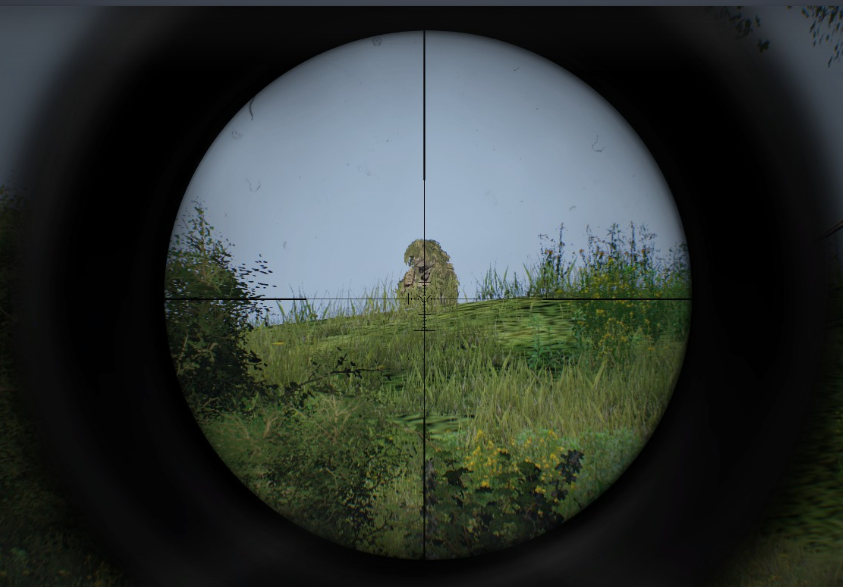
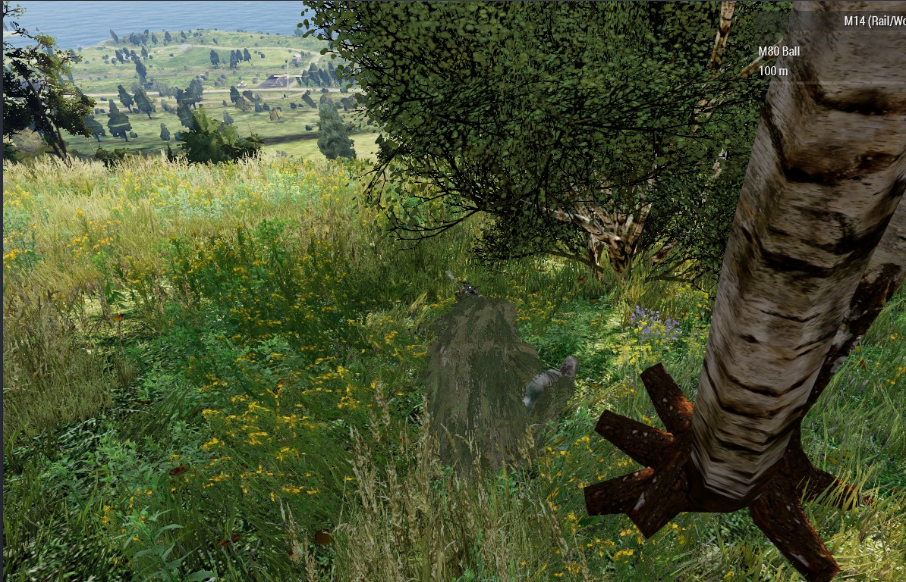
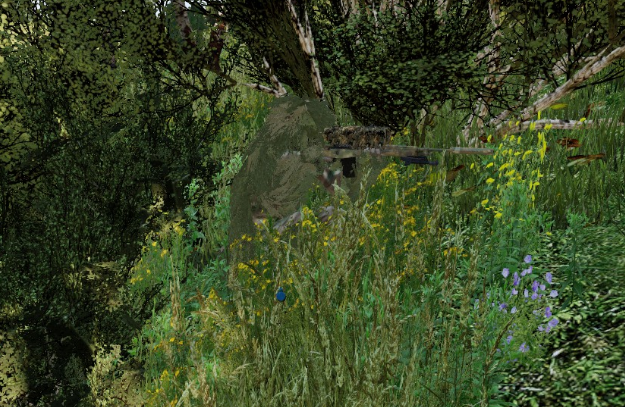
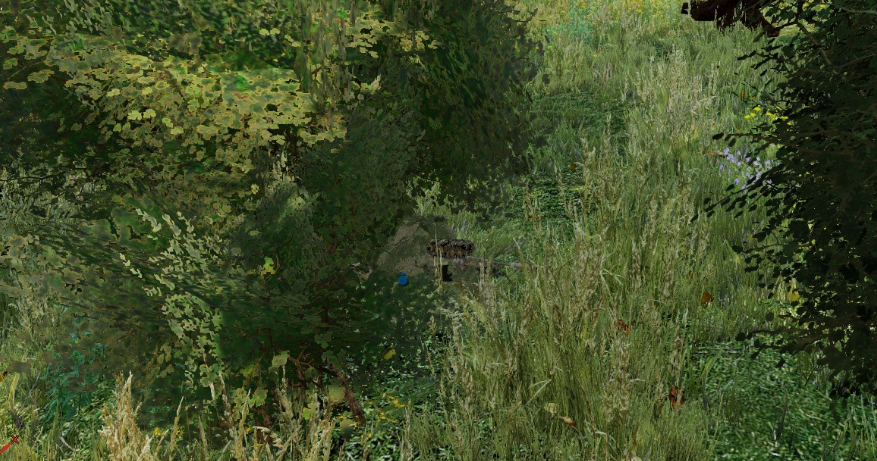
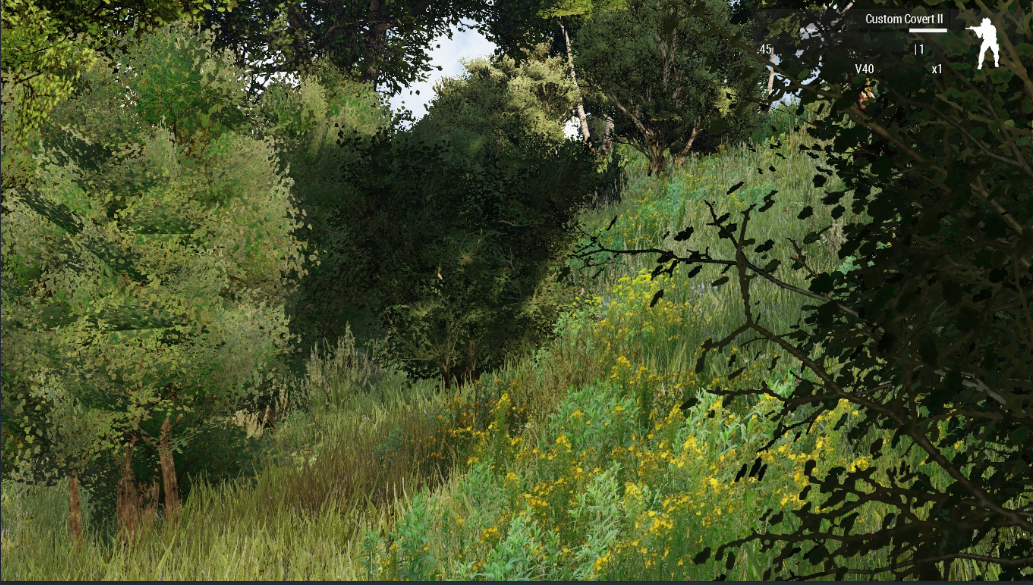
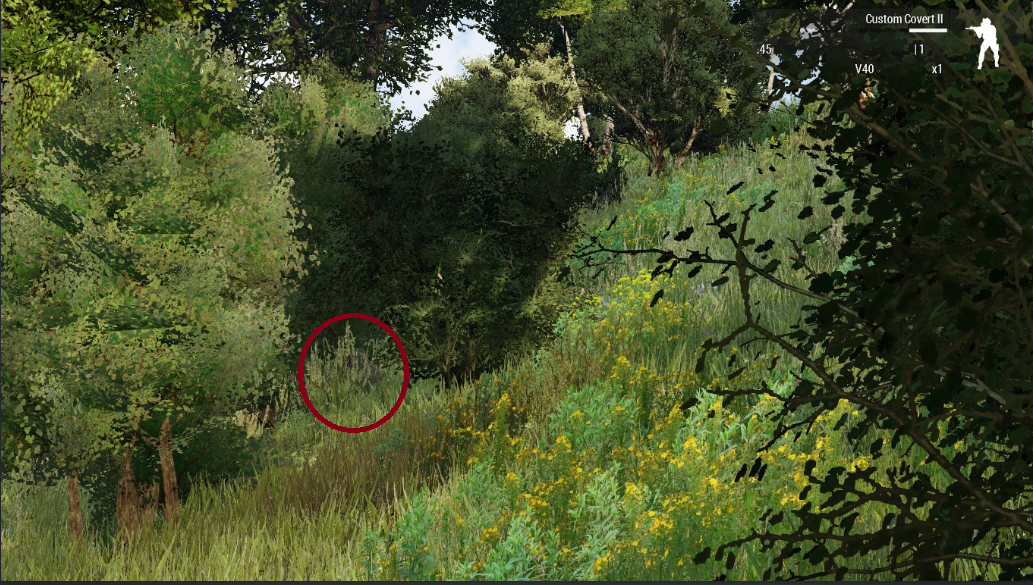
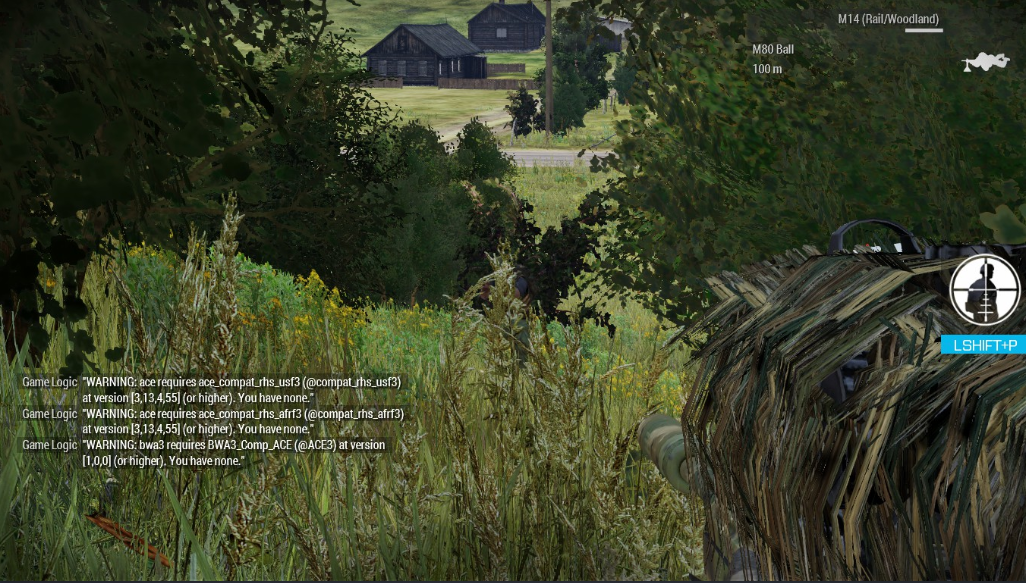
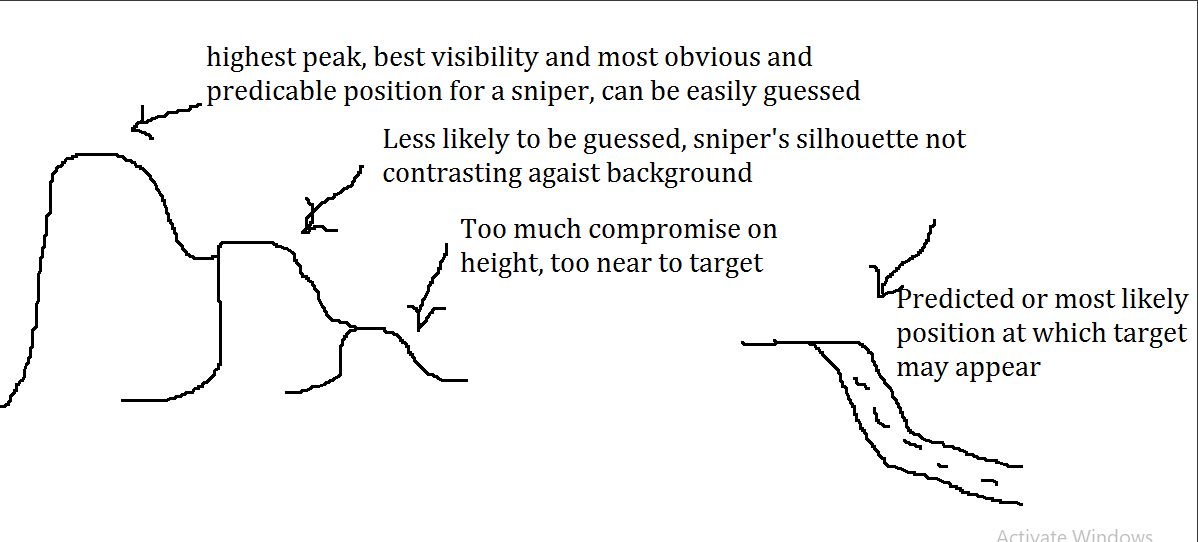
Take likely bushes, windows etc under fire, especially when on the move. You waste a good few bullets that way but the sneaky buggers will likely either lay low (buying you some more time to move out of their killzone) or abandon their position if it comes under direct fire.
Pup Dec 24, 2023 @ 7:55am 
good stuff
stupid dumb thing Oct 26, 2023 @ 2:10pm 
UwU
viewqa Jul 5, 2021 @ 8:31am 
RUS: Выберите что то одно из этого списка и напишите в моём профиле, отвечу тем же!
ENG: Copy&Paste one of these OR write whatever you want and I will rep you back
+Rep Nice Aim
+Rep Only Headshot
+Rep Good AK-47 Recoil
+Rep Good AK-47 SPRAY
+Rep Awp King
+Rep Good Teammate
+Rep Friendly Person
+Rep Headmachine
+Rep ONE TAP MACHINE
+rep Great Player
+rep Killing Machine
+rep Nice to Meet You!
dr2d2 Oct 27, 2020 @ 12:26pm 
This is a good guide although I never knew there were thermal scopes in arma. Although Snipin's a good job, mate! It's challengin' work, outta doors just wanted to throw in that tf2 reference.
cheerkin Oct 27, 2020 @ 10:22am 
Sometimes the general advice "reposition yourself after 2-3 shots" like you hear in movies and guides is a bad idea. In Arma moving player, even prone, has much higher chance to get spotted, and people will be looking in your direction carefully. Sometimes it's just better to sit still for a while, especially with a silenced gun. I'd say, in general, the most important skill is to "observe more, move less".
cheerkin Oct 27, 2020 @ 10:13am 
A good way of finding range is just to read the map. Train yourself to map your field of view, note distances to landmarks like tall buildings, road curves, etc. That helps a lot during multiple target engagements, especially in common mass PvP servers. If you use good BC bullets +-100m estimation usually is enough and can be done even faster than equipping rangefinder. Another thing to note, when you use RF, your rifle goes on your back and gives more exposure.
Siberian Frontier Oct 25, 2020 @ 4:07am 
Also if target's moving. There's kentucky technique where you hold your aim to target. Whenever you start to count 1 sec you hold your aim still without following target. If target moved like 2 dots away in that time period. You shoot 2 dots right. Fairly easy but may not work in long range. If you didn't get me i can show you in game.
Ypsiton Oct 18, 2020 @ 8:44am 
@reformerad sexöverträdare : Of course I appreciate this guide to the author, so good work is worth it.