Train Simulator Classic 2024

Train Simulator Classic 2024

28 Bewertungen
How to Make a Quick Drive Scenario
Von Warwick Rail
If you want to share your new Workshop route with the world, you need to create a QD scenario first. Don’t worry, we have you covered. We will guide you through the process, step by step, and show you how to make a QD scenario that works.
   
Preis verleihen
Favorisieren
Favorisiert
Entfernen
The Purpose of Quick Drives
Quick Drive menus enable players to operate any train they own on various routes, starting from a chosen location and reaching a designated destination. Upon completion, the scenario concludes without awarding points. The primary goal is to provide players with the opportunity to explore the route using different locomotives and rolling stock.

Example of Quick Drive Menu

Imagine a route with three stations: A, B, and C. The Quick Drive menu should ideally allow a player to drive a train from any of these stations to either of the other two. Players can do this by selecting the Depart and Destination locations from the Quick Drive menu. The following pictures show the menu states for each of the three departure points. Once the Start location is selected, the player can simply choose one of the listed Destination locations.


You do not have to create these menus. They are generated automatically once your Quick Drive scenarios have been set up correctly.

Summary of Procedure
To create a Quick Drive scenario, place a Player Spawn Point at each station you wish to use as a Depart location. Each spawn point will contain a list of its possible Destination locations.

Since AI trains may be added later, it's best practice to create two separate scenarios—one for each direction. For example, you might name your scenarios 'QD from West' and 'QD from East,' or 'QD from North' and 'QD from South.' This allows you to add different AI trains for player journeys in each direction, avoiding path conflicts and AI collision errors.

The system will automatically merge these two scenarios into one Quick Drive menu, which players will see when they select the Quick Drive tab from the Drive menu.

Start locations and their corresponding Destination locations will be listed in alphabetical order in the Quick Drive menu. If you prefer your station names to appear in a specific order (such as in sequence along the line), consider assigning each station a corresponding two-digit numerical prefix when entering them as Start or Destination points in the Player Spawn Point dialogue boxes. Keep a note of each station's prefix number to ensure consistency throughout all spawn point dialogue boxes.

Creating a QD Scenario
Creating a quick drive scenario is fairly straightforward. It is done via the Build menu under the Scenario tab.

First select the route, in this case 'A Quick Drive Guide.' Then click the New Scenario button at the bottom towards the right.


Now name the scenario (in this case 'QD West to East') and select 'Quick Drive Scenario' from the dropdown list. Select Route Origin from the dropdown on the right, and press the Create button.


The World editor will open in Scenario mode, and will look like this.


You will see the name of the scenario in the righthand flyout box, where you will also be able to enter the year if you so wish.

Now you have created the scenario, you are ready to place the Player Spawn Point markers and set them up.

Adding the Player Spawn Points
We shall assume we have already set up 3 platform markers for the 3 stations arranged from West to East - 'A Platform,' 'B Platform' and 'C Platform.' For the QD Start points and Destinations, we will be using the station names themselves - namely 'Station A,' 'Station B' and 'Station C.'

You first need to click the Track Infrastructure menu icon (looks like a semaphore signal) and select 'Marker - Player Spawn Point' from the dropdown.


Find the first Depart location on your route (normally a station at the beginning of the route) and place the marker down somewhere near the point on the track where the train would be, in this case 'A Platform.' I normally place the marker between the tracks near the front of the platform, but anywhere will do. Then the arrow should be placed so it attaches itself to the appropriate track.


Now move in close to the marker, and (while it is still selected and red in colour) double left click on it. A marker dialogue box should appear on the right. This sometimes requires several attempts. Choose a spot near the base of the marker when you double click.


When it first appears it will look like this, with the Start location box showing '<unknown start>' and the marker arrow position setting showing 'Back.'


You will wish to change these so that the Start location reflects the name of the station (in this case 'Station A') and you will probably also wish to change the marker arrow position setting to show 'Centre.' Whatever setting is chosen ensures that part of the train will be placed in the same position as the marker arrow.


Before doing anything else, you should adjust the marker arrow itself to make sure it is in the right position and is facing in the correct direction.

Select the marker and look at the position of the arrow.


Since the arrow is supposed to be at the centre of the train, we must drag it to a place near the centre of the platform.


We can see it is not facing in the right direction (it should match the direction of the train) so we simply hold down the Shift key while dragging it slightly to correct the direction.


Now we can double click the marker again and start adding the Destination points.


To do this we press the '9' key to enter the 2D map view.


To add a destination, just click the 'Add Destination' icon (green plus sign) in the dialogue box.


Using the mouse, navigate to the first destination on the 2D map and left click on the corresponding coloured section of track.


If the destination has correctly been added, you will see it appear in the dialogue box. If it doesn't appear - try again until it does.


As you can see, it has a Friendly Name of 'B Platform.' We can change this in the lower box by typing in 'Station B' and pressing Enter. After, and only after, pressing Enter, we may also untick the 'Via' box unless it is truly required.


We do the same for the next station along the line.


To finish the QD in this direction, we repeat the process, adding another Player Spawn Point marker at Station B - this time only having one destination, namely 'Station C.'

We have now set up the necessary 'West to East' quick drive mechanism for 'Station A' to appear as a Start location, with 'Station B' and 'Station C' as its Destination locations, and for 'Station B' to appear as a Start location, with 'Station C' as its Destination location.

As Station C is the last station on the line in this direction, we have no need to place a Start location marker for it.

Covering the Opposite Direction
We now repeat the whole thing to make and configure the QD scenario for the opposite direction.
  • Create another QD Scenario and this time name it 'QD East to West'
  • Add and Configure the Player Spawn Points (we shall need them at Station C and Station B)

We have now set up the necessary 'East to West' quick drive mechanism for 'Station C' to appear as a Start location, with 'Station B' and 'Station A' as its Destination locations, and for 'Station B' to appear as a Start location, with 'Station A' as its Destination location.

As Station A is the last station on the line in this direction, we have no need to place a Start location marker for it.

This 'East to West' QD scenario will now be automatically merged by the system with the 'West to East' QD scenario created in the previous section - resulting in the desired Quick Drive menu covering all 3 Start locations and all 3 Destination locations.


Your Quick Drive menu is now complete and ready to drive.

Adding AI Spawn Points
This is optional, but the inclusion of AI traffic greatly enhances the realism of the Quick Drive Scenario.
Preset Junction States
When testing a Quick Drive Scenario, you may find that the system is automatically routing your train along a path that differs from the path you want it to take.

There are 2 possible solutions.

A. If the offending turnoff is governed by a manual junction you can preset it to solve the problem.

Within any scenario (including Quick Drive Scenarios) you can specify the starting junction states of manual junctions:
  1. Enter the Scenario Editor for the scenario you wish to edit.
  2. Enter the 2D map. You can see which direction the path is currently set through a junction by the thicker line passing through it.
  3. Change the junction state by holding the <Shift> key and left clicking the blue circle which represents a manual junction.
  4. Save the scenario and exit.
The initial junction states for the Scenario will be saved as a separate file called InitialSave.xml, which is located within the folder for that Scenario.

B. If the turnoff is NOT governed by a manual junction you will have to use a "go via" workaround to force the train to follow the desired path.

  1. Add a destination marker to the track on the desired path just beyond the junction.
  2. Add this new destination to the list of any preceding player spawn points and tick its "go via" checkbox.
  3. Delete the friendly name of the new destination to make it blank. This way it will not appear in the Quick Drive Menu.
  4. Move it up to the correct position on the list.
  5. Save the scenario and exit.

Your train should now follow the desired path.

------ OTHER ------
Give This Guide a Thumbs Up
If you have found the above advice and information useful, please rate this guide by giving it a thumbs up - and of course don't forget to add it to your favourites.

Copyright
This guide © Copyright Warwick Rail 2022-2025, all rights reserved. This item is not authorised for posting on Steam, except under the Steam account named Warwick Rail.


16 Kommentare
ジョナサンコスプレ 2. März um 13:56 
So this happened to me before in quick drive and it's so annoying but, when I was in a qd scenario, I gotten a red signal, and the automatic junction is not set to the track the train is coming from. It's on the Marias Pass Whitefish to Shelby route and there was no ai train
Warwick Rail  [Autor] 15. Jan. um 9:25 
Knud-RWDK. You will need to write a simple Quick Drive Scenario for the route. First check to ensure that your route is listed and visible in the Build Menu under both the Route and Scenario tabs. If not, then you have not installed it properly. I deduce this is neither a DLC route purchased on Steam, nor is it a route you have subscribed to in the Workshop. Therefore, it must be a 3rd party route which you have installed using the Utilities app. Whatever the case, it seems the route does lack a QD scenario. For the route to appear in the Quick Drive Menu, a simple QD scenario is the very minimum requirement. Therefore, you will need to write it yourself if you wish the route to appear there. :train2:
Knud-RWDK 15. Jan. um 8:23 
@Warwick Rail
I have tried deleting the mentioned cache files and they have also been restored.
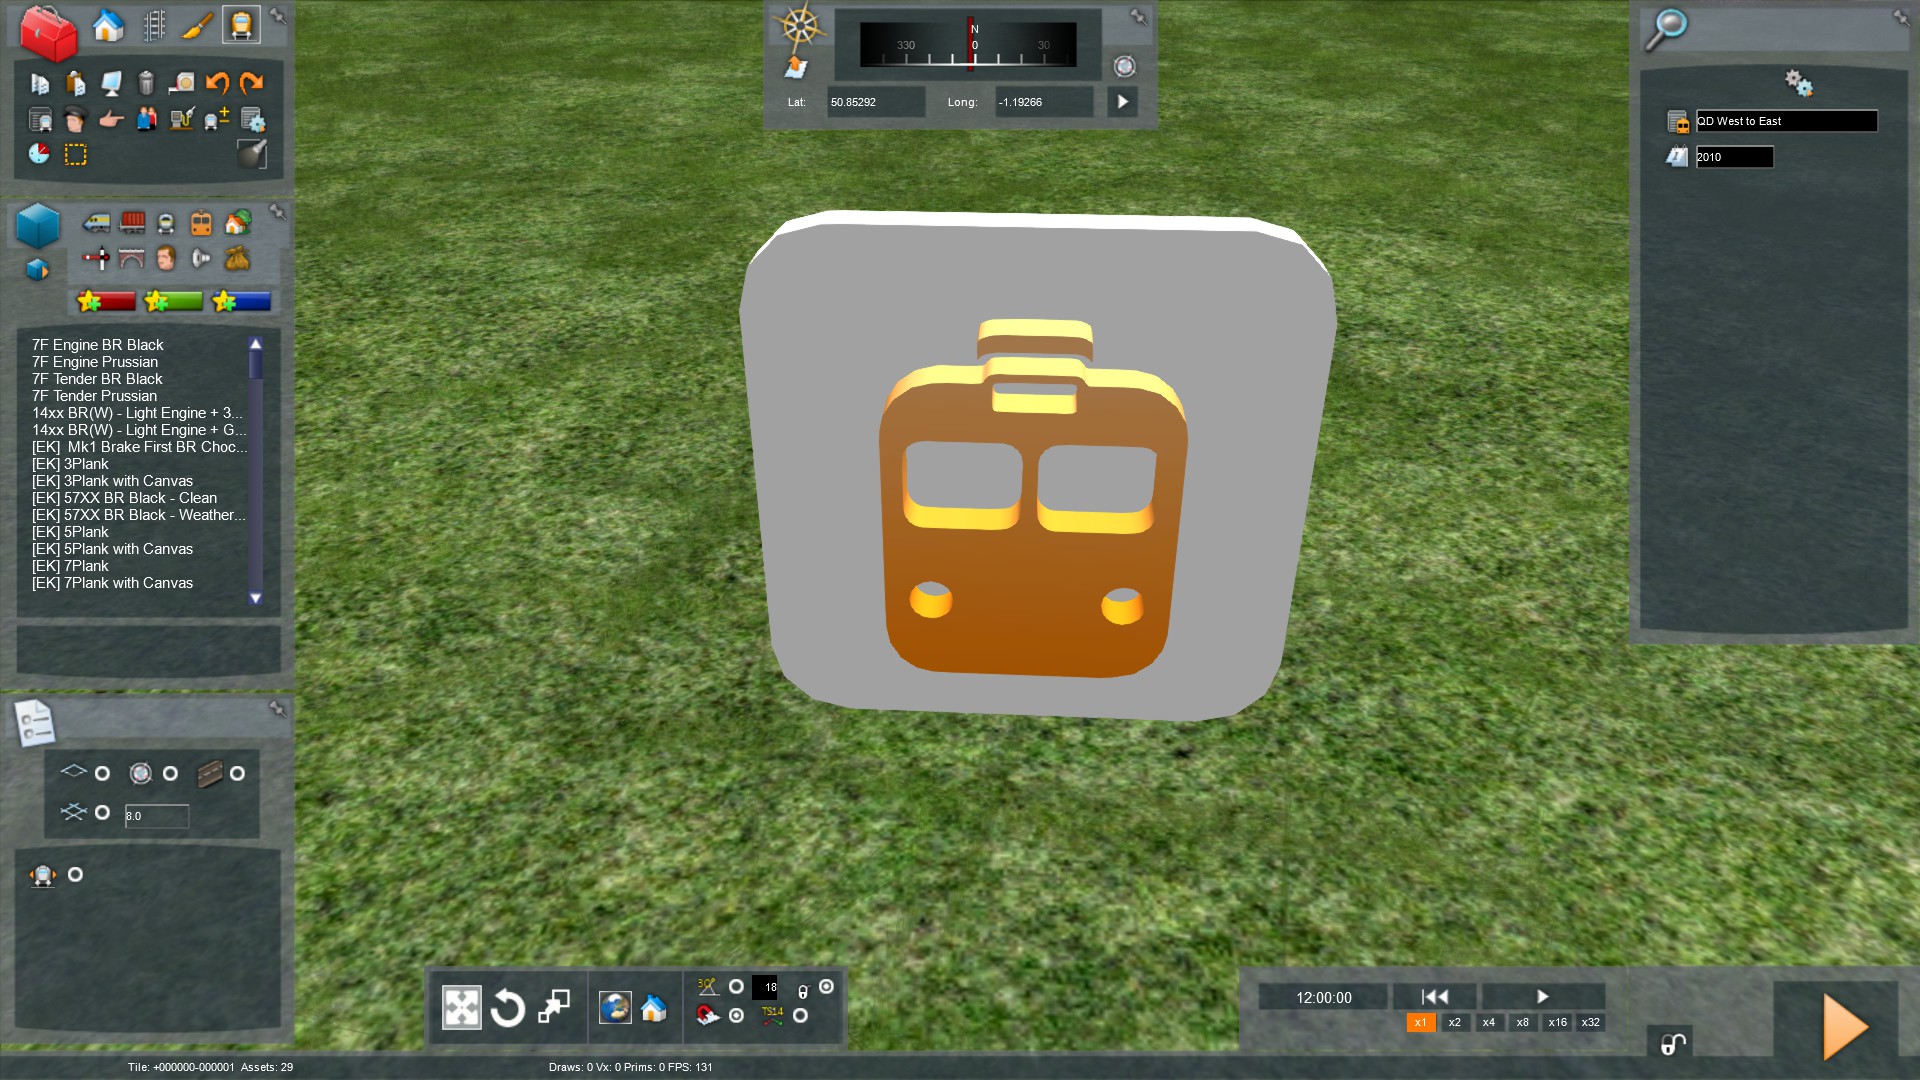
Unfortunately, the route in question* is still not included in the overview.
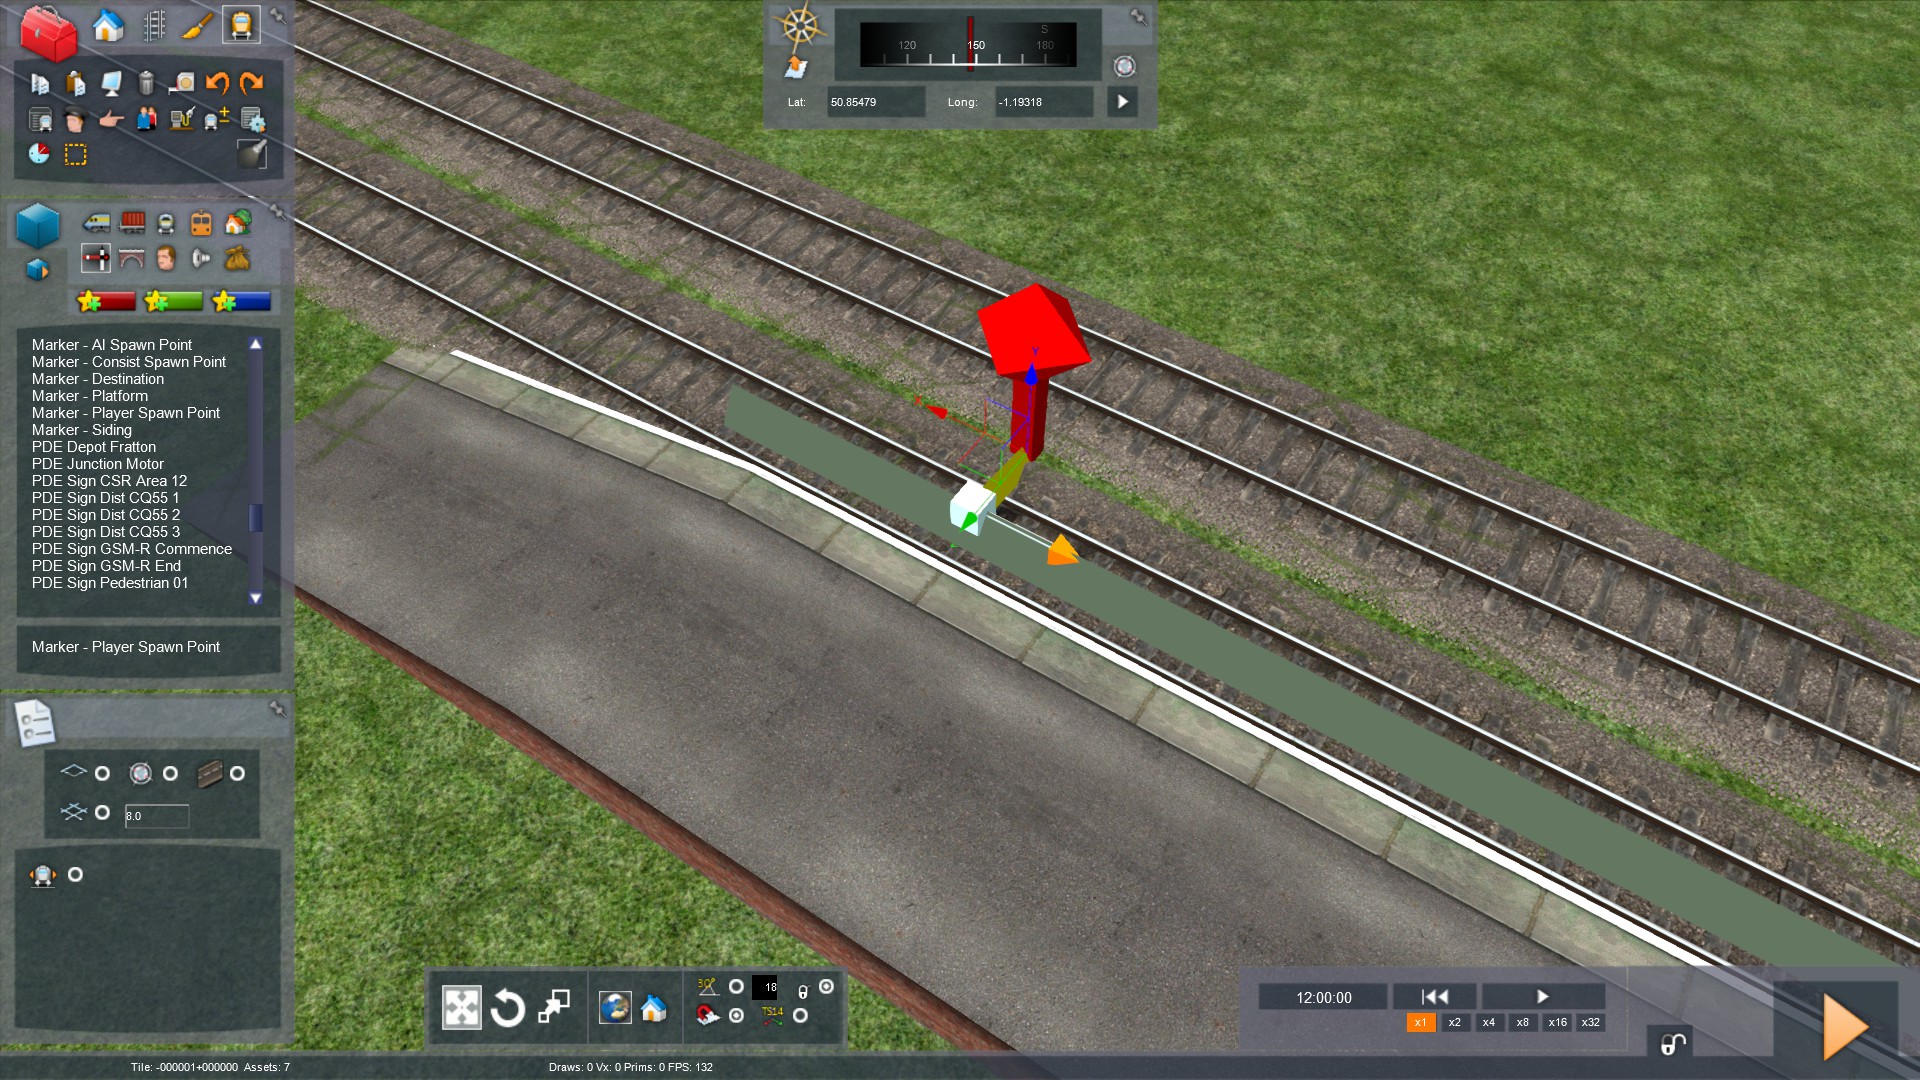
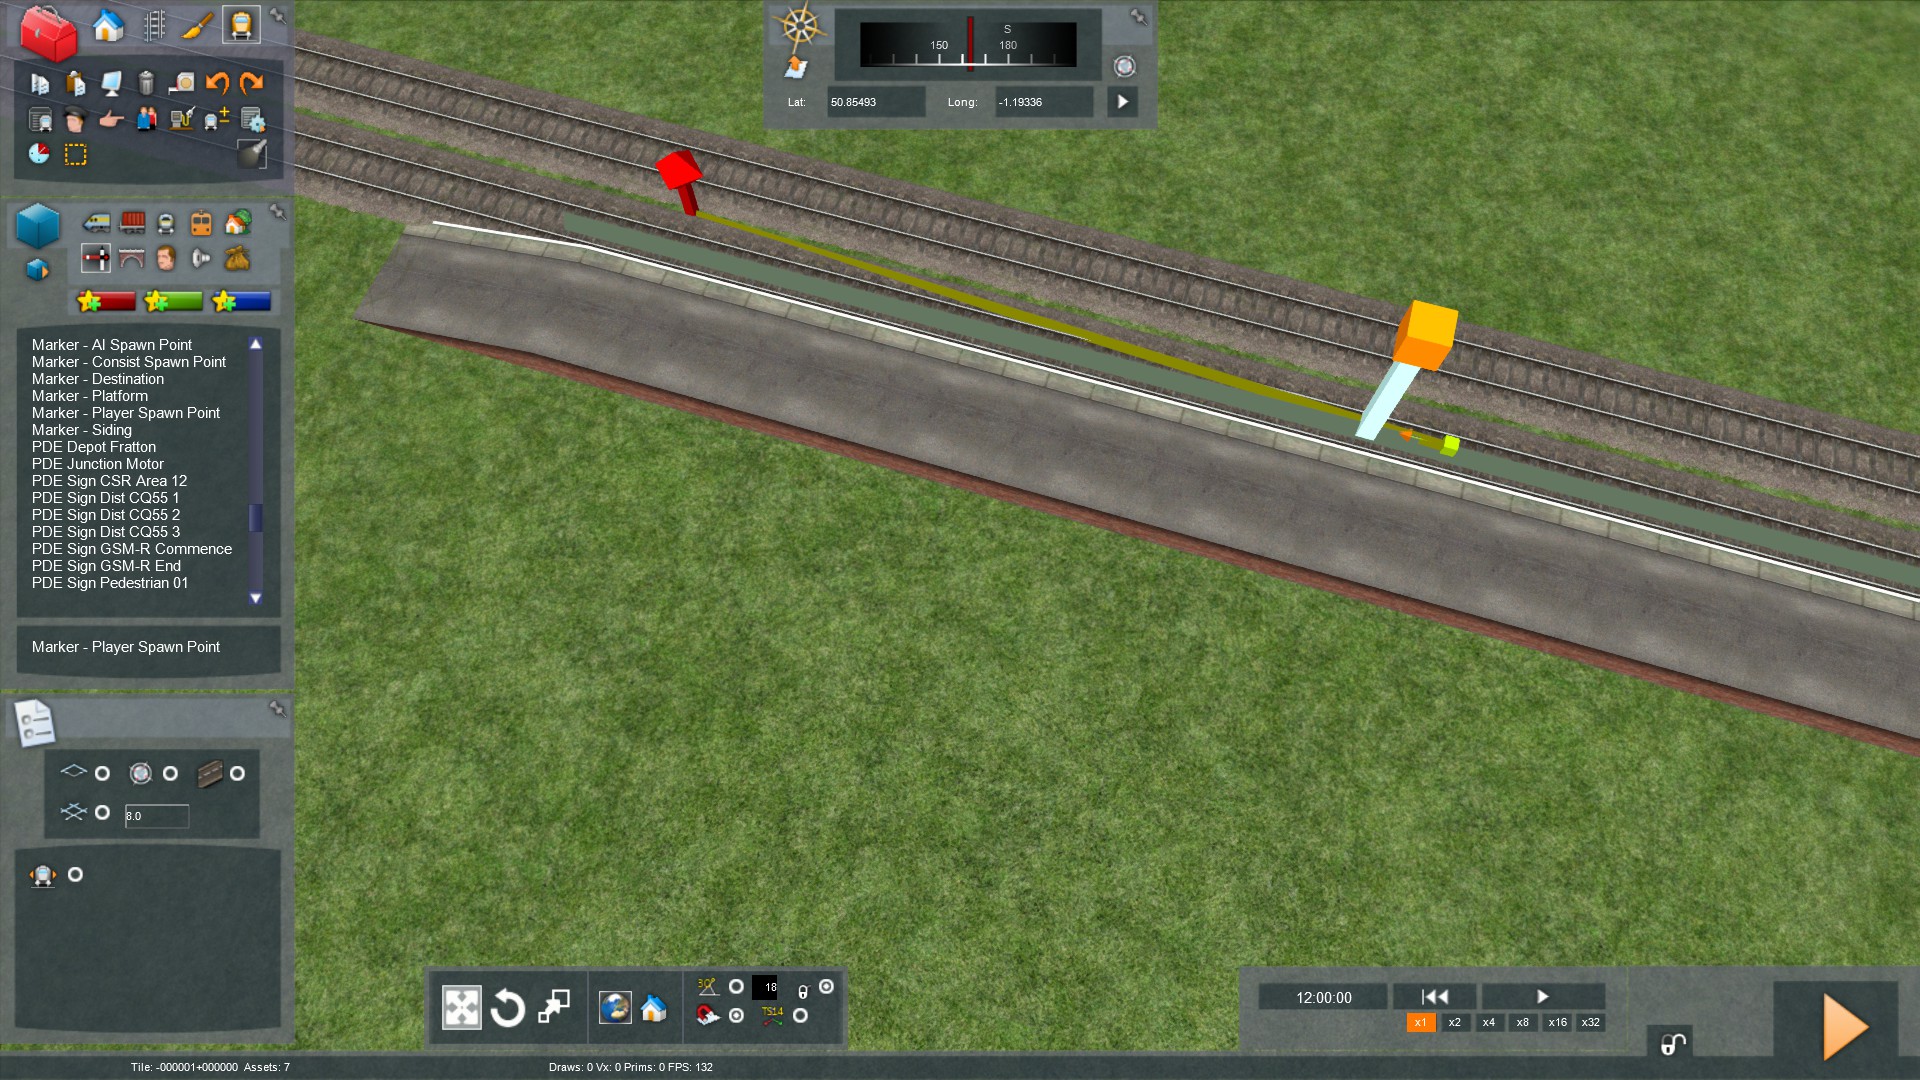
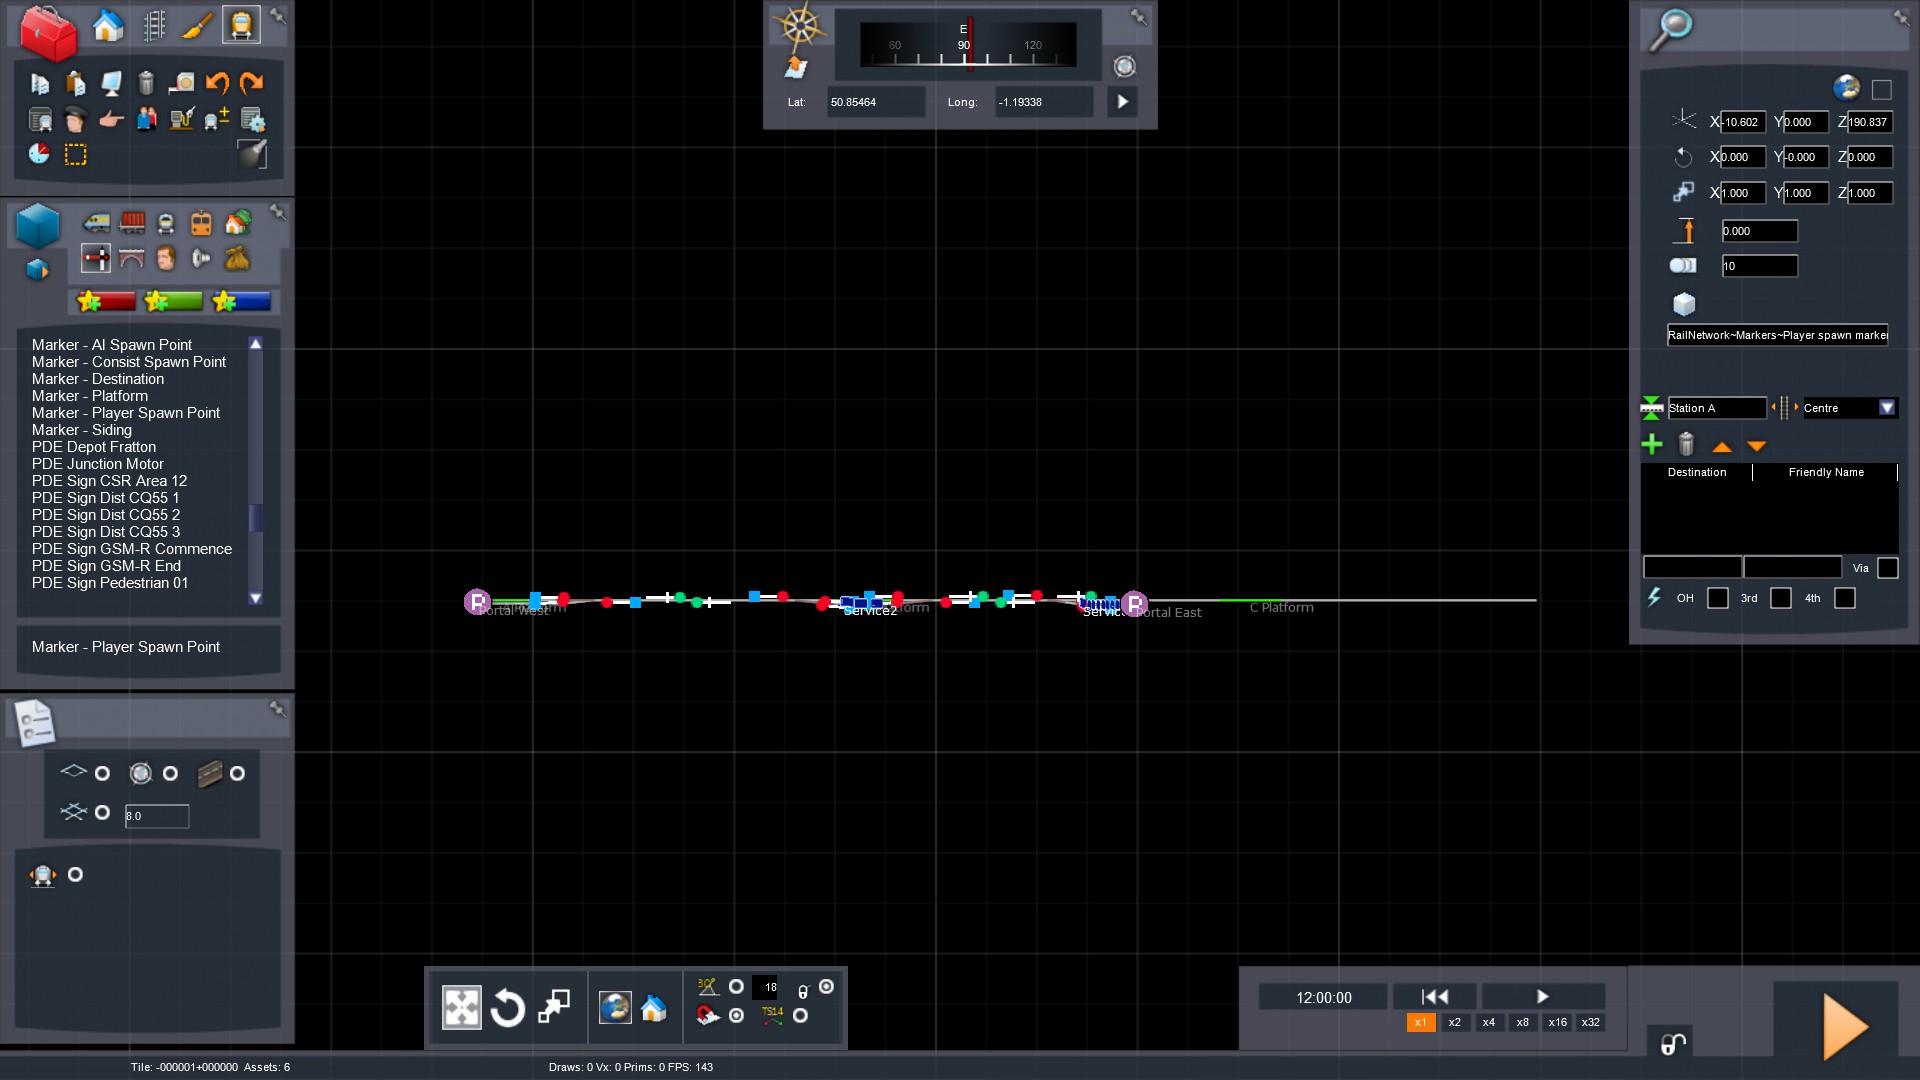
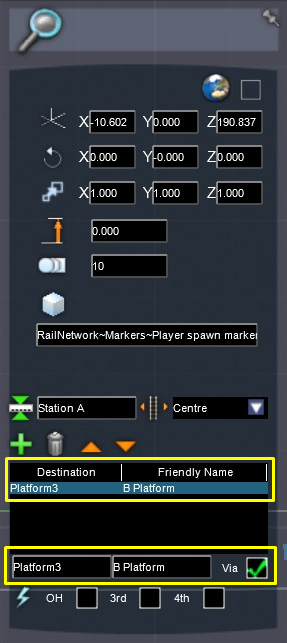
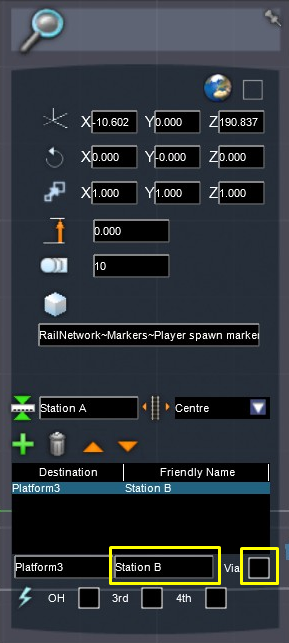
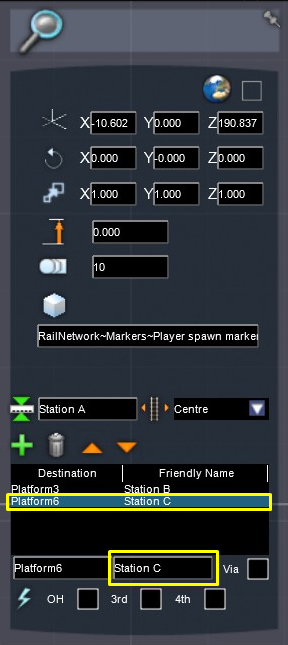
It is a user-created route. Could it be because of this? Does anything need to be done to the route itself to make it ready for Quick-drive?
* It is a Danish route called Jylland 2025 by GhostTrain
Warwick Rail  [Autor] 4. Jan. um 7:33 
Knud-RWDK. Are certain routes missing from your Quick Drive Menu?

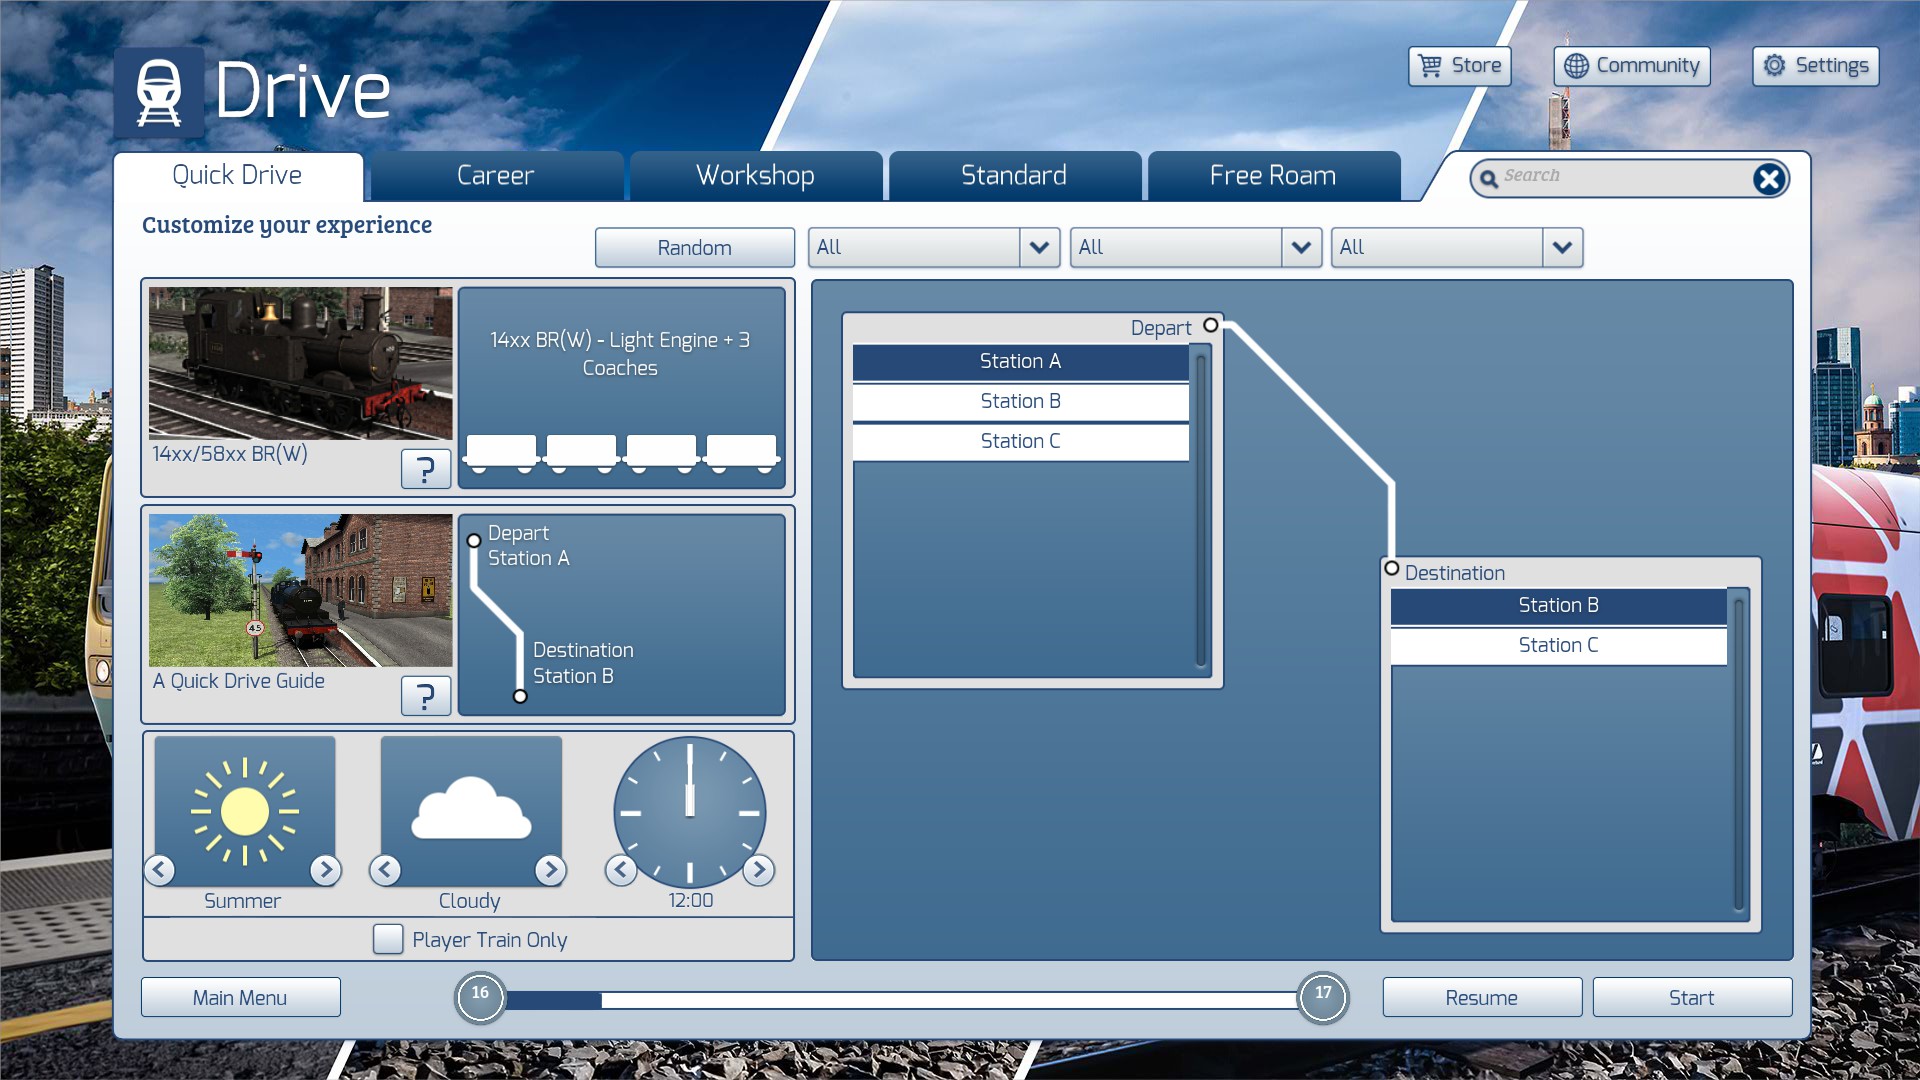
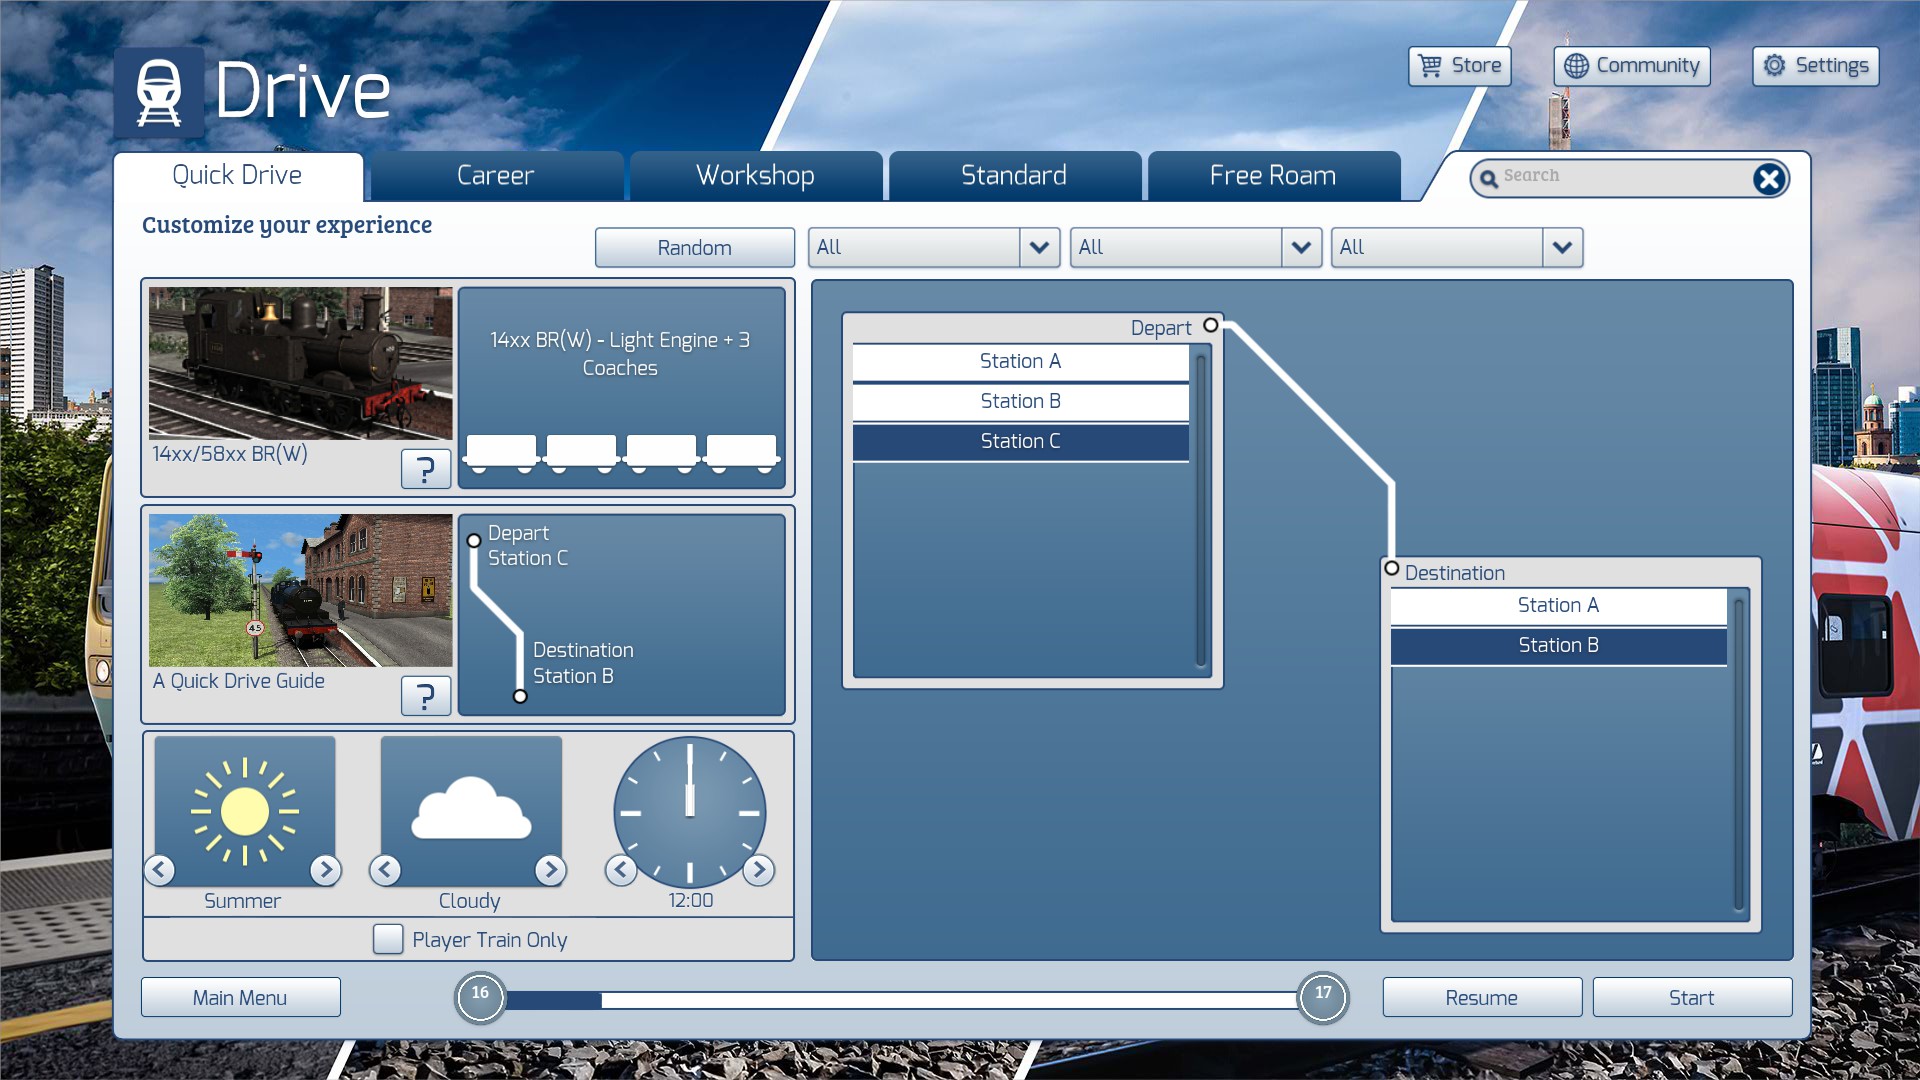
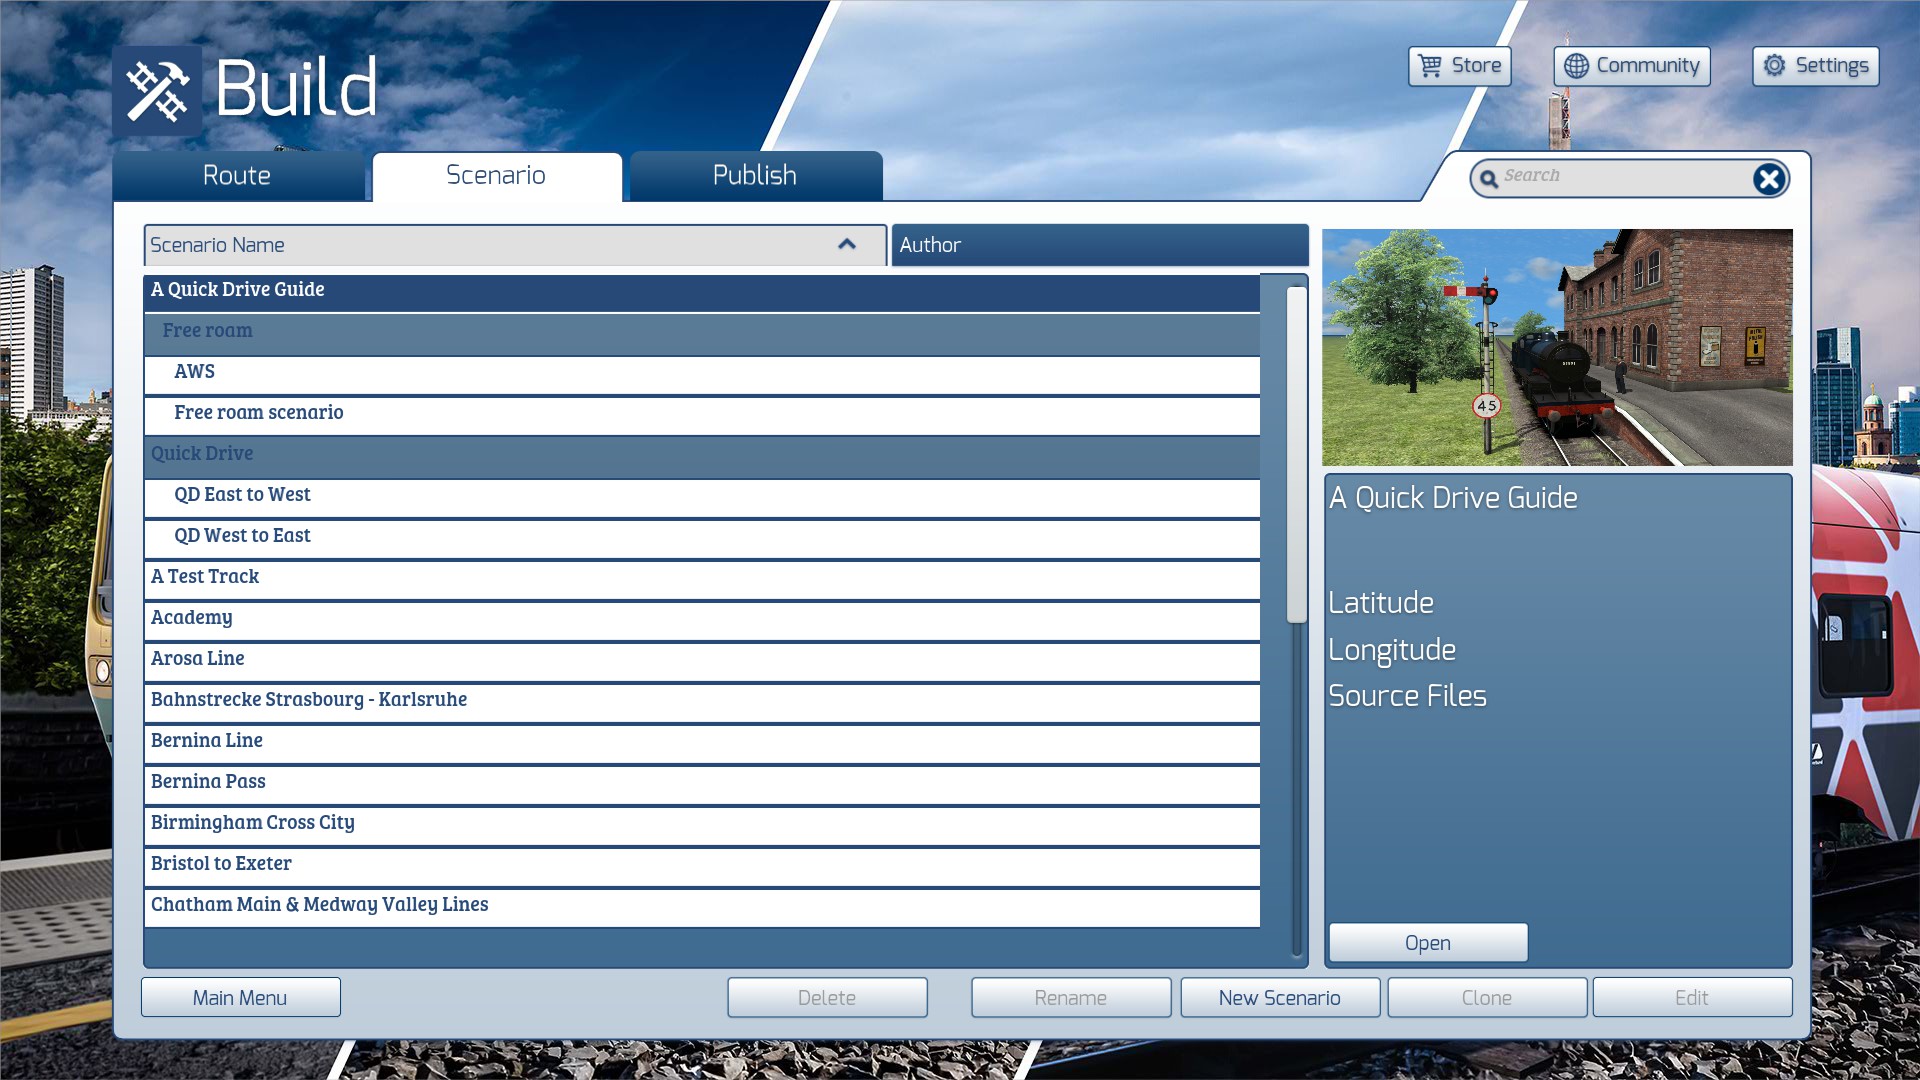
From time to time, and for various reasons, you may suddenly notice that most of the routes in your Quick Drive Menu have disappeared.

Fortunately this is a caching issue and is easily remedied.

The in-game cache can become corrupted by crashes or by interrupting the loading process. If the cache has become corrupted, it may be necessary to force the game to rebuild the cache by deleting the existing cache files.

Go to your RailWorks folder, then open the Content folder and remove following files:

SDBCache.bin
SDBCache.bin.MD5
RVDBCache.bin
RVDBCache.bin.MD5
TMCache.dat
TMCache.dat.MD5

Now restart Train Simulator.

This will rebuild your routes database, and all the routes which had previously disappeared will now reappear.
Ryanns999 4. Jan. um 4:50 
Knud-RWDK reread the Creating a QD scenario. Your route most have at least one QD for it to show in your route list.
Knud-RWDK 3. Jan. um 8:49 
A really nice guide, but my scenario doesn't show up... or rather, the route I've done it on doesn't appear in the route overview.
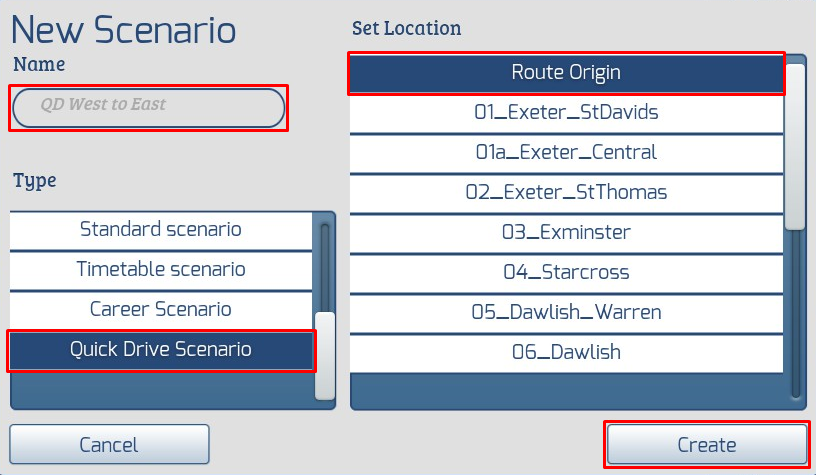
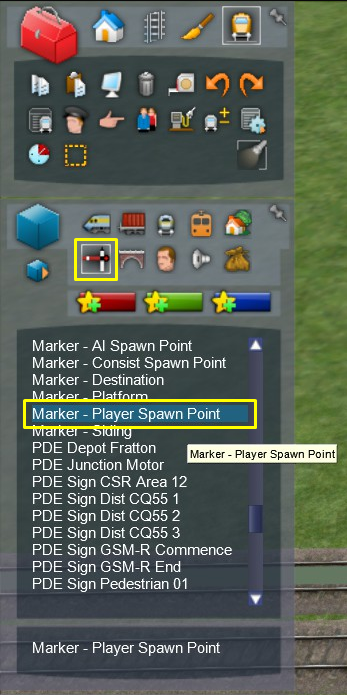
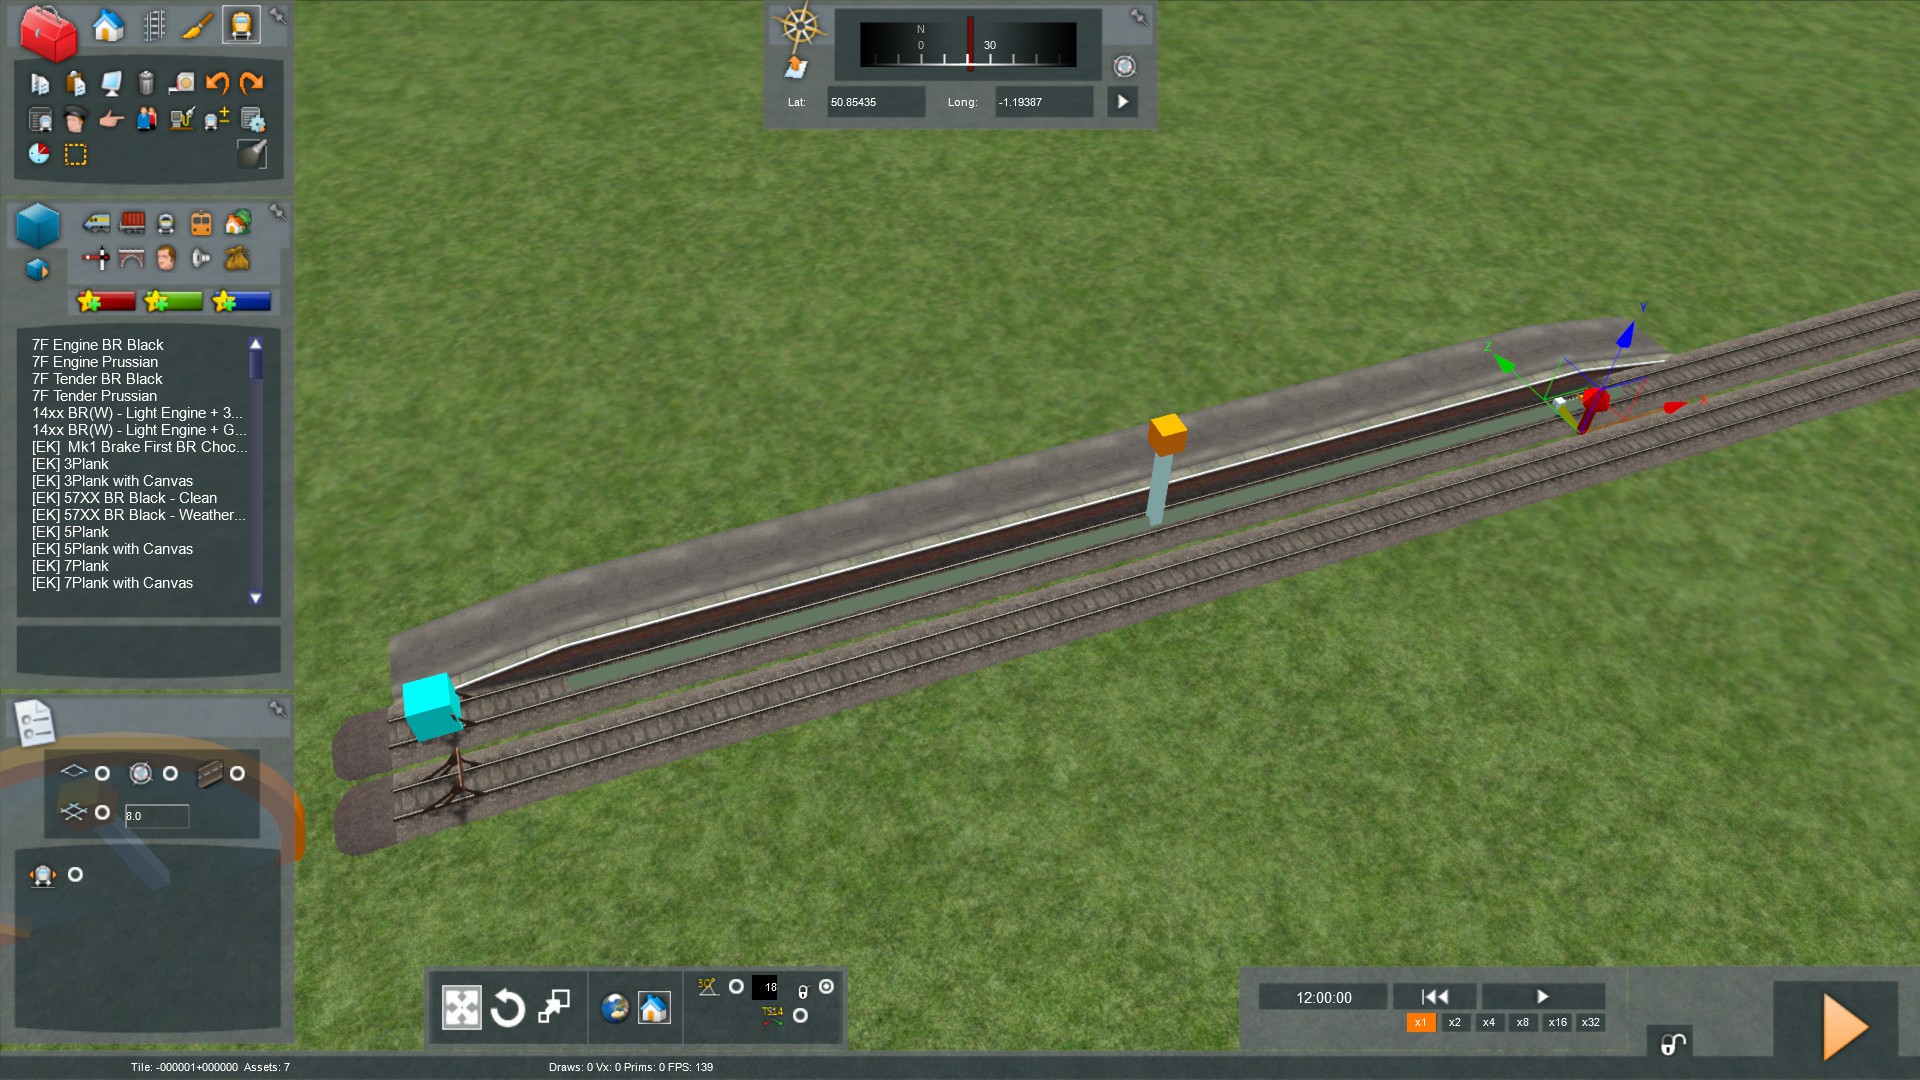
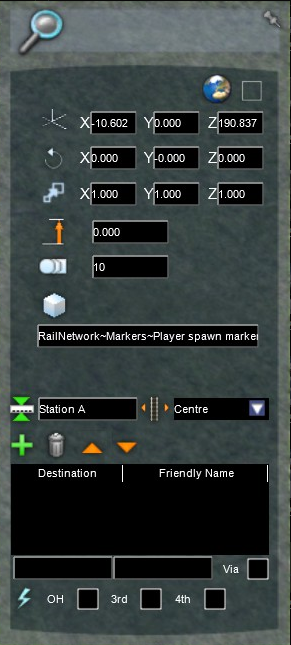
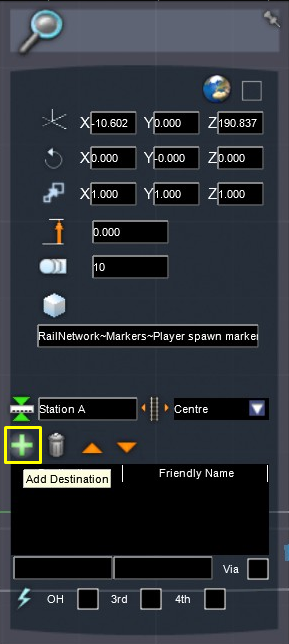
Does the route itself need to be done in a special way to become QD-compatible? Or do I need to do something in addition to what is written in this guide?
HybridGrizzlyTrenchGun 14. Aug. 2024 um 9:46 
Okay, thanks for the answer. Really helpful.
Warwick Rail  [Autor] 13. Aug. 2024 um 15:16 
The answer is no. It is not possible to convert a quick drive scenario to a free roam scenario. However, it is easy to create a free roam scenario on any given route. Open the route in the World Editor, navigate to the place where you wish the start the scenario, click the "scenario creation icon," choose "free roam," place the scenario marker and fill in the details, position your locomotive of choice on the track, add a driver and save the scenario. That's it.
HybridGrizzlyTrenchGun 13. Aug. 2024 um 12:22 
is it possible to convert a quick drive scenario to a free roam scenario?
Warwick Rail  [Autor] 4. Mai 2024 um 6:51 
The QD spawner will always use the passenger speed limits because it has no way of knowing what type of train you are driving. This can only be determined in authored standard or career scenarios.

See this thread.
https://steamcommunity.com/app/24010/discussions/3/4368004047821653052/